How to Unclog a Slow Bathroom Sink Without Harsh Chemicals
Is your bathroom sink draining slowly? Learn how to safely remove hair, soap buildup, and debris from the stopper and drain opening using simple tools, without harsh chemicals or taking apart your plumbing.
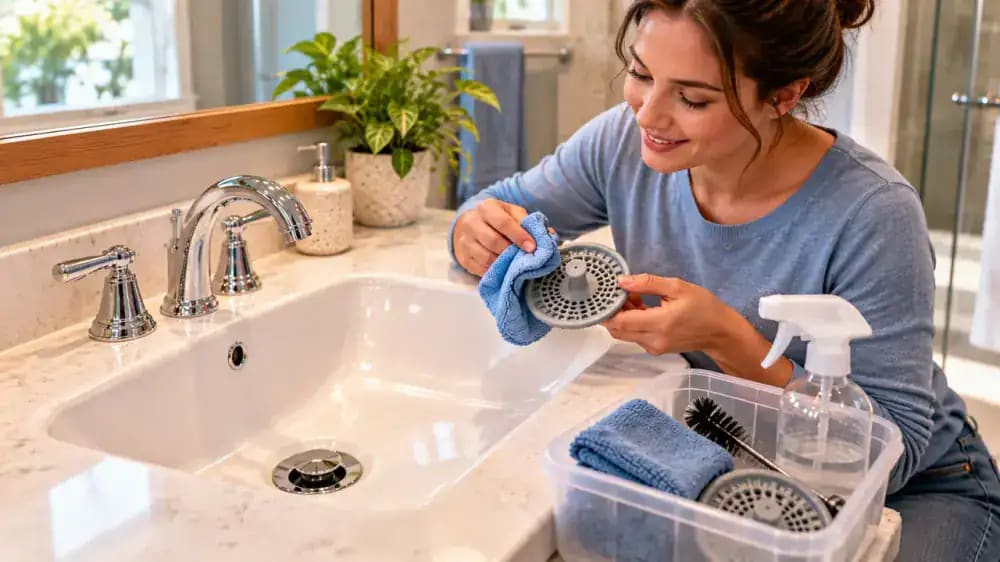
What you’ll need
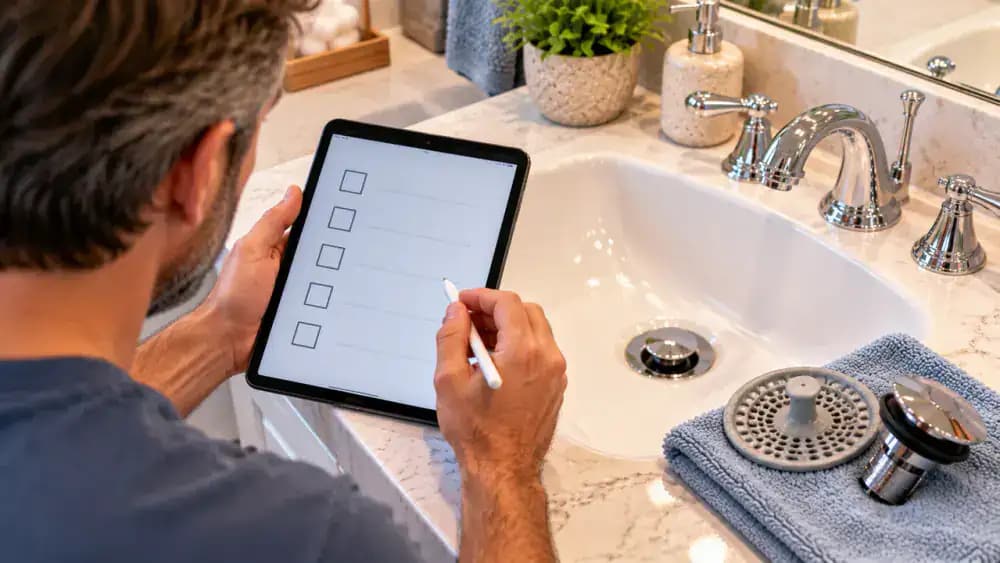
Tap to tick things off before you start.
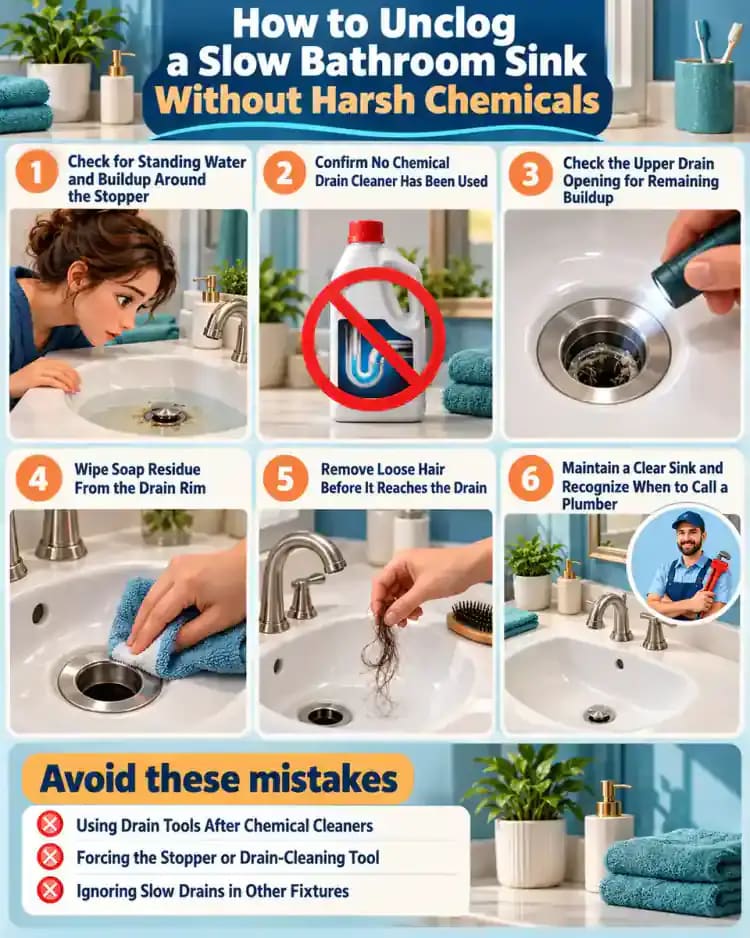
Check for Standing Water and Buildup Around the Stopper
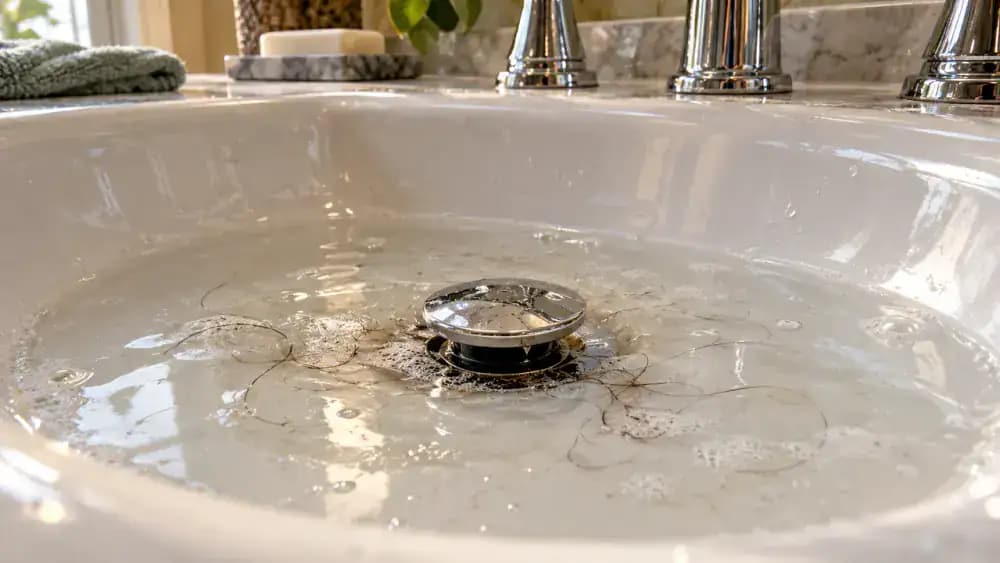
Turn on the bathroom faucet briefly and watch how water moves toward the drain. If a shallow puddle forms around the raised pop-up stopper, look closely at the opening for trapped hair, soap residue, or other visible debris. These materials commonly collect beneath the stopper and restrict water flow. Use good lighting to inspect the area without touching or removing anything yet. Also notice whether the water drains slowly or remains standing.
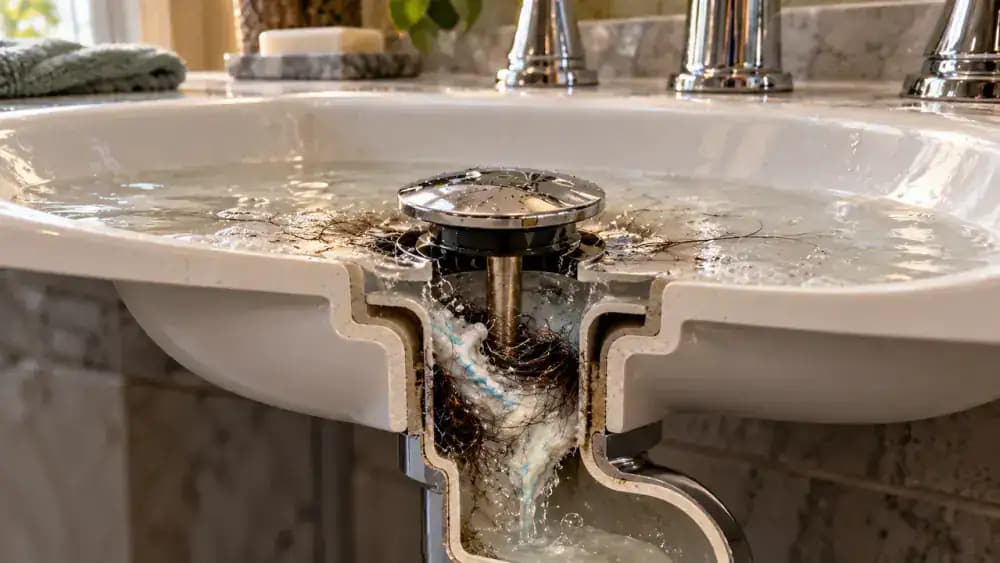
Understand How Debris Restricts Water Flow
Look at the illustrated cross-section of the sink drain to see where clogs commonly develop. Loose hair can catch around the pop-up stopper stem, trapping sticky soap residue and toothpaste debris. As these materials accumulate, the opening becomes narrower and water drains more slowly. Notice that the buildup sits near the upper drain assembly. This location matters because shallow debris may be removable without dismantling plumbing or using harsh chemicals.
Compare Drainage in Nearby Bathroom Fixtures
Run a small, controlled stream of water into the bathroom sink and observe how quickly it drains. Turn off the faucet, then briefly run water in a nearby bathtub, shower, or second sink. Compare the drainage at each fixture separately. If only the bathroom sink drains slowly, the obstruction may be localized near its stopper. If multiple fixtures drain slowly or back up, stop troubleshooting and contact a licensed plumber.

Spot Warning Signs That Require a Plumber
Watch for murky water backing up through the bathtub drain, gurgling sounds from the sink, or recurring drainage problems. As shown, visually inspect the accessible area beneath the sink for moisture, leaks, or damaged plumbing without touching or disconnecting anything. These warning signs may indicate a blockage beyond the drain opening. Set aside your cleaning tool and contact a licensed plumber rather than attempting deeper cleaning or repairs yourself.

Prepare Your Drain-Cleaning Supplies
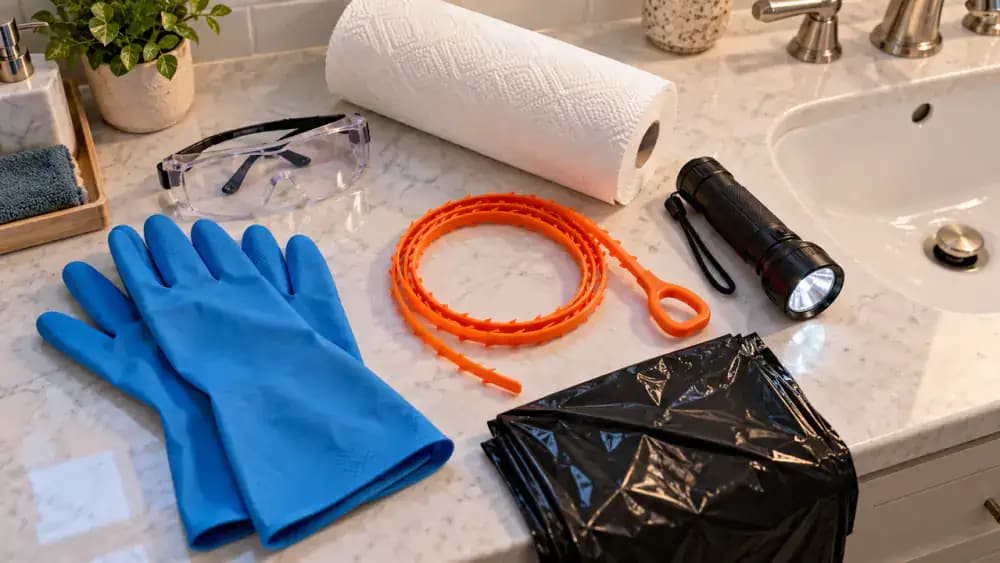
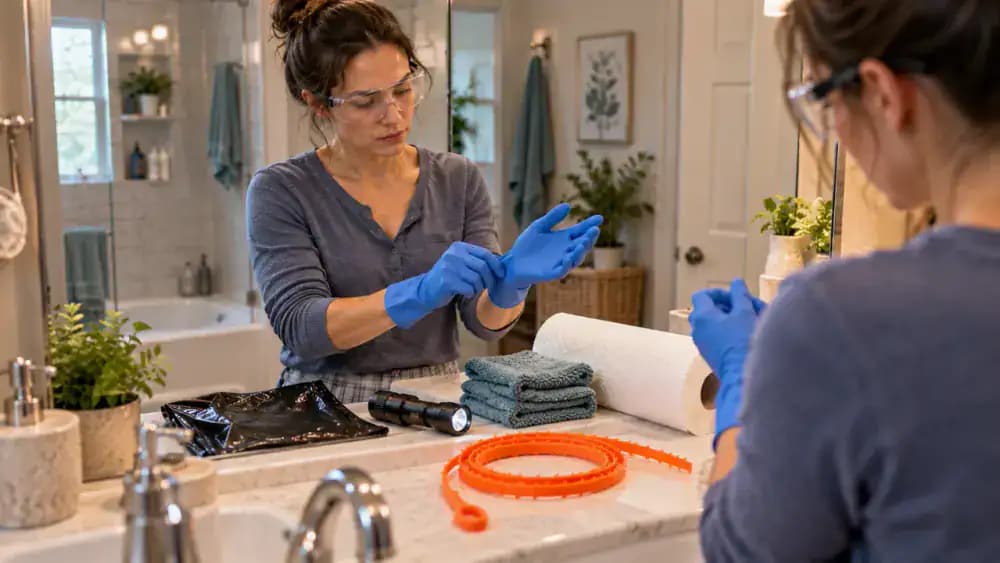
Arrange disposable gloves, safety glasses, paper towels, a small trash bag, a flashlight, and a flexible plastic drain-cleaning tool on a clean, dry towel beside the sink. Keep everything within easy reach so you can handle debris without spreading the mess. Choose a flexible plastic tool designed for shallow drain cleaning rather than a metal snake. Before proceeding, confirm that no chemical drain cleaner has been used in the sink.
Confirm No Chemical Drain Cleaner Has Been Used
Before touching the stopper or inserting any tools, ask household members whether chemical drain cleaner has been poured into this sink. Keep the faucet off and your cleaning tool on a dry towel while checking. If nobody has used chemical cleaner, you can continue preparing for gentle cleaning. If cleaner may be present, leave the drain undisturbed and contact a licensed plumber, explaining which product may have been used.

Protect Yourself and Clear the Sink Workspace
With chemical drain cleaner ruled out, remove toothbrush holders, soap dispensers, and other personal items from around the sink. Put on safety glasses and disposable protective gloves before handling any debris. Spread several paper towels across the dry countertop to create a convenient cleanup area. Check that the faucet is completely off and the drain opening is accessible. Keep your flashlight and trash bag nearby for the upcoming inspection.
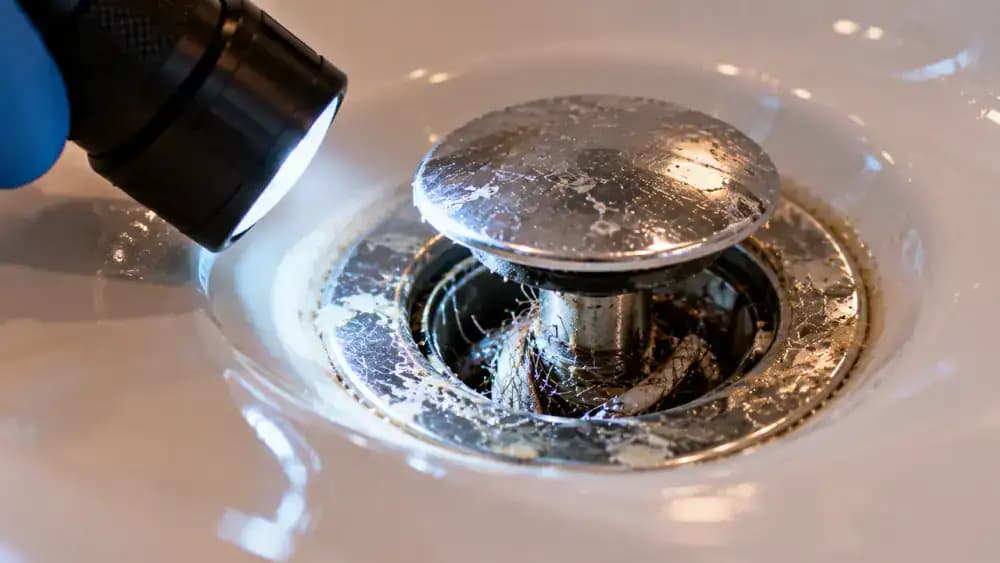
Examine the Pop-Up Stopper for Hair and Soap Buildup
Hold a flashlight above the pop-up stopper and shine its beam around the edges of the drain opening. Look for trapped hair, sticky soap residue, or other debris that could restrict water flow. Gently operate the stopper using its normal lift rod to reveal more of the opening. Keep the faucet off throughout the inspection. If the stopper resists movement, stop rather than prying or forcing any components.
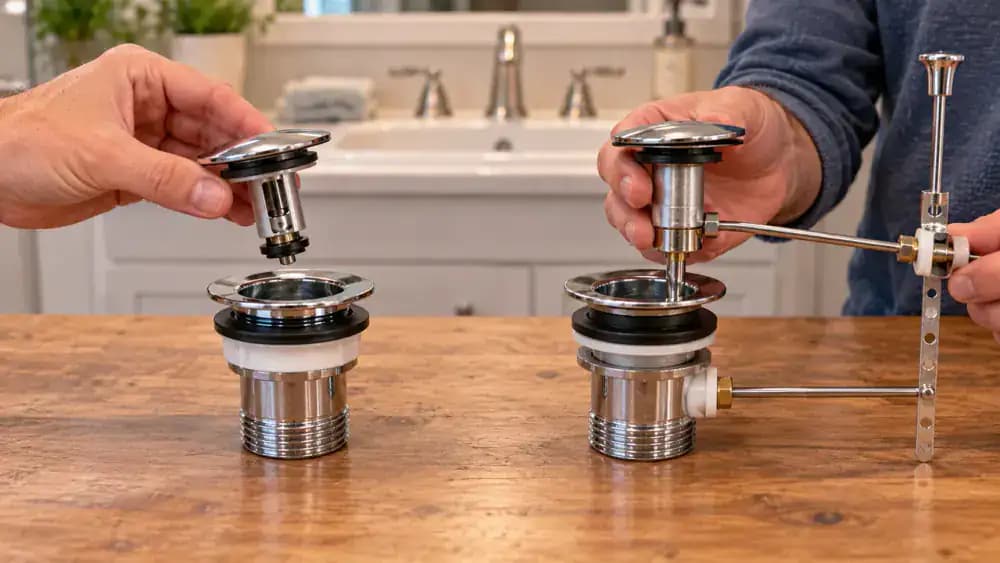
Determine Whether Your Sink Stopper Lifts Out Safely
Examine how your pop-up stopper attaches to the drain before attempting removal. Some models lift straight out with gentle upward movement, while others remain connected to a pivot rod beneath the sink. The side-by-side examples show these common designs. Check the manufacturer's instructions if you cannot identify yours. Never pull against resistance or disconnect plumbing. If the stopper stays attached, leave it in place and clean only accessible areas.
Lift Out a Removable Stopper Without Forcing It
If your sink has a stopper designed for tool-free removal, grasp the cap with gloved fingers and gently lift it straight upward. Keep the movement slow, without twisting or pulling forcefully. Once removed, place the stopper on a folded paper towel to contain any attached hair and soap residue. Keep the faucet off during removal. If you encounter resistance, release the stopper immediately and leave the connected mechanism undisturbed.
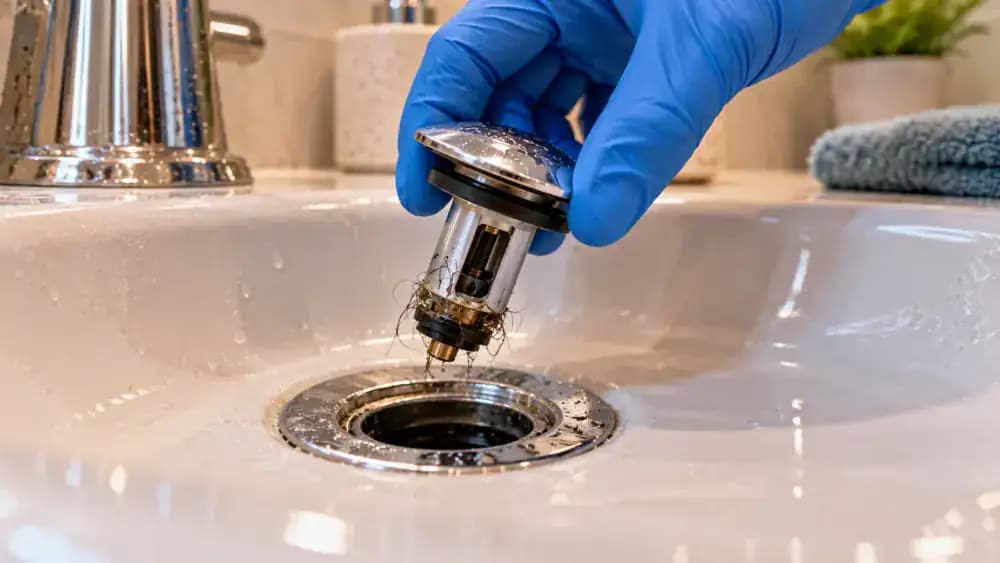
Remove Trapped Hair and Soap Residue From the Stopper
Place the removed stopper on a folded paper towel and examine its stem, underside, and rubber seal for trapped hair and sticky buildup. Wearing protective gloves, gently pull away tangled strands with your fingers and wipe accessible residue using a fresh paper towel. Drop the collected debris directly into a lined trash container rather than the drain. Avoid sharp scraping tools, excessive pressure, or bending delicate plastic parts while cleaning.
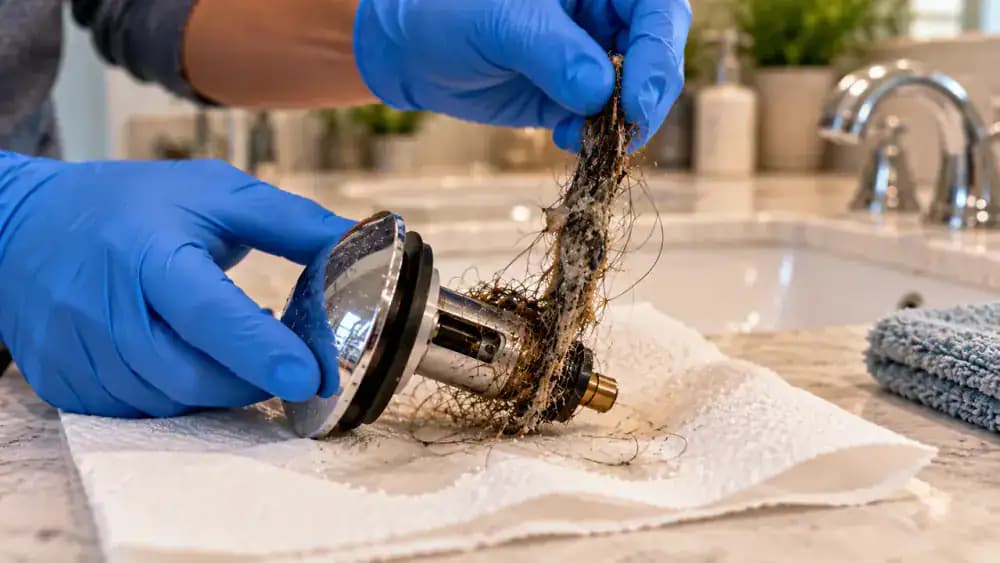
Check the Upper Drain Opening for Remaining Buildup
With the cleaned stopper resting on a paper towel, shine your flashlight directly into the exposed drain opening. Look along the upper walls for hair strands, soap residue, or other debris still clinging near the surface. Adjust the flashlight angle to check both sides without reaching inside. Identify only buildup you can clearly see and safely access. Never push debris farther down or blindly reach into the pipe.
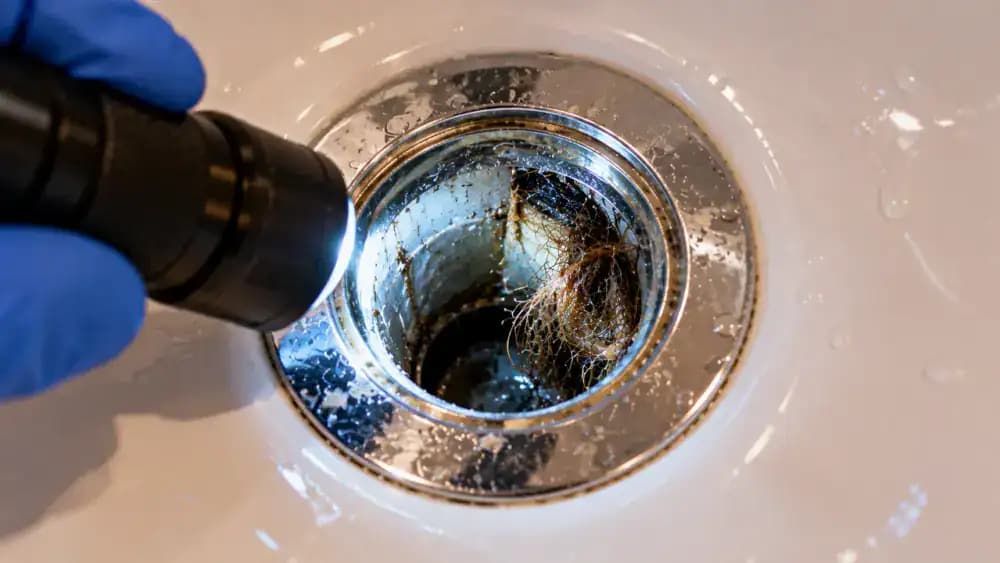
Select a Flexible Plastic Tool That Fits the Drain
Choose a narrow, flexible plastic drain-cleaning strip with small molded barbs designed to catch hair. Hold it above the work surface and gently bend it to check its flexibility. Inspect the tip and barbs for cracks, sharp damage, or broken sections. Compare the tool's width with the drain opening without inserting it yet. Avoid rigid metal tools, and never use a plastic strip that requires force to fit.
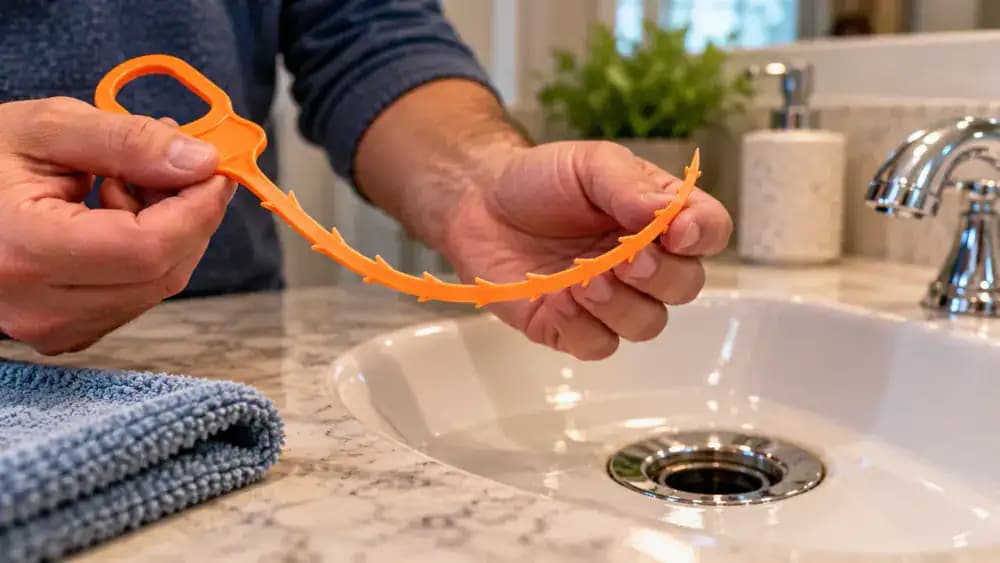
Guide the Plastic Cleaning Tool Into the Upper Drain
With the faucet off and your protective gear on, position the rounded tip of the flexible plastic tool over visible hair and residue near the drain opening. Gently guide the strip into the accessible upper section, keeping it aligned with the drain walls. Use light pressure and short, controlled movements to avoid damaging nearby hardware. If the tool catches or meets resistance, stop immediately and carefully withdraw it without pushing deeper.
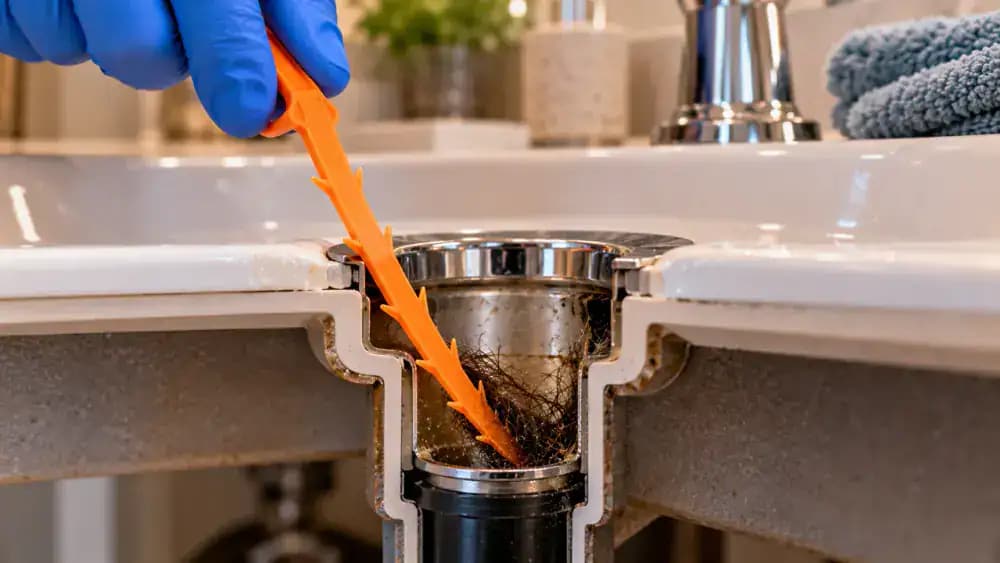
Catch and Carefully Pull Hair From the Drain
With the plastic tool positioned near visible buildup, make a small, controlled movement to catch loose hair on its barbs. Slowly lift the strip straight upward, keeping it centered in the drain opening. A clump of damp hair and soap residue may come out together. Hold the tool above the basin to contain dripping debris. Avoid jerking or aggressive twisting, and stop immediately if the strip becomes firmly snagged.
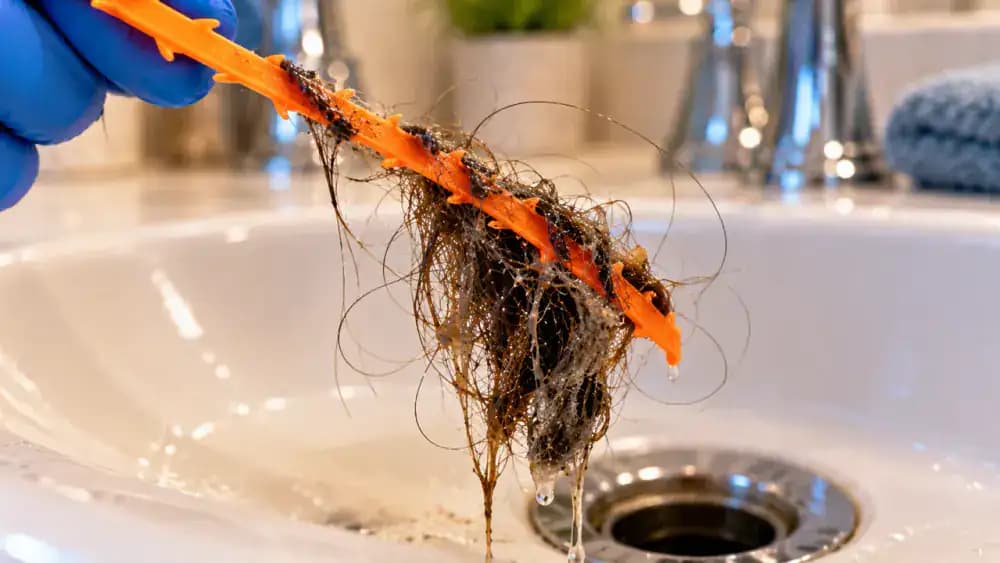
Remove Collected Hair and Debris Into the Trash
Hold the plastic drain-cleaning tool above your prepared trash bag while keeping your protective gloves and safety glasses on. Wrap a fresh paper towel around the collected hair and soap residue, then gently slide the debris off the barbs into the bag. Keep the waste contained and avoid touching it with bare hands. Never rinse removed hair back into the sink. If the tool is disposable, follow its disposal instructions.
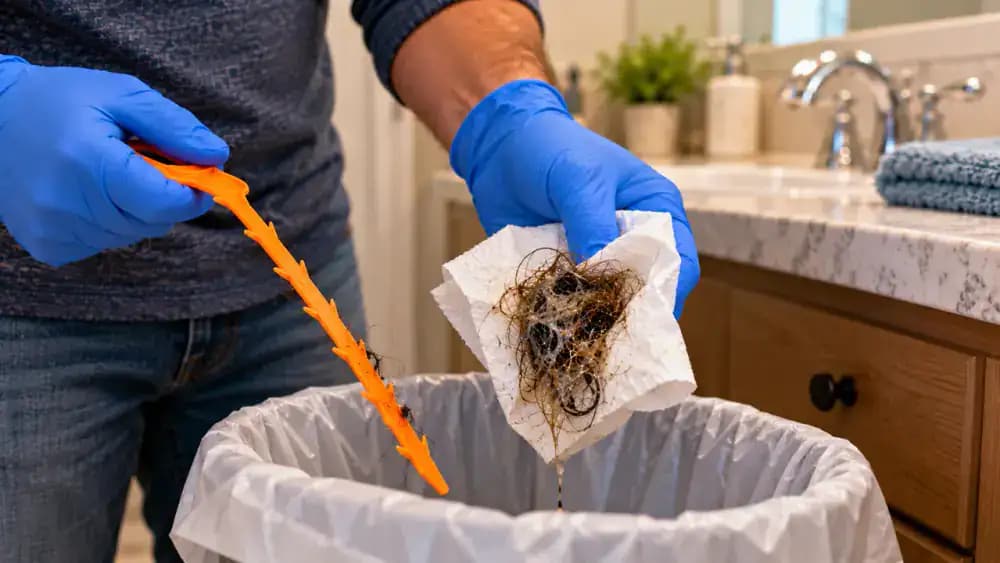
Inspect the Drain Again and Remove Any Loose Hair
Shine your flashlight into the exposed drain opening and check for hair or residue still visible near the surface. If another loose strand is within easy reach, use a clean, intact plastic drain-cleaning tool to make one gentle, controlled pass. Carefully withdraw the tool and dispose of the collected debris in the trash. Keep the faucet off, avoid probing deeper, and stop immediately if you encounter resistance or inaccessible buildup.
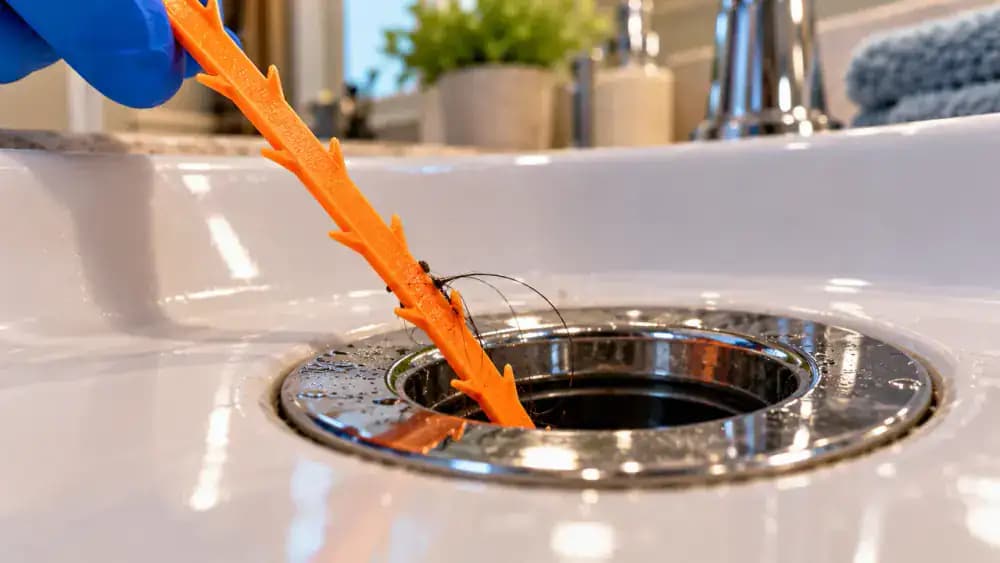
Wipe Soap Residue From the Drain Rim
With the accessible hair removed, use a slightly damp, folded paper towel to gently wipe the exposed chrome drain rim and surrounding porcelain. Keep your protective gloves and safety glasses on while lifting away leftover soap residue. Wipe outward from the opening so debris does not fall back into the drain. Avoid abrasive scrubbers or sharp scrapers that could damage the finish. Discard the used towel and inspect the cleaned surface.
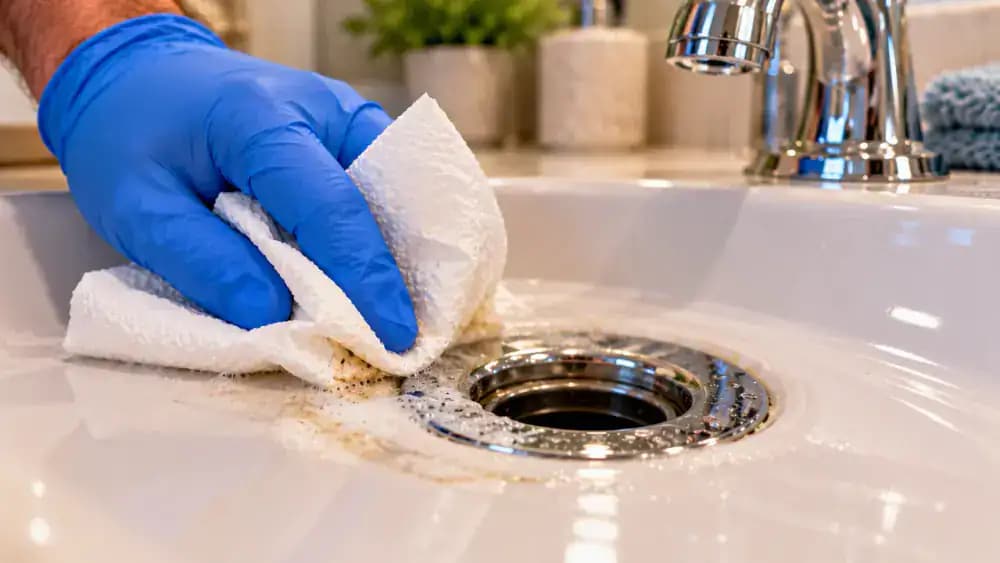
Reinstall the Clean Pop-Up Stopper
Pick up the cleaned, removable sink stopper and inspect its rubber seal, stem, and underside for damage. Hold it above the drain opening and align the stem with its intended position. Gently lower the stopper straight into place, following its original orientation and design. Check that the cap sits evenly within the drain flange without applying pressure. If it does not fit properly or appears damaged, stop and consult the manufacturer's instructions.
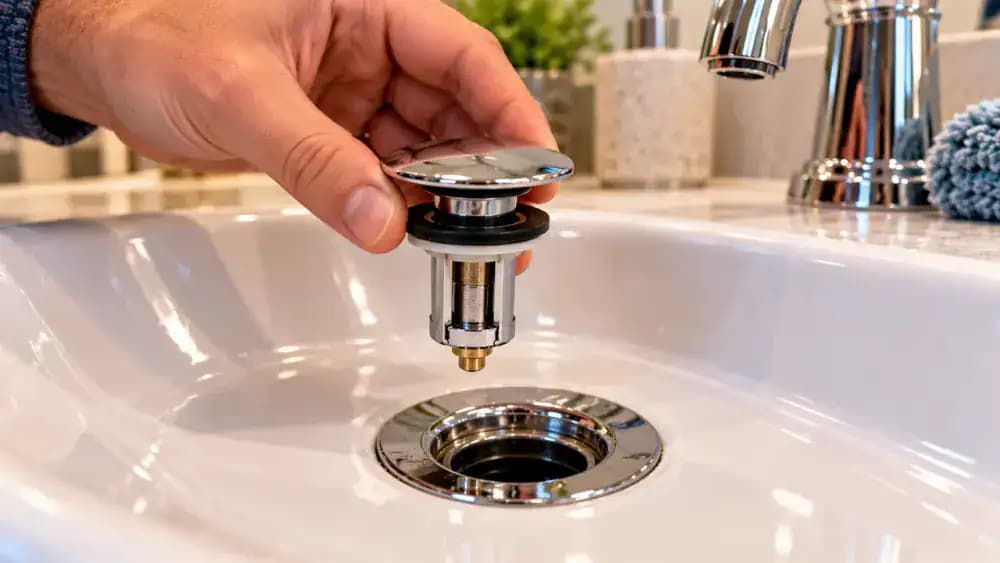
Test the Pop-Up Stopper's Movement Before Running Water
With the faucet off, gently operate the lift rod or normal stopper control while watching the drain opening. Raise and lower the stopper through its usual range, checking that the cap moves smoothly and stays level. When open, it should provide enough clearance for water to drain. When closed, it should sit evenly against the opening. If the mechanism sticks, tilts, or resists movement, stop without forcing or adjusting plumbing connections.
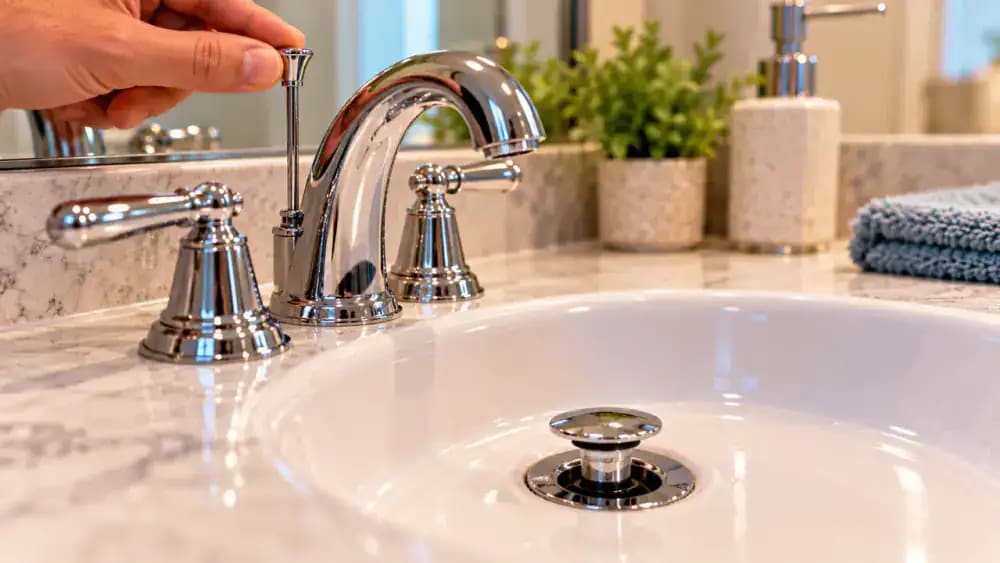
Run a Gentle Stream of Water to Check Drainage
Leave the reinstalled pop-up stopper fully open and turn on the faucet to a small, steady stream. Watch how water travels across the basin and enters the drain, paying attention to any pooling around the stopper. Keep the flow gentle so you can observe drainage without excessive splashing. Use only enough water to assess the movement. If water begins backing up or rising in the basin, turn off the faucet immediately.
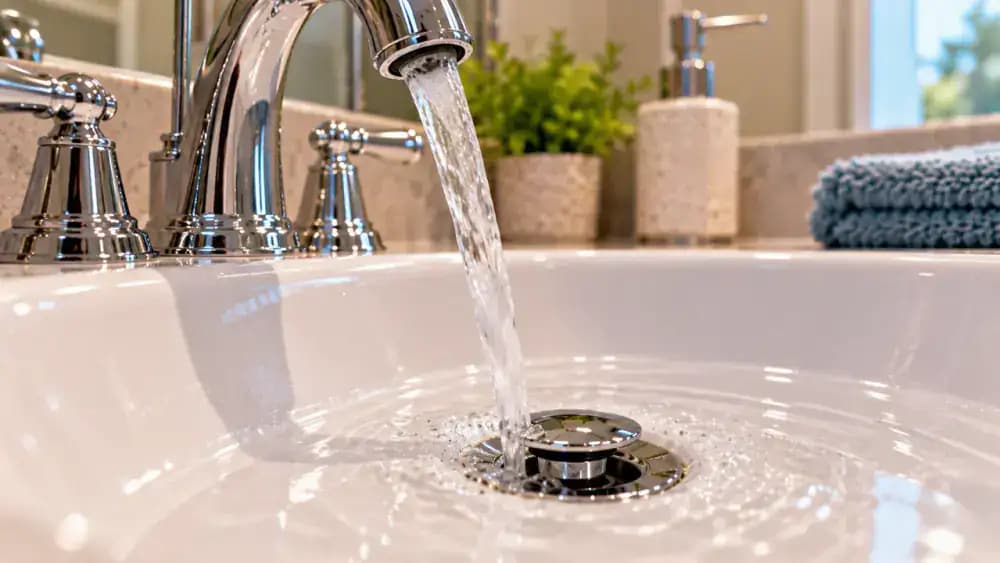
Check Whether Water Clears and Look for Leaks
After turning off the faucet, watch whether the remaining water clears from the basin without prolonged pooling around the open stopper. Compare the drainage with what you observed before cleaning, but do not assume the clog is completely gone. Listen for unusual gurgling and visually inspect accessible exterior drain connections and the cabinet floor for moisture. If water drains slowly, backs up, or leaks appear, stop and contact a licensed plumber.
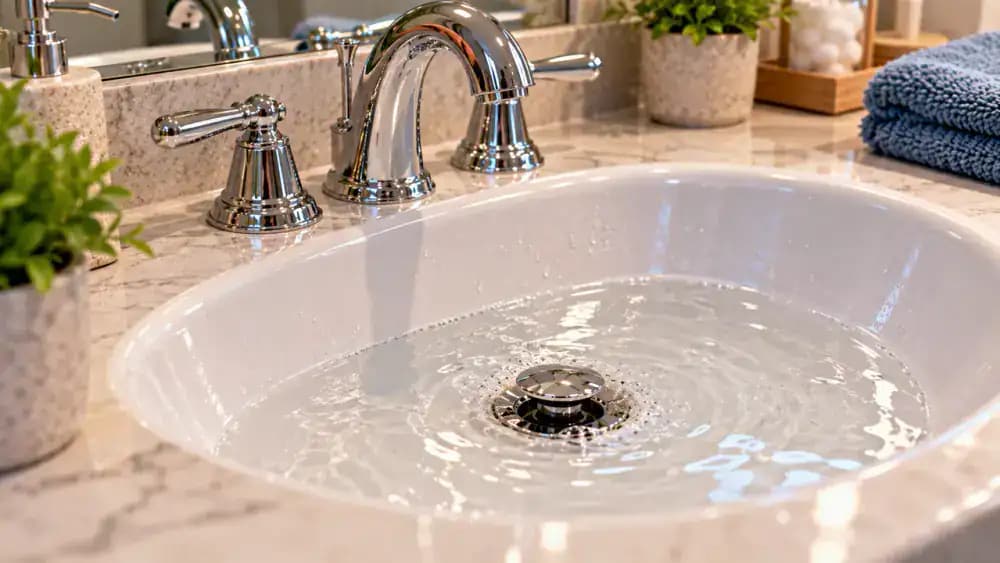
Call a Licensed Plumber for Persistent Drainage Problems
If water continues pooling around the open stopper after gentle cleaning, stop attempting to clear the drain yourself. Set your plastic cleaning tool aside and contact a licensed plumber for diagnosis. Recurring clogs, gurgling sounds, wastewater backing up, multiple slow fixtures, or visible leaks also warrant professional attention. Explain which fixtures are affected and what cleaning you attempted. Never force tools deeper, remove the P-trap, or add chemical drain cleaners.
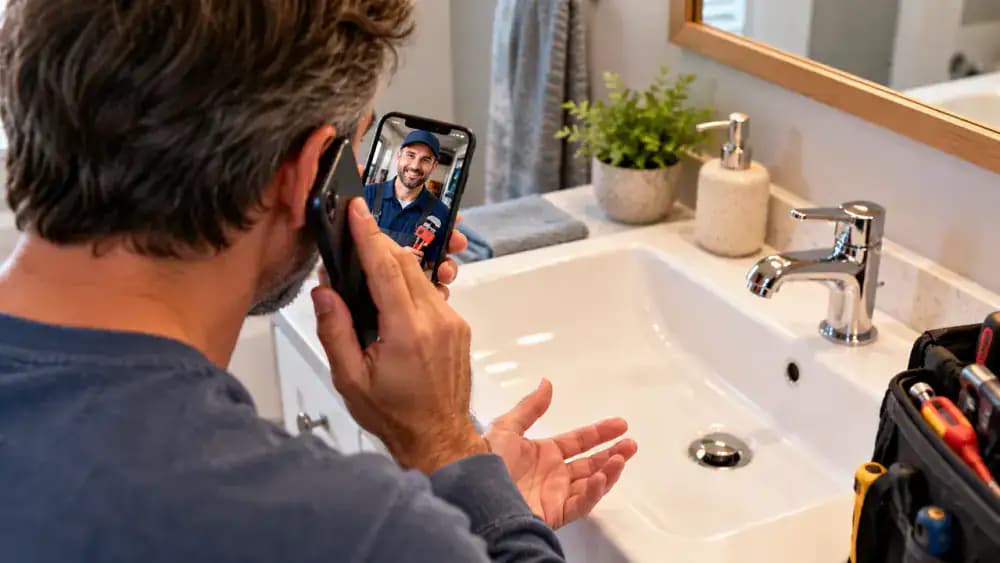
Remove Loose Hair Before It Reaches the Drain
After shaving, brushing, or grooming near the bathroom sink, check the basin for loose hair before turning on the faucet. With the stopper closed and the basin dry, use a folded paper towel to gather visible strands, moving them away from the drain opening. Place the collected hair directly into a lined trash can. Check around the stopper for remaining strands, and make this quick cleanup part of your regular grooming routine.
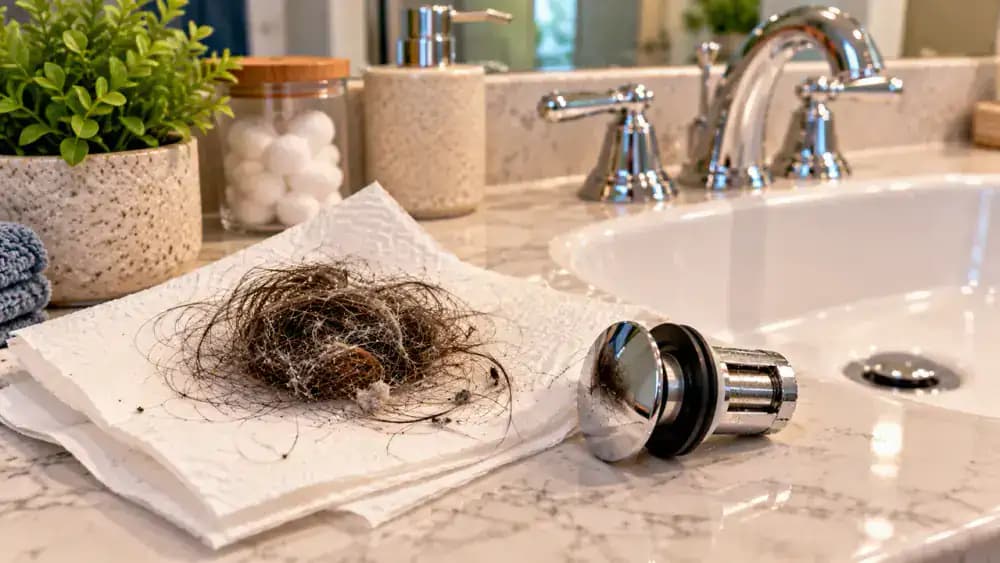
Wipe Away Soap and Toothpaste Residue Before It Builds Up
After using the bathroom sink, check the porcelain near the stopper for toothpaste smears and soap residue. Gently wipe these deposits with a soft, damp microfiber cloth, working around the chrome drain trim without pushing debris into the opening. Inspect the stopper edges for visible buildup and collect any loose hair for disposal in the trash. Set the cloth aside for laundering. Avoid abrasive scrubbers and chemical drain cleaners during routine maintenance.
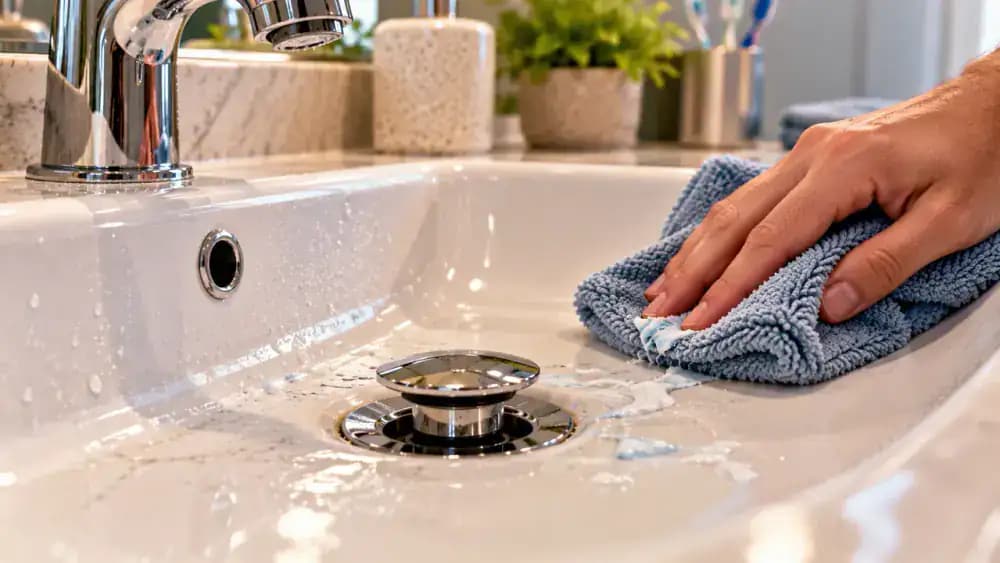
Fit a Compatible Hair-Catching Screen Over the Drain
Choose a removable drain screen designed to fit your bathroom sink without interfering with its pop-up stopper. Compare the screen's dimensions with the opening and follow the manufacturer's placement instructions. Gently position a compatible screen without forcing it or modifying the fixture. Check that water can flow freely and the stopper operates normally. Remove the screen if it causes interference, and regularly empty collected hair into the trash.
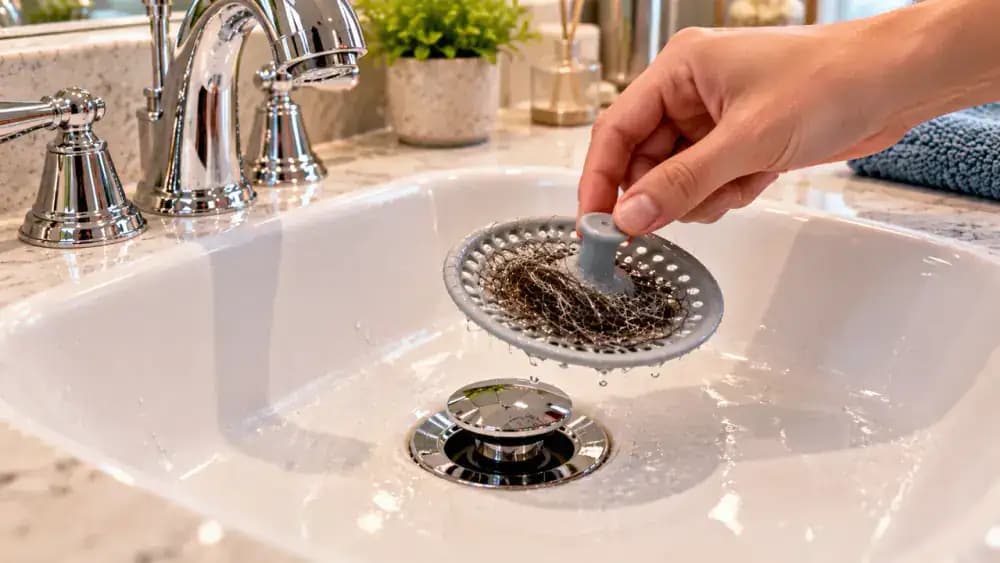
Create a Weekly Sink Cleaning and Monthly Drainage Check Routine
Set a weekly reminder to inspect the pop-up stopper for trapped hair, wipe away visible soap residue, and empty any compatible drain screen into the trash. Use protective gloves and safety glasses when handling drain debris. Once a month, run a gentle stream of water and observe how the sink drains. Keep a simple checklist to track maintenance. If slow drainage returns quickly, contact a licensed plumber instead of repeatedly inserting tools.
Dispose of Used Supplies and Wash Your Hands
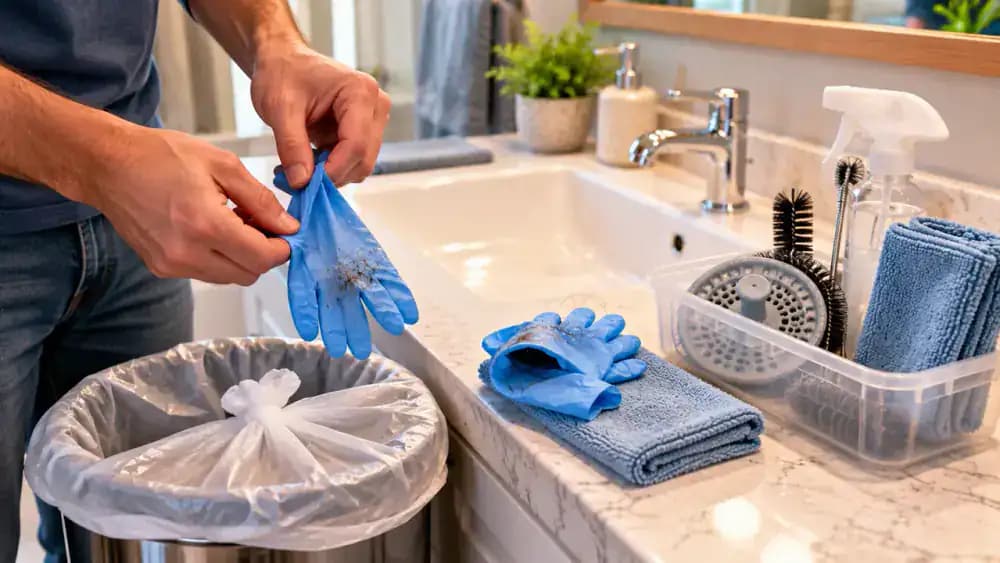
Place used paper towels and disposable cleaning tools into a lined trash bag while wearing protective gloves and safety glasses. Carefully peel off your gloves inside out, avoiding contact with their dirty outer surfaces, then discard them. Wash your hands thoroughly with soap and running water. Wipe the countertop with a clean cloth and store reusable supplies. Before leaving, confirm the faucet is off and the pop-up stopper sits correctly.
Review the Safe Steps for Clearing a Slow Sink
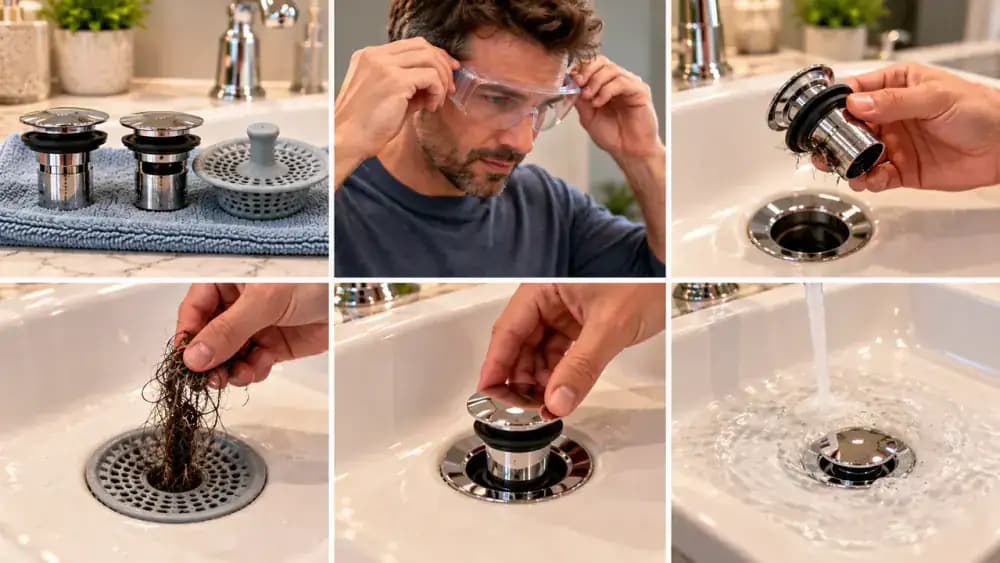
Start by confirming that only one sink drains slowly and no chemical drain cleaner has been used. Wear protective gloves and safety glasses, then inspect the pop-up stopper for visible buildup. Gently remove accessible hair and residue with a suitable plastic tool, keeping debris out of the drain. Reinstall the stopper, check its movement, and test drainage with a controlled water flow. Never force tools or disturb damaged plumbing.
Maintain a Clear Sink and Recognize When to Call a Plumber
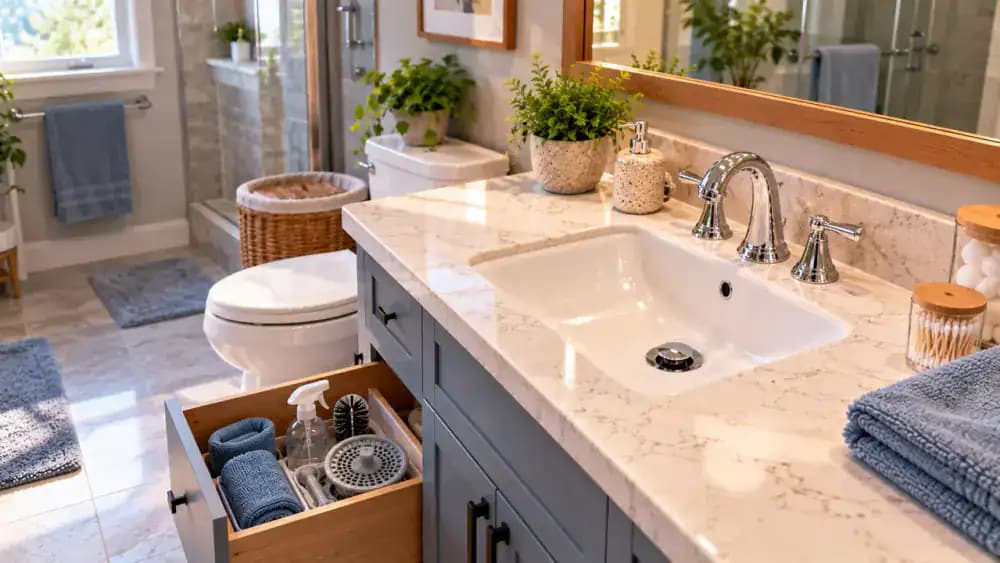
Keep your bathroom sink area clean by regularly checking the pop-up stopper for loose hair and soap residue. Place a maintenance reminder inside the vanity cabinet to help establish consistent cleaning habits. If the sink drains normally, continue simple preventive care without harsh chemicals. If slow drainage persists, leaks develop, or multiple fixtures back up, contact a licensed plumber. Avoid forcing tools into pipes or attempting repairs on damaged plumbing.
When your bathroom sink starts draining slowly, even a quick handwashing can leave a puddle of water sitting around the stopper. The problem often comes from a buildup of hair, soap residue, and everyday debris collecting just inside the drain opening. Fortunately, you may not need harsh chemical cleaners or complicated plumbing repairs to get the water flowing again. A little careful cleaning with basic household supplies and an inexpensive plastic drain-cleaning tool can often make a noticeable difference.
This guide explains how to check whether the slowdown is limited to your bathroom sink, inspect the pop-up stopper, gently remove accessible debris, and test the drain afterward. You'll also learn simple habits that can help prevent future clogs. Before starting, make sure no chemical drain cleaner has been used in the drain, and wear protective gloves and safety glasses. Never mix drain chemicals or insert tools into a chemically treated drain. If multiple fixtures are backing up, plumbing is damaged, leaks develop, or the clog persists, contact a licensed plumber instead.
Where people go wrong
Using Drain Tools After Chemical Cleaners. Never insert a drain-cleaning tool into a sink that has been treated with chemical drain cleaner. Disturbing the drain can expose you to hazardous splashes or residue. Do not mix cleaning chemicals or attempt to flush them with other products. Contact a licensed plumber for safe assistance.
Forcing the Stopper or Drain-Cleaning Tool. Pulling hard on a pop-up stopper or pushing a cleaning tool deep into the pipe can damage drain components or move debris farther down. Remove the stopper only if its design allows easy access. Use gentle movements to retrieve shallow buildup, and stop if you encounter resistance.
Ignoring Slow Drains in Other Fixtures. A single slow bathroom sink often points to debris near its drain opening, but several fixtures backing up can indicate a larger plumbing problem. Check nearby sinks, tubs, and showers before starting. If multiple fixtures are affected, avoid attempting repairs and contact a licensed plumber.
Skipping the Drain Test and Regular Cleaning. Removing visible hair does not necessarily mean the drainage problem is solved. Reinstall the stopper correctly, check that it operates smoothly, and run a controlled stream of water to assess drainage. Clean the stopper regularly, remove loose hair, and consider a compatible drain screen to reduce future buildup.
Questions people ask
A slow bathroom sink is often caused by hair, soap residue, and everyday debris collecting around the pop-up stopper or just inside the drain opening. If other nearby fixtures drain normally, the problem may be localized. Check for visible buildup before attempting gentle cleaning with a suitable plastic drain-cleaning tool.
Fixed it?
Get one guide like this every Thursday.