How to Clean Your Kitchen Counters in 10 Minutes After Dinner
Crumbs, grease, sticky spills, and clutter can make your kitchen feel messy after dinner. This simple 10-minute countertop reset clears the chaos, tackles everyday messes, and leaves your counters clean and ready for tomorrow.

What you’ll need
Tap to tick things off before you start.
Spot the Mess Before You Start Cleaning
Take a quick look across your counters to identify what needs attention. Notice the bread crumbs surrounding the toaster, grease splatters beside the stove, sticky sauce spots, and dirty dishes crowding the workspace. Check corners and backsplash edges where crumbs often collect. Before touching anything, make sure the stovetop has cooled. Identifying dry debris, greasy areas, and spills now helps you clean in the right order without wasting time.

Organize Your Cleanup Into Five Simple Tasks
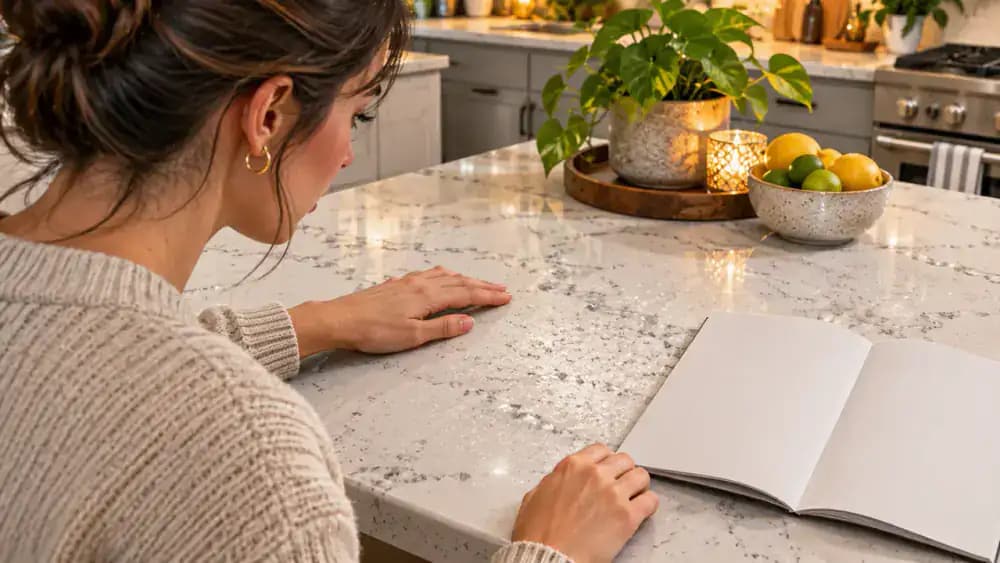
Before cleaning, arrange five task cards on a dry section of the counter, as shown, to establish a clear order: remove clutter, collect crumbs, wipe grease, spot-clean spills, and dry the surface. Set a kitchen timer for 10 minutes as a helpful target, not a strict deadline. Keep a countertop-safe cleaner and two microfiber cloths nearby. Check product instructions first, and never mix cleaning products.

Check Your Countertop Material Before Choosing a Cleaner
Examine the countertop's texture and finish, then check the manufacturer's care guide or installation paperwork to confirm the material. As shown, quartz, laminate, granite, marble, and butcher block have different cleaning requirements. Look for approved products and any warnings about acids, abrasives, or moisture. If you're unsure what your countertop is made of, avoid experimenting with household cleaners until you can verify the appropriate cleaning method.
Prepare a Simple Countertop-Safe Cleaning Kit
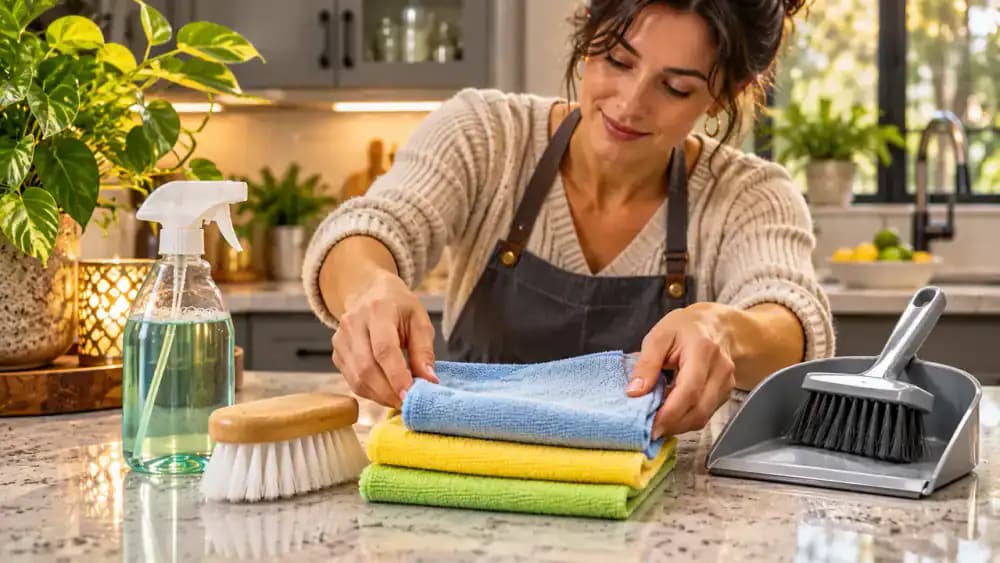
Place two clean microfiber cloths, a soft-bristle brush, a small dustpan, and one approved countertop cleaner on a dry, uncluttered surface. As shown, read the cleaner's label carefully to check application methods, contact times, and rinsing requirements. Keep the bottle closed until you're ready to use it. Position your supplies away from electrical outlets, countertop seams, and small appliances. Never mix cleaning products, even when tackling stubborn grease.
Move Dirty Dishes Directly to the Dishwasher
Start by scraping leftover food from plates into an appropriate waste container, then transfer each dish directly to the sink or dishwasher. As shown, place plates and bowls securely in the racks, drinking glasses in their designated spots, and silverware in the utensil basket. Avoid creating another pile elsewhere in the kitchen. Clearing dishes immediately exposes hidden crumbs and gives you enough space to clean efficiently without moving items twice.

Store Leftovers and Return Ingredients to Their Places
Transfer leftover chicken and vegetables into clean food storage containers, secure the lids, and refrigerate them promptly. As shown, return milk and opened refrigerated sauces to the refrigerator, then place sealed crackers and shelf-stable cooking oil in the pantry. Avoid leaving perishable foods at room temperature for more than two hours. Putting everything away immediately creates more workspace and exposes crumbs that you can collect during the next cleaning stage.

Clear Packaging, Utensils, and Everyday Clutter
Pick up empty food wrappers and place them in the trash, then flatten clean cardboard packaging for recycling according to local guidelines. As shown, return the spatula, measuring spoon, and other utensils to their designated drawers. Gather scattered mail, keys, and charging cables into a small basket for sorting later. Move the basket away from food preparation areas. Leave exposed crumbs and dried spills untouched until the cleaning stages begin.

Sweep Loose Crumbs Into a Dustpan
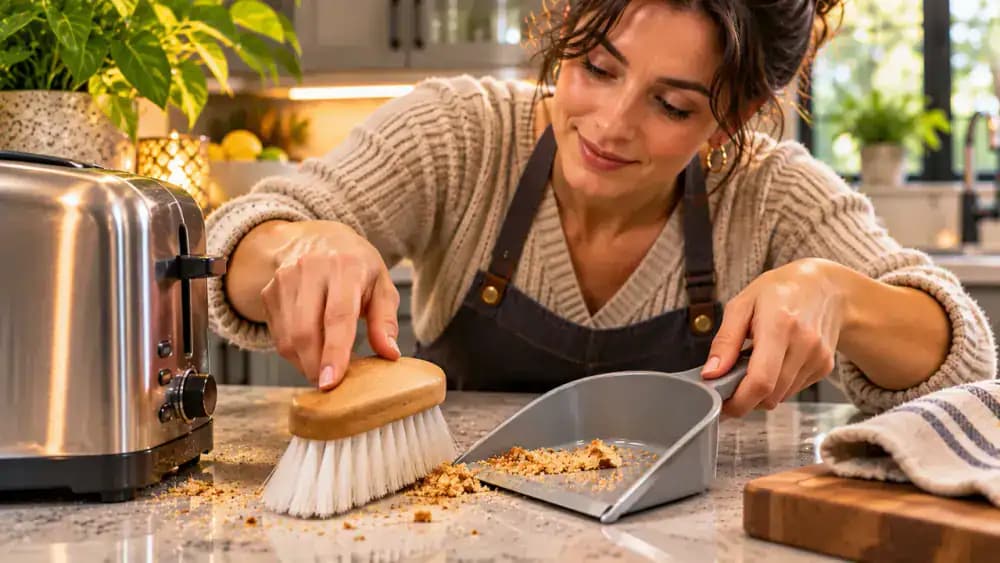
Hold a small dustpan flat against the dry countertop beside the toaster. Using a soft-bristle brush, sweep scattered bread crumbs toward the dustpan with short, controlled strokes, as shown. Work carefully around the appliance without disturbing its electrical cord. Keep the brush moving inward so crumbs land in the dustpan instead of falling onto the floor. Empty the collected debris into the trash, leaving sticky spills and grease for later.
Brush Crumbs Away From Backsplash Corners and Seams
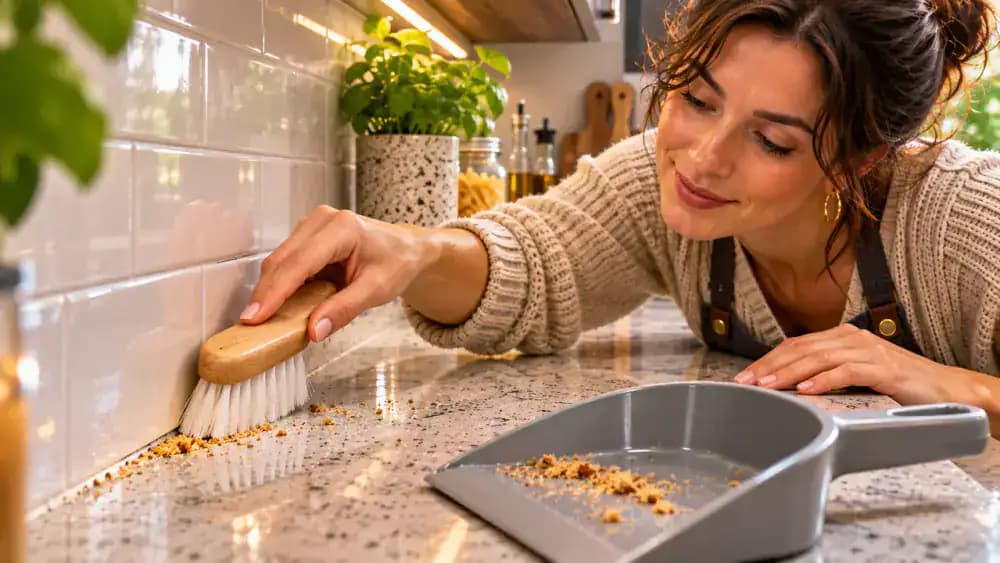
Check the inside corners and backsplash edges for crumbs missed during the first sweep. As shown, use a dry, soft-bristle detailing brush to gently move debris away from the backsplash joint and onto an open section of the countertop. Keep the bristles parallel to delicate seams without scraping the caulk. Guide the crumbs into a nearby dustpan, avoiding gaps behind appliances. Inspect the cleared corners before moving on to wet cleaning.
Find Fresh Grease Splatters Near the Stove
Inspect the countertop beside the completely cooled stovetop for small grease splatters. As shown, hold a battery-powered flashlight at a low angle to reveal oily spots that might be difficult to see under normal lighting. Identify the affected areas without touching or spreading the grease. Pay particular attention to surfaces closest to the cooking area. Locating fresh splatters now lets you clean precisely instead of spreading grease across otherwise clean sections.
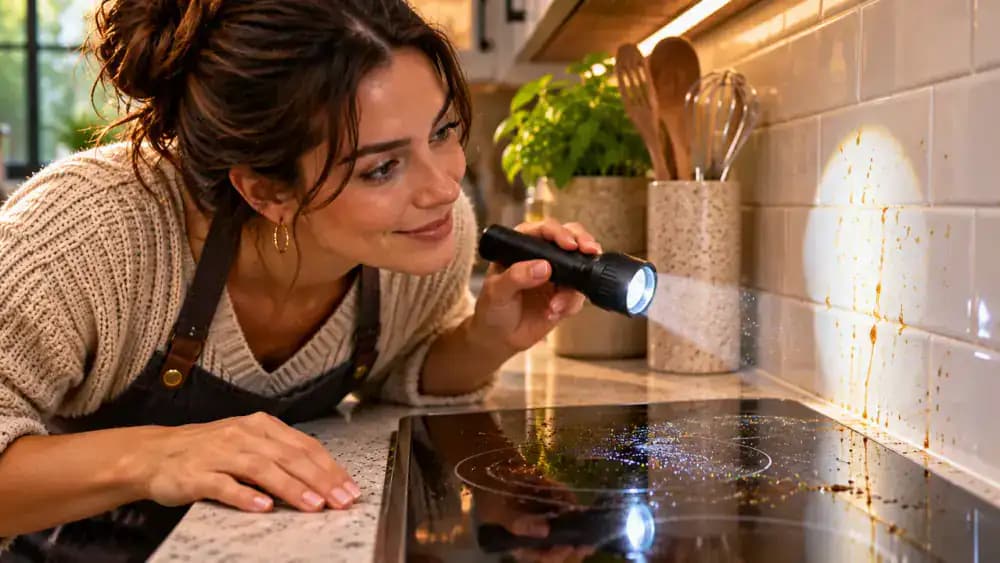
Dampen a Folded Microfiber Cloth With Approved Cleaner
Spread a clean microfiber cloth on a dry countertop section, then fold it in half twice to create four layers. As shown, apply a small amount of cleaner approved for your countertop directly onto the folded cloth, following the product label. The fabric should feel lightly damp, never soaked or dripping. Close the bottle and set it upright. Keep cleaning liquids away from electrical outlets, seams, and small appliances.

Lift Fresh Cooking Grease With Gentle, Overlapping Strokes
Place the lightly dampened microfiber cloth against the outer edge of a grease spot beside the completely cooled stovetop. As shown, wipe inward using short, gentle, overlapping strokes to avoid spreading oil across the counter. Turn the cloth to a clean section whenever it becomes greasy, then repeat on nearby splatters. Avoid abrasive pads or heavy pressure, and keep moisture away from countertop seams, electrical outlets, and appliance controls.

Inspect the Countertop for Greasy Streaks and Cleaner Residue
Look across the treated countertop from a low angle to spot faint oily streaks or leftover cleaner. As shown, check the used microfiber cloth for grease and set it aside if dirty. Read the cleaner label to determine whether residue needs removing. If directed, gently wipe the affected area with a separate, lightly dampened cloth. Avoid introducing additional cleaners, and keep excess moisture away from seams, outlets, and appliances.

Identify Sticky Food Spills Before Cleaning
Examine the countertop for sticky spots left behind after dinner. As shown, identify the fresh tomato sauce droplet, juice ring, and dried food mark without touching or spreading them. Check your countertop manufacturer's care instructions before choosing a cleaning method. Start with the freshest spill and work on one small area at a time. Keep a clean microfiber cloth ready, and avoid soaking surfaces or using abrasive tools.

Blot and Wipe Fresh Tomato Sauce Without Spreading It
Press a clean white microfiber cloth, lightly dampened with a manufacturer-approved quartz cleaner, onto the fresh tomato sauce spill. As shown, blot gently to absorb the sauce without spreading it. Lift the cloth, expose a clean section, and wipe from the outer edge toward the center using short strokes. Avoid aggressive scrubbing or excess liquid. Follow the cleaner's instructions for residue removal, and keep moisture away from countertop seams.

Wipe Away Sticky Juice Rings With Controlled Strokes
Use a fresh section of microfiber cloth lightly dampened with the same manufacturer-approved quartz cleaner. As shown, press gently against the outer edge of the sticky juice ring, then wipe inward using short, controlled strokes. Lift the cloth to check for remaining residue, and turn to a clean section before repeating if needed. Follow the cleaner's instructions, avoid aggressive scrubbing, and keep excess moisture away from seams and appliances.
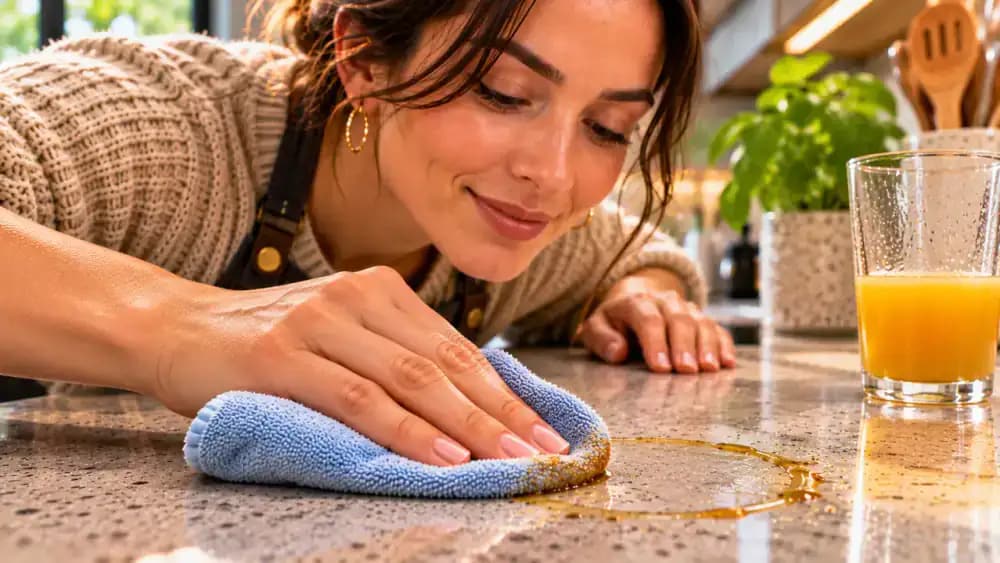
Loosen Dried Food Without Scratching the Countertop
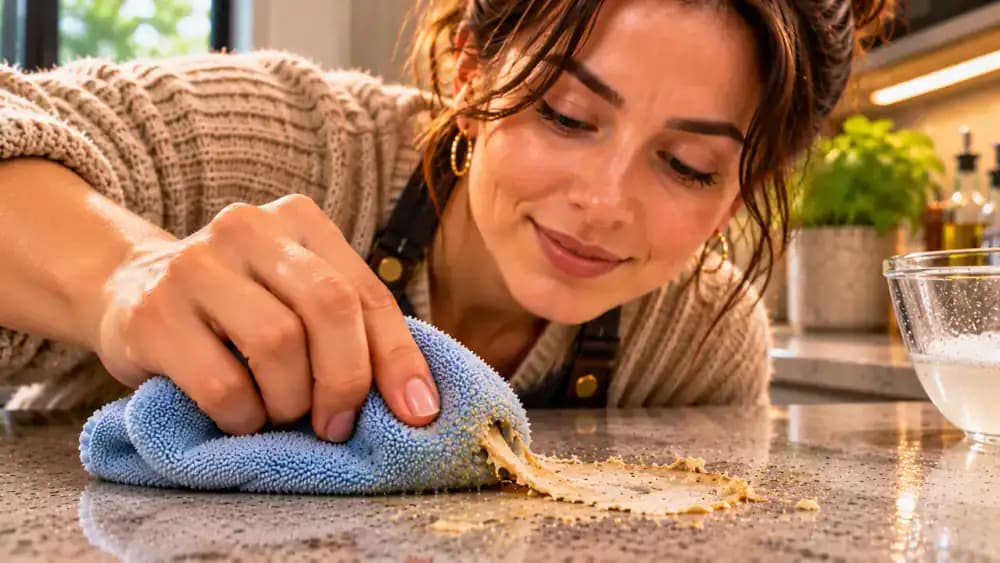
Check your countertop manufacturer's care instructions before treating the dried food mark. If permitted, place a clean, lightly dampened microfiber cloth directly over the residue and hold it briefly to soften the buildup. As shown, lift the cloth and gently remove any loosened fragments with minimal pressure. Never use knives, metal scrapers, or abrasive pads. If the residue remains firmly attached, leave it for a separate cleaning session rather than risking surface damage.
Keep Moisture Away From Laminate Countertop Edges
Inspect the laminate countertop's front edge and backsplash joints before cleaning nearby spills. As shown, use a lightly damp microfiber cloth and a manufacturer-approved cleaner to gently wipe moisture away from vulnerable edges and onto the sealed surface. Immediately follow with a separate dry cloth, paying particular attention to damaged or exposed seams. Never allow water or cleaning solution to pool along laminate joints, where moisture can cause swelling and deterioration.

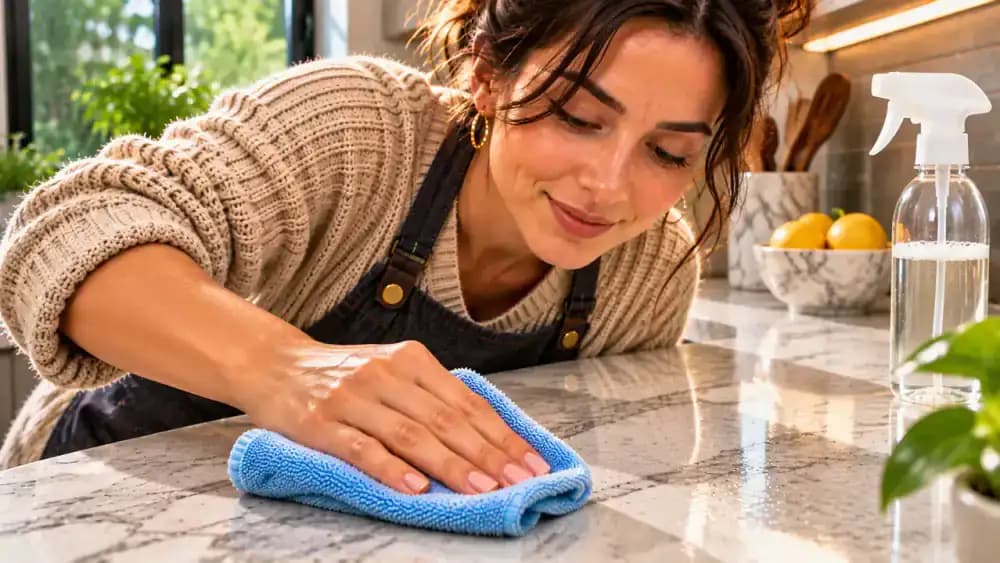
Clean Marble and Granite With Stone-Safe Products
Check the manufacturer's care instructions and select a cleaner approved for your natural stone finish. As shown, apply a small amount directly to a clean microfiber cloth, then gently wipe the dried beverage splash on the marble surface. Remove any remaining cleaner residue according to the label and dry immediately. Never use vinegar, lemon juice, or abrasive pads on marble. For granite, confirm compatibility with its finish and sealer.
Wipe Butcher Block Countertops Along the Wood Grain
Check the manufacturer's care instructions for your butcher block finish before treating spills. As shown, apply a small amount of approved cleaner to a soft microfiber cloth and gently wipe the affected area along the wood grain. Keep the cloth lightly damp rather than soaked. Remove cleaner residue as directed, then immediately dry the surface with a separate cloth. Pay special attention to joints and exposed edges where trapped moisture can damage wood.
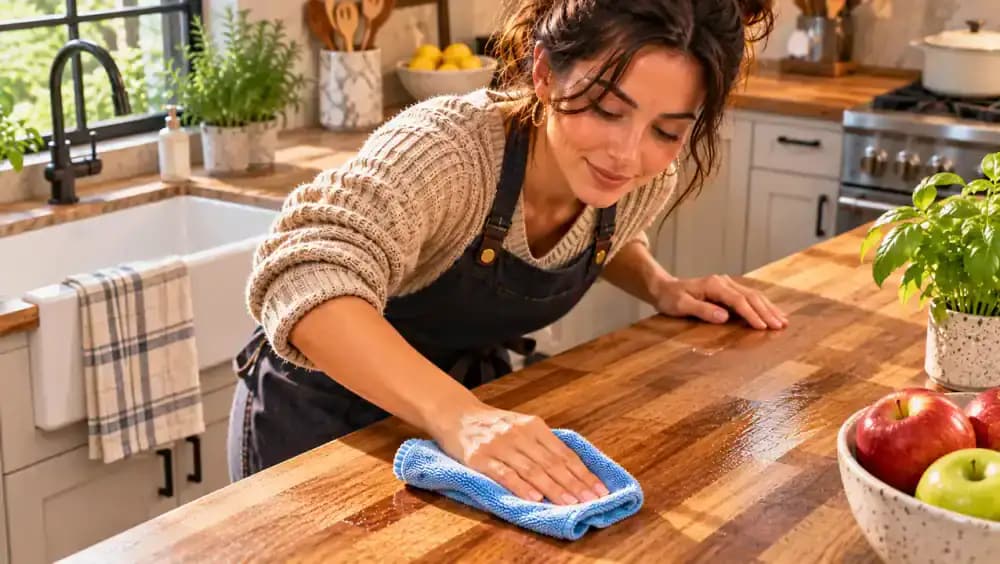
Remove Everyday Food Splatters From Quartz Countertops
Check your quartz manufacturer's care instructions before selecting a compatible cleaner. As shown, apply a small amount of approved product directly to a clean microfiber cloth, then gently wipe the food splatter using controlled strokes. Avoid abrasive pads, harsh chemicals, and excessive pressure that could damage the finish. Remove any remaining cleaner residue according to the label, then dry the treated area thoroughly with a separate cloth to prevent lingering moisture.
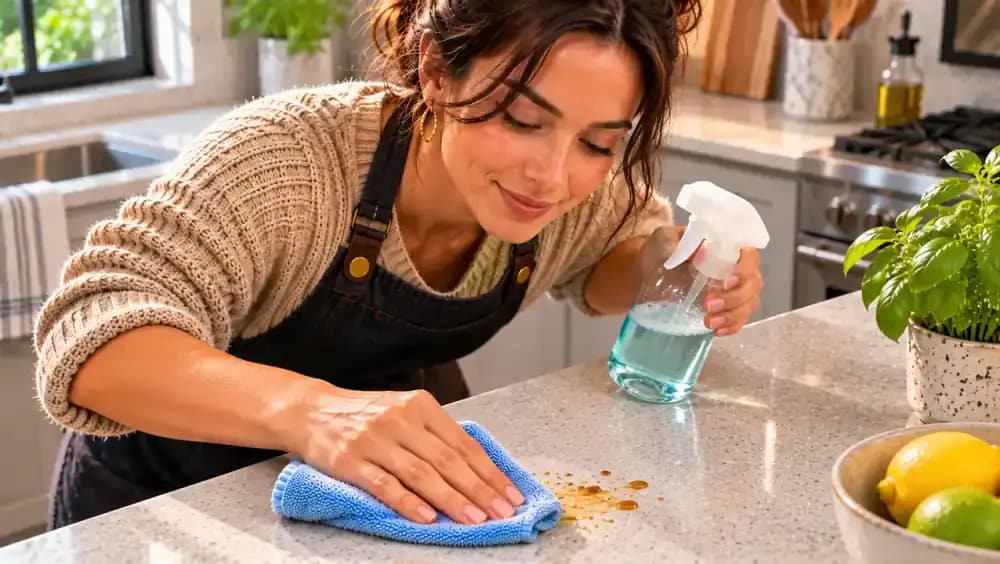
Wipe Away Leftover Cleaner Film From the Countertop
Read your cleaner's label to confirm whether a water-dampened finishing wipe is required. If directed, use a separate clean microfiber cloth that is lightly dampened but not dripping. As shown, wipe the open countertop in straight, overlapping passes from back to front, turning the cloth to a clean section as needed. Avoid adding another cleaning product, and keep moisture away from backsplash seams, electrical outlets, and small appliances.
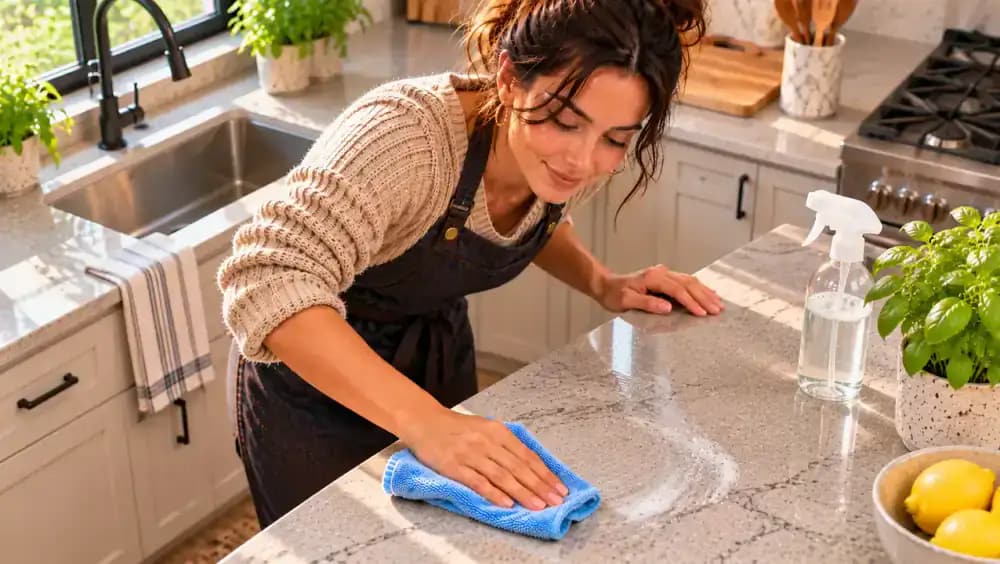
Dry the Countertop Thoroughly to Prevent Moisture Buildup
Take a completely dry microfiber cloth and unfold it across your hand to create a broad wiping surface. As shown, move the cloth across the countertop in long, smooth, overlapping passes to absorb remaining moisture. Turn to a dry section whenever the fabric becomes damp. Pay extra attention to droplets near backsplash joints and countertop edges without pushing water into seams. Continue until the surface feels dry and visible streaks are reduced.
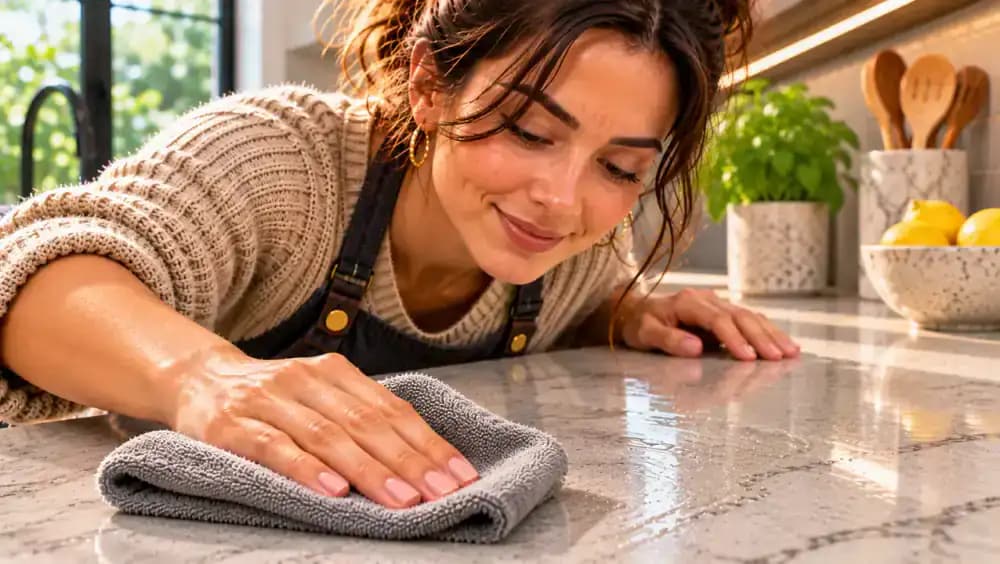
Check Countertop Seams and Sink Edges for Hidden Moisture
Inspect the backsplash joint, countertop seams, and edges near the sink for trapped moisture. As shown, fold a completely dry microfiber cloth into a small pad and gently absorb any visible droplets without pushing water into the joints. Check the caulk for gaps or damage, but avoid pressing into weakened areas. Visually confirm that nearby outlets and appliance bases remain dry. Leave damaged seams for proper repair rather than attempting a quick fix.
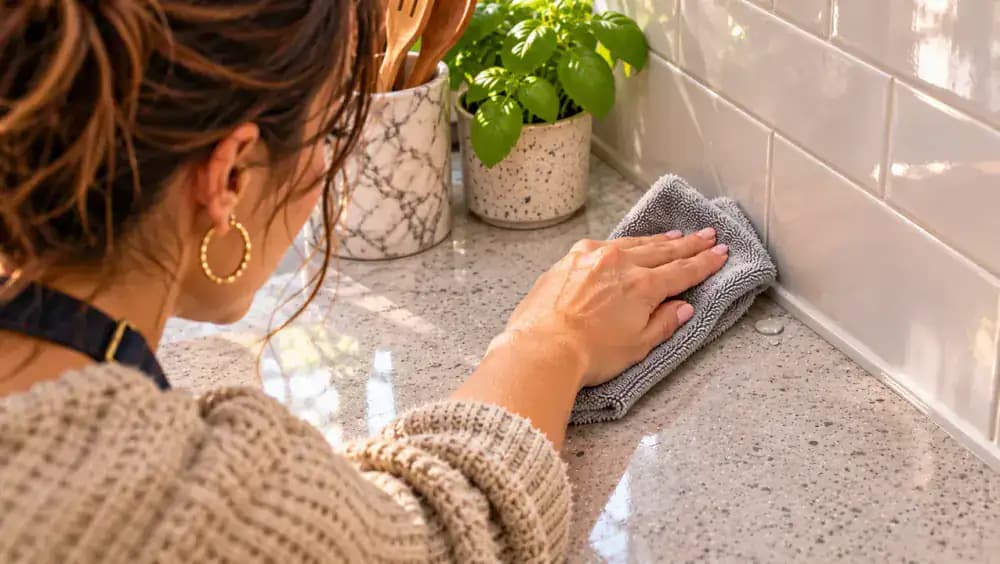
Check for Missed Crumbs, Grease Streaks, and Sticky Spots
Stand beside the countertop and examine the surface from several angles under good lighting. As shown, check for overlooked crumbs, faint grease streaks, and sticky residue, especially around frequently used preparation areas. Pick up isolated dry crumbs with a clean microfiber cloth. If you notice remaining grease or stickiness, use the manufacturer-approved cleaning method only on that spot. Remove any cleaner residue as directed, then dry the area thoroughly.

Put Daily Kitchen Essentials Back Without Cluttering the Counter
Once the countertop is completely clean and dry, return only items you use daily. As shown, check the underside of the cutting board before placing it upright in its holder near the backsplash. Inspect the utensil crock's base and position it away from the main preparation area. Store rarely used gadgets in cabinets instead. Keep frequently used tools accessible while leaving enough open counter space for tomorrow's cooking.

Dispose of Crumbs and Store Cleaning Supplies Safely
Empty the collected crumbs from your dustpan directly into the trash, taking care not to scatter debris. As shown, place used microfiber cloths in a laundry hamper away from food preparation areas. Return the dry brush and dustpan to their storage compartment. Securely close the countertop cleaner and store it upright according to its label, separate from food and out of children's reach. Never leave damp cleaning cloths on the counter.

Make the After-Dinner Countertop Reset a Nightly Habit
Attach a reusable weekly cleaning checklist to your refrigerator, as shown, and track five simple tasks: clear dishes, collect crumbs, wipe grease, clean spills, and dry the counter. Check off each task after dinner to build consistency without racing the clock. Keep clean microfiber cloths and countertop-approved supplies in their designated storage areas. Address fresh messes promptly, and remember that protecting your countertop matters more than finishing within exactly 10 minutes.

See What a Clean, Organized Countertop Reset Looks Like
Compare the two views of the same kitchen countertop. On the left, crumbs surround the toaster, grease and sauce mark the surface, and dirty dishes create clutter. On the right, those everyday messes are cleared, the countertop is dry, and essentials are neatly arranged. Notice how much preparation space becomes available. This illustrative comparison shows the intended result of the routine, not evidence that a timed cleaning test was performed.
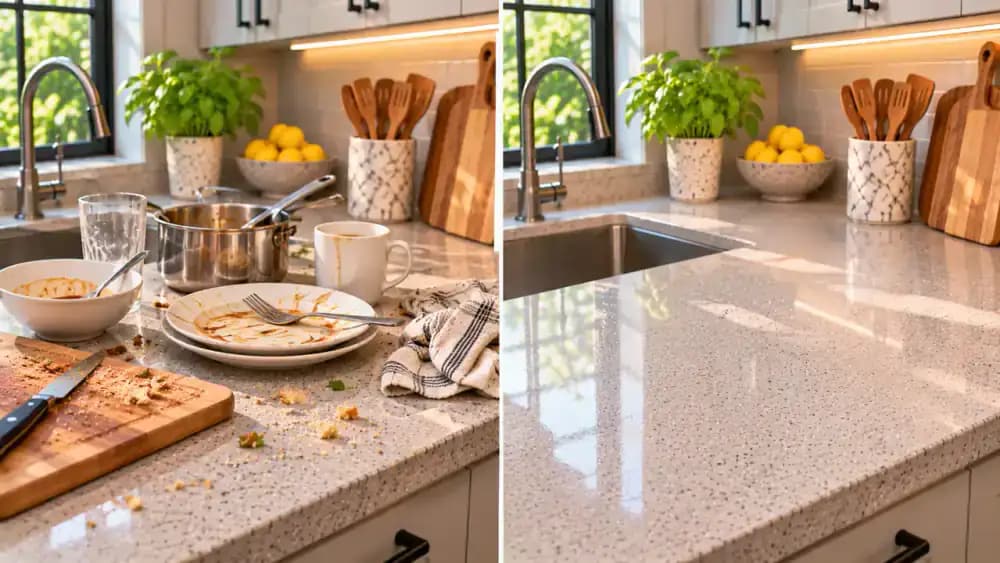
Leave Your Kitchen Counters Ready for Tomorrow
Take one last look at your clean, dry countertop and make sure the main preparation area remains open. As shown, keep the cutting board and utensil crock neatly arranged, with drinks resting on coasters away from food preparation surfaces. Repeat the same simple routine after dinner: clear clutter, collect crumbs, remove grease, spot-clean spills, and dry thoroughly. Always use countertop-approved cleaners, never mix products, and prioritize safe cleaning over speed.

Dinner is over, the dishes are piling up, and your kitchen counters look like they hosted a cooking competition. Crumbs are scattered around the toaster, greasy splatters cover the area near the stove, and a few sticky spots are waiting to be discovered. Add leftover ingredients, food packaging, and misplaced utensils, and suddenly the kitchen feels like another chore. The good news? You don't need an exhausting deep-cleaning session to get things back under control. Just 10 minutes of focused effort can make a noticeable difference.
This simple after-dinner routine helps you clear clutter, remove crumbs, tackle fresh grease, and wipe away everyday spills without wasting time. The trick is working in the right order and using cleaning products that are safe for your countertop material, whether it's laminate, quartz, natural stone, or wood. Never mix cleaning products, and keep excess moisture away from seams, outlets, and small appliances. Follow this quick reset tonight, and tomorrow's cooking will start with a cleaner, more organized workspace.
Where people go wrong
Wiping Around Clutter Instead of Clearing the Counter. Trying to clean around dishes, appliances, and food packaging wastes time and leaves dirty patches behind. Move dishes to the sink or dishwasher, refrigerate leftovers, and put misplaced items away first. A clear countertop lets you wipe efficiently without repeatedly moving the same objects.
Using the Wrong Cleaner for Your Countertop. A cleaner that works on laminate may damage natural stone, wood, or certain countertop finishes. Acidic products and abrasive scrubbing can cause discoloration, scratches, or surface deterioration. Always identify your countertop material, follow product instructions, and use a compatible cleaner. Never mix cleaning products.
Spraying Cleaner Directly Near Appliances and Seams. Spraying cleaner across the countertop can send excess liquid into electrical outlets, appliance openings, and countertop seams. Instead, apply a small amount of surface-safe cleaner to a microfiber cloth and gently wipe greasy areas. Keep moisture controlled, especially around small appliances and vulnerable countertop edges.
Skipping the Drying and Final Inspection. Leaving countertops damp after cleaning can allow moisture to collect around seams and damage moisture-sensitive finishes. Cleaning residue may also leave streaks or sticky patches. Follow product directions for removing residue, dry the surface with a clean microfiber cloth, and inspect corners and frequently touched areas.

Questions people ask
Yes, if you're tackling everyday messes rather than deep cleaning. Spend the first few minutes clearing clutter and collecting crumbs, then focus on fresh grease and sticky spots. Finish by drying the surfaces and putting essentials back. Larger messes, stubborn stains, or heavily cluttered counters may take longer.
Fixed it?
Get one guide like this every Thursday.