How to Stop a Door From Sticking Without Damaging the Frame
A sticking interior door doesn't always need sanding or trimming. Learn how to identify rubbing points, tighten loose hinges, manage humidity, and restore smooth operation without damaging the door or frame.
What you’ll need
Tap to tick things off before you start.
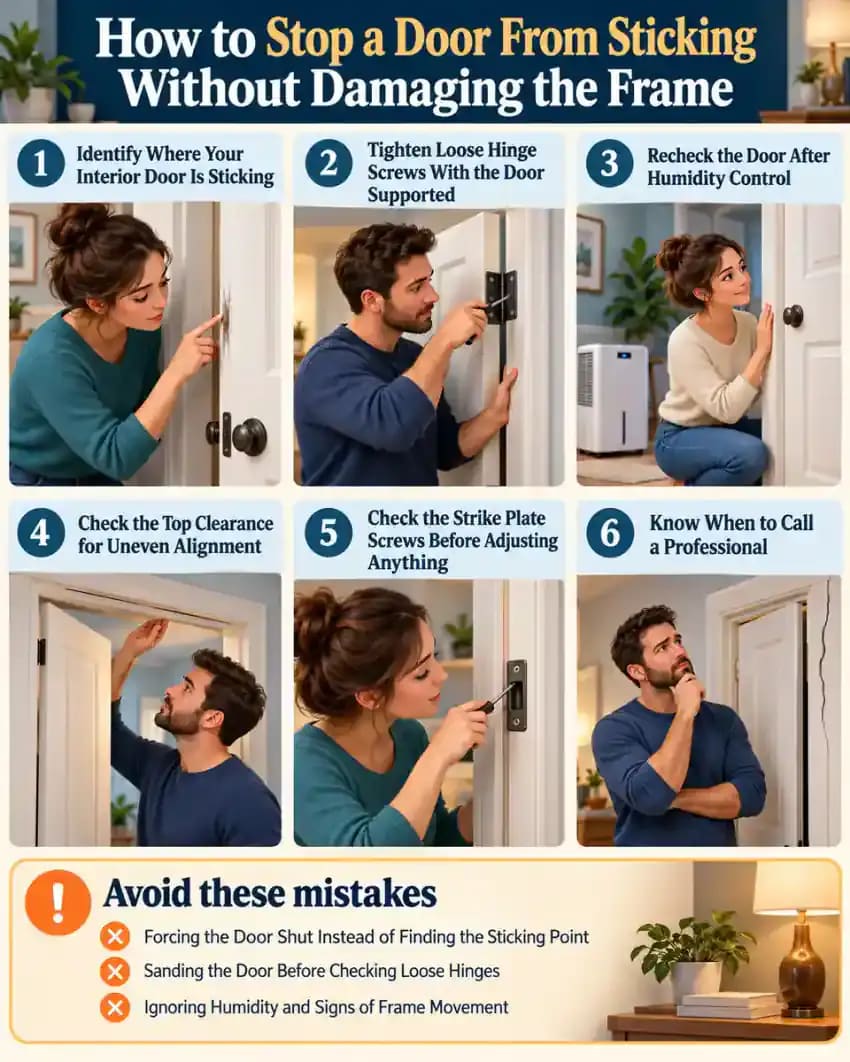
Identify Where Your Interior Door Is Sticking
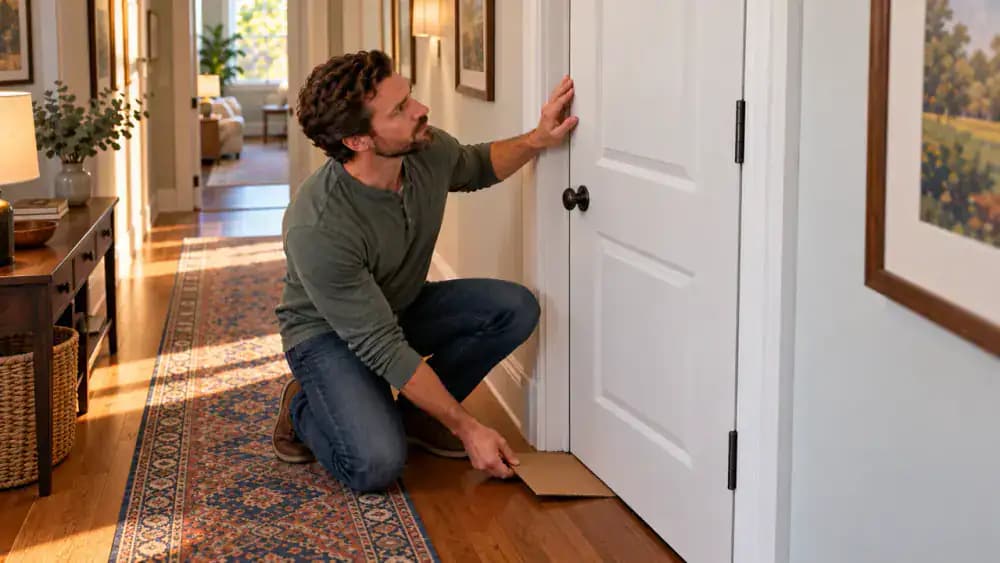
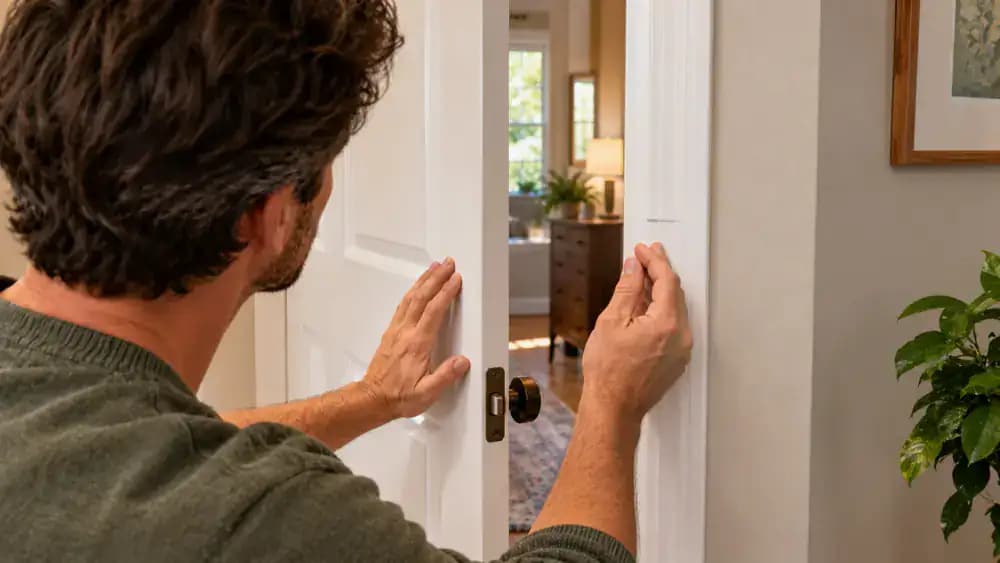
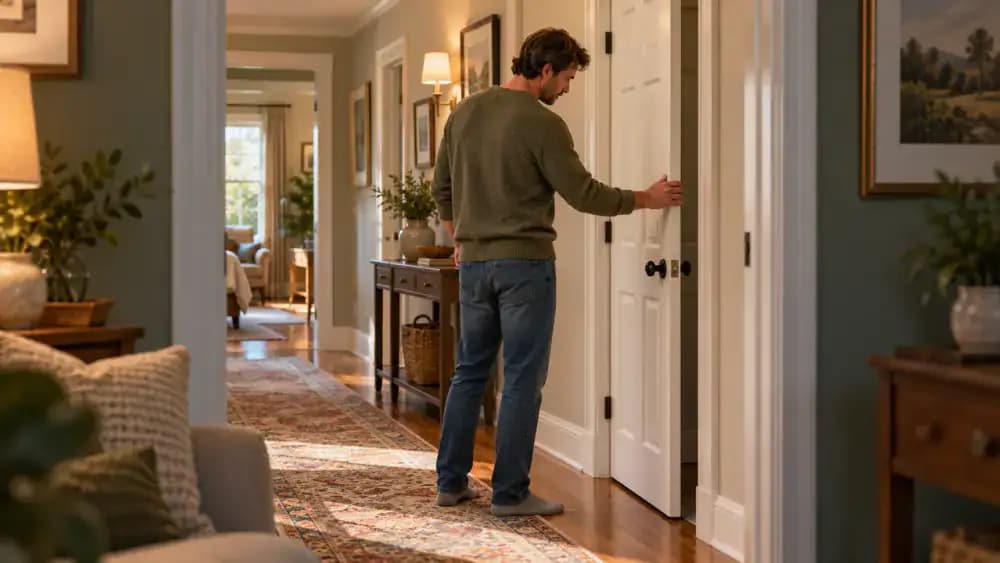
Gently push the door toward the frame using the handle, stopping as soon as you feel resistance. Watch the gap between the door and jamb, especially near the upper latch-side corner where rubbing often occurs. An uneven gap can point to loose hinges, humidity-related swelling, or frame movement. Note exactly where the surfaces touch, and avoid forcing the door closed. This simple inspection helps you choose the right repair without unnecessary sanding.

Gather Your Tools Before Checking the Door
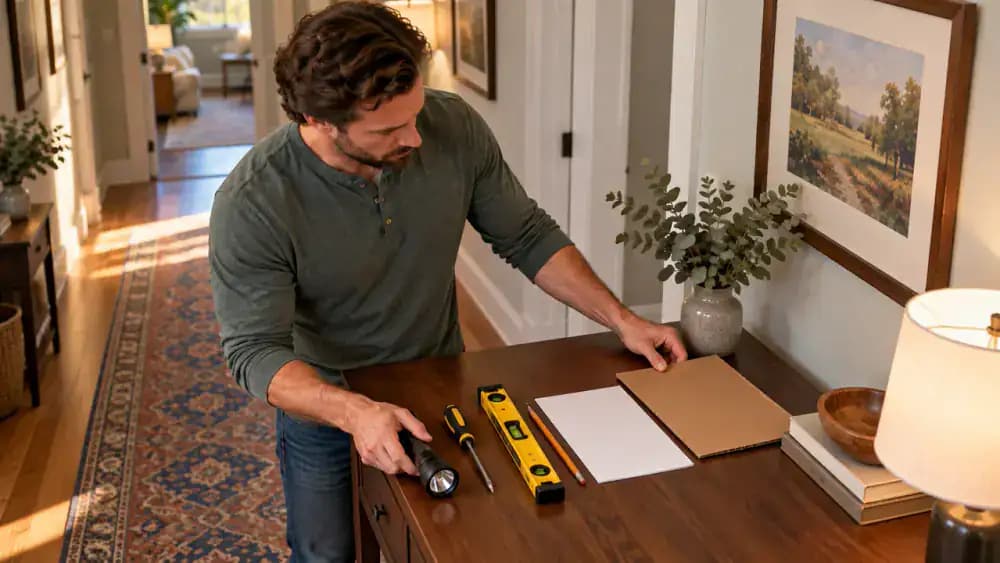
Arrange a flashlight, manual Phillips screwdriver, 12-inch spirit level, pencil, sheet of paper, and small piece of cardboard on a nearby table. Keep everything within easy reach so you can inspect the door without repeatedly stepping away. Clear the doorway and use natural light or your flashlight to see narrow gaps around the frame. Keep your fingers away from hinge and closing-edge pinch points. Never force the door or remove wood.
Slowly Check Where the Door Rubs
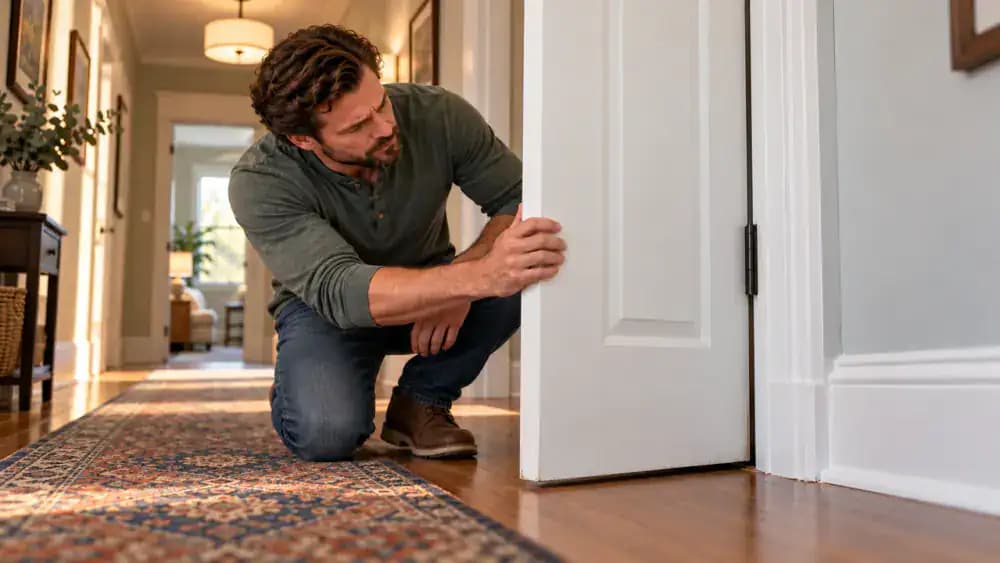
Hold the handle and gently swing the door toward the frame, stopping as soon as you feel resistance. Watch the clearance along the top, latch side, and bottom edge. Pay particular attention to the lower latch-side corner, where a narrow gap may indicate rubbing. Keep your other hand away from the hinges and door edges. Use a small piece of painter's tape to mark the contact area before making adjustments.
Mark the Contact Point and Compare the Gaps
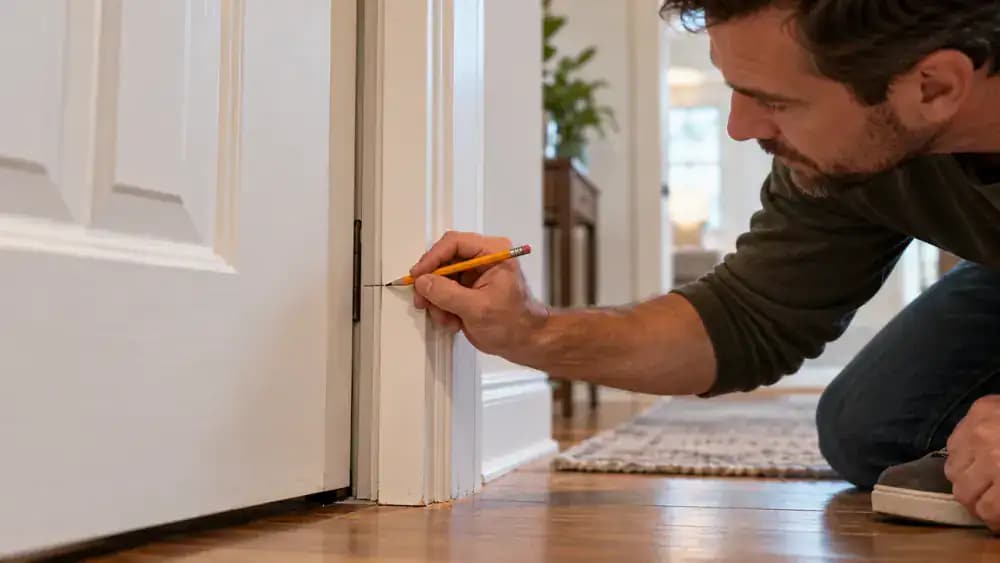
Use a sharpened pencil to make a small, faint mark on the door edge exactly where it rubs against the frame. With the door held stationary, compare the gaps along the top, hinge side, and latch side. Look for areas where the clearance narrows, especially near the bottom. An uneven gap may indicate a sagging door or alignment issue. Keep your fingers clear of pinch points while inspecting.
Inspect the Hinges for Loose Screws and Damage
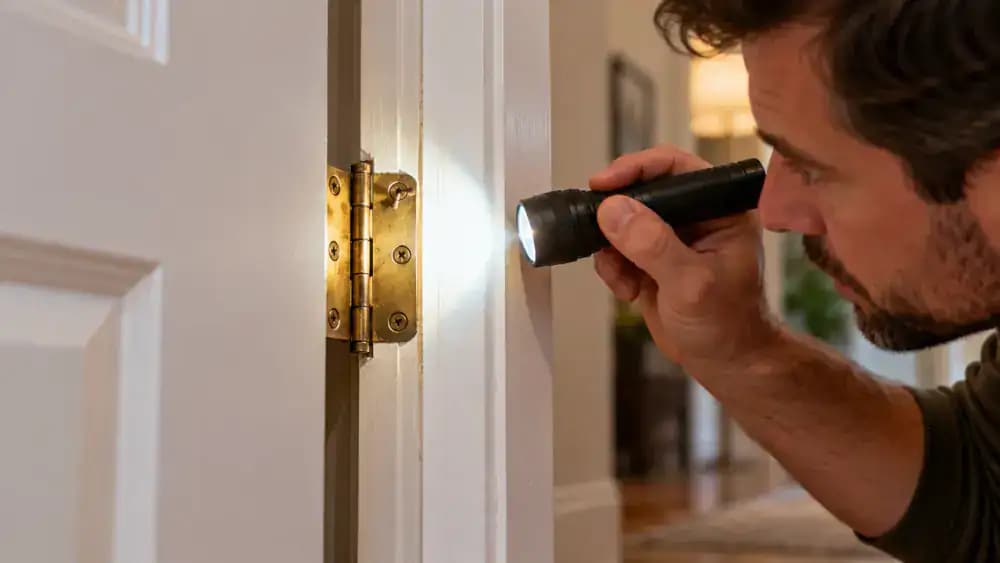
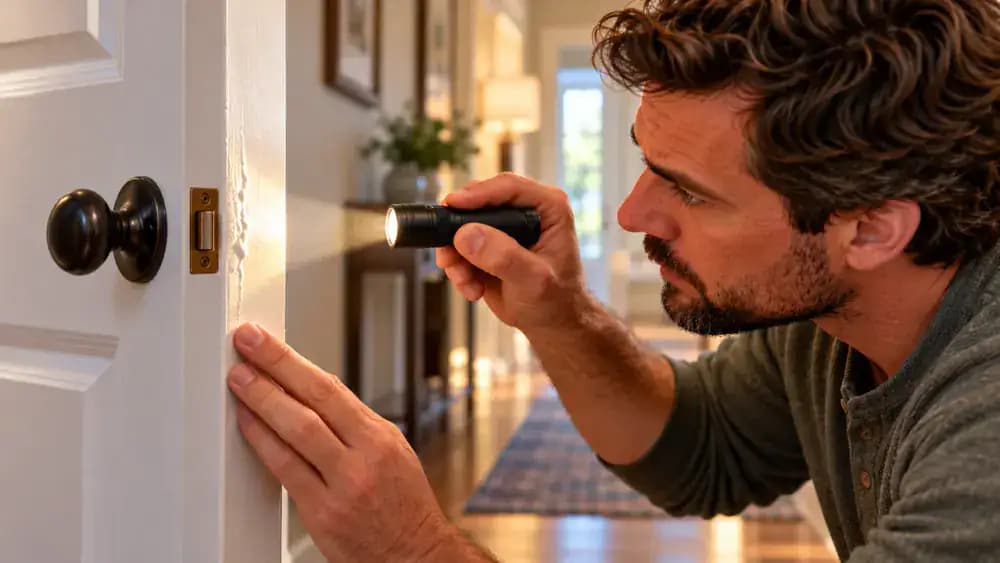
Open the door wide enough to see the hinges clearly, then shine a flashlight across each hinge plate. Check for missing screws, raised screw heads, bent metal, or plates pulling away from the wood. All screw heads should sit flush, and each plate should rest flat against the door or jamb. Keep your fingers away from hinge pinch points. Note any problems before making adjustments, since a loose hinge can cause sagging and sticking.
Tighten Loose Hinge Screws With the Door Supported
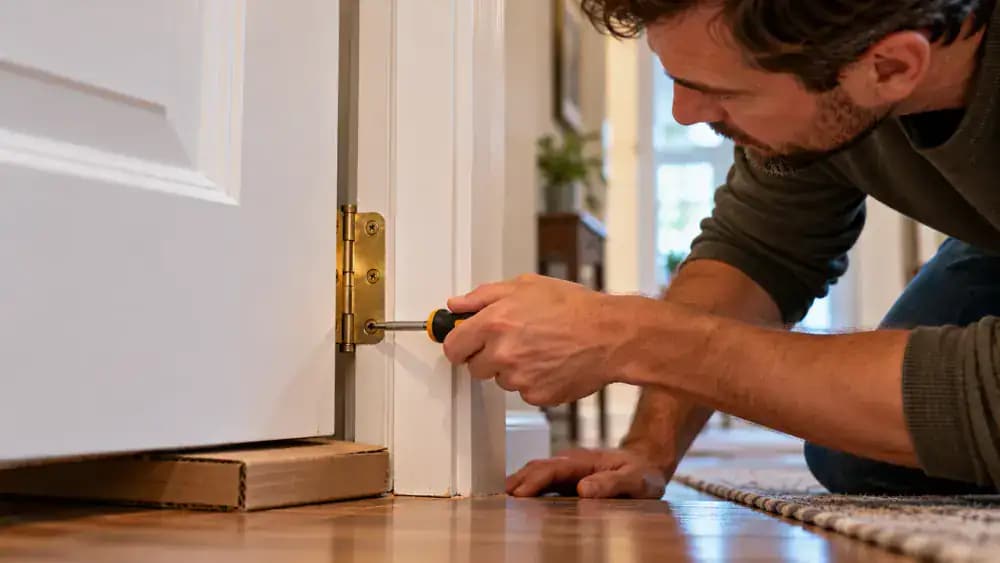
Place a small folded piece of cardboard beneath the open door to support its weight while you work. Insert a manual Phillips-head screwdriver fully into the loose hinge screw and turn it clockwise using steady, gentle pressure. Keep your free hand against the door's flat surface, away from the hinge and pinch points. Stop when the screw feels snug and sits nearly flush. Overtightening can strip the wood and weaken the connection.
Replace a Hinge Screw That No Longer Grips
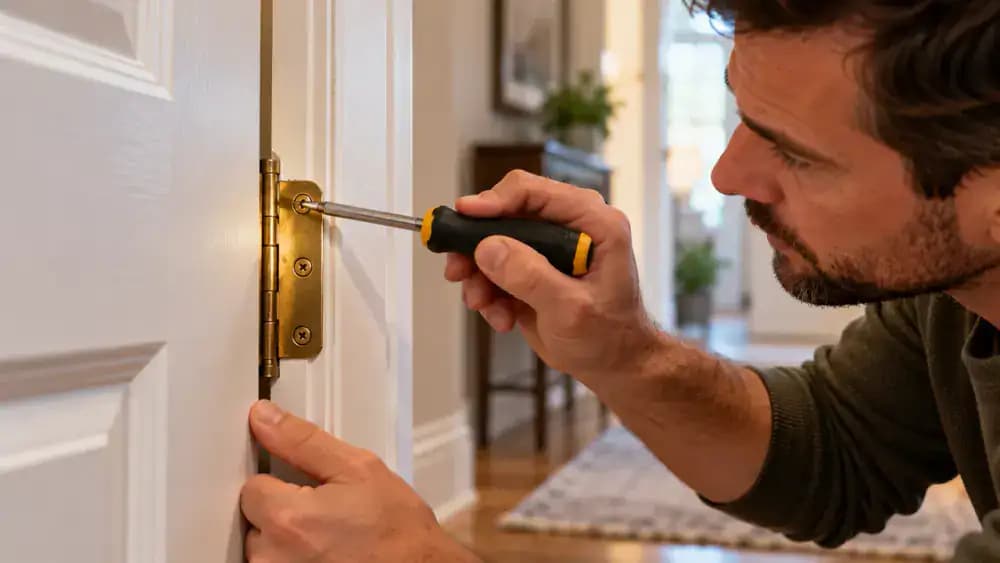
Support the open door from below with a cardboard shim before removing the loose screw from the upper hinge. Inspect the mounting hole for damaged wood. Choose a properly sized replacement screw that is slightly longer, reaches solid wood, and stays within a safe mounting depth. Insert it straight into the existing hole and turn a manual Phillips screwdriver clockwise. Stop when the screw is snug against the hinge plate without overtightening.
Recheck Door Alignment After Tightening the Hinges
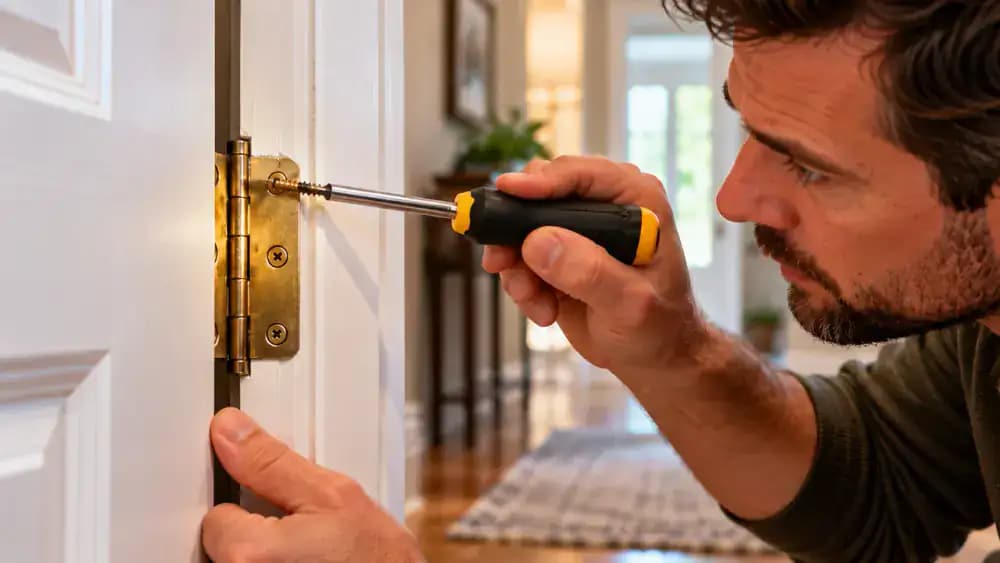
Remove the cardboard support and slowly swing the door toward the frame using the handle. Watch the narrow gap across the top and down the latch side, checking whether the spacing looks more even. Keep your fingers clear of the closing edges. Gently close the door without forcing the latch. If you still notice rubbing or resistance, identify the exact contact point and compare it with your earlier pencil mark.
Inspect the Door Edge for Humidity-Related Swelling
Open the door about halfway and shine a flashlight along the upper latch-side edge, where moisture-related changes can be easy to miss. Check for raised paint, slightly rounded corners, or areas where the gap between the door and jamb looks unusually narrow. Wood can expand during humid weather and contract when conditions become drier. Compare the clearance at several points, and avoid scraping or sanding until you identify the cause.
Check the Door Frame for Signs of Movement
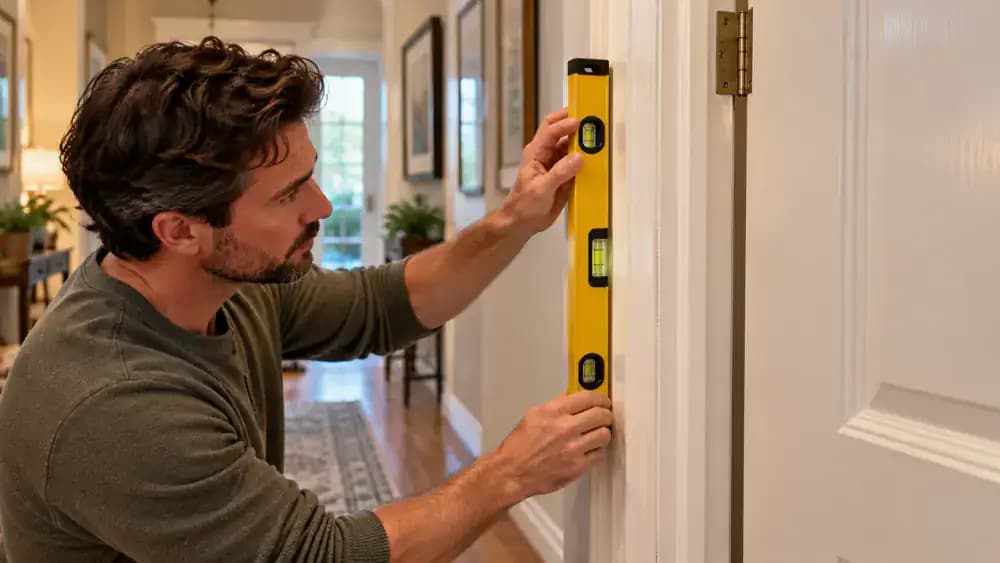
Open the door fully and hold a 24-inch spirit level vertically against the latch-side jamb without pushing on the frame. Check whether the bubble is centered, then inspect the upper corners and surrounding trim for hairline cracks or uneven gaps. Small cracks can result from normal settling, but noticeable misalignment or widening cracks may indicate frame movement. Avoid forcing the door or adjusting hardware until you understand the cause.
Improve Ventilation Before Removing Material
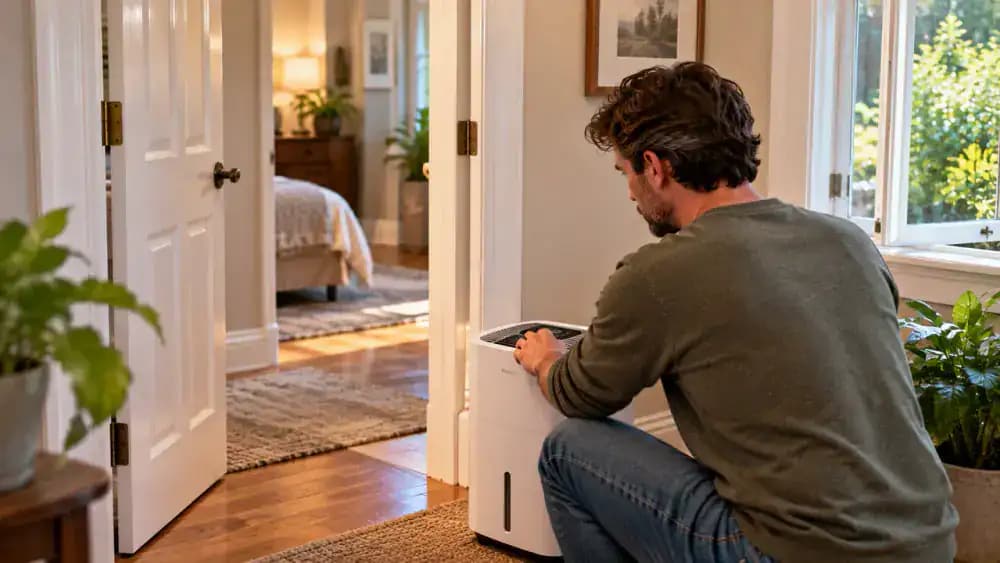
Place a portable dehumidifier several feet from the doorway and set its humidity control to 45 percent, as shown. Keep the unit upright, plug it into a grounded outlet, and route the cord away from foot traffic. Open a nearby window only when outdoor air is less humid, or use an exhaust fan to remove moisture. Maintain indoor humidity between 30 and 50 percent, then allow the wooden door time to stabilize before checking for rubbing.
Recheck the Door After Humidity Control
After indoor humidity has had time to stabilize, hold the lever handle and slowly guide the door toward the frame. Stop just before it closes, then inspect the pencil mark identifying the earlier rubbing spot. Compare the gap along the latch side and upper edge. If clearance has improved, moisture may have contributed to the sticking. If resistance remains, identify the contact point before making further adjustments. Never force the door closed.
Remove Minor Paint Buildup at the Contact Point
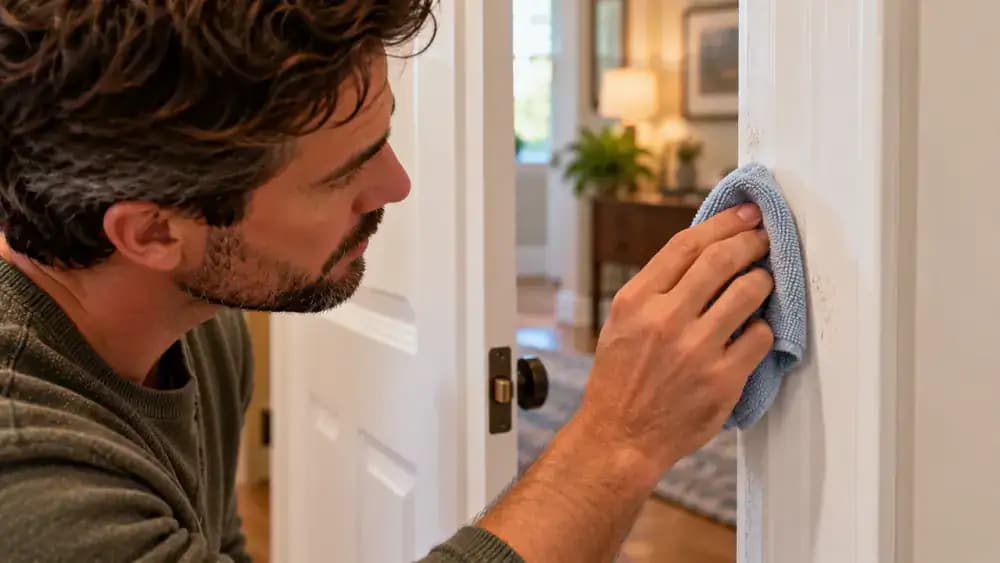
With the door fully open, locate the pencil mark where the painted edge was rubbing against the frame. Fold a clean, slightly damp microfiber cloth around your fingertips and gently wipe away dirt or loose paint residue. Hold the door steady by its handle, keeping your fingers away from pinch points. Avoid scraping or removing intact paint. Allow the edge to dry completely before checking whether the raised paint still causes sticking.
Apply Dry Lubricant to a Sticking Door Latch
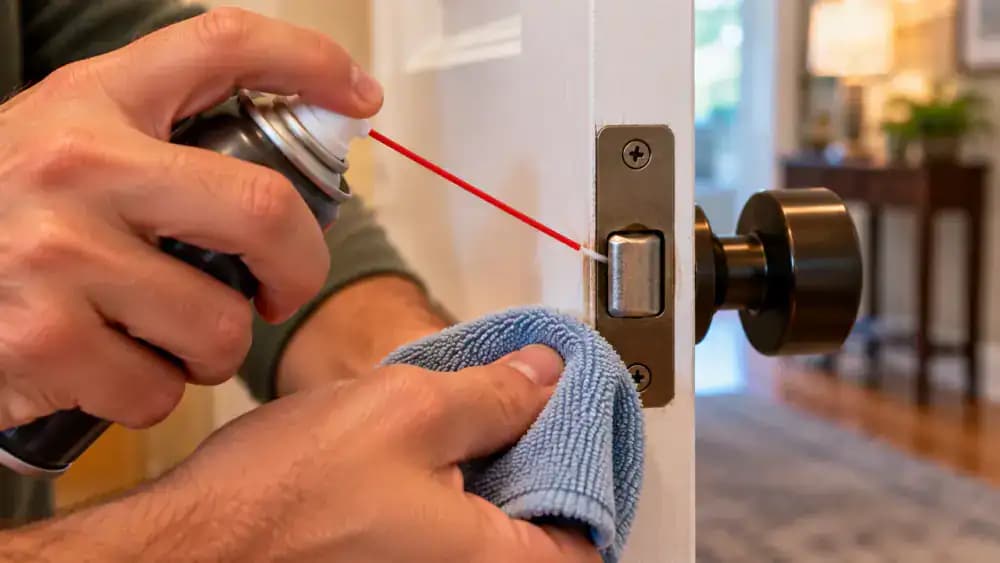
With the cleaned door edge completely dry and the door open, press the latch bolt gently to check for sticking. If it moves sluggishly, apply a small amount of dry PTFE lubricant labeled safe for door hardware. Aim the precision applicator directly at the moving bolt while holding a microfiber cloth underneath to catch excess. Keep your fingers clear of moving parts, wipe away residue, and operate the handle several times without forcing the door closed.
Test the Door With Gentle Opening and Closing Cycles
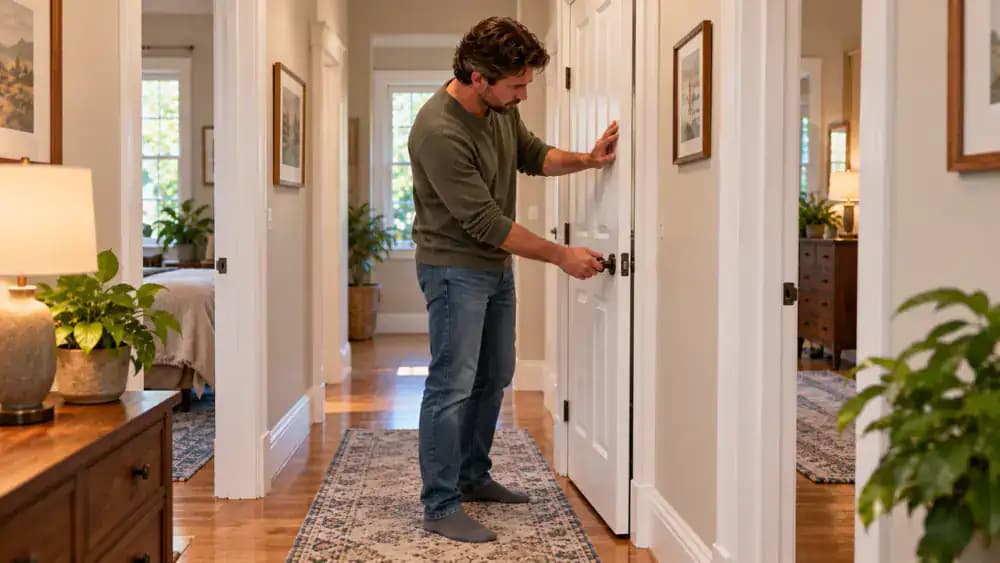
Slowly open and close the door several times, applying only light pressure to the handle. Watch the pencil mark near the lower latch-side edge for renewed rubbing, and check that the gap around the frame stays consistent. Listen for scraping and confirm the latch enters the strike plate smoothly. Keep your fingers away from hinges and closing edges. If resistance remains, stop and inspect the contact area again instead of forcing the door.
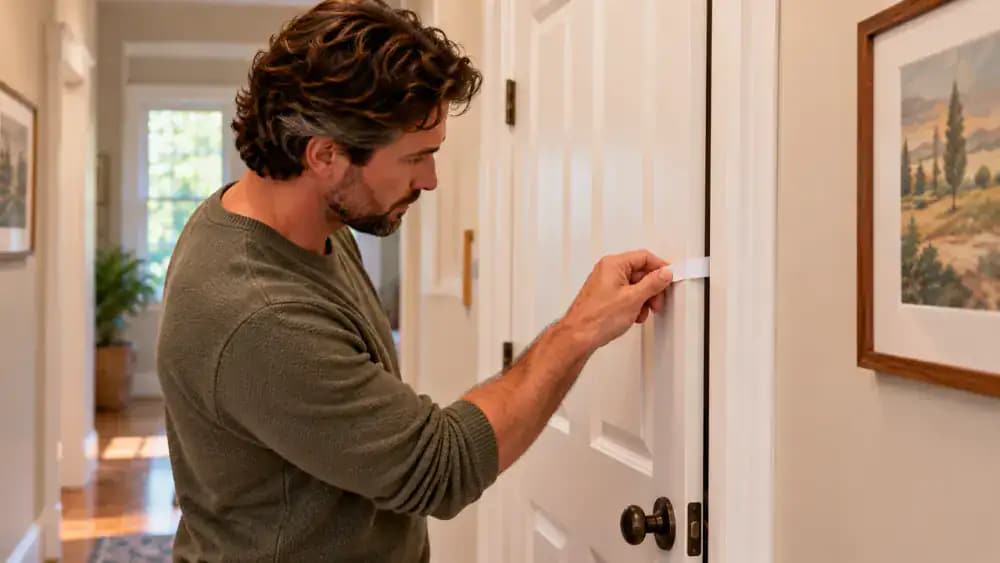
Check the Door Gaps With a Paper Strip
Hold a narrow strip of printer paper between the door edge and jamb near the pencil mark where rubbing occurred. Keep your fingers clear of the gap while gently moving the door toward closed using the handle. Notice how easily the paper slides or whether it catches. Repeat the check a few inches above and below the mark. Increased resistance at one location can help pinpoint where additional clearance is needed.
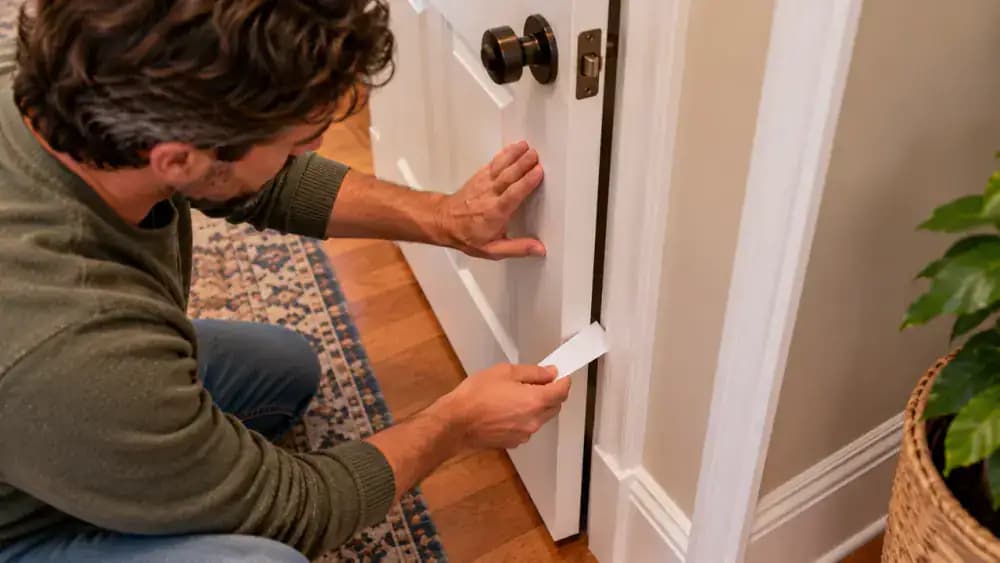
Compare Paper Resistance Along the Door Edge
Move the same strip of printer paper from the marked contact point to the middle of the latch-side gap, as shown. Hold the exposed end while gently guiding the door toward the jamb using the handle. Repeat near the upper corner, keeping your fingers clear of the gap. Notice whether the paper slides freely or catches. Resistance at only one height suggests localized rubbing, while binding at multiple heights may indicate an alignment issue.
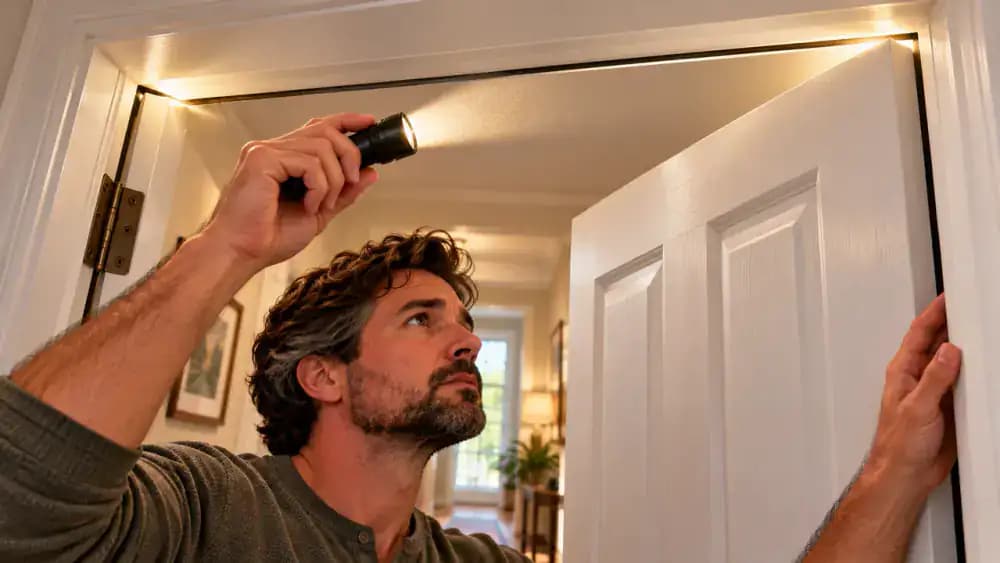
Check the Top Clearance for Uneven Alignment
Open the door about 15 degrees and aim a flashlight along the gap between its top edge and the upper door frame. Compare the clearance from the hinge side to the latch side, watching for areas where the gap becomes noticeably narrower. Keep your other hand on the handle and your fingers away from pinch points. If the spacing looks uneven, inspect the upper hinge screws again before considering any frame adjustments.
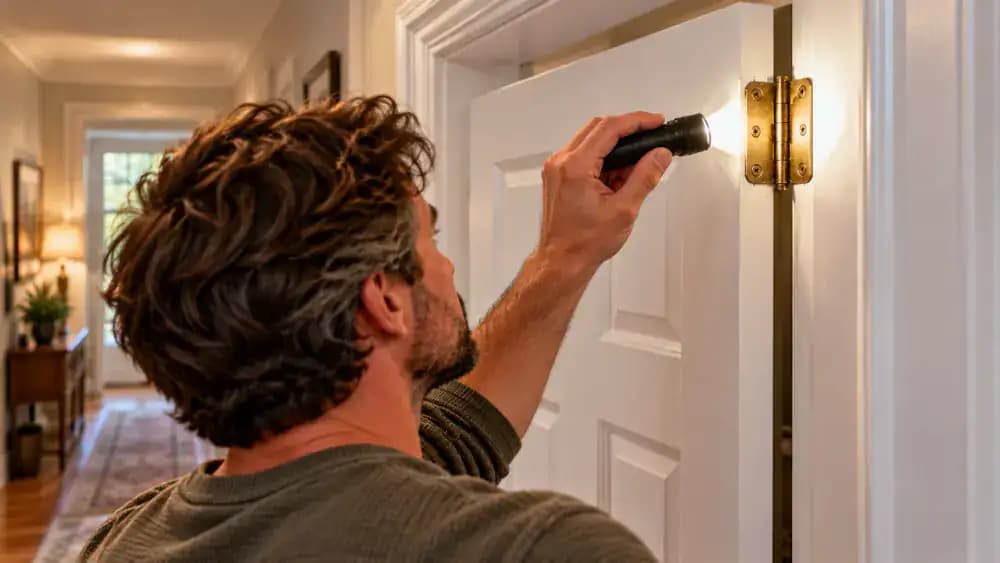
Recheck the Upper Hinge for Door Sag
If the gap above your door gets narrower toward the latch side, inspect the upper hinge before considering adjustments to the frame. Support the partly open door with a folded cardboard shim, then shine a flashlight across both hinge plates. Check whether each plate sits flat against the door and jamb. Look for raised edges, loose screws, or bent metal. Keep your fingers clear of pinch points, and never attempt to bend the hinge.
Check the Middle and Lower Hinges for Matching Alignment
Keep the door supported with a folded cardboard shim while comparing the middle and lower hinges. Shine a flashlight across each brass hinge plate to spot uneven seating, protruding screw heads, or gaps against the painted wood. Keep your fingers away from pinch points. If a screw is genuinely loose, gently tighten it with a manual Phillips screwdriver without overtightening. Close the door slowly afterward to check whether the clearance has changed.
Remove the Door Support and Recheck Hinge-Side Clearance
Keep one hand on the door handle while carefully sliding the folded cardboard support out from beneath the door. Prevent the door from dropping or swinging unexpectedly. Once the floor is clear, gently move the door partway toward the frame and examine the hinge-side gap from top to bottom. Look for uneven spacing near the corners. Keep fingers away from pinch points, and never force the door if alignment still appears incorrect.
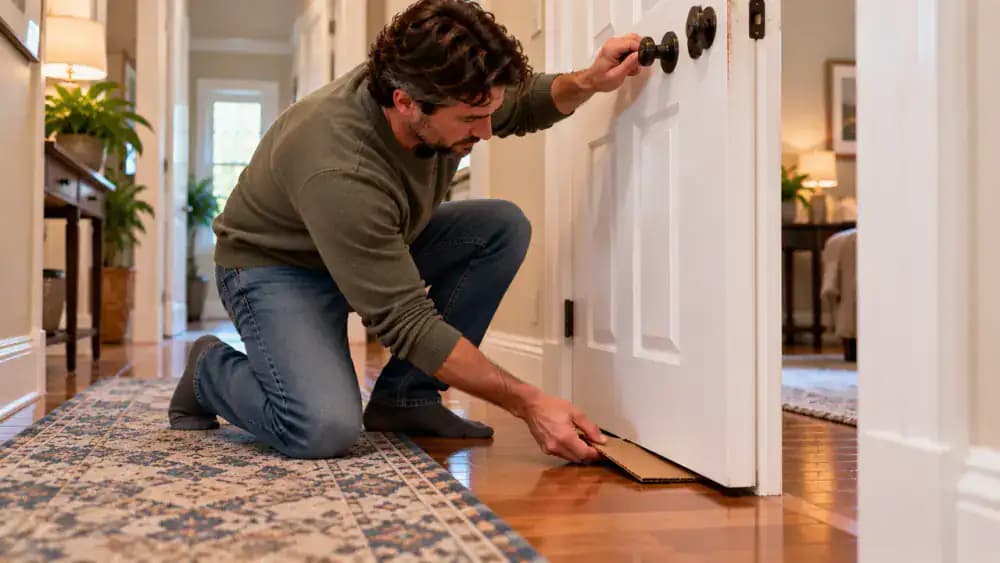
Check the Hinge-Side Gap With the Door Unsupported
With the cardboard support removed, hold the door lightly by its handle and gently swing it through a small arc. Watch the space between the door and hinge-side jamb at the top, middle, and bottom. Look for consistent clearance without scraping, sudden shifts, or noticeable movement toward the frame. Use daylight or a flashlight to spot uneven shadow lines. Keep your fingers away from the hinges. If the gap changes significantly, stop and investigate.
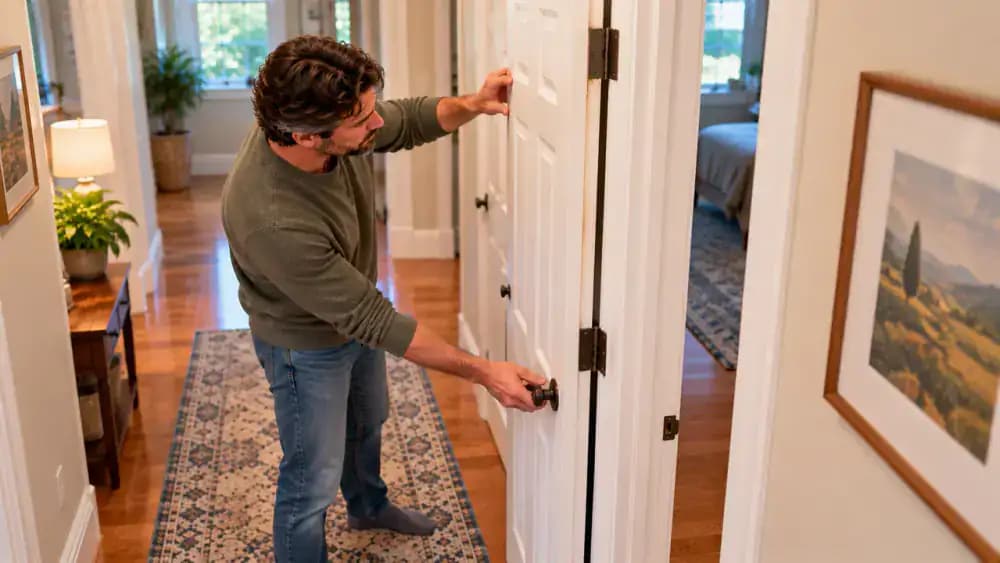
Check the Latch Bolt Against the Strike Plate
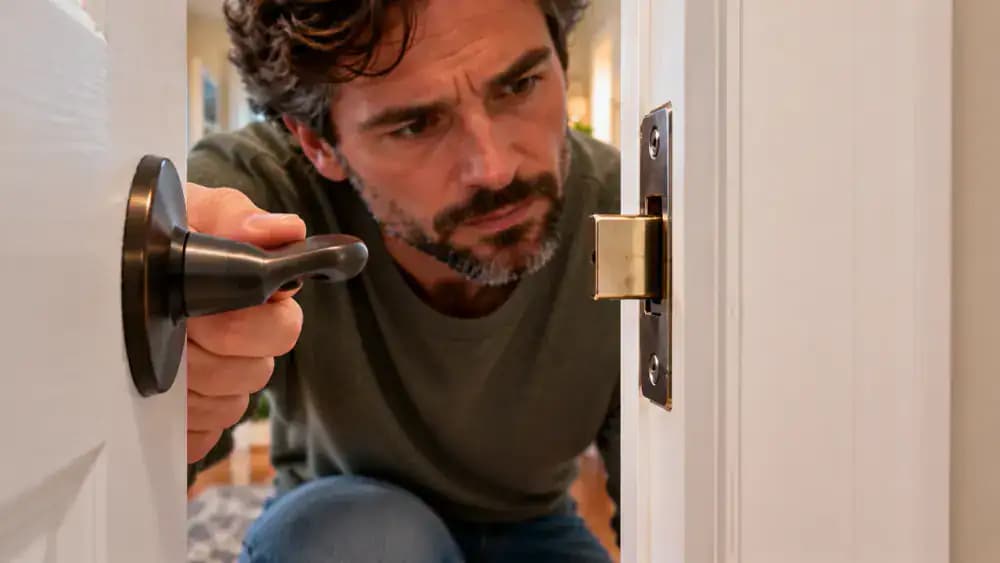
Hold the door lever fully down to keep the latch bolt retracted, then gently move the door within a couple of inches of the frame. Look across the gap to see whether the bolt aligns with the strike plate opening. Check if its position appears too high or too low. A flashlight can help reveal small differences. Keep your fingers clear of the gap, and never force the door or handle.
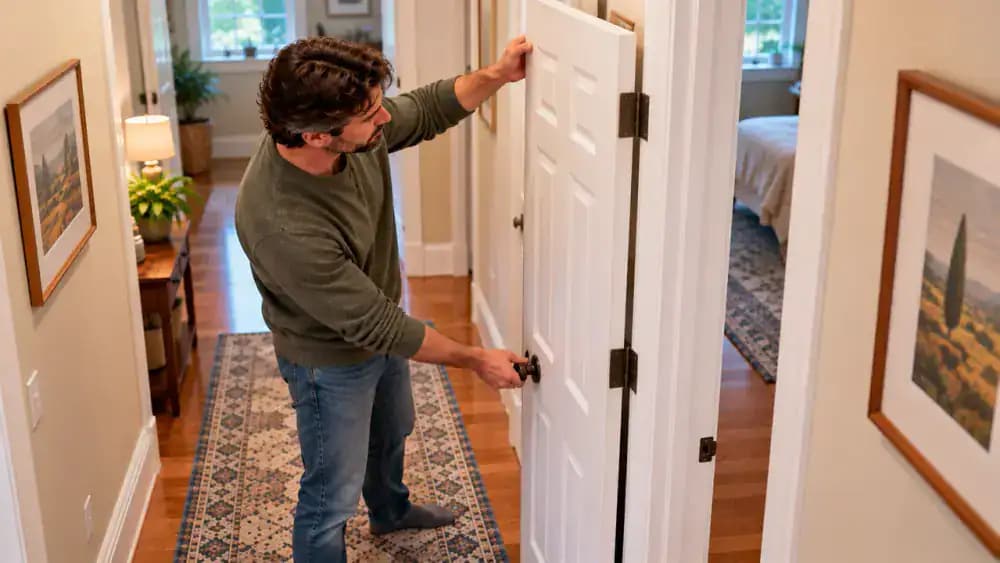
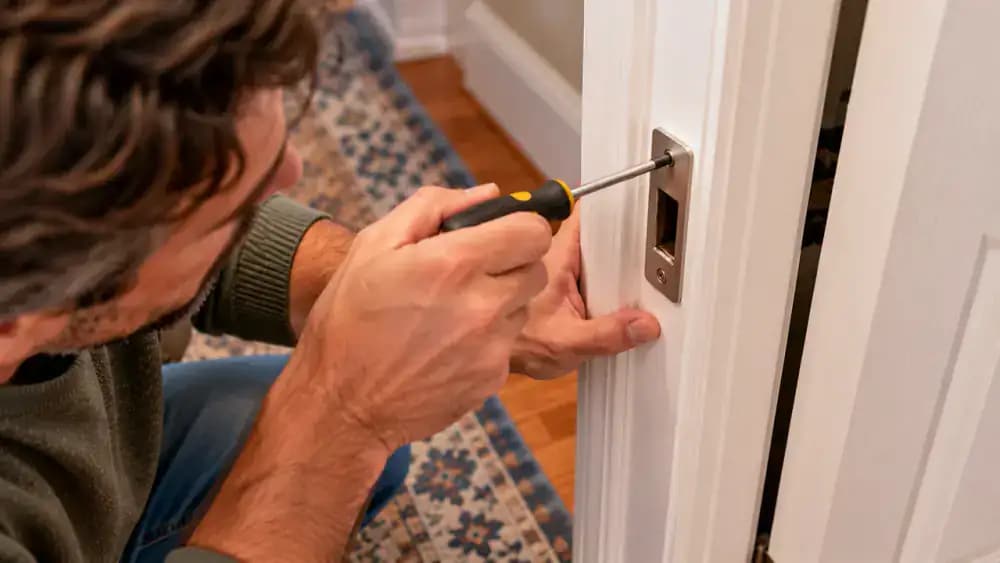
Check the Strike Plate Screws Before Adjusting Anything
Open the door fully and examine the two screws holding the strike plate to the door jamb. If either feels loose, use a manual Phillips-head screwdriver to tighten it gently while keeping the plate seated in its original recess. Keep the screwdriver straight and apply steady, controlled pressure to avoid stripping the screw head. Stop once both screws are snug, then close the door slowly to check whether the latch aligns properly.
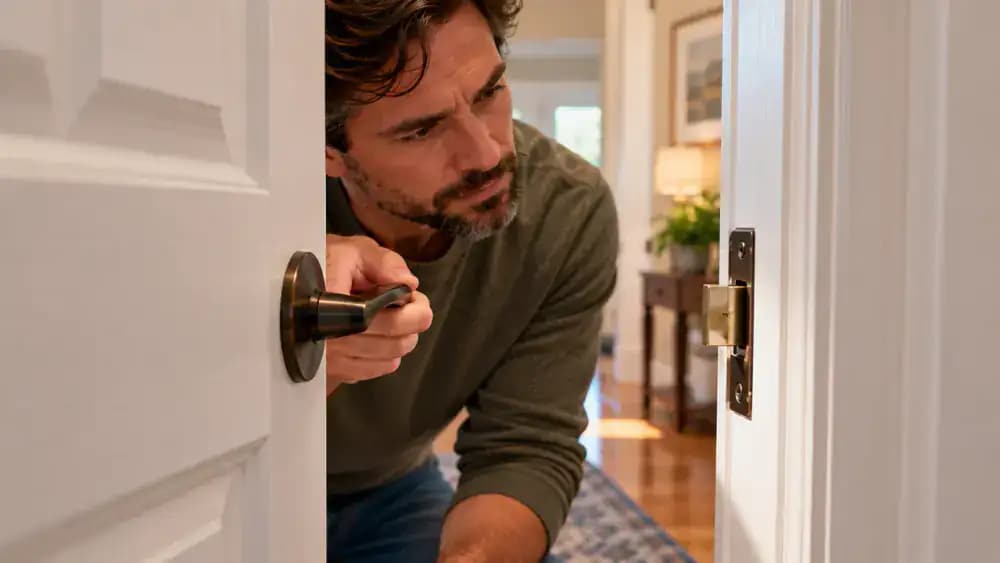
Test the Latch After Securing the Strike Plate
Slowly bring the door toward the frame while holding the lever handle with a relaxed grip. Keep your free hand away from the closing edge to avoid pinched fingers. Gently release the handle and listen for the latch to click into the strike plate opening. Both mounting screws should remain flush with the plate. If the latch catches, rubs, or requires extra pressure, stop rather than forcing the door. Further alignment inspection may be necessary.
Check Door Clearances With the Latch Fully Engaged
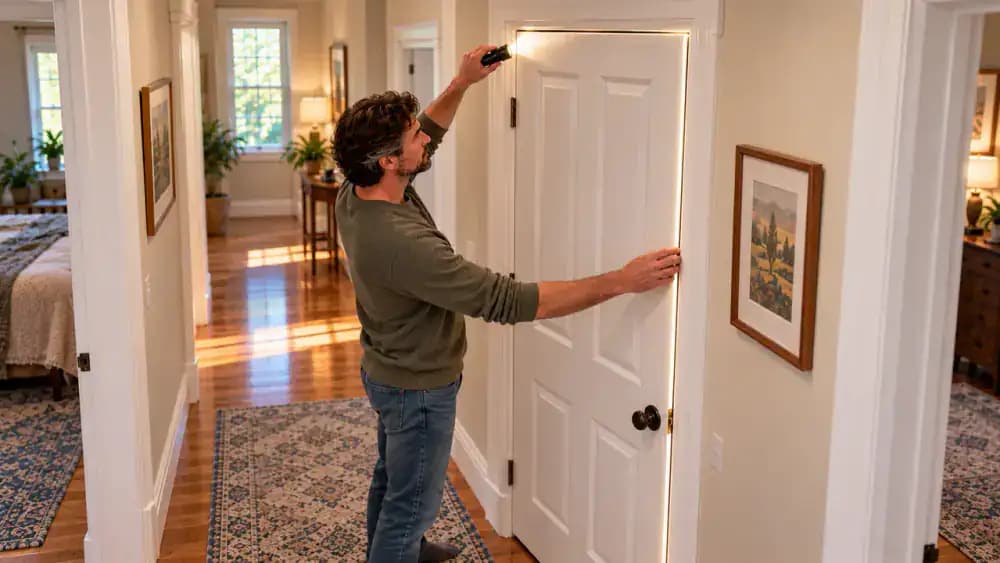
With the door fully closed and latched, shine a flashlight along the upper corner to spot narrow gaps or uneven spacing. Compare the clearance across the top, down the latch side, and along the bottom. Keep the door stationary and your fingers away from the hinges and closing edge. Even when the latch works smoothly, tight spots may indicate remaining rubbing. Inspect the entire perimeter before considering the adjustment complete.
Verify Hinge Security After the Clearance Check
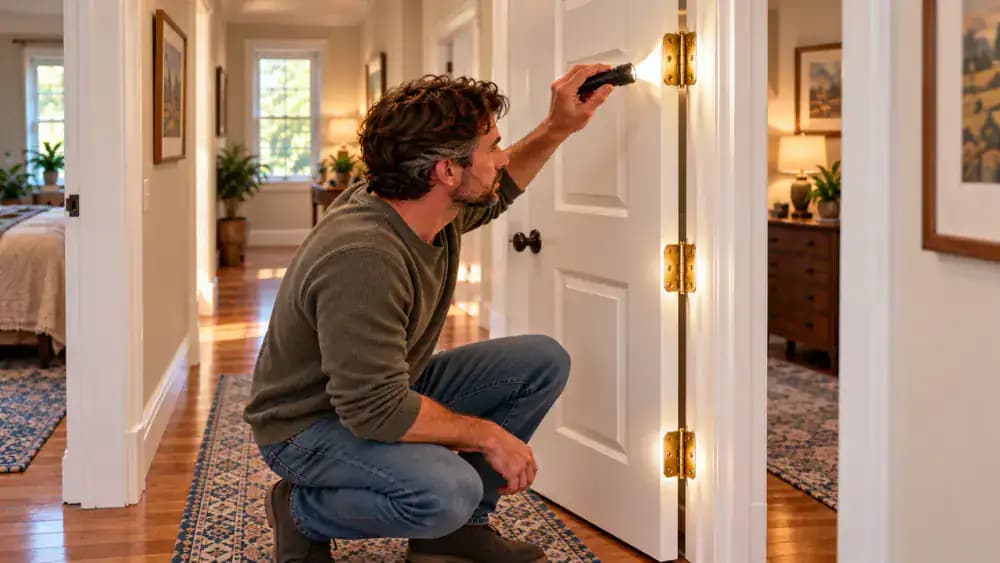
With the door open and stationary, use a flashlight to inspect all three hinges from top to bottom. Check that screw heads sit flush, hinge leaves rest flat against the door and jamb, and knuckles appear properly aligned. Pay particular attention to the lower hinge, where shadows can hide small gaps. Keep fingers away from pinch points. If you find loose screws, lifted plates, or bent hardware, correct those problems before testing door movement again.
Complete Several Gentle Opening and Closing Cycles
Hold the door handle and slowly swing the door fully open and closed several times. Let the latch engage naturally without pushing or slamming. Watch the gap along the latch-side jamb for rubbing or changes in clearance. Listen for scraping and notice any resistance as the door moves. Keep your free hand away from the hinges and door edges. If sticking continues, identify exactly where it occurs before making further adjustments.
Monitor Indoor Humidity and Check Door Hinges Regularly
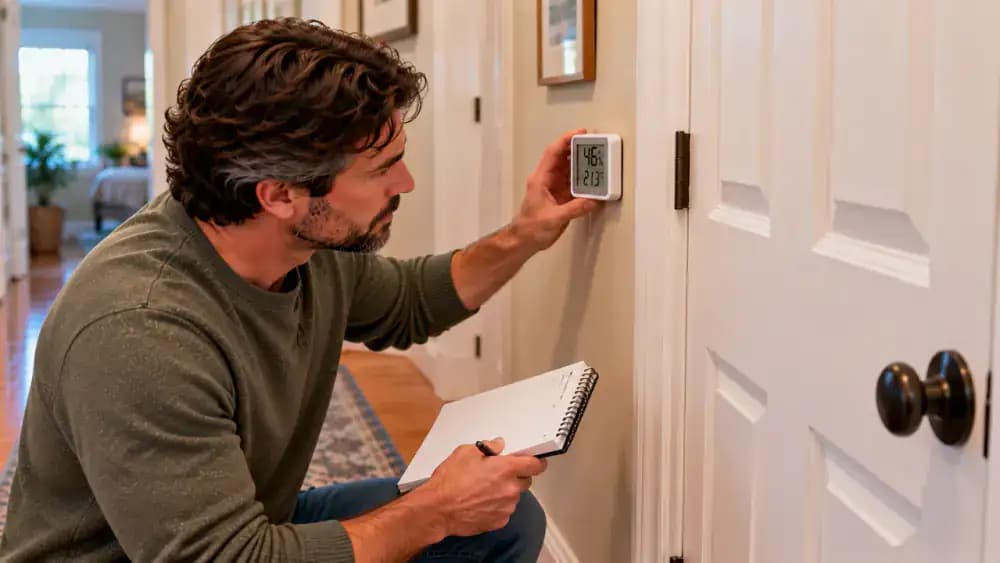
Press the mode button on a digital hygrometer to check your home's relative humidity, then record the reading in a maintenance notebook. Aim for approximately 30 to 50 percent humidity to help limit seasonal wood swelling and shrinking. Check readings during humid summers and dry winters. If the door starts sagging, sticking, or rubbing against the frame, inspect the hinge screws for looseness before attempting adjustments. Regular checks can prevent minor problems from becoming costly repairs.
Know When to Call a Professional
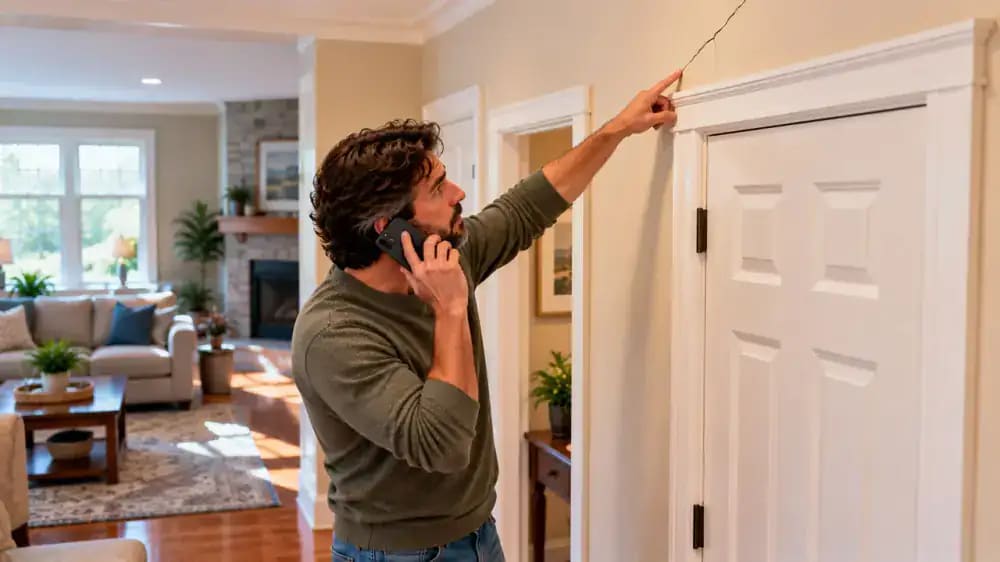
If you spot a diagonal crack spreading from a doorway corner or notice the frame pulling away from the wall, stop making adjustments and call a qualified professional. Leave the door partially open and avoid forcing it shut. Take clear photos of the crack and uneven gaps before your appointment. Widening cracks, damaged glass, or unsafe hardware also deserve professional attention. Never cut structural framing or aggressively plane a fire-rated door.
A sticking interior door can turn a simple trip between rooms into a daily frustration. Maybe the door scrapes against the frame, catches near the top, or needs an extra shove before the latch clicks into place. It might seem like the door needs sanding or trimming, but removing wood too soon can create bigger problems. Loose hinge screws, seasonal humidity, and slight shifts in the door frame can all cause similar symptoms, even though each requires a different fix. The trick is identifying what's actually making the door stick before reaching for more aggressive tools.
Fortunately, many sticking doors can be fixed with a screwdriver, a flashlight, and a few careful checks. You'll learn how to locate rubbing points, inspect and tighten hinges, recognize moisture-related swelling, and make minor adjustments without damaging the frame. Start with the simplest, least invasive solutions and test the door after each change. If you notice significant frame movement, damaged glass, or unsafe hardware, leave the repair to a qualified professional.
Where people go wrong
Forcing the Door Shut Instead of Finding the Sticking Point. Pushing harder on a sticking door can damage the latch, loosen hinges, and scrape paint from the frame. Instead, open and close the door slowly while checking the top, bottom, and latch side. Mark the exact rubbing spot with a pencil before attempting repairs.
Sanding the Door Before Checking Loose Hinges. Removing wood seems like a quick fix, but loose hinge screws can cause the same rubbing symptoms. Support the door, inspect each hinge, and tighten loose screws by hand. Recheck the gaps before sanding anything. Never aggressively plane a fire-rated door or cut into a load-bearing frame.
Ignoring Humidity and Signs of Frame Movement. A door that sticks during humid weather may have swollen edges rather than a permanent alignment problem. Check for seasonal changes, uneven gaps, and cracks around the trim. Improve ventilation and control indoor humidity first. Have a qualified professional assess visible structural movement or severely distorted frames.
Overtightening Screws and Skipping the Final Door Test. Driving hinge screws too hard can strip the wood or split the mounting area, making the problem worse. Use properly sized replacement screws when necessary and tighten carefully. Then open, close, and latch the door several times, checking for even clearances, secure hinges, and smooth operation.
Questions people ask
A sticking door often results from loose hinge screws, seasonal humidity, or slight movement in the door frame. Moisture can cause wood to swell, while loose hinges allow the door to sag. Check where the door rubs and compare the gaps around its edges before deciding which repair is necessary.
Fixed it?
Get one guide like this every Thursday.