Toilet Keeps Running After Every Flush? How to Find and Fix the Problem
A toilet that keeps running can waste water and drive up your utility bill. Learn how to check the flapper, chain, float, and fill valve, make simple adjustments, and replace a worn flapper safely.
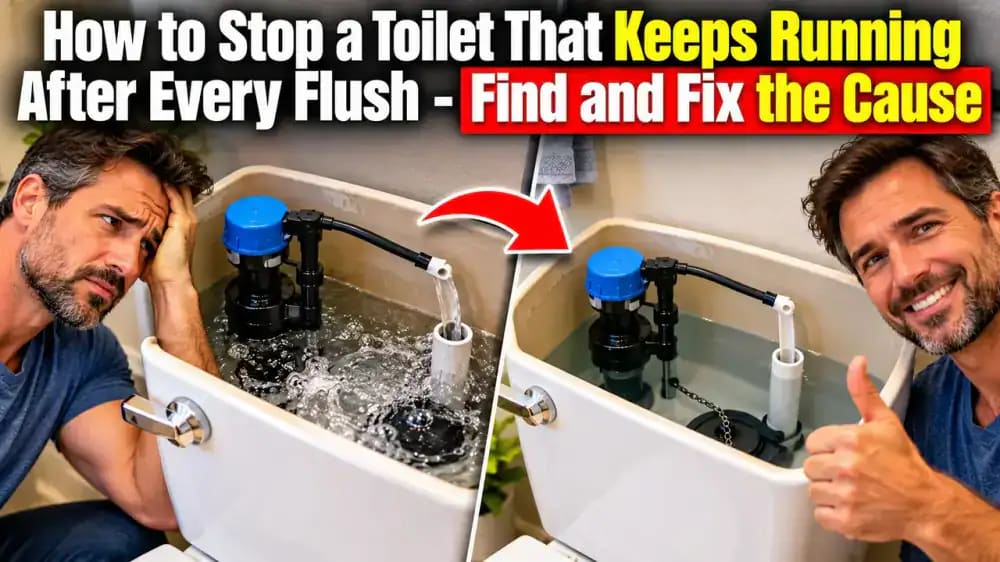
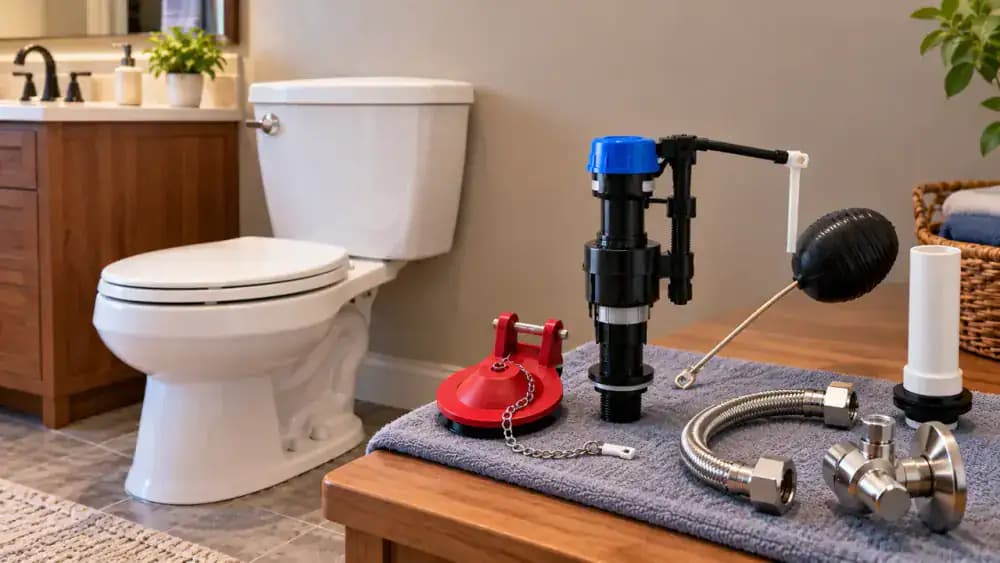
What you’ll need
Tap to tick things off before you start.
Listen for Running Water After the Tank Refills
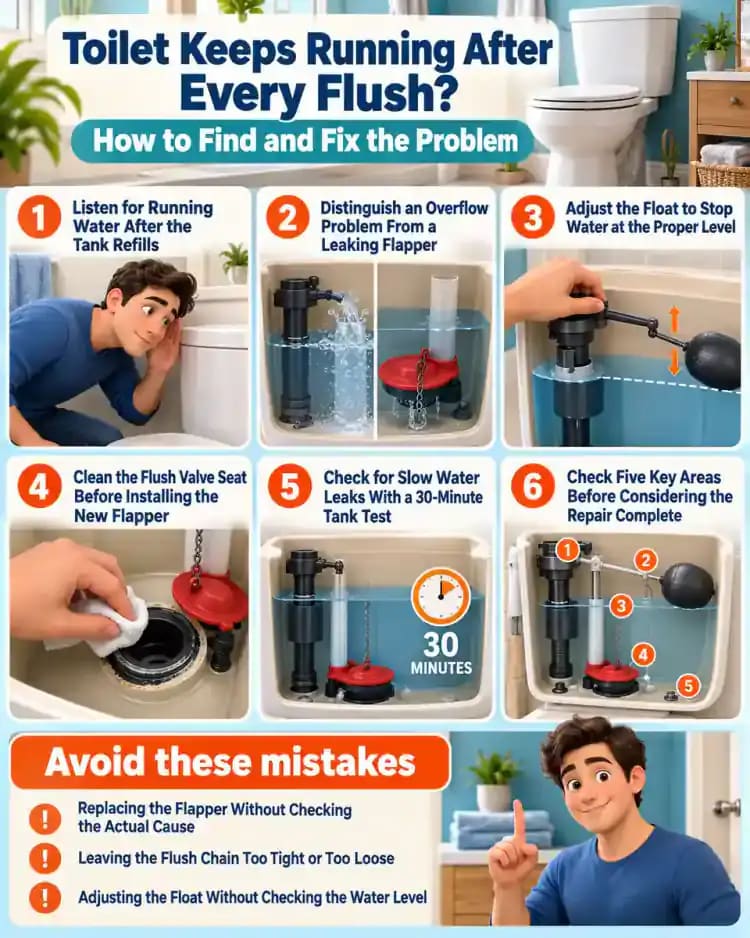
Flush the toilet once and release the handle, then listen as the tank refills. If the running-water sound continues longer than expected, look inside the bowl for a thin, steady trickle entering beneath the rim. This suggests water is still moving through the toilet, but does not identify the exact cause. A worn flapper, tangled chain, incorrect float setting, or faulty fill valve could be responsible. Start by observing before replacing anything.

Identify the Main Components Inside the Toilet Tank
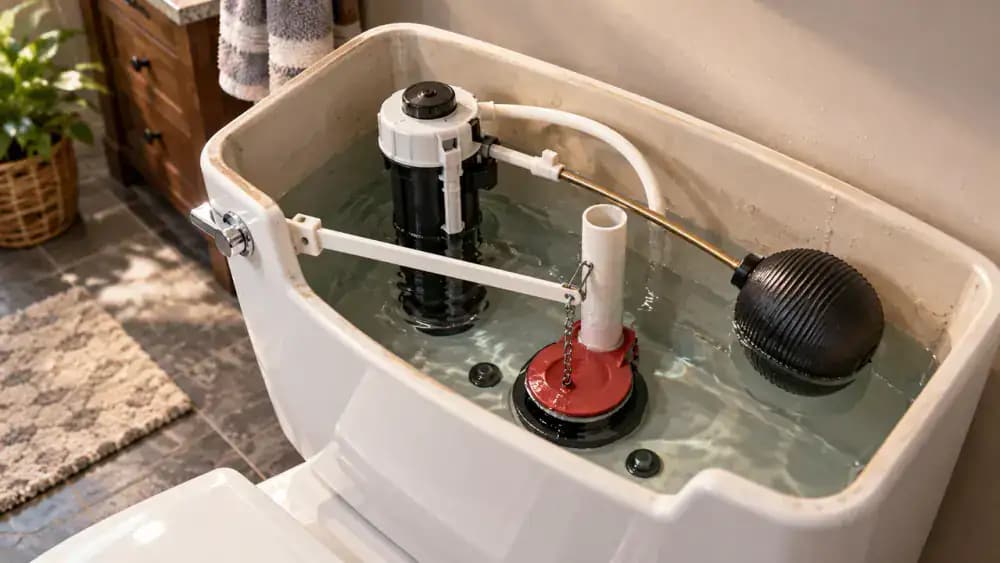
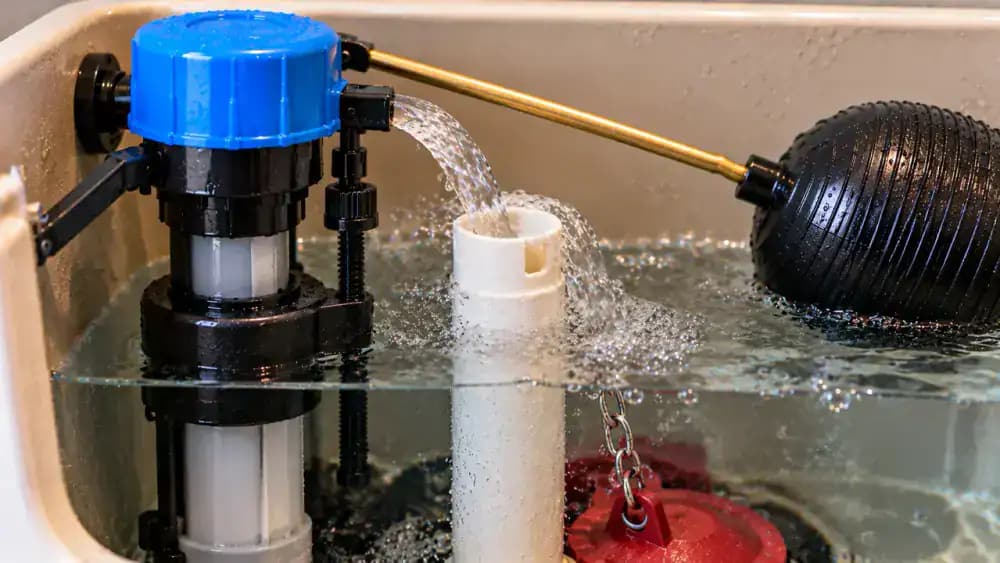
Carefully lift the porcelain tank lid and place it on a folded towel on a stable surface. Inside, locate the rubber flapper covering the flush valve opening and the chain connecting it to the handle. Find the float and fill valve, which regulate incoming water, and the vertical overflow tube. Use a flashlight if needed. Familiarizing yourself with these parts helps distinguish a leaking flapper from an overfilling tank.
Set Up a Safe, Clutter-Free Work Area
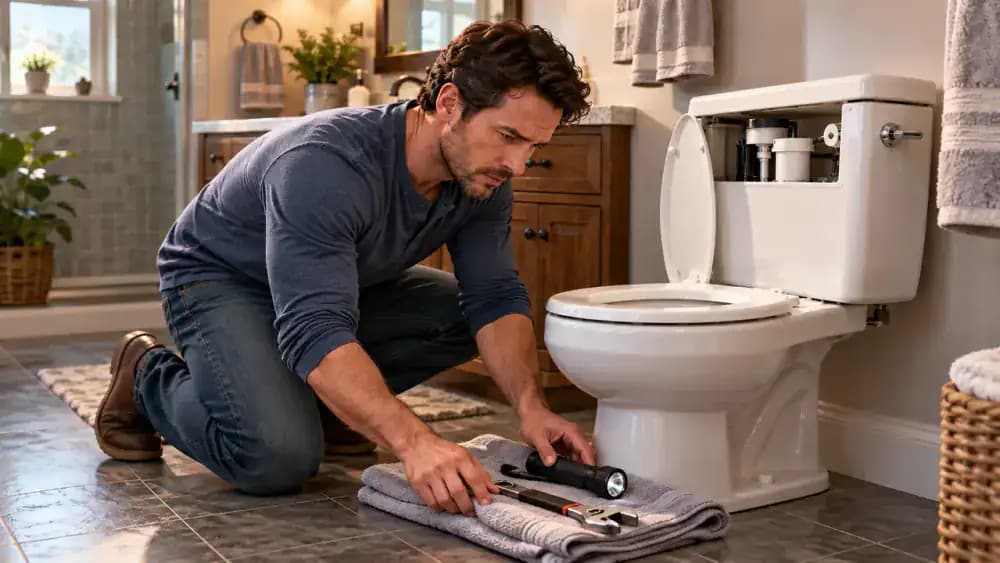
Spread a thick, clean towel across a stable countertop to protect the porcelain tank lid when you remove it. Place a flashlight and small adjustable wrench nearby, although most initial inspections require no tools. Move laundry baskets, bathroom supplies, and other obstacles away from the toilet. Check that the floor is completely dry and leave enough room to move comfortably. Keep your tools organized and within easy reach.
Lift Off the Tank Lid and Find the Water Shutoff
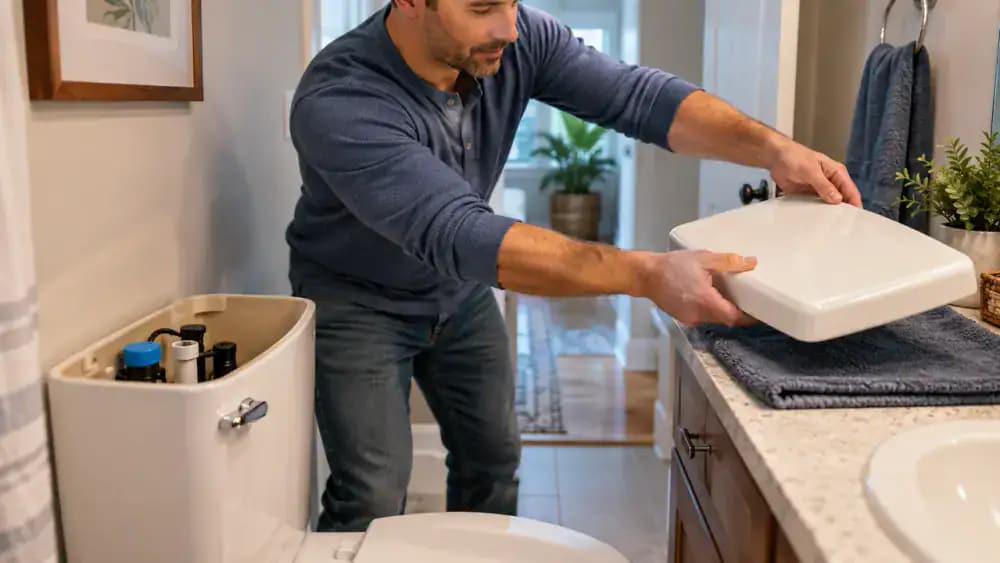
Stand securely beside the toilet and grip the porcelain tank lid with both hands. Lift it straight up, clear the tank rim, and place it flat on your prepared towel. Next, look behind or beside the toilet for the water supply shutoff valve connected to the supply line beneath the tank. Identify its location without turning it yet. If the valve appears damaged or stuck, do not force it.
Observe How the Flapper, Float, and Fill Valve Work
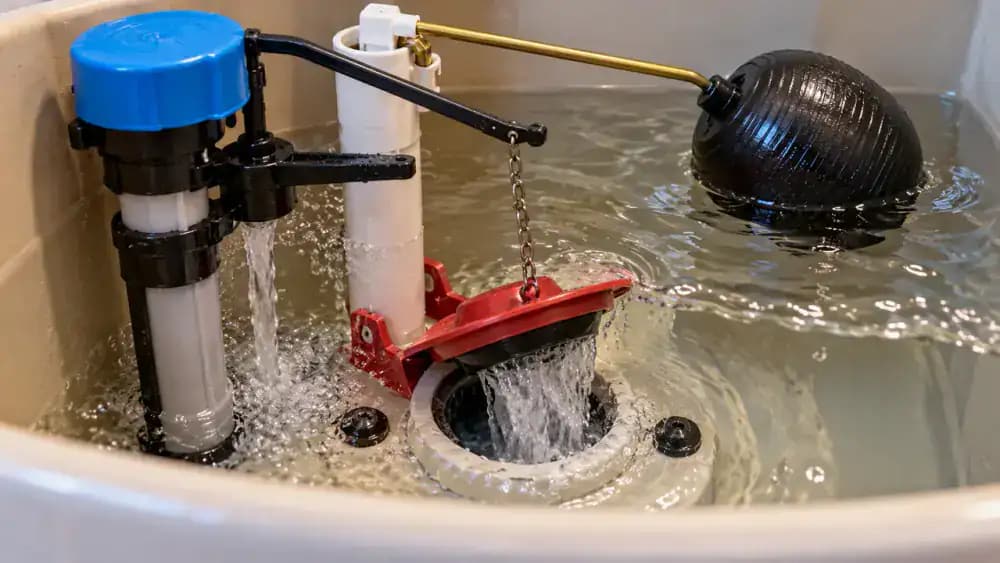
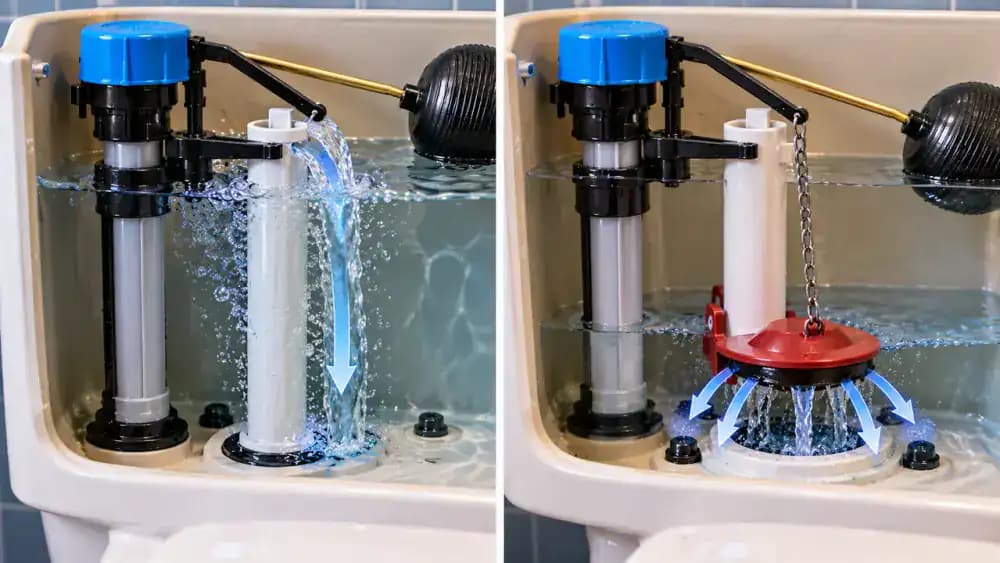
With the tank lid removed, press the flush handle once and release it. Watch the chain lift the rubber flapper, allowing water to flow into the bowl. The flapper should settle back onto its seat as the water level drops. Next, observe the float rising while the fill valve refills the tank. Check whether incoming water stops at the intended level below the overflow tube. Note any unusual behavior.
Distinguish an Overflow Problem From a Leaking Flapper
Look closely at the tank's water level while the toilet continues running. If water rises above the top of the vertical overflow tube and spills inside, the float may be set too high or the fill valve may not shut off. If the water level gradually drops below the overflow opening, water may be leaking past the flapper into the bowl. Compare these patterns before deciding which component needs attention.
Check the Toilet Flapper for Cracks, Warping, and Mineral Buildup
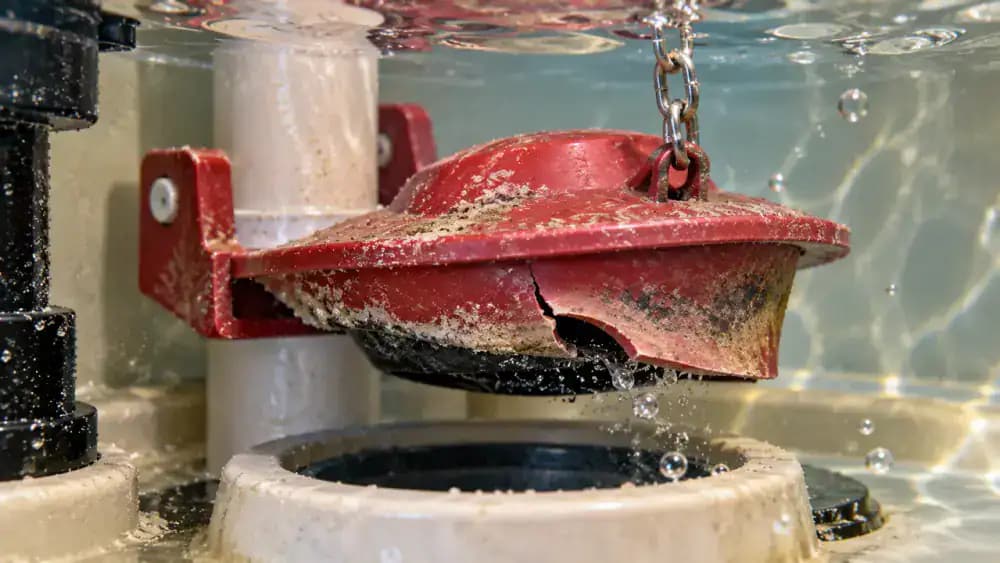
Shine a flashlight into the open toilet tank and examine the rubber flapper covering the flush valve opening. Look for small cracks, curled or warped edges, brittle rubber, and mineral deposits that could interfere with sealing. Check whether the flapper rests evenly against its circular seat. Even a small gap can allow water to escape into the bowl. Inspect visually without removing or adjusting the flapper yet.
Check the Flush Chain for Proper Slack and Movement
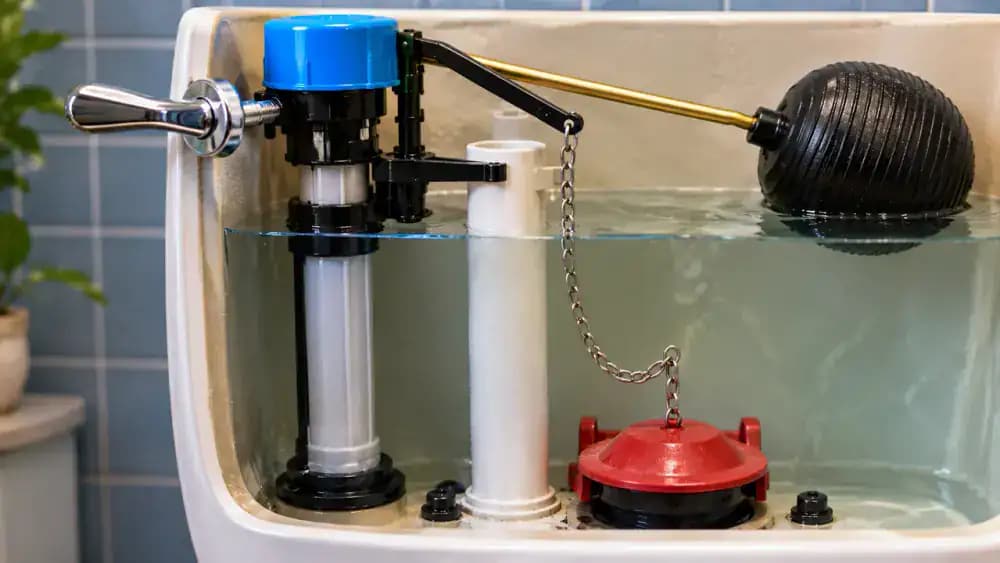
Look at the metal chain connecting the flush lever to the rubber flapper. With the flapper fully closed, the chain should have a little slack, typically about half an inch. Press and release the flush handle once to observe how the chain lifts and relaxes. A tight chain can hold the flapper open, while excessive slack can cause tangling or unreliable flushing. Check that the handle returns freely.
Make Sure the Flush Handle Returns to Its Resting Position
Gently press the chrome flush handle and release it completely. The handle should return smoothly to its original position without sticking. Watch the internal lever as it moves and confirm that the chain relaxes, allowing the flapper to settle firmly against its seat. If the handle remains partially depressed, it may keep the chain tight and prevent proper sealing. Repeat the movement once to check for consistent operation.
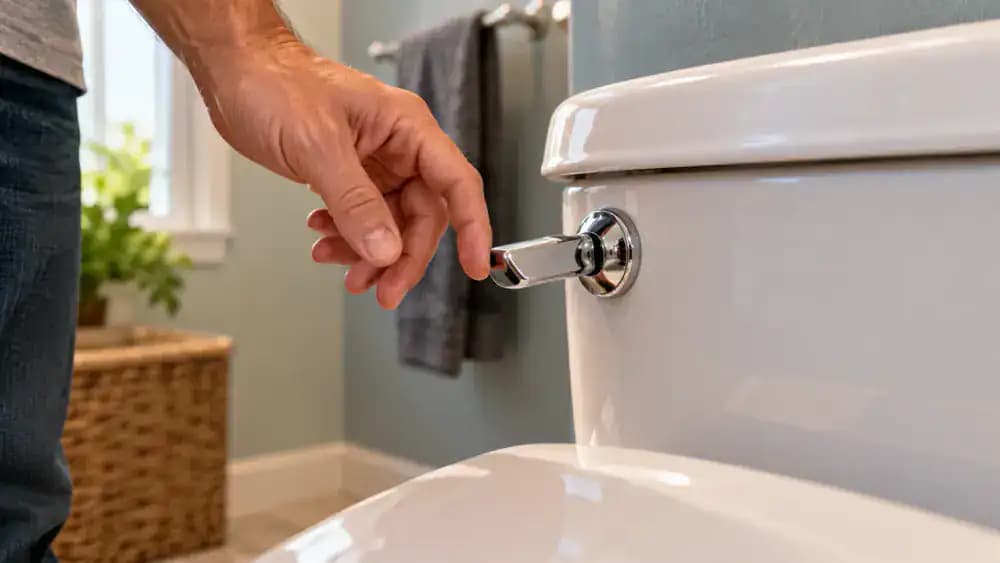
Check the Tank Water Level Against the Overflow Tube
Look inside the open toilet tank for the manufacturer's water-level mark, usually located on the interior wall. The water should stop at the recommended fill line, below the top of the vertical overflow tube. Watch the float and fill valve as the tank finishes refilling. If water continues rising and spills into the overflow tube, the float may be set too high or the fill valve may not close properly.
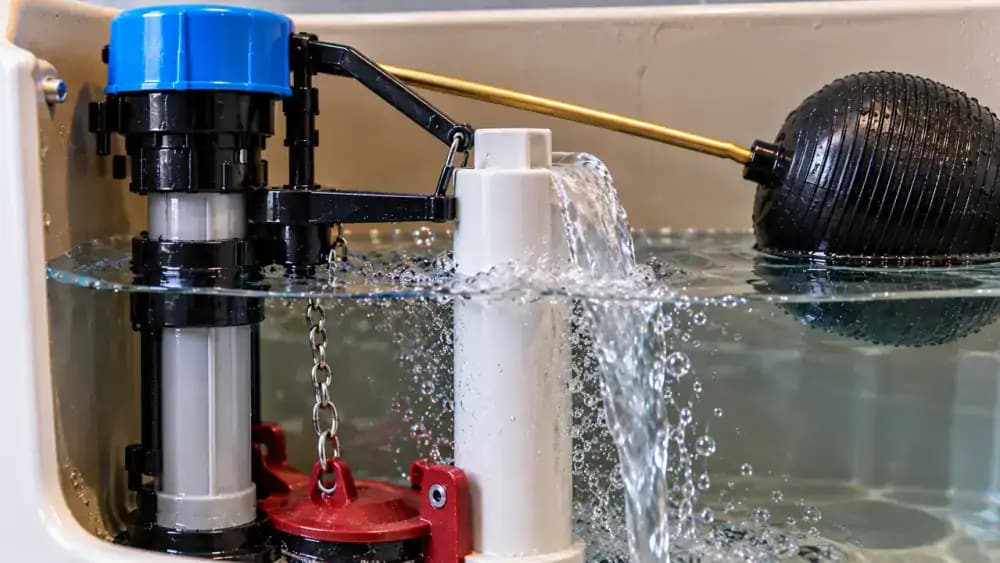
Check That the Toilet Float Moves Freely
Locate the float attached to the fill valve. Modern toilets often use a cylindrical float cup that slides along the valve shaft, while older models may have a ball float connected to an arm. Watch the float rise as the tank refills. It should move smoothly without rubbing against the tank wall or catching on nearby components. Check for visible obstructions before attempting any adjustments to the mechanism.
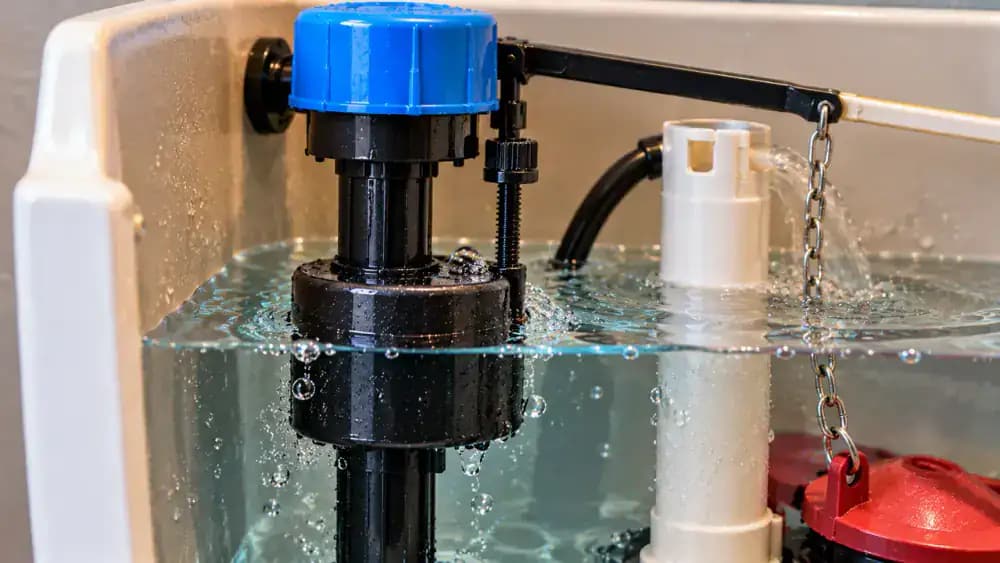
Adjust the Float to Stop Water at the Proper Level
If the float moves freely but the tank fills too high, locate the adjustment screw or clip on the fill valve. Follow your toilet manufacturer's instructions to lower the shutoff level slightly. Use a properly fitting screwdriver if required, making small adjustments without forcing plastic components. Flush the toilet and observe the refill cycle. The water should stop at the manufacturer's marked level, safely below the overflow tube opening.
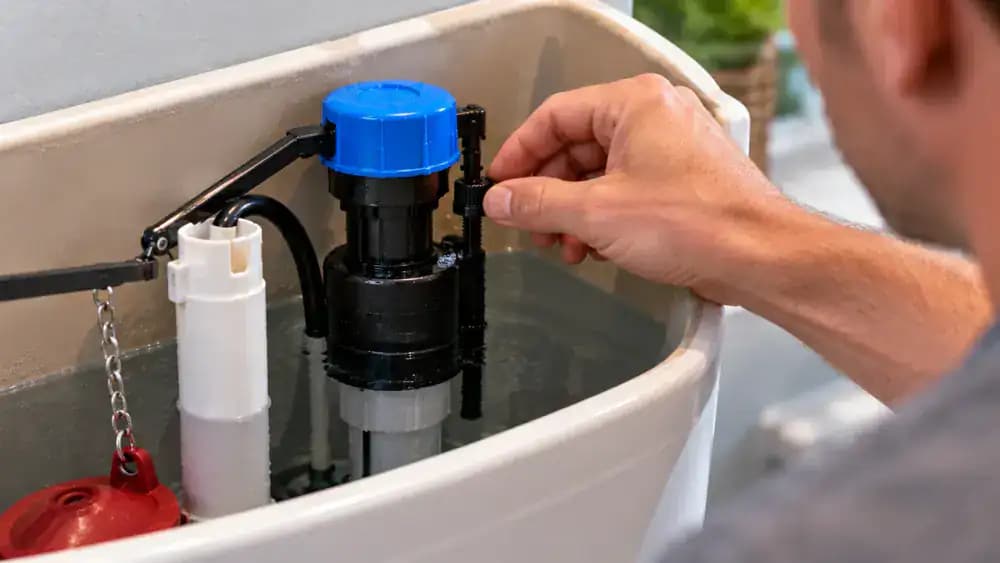
Identify a Fill Valve That Continues Running
After adjusting the float, flush the toilet and watch another refill cycle. The fill valve should stop supplying water when the float reaches its intended shutoff position. If water continues entering the tank, listen for persistent hissing and check whether excess water flows into the overflow tube. These symptoms may indicate a worn, obstructed, or malfunctioning fill valve. Avoid forcing the mechanism or disassembling unfamiliar components.
Choose a Replacement Flapper That Fits Your Toilet
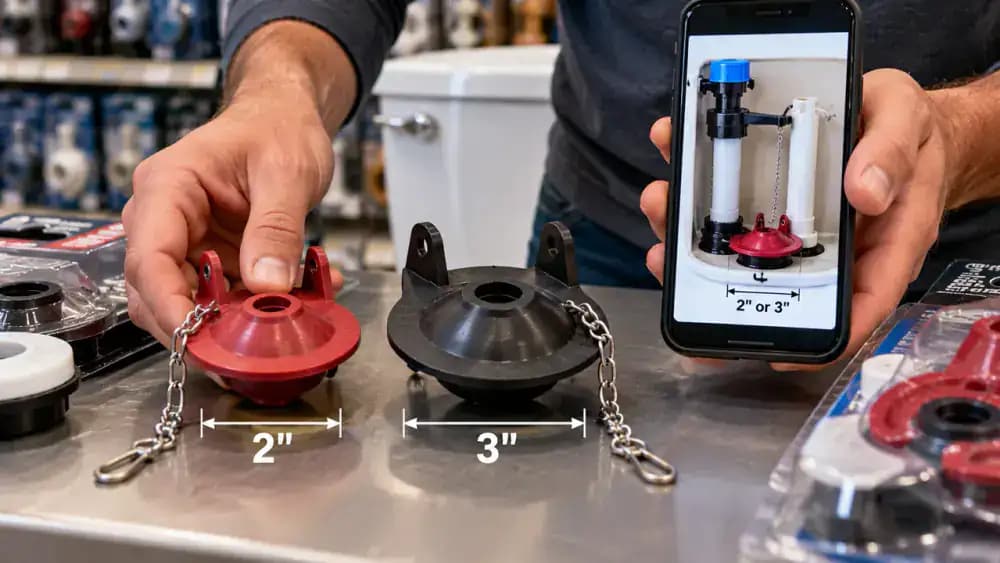
Compare replacement flappers before purchasing one for your toilet. Common models fit 2-inch or 3-inch flush valve openings, but diameter alone does not guarantee compatibility. Check your toilet's model number and manufacturer specifications, then compare the flapper's shape, mounting ears, and chain attachment. Use a photo of the existing flapper for reference, or bring the old part to a hardware store after safely removing it with the water supply turned off.
Shut Off the Toilet's Water Supply Safely
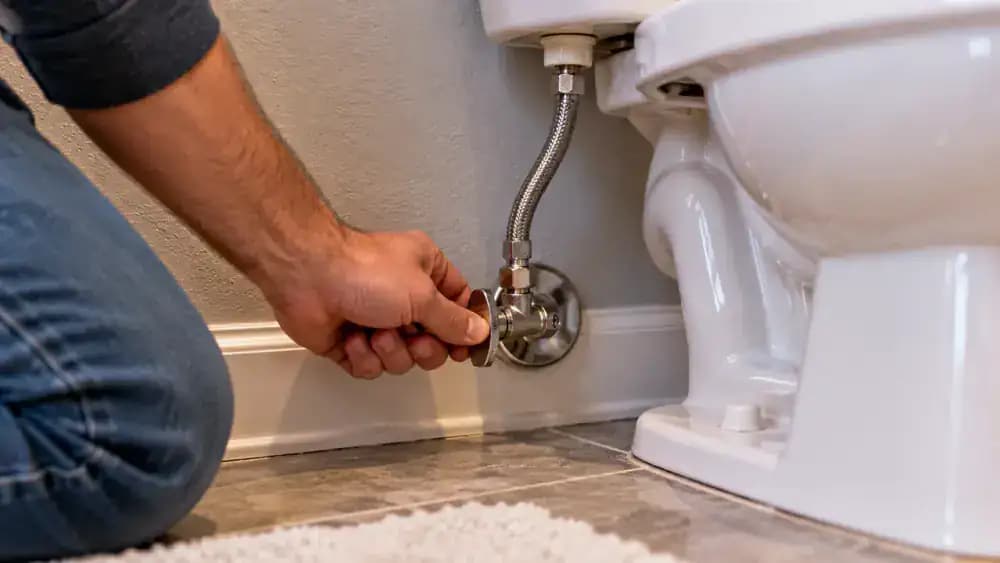
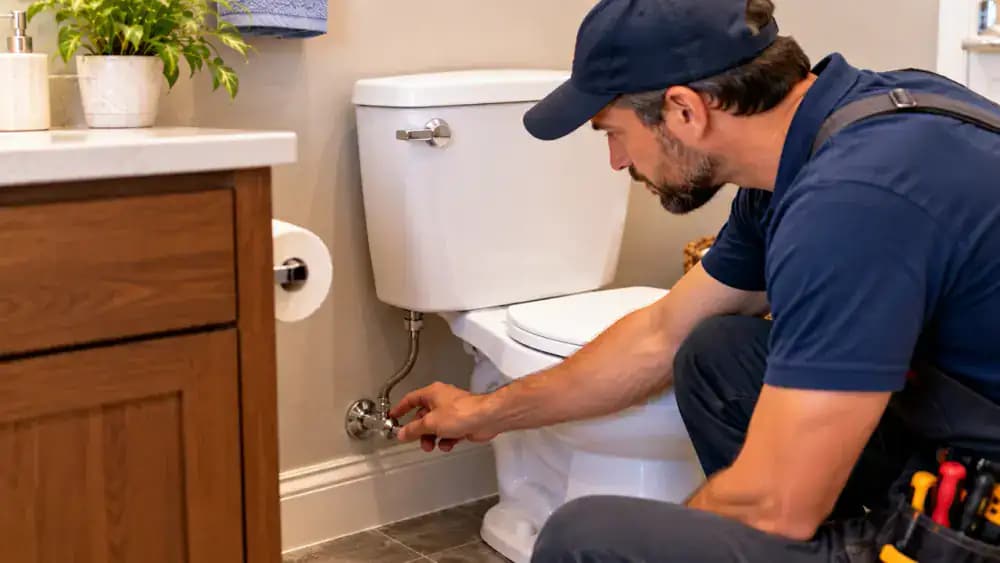
Locate the water supply shutoff valve behind or beside the toilet, where the supply line connects to the wall. For a traditional multi-turn valve, gently rotate the handle clockwise until it closes. Other valve designs may operate differently, so follow their instructions. Keep the supply line steady and avoid twisting connections. Never use excessive force or tools on a stuck valve. If it leaks or will not close, stop and contact a plumber.
Drain the Toilet Tank and Remove Remaining Water
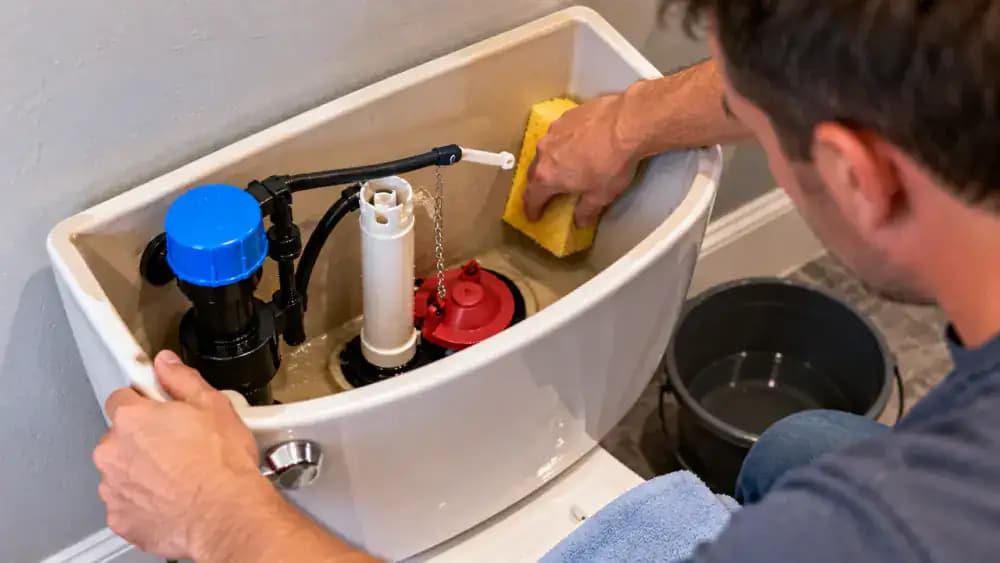
With the water supply shut off, press the flush handle once to drain most of the water from the tank. Watch the water level fall and confirm that no fresh water enters afterward. A small amount may remain around the flapper and flush valve opening. Use a clean sponge to absorb any remaining water if needed. Work carefully around the exposed components and keep the surrounding bathroom floor dry.
Carefully Disconnect and Remove the Worn Toilet Flapper
With the water supply turned off and the tank drained, unhook the flapper chain from the flush lever. Locate the rubber mounting ears attached to the pegs beside the overflow tube. Gently release each ear from its peg, then lift the old flapper out of the tank. Avoid pulling on the overflow tube or bending plastic fittings. If the rubber is brittle or stuck, work slowly and never force the connections.
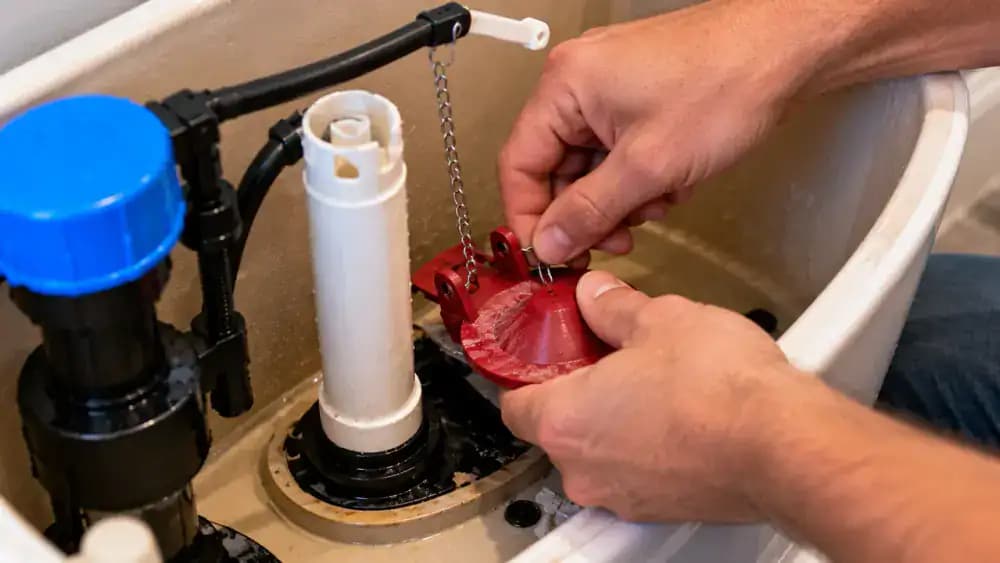
Clean the Flush Valve Seat Before Installing the New Flapper
With the old flapper removed and the water supply off, examine the circular flush valve seat for mineral deposits, dirt, and rubber residue. Gently wipe the sealing surface with a soft, damp cloth, working around the entire rim to remove loose buildup. Avoid abrasive cleaners, scraping tools, or excessive pressure that could damage the surface. Check for cracks, chips, or uneven areas that might prevent the replacement flapper from sealing properly.
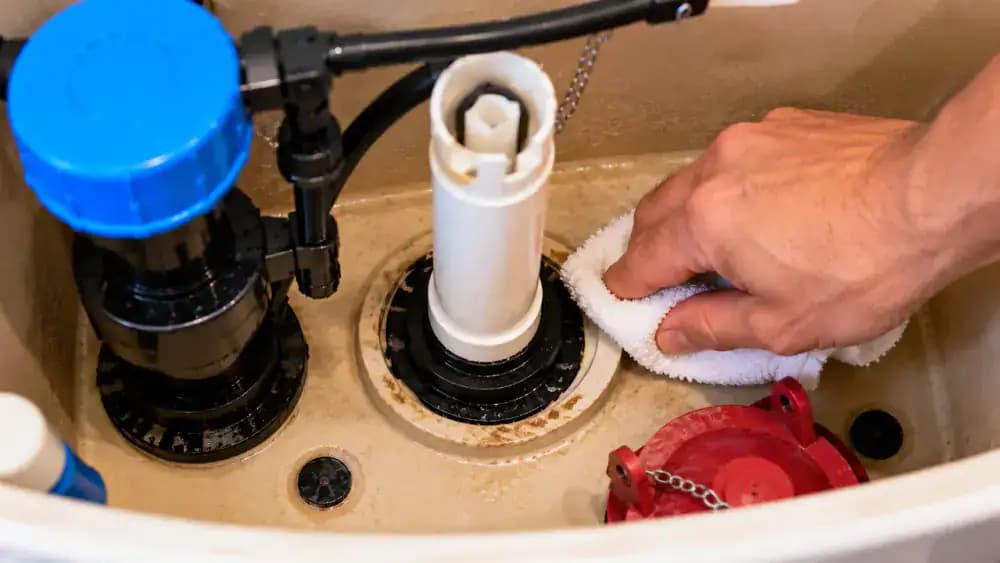
Attach the New Flapper and Check That It Seals Evenly
With the water supply off, position the compatible replacement flapper above the clean flush valve opening. Align its flexible rubber mounting ears with the pegs beside the overflow tube. Gently attach one ear, then the other, following the manufacturer's instructions without forcing the plastic fittings. Lower the flapper onto its seat and check that the sealing edge rests evenly. Lift it slightly and release it to confirm that it pivots freely.
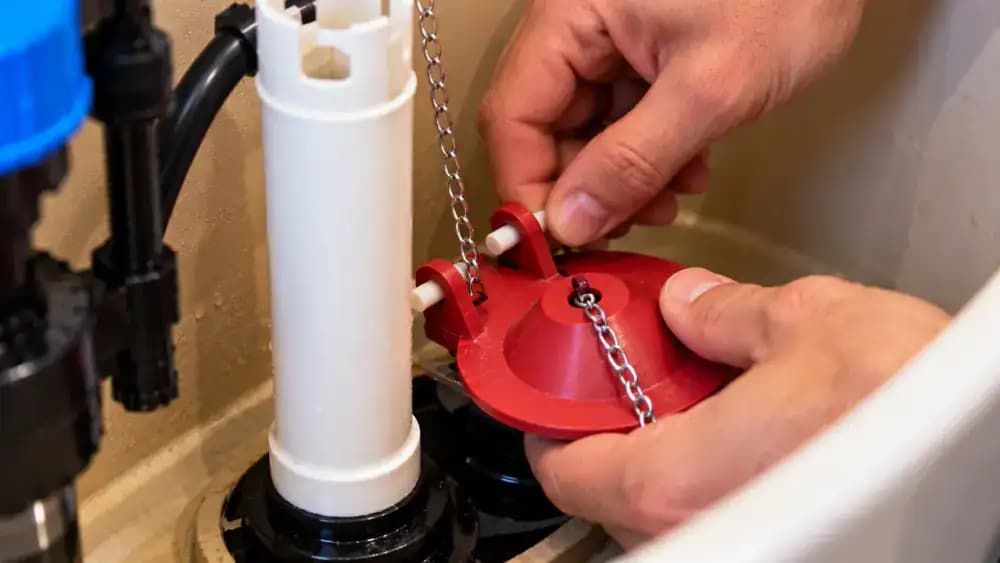
Reconnect the Flapper Chain and Adjust Its Slack
With the water supply still off, attach the new flapper's chain to the appropriate hole on the flush lever. Leave a small amount of slack when the handle rests and the flapper is closed, following the manufacturer's instructions. Gently press and release the handle to check that the chain lifts the flapper and then relaxes completely. Make sure the chain hangs freely without catching on the float, overflow tube, or nearby components.
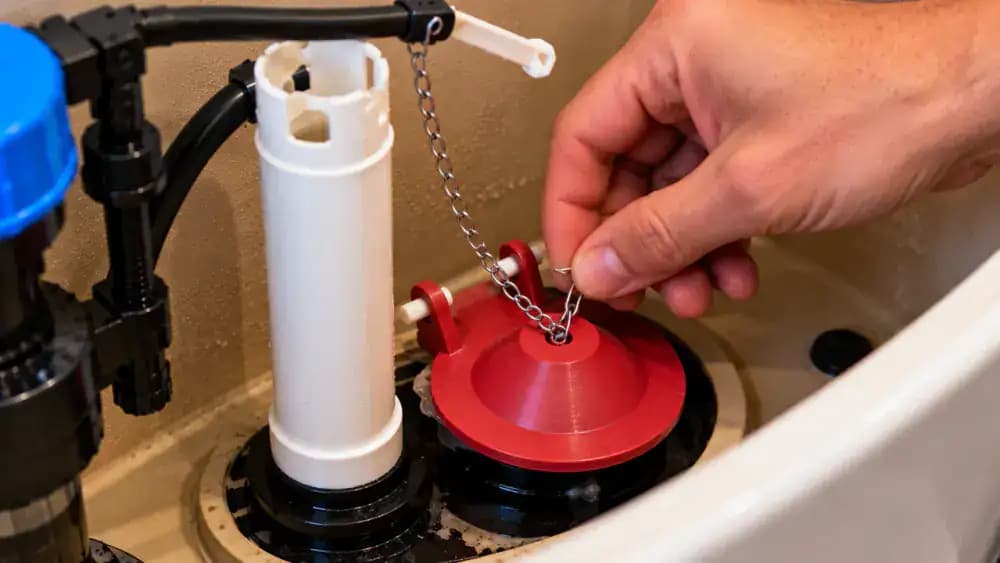
Turn the Water Back On and Monitor the Tank as It Refills
Slowly reopen the toilet's water supply valve, following its design without forcing the handle. Watch the open tank as water enters, the float rises, and the new flapper remains seated over the flush valve. Check that the water approaches the manufacturer's recommended fill level below the overflow tube. Inspect the exterior supply connection and surrounding floor for moisture. If water leaks outside the tank, shut off the supply if safe and contact a plumber.
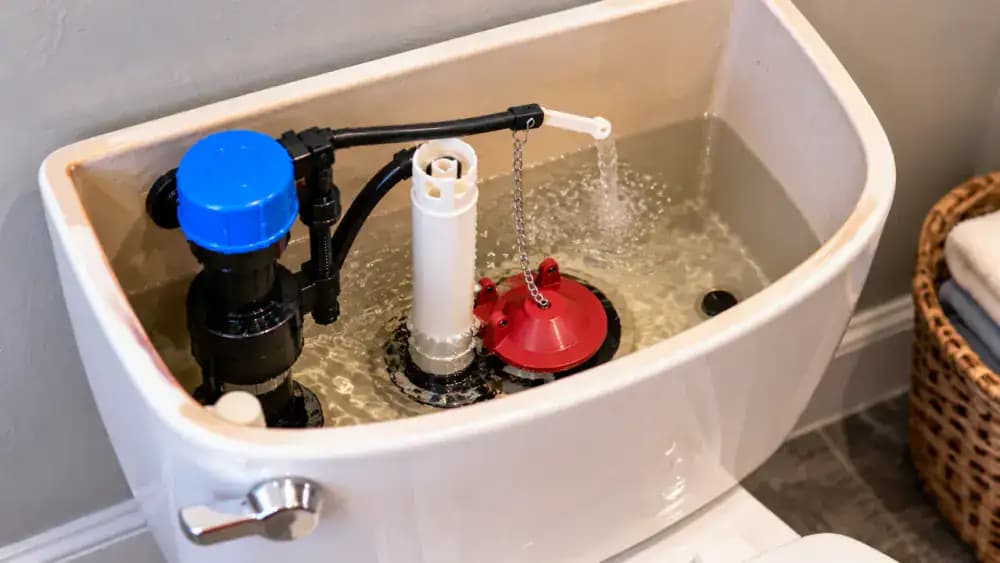
Verify That the Fill Valve Shuts Off at the Correct Water Level
Watch the final moments of the tank's refill cycle. As the water reaches the manufacturer's marked fill level, the float should reach its shutoff position and the fill valve should stop supplying water. Confirm that the water remains below the overflow tube opening. Listen for persistent hissing and watch for continued flow. If water keeps entering after reaching the correct level, the fill valve may be malfunctioning and require professional attention.
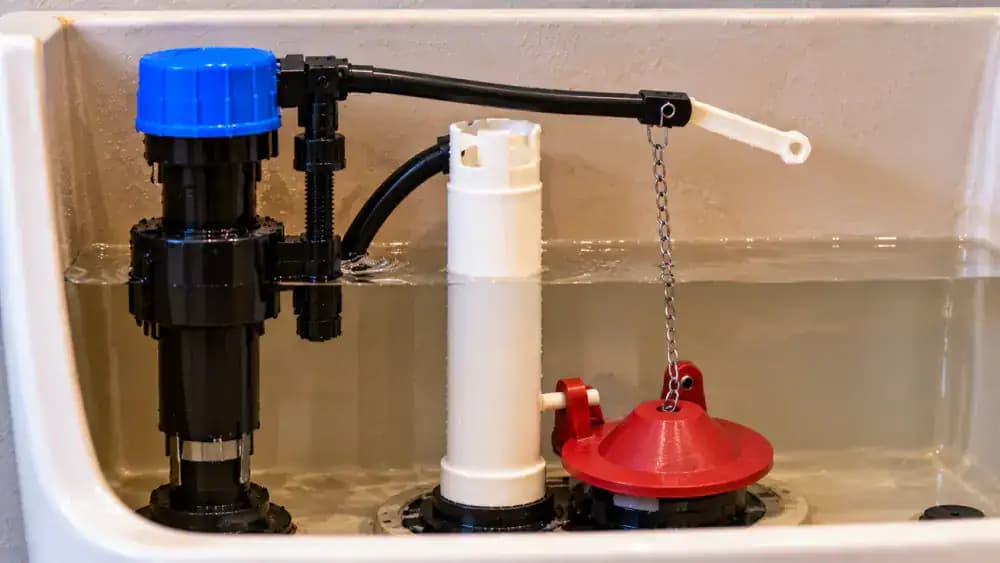
Test Several Flush Cycles to Check the New Flapper Seal
Flush the toilet three times, allowing the tank to refill completely between each cycle. Press and release the handle once per flush while watching the new flapper lift and settle evenly onto its seat. Check that the chain relaxes without tangling and the fill valve stops at the correct water level. Listen for continued running water after each refill. Normal operation during these checks is encouraging but does not rule out a slow leak.
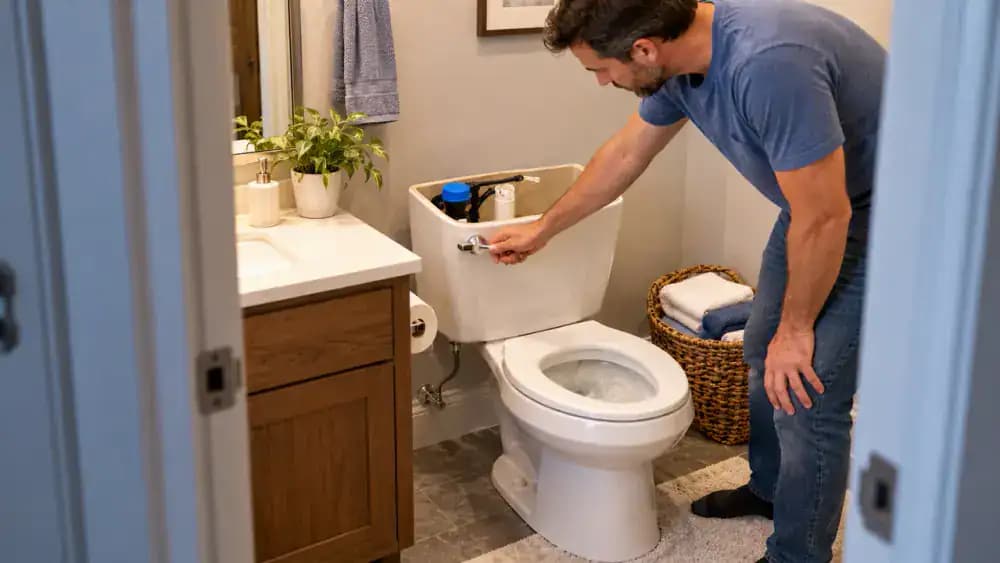
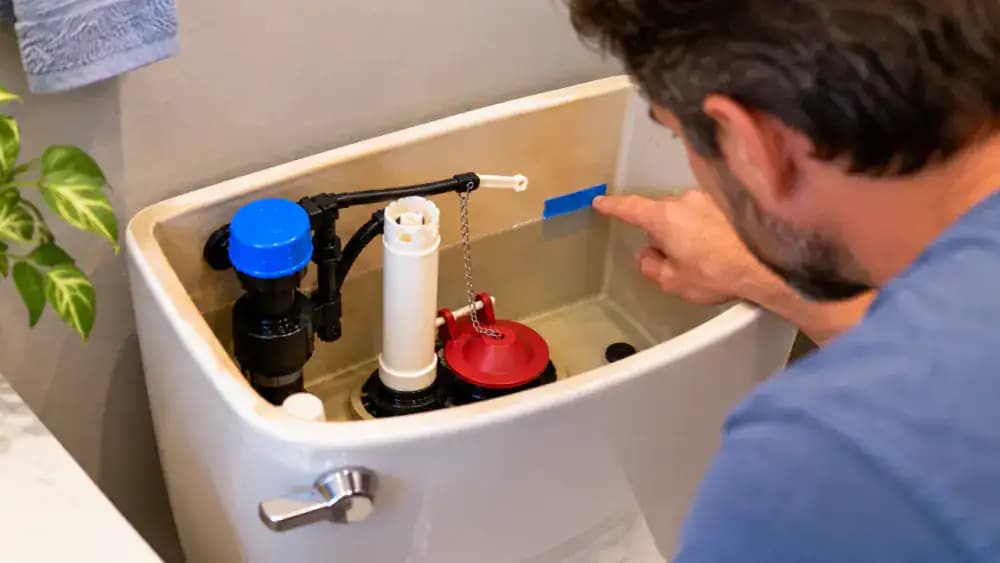
Check for Slow Water Leaks With a 30-Minute Tank Test
Let the tank refill completely and wait until the fill valve stops. Place a small piece of removable tape on the dry interior tank wall, aligning its lower edge with the waterline. Gently close the water supply valve if it operates safely. Leave the toilet unused for 30 minutes, then compare the water level with your reference. A noticeable drop may indicate water escaping past the flapper or another internal seal.
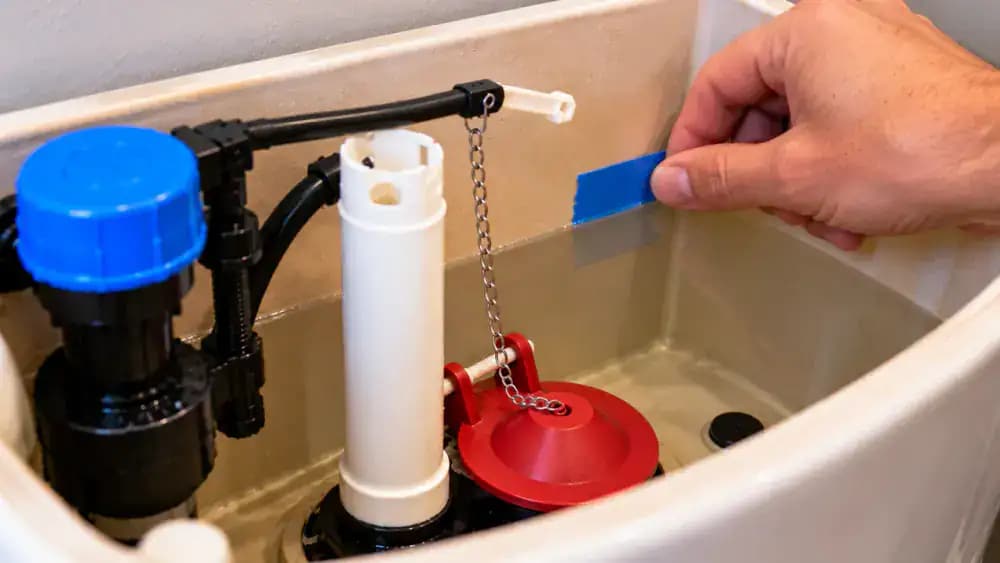
Review the Leak Check Results and Restore the Water Supply
Compare the tank's current water level with your tape reference. A lower level suggests a possible internal leak, so visually check that the new flapper sits evenly and the chain hangs freely. An unchanged level is encouraging but does not rule out every leak. Remove the tape, gently reopen the water supply valve, and watch the tank refill. Confirm that water stops at the recommended level below the overflow tube.
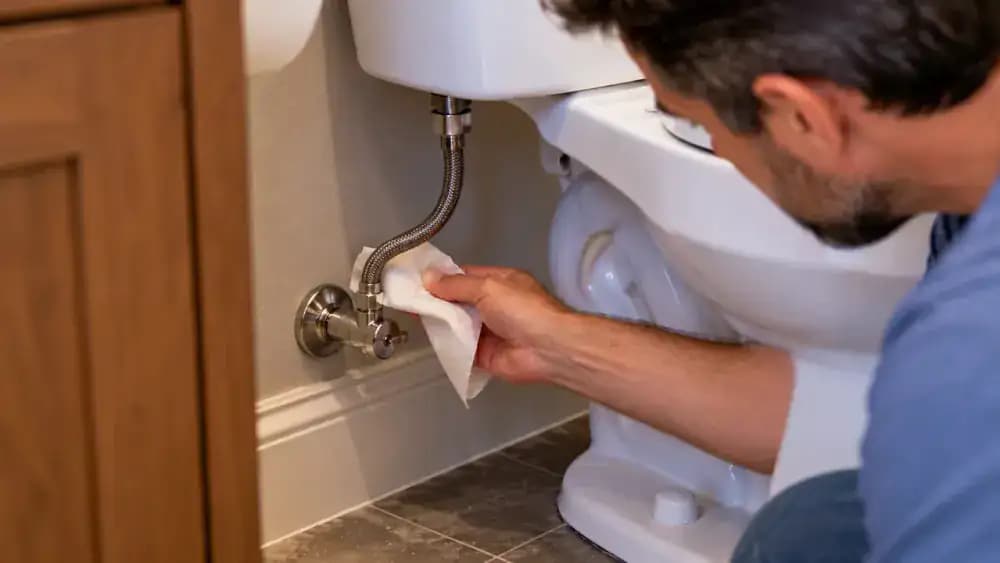
Inspect the Toilet Supply Line and Floor for External Leaks
Examine the flexible water supply line, shutoff valve, and connections beneath the toilet tank for signs of moisture. Gently press a clean, dry paper towel against accessible exterior surfaces without twisting or loosening any fittings. Check the tank-to-bowl connection area, then inspect the floor around the toilet base for dripping or pooled water. Use a fresh section of the towel for each connection to help identify where moisture appears.
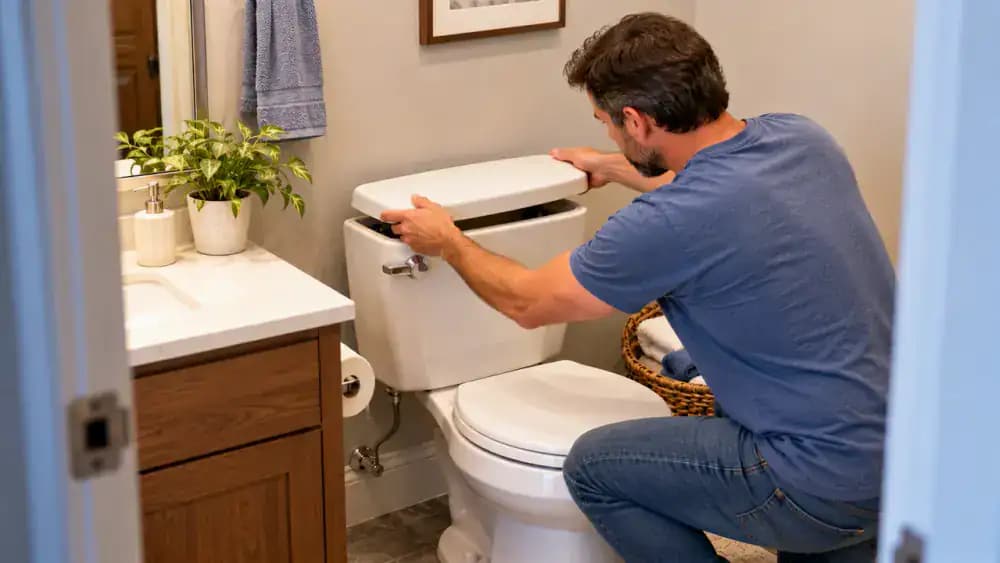
Replace the Tank Lid and Clean Up the Work Area
Once the toilet operates normally and all exterior connections are dry, check that the chain, float, and flush lever have enough clearance beneath the tank lid. Lift the porcelain lid with both hands and carefully lower it onto the tank, making sure it sits evenly without pressing on internal components. Put away your tools, remove used towels, and dry nearby surfaces. Continue listening for unexpected running water or refilling sounds.
Prevent Future Running Toilet Problems With Simple Maintenance
Make a habit of listening for unexpected tank refilling between flushes, especially when nobody has used the toilet. Periodically press and release the flush handle to confirm it returns freely, and inspect the supply connections and surrounding floor for moisture. Avoid harsh chemical in-tank cleaning tablets that can deteriorate rubber seals. If running water returns, check the flapper and tank fill level promptly to prevent unnecessary water waste.
Call a Qualified Plumber for Serious Toilet Problems
Contact a qualified plumber if the toilet's shutoff valve fails, the porcelain tank is cracked, or water leaks from the supply line or outside the tank. Persistent running after basic adjustments may indicate a defective fill valve or damaged flush valve seat. Point out any visible moisture, cracks, or unusual refill behavior during the inspection. Avoid forcing fittings, overtightening connections, or attempting repairs beyond your experience, especially when water is escaping.
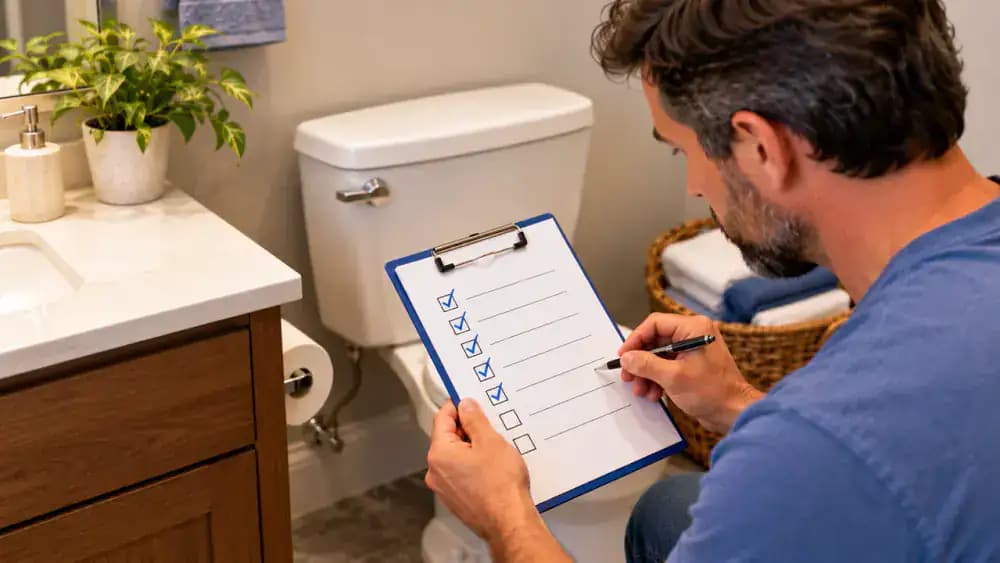
Check Five Key Areas Before Considering the Repair Complete
Review the flapper, chain, float, fill valve, and exterior water connections before considering the job finished. Confirm that the flapper sits evenly, the chain has proper slack, and the float reaches the recommended water level. Verify that refilling stops below the overflow tube and all visible connections remain dry. Continue monitoring for unexpected running water. If problems persist or external leaks appear, contact a qualified plumber.
A toilet that keeps running after every flush is more than an annoying bathroom noise. Even a small, continuous flow of water can waste gallons throughout the day and increase your water bill. Fortunately, the problem often comes from a simple issue inside the tank rather than a major plumbing failure. A worn flapper, tangled chain, incorrectly adjusted float, or malfunctioning fill valve can prevent the toilet from shutting off properly. Understanding which component is responsible can save you time, money, and unnecessary repairs.
Before replacing anything, it's important to observe what happens during a complete flush and refill cycle. Water flowing into the overflow tube points to a different problem than water leaking past the flapper into the bowl. This guide walks you through identifying the cause, making safe adjustments, replacing a damaged flapper, and checking that the toilet shuts off correctly. Always turn off the water supply before replacing components, and never force tank fittings. If the shutoff valve fails, the tank is cracked, or water leaks outside the tank, contact a qualified plumber.
Where people go wrong
Replacing the Flapper Without Checking the Actual Cause. A worn flapper is a common cause of a running toilet, but it is not always responsible. Watch a complete flush and refill cycle before replacing parts. Water entering the overflow tube may indicate a float or fill valve problem rather than a leaking flapper.
Leaving the Flush Chain Too Tight or Too Loose. A chain that is too tight can prevent the flapper from sealing, allowing water to leak continuously into the bowl. Excessive slack can interfere with flushing or become trapped beneath the flapper. Adjust the chain so the flapper closes completely and the handle moves freely.
Adjusting the Float Without Checking the Water Level. Changing the float setting without checking the overflow tube can leave the tank filling too high or too low. Observe the refill cycle and follow the manufacturer's adjustment instructions. If the fill valve continues running despite proper adjustment, contact a qualified plumber rather than forcing components.
Replacing Parts Without Shutting Off the Water or Testing for Leaks. Always turn off the toilet's water supply before replacing internal components. Never force a stuck shutoff valve or overtighten fragile porcelain connections. After restoring water, perform several flushes and check for proper shutoff and external leaks. Call a plumber for cracked tanks or leaking supply lines.
Questions people ask
A toilet usually keeps running because water continues escaping from the tank or the fill valve fails to shut off. Common causes include a worn flapper, improperly adjusted chain, incorrect float setting, or faulty fill valve. Remove the tank lid carefully and observe a complete flush cycle to identify the problem.
Fixed it?
Get one guide like this every Thursday.