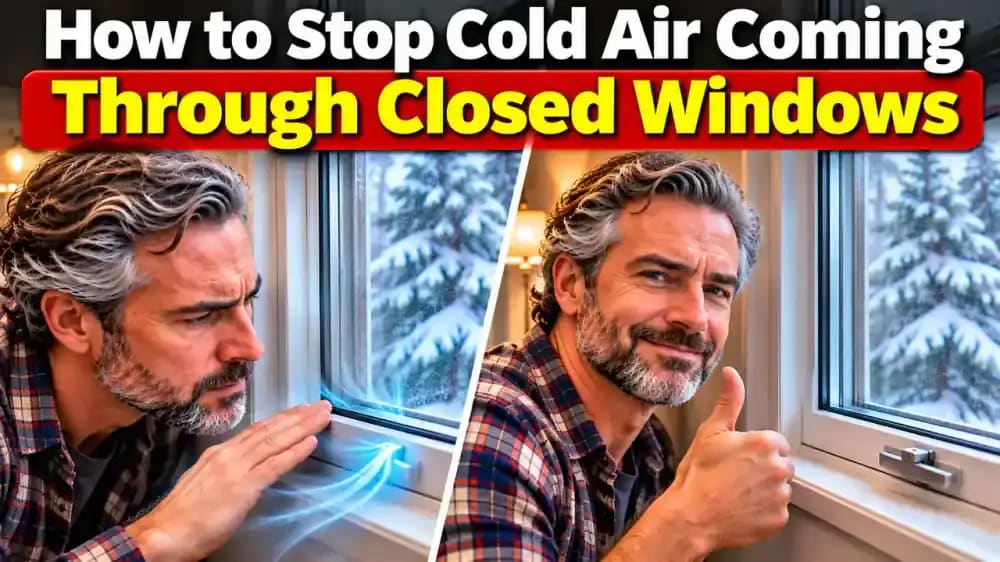
How to Stop Cold Air Coming Through Closed Windows
Feeling a cold draft even when your windows are shut? Learn how to find air leaks, inspect worn seals, install weatherstripping, and keep cold air out without replacing the entire window.
What you’ll need
Tap to tick things off before you start.
Check Where the Cold Air Might Be Entering
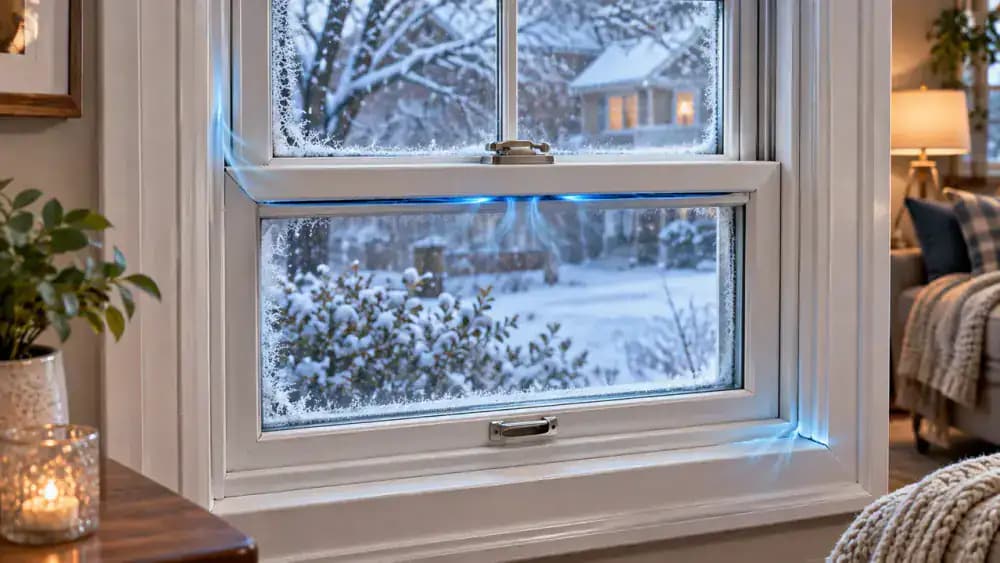
Sit near the closed window and notice where the cold sensation is strongest. Pay attention to the lower sash, meeting rail, and surrounding frame, where worn seals or small gaps may allow outdoor air inside. Even with the heating system running, these areas can feel uncomfortable. Before considering replacement, look for visible gaps or deteriorated weatherstripping. Remember that cold glass alone can also make nearby air feel chilly.

Inspect the Sash, Meeting Rail, and Interior Trim
With the window fully closed and locked, examine three common trouble spots from inside your home. Point along the vertical edges of the lower sash, inspect the horizontal meeting rail where the sashes meet, and check the joints between the frame and interior trim. Look for visible gaps, worn seals, or uneven alignment. Hold your hand near the glass to recognize surface coldness, which does not necessarily indicate an air leak.
Prepare Your Window Inspection Tools
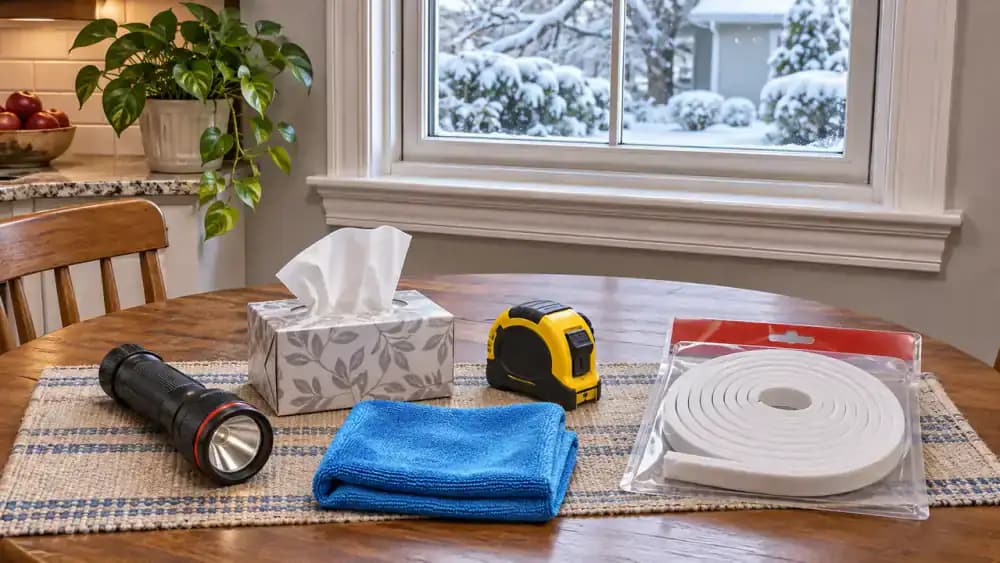
Arrange a compact flashlight, lightweight tissue, measuring tape, and clean microfiber cloth on a nearby table. Switch on the flashlight to confirm it works, then check that the measuring tape extends and retracts smoothly. Keep a package of compatible replacement weatherstripping nearby, but leave it unopened until you identify the problem. Having everything ready makes inspection easier and prevents unnecessary repairs. Perform all checks safely from inside your home.
Clear the Work Area and Check for Window Hazards
Move nearby furniture away from the window to create a clear, safe working area. From inside the room, use your flashlight to locate drainage holes and ventilation openings without touching or blocking them. Check that the window lock and sash remain accessible for emergency escape. Visually inspect the glass and frame for cracks, damage, or water stains. If you find serious defects or persistent water intrusion, contact a qualified professional.

Check Sash Alignment and Engage the Window Lock
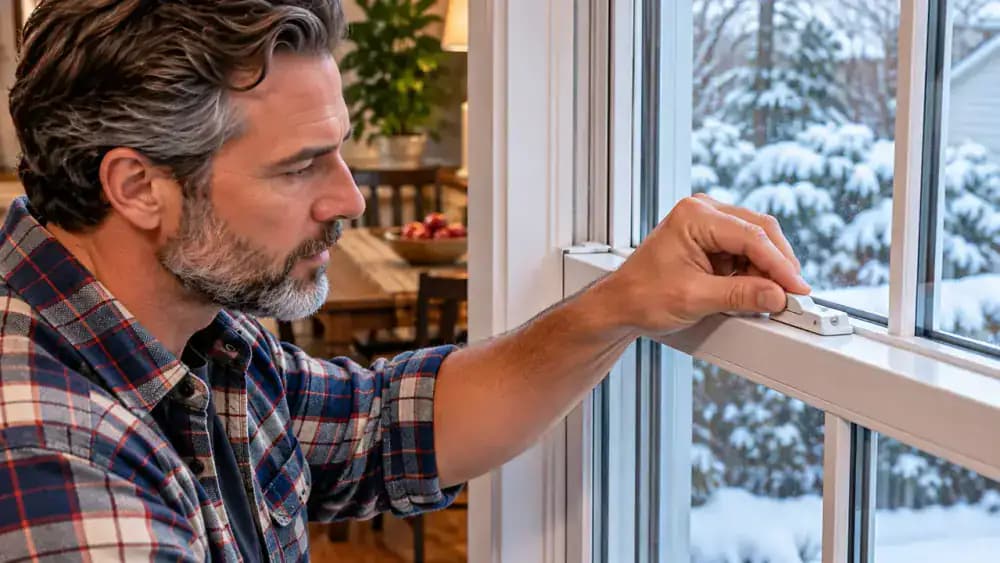
Examine the lower sash from inside and check whether it sits evenly against the window frame. Look closely at the meeting rails to identify any visible gaps or uneven alignment. Gently rotate the cam lock into its fully engaged position without forcing the mechanism. A properly aligned lock helps pull the meeting rails together. If the sash remains uneven or the lock resists closing, note the problem before testing for drafts.
Test for Air Leaks With a Lightweight Tissue
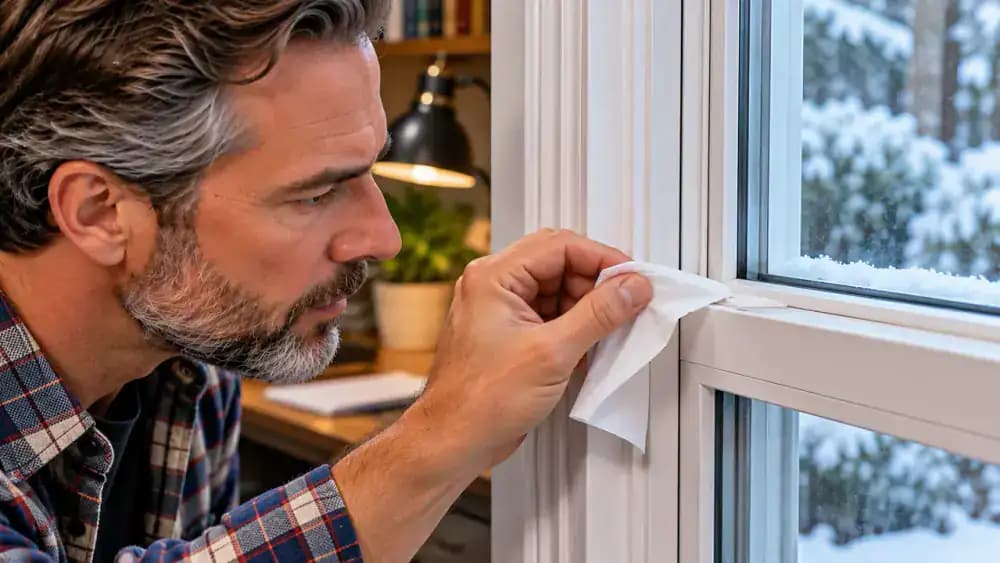
Hold a lightweight tissue about 1 inch from the inside edge of the closed, locked window. Slowly move it along the vertical sash edges, bottom edge, and accessible locking-side joint without touching the glass. Watch for repeated fluttering near a specific location, then mark that spot on a simple window diagram. Windy conditions can make leaks easier to detect, but indoor air currents may also move the tissue.
Check Interior Window Trim for Hidden Gaps
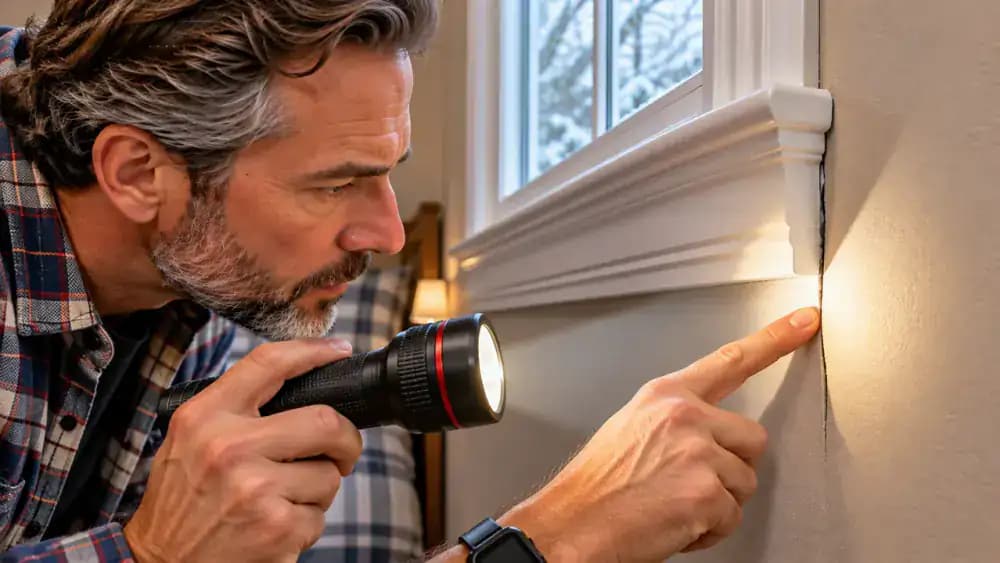
Shine a flashlight diagonally along the joints where the window casing meets the wall, holding it about 4 inches from the surface. Slowly inspect both vertical sides, upper corners, and the accessible area beneath the windowsill. Look for visible separations, cracks, or uneven joints that could indicate potential air leaks. Mark suspicious locations on your window sketch, but remember that superficial paint cracks do not necessarily mean outdoor air is entering.
Distinguish Cold Glass From an Actual Window Draft
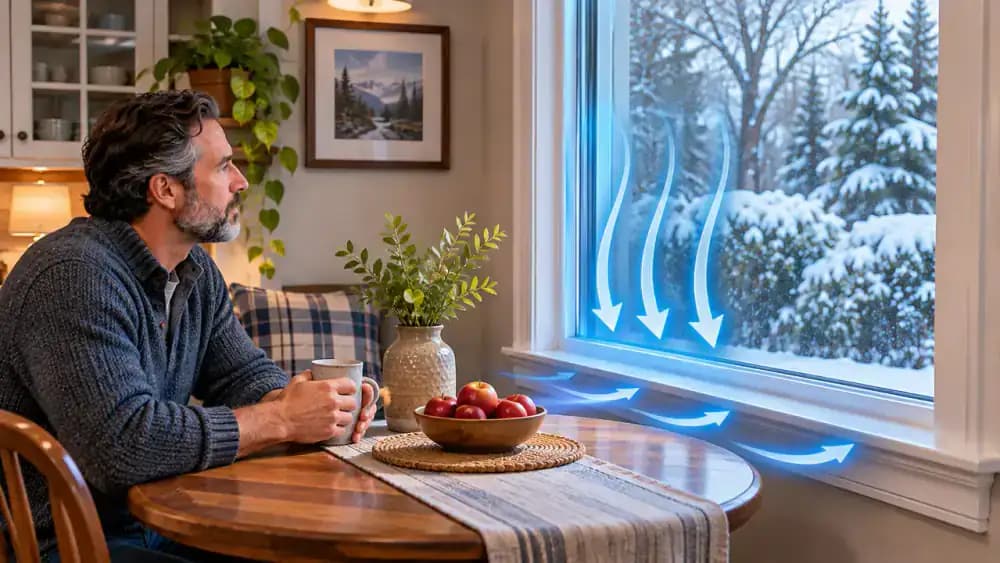
Stand about 18 inches from the closed window and hold your hand near the lower glass without touching it. Warm indoor air cools against cold glass, becomes denser, and moves downward, creating a chilly current inside the room. This natural convection can feel like outdoor air leaking through the window. If earlier inspections revealed no consistent airflow near the frame, replacing weatherstripping may not solve the discomfort.
Identify Surface Condensation and Failed Glass Seals
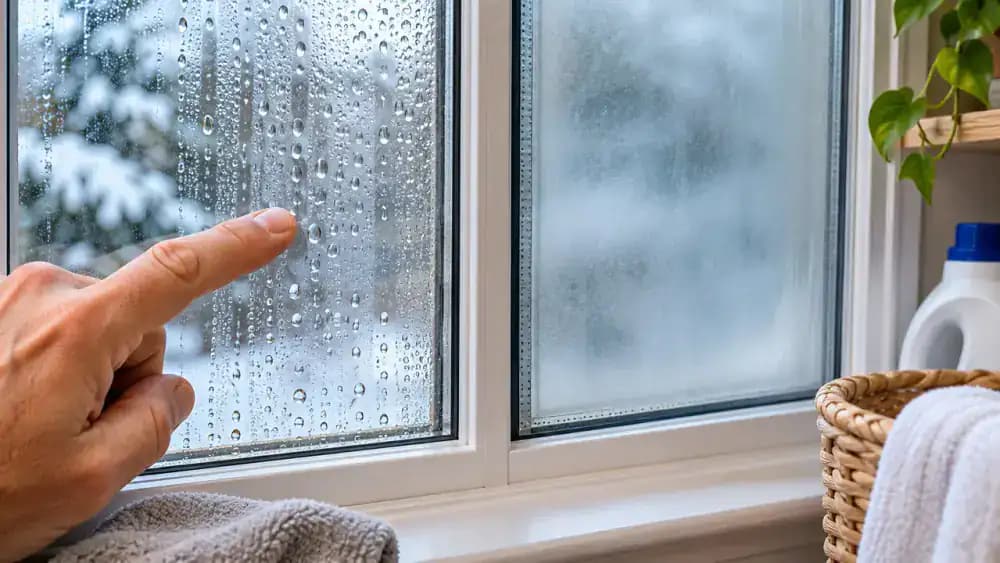
Examine where moisture appears on your double-pane window. Gently wipe a small area of the indoor glass surface with a clean, dry microfiber cloth. If the droplets disappear, the moisture is surface condensation, often related to indoor humidity and cold glass. Fogging trapped between the panes cannot be wiped away and may indicate a failed insulated glass seal. Weatherstripping will not fix this problem, so consult a qualified window professional.
Examine Window Weatherstripping for Signs of Wear
Unlock the window and gently raise the lower sash about 6 inches while working entirely from inside. Examine the exposed weatherstripping along the accessible sash contact surfaces. Look for flattened foam, cracked rubber, peeling adhesive, or missing sections that could prevent a consistent seal. Lightly touch an accessible section to check its condition without pulling it loose. Note the original seal's shape and position before selecting compatible replacement material.
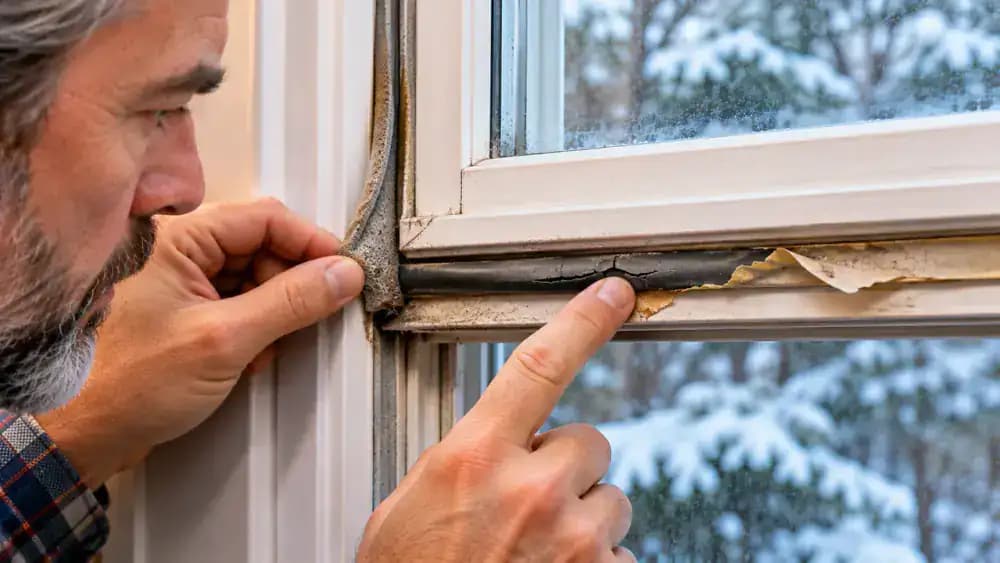
Check Weatherstripping Fit and Seal Thickness
Examine the weatherstripping channel along the accessible window sash and look for sections that have shifted, curled, or pulled away. Compare the existing seal profile with a manufacturer-compatible replacement sample. A seal that is too thin may leave gaps, while an oversized seal can prevent smooth closing or proper locking. Check that the replacement matches the original channel and provides consistent contact without excessive compression or interfering with window operation.
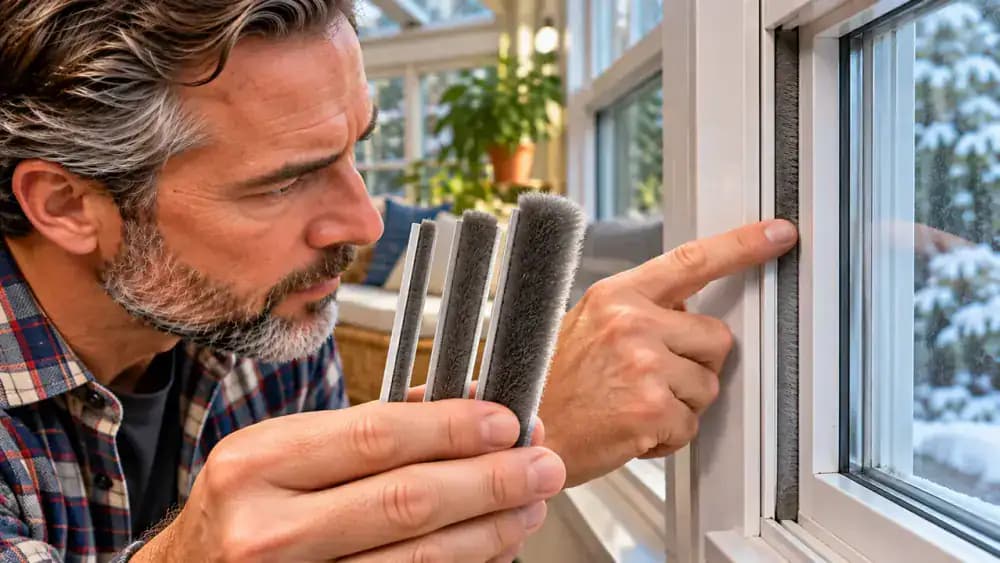
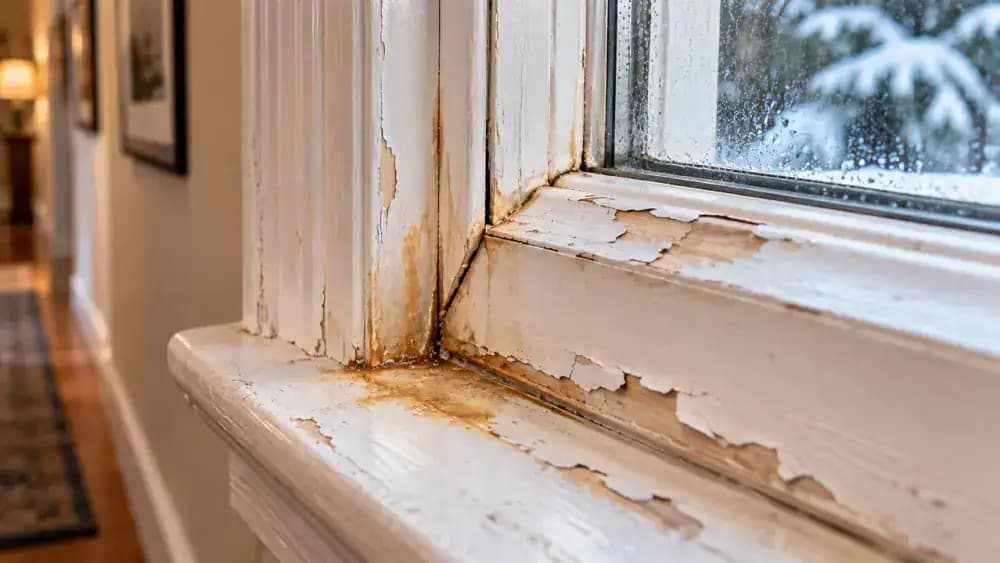
Inspect the Window Frame for Water Damage and Deterioration
Examine the lower frame corners, windowsill, and surrounding joints for peeling paint, water stains, warping, or visible deterioration. Shine a flashlight at a shallow angle to reveal surface irregularities without scraping or disturbing the material. Minor paint wear may be cosmetic, but recurring moisture or a distorted frame suggests a more serious problem. Record suspicious areas on your inspection checklist and arrange professional evaluation if significant damage or water intrusion is present.
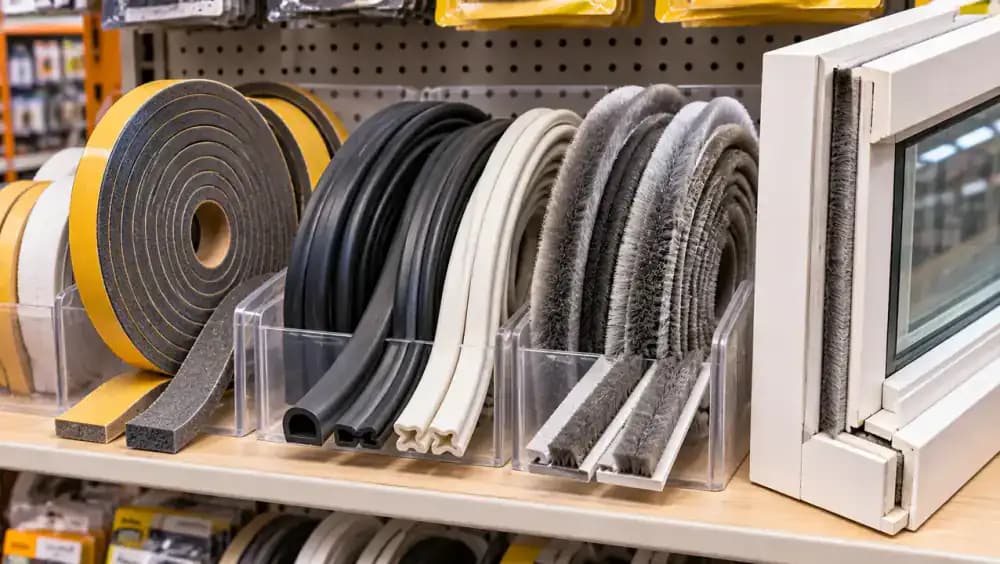
Select Weatherstripping That Matches Your Window
Compare your window's original seal profile with replacement options at a home improvement store. Check the manufacturer's compatibility guidance and review package specifications for material type, thickness, and installation requirements. Foam tape, rubber gaskets, and brush seals are designed for different applications, so choose the appropriate profile rather than the thickest option. Keep the original seal measurements handy and confirm that the replacement allows normal sash movement and secure locking.
Measure Each Weatherstripping Section Before Cutting
Open the lower sash normally while standing safely inside. Place the measuring tape's hook at one corner of the accessible sealing surface and extend it along the straight edge without bending around corners. Read the measurement in inches, then measure horizontal sections separately. Record each length in a notepad to avoid cutting mistakes. Before proceeding, confirm that the replacement material will not obstruct drainage openings, locking hardware, or moving window components.
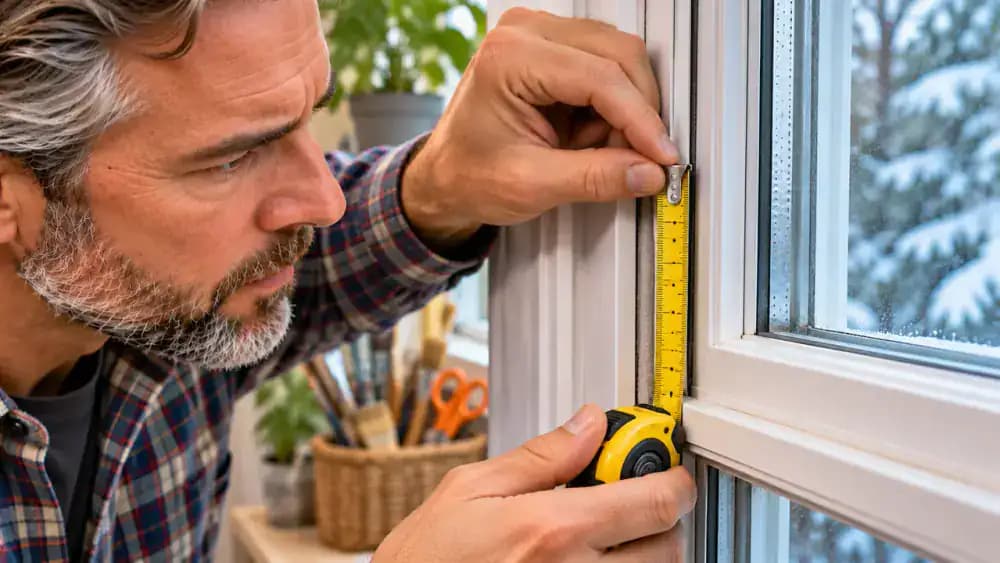
Remove Old Weatherstripping and Clean the Contact Surface
Gently peel away deteriorated adhesive weatherstripping if it is designed for removal, taking care not to damage the window finish. Wipe the exposed sealing surface with a microfiber cloth and a manufacturer-approved cleaner to remove dust, grease, and adhesive residue. Use a separate dry cloth to remove remaining moisture, then allow the surface to dry completely. Check for leftover debris before installing the replacement, and keep drainage openings clear.
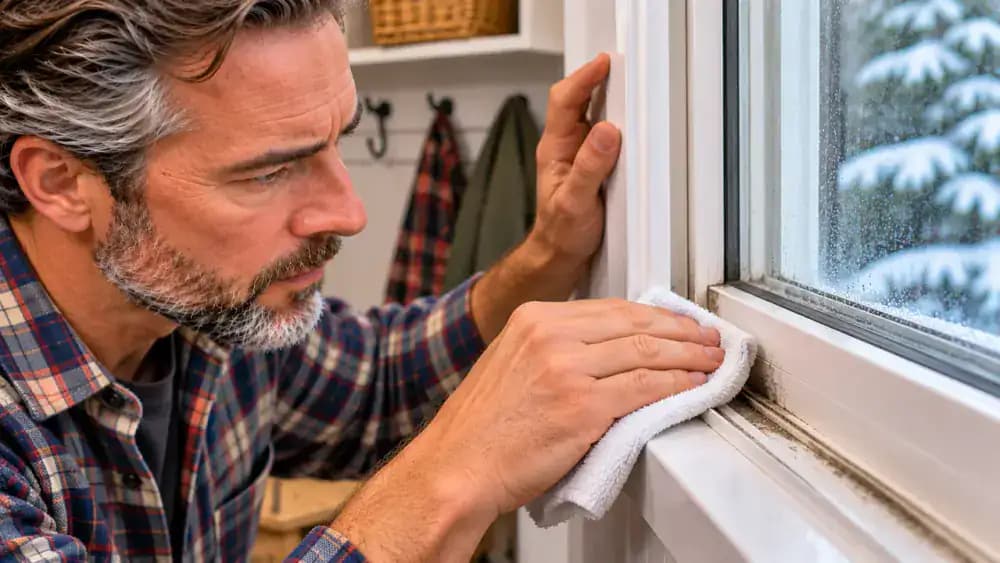
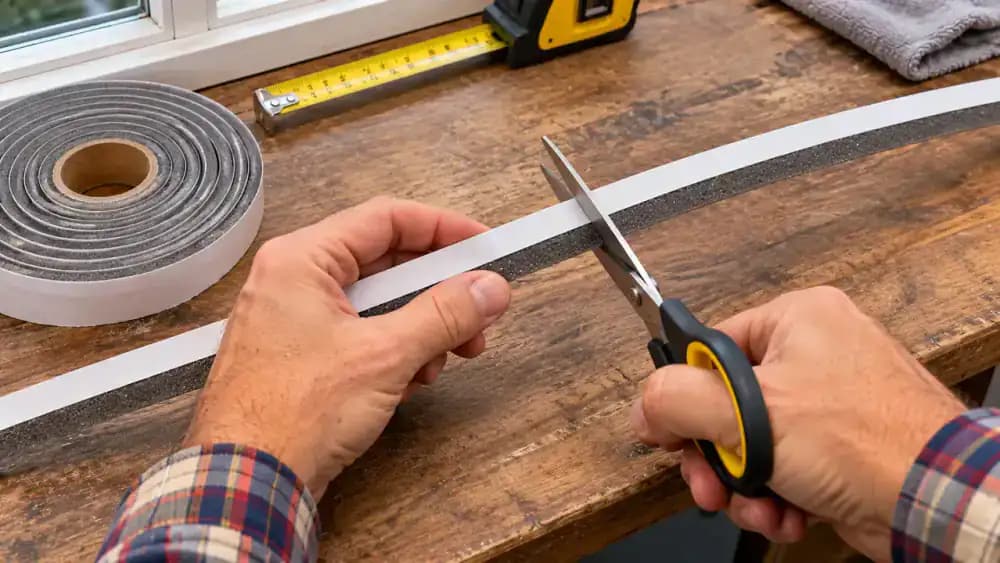
Measure, Mark, and Cut Replacement Weatherstripping
Lay the replacement weatherstripping flat on a stable work surface with its adhesive backing still attached. Use your recorded measurements and a measuring tape to mark each required length, such as the 24-inch section shown. Cut straight across the mark with household scissors if approved by the manufacturer, keeping your fingers clear of the blades. Avoid stretching the foam, and double-check each finished piece against your measurements before installation.
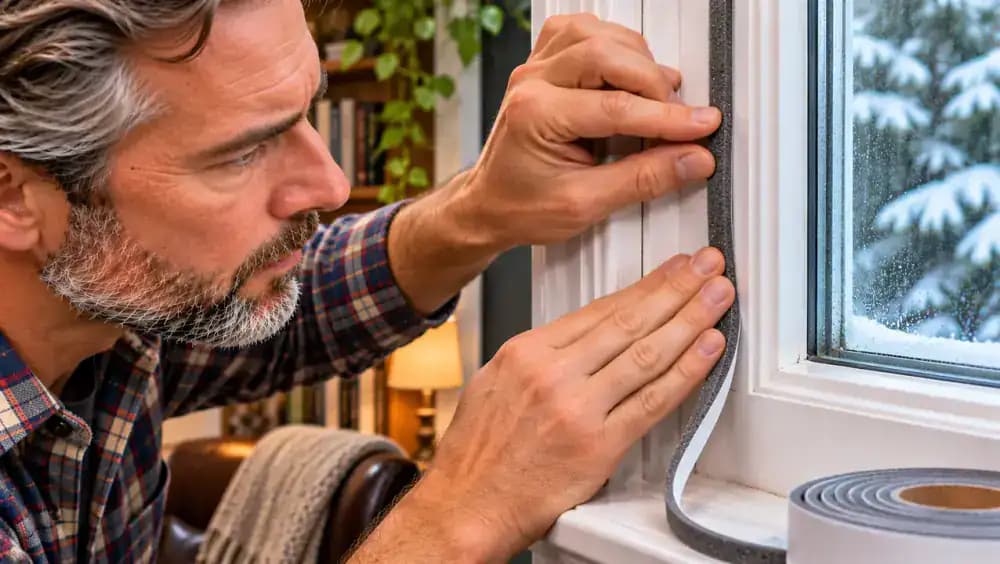
Apply Adhesive Weatherstripping to the Window Frame
Peel approximately 3 inches of protective backing from one end of the precut weatherstripping. Align the exposed adhesive with the manufacturer's designated sealing surface on the clean, dry window frame. Press the first section gently into place, then gradually remove more backing while working along the frame. Keep the strip straight without stretching or overlapping it. Apply even pressure as directed, ensuring hinges, locks, and drainage openings remain unobstructed.
Inspect Weatherstripping Corners for Gaps and Overlaps
Examine each corner where two installed weatherstripping strips meet, checking that their ends fit neatly without gaps or overlapping material. Gently press the final inch of each strip against its designated contact surface without stretching or excessively compressing it. Follow the manufacturer's instructions for joining corners, since different seal profiles require different methods. Check that nearby hinges, locking hardware, ventilation openings, and drainage paths remain completely unobstructed.
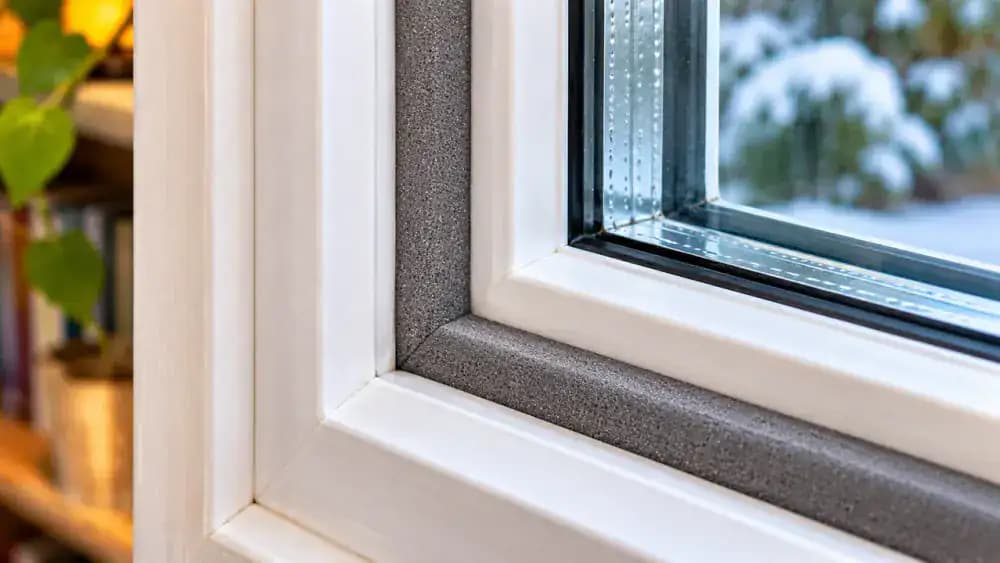
Verify Smooth Window Closure and Locking
Gently turn the window crank to bring the sash against the newly installed weatherstripping. Watch that the seal makes even contact without folding, bunching, or excessive compression. Engage the locking handle using normal hand pressure, then unlock and reopen the window to confirm smooth operation. If the sash resists closing or the lock requires force, check the seal's thickness and placement before proceeding. Keep drainage openings and emergency access unobstructed.
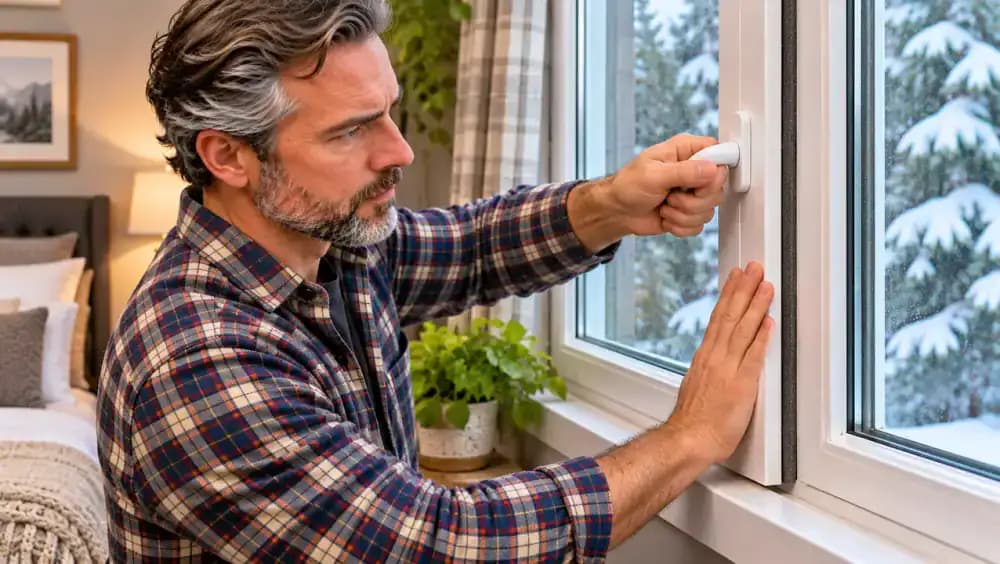
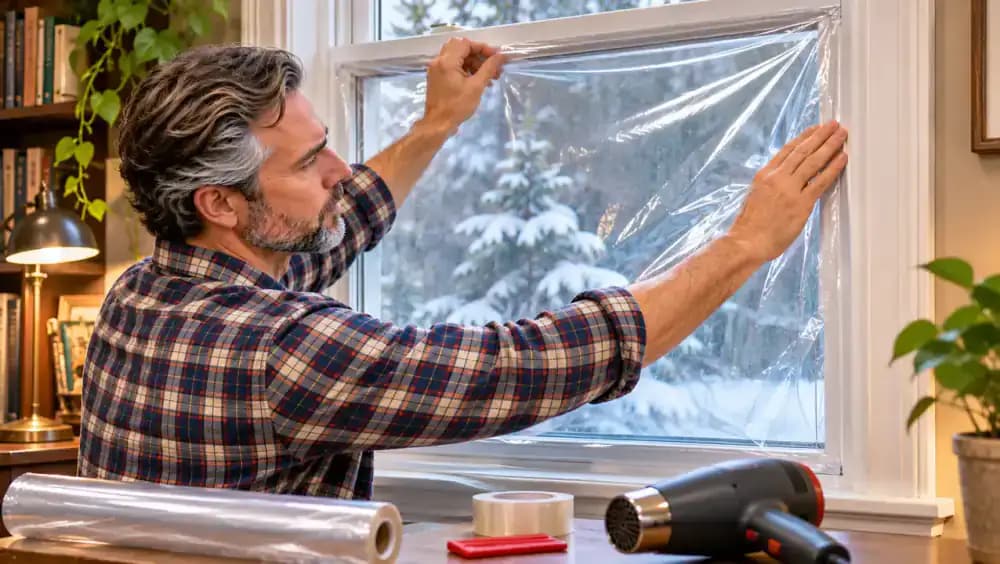
Install Removable Window Film to Reduce Cold Glass Discomfort
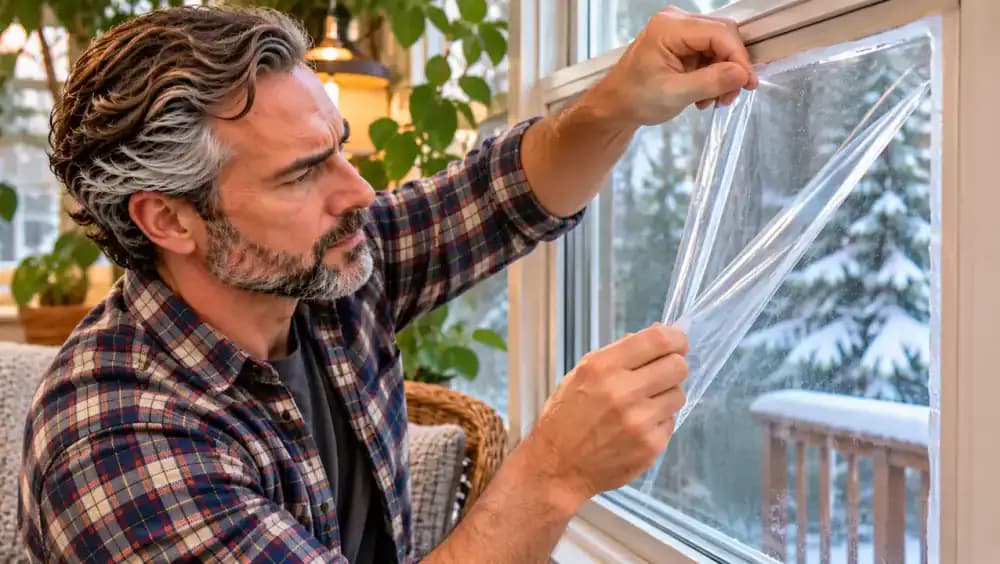
Check that a removable insulation film kit is compatible with your fixed window and painted trim. Clean and dry the designated mounting surfaces, then apply the supplied tape according to the manufacturer's instructions. Carefully position the transparent film over the opening, creating an insulating air space between the film and glass. If permitted, smooth wrinkles with a hair dryer using the specified settings. Ensure removal will not damage the finish.
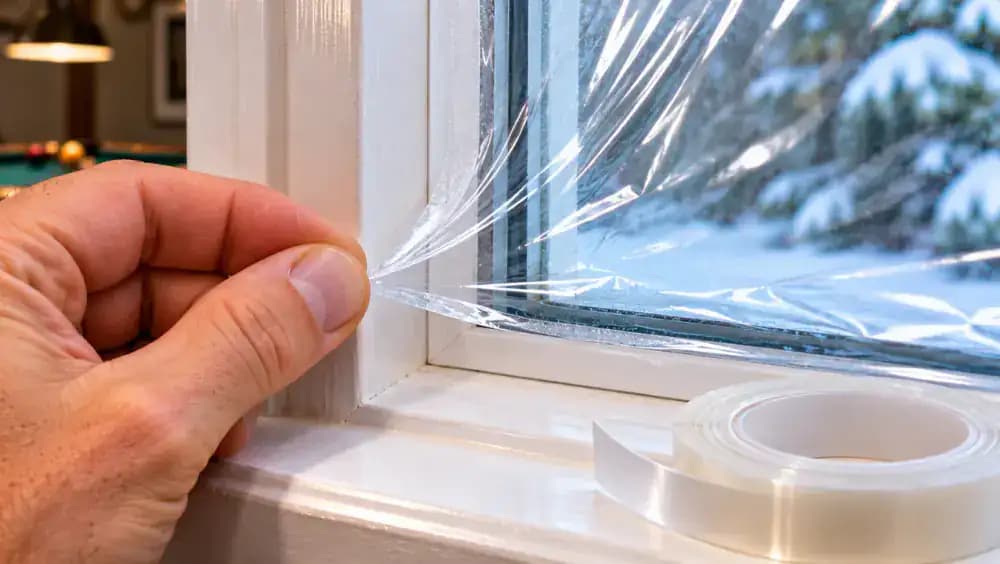
Check Window Film Edges for Loose Tape and Wrinkles
Examine the installed window film from inside, checking the upper mounting tape, side edges, and lower corners for loose adhesion, wrinkles, or damaged sections. If an accessible edge has lifted, gently press it back onto the approved mounting tape using your fingertips. Avoid stretching or tearing the film. Inspect the entire perimeter for consistent attachment, and confirm that ventilation openings, drainage paths, and emergency escape routes remain unobstructed.
Retest Window Drafts After Installing New Weatherstripping
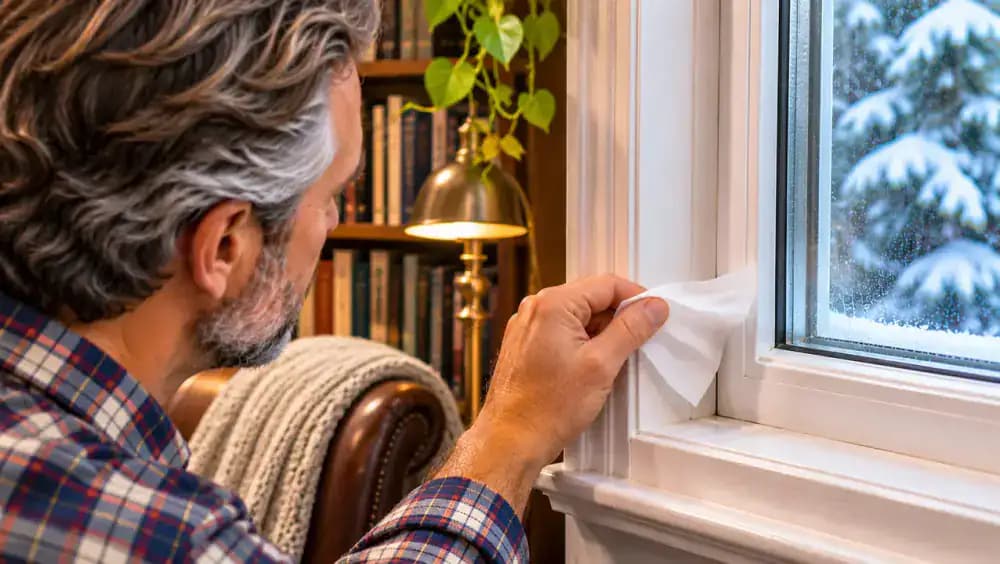
Close and lock the repaired window, then review your original diagram of suspected draft locations. Hold a lightweight tissue about 1 inch from the lower sash, meeting rail, vertical edges, and corners. Watch for consistent movement without touching the glass or disturbing the new seals. Compare your observations with earlier checks under similar wind and indoor conditions. Reduced tissue movement may suggest improvement, but it does not prove an airtight seal.
Confirm Window Operation, Drainage, and Emergency Access
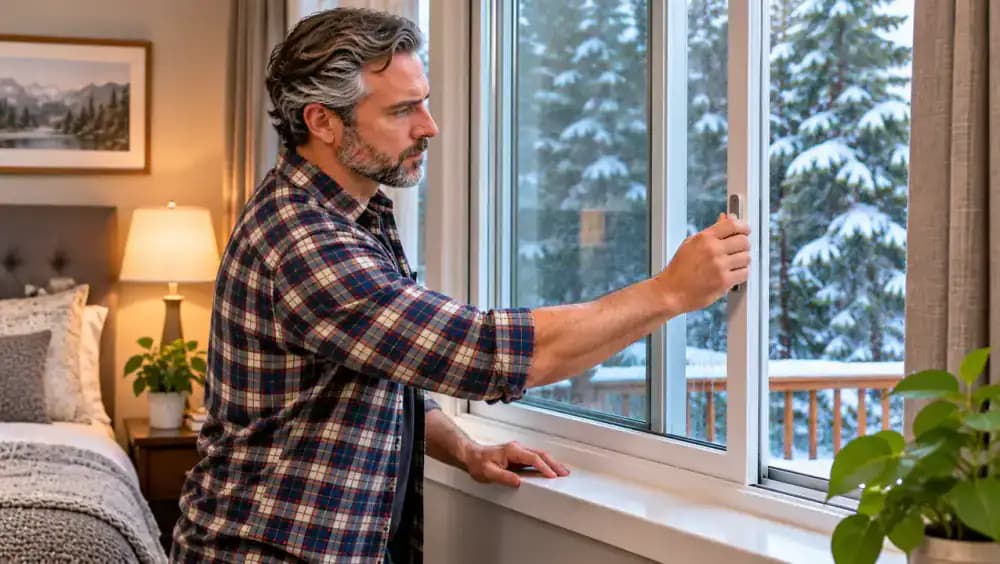
Unlock the repaired sliding window and move the sash along its track using normal hand pressure. Check that it slides smoothly without catching or displacing the new weatherstripping. Inspect the accessible track to confirm that drainage openings remain clear, without inserting tools. Close and lock the window, then reopen it to verify normal operation. Keep the surrounding floor space clear and ensure any required emergency escape function remains fully usable.
Inspect for Remaining Drafts, Moisture, and Loose Seals
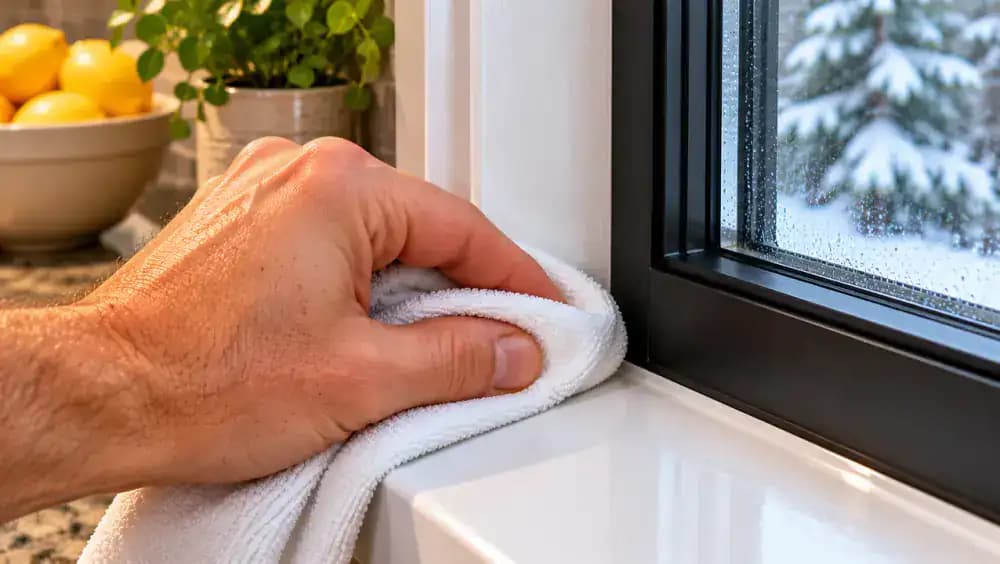
Review your inspection checklist and examine the window's interior corners, sash joints, and surrounding trim for remaining drafts, discoloration, or loose weatherstripping. Briefly press a clean, dry cloth against an accessible sill corner to check for moisture. Hold your hand several inches from the glass to assess cold spots without assuming they indicate air leaks. Record observations separately for drafts, moisture, and seal condition. Avoid adding sealant without identifying the cause.
Document Persistent Window Problems and Contact a Professional
Photograph any persistent gaps, water stains, or visible frame damage using your smartphone without disturbing the affected materials. Record each problem's location, the date, and whether drafts or moisture continue after weatherstripping replacement. Poor installation, deteriorated framing, or failed insulated glass seals may require specialized repairs. Share your photographs and inspection notes with a qualified window contractor. Avoid covering suspicious gaps with additional sealant before the underlying problem is diagnosed.

Inspect and Clean Window Seals Before Each Heating Season
Set a reminder each fall to inspect accessible window weatherstripping before colder weather arrives. Open the window normally and examine the rubber seals for loose ends, cracks, flattened sections, or other signs of deterioration. Gently remove ordinary dust with a soft microfiber cloth, following the manufacturer's cleaning instructions. Avoid pulling or stretching attached seals. Close and lock the window afterward, then record any wear that may require replacement before winter.

Clean Window Tracks Without Blocking Drainage Holes
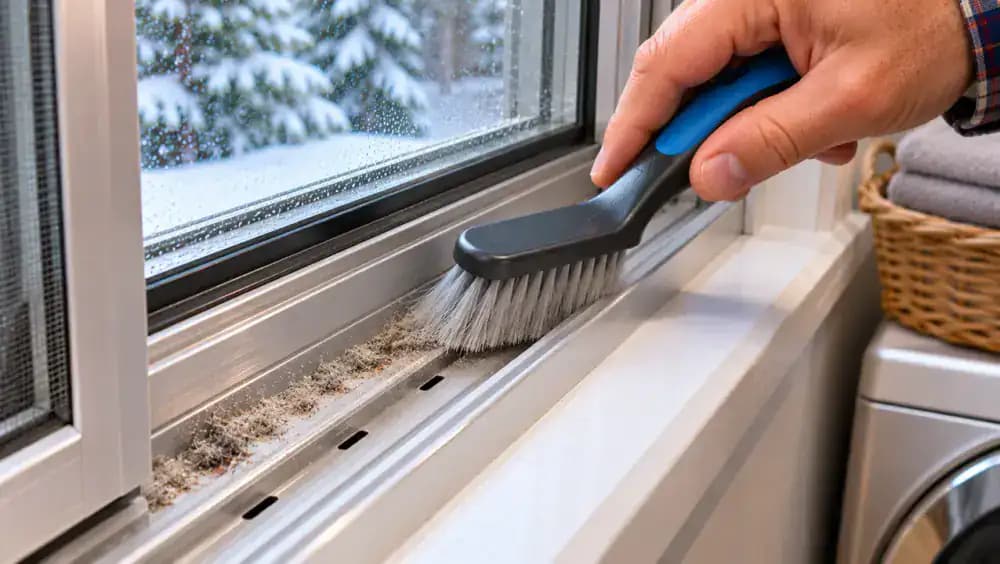
Open the sliding window normally and inspect the accessible interior track for dust, dirt, and loose debris. Use a soft-bristle brush to loosen buildup, then collect it with a dry microfiber cloth. Keep the brush out of drainage openings and avoid disturbing seals or hardware. Check nearby frame corners for fresh moisture without scraping surfaces. Once clean, slide the sash closed and confirm that the lock engages smoothly without force.
Remove Seasonal Window Film Without Damaging Painted Trim
Review the insulation film kit's removal instructions before starting. Lift an accessible corner of the transparent film with your fingertips, then peel it away slowly and evenly without pulling against the painted trim. Remove the mounting tape carefully and clean any remaining adhesive residue using a manufacturer-approved product and soft microfiber cloth. Inspect the exposed trim for peeling paint, moisture, or damage, and confirm the window remains clear of obstructions.
Complete Your Window Repair and Maintenance Checklist
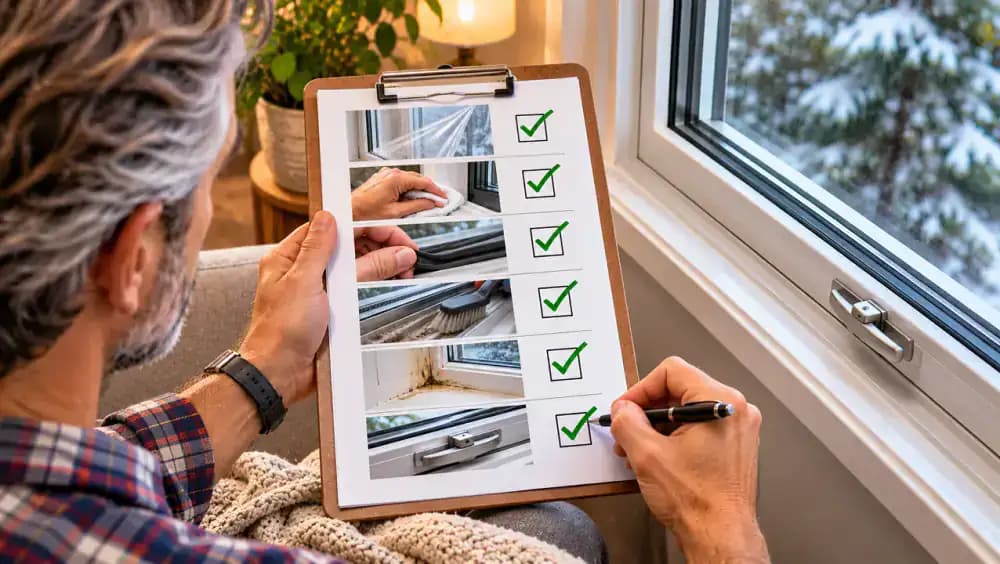
Review your inspection checklist and confirm that the window opens, closes, and locks smoothly. Check that weatherstripping remains securely attached and all accessible drainage openings are clear. Look for lingering moisture, damaged framing, or loose seals. Compare any remaining draft concerns with earlier observations, accounting for changing weather conditions. Record unresolved problems for professional inspection, and verify that required ventilation openings and emergency escape routes remain unobstructed.
Keep Your Windows Draft-Free With Regular Maintenance
Store your completed inspection checklist, weatherstripping instructions, and repair notes together for future reference. Before each heating season, review previous problem areas and check that seals remain intact. Focus on identifying genuine air leaks rather than sealing every opening. Keep drainage paths, ventilation openings, and emergency escape routes clear. If drafts persist or you notice fogging between glass panes, damaged frames, or recurring moisture, arrange professional inspection before considering window replacement.
A closed window should keep cold outdoor air where it belongs, but worn seals, small gaps, and poor sash alignment can leave you feeling a chilly draft even when everything appears securely shut. Besides making your home uncomfortable, these leaks can force your heating system to work harder and increase energy costs. The good news is that you may not need new windows. Many common drafts can be addressed with inexpensive materials and a little careful inspection, provided you identify where the air is actually entering.
This guide walks you through finding the source of a window draft, checking weatherstripping and seals, and choosing a practical repair that fits the problem. You'll learn how to use a simple tissue test to detect airflow, replace deteriorated weatherstripping, and consider removable insulation film for seasonal protection. You'll also learn to distinguish genuine air leaks from the cold sensation caused by window glass. All checks should be performed safely from indoors, without blocking ventilation openings, drainage paths, or emergency exits.
Where people go wrong
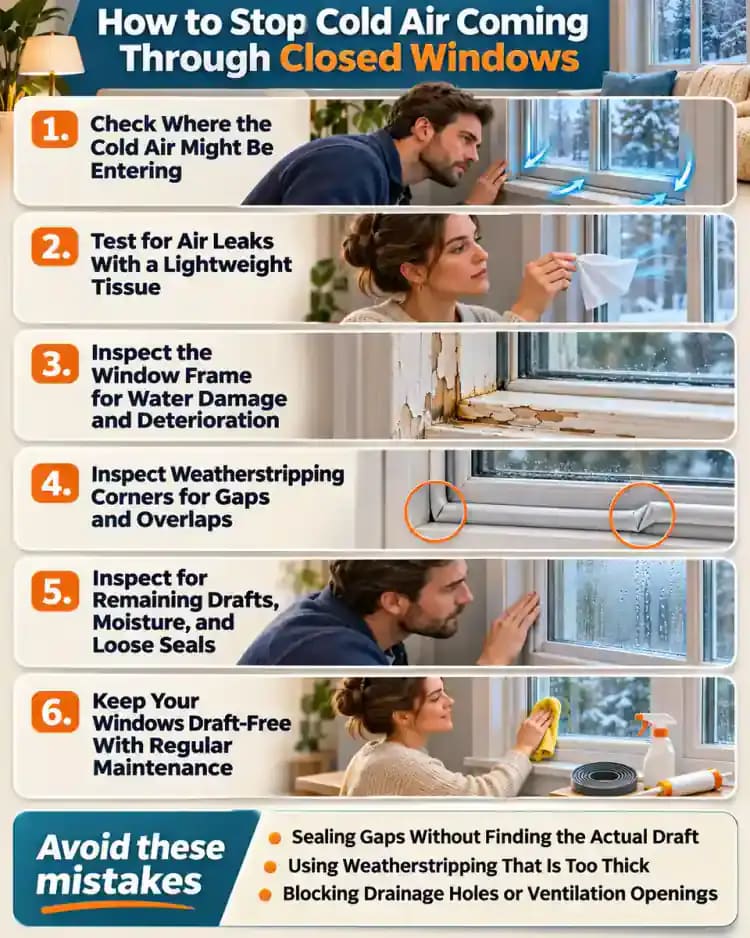
Sealing Gaps Without Finding the Actual Draft. Applying weatherstripping wherever a window feels cold can waste time and money. Cold glass and indoor air circulation can feel like drafts even when no outdoor air is entering. Use a lightweight tissue around the sash, corners, and trim to identify actual airflow before making repairs.
Using Weatherstripping That Is Too Thick. Thicker weatherstripping does not automatically provide better insulation. Oversized seals can prevent the sash from closing completely, interfere with locking mechanisms, or create uneven pressure. Measure carefully, select a compatible profile, and verify that the window closes, locks, and operates normally after installation.
Blocking Drainage Holes or Ventilation Openings. Covering every visible opening with tape, caulk, or insulation film can create serious problems. Window drainage holes allow trapped water to escape, while intentional ventilation openings serve important functions. Never block required drainage paths, ventilation openings, or emergency escape routes when attempting to stop drafts.
Ignoring Damage That Requires Professional Repair. Weatherstripping cannot fix every window problem. Damaged frames, cracked glass, persistent water intrusion, and condensation trapped between glass panes may indicate more serious defects. Avoid handling unsafe glazing or removing structural components. Have a qualified professional inspect these conditions instead of repeatedly applying temporary seals.
Questions people ask
Cold air can enter through worn weatherstripping, damaged seals, small gaps around the sash, or uneven window alignment. However, cold glass can also cool nearby indoor air, creating a draft-like sensation without an actual leak. Check for airflow with a lightweight tissue before deciding what needs repair.
Fixed it?
Get one guide like this every Thursday.