How to Fix a Sticking Interior Door Without Sanding the Frame
Is your interior door scraping, sticking halfway, or refusing to latch? Learn how to inspect hinge alignment, tighten loose screws, check the strike plate, and restore smooth operation without sanding or trimming the door.
What you’ll need
Tap to tick things off before you start.
Understand Why the Door Is Sticking
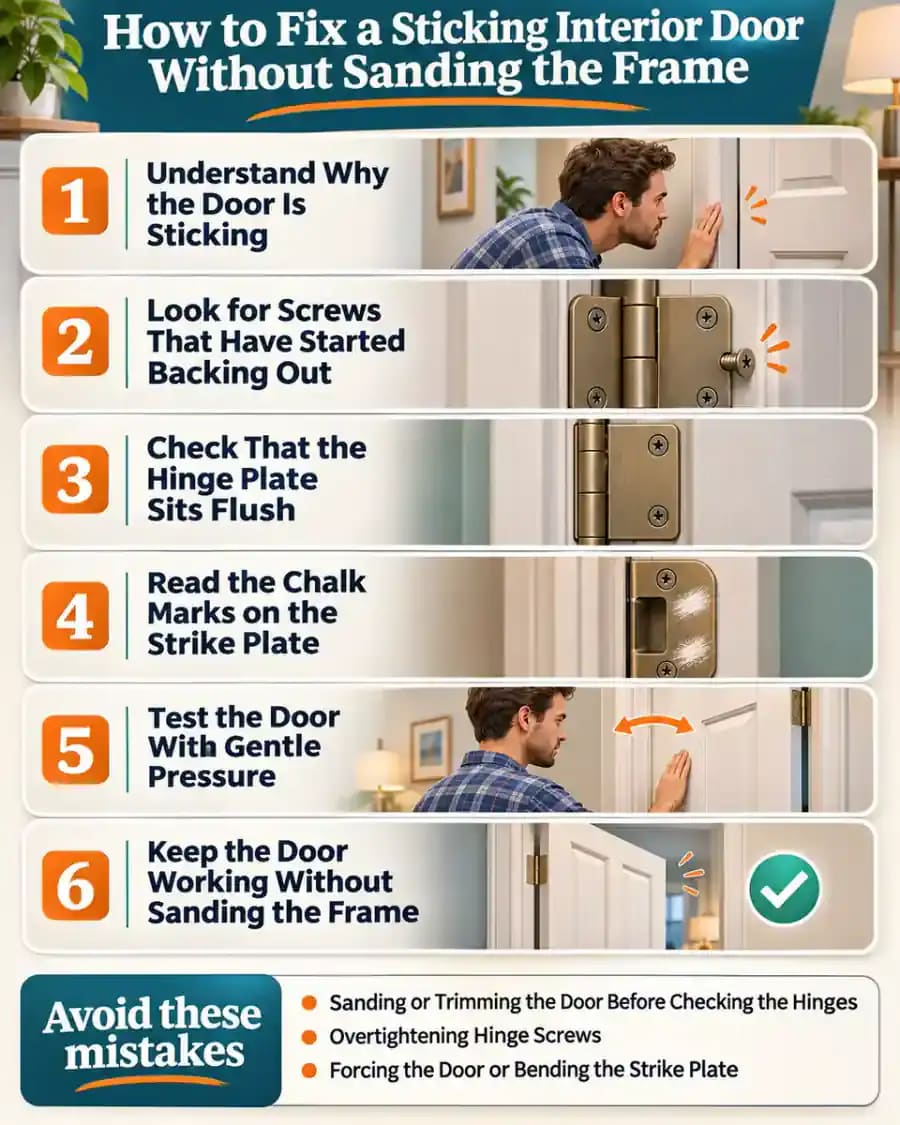
When an interior door scrapes the frame, stops halfway, or refuses to latch without extra pressure, resist the urge to sand or trim it. In many cases, the door itself is not the problem. A loose hinge or minor alignment issue may be shifting the door just enough to cause friction. Pay attention to where the door catches, especially along the upper edge, because that detail will help you identify the cause before making adjustments.
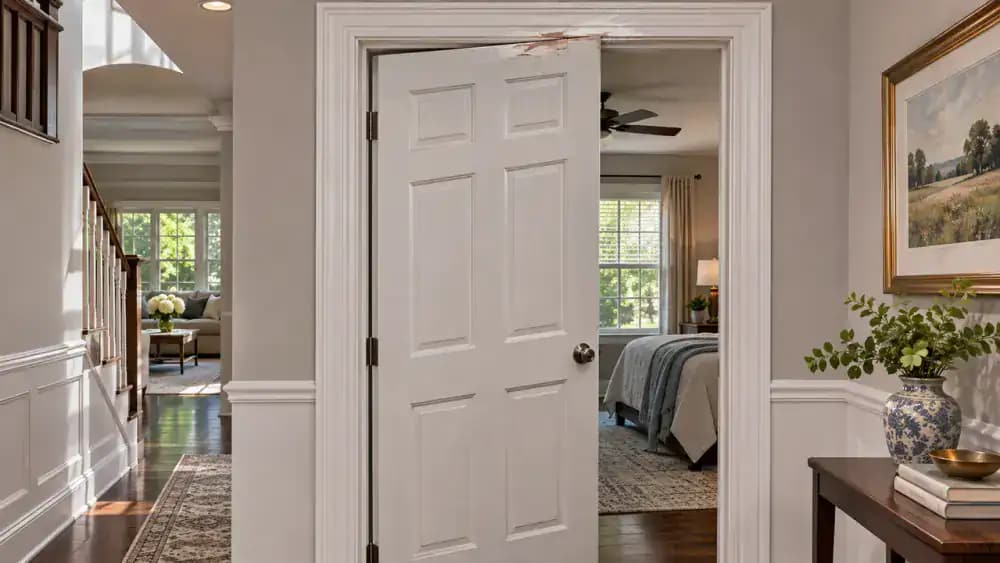
Find Where the Door Rubs Against the Frame
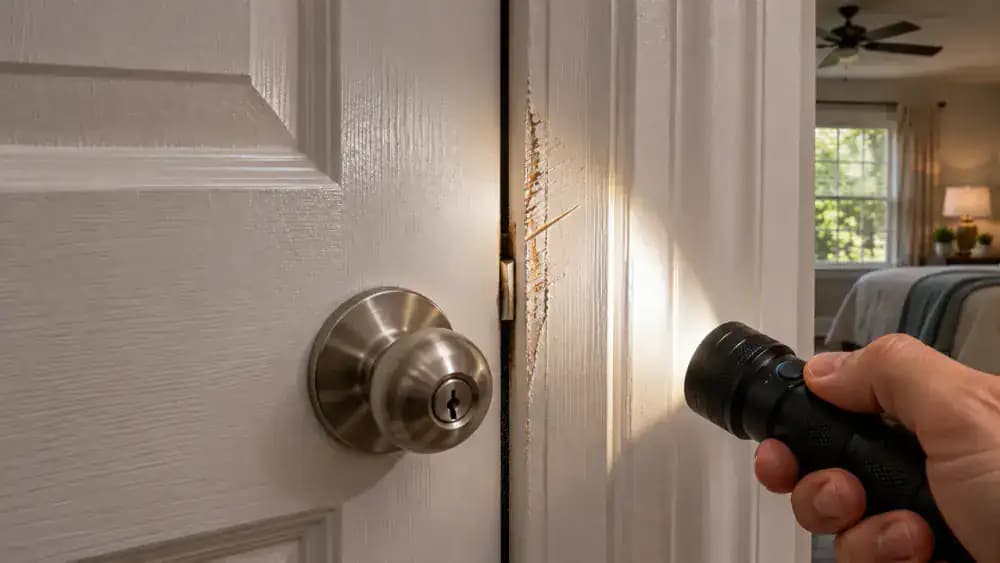
Open and close the door gently while watching the gaps along the top and both sides. Use a flashlight held at an angle to highlight tight spaces, paint scuffs, or fresh contact marks, particularly near the upper latch corner. Notice where resistance or scraping occurs. A problem concentrated in one area can point to a specific alignment issue and help you avoid unnecessary sanding or trimming.
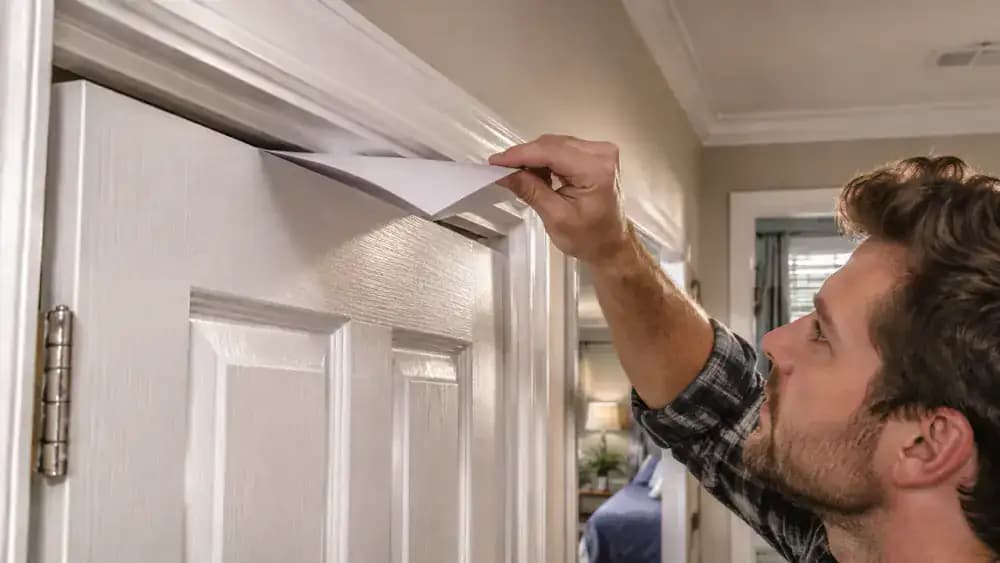
Test the Gaps With a Sheet of Paper
Close the door gently and slide a standard sheet of printer paper into the gap between the door's top edge and frame. Move it along several sections, noticing where it slides freely and where it catches. Repeat the check along both sides if needed. Compare tight spots with the scuff marks you found earlier to determine whether contact is uneven and concentrated in one area.
Inspect the Hinge Pins and Metal Joints
With the door open and safely supported, examine the hinge pins and knuckles using a flashlight or small inspection mirror. Look for corrosion, uneven spacing, bent metal, or visible wear around the joints. These components allow the door to pivot, so damage can affect alignment even when the screws are tight. If a hinge appears badly worn or bent, stop and arrange professional repair.
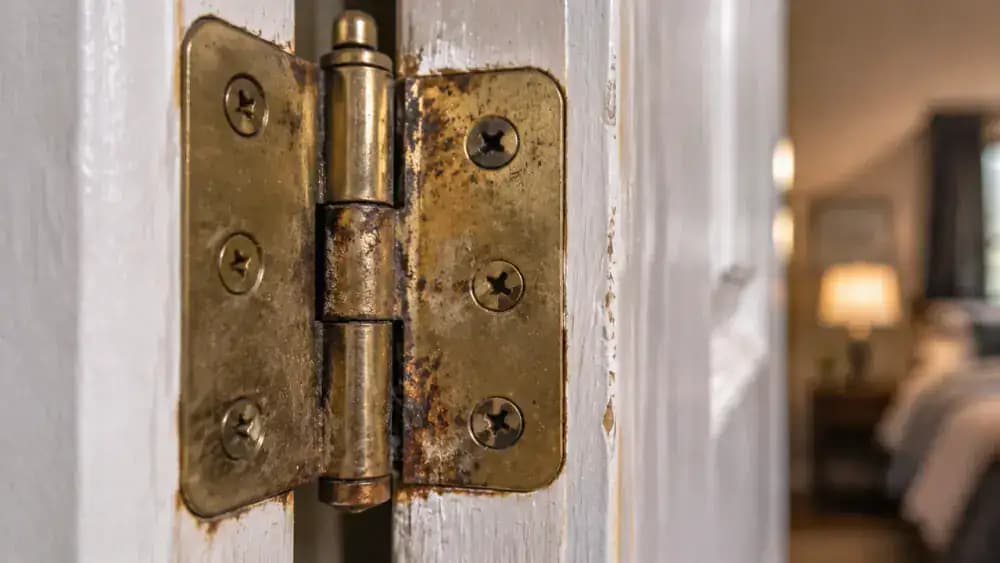
Check Whether the Hinge Plates Are Secure
With the lightweight door open and securely supported, gently check whether each hinge mounting plate sits firmly against the wooden jamb. Watch for movement around the plate or screws that turn without tightening. Keep your fingers clear of the hinge knuckles and pinch points. If the wood is solid and only an accessible screw is loose, a careful hardware adjustment may be sufficient.
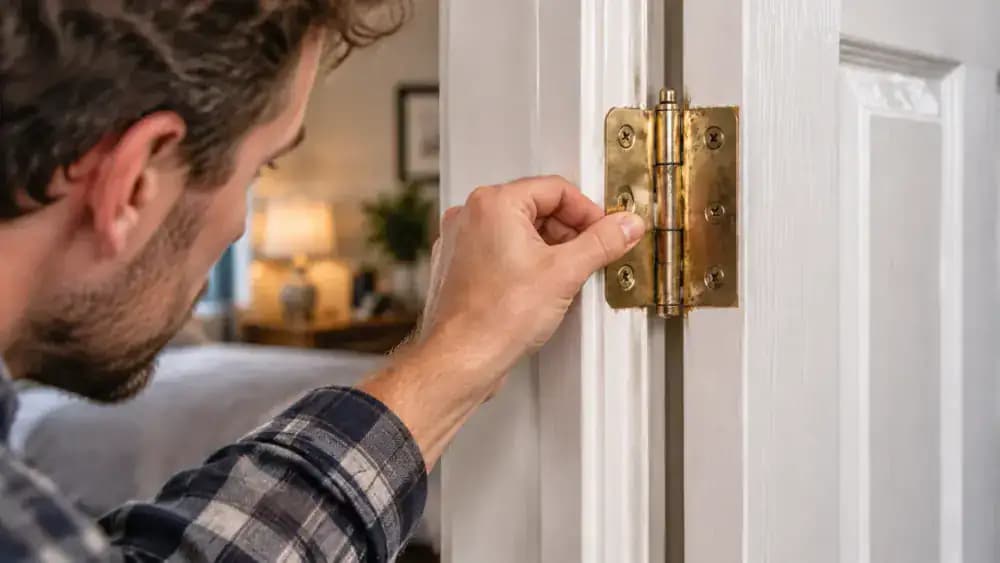
Look for Screws That Have Started Backing Out
Examine each hinge screw closely before attempting to tighten anything. Look for a screw head sitting above the hinge plate or one that turns without becoming secure. Compare its position with neighboring screws, which should sit flush against the metal. A partially backed-out screw may simply need tightening, but damaged threads or weakened wood require further attention rather than repeated tightening.
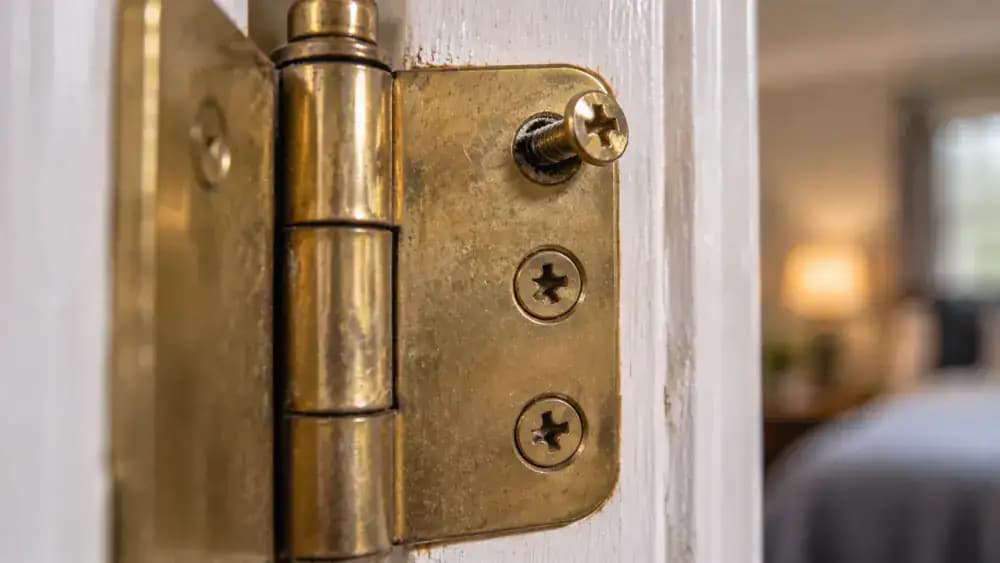
Support the Door Before Touching the Hinges
Before adjusting any hinge screws, position a sturdy padded door support beneath the bottom edge of the slightly open door. Make sure the support carries the door's weight without pushing it upward or changing its alignment. Even a lightweight interior door can shift unexpectedly when hardware is loosened. Keep your fingers away from hinge joints and pinch points throughout the adjustment.
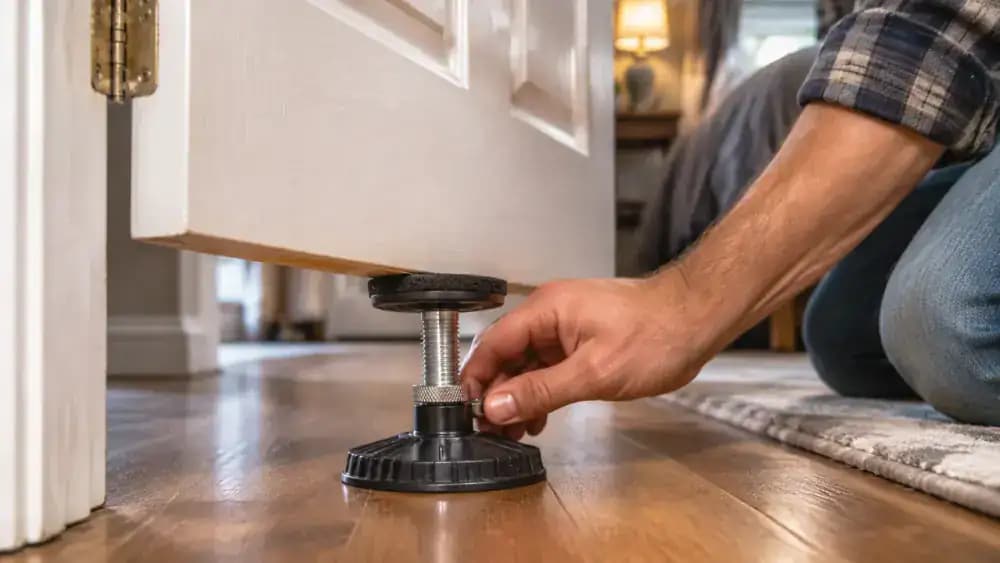
Match the Screwdriver to the Hinge Screws
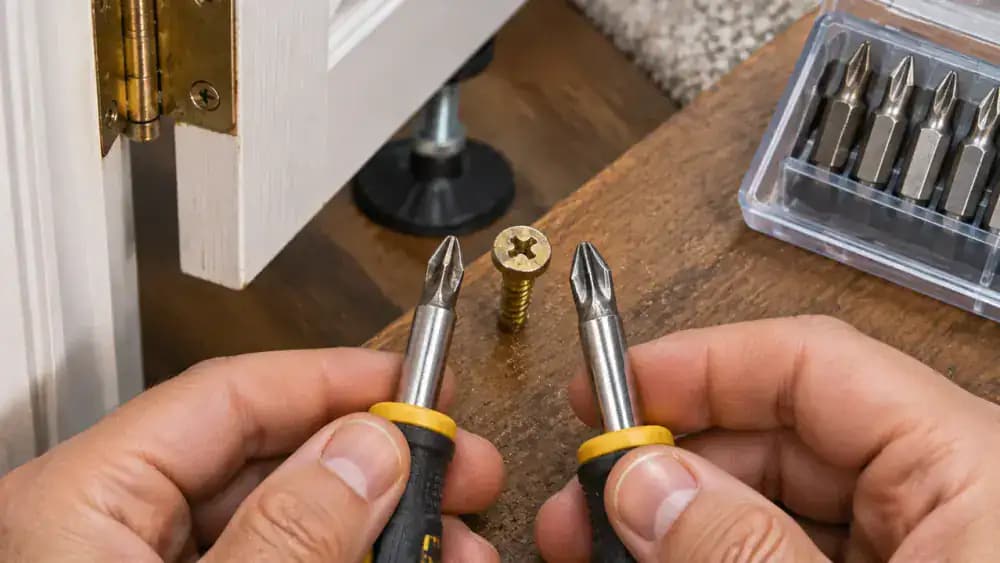
With the door securely supported, choose a screwdriver tip that fits the hinge screw head precisely. In this example, a correctly sized Phillips screwdriver sits firmly in the screw recess without slipping. Avoid using a tip that is too small or loose, as it can damage the screw head or scratch the painted finish around the hinge.
Carefully Tighten the Loose Hinge Screw
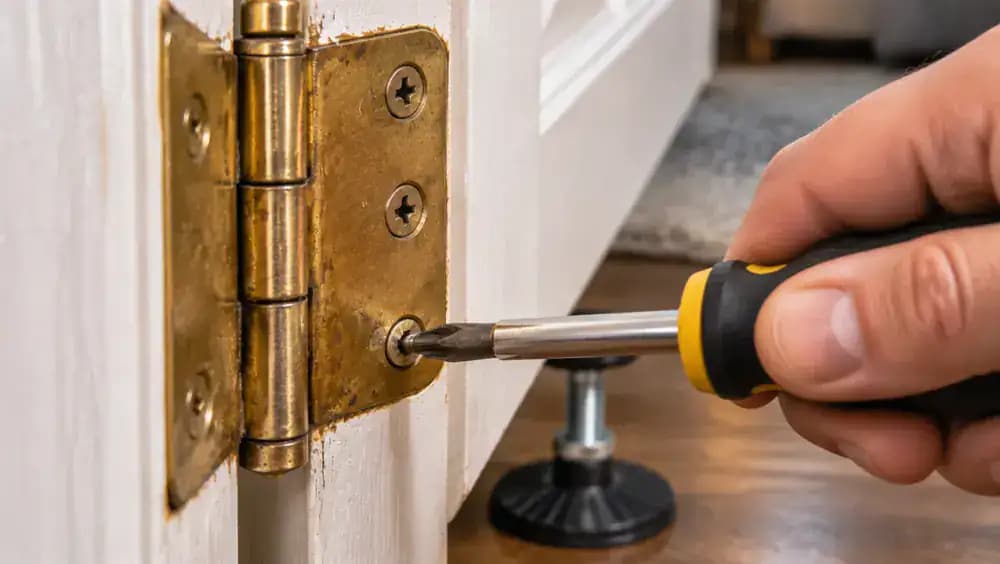
Place the correctly sized screwdriver firmly into the loose screw head and turn it slowly clockwise. Keep the tool straight and apply steady, moderate pressure until the hinge plate sits securely against the wooden jamb. Avoid overtightening, which can damage the screw threads or wood. Stop immediately if the screw spins freely or the surrounding mounting material begins to move.
Match a Replacement Screw to the Original
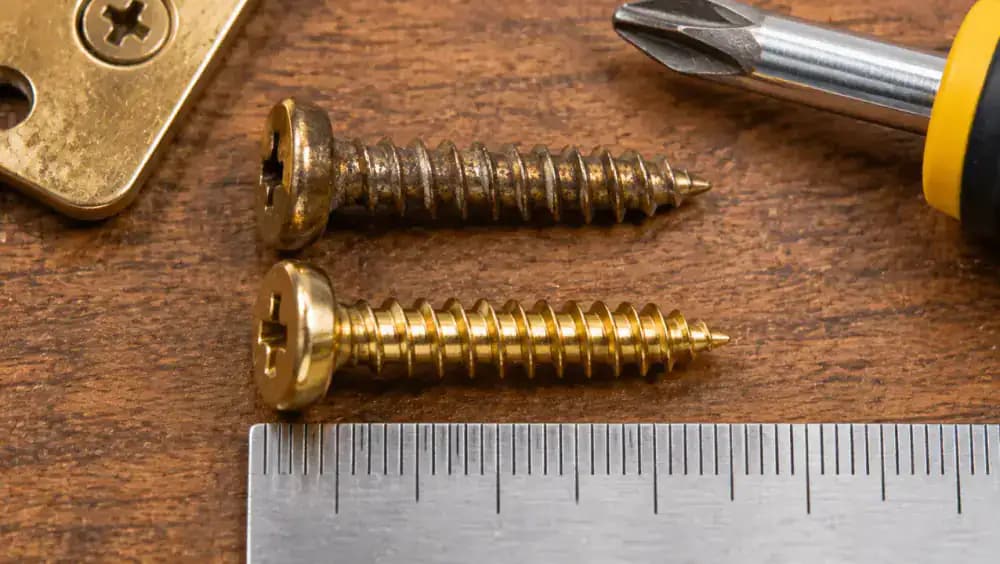
If a hinge screw is damaged or cannot hold securely, compare it with a compatible replacement before proceeding. Check that the new screw matches the original in diameter, thread pattern, head style, and length. A ruler can help compare dimensions. Use hardware intended for that hinge, and stop if the mounting hole is stripped or the surrounding wood is damaged.
Install the Compatible Replacement Screw
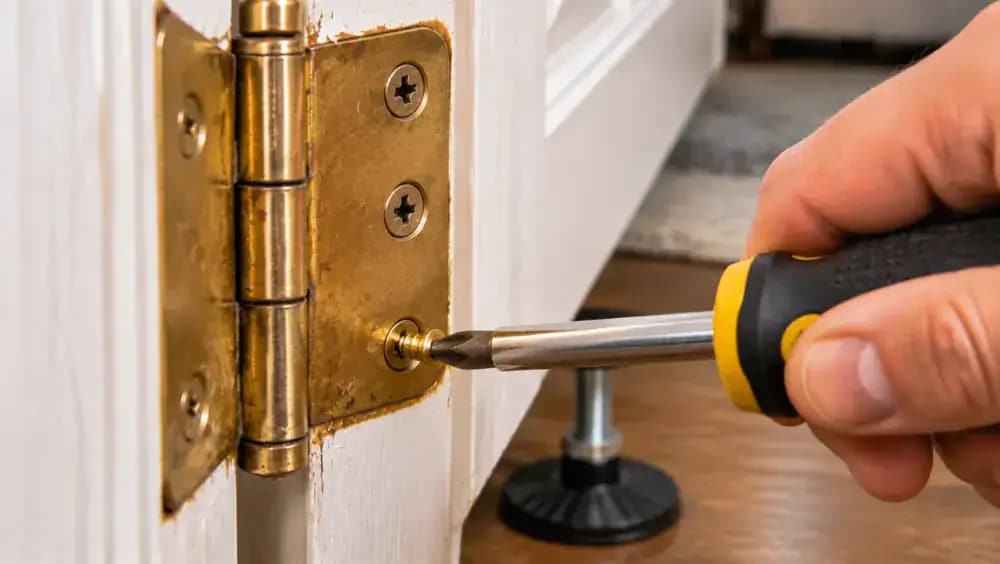
If the mounting hole is sound and the replacement matches the original, keep the door supported and remove only the damaged screw. Align the new screw straight with the existing hole and turn it gently until the hinge plate sits snugly against the wood. Leave the remaining hinge screws in place, and stop if you encounter unusual resistance or movement.
Check That the Hinge Plate Sits Flush
After securing the replacement screw, place a small straightedge across the hinge plate and surrounding wood to check their alignment. The metal plate should sit flat against the jamb without visible gaps or rocking. Confirm that the screw head is properly seated and the hinge remains aligned with its recess. If the plate still shifts or the wood moves, stop.
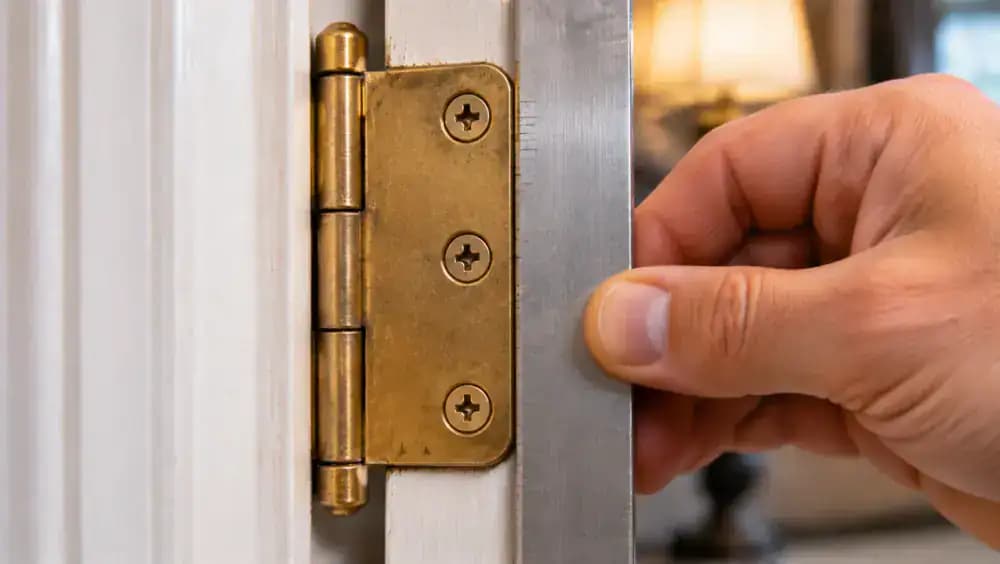
Recheck the Door's Overall Alignment
With the hinge mounting secure, compare the gaps along the top and both vertical sides of the partially open door. Use a carpenter's level beside the hinge-side jamb to help assess its position. Look for noticeably uneven spacing or a corner sitting higher than the others. This check helps determine whether the hinge adjustment has improved alignment before you inspect the latch.
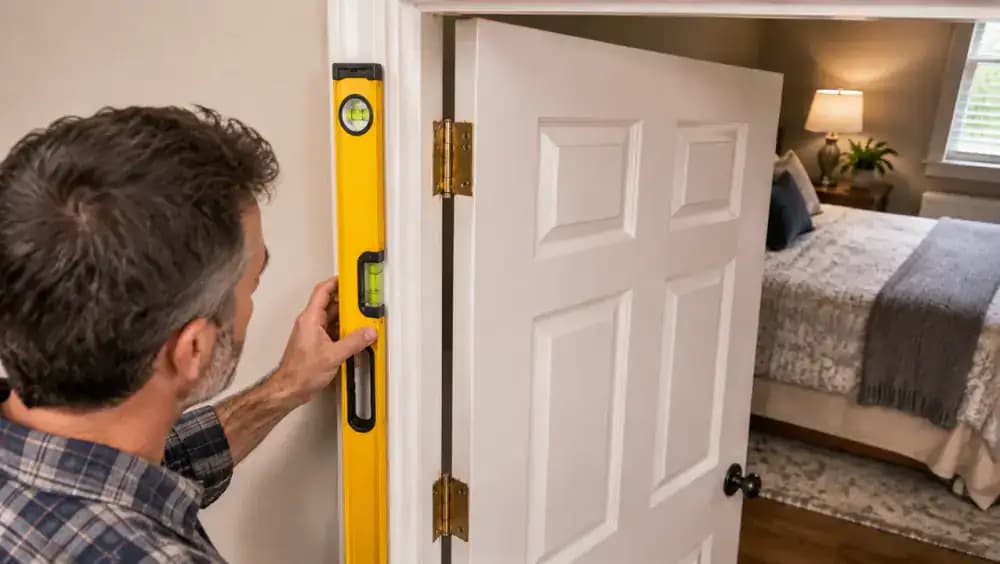
Watch for Scraping as the Door Swings
Gently guide the door toward the frame while watching its edges throughout the swing. Use a small inspection mirror near the floor to check whether the bottom corner clears the hardwood flooring. Also watch the top and hinge-side edges for contact. Listen for rubbing sounds and notice any sudden resistance rather than pushing through a sticking point.
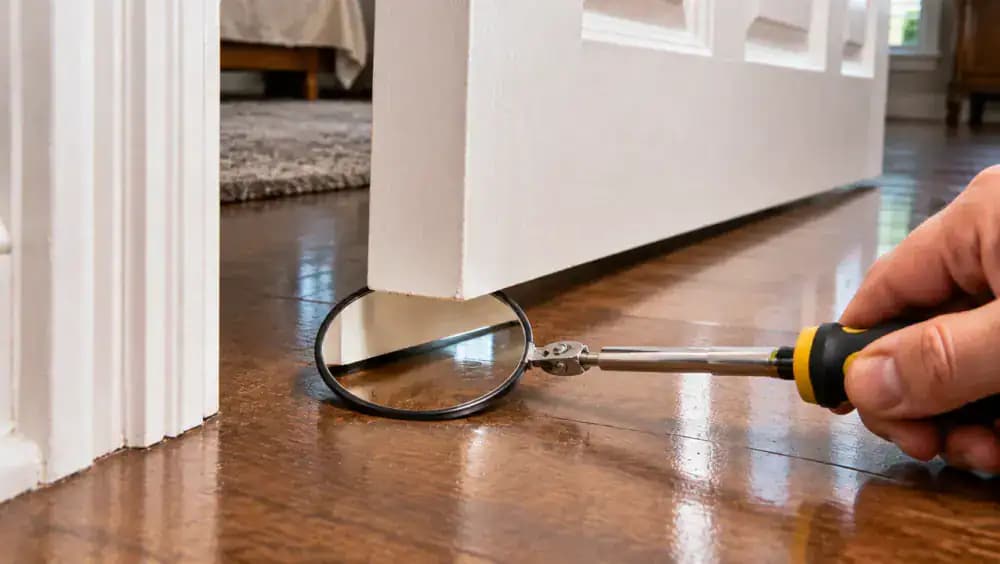
Check Whether the Latch Meets the Strike Plate
Slowly bring the door toward the frame while watching the spring latch approach the rectangular opening in the strike plate. The latch should line up naturally with the opening without requiring extra pressure. Check whether it meets the center of the opening or strikes one edge. If alignment is still off, investigate the cause rather than forcing the door closed.
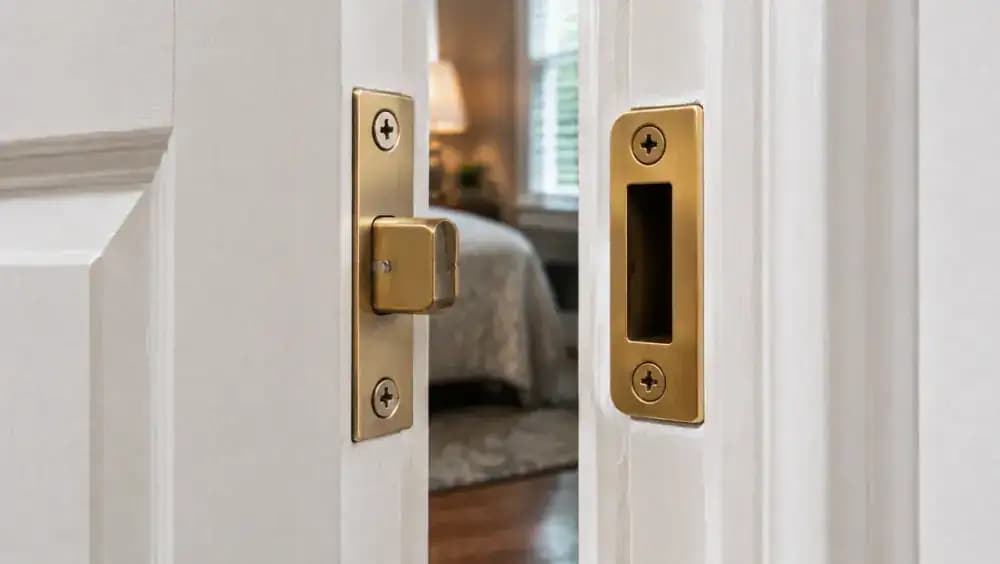
Inspect the Strike Plate for Contact Marks
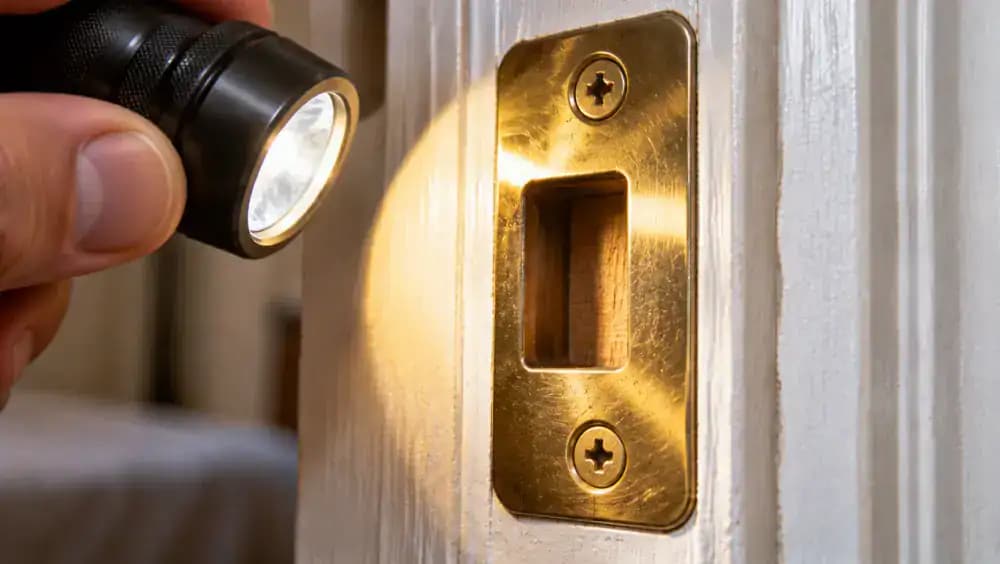
With the door open, locate the strike plate, the small metal fitting attached to the door frame that receives the spring latch. Use a flashlight to inspect the rectangular opening and its inside edges. Look for fresh scratches, worn metal, or contact marks that suggest the latch is hitting the plate instead of entering cleanly. Check both mounting screws for visible looseness.
Identify Exactly Where the Latch Makes Contact
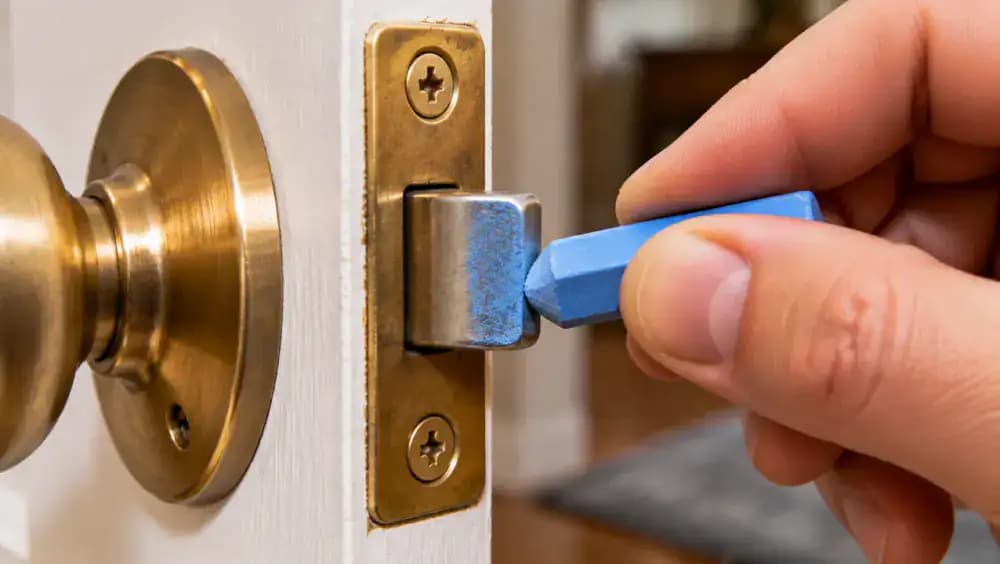
Apply a small amount of removable marking chalk to the beveled face of the exposed metal latch. Gently bring the door toward the frame without forcing it, then open it and inspect the strike plate for transferred chalk. The mark can reveal exactly where the latch makes contact, helping distinguish a minor alignment issue from a more significant door positioning problem.
Read the Chalk Marks on the Strike Plate
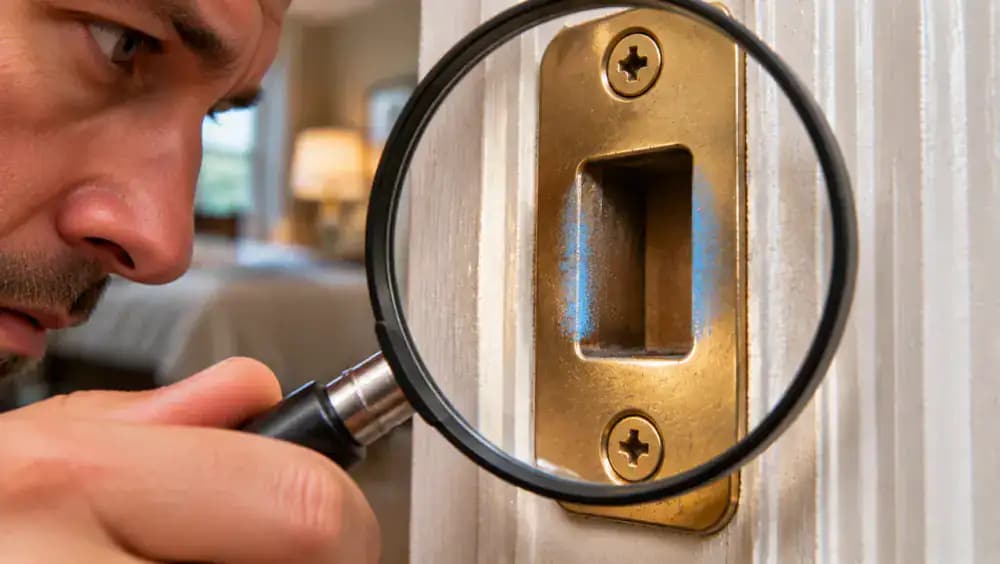
Open the door again and inspect the strike plate for transferred blue chalk. Use a small magnifier if needed to examine the inside edges of the rectangular opening. A mark along the upper or lower edge indicates where the latch is making contact. Note the exact location before considering any hardware adjustment, and avoid forcing the door to create additional marks.
Determine Whether the Strike Plate Is Out of Alignment
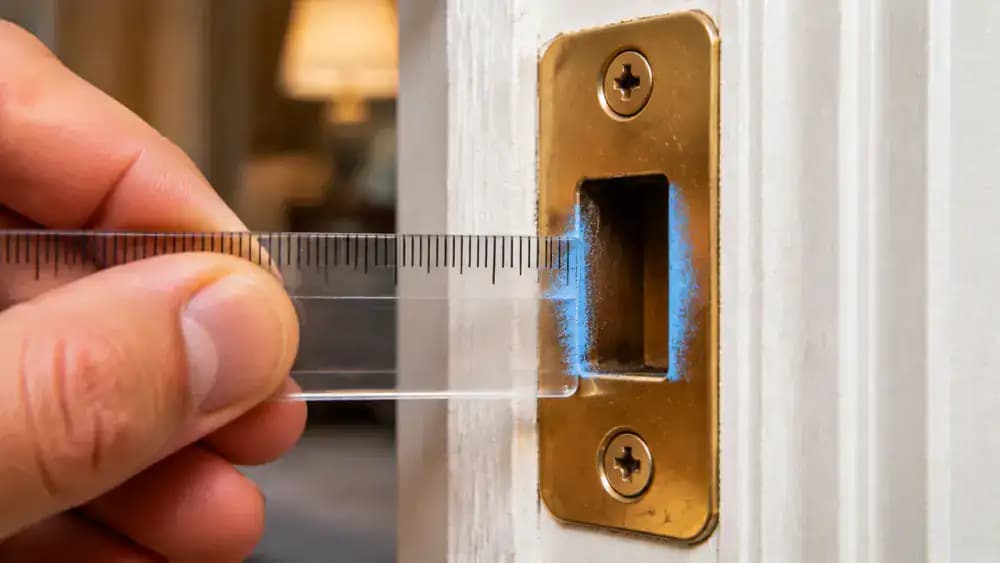
Compare the blue chalk contact mark with the center of the strike plate opening using a small transparent alignment ruler. A mark near the bottom suggests the latch is meeting too low, while a mark near the top suggests it is meeting too high. Consider your earlier hinge inspection before drawing conclusions. Do not bend the latch or force the strike plate into position.
Check Whether the Strike Plate Screws Are Secure
With the hinges secure and the frame stable, inspect both strike plate mounting screws. Use a correctly sized Phillips screwdriver to check whether each screw sits firmly without applying excessive pressure. Look for missing fasteners, loose screws, or a plate that shifts against the jamb. Do not bend the metal or enlarge the opening, and stop if the mounting wood is damaged.
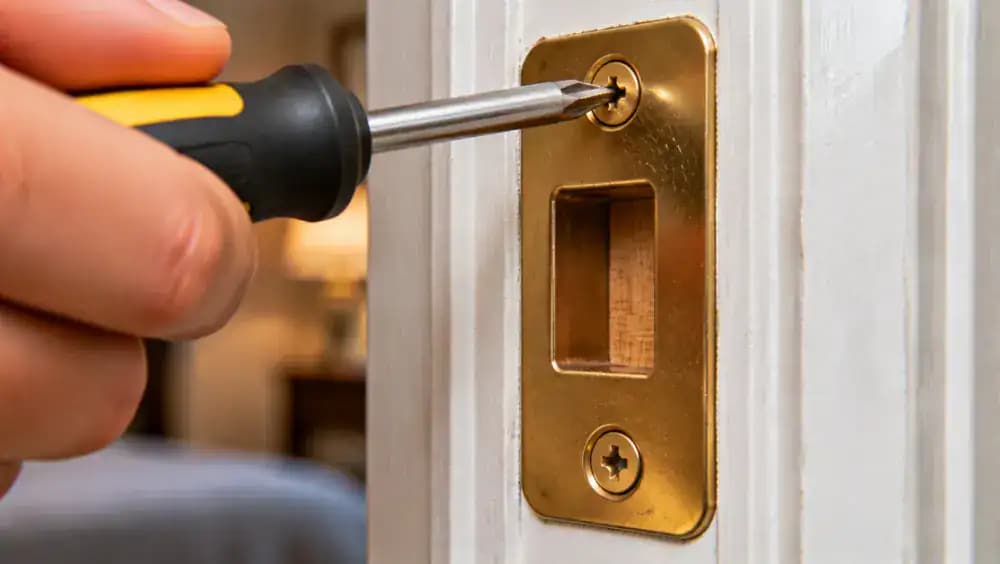
Make a Small Adjustment Within the Existing Strike Plate Slots
If the strike plate has factory-made slotted mounting holes, you may be able to correct a minor alignment issue without cutting the frame. Loosen both screws slightly, shift the plate a small distance within the existing slots, and retighten gently. Keep the door open during this adjustment. Do not enlarge the opening, bend the latch, or force the hardware into position.
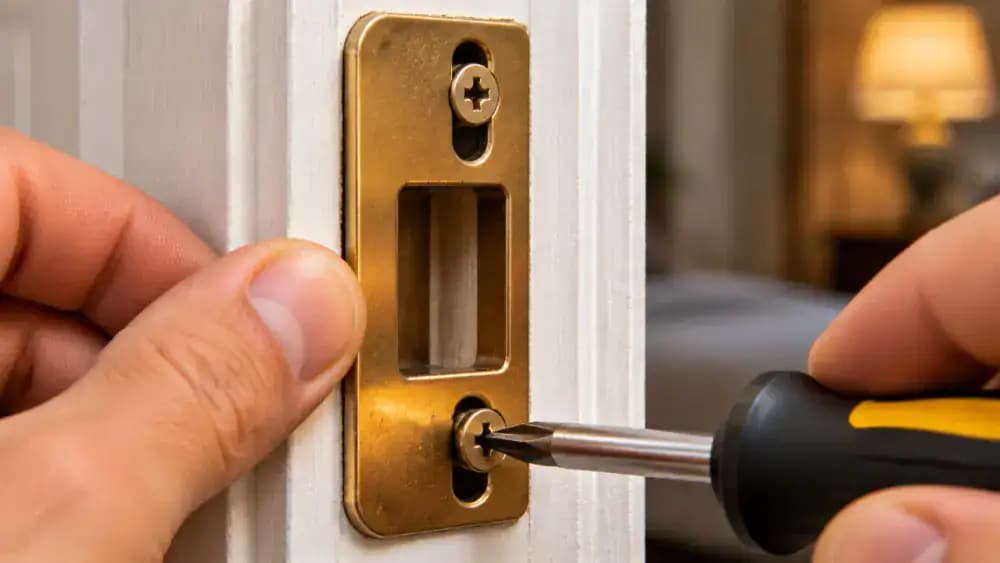
Secure the Strike Plate After Adjusting Its Position
Once the strike plate sits correctly within its existing adjustment slots, tighten both mounting screws evenly using a correctly sized screwdriver. Keep the tool aligned with each screw head and apply moderate pressure until the plate rests firmly against the jamb. Avoid overtightening, which can damage the wood. Check that the plate no longer shifts when gently touched.
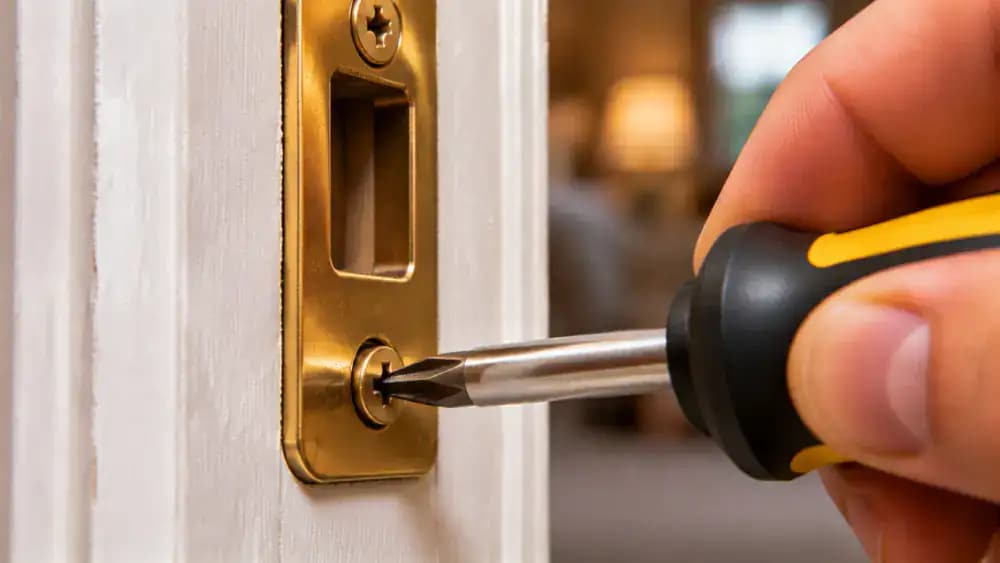
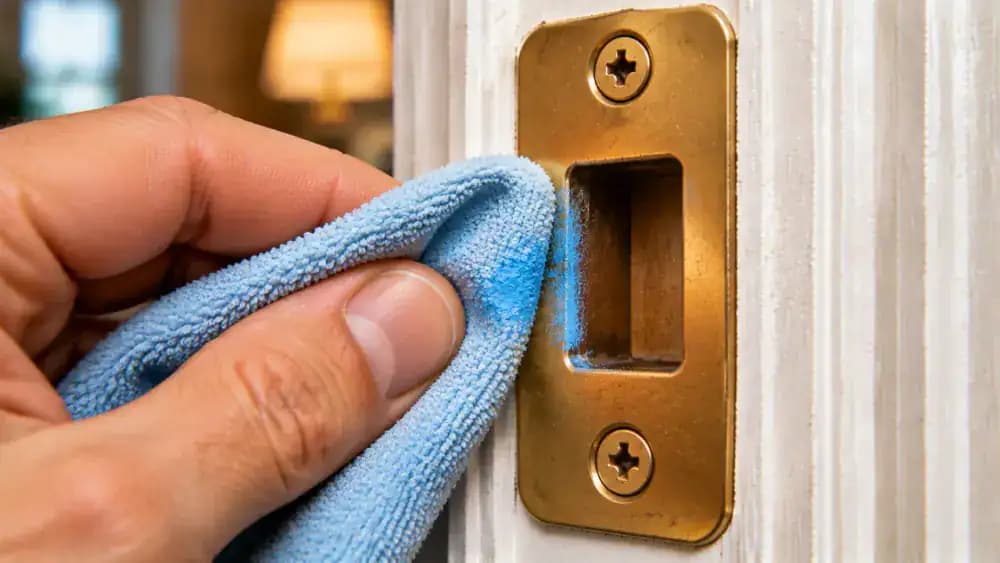
Remove Chalk Marks and Clean the Strike Plate
Before testing the door, use a clean microfiber cloth to wipe away the temporary blue chalk marks from the strike plate. Clean around the rectangular opening and check that no residue or debris remains. This prevents marking material from interfering with the latch. Once the hardware is clean, leave the door open and prepare to check its movement gently.
Test the Door With Gentle Pressure
Hold the handle and slowly bring the door toward the frame using gentle, controlled pressure. Watch the latch enter the strike plate opening and listen for a clean engagement. The door should close and latch without scraping, sticking, or needing an extra push. If you still feel resistance, stop and reassess the contact points instead of forcing the hardware.

Check the Door for Moisture and Swelling
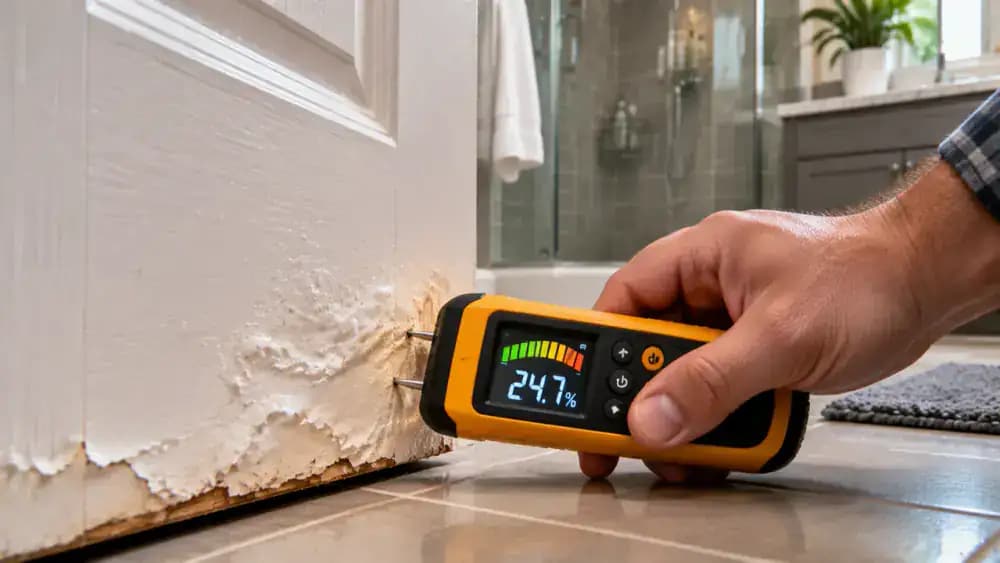
If the door still rubs despite secure hinges and proper latch alignment, inspect its edges for moisture damage. Use a moisture meter against the lower painted surface, paying particular attention to bathroom and laundry doors. Look for bubbling paint, discoloration, swollen wood, or signs of water exposure. Persistent swelling or visible damage needs further investigation before attempting any surface repair.
Look for Cracks or Movement Around the Door Frame
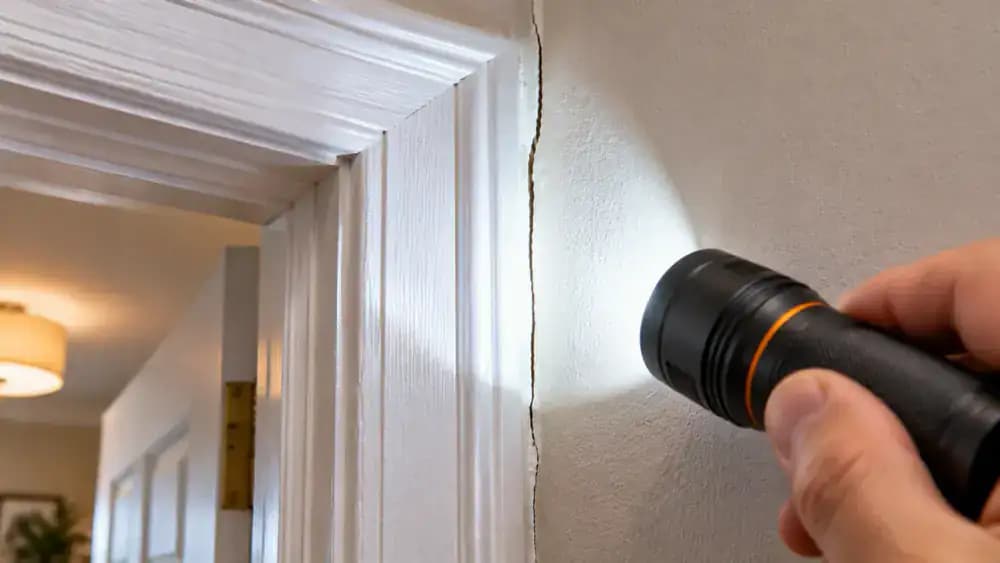
If moisture is not the cause, inspect the surrounding door frame for signs of movement. Use a flashlight to examine the joints where the painted trim meets the drywall, paying attention to hairline cracks, separating joints, and uneven gaps. These signs may indicate shifting beyond a simple hinge problem. If you notice structural movement or significant frame damage, stop and arrange professional inspection.
Know When the Door Problem Needs Professional Repair
If you find a cracked wooden jamb, substantial water damage, shifting walls, or a severely misaligned doorway, stop making adjustments and arrange a professional inspection. These conditions go beyond routine hinge and latch maintenance. A qualified contractor can assess the damaged frame and surrounding structure before recommending repairs. Never modify fire-rated doors or their hardware without appropriate professional guidance.

Keep the Hinges and Door Hardware Clean
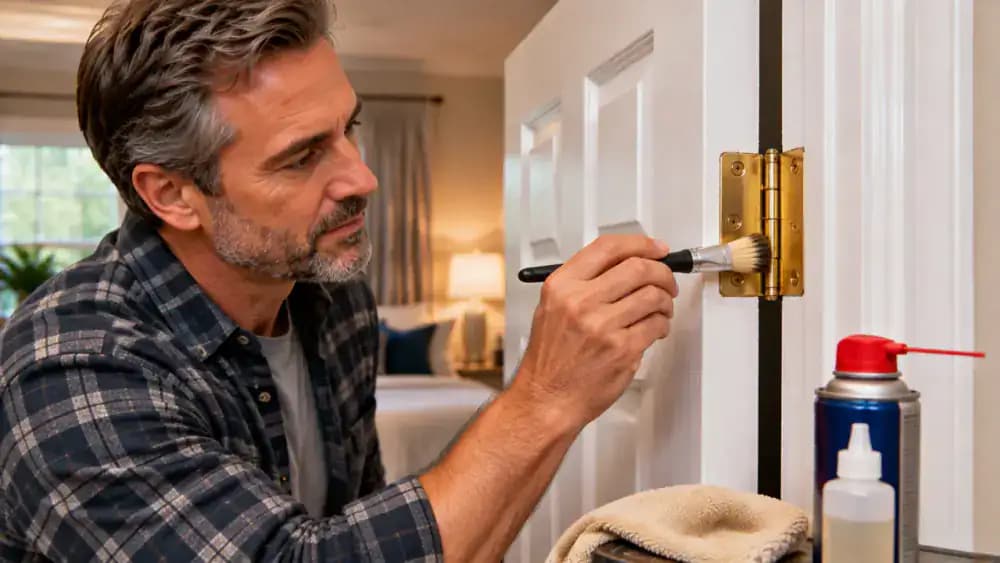
Once the door operates smoothly, use a soft detailing brush to remove accumulated dust from the hinge knuckles and surrounding hardware. Wipe accessible surfaces with a clean microfiber cloth, then occasionally check that hinge screws, the latch, and strike plate remain secure. Pay attention to seasonal humidity changes, as early signs of swelling or shifting can help prevent recurring problems.
Record What You Adjusted for Future Maintenance
Before putting your tools away, record the adjustments you made in a home maintenance notebook. Note any loose hinge screws, strike plate changes, original contact marks, and whether the door now swings and latches smoothly. Include the inspection date and any humidity-related observations. If sticking returns later, these notes provide a useful reference and help avoid unnecessary sanding or repeated adjustments.

Keep the Door Working Without Sanding the Frame
A sticking interior door does not automatically need sanding, trimming, or replacement. By identifying the contact point, inspecting the hinges, and checking the latch, you can determine whether a minor hardware adjustment may solve the problem. Keep the surrounding frame intact whenever possible. If moisture damage or structural movement is involved, leave further repairs to a qualified professional.

A door that scrapes the frame, sticks halfway open, or refuses to latch unless you push it hard can quickly become an everyday annoyance. Before reaching for sandpaper or a saw, take a closer look at the hinges and alignment. A loose hinge screw or a minor shift in the door's position may be causing the problem, and a simple adjustment could restore smooth operation without removing any wood. Sanding or trimming too soon can create unnecessary damage and leave you with gaps that are difficult to fix.
This guide walks you through inspecting the door, identifying where it makes contact with the frame, checking the hinges, and examining the latch and strike plate. You will need a screwdriver, flashlight, and a sheet of paper, along with compatible replacement hinge screws if necessary. These adjustments are intended only for lightweight interior doors with stable frames and accessible hardware. Support the door while working on its hinges and keep your fingers clear of pinch points. If you find significant moisture damage, a damaged frame, structural movement, or a fire-rated door, leave the repair to a qualified professional.
Where people go wrong
Sanding or Trimming the Door Before Checking the Hinges. Removing wood too early can create permanent gaps and make the door fit poorly once the underlying alignment issue is corrected. Inspect the hinges, screws, and door gaps first. A loose hinge may be responsible for the scraping without requiring any material removal.
Overtightening Hinge Screws. Cranking down on hinge screws can damage the screw holes, strip the threads, or place unnecessary stress on the hardware. Tighten accessible screws carefully and check the door's movement. Avoid removing multiple hinge screws at once, and support the door throughout the adjustment.
Forcing the Door or Bending the Strike Plate. Pushing a misaligned door shut or bending the strike plate may seem like a quick fix, but it can worsen the problem or damage the hardware. Check whether the latch naturally meets the strike opening. Do not force components into alignment.
Ignoring Moisture Damage or Frame Movement. Recurring sticking may indicate humidity-related swelling, water exposure, worn hardware, or movement in the frame. Repeated hinge adjustments will not solve an underlying structural problem. Stop if the frame is damaged or significantly misaligned, and seek professional inspection for these conditions or fire-rated doors.
Questions people ask
A sticking door can result from loose hinge screws, minor alignment changes, humidity-related swelling, worn hardware, or frame movement. Start by inspecting the gaps around the closed door and looking for scuff marks. Check whether the rubbing occurs near the top, bottom, hinge side, or latch side.
Fixed it?
Get one guide like this every Thursday.