How to Remove Sticky Residue From Kitchen Countertops Without Damaging the Finish
Sticky syrup, dried food, and leftover sticker adhesive can be tough to remove without scratching or dulling your countertop. Learn how to identify the residue, soften stubborn buildup, and clean safely using methods suited to your countertop material.
What you’ll need
Tap to tick things off before you start.
Identify What's Making Your Countertop Sticky
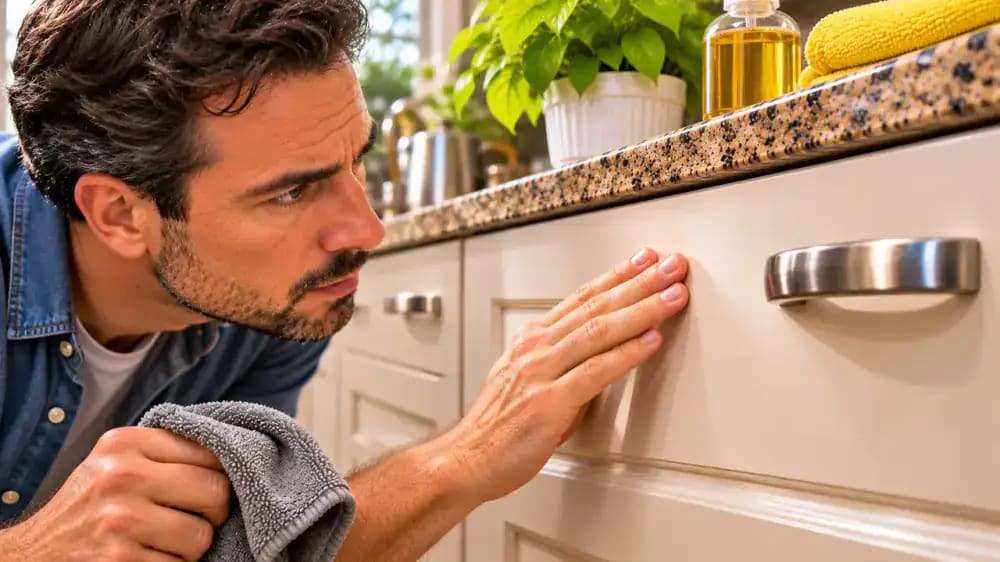
Look closely at the sticky patches on your countertop before attempting to clean them. Dried syrup often appears amber-colored and glossy, while food spills may form crusty, uneven deposits. Leftover label adhesive typically feels gummy or tacky when touched lightly with a fingertip. Check each area without spreading the residue. Identifying these differences helps you choose an appropriate cleaning method and avoid unnecessary scrubbing, harsh chemicals, or damage to the countertop finish.
Avoid Spreading Adhesive With Aggressive Scrubbing
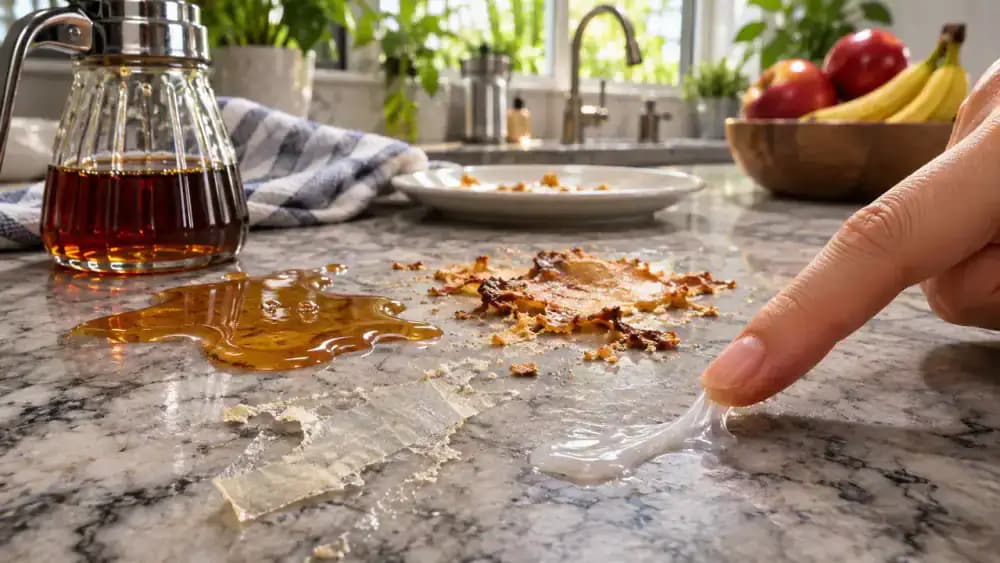
Notice how a firm wiping motion with a dry microfiber cloth can smear softened sticker adhesive across a larger area instead of lifting it away. Applying more pressure may make the sticky film harder to remove, while trapped debris can scratch delicate finishes. Stop rubbing if the residue begins spreading. Instead, check your countertop manufacturer's cleaning recommendations and use an approved method to gently soften and lift the adhesive.
Match the Sticky Residue to Its Source
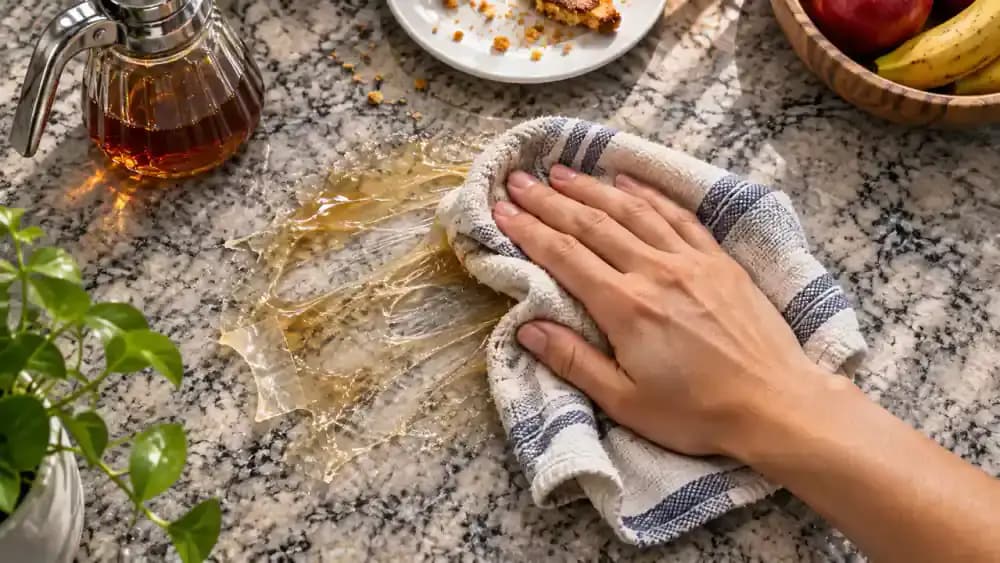
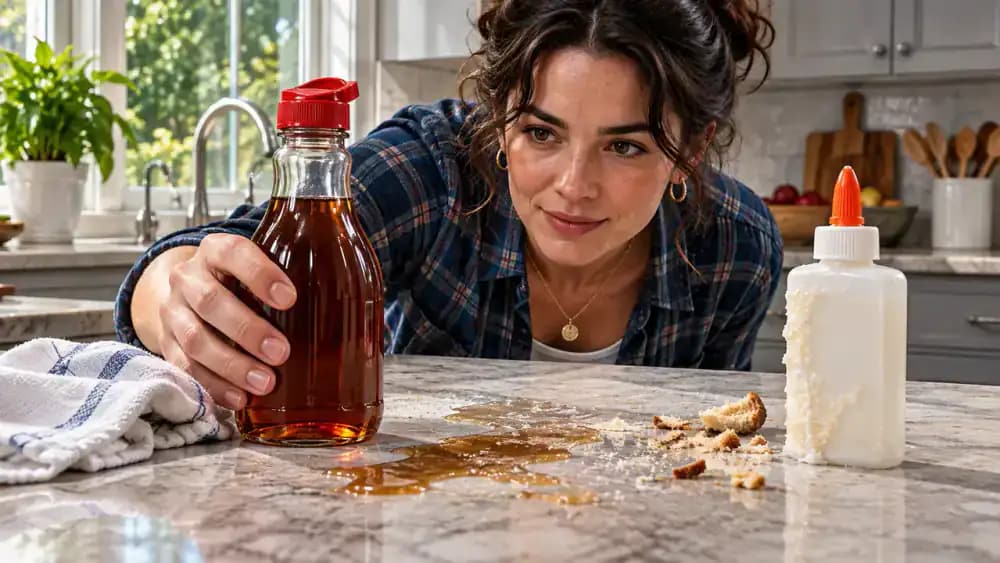
Examine the sticky spot and think about what recently touched that part of the countertop. A maple syrup bottle beside an amber-colored patch suggests a sugary spill, while a container with a partially removed label may point to leftover adhesive. Sugary residue often responds to warm water, but sticker glue may need another treatment. Identifying the likely source first helps you select a surface-safe cleaning method and avoid unnecessary chemicals.
Recognize Dried Honey and Other Sugary Spills
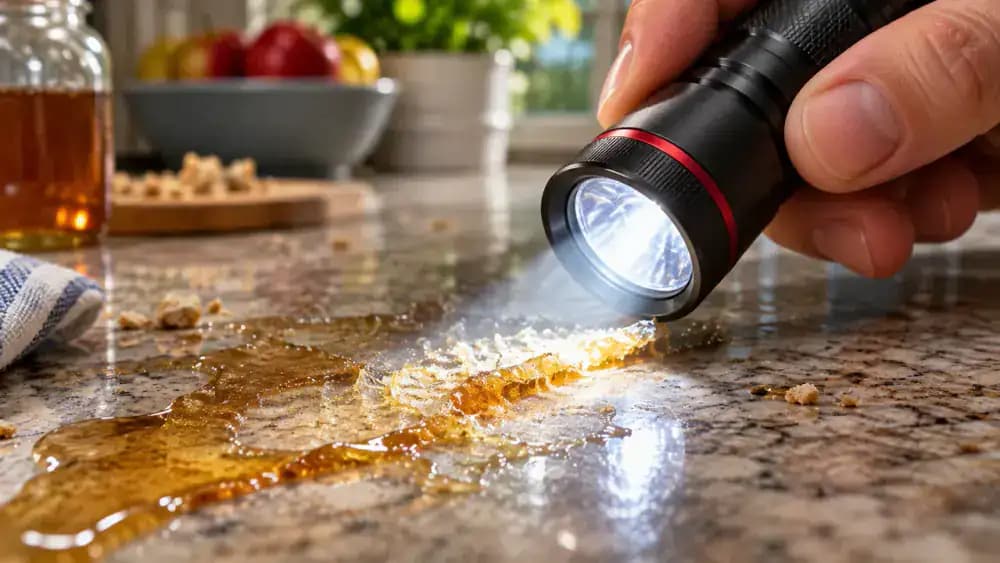
Hold a small flashlight a few inches above the sticky patch and angle its beam across the countertop. Dried honey, syrup, and sugary sauces often appear glossy, with slightly raised edges that catch the light. Look for amber coloring, uneven thickness, and a tacky appearance without touching or scraping the deposit. These food-based residues are usually water-soluble, so gentle moisture may loosen them without specialized cleaning products, provided your countertop tolerates water.
Spot Sticky Adhesive Left Behind by Labels and Tape
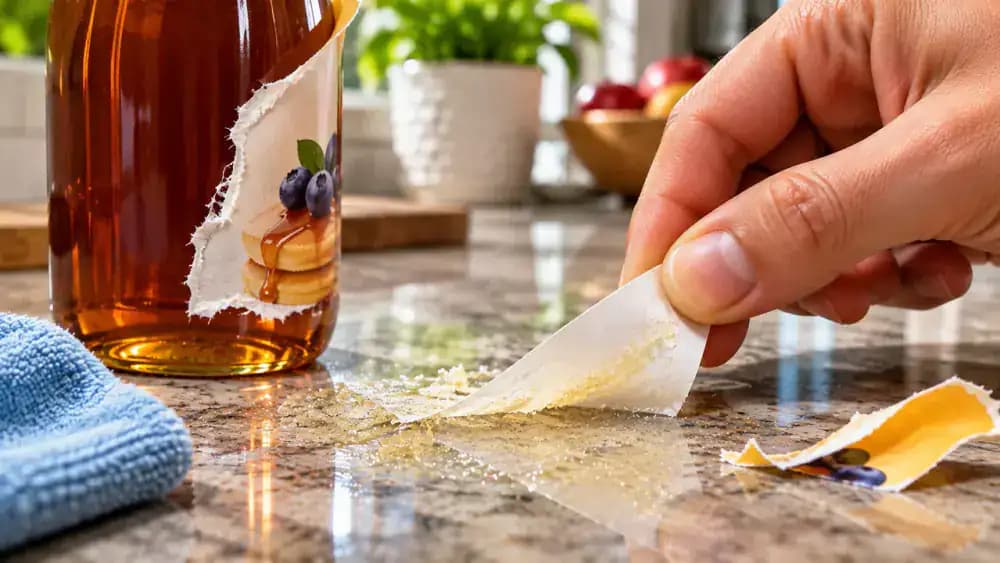
Look for a cloudy, gummy patch near a recently removed sticker, price label, or piece of tape. As the label corner lifts, notice the thin adhesive film and tiny dust particles caught along its uneven edges. Unlike dried syrup, sticker glue often remains tacky and may resist plain water. Avoid rubbing or spreading it. Check your countertop manufacturer's recommendations before choosing an adhesive remover, and always spot-test approved products first.
Identify Your Countertop Material Before Choosing a Cleaner
Compare your countertop with common materials such as laminate, engineered quartz, granite, and marble, paying attention to color, texture, and finish. As shown, reviewing manufacturer care instructions alongside material samples helps identify which cleaning methods are appropriate. Different surfaces react differently to moisture, solvents, and scraping. If you cannot confidently identify the material, avoid experimenting with chemicals. Check the manufacturer's guidance before applying any cleaner, especially to natural stone or coated surfaces.

Prepare Gentle Cleaning Supplies Before You Start
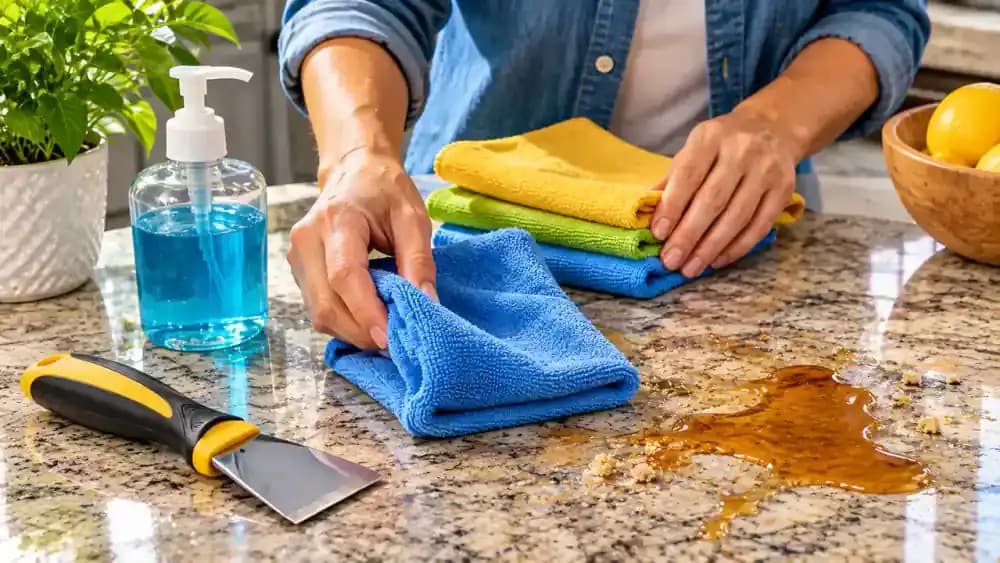
Arrange clean microfiber cloths, a small bowl of warm water, and mild dish soap on a nearby work surface. Keep a separate dry cloth ready for the finishing wipe. Include a flexible plastic scraper only if your countertop manufacturer permits its use. Check the care guide before starting, and make sure your cloths are free of trapped grit. Avoid abrasive sponges, metal blades, and unapproved chemicals that could damage the finish.
Clear Food, Utensils, and Appliances From the Cleaning Area
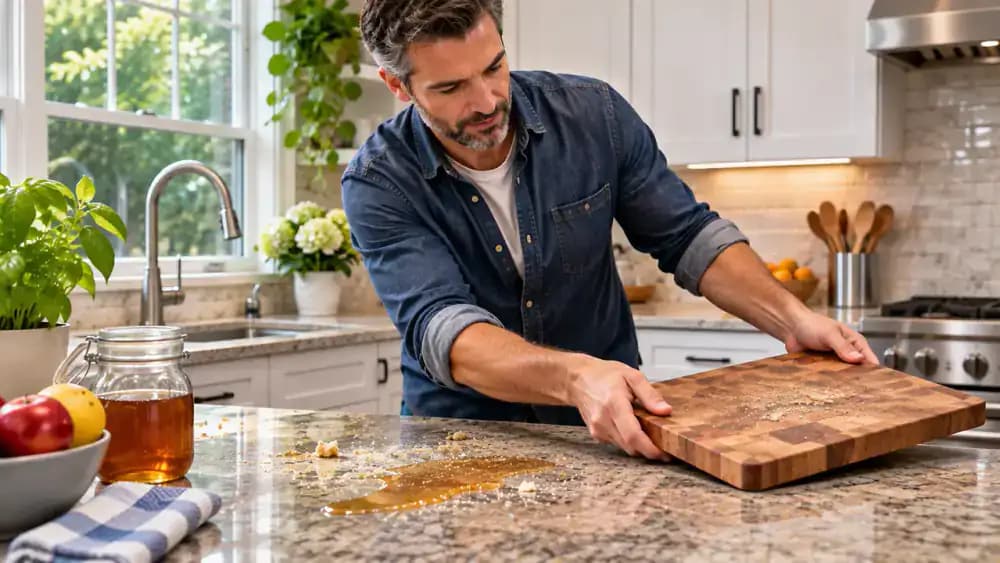
Move cutting boards, utensils, food containers, and small appliances away from the sticky patch before cleaning. Place them on a separate counter or kitchen island, keeping food safely away from cleaning products. As you clear the space, look for crumbs or loose debris that could scratch the finish during wiping. Remove loose particles gently without disturbing the sticky deposit. Leave enough open space to work comfortably around the affected area.
Sweep Away Loose Crumbs Without Touching the Sticky Patch
Use a clean, completely dry microfiber cloth to gently sweep crumbs and dust away from the sticky area. Move the cloth from the outer edges toward a small dustpan, keeping it flat against the countertop with minimal pressure. Avoid dragging debris across the sticky deposit or rubbing directly over it. Even tiny crumbs can scratch delicate finishes when pressed against them. Collect loose particles first so the surface is ready for gentle cleaning.
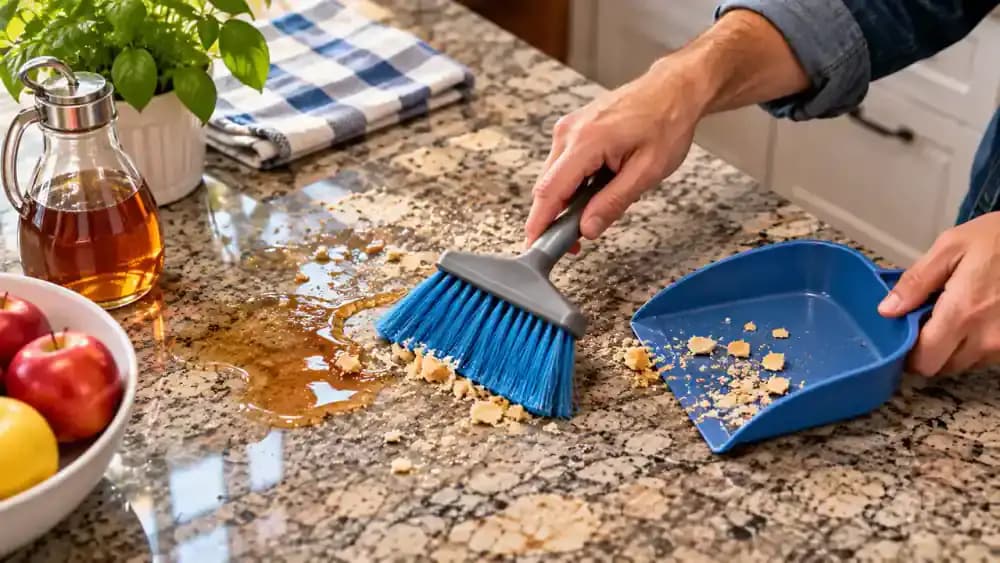
Lift Raised Food Residue With an Approved Plastic Scraper
Check whether the dried food deposit has a raised edge that can be lifted safely. If your countertop manufacturer allows scraping, hold a flexible plastic scraper nearly parallel to the surface and gently slide its rounded edge beneath the buildup. Apply minimal pressure and work slowly to avoid scratching the finish. Stop immediately if the scraper catches, leaves marks, or meets resistance. Never use metal blades or force stubborn residue loose.
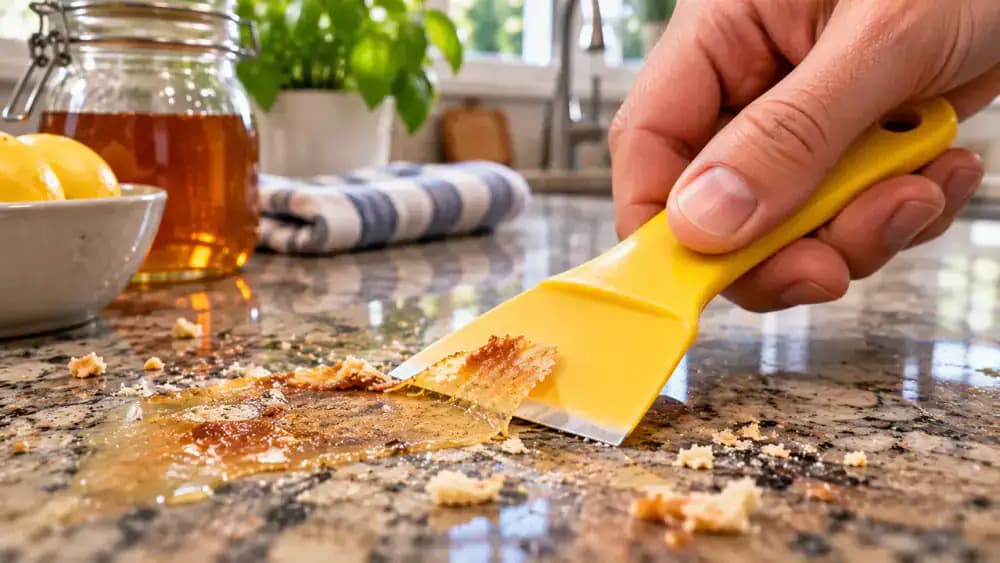
Stop Scraping When Stubborn Residue Won't Lift
If the dried residue stays firmly attached, withdraw the plastic scraper without increasing pressure. Place it on a nearby towel and examine the remaining patch without touching it. Repeated scraping, even with plastic tools, can scratch delicate finishes or damage protective coatings. Flat, stubborn deposits often respond better to gentle softening than additional force. Check your countertop's moisture tolerance before trying a lightly damp cloth, and never sacrifice the finish to remove residue.
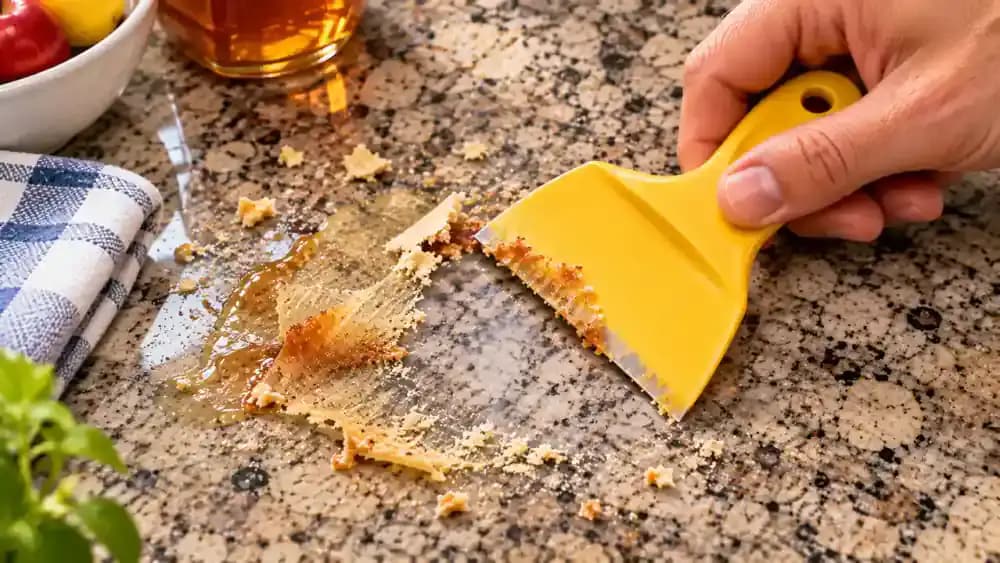
Mix Warm Water and Mild Dish Soap for Sticky Food Residue
Fill a small glass bowl with approximately two cups of warm water, then add one or two drops of mild dish soap. Stir gently with a clean spoon until the soap disperses, creating a lightly soapy solution without excessive foam. Use this mixture only on countertops approved for cleaning with mild soap and water. Adding too much soap can leave a film behind, so keep the concentration low and prepare a clean microfiber cloth.
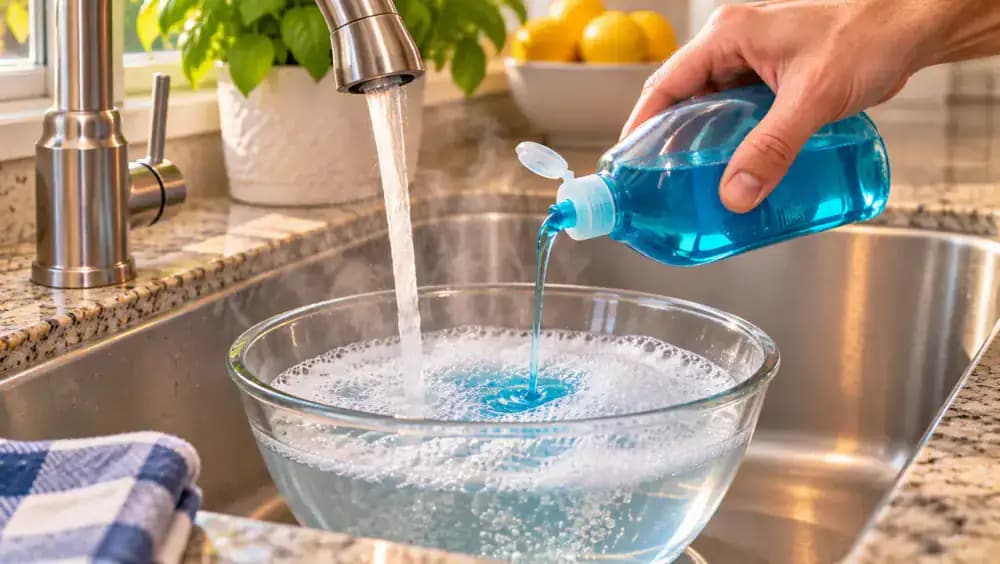
Wring Out the Microfiber Cloth to Prevent Water Damage
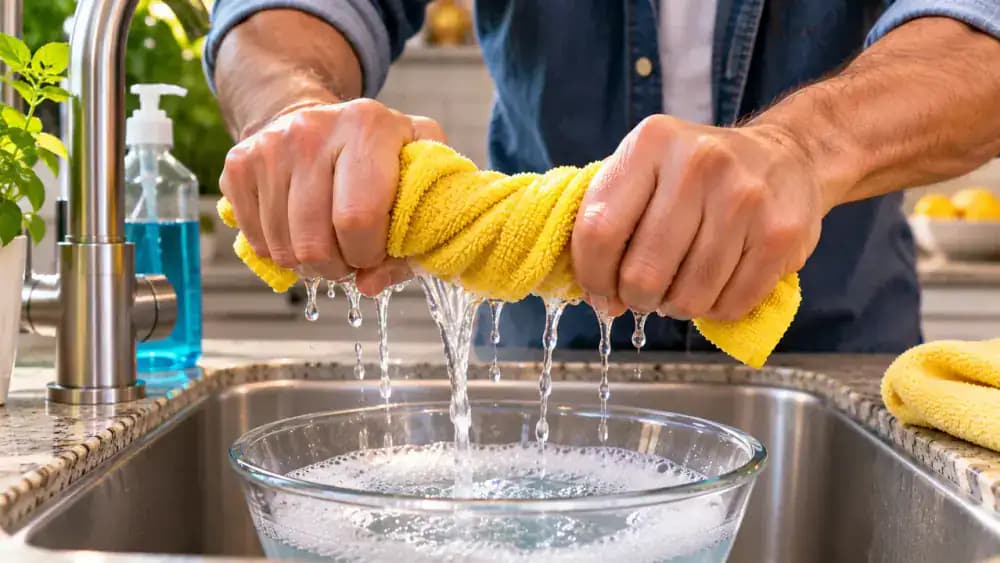
Dip a clean microfiber cloth into the warm, mildly soapy water, then hold it over the sink and gently wring out the excess liquid. Continue squeezing until the fabric feels evenly damp but no longer drips. Fold the cloth into a compact square for better control when cleaning. Excess moisture can seep into countertop seams and edges, potentially damaging moisture-sensitive materials. Always check that your countertop finish is suitable for damp cleaning.
Soften Dried Syrup With a Lightly Damp Microfiber Cloth
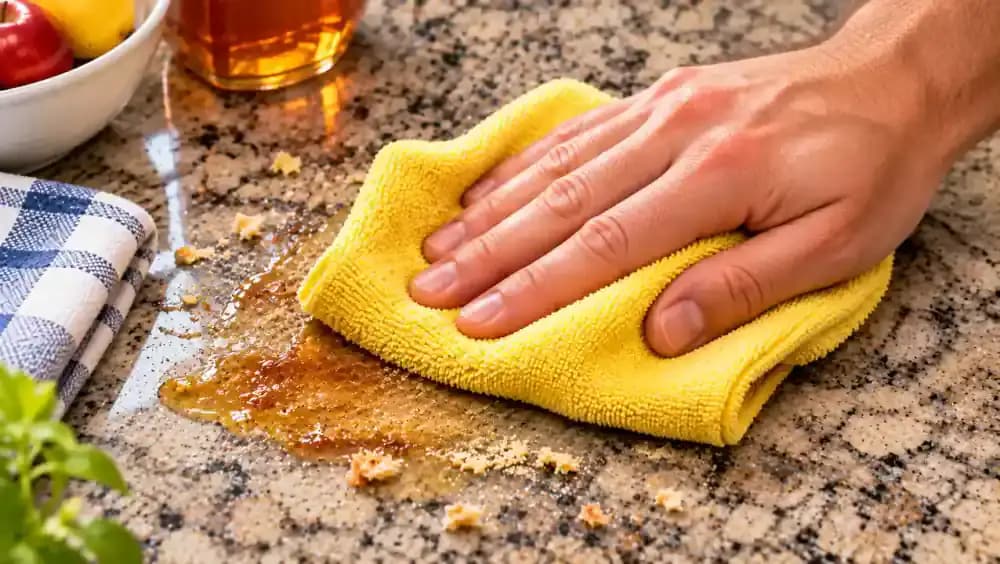
Place the folded, lightly damp microfiber cloth directly over the dried syrup patch, covering the sticky area completely. Apply gentle, even pressure without rubbing or sliding the cloth across the countertop. If your countertop manufacturer's care instructions permit it, let the cloth rest briefly to help soften the sugary buildup. Keep surrounding surfaces dry, especially near seams and exposed edges. Avoid adding extra water or pressing harder while the residue softens.
Lift Softened Syrup With Gentle, One-Direction Wipes
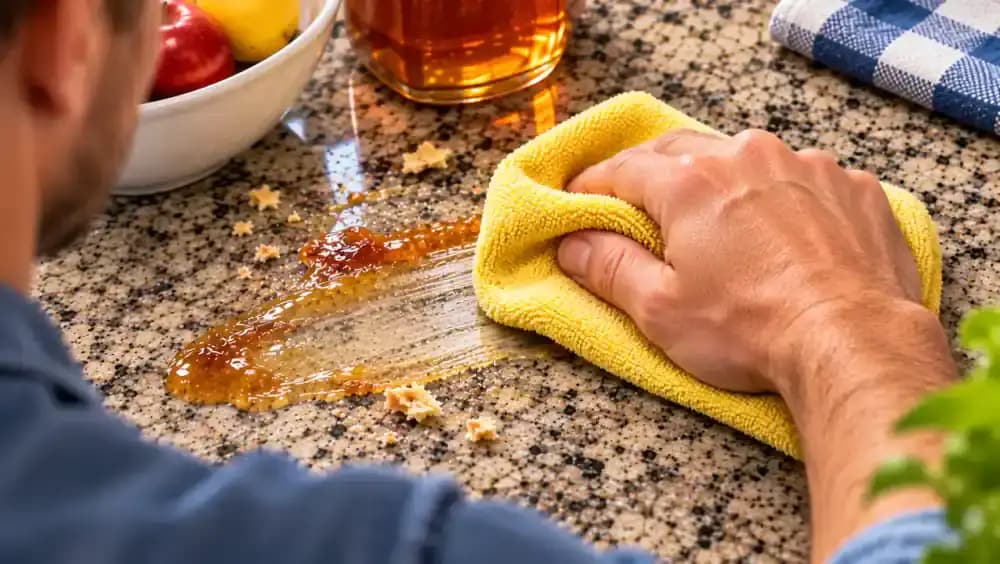
Lift one corner of the damp microfiber cloth and check whether the dried syrup has softened. Refold the cloth to expose a clean section, then wipe gently across the sticky patch in one direction using light pressure and short strokes. Allow the loosened residue to transfer onto the fabric rather than spreading it around. If some syrup remains firmly attached, repeat the damp cloth treatment instead of scrubbing harder or applying excessive moisture.
Repeat Gentle Cleaning to Remove Remaining Sticky Buildup
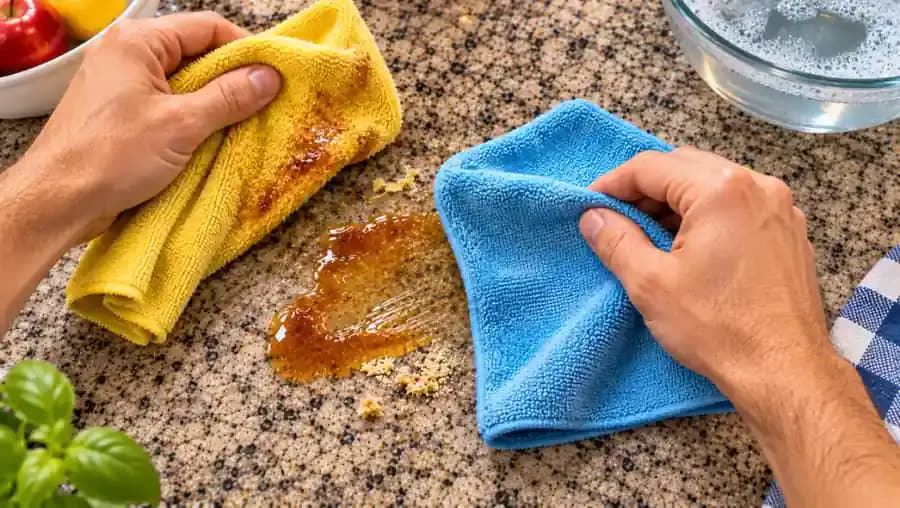
If sugary residue remains after the first wipe, set aside the soiled microfiber cloth and use a fresh, clean section or a replacement cloth. Lightly dampen it with the manufacturer-approved soap solution, then place it gently over the remaining sticky patch. Allow the buildup to soften again before wiping with minimal pressure. Work in small sections and check your progress between passes. Several gentle treatments are safer than aggressive scrubbing or excessive moisture.
Dry Countertop Seams and Edges to Prevent Moisture Damage
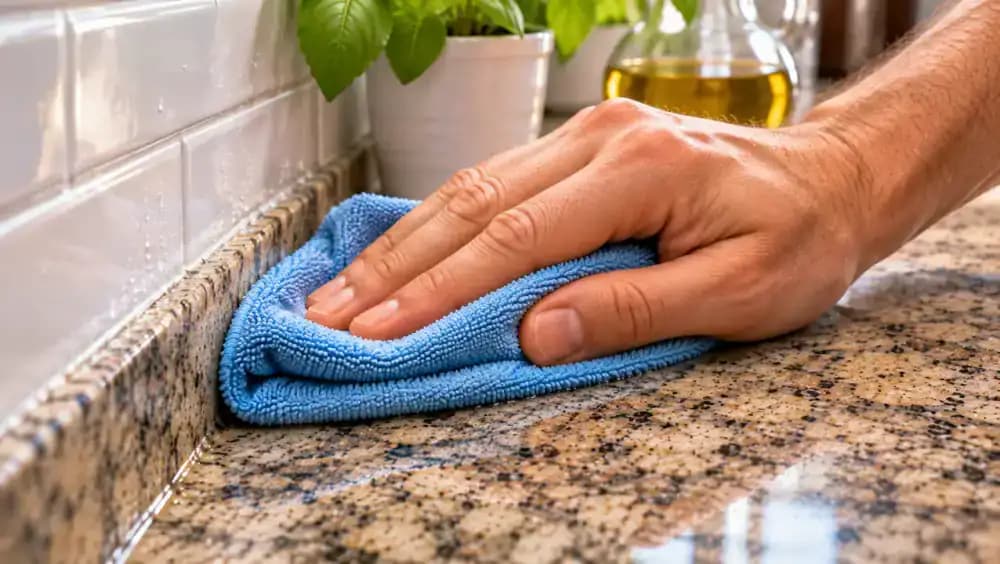
Inspect countertop seams, joints, and exposed edges for moisture after treating the sticky residue. If you notice water near a seam, gently press a clean, dry microfiber cloth against the joint to absorb it. Lift the cloth carefully rather than rubbing or spreading moisture along the edge. Laminate and wood-based countertops can be vulnerable to swelling when water enters exposed joints. Keep surrounding surfaces dry and never allow water to collect around seams.
Check Adhesive Remover Compatibility Before Applying It
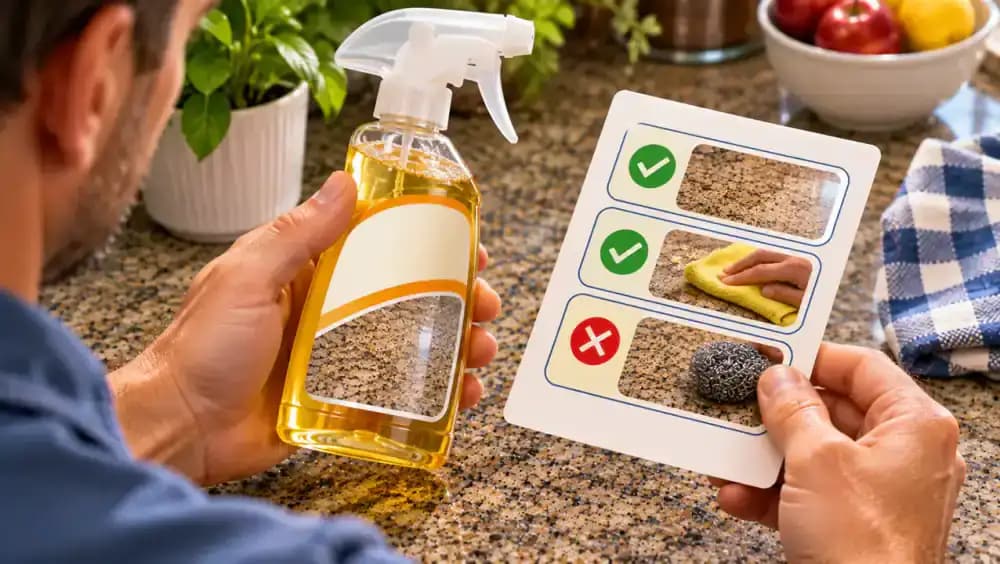
Before treating leftover sticker glue, compare the adhesive remover's label with your countertop manufacturer's care instructions. Confirm that the product is specifically approved for your surface material and finish. Keep the bottle closed while checking compatibility, especially on natural stone, painted countertops, or delicate protective coatings. If either source warns against the product or provides unclear guidance, do not apply it. Contact the countertop manufacturer for a safer cleaning recommendation.
Spot-Test Adhesive Remover on a Hidden Countertop Area
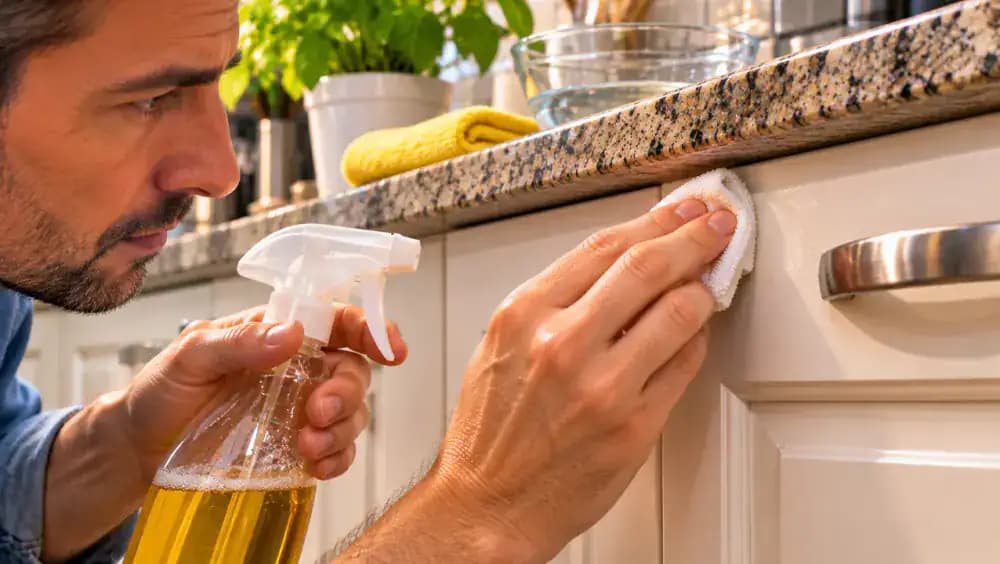
Choose a small, inconspicuous area of your countertop, away from exposed seams and hardware. Using a clean applicator, dab on only the amount of manufacturer-approved adhesive remover specified on the product label. Follow the recommended contact time and cleanup instructions, then inspect the spot under good lighting. Check for discoloration, dullness, softening, or texture changes. If the finish looks different, stop immediately and do not use the remover on visible areas.
Apply Adhesive Remover Directly to the Sticky Patch
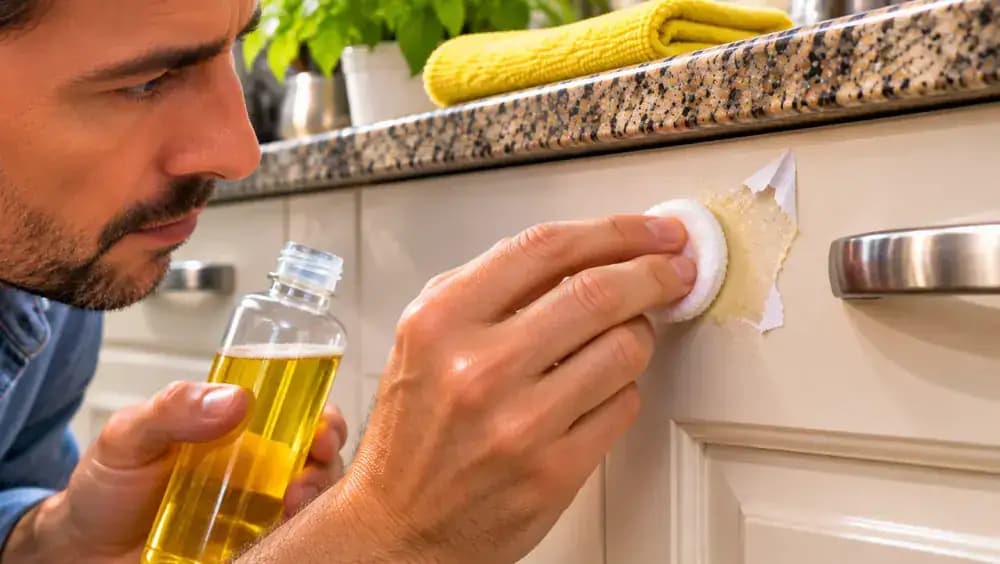
After confirming that the hidden spot test shows no visible damage, apply the manufacturer-approved adhesive remover according to its label. If permitted, lightly moisten a clean cotton applicator and gently dab the sticky patch, keeping the product confined to the affected area. Avoid dripping, overspray, or contact with nearby seams. Follow the specified contact time, provide ventilation as directed, and keep food and utensils away until the surface has been properly cleaned.
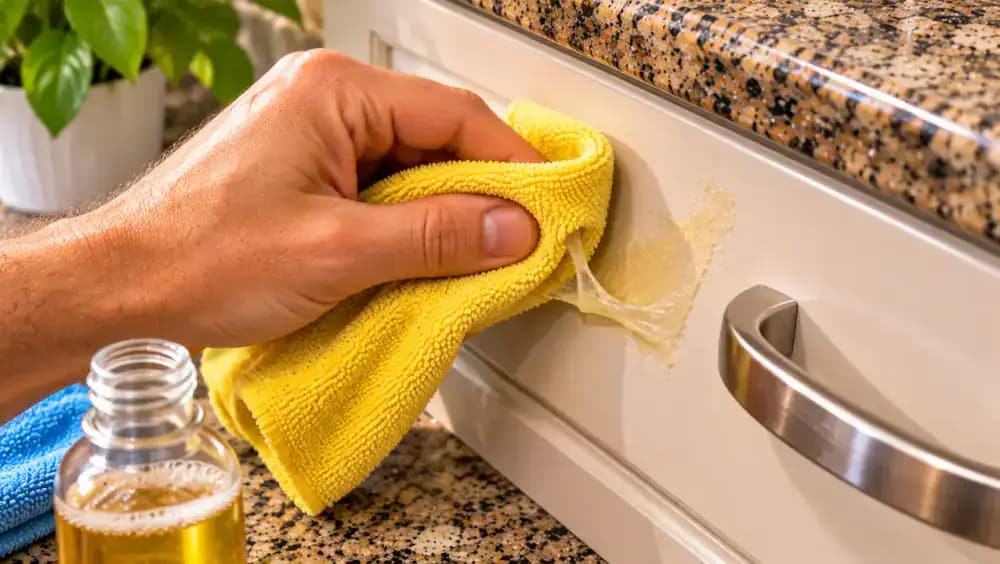
Lift Softened Sticker Adhesive Without Spreading the Glue
After the adhesive remover has remained on the patch for the time specified on its label, check whether the glue has softened. Use a clean, compatible microfiber cloth to gently lift the residue with short strokes from the outer edge toward the center. Refold the cloth as adhesive transfers onto the fibers. Keep surrounding areas dry and avoid spreading the glue. If resistance remains, follow the product directions instead of increasing pressure.
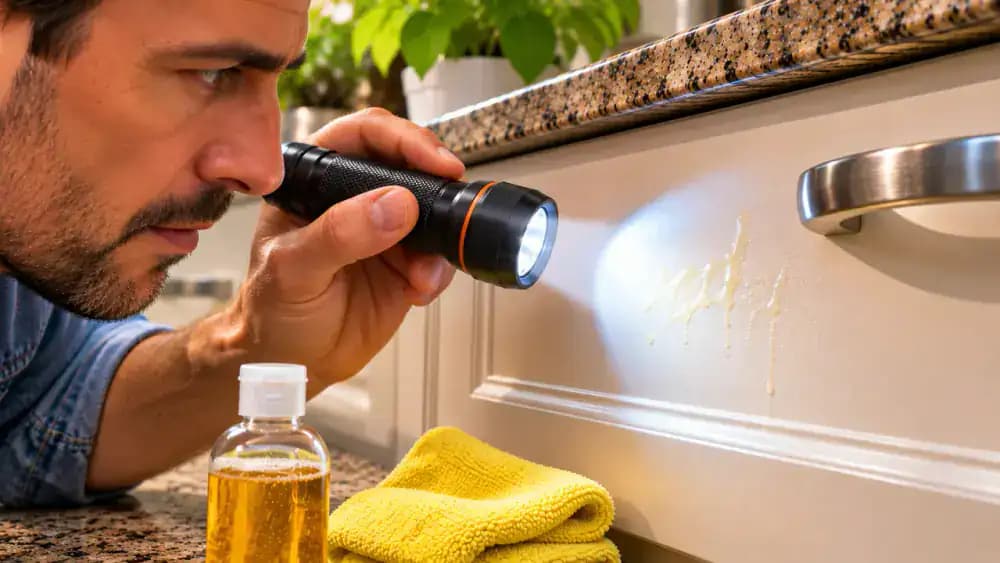
Inspect for Leftover Adhesive Before Repeating Treatment
Hold a small inspection light above the treated countertop and angle its beam across the surface. Look for faint adhesive streaks, gummy edges, or changes in color, texture, and sheen. Keep a clean, dry microfiber cloth nearby, but avoid rubbing the area unnecessarily. If sticky residue remains, consult the remover label before repeating treatment. Never exceed the recommended contact time, and stop immediately if you notice discoloration, dullness, or surface softening.
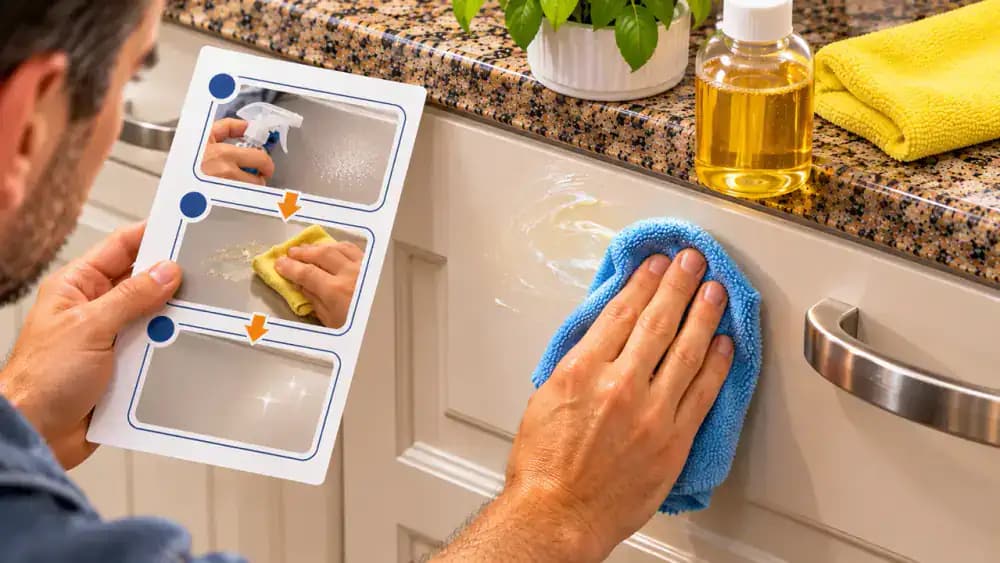
Remove Leftover Adhesive Remover Without Leaving an Oily Film
Check the adhesive remover's label for its required cleanup method before wiping the treated countertop. A faint, reflective film may remain even after the sticker glue has lifted. Using a fresh, folded microfiber cloth, gently collect the remaining product as directed, keeping moisture away from seams and edges. Some removers require specific cleaning procedures, so never assume plain water is sufficient. Avoid adding other chemicals or scrubbing aggressively to remove the film.
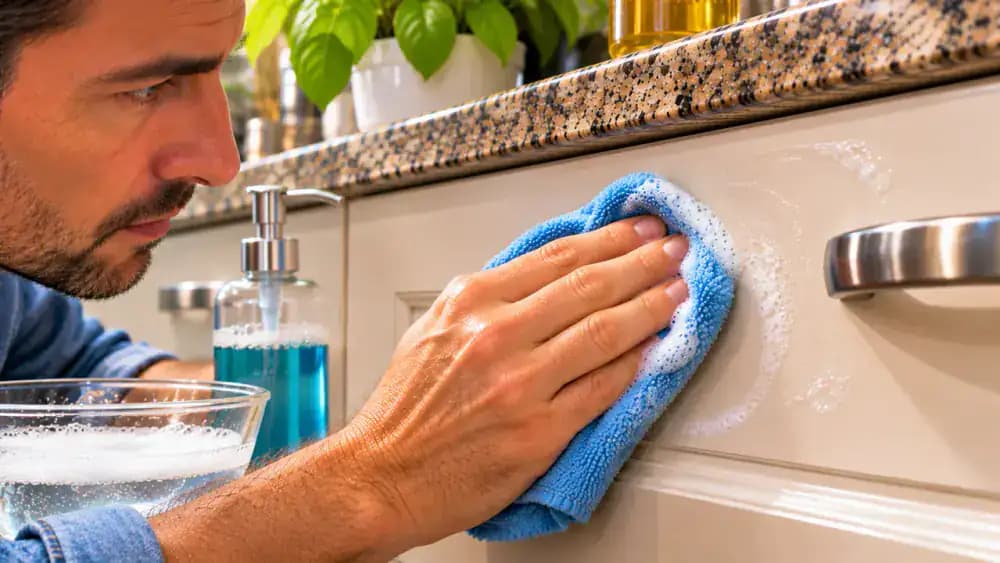
Wipe Away Remaining Oily Film With Mild Soapy Water
After removing the adhesive remover according to its label, check for any lingering greasy film. If your countertop manufacturer approves mild soap and water, use a fresh, lightly damp microfiber cloth to wipe the affected area in one gentle, straight motion. Apply minimal pressure and avoid spreading moisture across the surface. Use only a small amount of diluted dish soap, and keep water away from seams and exposed edges to prevent damage.
Remove Soap Streaks With a Clean, Lightly Damp Cloth
After wiping with mild soapy water, take a separate microfiber cloth lightly dampened with clean water. If your countertop manufacturer permits water rinsing, gently move the folded cloth across the cleaned area in one or two straight passes. Use minimal pressure and avoid leaving puddles or wet streaks. Keep moisture away from seams and exposed edges. Removing leftover soap helps prevent cloudy streaks and prepares the surface for thorough drying and inspection.
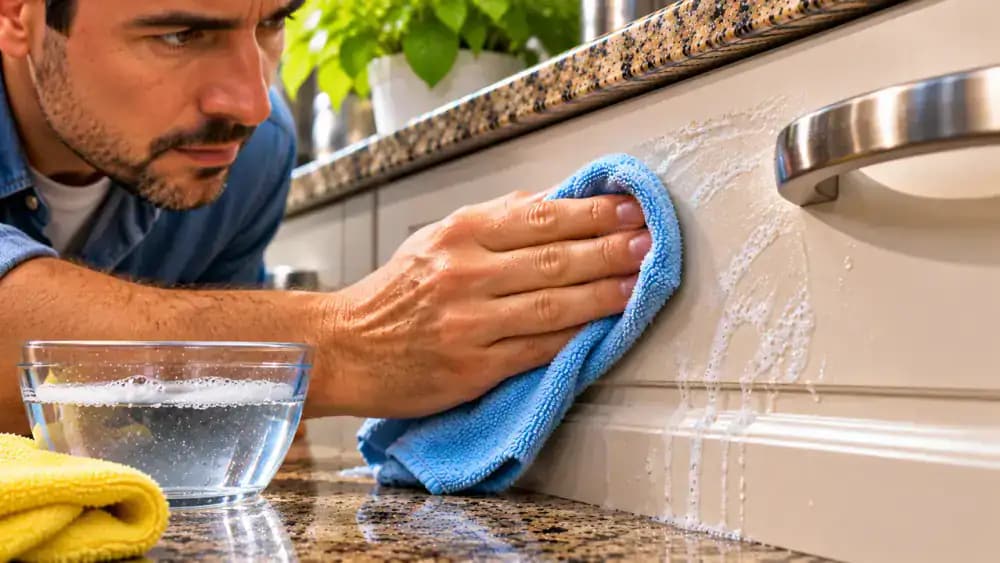
Dry the Countertop Completely With a Fresh Microfiber Cloth
Use a fresh, completely dry microfiber cloth to absorb any moisture remaining after rinsing. Gently move the cloth across the countertop in broad, controlled strokes without applying excessive pressure. Refold it to a dry section and carefully blot corners, seams, and exposed edges where water might collect. Thorough drying helps protect moisture-sensitive materials and makes leftover streaks or oily patches easier to identify. Avoid applying polish or additional cleaners before inspecting the finish.
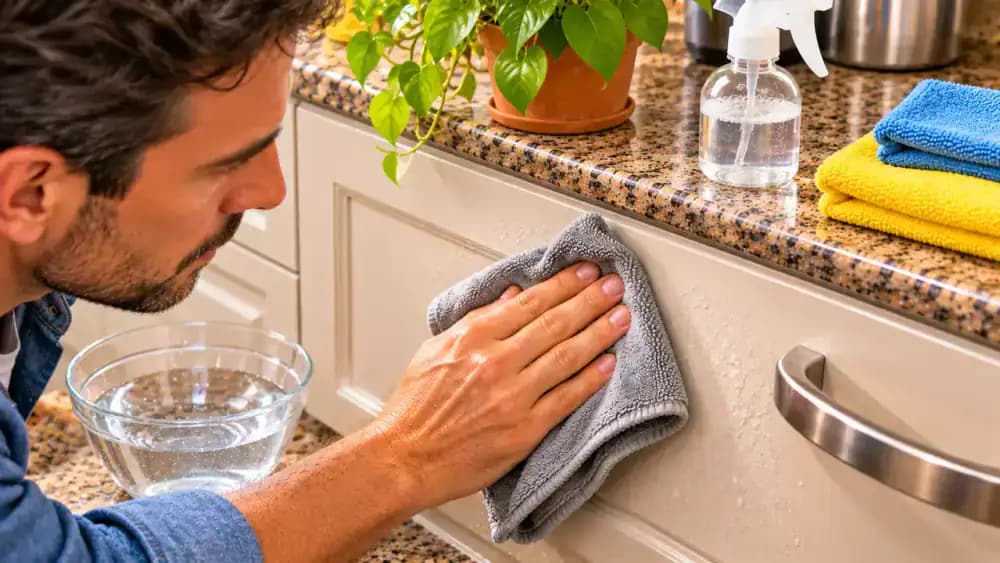
Check the Dry Countertop for Residue and Finish Damage
Examine the completely dry countertop from several angles, using natural window light to reveal subtle changes in the surface. Compare the treated area with the surrounding untouched finish, looking for sticky patches, oily streaks, scratches, dull spots, or discoloration. A faint reflective streak may indicate remaining residue, so inspect carefully without rubbing. If you notice possible finish damage, stop cleaning and consult the countertop manufacturer before attempting further treatment.
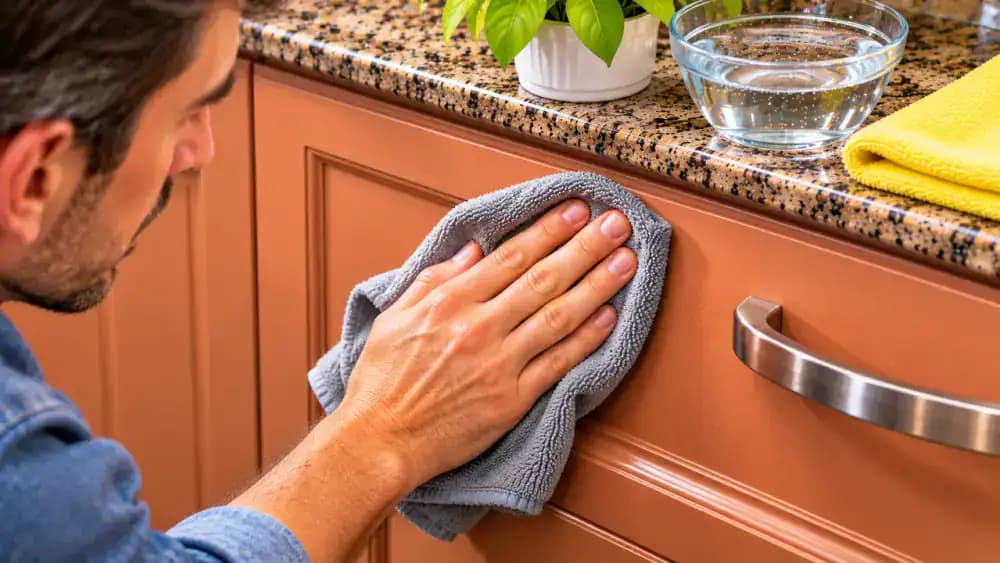
Wipe Up Fresh Spills Before Sticky Residue Can Form
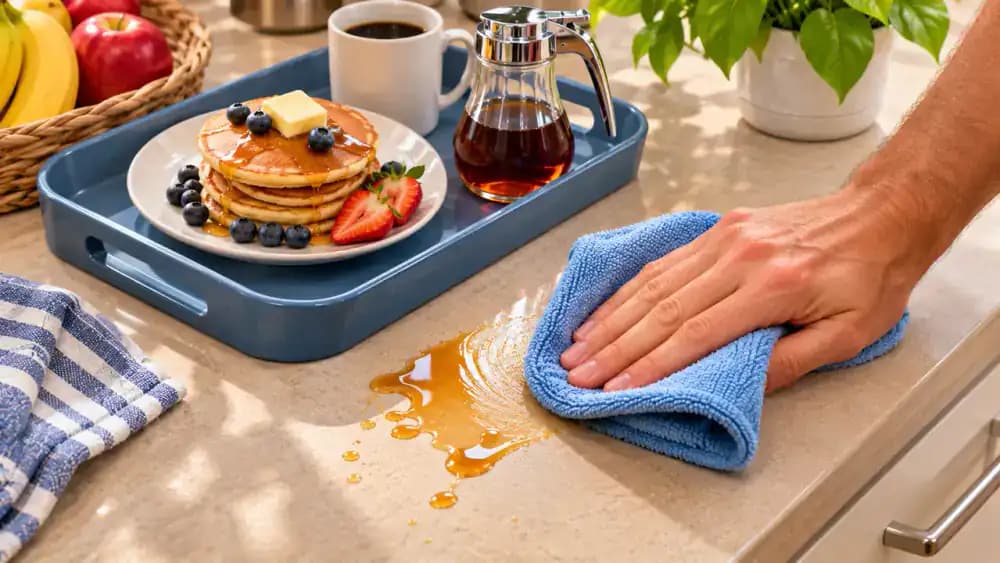
Clean up fresh syrup, juice, and other sugary spills as soon as you notice them. Use a soft microfiber cloth lightly dampened with water or a cleaner approved for your countertop material. Gently lift the spill before it dries, keeping moisture away from seams and edges. Place syrup bottles and other sticky containers on a washable tray to catch drips. These simple habits help prevent stubborn buildup and reduce the need for scrubbing.
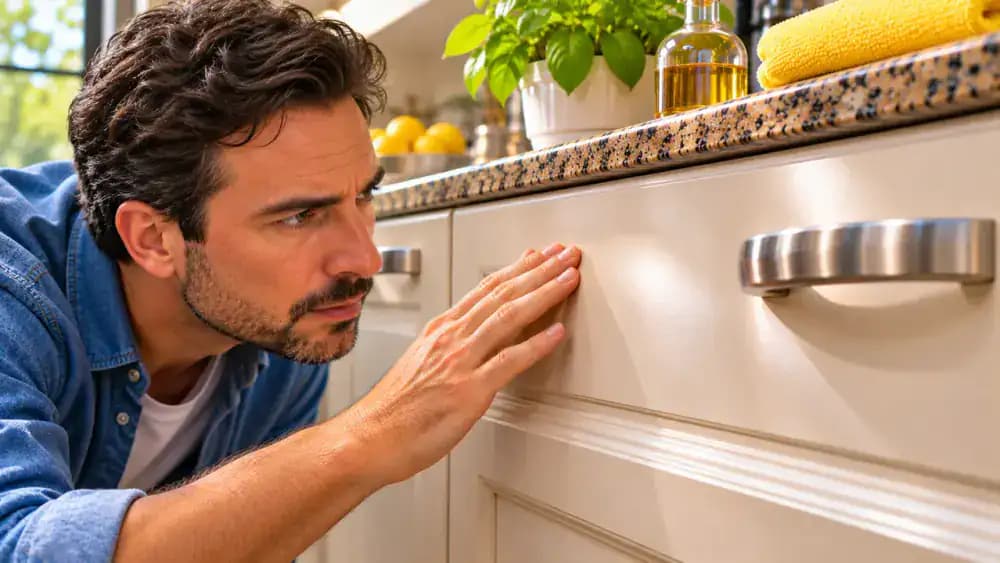
Remove Container Labels Before Adhesive Reaches the Countertop
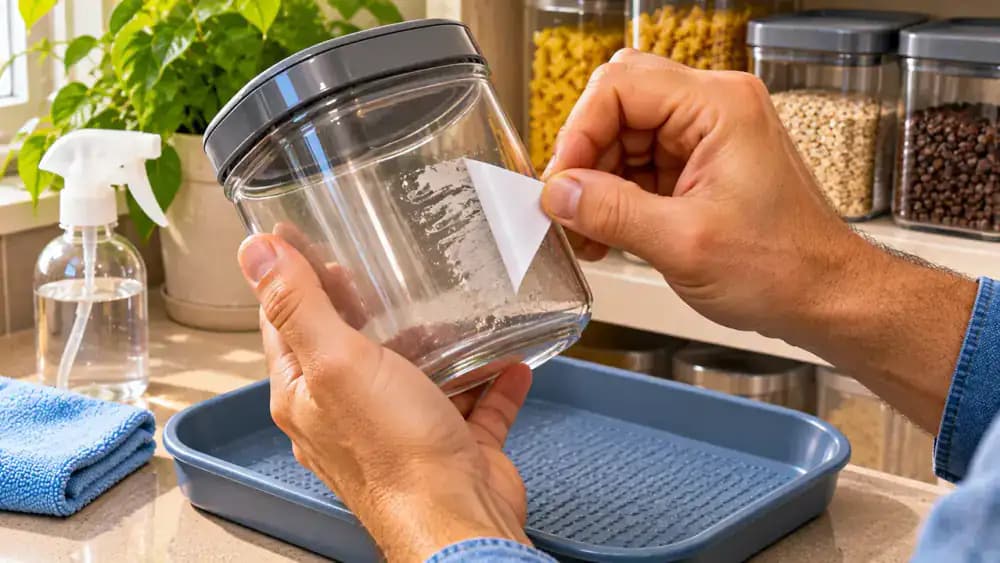
Peel stickers and paper labels slowly from food storage containers before placing them directly on your countertop. Hold the container above a washable tray while lifting the label corner, allowing any leftover adhesive to remain on the container rather than transferring to the surface. If the bottom still feels sticky, keep it on the tray until cleaned. Avoid sharp scraping tools and unapproved solvents that could damage delicate countertop finishes.
Keep Countertops Clean With Gentle, Surface-Safe Care
Once the countertop is clean and completely dry, organize your supplies and return them to storage. Keep microfiber cloths, mild dish soap, and the manufacturer's care instructions readily accessible. Remember to identify sticky residue before cleaning, soften buildup gently, and use adhesive removers only when approved and spot-tested. Always remove leftover cleaning products, dry seams thoroughly, and inspect the finish. Regular maintenance helps prevent stubborn buildup without unnecessary scrubbing or chemical exposure.
Sticky syrup, dried food spills, and leftover sticker adhesive can turn an otherwise clean kitchen countertop into a frustrating mess. Reaching for a rough scrubber or strong cleaning chemical might seem like the quickest solution, but aggressive scrubbing can spread softened glue, leave scratches, or damage delicate finishes. The safest way to remove sticky residue starts with figuring out what caused it and knowing which cleaning methods your countertop material can handle. A sugary spill and stubborn adhesive may look similar, but they often require different approaches.
Fortunately, most everyday sticky messes can be tackled with a few basic supplies, including microfiber cloths, warm water, and mild dish soap. This guide explains how to loosen buildup, gently lift residue, and clean the surface without unnecessary wear. You'll also learn when a manufacturer-approved adhesive remover may be appropriate, why spot-testing matters, and how to avoid moisture damage around seams. With the right technique and a little patience, you can restore a clean countertop while protecting its finish.
Where people go wrong
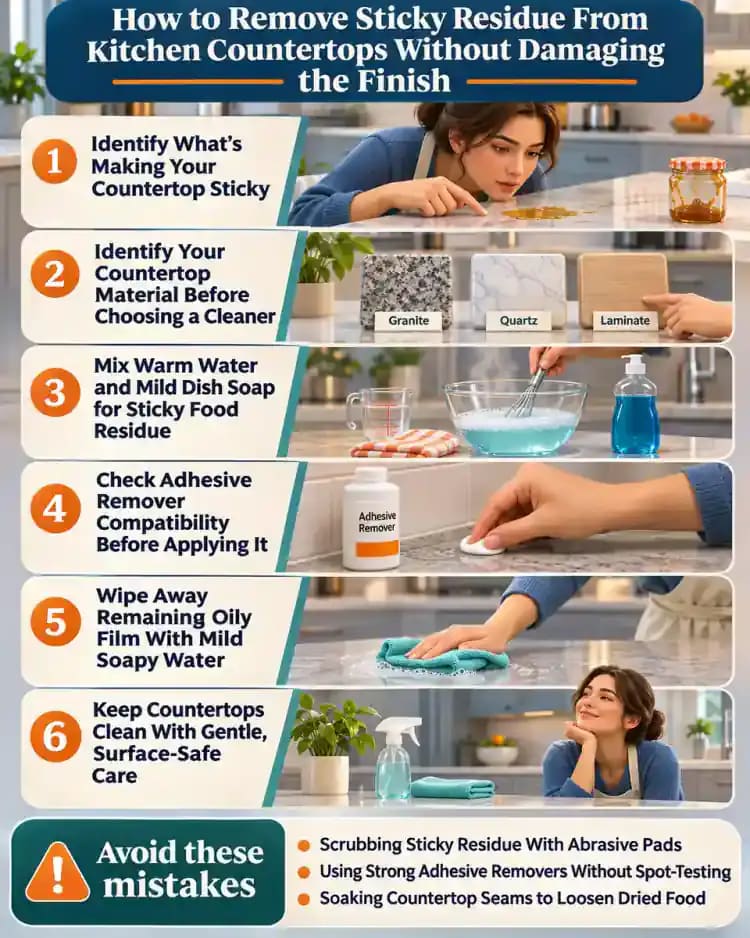
Scrubbing Sticky Residue With Abrasive Pads. Using steel wool, rough sponges, or excessive pressure can scratch countertop surfaces and dull delicate finishes. Aggressive scrubbing may also spread softened adhesive instead of removing it. Start with a soft microfiber cloth and gently lift stubborn buildup using a surface-approved plastic scraper when appropriate.
Using Strong Adhesive Removers Without Spot-Testing. Applying solvents or powerful adhesive removers directly to a countertop can cause discoloration, staining, or finish damage. Natural stone, painted surfaces, and other vulnerable finishes require particular caution. Always check manufacturer recommendations, choose an explicitly approved product, and test it in a hidden area before treating visible residue.
Soaking Countertop Seams to Loosen Dried Food. Leaving excessive water or cleaning solution around countertop seams and edges can damage moisture-sensitive materials. Instead of soaking stubborn food residue, hold a lightly damp microfiber cloth against the affected area on compatible surfaces. Repeat gentle cleaning as needed, then promptly remove remaining moisture with a clean, dry towel.
Leaving Cleaning Products and Oily Films Behind. Failing to remove leftover adhesive remover, soap, or loosened residue can leave countertops looking cloudy, greasy, or uneven. Follow the cleaning product's removal instructions, wipe compatible surfaces with mild soapy water, and rinse lightly when appropriate. Dry thoroughly and inspect for remaining buildup or unexpected finish changes.
Questions people ask
Start by identifying the residue and checking your countertop manufacturer's cleaning recommendations. For compatible surfaces, use a microfiber cloth lightly dampened with warm, soapy water to soften food residue. Gently lift the buildup without aggressive scrubbing, then wipe away remaining cleaner and dry thoroughly. Avoid abrasive pads and unapproved chemicals.
Fixed it?
Get one guide like this every Thursday.