How to Remove Tomato Stains and Odors From Plastic Food Containers
Orange tomato sauce stains and stubborn leftover odors don't always mean your plastic containers are ruined. Learn how to remove grease, tackle lingering smells, fade discoloration, and recognize when it's time to replace a container.
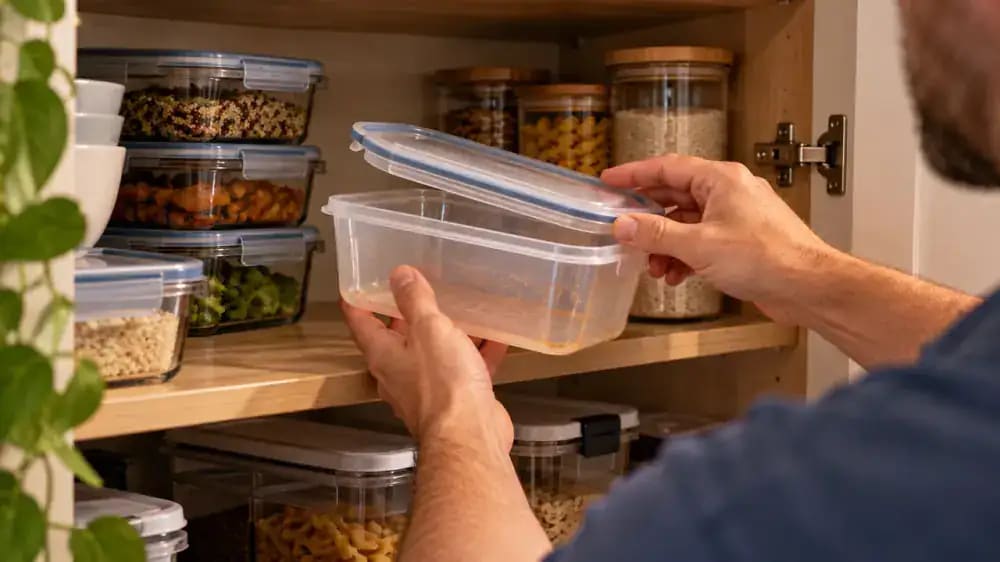
What you’ll need
Tap to tick things off before you start.
Check for Grease Before Treating Tomato Stains
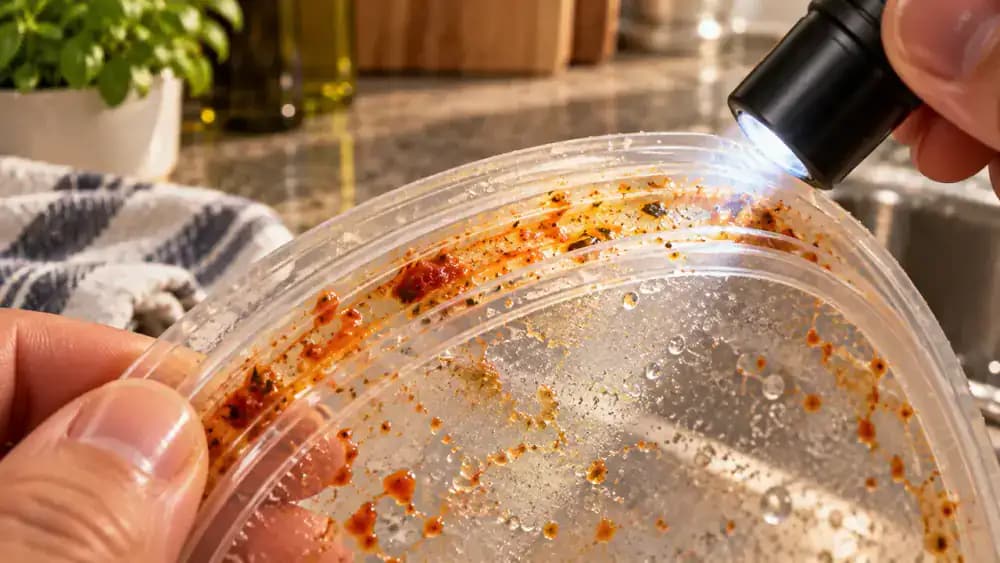
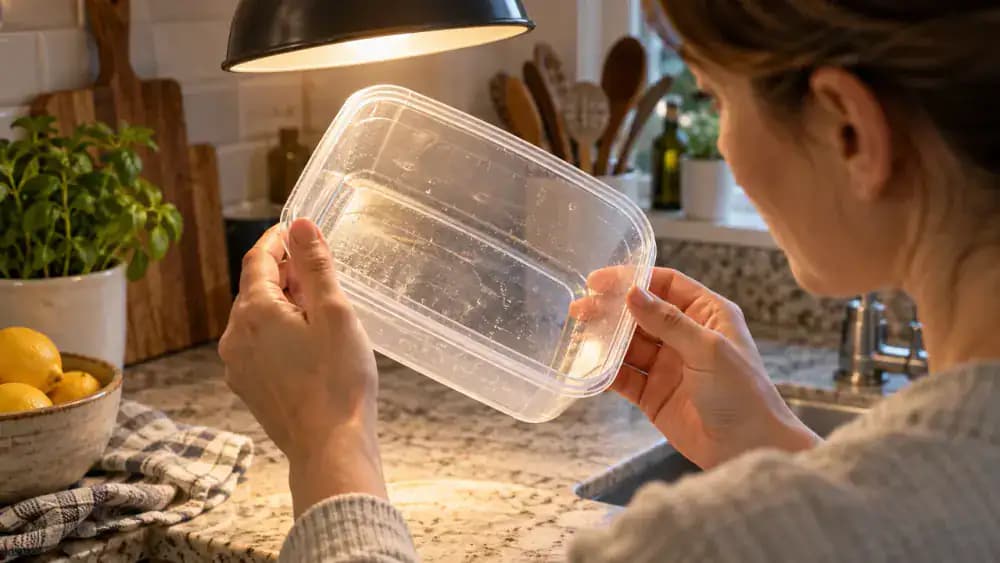
Remove the lid and inspect the inside of your plastic food container under good lighting. Look for orange discoloration along the bottom, corners, and edges where tomato sauce tends to collect. Tilt the container slightly to spot any shiny, greasy residue. Check the lid's narrow sealing groove, too, since trapped sauce can cause lingering odors. Identifying oily buildup first helps you clean more effectively without using harsh stain removers unnecessarily.
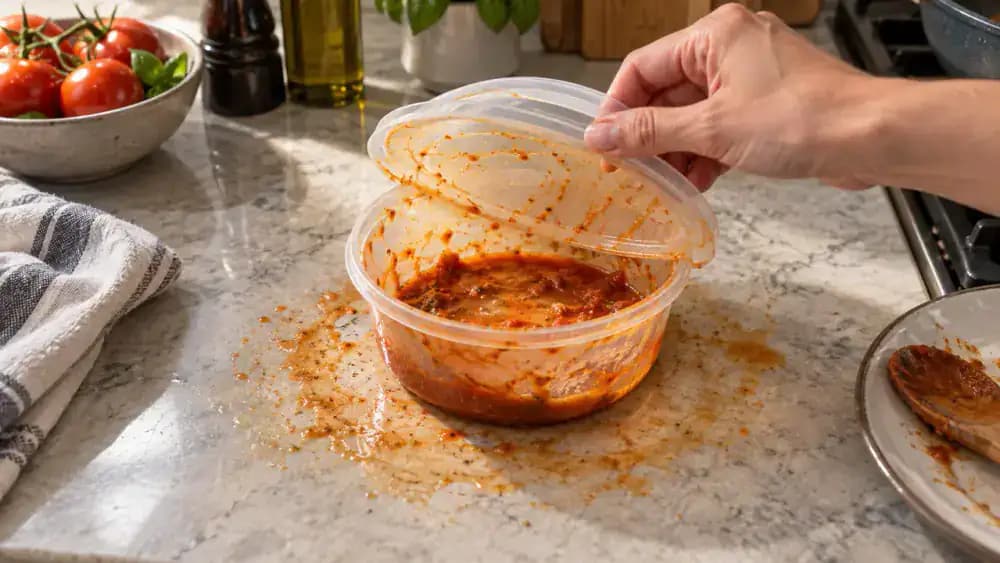
Check the Manufacturer's Cleaning Instructions
Turn the empty plastic container upside down and examine the symbols molded into its base. Look for a dishwasher-safe marking, manufacturer name, or care label. If available, compare these markings with the manufacturer's instructions on your phone. Check the lid and removable seals separately, since they may have different temperature limits. If you cannot confirm dishwasher compatibility, wash everything by hand using warm water, mild dish soap, and a soft sponge.
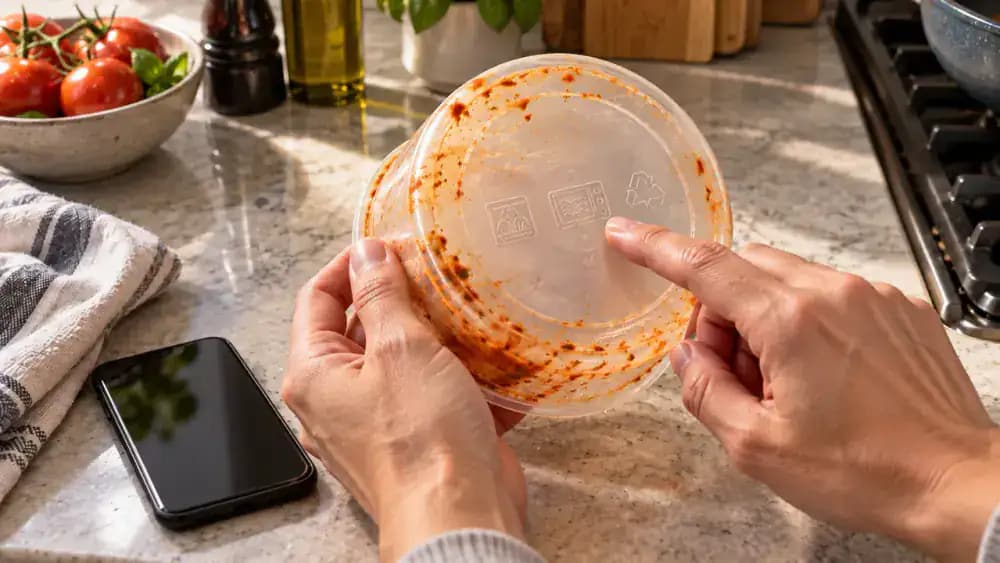
Separate the Container, Lid, and Removable Seals
Place the stained plastic container and its lid on a clean towel beside the sink. If the manufacturer permits removal, gently lift the silicone gasket from the lid's channel using your fingertips. Avoid pulling or stretching the seal, which could affect its fit. Inspect the exposed groove for trapped tomato sauce and grease. Remove any other detachable inserts, then arrange each component separately so every surface is accessible during washing.
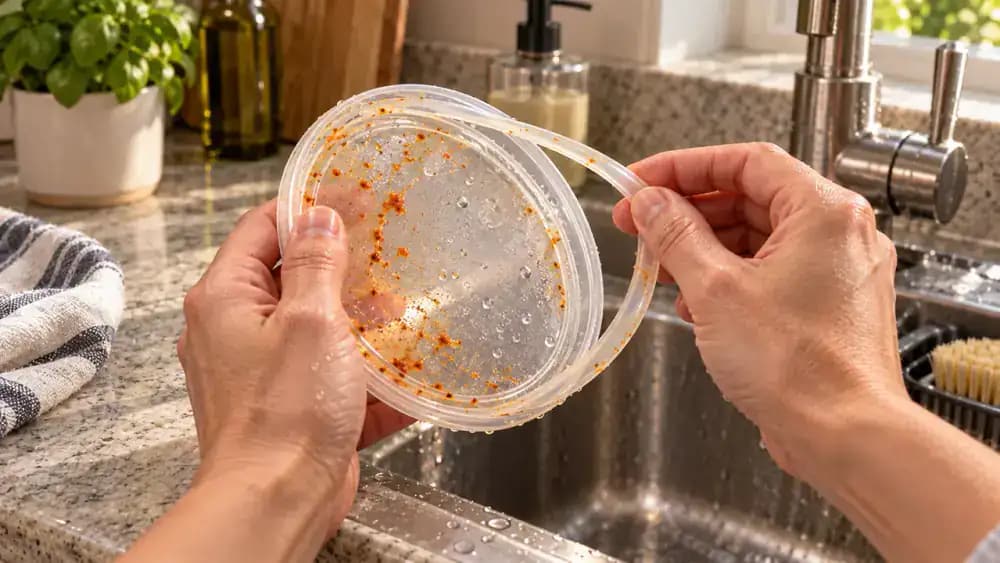
Inspect Hidden Grooves for Trapped Grease
Hold the disassembled lid upright under bright lighting and slowly rotate it while shining a small flashlight into the narrow sealing channel. Look closely for orange tomato residue, tiny food particles, and shiny patches of grease. Check the lid's inside corners and the groove where the gasket normally sits, then inspect the container's interior corners. Pay special attention to tight edges where residue collects. Identify these spots before washing so you know where to concentrate your cleaning.
Gather Your Gentle Cleaning Supplies
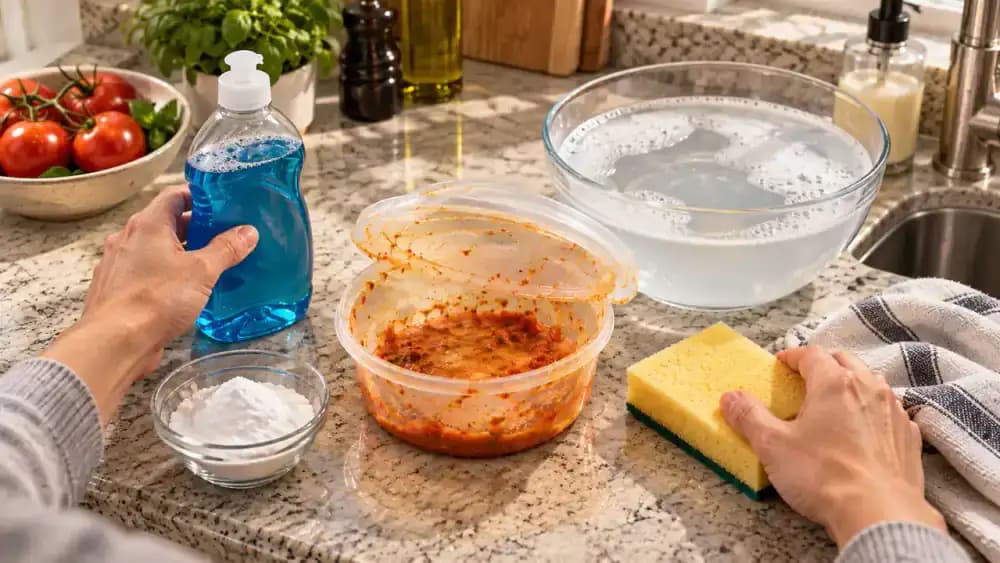
Arrange mild dish soap, a bowl of warm water, a soft sponge, baking soda, and two clean cotton towels beside your sink. Gently squeeze the sponge to make sure it is soft and nonabrasive before using it on plastic. Keep the stained container, lid, and removable gasket nearby so each piece can be cleaned separately. Avoid steel wool, rough scrubbers, bleach, and harsh solvents that could damage the plastic.
Remove Tomato Sauce Grease With Warm, Soapy Water
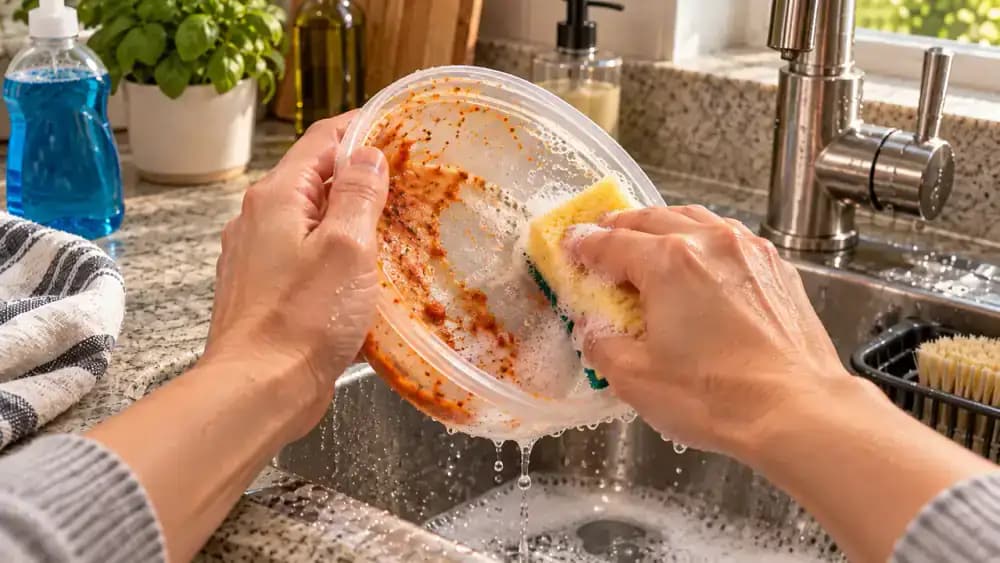
Add a few drops of mild dish soap to a small bowl of warm water, then soak a soft sponge in the mixture. Hold the plastic container steady inside your sink and gently wipe its interior using slow, overlapping strokes. Work across the bottom, up the sidewalls, and around the corners where oily residue often collects. Focus on removing the slippery grease rather than scrubbing away the orange stains, which may require additional treatment.
Clean the Lid Channels and Sealing Grooves
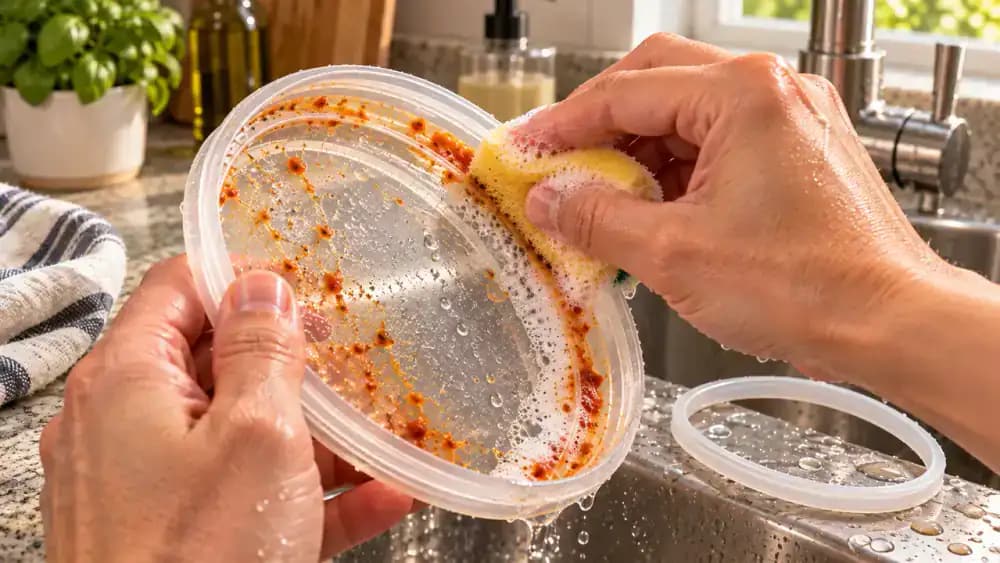
Place the lid face up on a nonslip mat beside the sink. Fold the corner of a soft sponge and gently work warm, soapy water into each narrow sealing groove, following the entire channel to loosen trapped tomato sauce, grease, and food particles. Avoid abrasive scrubbers that could scratch the plastic. Remove the silicone gasket, wash both sides and edges separately, then rinse everything thoroughly before allowing the pieces to air-dry completely.
Rinse Away Soap and Loosened Grease
Hold the container at an angle under warm running water, rotating it slowly to rinse the interior walls and corners. Rinse the detached lid separately, directing water through each sealing groove, then wash both sides of the silicone gasket. Run clean fingertips across the interior to check for slippery soap residue or lingering grease. If any corner still feels oily, scrub it again with a soft sponge and mild dish soap before rinsing thoroughly.
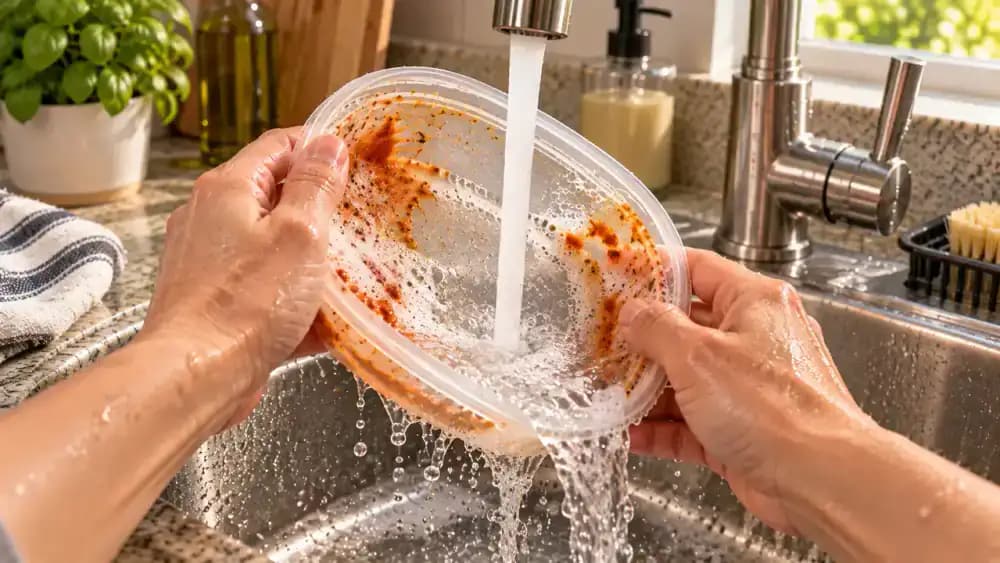
Why Removing Grease Comes First
Place the freshly washed container on a clean towel and tilt it toward natural daylight to inspect the remaining orange stains. Notice how the upper walls look clear while discoloration remains near the bottom corners. Tomato pigments often cling to plastic when carried by cooking oils, so removing grease helps you evaluate what's left. Check the lid and silicone gasket separately. Even thoroughly cleaned plastic can retain some staining without being dirty.
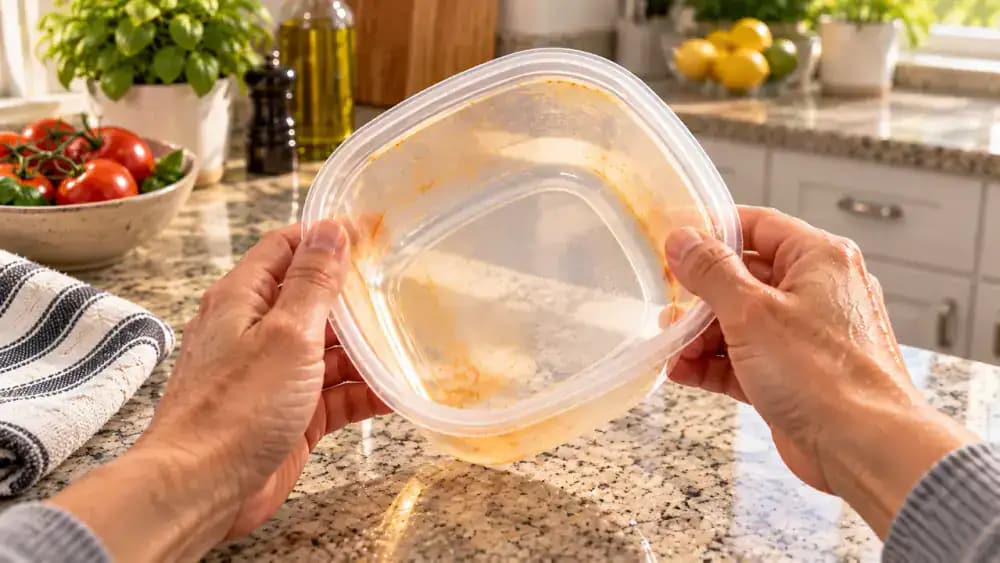
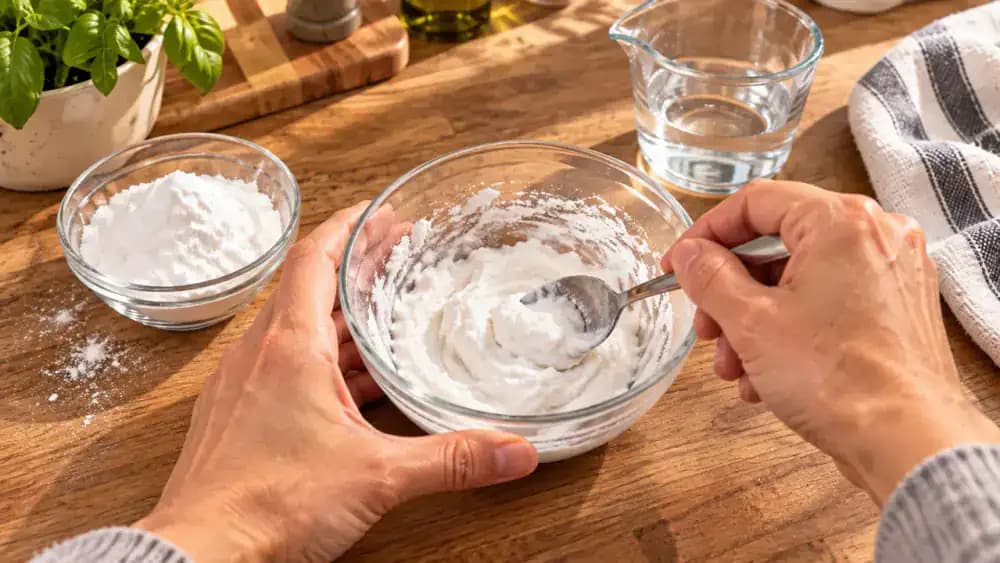
Preparing a Thick Baking Soda Paste to Tackle Lingering Odors
Measure two level tablespoons of baking soda into a small bowl. Add water one teaspoon at a time, stirring with a silicone spatula after each addition. Continue mixing until the powder becomes a smooth, spreadable paste with no dry lumps. Lift the spatula slightly to check the consistency. The paste should hold its shape without dripping. If it becomes too watery, stir in a small pinch of baking soda before applying it.
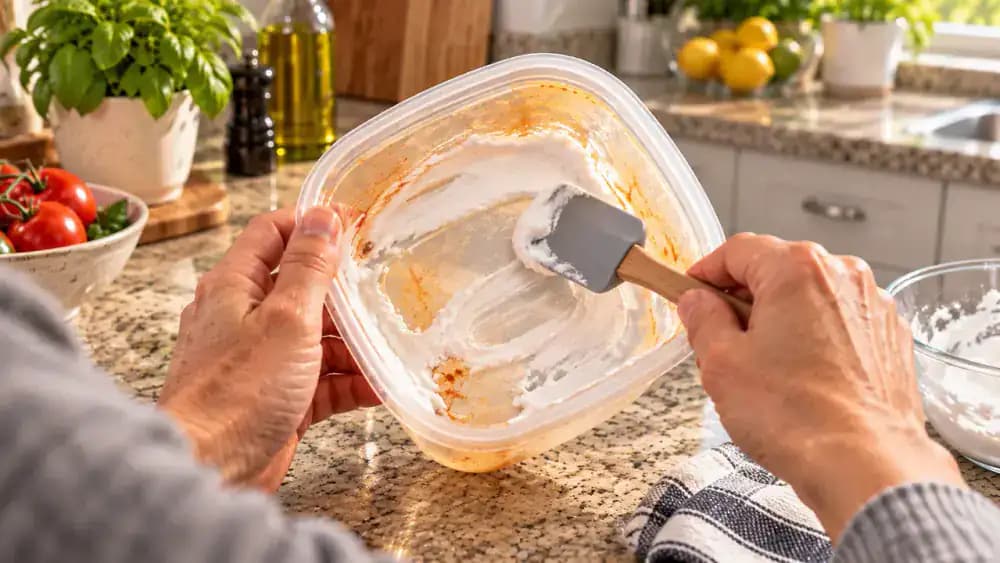
Spread the Baking Soda Paste Over Stained Surfaces
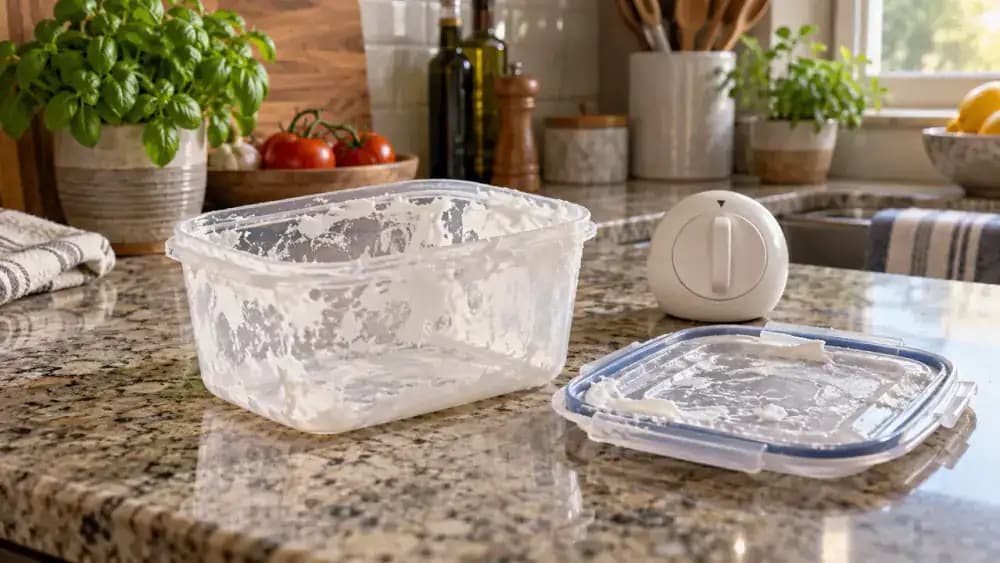
Set the container upright on a clean towel and use a soft silicone spatula to spread the prepared baking soda paste across the stained interior. Apply a thin, even coating to the bottom, sidewalls, and rounded corners without scrubbing. Rotate the container as needed to reach tight spots. Add a small amount to the detached lid's sealing channel, keeping the removable gasket separate. Some orange discoloration may remain visible beneath the paste.
Give the Baking Soda Paste 20 Minutes to Work
Set a kitchen timer for 20 minutes and leave the baking soda-coated container and lid untouched on clean towels. Keep the lid's sealing channel facing upward and the removable silicone gasket separate. Allow 15 to 30 minutes for the paste to help absorb lingering food odors without scrubbing. Choose a spot away from heat and direct sunlight. The paste does not need extra ingredients or an overnight drying period.
Gently Remove the Baking Soda Paste With a Damp Sponge
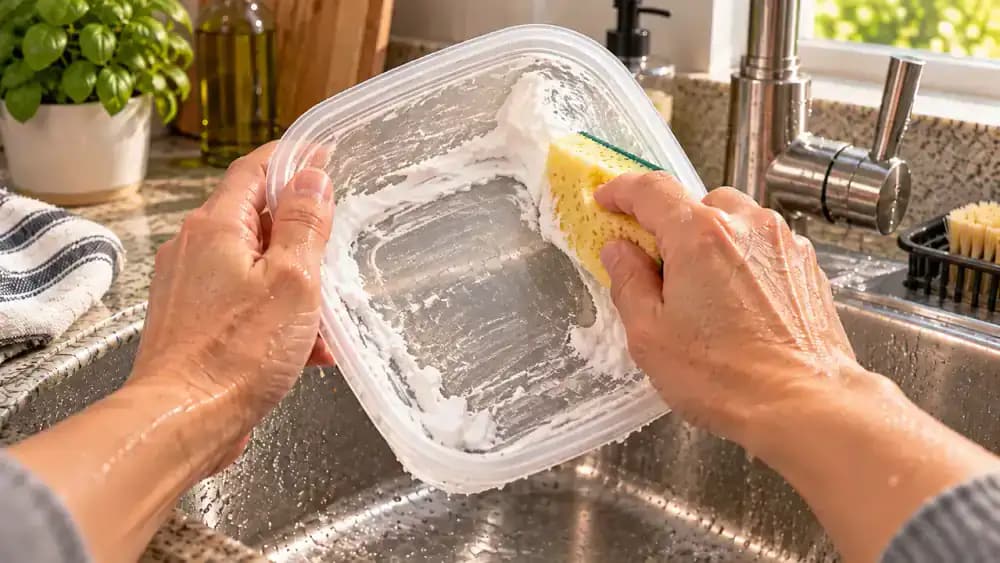
After letting the paste sit for 15 to 30 minutes, hold the container over your kitchen sink and use a clean, damp, soft sponge to lift away the coating. Move slowly across the bottom, rounded corners, and sidewalls using overlapping strokes and light pressure. Fold the sponge's edge to clean the lid's sealing channel. Focus on removing the paste and loosened residue rather than scrubbing away stubborn orange stains. Do not rinse yet.
Rinse the Container and Lid Until All Baking Soda Is Gone
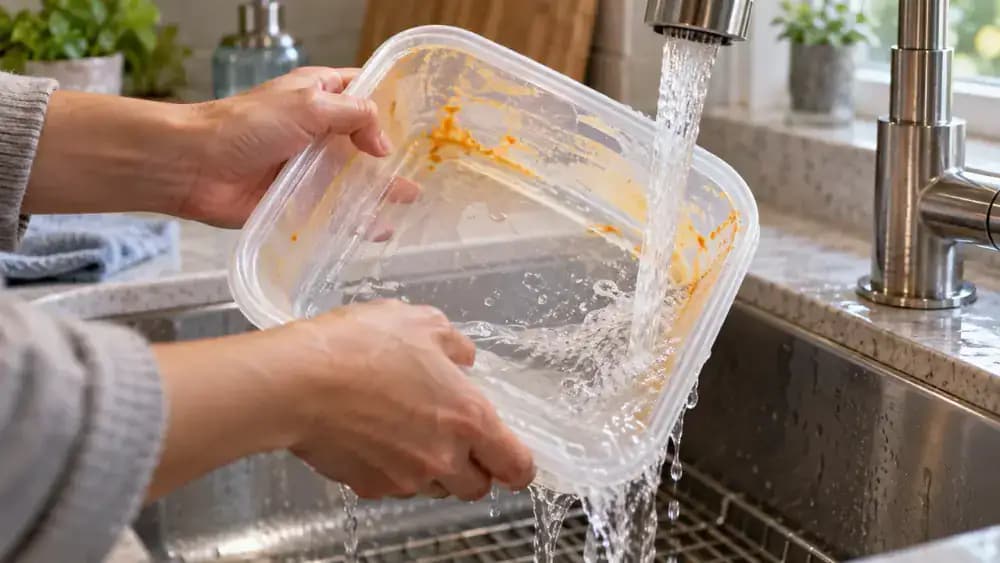
Hold the container diagonally under a gentle stream of warm running water, rotating it slowly to flush the bottom, sidewalls, and rounded corners. Rinse the detached lid separately, tilting its sealing channel so water passes through the entire groove. Check the corners for lingering white baking soda residue and rinse again if necessary. Keep the silicone gasket on a clean towel. Some orange tomato staining may remain after rinsing.
Air-Dry the Container, Lid, and Gasket Separately
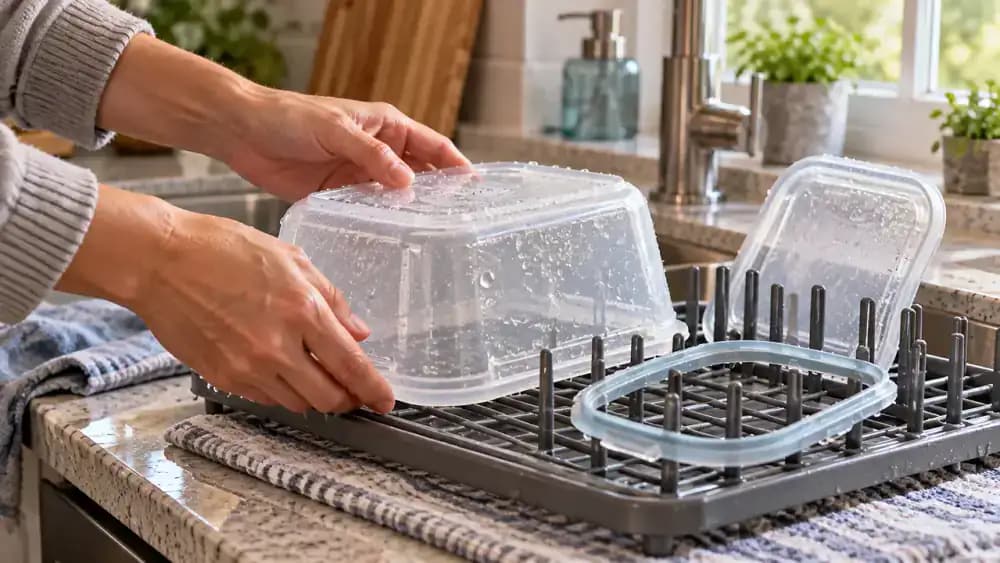
Place the rinsed container upside down at a slight angle on a clean drying rack, keeping its opening clear so water can drain. Stand the lid upright with its sealing channel exposed, then rest the silicone gasket loosely across separate rack supports without stretching it. Leave space between all three pieces for airflow. Wait until every surface, groove, and corner is completely dry before reassembling or checking for lingering tomato odors.
Check the Container, Lid, and Gasket for Tomato Odors
Once all three pieces are completely air-dried, lift the container and bring its open rim near your nose for a quick smell check. Set it down, then inspect the detached lid, especially the recessed sealing channel where odors can linger. Smell the removable silicone gasket separately. Even if orange discoloration remains, a faint tomato scent does not automatically indicate a safety problem. Repeat gentle cleaning if a strong odor persists.
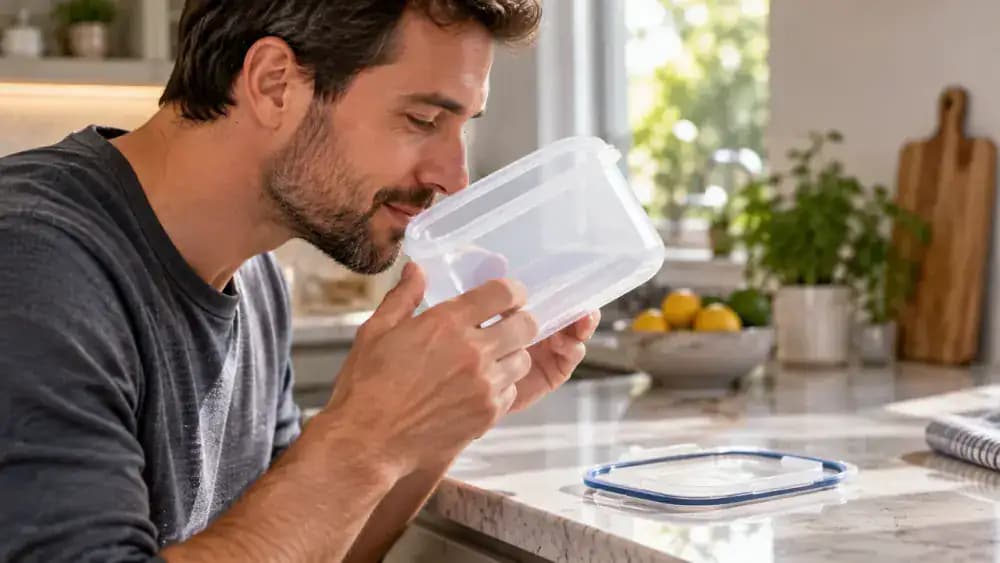
Repeat the Baking Soda Treatment for Lingering Odors
If your plastic container or lid still smells like tomato sauce, mix a fresh batch of baking soda and water into a spreadable paste. Use a soft silicone spatula to coat the interior corners, sidewalls, and lid's sealing channel. Let the paste sit for 15 to 30 minutes, then wipe gently with a damp sponge. Rinse both pieces thoroughly under warm water and air-dry them separately before checking for lingering odors.
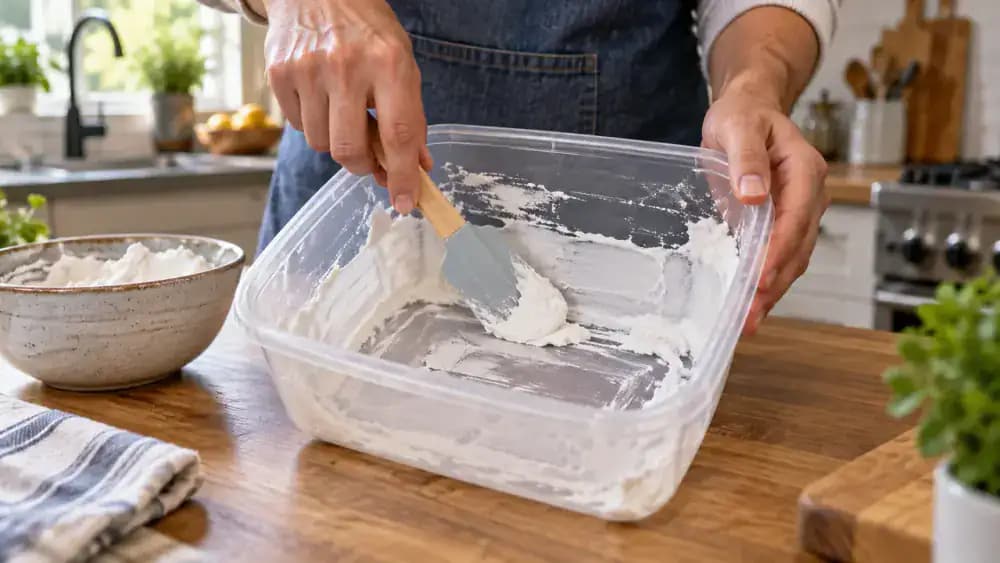
Position the Container Near a Window for Gentle Stain Fading
Make sure the plastic container is completely clean and dry before placing it upright on a table about 12 inches from a window with bright, indirect daylight. Rotate it slightly to expose the orange-stained bottom and lower sides to ambient light. Set the dry lid beside the container and keep the silicone gasket on a separate clean towel. Avoid direct sunlight and heat. Daylight may gradually reduce discoloration, but results vary, and staining does not necessarily indicate plastic damage.
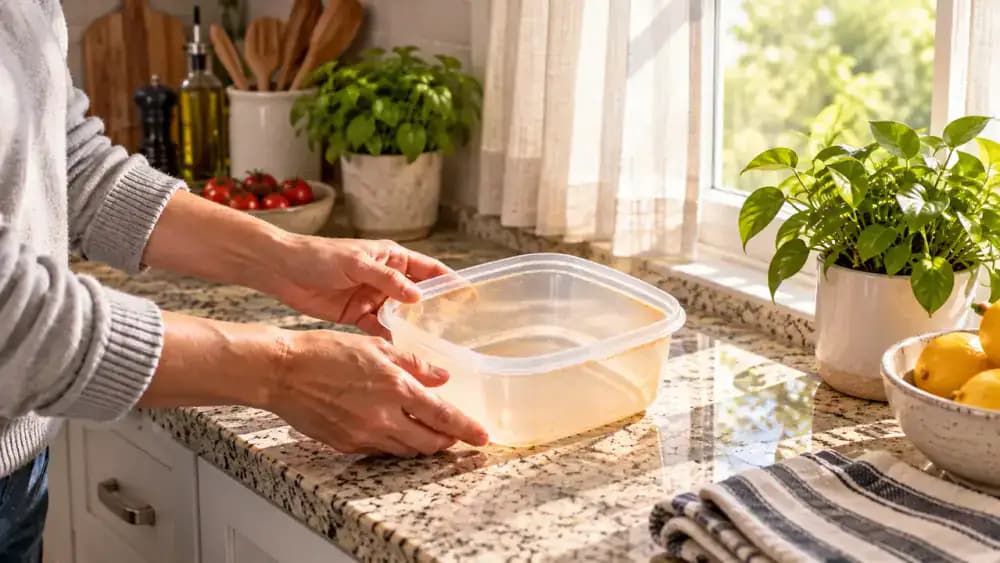
Check the Container Every Hour in Indirect Daylight
Leave the clean, dry container near a window with bright, indirect daylight for several hours. About once an hour, lift it by the rim and tilt it toward the light to inspect the orange stains along the bottom and corners. Rotate the container gently and compare the same areas under consistent lighting. Avoid direct sunlight and hot windowsills, which can damage plastic. Some discoloration may fade, while stubborn stains may remain.
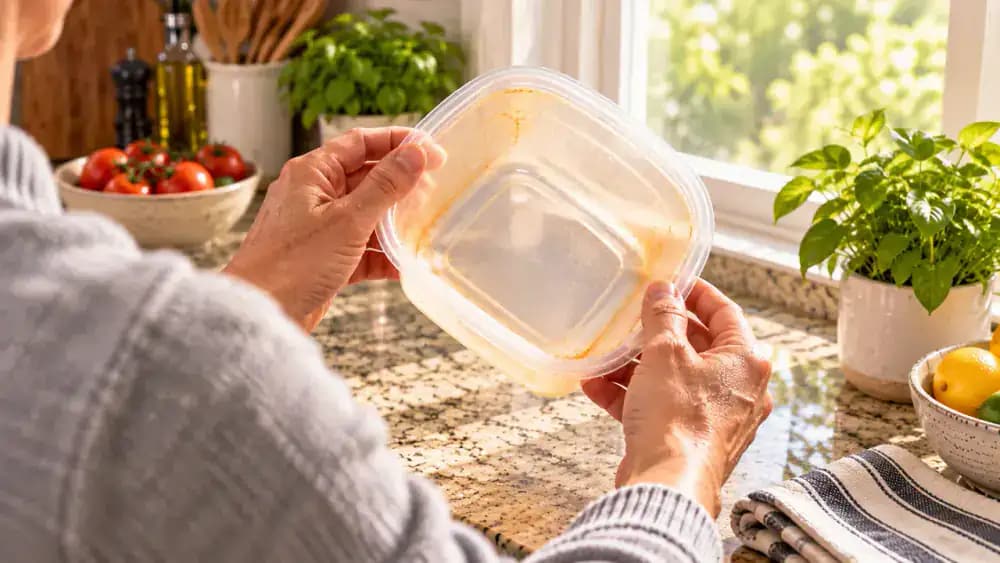
Recognize When Tomato Stains Are Permanent
After several hours of drying, place the container on a dark nonslip mat under normal kitchen lighting. Gently tilt and rotate it to inspect the bottom, corners, and sidewalls. Orange discoloration may remain because tomato pigments can stain plastic even after thorough washing. Check for leftover food residue, unpleasant odors, and visible damage. Keep the lid and silicone gasket separate until fully dry, and avoid abrasive scrubbing or harsh chemicals.
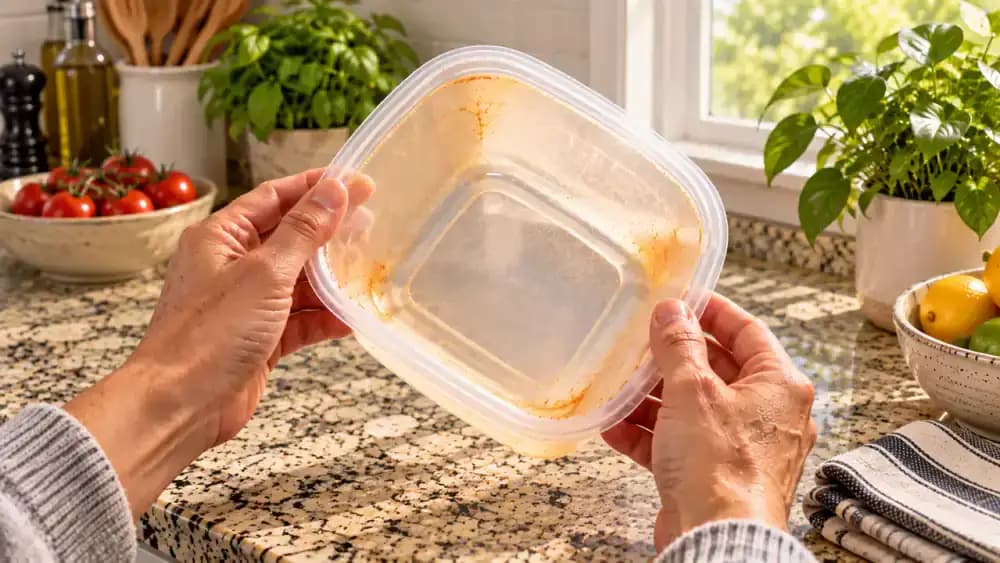
Inspect the Container for Scratches, Cracks, and Wear
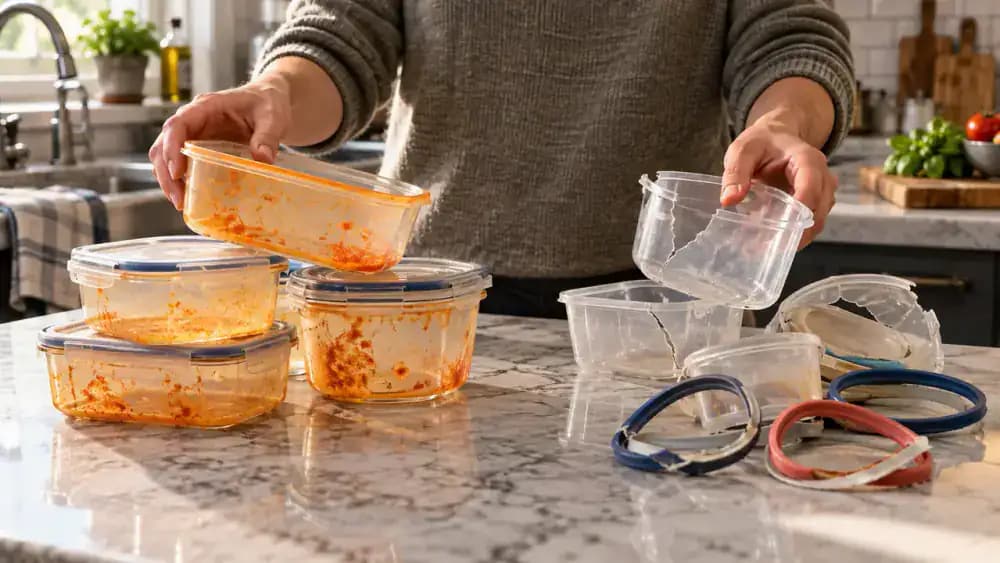
Hold the completely dry plastic container in front of a bright light and slowly rotate it to examine the bottom, rounded corners, interior walls, and upper rim. Look closely for fine scratches, hairline cracks, chips, or rough patches where food residue and bacteria could accumulate. Persistent orange tomato stains are usually cosmetic, but deep scratches and damaged surfaces can make thorough cleaning difficult. Replace containers with cracks or significant surface damage.
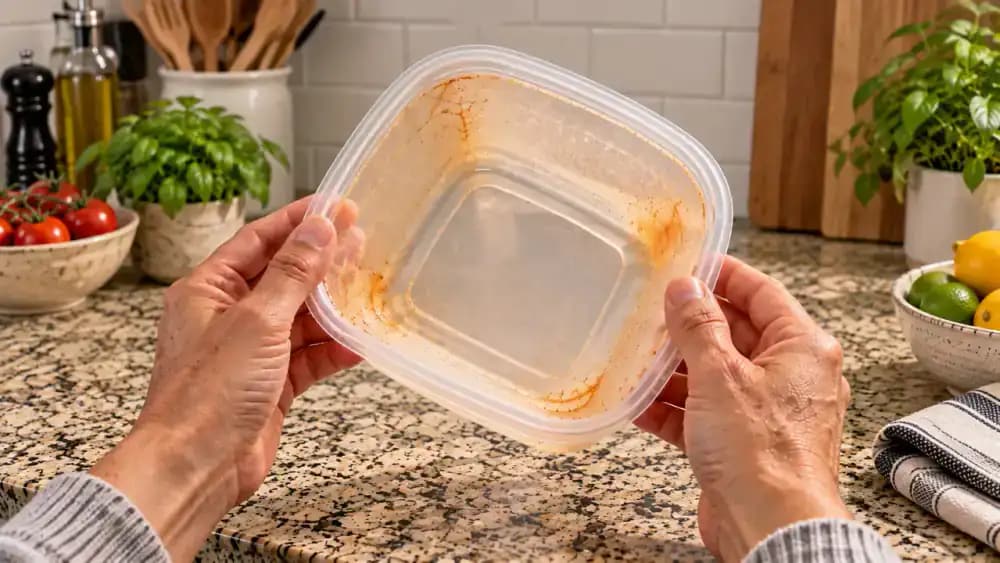
Checking for Warping and Sticky Plastic
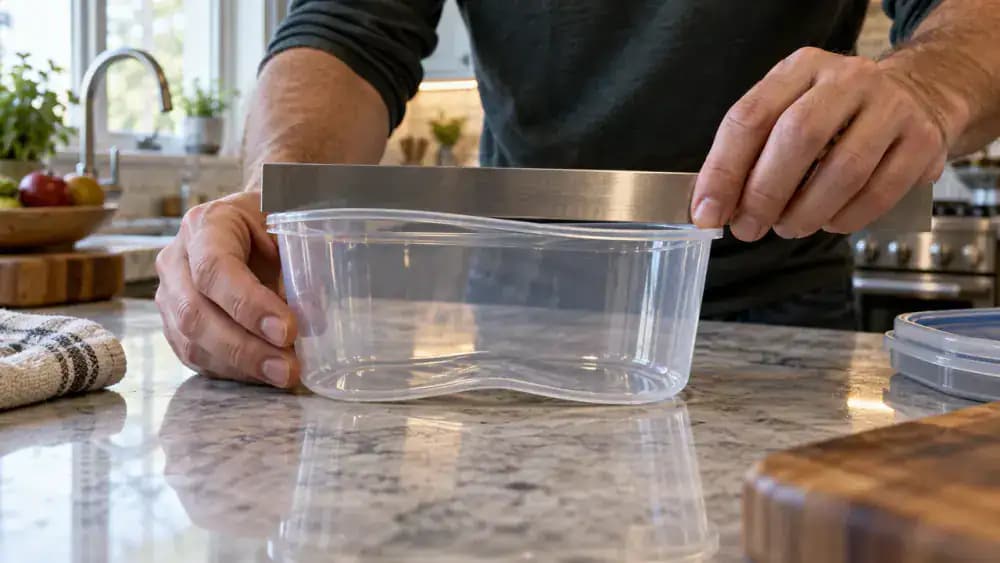
Place the clean, dry container on a flat countertop and gently press opposite corners to see whether the base rocks or sits evenly. Hold a straightedge beside the rim to identify uneven edges, then rotate the container to inspect every side. Lightly touch the bottom and sidewalls for lingering tackiness. Check the container again after thorough washing and drying. If warping or permanent stickiness remains, replace it instead of reusing it for food.
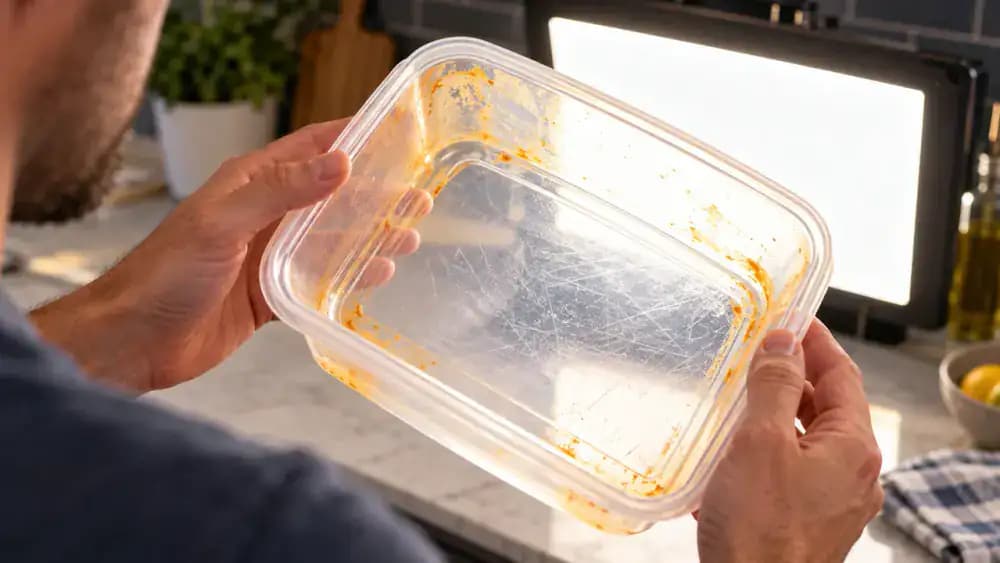
Inspect the Lid Gasket for Damage and Proper Fit
Remove the silicone gasket from the lid and rotate it slowly between your fingers, checking for small tears, stretched areas, brittle edges, or permanent deformation. Gently flex the material without pulling it. Examine the lid's sealing channel for cracks or trapped food particles. Press the clean, dry gasket back into place without twisting it, then secure the lid normally. Check for uneven gaps, raised sections, or closures that require excessive force. Replace damaged components.
Decide Which Food Containers Are Worth Keeping
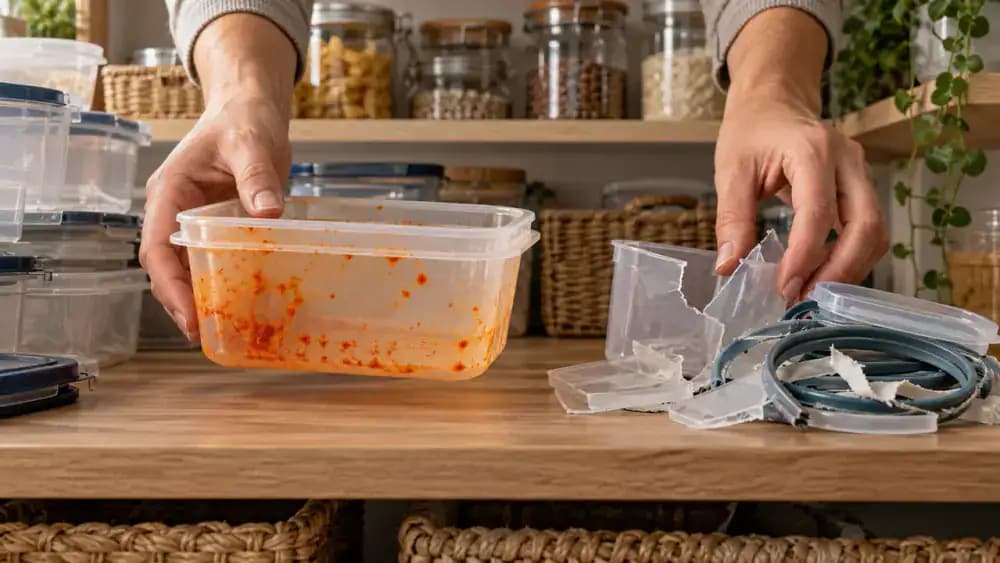
Remove the lid and inspect the container one last time, then place both pieces on a clean towel if they are undamaged. Orange tomato stains alone do not automatically make plastic unsafe. Examine other containers for cracks, warped rims, permanently sticky surfaces, and torn gaskets. Set damaged items in a separate tray for replacement. Check whether warped containers sit flat without forcing them. Never repair food-contact plastic with glue, heat, or harsh chemicals.
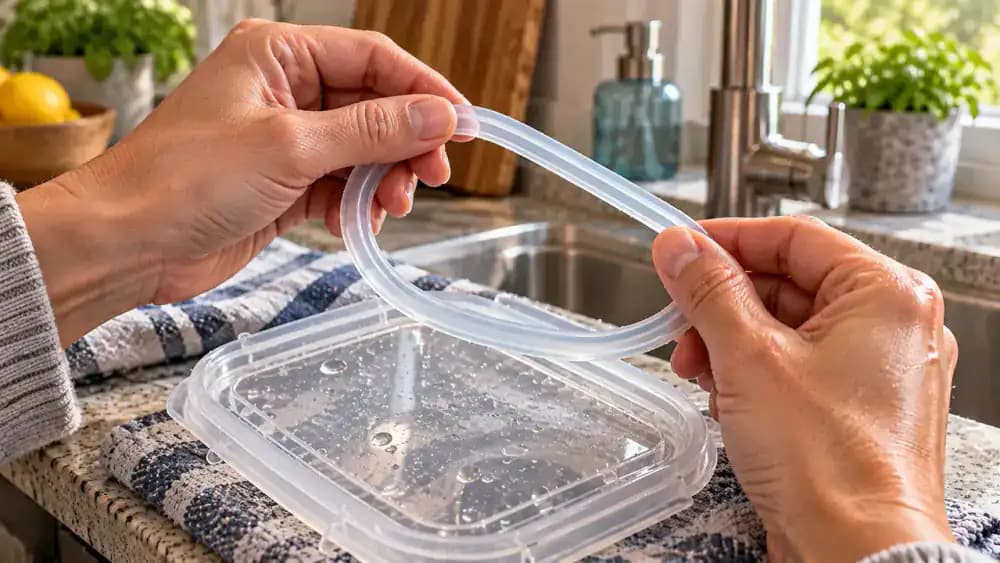
Check Every Container and Lid for Moisture
Place the clean container under a bright light and rotate it to inspect the bottom corners for water droplets. Check the lid's sealing groove and silicone gasket, where moisture can easily hide. If you spot a droplet, stand the lid upright in a drying rack and position the container upside down at a slight angle with its opening unobstructed. Keep everything separated until completely dry to help prevent trapped moisture, odors, and microbial growth.
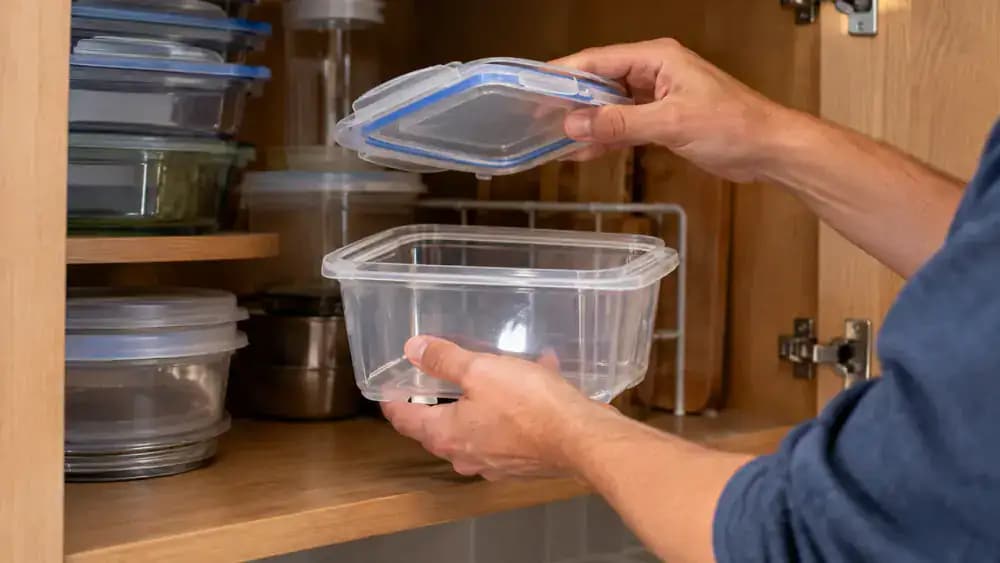
Store Containers With the Lids Loosely Resting on Top
Once the container and its silicone-gasket lid are completely dry, place the container upright in a clean, dry kitchen cabinet. Rest the lid slightly diagonally across the opening without snapping the locking tabs shut, leaving a small gap for airflow. This may help reduce stale odors between uses. Check that the lid sits securely enough not to slide off, and keep heavy cookware away to prevent the plastic from bending or warping.
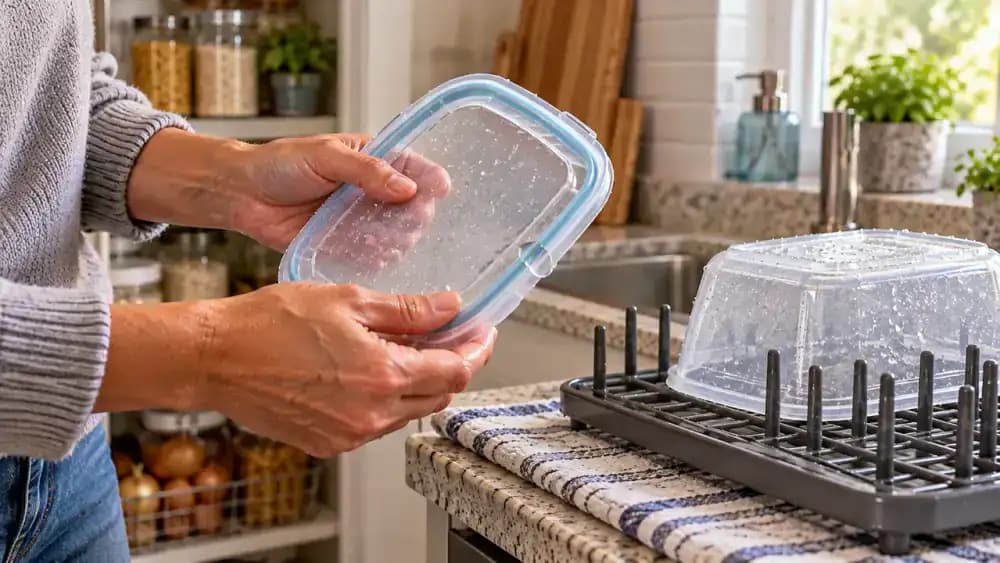
Wash Plastic Containers Right After Tomato-Based Meals
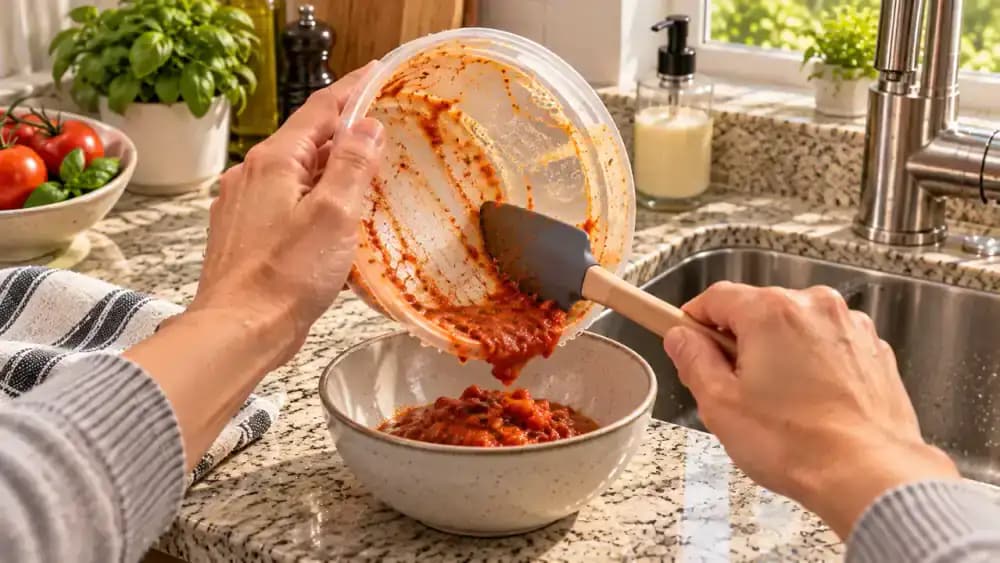
Transfer leftovers to a suitable storage container, then remove any remaining sauce with a soft silicone spatula. Rinse the empty plastic container under warm running water to loosen grease and food residue. Add mild dish soap to a soft sponge and gently clean the bottom, walls, and corners. Wipe inside the lid groove, where sauce often collects. Rinse both pieces thoroughly and place them separately on a ventilated drying rack. Some orange discoloration may remain.
Check Your Container Before Putting It Away
Run clean fingertips across the container's interior to check for slippery grease, then tilt it toward a bright lamp to inspect corners for leftover soap or baking soda. Examine the lid's sealing groove and removable silicone gasket for trapped moisture. Turn the container to check its walls and rim for cracks, warping, or sticky surfaces. Mark each completed inspection on your checklist. Remember that orange discoloration alone does not mean the plastic is unusable.
Decide Which Containers to Keep and Which to Replace
Inspect each clean, dry container for cracks, warping, damaged rims, lingering odors, and sticky residue. Keep the orange-stained container if its walls and rim remain intact, it is thoroughly clean, and it has no persistent odor or tackiness. Place cracked or deformed containers in a separate replacement tray, along with torn gaskets and warped lids. Check that replacement lids fit securely before returning containers to everyday kitchen storage.
Check Your Food Containers Before Putting Them Away
Follow the five cleaning reminders arranged around the tray: remove grease, treat odors with baking soda, use indirect daylight for tomato stains, rinse and dry, and inspect before storage. Lift and rotate the container to check its interior, rim, and corners for damage. Confirm the lid and silicone gasket are completely dry, then rest the lid loosely on top. Wash containers promptly after meals to prevent stubborn residue buildup.
You open the fridge, grab yesterday's pasta leftovers, and discover the familiar problem: your plastic food container has turned orange from tomato sauce, and the lid still smells like spaghetti dinner even after washing. Tomato-based foods can leave behind stubborn discoloration and lingering odors, especially when oil and sauce settle into tiny scratches, corners, and lid grooves. The good news is that many containers can be freshened up with simple household supplies. The trick is knowing what to clean first and recognizing when a stain is merely cosmetic rather than a sign of damaged plastic.
Before reaching for baking soda or trying to fade the orange color, start by removing the greasy film that can trap food residue and odors. Warm water, mild dish soap, and a soft sponge should come first, followed by targeted odor treatment and, when appropriate, gentle exposure to indirect daylight. Always check the manufacturer's cleaning instructions and avoid abrasive scrubbers or harsh solvents. Some discoloration may remain even after thorough cleaning, but containers that are cracked, warped, or permanently sticky should be replaced.
Where people go wrong
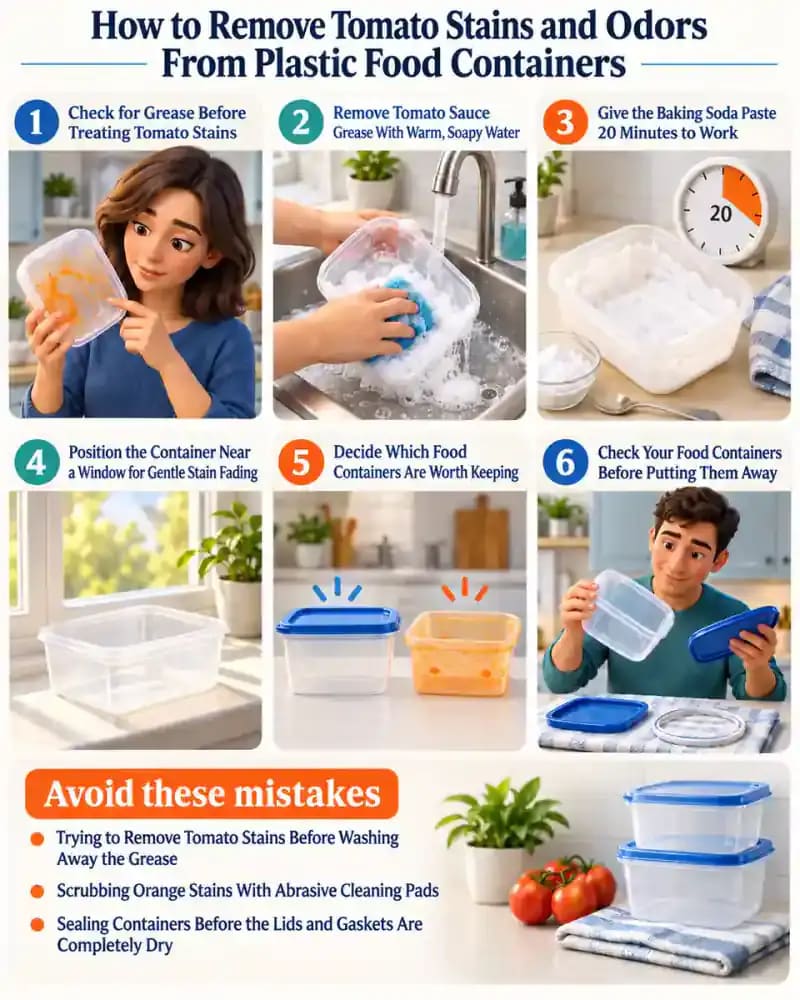
Trying to Remove Tomato Stains Before Washing Away the Grease. Tomato sauce leaves behind oily residue that can interfere with stain removal. Applying baking soda or other treatments before degreasing often produces disappointing results. Start with warm water, mild dish soap, and a soft sponge. Clean corners and lid grooves thoroughly, then rinse and repeat if an oily film remains.
Scrubbing Orange Stains With Abrasive Cleaning Pads. Aggressively scrubbing discolored plastic with rough sponges or abrasive pads can create scratches that trap grease, food particles, and odors. Use a soft sponge and gentle pressure instead. Remember that orange discoloration does not automatically mean a container is unsafe, but cracks, warping, and permanently sticky surfaces warrant replacement.
Sealing Containers Before the Lids and Gaskets Are Completely Dry. Closing a freshly washed container while moisture remains in the lid channels or beneath removable gaskets can leave unpleasant smells behind. Separate all components, clean hidden grooves, and allow everything to air-dry thoroughly. Keep lids loose until completely dry, and repeat the baking soda treatment if odors persist.
Leaving Stained Plastic in Direct Sunlight or Excessive Heat. Light exposure may gradually fade some tomato stains, but placing containers in intense direct sunlight or excessive heat risks damaging the plastic. Instead, position clean, dry containers in indirect daylight for several hours and check periodically. Results vary, and stubborn discoloration may remain even after proper cleaning.
Questions people ask
Tomato sauce contains pigments and oils that can leave orange discoloration on plastic, even after ordinary washing. Grease makes the problem harder because it can hold residue against the surface. Start with warm water, mild dish soap, and a soft sponge. Remove the oily film completely before treating any remaining stains.
Fixed it?
Get one guide like this every Thursday.