How to Remove Red Wine Stains From White Shirts and Jeans
Treat red wine stains quickly without spreading or setting them. This method uses cool water, careful blotting, stain treatment and proper washing for washable white shirts and jeans.

What you’ll need
Tap to tick things off before you start.
Check the Care Label Before Treating
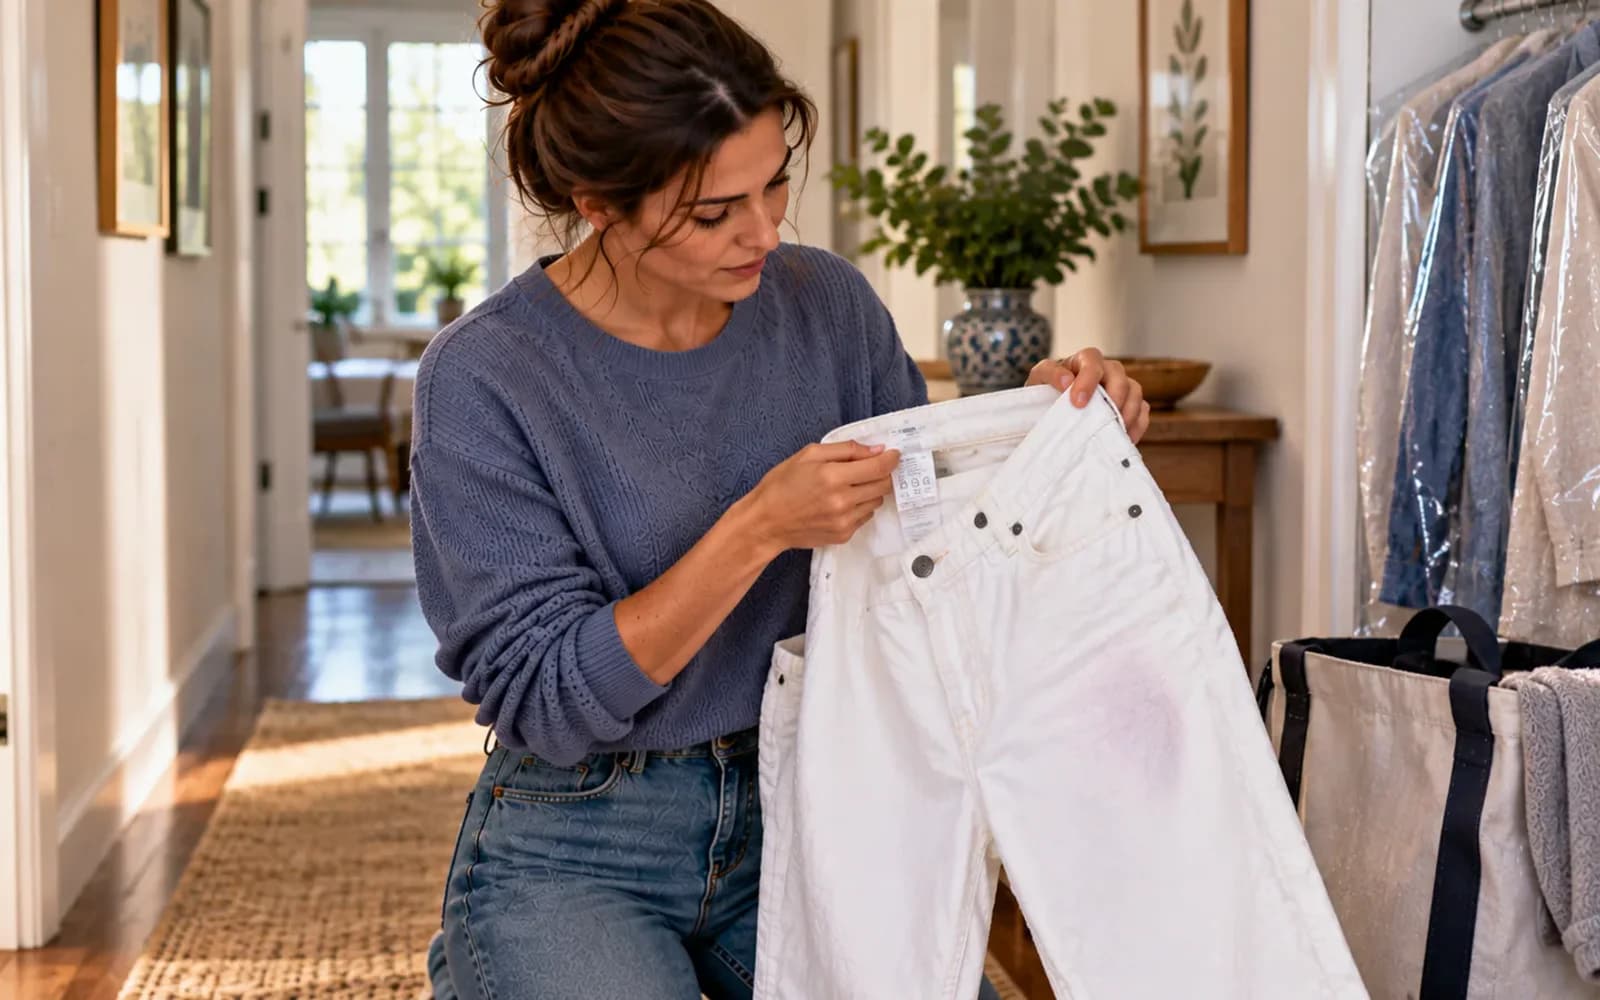
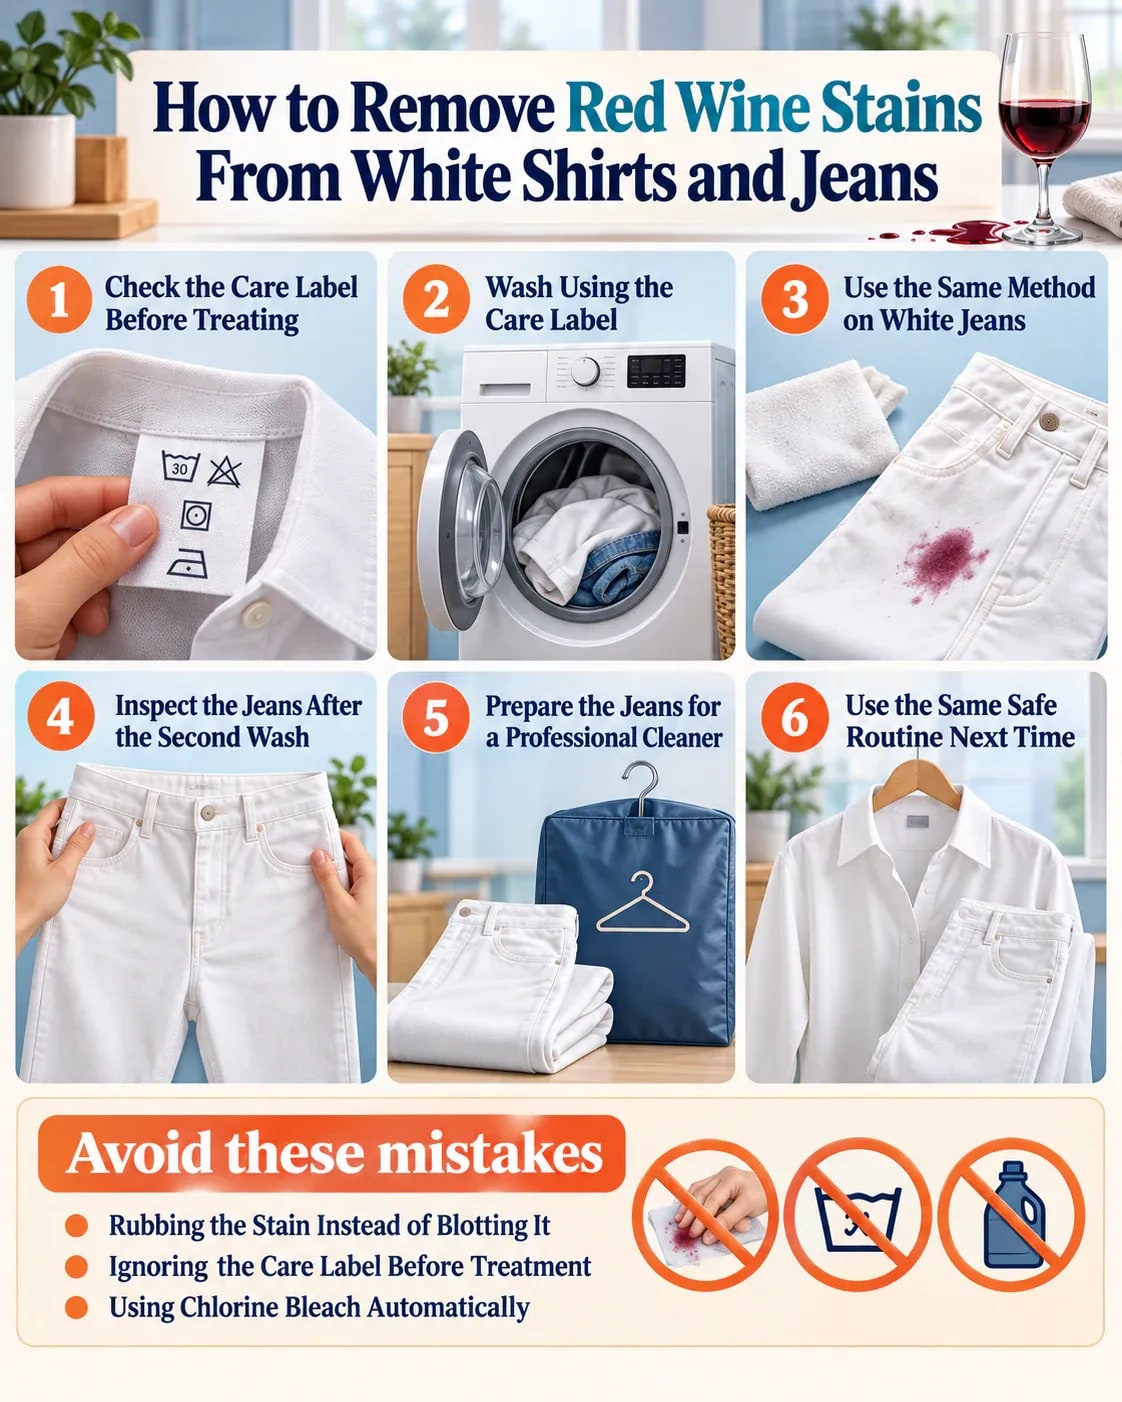
Hold the garment label where you can read the cleaning instructions before applying stain remover or water. Leave the wine stain untouched while you check whether the fabric is washable, delicate, dry-clean-only, or combined with colored trim that could bleed. For washable white cotton or denim, home treatment is usually appropriate. If the label requires dry cleaning or special care, avoid experimenting and take the garment to a qualified cleaner.

Blot the Spill Without Rubbing
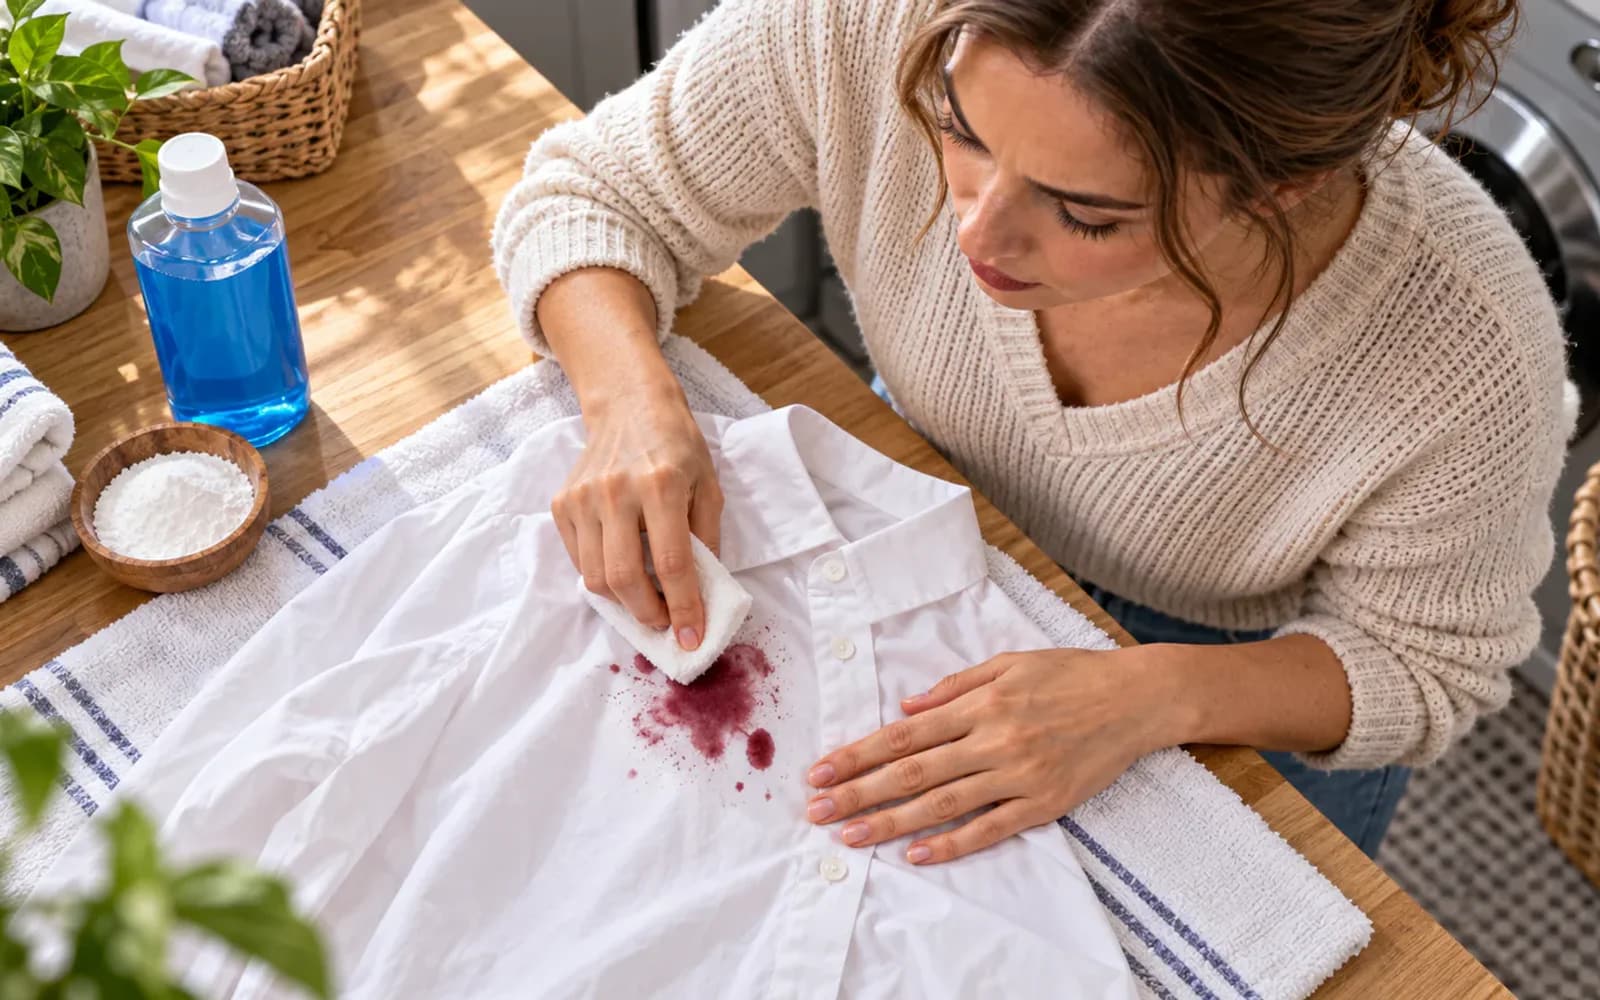
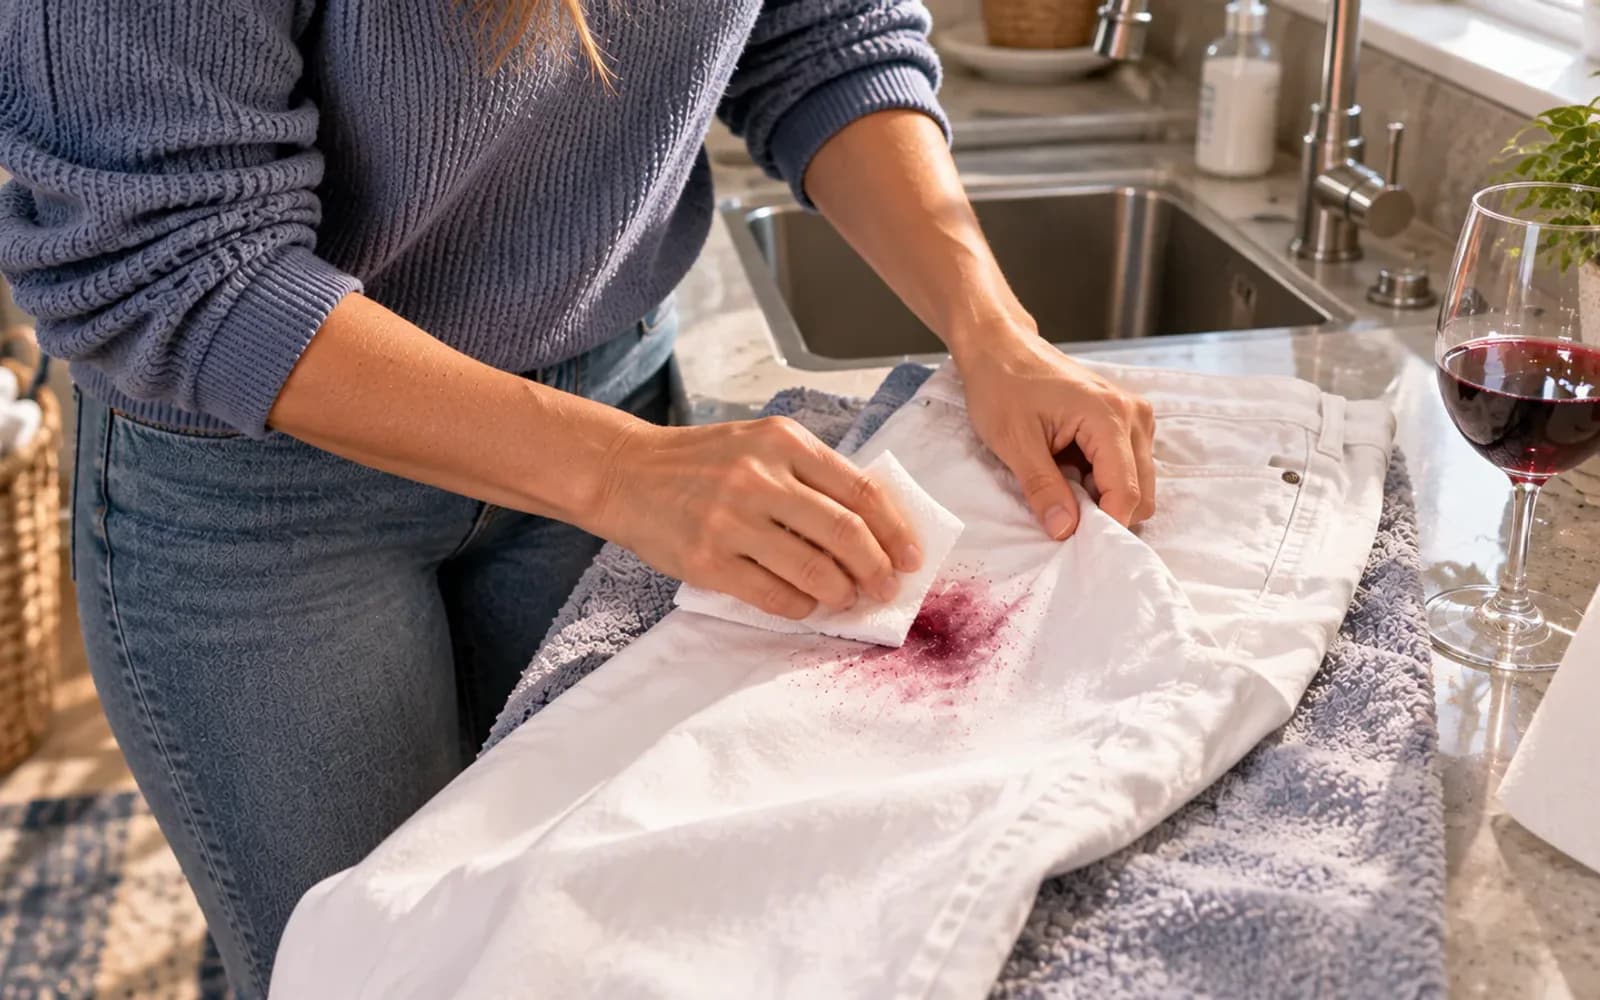
Place a clean white towel behind the stained section so excess moisture has somewhere to go. Using a folded white cloth or plain paper towel, press gently along the outside edge of the wine stain and move inward. Lift the cloth between presses rather than dragging it across the fabric. Replace the towel or cloth as it absorbs wine so you do not transfer the stain back onto the shirt.
Rinse From the Back With Cool Water
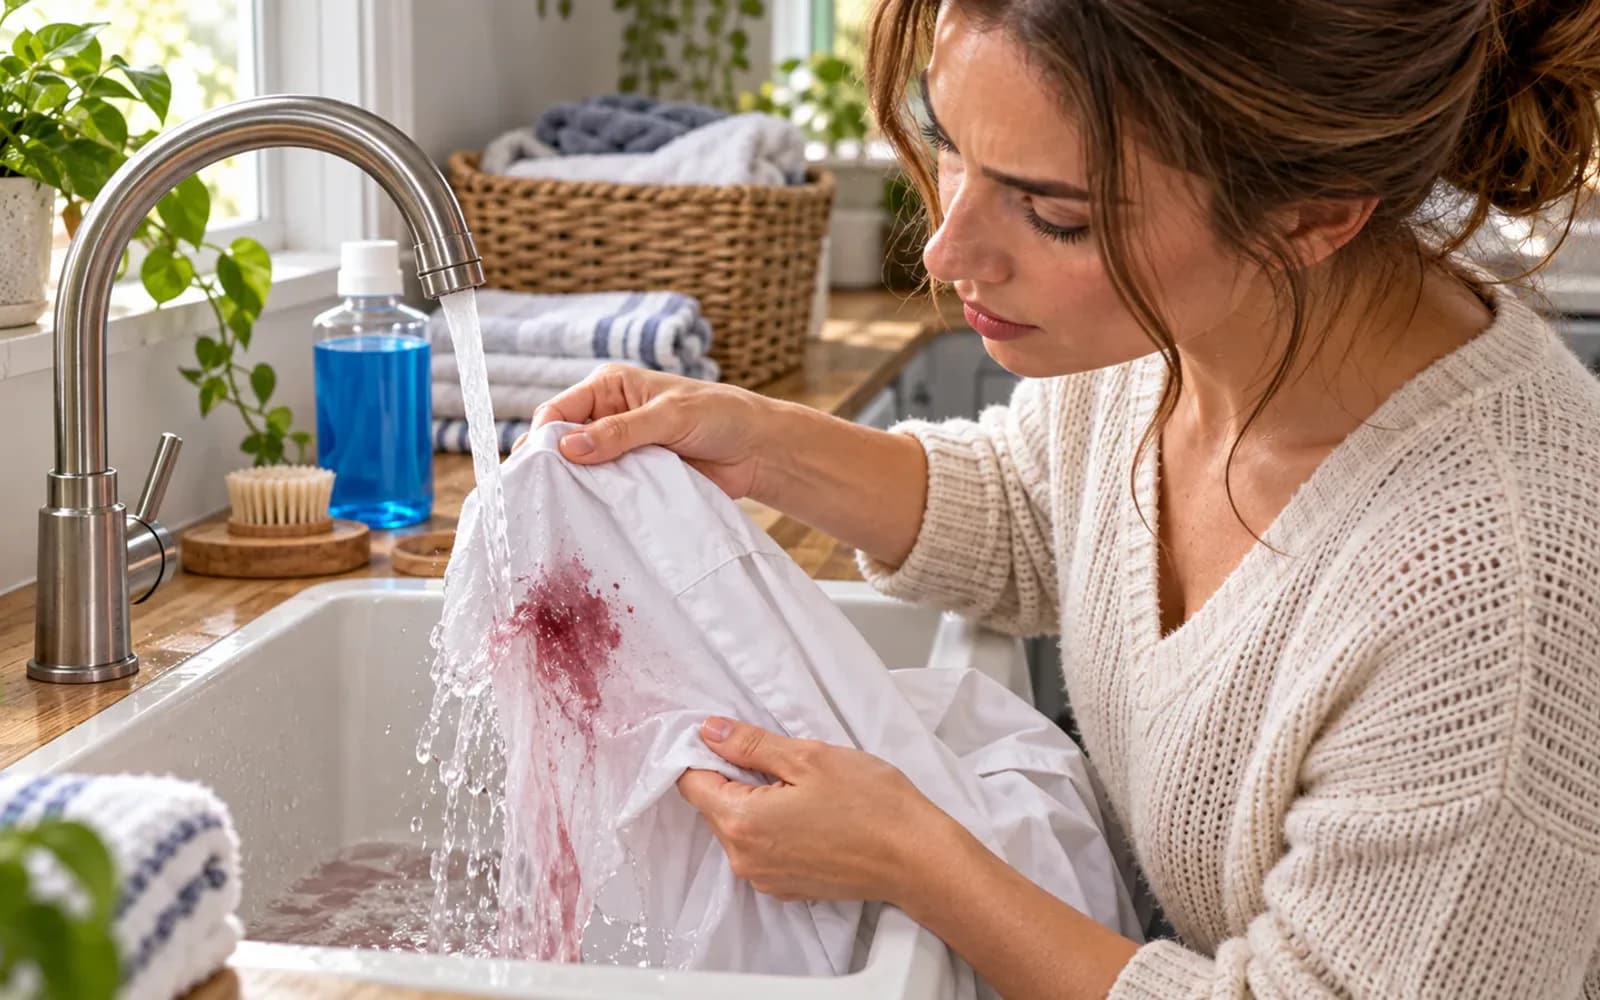
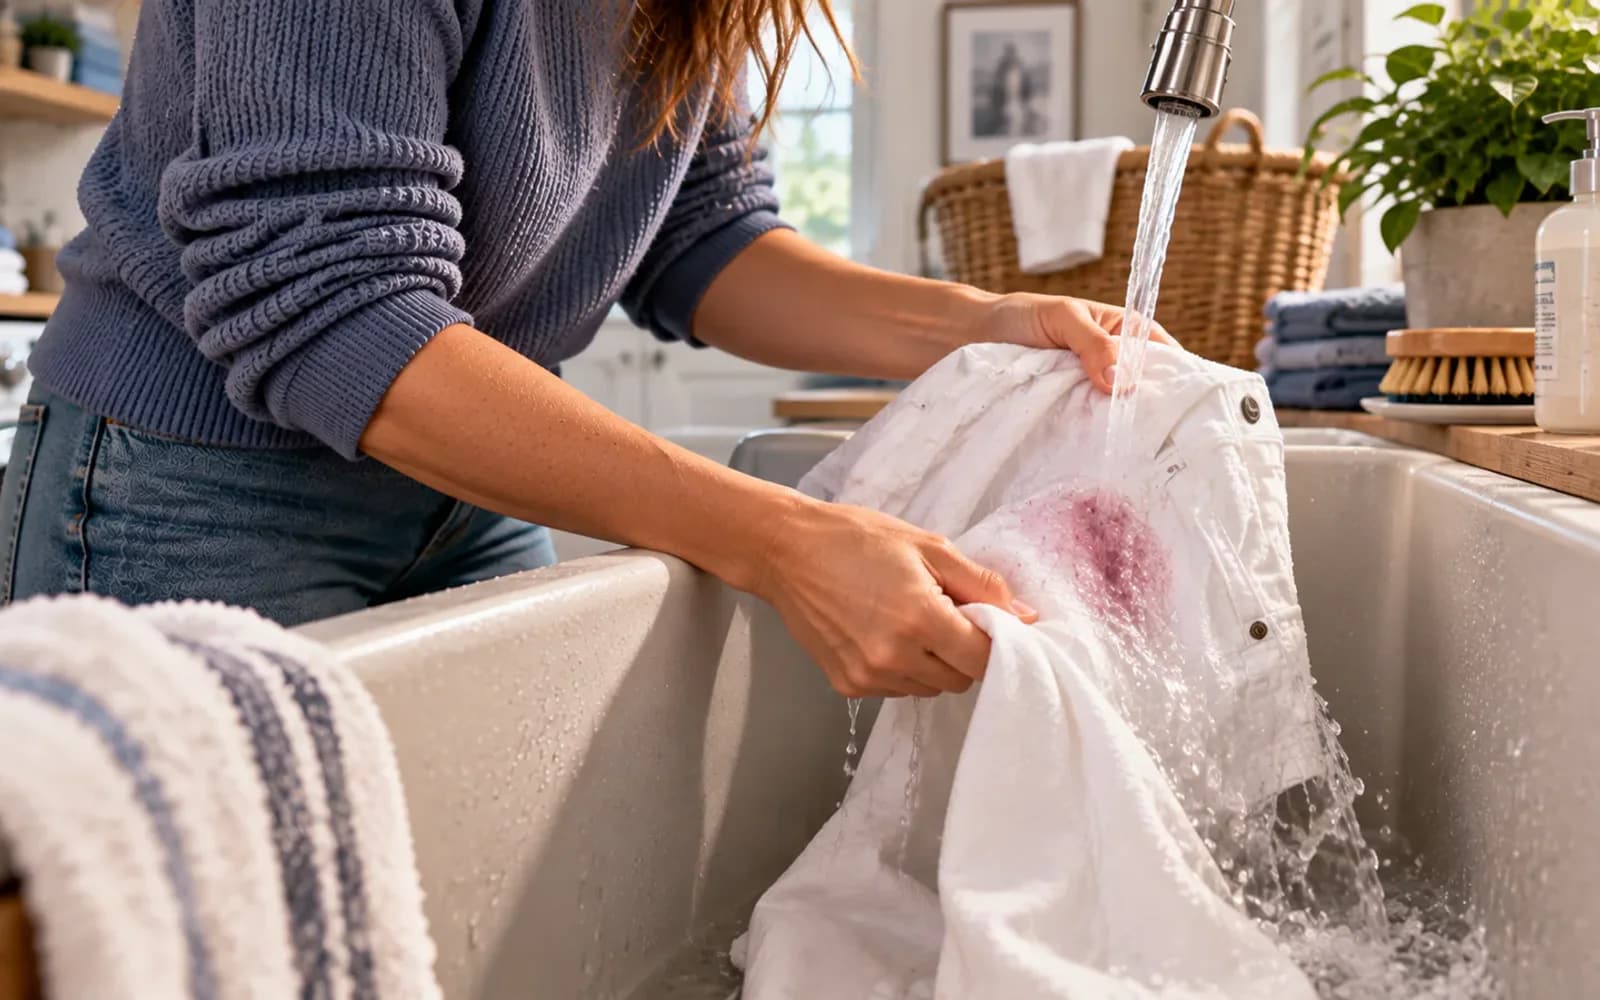
Hold the stained section under the faucet with the back of the fabric facing up, then let a gentle stream of cool water run through the wine stain. Flushing from the reverse side helps carry remaining wine outward instead of forcing it farther into the fibers. Keep the fabric spread open so water can pass through evenly, and avoid rubbing, wringing, or twisting, which can spread the stain or stress delicate material.
Test Your Pretreatment First
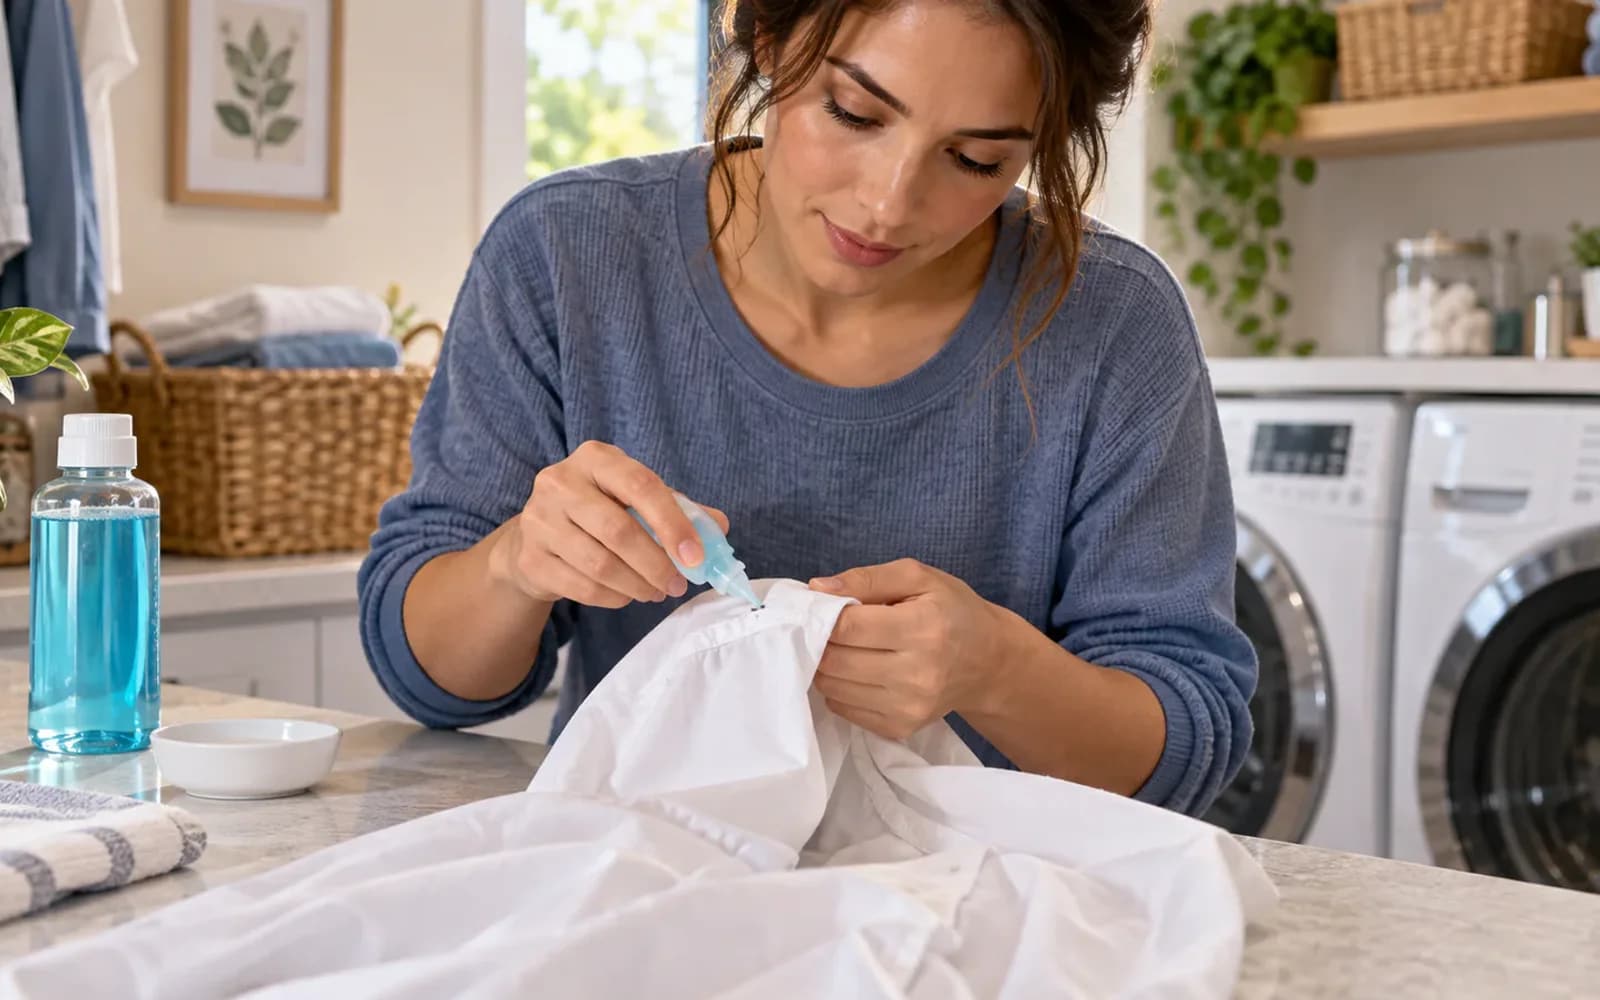
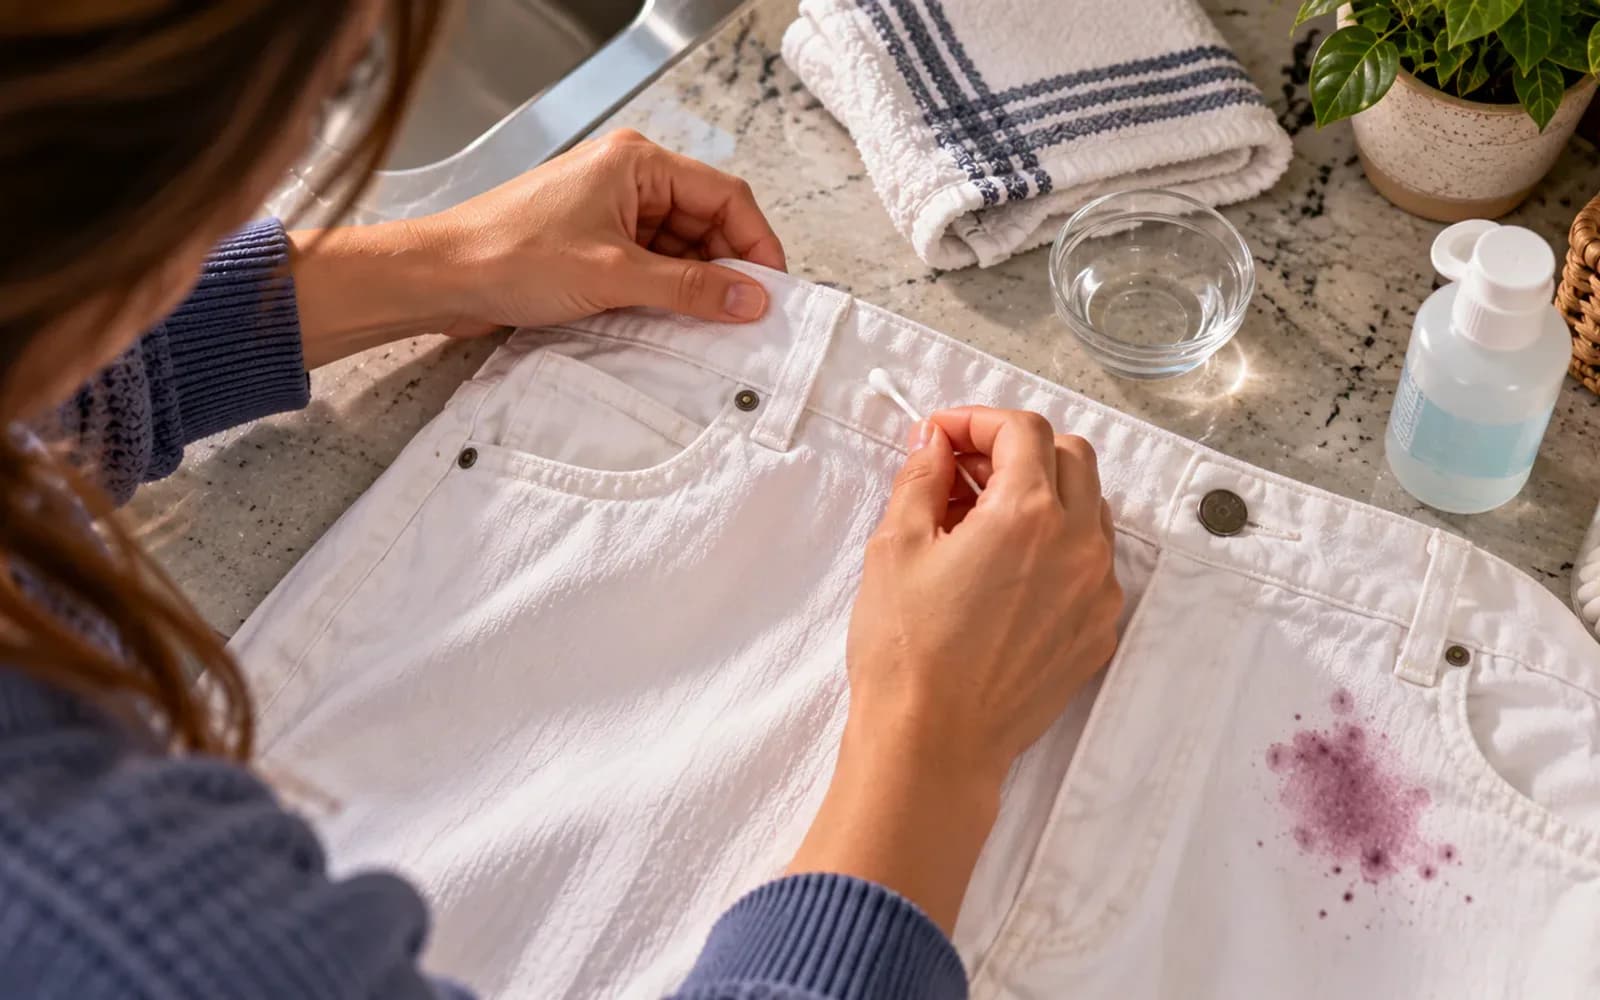
Choose a laundry stain remover or liquid detergent that is safe for the shirt's fabric, but do not apply it to the wine stain immediately. Put one small drop on an inside seam or another hidden area, press it gently with your fingertip, and inspect the fabric for color loss, bleeding, or texture changes. If the test area stays unchanged, apply a small amount directly to the remaining stain.
Pretreat the Wine Stain Gently
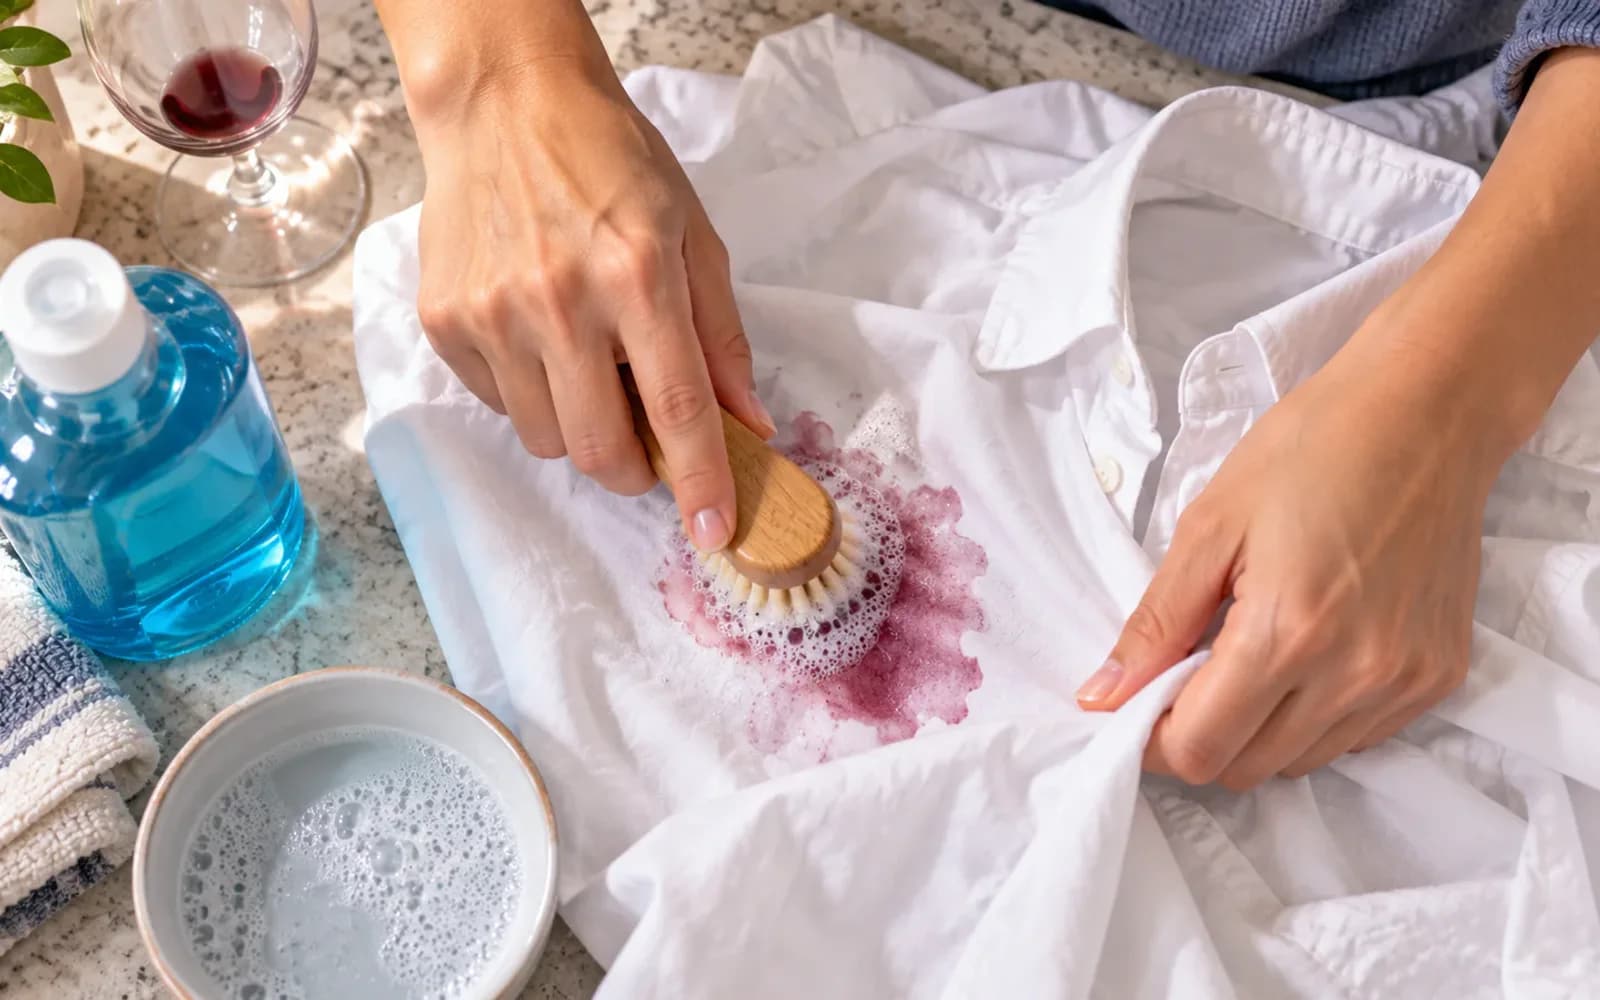
Apply a small amount of the stain remover or liquid detergent that passed your hidden-area test directly over the damp wine mark. Use clean fingers or a soft laundry brush to work it gently through the stained fibers with short, light motions. Do not scrub hard, because friction can damage the fabric or spread the stain. Check the product label and leave the pretreatment in place only for the recommended time.
Wash Using the Care Label
Place the damp, pretreated shirt in the washer before the stain remover dries. Check the garment care label, then choose the warmest water temperature the fabric allows and select the recommended wash cycle. Measure your normal amount of laundry detergent into the dispenser rather than adding extra. Keep chlorine bleach out of the load unless the care label specifically confirms it is safe for the shirt's fabric and color.

Inspect Before Drying
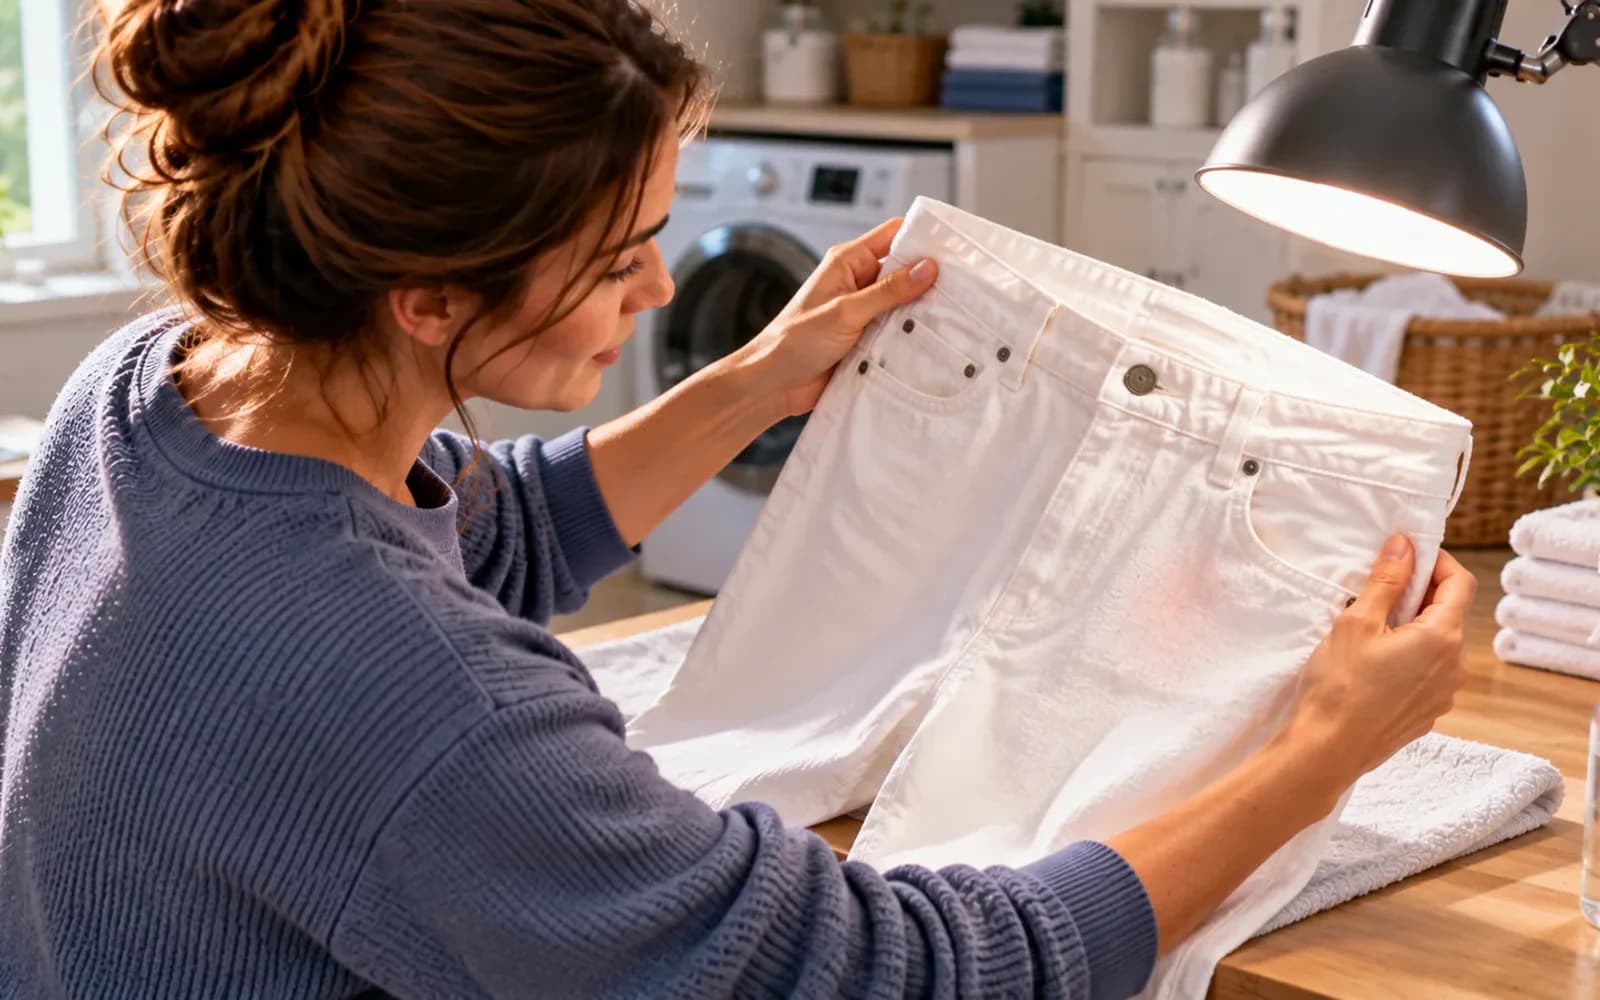
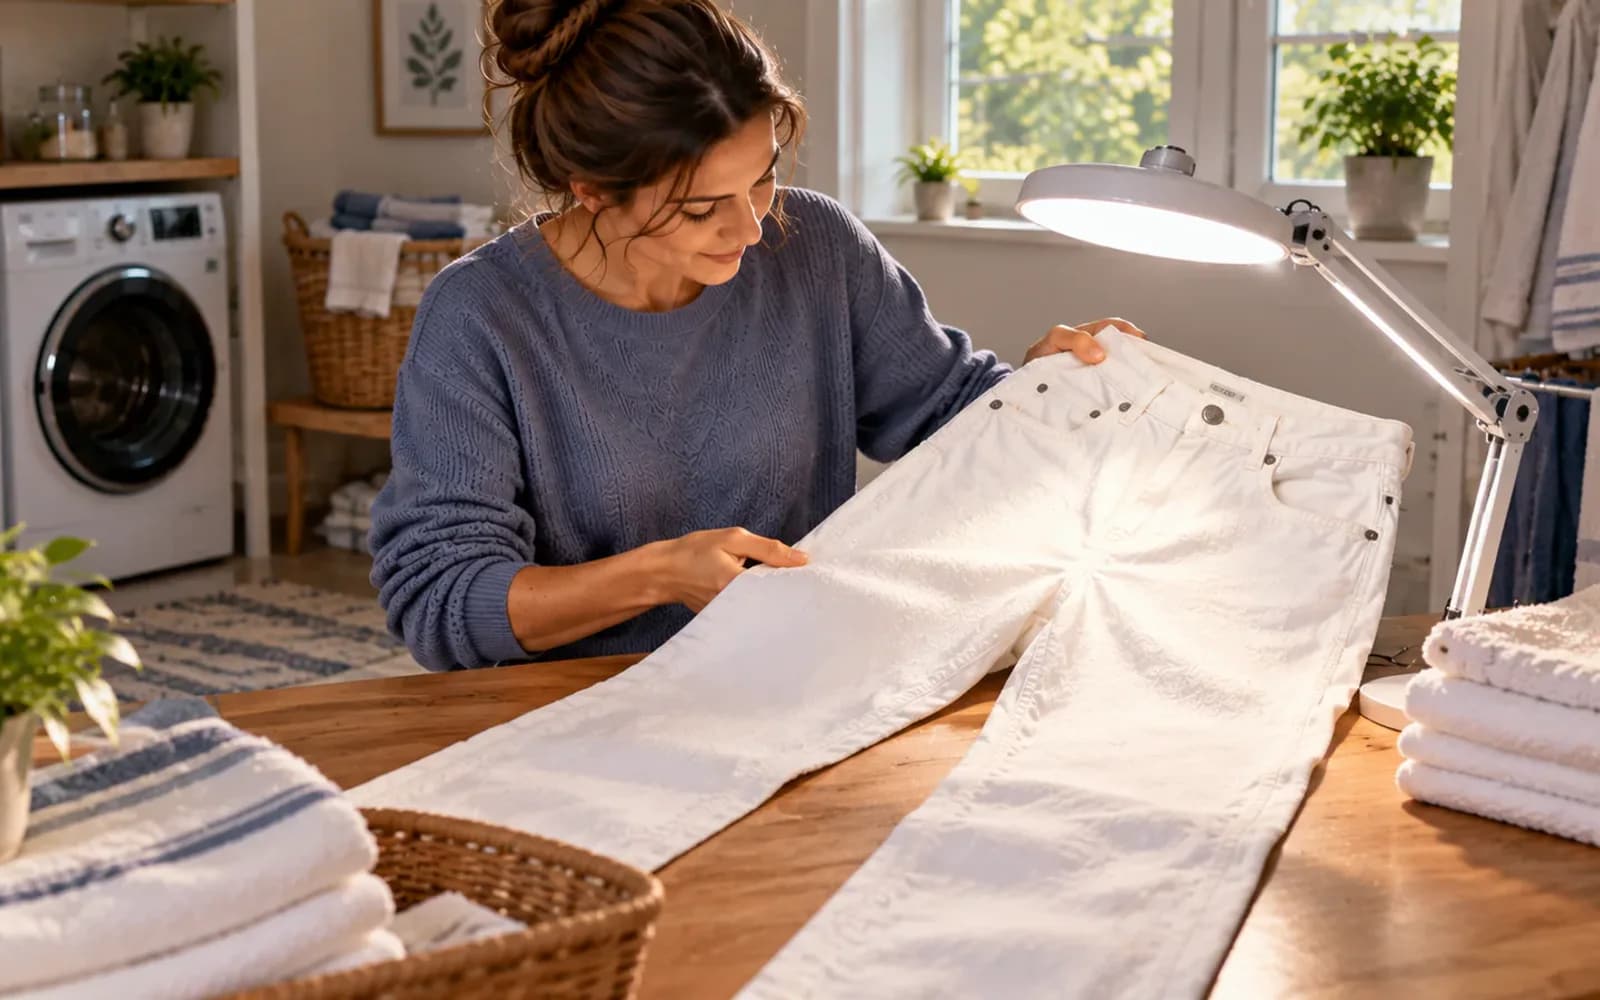
Remove the shirt as soon as the wash cycle ends and inspect the treated area while it is still damp. Hold the fabric flat under a bright light so any faint pink or red discoloration is easier to spot. If you can still see a shadow, keep the shirt out of the dryer and treat the area again. Check both the front and back of the fabric before deciding the stain is gone.
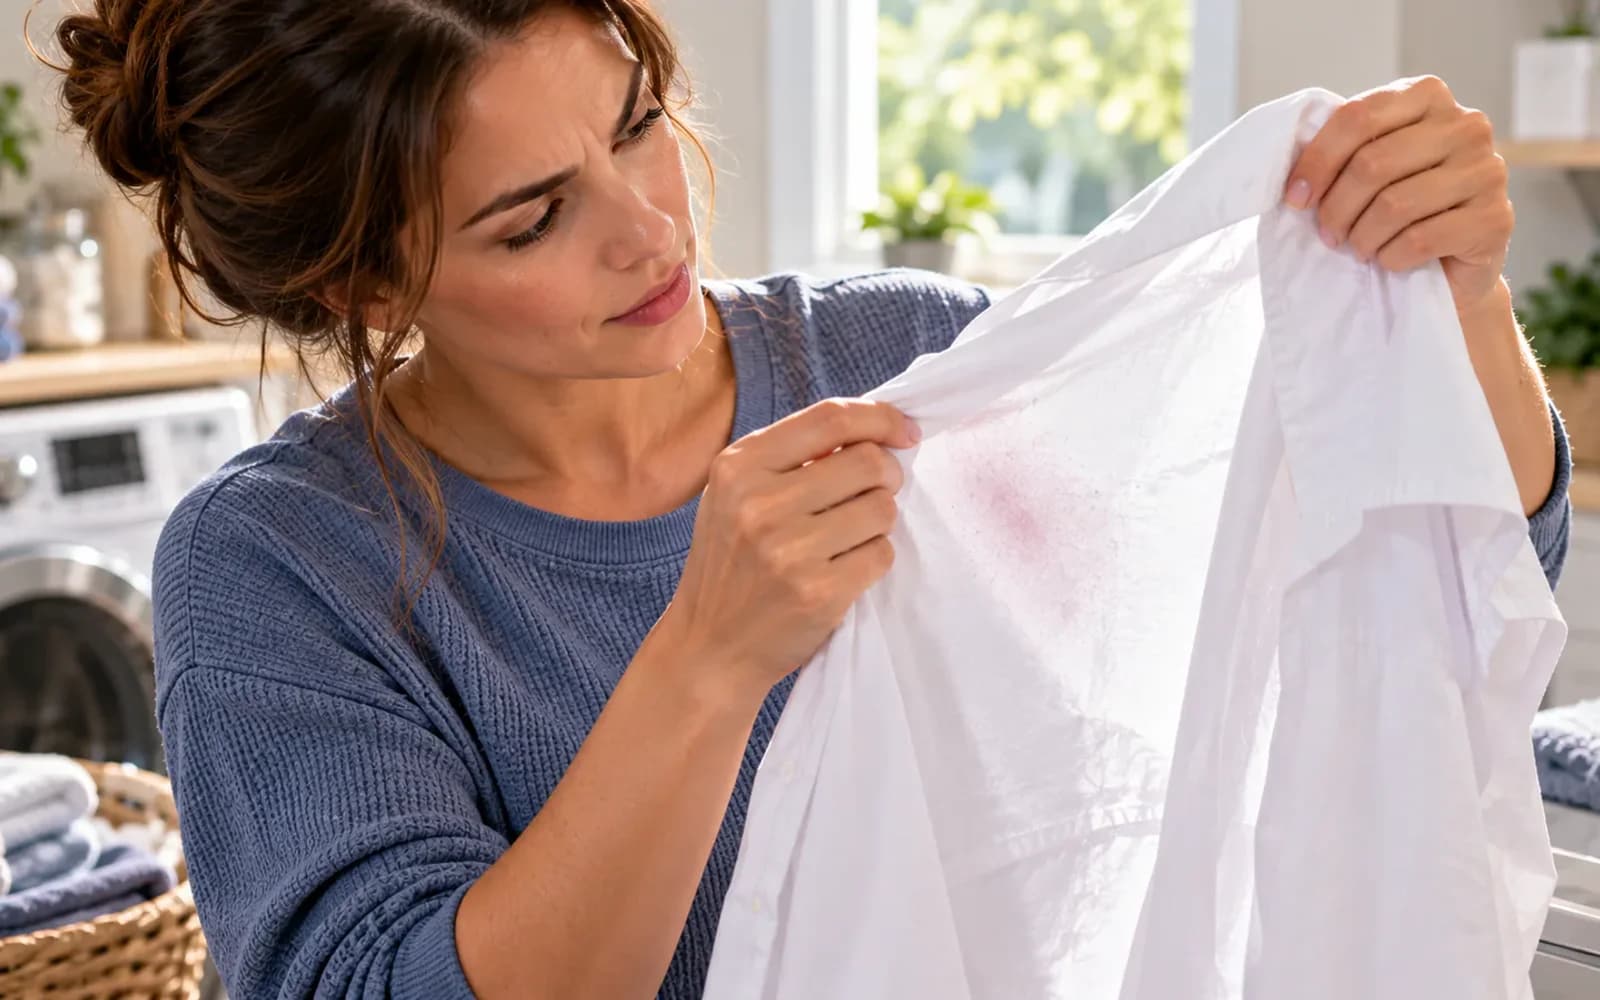
Treat the Remaining Pink Shadow
Keep the shirt damp while you treat any faint pink shadow that remains. Apply a measured amount of the same tested stain remover or liquid detergent, or use an oxygen-based treatment that is safe for the fabric. Follow the product label for contact time instead of leaving it on longer. Then wash the garment again according to its care label. Do not use the dryer until the discoloration is fully gone.
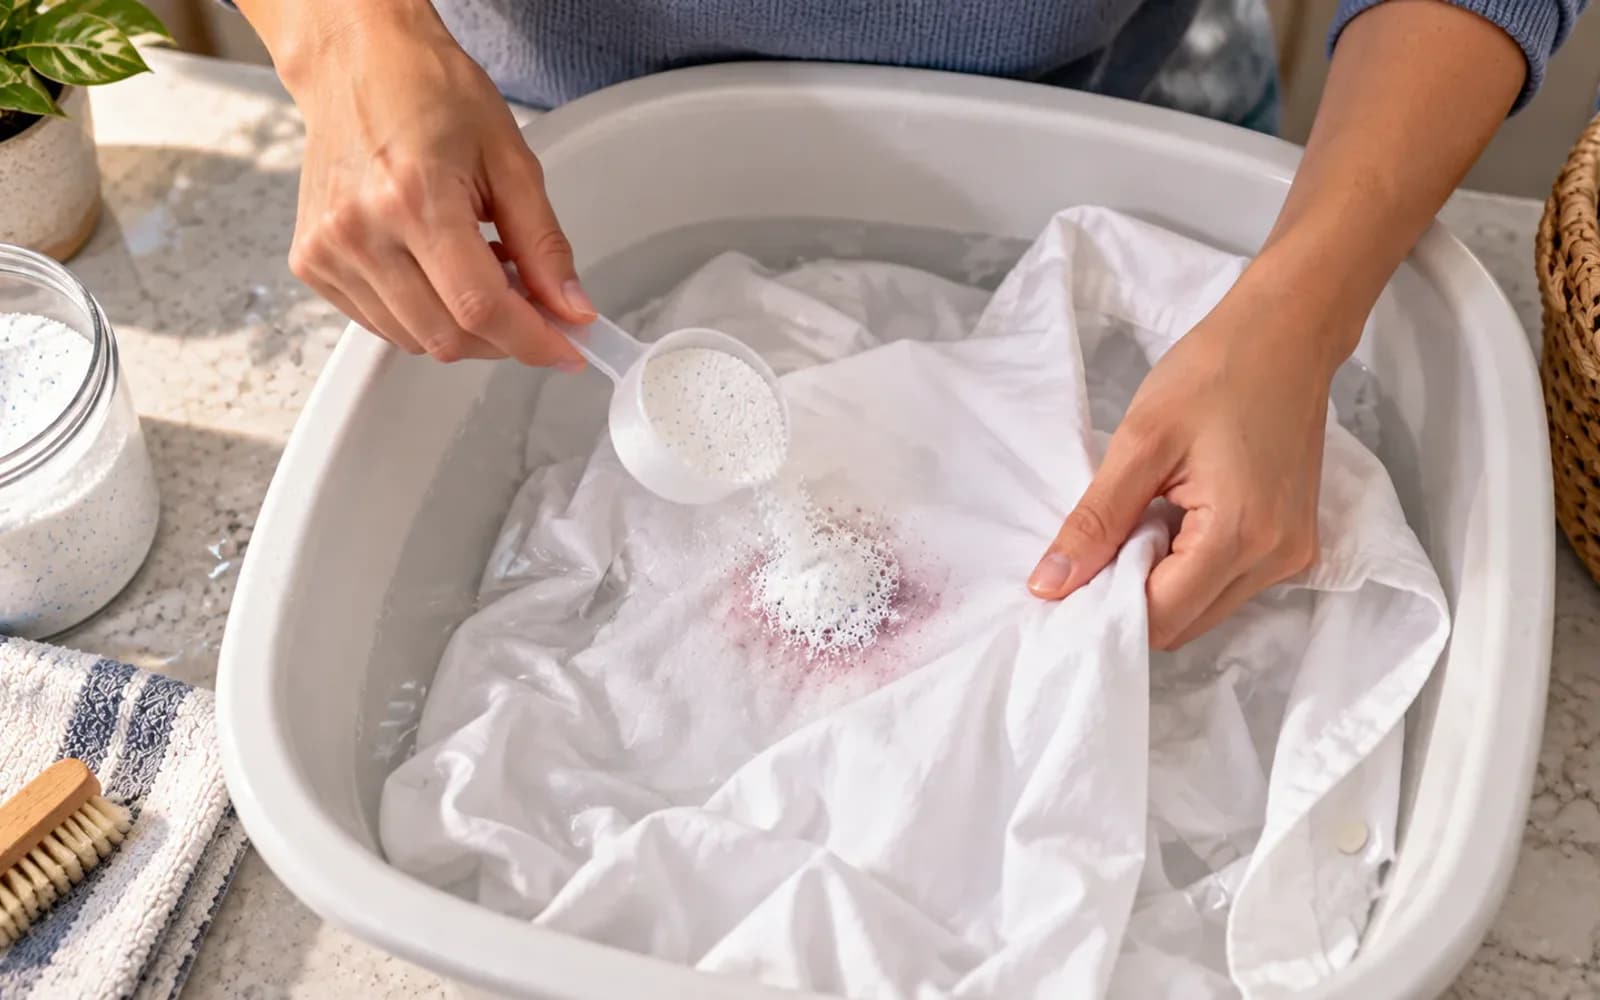
Inspect Again Before Drying
Hold the damp white shirt under bright, direct light and gently stretch the treated area between both hands. Tilt the fabric from several angles so any faint pink or red tint is easier to spot. If the stain is fully gone, the shirt is ready to dry. If you can still see discoloration, do not use the dryer. Repeat the stain treatment and washing process first, because heat can make remaining color harder to remove.
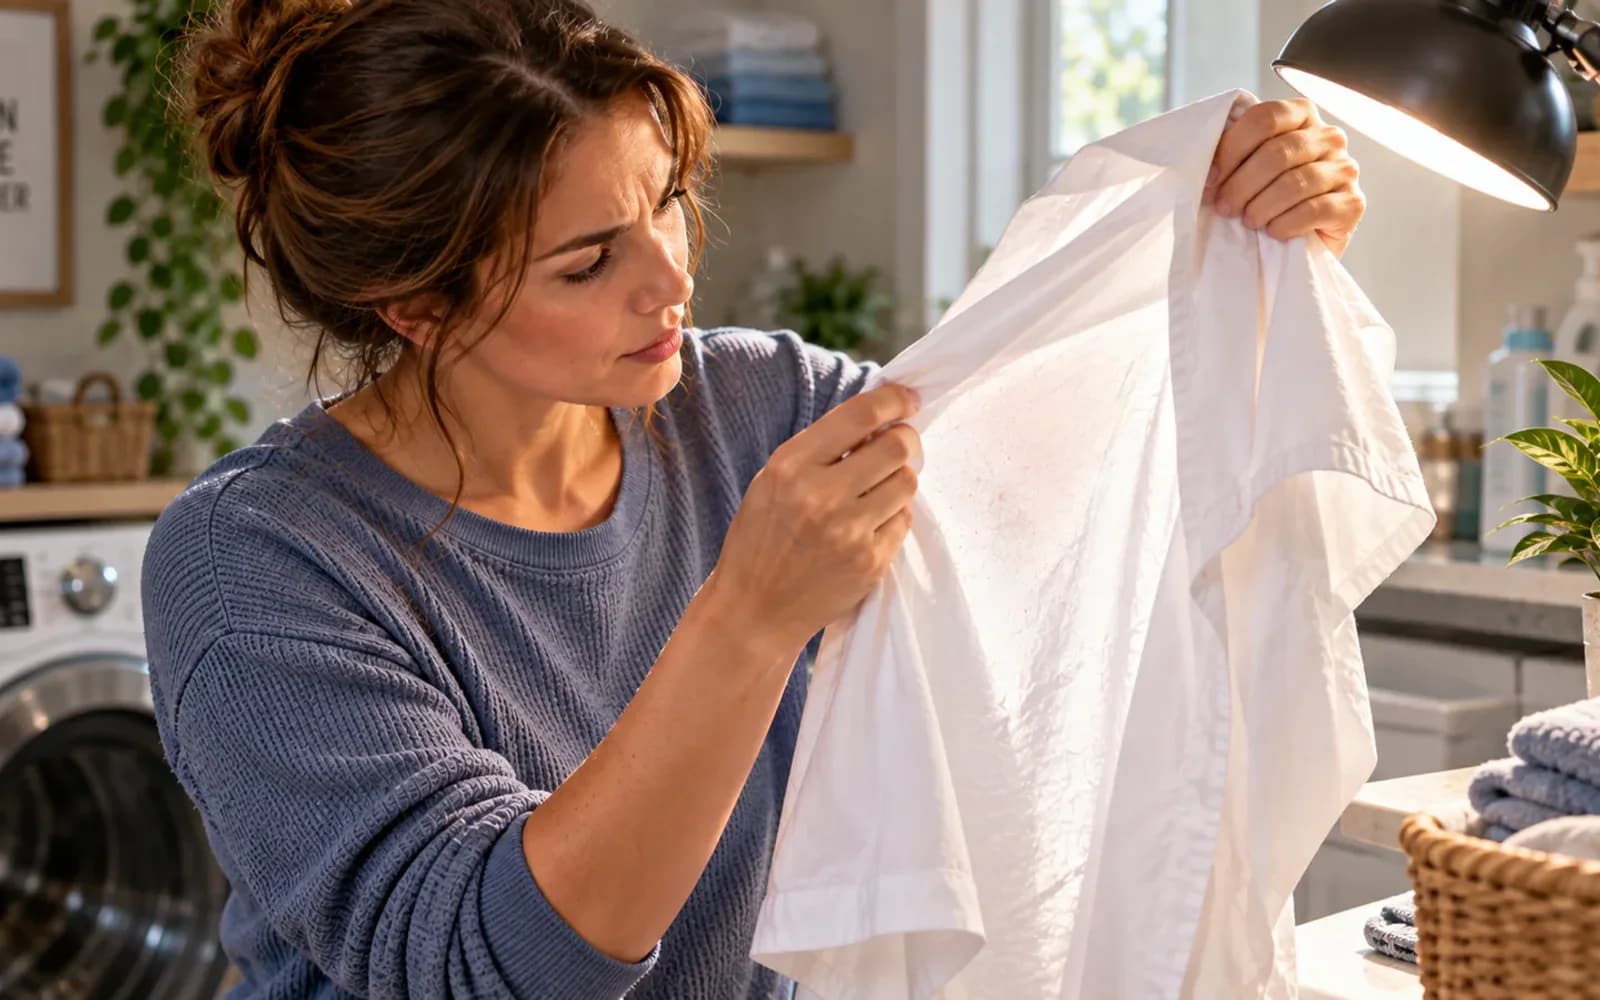
Dry Only After the Stain Is Gone
Check the previously stained area carefully before using any heat. If no pink or red shadow remains, follow the shirt's care label and choose the approved dryer setting or air-dry method. Heat is appropriate only after the stain has been fully removed. As a practical precaution, inspect the fabric under bright light before drying, since faint discoloration can be easier to spot before the garment is warm or fully dry.

Keep a Stain Kit Ready
Place your stain-removal essentials together in one easy-to-reach bin near the washer. Include a fabric-safe stain remover, clean white cloths, plain paper towels, and your regular laundry detergent. Keeping these items organized makes it easier to act quickly when a spill happens. Use white cloths so transferred dye is easier to spot, and avoid applying heat until you are sure the stain has been fully removed.
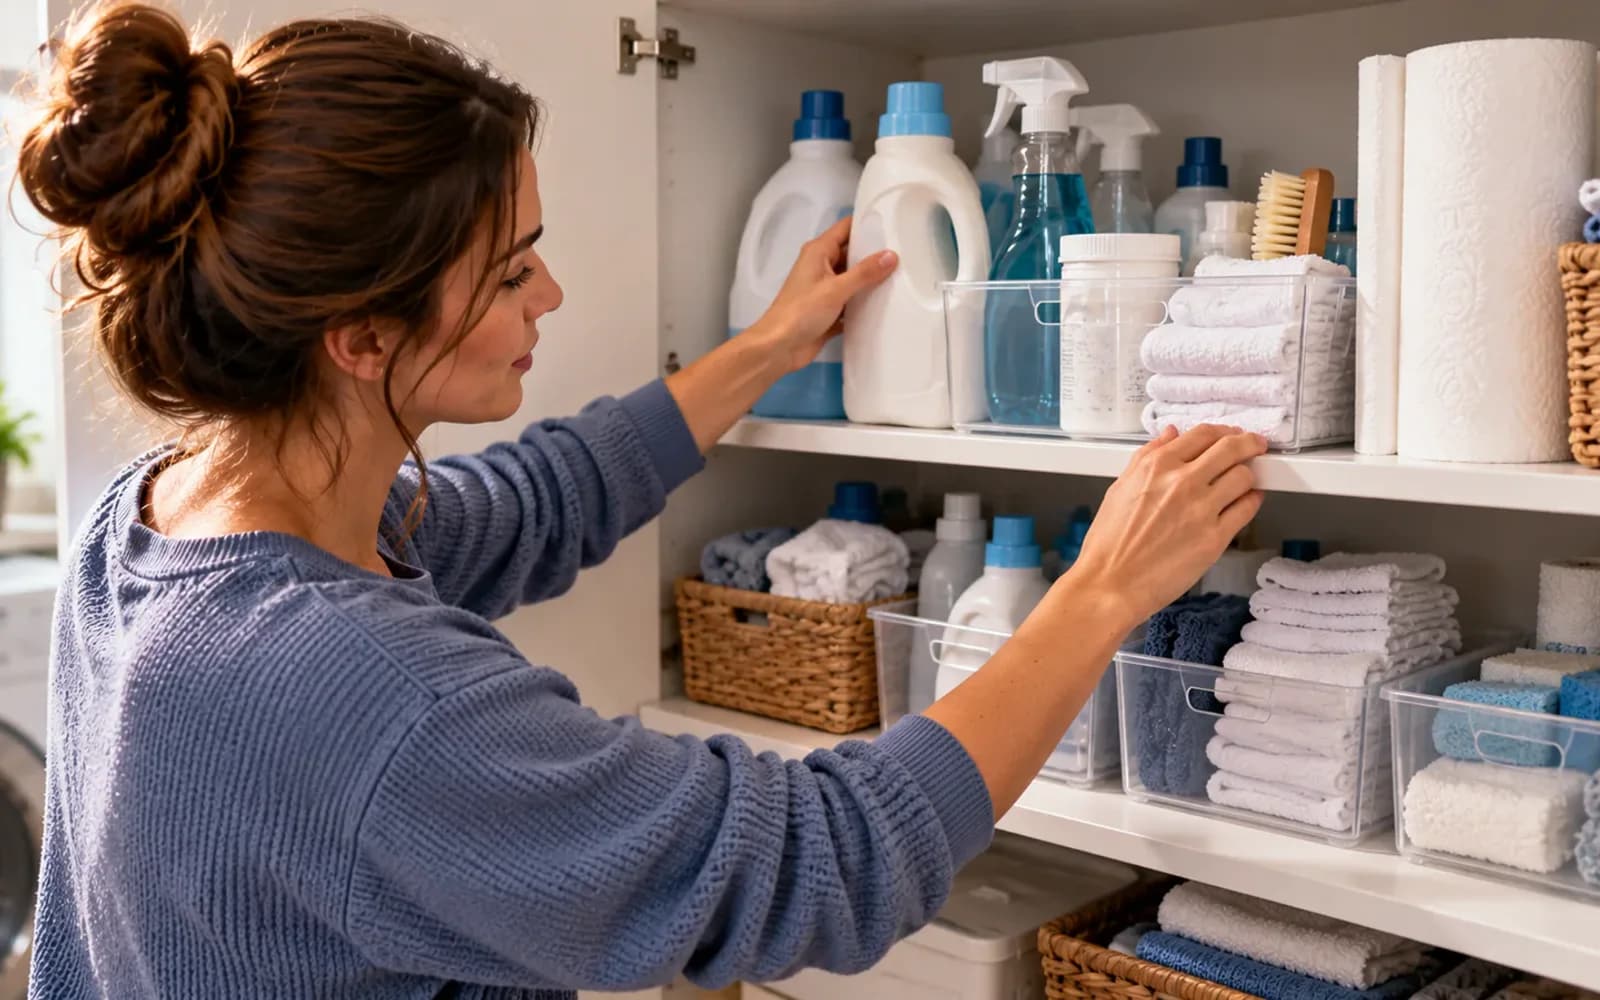
Use the Same Method on White Jeans
Lay the white jeans flat with a clean towel directly behind the wine stain, then gently blot with a folded white cloth instead of rubbing. Check the care label before treatment, rinse the stained area from the back with cool water, and apply a tested stain remover or liquid detergent. Because denim is thicker than shirt fabric, work the product into the stained fibers gently and avoid aggressive scrubbing that can damage the finish.
Rinse White Denim From the Back
Turn the stained section of white denim so the reverse side faces the faucet, then hold it flat under cool running water. Let the water flow directly through the stained fibers instead of rinsing from the front, which can push residue deeper into thick denim. Keep the jeans open rather than bunched so water reaches the full area. After rinsing, gently press away excess moisture with a clean white towel.
Pretreat the White Jeans Carefully
Test the stain remover or liquid detergent on an inside seam before treating the visible area. If the denim shows no discoloration or texture change, apply a small amount directly to the damp stain and work it in gently with your fingers or a soft laundry brush. Avoid aggressive scrubbing, which can roughen white denim. Check the product directions and use the recommended contact time before moving on to washing.
Wash the White Jeans According to the Label
Place the pretreated white jeans in the washer, then check the care label before choosing your settings. Measure the normal recommended amount of liquid laundry detergent and use the warmest water temperature the label allows with a cycle suited to denim. Start the machine without adding extra heat. Leave chlorine bleach on the shelf unless the garment label specifically approves it, since bleach can damage certain fabrics, finishes, or stitching.

Inspect the Jeans Before Any Drying
Remove the white jeans while they are still damp and examine the treated area under a bright task light. Tilt the fabric slightly so faint pink, red, or darker discoloration is easier to spot in the denim. If any staining remains, do not place the jeans in the dryer. Set them aside for another treatment instead, since dryer heat can make leftover dye transfer or staining significantly harder to remove.
Repeat Treatment if a Shadow Remains
Lay the damp jeans flat and focus only on the faint pink or red shadow that remains. Measure a fabric-safe oxygen-based stain treatment, then apply it gently with a clean sponge without scrubbing hard. Keep the denim damp and let the treatment sit for the exact contact time listed on the product. Before drying, wash the jeans again using the warmest water permitted by the care label.
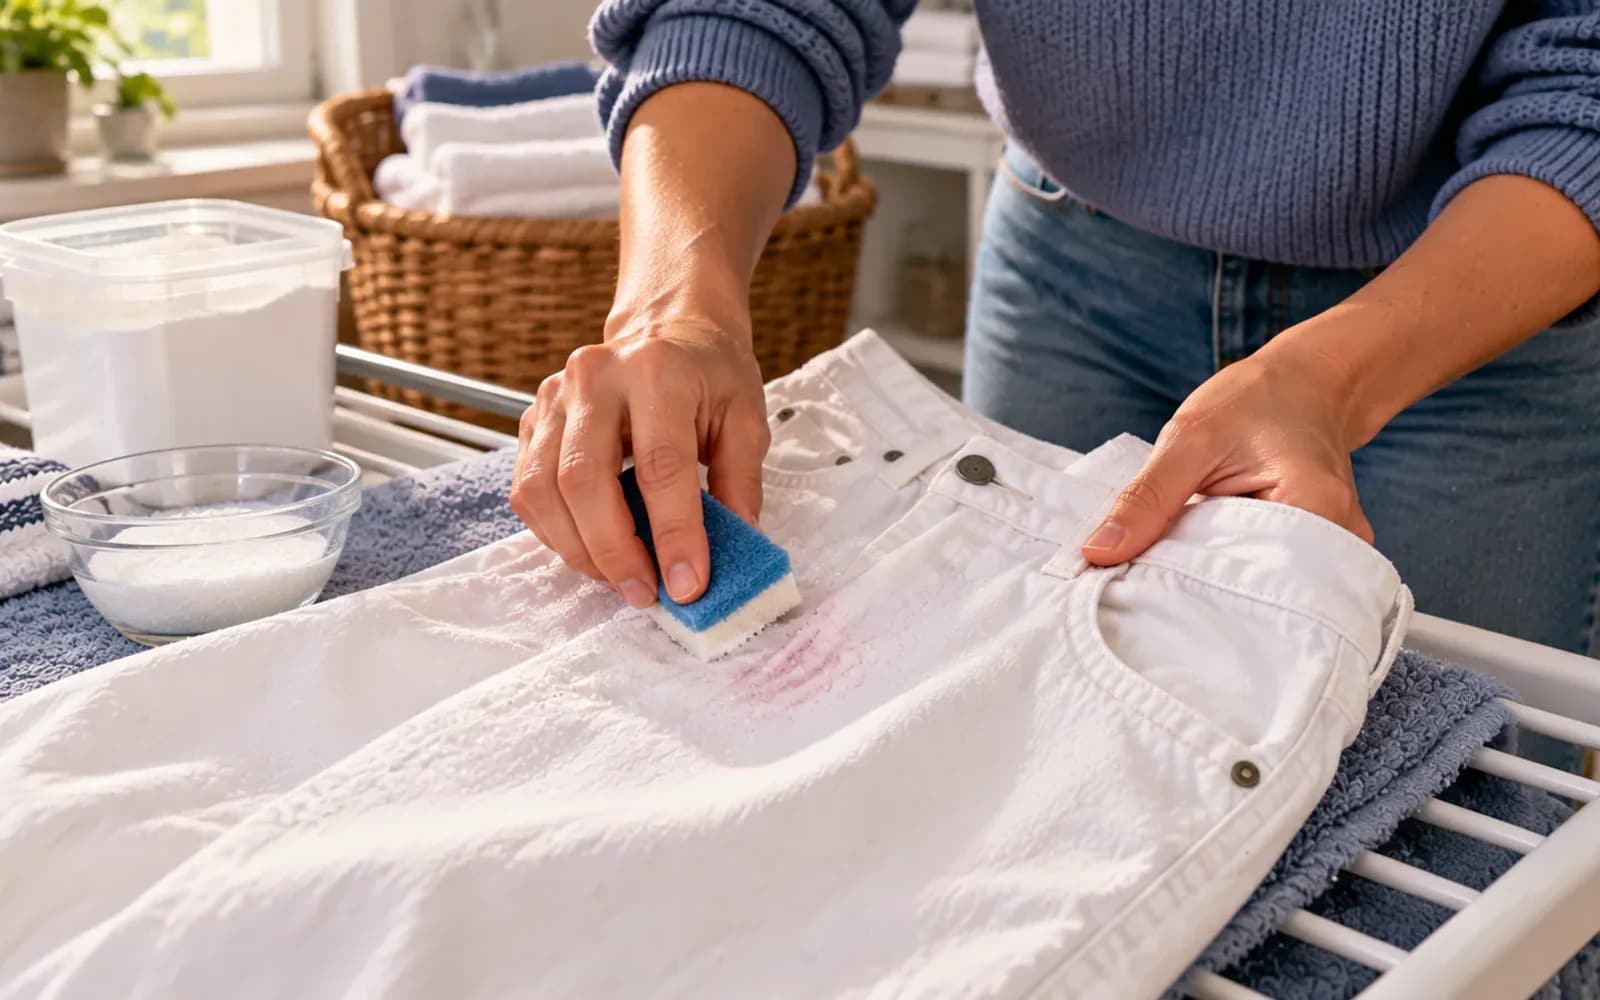
Inspect the Jeans After the Second Wash
While the jeans are still damp, hold them vertically by the waistband near a bright window and examine the treated thigh closely. Compare that area with clean white denim on the opposite leg so any remaining pink or red tint is easier to spot. Check the fabric from more than one angle because damp denim can hide faint discoloration. If the color is gone, follow the care label before drying.

Dry the Jeans Only After the Stain Is Gone
After confirming that no pink or red shadow remains, check the care label before applying any heat. If tumble drying is permitted, place the jeans in the dryer and select the approved temperature setting. If the label calls for air drying, use a clean drying rack instead. Inspect the treated thigh in bright light first, because even a faint stain can become much harder to remove once heat sets it into the fabric.

Treat a Wine Shadow That Reappears
If a faint wine shadow returns after the jeans air-dry, dampen only the affected area with cool water. Apply a measured amount of fabric-safe oxygen stain treatment according to the product label, then gently massage it through the denim with gloved fingertips. Keep the treatment localized so the surrounding fabric is not unnecessarily saturated. Let it sit only for the directed time, then wash the jeans again before using any dryer heat.
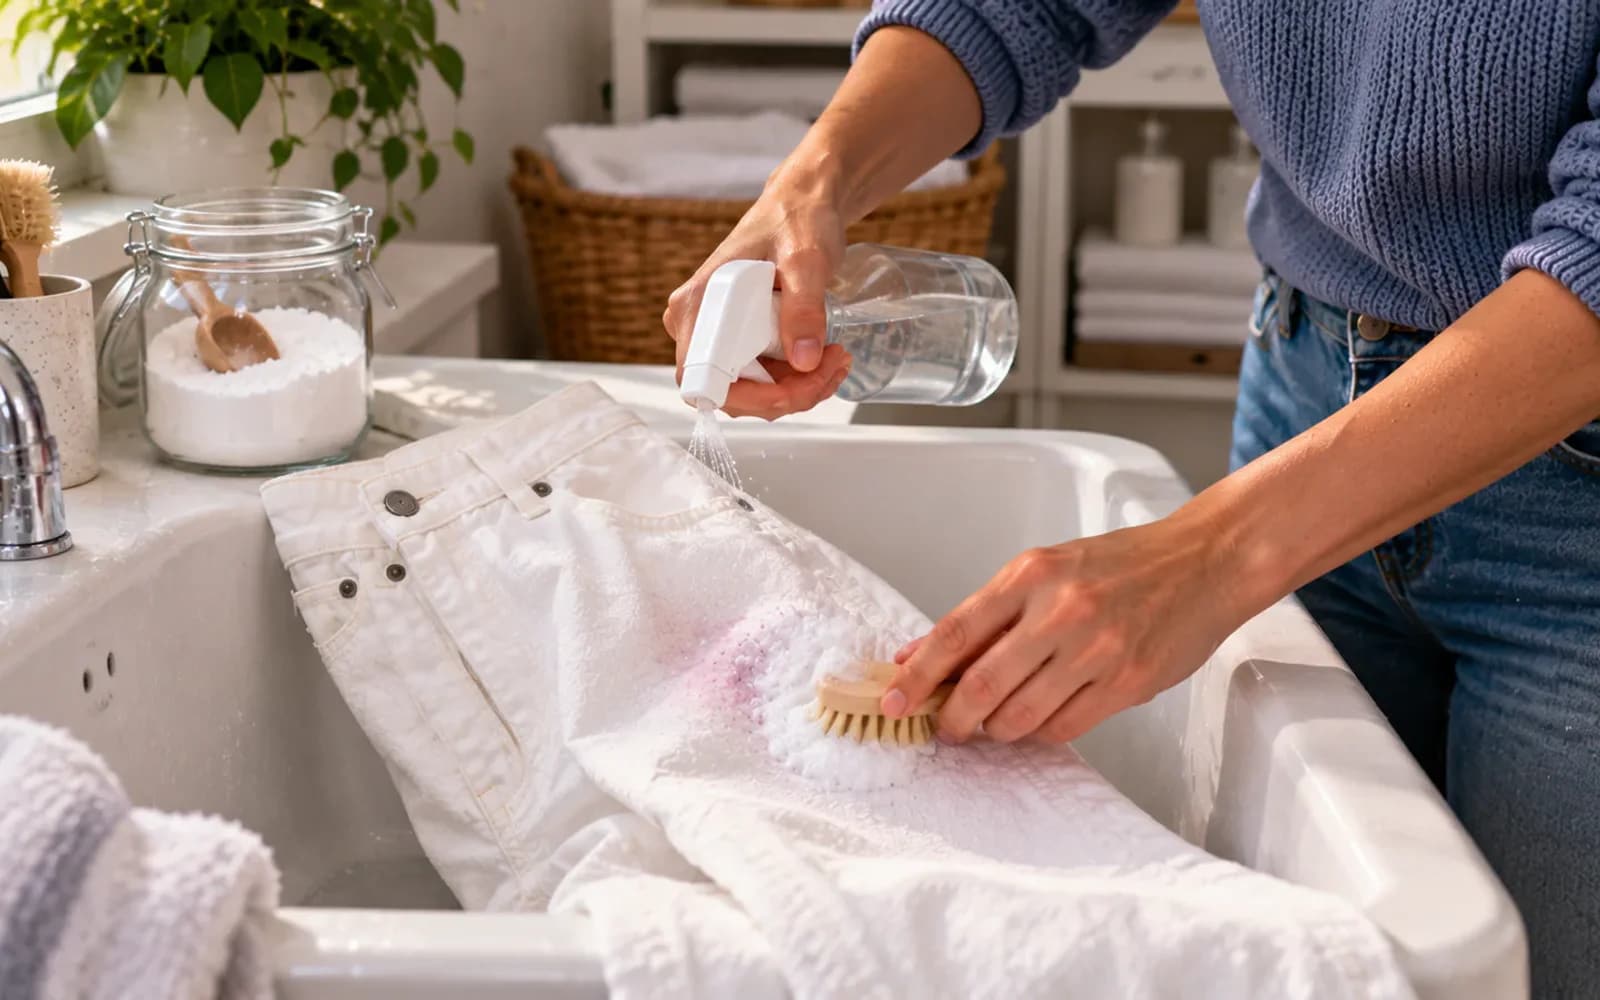
Wash Again Before Using Heat
Place the retreated white jeans in the washer, check the care label, and choose the warmest water temperature the fabric allows. Add a normal measured dose of detergent and run a full wash cycle. Keep chlorine bleach out unless the label specifically allows it. Remove the jeans promptly when washing ends, then inspect the treated area while damp. If any reddish tint remains, repeat treatment instead of using the dryer.

Inspect the Jeans Again
Lay the damp jeans flat under bright, adjustable light and inspect the treated area from several angles before applying any heat. Compare the fabric near the former stain with an unstained section of denim so subtle pink or red discoloration is easier to spot. If you can still see any trace, keep the jeans out of the dryer and repeat the stain treatment rather than risking heat setting the remaining color.
Stop If the Shadow Persists
If a pink or reddish shadow remains after another careful treatment and wash, stop before trying anything stronger. Keep the jeans out of the dryer, because heat can set residual discoloration and make later correction harder. Let them air-dry enough to handle comfortably, then check the care label again. If the fabric still looks stained, take the jeans to a qualified cleaner instead of repeating harsh treatments that could weaken or permanently damage the fibers.
Prepare the Jeans for a Professional Cleaner
Fold the white jeans loosely and place them in a clean garment bag or paper bag with the stained thigh area easy to identify. Add a short note describing the original spill and every treatment already used, including stain removers or wash cycles. Sharing that history helps the cleaner avoid repeating chemicals that may stress the fabric. Keep the jeans dry and do not apply anything else before taking them in.
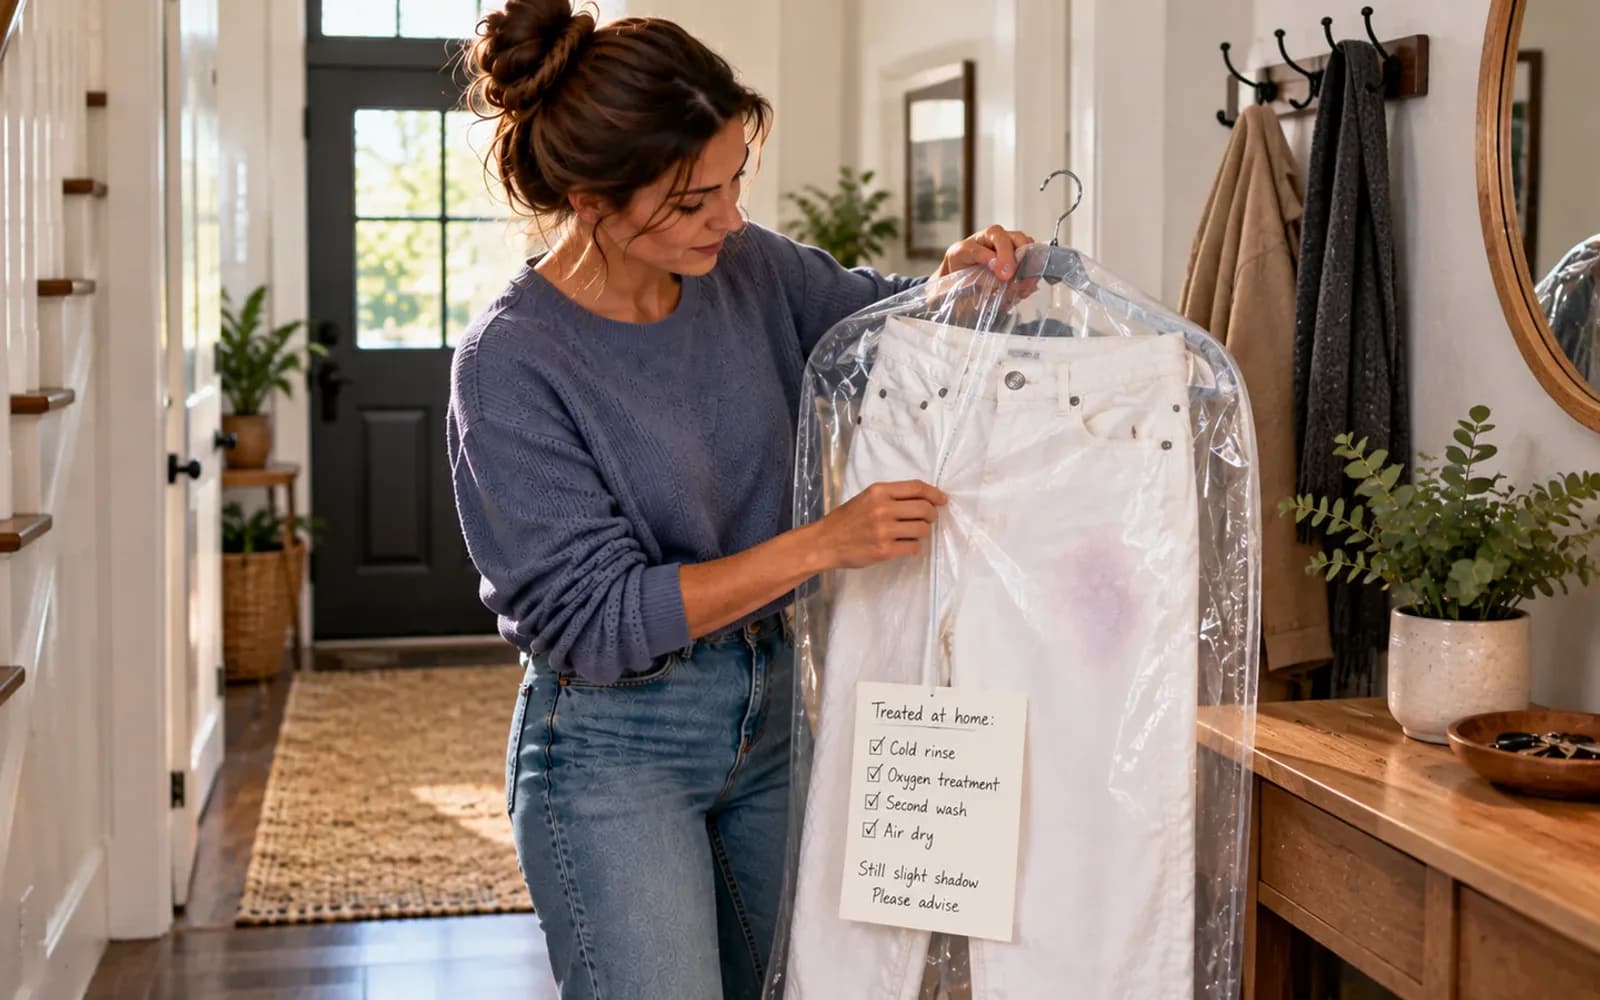
Show the Cleaner Exactly What Remains
Hold the jeans open at the counter and point directly to the faint stain shadow so the cleaner can inspect the exact area under good lighting. Explain that you already blotted, rinsed, pretreated, washed, and used an oxygen-based stain remover, and that the jeans were never machine dried while the mark remained. Bring a short written treatment history if possible, because knowing what was already tried helps avoid repeating unnecessary treatments.

Ask About Aftercare Before You Leave
Before you leave the counter, ask exactly how the cleaner wants you to handle the jeans after pickup, especially if any discoloration is still visible. Confirm when normal drying is safe and whether any follow-up treatment is recommended. Keep home stain removers out of the process unless the cleaner approves them. Using one consistent treatment plan reduces the risk of heat, chemicals, or repeated handling making the remaining stain harder to remove.

Inspect the Jeans Before Leaving the Cleaner
Hold the jeans open under bright natural light and compare the treated thigh with an unaffected section of white denim. Check from more than one angle because a faint pink or reddish tint can be easier to spot when the fabric catches the light differently. If the color still looks uneven, point it out before leaving. Ask the cleaner whether the jeans are fully dry and confirm any heat or aftercare restrictions.

Follow the Cleaner's Aftercare Instructions
Lay the cleaned jeans in bright natural light and inspect the treated thigh one last time before folding them away. If the color looks even and the cleaner has approved normal use, stop applying stain removers and follow the garment care label from this point forward. Store stain products separately and closed. A quick daylight check before wearing or shelving the jeans can help you notice any remaining discoloration without disturbing the professionally treated area.

Keep Stain Supplies Ready
Organize a small spill-response kit in an easy-to-reach laundry closet so everything is available when you need it. Place a fabric-safe stain remover, regular laundry detergent, folded clean white cloths, and plain paper towels together in one basket. Keeping these supplies grouped saves valuable time after a spill. Check the basket occasionally and replace empty products or used cloths so it is always ready for the next accident.

Use the Same Safe Routine Next Time
When the next red wine spill happens, start by checking the care label and reaching for your prepared stain supplies before touching the spot. Blot instead of rubbing, rinse from the back with cool water, test any treatment first, then wash only as directed. Inspect the fabric before using heat. If color remains, repeat the fabric-safe process or choose a qualified cleaner instead of using stronger chemicals.

Red wine on a white shirt or pair of jeans can look like a disaster, but acting carefully can keep the stain from becoming permanent. Before treating anything, check the care label. Dry-clean-only garments, delicate fabrics, and clothing with colored trim that may bleed should go to a qualified cleaner. For washable whites, place a clean towel behind the stain and blot gently with a white cloth or paper towel, working from the outside toward the center. Avoid rubbing, which can spread the wine and drive it deeper into the fibers.
Once you have removed as much excess wine as possible, rinse the back of the stain with cool running water. Test any stain remover or liquid detergent on a hidden area before applying it, then follow the product directions and the garment's care instructions. Wash using the warmest permitted water, inspect the fabric while it is still damp, and keep it out of the dryer until every pink or reddish trace is gone.
Where people go wrong
Rubbing the Stain Instead of Blotting It. Scrubbing a fresh red wine stain can spread the liquid and push it deeper into the fibers. Place a clean towel behind the fabric, then blot gently with a white cloth or paper towel, working from the outside edge toward the center.
Ignoring the Care Label Before Treatment. Treating every white garment the same can damage delicate fabrics, colored trim, or dry-clean-only clothing. Check the care label first, test any stain product on a hidden area, and take unsuitable garments to a qualified cleaner instead of experimenting at home.
Using Chlorine Bleach Automatically. White fabric does not automatically mean chlorine bleach is safe. Bleach can damage certain fibers, finishes, or garment details. Use it only when the care label specifically permits it, and consider an oxygen-based stain treatment suitable for the fabric when additional treatment is needed.
Putting the Garment in the Dryer Too Soon. Dryer heat can set a remaining pink or reddish shadow into the fabric and make removal much harder. Inspect the garment in good light while it is still damp. If any stain remains, repeat pretreatment and washing before using the dryer.
Questions people ask
Check the care label before treating the stain. If the garment is washable, place a clean towel behind the stained area and gently blot with a white cloth or paper towel, working from the outside toward the center. Avoid rubbing, which can spread the wine and push it deeper into the fibers.
Fixed it?
Get one guide like this every Thursday.