How to Remove Hard Water Spots From Shower Glass in 5 Safe Steps
Cloudy shower glass doesn't always need harder scrubbing. Learn how to identify mineral deposits, safely remove hard water spots, and keep your shower glass clearer with simple daily habits.

What you’ll need
Tap to tick things off before you start.
Look Closely at the White Spots Before Scrubbing Again
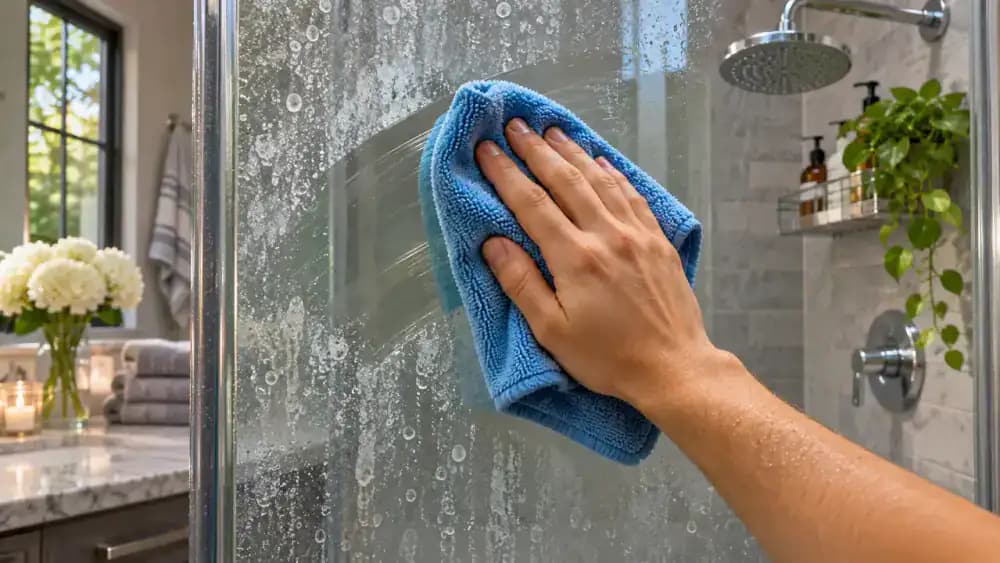
Examine the shower door under angled natural light to reveal white spots and cloudy streaks that ordinary bathroom lighting might hide. As shown, gently wipe a small section with a clean microfiber cloth and check whether the cloudiness remains. Hard water can leave mineral deposits when droplets evaporate, so repeated wiping may not help. Pay particular attention to areas where water regularly collects, and avoid aggressive scrubbing until you identify the buildup.
Understand How Water Droplets Turn Into Mineral Deposits
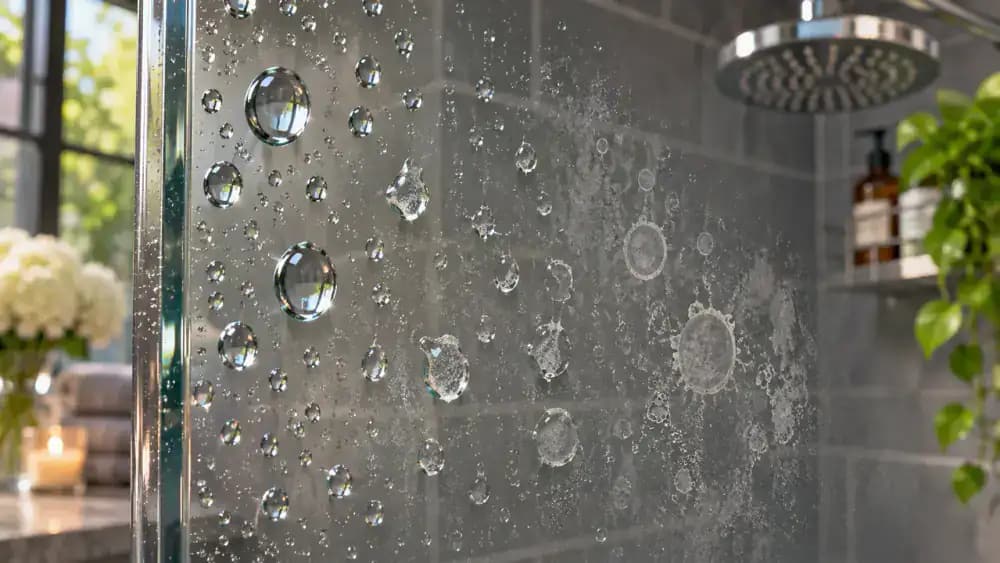
Notice how water droplets cling to the shower glass and gradually shrink as moisture evaporates. The three illustrated stages show fresh droplets, partial evaporation, and white mineral outlines left behind. Hard water contains dissolved minerals, including calcium and magnesium, that can accumulate on the surface over time. These deposits require a different cleaning approach than ordinary dirt. Check areas where droplets frequently dry, especially lower sections of the door.
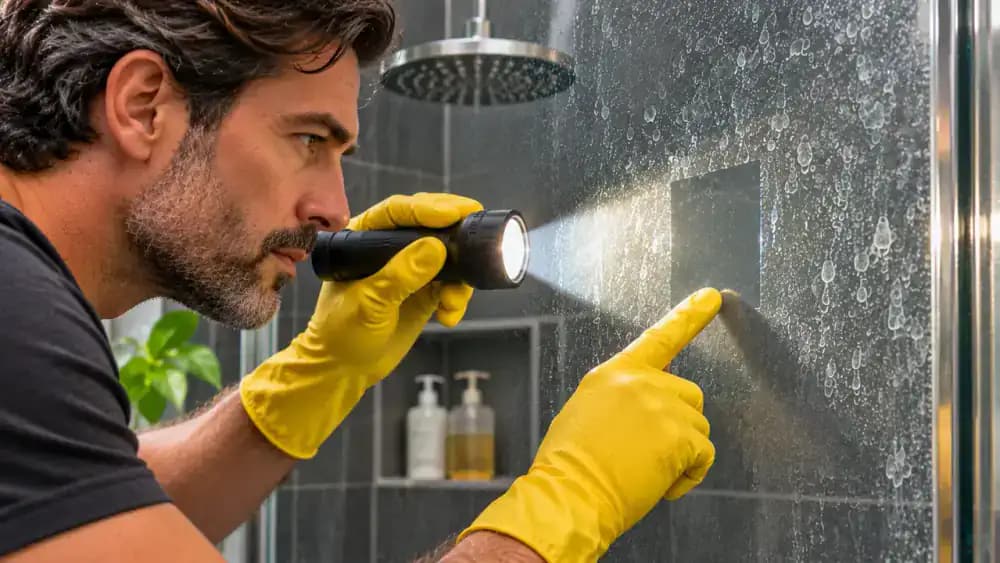
Inspect Shower Glass With a Flashlight at a Shallow Angle
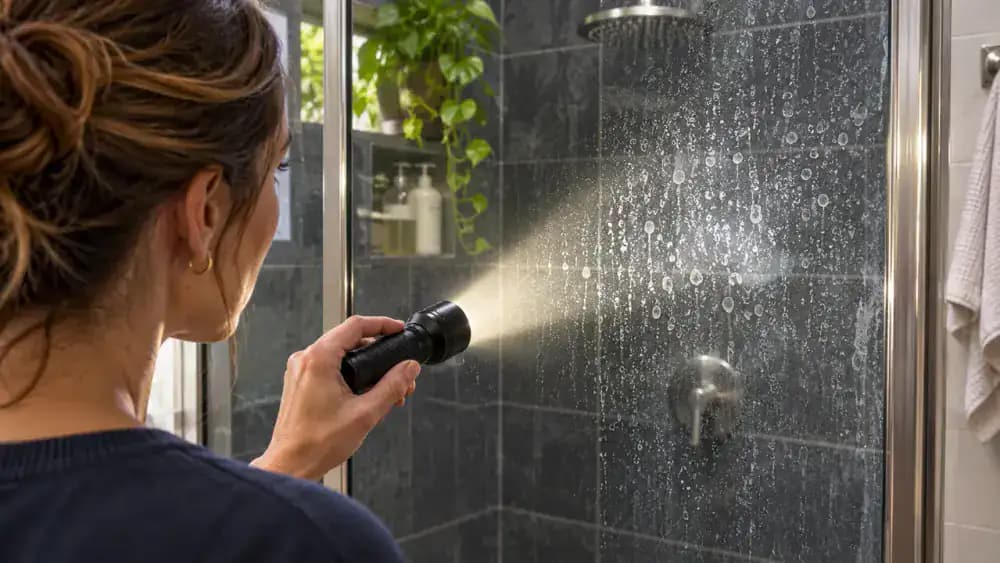
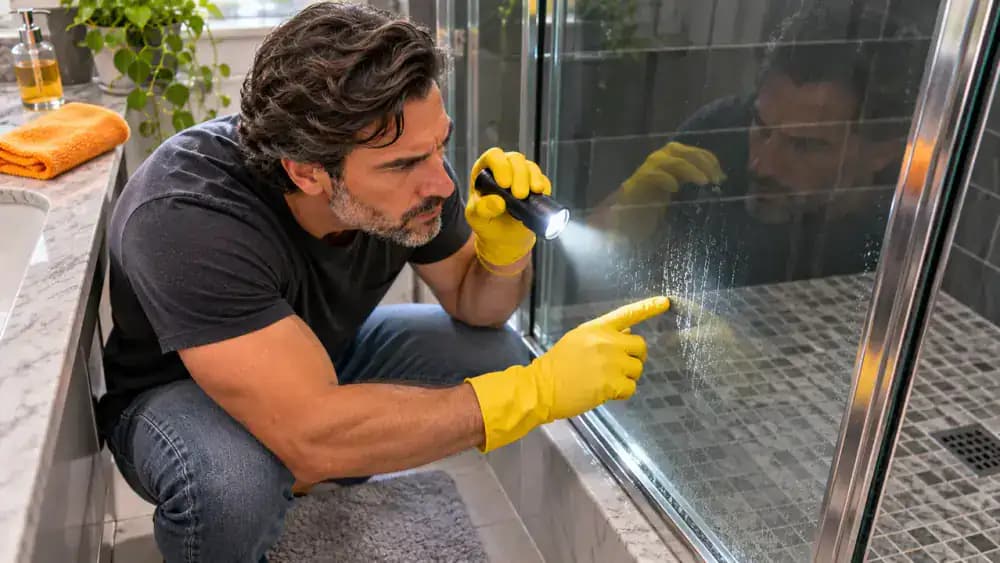
Hold a compact LED flashlight about 6 inches from the shower glass and direct its beam almost parallel to the surface. Slowly move the light across the door, looking for scattered white dots, circular outlines, and uneven cloudy patches. The angled light makes subtle deposits easier to see, but appearance alone cannot confirm mineral buildup. Mark a small, inconspicuous area for a surface-approved cleaning test before treating the entire door.
Compare White Mineral Rings, Soap Film, and Possible Glass Etching
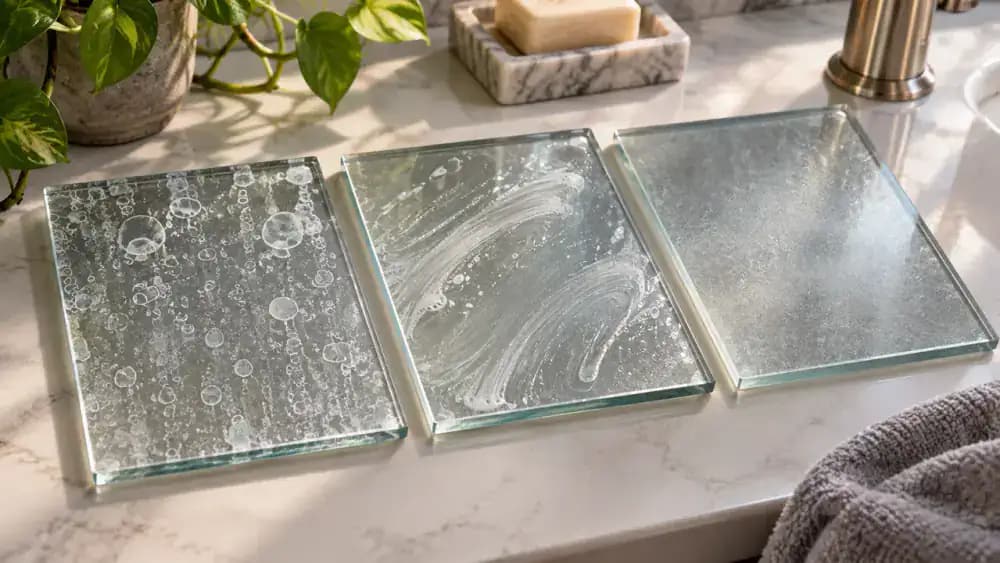
Examine the three glass samples shown side by side under consistent lighting. Mineral deposits often appear as scattered white rings or speckles, while soap residue may create a broader film with greasy-looking streaks. Possible glass etching can produce a dull, persistent haze. These examples illustrate common appearances, not confirmed diagnoses. Before selecting a cleaner, compare your shower glass with these patterns and plan a small test using a surface-approved product.
Check How Water Drops Behave on the Glass
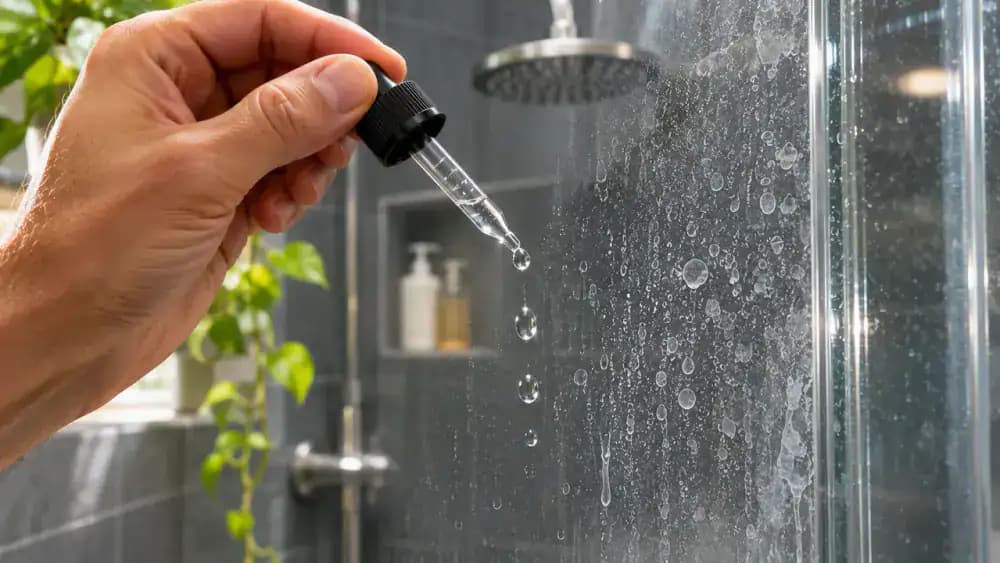
Use a clean dropper to place three small drops of plain water on an inconspicuous section of shower glass, as shown. Watch whether the droplets remain rounded or spread into irregular shapes. Protective coatings, soap residue, and surface condition can all influence this behavior, so neither pattern confirms mineral buildup. Observe the drops without drawing firm conclusions, then choose a small test patch and a cleaner approved for your glass.
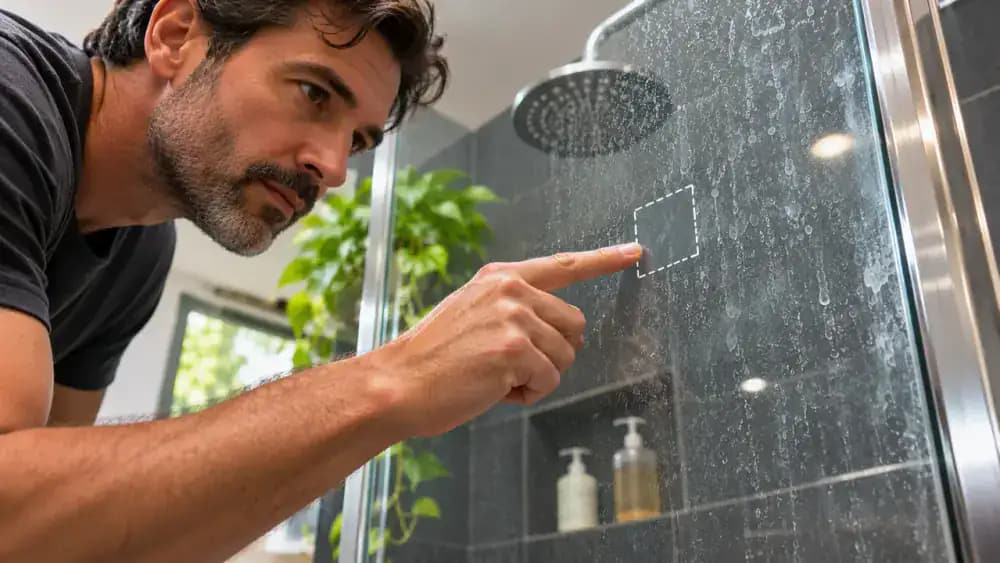
Select a Hidden Test Area Away From Metal Trim and Seals
Check your shower glass manufacturer's care instructions, paying particular attention to protective coatings and approved cleaning products. As shown, select an inconspicuous 2-by-2-inch section of glass away from metal hardware and rubber seals. Keep this area untreated until you have confirmed cleaner compatibility. Choose a spot with visible deposits so you can evaluate the cleaner's effect later. Do not use acidic products on coated glass or nearby vulnerable surfaces.
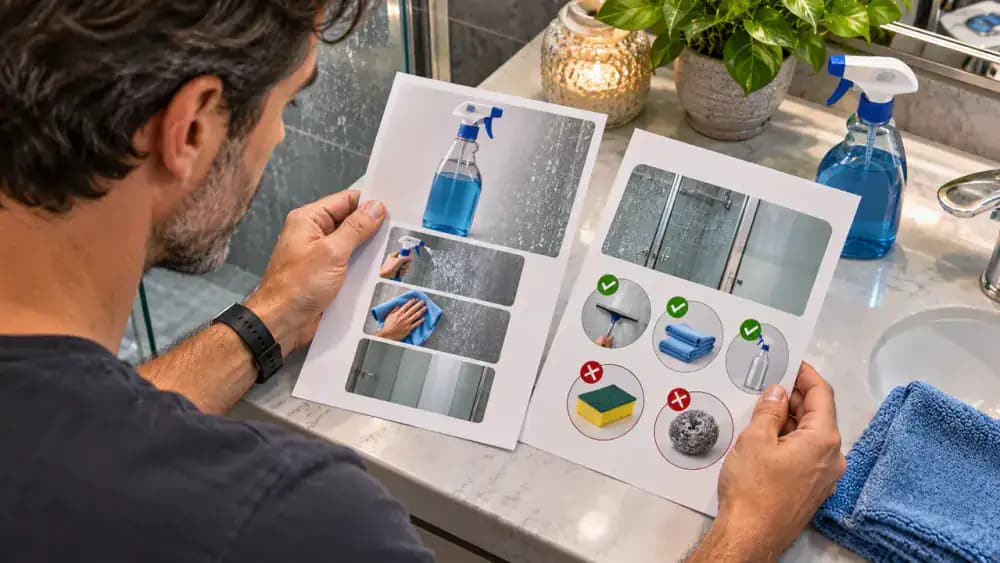
Read the Cleaner Label Before Using It on Shower Glass
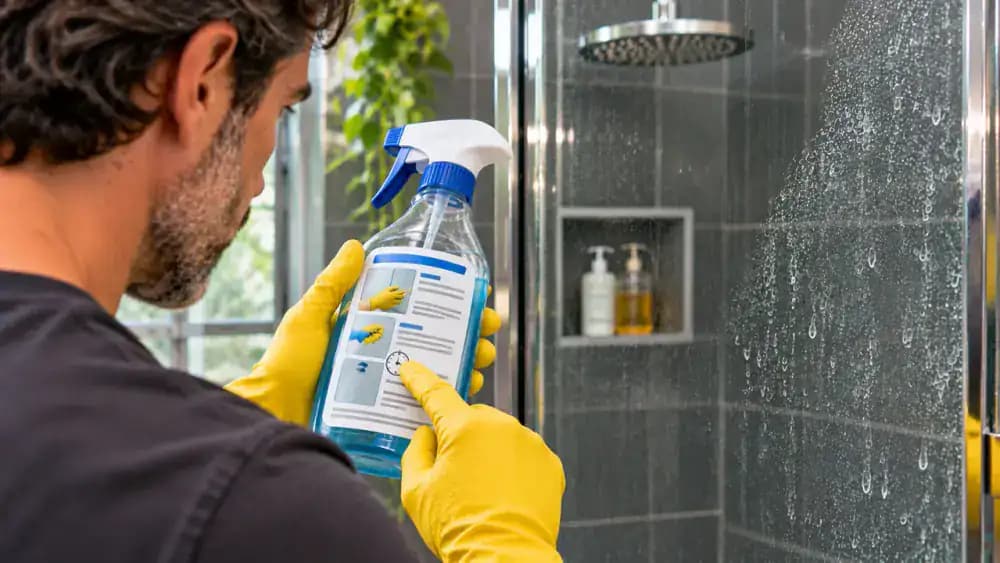
Examine the back label of a commercial mineral remover, focusing on approved surfaces, restrictions, and application directions. As shown, compare these instructions with your shower glass manufacturer's care guide before opening the bottle. Confirm that the product is suitable for your glass and any protective coating. Check nearby fixtures and finishes for compatibility, too. Do not substitute vinegar or stronger acids without verifying surface safety and manufacturer approval.
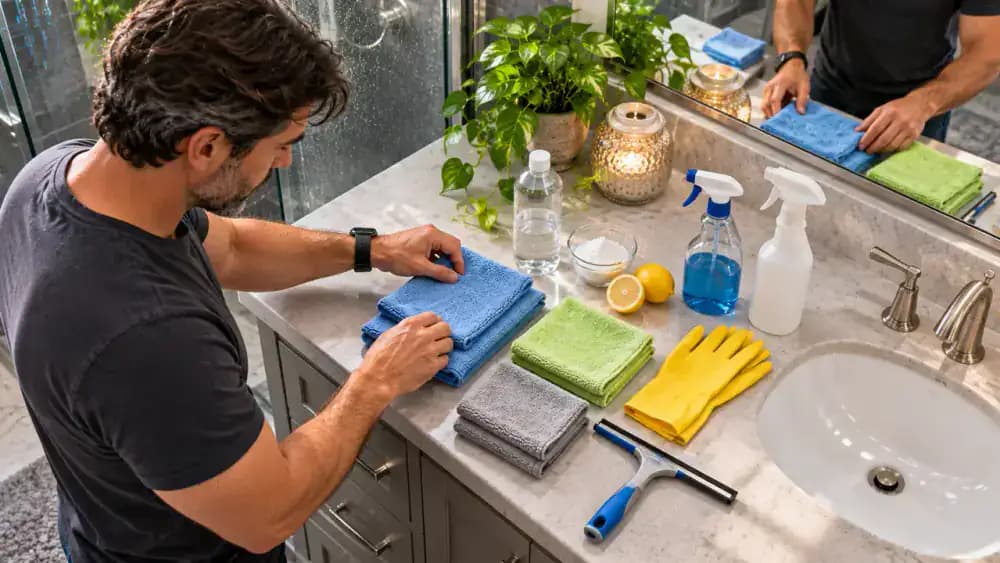
Set Up Your Cleaning Supplies and Ventilate the Bathroom
Arrange two clean microfiber cloths, a soft rubber-blade squeegee, and the protective gloves required by your cleaner's label on a dry countertop. As shown, open a bathroom window to improve ventilation before handling the product. Keep the approved mineral remover closed until you're ready to use it, and remove other cleaning chemicals from the work area. Check that your squeegee blade is clean and free of debris that could scratch glass.
Shield Metal Hardware, Rubber Seals, and Natural Stone Before Cleaning
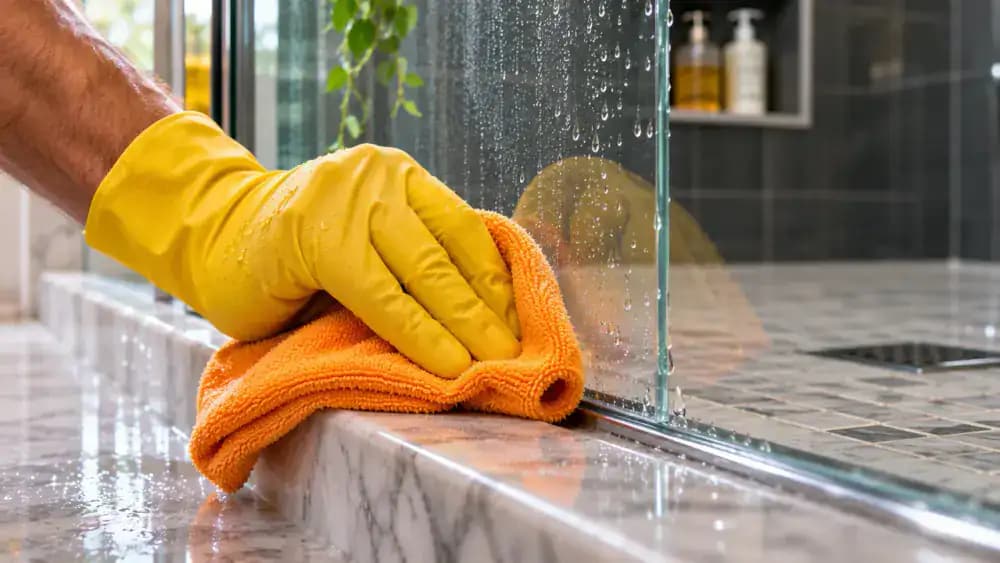
Inspect the edges of your shower glass where metal hinges, rubber seals, grout, and natural stone meet the door. As shown, identify vulnerable materials and carefully cover the stone threshold with a chemically compatible protective barrier approved by the cleaner manufacturer. Keep coverings away from delicate coatings and finishes. Leave the glass untreated during preparation, and make sure the selected cleaning area is safely separated from surrounding surfaces before proceeding.
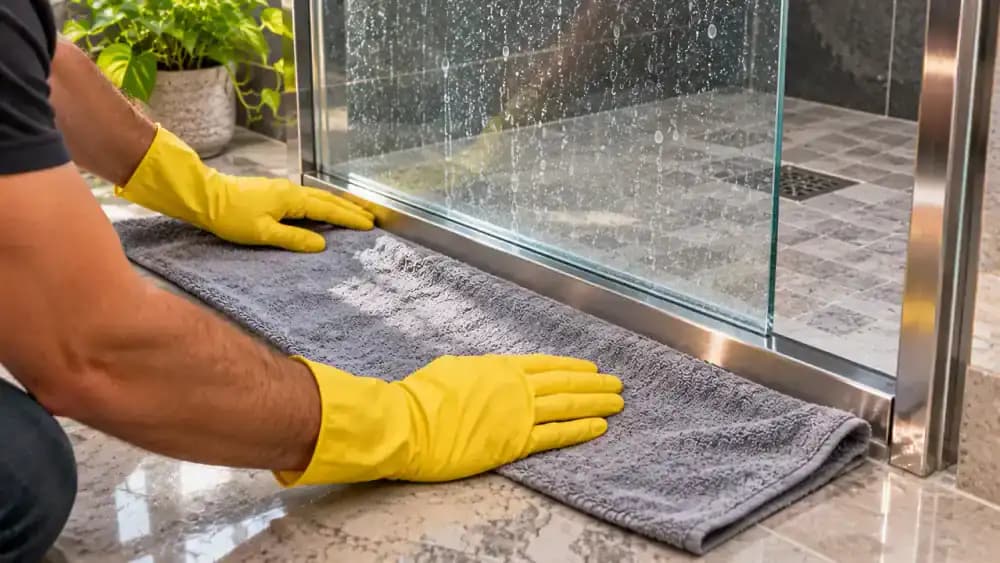
Test the Approved Mineral Remover on a Small Section of Glass
Wearing the protective gloves required by the product label, apply a small, directed amount of approved mineral remover to a clean microfiber cloth if the instructions permit cloth application. Gently wipe only the selected 2-by-2-inch test patch, keeping cleaner away from hardware, seals, and stone. Follow the specified contact time, then rinse and dry as directed. Inspect the area under angled light for remaining deposits or unwanted surface changes.
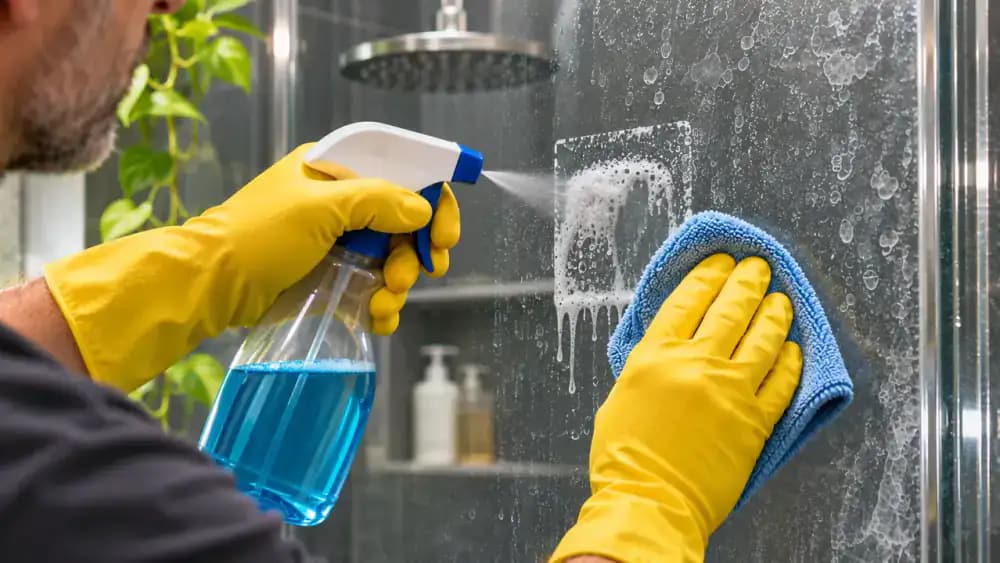
Check the Dry Test Patch for Remaining Spots and Surface Damage
Examine the completely dry test patch under bright, angled lighting, using an inspection mirror to check reflections and surface clarity from another angle. Look for remaining white deposits, discoloration, scratches, or changes to protective coatings. Compare the treated section with nearby untreated glass without assuming the cleaner worked. If deposits appear reduced and no damage is visible, further cleaning may be appropriate. Stop immediately if you notice unusual surface changes.
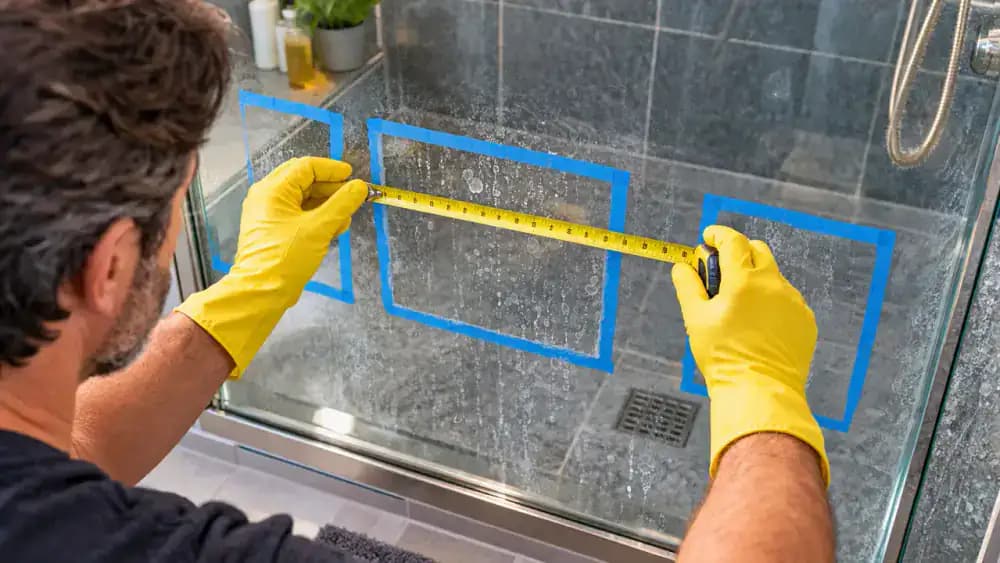
Plan 12-Inch Cleaning Sections Away From Vulnerable Edges
After confirming that the approved cleaner caused no visible damage during the test, use a measuring tape to plan working sections approximately 12 inches wide. As shown, visualize the boundaries without attaching tape to the glass. Choose a starting section where you can control runoff and avoid metal hinges, rubber seals, and natural stone. Working in smaller areas makes it easier to follow the cleaner's labeled contact time and prevent unwanted spreading.
Apply Mineral Remover With Gentle, Overlapping Strokes
Wearing the protective gloves required by the product label, apply the recommended amount of glass-compatible mineral remover to a clean microfiber cloth if cloth application is permitted. As shown, gently spread the cleaner across the first 12-inch working section using slow, overlapping horizontal strokes. Maintain a thin, controlled layer without soaking the glass. Keep liquid away from hinges, rubber seals, metal trim, and surrounding surfaces, and avoid unnecessary pressure or excessive product.
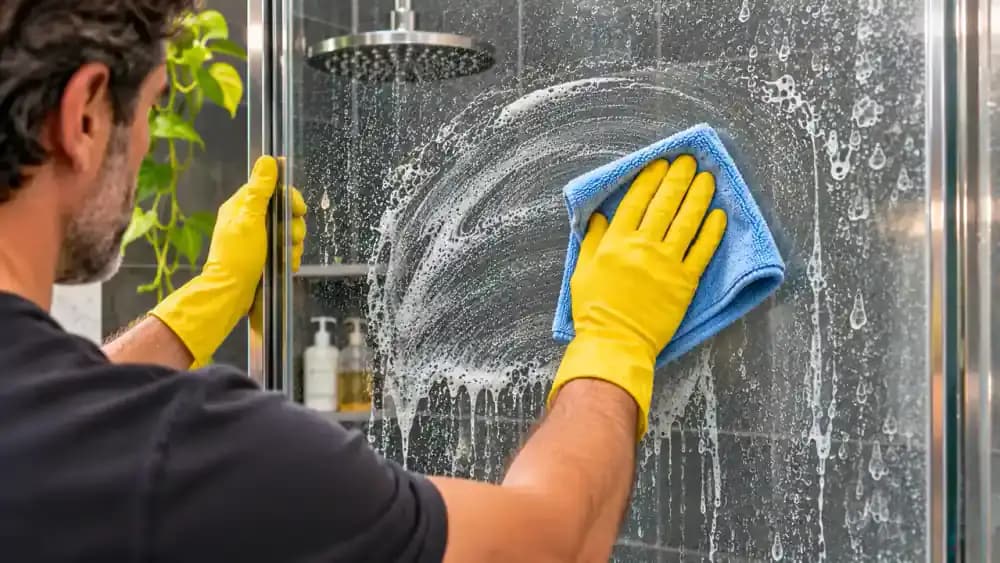
Set a Timer for the Cleaner's Exact Contact Time
Check the mineral remover's label for its required contact time, then set a digital timer to that exact duration. As shown, keep the treated glass section within view while the timer counts down from a dry shelf outside the shower. Make sure the cleaner stays confined to the approved area and does not dry unless permitted. Never extend the contact time, and follow the manufacturer's removal instructions if unexpected surface changes appear.
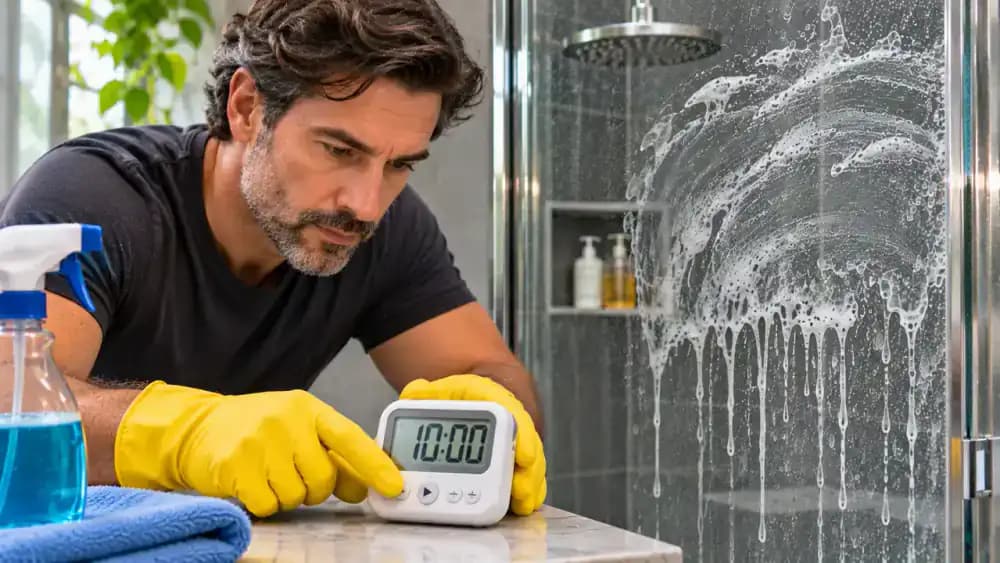
Loosen Mineral Deposits With Gentle Microfiber Wiping
Once the cleaner's labeled contact time has passed, gently wipe the treated glass section with a clean, approved microfiber cloth. As shown, keep the cloth flat against the surface and use light pressure with smooth, overlapping vertical strokes. Let the cleaner do the work instead of scrubbing aggressively. If white deposits remain, avoid abrasive pads, razor blades, or metal scrapers that could scratch the glass or damage protective coatings.
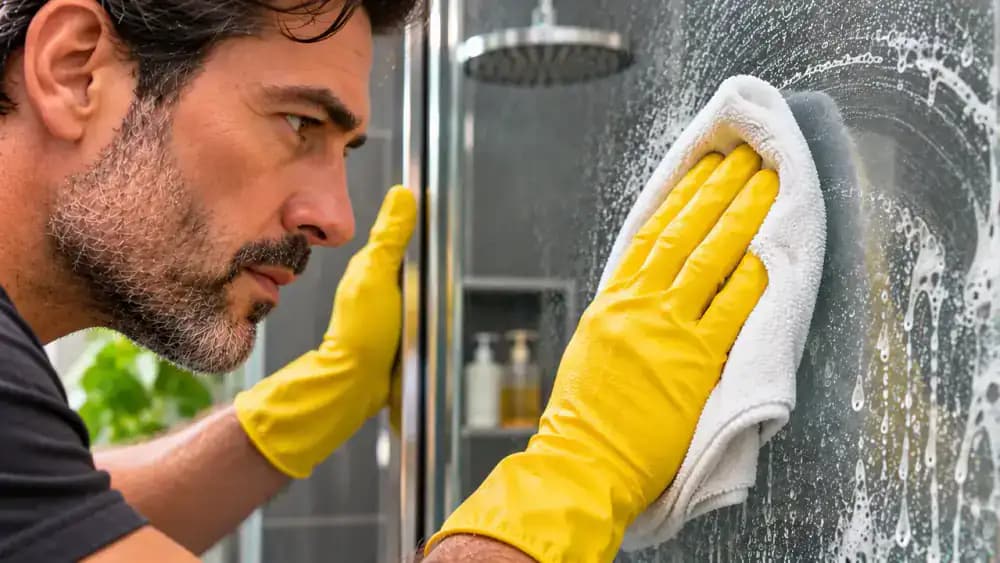
Rinse the Treated Glass Without Splashing Nearby Surfaces
After gently wiping the treated section, follow the mineral remover's rinsing instructions to remove cleaner and loosened deposits. As shown, use a small handheld container to direct a controlled stream of clean water over the glass, but only if water rinsing is permitted. Keep runoff away from metal hardware, rubber seals, natural stone, and other vulnerable materials. Rinse thoroughly as directed so leftover residue does not dry into cloudy streaks.
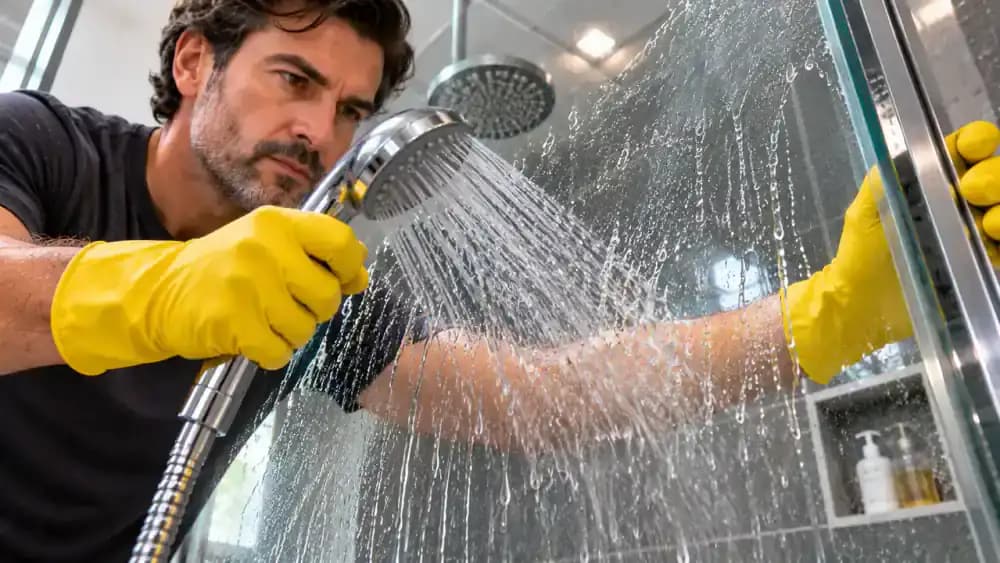
Dry the Rinsed Shower Glass From Top to Bottom
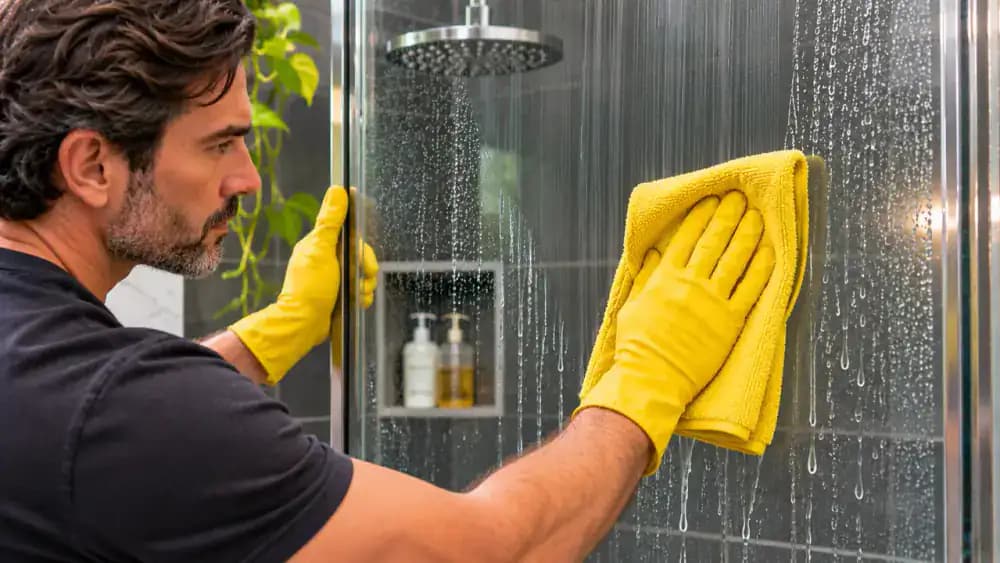
Once the cleaner has been thoroughly rinsed away, fold a fresh, dry microfiber cloth into a flat square and gently move it down the glass. As shown, use overlapping top-to-bottom passes to absorb water droplets and thin moisture trails without pressing hard. Pay attention to water collecting near the edges, but avoid disturbing delicate seals or finishes. Removing moisture helps prevent fresh mineral spots and makes remaining deposits easier to inspect.
Inspect Dry Shower Glass From Straight-On and Side Angles
Stand directly in front of the completely dry shower glass and examine the treated section for remaining white spots, streaks, or cloudy patches. As shown, step slightly sideways and adjust your viewing height to see how reflected daylight reveals subtle haze. Compare the treated area with nearby untreated glass without assuming every mark can be removed. Persistent cloudiness may indicate remaining deposits, protective coating wear, or permanent glass etching.

Check Whether Remaining Spots Can Be Safely Treated Again
Before applying more cleaner, review the product label and shower glass manufacturer's instructions to confirm whether a second treatment is permitted. As shown, use a simple checklist to evaluate remaining white spots, visible surface damage, and persistent haze. Only consider another application if both manufacturers' guidance allows it and the glass shows no damage. Never increase cleaner concentration, extend contact time, or switch to stronger chemicals to remove stubborn marks.
Recognize Persistent Haze That May Indicate Permanent Glass Damage
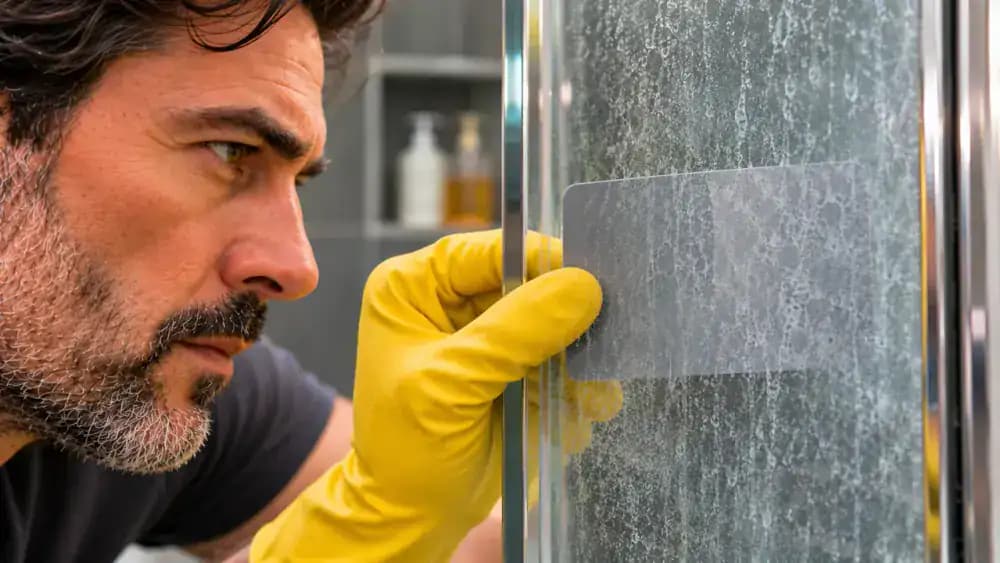
Hold a neutral gray reference card several inches behind the completely dry shower glass, as shown, and slowly move it between cloudy and clearer sections. The contrasting background can make persistent haze easier to see without touching the surface. If cloudiness remains after proper cleaning, rinsing, and drying, permanent etching or coating damage may be responsible. Stop further treatment and consult the glass manufacturer's care instructions or a qualified glass professional.
Use a Squeegee After Every Shower to Prevent New Water Spots
After each shower, place a clean, glass-safe squeegee near the top of the wet glass and pull downward in one smooth stroke. As shown, repeat with slightly overlapping passes to remove water droplets across the entire panel. Wipe accumulated water from the rubber blade between strokes using a clean towel. Keep pressure light and avoid delicate seals and finishes. Removing droplets before they evaporate helps reduce new mineral deposits.

Blot Remaining Water Droplets Along the Bottom and Edges
After using the squeegee, inspect the lower glass edge and vertical perimeter for droplets that the rubber blade missed. As shown, fold a clean, dry microfiber towel and gently blot accessible wet spots with short, controlled dabs. Avoid rubbing rubber seals, metal finishes, or nearby natural stone. Pay particular attention to corners where moisture collects. Absorbing leftover water helps prevent dissolved minerals from drying into fresh white spots.
Rinse Your Squeegee and Dry Microfiber Towels Before Storage
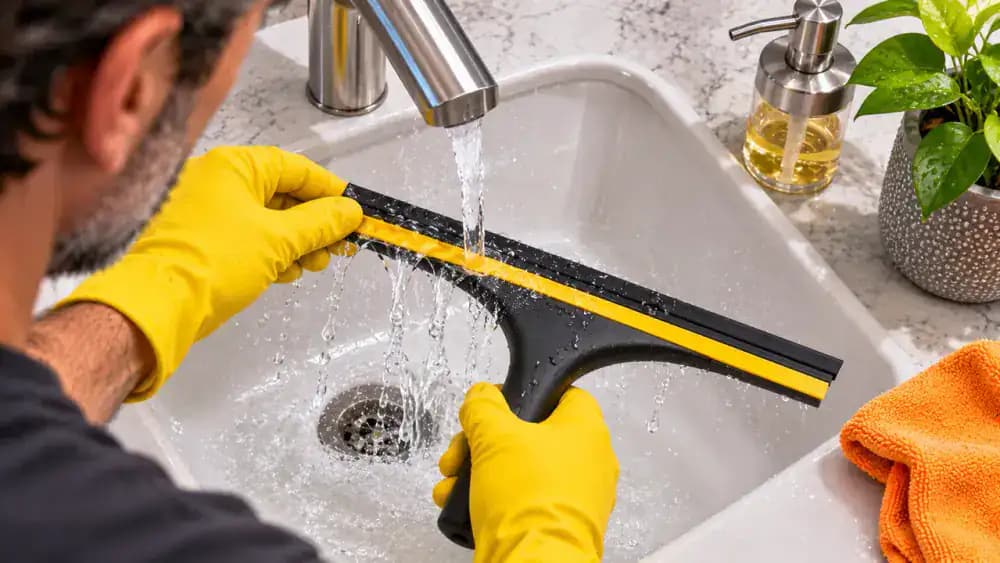
After finishing your shower glass routine, rinse the squeegee blade under a gentle stream of plain water, as shown. Inspect the rubber edge for trapped grit, cracks, or rough spots that could scratch glass. Wash microfiber towels according to their care labels, avoiding fabric softener when recommended. Spread towels on a clean drying rack and hang the squeegee separately. Allow both tools to dry completely before storing them.
Check Shower Glass Weekly for New Spots and Moisture Buildup
Choose one day each week to inspect your dry shower glass for fresh mineral spots, soap residue, and trapped moisture. As shown, use a simple checklist to examine the central panel, middle section, and lower edges before marking the inspection complete. Look closely at areas where water frequently collects. Catching new buildup early may make maintenance easier. If cleaning becomes necessary, use only products approved for your glass and surrounding materials.
Schedule Deeper Shower Glass Cleaning Only When Buildup Returns
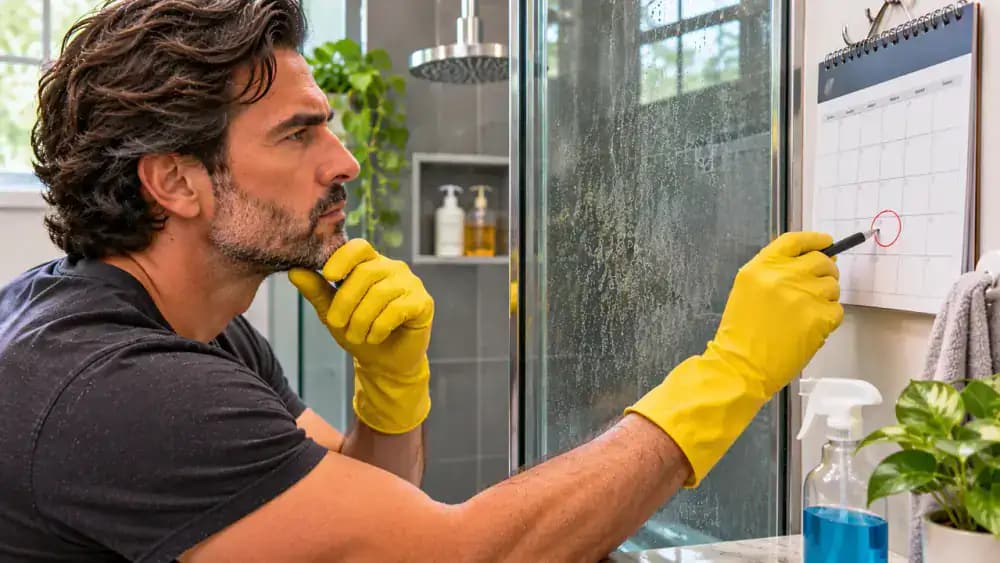
Examine the dry shower glass for scattered white spots and areas where mineral deposits are becoming more concentrated. As shown, review your maintenance calendar and distinguish routine care from deeper cleaning that may be needed. Consider visible buildup, local water conditions, and the glass manufacturer's recommendations before scheduling another treatment. Avoid automatic chemical cleaning intervals. Continue daily squeegeeing and drying, and use only approved products when deeper cleaning becomes necessary.
Run the Exhaust Fan and Open a Window to Reduce Bathroom Humidity
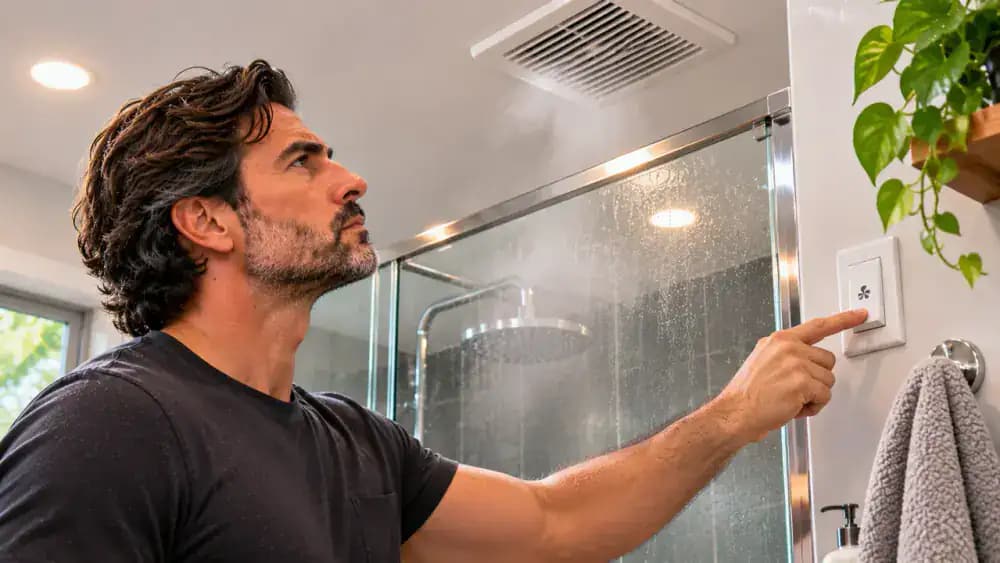
Turn on the bathroom exhaust fan during showers and leave it running afterward according to the manufacturer's recommendations. As shown, open a suitable bathroom window when outdoor conditions allow to improve airflow. Better ventilation helps remove humid air and manage lingering moisture, but it cannot eliminate minerals dissolved in water or remove existing deposits. Continue using a squeegee and dry microfiber cloth after every shower to prevent new water spots.
Secure the Mineral Remover and Store It Away From Other Cleaners
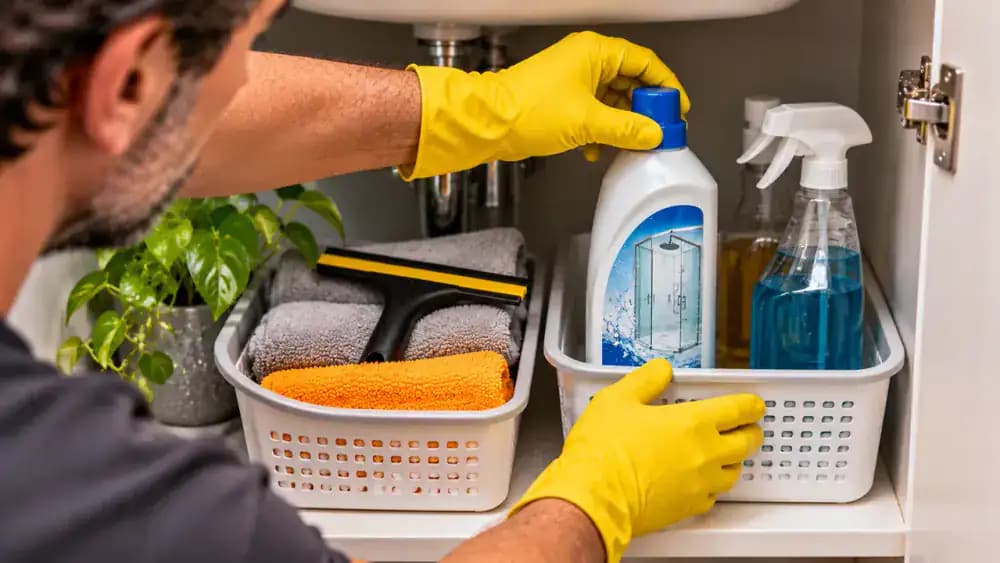
After cleaning, check that the mineral remover's cap is tightly closed and its original label remains readable. As shown, place the upright bottle in a designated storage tray inside a cabinet, following the product's storage instructions. Inspect the container for leaks or residue before closing the cabinet. Keep it separated from bleach and other household cleaners, and never combine leftover chemicals or transfer the product into an unlabeled container.
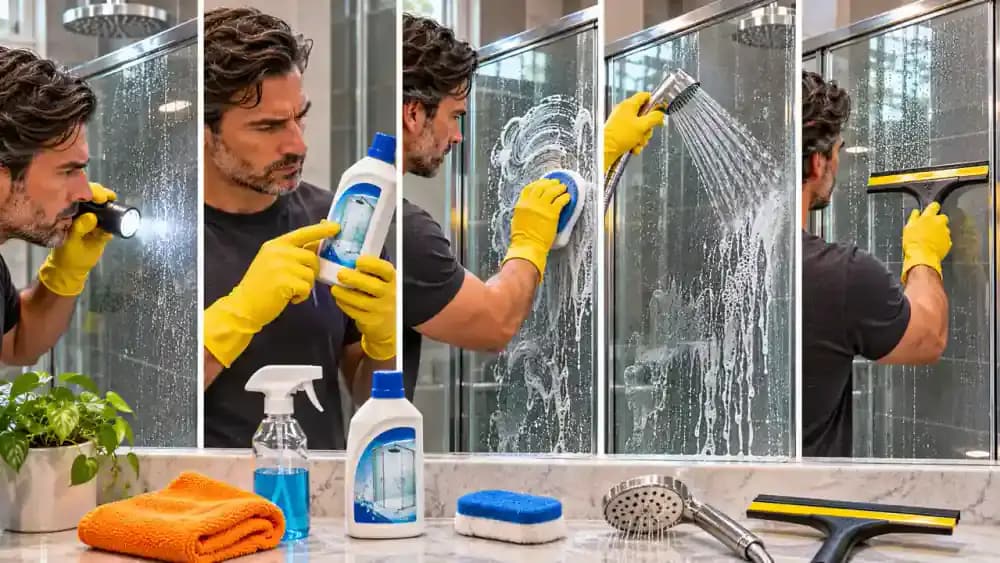
Follow These Five Habits for Safer Shower Glass Cleaning
Review the five illustrated panels surrounding the shower glass: identify likely mineral deposits, confirm cleaner compatibility, apply the approved product carefully, rinse and inspect, and prevent new spots. Each action helps protect the glass while managing buildup. Always follow labeled contact times and keep cleaners away from vulnerable surfaces. After cleaning, use a squeegee and microfiber cloth daily. Consistent maintenance can reduce the need for repeated chemical treatments.
Check These Critical Safety Rules Before Cleaning Shower Glass
Review the warning symbols identifying natural stone, coated glass, unapproved metal finishes, and damaged surfaces around the shower enclosure. As shown, keep the mineral remover closed while checking the manufacturer's care instructions for restrictions. Never mix descalers with bleach or other cleaners, and prevent acidic products from contacting vulnerable materials. If you notice discoloration, coating changes, or persistent haze, stop treatment and seek manufacturer guidance before attempting further cleaning.

Keep Shower Glass Clear With Simple Daily Maintenance
Keep a clean squeegee and dry microfiber towel within easy reach of your shower, as shown beside the glass enclosure. After every shower, remove water droplets and dry any remaining moisture to reduce fresh mineral deposits. Inspect the glass regularly and use only compatible cleaning products when necessary. If cloudiness persists despite proper cleaning, investigate possible coating damage or etching instead of scrubbing harder. Consistent care helps minimize stubborn buildup.

Does your shower glass still look cloudy and covered in stubborn white spots, even after a thorough cleaning? Those chalky marks are often caused by minerals left behind when hard water evaporates. Over time, the deposits can build up, making otherwise clean glass look dull and dirty. But scrubbing harder isn't necessarily the solution. What looks like hard water buildup could also be soap residue or even permanent glass etching, so identifying the problem before choosing a cleaner is essential.
The good news is that removable mineral deposits can often be cleaned without aggressive scrubbing or harsh techniques. In this guide, you'll learn five practical steps to identify the buildup, choose a surface-approved mineral remover, clean the glass safely, and prevent new spots from forming. Always check manufacturer instructions, test a small hidden area first, and protect nearby surfaces. Never mix descalers with bleach or other cleaners, and avoid acidic products on natural stone, unapproved metal finishes, coated glass, or damaged surfaces.
Where people go wrong
Scrubbing Harder Without Identifying the Stains. Not every cloudy patch on shower glass is caused by hard water. Soap residue and permanent glass etching can look similar to mineral deposits. Aggressive scrubbing may damage the surface without solving the problem. Inspect the glass under angled lighting and test a small, inconspicuous area first.
Using the Wrong Cleaner on Glass or Nearby Surfaces. A mineral remover that works on ordinary glass may damage protective coatings, natural stone, metal finishes, or compromised surfaces. Always check manufacturer instructions and confirm product compatibility before applying anything. Protect nearby fixtures and seals, and never mix descalers with bleach or other cleaning products.
Leaving the Cleaner on Too Long or Skipping the Rinse. Allowing a mineral remover to sit longer than the labeled contact time does not guarantee better cleaning and may damage sensitive materials. Apply only as directed, wipe gently, and rinse thoroughly according to the product instructions. Dry with microfiber and inspect the treated area before deciding whether further cleaning is appropriate.
Letting Water Droplets Dry on the Glass After Every Shower. Even after removing mineral deposits, hard water spots can return when droplets repeatedly evaporate on the glass. Skipping daily maintenance allows new buildup to accumulate. Use a squeegee after each shower and follow with a clean microfiber cloth to remove remaining moisture before mineral deposits form.

Questions people ask
Hard water spots usually appear as white, chalky deposits, while permanent etching can leave the glass looking cloudy even after cleaning. Soap residue may look similar. Inspect the surface under angled lighting, then test a small, inconspicuous area with an approved cleaner. If cloudiness remains, the glass may be permanently damaged.
Fixed it?
Get one guide like this every Thursday.