How to Remove Hard Water Spots From Your Kitchen Sink Without Damaging It
Cloudy white spots around your kitchen sink are often mineral deposits left behind by evaporating water. Learn how to identify hard water buildup, choose a cleaner that's safe for your sink material, remove stubborn spots, and prevent them from returning.

What you’ll need
Tap to tick things off before you start.
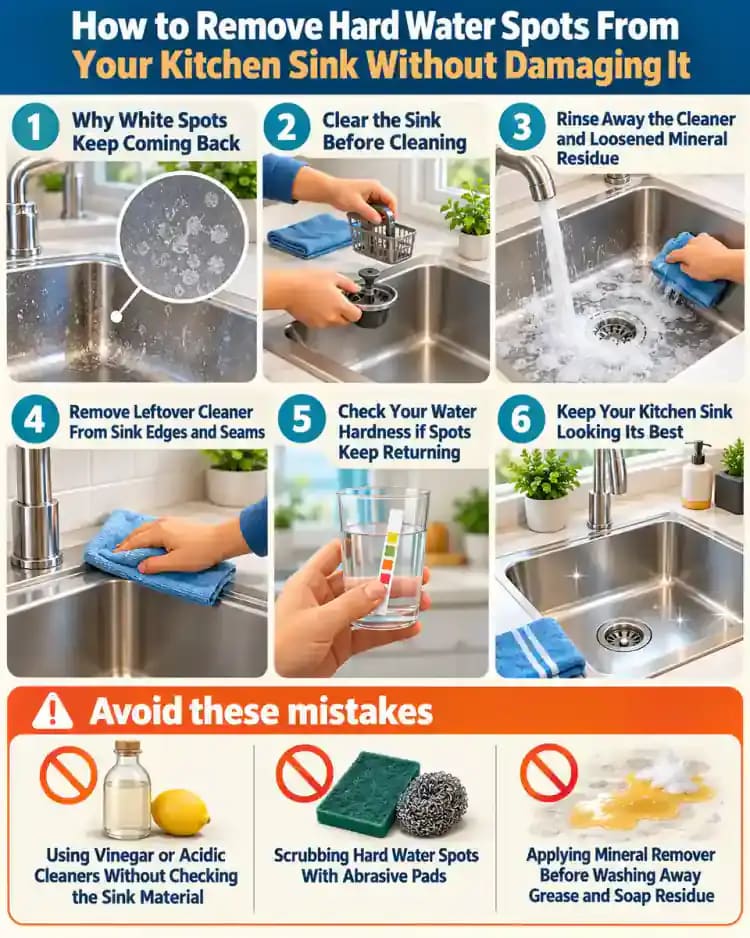
Why White Spots Keep Coming Back
Gently wipe the cloudy white ring beside your kitchen faucet with a clean, damp microfiber cloth, then check whether the marks remain. Look closely around the drain and across the sink basin for similar chalky deposits or dried water marks. These spots often form when water evaporates and leaves behind dissolved minerals such as calcium and magnesium. Notice where water tends to collect, since those areas are especially prone to recurring buildup.
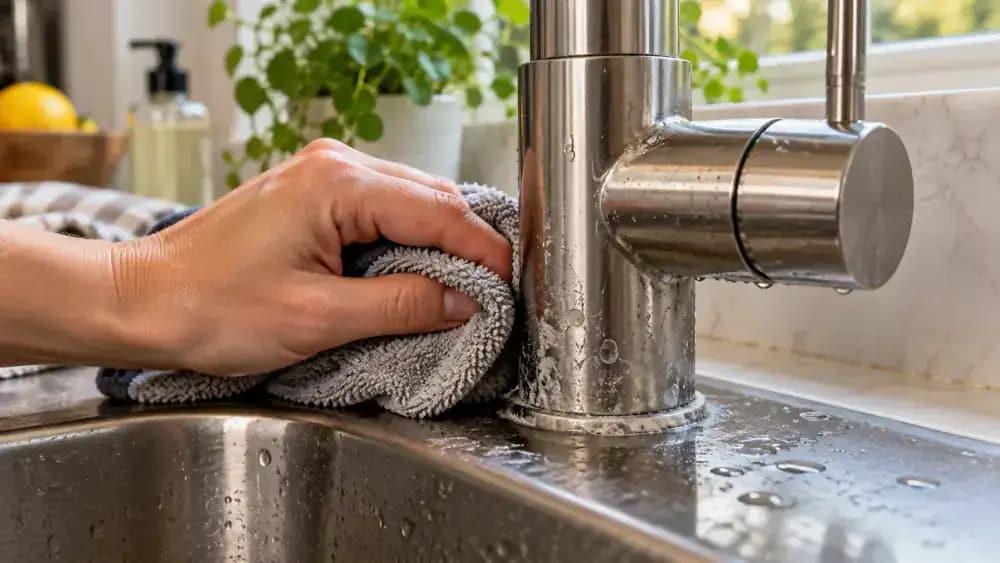
Take a Closer Look at the Mineral Buildup
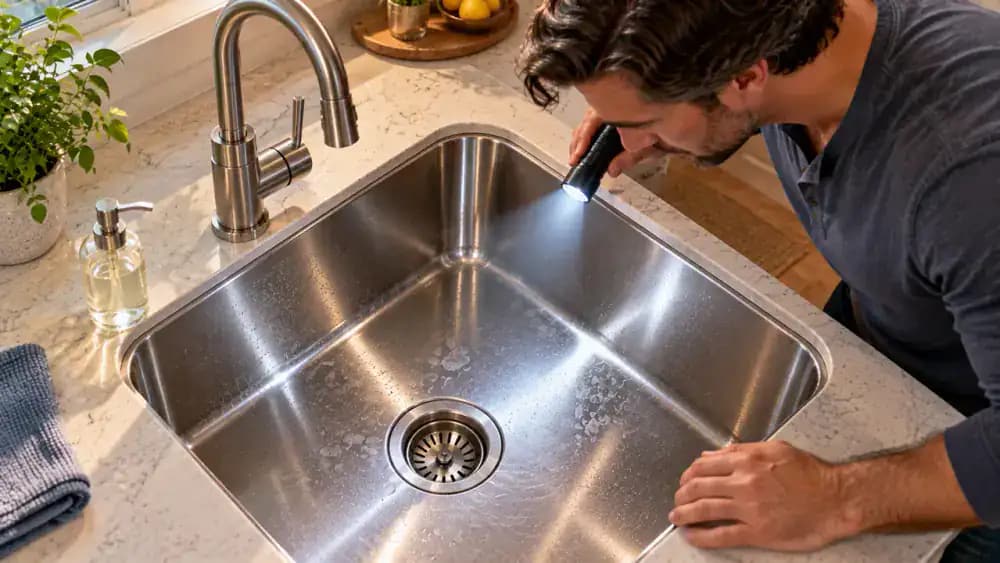
Hold a small flashlight about 6 inches above the sink and slowly angle the beam across the stainless steel surface. Look for scattered white dots along the basin walls, cloudy patches near the faucet, and thin chalky rings around the drain. Point out each affected area without rubbing or scratching it. Check under different lighting angles, since reflected light can reveal faint mineral deposits that are easy to miss.
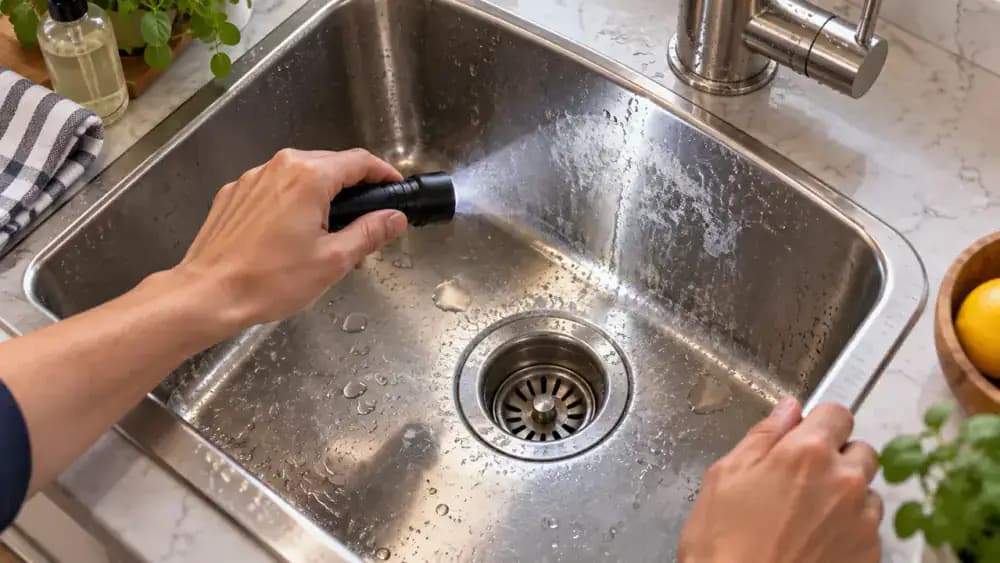
Distinguish Mineral Spots From Grease and Soap Residue
Lightly rub a small cloudy patch with a clean, damp microfiber cloth using two gentle strokes, then lift the cloth to inspect the surface. Chalky mineral deposits typically remain visible, while soap residue may smear or loosen. Check another area for slippery grease or easily removed film. Use a fresh section of the cloth for each test to avoid transferring residue. Never scrape stubborn marks, which could indicate surface damage.
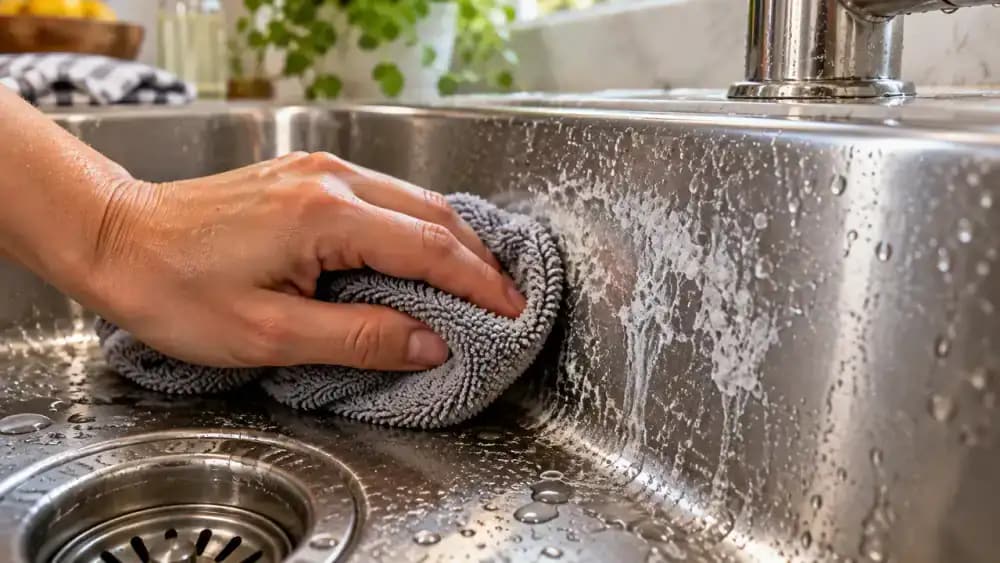
Identify Your Sink Material Before Choosing a Cleaner
Open the cabinet beneath your sink and use a flashlight to locate the manufacturer's identification label or model number. Next, find the official care instructions on the manufacturer's website and review approved cleaning products. Stainless steel, porcelain, natural stone, and specialty finishes have different cleaning requirements. Pay particular attention to restrictions on acidic cleaners, which can damage certain surfaces. If you cannot confirm compatibility, avoid applying the product.
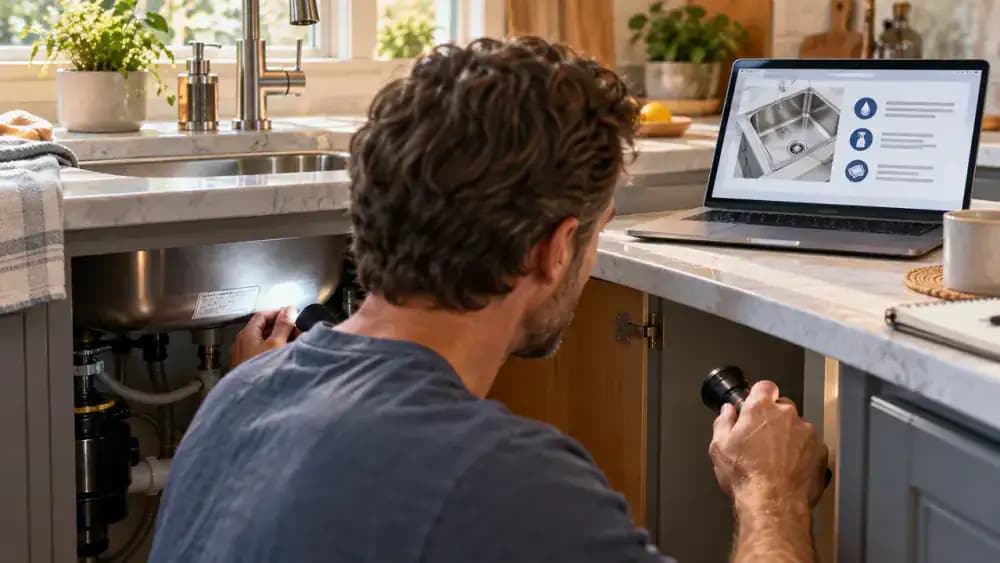
Gather the Right Supplies for Safe Cleaning
Place two clean microfiber cloths, a bottle of mild dish soap, and a shallow bowl of warm water on the countertop beside your sink. Add a mineral remover specifically approved for your sink material, and check its label for application instructions and surface restrictions. Keep one cloth for cleaning and the other for drying. Avoid abrasive pads and harsh chemicals, and never mix acidic cleaners with chlorine bleach.
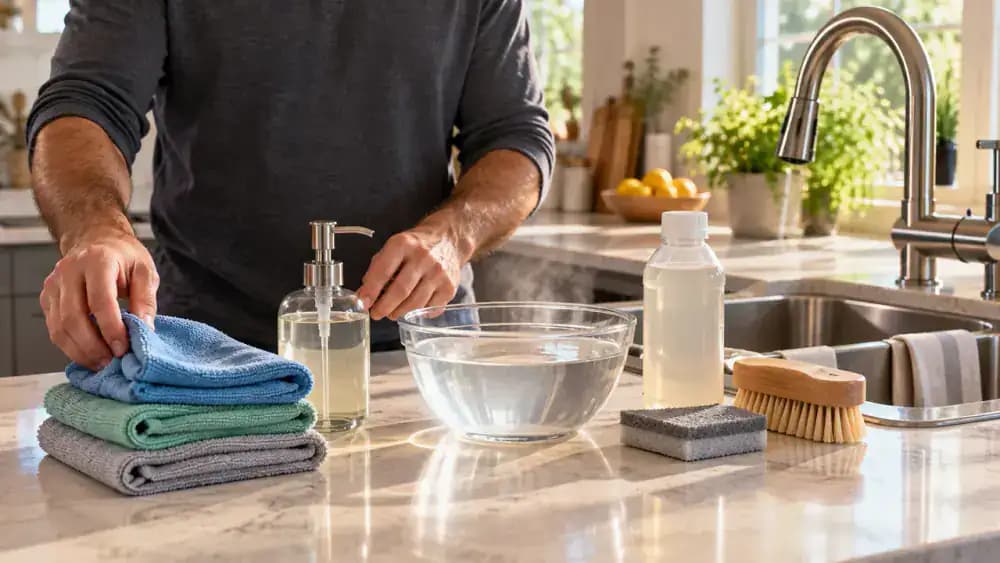
Clear the Sink Before Cleaning
Remove all dishes, utensils, and other items from the sink, placing them safely on the countertop. Lift out the drain strainer, discard any trapped food scraps into a compost or trash container, and replace the empty strainer. Use a slightly damp microfiber cloth to collect loose particles from the basin corners and drain area. Check along the edges for hidden debris that could scratch the finish during cleaning.

Wash the Sink With Warm Water and Dish Soap
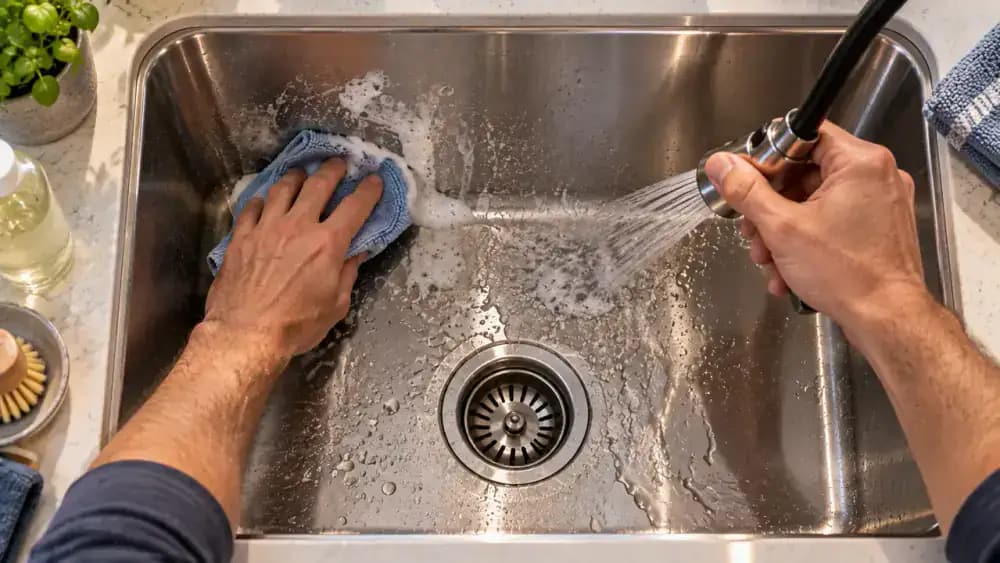
Add a few drops of mild dish soap to a bowl of warm water, then dip a clean microfiber cloth into the mixture and squeeze out excess liquid. Gently wipe the sink bottom and basin walls, following the stainless steel grain where visible. Use light, even pressure to remove grease and everyday residue. Don't worry if cloudy mineral spots remain, since this preliminary wash prepares the surface for targeted treatment.
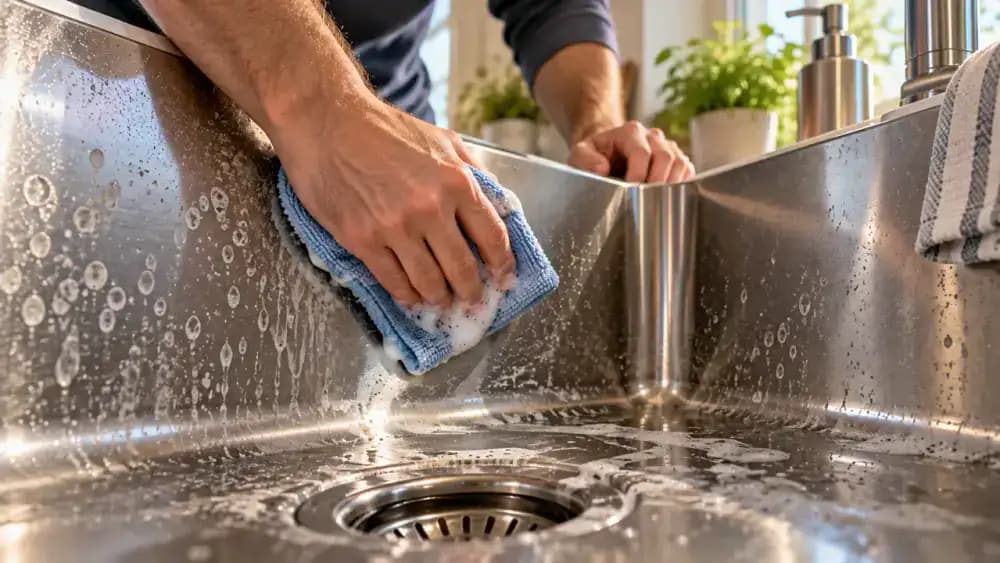
Rinse Away Soap and Check the Remaining Spots
Turn on the faucet and use the pull-down sprayer to rinse the sink thoroughly with warm water. Direct the stream across the basin bottom, interior walls, and drain rim until all soap residue disappears. Turn off the water, then gently absorb excess moisture with a fresh microfiber cloth. Inspect the mostly dry surface for remaining cloudy white patches, especially near the drain. These stubborn mineral deposits will need targeted cleaning.

Test the Mineral Remover on a Hidden Area
Check that your mineral remover is approved for stainless steel and read its application instructions. Apply a small amount to a clean microfiber cloth, then gently treat a 1-inch section beneath the rear sink rim. Wait only as long as the product label specifies, rinse thoroughly with clean water, and dry with a separate cloth. Inspect the area under angled light for discoloration, dullness, or changes in surface texture before proceeding.
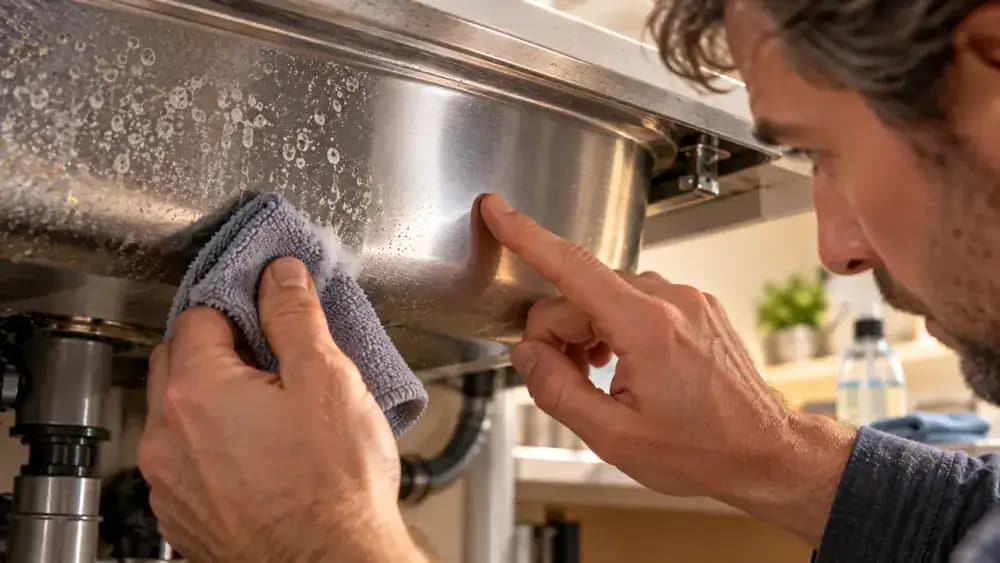
Apply the Mineral Remover to Visible Hard Water Spots
After confirming the spot test caused no visible damage, apply a small amount of stainless steel-compatible mineral remover to a fresh microfiber cloth. Gently spread the cleaner over cloudy deposits on the basin wall using slow, overlapping strokes that follow the metal grain. Keep the solution away from sensitive faucet fittings and drain openings. Allow it to remain on the surface only for the contact time specified on the product label.
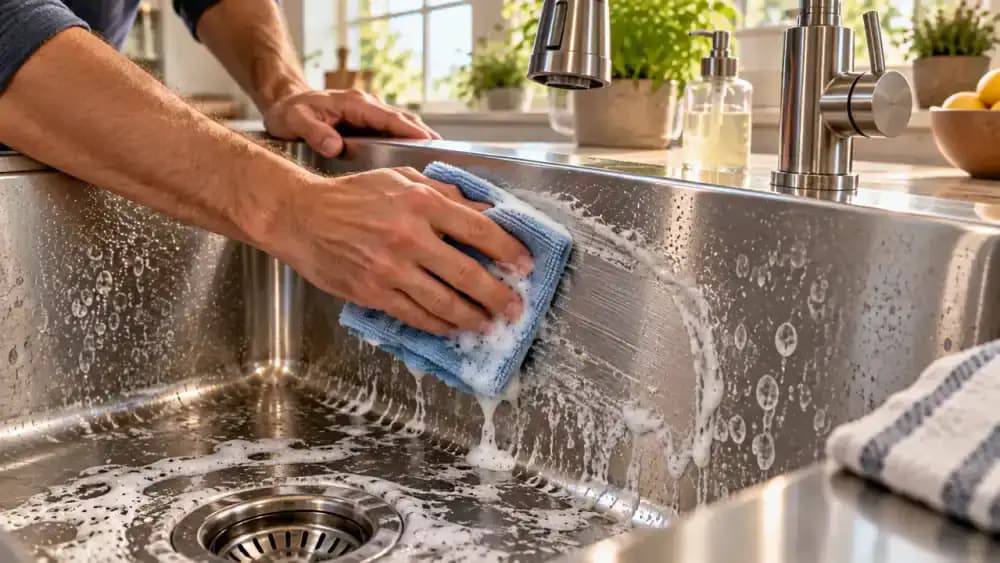
Gently Loosen the Treated Mineral Deposits
After the cleaner's recommended contact time, fold the microfiber cloth over your fingertips and gently wipe the treated mineral spots. Make several slow, controlled strokes following the stainless steel grain, keeping pressure light and consistent. Some softened residue may transfer onto the cloth as you work. If a cloudy patch remains, stop rather than scrubbing harder. Stubborn deposits may require another treatment, but only if the manufacturer's instructions permit it.
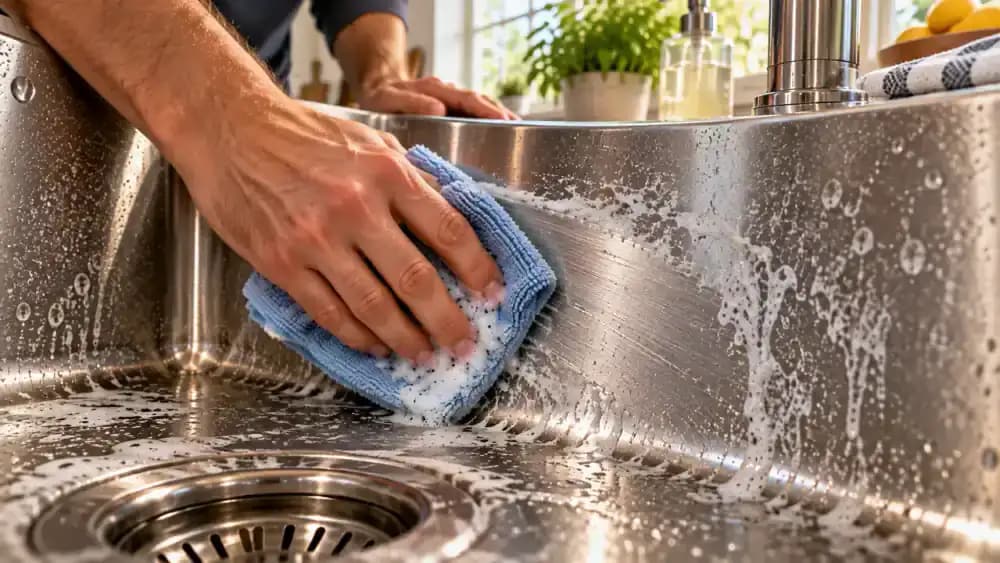
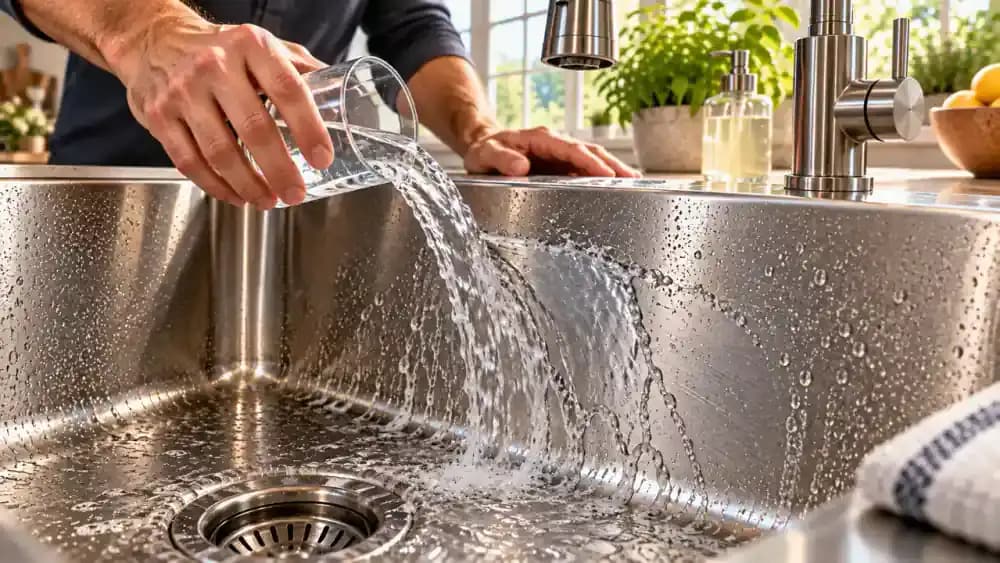
Rinse Away the Cleaner and Loosened Mineral Residue
Fill a clean measuring cup with water and slowly pour it across the treated basin wall, directing the flow toward the drain. Repeat with fresh water to wash away the mineral remover and loosened residue, following the product's rinsing instructions. Pay particular attention to lower edges where cleaning solution may collect. Check that no visible cleaner remains, and leave the surface wet for now. Inspect any stubborn cloudy patches after rinsing.
Inspect the Stubborn Patch Before Repeating Treatment
Gently blot the remaining cloudy patch with a fresh, dry microfiber cloth, using light presses rather than rubbing. Lift away enough moisture to inspect the stainless steel surface clearly. If a chalky white deposit remains, check the mineral remover's label to confirm whether another application is permitted. Do not apply more cleaner yet or increase scrubbing pressure. Persistent discoloration may indicate surface damage rather than removable mineral buildup.

Repeat the Treatment Only If the Product Allows
If the cleaner's label permits another application, apply a small amount of the same stainless steel-compatible product to a fresh microfiber cloth. Gently spread it over the remaining cloudy patch, following the metal grain without increasing pressure. Wait only for the specified contact time, then wipe lightly and rinse thoroughly with clean water. If discoloration persists after this second treatment, stop and reassess rather than risking permanent surface damage.
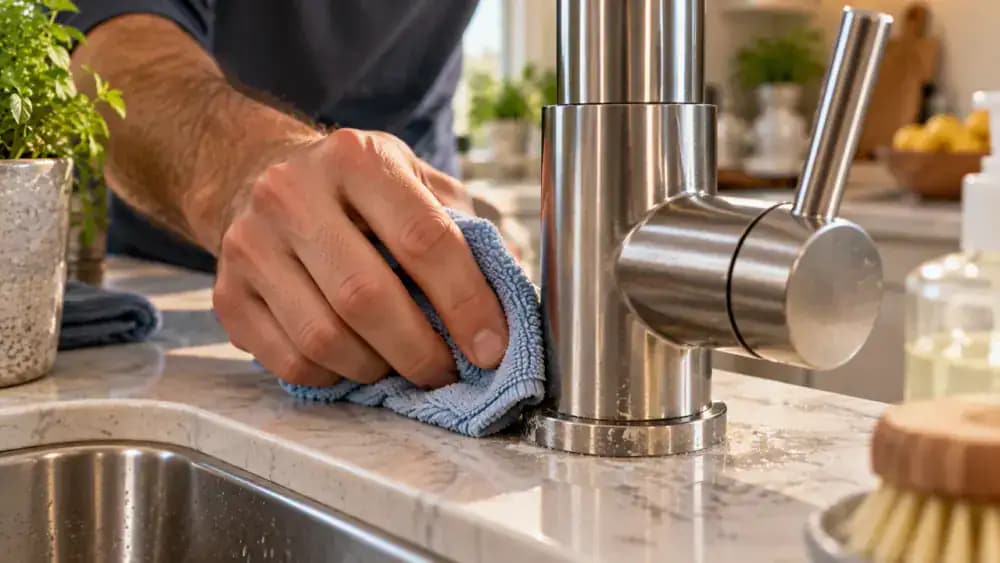
Clean Around the Faucet Base Without Damaging the Finish
Check the faucet manufacturer's care instructions to confirm your mineral remover is safe for its finish. Apply a small amount of approved cleaner to a fresh microfiber cloth, then fold it into a narrow tip. Gently wipe the chalky ring around the faucet base without allowing liquid into seams or openings. Follow the specified contact time, then remove the cleaner with a separate cloth dampened with clean water.
Gently Clean Mineral Deposits Around the Drain Rim
Confirm that your mineral remover is compatible with the drain's metal finish, then apply a small amount to a folded microfiber cloth. Gently wipe the chalky deposits along the exposed drain rim, following its circular edge without pushing cleaner into the opening. For tight exterior crevices, use a soft nylon brush only if the manufacturer permits it. Follow the specified contact time, then thoroughly remove cleaner residue with a clean, damp cloth.
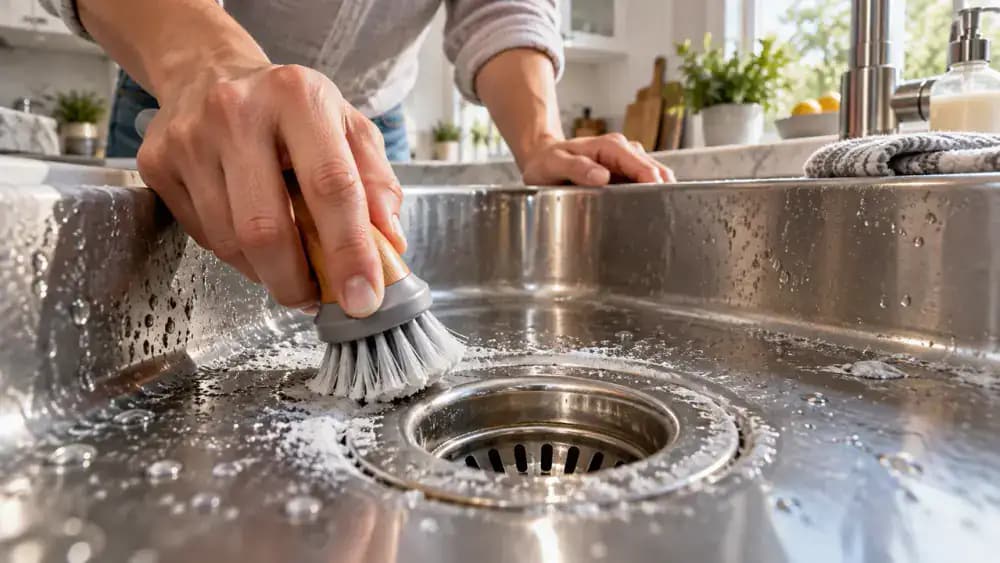
Carefully Clean the Sink Corners and Interior Seams
Gently blot standing water from the sink corners with a clean microfiber cloth to reveal any remaining chalky deposits. Fold another cloth into a narrow triangular tip and apply a small amount of approved mineral remover if needed. Carefully wipe along the curved junction between the basin wall and floor using light pressure. Avoid pushing cleaner into seams. Follow the specified contact time, then remove all cleaner residue with a separate damp cloth.
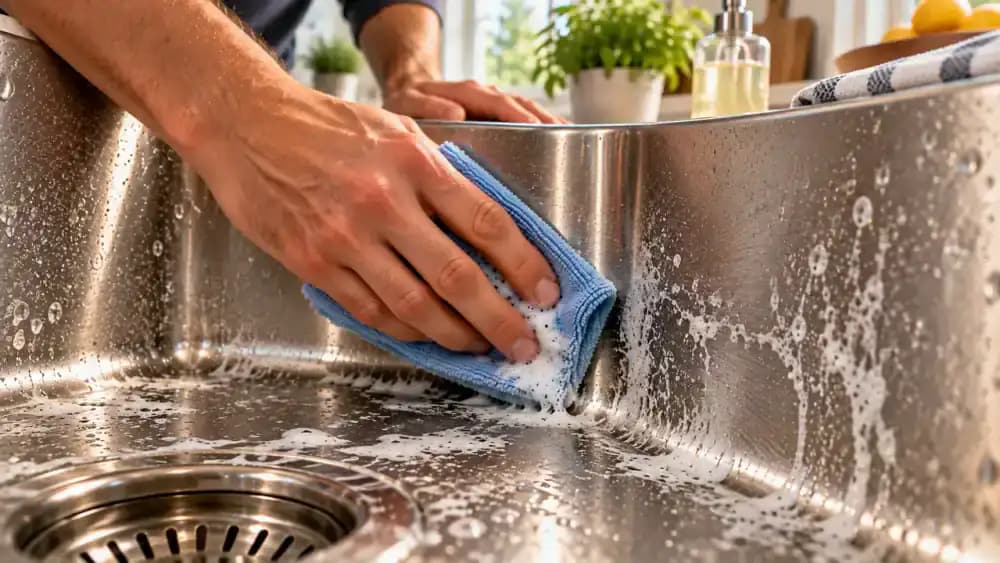
Remove Leftover Cleaner From Sink Edges and Seams
Dip a fresh microfiber cloth into clean water and squeeze until damp but not dripping. Gently wipe the treated sink edges, upper basin perimeter, and areas near the faucet mounting point. Rinse and refold the cloth frequently to avoid spreading cleaner residue. Keep water away from faucet joints and inaccessible openings. Follow the product's rinsing instructions, repeating the gentle wiping until no slippery film remains on the exposed metal surfaces.

Dry Every Surface to Prevent New Hard Water Spots
Use a fresh, dry microfiber towel to absorb moisture from the sink, starting with the upper basin walls and working downward. Follow the stainless steel grain with gentle strokes, then refold the towel to expose a dry section before wiping the basin floor. Blot remaining droplets along exposed edges without pushing moisture into seams. Replace the towel if it becomes damp, since leftover water can evaporate and leave fresh mineral deposits.

Inspect the Dry Sink Under Angled Lighting
Hold a small flashlight about 8 inches above the dry sink and angle its beam across the stainless steel surface. Slowly sweep the light over the basin floor, walls, drain rim, and faucet base. Look for remaining cloudy patches, mineral rings, or unusual changes in reflectivity. Adjust the flashlight angle to reveal subtle marks. If discoloration persists after proper cleaning, consider possible surface damage rather than applying more chemicals.
Compare the Cleaned Sink With Its Original Condition
Place a photograph of your sink taken before cleaning beside the dry basin and compare the same areas. Look closely at the faucet base, drain rim, and sloping walls for changes in cloudy spots and mineral rings. Some deposits may appear lighter or less noticeable, while stubborn marks remain. Focus on visible improvement without damaging the finish. Avoid further scrubbing or stronger chemicals simply to eliminate every remaining mark.

Prevent New Hard Water Spots With a Quick Daily Wipe
After using your kitchen sink, turn off the faucet and remove standing water with a clean, dry microfiber cloth. Gently wipe around the faucet base, along the basin walls, and across the sink bottom. Pay extra attention to droplets collecting near the drain rim, but avoid pushing moisture into seams or openings. Refold the cloth as needed, then hang it to dry. This simple habit helps prevent recurring mineral deposits.

Keep Mineral Buildup Under Control With Regular Cleaning
Set aside time for regular sink maintenance using a bowl of warm water, a few drops of mild dish soap, and a clean microfiber cloth. Gently wipe the basin walls and floor to remove everyday residue, then rinse thoroughly with clean water. Dry the surface with a separate towel and inspect the faucet base and drain rim for returning white spots. Use a compatible mineral remover only when necessary.

Check Your Water Hardness if Spots Keep Returning
If white mineral spots keep returning despite regular cleaning and drying, use a home water hardness test kit to investigate. Collect fresh cold tap water in a clean cup, then dip the test strip according to the manufacturer's instructions. Wait for the specified reaction time and compare the strip's color with the supplied reference chart. The result estimates water hardness and can help you decide whether further water-quality assessment is worthwhile.

Explore Water Treatment Options for Recurring Mineral Buildup
If your home test suggests elevated water hardness, review your local water utility's published water quality report for additional information. Compare available treatment options, including residential water softeners, and write down questions about effectiveness, suitability, and installation requirements. Contact a qualified water treatment professional before making decisions. Remember that softening water may reduce future mineral deposits but cannot repair existing sink damage. Continue drying your sink after daily use.

Recognize When Cleaning Cannot Repair the Sink Finish
Examine any remaining cloudy patches using natural light and a small inspection mirror to view the surface from different angles. Gently check an accessible area with a clean fingertip for obvious roughness or irregularities. Look for scratches, uneven discoloration, or changes in the metal's appearance. These signs may indicate finish damage rather than mineral buildup. Consult the manufacturer's care instructions before attempting further cleaning or professional restoration.

Store Cleaning Supplies Safely and Avoid Unnecessary Treatments
Once further cleaning is unlikely to help, securely close the mineral remover bottle and store it upright in its original container, away from children and pets. Keep cleaning chemicals separate and never mix acidic products with chlorine bleach. Place used microfiber cloths in a laundry bag, following their care instructions. Set aside fresh cloths and mild dish soap for routine maintenance instead of repeatedly treating stubborn marks with stronger chemicals.

Set a Reminder for Regular Sink Maintenance
Use your smartphone calendar to schedule a recurring reminder to inspect the sink for new mineral spots and check your microfiber cloths. Start with a weekly inspection, adjusting the frequency based on how quickly deposits return. Keep the manufacturer's care instructions in an accessible location so you can verify approved cleaning methods when needed. Wash or replace dirty cloths regularly, and address fresh buildup before it becomes difficult to remove.

Leave Persistent Marks Alone to Protect the Sink Finish
Review your sink manufacturer's care instructions before deciding whether a remaining cloudy patch needs further attention. Examine the discoloration without rubbing or scraping it, then set your cleaning cloth aside if you've already completed the recommended treatment. Stubborn marks may indicate permanent surface changes rather than removable mineral deposits. Avoid stronger chemicals, abrasive pads, or repeated scrubbing. Preserving the original finish is more important than eliminating every visible imperfection.

Keep Your Kitchen Sink Looking Its Best
After everyday sink use, place rinsed dishes on a drying rack and wipe remaining water droplets from the sink deck with a clean, dry microfiber cloth. Use gentle strokes around the faucet base, keeping moisture away from seams. Hang the cloth to dry afterward. Continue using mild dish soap for routine cleaning and only manufacturer-approved mineral removers when necessary. Never mix acidic cleaners with chlorine bleach, and remember that minor discoloration does not require aggressive treatment.

Those cloudy white spots around your kitchen sink faucet, drain, and basin can make an otherwise clean kitchen look neglected. They're often caused by hard water, which contains dissolved minerals that remain on surfaces after the water evaporates. Over time, these deposits can build up into stubborn, chalky patches that ordinary dish soap won't completely remove. The good news is that most mineral buildup can be cleaned away without harsh scrubbing or expensive products, provided you use a method that's appropriate for your sink's material and finish.
Before reaching for vinegar, a commercial descaler, or an abrasive sponge, it's important to understand what you're cleaning. Hard water deposits can resemble soap residue or permanent discoloration, and the wrong cleaner can cause more damage than the original spots. Acidic products can harm natural stone, specialty metals, and certain finishes, and they must never be mixed with chlorine bleach. Here's how to identify the buildup, clean your sink safely, and keep those white spots from coming back.
Where people go wrong
Using Vinegar or Acidic Cleaners Without Checking the Sink Material. Vinegar and acidic descalers can remove mineral deposits, but they can also etch natural stone or damage specialty metals and protective finishes. Always identify your sink material, check the manufacturer's cleaning recommendations, and test a compatible product in an inconspicuous area before treating visible spots.
Scrubbing Hard Water Spots With Abrasive Pads. Aggressive scrubbing with abrasive sponges or scouring pads can scratch the sink's surface without effectively removing mineral deposits. Instead, use a microfiber cloth and a material-compatible cleaner. If spots remain, repeat the treatment only as directed rather than increasing pressure or using stronger chemicals.
Applying Mineral Remover Before Washing Away Grease and Soap Residue. Not every cloudy patch is a hard water deposit. Grease and soap residue can look similar, leading to unnecessary chemical treatments. First, wash the sink with warm water and mild dish soap, rinse thoroughly, and inspect what remains. Persistent discoloration may indicate surface damage rather than removable buildup.
Mixing Cleaning Products or Leaving the Sink Wet After Treatment. Never combine acidic mineral removers with chlorine bleach, as the mixture can release dangerous chlorine gas. Follow product instructions, rinse treated surfaces thoroughly, and dry with a clean microfiber cloth. Leaving standing water around the faucet, drain, and basin encourages fresh mineral deposits to form.
Questions people ask
Vinegar can dissolve mineral deposits, but it isn't safe for every sink. Its acidity can damage natural stone, specialty metals, and certain protective finishes. Check your sink manufacturer's cleaning recommendations before using vinegar or another acidic product. Always test an approved cleaner in an inconspicuous area first.
Fixed it?
Get one guide like this every Thursday.