How to Remove Grease From Painted Kitchen Cabinets Without Damaging the Finish
Remove sticky grease from painted kitchen cabinets with a mild cleaner, soft microfiber cloths, controlled moisture and gentle wiping that protects the finish.

What you’ll need
Tap to tick things off before you start.
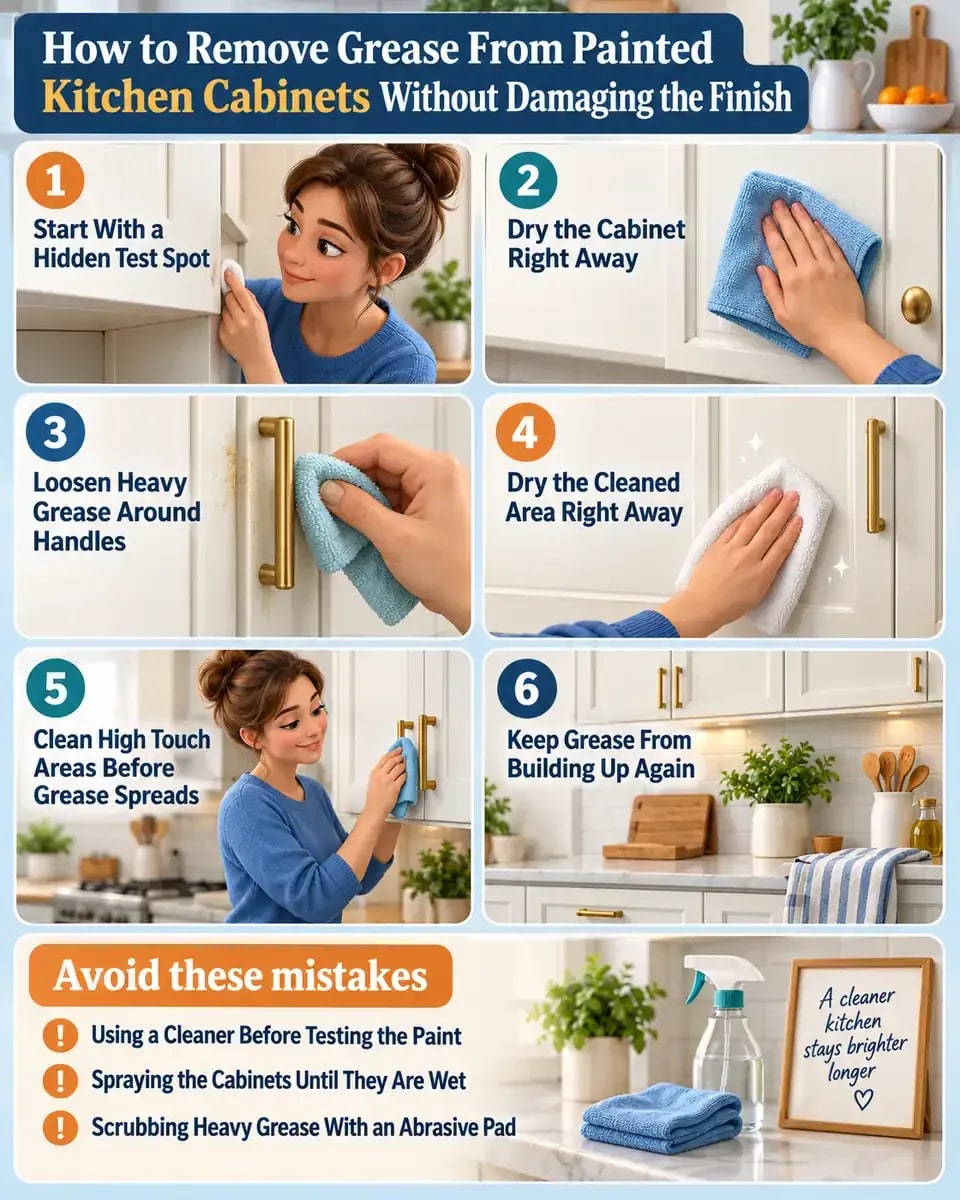
Start With a Hidden Test Spot
Open the cabinet door and choose a small concealed area along the inside edge. Lightly dampen a soft microfiber cloth with the mild cleaner rather than spraying the painted surface directly. Wipe the spot using gentle pressure, then allow it to dry fully. Check closely for dulling, softened paint, discoloration, or lifting. If the finish remains unchanged after drying, use the same controlled method on the visible cabinet surfaces.
Clean One Small Section at a Time
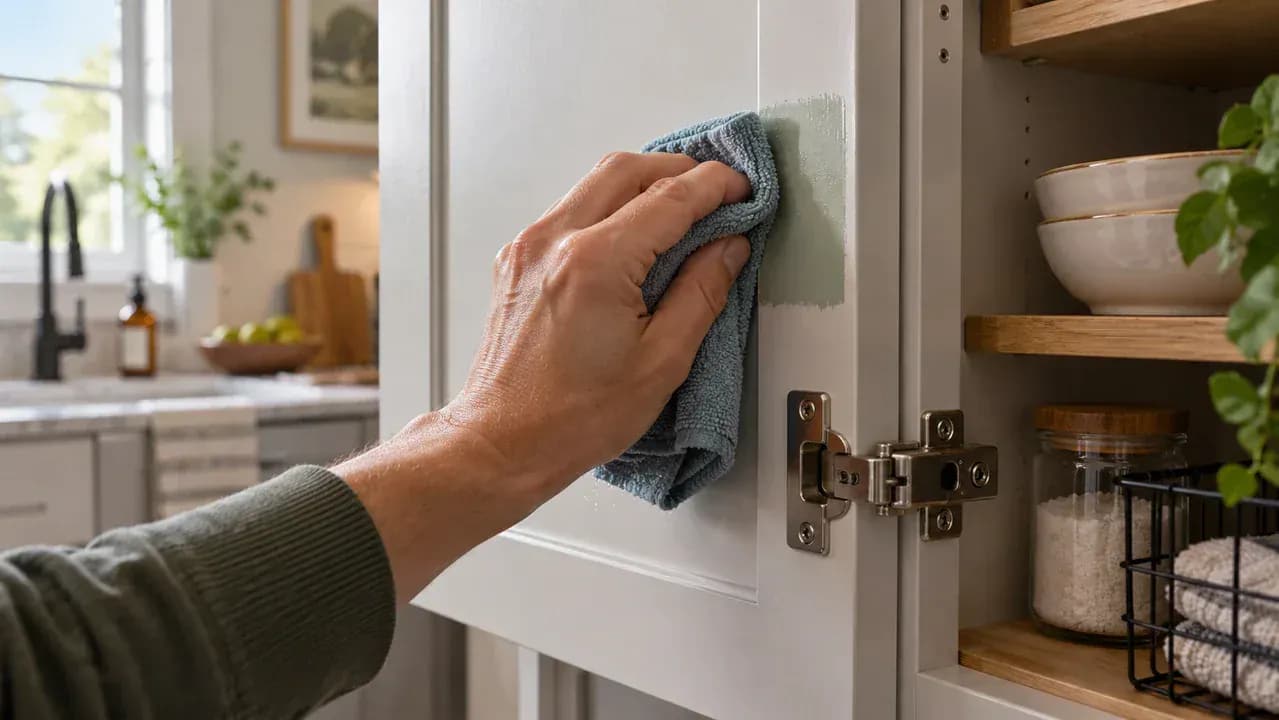
Lightly dampen a clean microfiber cloth with the same mild cleaning solution, then work on one clearly defined greasy area of the painted cabinet. Wipe with gentle, overlapping strokes instead of scrubbing hard, and keep the cloth damp rather than wet. Clean in small sections so you can control moisture and watch the finish closely. Pay extra attention near seams, corners, and edges, where excess liquid can seep underneath the paint or coating.
Loosen Heavier Grease Before Wiping
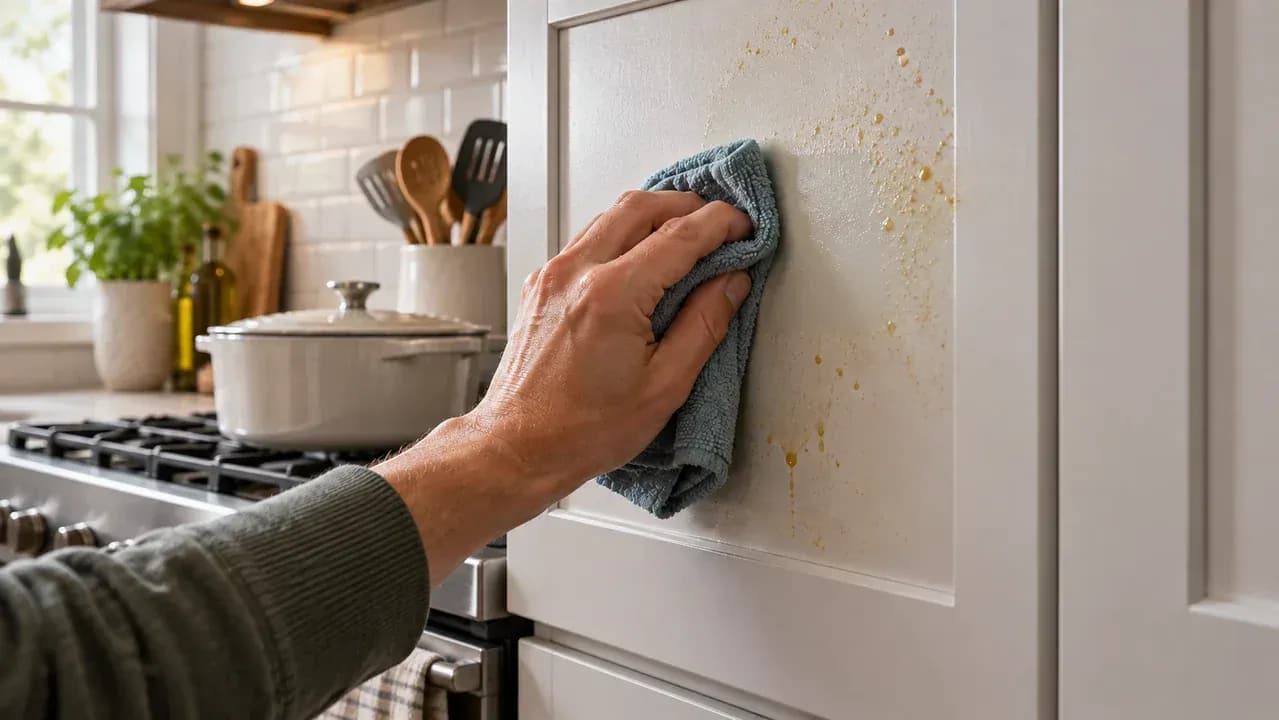
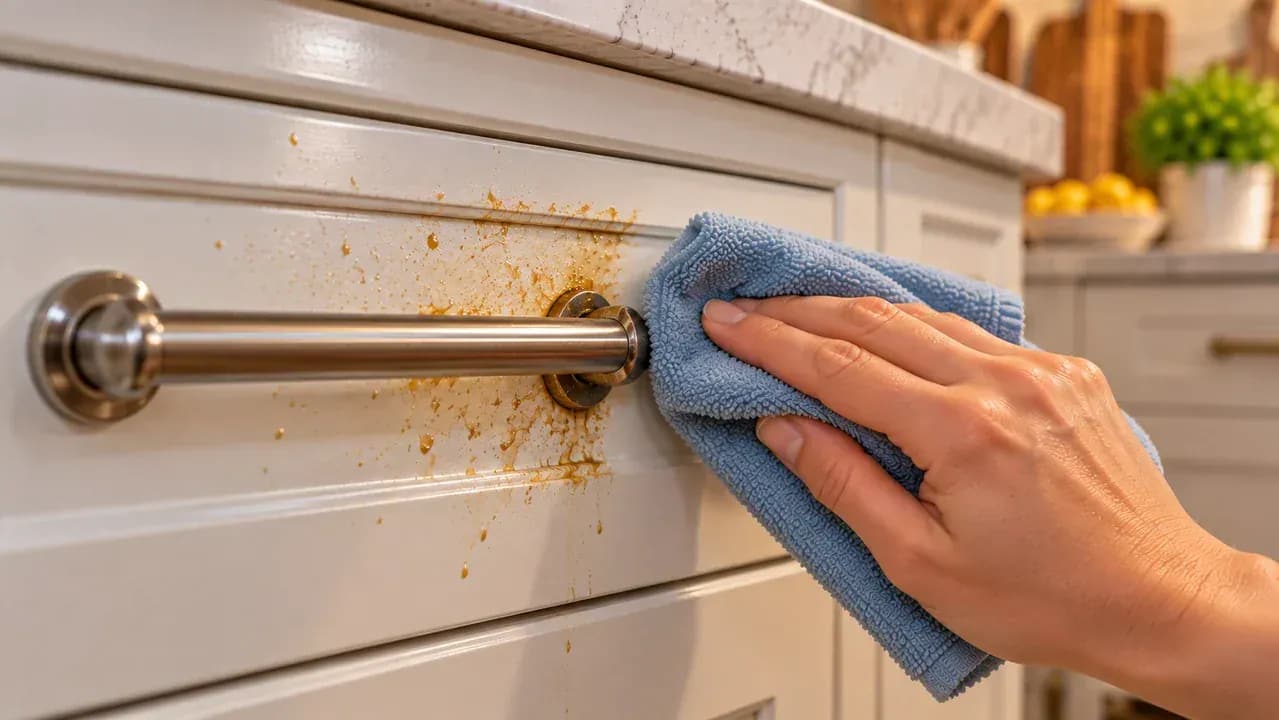
Press a lightly damp microfiber cloth flat against thicker, tacky grease and hold it there for about 10 to 15 seconds without rubbing. Focus on buildup around cabinet handles, drawer pulls, and areas near the stove where oily residue collects fastest. The moisture helps soften the film so it lifts with gentle strokes afterward. Keep the cloth only slightly damp to avoid soaking painted surfaces, seams, or hardware openings.
Wipe Around Handles and Edges Carefully
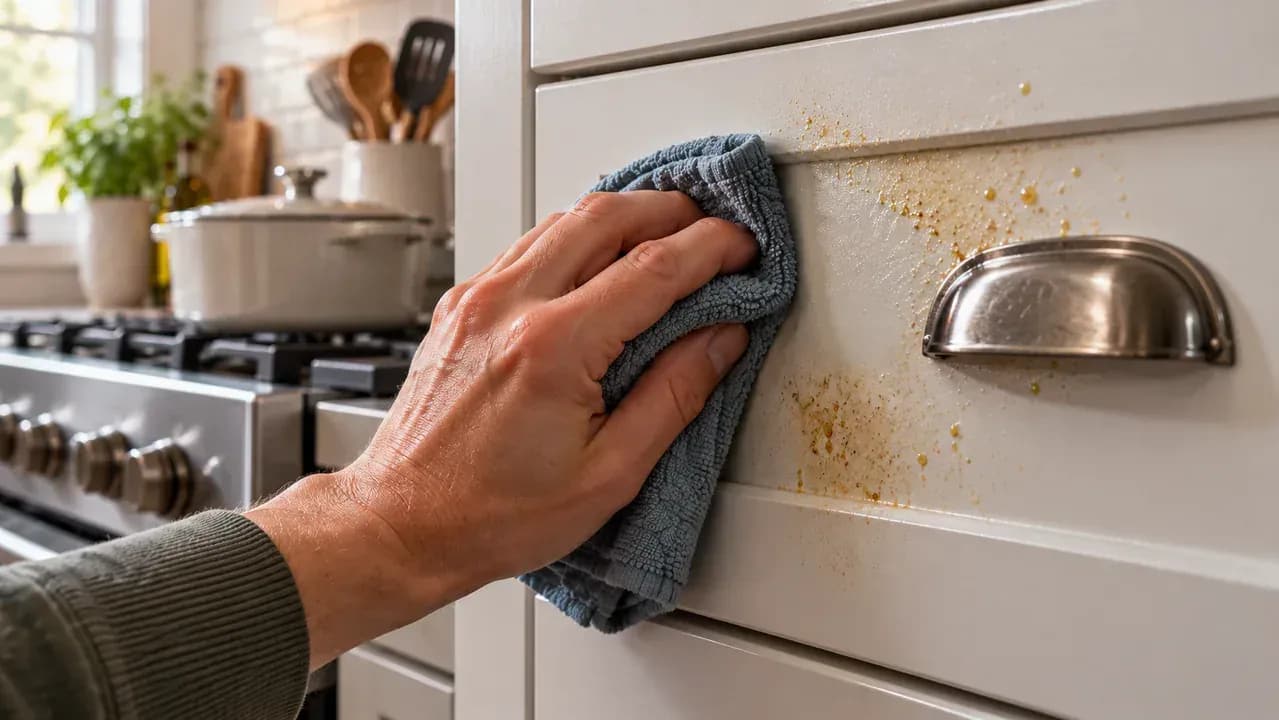
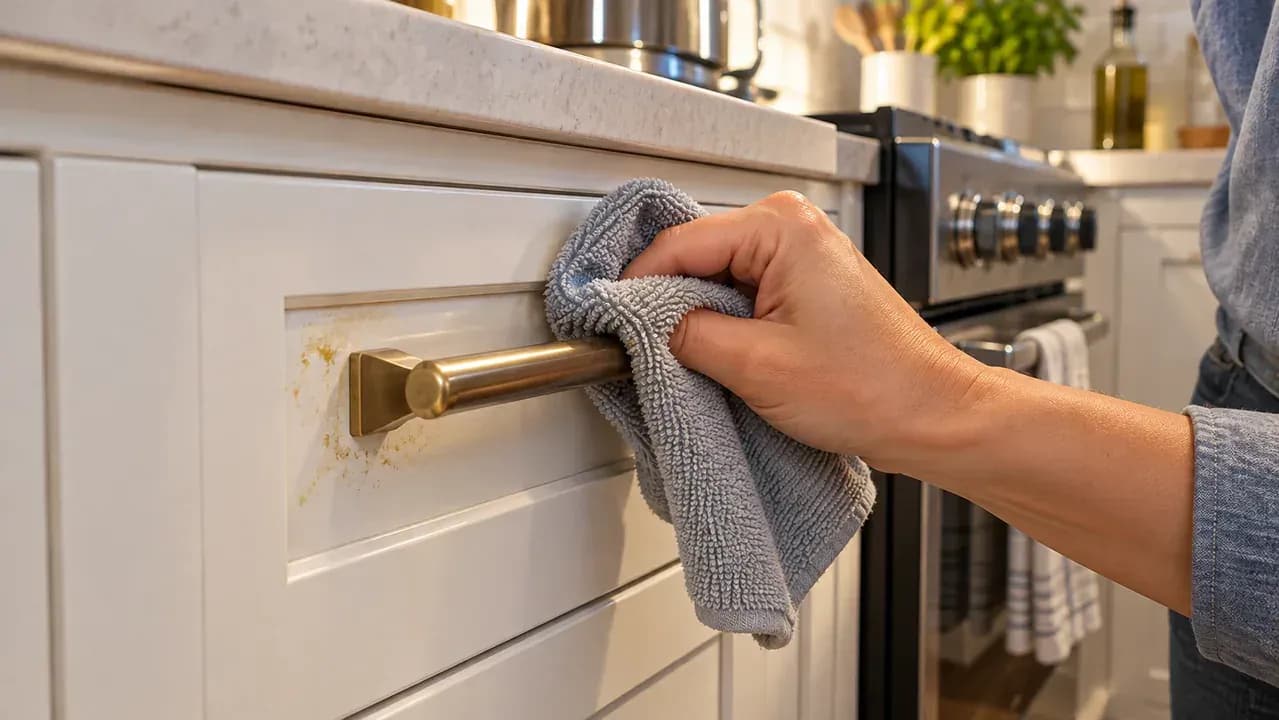
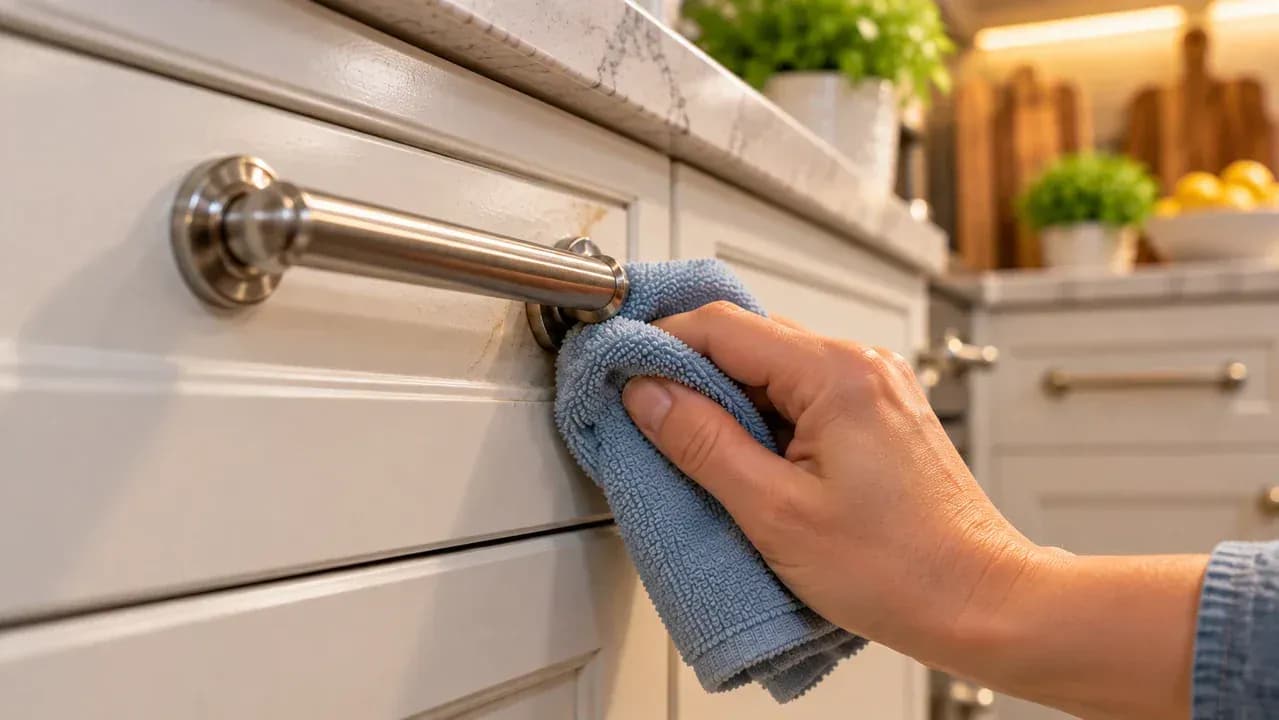
Use a barely damp microfiber cloth to clean around the cabinet pull with short, gentle strokes. Fold the cloth over one fingertip so you can trace the base of the handle, nearby edges, and narrow seams without soaking them. Work slowly and avoid pressing hard, especially on painted surfaces. If grease remains, refold the cloth to expose a clean section rather than repeatedly rubbing the same area.
Remove Any Remaining Cleaner
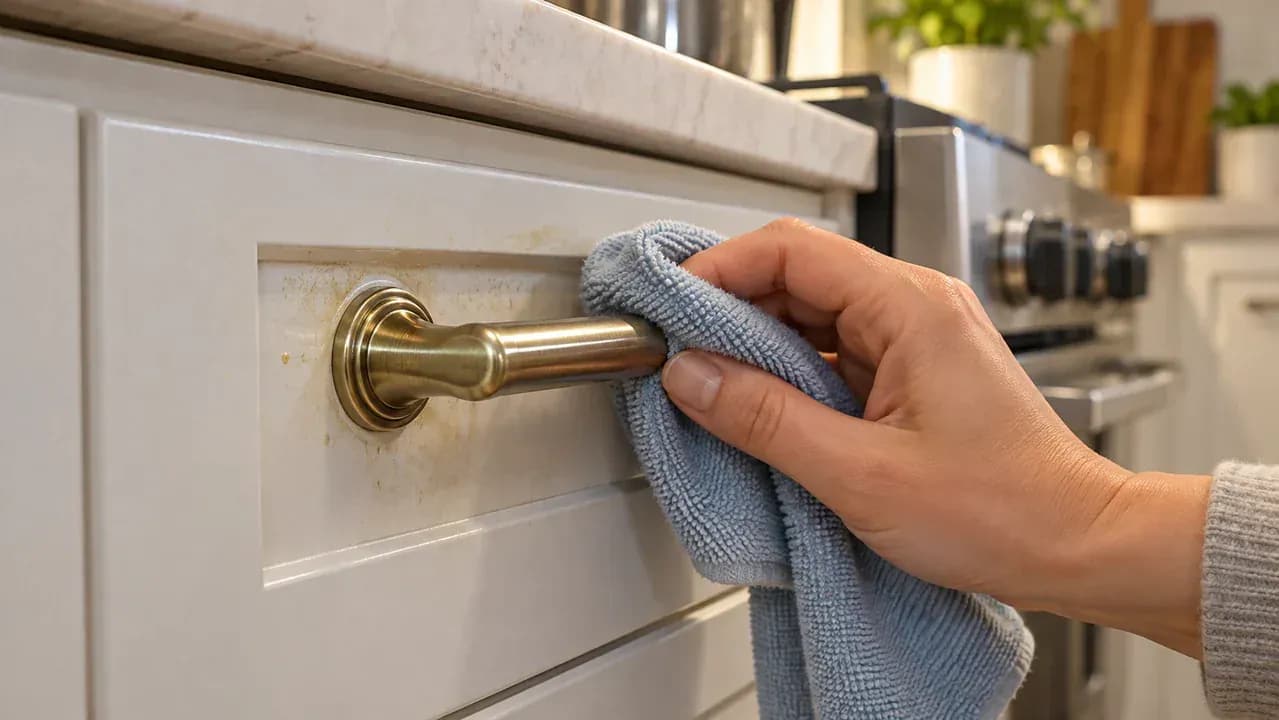
Use a second microfiber cloth that is only lightly dampened with clean water to wipe the freshly cleaned area around the handle. Keep the cloth well wrung out so it lifts leftover cleaner and loosened grease without leaving drips behind. Work over the same small section with gentle passes, then check seams and edges for moisture. If any water collects there, blot it immediately with a dry part of the cloth.
Dry the Cabinet Right Away
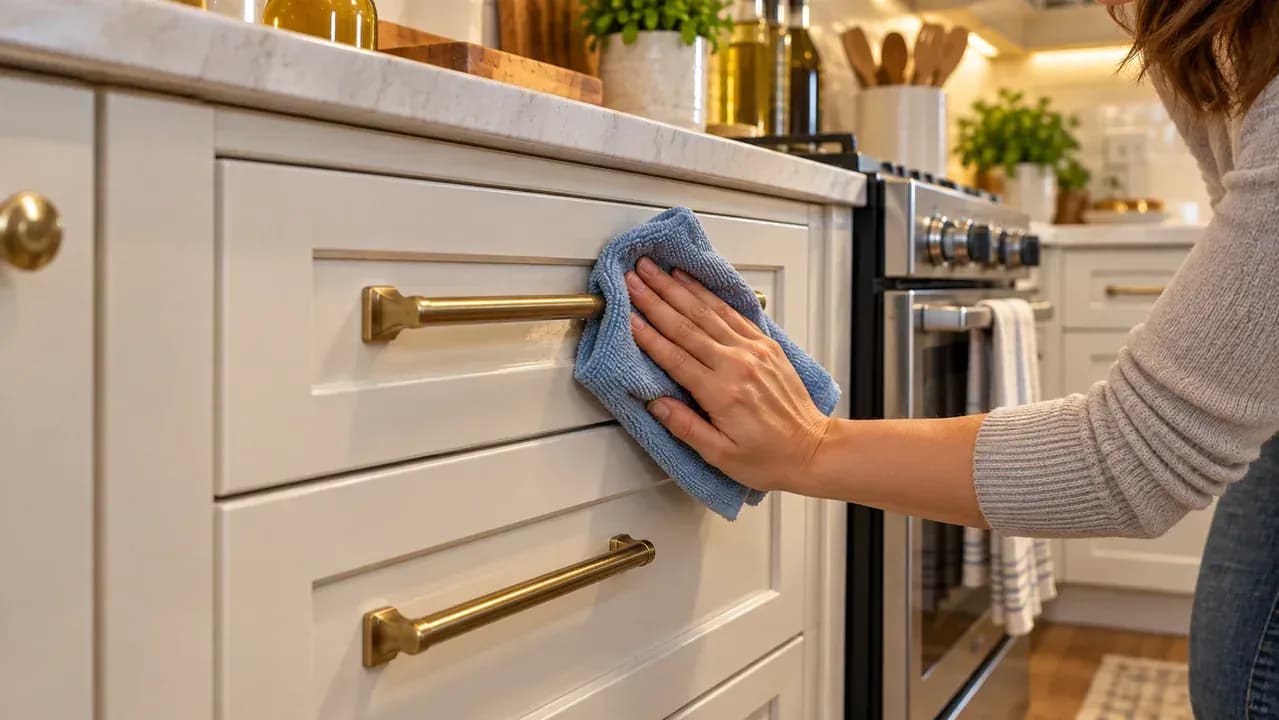
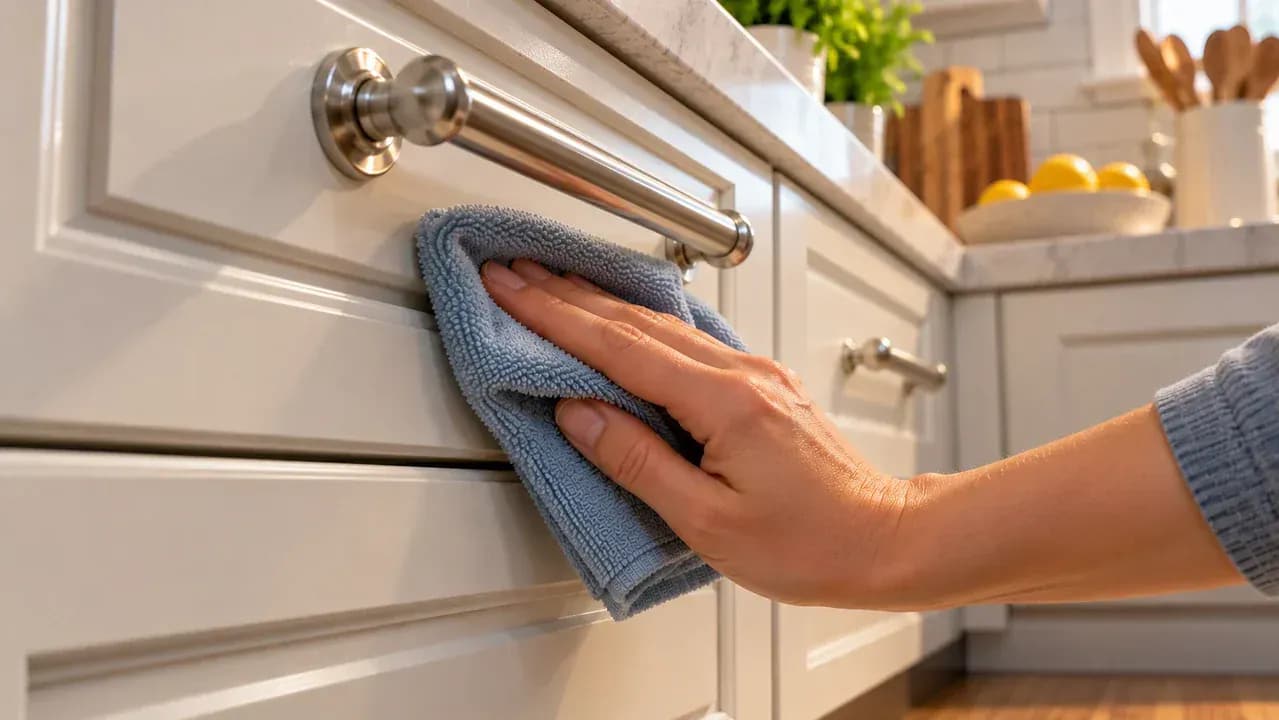
Use a fresh, dry microfiber cloth to remove moisture from the entire painted cabinet surface as soon as cleaning is finished. Wipe with light, even strokes, then trace along the lower edge and vertical seams where water can collect. Immediate drying helps prevent streaks and limits prolonged moisture exposure. Check the surface from an angle afterward so you can spot any remaining damp areas, greasy film, or cleaner residue.
Inspect for Remaining Grease
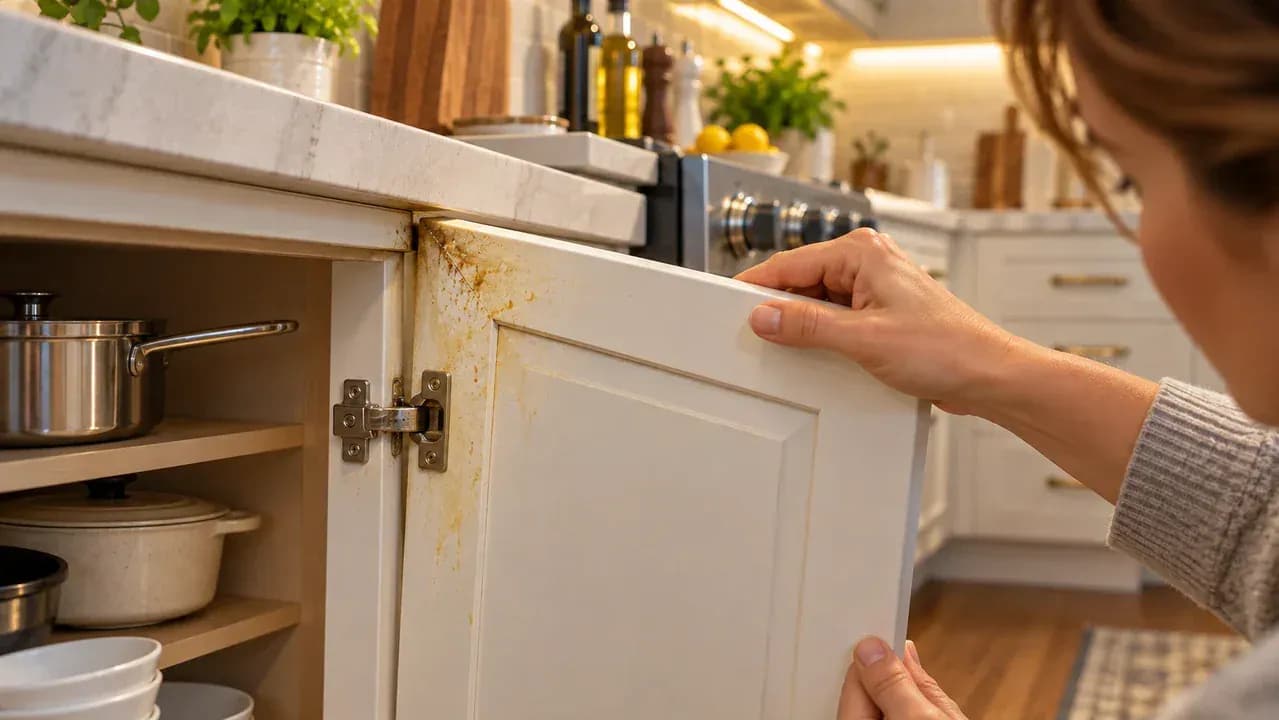
Check the fully dry cabinet from several angles under bright kitchen lighting, watching how reflections move across the painted surface. Pay extra attention to corners, around handles, and areas closest to the stove, where greasy film often remains. If you notice a sticky patch, dull residue, or uneven shine, clean only that spot again using the same gentle, low-moisture method instead of applying more pressure or stronger cleaner.
Reclean the Missed Spot Gently
Lightly dampen a clean microfiber cloth, wring it out well, and make two or three short, gentle passes over only the greasy patch. Keep the surrounding painted surface dry and avoid pressing harder if residue remains. A dry towel placed below the cabinet can catch stray moisture before it reaches lower surfaces. Stop as soon as the sticky film releases, and avoid abrasive pads, aggressive scrubbing, or stronger solvents that may damage the finish.
Remove Cleaner From the Corrected Area
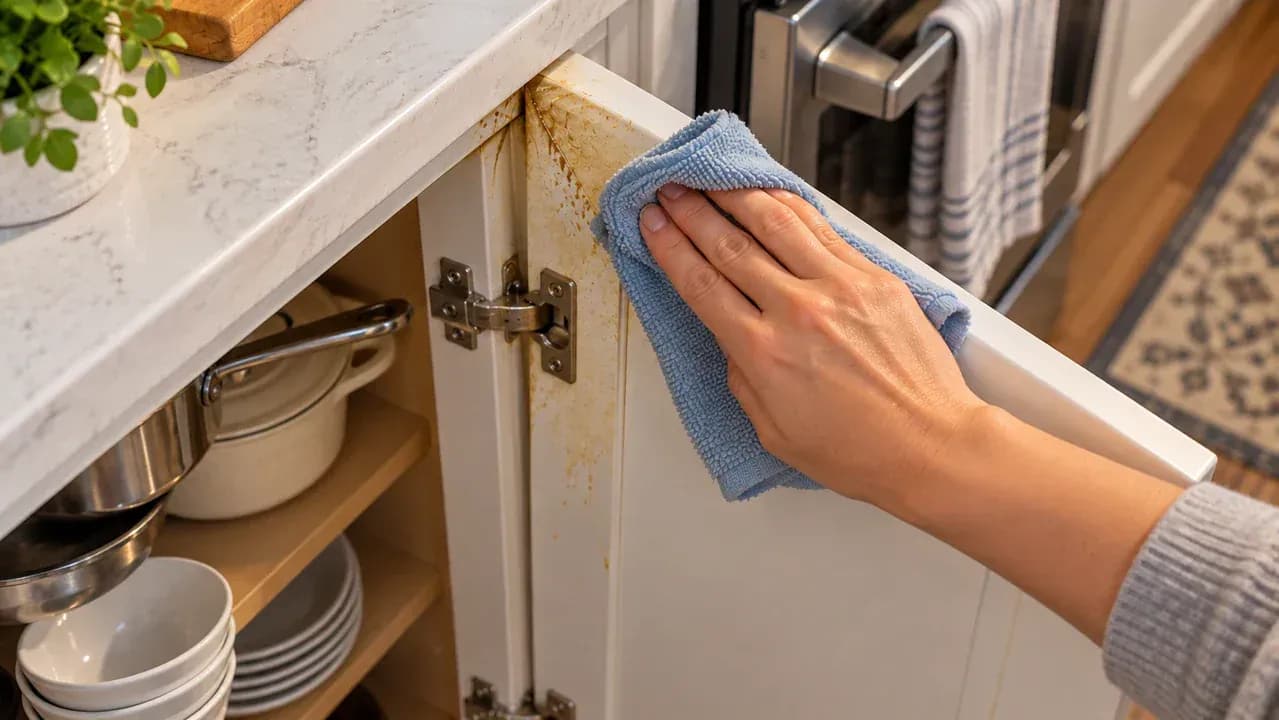
Use a second microfiber cloth dampened with plain water and wrung out thoroughly to remove any cleaner left on the corrected cabinet area. Make one or two light passes across the surface, stopping short of nearby seams where moisture can collect. Keep pressure gentle and use as little water as possible. If the cloth begins to feel too wet, wring it out again before continuing to avoid leaving excess moisture on the paint.
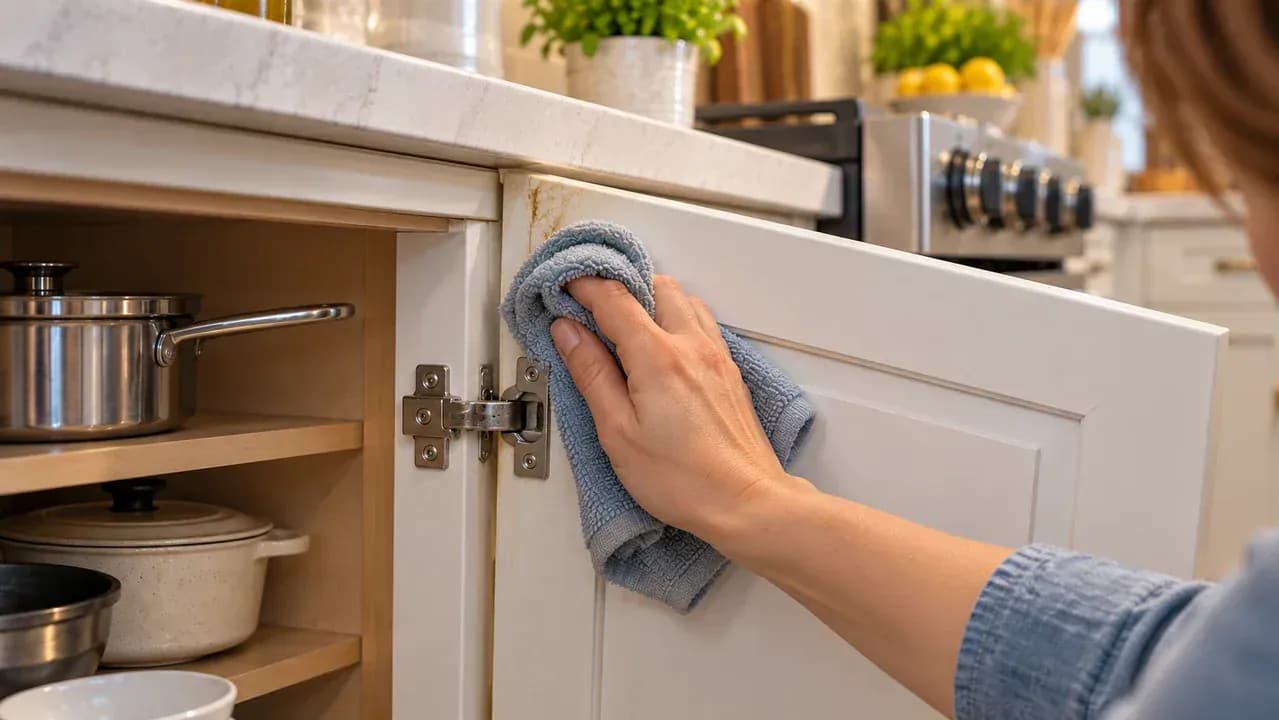
Dry the Corrected Patch Right Away
Use a fresh, completely dry microfiber cloth to blot the corrected cabinet patch before making a few light finishing passes across the surface. Stop the cloth just short of the upper joint so moisture is not pushed into the seam. Continue only until the painted area feels dry to the touch. Using a clean section of the cloth for the final pass can also help prevent faint streaks or transferred residue.
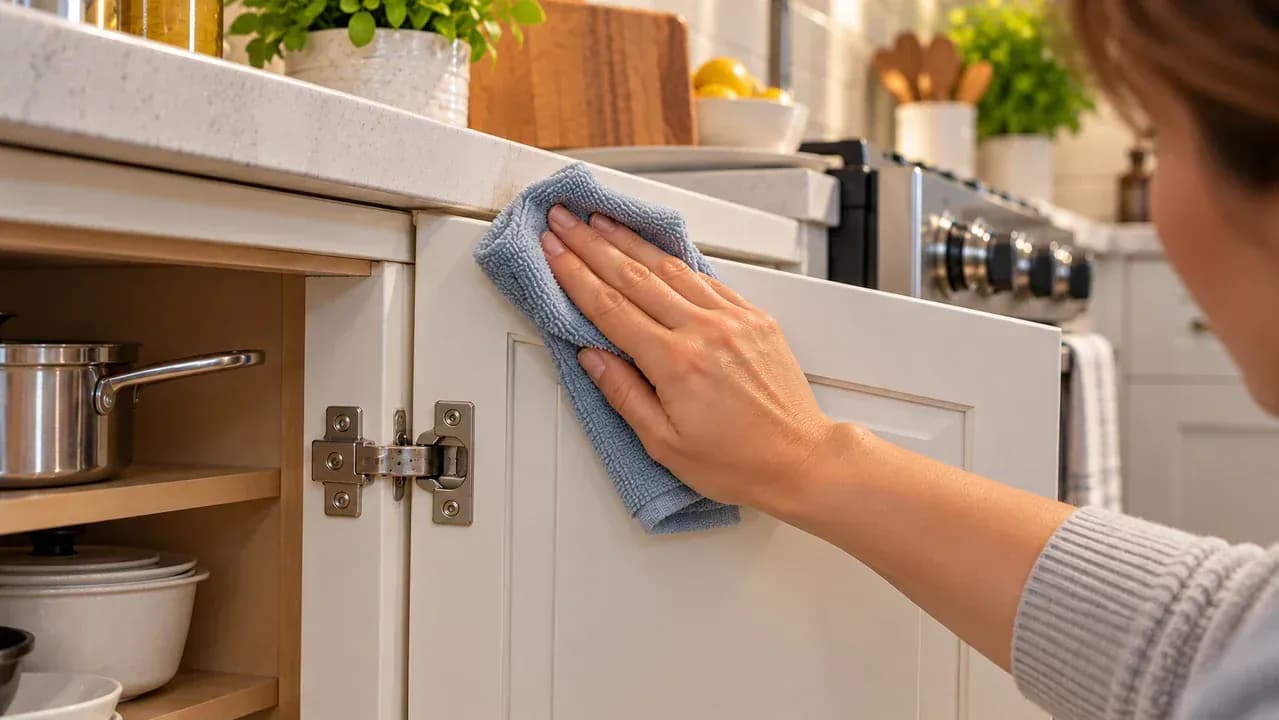
Continue in Small Controlled Sections
Work across the cabinet face one small area at a time, moving from the outer edge toward the center with gentle, controlled strokes. Refold the microfiber cloth often so you are always using a clean surface, and lightly dampen it only when necessary. Keeping the untouched sections dry helps limit moisture exposure, while smaller working zones make it easier to lift grease without dragging loosened residue onto areas you have not cleaned yet.
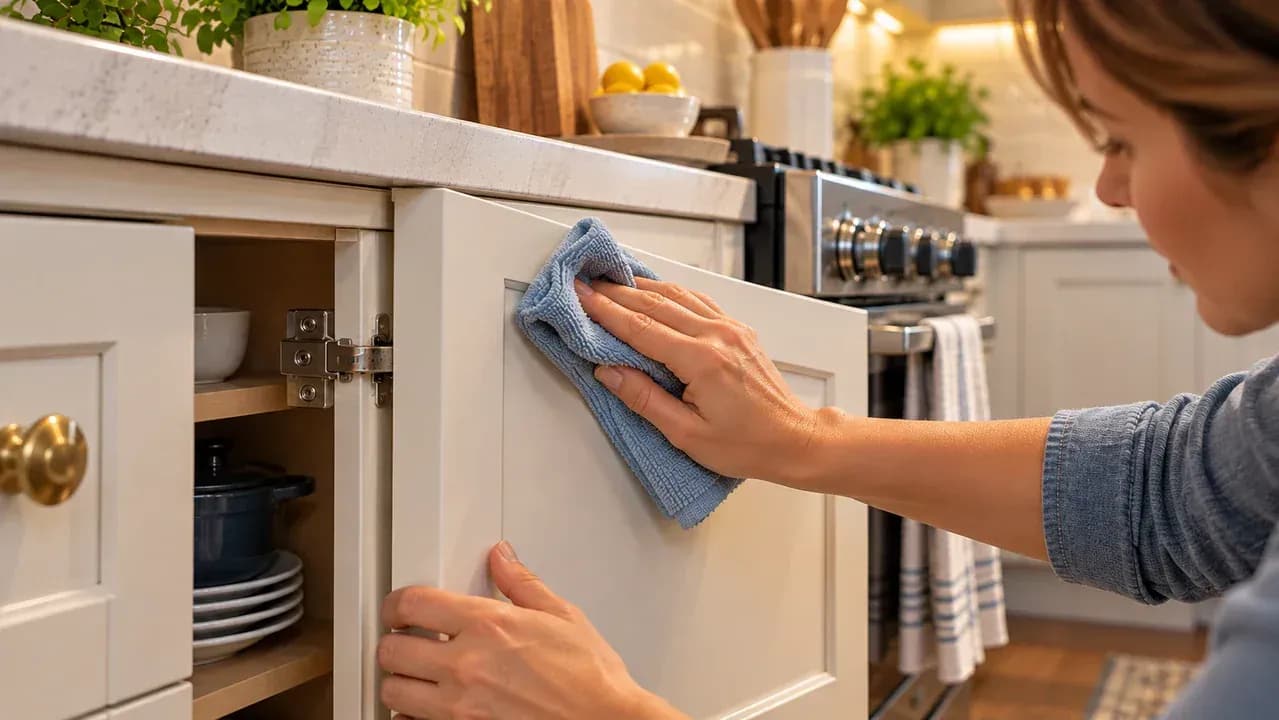
Loosen Heavy Grease Around Handles
Press a barely damp microfiber cloth flat against the greasy area around the cabinet handle and hold it there for several seconds to soften the buildup. Then wipe with short, gentle strokes instead of increasing pressure. Repeat the press-and-wipe method only where residue remains. Keep the cloth lightly damp rather than wet, and avoid letting moisture collect around the handle mounts, cabinet seams, or edges where it could seep behind the painted surface.
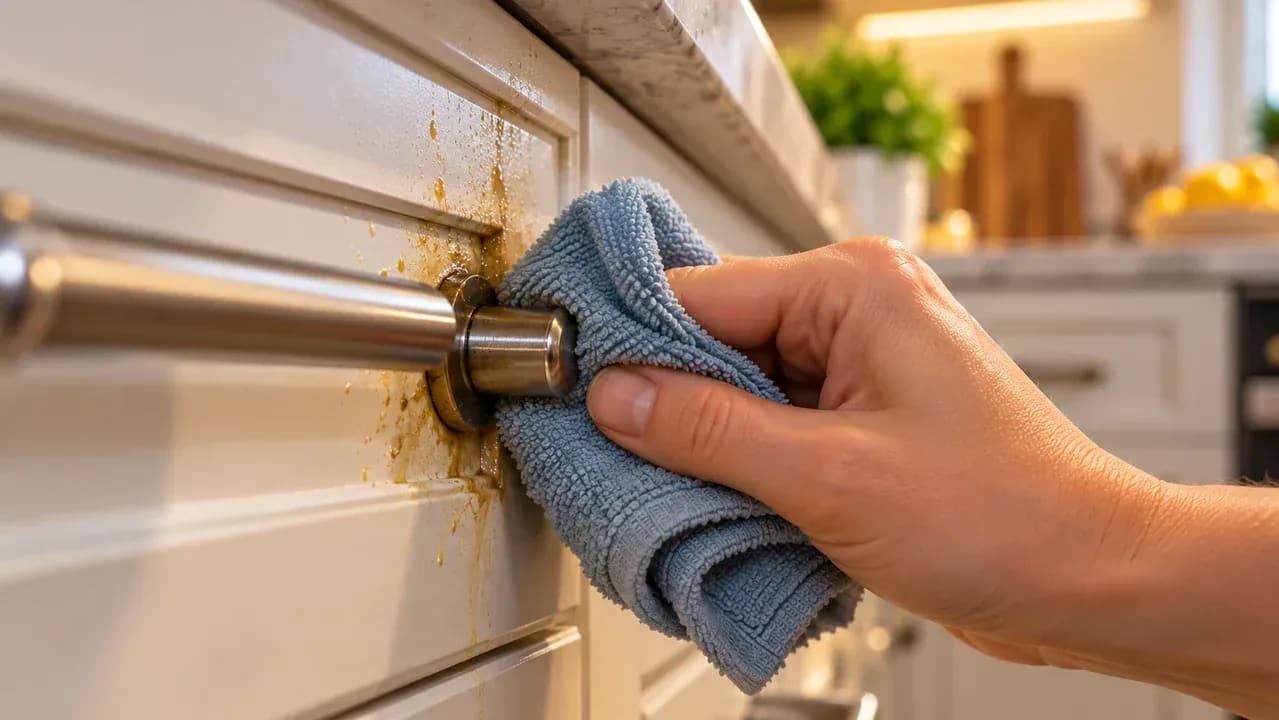
Wipe Away the Loosened Grease
Use a clean section of the microfiber cloth to lift the softened grease away from the cabinet door with light strokes moving outward from the handle. Refold the cloth as soon as it collects residue so you do not smear grease back onto the painted surface. If the area still feels slightly tacky, make another gentle pass with only minimal moisture, keeping nearby seams and edges as dry as possible.
Rinse Away Remaining Cleaner
Use a second clean microfiber cloth that is only lightly damp with plain water, then wring it out well before touching the cabinet. Wipe the degreased area once or twice to lift away any leftover cleaner without re-soaking the paint. Guide the cloth carefully around the cabinet pull, and stop just before seams or joints. For better control, fold the cloth into quarters and use a fresh face as soon as it picks up residue.
Dry the Cabinet Immediately
Use a completely dry microfiber cloth right after removing the cleaner residue. Wipe with light, broad horizontal strokes beneath the handle and across the center panel so moisture does not sit long enough to leave streaks. Work section by section, turning the cloth to a dry area as it becomes damp. Avoid pressing water into recessed corners, seams, or joints, where trapped moisture can damage the finish over time.
Inspect the Dry Finish
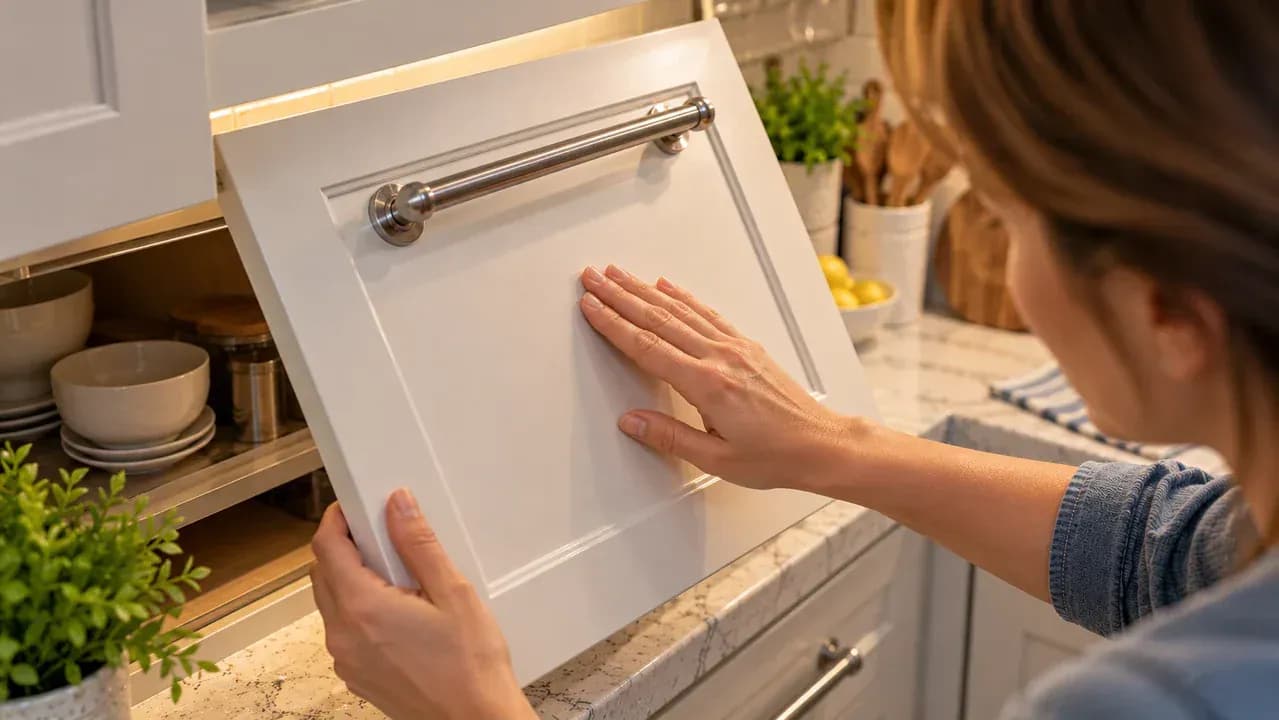
After the cabinet door is completely dry, tilt it slightly under bright light and inspect the cleaned area for sticky residue, streaks, or changes in sheen. If the surface still looks questionable, lightly touch only the center panel with one clean fingertip and keep away from seams, edges, and hardware. If a small spot still feels greasy, clean just that area again instead of repeating the entire process.
Spot Treat Remaining Grease
Use a freshly folded, barely damp microfiber cloth only on the stubborn greasy patch. Make two or three short, light passes, then lift the cloth and inspect the area before doing anything else. Keep the surrounding painted surface dry, and resist the urge to scrub harder or add stronger cleaner. If the mark is fading, repeat the same gentle method once more rather than increasing pressure or moisture.
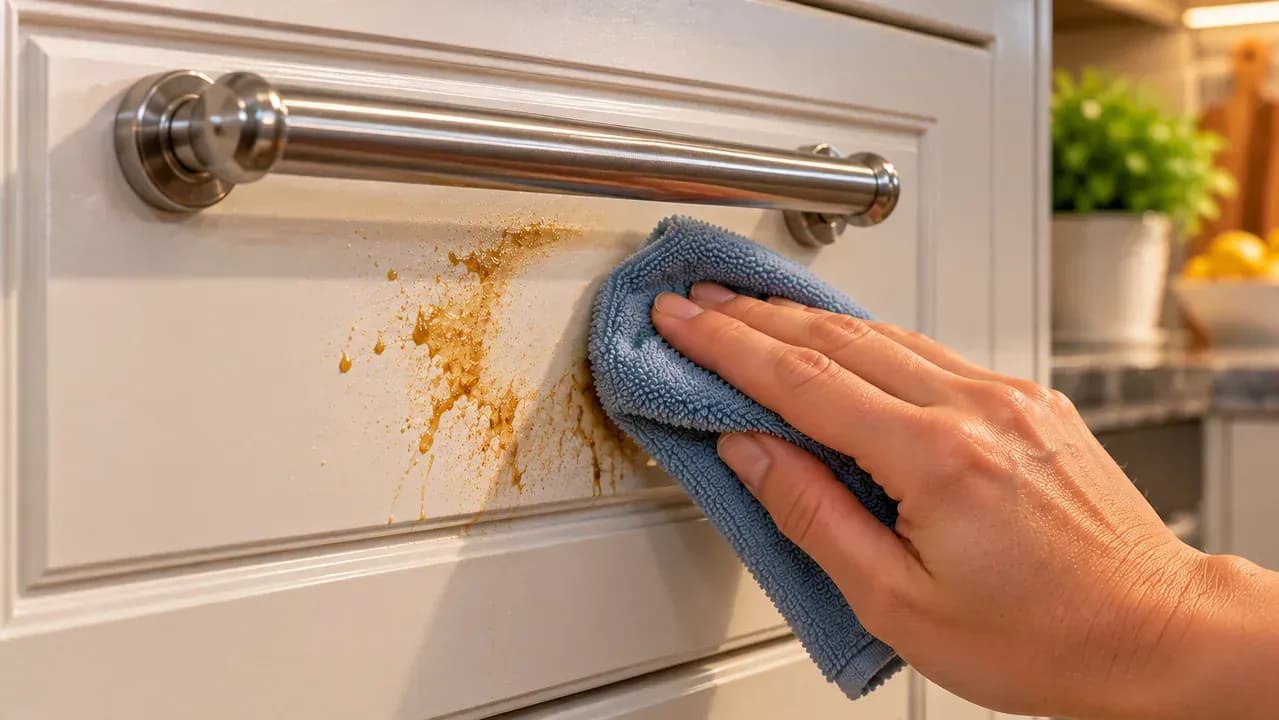
Dry the Cleaned Area Right Away
Press a fresh, dry microfiber cloth flat against the cleaned spot and blot gently to lift remaining moisture. Follow with two or three light passes, using very little pressure so you do not alter the painted finish. View the cabinet from a slight angle under side lighting to check for streaks or dull patches. Once the surface looks even and feels completely dry, stop wiping and let the finish remain undisturbed.
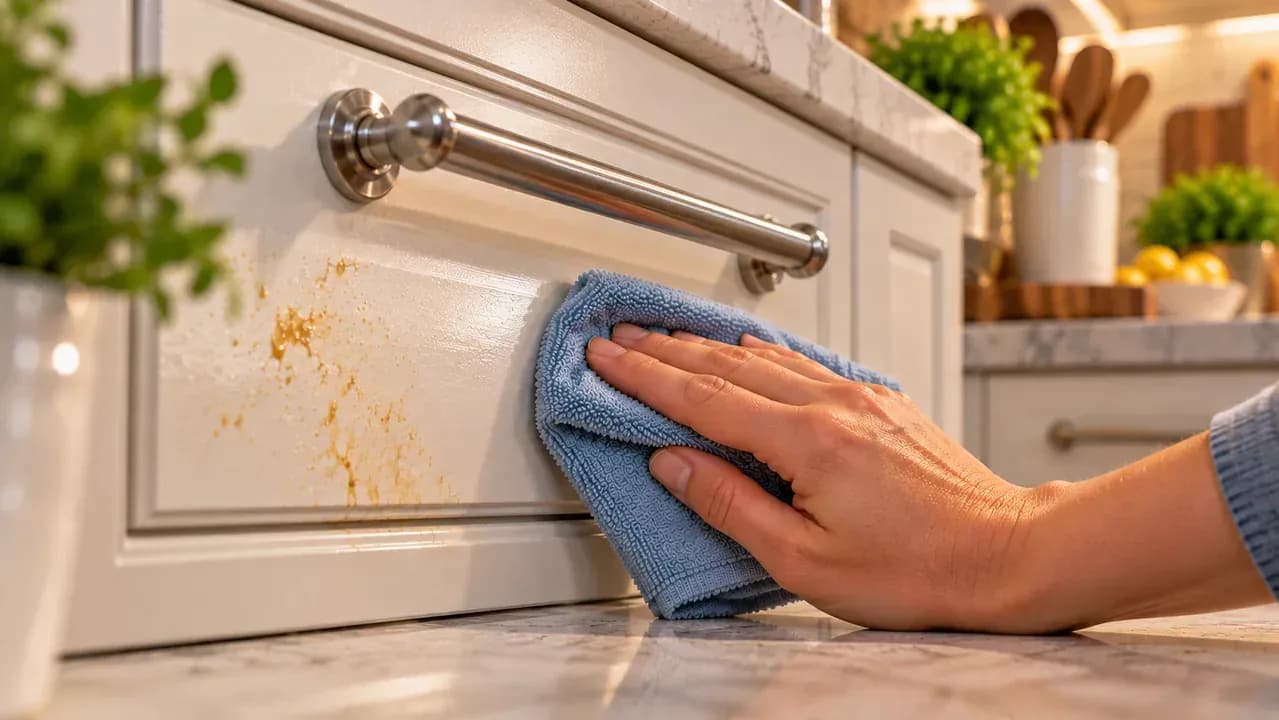
Inspect the Finish From Multiple Angles
Once the cleaned area is fully dry, step back and view the cabinet from several positions instead of checking it straight on. Move left and right so reflected light passes across the painted surface and exposes dull, greasy, or uneven patches. Pay extra attention to wide panels near the stove, where residue often spreads thinly. Keep your hands off the finish while inspecting so fingerprints do not create misleading marks.
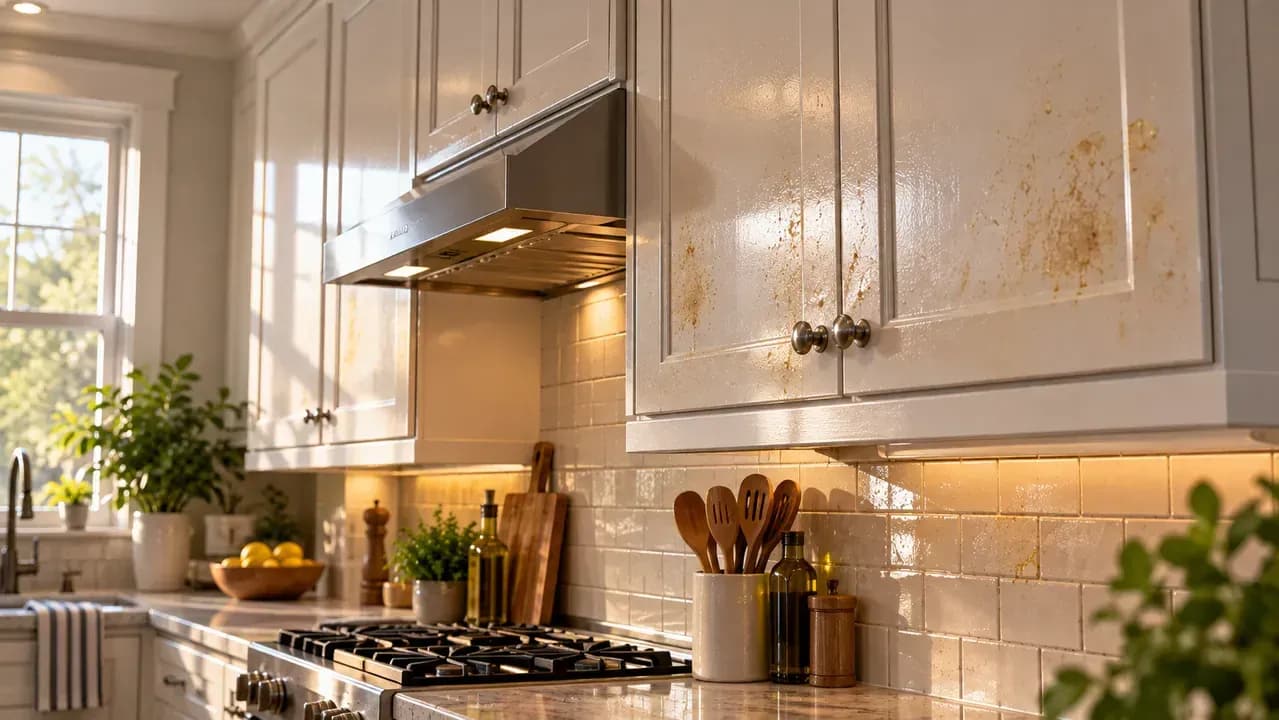
Wipe Fresh Splatter Before It Builds Up
Check the cabinet faces closest to the stove as soon as cooking is finished. Wipe fresh grease specks with a clean, barely damp microfiber cloth using light pressure, then dry the surface immediately with a second cloth. Focus only on the splattered areas instead of wetting the entire door. Keep moisture away from seams, handles, and cabinet edges, where repeated dampness can work into joints or leave visible marks.
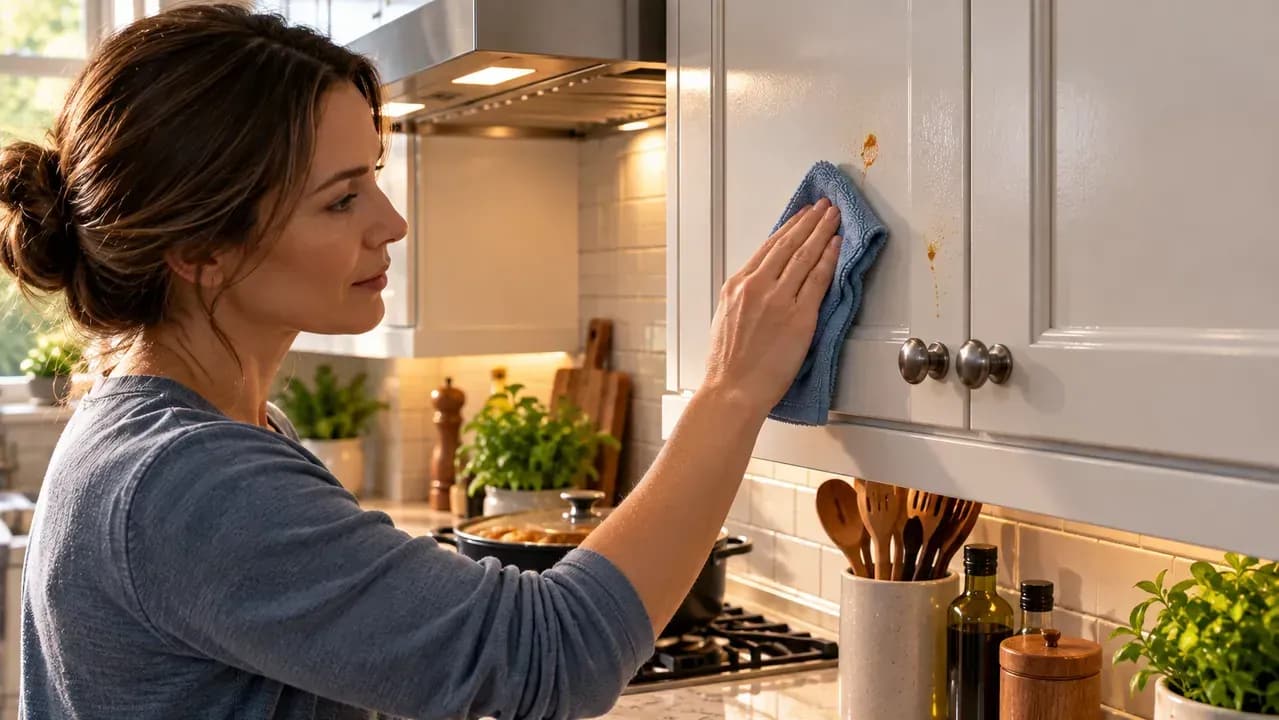
Clean High-Touch Cabinet Areas Before Grease Builds Up
Wipe the painted surfaces around knobs, pulls, and frequently opened doors before fingerprints and grease have time to harden. Use a clean microfiber cloth that is only barely damp, applying light pressure to the smudged areas instead of washing the entire door. Keep moisture away from seams and lower edges, then follow each cleaned spot immediately with a separate dry cloth. A quick weekly pass helps preserve the finish and makes deeper cleaning easier.
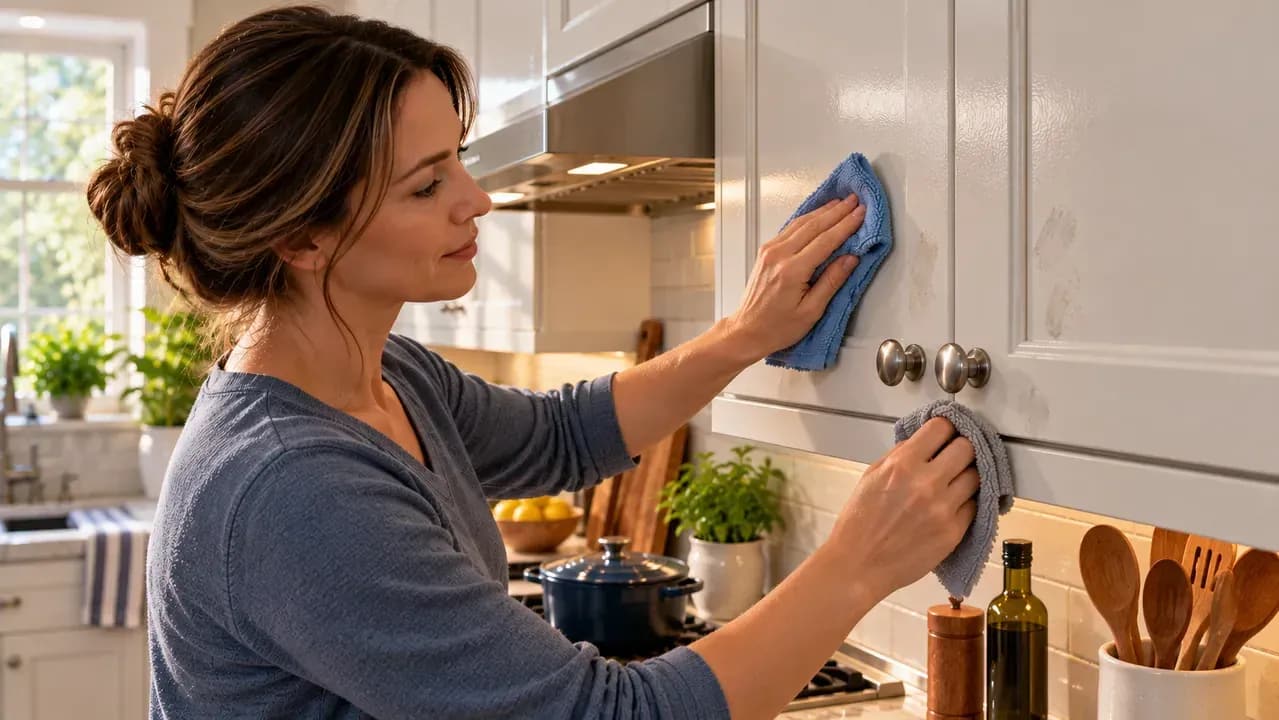
Keep the Whole Cabinet Dry Between Cleanings
After cleaning the high-touch areas, use a clean, dry microfiber cloth to wipe the broad painted surface below each handle and catch any moisture you may have missed. Work with light downward passes rather than rubbing hard, which can leave streaks on painted finishes. Pay extra attention to the lower portion of the door, because drips can travel there and linger. Let the cabinet stay completely dry before the next cleaning.
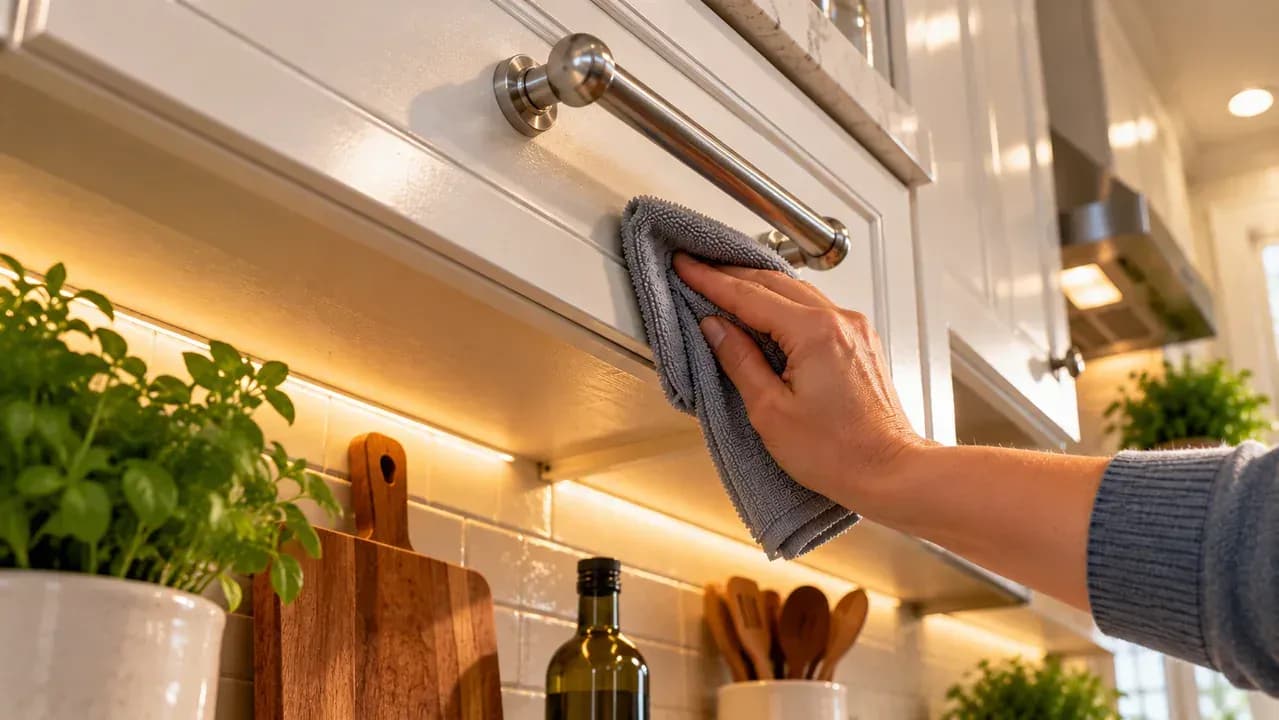
Clean New Splatter Before It Becomes Sticky
After cooking, inspect the cabinet face beside the range for fresh grease spots while they are still easy to remove. Dab each new splatter with the corner of a clean, barely damp microfiber cloth, using light pressure instead of scrubbing. Immediately press a separate dry microfiber cloth over the same area to remove moisture. Keeping one damp cloth and one dry cloth nearby makes this quick cleanup easier to repeat after every meal.
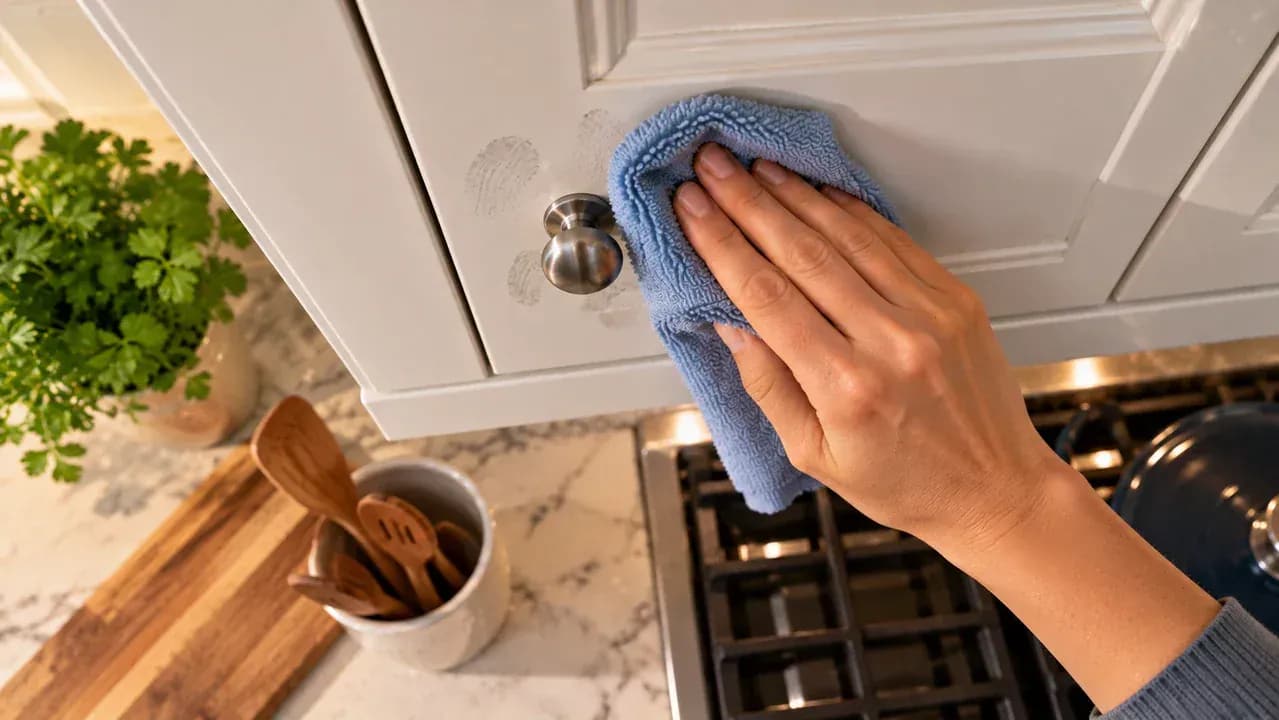
Clean High Touch Areas Before Grease Spreads
Focus on the small area immediately around cabinet knobs and pulls, where fingerprints and cooking residue collect fastest. Every few days, wipe the spot with a barely damp microfiber cloth using gentle curved motions, then follow right away with a separate dry cloth. Keep moisture confined to the affected area instead of wiping the whole door. This quick habit prevents tacky grease from spreading while reducing unnecessary moisture exposure on painted finishes.
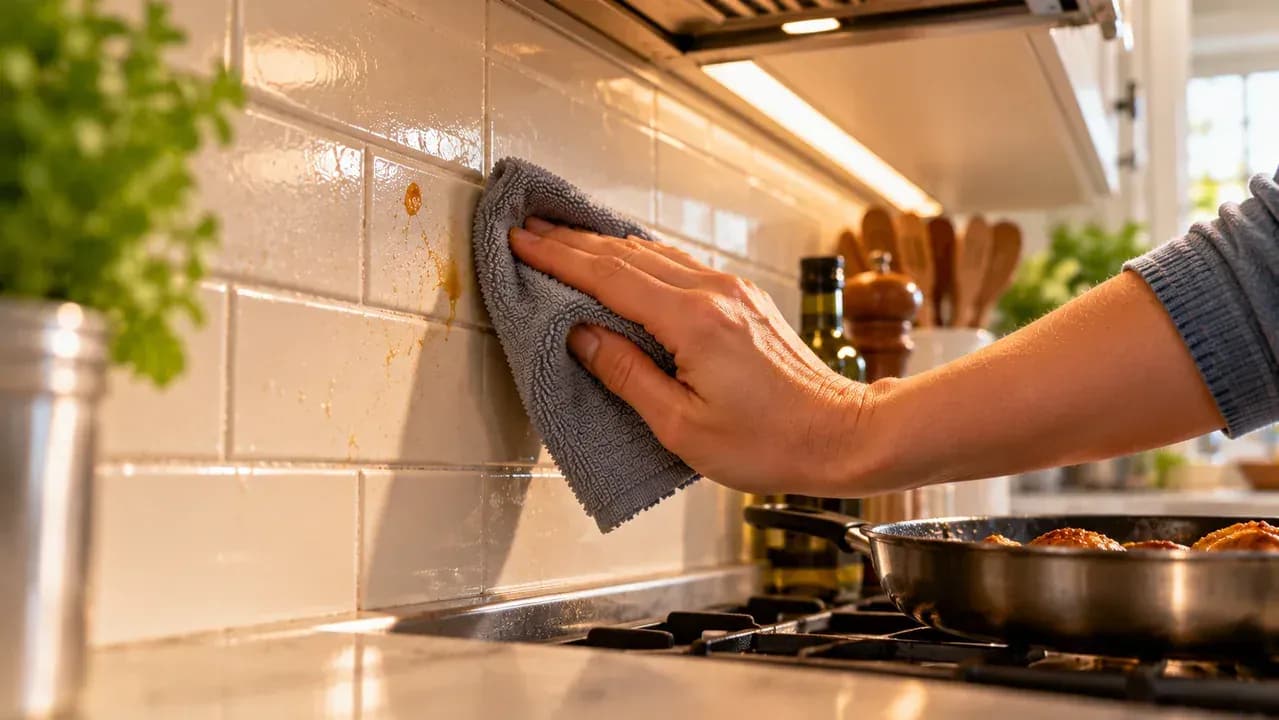
Check Cabinet Edges Near the Cooking Area
Inspect the outer cabinet edge closest to the cooking area for a fresh oily film before it turns sticky. Wipe the flat edge gently with a clean, barely damp microfiber cloth using one light downward pass, then follow immediately with a dry microfiber cloth. Keep moisture away from joints, seams, and painted edges. For easier maintenance, add this quick check to your regular kitchen cleanup after cooking greasy or high-heat meals.
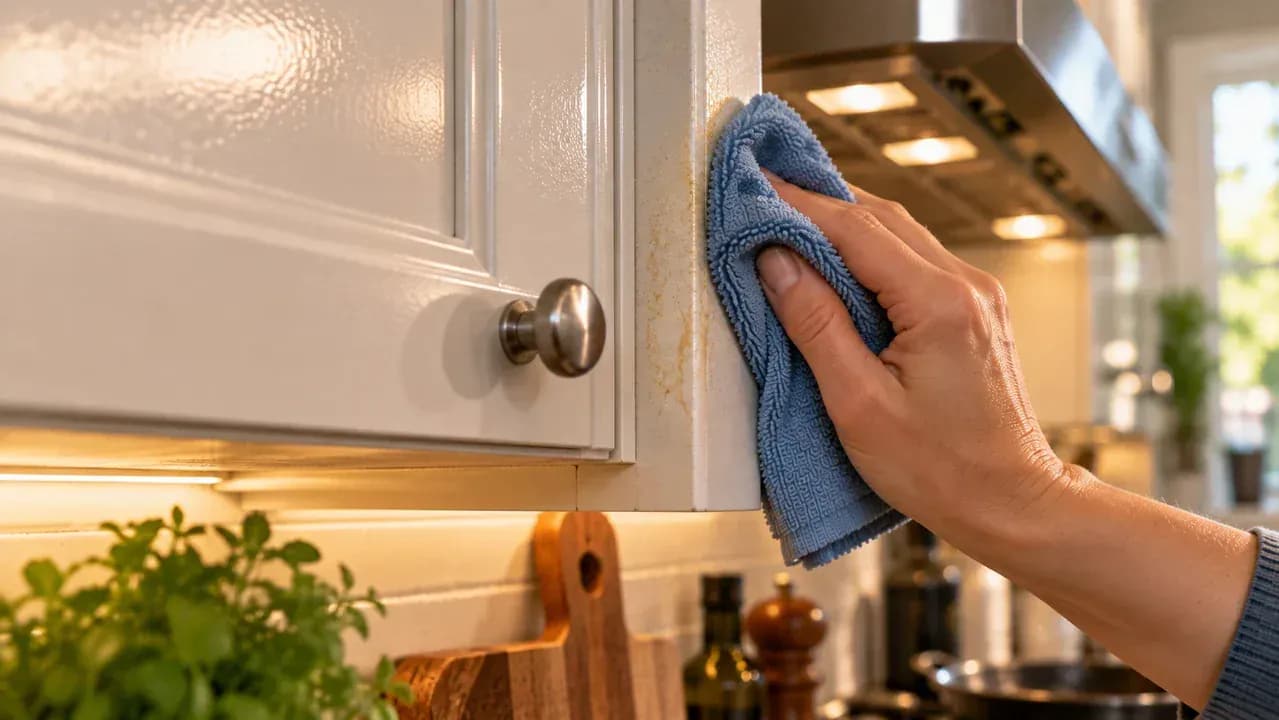
Keep Maintenance Light and Targeted
Keep a clean microfiber cloth within easy reach and use it as soon as you notice a small grease mark or fingerprint. Wipe only the affected spot instead of cleaning the entire cabinet face each time. This limits moisture exposure and unnecessary rubbing on painted finishes. If the mark resists gentle wiping, use the same mild cleaner you have already tested rather than switching to a stronger solvent.
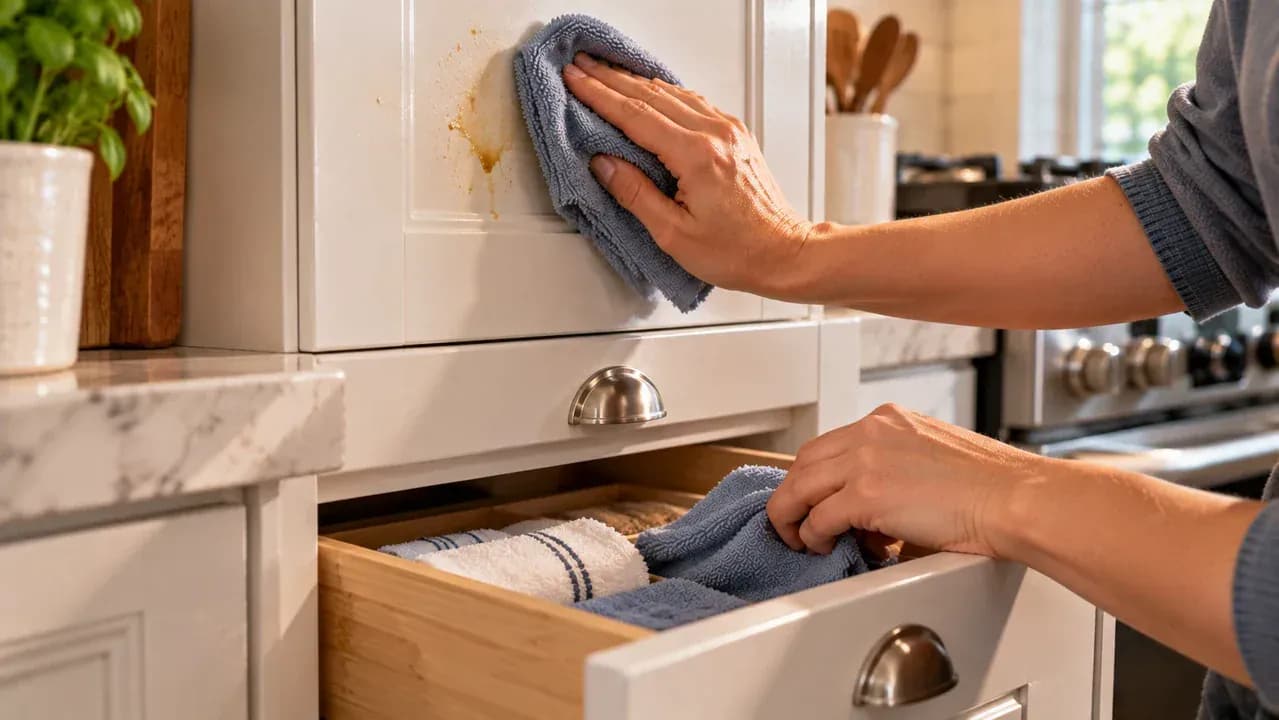
Check Nearby Cabinets Monthly
Once a month, stand a few feet from the cabinets nearest your cooking area and inspect the painted faces under bright, angled light. Look for a faint sticky haze or dull patches that may signal fresh grease buildup. Spotting residue early means you can clean it later with a mild, low-moisture method and less rubbing. A small portable work light can make subtle film easier to notice before it becomes stubborn.
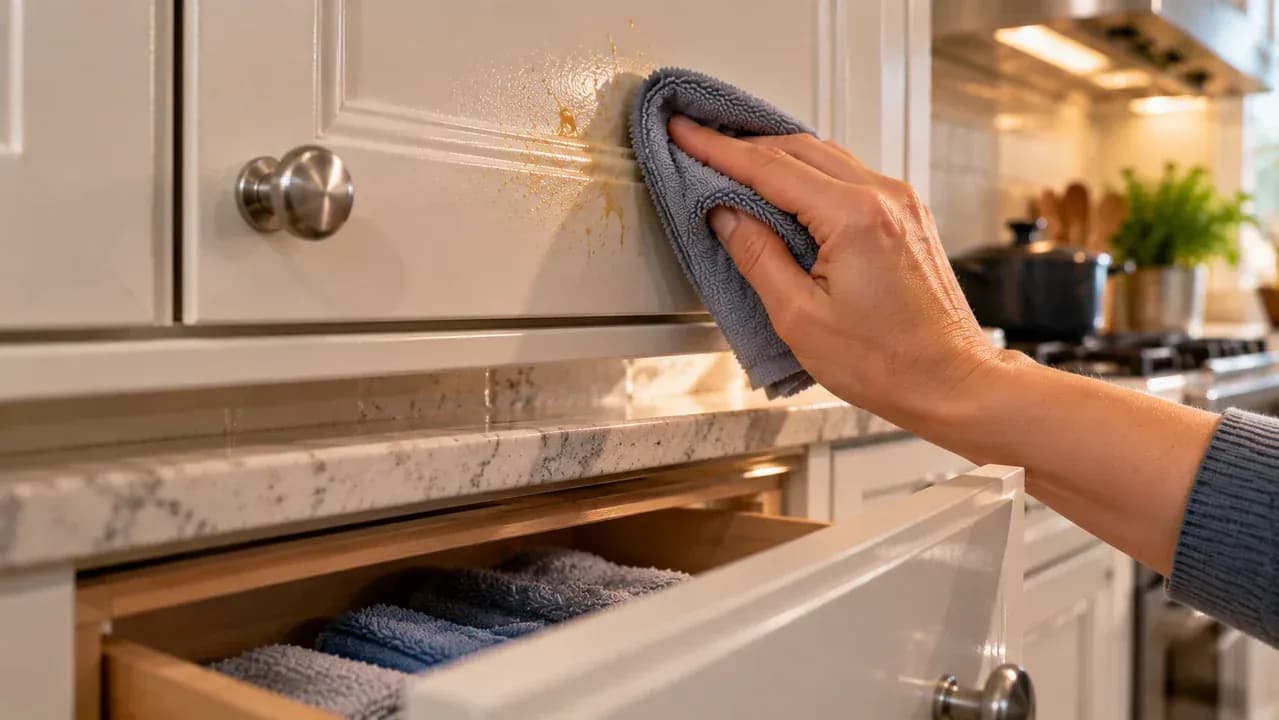
Treat Light Film Early
Wipe a light grease film as soon as you notice it, before it becomes tacky and harder to remove. Use a freshly folded microfiber cloth that is barely damp with your tested mild solution, applying gentle vertical strokes across the affected panel. Keep moisture away from joints and edges. Follow with a second lightly dampened cloth to lift residue, then dry the surface immediately with a clean microfiber cloth.
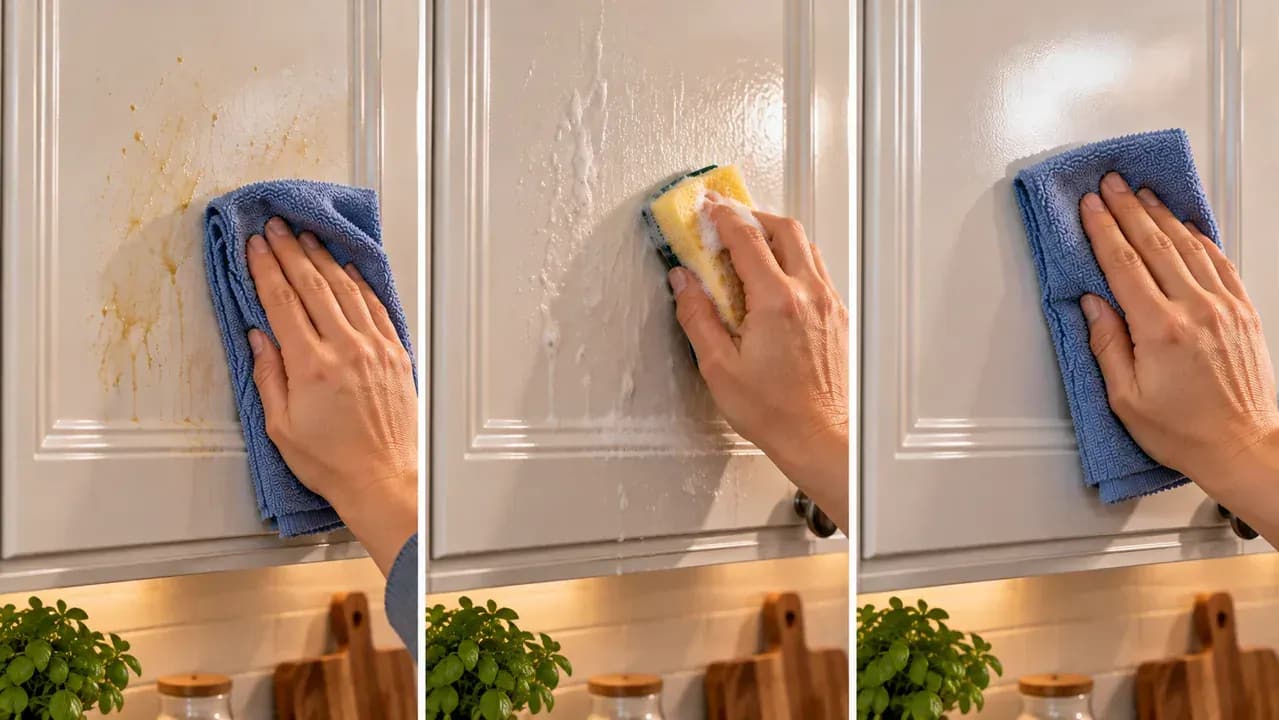
Check the Finish in Normal Light
Turn off and remove the work light, then step several feet to the side and inspect the cabinet under normal room lighting. Look across the painted surface at a shallow angle so reflections reveal differences in sheen. Compare the cleaned section with the surrounding paint for an even appearance, no sticky residue, and no dull patches. If something looks uneven, let the surface dry fully before deciding whether any additional cleaning is needed.
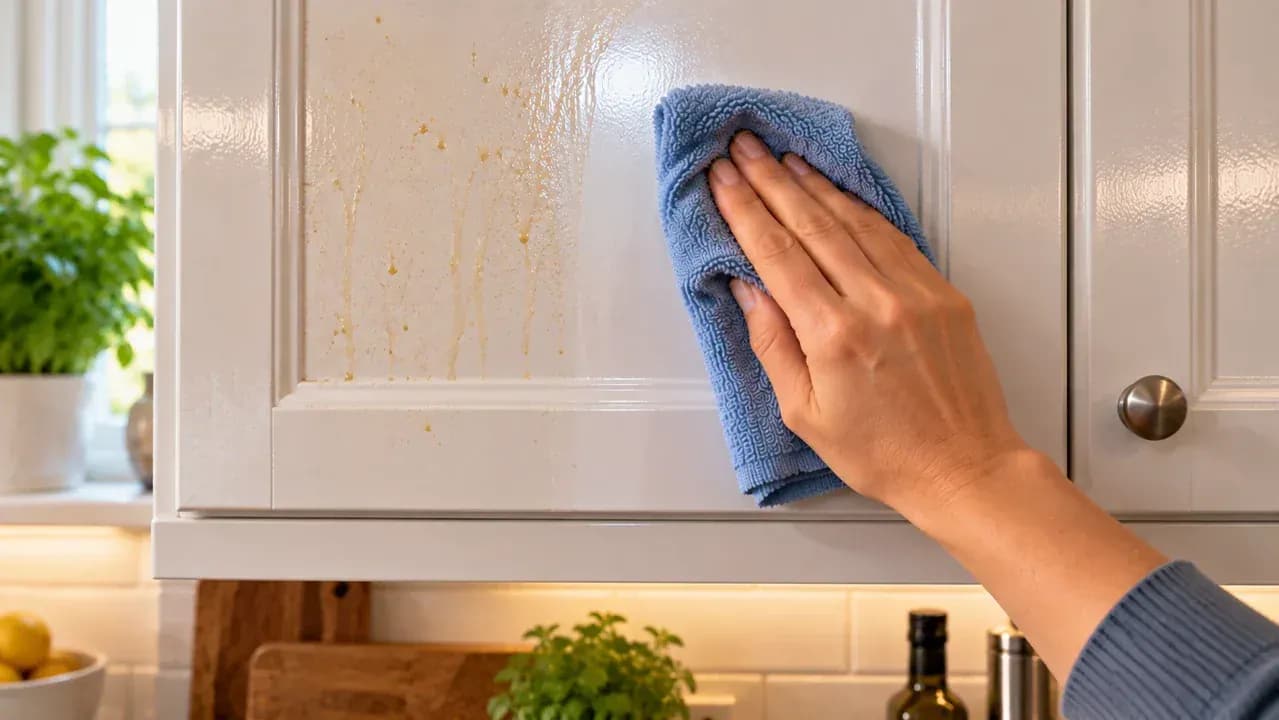
Keep Grease From Building Up Again
Once the painted cabinets are clean and evenly finished, switch to a simple maintenance routine. After cooking, wait until surfaces are cool, then wipe away fresh splatter with a soft microfiber cloth before it dries into a sticky layer. Give handles, edges, and nearby cabinet faces a gentle weekly wipe using minimal moisture. Keeping supplies visible and easy to reach makes the habit faster and reduces the need for aggressive cleaning later.
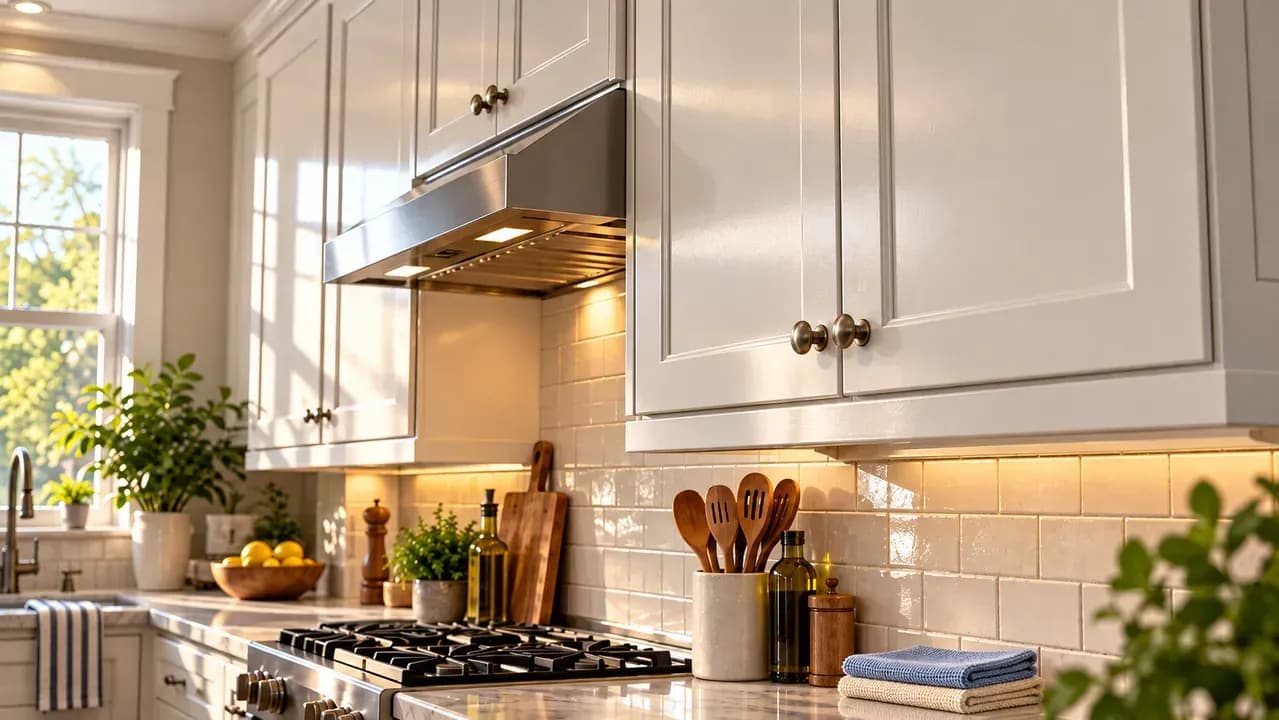
Grease on painted kitchen cabinets has a way of building up slowly until doors and drawer fronts start feeling sticky, especially around handles, above the stove, and anywhere hands touch often. Removing it takes a gentler approach than cleaning tile or metal because painted finishes can lose their sheen, soften, or even lift if they are scrubbed too aggressively. Before cleaning a visible area, identify the finish as best you can and test your cleaning solution on an inconspicuous spot. Let that area dry completely and check for discoloration, dullness, or any change in texture.
Once you know the cleaner is safe, work with controlled moisture and light pressure. Dampen a soft microfiber cloth instead of spraying cleaner directly onto the cabinet, then clean one small section at a time. For stubborn grease, briefly hold the damp cloth against the buildup to loosen it rather than reaching for an abrasive pad. Avoid excessive water and strong solvents, especially around seams, edges, knobs, and pulls where liquid can enter joints.
Where people go wrong
Using a Cleaner Before Testing the Paint. Applying a cleaner across the cabinet before checking a hidden area can leave dull spots, softened paint, or discoloration. Test the product first on an inconspicuous section, let it dry completely, and confirm that the finish still looks and feels unchanged.
Spraying the Cabinets Until They Are Wet. Too much moisture can work into seams, edges, hardware openings, and cabinet joints where it may damage the finish or underlying material. Dampen a microfiber cloth instead of spraying the surface directly, and clean one small section at a time.
Scrubbing Heavy Grease With an Abrasive Pad. Stubborn grease often tempts people to scrub harder, but abrasive pads and aggressive pressure can scratch or change the sheen of painted cabinets. Hold a damp microfiber cloth against the buildup briefly, then wipe gently and repeat if needed.
Letting Cleaner Dry on the Painted Surface. Cleaner left behind can create streaks, residue, or uneven-looking areas, especially when viewed from different angles. After removing the grease, wipe the section with a second lightly dampened cloth, then dry it immediately with a clean microfiber cloth.
Questions people ask
Start with a mild cleaning solution applied to a soft microfiber cloth, not directly to the cabinet. Always test the solution on an inconspicuous spot first and let it dry completely. If the paint looks unchanged in color, sheen, or texture, continue carefully on small sections.
Fixed it?
Get one guide like this every Thursday.