How to Remove Cooking Grease From a Kitchen Backsplash
Remove sticky cooking grease from tile, grout, painted backsplash areas, metal trim and seams without damaging vulnerable finishes.

What you’ll need
Tap to tick things off before you start.
Identify Every Surface First
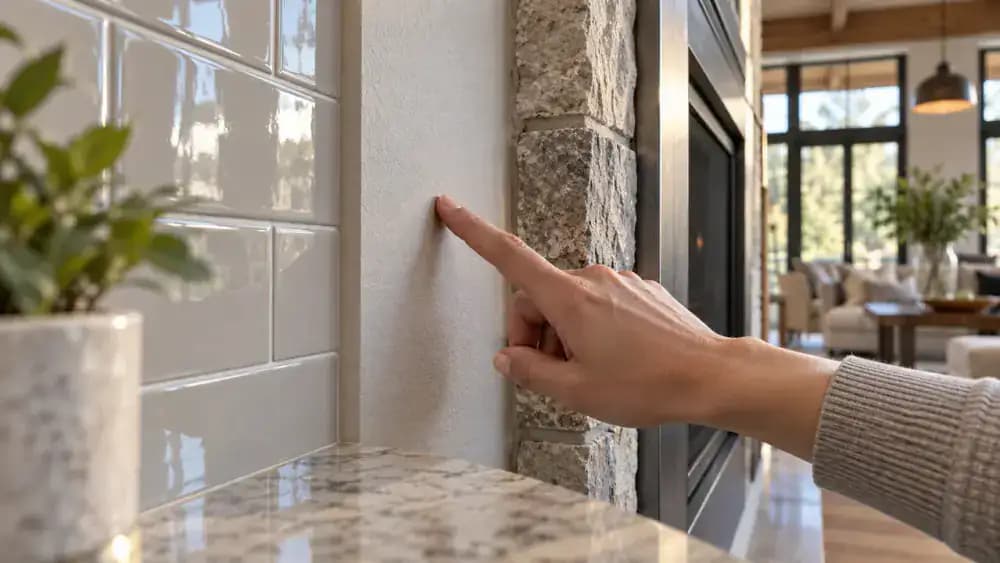
Inspect the backsplash closely before using any cleaner, moving your eye across the tile, grout, painted areas, stone, and metal trim just as shown. Side lighting can make material changes, residue, and grout lines easier to spot. If you are unsure what a section is made from, treat it as the most delicate surface present and test any product later in a small hidden area first.
Clear the Counter Before You Start
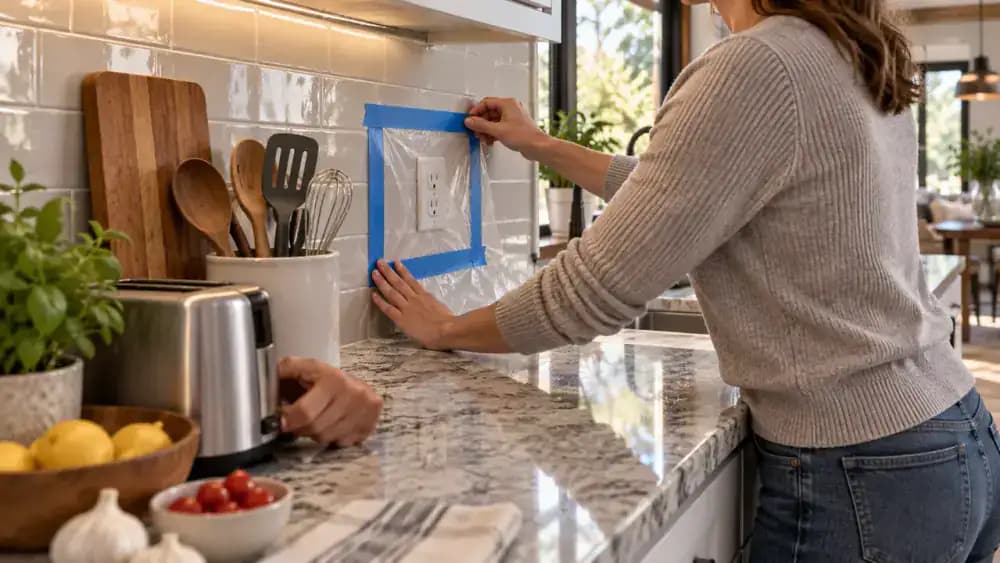
Remove small appliances, utensils, cutting boards, and uncovered food from the counter directly below the backsplash. Cover any fixed item that cannot be moved with a clean towel or protective sheet. Keep electrical cords completely outside the work area so they stay dry and out of the way. Clearing a little extra space on both sides also gives you room to set down cleaning supplies without crowding the surface you are working on.
Remove Loose Dust Before Degreasing
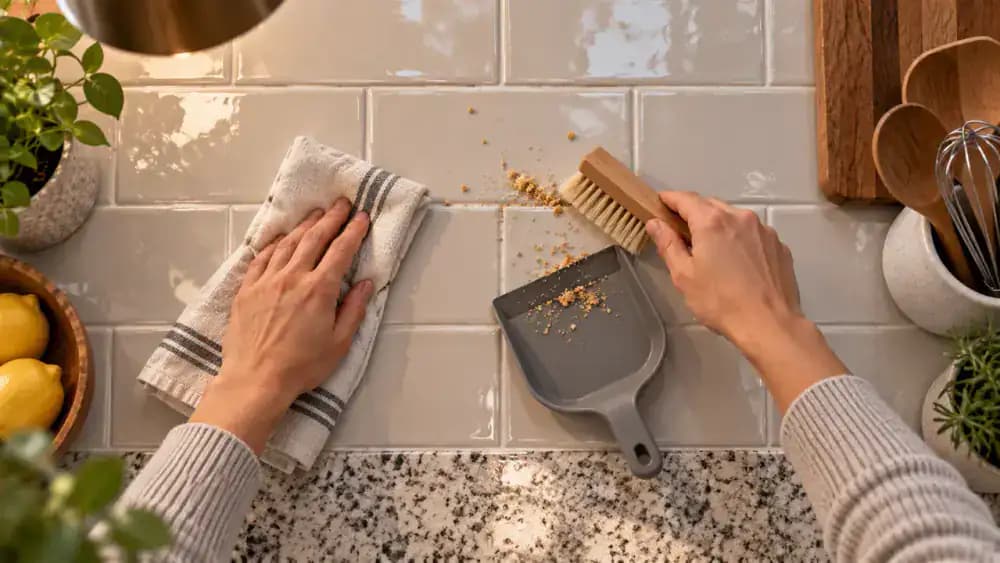
Start with the backsplash completely dry and wipe the broad tile surfaces with a clean microfiber cloth. Use a soft detailing brush to loosen crumbs and dust trapped in grout lines, corners, and metal trim, then sweep the debris into a small dustpan. This dry-cleaning step prevents loose particles from mixing with grease and cleaner into a gritty residue. For best results, work from the top of the backsplash downward.
Work in Small Sections
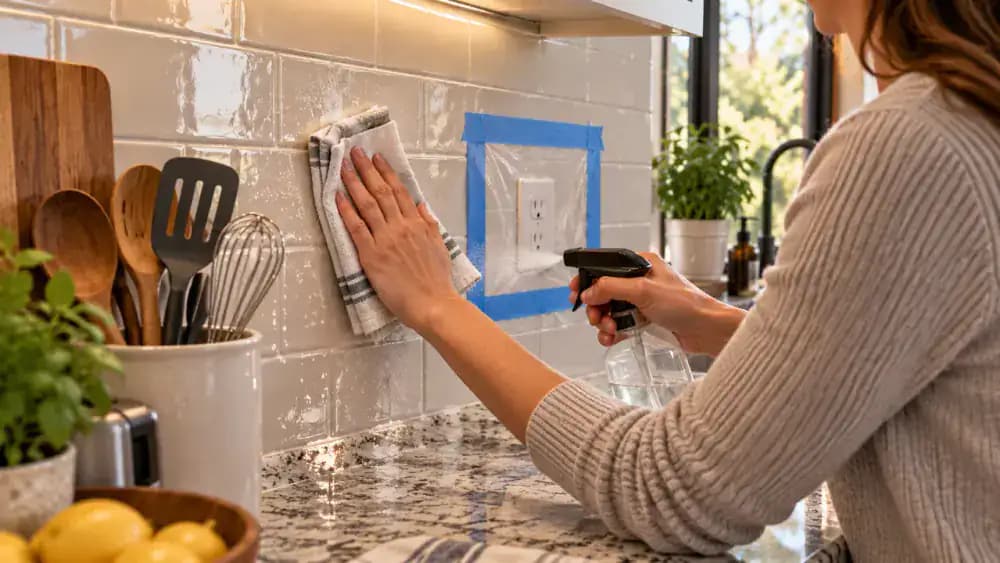
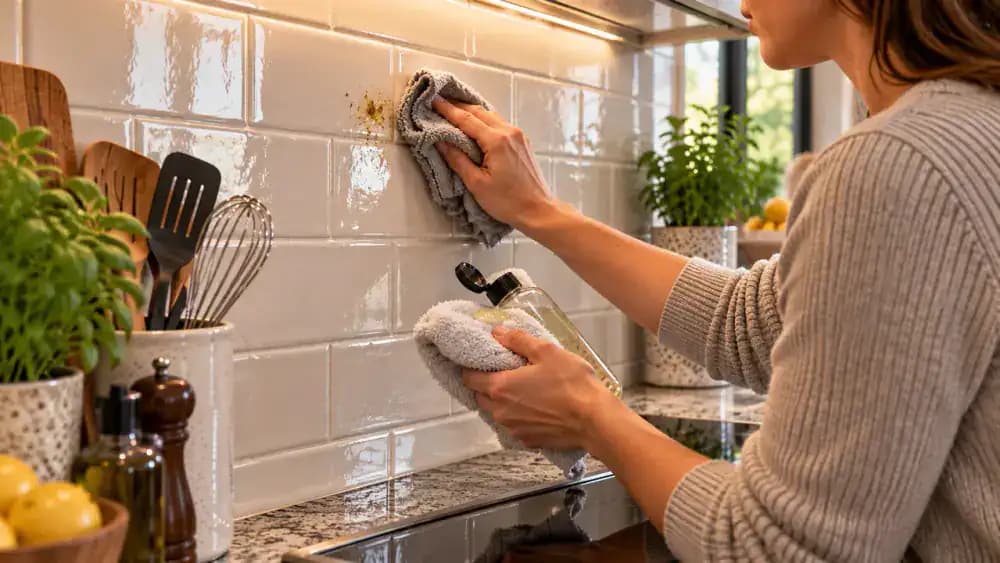
Clean the backsplash in sections about 2 feet wide so you can control moisture and track progress. Apply a small amount of surface-compatible degreaser to a clean microfiber cloth or soft pad, not directly to the wall. Start at the top and wipe downward with light, overlapping passes. Keep grout joints, seams, and areas around electrical outlets as dry as possible, and switch to a fresh cloth surface when it becomes dirty.
Give Stubborn Grease Contact Time
If a grease spot remains, apply a small amount of surface-safe cleaner to a microfiber cloth and press the damp cloth gently against the sticky area for a short contact time. Keep the tile damp rather than wet, especially near outlets, grout gaps, or open seams. Lift the cloth, then wipe the softened grease away with light pressure. Repeat the process if needed instead of scrubbing aggressively, which can spread residue or damage the finish.
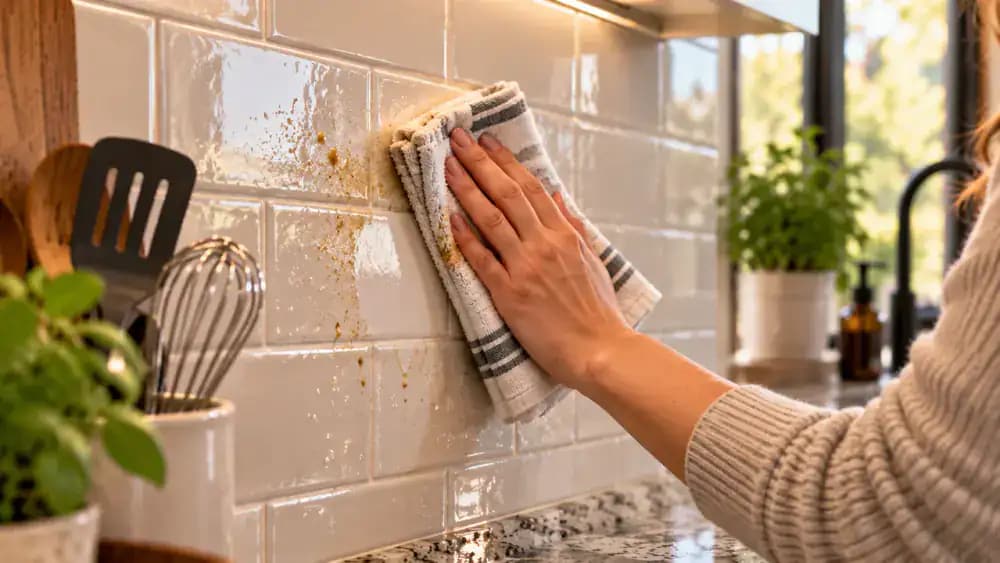
Detail Grout Lines and Edges
Use a small soft detailing brush to work along greasy grout lines, corners, and metal trim with short, controlled strokes. Apply only a small amount of cleaner that is compatible with the tile and grout, then hold a clean cloth below the area to catch loosened residue. Keep nearby seams and outlet edges dry. If buildup remains, make another gentle pass instead of increasing pressure, which can damage grout or finishes.
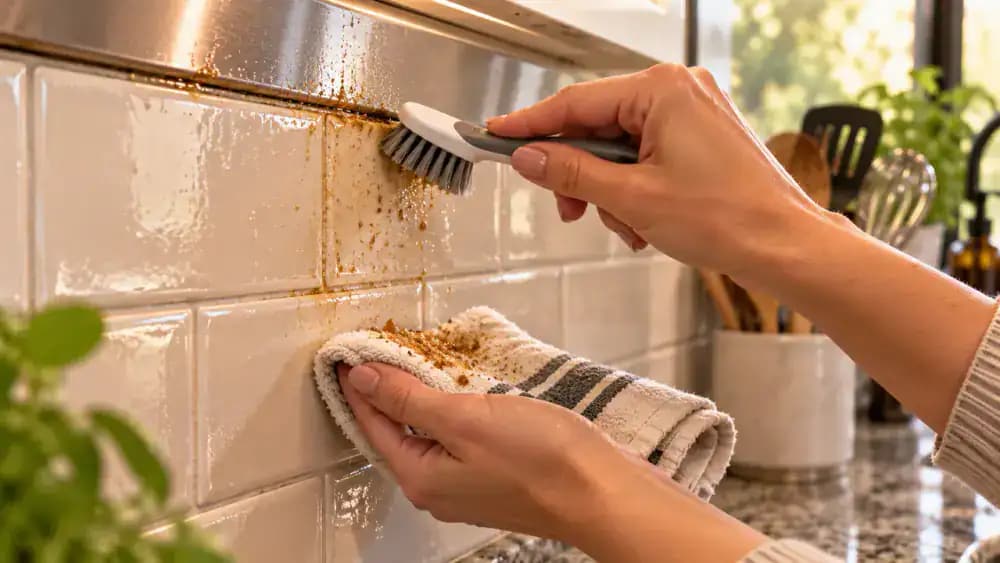
Remove Cleaner Residue and Dry the Backsplash
Wipe the cleaned section from top to bottom with a clean microfiber cloth that is only lightly dampened with water. This removes leftover cleaner before it can dry into streaks or haze. Keep moisture away from seams, switches, and outlet edges, and never let water run down the wall. Immediately follow the same path with a fresh dry microfiber towel, turning it to a clean side as needed for a spotless finish.
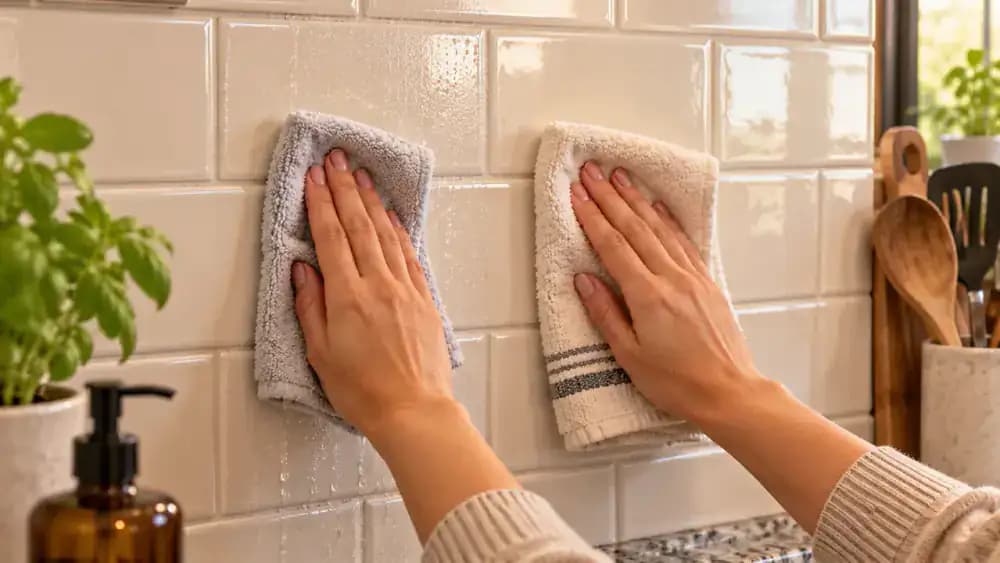
Inspect From Different Angles
Check the cleaned backsplash from several positions instead of judging it straight on. Hold a small light low to the tile and move it slowly so side lighting exposes faint streaks, haze, or greasy spots. If you find residue, wipe only that area with a lightly damp microfiber corner, then dry it immediately with a clean cloth. Keep grout lines, seams, outlets, and other electrical areas dry while you inspect.
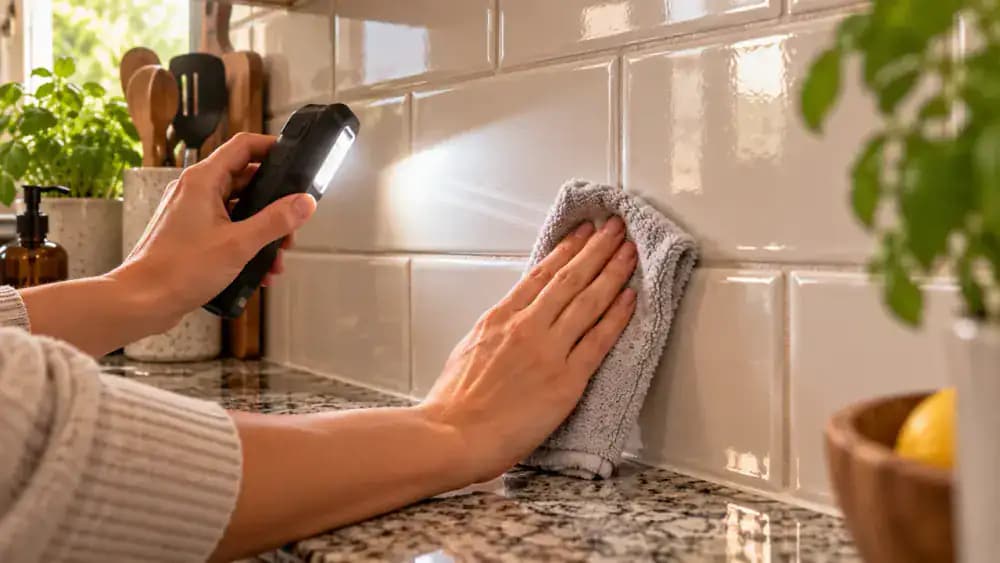
Prevent Grease From Building Up
After heavy cooking, make sure the burners are off and let the backsplash cool before touching it. Wipe only the main splash zone behind the stove with a clean, lightly damp microfiber cloth, then dry the area immediately with a second towel. This quick habit removes fresh grease before it hardens or attracts dust. Keep seams, electrical outlets, and other moisture-sensitive areas dry to avoid unnecessary cleanup or damage.

Catch New Grease Early
Check the backsplash after several meals, especially behind the cooktop, along lower grout lines, and near trim where grease settles quickly. If you feel a light tacky film, apply a compatible cleaner to a microfiber cloth instead of spraying the wall directly. Wipe only the affected patch with gentle passes, then dry it with a second clean cloth. Removing thin residue early reduces buildup and helps avoid aggressive scrubbing later.
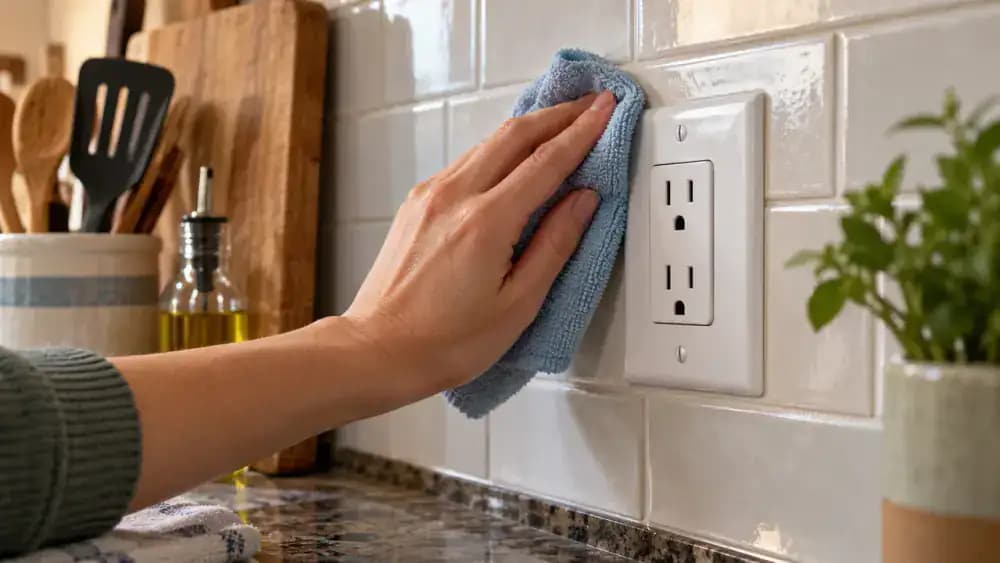
Watch Seams and Outlet Edges
Apply a small amount of compatible cleaner to a folded microfiber cloth away from the wall, then wipe carefully around the outlet cover and along the nearby seam. Keep the cloth only slightly damp so liquid cannot run into gaps or electrical openings. If the outlet looks damaged, loose, or exposed, switch off power before cleaning nearby. Use short, controlled passes, and refold the cloth as grease transfers onto it.
Repeat Gentle Passes
After the edges are clean, return to any grease that remains and work in controlled passes. Apply a small amount of compatible cleaner to the microfiber cloth, not directly to the surface, then hold it against the residue briefly before wiping with light pressure. Repeat once or twice if needed. This method reduces the risk of dulling paint, damaging coated trim, or disturbing delicate tile and specialty finishes.
Recheck the Surface
Inspect the stone before trying anything stronger. Check the cleaner label to confirm it is approved for natural stone, then place a small amount on a fresh microfiber cloth. Test it on a hidden area behind the utensil rail, wipe the spot dry, and inspect it under angled light. If the color, sheen, or texture changes, stop. Avoid acidic or abrasive products, and continue only when the finish remains completely unchanged.
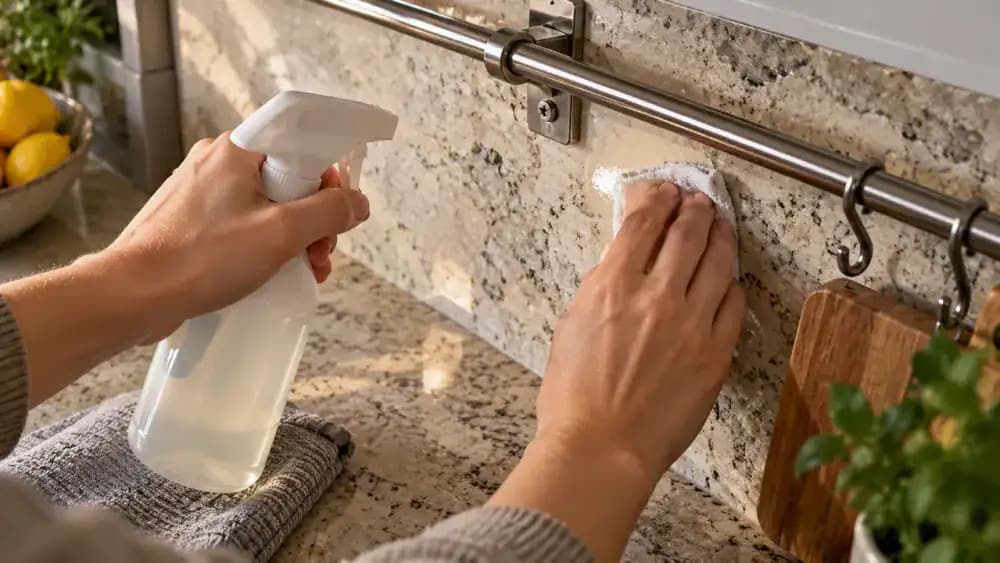
Continue With Controlled Passes
After the spot test shows no discoloration or surface change, continue across the backsplash using the same gentle technique. Keep the microfiber cloth barely damp and make slow, overlapping passes from cleaner areas toward greasy edges. Stop short of grout lines, trim joints, and electrical openings so moisture cannot collect there. For stubborn residue, repeat another light pass rather than scrubbing harder, and refold the cloth to expose a clean section as needed.
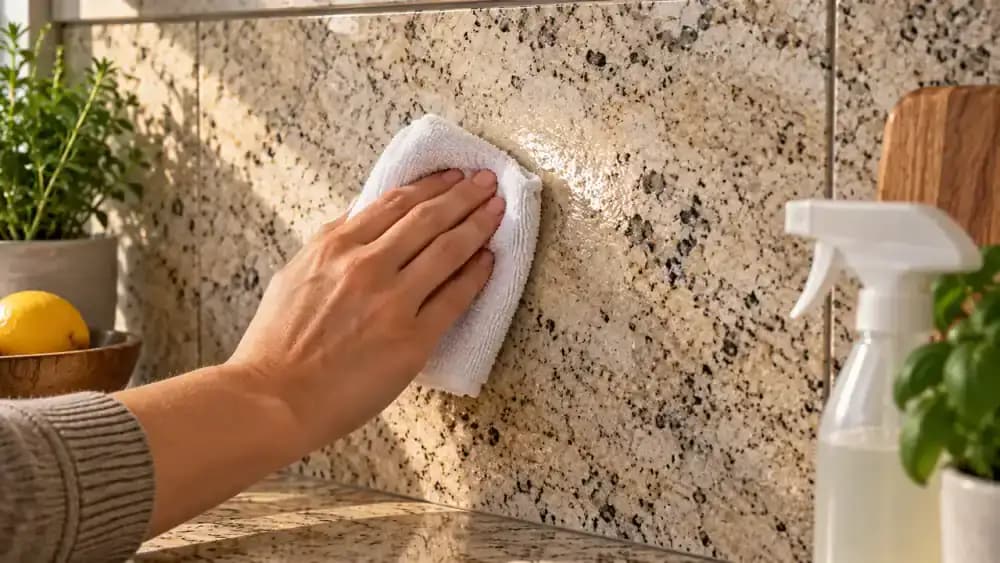
Detail the Grout Border
Switch to a separate soft detailing brush for the grout border so residue from the stone surface does not transfer into the joint. Use only the moisture already held in the bristles and make short, controlled strokes along the grout line. Catch loosened debris with a clean microfiber corner, then immediately follow with a dry section. Work a few inches at a time so nearby seams and the finished stone face stay dry.
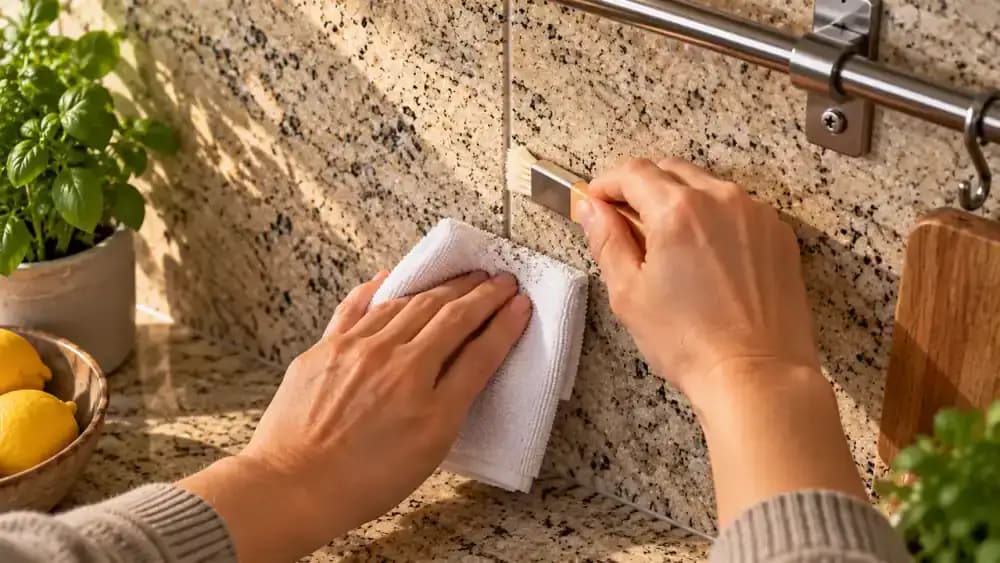
Remove Cleaner Residue
Lightly dampen a fresh microfiber cloth with plain water and wipe the stone face in one smooth, controlled pass. Keep the cloth away from the grout border and metal seam so those areas stay dry. Immediately follow with a clean, dry microfiber towel using gentle pressure. Check the edges afterward for moisture, streaks, or cleaner film, and dry any remaining spots before moving on.
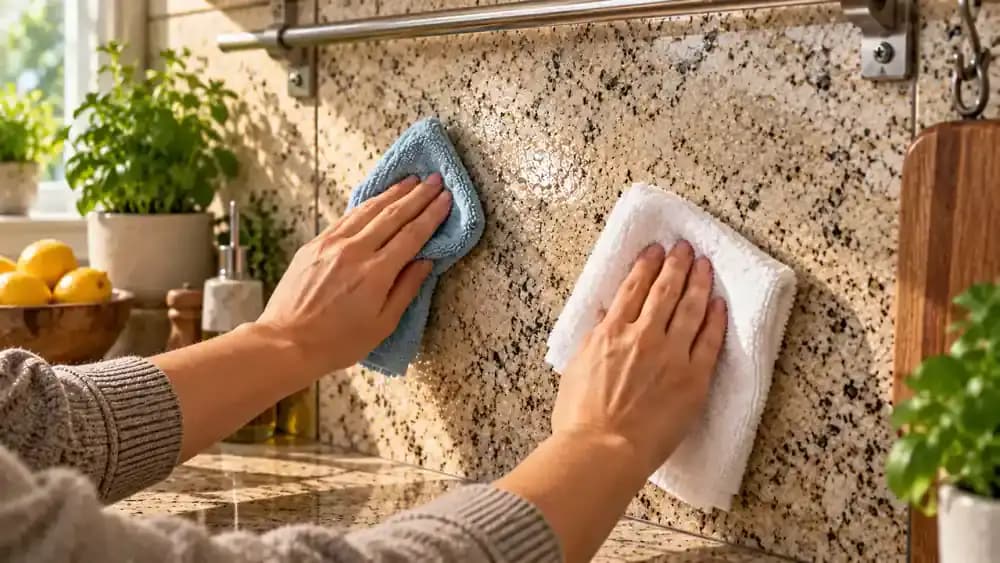
Inspect the Stone From Another Angle
Move a small light across the completely dry stone at a low angle so reflections expose haze, streaks, or greasy spots that are easy to miss head-on. If you notice a problem area, dampen only one corner of a microfiber cloth with the approved cleaner and treat that spot instead of the whole backsplash. Immediately wipe away any residue with a separate dry microfiber cloth, keeping nearby grout lines and seams dry.
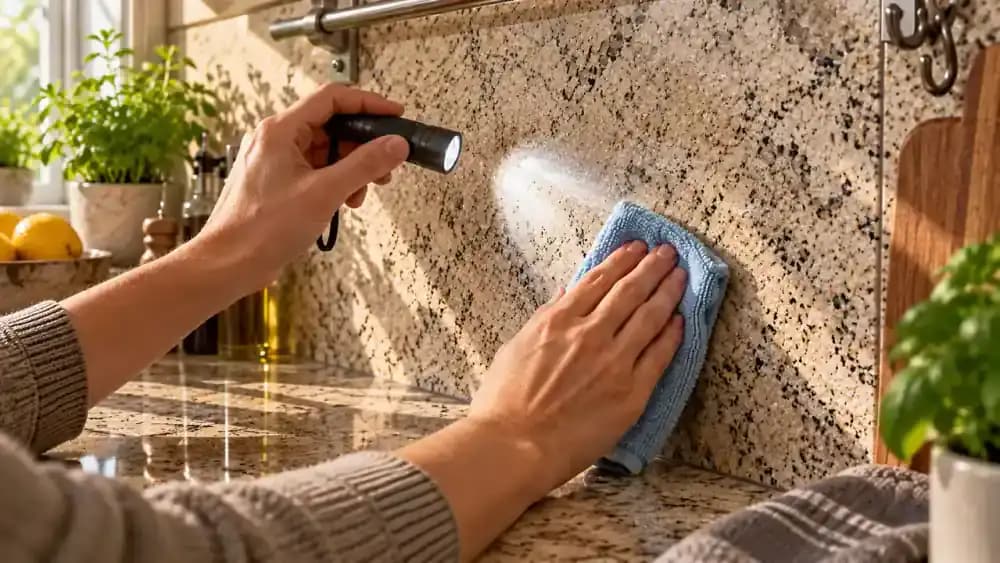
Switch Cleaners When the Surface Changes
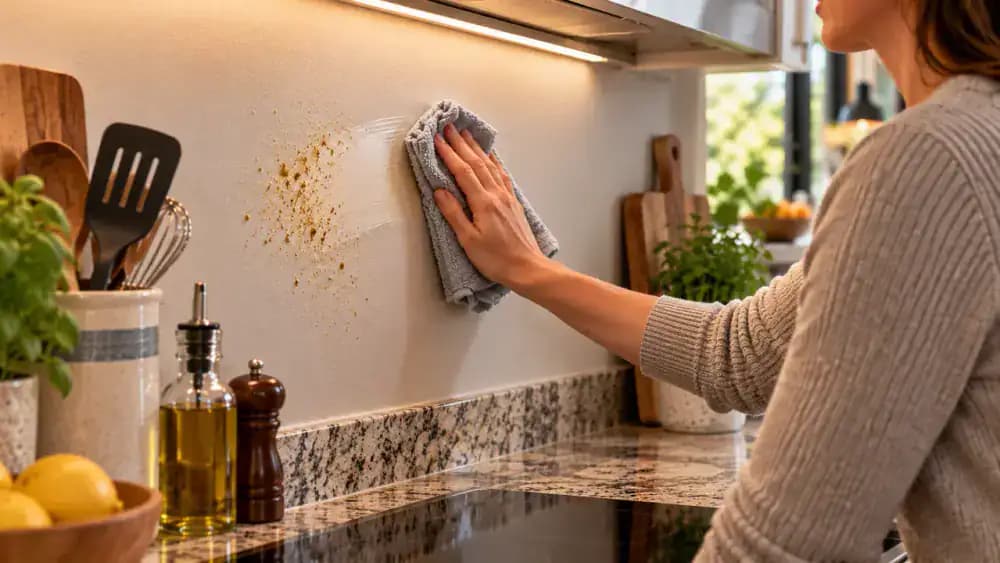
Set the stone-safe cleaner aside as soon as you reach a painted section or specialty metal trim. Check the replacement product label for compatibility, then apply only a small amount to a fresh microfiber cloth. Gently test a discreet painted spot near the trim before cleaning farther. Watch both the cloth and surface carefully. Stop immediately if you see color transfer, dulling, softening, streaking, or any unexpected change in the finish.
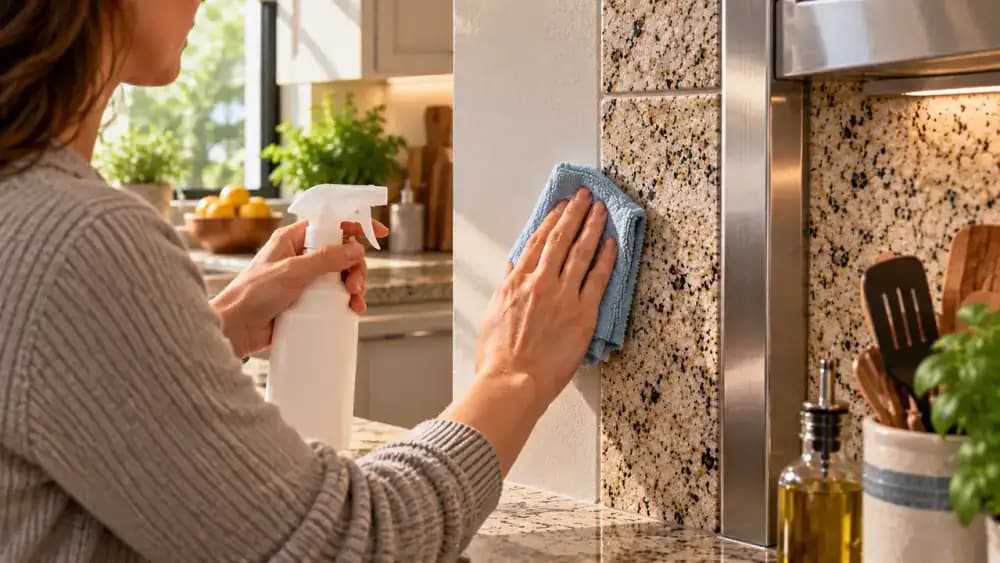
Clean the Painted Area With Light Passes
Continue across the painted section using a fresh microfiber cloth that is only slightly damp with cleaner. Work in short, overlapping horizontal passes and refold the cloth often so grease is lifted instead of spread around. Do not press harder on stubborn marks. Add more cleaner to the cloth, not the wall, and wipe loosened residue before it gathers along the lower seam, trim, or outlet edges.
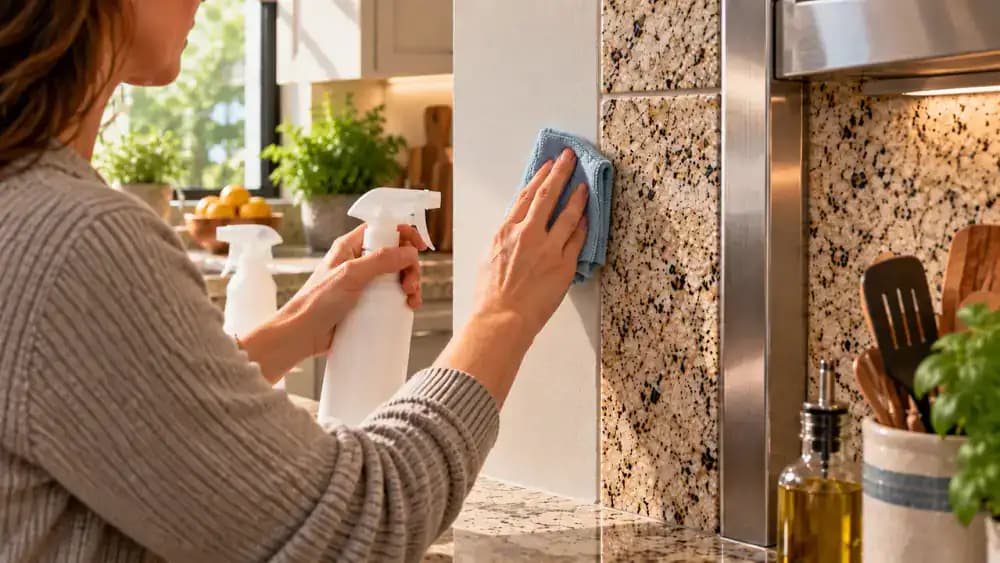
Detail the Metal Trim and Seams
Use a fresh corner of a microfiber cloth with only a trace of compatible cleaner, then wipe lengthwise along the narrow metal trim. Work a soft detailing brush into the adjoining seam using short, controlled strokes to loosen trapped residue. Follow immediately with a dry cloth beneath the area so grease and moisture are absorbed before they collect in the seam or spread onto the painted backsplash.
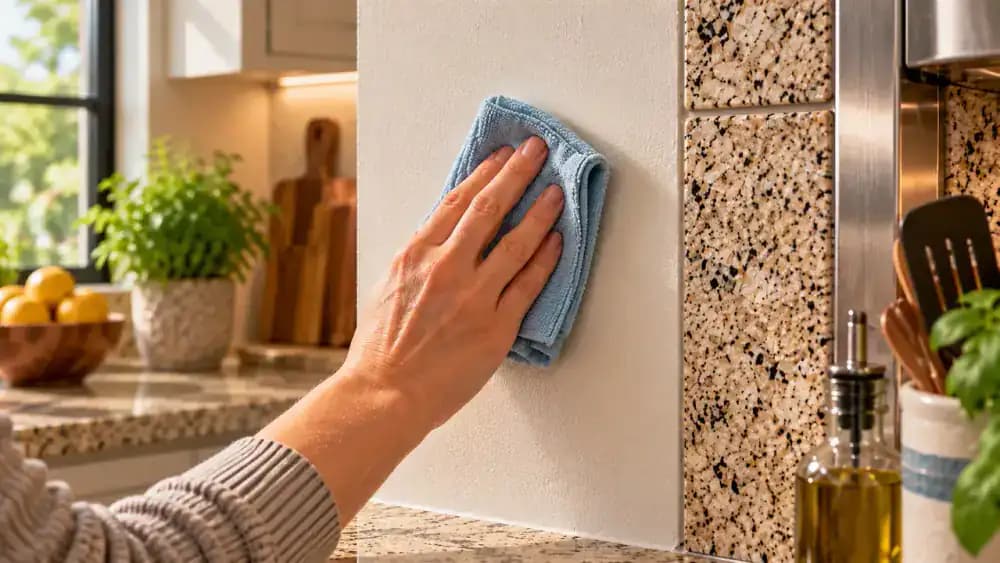
Remove Cleaner Residue From Painted Areas
Lightly dampen a fresh microfiber cloth with plain water and wipe the painted backsplash in smooth top-to-bottom passes, keeping the wall damp rather than wet. Follow each pass immediately with a dry microfiber towel, paying extra attention to the lower edge and nearby seams. Work in small sections so moisture never has time to sit, and keep metal trim and electrical areas dry to prevent streaks, dull residue, or unnecessary water exposure.
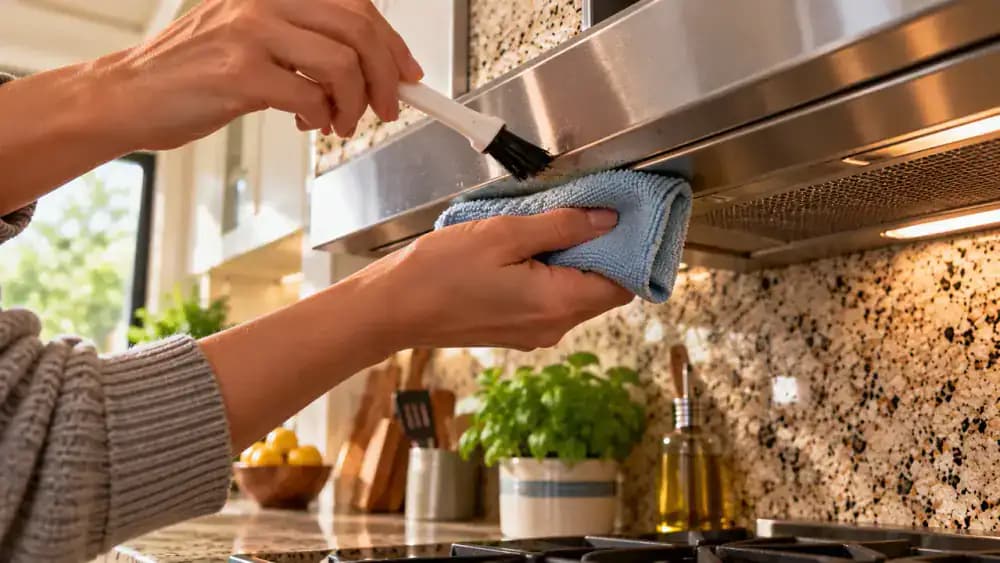
Inspect the Painted Finish Under Side Light
Once the painted backsplash is fully dry, hold a portable light nearly parallel to the wall and move it slowly across the surface. Side lighting makes streaks, dull areas, and leftover grease easier to notice than direct lighting. If you find a small mark, apply a compatible cleaner only to that spot with a folded microfiber cloth, wipe gently, remove any residue with a damp cloth, dry thoroughly, and inspect again.
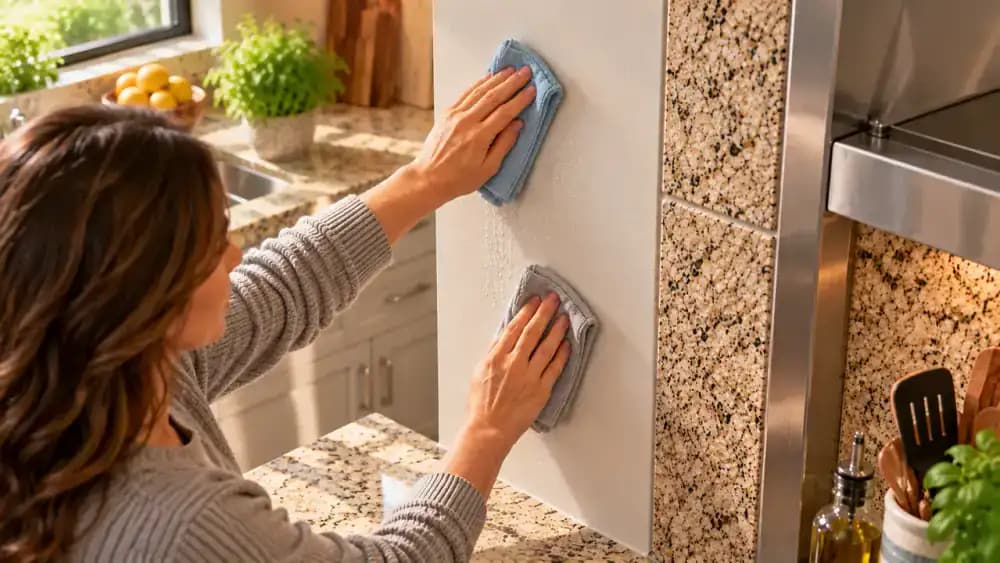
Clean the Next Untreated Tile Section
Shift your attention to the next greasy section once the cleaned area looks even under side lighting. Fold a fresh microfiber cloth, apply a small amount of compatible cleaner away from the backsplash, and wipe the broad tile faces with controlled overlapping passes. Keep the damp cloth clear of outlet openings, grout edges, and vertical seams. Stop wiping as soon as the grease film releases to avoid unnecessary moisture and repeated scrubbing.
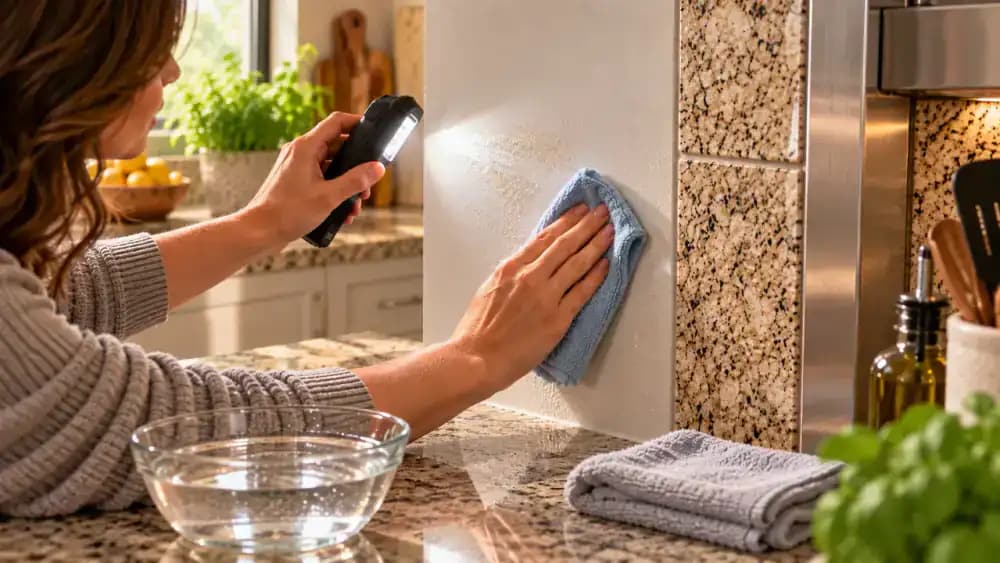
Detail the Grout Lines and Edges
Use a soft detailing brush with very little moisture to clean the grout lines and tile edges you left dry earlier. Work one joint at a time with short, controlled strokes, holding a folded microfiber cloth directly below to catch loosened grease. Reposition the cloth as you move so residue does not spread. Keep outlet openings, seams, and metal trim completely dry, and stop immediately if cleaner begins to drip or collect.
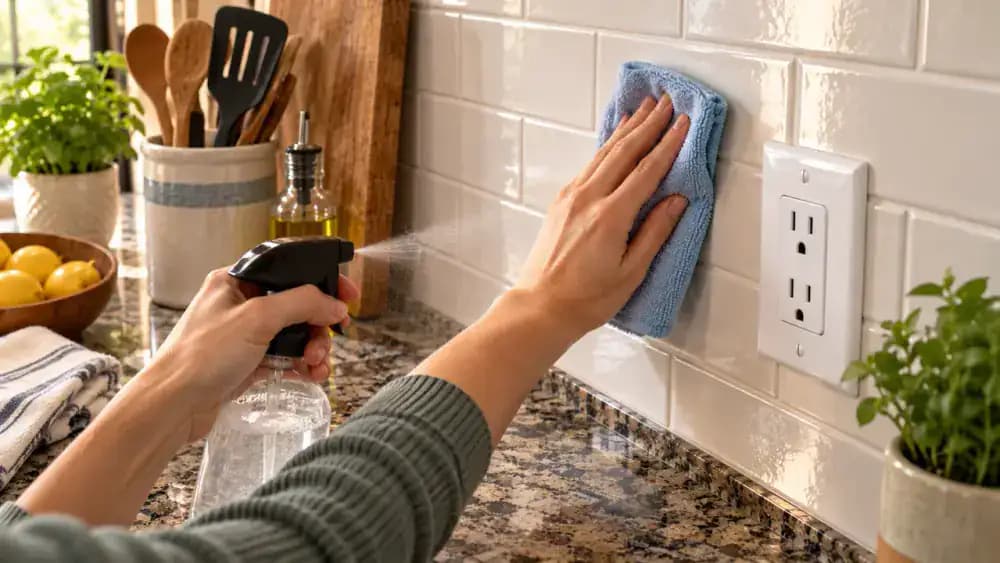
Remove Cleaner Residue and Dry the Section
Wipe away any remaining cleaner with a fresh microfiber cloth lightly dampened with plain water, working across the tile faces and along the finished grout joints. Use controlled passes and keep moisture away from the outlet opening and vertical seams. Follow immediately with a separate dry microfiber towel, pressing gently along the lower tile edge and grout lines. Drying right away helps prevent haze, streaks, and trapped moisture around detailed areas.
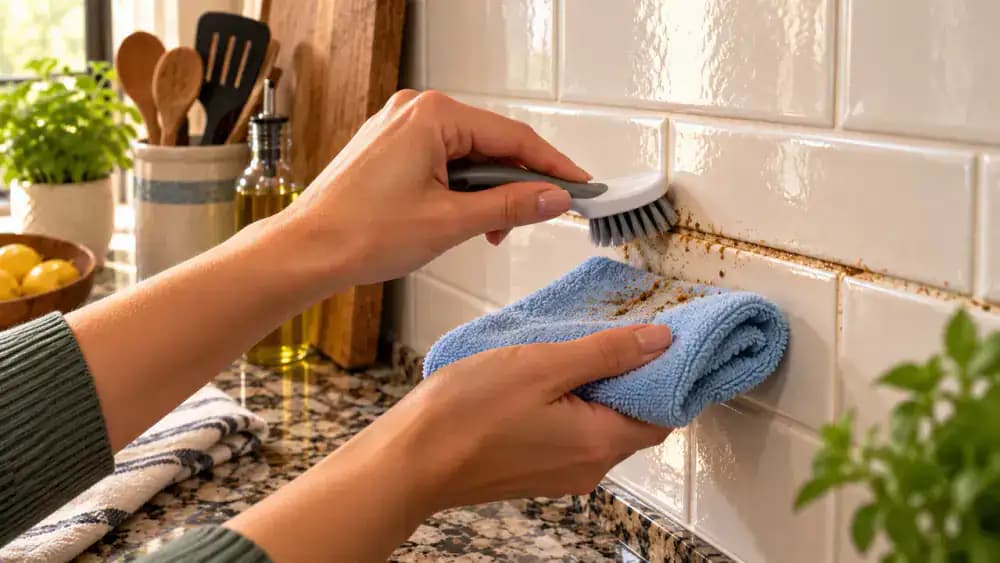
Inspect the Finished Section From Multiple Angles
Once the backsplash is completely dry, shift your position slightly left and right while looking across the tile surface instead of directly at it. Moving reflections from under-cabinet lighting can expose faint grease haze or cleaner streaks that are easy to miss head-on. If you find a narrow streak, wipe only that spot with a clean microfiber corner lightly dampened with plain water, then dry it immediately with a fresh towel.
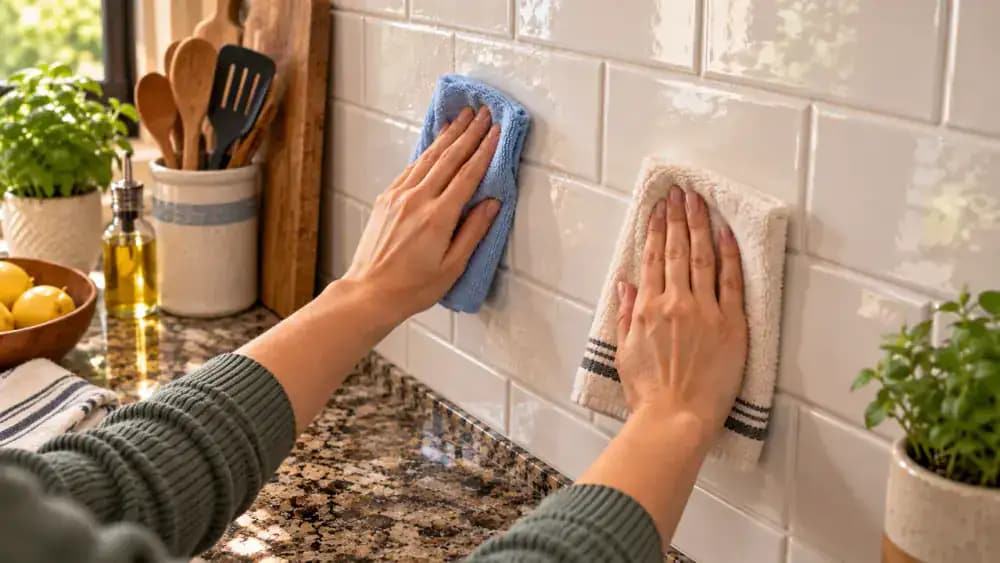
Move to the Next Section and Repeat the Sequence
Shift your supplies to the next 2-foot section only after the finished area looks clean from several angles. Begin the new section with a dry microfiber cloth or soft brush to remove loose dust before using any cleaner. Apply compatible cleaner to the cloth rather than spraying the wall, then clean broad tile faces before edges and corners. Keep damp cloths away from outlet openings, grout seams, and other moisture-sensitive gaps.

Switch to Clean Cloth Faces as You Go
Unfold your microfiber cloth often so each pass uses a clean face instead of dragging loosened grease across the backsplash. Drop heavily soiled or oily cloths into a laundry container and replace them before continuing. Keep one damp towel only for rinsing and another completely dry towel for the final wipe. On glossy tile, this separation matters because even a small amount of transferred grease can dry into a visible haze.

Do One Final Residue Check Before Resetting the Counter
Scan the entire backsplash with a small inspection light before returning anything to the counter. Move slowly across grout lines, lower edges, corners, and trim, where residue is easiest to miss. If you find a dull patch, clean only that area with a lightly damp microfiber cloth, then dry it immediately with a separate towel. Check the surface once more from different angles to catch streaks before appliances, containers, or food go back.
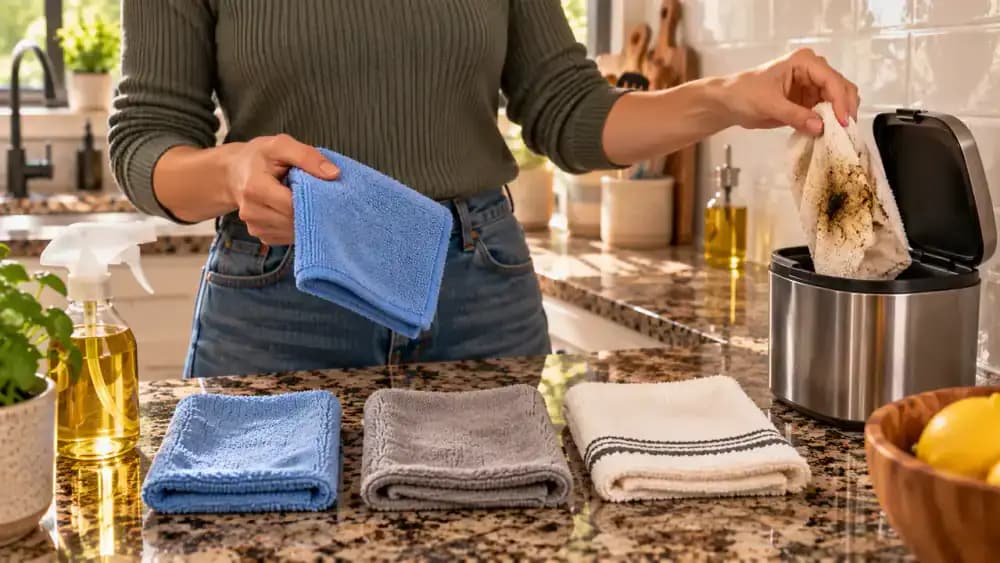
Reset the Counter and Keep Grease From Building Back Up
Wipe the bottoms of the toaster, utensil container, and other countertop items before putting them back, then leave a small gap between them and the backsplash. After a heavy cooking session, wait until the cooktop and wall are cool before wiping the fresh splash zone and drying it immediately. Keeping a clean cloth nearby makes this easier to do consistently and stops fresh grease from turning into stubborn buildup.

Cooking grease builds up quietly, leaving a backsplash that may look clean from straight on but turns cloudy or sticky when light hits it from the side. That film can trap dust around tile, grout, painted surfaces, metal trim and seams, making a quick wipe less effective than expected. The key is not stronger scrubbing. It is matching the cleaning method to the surface, removing loose debris first and working in small sections so grease can loosen without spreading into a larger mess.
Before reaching for a degreaser, identify what your backsplash is made from. Natural stone, delicate paint and specialty finishes may require a manufacturer-approved cleaner, while acidic or abrasive products can permanently damage vulnerable materials. Clear the counter, protect nearby food and use minimal liquid around seams and electrical areas. If an outlet is exposed or questionable, turn off power as needed. With a microfiber cloth, a compatible cleaner and light pressure, most grease can be removed safely without aggressive scrubbing or flooding the wall.
Where people go wrong
Using One Cleaner on Every Surface. A backsplash may combine tile, grout, painted areas, metal trim and specialty finishes. Using the same cleaner everywhere can stain, dull or etch vulnerable materials. Identify each surface first, and avoid acidic or abrasive products on natural stone, delicate paint or finishes that require manufacturer-approved care.
Soaking the Wall With Degreaser. More liquid does not mean better grease removal. Saturating the backsplash can push moisture into grout, seams, trim and electrical areas. Apply a small amount of compatible degreaser to a cloth or pad, work in controlled sections and never flood areas around exposed or questionable outlets.
Scrubbing Hard Before Removing Loose Dust. Grease mixed with dust and crumbs quickly becomes a dirty paste that spreads across the surface. Start with a dry microfiber cloth or soft brush, then clean the grease. For stubborn buildup, allow brief contact time and repeat the process instead of increasing pressure or using aggressive abrasives.
Leaving Cleaner Residue Behind. A backsplash can look clean while still carrying a hazy film of cleaner and loosened grease. After each section, wipe with a clean damp cloth, then dry immediately with fresh microfiber. Check the surface from different angles because side light often reveals streaks, residue and missed greasy patches.

Questions people ask
Identify the backsplash material before choosing a cleaner, then clear the counter and protect nearby food. Remove loose dust and crumbs with a dry microfiber cloth or soft brush first. This keeps dry debris from mixing with grease and turning into a harder-to-remove paste during wet cleaning.
Fixed it?
Get one guide like this every Thursday.