How to Remove Burned Food From the Bottom of an Oven Without Damaging It
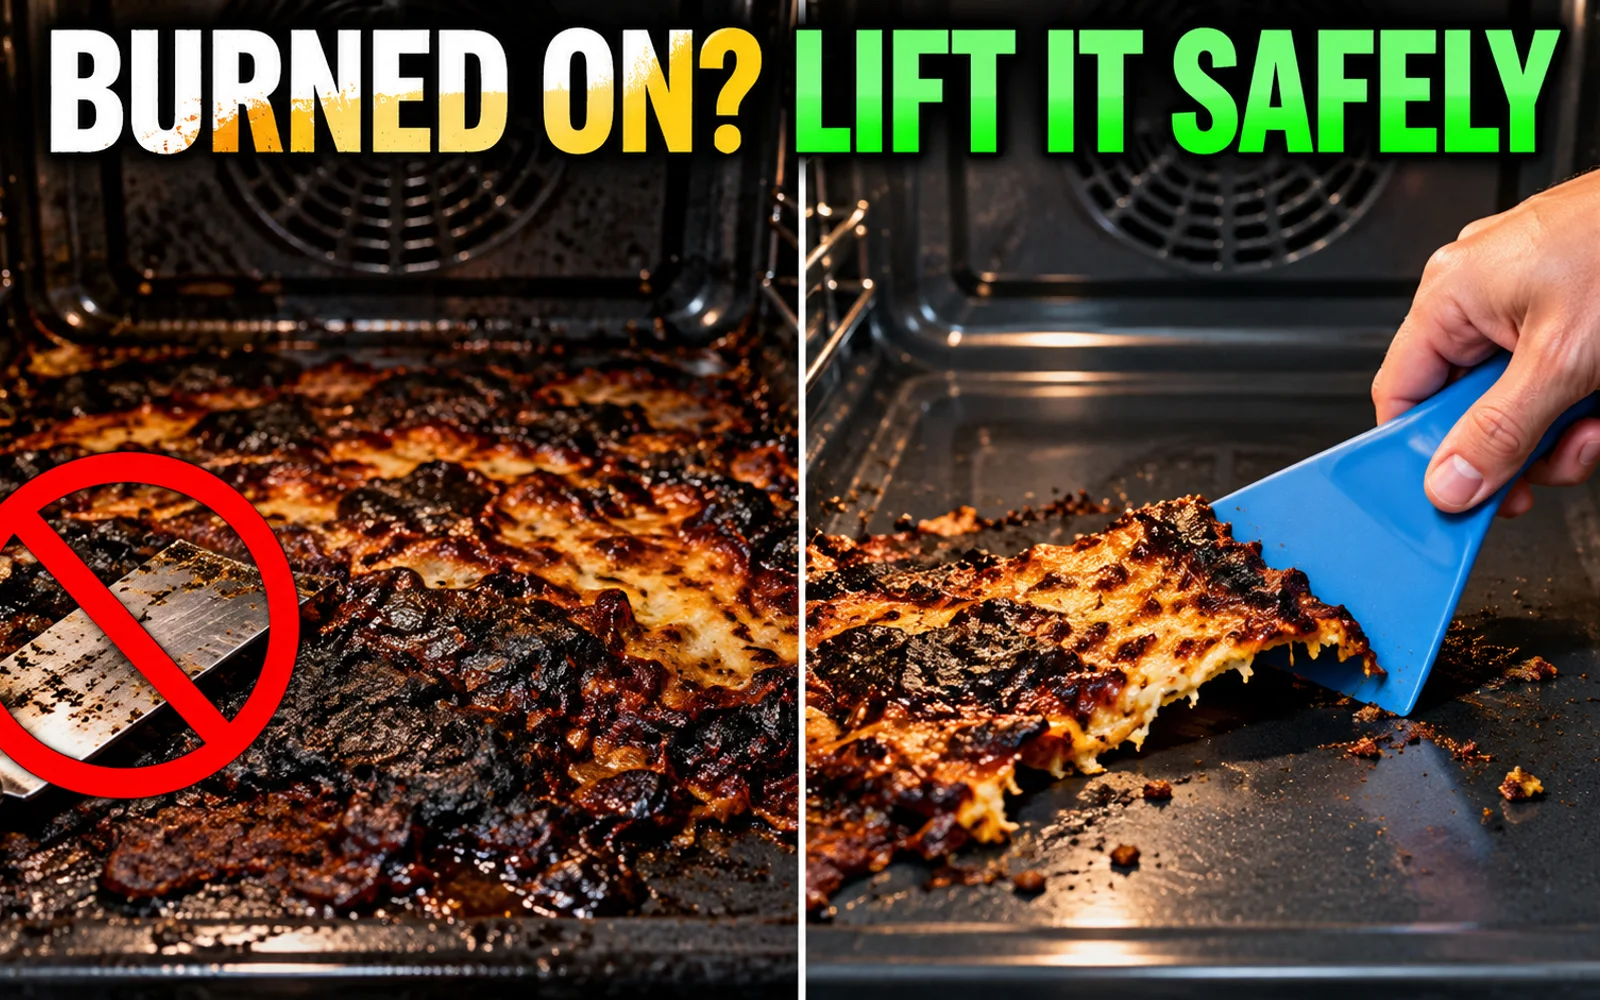
Burned food on an oven floor needs a slower approach than ordinary grease. Learn how to soften, lift, clean and inspect stubborn baked-on spills without damaging the oven lining.
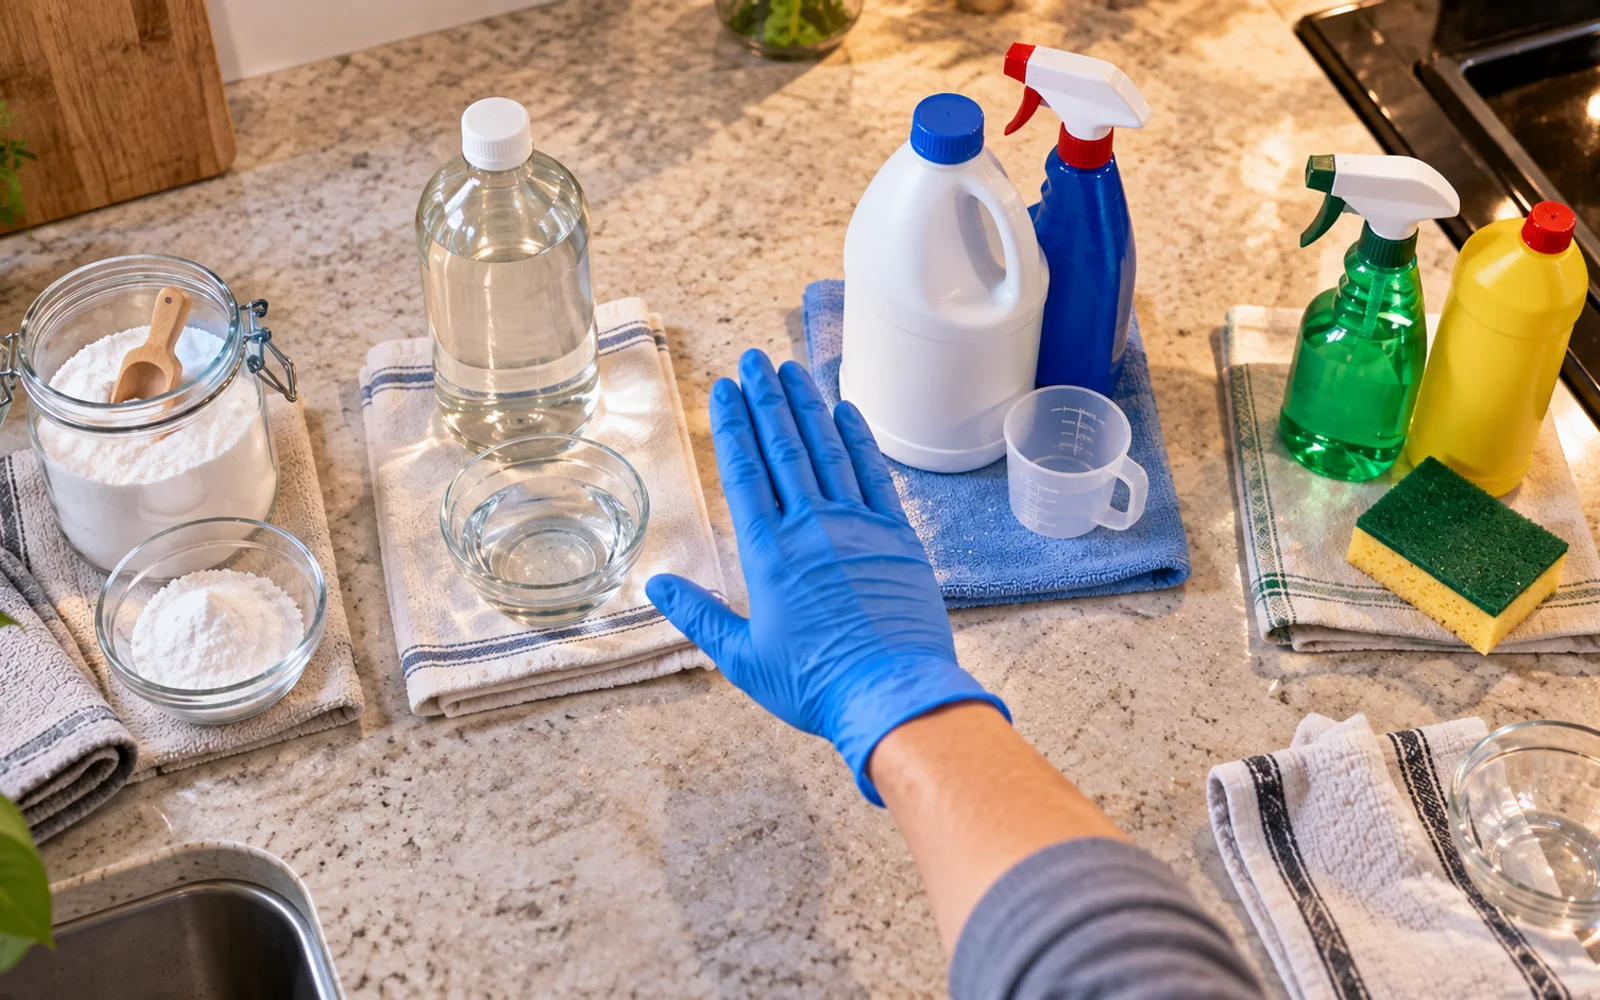
What you’ll need
Tap to tick things off before you start.
Make Sure the Oven Is Completely Cold
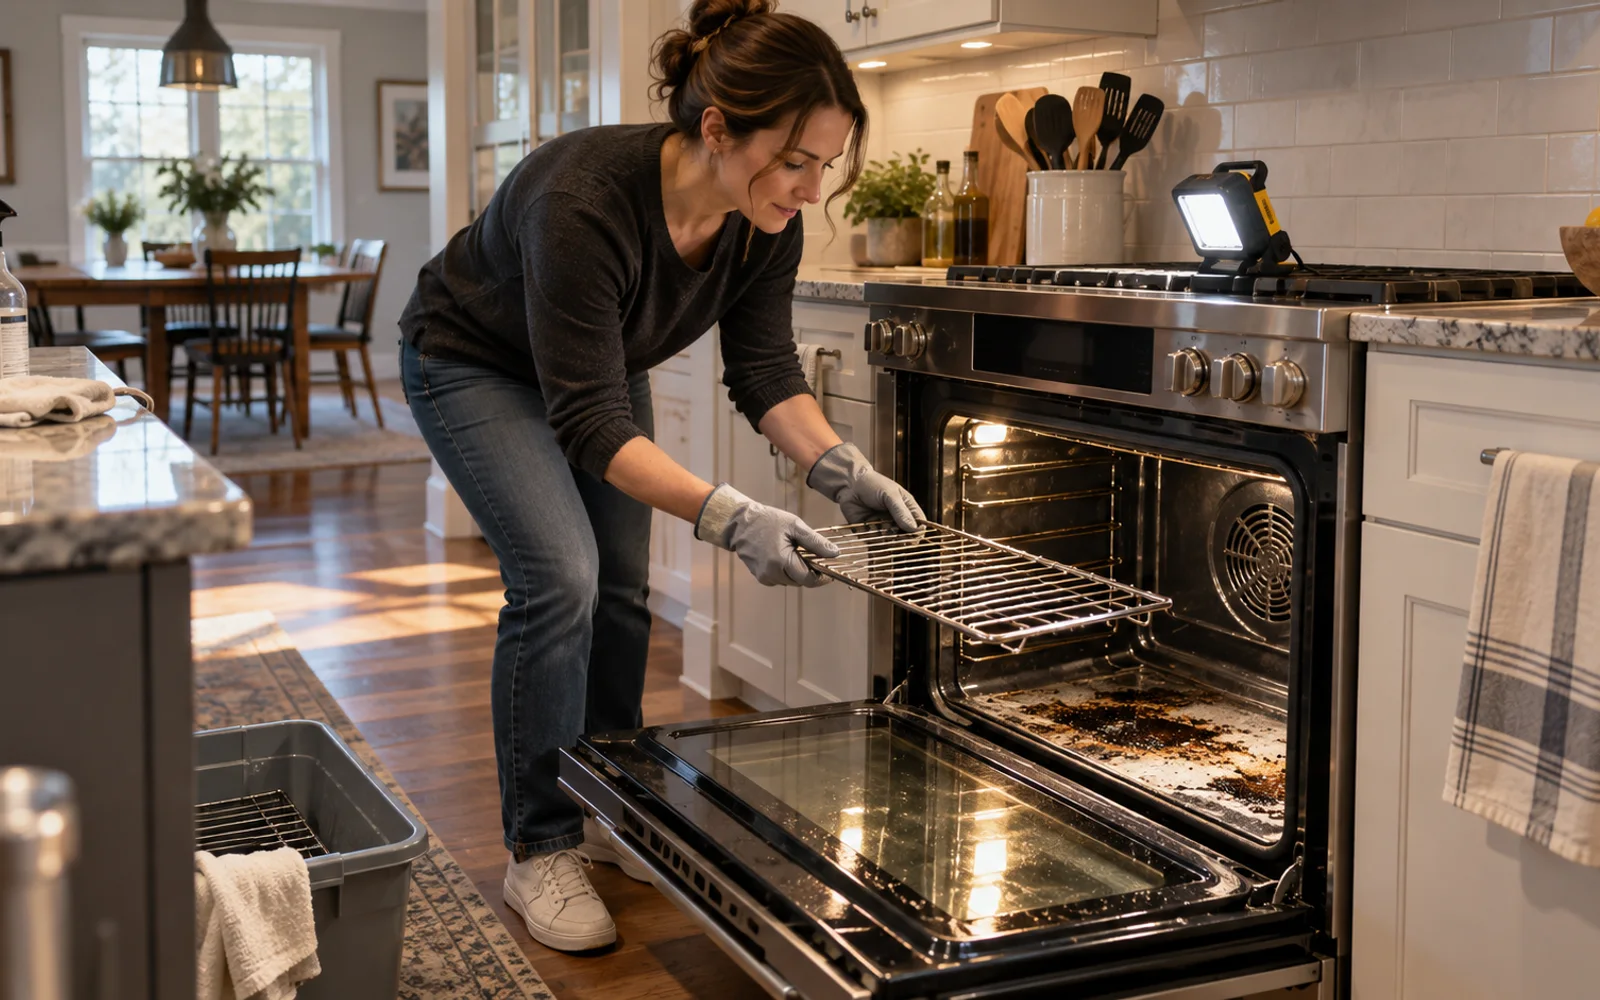
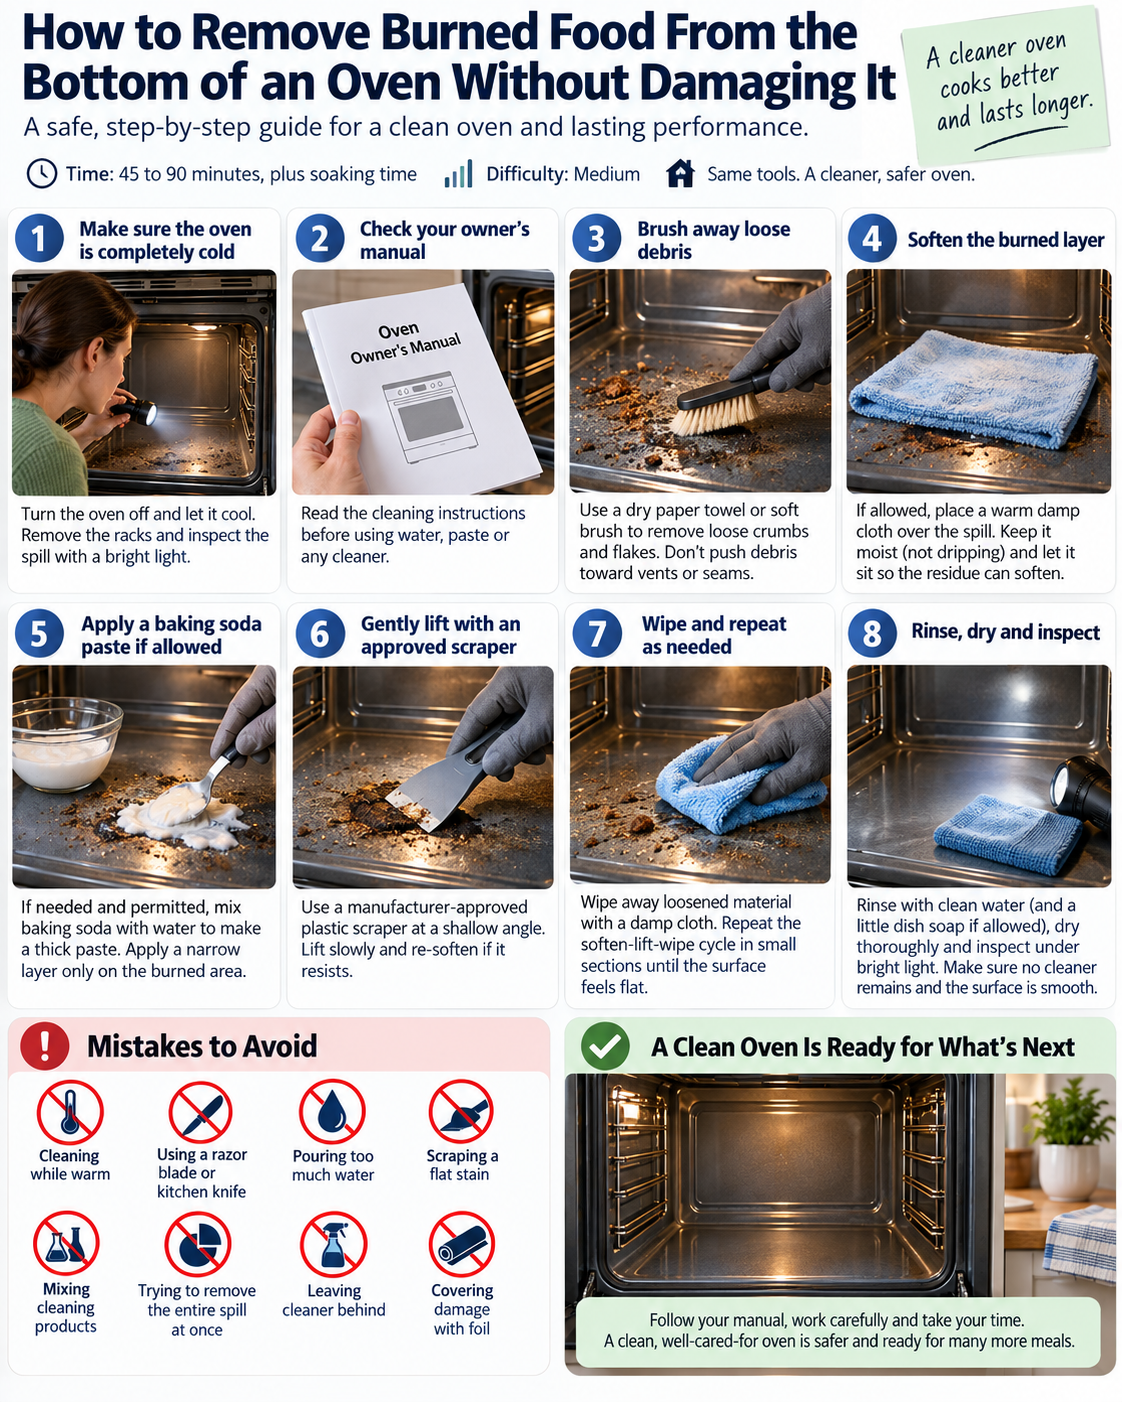
Open the oven only after it has cooled completely and is switched off. Remove the racks so you can reach the floor without twisting around hot or unstable components. Aim a bright light into the oven and look closely at the spill before touching it. You are trying to identify three different things: loose crumbs, raised burned material and flat discoloration. Each one needs a different response.
Read the Cleaning Instructions for Your Oven
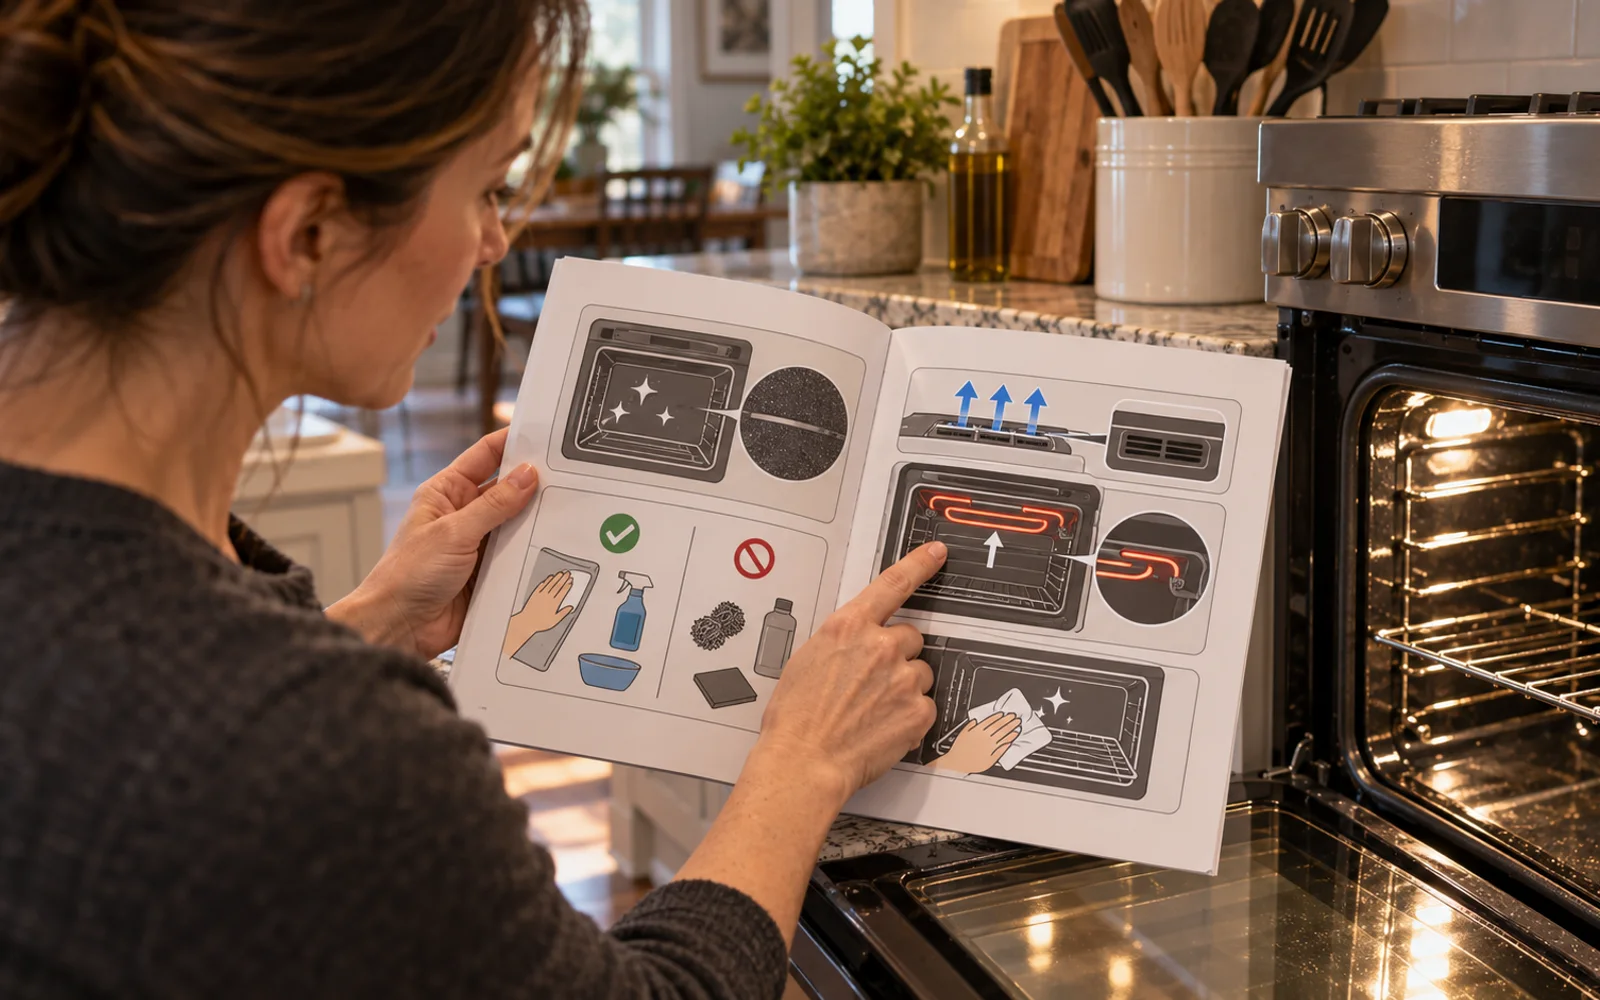
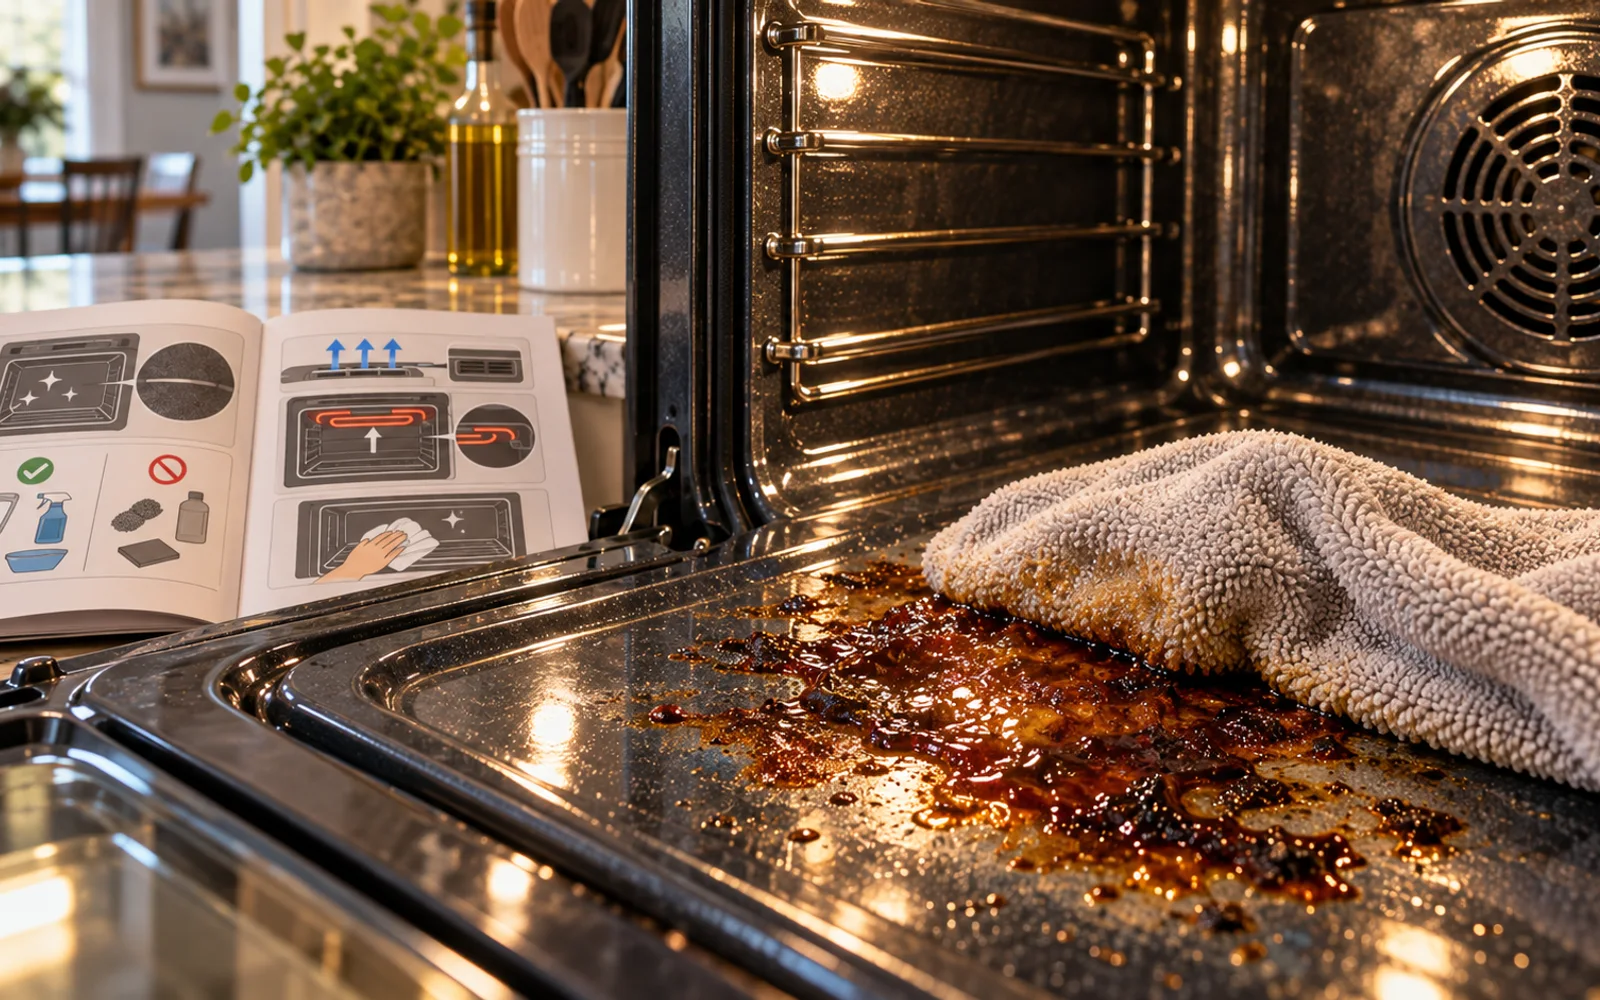
Check the owner's manual before adding water, paste or cleaner. Oven interiors vary considerably. Some have specialty enamel, hidden heating elements, steam ports, vents or self-cleaning coatings that should not be treated with common household methods. Follow your manufacturer's instructions whenever they differ from general cleaning advice. This single check can prevent permanent surface damage.
Brush Away Loose Burned Debris
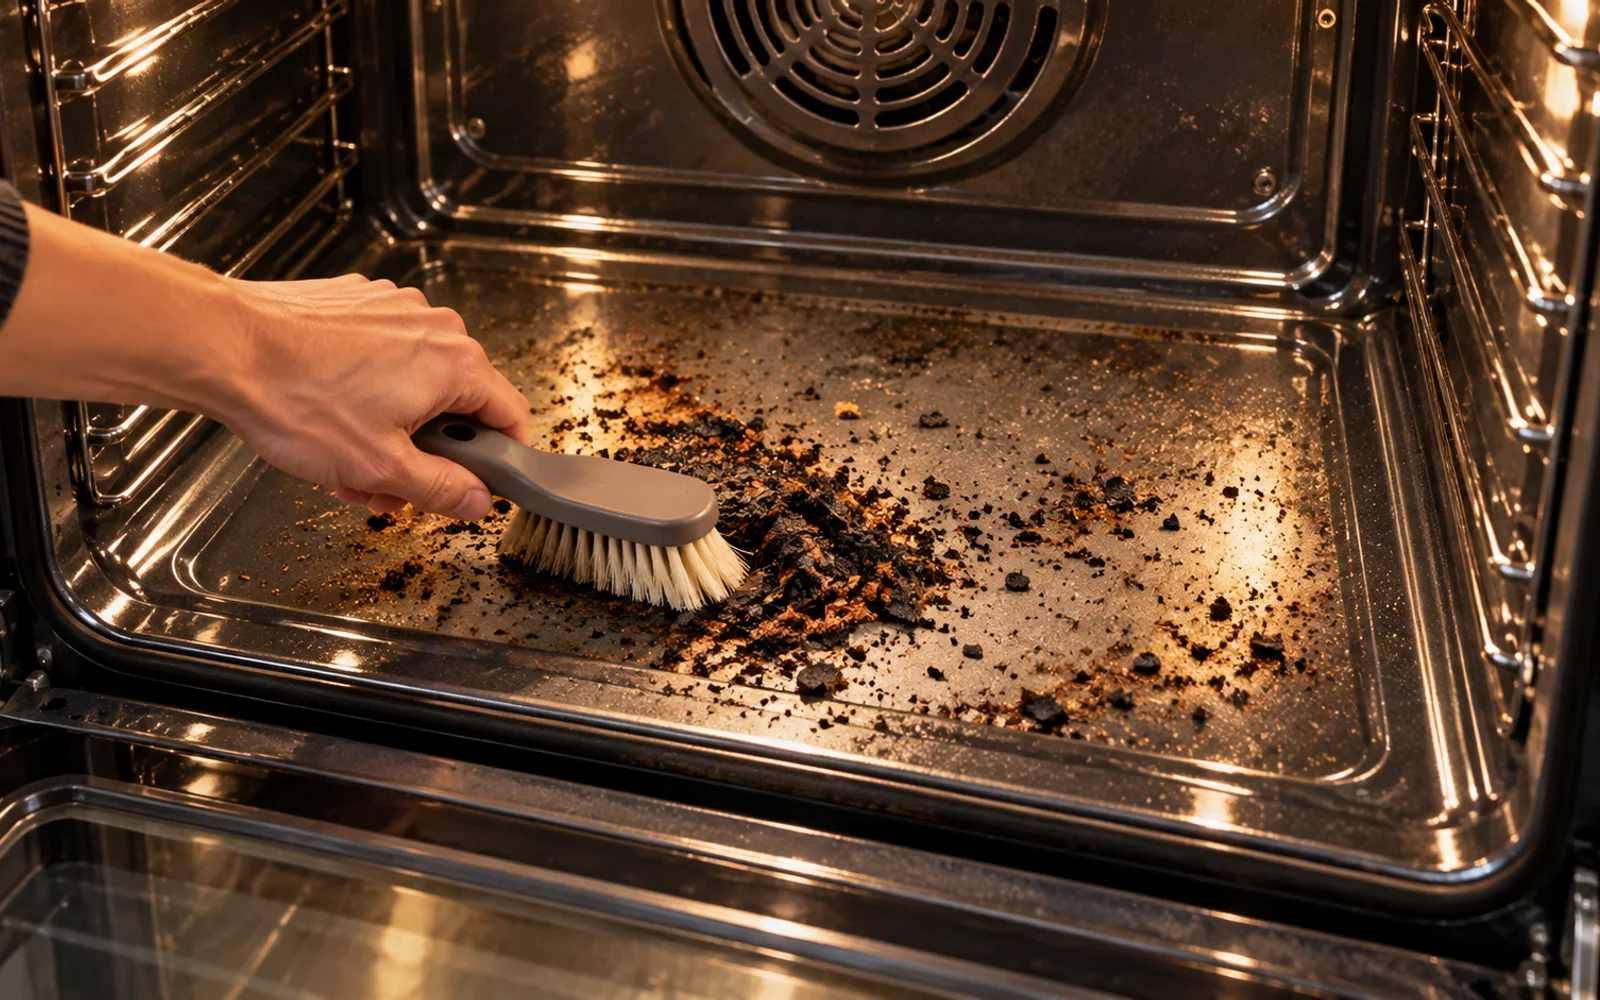
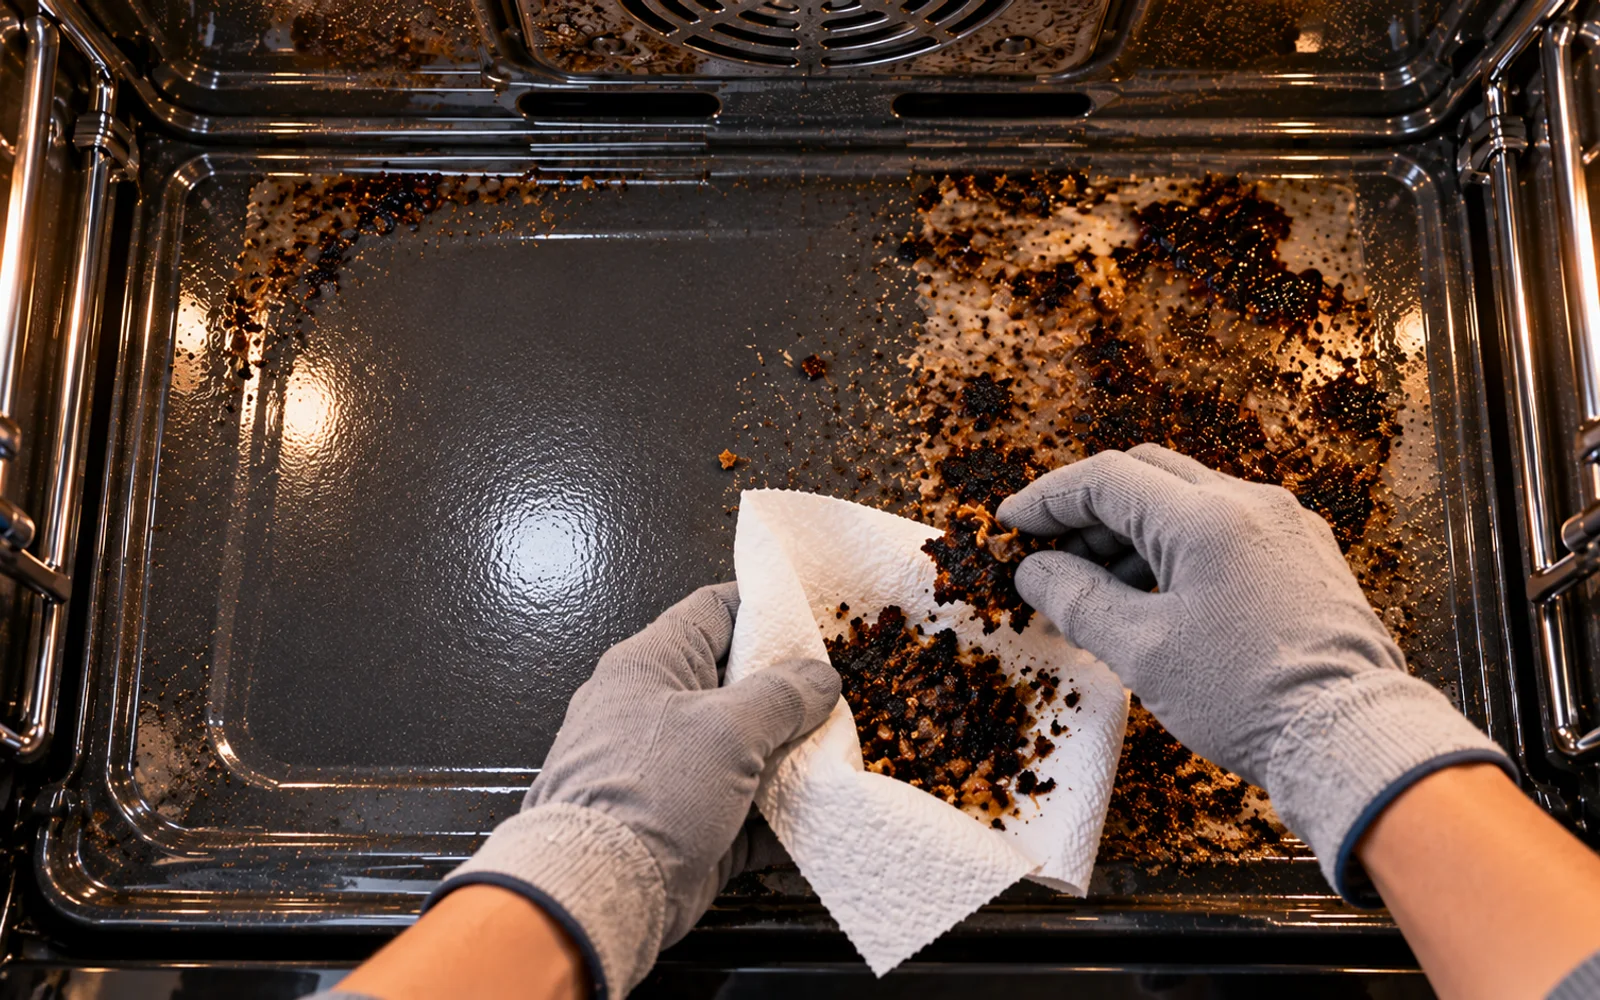
Use a dry paper towel or soft brush to gather crumbs, carbon flakes and other material that is already detached. Work toward an open area instead of pushing debris toward vents, seams or screw recesses. Do not start scraping the hard spill yet. Removing loose particles gives you a clean view of the actual bonded residue and prevents gritty fragments from scratching the surface later.
Check Whether the Residue Is Raised
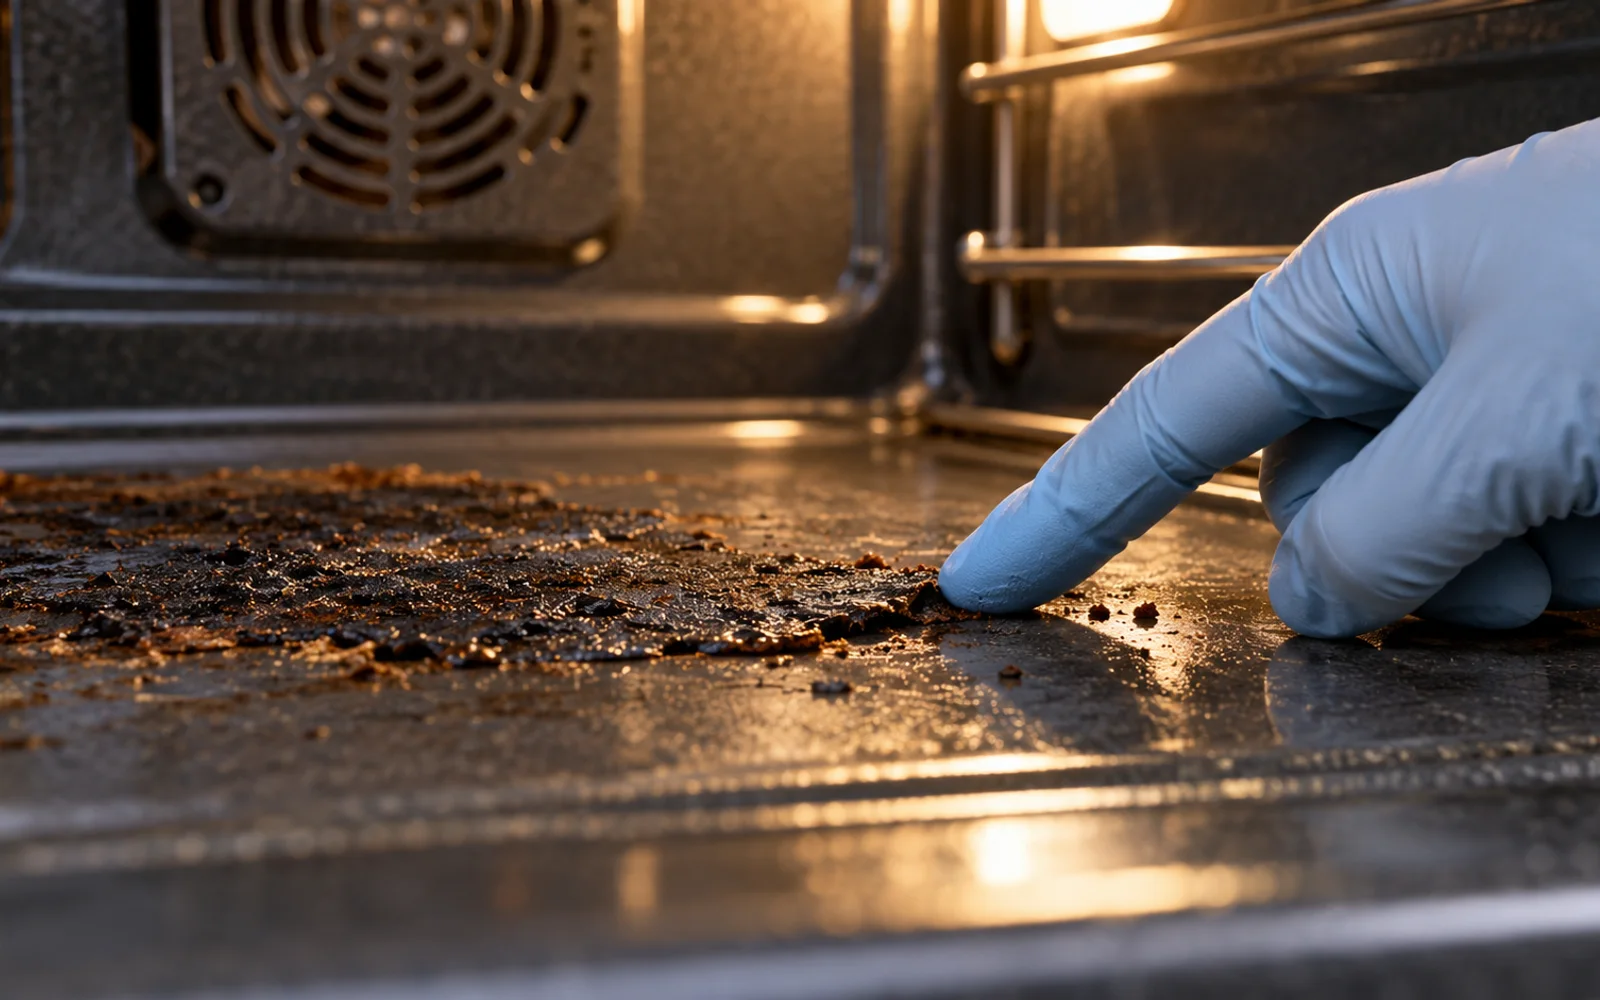
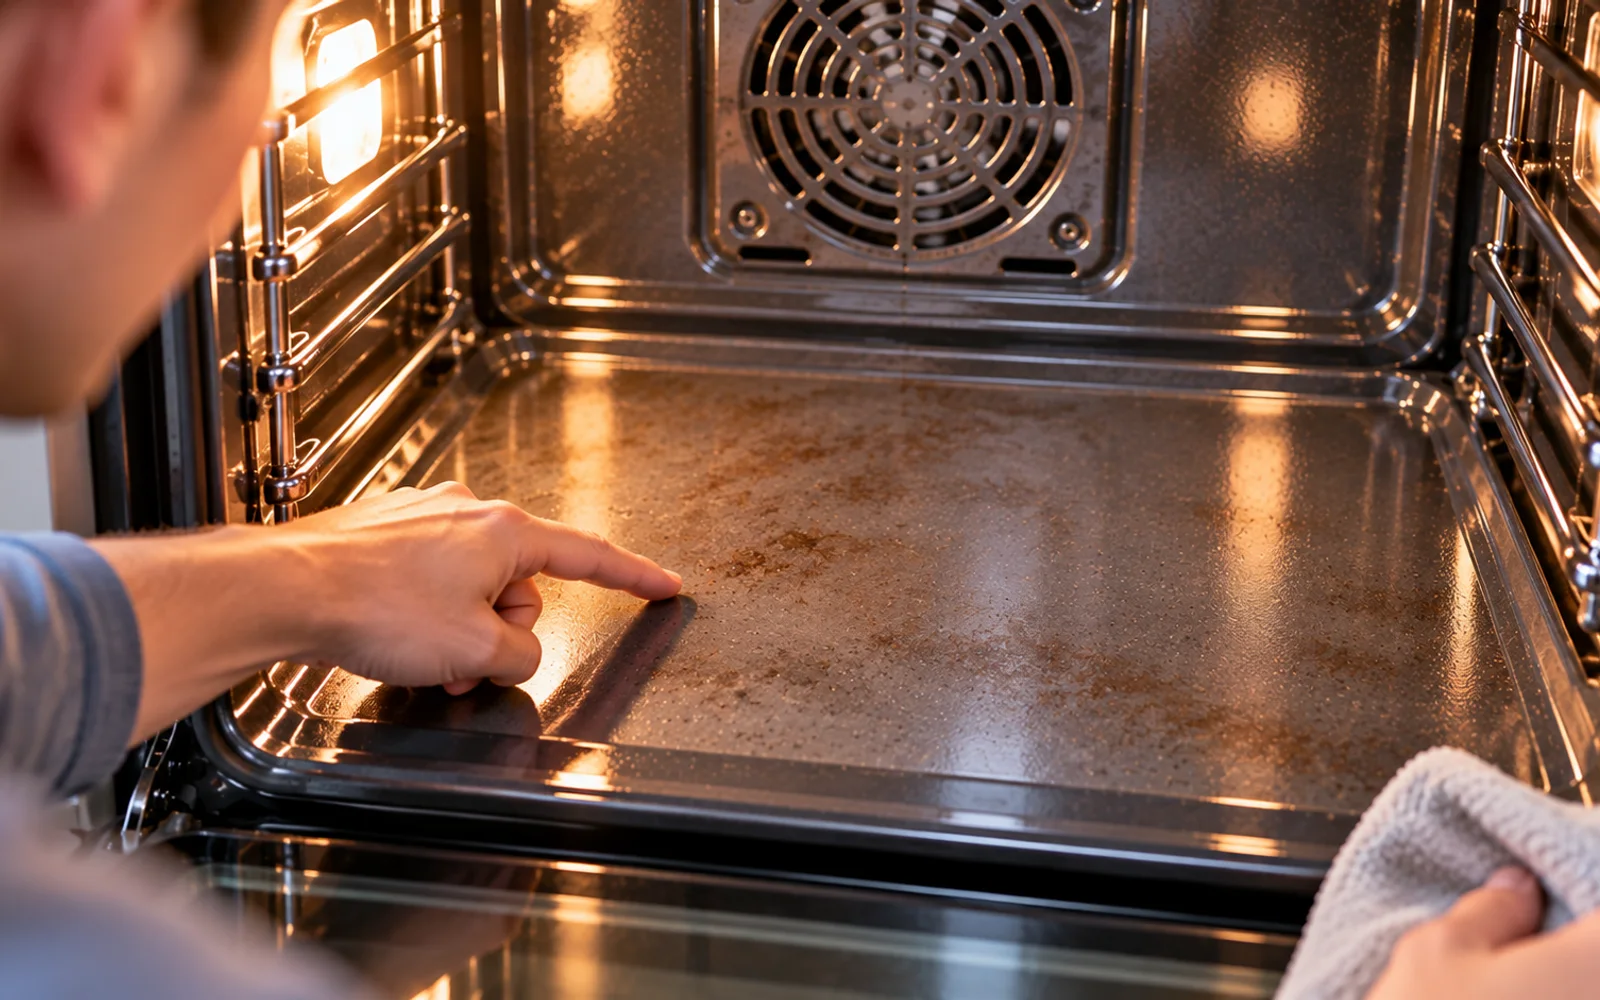
Put on a glove and use a cloth-covered fingertip to lightly feel the edge of the cooled spill. Do not pry at it. You are simply checking whether the material sits above the oven floor. A thick crust can usually be softened and gradually lifted. A smooth brown or gray area may instead be staining, which should not be attacked with increasingly aggressive scraping.
Put Sharp Tools Away
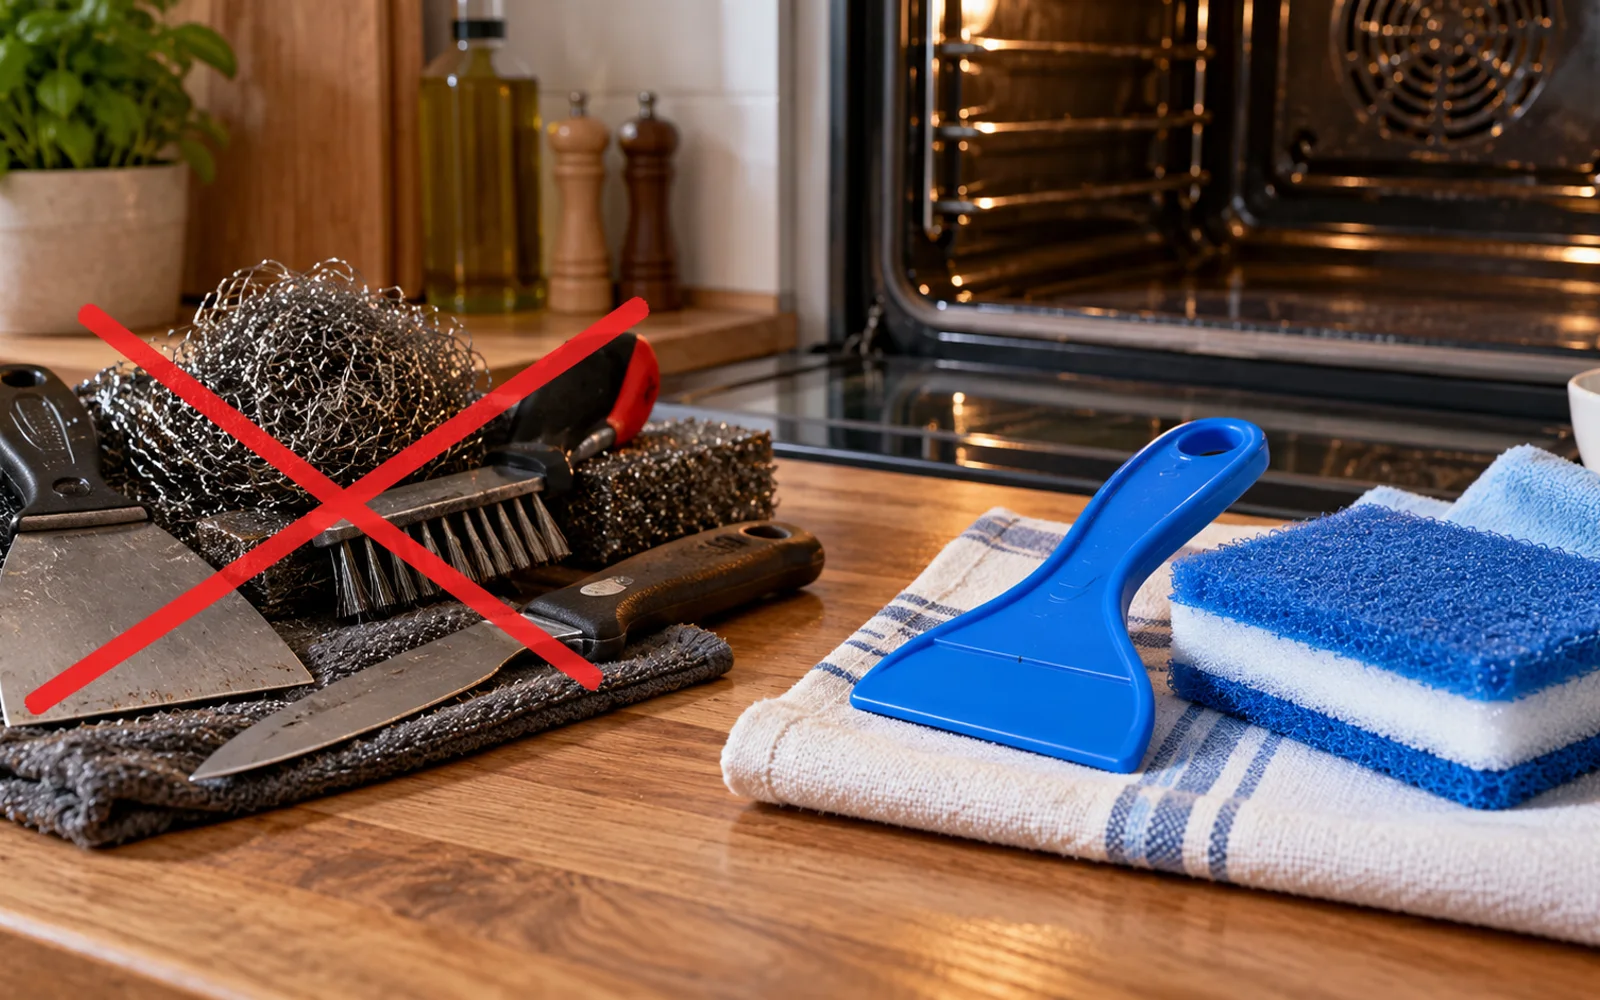
Do not use a chef's knife, screwdriver, razor blade, metal scraper or similar hard-edged tool unless the manufacturer specifically provides and approves it for that surface. Sharp metal can gouge enamel, expose underlying metal or damage an area above a concealed heating element. Use a permitted plastic scraper or non-scratch tool instead. If residue resists, increase soaking time rather than pressure.
Wipe Away Fine Soot
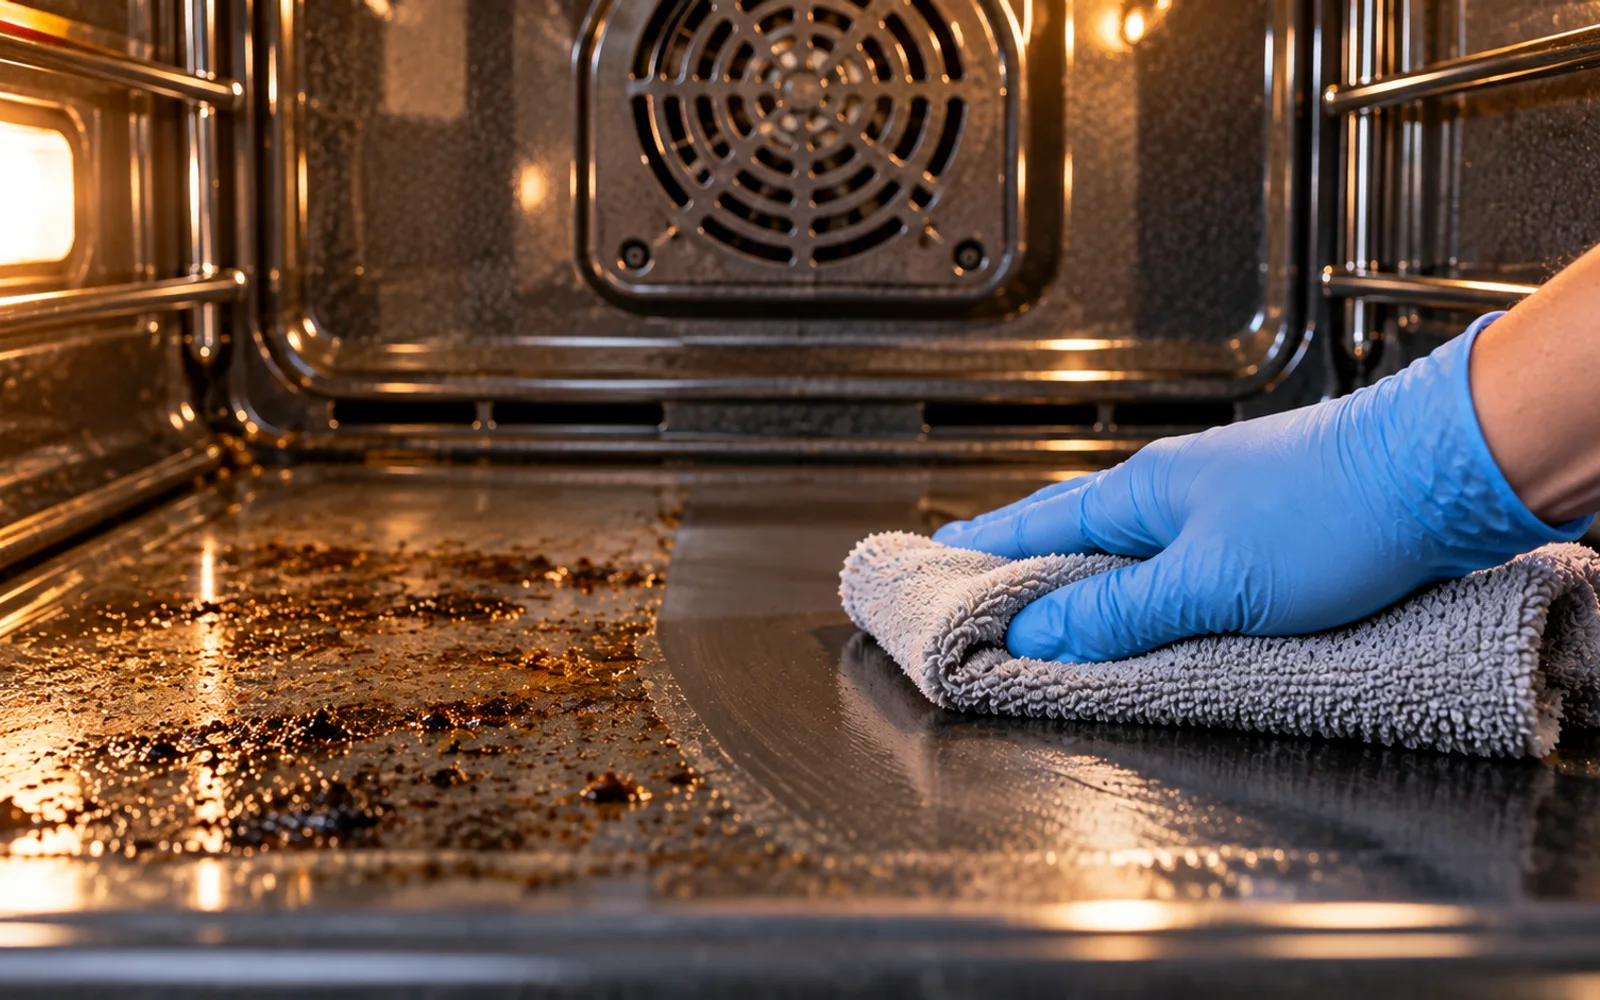
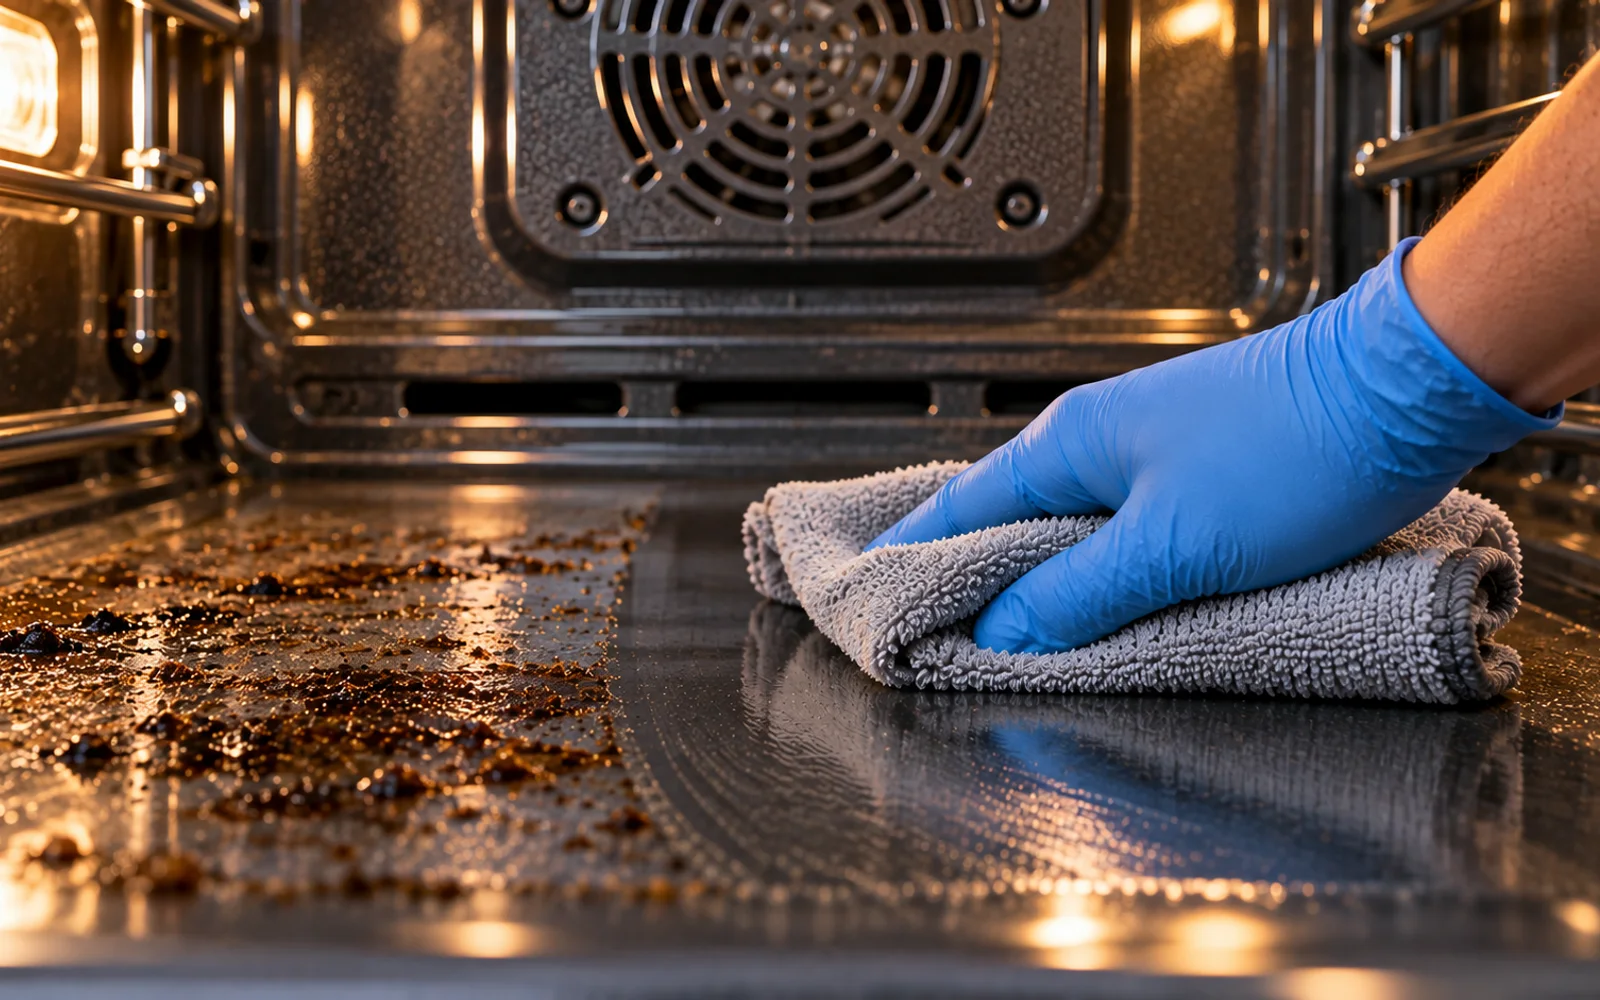
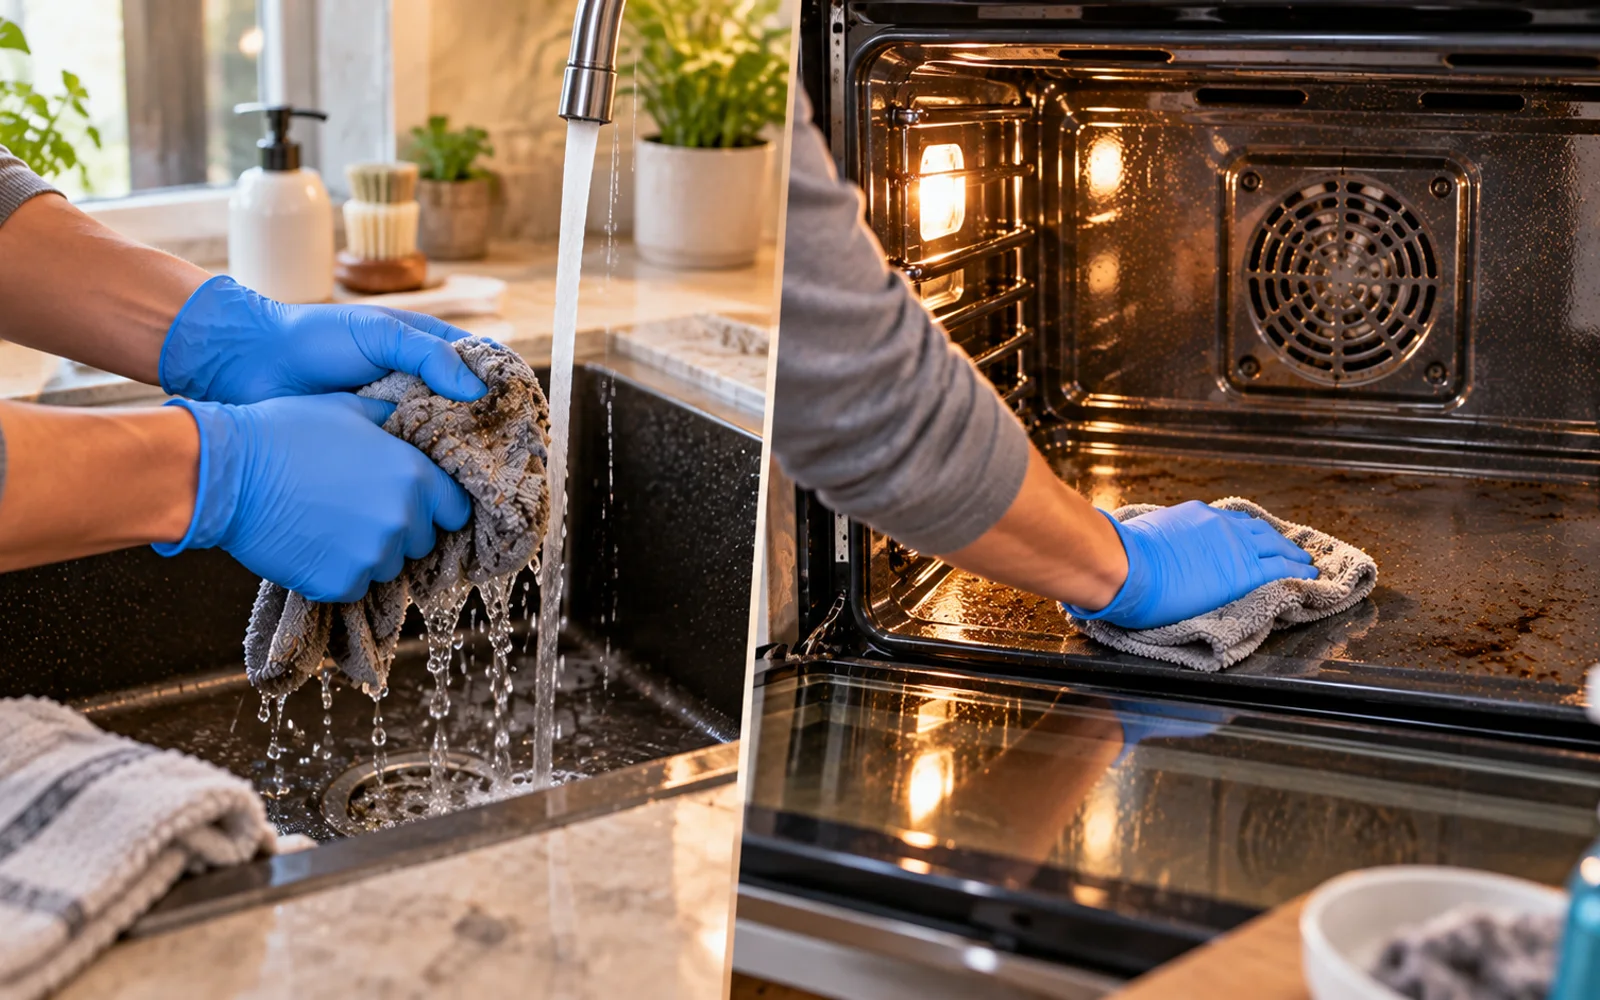
Dampen a microfiber cloth and wring it thoroughly so it is barely wet. Make one controlled pass over the accessible oven floor to remove fine soot and dusty residue. Avoid vents, holes, seams and electrical areas. This is not the main cleaning treatment. It simply prevents dust from mixing with the softening treatment and making the work messier.
Soften the Burned Layer With Controlled Moisture
If the manual permits moisture on the oven floor, place a warm damp cloth directly over the hardened spill. The cloth should be wet enough to transfer moisture but not dripping. Leave it in place so dried food can begin absorbing moisture again. This is particularly helpful with burned sauce, cheese and starchy spills. Avoid creating puddles around seams or openings.
Make a Small Baking Soda Paste if It Is Allowed
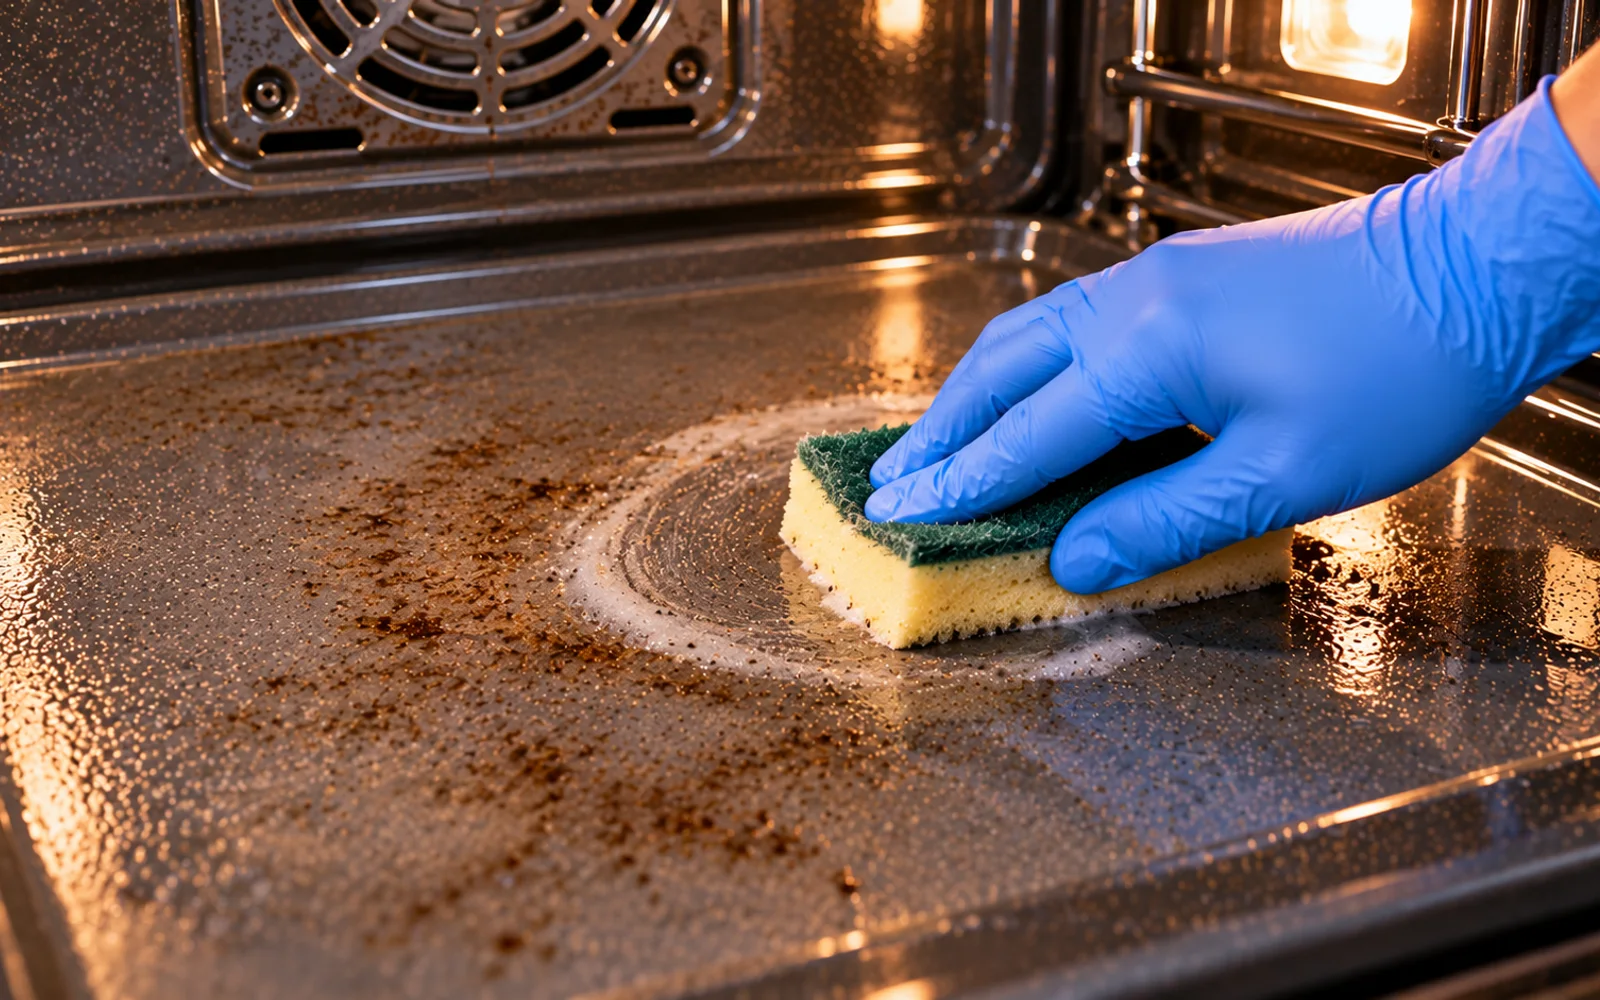
If water alone does not soften the residue and your manual permits baking soda, combine a small amount with enough water to make a thick spreadable paste. It should stay where you put it rather than run across the oven floor. Apply a narrow layer only over the burned area. Keep the paste away from vents, holes, heating components and door hardware.
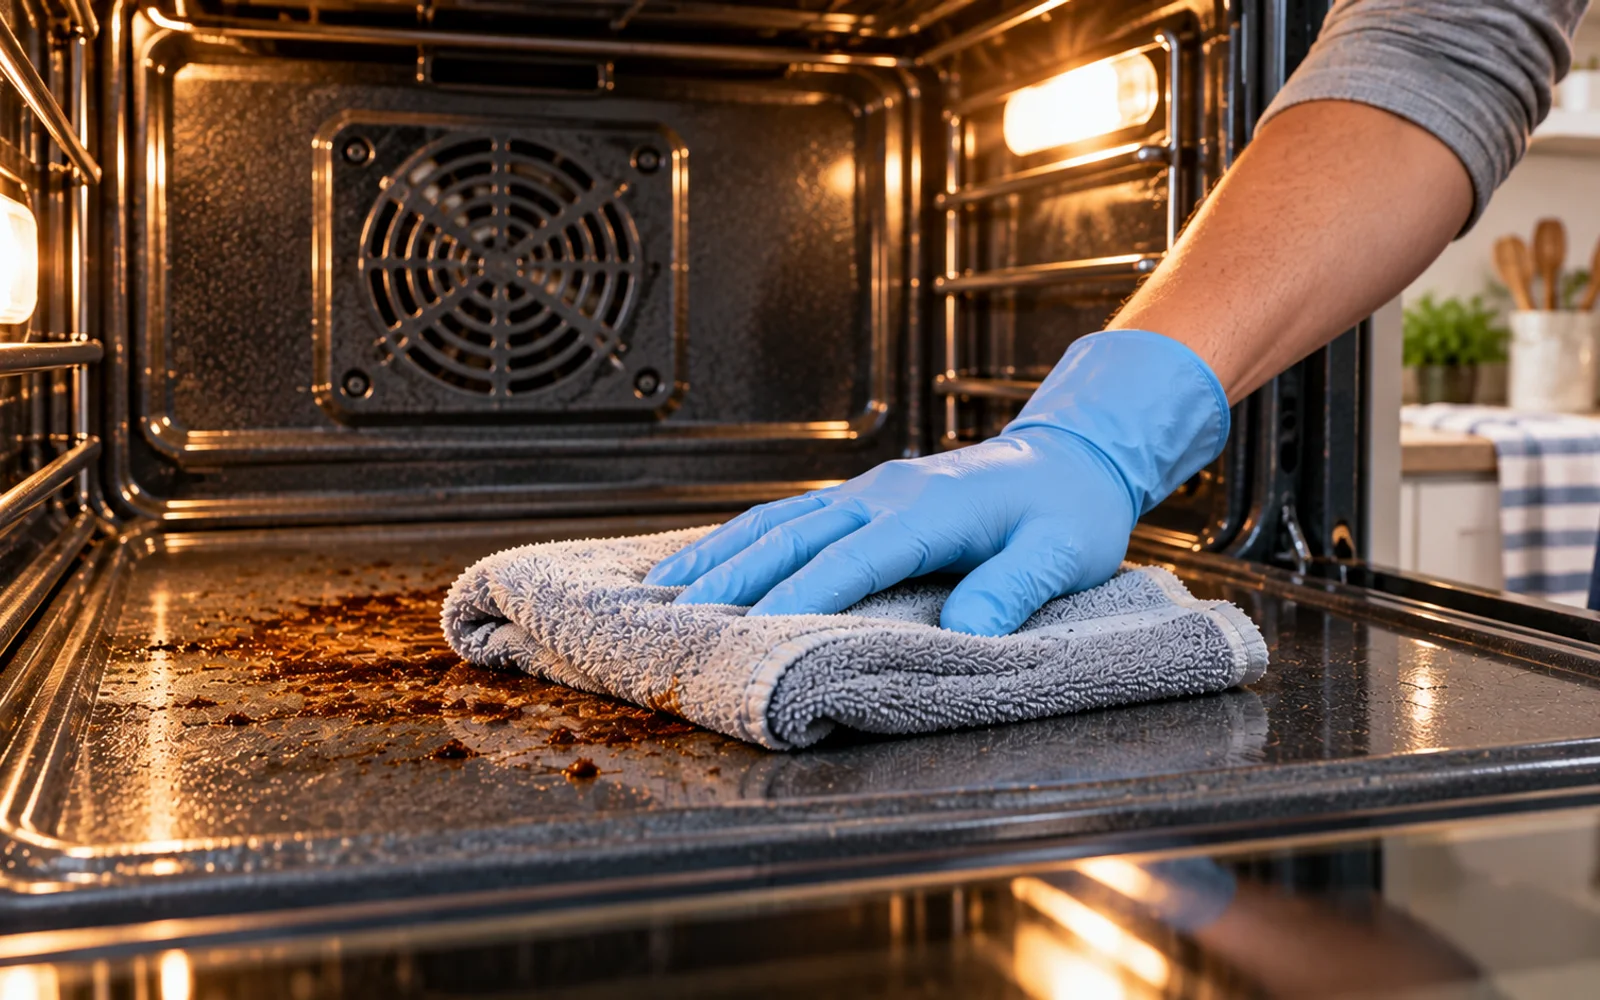
Let the Moisture Do the Work
Leave the approved paste or damp treatment in contact with the residue long enough for the outer layer to soften. Avoid the temptation to pile on more cleaner. A controlled layer is easier to remove and less likely to travel into areas where it does not belong. Keep the oven completely off. If the treatment dries, follow manufacturer or product instructions instead of pouring extra water into the oven.
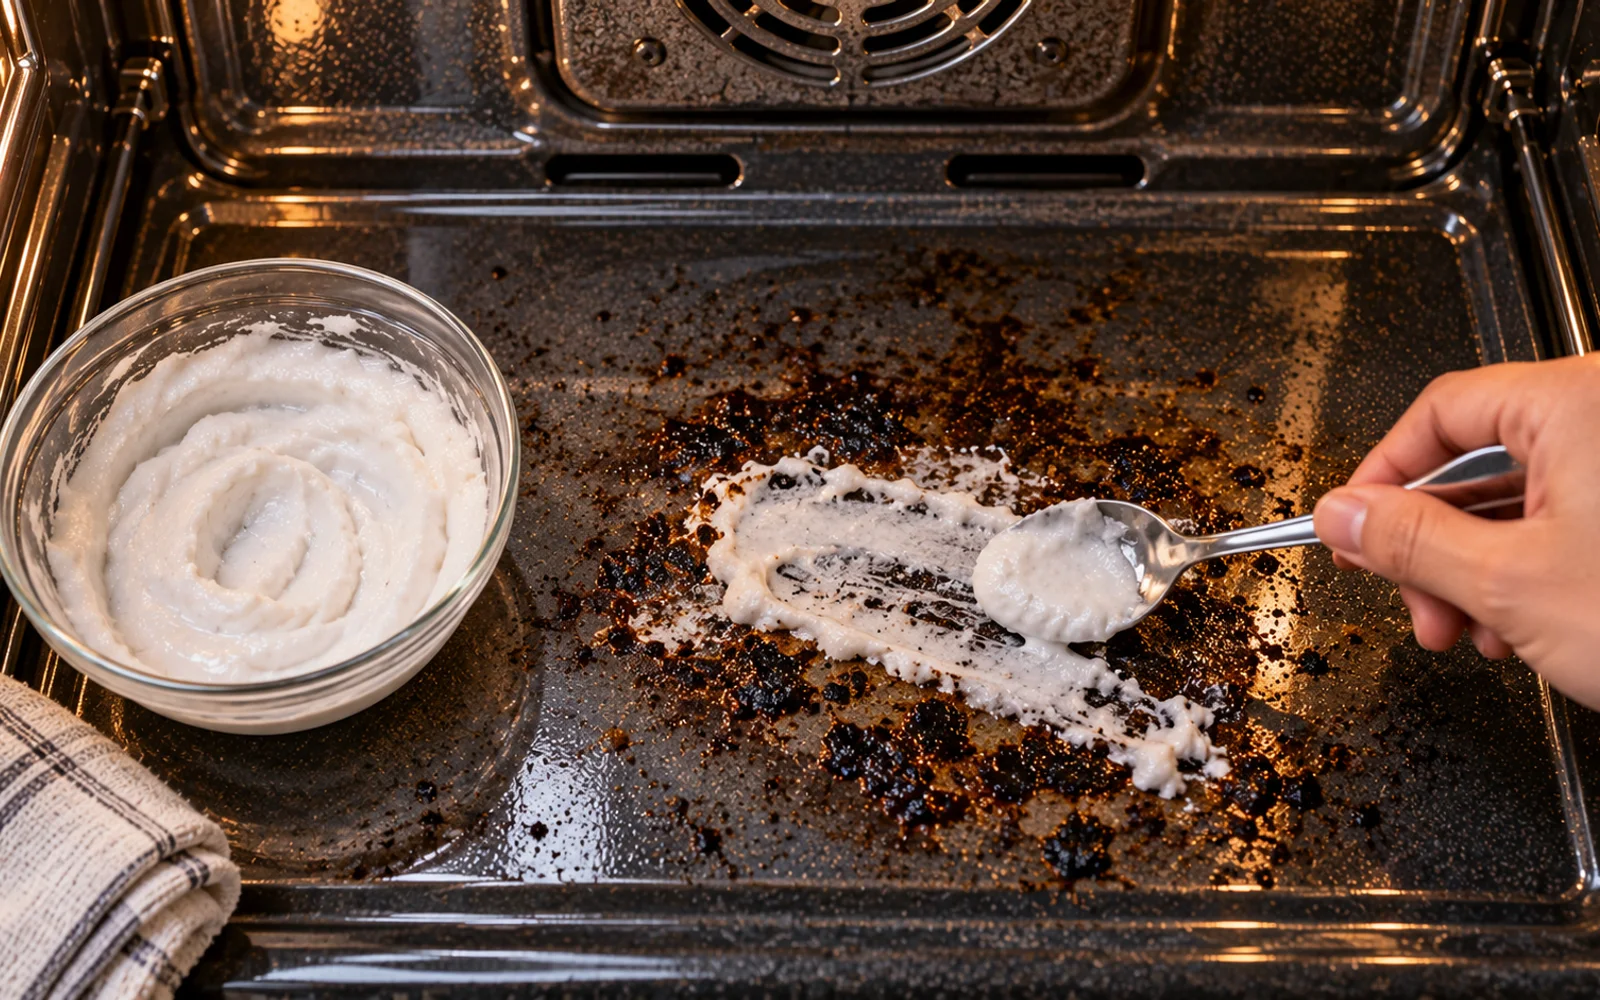
Slide Under the Edge at a Shallow Angle
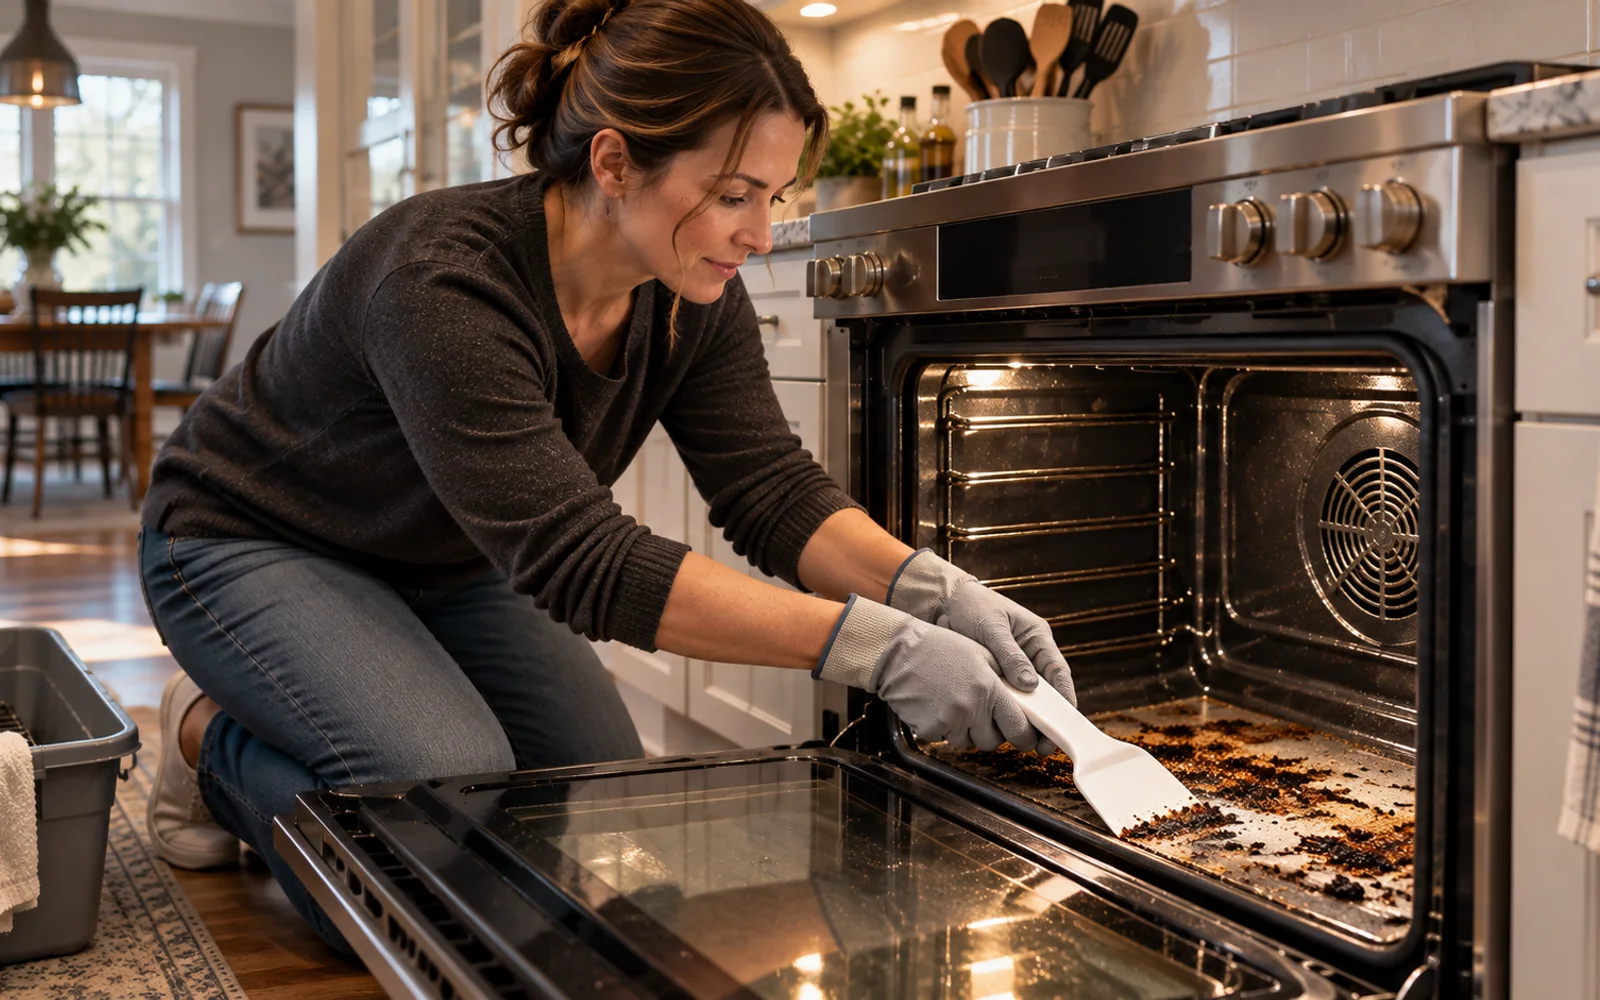
Take the approved plastic scraper and hold it nearly flat against the oven floor. Gently push it beneath a softened raised edge, advancing only a small distance at a time. You want the material to release gradually rather than snap away under heavy pressure. If the scraper stops moving easily, stop. Re-soften that spot instead of pushing harder.
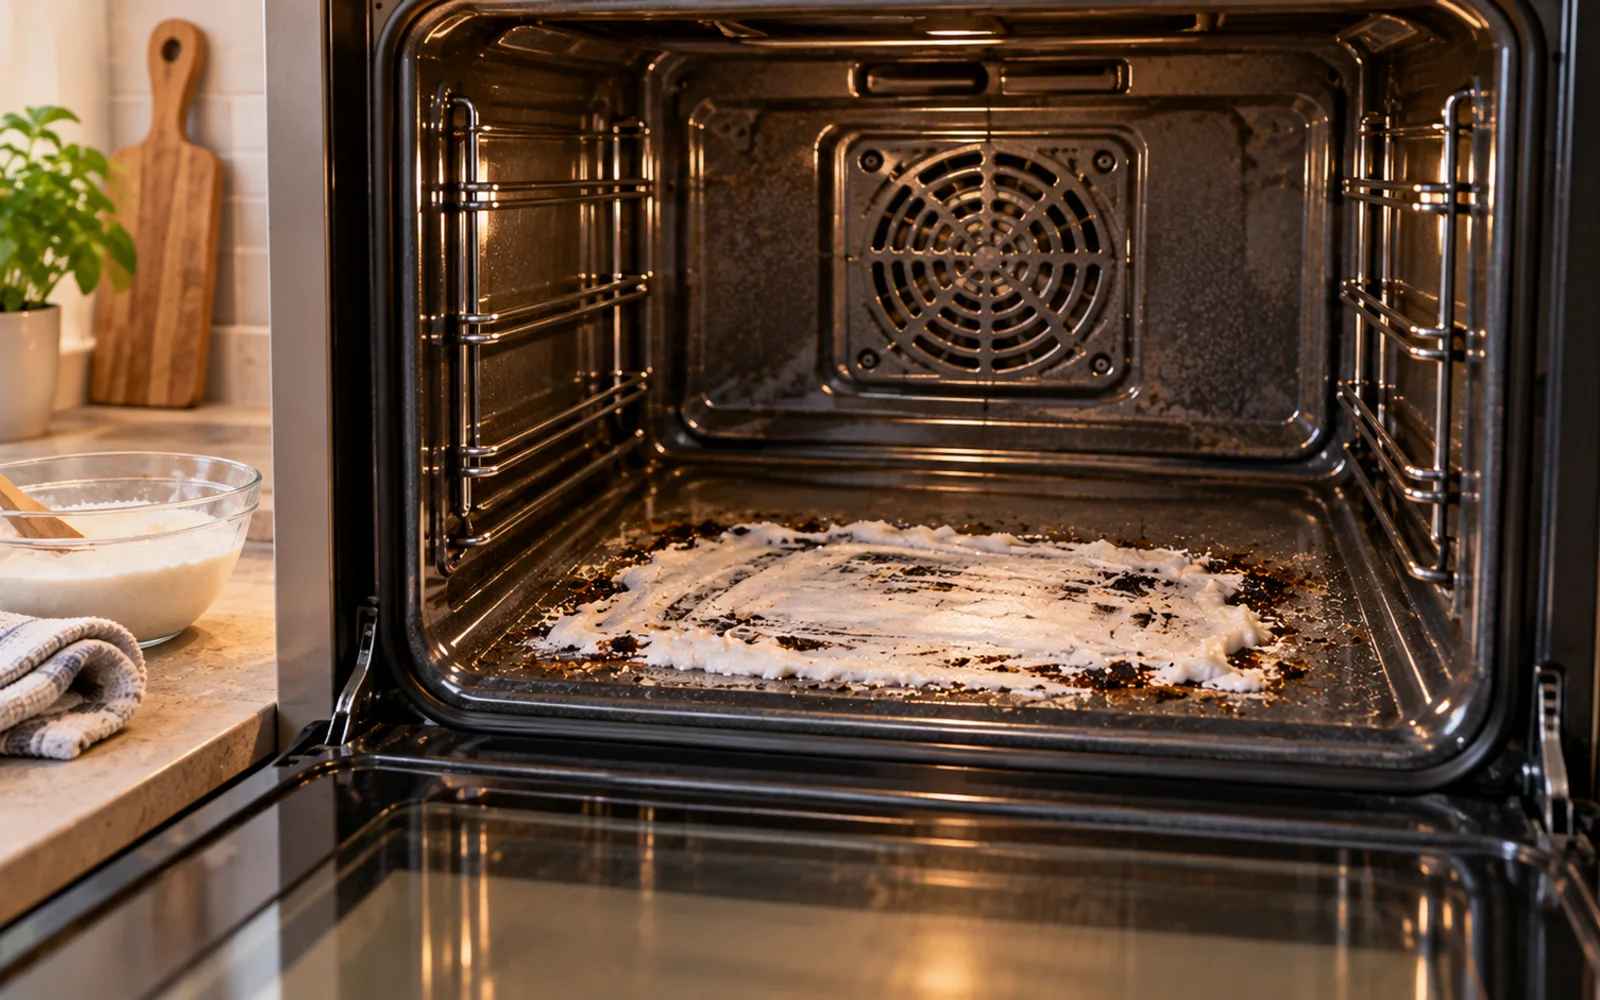
Wipe the Surface After Every Few Passes
Use a clean damp microfiber cloth to collect the material you have loosened. Wiping frequently prevents softened grime from being pushed back across the surface and gives you an accurate view of your progress. Run a cloth-covered finger over the cleaned portion. If it feels smooth, do not scrape that section again simply because some color remains.
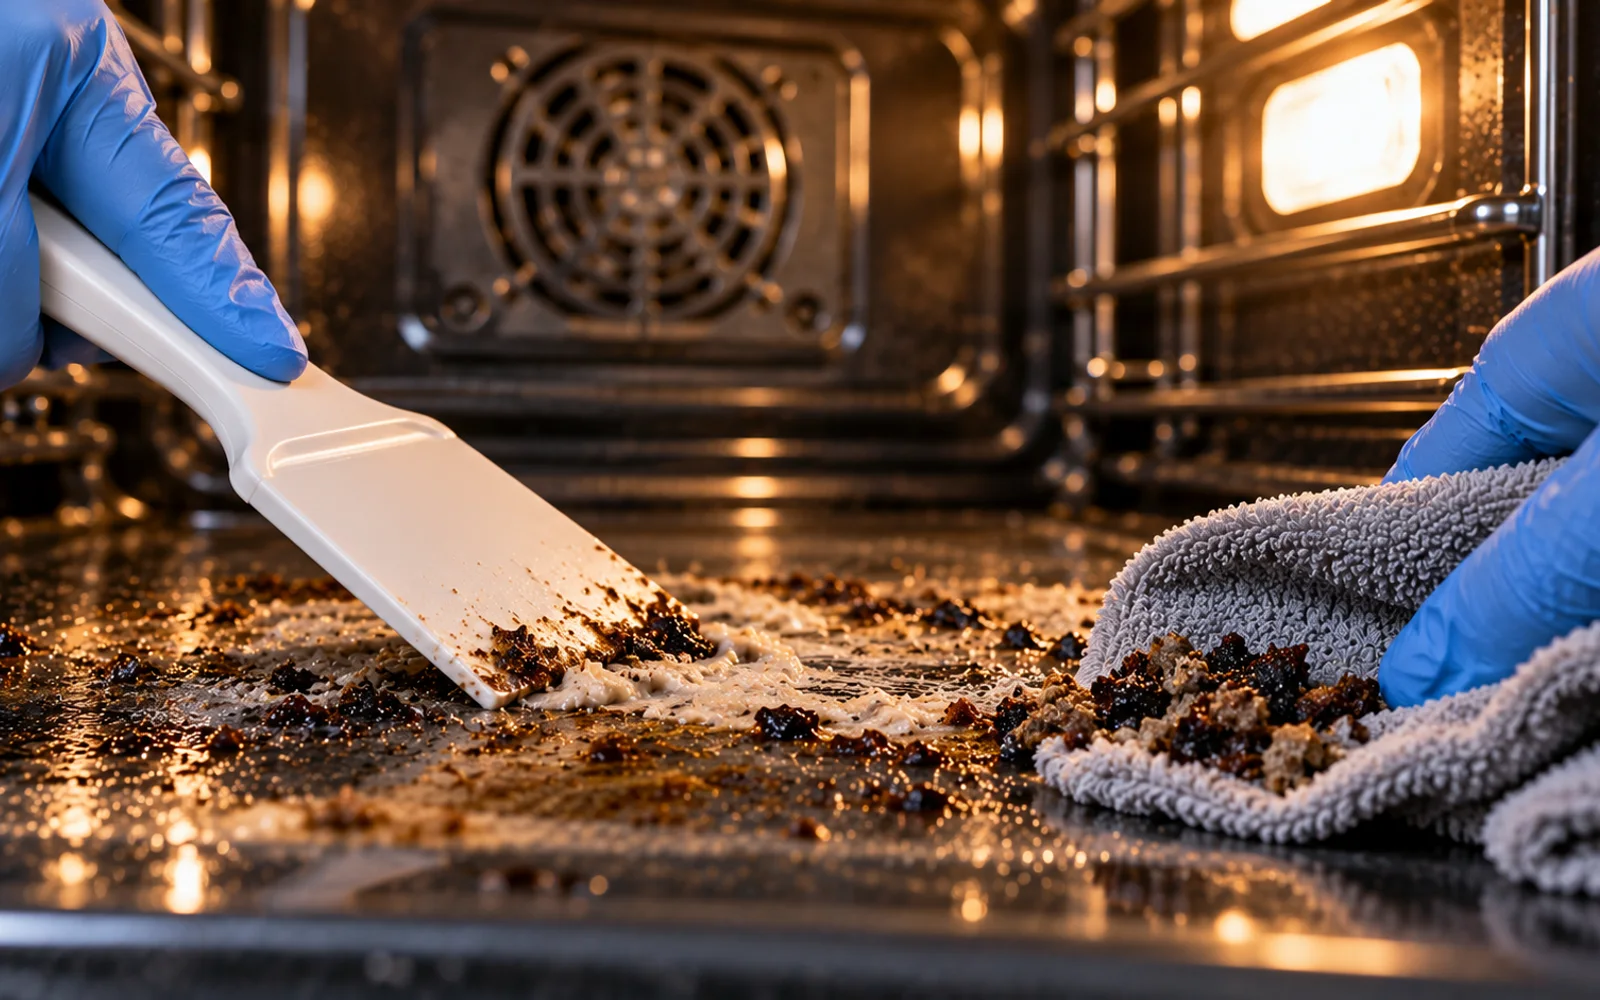
Repeat the Soften-Lift-Wipe Cycle
A thick baked spill may require several rounds, and that is preferable to one aggressive attempt. Reapply a small amount of dampness or approved paste only to areas that remain raised. Let them soften again, lift gently and wipe clean. Each round should require less force. Stop immediately if you notice flaking enamel, cracking, peeling or any change that appears to be damage to the oven surface.
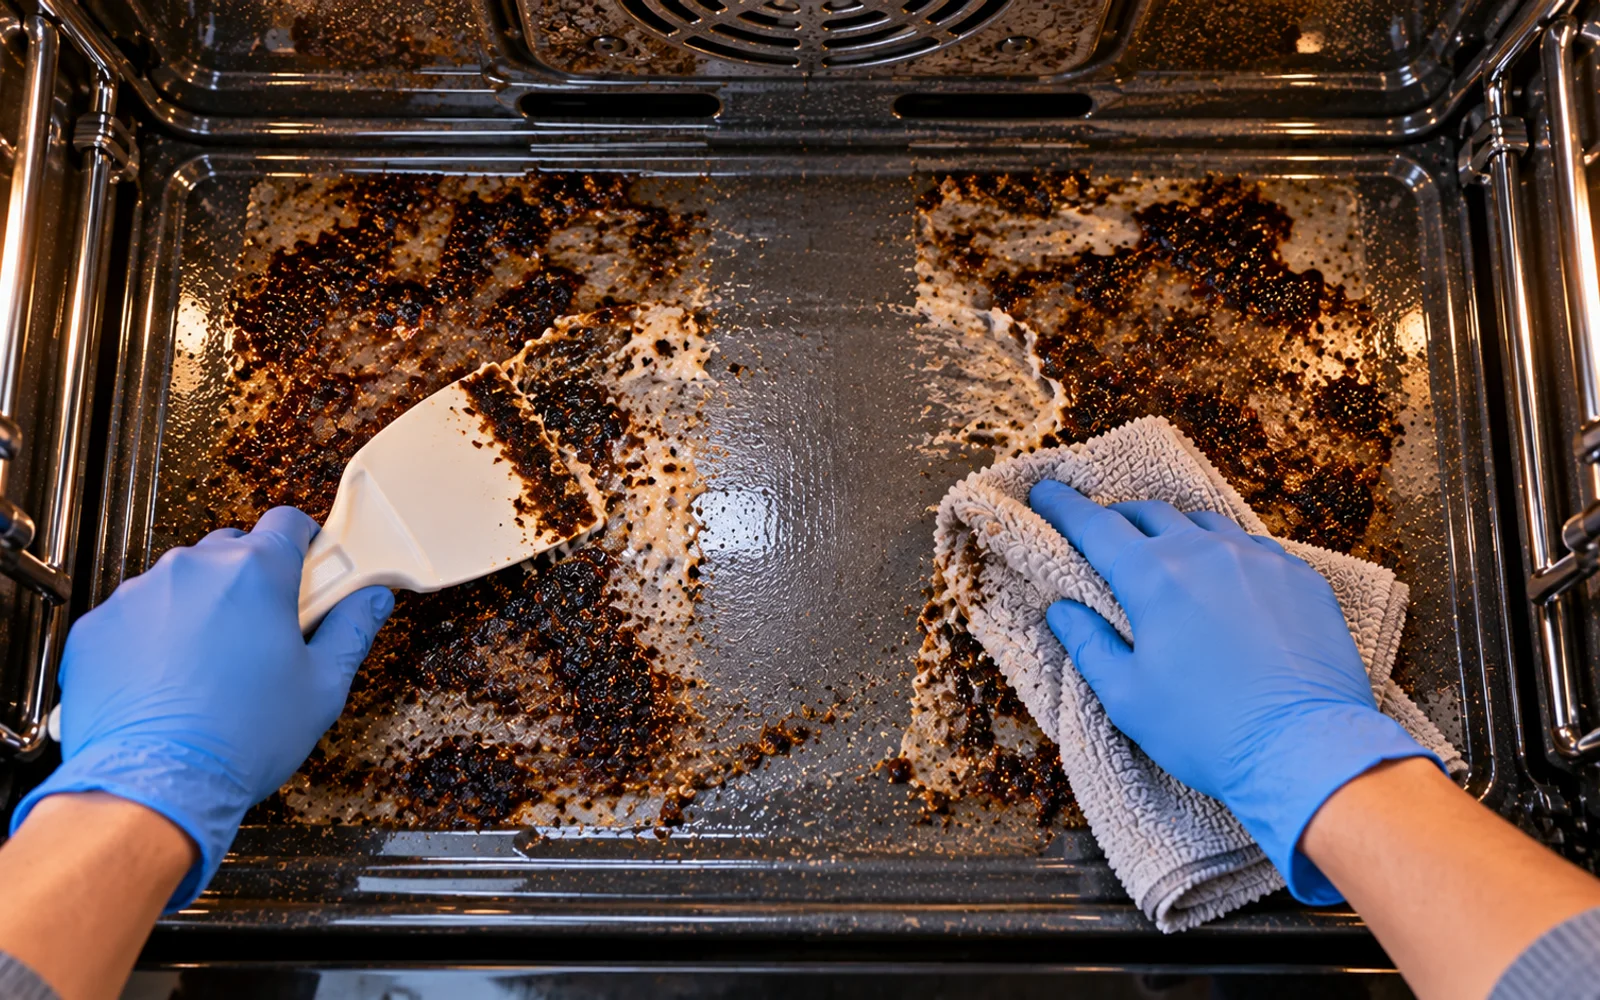
Break a Large Spill Into Small Work Zones
If the burned patch covers a large part of the oven floor, mentally divide it into sections. Work one small area until its raised crust has been substantially reduced before moving to the next. Small sections give you better control over moisture, scraper pressure and cleanup. They also make it easier to spot a surface problem before you repeat the same action over a wider area.
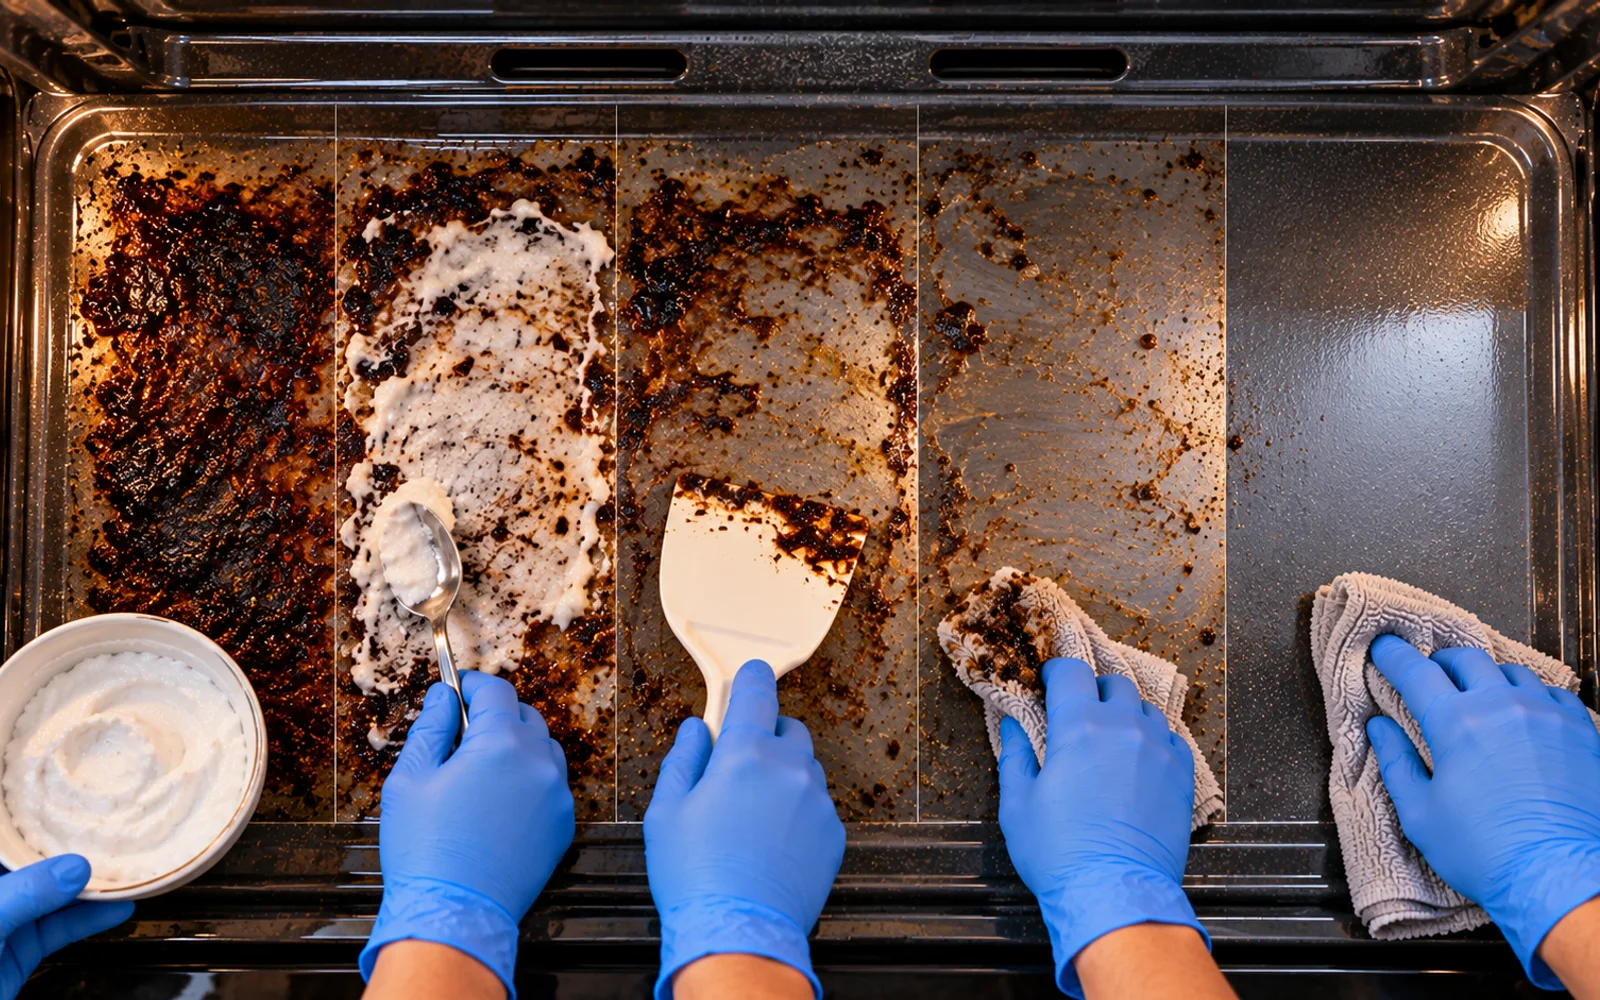
Begin Where the Residue Is Softest
Look around the outside of the spill for an edge that has become slightly flexible or easier to lift. Start there instead of attacking the hardest center. Keep the scraper pointed away from nearby seams and maintain a shallow angle. A softened outer edge provides a safer entry point. If it starts resisting again, return to moisture rather than levering the tool upward.
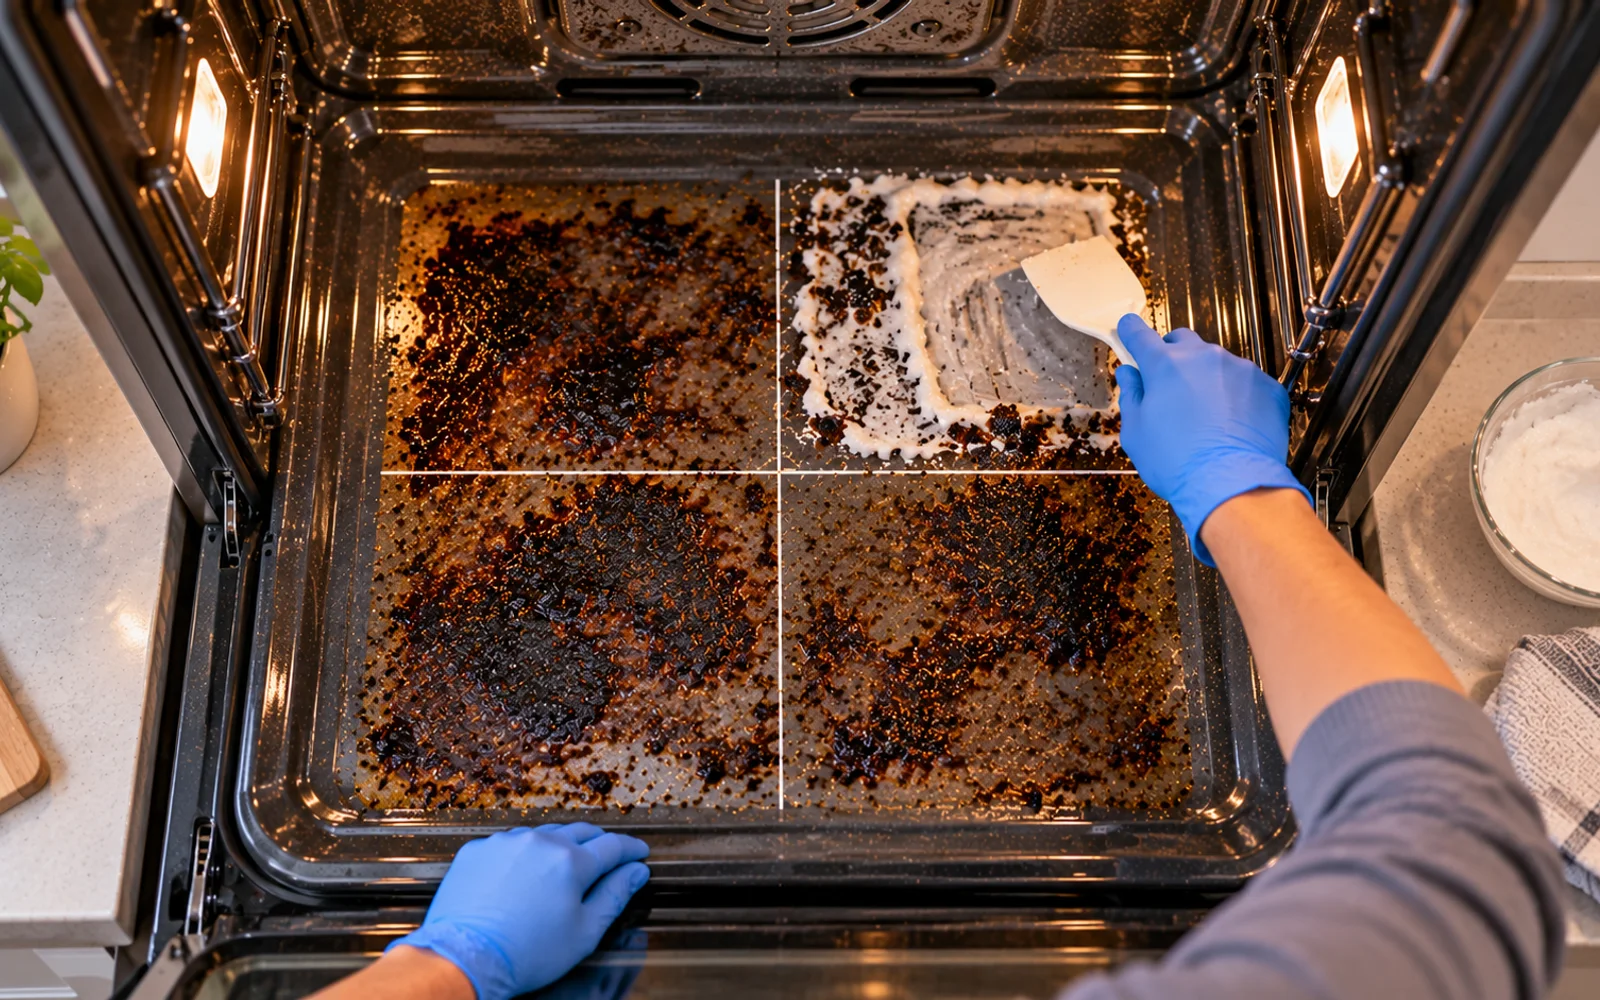
Use Two Hands for Better Scraper Control
For stubborn residue, place both hands on the approved scraper if the tool and oven opening allow it. Use one hand to guide the movement and the other to limit sudden pressure or slipping. Keep your body centered in front of the oven so you are not reaching awkwardly. The residue should release progressively. If you need increasing force, stop and soften the area again.
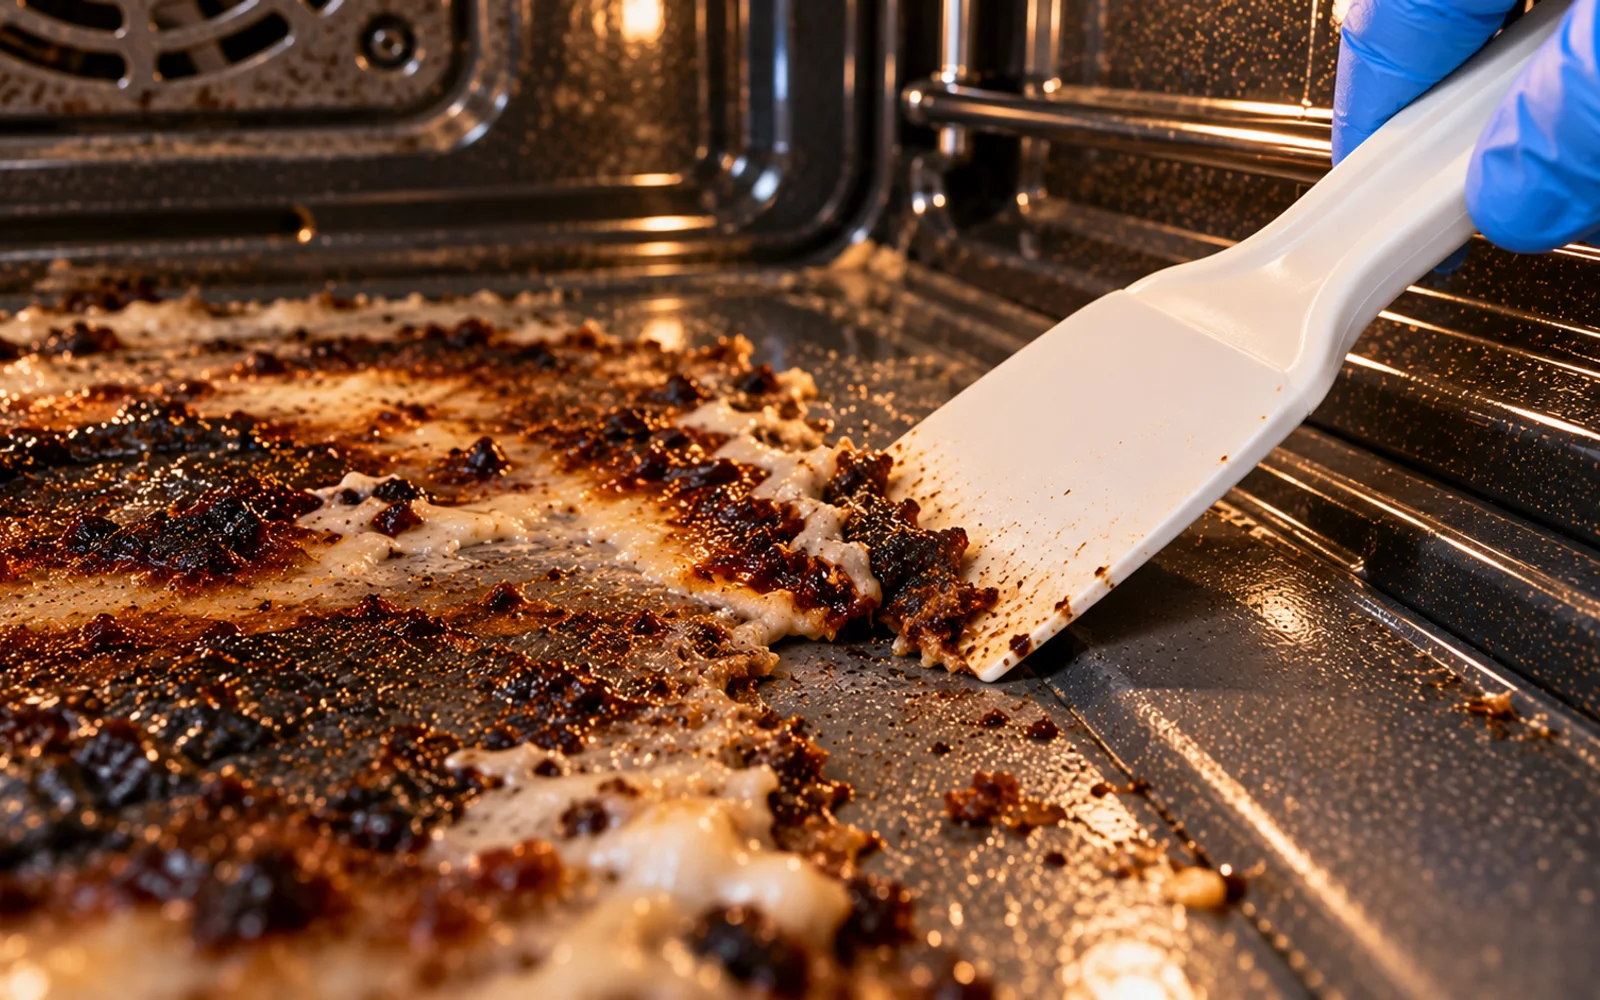
Pick Up Released Pieces Right Away
As larger chunks separate from the oven floor, remove them with a towel rather than pushing them around. Hardened fragments can behave like grit underneath a cloth or scraper and create scratches. A clear work area also lets you see exactly where bonded material remains. Dispose of chunks as you go instead of allowing them to accumulate near vents or seams.
Take Extra Care With Burned Sugar
Caramel, pie filling, barbecue sauce and other sugary foods can cool into a very hard glass-like layer. Do not switch to a razor or knife because the residue feels unusually hard. Continue with controlled softening, gentle testing and shallow-angle lifting. Check your manual for any special instructions involving sugar because certain oven surfaces can be particularly vulnerable to damage from baked-on sugary spills.
Stop Scraping When the Surface Feels Flat
Once a cloth-covered fingertip can no longer detect a raised edge, set the scraper aside. Continuing to scrape a flat brown mark is unlikely to remove material that is no longer physically present. At this stage, your job changes from lifting burned food to removing remaining film and evaluating discoloration. This stopping point is one of the best ways to avoid unnecessary scratches.
Wash Away the Remaining Film
Rinse a microfiber cloth in clean water, wring it thoroughly and wipe away loosened grease, baking soda and fine particles. Rinse the cloth repeatedly rather than spreading dirty water across the oven floor. If your manufacturer permits mild dish soap, a small diluted amount may help with greasy film. Follow with another plain-water wipe so soap does not remain behind.
Inspect the Area Dry and Under Bright Light
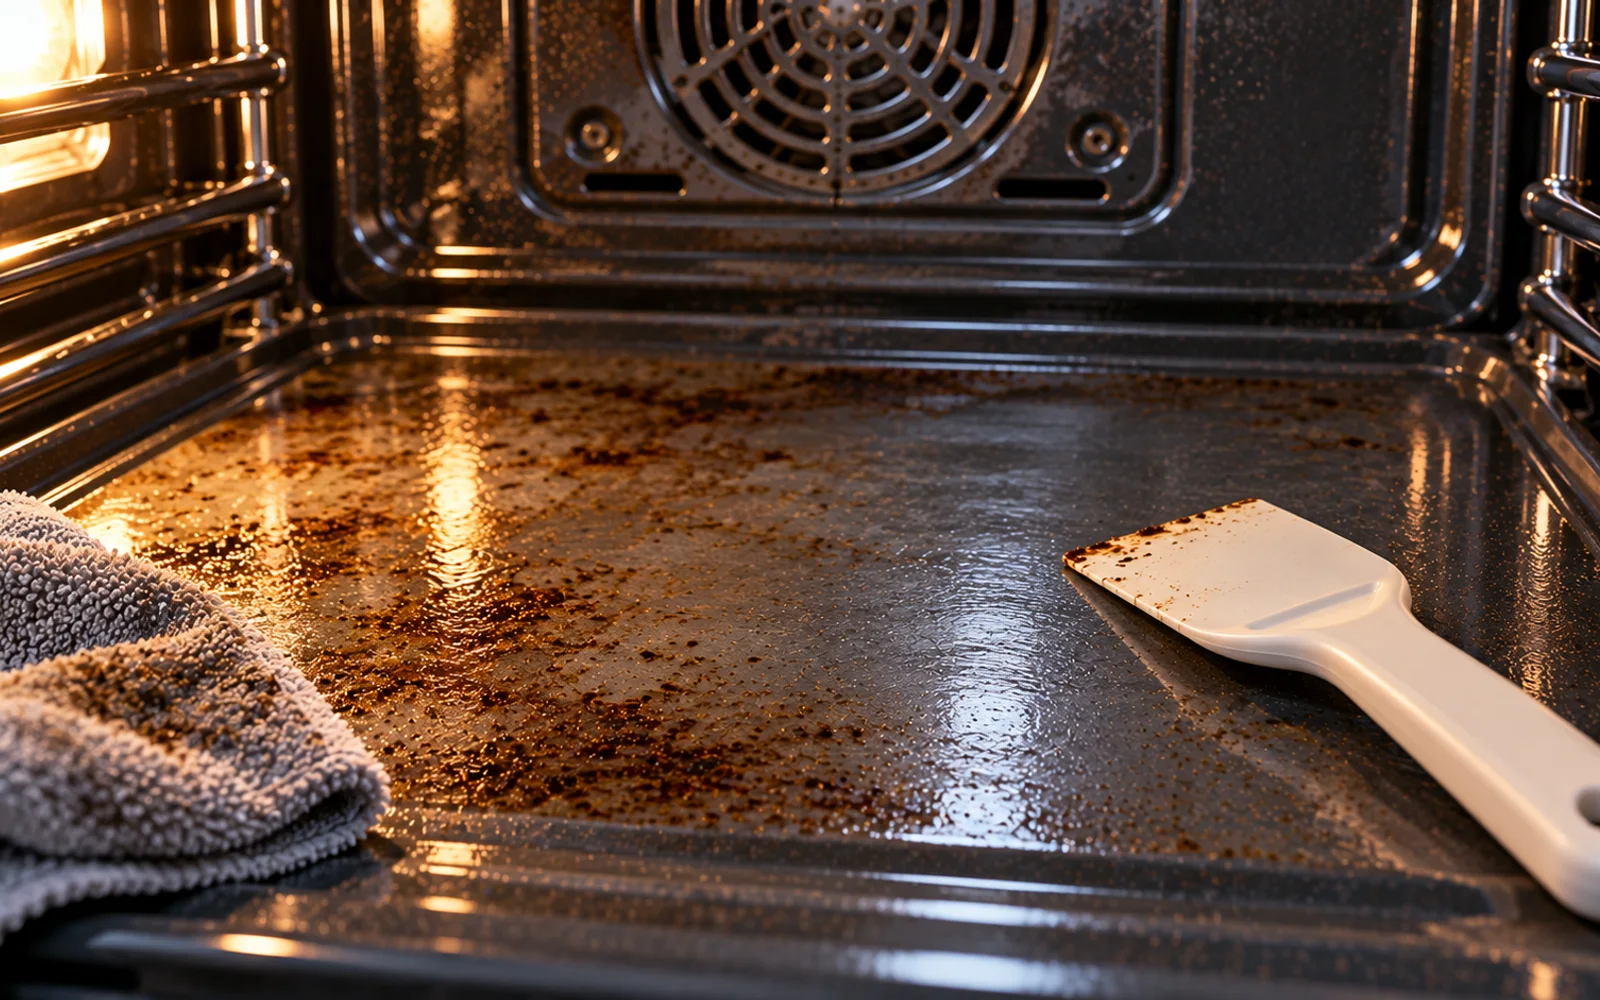
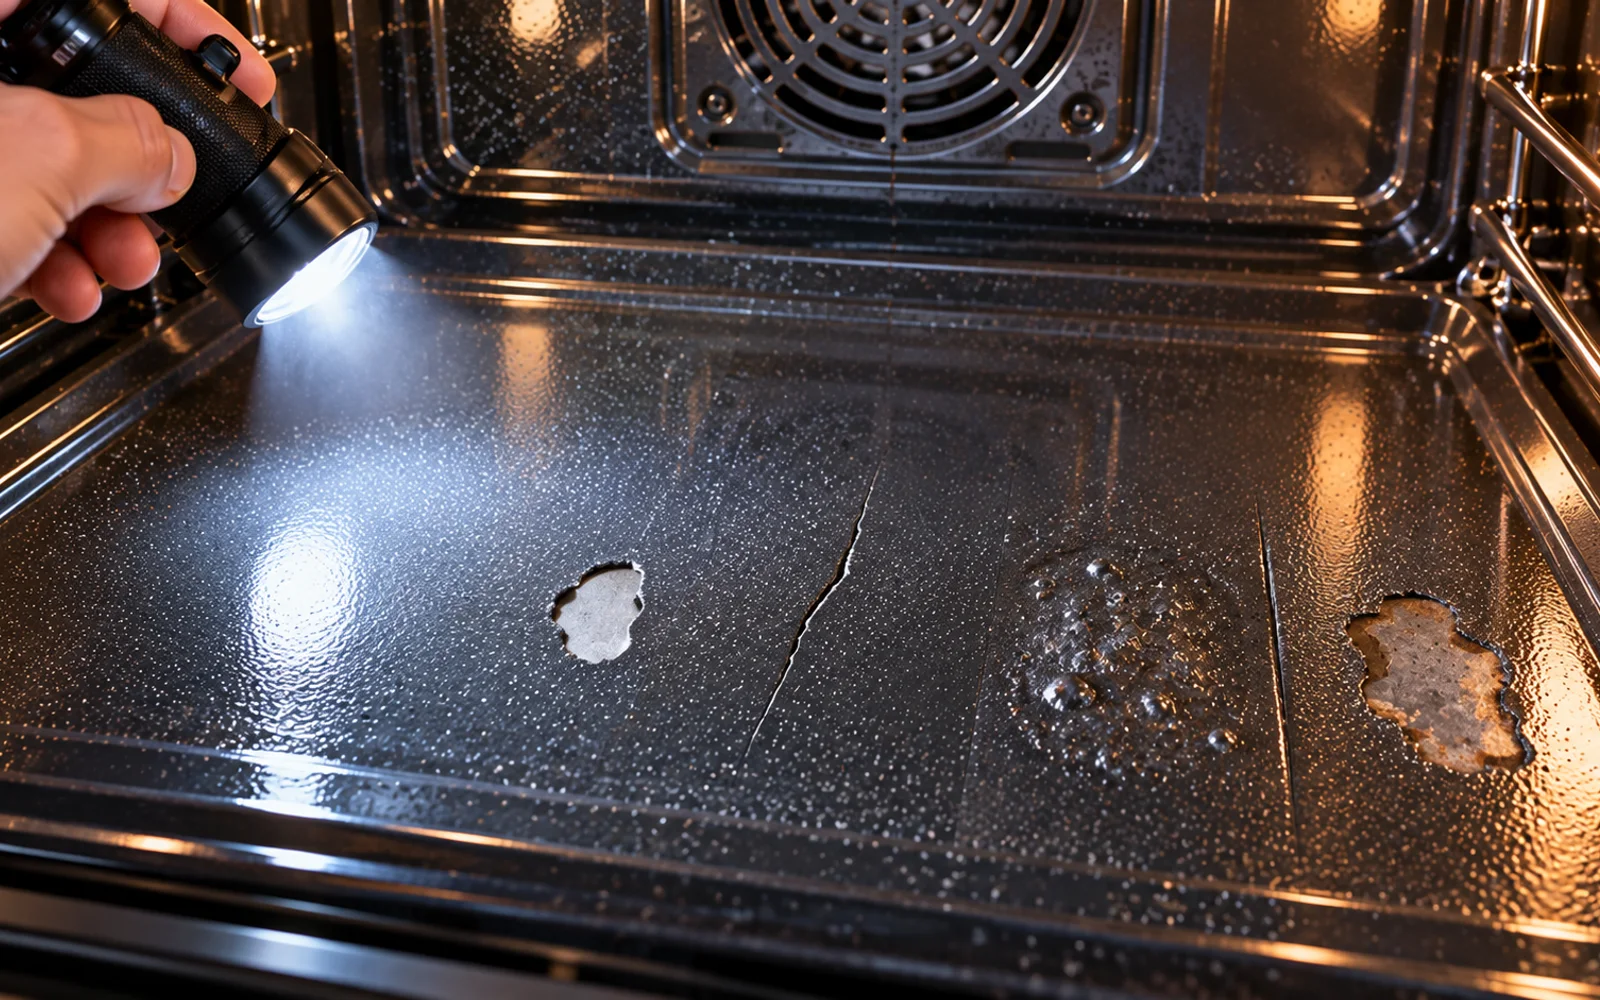
Dry the cleaned area and shine a flashlight or task light across it at a low angle. Light from the side makes texture easier to see. If the surface looks brown or gray but feels completely smooth, you may be looking at permanent or semi-permanent discoloration. Do not automatically assume every visible mark is still food that needs to be scraped away.
Try One Mild Follow-Up Pass
If your manual allows it and you want to address a remaining flat stain, make one controlled follow-up attempt. Use a small amount of approved mild cleaner and a non-scratch cloth or pad. Apply light pressure only to the stained area. Rinse thoroughly afterward. If the color barely changes, stop rather than escalating to rough abrasives or repeated heavy scrubbing.
Keep Household Cleaners Separate
Never improvise by combining multiple cleaners. Bleach, ammonia, commercial oven cleaner, vinegar, baking soda and other products should not be mixed unless the product instructions explicitly state that a combination is safe. Chemical mixtures can produce hazardous fumes or unexpected reactions. Before switching products, completely remove the first one according to its label and your oven manufacturer's guidance.
Accept a Clean Stain That Will Not Lift
A stain that is smooth, dry and free of residue may simply be a cosmetic color change caused by repeated heating. Continuing to scrub until the original color returns can damage an otherwise functional oven lining. If you are unsure whether a mark is staining or deterioration, take a clear photo in good lighting and contact the appliance manufacturer or an authorized service provider for guidance.
Look Closely for Coating Damage
Inspect the cleaned oven floor for chips, cracks, peeling, blistering or exposed metal. These are different from ordinary discoloration. If the coating appears damaged, do not hide the area under foil or an improvised liner. Check with the manufacturer before using the oven normally again because damaged coatings, heating components and oven-floor construction vary by appliance.
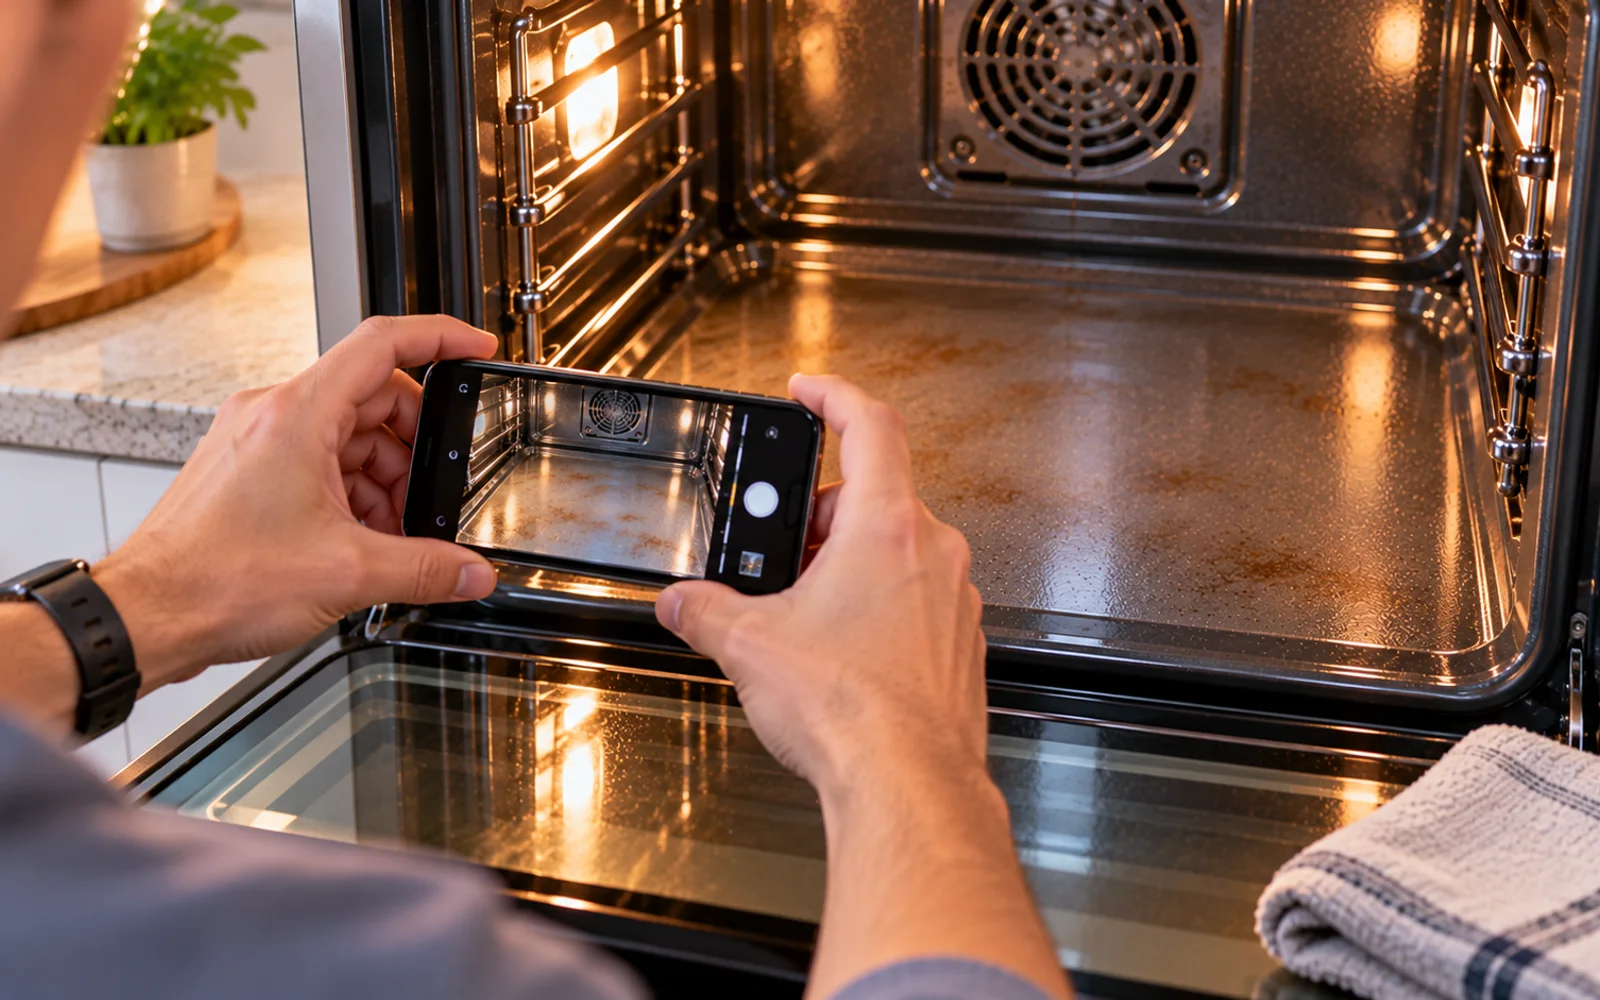
Rinse Until No Cleaner Remains
Use fresh water and a clean damp cloth to wipe the oven floor several times. Change the rinse water whenever it becomes cloudy. You should not see powder, soap, cleaner streaks or gritty particles when you finish. Remaining cleaner may create odor or smoke during the next heating cycle. Finish with a dry cloth while continuing to keep moisture away from seams and openings.
Inspect Vents, Seams and Openings
Use a flashlight to check nearby slots, vents, screw recesses and seams. Make sure you did not accidentally push crumbs or paste into them. Do not poke a scraper, brush or other tool into an opening you cannot clearly access. If cleaner or debris entered a concealed area, consult the appliance manual or manufacturer rather than trying to flush, probe or aggressively vacuum an unknown component.
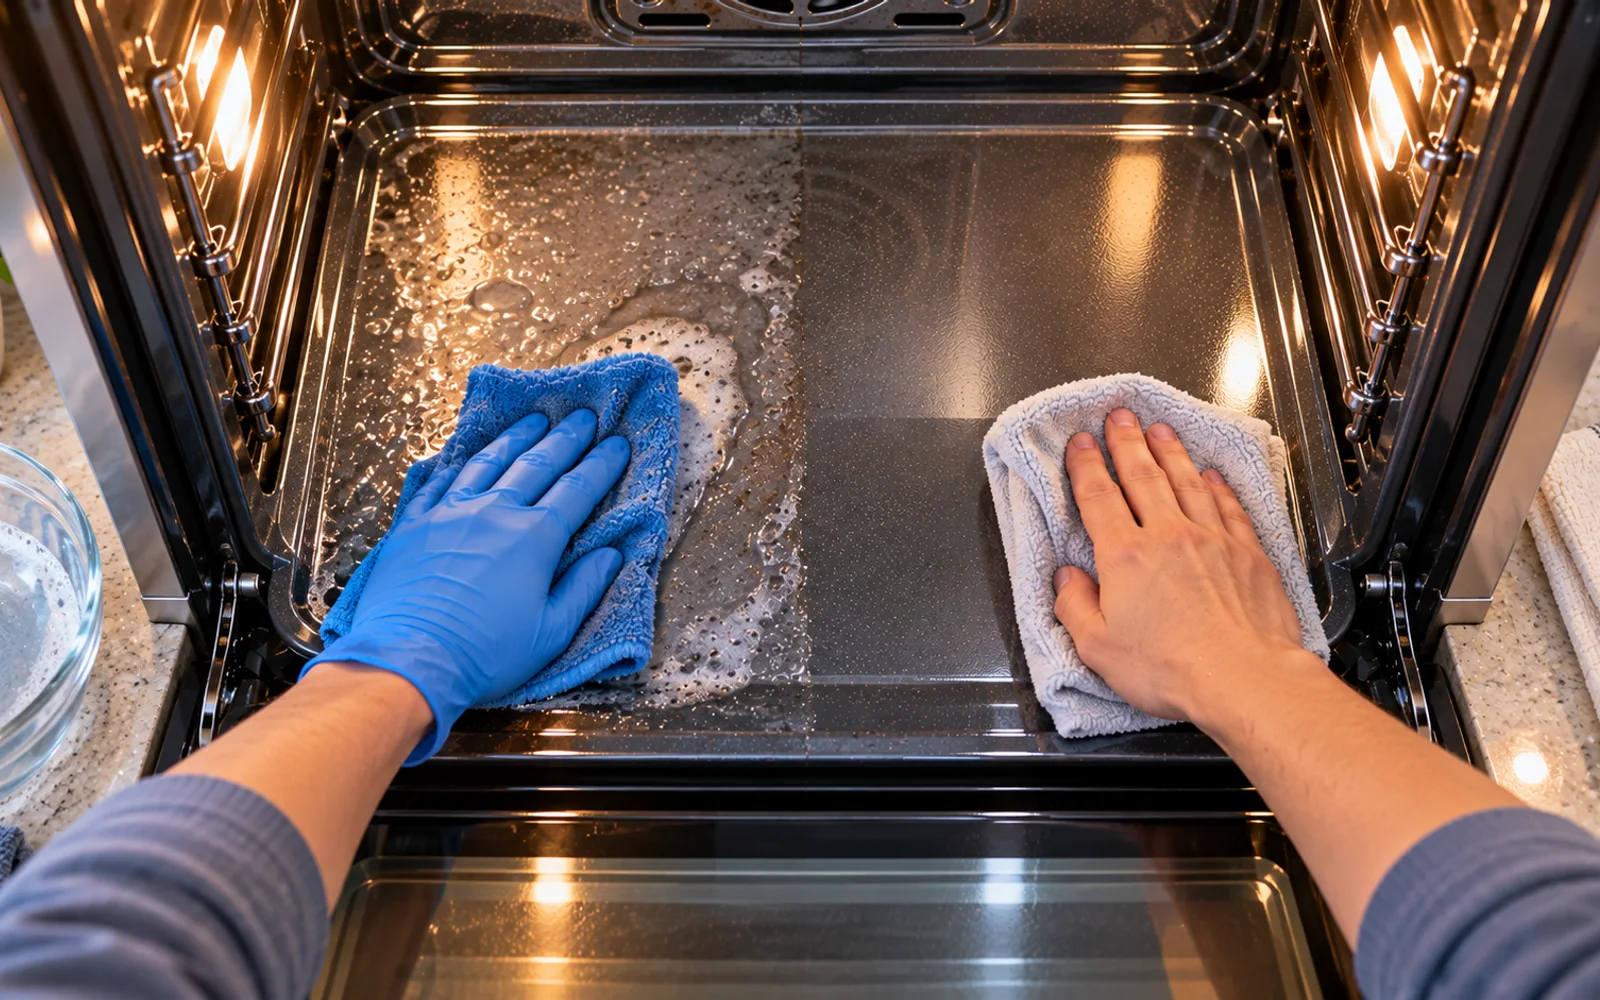
Return the Racks Only After Everything Is Dry
When the interior is clean and fully dry, wipe any crumbs from the rack supports and reinstall the racks in their correct positions. Before closing the door, count your cleaning supplies. Make sure the scraper, towels, bowl, brush and any paper products are outside the oven. Accidentally leaving a cleaning item inside can create a serious problem during the next preheat.
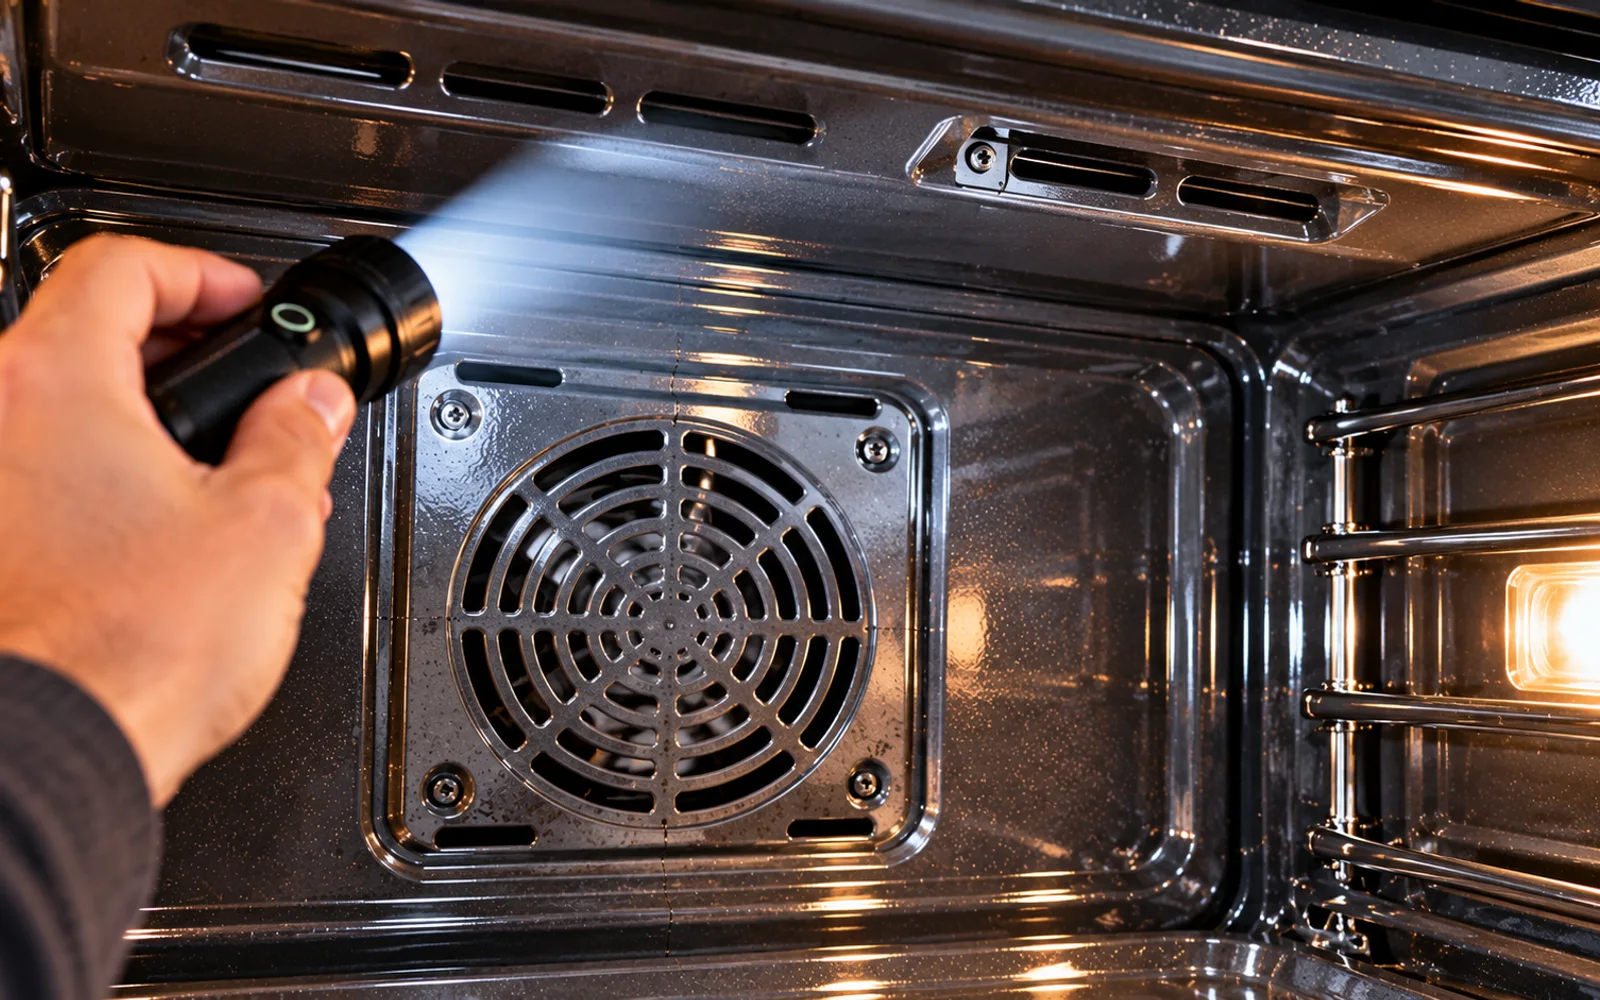
Perform a Complete Cold Inspection
Keep the oven off while you make one last check. The cleaned floor should be dry, free of loose debris and smooth wherever raised residue was removed. Confirm that remaining discoloration is flat. Slide the racks in and out, check that the gasket is unobstructed and close the door normally. Nothing from the cleaning process should interfere with rack movement or door closure.
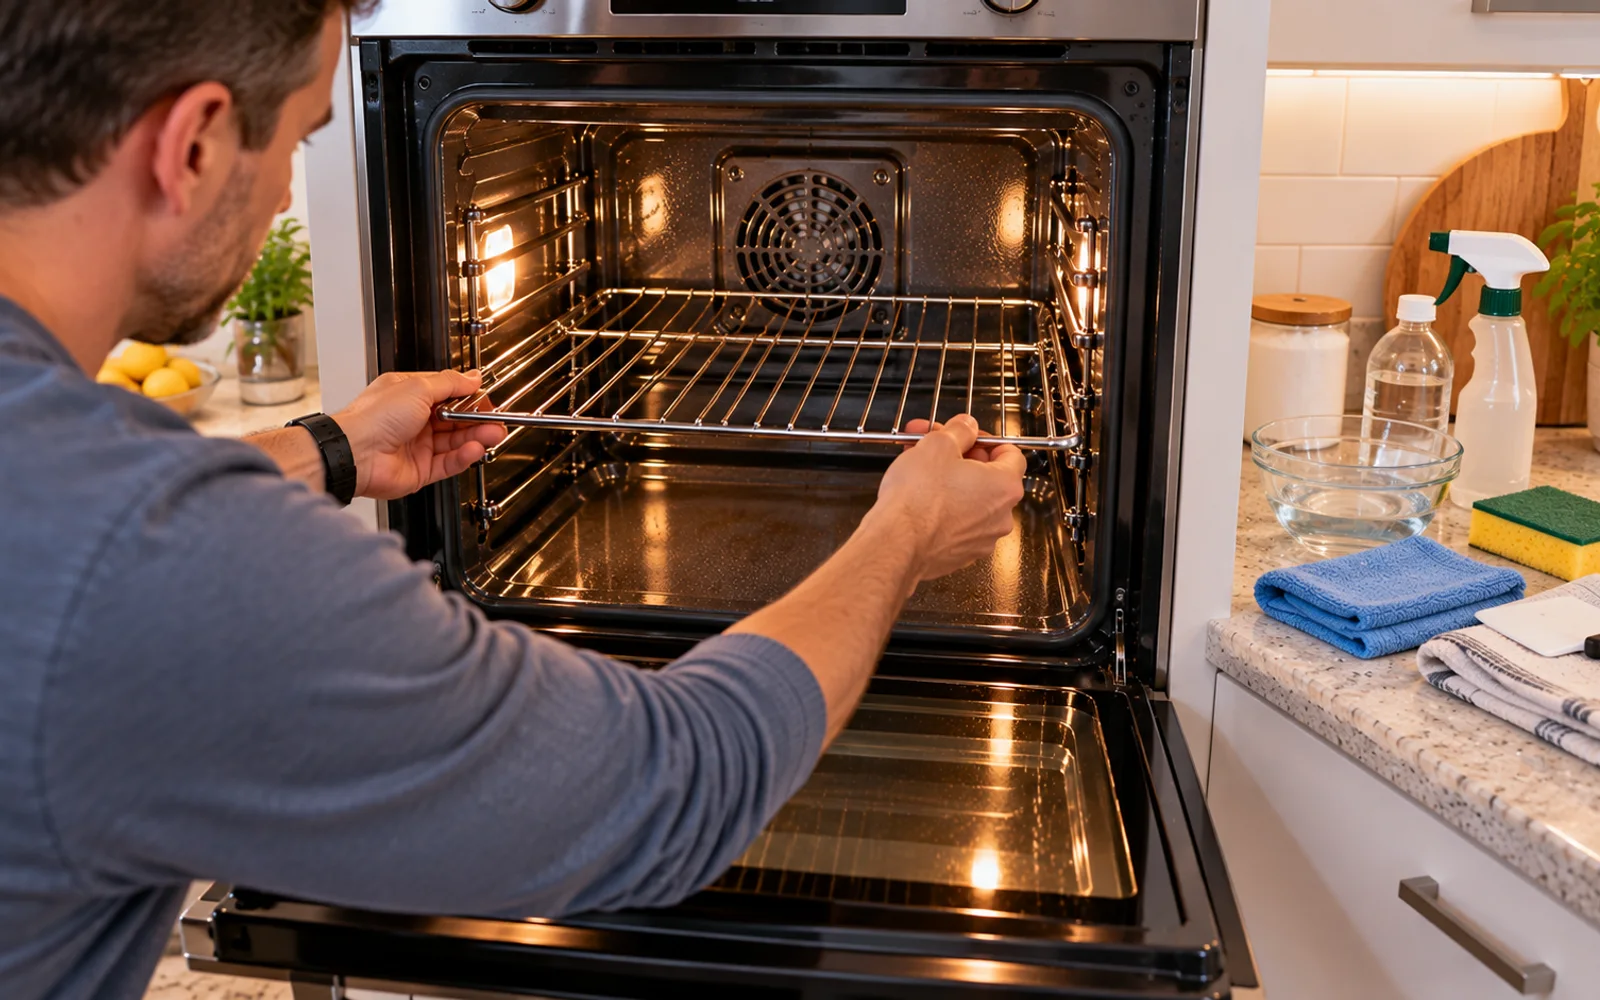
Stay Nearby During the Next Warm-Up
The next time you use the oven, remain in the kitchen during the initial warm-up. Watch for unusual smoke and pay attention to strong chemical odors. If persistent smoke or a concerning cleaner smell develops, turn the oven off, ventilate the room and consult the manufacturer's instructions. Do not assume heavy smoke after cleaning is something that should simply burn away.
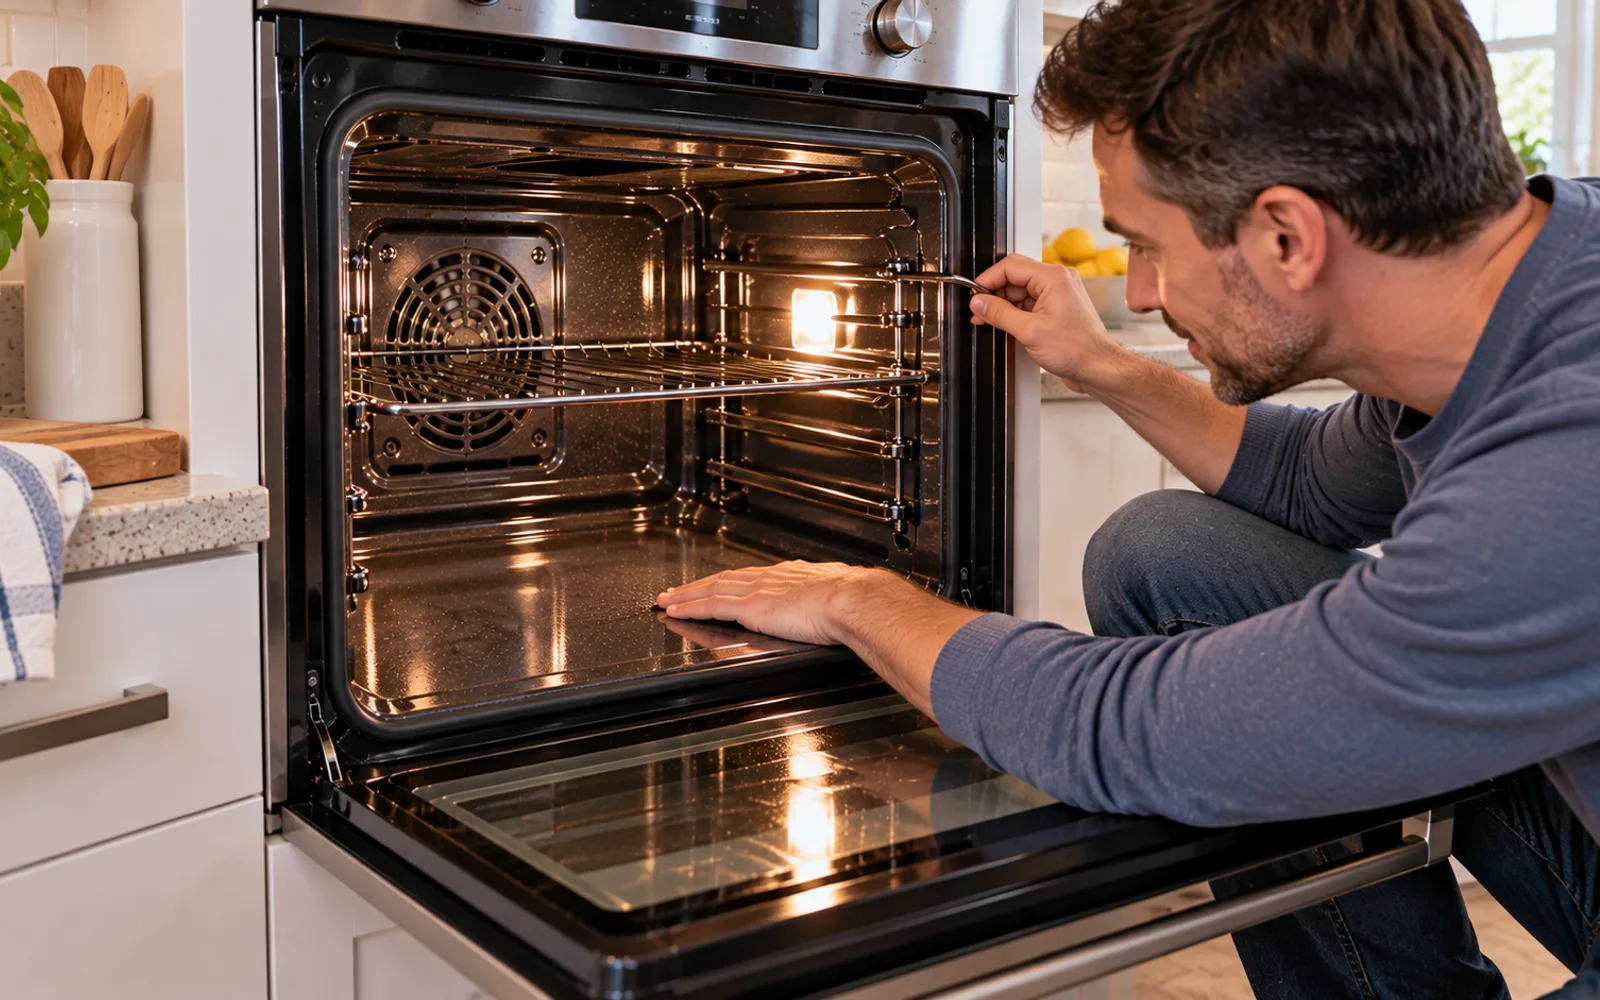
Prevent the Spill From Becoming Carbonized Again
Future cleanup is much easier if spills are handled after the oven cools instead of being baked repeatedly. Use baking dishes with enough space for food to bubble without overflowing, position cookware correctly and follow the manufacturer's rules for catching drips. Do not cover the oven floor with foil or aftermarket liners that the manufacturer prohibits. Address fresh spills after the appliance is safely cold.

A burned spill on the bottom of an oven is not the same problem as a greasy fingerprint or a fresh splash of sauce. After repeated heating, food can lose moisture, carbonize and form a hard layer that bonds tightly to the oven surface. Sugary sauces can become especially stubborn, sometimes turning into a hard, glass-like patch. Trying to attack that residue with maximum force is often what turns a cleaning problem into a damaged-appliance problem.
The safer approach is to treat the spill in layers. First remove anything already loose. Then identify which material is actually raised above the oven floor, soften that material with controlled moisture or an approved mild cleaner, and lift it gradually with a tool your oven manufacturer allows. Once the raised material is gone, stop scraping. A brown or gray mark that remains may simply be discoloration rather than removable food.
Before you begin, make sure the oven is completely cold and switched off. Check the owner's manual for cleaning restrictions, especially if your oven has specialty enamel, concealed heating elements, steam openings, self-cleaning surfaces or other protected components. Never work on a hot oven, never flood the oven floor, keep liquids away from openings, and do not substitute knives, razor blades or other sharp tools for an approved non-scratch scraper.
Where people go wrong
Cleaning While the Oven Is Still Warm. Heat increases burn risk and can change the behavior of cleaners. Wait until the appliance and interior surfaces are completely cold before starting.
Using a Razor Blade or Kitchen Knife. Sharp metal may remove residue quickly, but it can also gouge enamel, expose metal or damage specialty oven surfaces. Use only manufacturer-approved tools.
Pouring Too Much Water Into the Oven. The goal is controlled moisture, not soaking the appliance. Excess liquid can travel into seams, vents, electrical areas or concealed components.
Scraping a Flat Stain. Once the area feels smooth, continuing to scrape usually increases the risk of surface damage. A remaining mark may be discoloration rather than residue.
Mixing Cleaning Products. Do not combine bleach, ammonia, oven cleaner, vinegar or other household chemicals unless the product directions specifically approve the combination. Unsafe mixtures can produce dangerous fumes.
Trying to Remove the Entire Spill at Once. Large burned patches are easier and safer to handle in small zones. Section-by-section cleaning improves pressure control and helps you notice changes in the oven surface.
Leaving Cleaner Behind. Paste, soap or commercial cleaner left on the oven floor may smoke or smell when heated. Rinse repeatedly with controlled amounts of clean water and dry the surface.
Covering Damage With Foil. Do not hide chips, cracks or damaged coating with foil or an improvised oven liner. Follow the manufacturer's instructions for damaged interior surfaces.
Questions people ask
Start with a completely cold oven and check the owner's manual. Remove loose debris, then soften raised burned residue with controlled moisture or an approved mild treatment. Use only a manufacturer-approved plastic scraper or non-scratch tool at a shallow angle. Work in small sections, wipe frequently and stop scraping as soon as the surface feels smooth.
Fixed it?
Get one guide like this every Thursday.