How to Patch Small Drywall Holes for a Smooth, Nearly Invisible Finish
Nail holes, old wall anchors, and small dents can make an otherwise clean wall look worn. Learn how to fill, sand, prime, and paint minor drywall damage so repairs blend naturally with the surrounding surface.

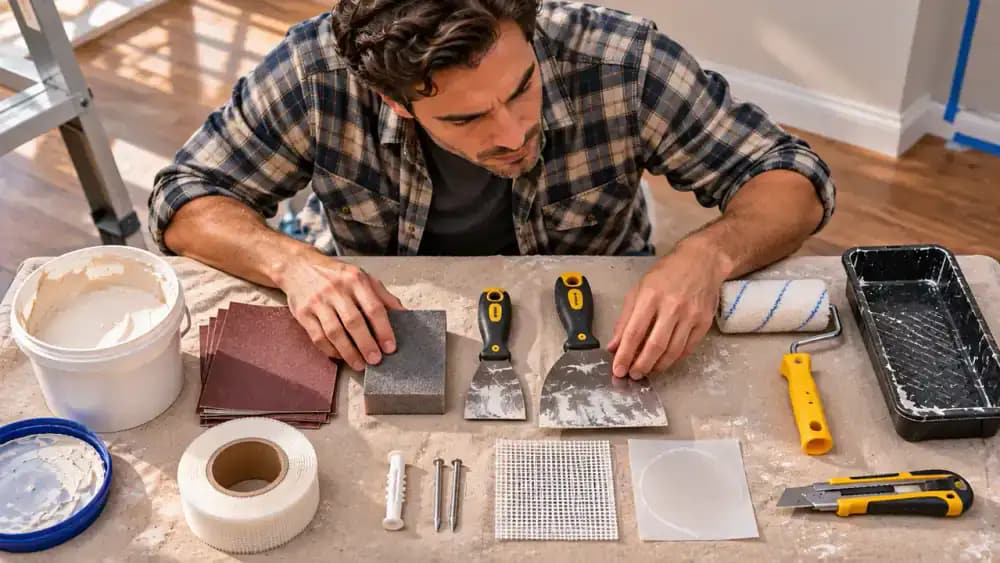
What you’ll need
Tap to tick things off before you start.
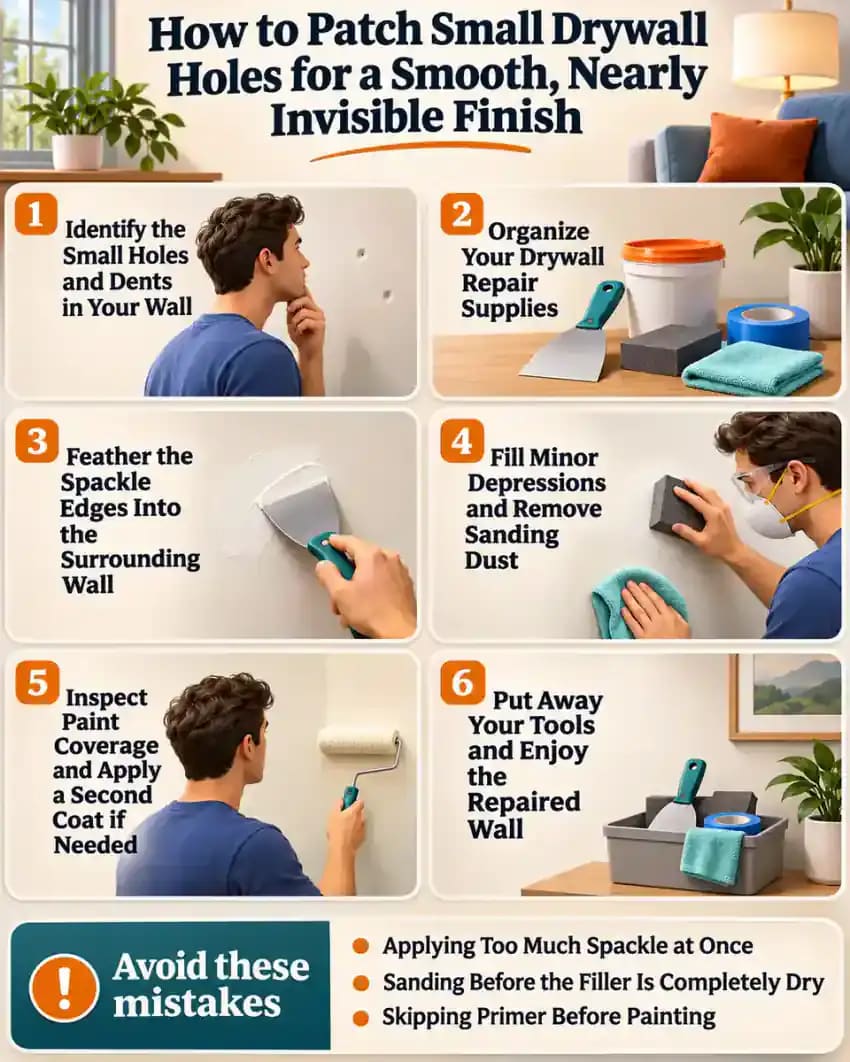
Identify the Small Holes and Dents in Your Wall
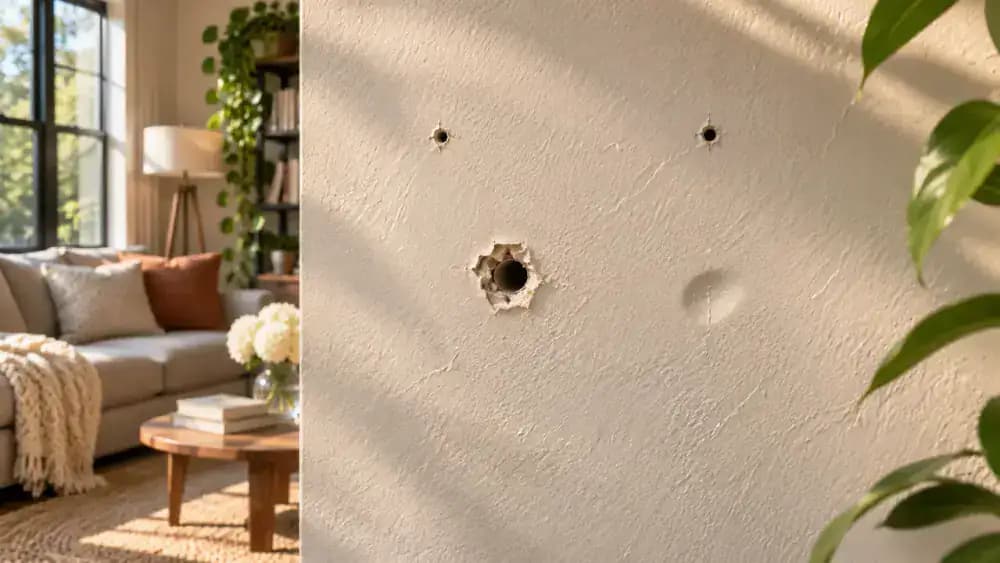
Examine the wall closely to identify nail holes, empty anchor holes, and shallow dents. As shown, natural light coming from the side creates subtle shadows that make even minor imperfections easier to spot. Look at the surface from different angles and note which areas need attention. Before planning a repair, confirm the drywall feels dry and stable. Small cosmetic defects are suitable for DIY filling, but moisture, mold, or crumbling material require professional evaluation.
Spot the Finishing Mistakes That Make Repairs Visible
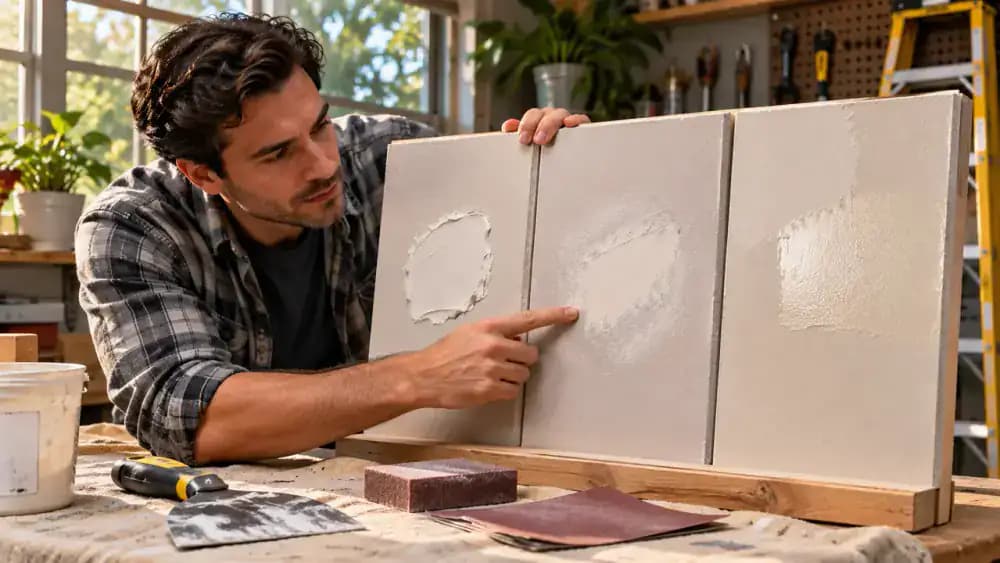
Hold a small LED work light at a shallow angle against the drywall to reveal imperfections that overhead lighting might miss. Notice how excess spackle creates a raised bump, rough sanding leaves uneven edges, and mismatched paint sheen reflects light differently. Compare these examples before starting your repair. For a nearly invisible finish, apply thin layers, feather the edges smoothly, and match both the existing wall texture and paint sheen.
Measure the Damage and Choose the Right Repair Method
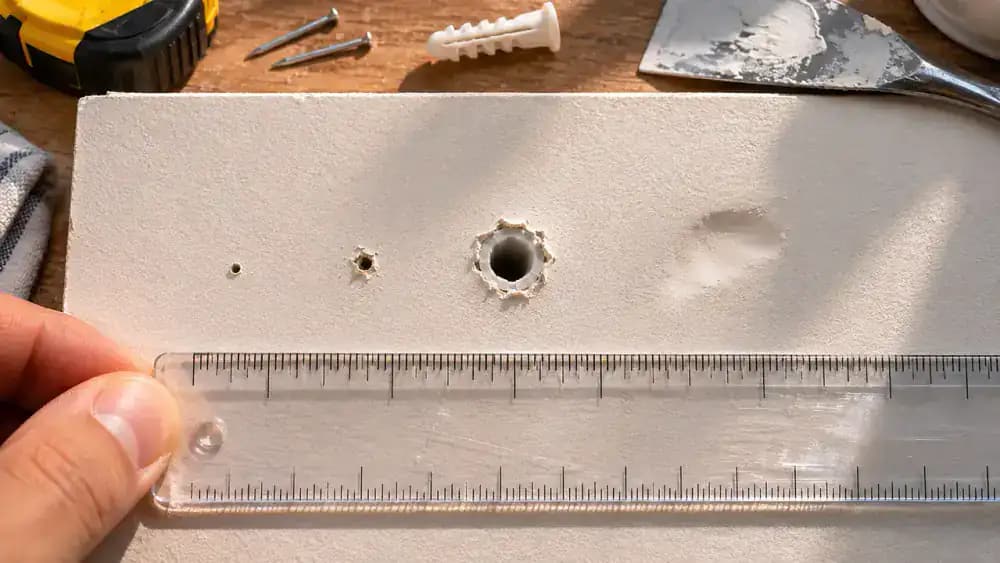
Use a small ruler to compare the width of each opening without inserting anything into the drywall. A tiny nail hole usually needs only lightweight spackle, while a larger anchor hole may require additional filler or a small repair patch. Shallow dents can often be filled with a thin layer of spackle. Check the depth and surrounding drywall paper, and proceed only if the surface is dry, stable, and nonstructural.
Inspect the Drywall for Moisture and Hidden Damage
Examine the paint around the hole for water stains, bubbling, cracks, or discoloration. Use a flashlight to illuminate the area, then gently press two fingertips against the intact wall beside the opening. The drywall should feel dry, firm, and stable. Avoid scraping or disturbing questionable surfaces. If you discover moisture, mold, crumbling material, structural movement, or unidentified older coatings, stop and arrange professional assessment before attempting repairs.

Select Spackle or a Patch Based on Hole Size
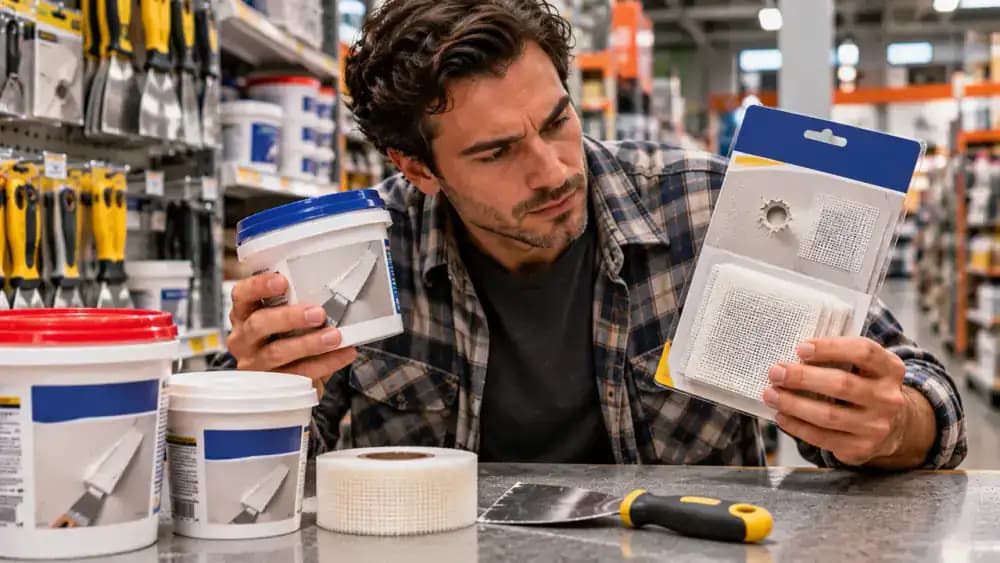
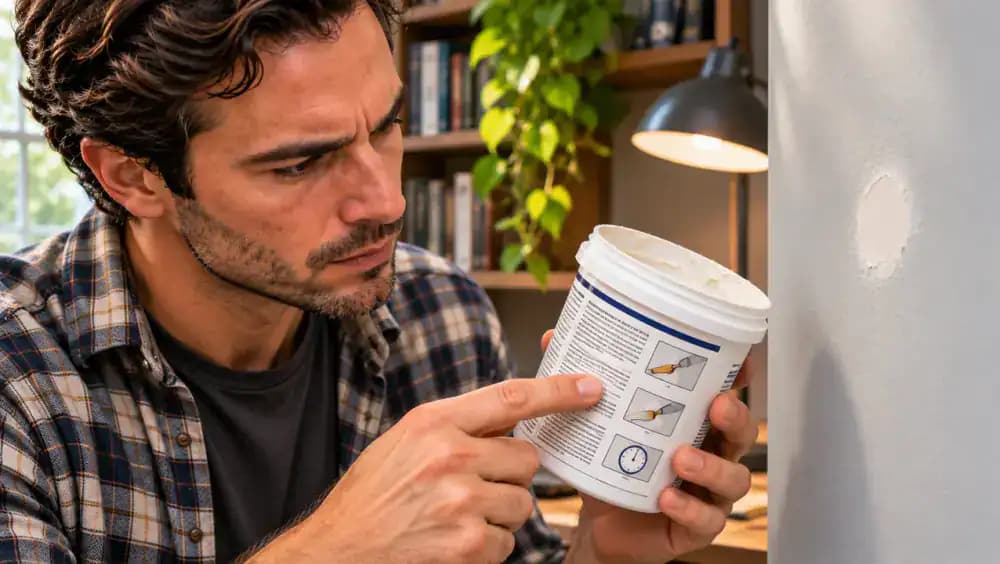
Compare lightweight spackle, general-purpose repair filler, and self-adhesive drywall patches before choosing a product. Read the manufacturer's label to confirm the recommended hole size and application method. Lightweight spackle works well for tiny nail holes and shallow dents, while wider anchor holes may require a suitable filler or small patch. Avoid oversized patches for minor defects, since they create unnecessary edges that require additional smoothing, sanding, and painting.
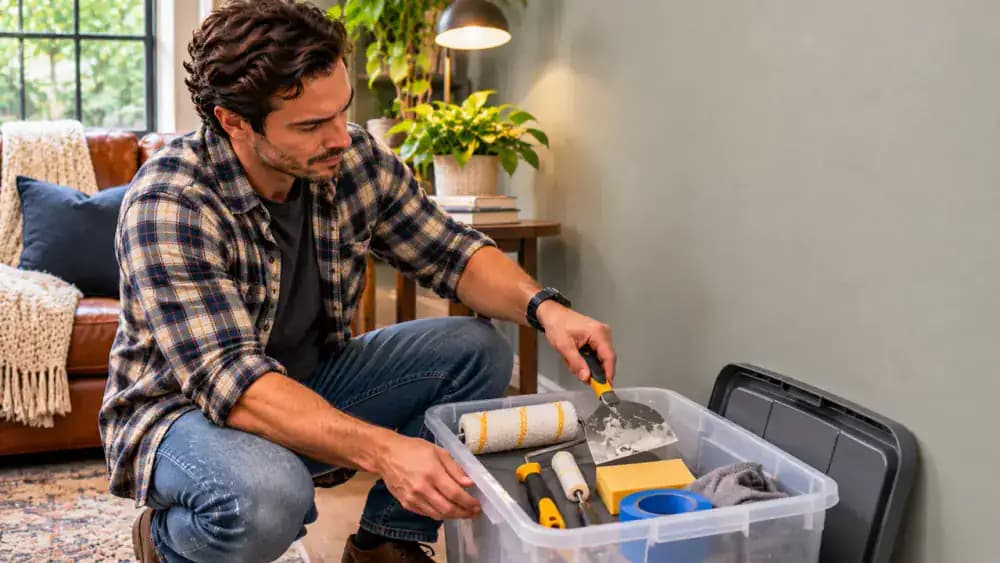
Organize Your Drywall Repair Supplies
Arrange your supplies on a canvas drop cloth near the wall before starting. Place a 2-inch to 4-inch putty knife beside the lightweight spackle, followed by a 220-grit sanding sponge, clean microfiber cloth, suitable primer, and matching wall paint. Keep a small brush or roller and appropriate dust protection within reach. Check that your tools are clean, especially the putty knife, since dried filler can leave unwanted grooves.
Protect the Floor, Baseboards, and Nearby Furniture
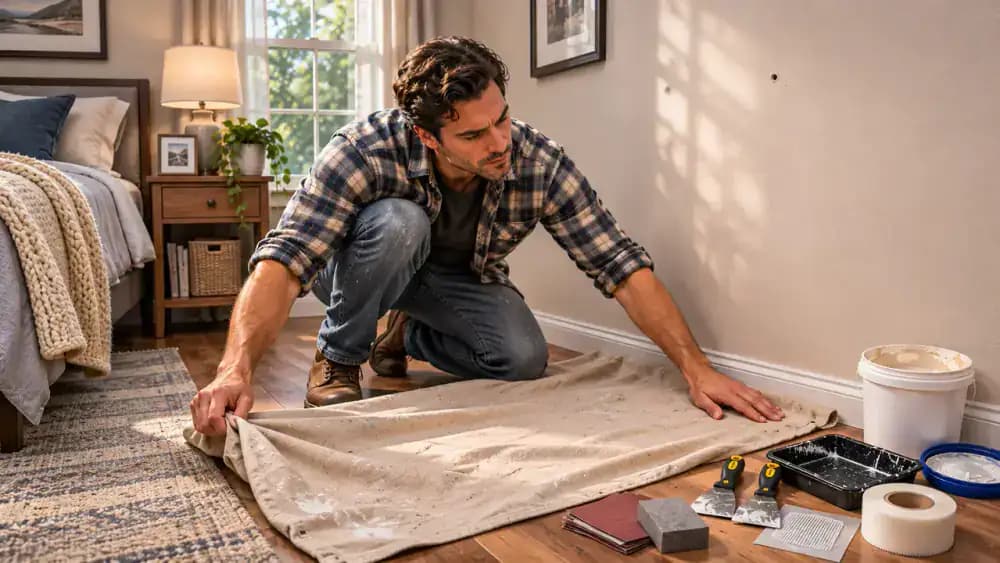
Move nearby furniture about 3 feet away from the damaged wall to create a comfortable working area. Spread a canvas drop cloth flat across the floor beneath the hole, making sure it covers the space where sanding dust might fall. Apply low-tack painter's tape along the top of the baseboard to protect its finish. Keep your supplies on a stable surface outside the walking area to prevent spills and tripping hazards.
Remove Loose Dust and Debris Before Filling
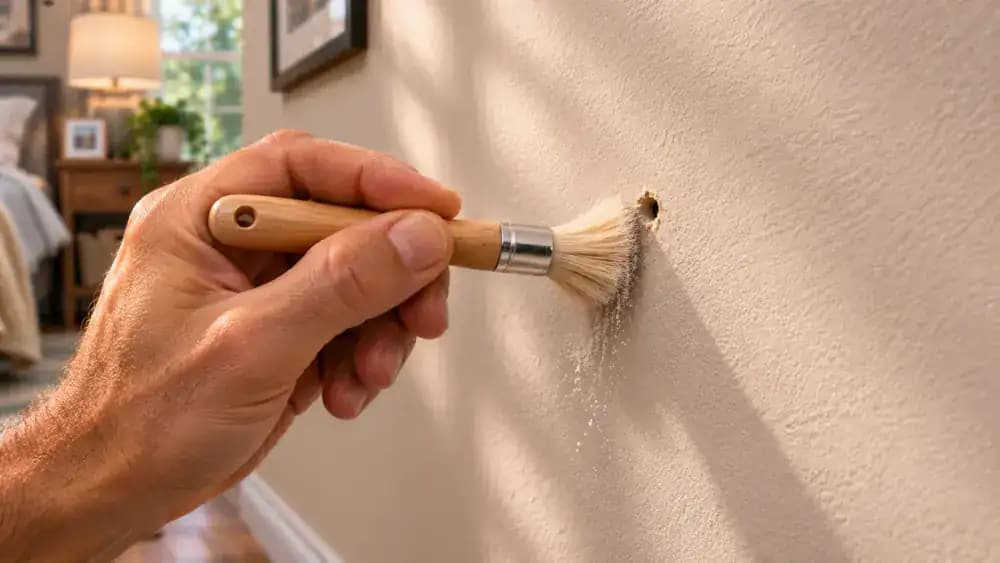
Use a small, soft-bristle brush to gently remove loose dust and debris from the nail hole without pushing the bristles deep inside. Next, wipe the surrounding painted surface with a clean, dry microfiber cloth using light pressure. Keep the drywall paper intact and avoid widening the opening. A clean, stable surface helps spackle adhere properly and reduces the chance of loose particles creating bumps in the finished repair.
Flatten Raised Drywall Paper Around the Hole
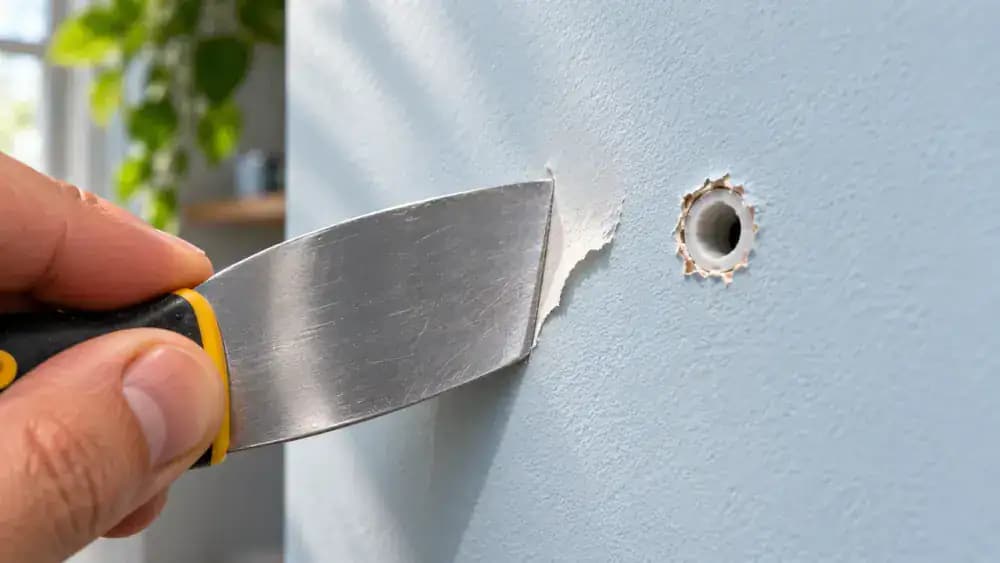
Inspect the edge of the anchor hole for loose paper fibers or slightly raised flaps that could create bumps beneath the filler. Hold a clean, flexible putty knife nearly flat against the wall and gently press any raised paper back toward the surface. Use minimal pressure to avoid tearing the paper or enlarging the opening. Only work on previously assessed, stable drywall with coatings confirmed safe to handle.
Scoop a Small Amount of Spackle Onto the Putty Knife
Open the lightweight spackling compound and check that its consistency matches the manufacturer's instructions. Hold a clean, flexible 3-inch putty knife at a comfortable angle and scoop a pea-sized amount of filler onto one edge of the blade. Keep the remaining blade surface clean for better control during application. Start with less compound than you think you need, since excess spackle creates raised areas that require additional sanding.
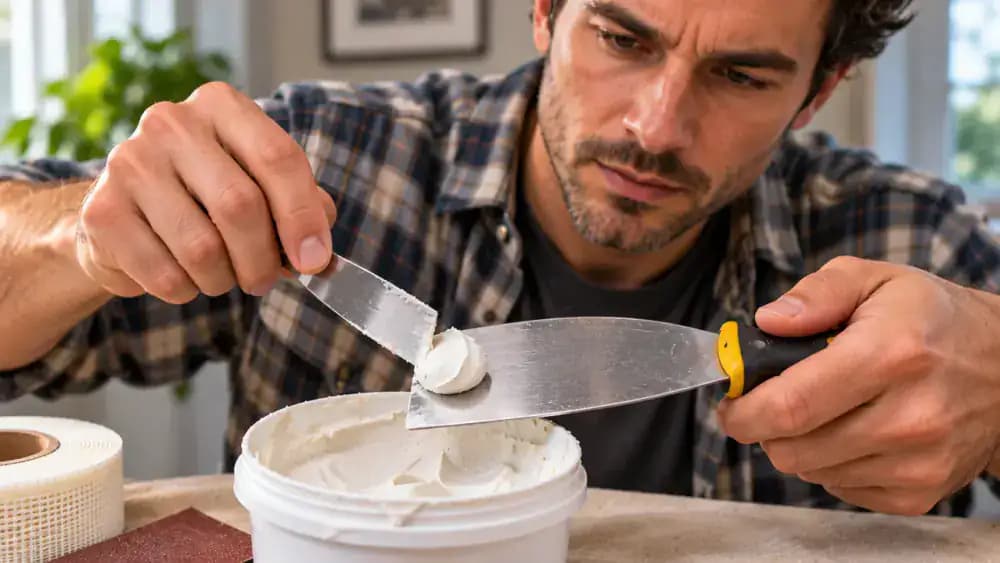
Fill the Nail Hole With a Controlled Stroke
Position the loaded putty knife at approximately a 30-degree angle against the cleaned drywall. Draw the blade slowly across the nail hole, using gentle, steady pressure to push spackle into the opening. Make sure the shallow cavity is completely filled without spreading unnecessary compound across the surrounding paint. One controlled stroke is usually enough for a tiny hole. Leave any slight excess around the opening for smoothing in the next step.
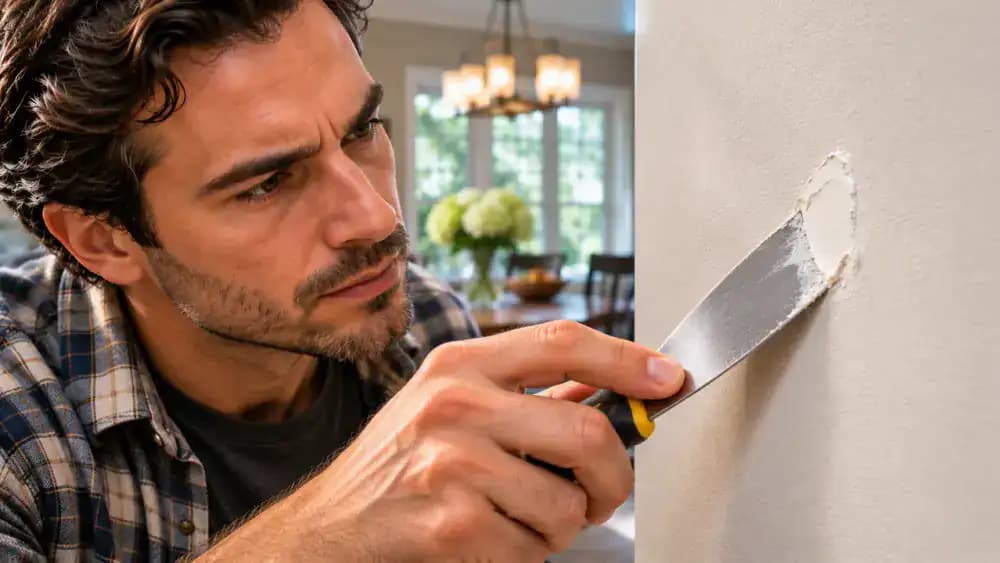
Feather the Spackle Edges Into the Surrounding Wall
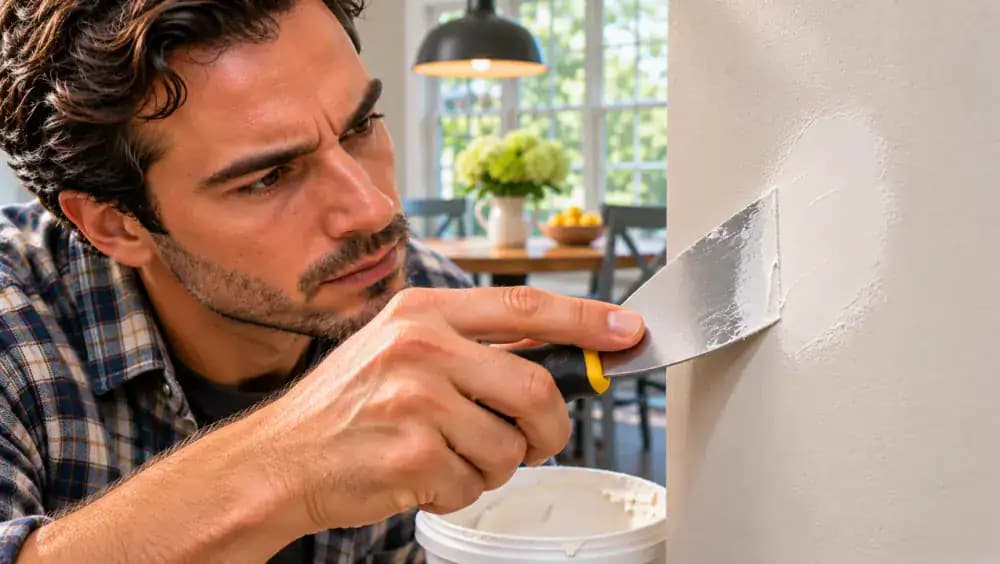
Wipe excess spackle from the putty knife with a clean cloth, then hold the blade nearly flat against the freshly filled hole. Make one gentle, continuous stroke across the repair, extending slightly beyond its edges. This removes excess compound and creates a thin, tapered transition into the surrounding painted surface. Avoid pressing too hard, which can pull filler out of the hole. A smooth edge means less sanding after drying.
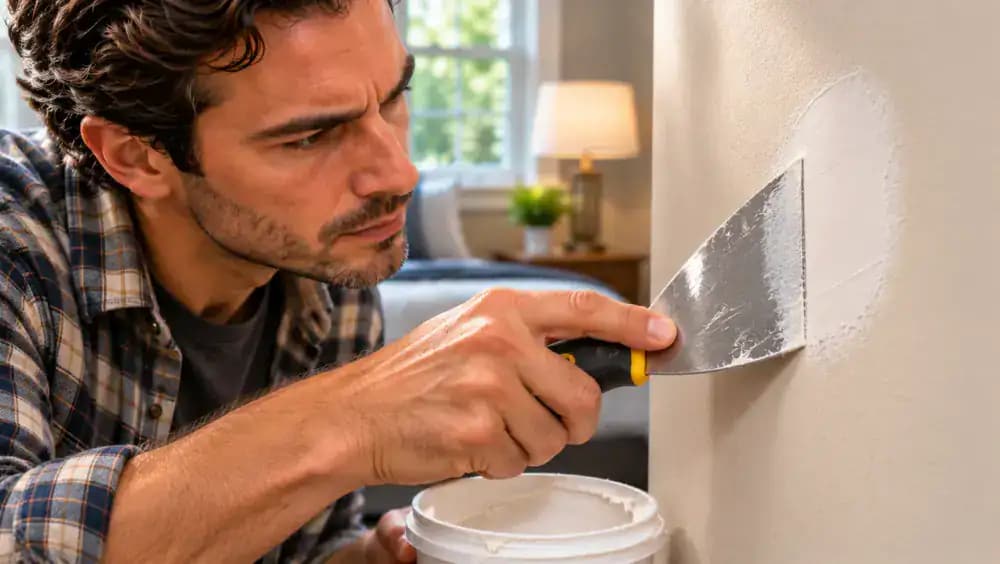
Apply Thin Coats of Filler to Small Anchor Holes
Choose a repair filler approved for the anchor hole's size, then load a small amount onto a clean 2-inch putty knife. Gently press the compound into the opening without pushing the blade deep into the wall. Smooth the first application with a short, controlled stroke, leaving a slight recess if another coat is needed. Allow the filler to dry completely according to the manufacturer's instructions before applying additional layers.
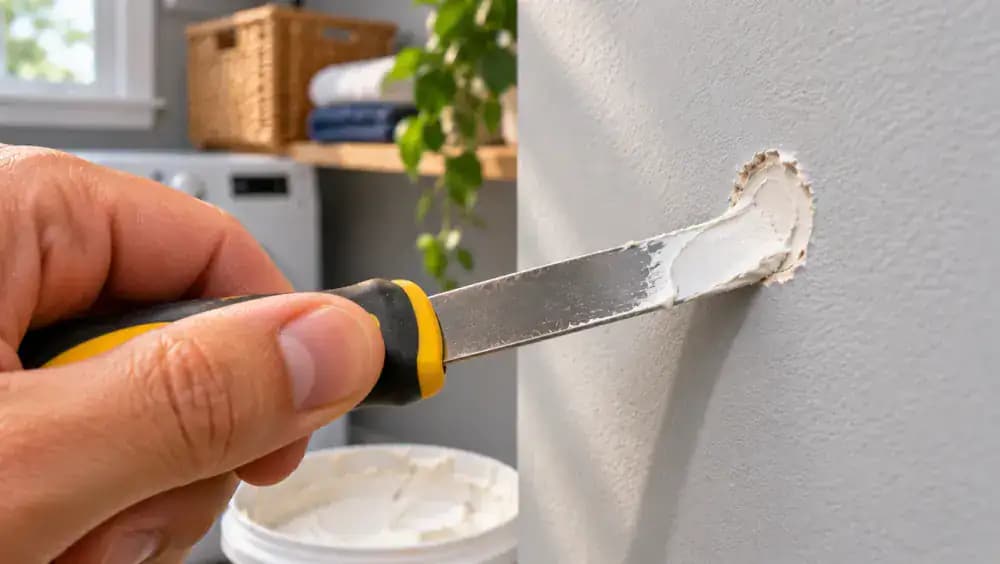
Let the First Layer of Drywall Filler Dry Fully
Read the drying instructions on your filler container before continuing. Drying time varies with the product, coat thickness, room temperature, and humidity, so never rely on appearance alone. As shown, inspect the slightly recessed first coat without pressing into the repair. A surface that looks dry may still be soft underneath. Wait until the compound has dried completely before evaluating whether another thin layer is necessary.
Fill Any Remaining Depression With a Second Thin Coat
Inspect the fully dried first coat under angled lighting to check for a shallow depression where the filler settled. If the surface remains recessed, use a clean 3-inch putty knife to spread a small amount of fresh spackle over the area. Extend the compound approximately 1 inch beyond the original repair, feathering the edges smoothly. Avoid creating a raised mound, and let the second coat dry completely before sanding.
Smooth the Drywall Patch With Fine-Grit Sandpaper
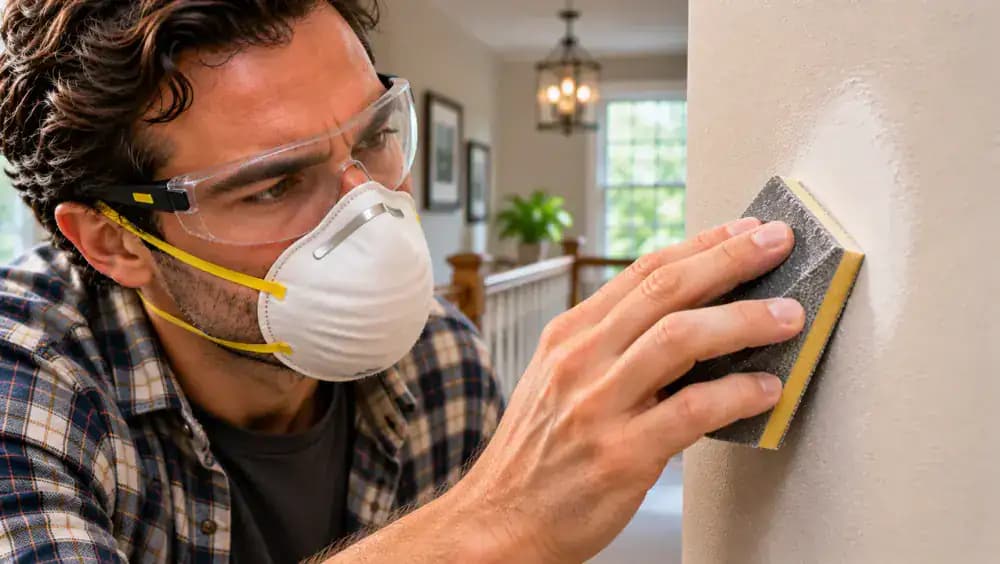
Once the filler is completely dry, put on safety glasses and appropriate dust protection. Hold a 180 to 220 grit sanding sponge flat against the repair and move it in short, gentle strokes. Use light, even pressure to remove small ridges and blend the feathered edges into the surrounding wall. Check your progress frequently to avoid sanding through the existing paint or damaging the drywall paper beneath it.
Use Angled Lighting to Find Hidden Surface Imperfections
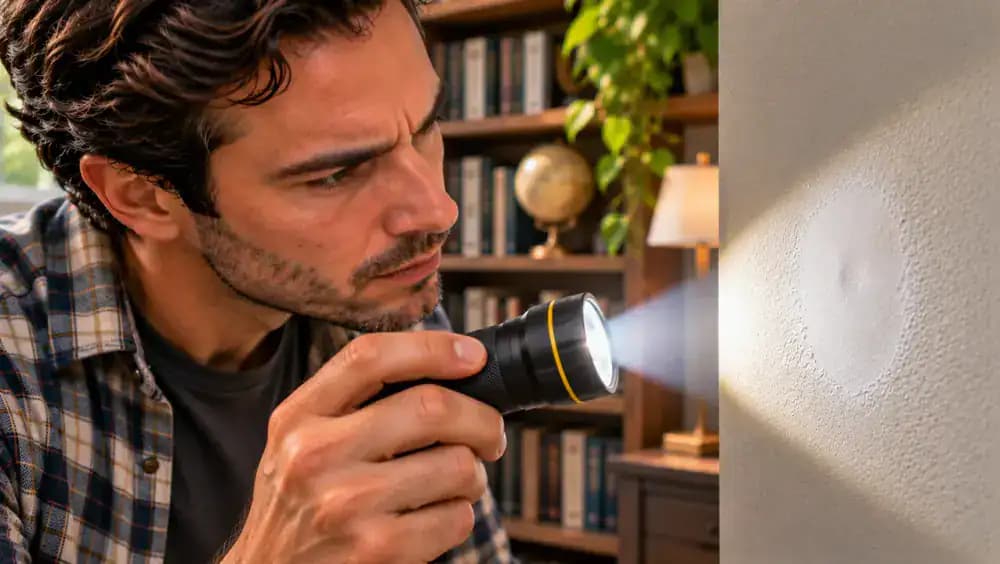
Hold a compact LED flashlight several inches from the wall and direct its beam almost parallel to the sanded repair. Move the light slowly from the side, then above and below the patch to reveal subtle shadows. Look for raised edges, shallow depressions, or uneven transitions that normal room lighting might hide. If you find imperfections, correct them with careful sanding or another thin coat of filler before priming.
Fill Minor Depressions and Remove Sanding Dust
Apply a small amount of lightweight spackle directly into any shallow depression revealed during inspection. Use a clean 2-inch putty knife to feather the correction beyond the low spot without disturbing smooth areas. Allow the filler to dry completely according to the manufacturer's instructions, then gently sand with a 220-grit sponge. Remove remaining dust using a HEPA-filtered vacuum with a soft brush attachment, followed by a clean, dry microfiber cloth.
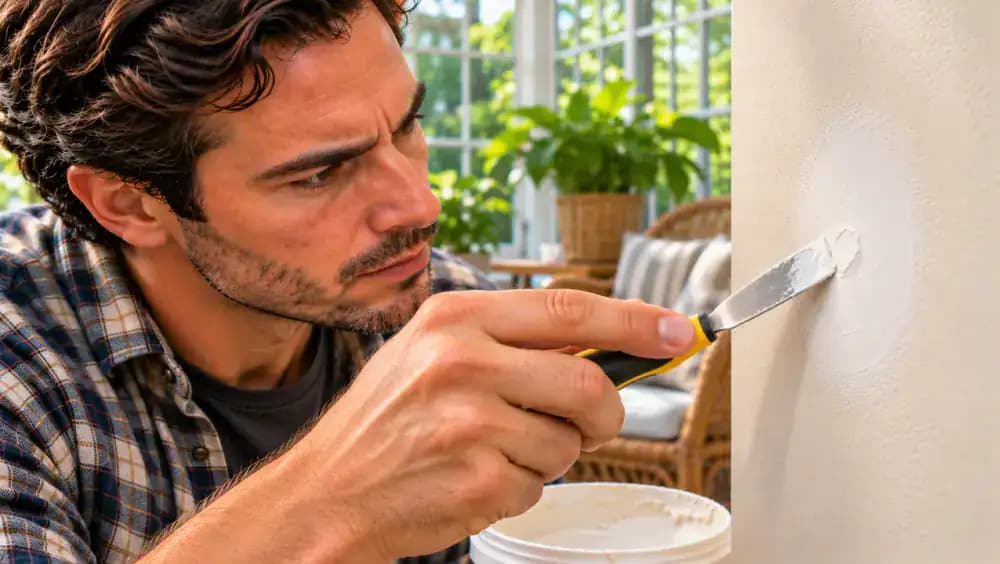
Seal the Drywall Patch With a Thin Coat of Primer
Pour a small amount of drywall-compatible spot primer into a paint tray and load a clean 2-inch mini foam roller evenly. Roll off excess primer, then apply two short, controlled passes across the repaired area. Cover all exposed spackle and overlap slightly onto the surrounding paint without creating thick edges. Primer seals the porous filler, promotes consistent paint absorption, and helps prevent dull or shiny patches known as flashing.
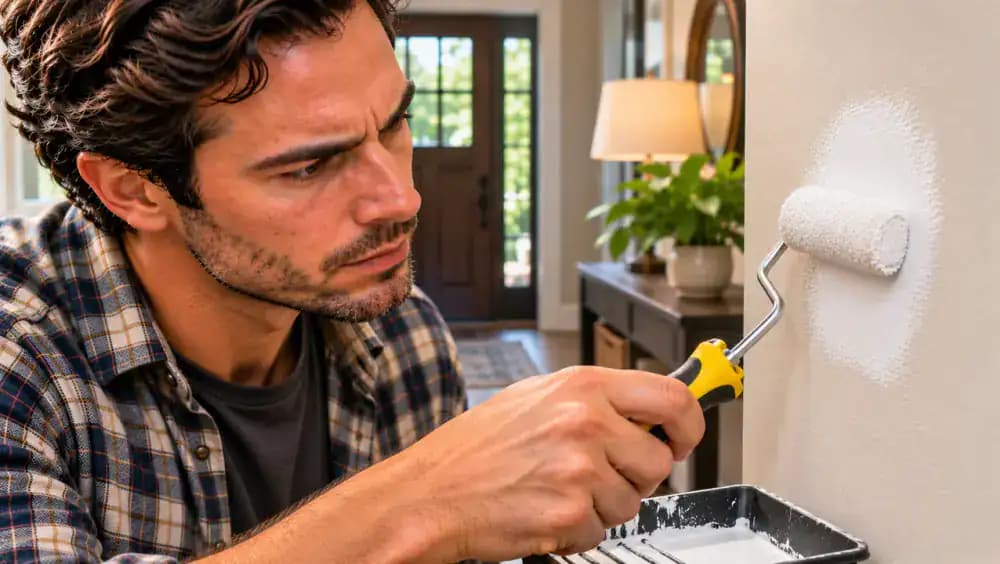
Check Primer Coverage Before Applying Finish Paint
Read the primer container for the manufacturer's drying and recoating instructions, then allow the first coat to dry completely. Examine the repaired area under normal lighting, checking for missed spots, uneven coverage, drips, or raised roller marks. If an edge appears thinly covered, use a lightly loaded 2-inch mini foam roller to apply another controlled pass. Keep the coating thin and even, and let it dry fully before painting.
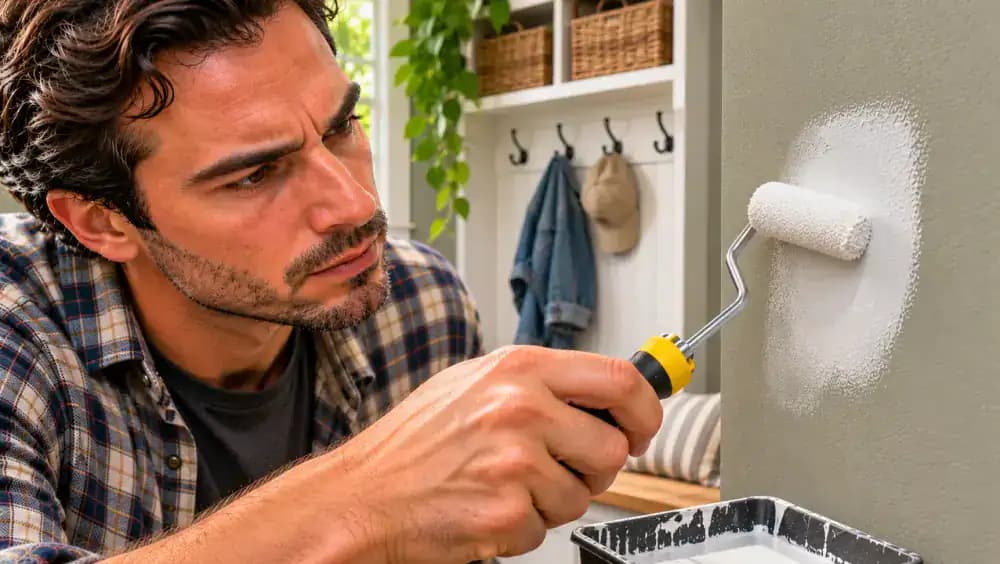
Recreate the Existing Wall Texture With a Mini Roller
Examine the surrounding paint closely to identify its subtle stipple pattern. Select a clean 4-inch mini roller with a nap that produces a similar texture, then lightly load it with compatible wall-texture material. Gently roll across the fully dried, primed patch using minimal pressure, keeping the application within the repaired area and its feathered edges. Avoid heavy buildup, and follow the product's drying instructions before applying finish paint.
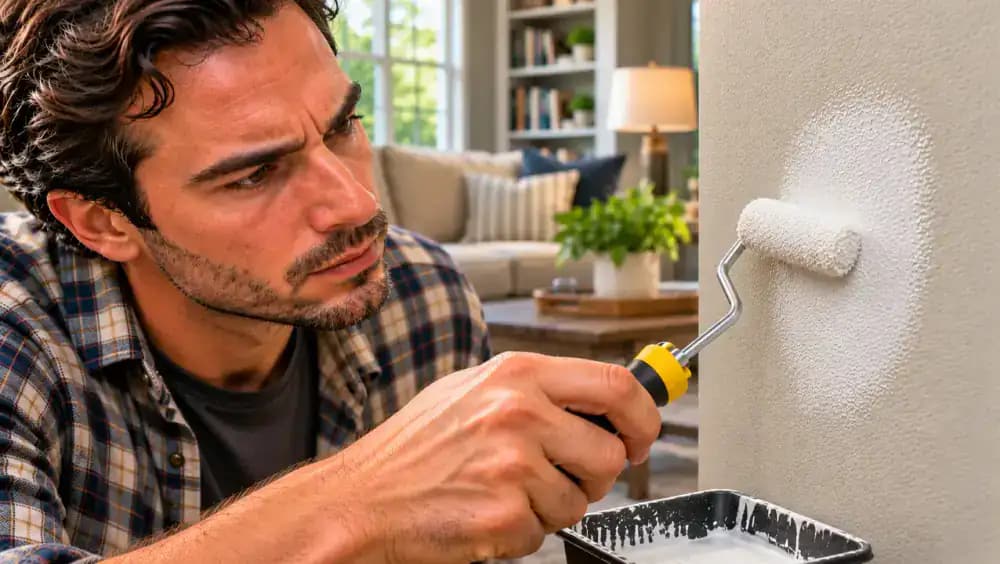
Compare Paint Samples to Match Color and Sheen
Check the original paint can for the manufacturer, color code, and finish before selecting your touch-up paint. If the original product is unavailable, hold fully dried paint samples beside the repaired area and compare them in daylight and indoor lighting. Notice how flat, eggshell, and satin finishes reflect light differently, even in similar colors. Choose the closest match in both color and sheen to minimize visible differences after painting.
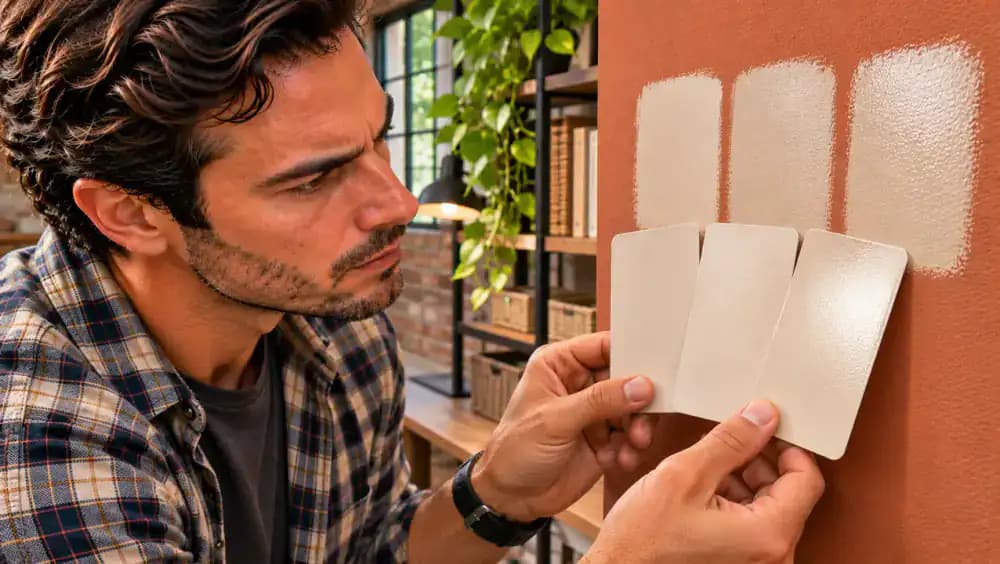
Roll on Matching Paint With Thin, Overlapping Strokes
Pour a small amount of matching interior paint into a tray and lightly load a clean 4-inch short-nap mini roller. Roll off excess paint, then apply a thin coat over the fully dried repair using short, overlapping vertical strokes. Extend slightly beyond the primed area and reduce pressure along the outer edges to soften the transition. Preserve the existing wall texture and follow the manufacturer's drying instructions before applying another coat if needed.
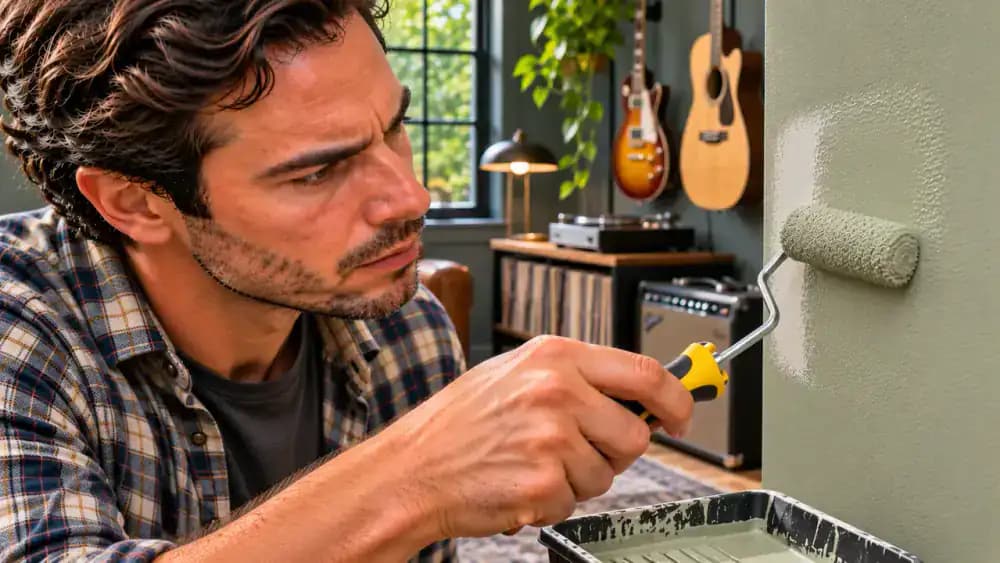
Inspect Paint Coverage and Apply a Second Coat if Needed
Allow the first paint coat to dry for the full time specified on the container, then examine the repair under normal room lighting. Look for uneven color or areas where primer still shows through. If coverage is incomplete, load a clean 4-inch short-nap mini roller with matching paint and apply another thin coat using gentle, overlapping strokes. Avoid rolling over partially dried paint, and evaluate the finish only after complete drying.
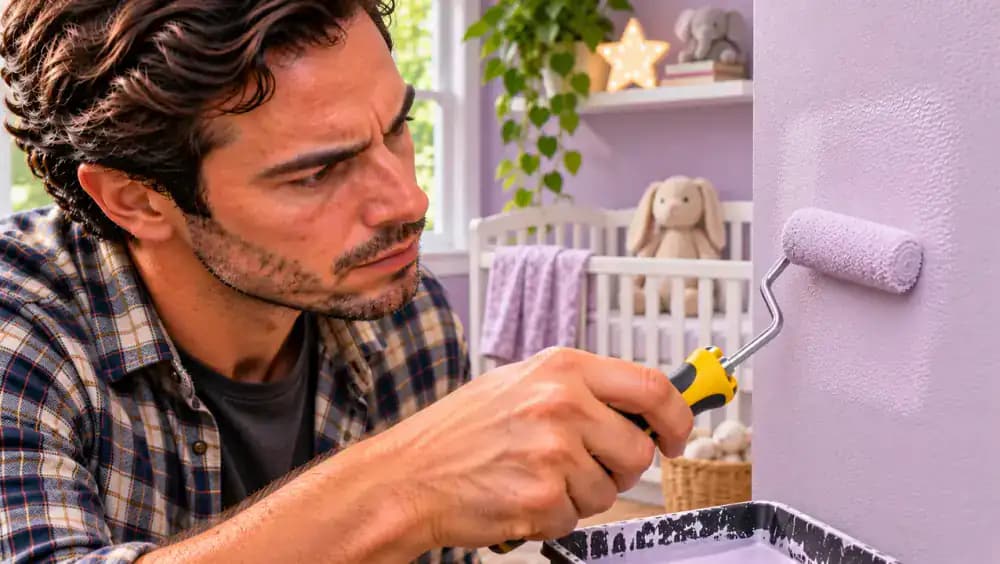
Repaint the Entire Wall if the Touch-Up Still Shows
If the fully dried repair remains visible because of faded paint or mismatched sheen, consider repainting the wall from corner to corner. Protect furniture, flooring, and trim before loading a clean 9-inch roller with matching interior paint. Work across the entire wall using overlapping vertical strokes, maintaining a consistent wet edge. Apply paint evenly over both the patch and surrounding surface, then allow it to dry completely before evaluating the finish.
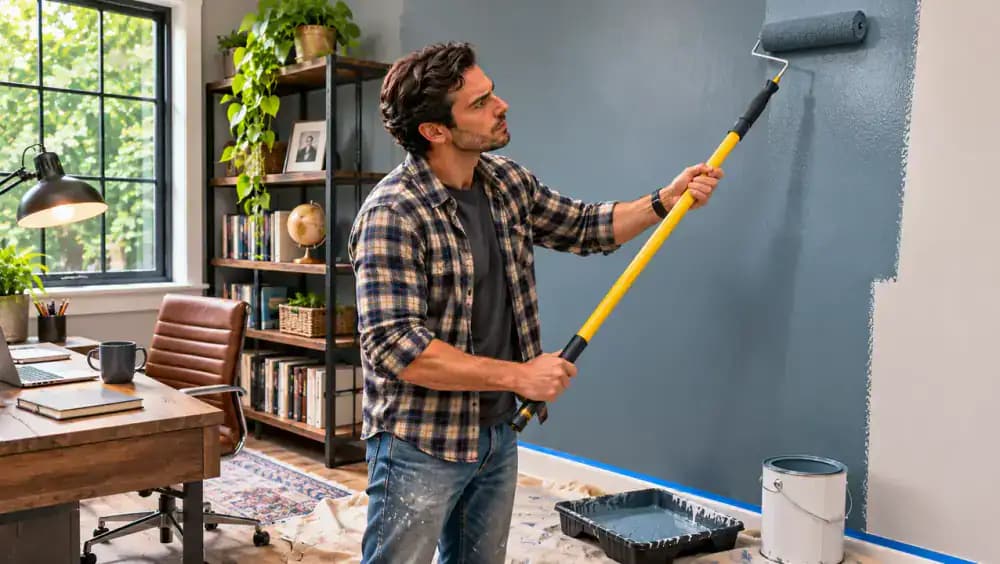
Inspect the Finished Drywall Patch From Different Angles
After the finish paint has dried completely, stand about 6 feet from the repaired wall and examine it under normal daylight. Move closer, then look across the surface from both sides to check for visible edges, uneven sheen, texture differences, or lingering shadows. Repeat the inspection with your usual indoor lighting. The repair should blend at normal viewing distance, although subtle imperfections may remain noticeable when examined closely.

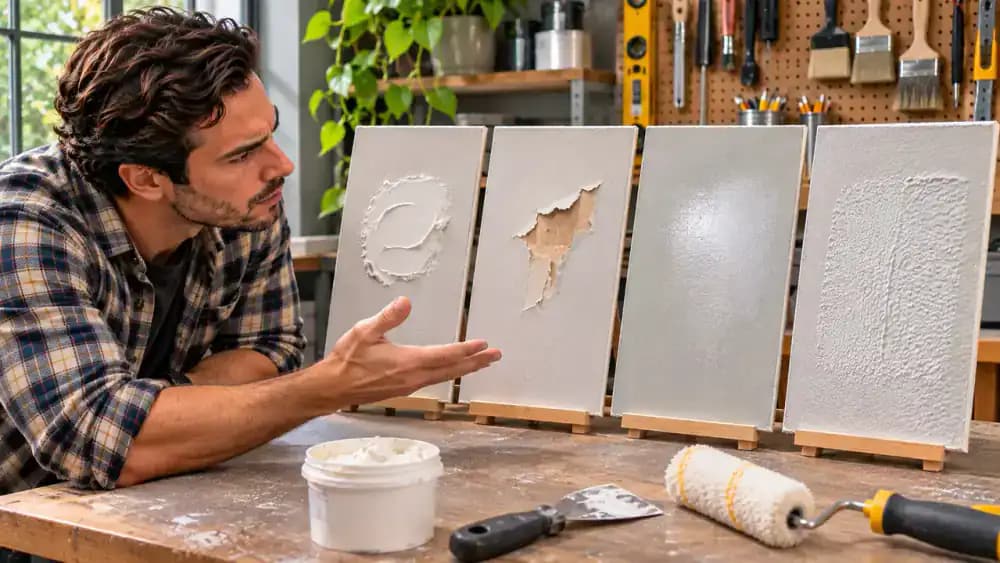
Recognize Four Mistakes That Make Drywall Patches Stand Out
Compare the four drywall samples to recognize common finishing problems. A raised spackle mound indicates excess filler, while exposed brown drywall paper reveals overly aggressive sanding. A dull painted spot can result from skipped primer, and heavy roller marks suggest excessive paint buildup. Hold a clean putty knife near the raised patch to assess its uneven profile without scraping. Prevent these problems with thin coats, gentle sanding, proper priming, and matching texture.
Gently Clean the Repaired Wall After the Paint Cures
Check the paint container for the manufacturer's full curing time, which may be longer than its drying time. Once the finish has cured completely, lightly dampen a clean microfiber cloth with water rather than spraying the wall directly. Gently wipe fingerprints or light dirt using short strokes and minimal pressure. Avoid abrasive scrubbers, harsh cleaning products, and excessive moisture, which can damage the paint or alter its sheen.

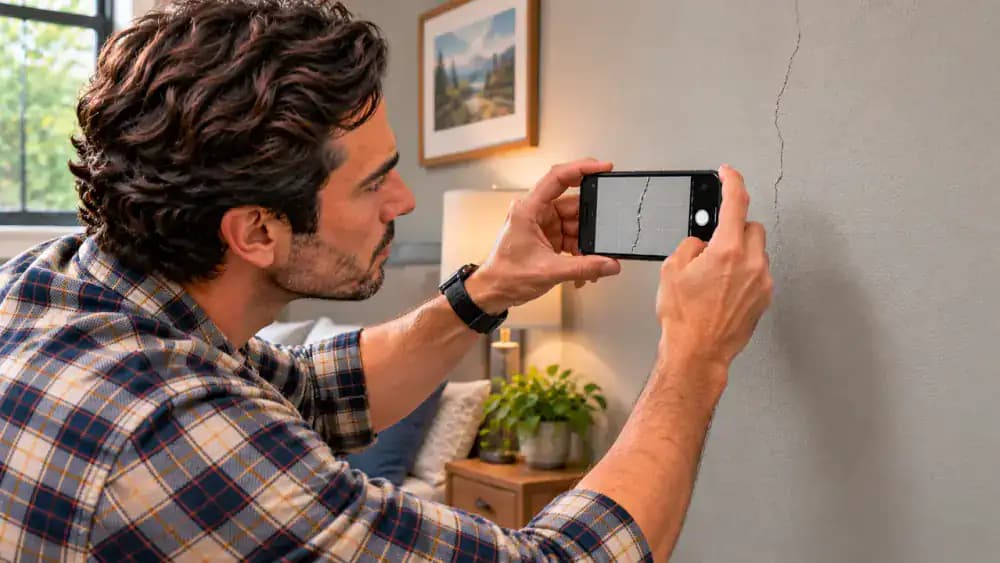
Document Recurring Cracks and Call a Professional
Inspect previously repaired drywall periodically for returning cracks, crumbling material, discoloration, or bubbling paint. If a hairline crack reappears, photograph it with your smartphone without touching or disturbing the surface. Treat new stains or bubbling near a baseboard as possible moisture warnings, not problems to cover with more spackle. Stop cosmetic repairs and contact a qualified professional to identify the cause before attempting further work.
Put Away Your Tools and Enjoy the Repaired Wall
Once the paint has dried according to the manufacturer's instructions, examine the repaired wall under normal daylight to confirm the color, texture, and sheen blend naturally. Gather your putty knife, sanding sponge, closed spackle container, and matching paint for storage. Carefully fold the protective drop cloth without disturbing the finish. Step back about 5 feet to assess the result, remembering that subtle differences may remain visible under closer inspection.
A few nail holes, an abandoned wall anchor, or a shallow dent can make an otherwise spotless wall look unfinished. Fortunately, patching small drywall holes is one of the most approachable home repairs, and you don't need expensive tools or professional experience to get good results. The real challenge isn't filling the hole. It's making the repair disappear after painting. Rushed sanding, skipped primer, or mismatched paint sheen can leave a visible spot that draws more attention than the original damage.
With the right preparation and a little patience, you can achieve a smooth, nearly invisible finish using lightweight spackle, a putty knife, fine-grit sandpaper, primer, and matching paint. This guide walks you through assessing minor damage, applying thin coats of filler, sanding without damaging the surrounding wall, and blending the repaired area into the existing finish. These techniques are intended only for small, dry, stable, nonstructural drywall defects. If you encounter moisture, mold, crumbling material, or unidentified older coatings, stop and seek professional assessment. Suspected lead paint or asbestos also requires professional evaluation.
Where people go wrong
Applying Too Much Spackle at Once. Piling thick layers of spackle over a small hole can cause shrinkage, cracking, and raised patches that remain visible after painting. Instead, press a thin layer firmly into the opening, feather the edges with a putty knife, and allow it to dry completely before adding more.
Sanding Before the Filler Is Completely Dry. Sanding damp spackle can tear the surface, create uneven spots, and ruin an otherwise smooth repair. Follow the manufacturer's drying instructions, then use a 180 to 220 grit sanding sponge with light pressure. Check the surface under angled lighting and remove dust before priming.
Skipping Primer Before Painting. Fresh spackle absorbs paint differently than the surrounding wall, often leaving a dull or shiny patch known as flashing. Applying paint directly over filler makes the repair more noticeable. Use a suitable spot primer to seal the patched area, and let it dry before applying matching paint.
Ignoring Wall Texture and Paint Sheen. Even perfectly smooth filler can stand out when the surrounding wall has a different texture, paint color, or sheen. Match the original finish and use an appropriate application technique. If spot painting creates noticeable differences, repainting the entire wall may produce a more consistent appearance.
Questions people ask
Yes. Small nail holes, minor anchor holes, and shallow dents can usually be repaired with lightweight spackle alone, provided the drywall is dry and stable. Press the filler firmly into the opening, smooth it with a putty knife, and feather the edges. Slightly larger openings may need a small drywall repair patch.
Fixed it?
Get one guide like this every Thursday.