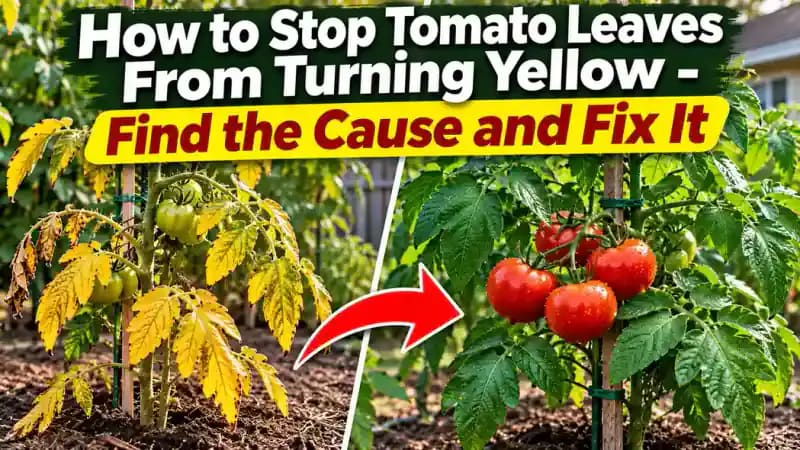
How to Stop Tomato Leaves From Turning Yellow - Find the Cause and Fix It
Yellow tomato leaves can signal watering problems, nutrient imbalances, disease, or natural aging. Learn how to read the warning signs, check soil moisture, correct growing conditions, and keep your tomato plants healthy without unnecessary treatments.
What you’ll need
Tap to tick things off before you start.
Check Where the Yellowing Starts
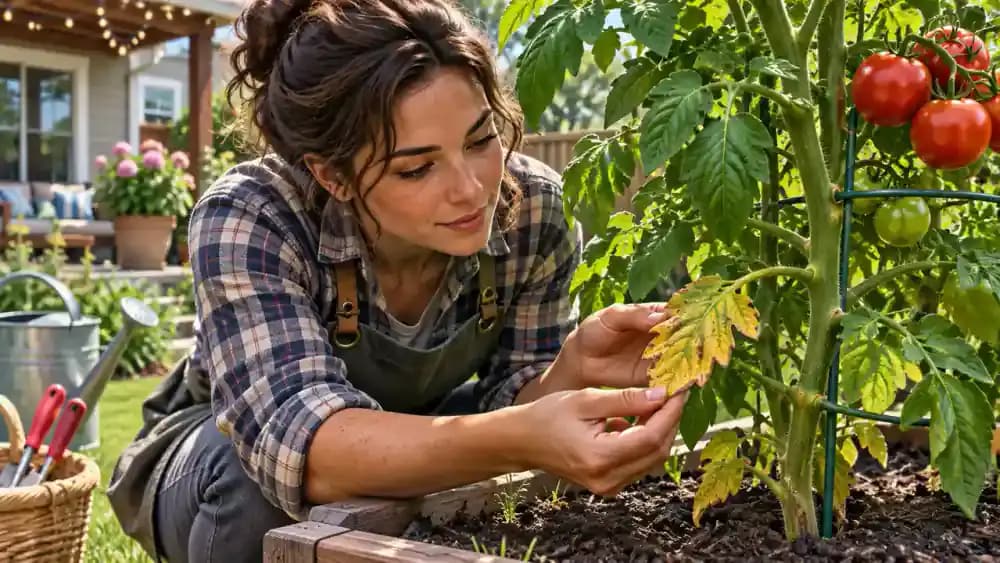
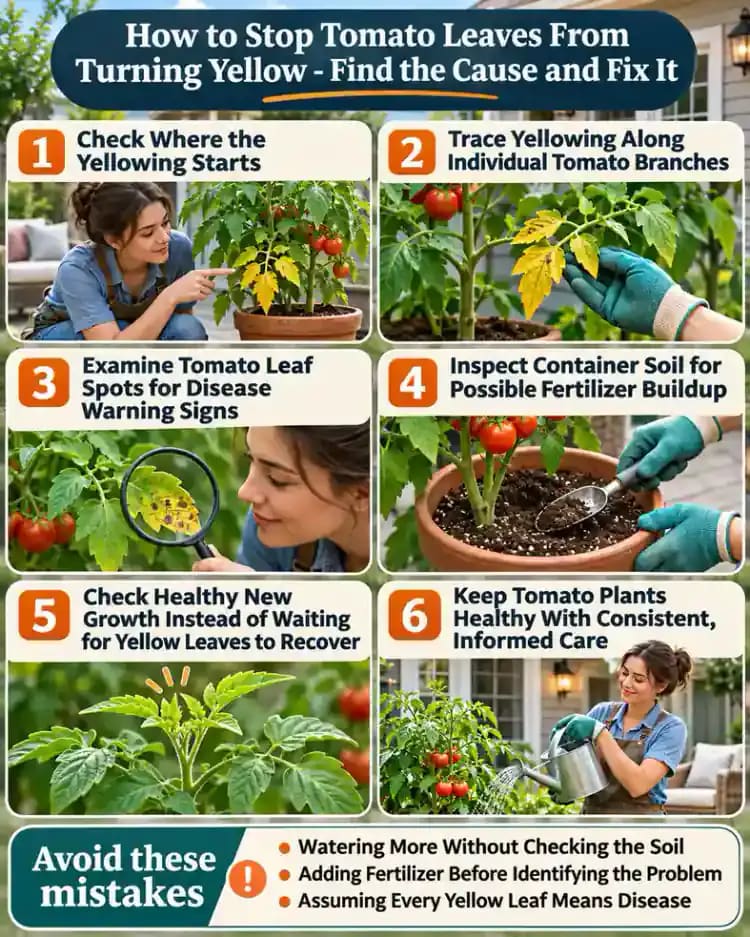
Examine your tomato plant in natural daylight, starting with the lower leaves and moving toward the healthy green growth at the top. Gently lift a yellow leaf without pulling it off, as shown, and compare its color with nearby foliage. Notice whether only older leaves are affected, new growth looks pale, or yellowing appears on isolated branches. These patterns provide useful clues before you change watering habits or apply treatments.
Compare Yellowing Across the Entire Plant
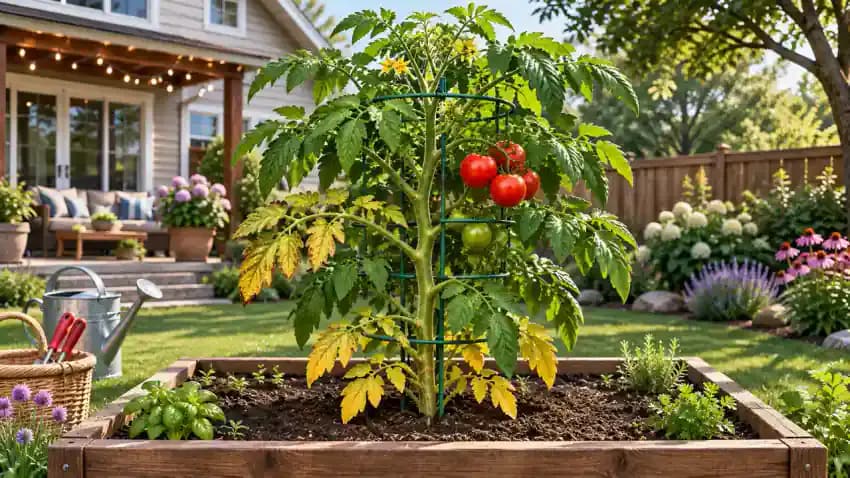
Step back and inspect the entire tomato plant, comparing older lower leaves, newer upper growth, and individual branches. As shown, look for differences in color and distribution without removing any foliage. A few yellow lower leaves may reflect natural aging, while spreading discoloration deserves closer attention. Take photographs of each affected area and record when symptoms first appeared. This helps you track changes without guessing at the cause.
Gather Your Tomato Plant Inspection Supplies
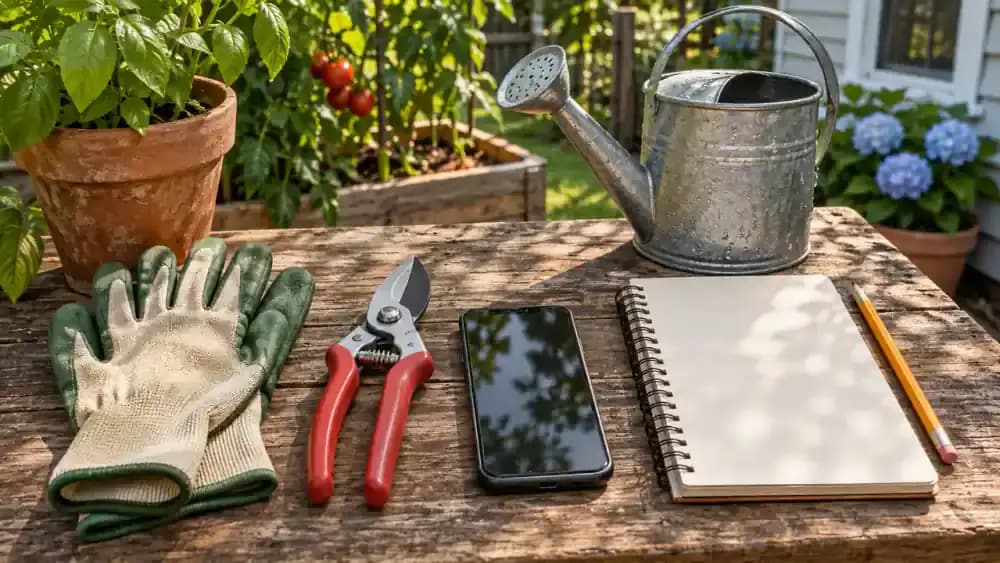
Arrange clean gardening gloves, sanitized pruning shears, a notebook, pencil, smartphone, and watering can on a stable work surface, as shown. Keep the pruning shears closed until you need them, and use your phone to document unusual leaf patterns. Plan your inspection during daylight hours so discoloration is easier to recognize. Leave fertilizers and pesticides aside until you understand the likely cause and determine whether treatment is necessary.
Inspect Lower Leaves for Signs of Natural Aging
Crouch beside your tomato plant and gently move healthy branches aside to examine the oldest leaves near the base, as shown. Look for a few yellow leaves shaded by dense foliage while checking whether the upper growth remains green and healthy. This pattern may indicate normal aging rather than a serious problem. However, widespread yellowing, unusual spots, or wilting requires further investigation before choosing a treatment.
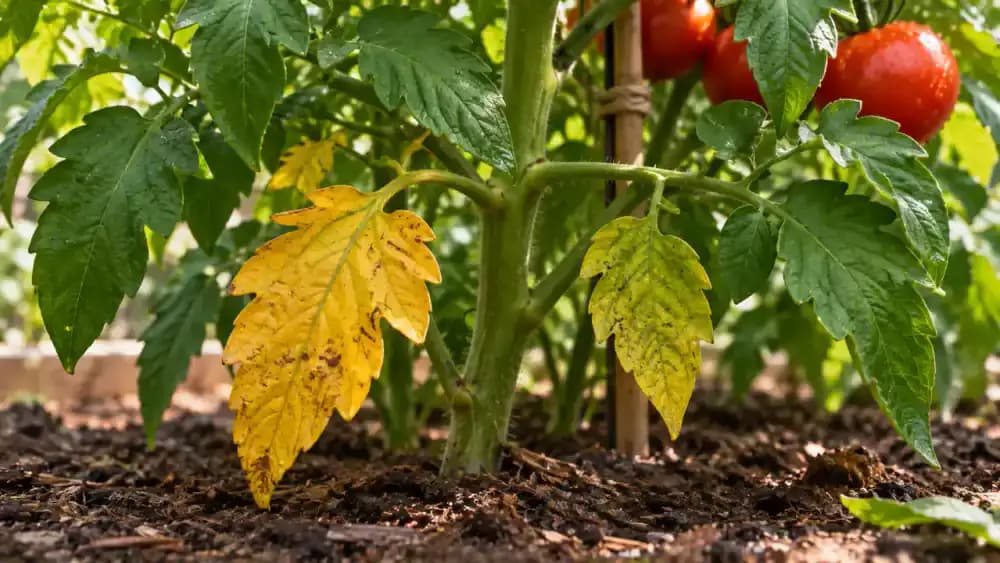
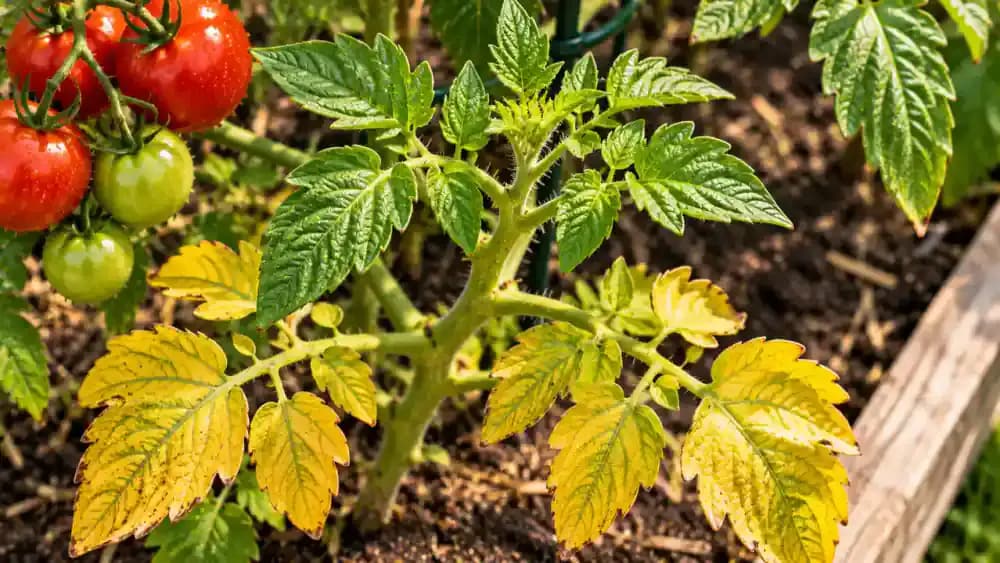
Examine New Tomato Growth for Pale Yellow Leaves
Look closely at the youngest leaves near the top of your tomato plant, comparing their color with older foliage below. As shown, photograph any pale yellow growth without touching or bending the delicate leaves. Notice whether the tissue between the veins is yellow while the veins remain green, or whether entire leaves appear pale. Record these differences, since nutrient availability, root stress, and growing conditions may contribute to yellowing.
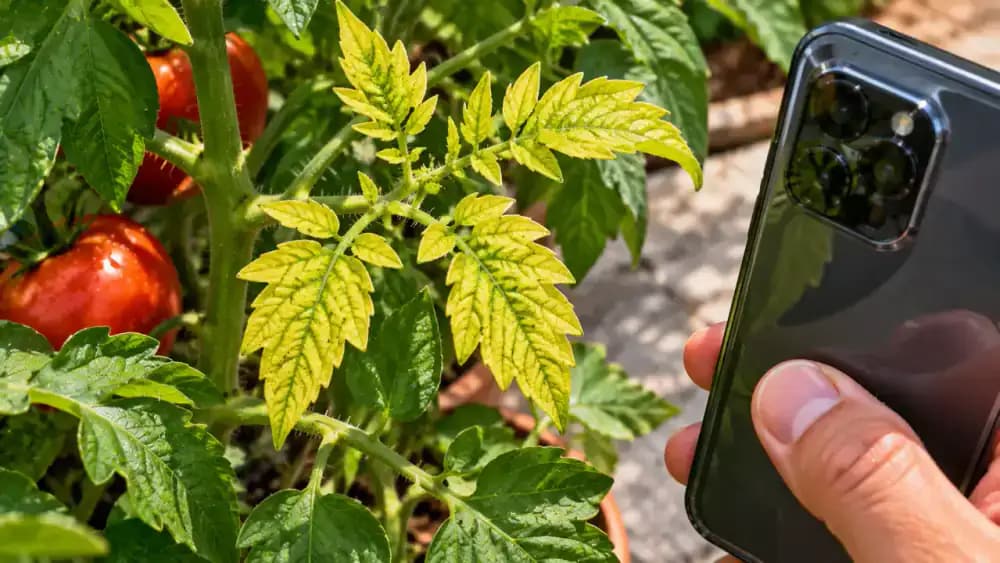
Trace Yellowing Along Individual Tomato Branches
Compare individual branches to see whether yellowing is concentrated in one area while nearby foliage remains green. As shown, gently separate overlapping leaves and follow the affected branch toward its connection with the main stem. Look for visible discoloration, physical damage, or unusual wilting along the way. Photograph the branch junction and note any differences. Localized yellowing may suggest damage, root problems, or disease, but cannot confirm the cause alone.
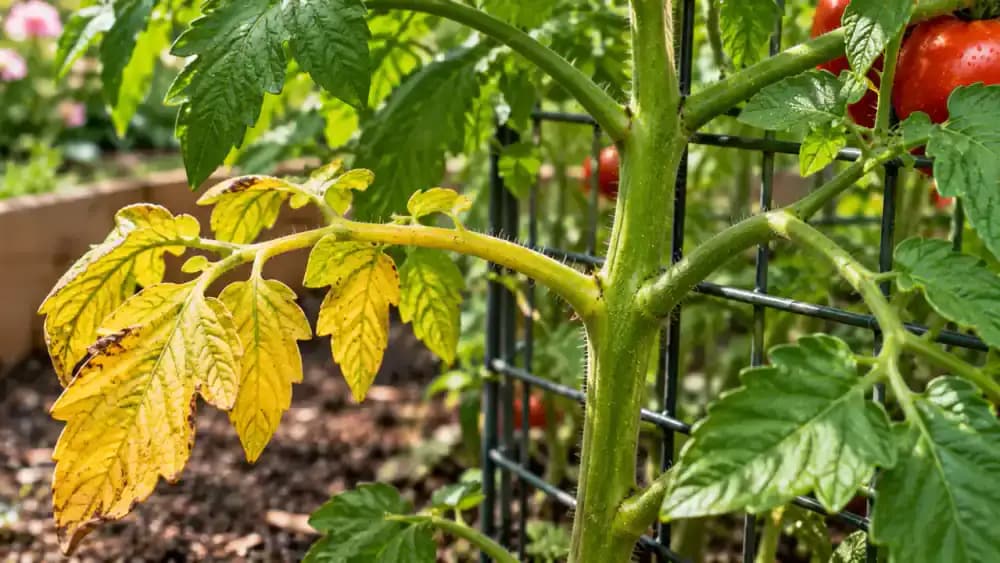
Photograph Yellow Leaves and Track Changes Over Time
Take a clear photograph of the entire tomato plant, followed by close-ups of yellow leaves, unusual spots, and affected branches. As shown, use a notebook to record the observation date, recent weather, and where discoloration appears. Note when you first noticed symptoms and whether they have changed. Repeat photographs every few days from similar angles to distinguish stable yellowing from damage that continues spreading through the plant.

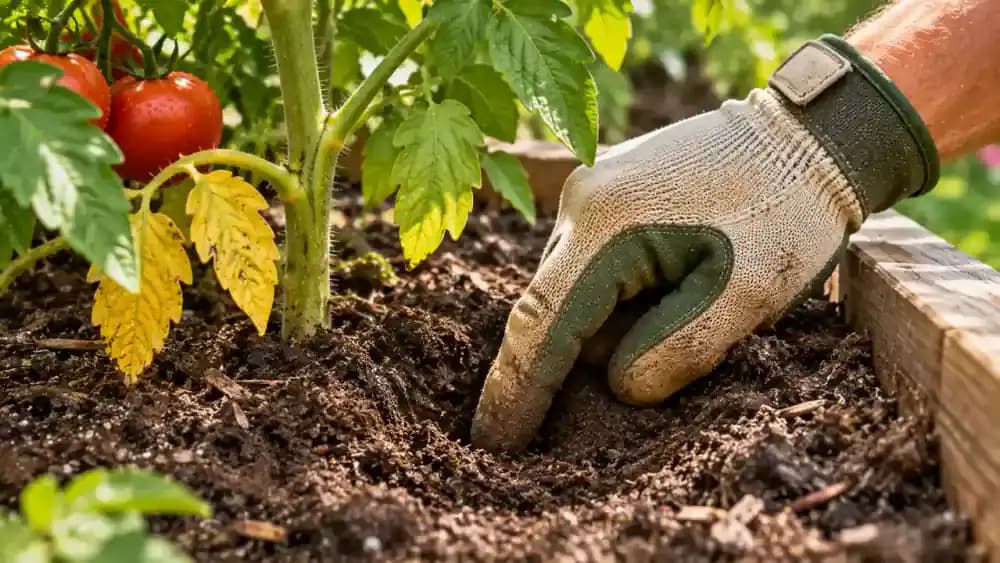
Test Soil Moisture Two Inches Below the Surface
Gently move aside any mulch and press your gloved index finger approximately 2 inches into the soil, several inches away from the tomato stem, as shown. Feel whether the soil is dry, slightly moist, or unusually wet. Check another spot if moisture seems uneven across the bed. Both underwatering and excessive moisture can cause yellow tomato leaves, so use actual soil conditions rather than leaf color to guide watering decisions.
Check Drainage Holes and Remove Standing Water
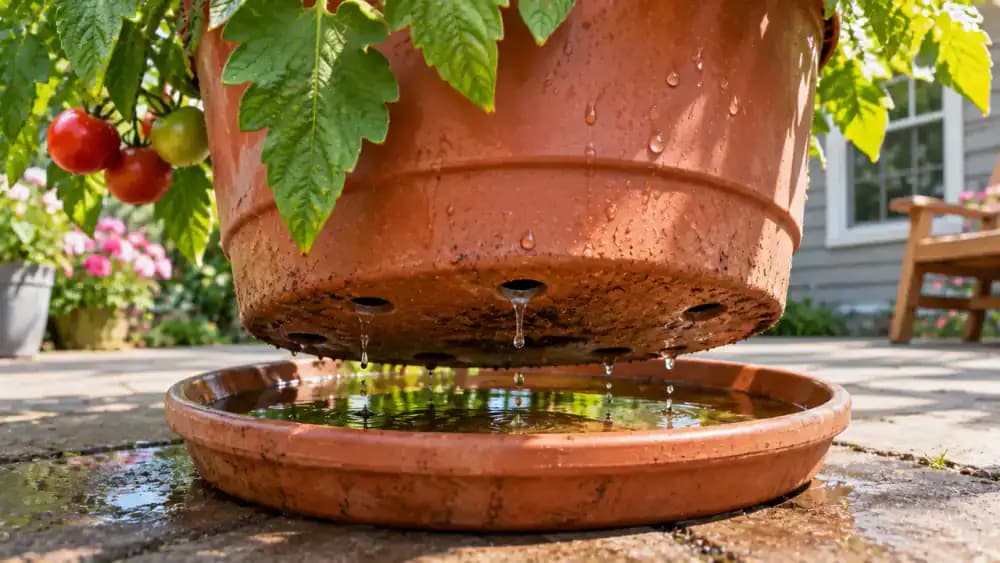
Inspect the drainage holes beneath your tomato container to see whether excess water can escape. As shown, gently slide out the saucer and check for standing water that may keep the soil saturated. Empty collected water and make sure drainage openings are not blocked. For tomatoes growing in garden beds, look for puddles that linger after rain or watering. Consistently waterlogged soil can restrict oxygen around roots and contribute to yellowing.
Water Tomato Plants Slowly at the Root Zone
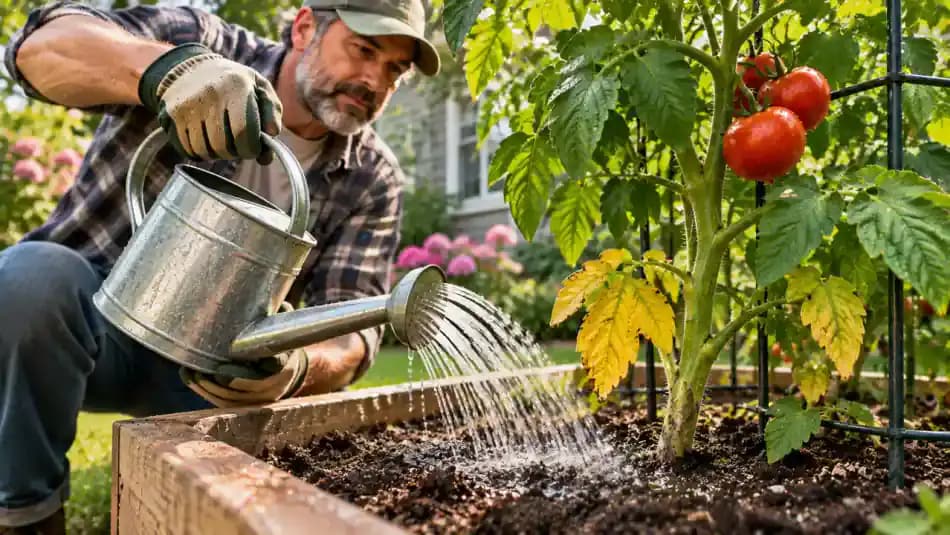
Once drainage is clear and the soil needs moisture, use a watering can to direct a gentle stream onto the soil around the tomato plant's base, as shown. Keep water off the foliage and move the spout around the root zone for even coverage. Pour slowly enough for moisture to soak in without forming puddles. Before watering again, check soil moisture rather than following a fixed daily schedule.
Examine Both Leaf Surfaces for Spots and Damage
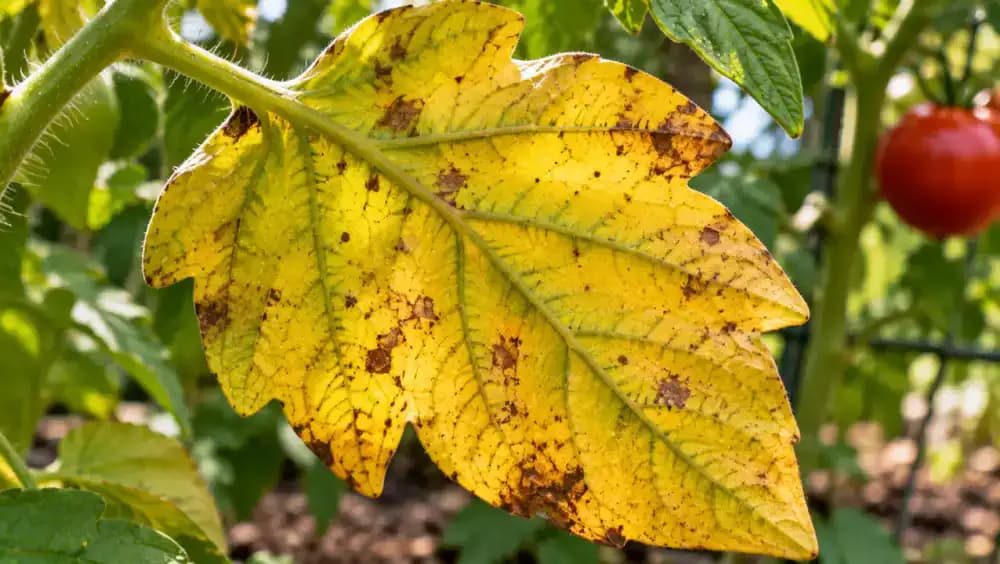
Choose a yellowing tomato leaf and gently lift its edge to inspect the underside without damaging the stem, as shown. Look for small brown spots, darkened edges, unusual discoloration, or tiny insects. Turn your attention to the upper surface, then compare nearby leaves for similar symptoms. Photograph any suspicious markings and note their locations. These observations provide useful clues, but leaf appearance alone cannot confirm a specific pest or disease.
Examine Tomato Leaf Spots for Disease Warning Signs
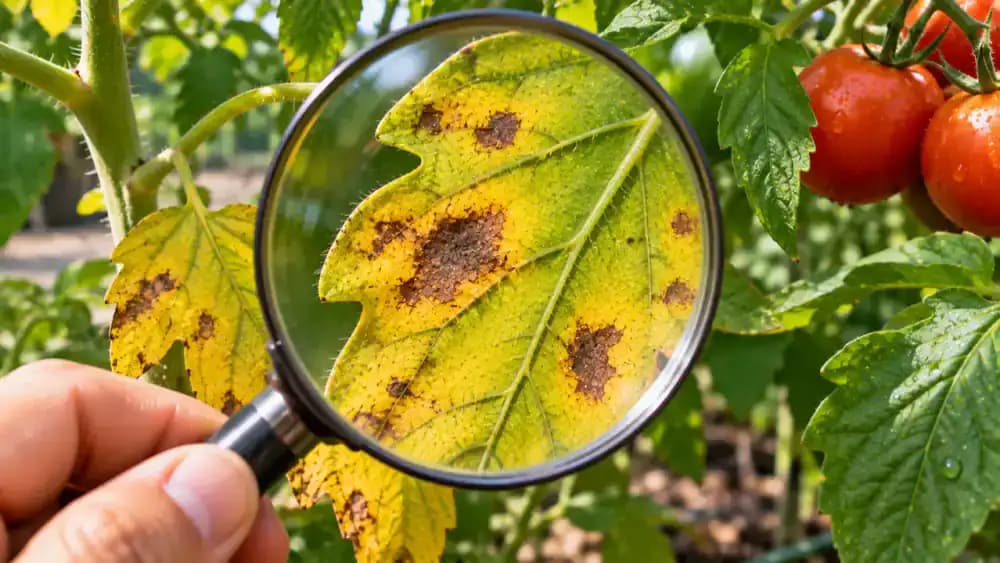
Use a magnifying glass to examine suspicious spots on attached tomato leaves, as shown. Look for dark centers, yellow margins, irregular shapes, and similar markings on nearby foliage. Photograph representative spots and record which leaves are affected, including whether symptoms appear to be spreading. Some fungal and bacterial diseases cause these patterns, but other problems can look similar. Avoid applying pesticides until the likely cause has been properly identified.
Compare Wilting and Yellowing on Nearby Tomato Plants
Examine drooping leaves and branches alongside yellowing foliage, comparing affected tomato plants with healthier neighboring plants, as shown. Notice whether wilting occurs during intense afternoon heat or continues after temperatures cool. Check soil moisture before assuming more water is needed. Follow limp branches toward the main stem and record which areas are affected. Persistent wilting with yellowing may indicate root stress or disease and deserves closer investigation.
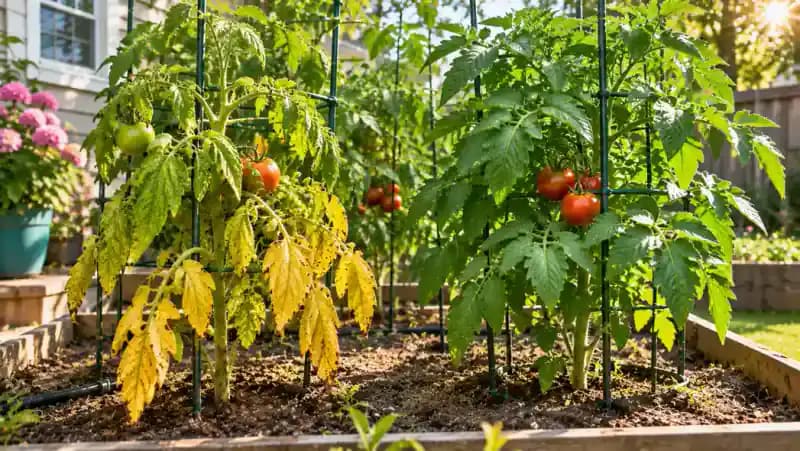
Inspect Crowded Tomato Foliage and Airflow
Stand beside your tomato plants and check where neighboring branches overlap or block airflow. As shown, gently separate flexible branches to inspect crowded interior foliage without breaking stems. Look for tightly packed leaves, shaded areas, and lower branches touching the soil. Dense growth can trap humidity and keep foliage wet longer, potentially encouraging disease. Note which areas need attention before deciding whether careful pruning or better plant spacing is necessary.
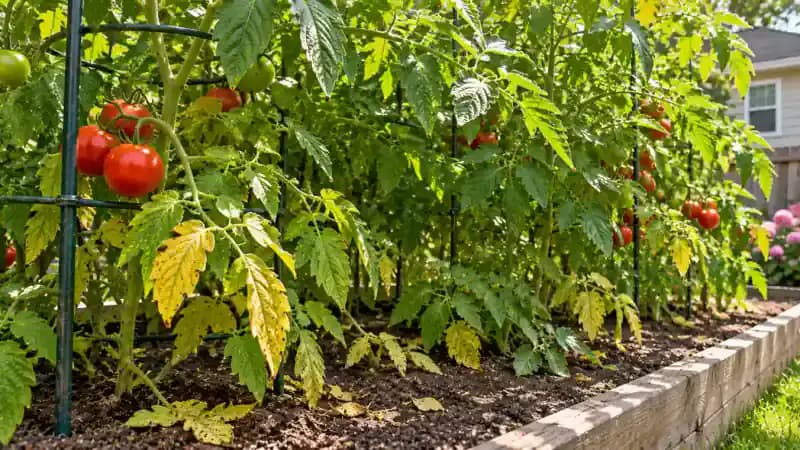
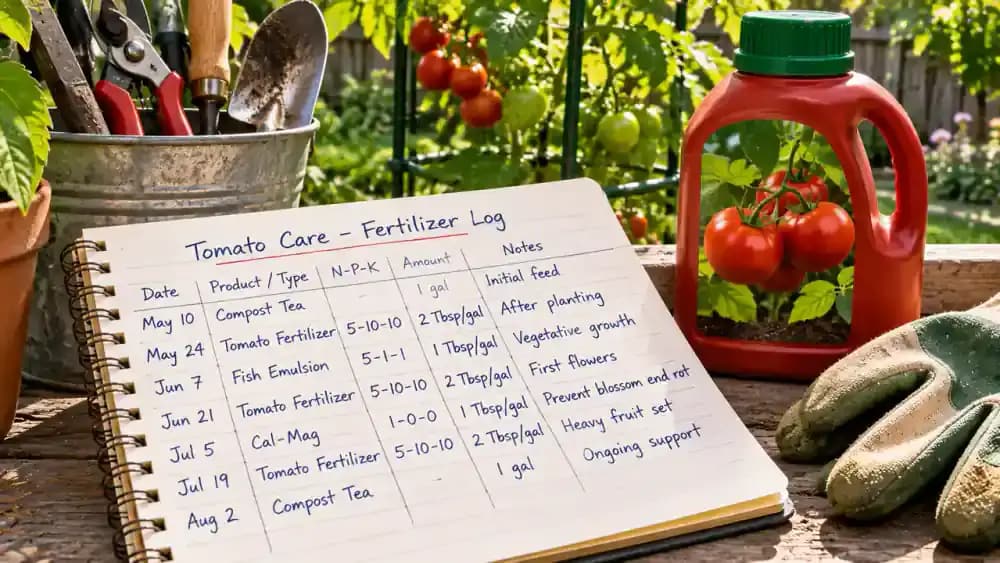
Check Fertilizer Records Before Adding More Nutrients
Review your gardening journal to find when you last fertilized your tomato plants and which product you used. As shown, compare previous application dates with the instructions on the fertilizer container. Check whether you followed the recommended amounts and timing. Nutrient shortages can contribute to yellow leaves, but excessive fertilizer may also stress roots. Record any recent applications and consider soil testing before deciding whether additional nutrients are necessary.
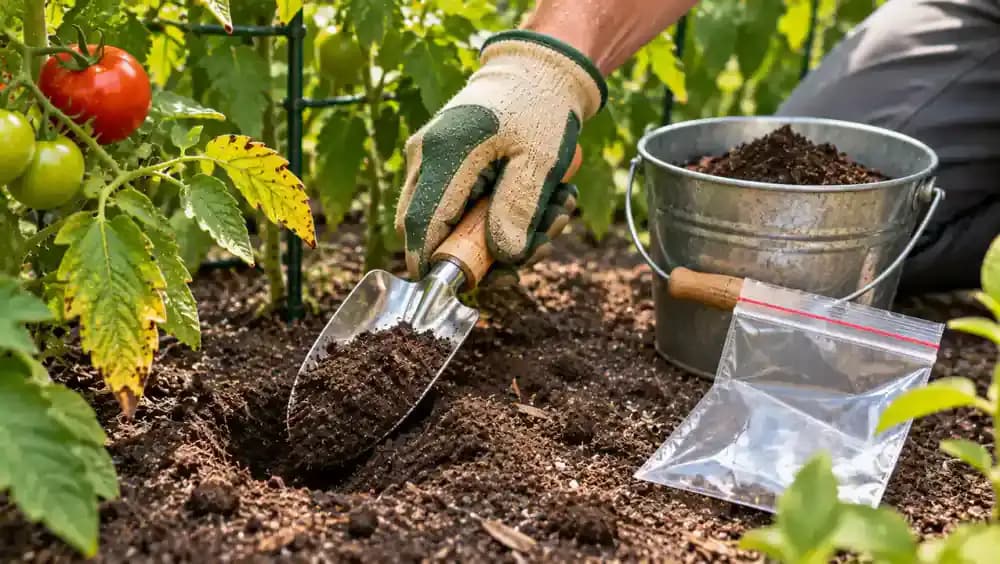
Collect Soil Samples to Check Nutrients and pH
Use a clean hand trowel to collect small soil samples from several locations around your tomato growing area, as shown. Avoid disturbing plant roots or including fertilizer granules. Place the samples in a clean bucket and combine them according to your soil testing laboratory's instructions. Transfer the required amount into an approved sample container. Testing soil nutrient levels and pH helps you make informed fertilizer decisions instead of guessing from yellow leaves.
Review Soil pH and Nutrient Recommendations
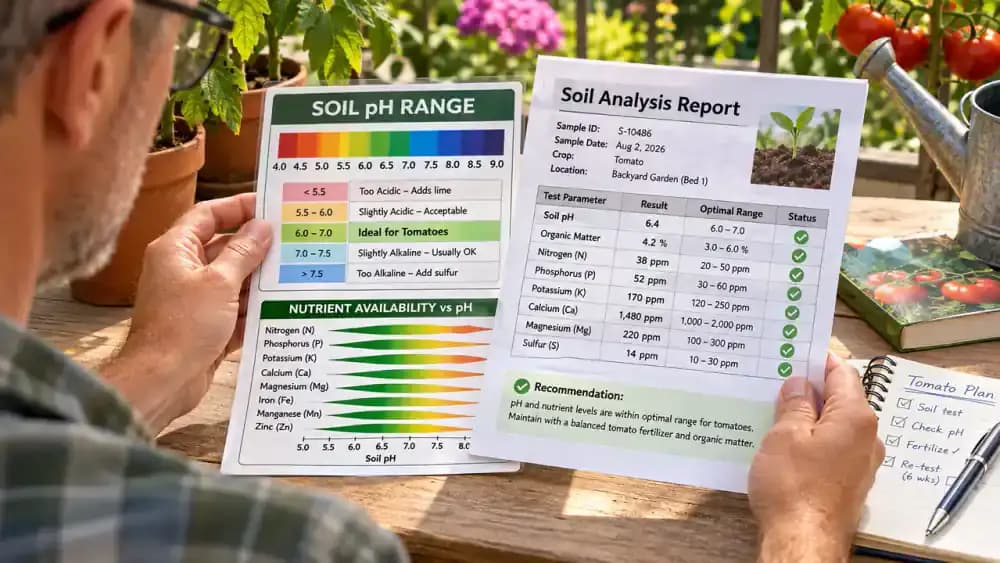
Review your soil laboratory report and pay attention to the pH, nutrient information, and recommended amendments, as illustrated. Soil pH influences how easily tomato roots absorb nutrients, even when those nutrients are present. Compare the recommendations with your watering records and previous fertilizer applications. Do not assume yellow leaves indicate a specific deficiency. Make only adjustments supported by your soil results and growing conditions, following product directions carefully.
Inspect Container Soil for Possible Fertilizer Buildup
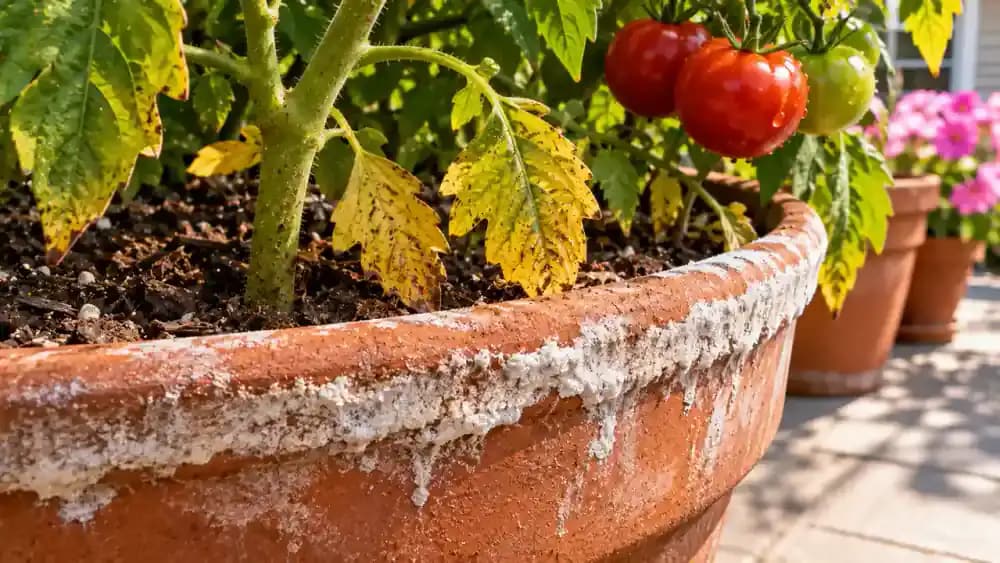
Examine the soil surface and inner rim of your tomato container for white, crusty residue, as shown. Use a flashlight to inspect the deposits without disturbing the roots or scraping the soil. Mineral deposits can have several causes, including accumulated fertilizer salts, so their appearance alone cannot confirm overfertilization. Review recent feeding amounts and frequency, and avoid adding more fertilizer until soil conditions and nutrient needs are better understood.
Prune Dead Tomato Leaves Without Damaging Healthy Growth
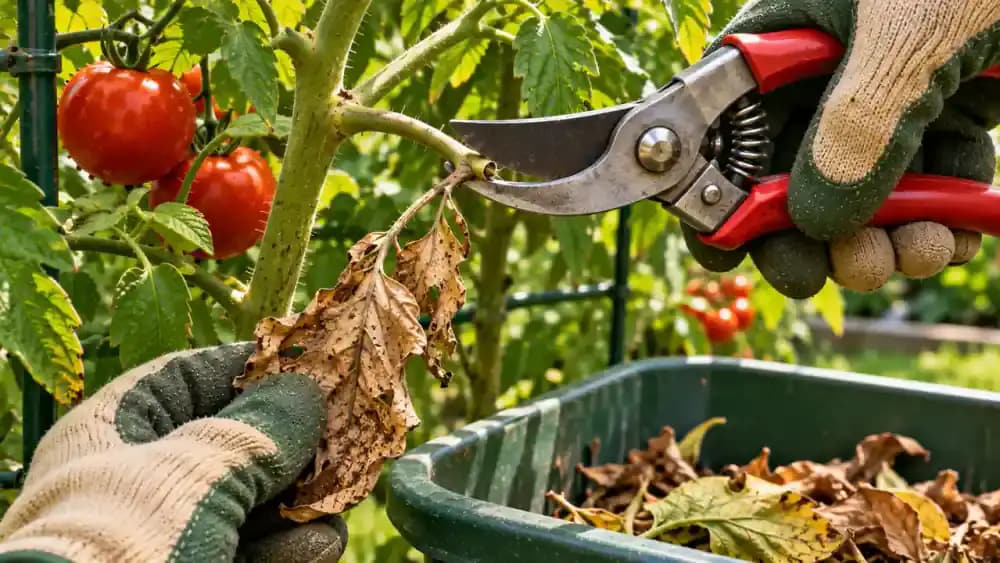
Choose a dry day and identify tomato leaves that are completely dead or severely damaged. As shown, hold the affected leaf gently and use clean, sharp pruning shears to cut its stalk without injuring the main stem or nearby green foliage. Place removed leaves directly into a garden waste container instead of leaving them beneath the plant. Avoid unnecessary pruning because healthy green leaves still support growth and fruit development.
Disinfect Pruning Shears Before Moving to Another Plant
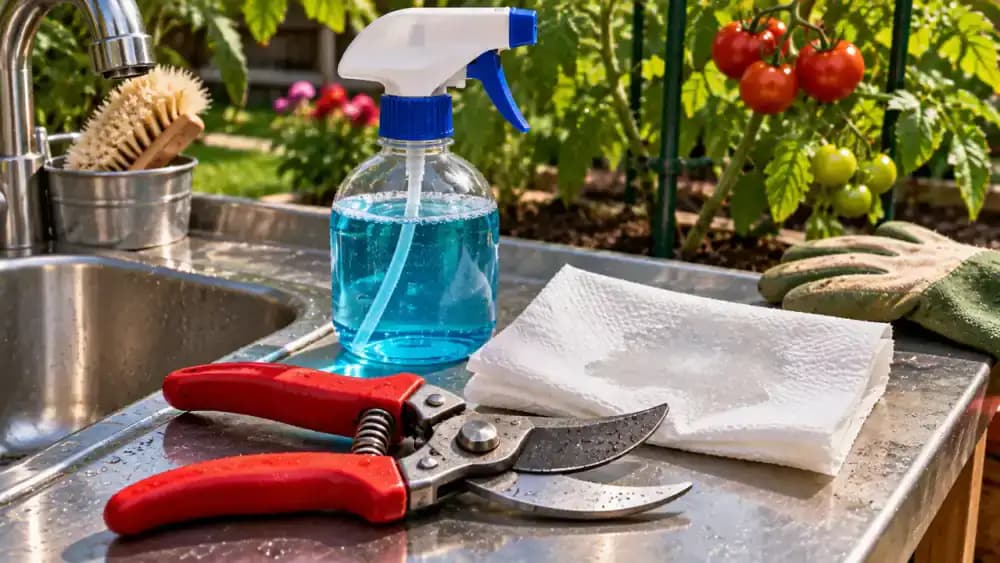
After removing damaged tomato leaves, place your pruning shears on a clean work surface. As shown, wear protective gloves and wipe plant debris from the blades with a disposable cloth. Apply a disinfectant approved for garden tools, following its label instructions and required contact time. Allow the blades to dry as directed before pruning another plant. Dispose of used cleaning materials properly to help prevent transferring plant pathogens between tomatoes.
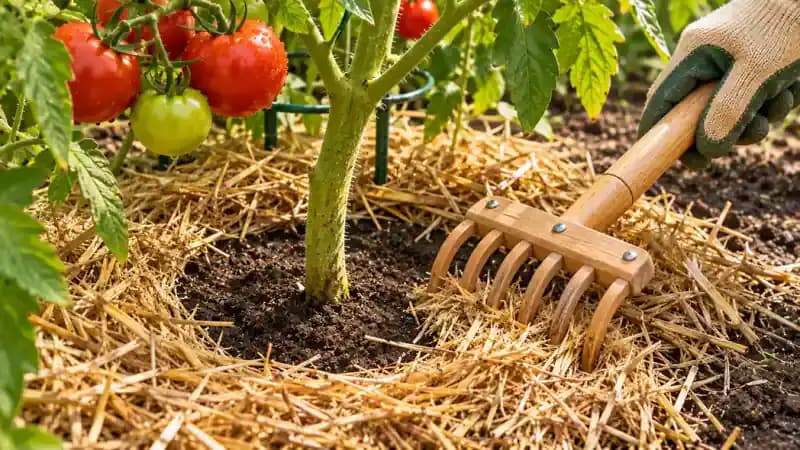
Spread Mulch Evenly Without Covering Tomato Stems
Use a small hand rake to gently pull existing mulch away from the tomato plant's main stem, as shown. Leave a few inches of exposed soil around the stem, then spread the surrounding mulch into an even layer approximately 2 to 3 inches deep. This helps conserve soil moisture and reduce soil splashing onto lower leaves. Avoid digging into the root zone or burying low branches while adjusting the mulch.
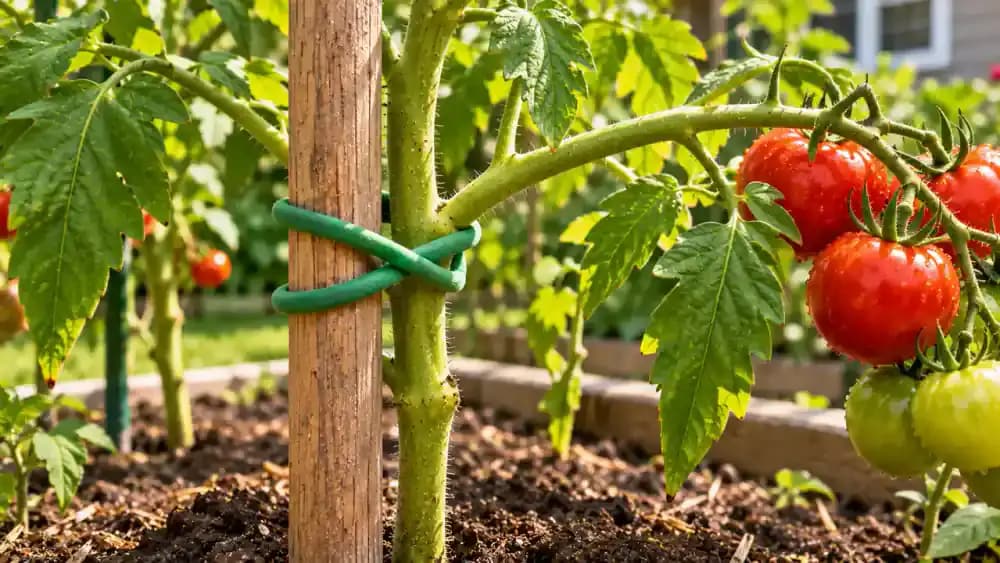
Secure Low Tomato Branches to Improve Airflow
Identify flexible tomato branches resting near the soil or crowding neighboring plants. As shown, gently lift a low branch toward a sturdy wooden stake and secure it with a soft garden tie in a loose figure-eight pattern. Leave enough space for the stem to grow without rubbing against the support. Avoid forcing stiff branches upward. Proper support reduces soil contact, improves airflow, and makes future inspections of yellowing leaves easier.
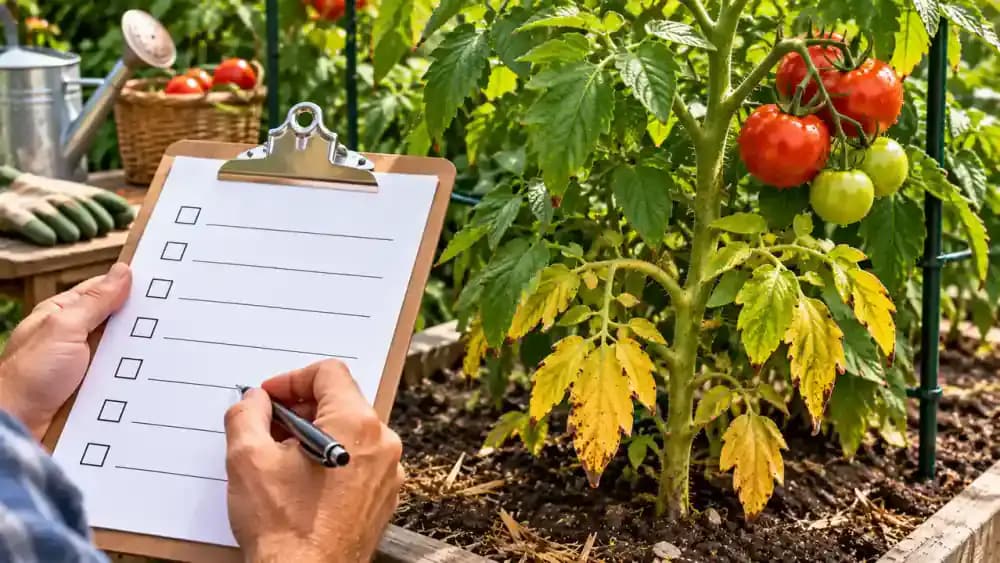
Track Tomato Leaf Changes Every Two to Three Days
Inspect your tomato plant every two or three days, checking the same yellow lower leaves and comparing them with healthy upper growth. As shown, use a garden checklist to record leaf condition, soil moisture, rainfall, temperature changes, and recent maintenance. Check soil moisture before each watering rather than following a fixed schedule. Photograph the plant from consistent angles to identify whether yellowing is stabilizing, spreading, or affecting previously healthy leaves.
Check Healthy New Growth Instead of Waiting for Yellow Leaves to Recover
Examine the newest leaves at the top of your tomato plant, using a plain white reference card to compare their natural color, as shown. Look for healthy green tissue, normal leaf development, and any new discoloration along the veins or edges. Older yellow leaves may never regain their color. Compare dated photographs to see whether additional leaves are affected, but remember that healthy new growth alone does not confirm complete recovery.
Contact Cooperative Extension for Persistent Tomato Leaf Problems
If yellowing continues spreading despite corrected watering and basic maintenance, contact your local county Cooperative Extension office. As shown, find the official office website and prepare clear photographs of affected leaves, a symptom timeline, soil moisture observations, and fertilizer records. Mention persistent wilting, unusual spots, or rapidly worsening damage. An Extension specialist can recommend appropriate testing and help identify possible causes without relying on leaf appearance alone or unnecessary treatments.

Read Treatment Labels Before Using Products on Tomatoes
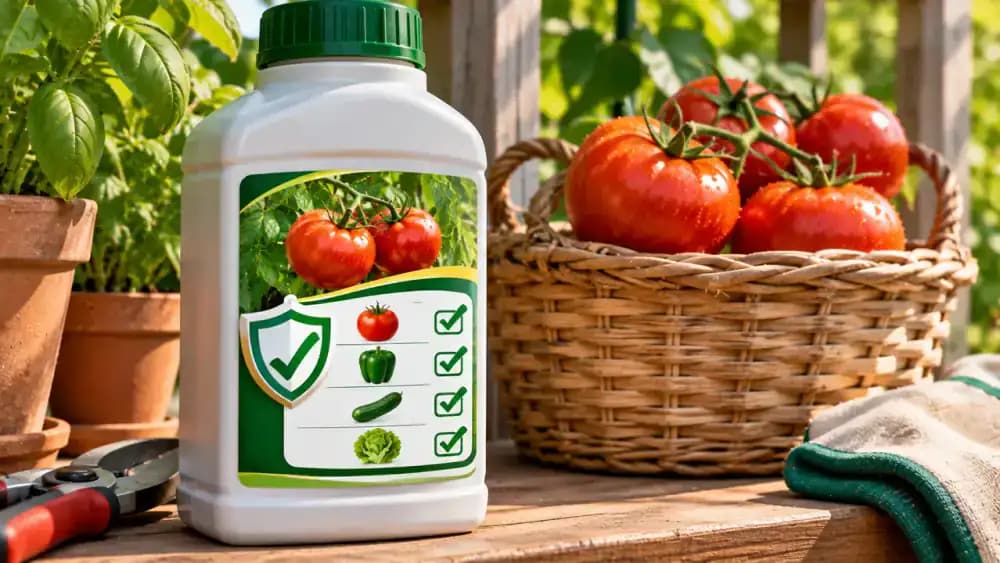
If professional guidance recommends a garden treatment, examine the original product label before opening the container, as shown. Confirm that tomatoes are an approved crop and review application directions, protective equipment requirements, and any harvest interval. Keep treatment products separate from harvested tomatoes and store them securely. Follow instructions for keeping children and pets away. Never increase recommended doses or combine products without explicit label authorization.
Inspect Developing Tomatoes Without Removing Healthy Leaves
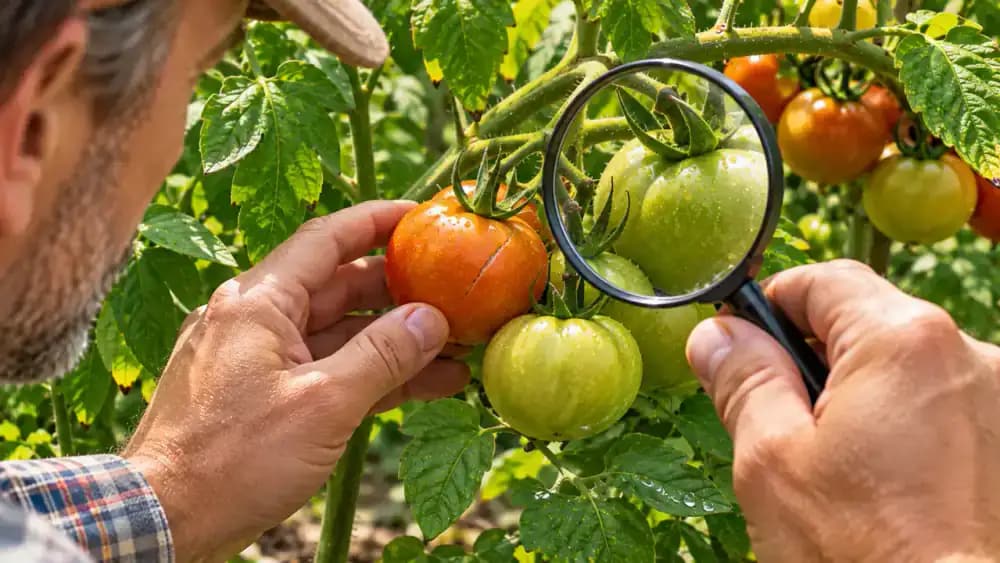
Gently support a fruit-bearing tomato branch and examine developing tomatoes for cracks, dark spots, rot, or unusual growth, as shown. Move nearby leaves aside carefully to inspect hidden fruit without squeezing or removing tomatoes prematurely. Leave healthy foliage intact because it supports fruit development and provides shade. Continue checking soil moisture before watering and monitor yellowing leaves separately. Some yellow leaves do not automatically mean your tomato harvest is lost.
Use Five Simple Checks to Diagnose Yellow Tomato Leaves
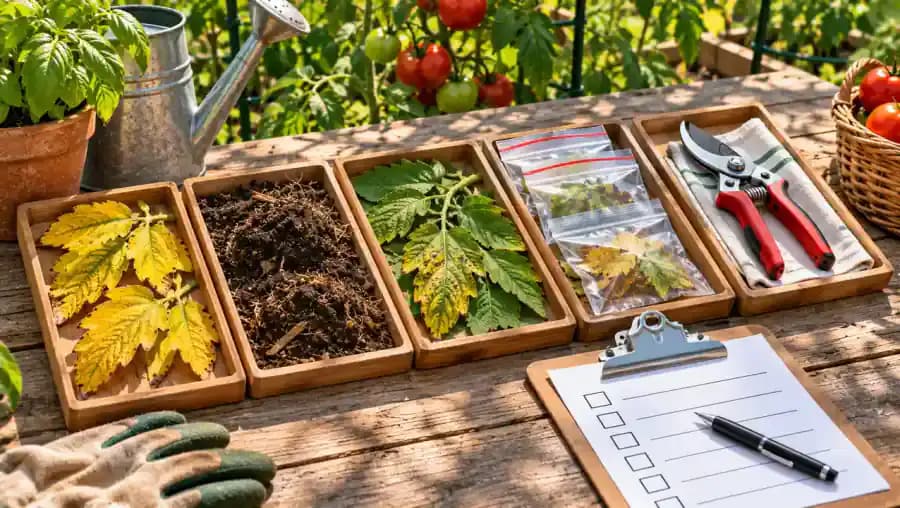
Follow the five checks illustrated on the garden table. First, identify where yellowing begins and which leaves are affected. Second, check soil moisture and drainage. Third, inspect foliage for spots, wilting, and restricted airflow. Fourth, review fertilizer history and consider soil testing. Fifth, make only necessary corrections and monitor new growth. Record your observations to track changes and avoid unnecessary fertilizer or pesticide applications.
Decide When Yellow Tomato Leaves Need Further Attention
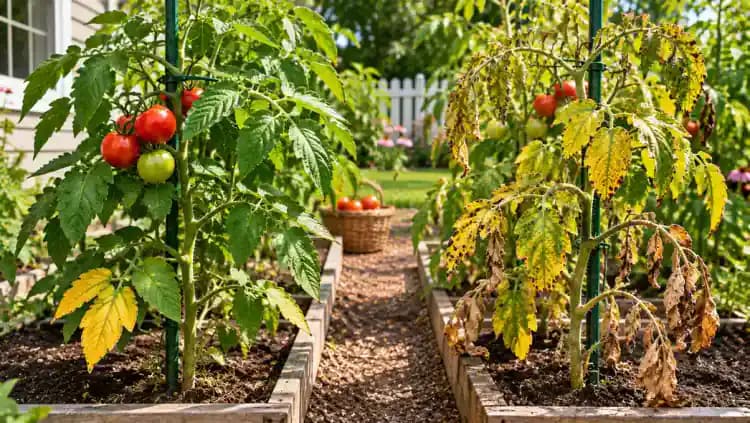
Compare plants with limited yellowing against those showing widespread discoloration, spots, or persistent wilting, as shown. If only a few older leaves are yellow and new growth remains healthy, continue routine monitoring. For worsening symptoms, mark affected plants on a garden diagram and record changes with dated photographs. Keep checking soil moisture and drainage, and seek Cooperative Extension guidance before applying fertilizers or pesticides without a confirmed need.
Keep Tomato Plants Healthy With Consistent, Informed Care
Take one last look at your tomato plant and its growing conditions, as shown. Check that branches are supported, mulch stays clear of the main stem, and developing fruit remains undamaged. Record your observations and continue monitoring soil moisture, new growth, and existing yellow leaves every few days. Make adjustments only when evidence supports them, and consult your local Cooperative Extension service if yellowing spreads, wilting persists, or symptoms remain unexplained.
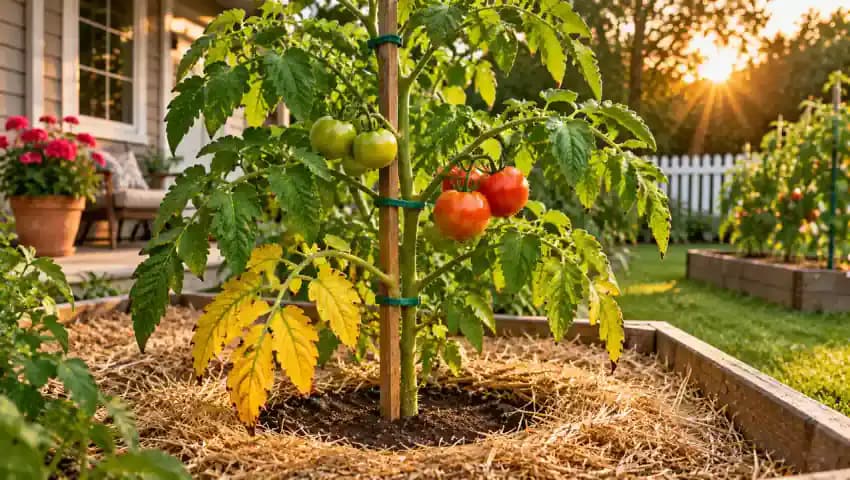
Noticing yellow leaves on your tomato plants can be frustrating, especially when the rest of the garden looks healthy. But yellowing foliage doesn't always mean your tomatoes are in trouble. Older leaves naturally lose their color as plants grow, while other cases may point to inconsistent watering, poor drainage, nutrient imbalances, or disease. The most useful clue is often where the yellowing starts. Are the lower leaves fading first, is new growth turning pale, or is one branch suddenly looking unhealthy? These patterns can help you narrow down the possible causes before making changes.
The good news is that many common causes of yellow tomato leaves can be addressed with a few simple gardening adjustments. This guide walks you through checking leaf patterns, testing soil moisture, inspecting for warning signs, and improving growing conditions. You'll also learn when pruning makes sense, why adding fertilizer isn't always the answer, and how to track your plant's recovery. If symptoms persist or spread rapidly, your local Cooperative Extension service can help identify the problem.
Where people go wrong
Watering More Without Checking the Soil. Yellow leaves can result from both too much and too little water, so automatically increasing irrigation may make the problem worse. Check soil moisture about 2 inches deep before watering. Inspect drainage holes, standing water, and compacted soil to determine whether the roots are receiving appropriate moisture.
Adding Fertilizer Before Identifying the Problem. Yellowing leaves don't automatically indicate a nutrient deficiency. Applying fertilizer without checking soil conditions can create nutrient imbalances and additional plant stress. Review your fertilizer history, examine where yellowing begins, and consider soil testing before adding nutrients. Fertilizer cannot correct poor drainage or improper watering.
Assuming Every Yellow Leaf Means Disease. Older lower leaves may turn yellow naturally as tomato plants mature. Before assuming disease, compare affected leaves with healthy growth and inspect both leaf surfaces for spots, discoloration, or unusual wilting. Leaf color alone cannot identify a pathogen. Seek Cooperative Extension guidance when symptoms spread or persist.
Removing Too Many Leaves and Expecting Immediate Recovery. Aggressively pruning yellow foliage can remove leaves that still contribute to plant growth. Use clean pruning shears to remove only clearly dead or severely damaged foliage. Improve airflow and watering practices, then monitor new growth with dated photographs. Previously yellow leaves may never regain their original green color.
Questions people ask
Lower tomato leaves often turn yellow naturally as the plant matures, especially when the upper growth remains healthy and green. However, yellowing can also indicate watering problems, nutrient imbalances, or disease. Check whether the discoloration is spreading, inspect both sides of affected leaves, and monitor new growth before deciding on treatment.
Fixed it?
Get one guide like this every Thursday.