How to Stop Standing Water in Your Yard After Heavy Rain
Tired of muddy patches and puddles after every storm? Learn how to identify what's causing standing water in your yard, make simple drainage improvements, and recognize when professional help is needed.
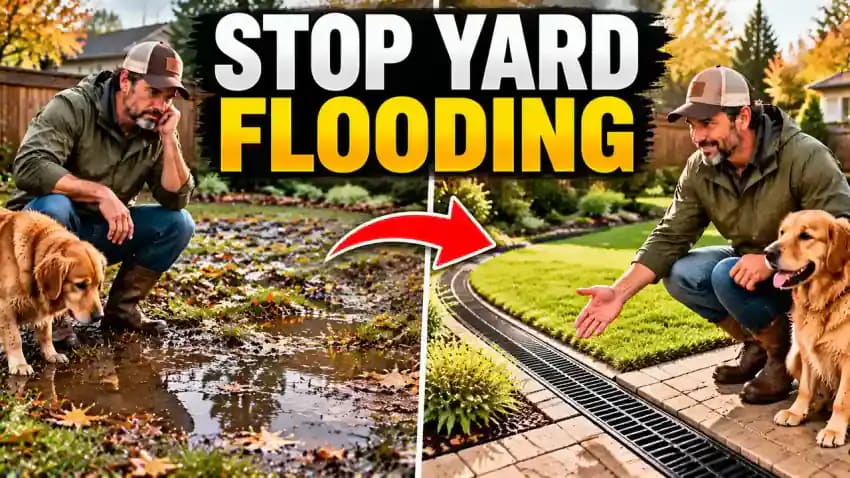
What you’ll need
Tap to tick things off before you start.
Why Your Yard Turns Into a Pond
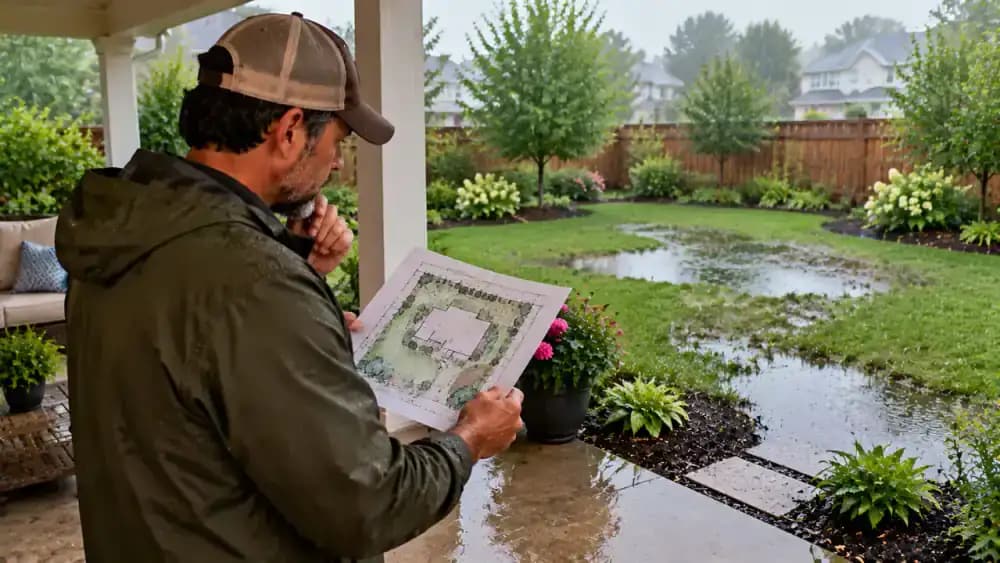
After heavy rainfall, stand on a dry patio or another safe surface and observe where puddles collect across your lawn. Notice the muddy low spots, waterlogged planting beds, roof downspout, and areas that remain relatively dry. Look for slopes that might direct runoff toward these trouble spots. Take a few photos to document the conditions. These observations can help identify possible drainage causes before you spend money on unnecessary repairs.
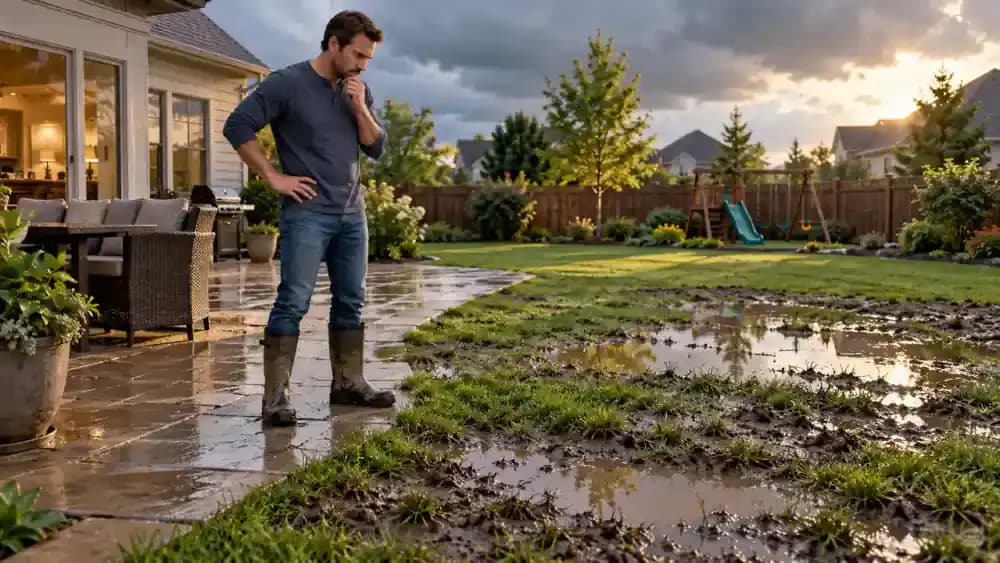
Start by Mapping the Water
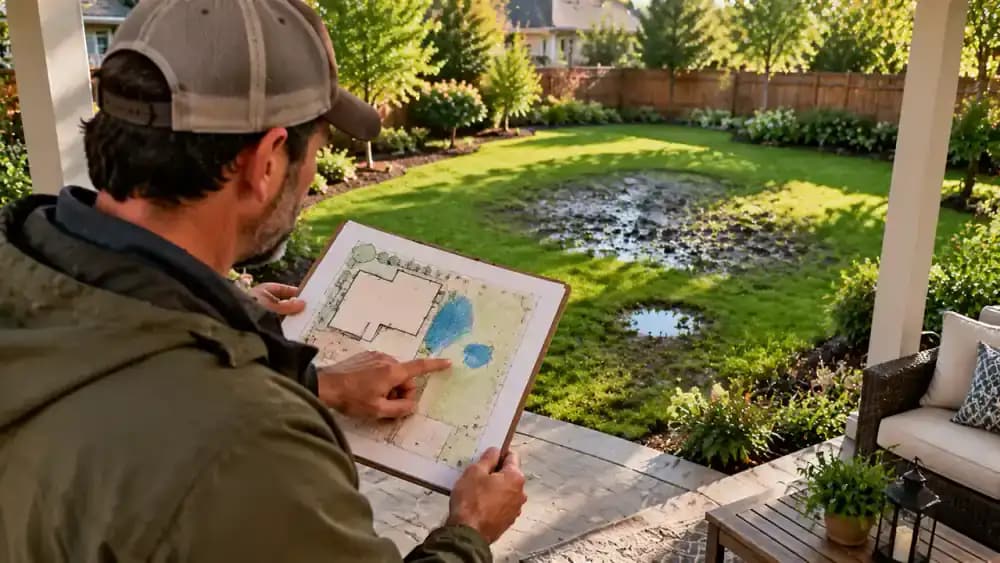
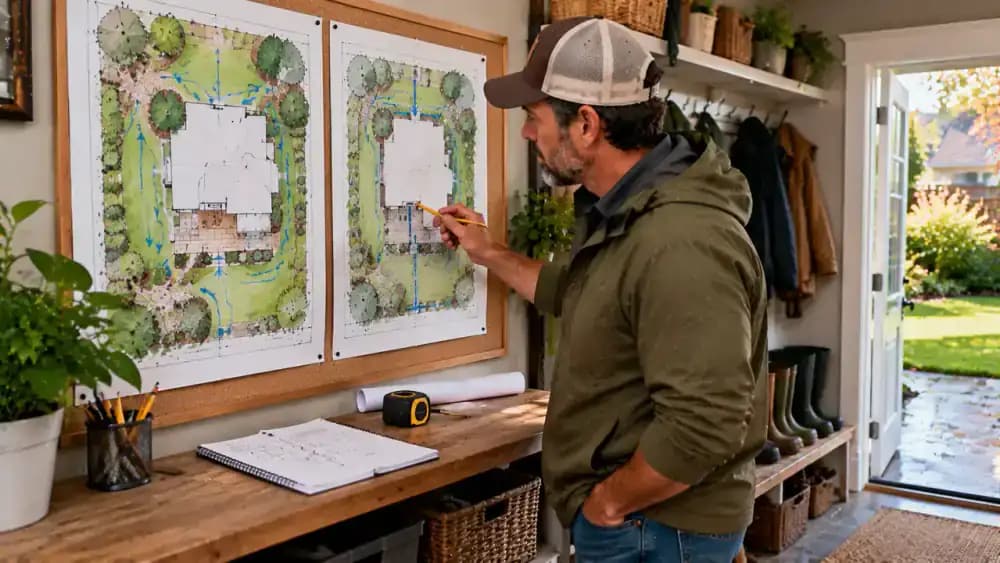
From a dry, sheltered spot, use a pencil and notebook to sketch a simple overhead view of your backyard. Mark the deepest puddles, visible runoff paths, downspout outlets, patios, and areas that stay wet longest. Draw arrows showing the direction water travels across the lawn. Add the date and approximate rainfall conditions to your notes. This record helps you compare drainage patterns after future storms without digging or disturbing the yard.

Stay Safe Before Inspecting
Before heading outside, place waterproof boots on a dry mat and secure pets indoors or away from pooled water. Use your phone to check local utility-locating information and any requirements that apply before digging. Stay on firm, dry ground while inspecting the yard, and keep children away from flooded areas. Never step into floodwater or potentially contaminated puddles, even if they appear shallow. Leave unsafe or inaccessible areas uninspected.

Compare Wet and Dry Areas
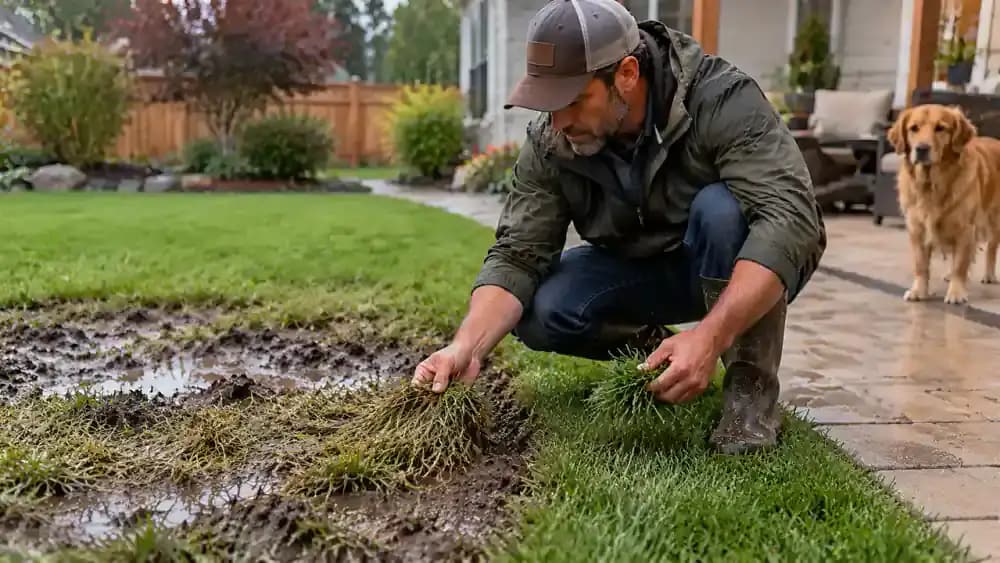
From a dry garden path, crouch near the edge of a muddy lawn patch and compare it with nearby grass that drains more quickly. Look for flattened turf, worn footpaths, low spots, and changes in the yard's slope. Use your clipboard to mark differences and note whether the wet area sits below a downspout. These observations provide useful clues, but no single visible feature confirms the cause of poor drainage.
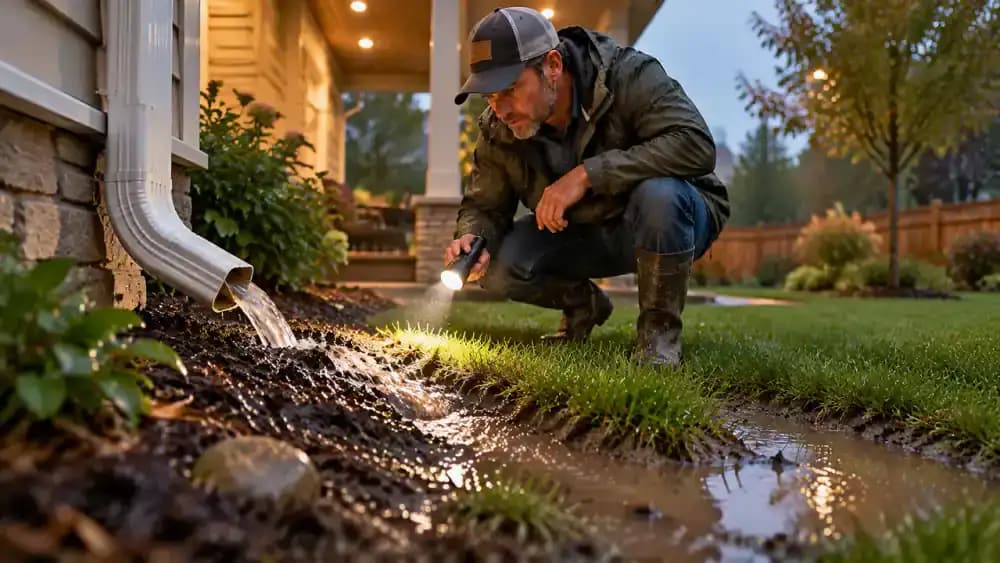
Check Where Roof Runoff Goes
During rainfall, observe from a sheltered porch where the downspout releases water and whether it flows toward the soggy lawn. Use a flashlight to inspect the outlet visually from a safe, dry position. After the storm, check accessible areas for leaves or debris that might restrict drainage. Mark the discharge direction on your yard map. Roof runoff may contribute to puddles, but soil conditions and yard slope also affect drainage.
Look for Blocked Surface Channels
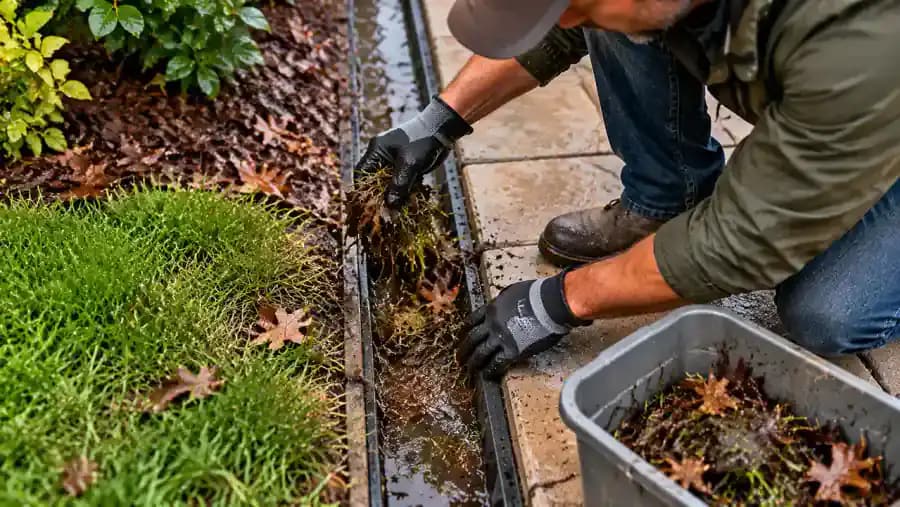
Standing on dry, stable paving, use work gloves and a small garden rake to remove wet leaves and grass clippings from an accessible surface drainage groove. Look for accumulated dirt or debris that may be slowing water flow. Place the removed material away from the channel so it cannot wash back in during the next storm. Avoid reaching into standing water, digging, or disturbing damaged or shared drainage systems.
Understand What Compacted Soil Looks Like
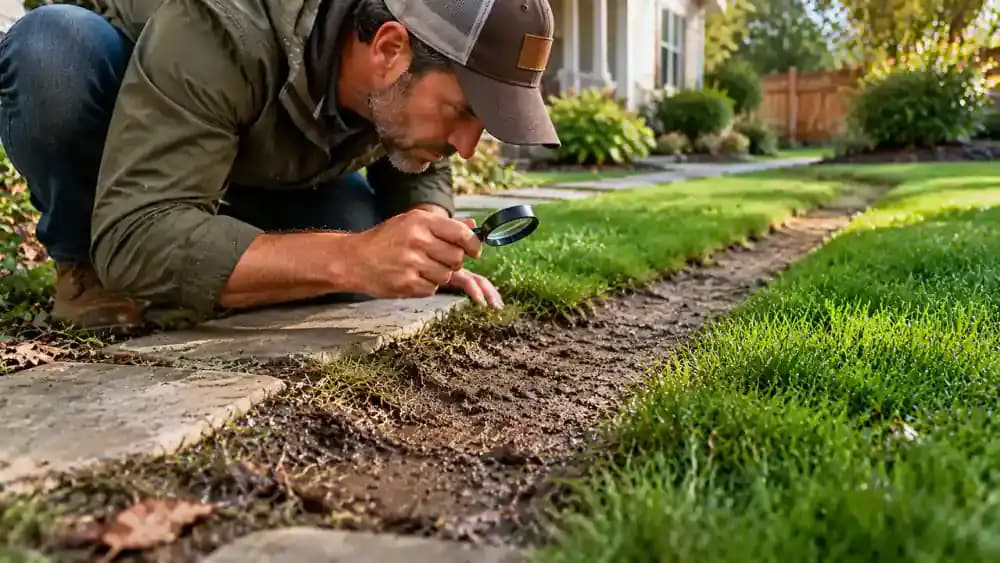
From a dry garden path, use a hand lens to compare naturally exposed soil edges near a worn footpath and a healthier section of grass. Look for thin turf, flattened areas, and differences in visible soil texture. Repeated foot traffic and lawn equipment can compress soil, reducing spaces for water to move through. Record these observations, but remember that soil type and underlying layers also influence drainage.
Check Whether the Soil Is Naturally Slow Draining
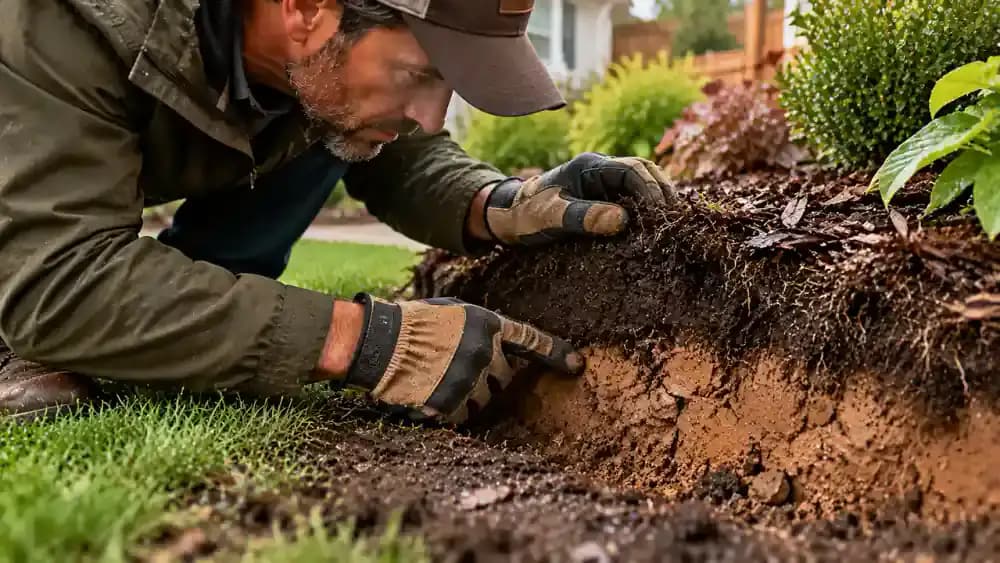
From a dry stepping stone, examine naturally exposed soil layers along the edge of an existing garden bed using a hand lens. Notice whether darker topsoil sits above a denser, lighter layer that may contain clay. Compare this area with other parts of your yard that stay wet after rainfall. Dense soil can slow water movement, but appearance alone cannot confirm drainage performance. Record your observations for a later infiltration check.
Set Up a Simple Infiltration Check
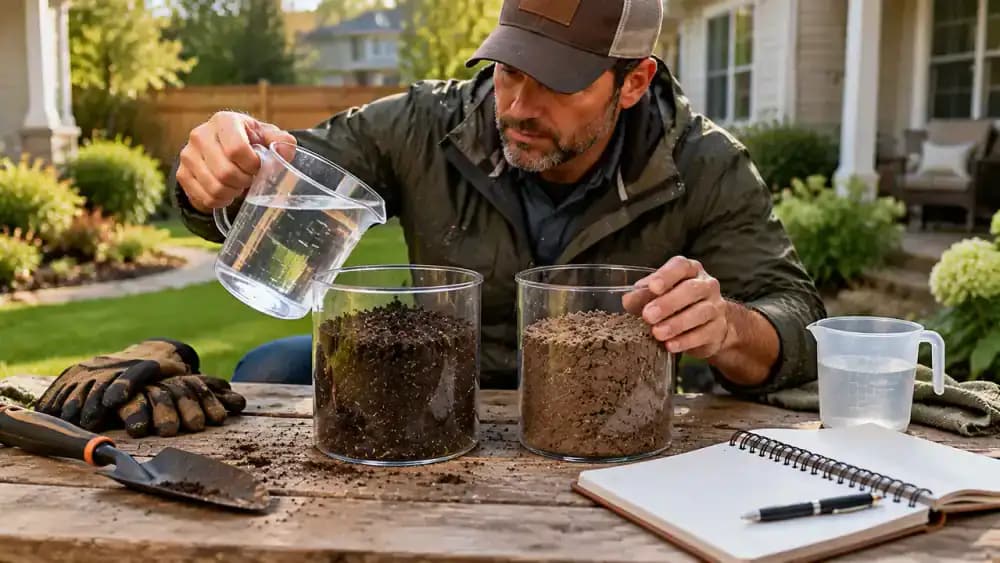
On a stable outdoor workbench, arrange two identical clear containers of water, an empty measuring cup, and a notebook. Choose a safe, accessible location near the problem area and another near healthier grass for comparison. Wait for suitable conditions rather than testing immediately after heavy rainfall. Record recent weather and soil moisture conditions before starting. Check buried utility locations and local requirements before any soil disturbance, and stay away from foundations.
Compare Water Absorption Carefully
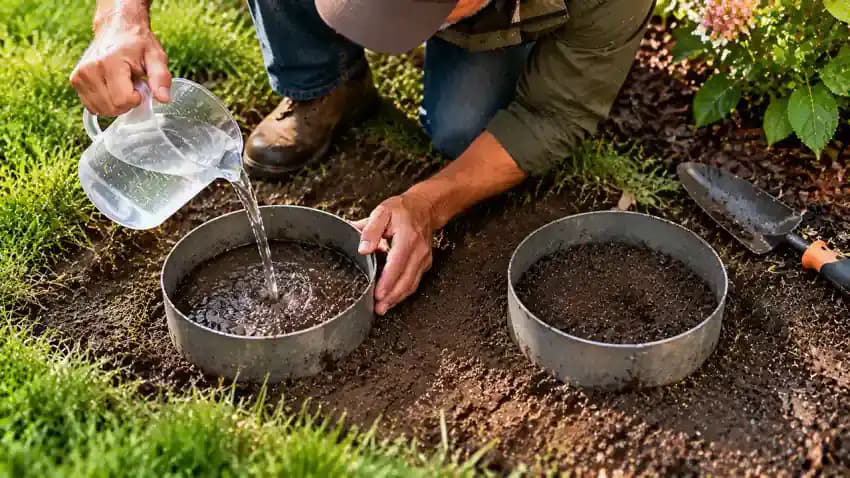
Place a shallow, open-bottom testing ring on level soil in a suitable garden bed, away from foundations and buried utilities. Use a measuring cup to add a consistent amount of clean water, then observe how quickly it enters the ground. Record your observations and repeat the process at a healthier location under similar conditions. Differences may suggest drainage issues, but soil moisture, recent rainfall, and underlying layers affect the results.
Record What the Infiltration Check Shows
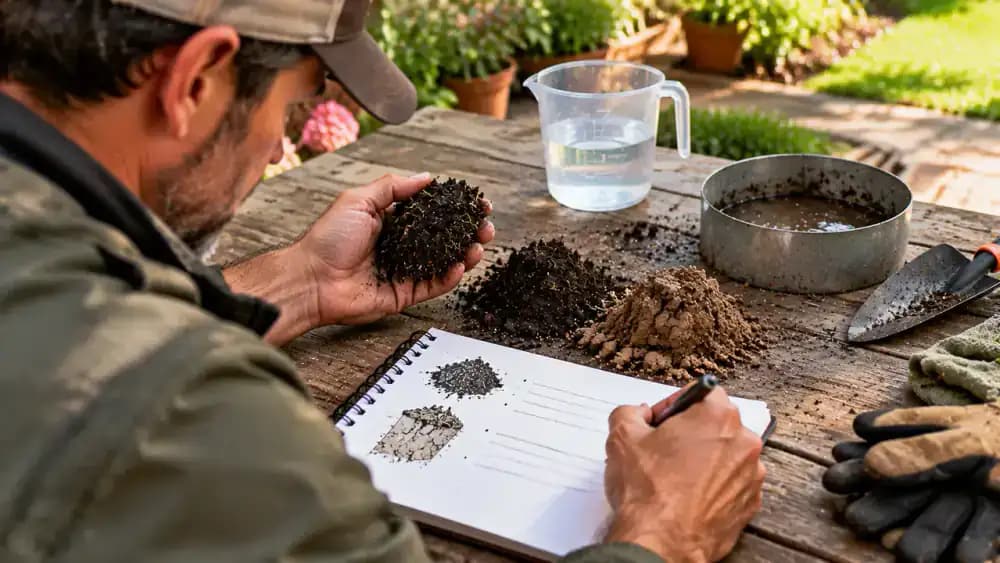
At a dry outdoor workbench, use your notebook to record how water entered the soil at each location. Compare your observations alongside the soil samples, noting differences in texture, color, and existing moisture. Include recent rainfall conditions and whether both locations were tested consistently. If conditions differed significantly, note that the comparison may be unreliable. Keep your findings descriptive rather than assuming slower absorption proves a specific drainage problem.
Decide Whether the Problem Is Local or Widespread
From a covered patio, compare your marked yard sketch with the wet areas visible across the lawn. Look for puddles concentrated in one low spot versus larger sections that remain saturated. A localized problem may involve concentrated runoff or yard slope, while widespread wetness may suggest soil conditions or broader drainage issues. Note which areas dry first after rainfall, and record recurring patterns before choosing any corrective measures.
Choose a Low-Risk First Improvement
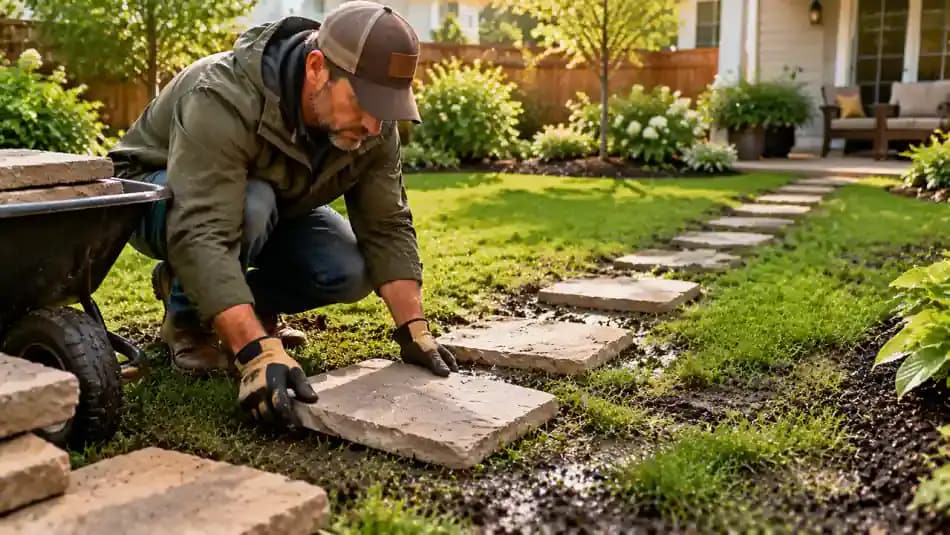
Start with a small maintenance change that addresses what you observed. If repeated foot traffic has worn down a damp section of lawn, place temporary stepping stones on an existing firm surface to keep people off soft grass. Position each stone securely without digging or changing the ground's slope. Check that the path remains stable and does not obstruct runoff. This can reduce further soil compaction without requiring major drainage work.
Protect Exposed Soil With Suitable Mulch
Use a small hand rake to spread a thin, even layer of shredded hardwood mulch over exposed soil in an established planting bed. Work carefully around existing plants, keeping mulch away from stems and leaving surface drainage openings clear. Organic mulch can help reduce erosion, soften the impact of heavy rainfall, and limit surface crusting. Avoid applying mulch over standing water. Remember that mulch cannot correct deep soil saturation or major drainage problems.

Choose Plants That Tolerate Moist Soil
Arrange nursery-grown moisture-tolerant plants in their pots along the edge of an existing damp garden bed before planting. Compare plant labels for sunlight requirements, mature size, and recommended spacing. Consider native sedges or other varieties suited to your local climate and soil conditions. Position the pots where each plant has room to grow. Avoid planting in deeply flooded areas, and remember that moisture-tolerant plants cannot replace necessary drainage repairs.

Check the Foundation Before Changing Drainage
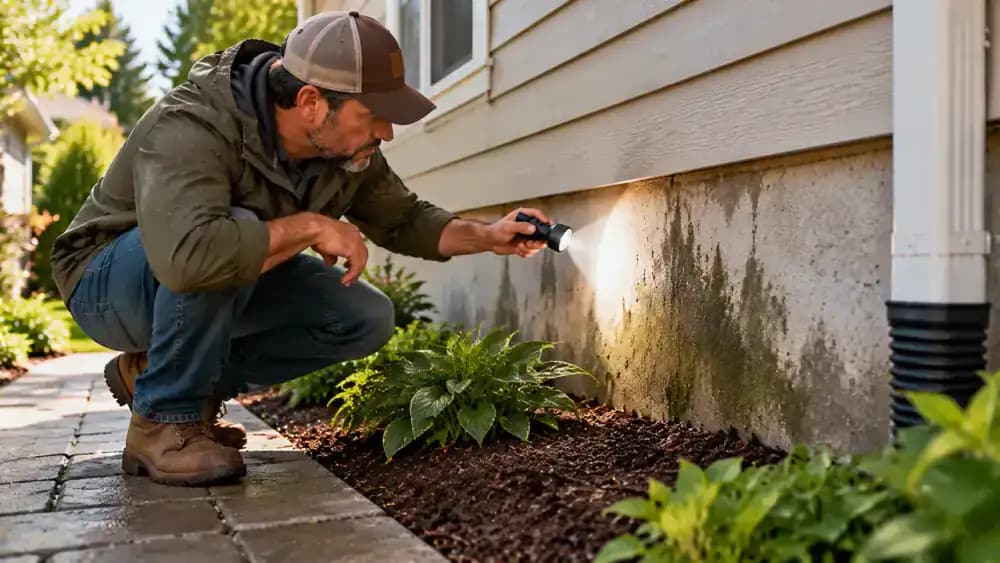
Stand on a dry paved walkway and use a flashlight to inspect where the lawn meets your home's foundation. Look for moisture stains, recurring damp patches, and soil that remains wet against the wall. Record suspicious areas in your notebook and photograph visible changes for future comparison. Keep mulch and soil below siding and away from the wall. If moisture persists or water enters your home, request a professional assessment before making drainage changes.
Know When a Simple Fix Is Not Enough
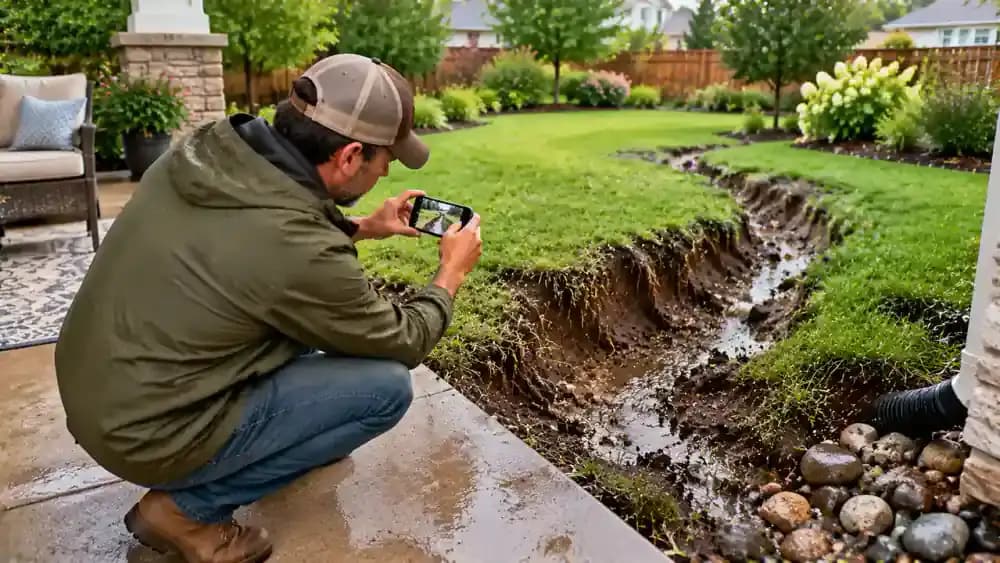
From a dry patio, photograph visible erosion channels, exposed grass roots, and soil washed away after rainfall. Record when the damage appeared and whether it worsens after subsequent storms. Repeated flooding, significant erosion, or water entering a basement may indicate problems beyond routine lawn maintenance. Share your photos and drainage notes with a qualified professional before considering major grading changes or underground drainage installations.
Check Local Rules Before Drainage Work
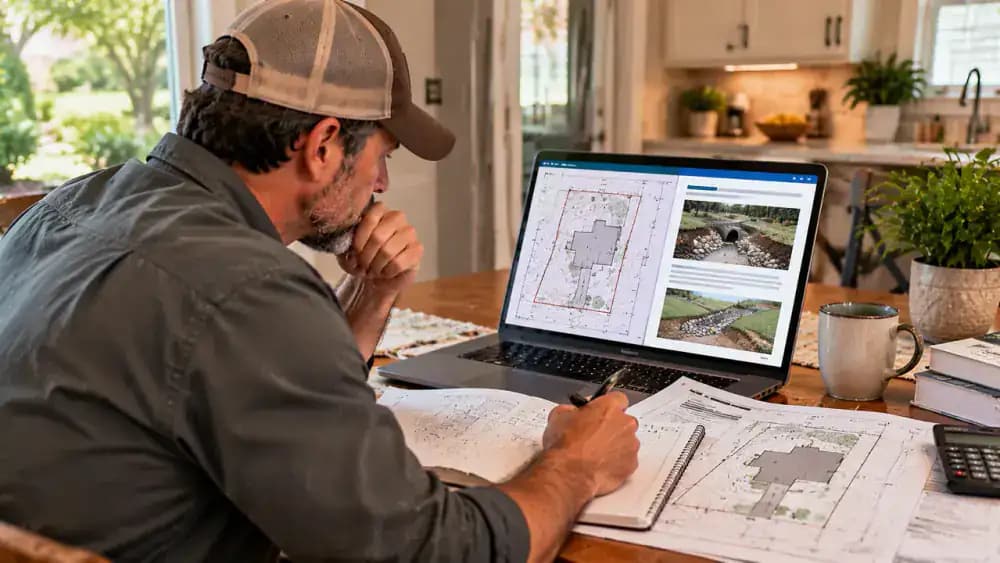
At your kitchen table, review your local public works website alongside a property survey showing lot boundaries. Check whether proposed drainage channels, dry wells, or grading changes require permits or stormwater approvals. Use a notebook to record questions about utility clearances, property lines, and shared drainage systems. Contact the appropriate local office or a qualified professional before proceeding, especially if your plans could change where runoff flows.
Avoid Unplanned Excavation
Before digging any drainage trench, stand on a safe, dry surface and contact your local utility locating service. Keep your shovel and measuring tape set aside until buried utilities and local requirements have been checked. Review your yard plan and explain where excavation might occur. Underground electric, gas, water, and communication lines can create serious hazards. Have a qualified professional assess underground drainage work and identify a suitable outlet.

Make a Practical Plan Before Spending Money
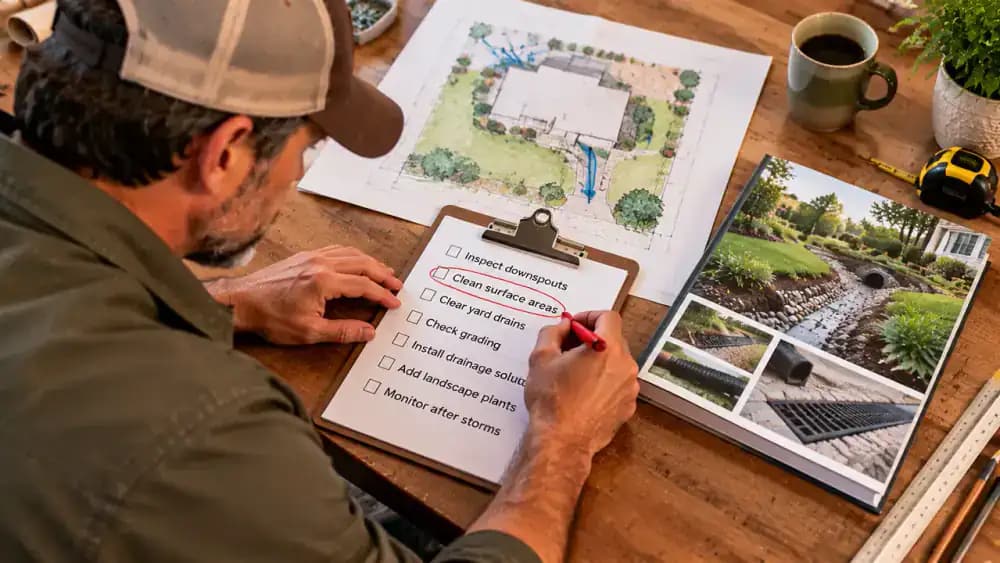
At a worktable, organize your yard sketch, inspection notes, and drainage information into a simple action plan. Use a pencil to prioritize low-cost tasks such as clearing accessible surface debris and reducing foot traffic over soggy grass. List warning signs that require professional assessment, including persistent flooding, erosion, and foundation moisture. Keep expensive drainage products off your shopping list until you understand the likely causes and can evaluate suitable solutions.
Recheck the Yard After the Next Storm
After the next rainstorm, stand beneath a covered porch and compare the puddles across your lawn with your original yard sketch. Check whether water collects in the same low spots and follows familiar runoff paths near downspouts and planting beds. Record the rainfall date, approximate conditions, and how long each wet area takes to dry. Photograph noticeable changes from the same viewpoint, and avoid entering standing water during your inspection.
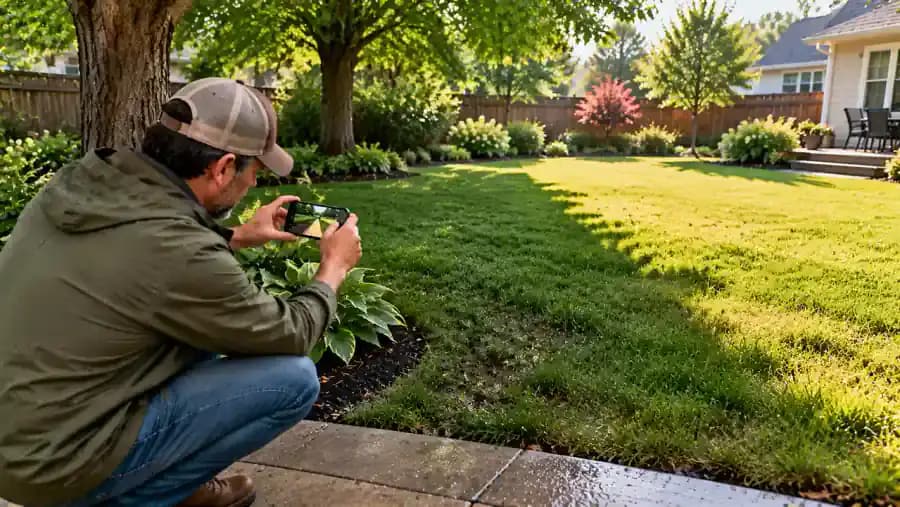
Compare How Quickly Different Areas Dry
From a dry paved walkway, compare the dark, damp grass beneath the tree with the lighter lawn that has already begun drying. Use your clipboard to record which areas remain wet and when they begin to dry. Note differences in shade, soil texture, foot traffic, and nearby runoff sources. Repeat these observations after several storms, recording approximate rainfall conditions so you can identify recurring patterns rather than isolated differences.
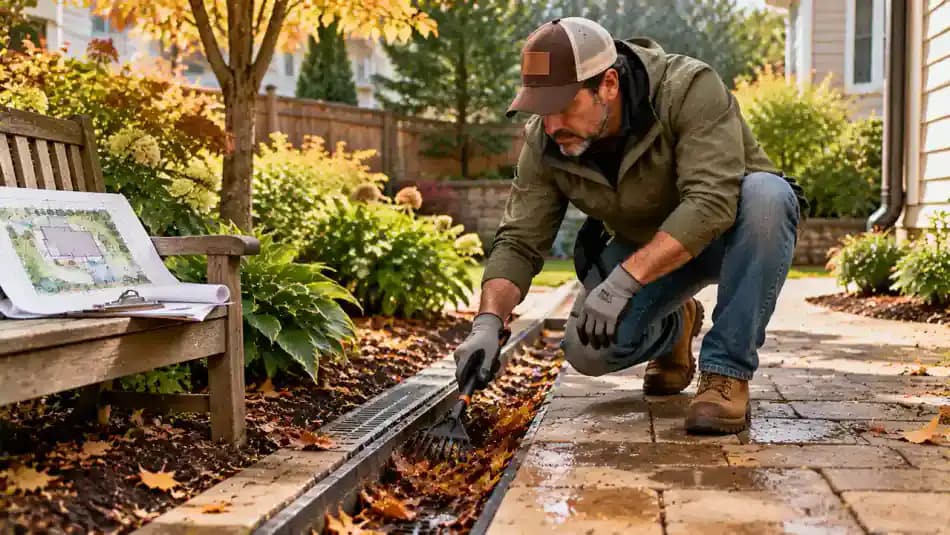
Adjust Your Routine Based on What You Observe
From a dry patio edge, use a small hand rake to remove fresh leaves from an accessible surface drainage channel. Review your earlier yard sketches to identify areas needing regular attention. Keep drainage paths clear, limit foot traffic across saturated grass, and maintain suitable mulch in planting beds. Check these areas after future storms. If puddles persist despite routine maintenance, stop adding temporary fixes and seek professional drainage advice.
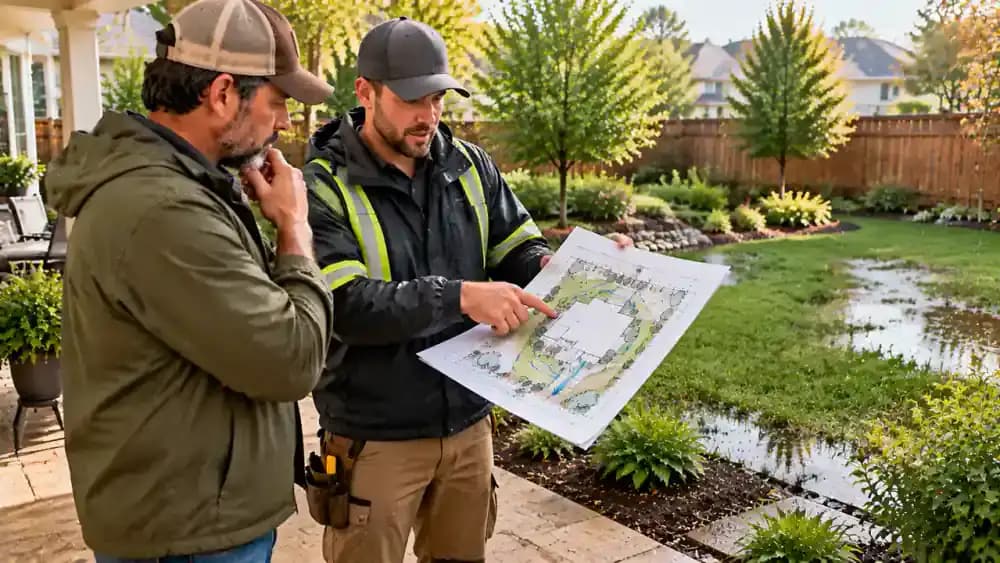
Know When to Bring in a Drainage Professional
Meet a qualified drainage professional on a dry patio and review your yard sketch, photographs, and rainfall observations together. Ask them to assess ground slope, soil conditions, runoff sources, and suitable discharge options before recommending repairs. Request a clear explanation of the suspected cause, proposed solution, and applicable local requirements. Keep major grading changes and underground drainage installations on hold until the site has been properly evaluated.
Keep Drainage Outlets Clear
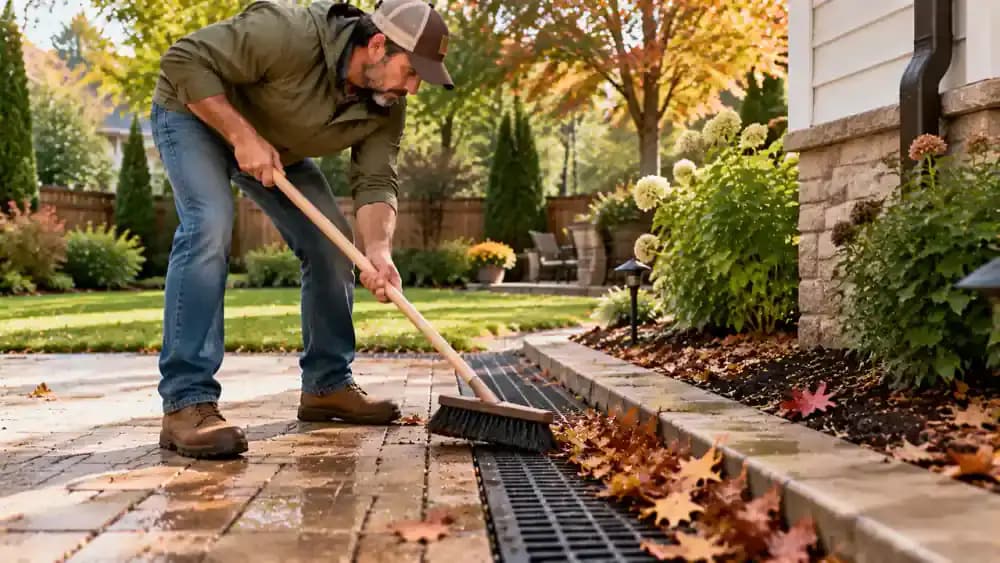
Stand on dry, stable paving and use a long-handled soft brush to sweep loose leaves and grass clippings away from an accessible surface drainage grate. Check that the visible openings are free of debris without lifting the grate or disturbing underground components. Collect the removed material so it cannot wash back during rainfall. Inspect the outlet regularly, especially after storms, and avoid reaching into standing water or flooded areas.
Protect the Yard During Future Storms
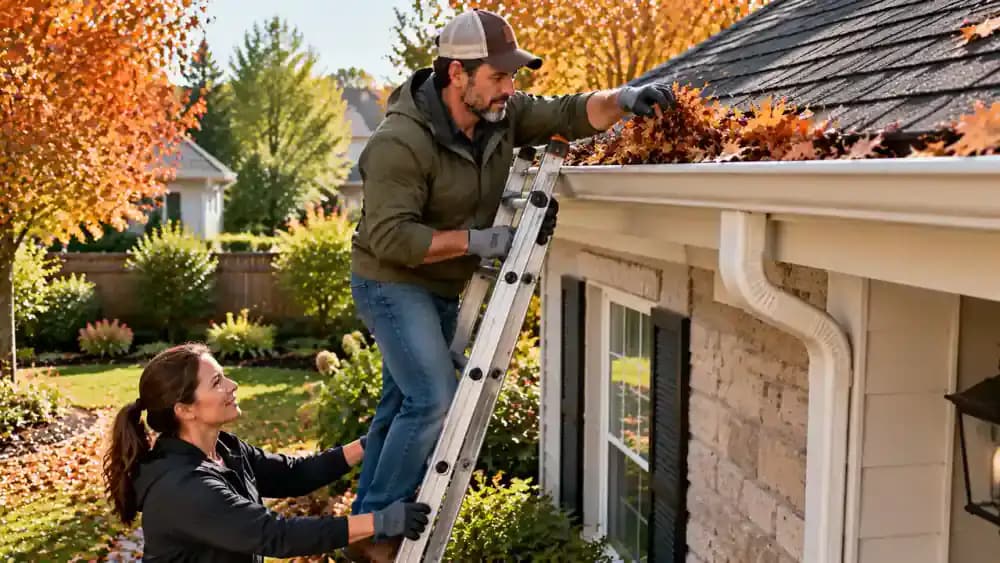
During dry, calm weather, check gutters and accessible downspout outlets for leaves and debris. If gutter cleaning requires a ladder, use one only when conditions are safe, with another adult assisting from the ground. Avoid reaching beyond the ladder or walking on the roof. Inspect planting beds for exposed soil and keep foot traffic off saturated grass. Regular maintenance can reduce preventable blockages but cannot eliminate every flooding problem.
Keep Children and Pets Away From Standing Water
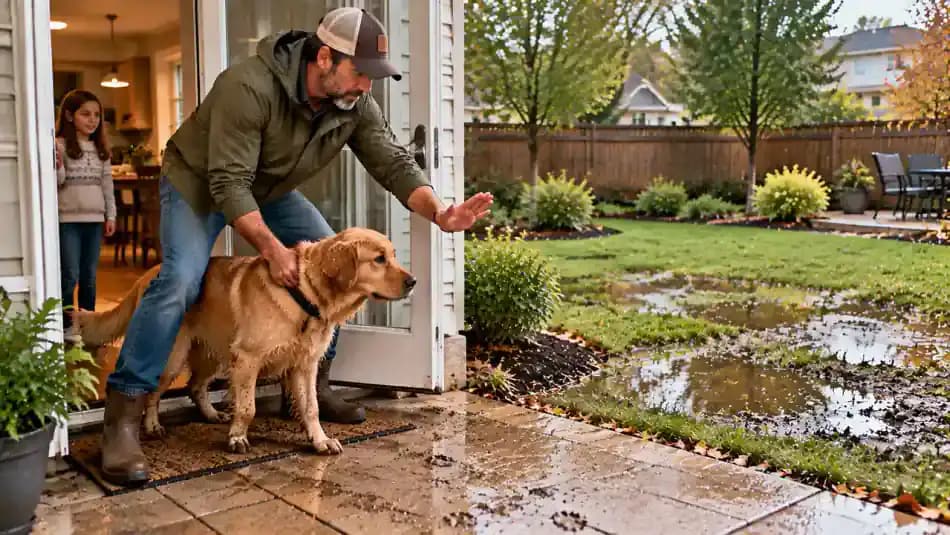
From the dry doorway, gently guide your dog indoors with a leash and keep children away from muddy backyard puddles. Standing water may contain bacteria, lawn chemicals, or debris washed in during heavy rain. Never allow pets to drink from puddles or play in runoff. Keep the back door secured when children or pets are unsupervised. If contamination is suspected, avoid contact and seek appropriate local guidance before cleanup.
Build a Simple Seasonal Drainage Routine
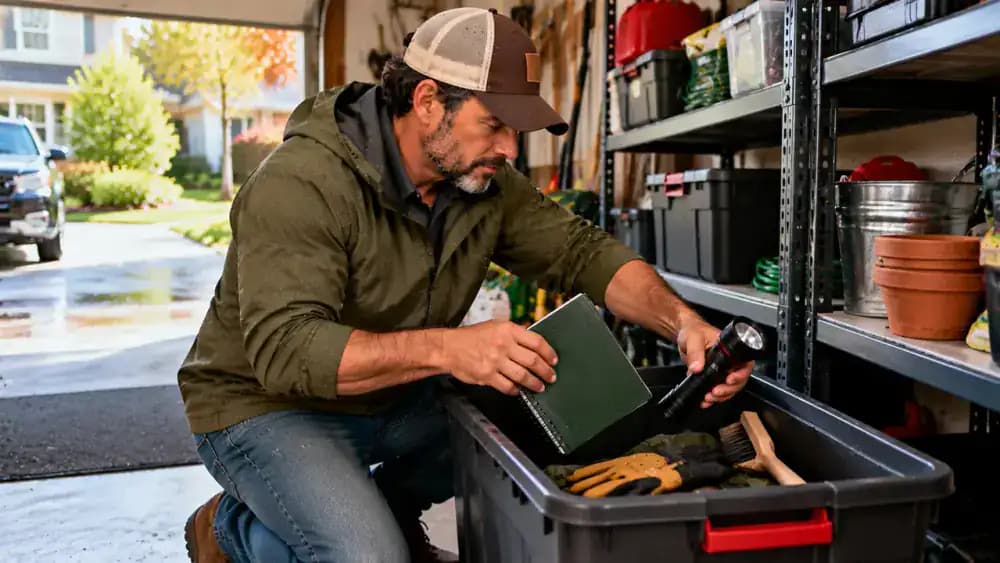
In your garage, organize a weatherproof notebook, flashlight, work gloves, and small hand brush in a dedicated storage bin. Keep these supplies accessible for seasonal drainage inspections. After major storms, observe the yard from safe, dry ground, record new puddles, and check accessible outlets for debris. Look for fresh erosion or moisture near the foundation. Repeat these checks throughout the year to identify changes as rainfall and soil conditions vary.
Review Your Progress Without Guessing
Inside your mudroom, place your original yard sketch beside an updated version showing observations from later storms. Compare puddle locations, drying times, runoff paths, and any new erosion. Use a pencil to mark areas that improved, remained unchanged, or became wetter. Note differences in rainfall conditions before judging the results. A lawn that looks drier after one storm may still have underlying drainage problems that need further evaluation.
Take the Next Step Toward a Drier Yard
Stand on your dry patio and survey the lawn, tidy planting beds, clear surface channels, and visible downspout. Keep your field notebook handy for future rainfall observations, including where puddles form and how quickly they disappear. Continue simple maintenance without assuming the drainage problem is permanently solved. Keep children and pets away from questionable standing water, and consult a qualified professional if recurring flooding, erosion, or foundation moisture threatens your property.

After a heavy rainstorm, your backyard may look more like a swamp than a lawn. Puddles linger in low spots, muddy patches make walking difficult, and planting beds stay soaked long after the rain stops. Standing water is frustrating, but it doesn't automatically mean you need an expensive drainage system. The problem could be compacted soil, naturally slow-draining ground, roof runoff concentrated in one area, or the way your yard slopes. Figuring out where the water comes from and why it isn't draining is the first step toward finding a practical solution.
The good news is that you can investigate many common drainage problems without digging up your yard. By observing puddles from safe, dry ground, checking downspout outlets, inspecting accessible drainage paths, and comparing wet areas with healthier sections of lawn, you can narrow down possible causes. Simple maintenance changes may improve some trouble spots. However, persistent flooding, erosion, or moisture near your foundation calls for professional assessment. Avoid contaminated standing water, and never redirect runoff onto neighboring property or alter shared drainage routes.
Where people go wrong
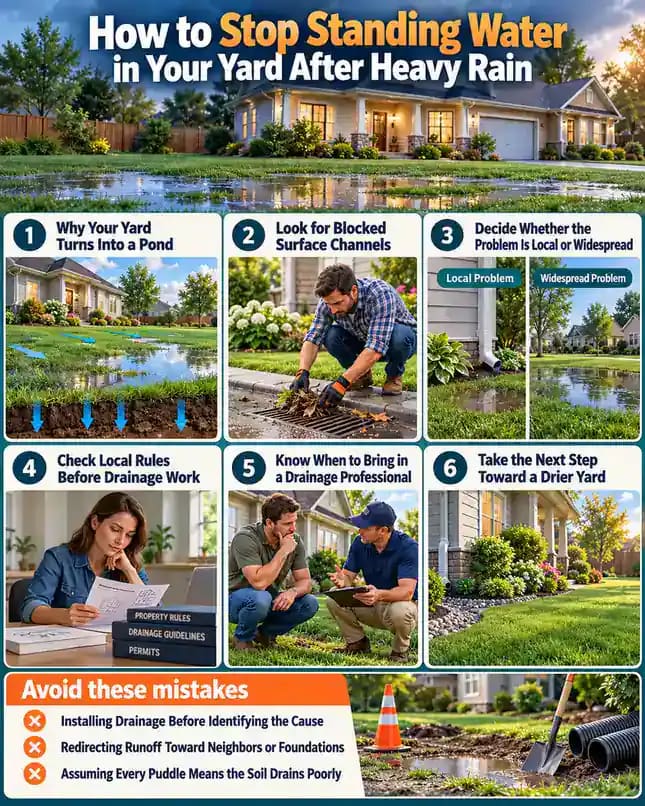
Installing Drainage Before Identifying the Cause. Digging trenches or installing underground drains without understanding where water collects and how it moves can waste money and leave the problem unresolved. First, observe puddles, downspout outlets, and runoff paths after rainfall. Have a qualified professional assess the site before major drainage work.
Redirecting Runoff Toward Neighbors or Foundations. Moving water away from one soggy area can create a bigger problem somewhere else. Never redirect runoff onto neighboring property, alter shared drainage routes, or change grading against your foundation. Check where downspouts discharge and seek professional guidance before making changes that affect water flow.
Assuming Every Puddle Means the Soil Drains Poorly. Standing water doesn't always indicate a soil problem. Concentrated roof runoff, compacted ground, blocked surface channels, and low spots can produce similar puddles. Compare affected areas with healthier lawn sections and inspect accessible drainage paths. Remember that recent rainfall and soil moisture influence infiltration observations.
Ignoring Persistent Flooding and Warning Signs. Clearing leaves, reducing foot traffic, and adding suitable mulch may improve minor drainage problems, but these measures cannot fix every situation. Track how quickly puddles disappear after subsequent storms. Persistent flooding, erosion, or foundation moisture requires professional assessment. Avoid potentially contaminated standing water and check utilities before digging.
Questions people ask
Standing water can result from compacted soil, naturally slow-draining ground, concentrated roof runoff, or low spots in your yard. Start by observing where puddles form, checking downspout outlets, and comparing wet areas with healthier lawn sections. Identifying the likely cause helps you avoid spending money on unnecessary drainage work.
Fixed it?
Get one guide like this every Thursday.