How to Revive Wilting Potted Plants: Diagnose Water, Drainage, and Heat Problems
Wilting potted plants do not always need more water. Learn how to identify underwatering, overwatering, restricted roots, and heat stress, then correct the problem with practical watering, drainage, repotting, and shade adjustments.
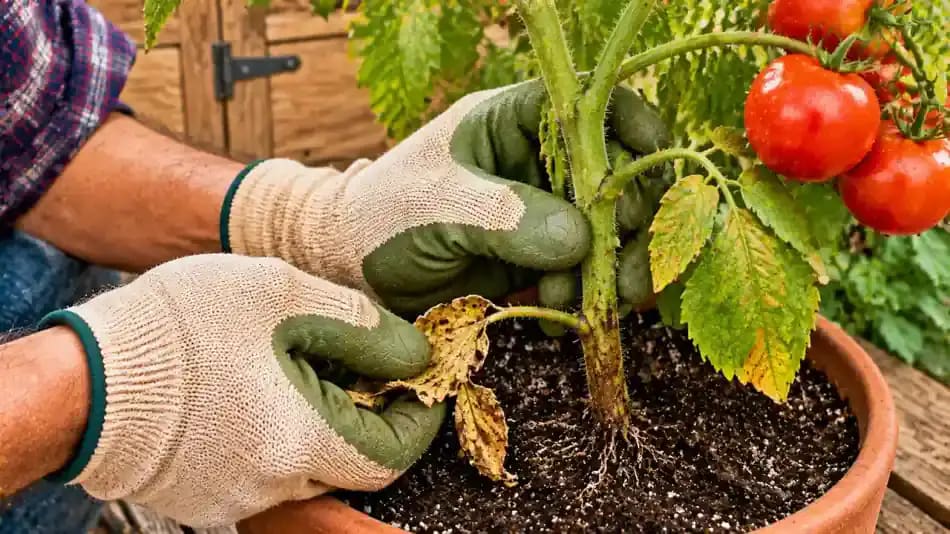
What you’ll need
Tap to tick things off before you start.
Why Your Potted Plants Are Wilting
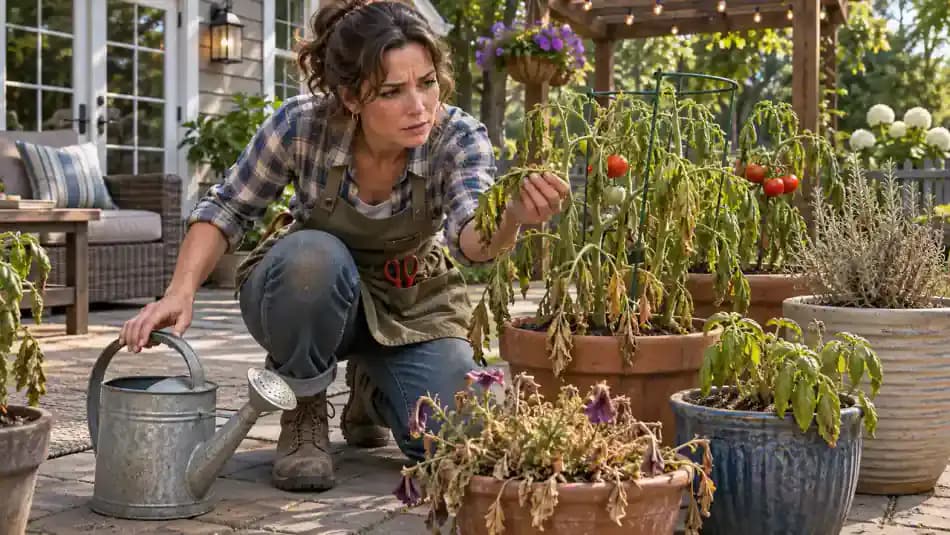
Drooping leaves may look like a clear sign that your plants need water, but adding more can actually make some problems worse. Underwatering, waterlogged roots, overcrowded containers, and excessive heat can all cause similar symptoms. Notice how the tomato, basil, and petunia are struggling in the afternoon sun. Before picking up the watering can, take a closer look at the leaves and soil to identify what might be causing the problem.
Four Common Causes of Wilting
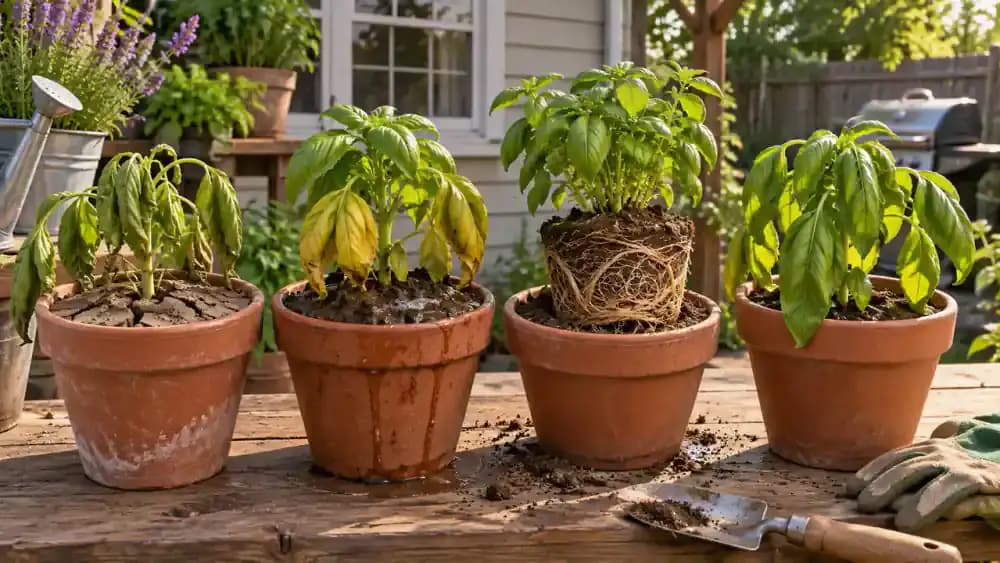
Compare the four conditions shown: dry, crumbly soil indicates possible underwatering, while dark, saturated soil and standing water suggest overwatering. Densely circling roots can indicate a crowded container, and drooping leaves in strong afternoon sun may signal heat stress. These examples help you recognize possible causes, but do not rely on appearance alone. Check soil moisture, pot weight, drainage, and root growth before choosing a solution.
Gather Your Tools and Prepare Safely
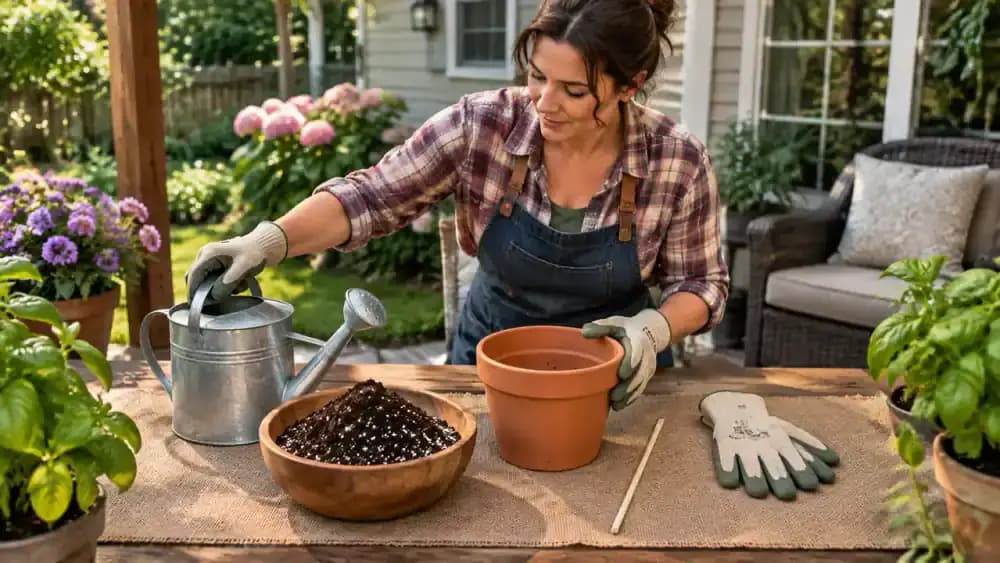
Arrange your watering can, clean gardening gloves, wooden skewer, fresh potting mix, and an empty container with drainage holes on a clean work surface. Check that the new pot has unobstructed openings so excess water can escape. Before handling unfamiliar plants, identify the variety and determine whether protective precautions are needed. Keep potentially toxic plants, potting products, and gardening tools away from children and pets.
Check Soil Moisture Below the Surface
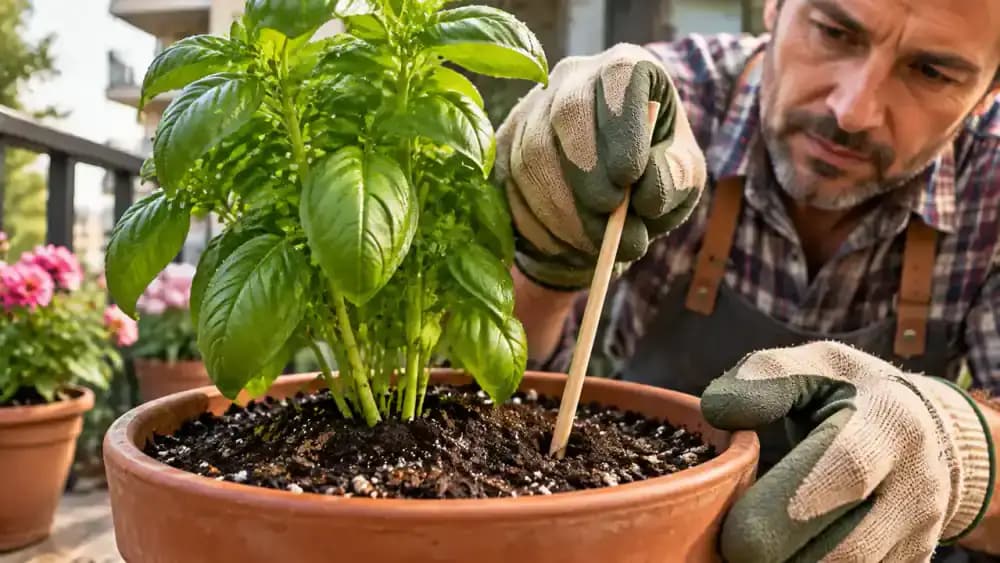
Insert a clean wooden skewer about 1 to 2 inches into the potting mix, staying near the container's edge and away from the main stem. Slowly pull it out and inspect the wood. Dry, clean wood suggests the soil may need water, while dark, damp particles indicate moisture. Repeat the check in a second spot because moisture can vary throughout the same container.
Recognize the Signs of Underwatering
Carefully lift the container a few inches to assess its weight, then examine the potting mix around the edges. A lightweight pot, limp leaves, and soil pulling away from the container walls can all suggest underwatering. Look for several clues together rather than relying on one symptom. Lower the pot securely onto a stable surface before continuing your inspection.
Recognize the Signs of Overwatering
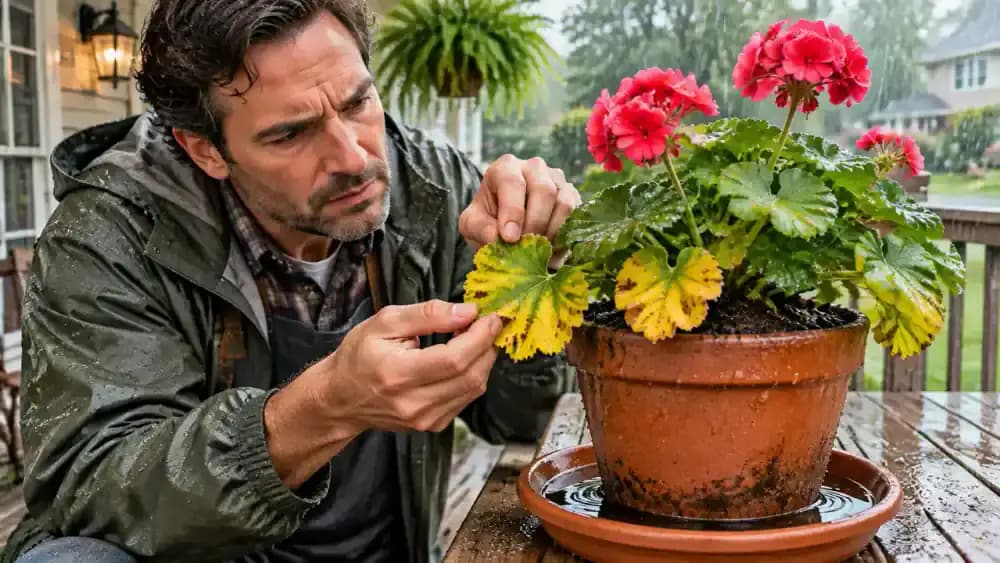
Examine the lower leaves for yellowing, then check whether the potting mix remains dark and wet. Notice the water collecting in the saucer beneath the container. An unusually heavy pot and moisture that lingers for several days can suggest overwatering. These conditions may restrict oxygen around the roots, so investigate drainage before adding more water or fertilizer.
Identify Wilting Caused by Heat Stress
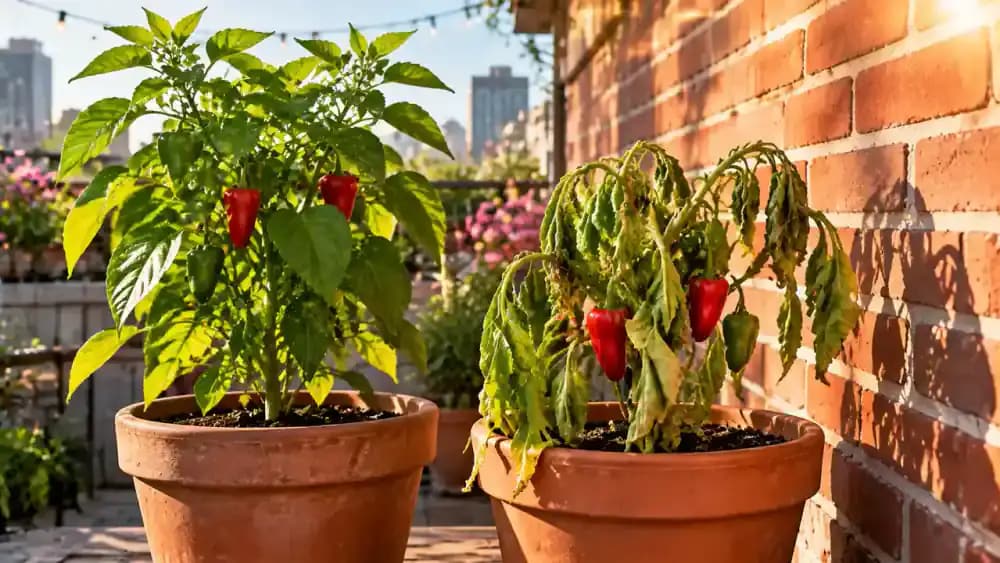
Observe the drooping leaves while checking the soil near the container edge to make sure it is not extremely dry or waterlogged. Strong afternoon sunlight and heat reflected from nearby walls or pavement can cause temporary wilting. Notice whether the foliage appears firmer during cooler morning hours. If so, consider adjusting sun exposure before increasing watering frequency.
Inspect Drainage Holes for Blockages
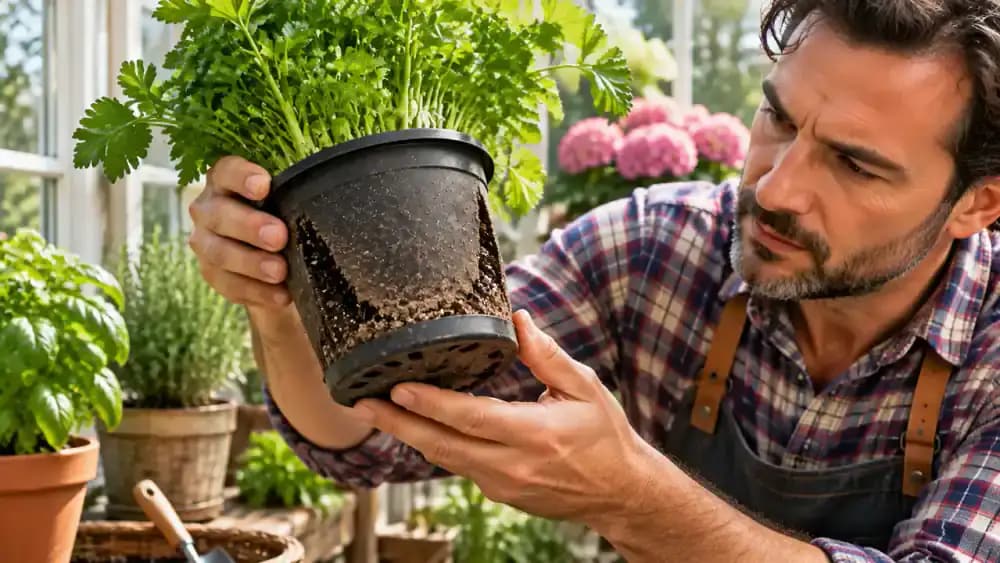
Carefully lift or tilt a manageable pot to inspect the drainage holes underneath. Look for compacted potting mix, trapped debris, or openings blocked by accumulated soil. Rotate the container to check every hole rather than examining just one. If excess water cannot escape freely, the roots may remain saturated even when your watering schedule seems appropriate.
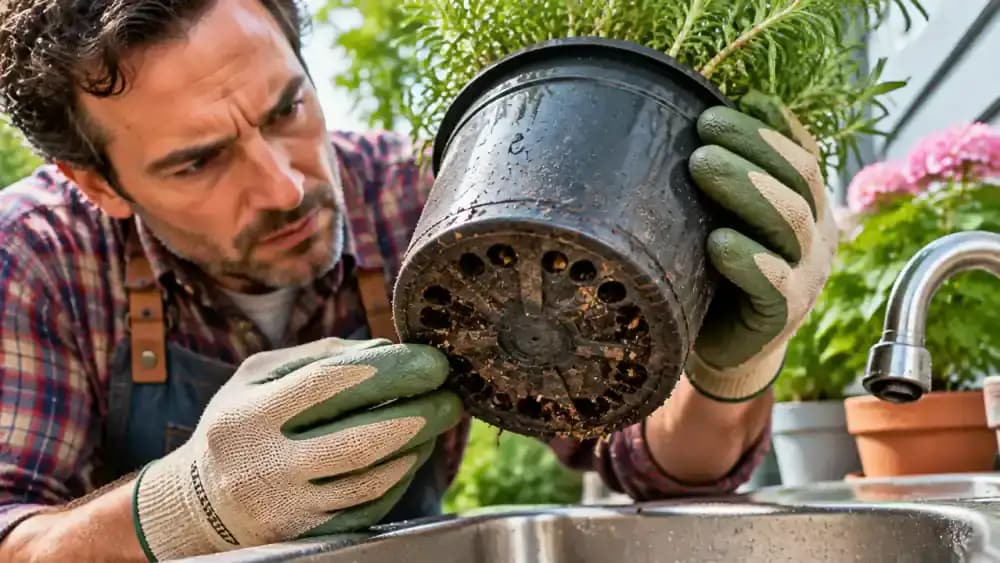
Check Saucers and Decorative Pots for Trapped Water
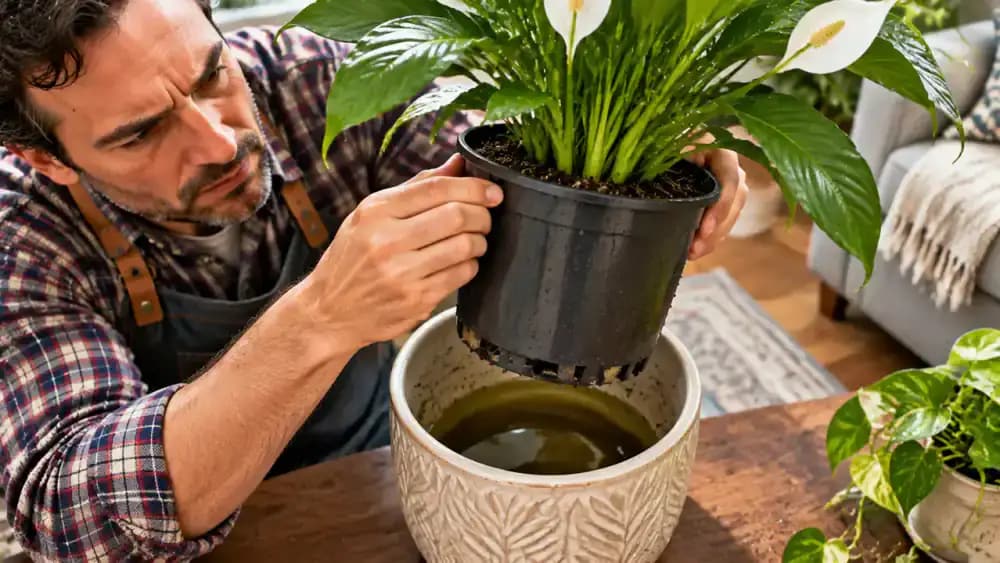
Carefully lift the inner nursery pot out of its decorative outer container and inspect the bottom for standing water. Empty any collected moisture into a sink, then allow excess water to drain before replacing the plant. Check saucers regularly, too. Even when drainage holes work properly, trapped water can leave roots sitting in excessively wet conditions.
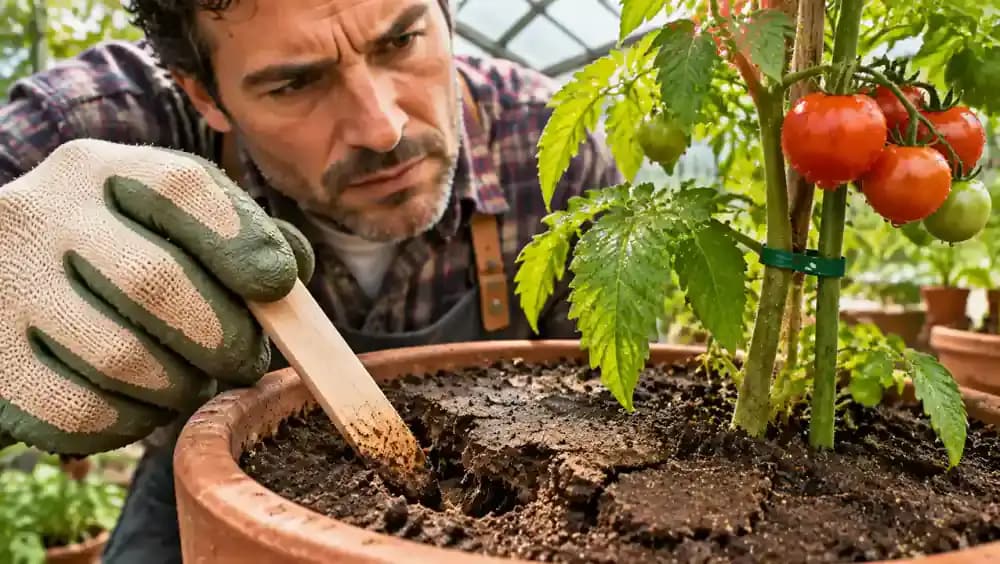
Check for Compacted Potting Mix
Examine the soil surface for a hard crust, dense texture, or small cracks that may indicate compaction. Wearing clean gardening gloves, gently press the mix near the container edge and loosen a small section with a clean wooden plant label. Avoid disturbing the main stem or shallow roots. If the mix is badly compacted, replacing it may improve drainage.
Determine Whether the Pot Is Too Small
Carefully slide the root ball partially out of its container without pulling on the stems. Examine the sides and bottom for densely packed roots following the shape of the pot or emerging through drainage holes. Also consider whether the soil dries unusually quickly or plant growth has stalled. These signs suggest restricted root space and may justify repotting.
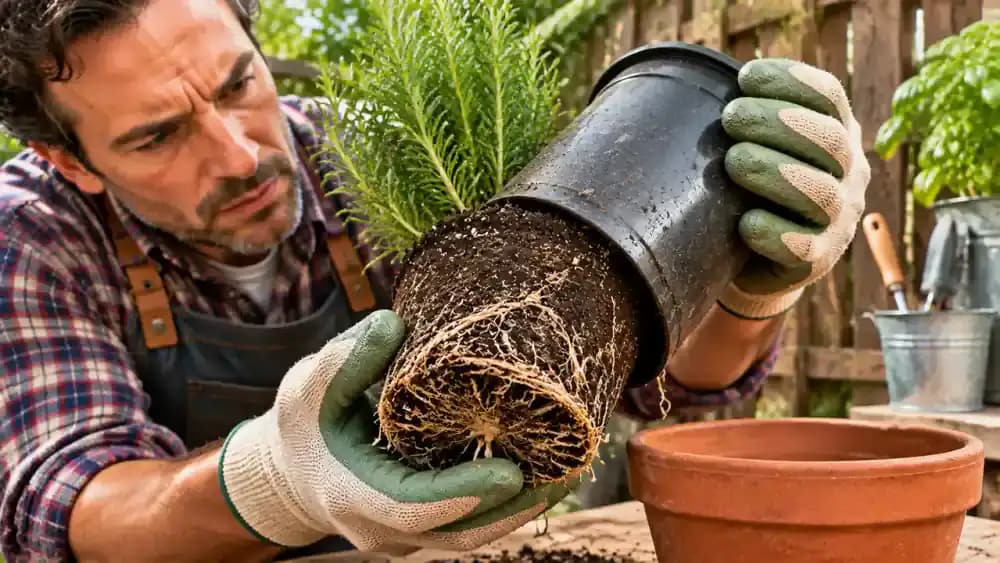
Decide Whether Repotting Is Necessary
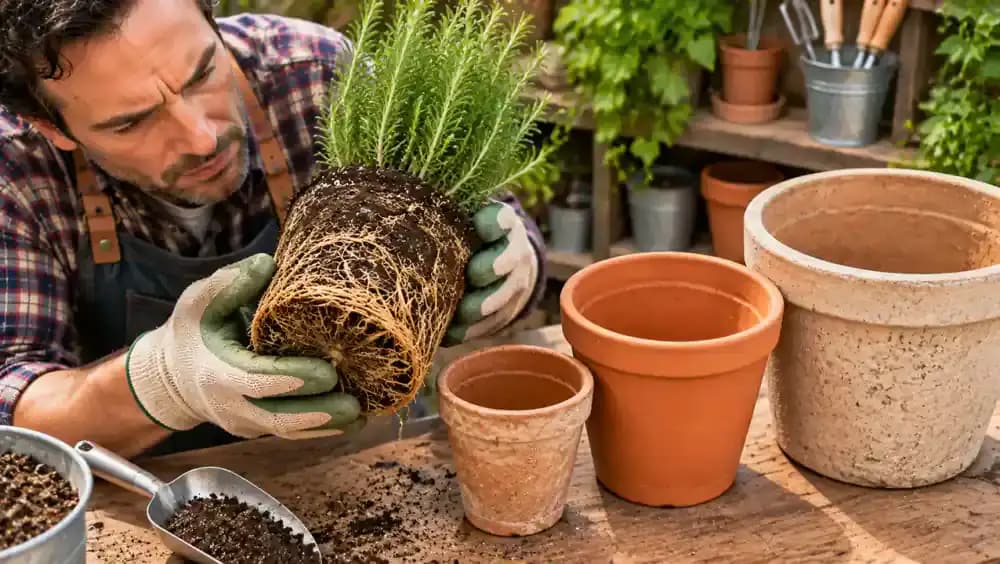
Rotate the intact root ball gently over a clean gardening tray and examine how much potting mix remains between the roots. Tightly circling roots, a root ball holding the container's shape, and very little visible soil together suggest overcrowding. Compare the root ball with a slightly larger empty pot to check the fit before disturbing the roots or beginning repotting.
Choose the Right Replacement Pot
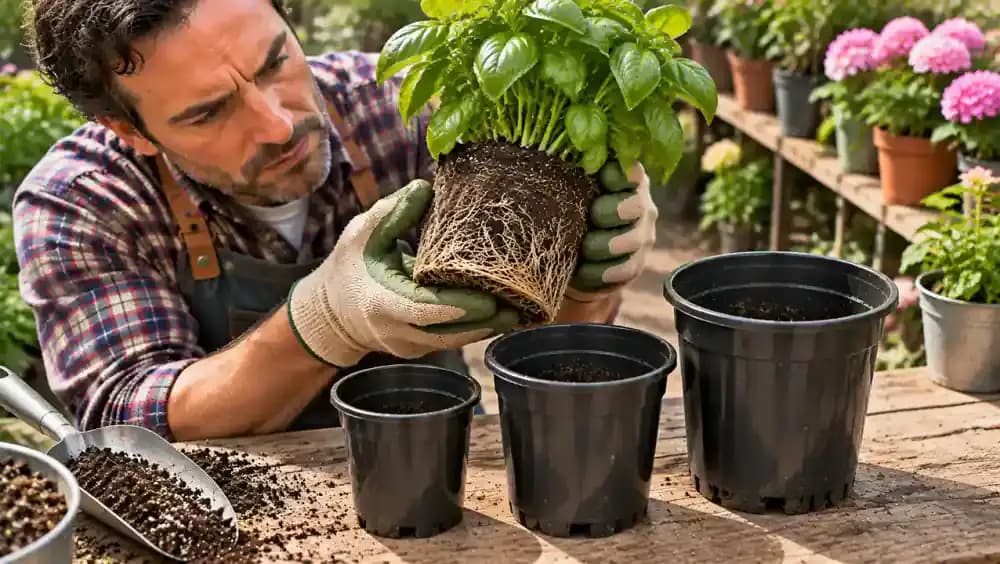
Hold the root ball above several container openings to compare their sizes, then select a pot approximately 1 to 2 inches wider than the root ball. Avoid choosing an oversized container, because unused potting mix can retain moisture longer than the roots need. Before planting, turn the replacement pot over and check that its drainage holes are unobstructed.
Prepare Fresh Potting Mix
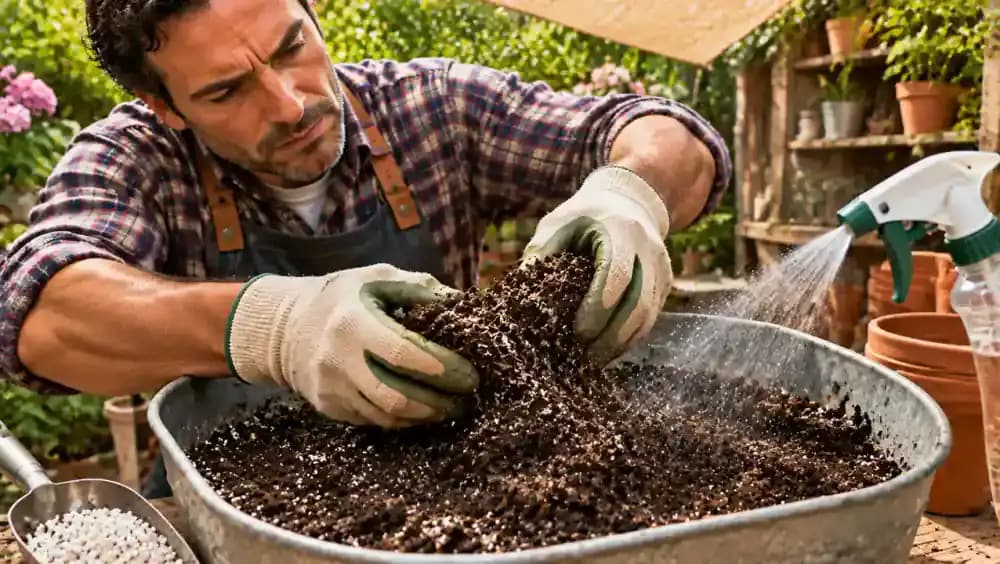
Pour fresh potting mix formulated for your plant type into a clean mixing tub. Gently break apart large clumps with gloved fingers to create a loose, airy texture. If the mix is extremely dry, sprinkle a little clean water over it and turn it gently until evenly moistened. Avoid soaking the mix or using ordinary garden soil in containers.
Position the Plant in Its New Container
Add a shallow, even layer of prepared potting mix to the bottom of the clean replacement container. Gently lower the root ball into the center to check its height before filling the sides. The original soil surface should sit slightly below the pot rim, leaving room for watering. Keep the stem base at its original depth to avoid burying it.
Transfer the Plant Without Damaging Its Roots
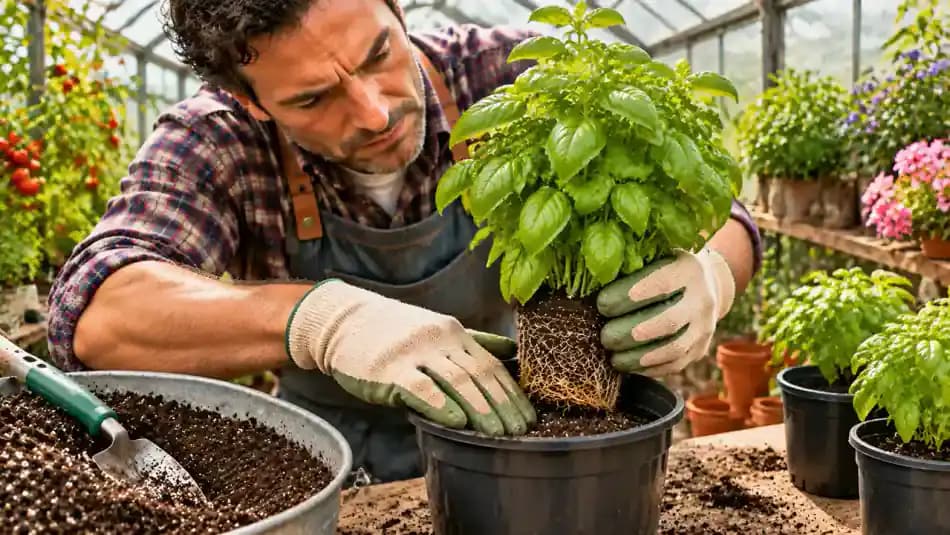
Support the root ball from underneath with both gloved hands, keeping the stems upright as you move the plant. Slowly lower it into the center of the prepared container without pulling, crushing, or aggressively separating healthy roots. Check that the original soil line remains at the same height. Handle the plant gently throughout the transfer to avoid unnecessary root damage.
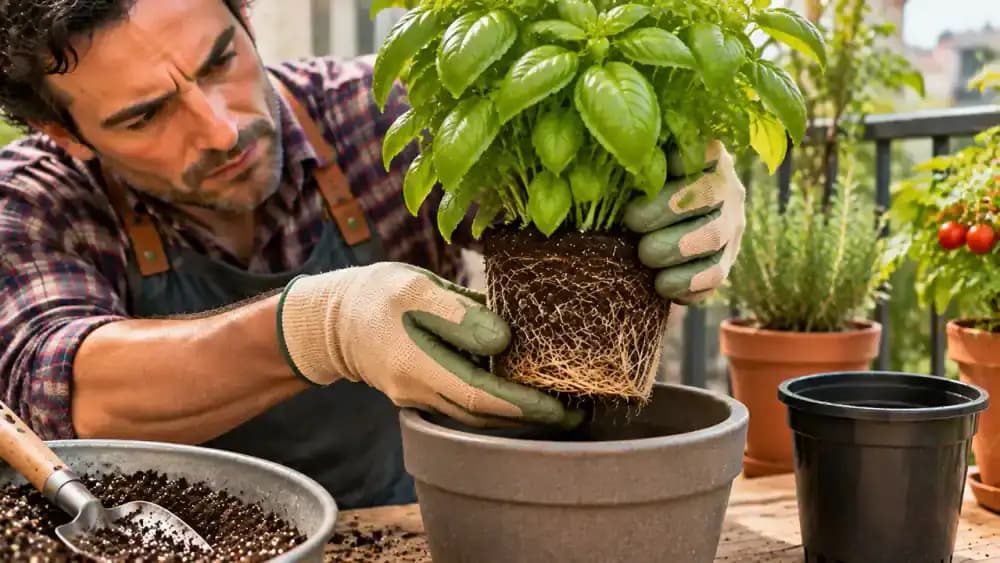
Fill Around the Root Ball
Use a small hand scoop to gradually add fresh potting mix into the empty spaces around the root ball. Work evenly around the container rather than filling one side completely. Gently tap the pot walls with your fingertips to help the mix settle naturally, but avoid pressing the soil tightly. Keep the original stem base exposed and leave space below the rim for watering.
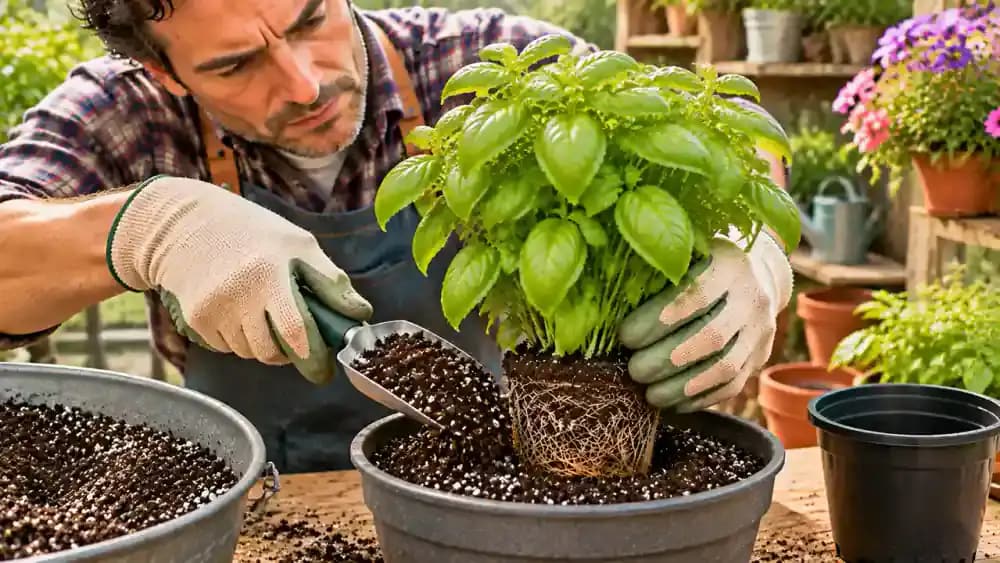
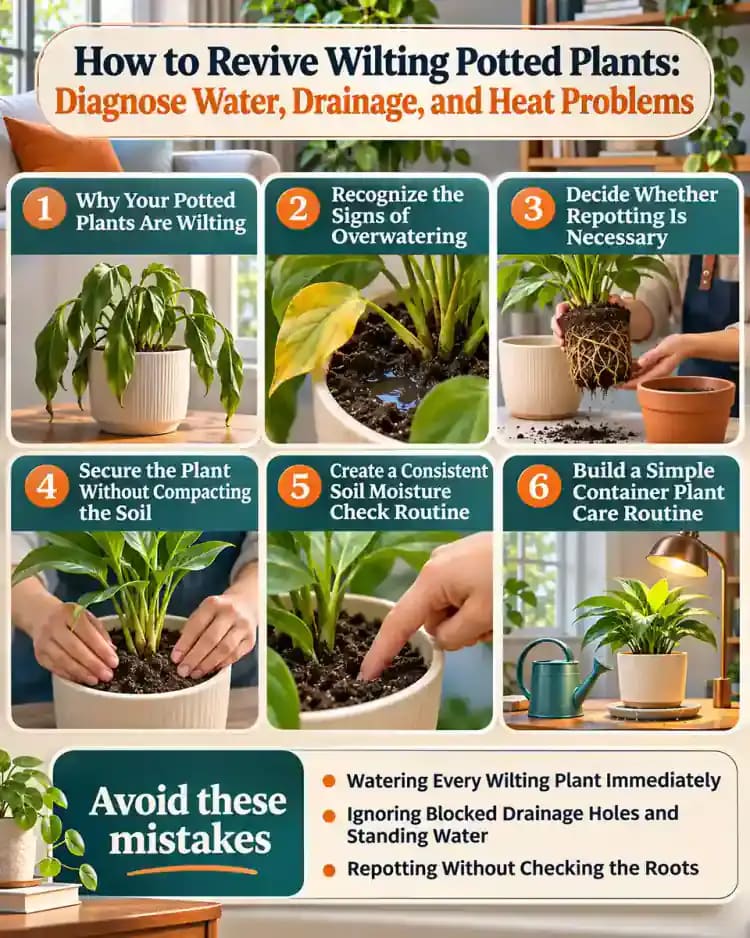
Secure the Plant Without Compacting the Soil
Gently press the potting mix around the outer edge of the root ball with your fingertips to help stabilize the plant. Avoid packing the soil tightly, which can reduce the space available for air and water movement. Check that the plant stands upright, the root ball does not shift, and the original stem base remains exposed at its previous planting depth.
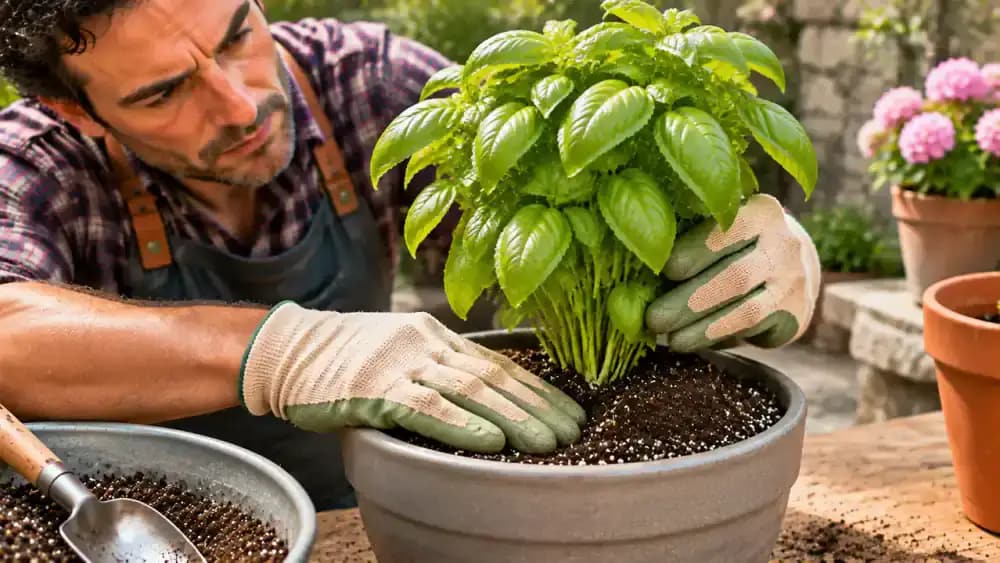
Water the Newly Repotted Plant Correctly
Use a small watering can to pour slowly and evenly over the fresh potting mix, directing the stream away from the central stem. Continue until a small amount of water begins escaping through the drainage holes. This helps settle the mix around the roots and reduce large air gaps. Stop pouring once drainage begins, and empty the collection tray afterward.
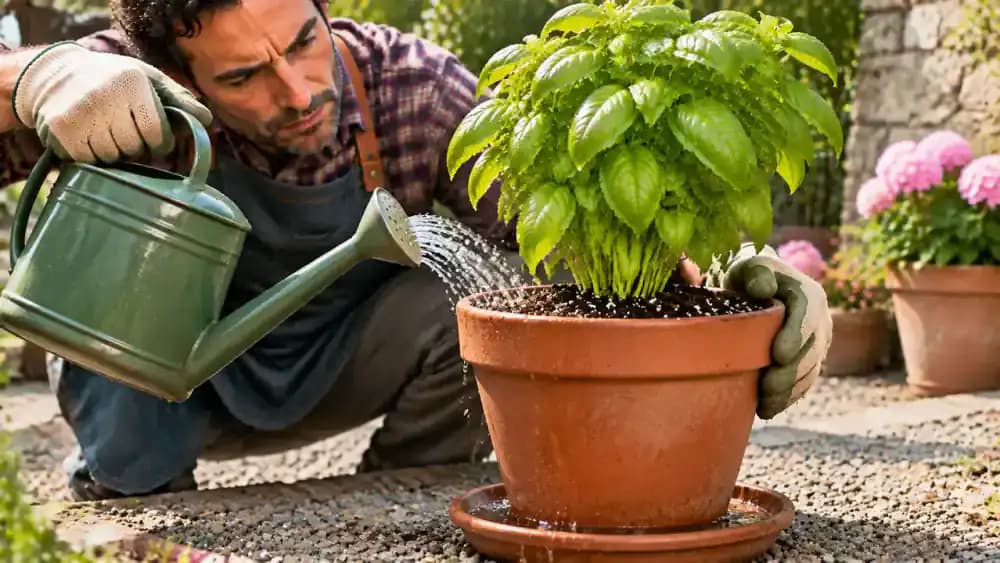
Let Excess Water Drain Away
Leave the newly watered container elevated above a removable collection tray while excess moisture escapes through the drainage holes. Watch the dripping and wait until the flow slows before sliding out the tray. Empty the collected runoff rather than allowing the pot to sit in it. Check that every drainage opening remains clear and the roots are not submerged.
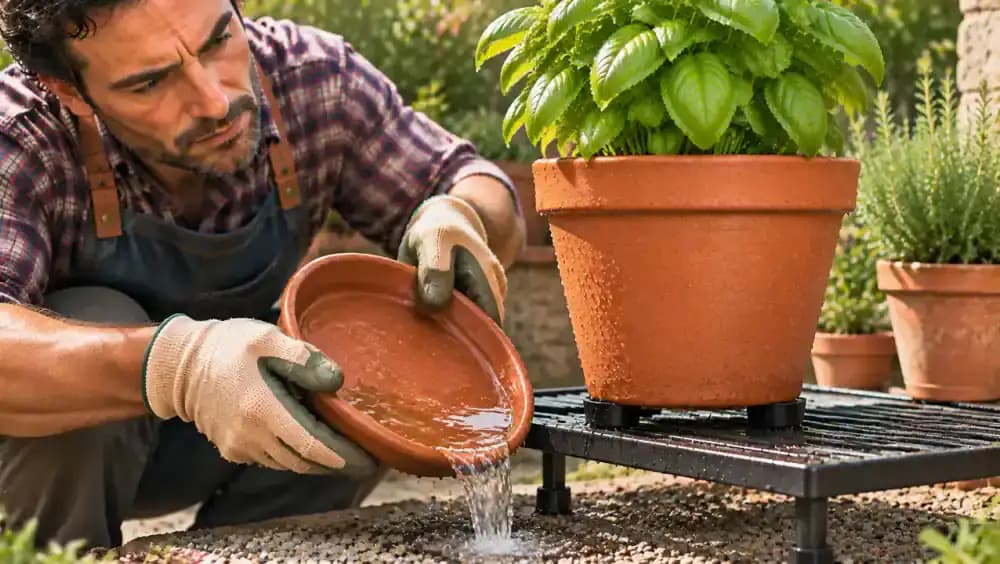
Avoid Fertilizing a Stressed Plant Immediately
Set the fertilizer aside rather than applying it to a recently repotted or water-stressed plant. Extra nutrients will not correct poor drainage, underwatering, or heat stress and may add unnecessary stress. Focus on appropriate moisture, drainage, and light while the plant adjusts. Resume feeding only when healthy, active growth returns and fertilizer is appropriate for that plant.
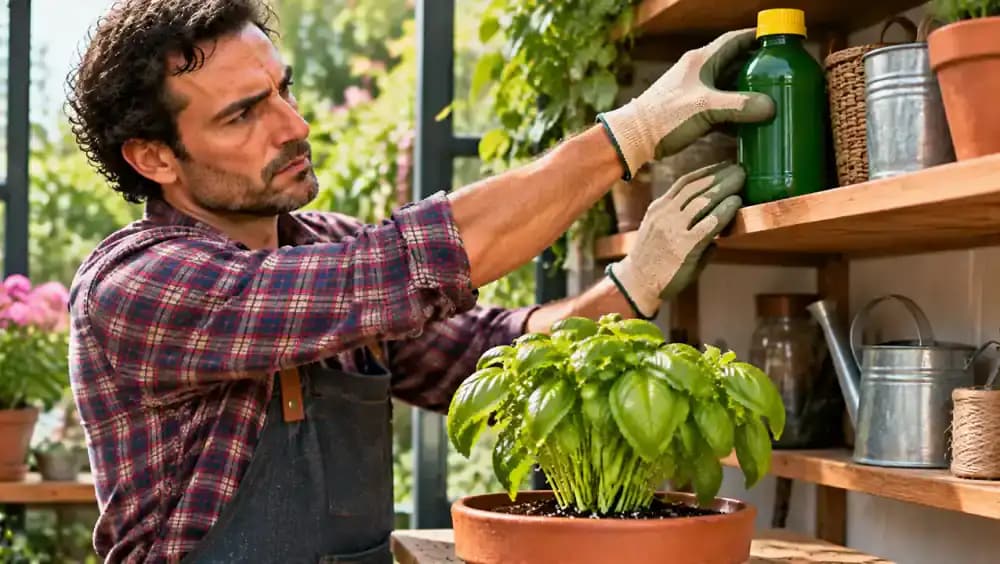
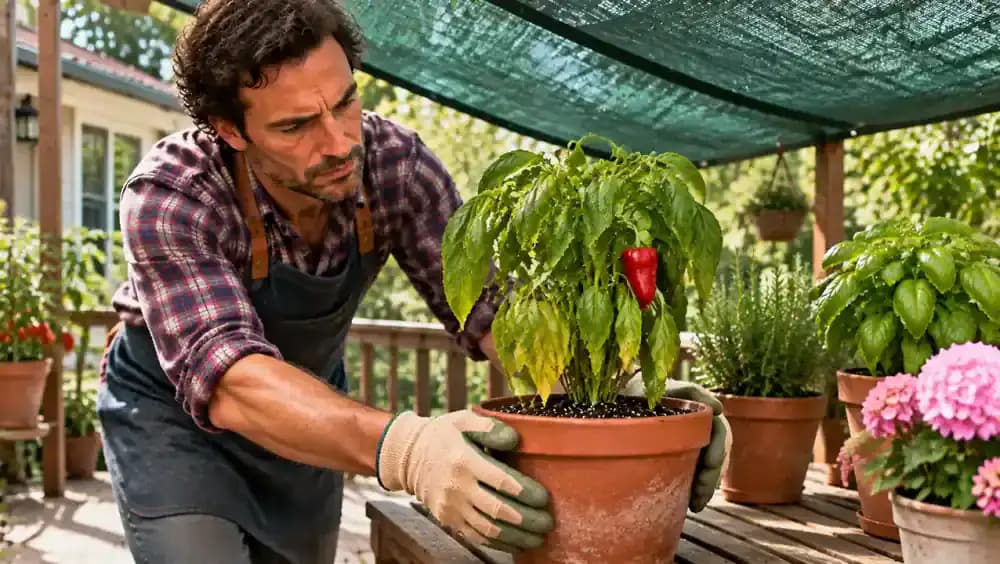
Protect Plants From Harsh Afternoon Sun
Move the container gradually to a position with bright, filtered light if the plant is struggling in intense afternoon sun and its species tolerates the change. Alternatively, place breathable shade cloth over the growing area during the hottest hours. Avoid moving sun-loving plants into deep shade. Consider nearby walls and pavement that may reflect additional heat.
Adjust Watering for Weather and Container Size
Check the soil moisture in each container individually using a clean wooden probe before deciding whether to water. Smaller pots often dry faster, while larger containers may retain moisture longer. Hot, windy weather increases moisture loss, whereas cool or cloudy conditions slow evaporation. Record your observations in a gardening notebook to recognize changing patterns without relying on a fixed daily schedule.
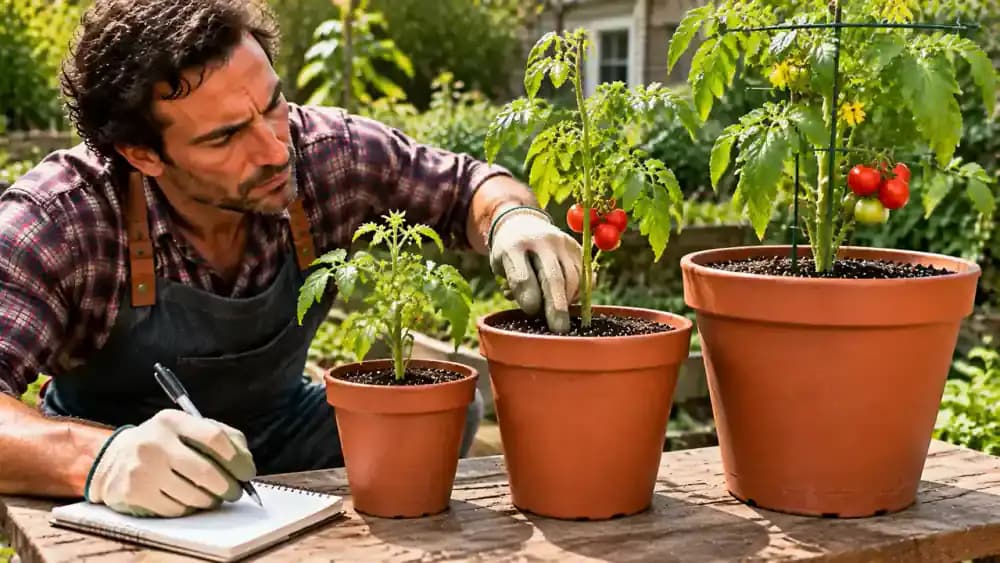
Create a Consistent Soil Moisture Check Routine
Check each container individually with a clean wooden moisture probe, then record the date and soil condition in a gardening journal. Repeat the process with your other plants rather than assuming they all need water at the same time. Pay particular attention during hot or windy weather. Your notes will help identify drying patterns and guide future watering decisions before severe wilting develops.
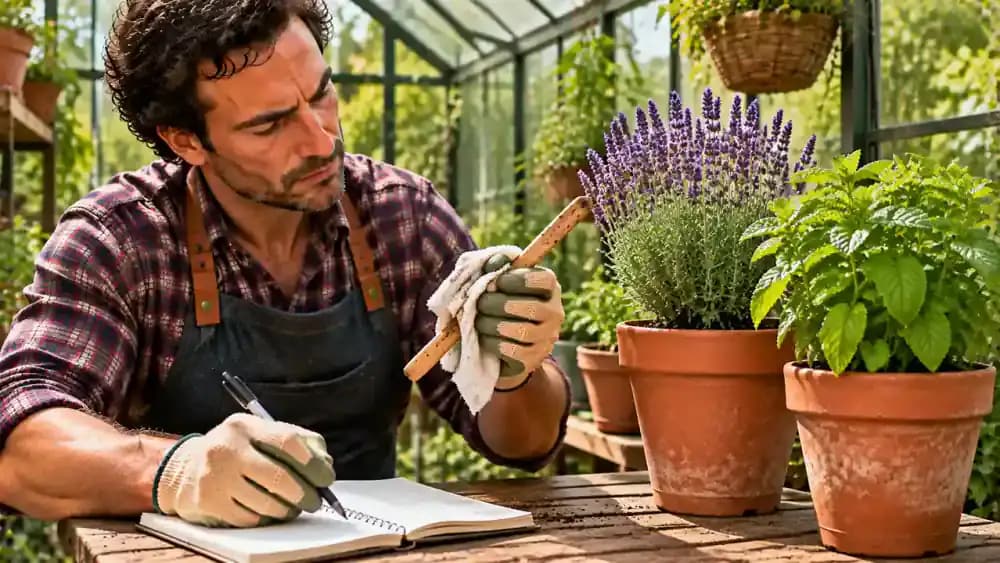
Monitor Leaf Firmness and New Growth
Examine the leaves gently for changes in firmness, then look closely at the growing tips for fresh shoots. Check soil moisture before watering and record your observations in a dated gardening journal. Compare the plant at similar times of day because afternoon heat can temporarily change leaf posture. Gradual improvements may indicate better conditions, but recovery is not guaranteed.
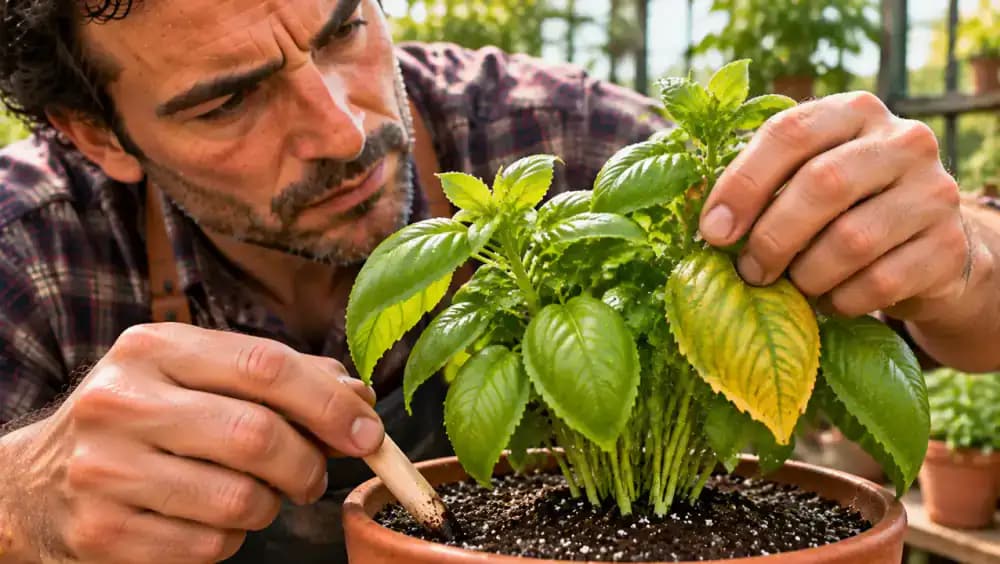
Recognize Signs of Severe Root and Stem Damage
Carefully examine the lower stems and the area near the soil surface for dark discoloration, soft spots, or mushy tissue. Gently touch suspicious areas with clean gloved fingertips without squeezing or breaking the stems. Also watch for persistently collapsed leaves, foul smells, or deteriorating growth. These signs may indicate extensive damage, and severely affected plants may not recover.
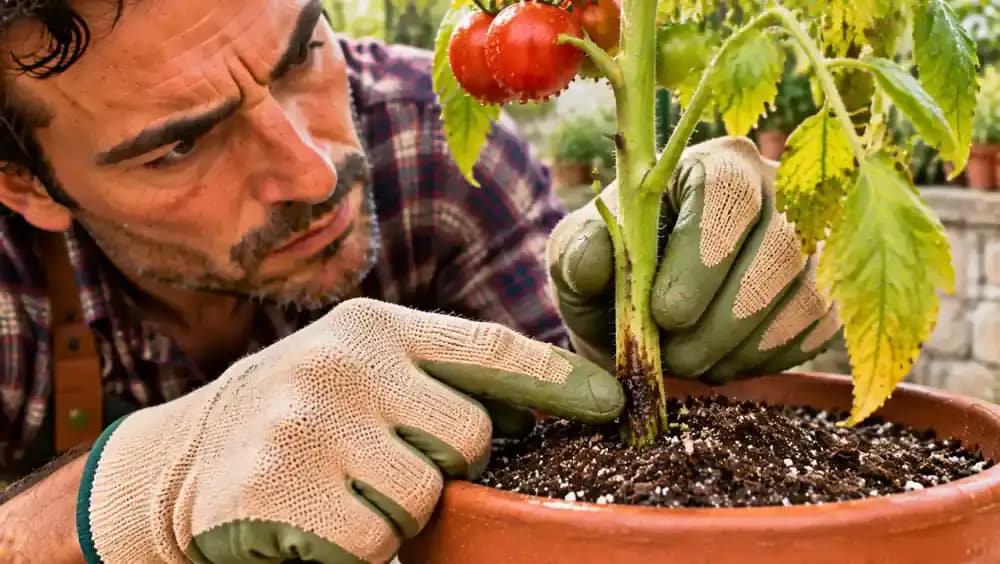
Avoid Disturbing Severely Damaged Roots
If the plant shows signs of extensive root damage, avoid repeatedly pulling it out of its container for inspection. Further disturbance can add stress to an already weakened root system. Remove only clearly dead or detached material when appropriate, using clean gardening tools. If most roots or the main stem have deteriorated, replacing the plant may be more practical than attempting recovery.
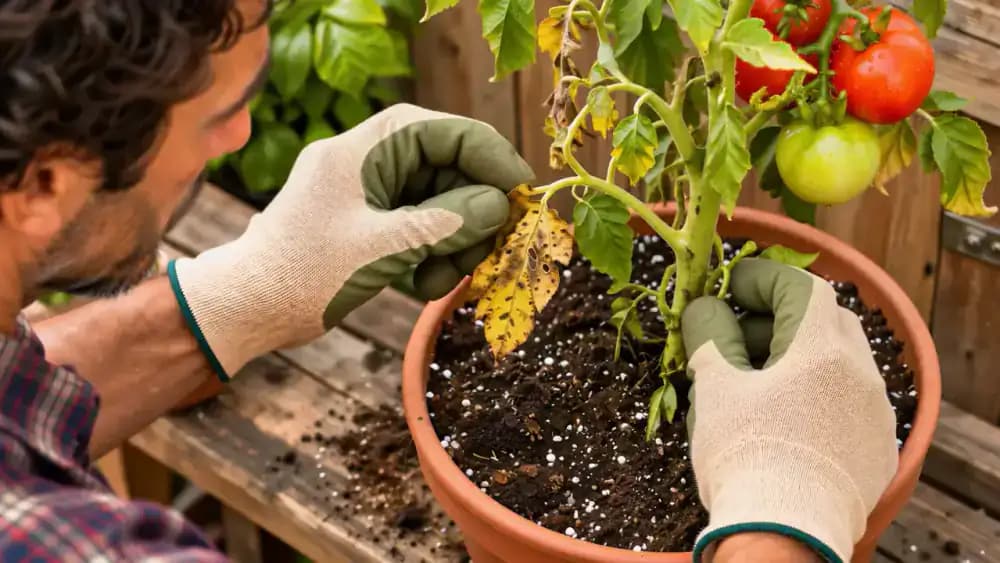
Keep Replanted Containers in a Stable Environment
Place the container in a sheltered location with stable temperatures and light appropriate for its plant species. Keep it away from strong drafts, sudden temperature changes, and intense midday sunlight. Check that the pot sits securely on a level surface. Avoid moving it repeatedly while the roots adjust, making it easier to monitor changes without adding unnecessary stress.
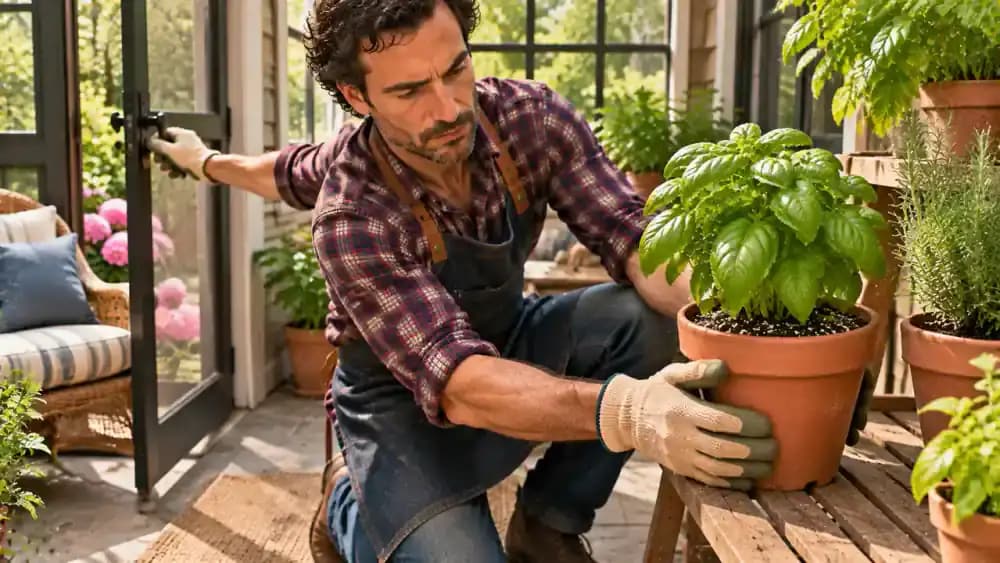
Remove Only Completely Dead Foliage
Use clean, sharp gardening scissors to remove leaves that are completely brown, dry, or damaged beyond recovery. Cut carefully at the leaf attachment point without nicking healthy stems or surrounding foliage. Leave green leaves in place because they still support photosynthesis. Collect discarded material, wipe your scissors clean afterward, and keep tools and plant debris away from children and pets.
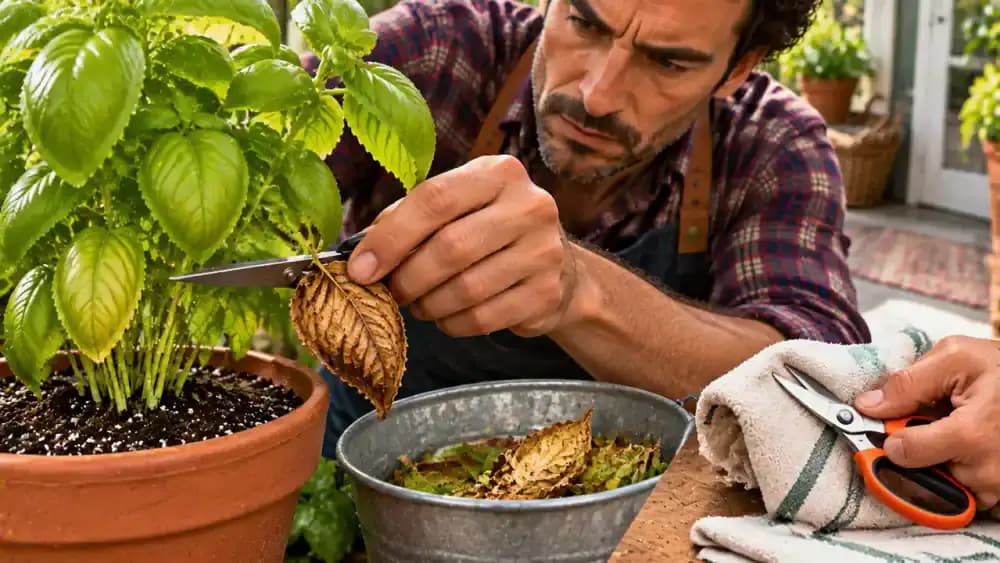
Build a Simple Container Plant Care Routine
Inspect each container individually, checking soil moisture, drainage openings, and the condition of the leaves before deciding whether to water. Remove any standing water from saucers and record your observations in a gardening journal. Consider recent weather, sunlight, and root growth when adjusting care. Make diagnosis a regular habit rather than following a rigid watering schedule for every plant.
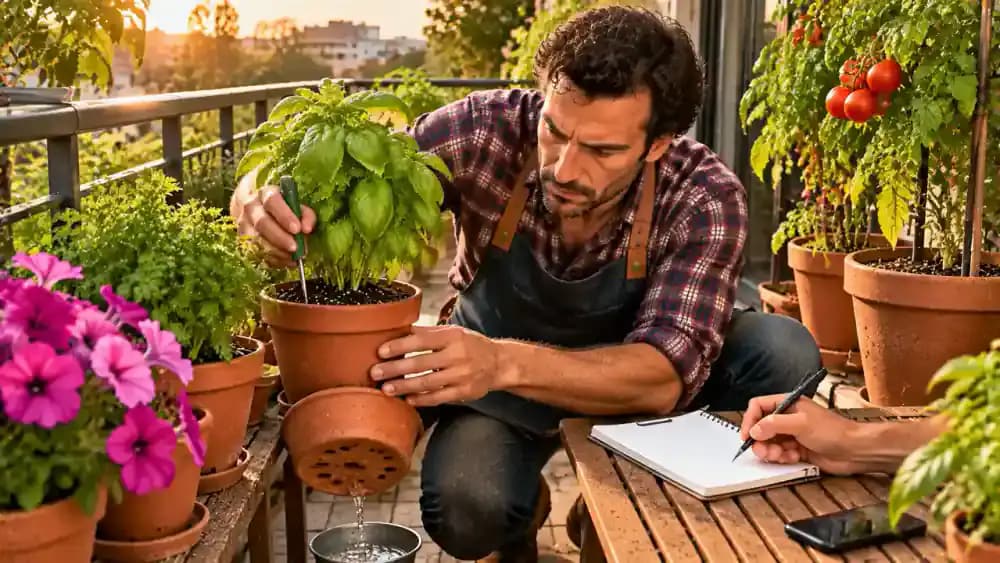
A wilting potted plant can look like it is begging for water, but reaching for the watering can too quickly may make the problem worse. Drooping leaves can signal underwatering, overwatered roots, restricted root growth, or excessive heat. These problems often produce similar symptoms, yet each requires a different solution. Before adding more water, take a moment to check what is happening inside the pot. A simple moisture check, a closer look at the leaves, and an inspection of the drainage holes can help narrow down the cause.
The good news is that many container plant problems can be addressed with basic gardening supplies and a few careful adjustments. You will learn how to check soil moisture, correct drainage problems, recognize crowded roots, repot when necessary, and protect plants from excessive afternoon heat. You will also learn what signs to monitor over the following days to assess whether conditions are improving. Before handling unfamiliar plants, identify potentially toxic varieties, wear appropriate protection, and keep gardening supplies away from children and pets. Plants with extensive root or stem damage may not recover.
Where people go wrong
Watering Every Wilting Plant Immediately. Drooping leaves do not automatically mean a plant needs water. Adding more water to an already waterlogged pot can worsen root problems. Check soil moisture 1 to 2 inches below the surface before deciding whether watering is necessary.
Ignoring Blocked Drainage Holes and Standing Water. A pot with blocked drainage holes or a saucer full of standing water can keep roots excessively wet. Inspect drainage openings, remove accumulated water, and check whether moisture can escape freely before adding more water.
Repotting Without Checking the Roots. Not every wilting plant needs a larger container. Repotting unnecessarily can disturb roots and create additional stress. Inspect root growth first, handle roots gently, use suitable fresh potting mix, and choose only a slightly larger pot when needed.
Fertilizing or Leaving Heat-Stressed Plants in Direct Sun. Fertilizer will not fix waterlogged roots, and excessive afternoon heat can worsen wilting. Avoid unnecessary fertilizer when soil is waterlogged. Adjust sun exposure and provide temporary afternoon shade when appropriate, considering the plant species and weather.
Questions people ask
Check the soil 1 to 2 inches below the surface using a finger or wooden skewer. Examine the pot's weight and leaf texture as additional clues. Dry soil and a noticeably light pot may indicate underwatering, but consider drainage and heat exposure before deciding to water.
Fixed it?
Get one guide like this every Thursday.