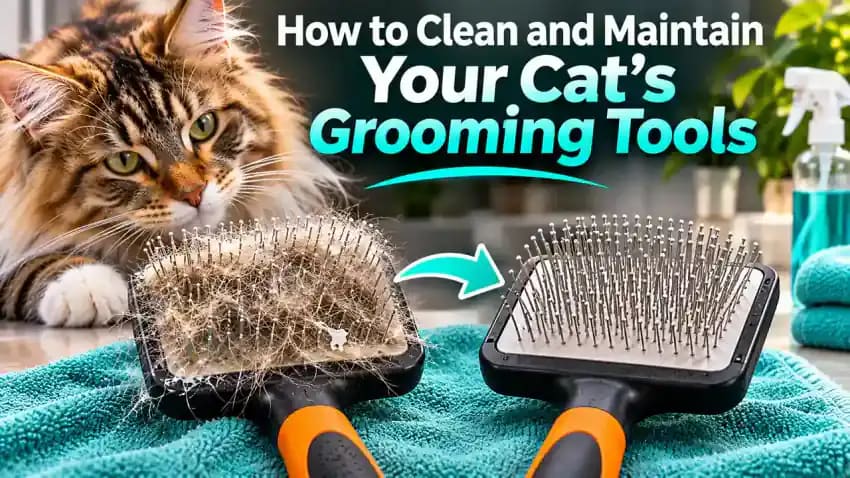
How to Clean and Maintain Your Cat's Grooming Tools
Keep your cat's brushes, combs, and grooming accessories clean, safe, and ready to use. Learn how to remove trapped fur, wash suitable tools, prevent rust, spot damage, and build a simple maintenance routine.
What you’ll need
Tap to tick things off before you start.
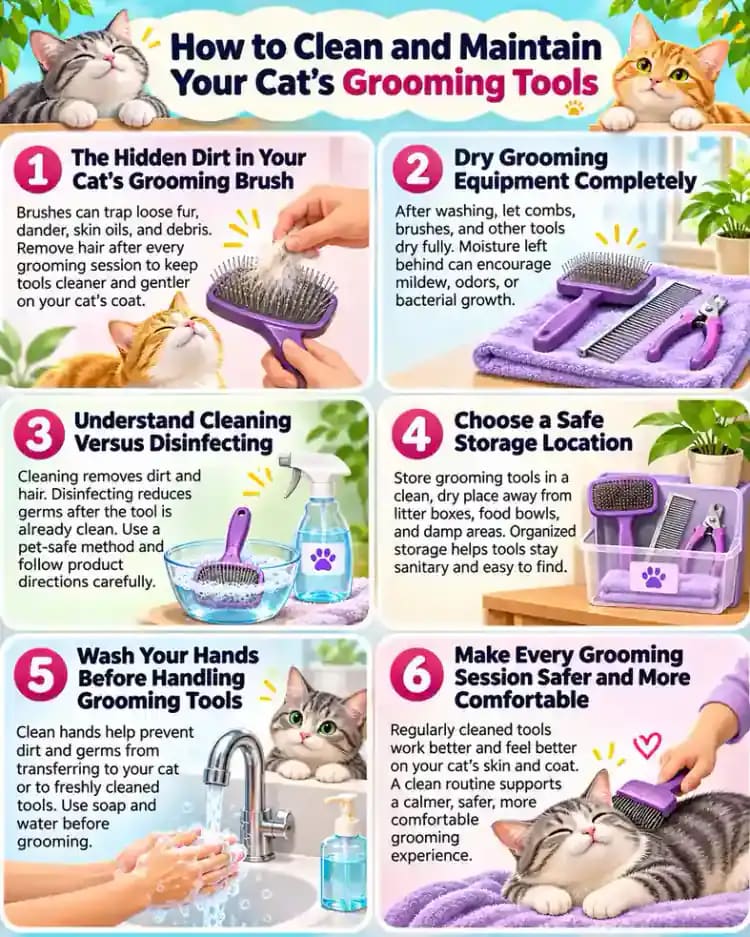
The Hidden Dirt in Your Cat's Grooming Brush
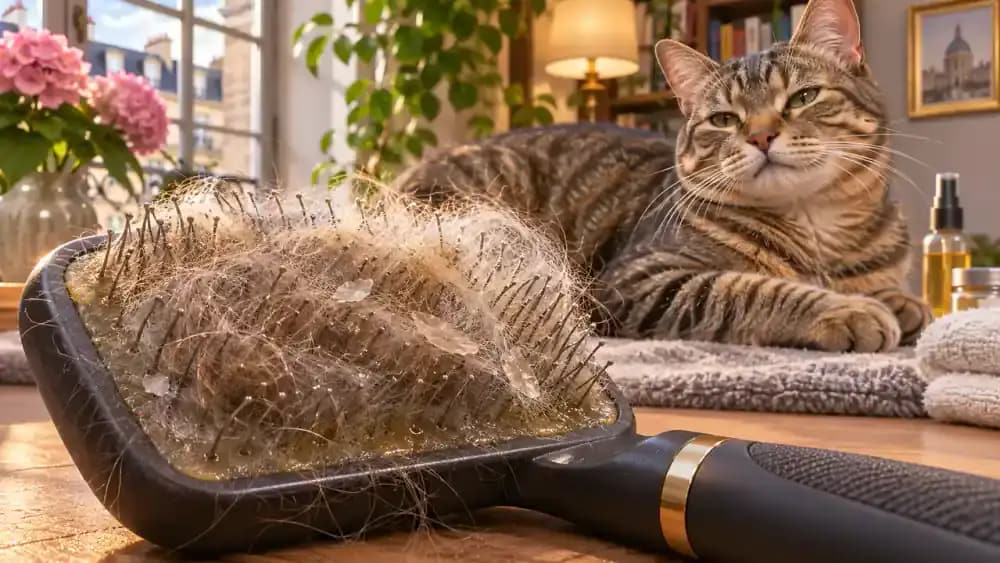
Examine your cat's grooming brush closely before its next use. Trapped fur often hides skin flakes, natural oils, dust, and grooming product residue between the bristles. This buildup can reduce brushing effectiveness and make grooming uncomfortable. Check the pins and base for visible debris, especially if you haven't cleaned the brush recently.
Know Which Tools You Can Safely Clean
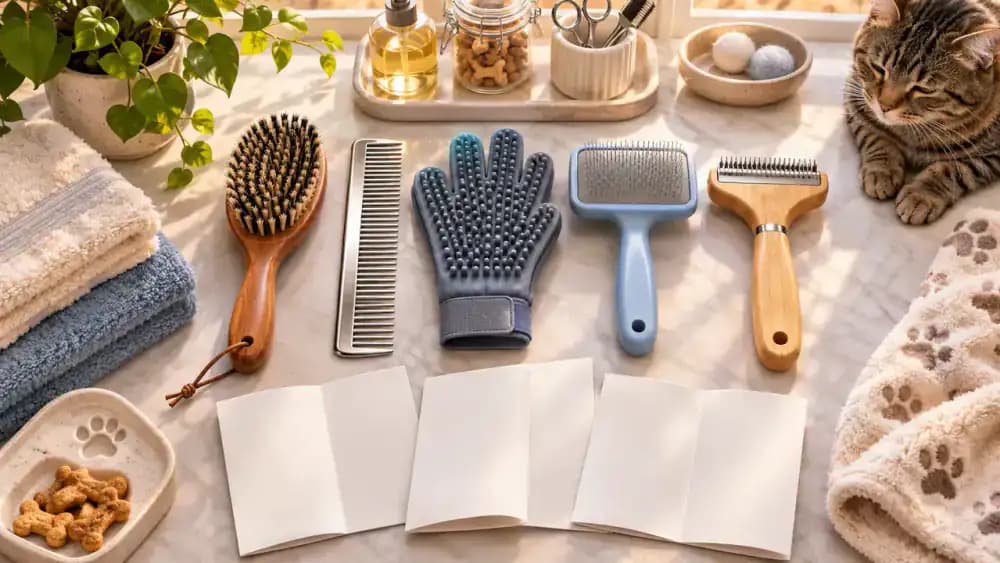
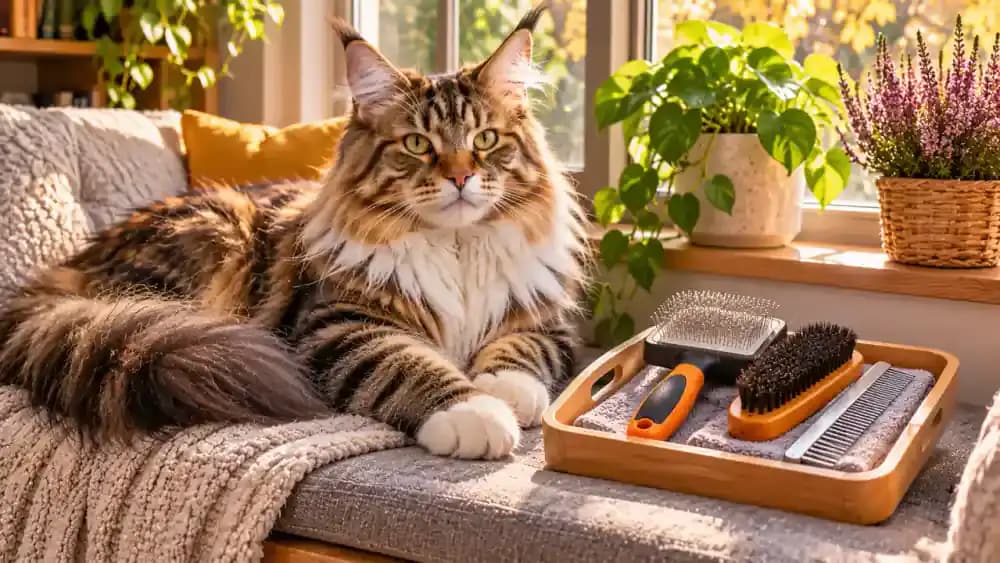
Gather your grooming accessories and identify their materials before cleaning. Metal slicker brushes, stainless steel combs, rubber grooming mitts, wooden-handled brushes, and electric clippers have different maintenance requirements. Read each manufacturer's care instructions to determine which surfaces can be washed, which require gentle wiping, and which components must remain completely dry.
Remove Trapped Fur Before Washing
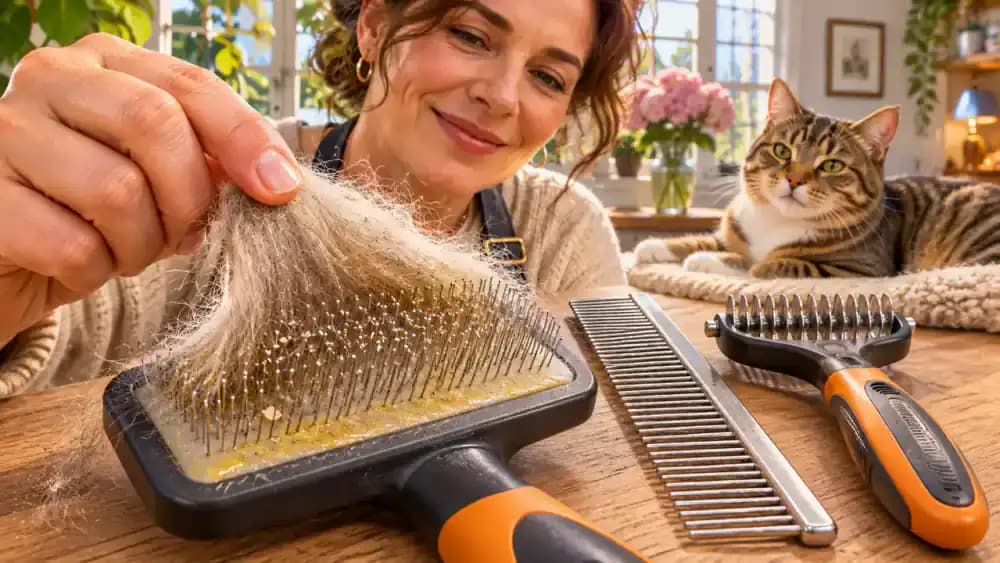
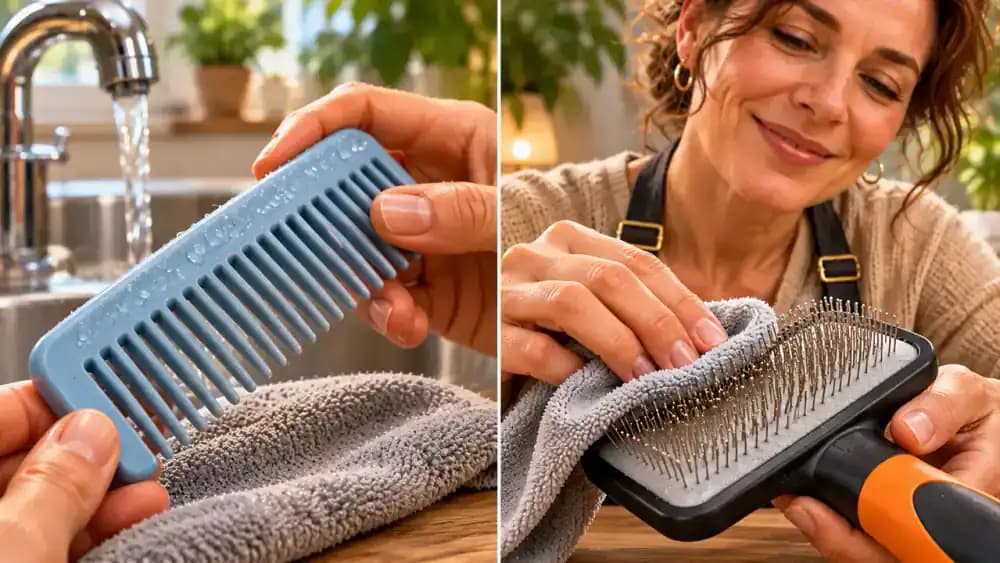
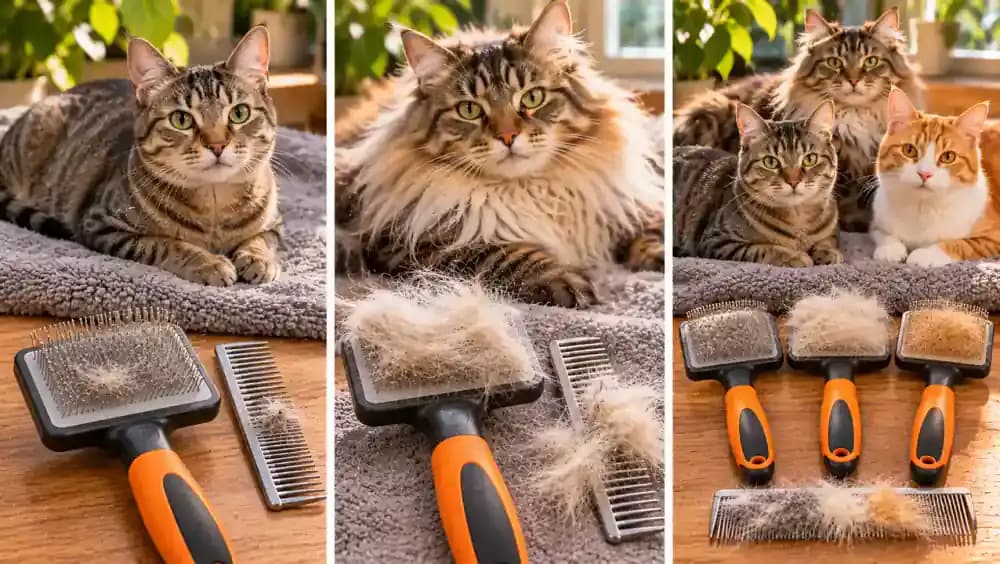
Use your fingers to gently lift accumulated fur from the slicker brush, working around the pins without pulling forcefully. A dedicated brush-cleaning tool can help remove stubborn strands. For metal combs, carefully slide trapped hairs away from the teeth. Removing loose fur first makes washing easier and helps prevent debris from collecting in the sink.
Wash Suitable Tools With Mild Soap
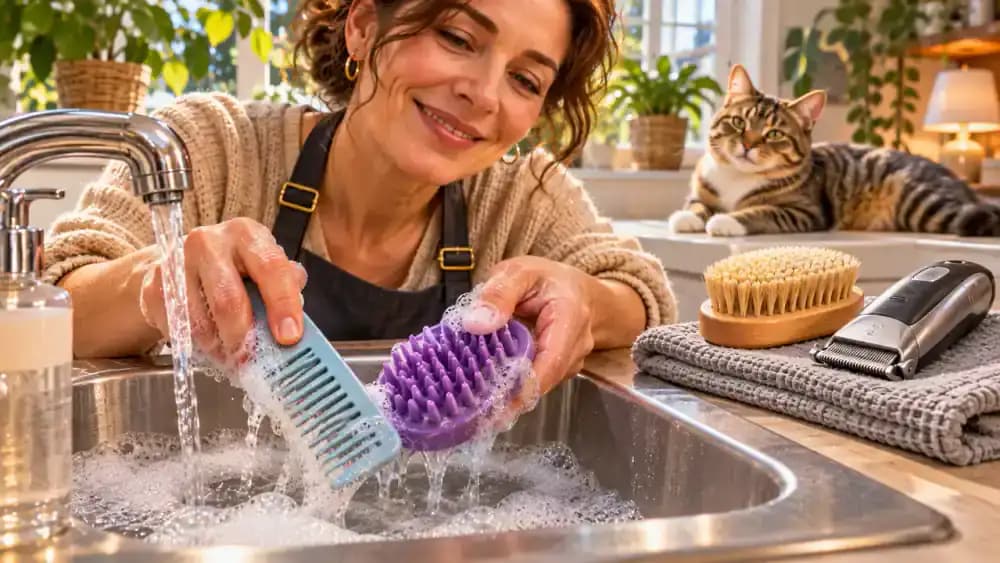
Wash only accessories approved for water cleaning. Use lukewarm water and a small amount of mild, unscented soap on washable plastic combs or rubber grooming brushes. Gently clean surfaces that contact your cat's coat, loosening accumulated oils and dirt. Avoid soaking wooden handles, cushioned brush bases, or electrical components that could be damaged by moisture.
Rinse Away Residue Without Damaging Pins
Rinse washable grooming accessories under a gentle stream of clean water until all visible soap and slippery residue are gone. For brushes that cannot be rinsed, follow manufacturer instructions and wipe approved surfaces with a lightly damp microfiber cloth. Avoid aggressive scrubbing or pressing against delicate pins, which can bend, loosen, or damage them.
Dry Grooming Equipment Completely
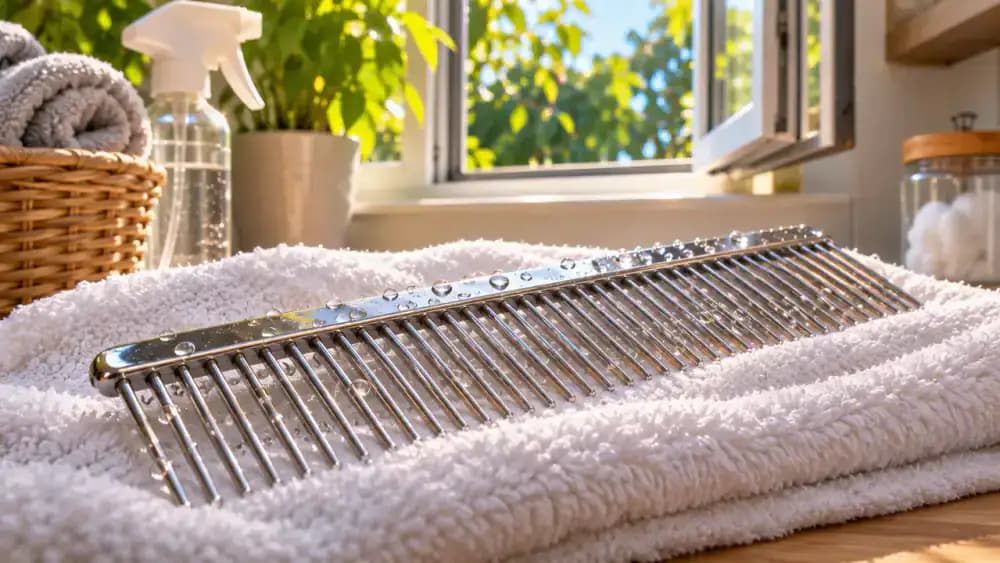
Shake excess water from washable grooming tools and arrange them separately on a clean, absorbent towel in a well-ventilated area. Position metal combs so moisture can evaporate between their teeth, and allow padded surfaces to dry thoroughly. Never store damp brushes in enclosed drawers or containers, where trapped moisture can encourage odors, rust, and deterioration.
Recognize When Grooming Tools Need Replacing
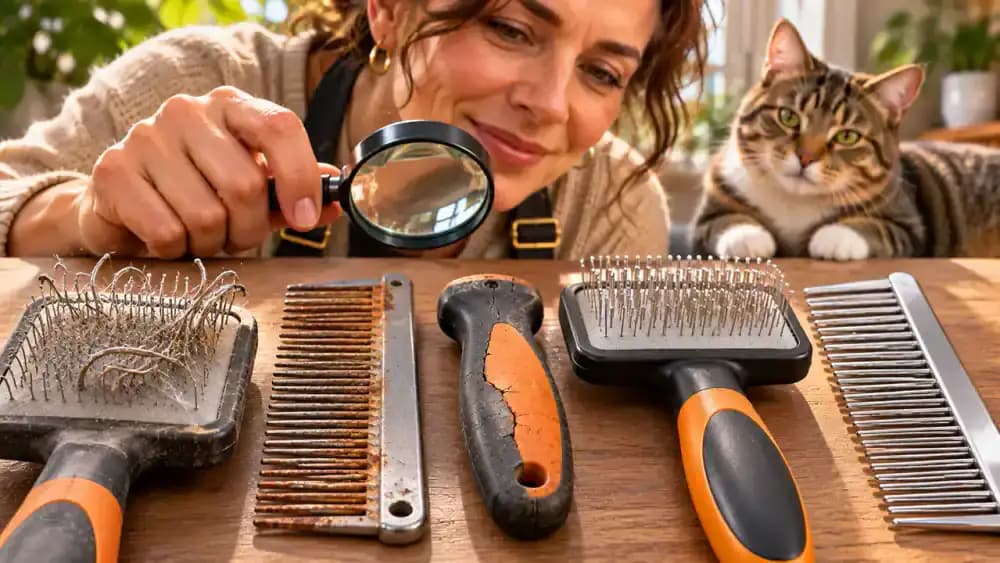
Inspect each grooming tool under good lighting before using it again. Look for bent or sharp pins, rusted comb teeth, cracked handles, loose components, and stubborn residue that cleaning cannot remove. Damaged equipment may snag fur or irritate your cat's skin. Replace questionable tools rather than attempting repairs that could compromise their safety.
Build a Simple Grooming Tool Maintenance Routine
Remove visible fur after every grooming session and clean washable accessories periodically according to their manufacturer's instructions. Always dry equipment completely, inspect pins and handles for damage, and return tools to clean, dry storage compartments. Keeping these habits consistent helps extend the useful life of grooming supplies and makes each brushing session more comfortable for your cat.

Keep Grooming Tools Separate Between Cats
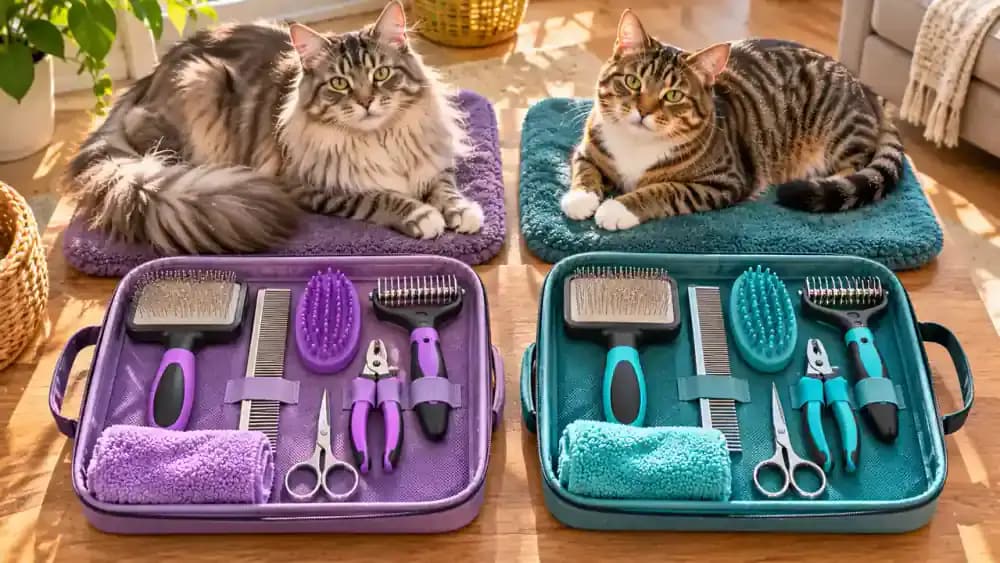
If you have multiple cats, consider assigning each animal a separate, clearly labeled grooming kit. Individual brushes and combs help limit the transfer of loose fur, debris, and potentially infectious material. If a cat develops unexplained skin changes or a suspected contagious condition, avoid sharing equipment and ask your veterinarian about appropriate cleaning and disinfection.
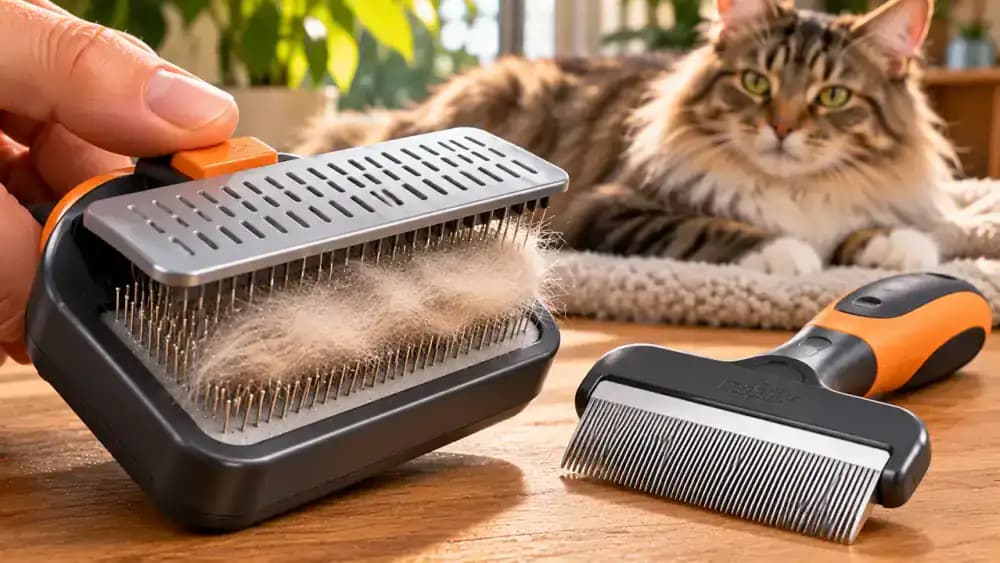
Clean Hidden Areas in Specialized Brushes
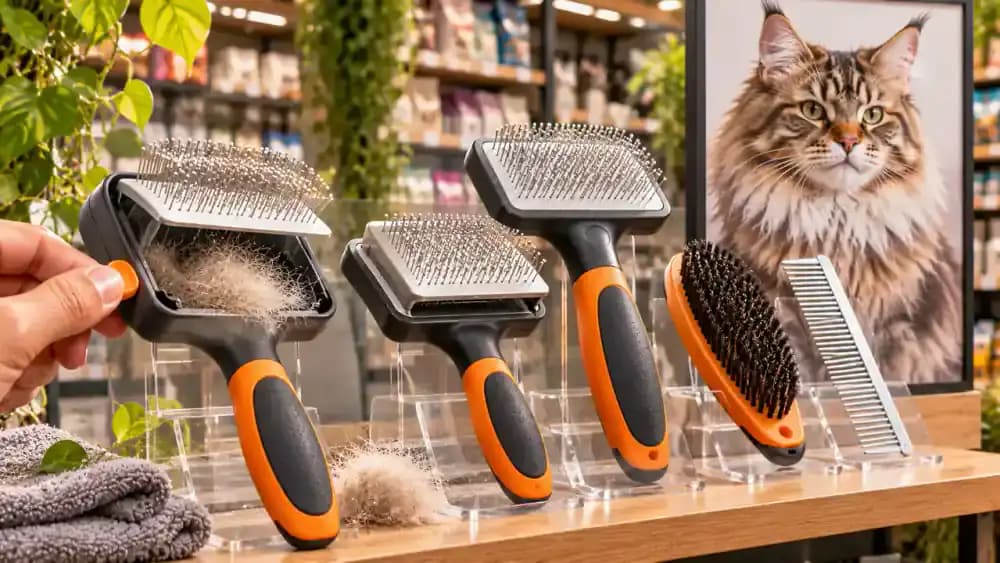
Inspect specialized grooming tools for debris hidden beneath moving parts or along narrow edges. Self-cleaning slicker brushes may collect fur behind retractable plates, while deshedding tools can trap residue near their teeth. Follow manufacturer instructions when accessing removable components, clean reachable areas gently, and confirm that all mechanisms operate smoothly before using the equipment again.
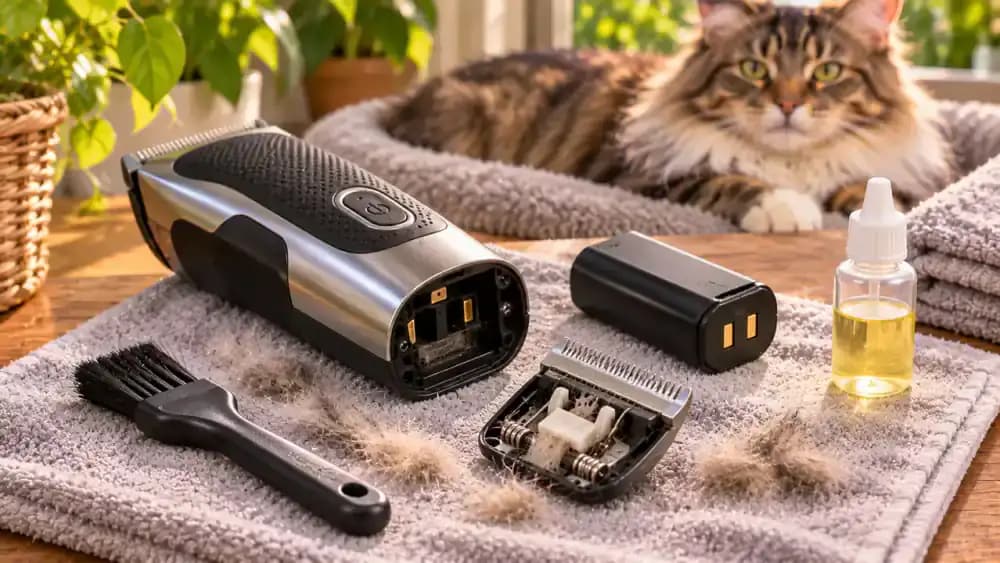
Maintain Electric Grooming Clippers Safely
Switch off and unplug electric grooming clippers, or remove the battery if the design allows, before cleaning. Use the supplied cleaning brush to remove hair from the blade assembly, then inspect and lubricate the blades according to manufacturer instructions. Keep motors, charging contacts, and electrical connections dry unless the manufacturer specifically approves water exposure.
Understand Cleaning Versus Disinfecting
Cleaning removes visible fur, dirt, oils, and organic residue, while disinfecting uses an appropriate product to reduce targeted microorganisms. Always clean tools before disinfecting when required by product instructions. Choose a disinfectant compatible with the equipment and suitable for pet environments, follow its contact time and rinsing requirements, and never mix cleaning chemicals.
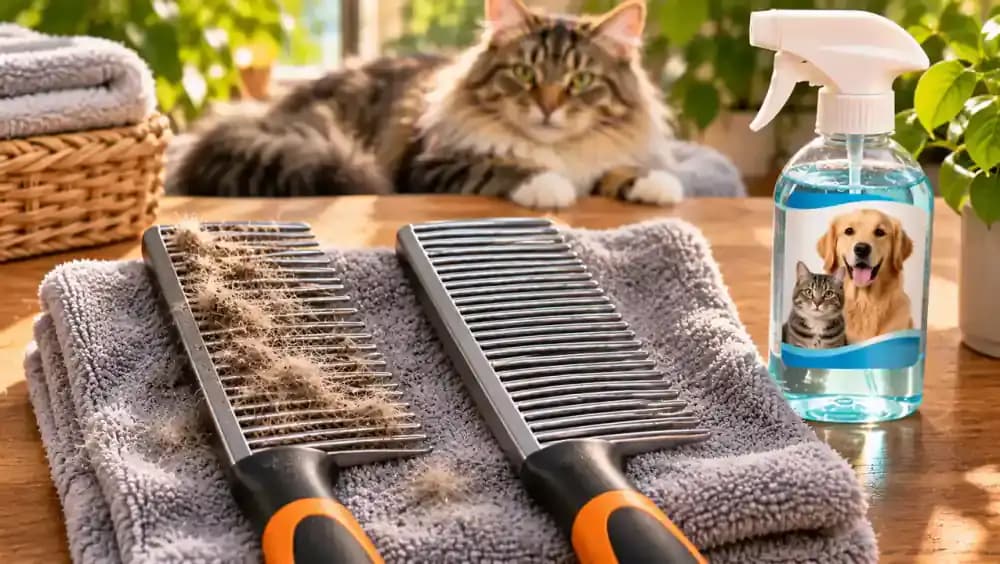
Keep Your Grooming Area Hygienic
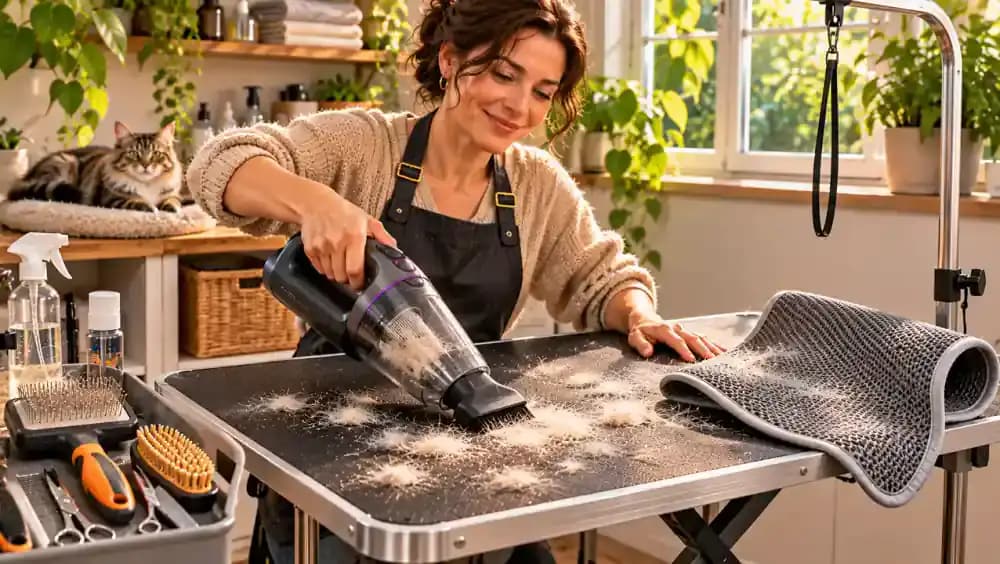
After grooming your cat, collect loose fur from the table, mat, and surrounding surfaces before putting clean tools away. Use a handheld vacuum or suitable cleaning tool to remove scattered hair, then wipe washable surfaces with an appropriate cleaner. Launder or clean grooming mats as directed, and allow everything to dry before the next session.
Recognize Signs of Grooming Discomfort
Watch your cat's body language throughout grooming. Flattened ears, sudden flinching, turning away, or repeated attempts to escape may indicate discomfort. Stop brushing immediately if your cat reacts negatively, inspect the tool for damaged pins or trapped debris, and reconsider your technique. Never force grooming, and consult your veterinarian if discomfort or skin irritation persists.
Choose the Right Cleaning Frequency
Adjust your cleaning schedule to your cat's coat, shedding level, grooming frequency, and the number of animals using each tool. Remove loose fur after every session and inspect equipment regularly for oils, residue, or debris. Heavily used brushes may need more frequent washing. Follow manufacturer guidance and your veterinarian's hygiene recommendations when special precautions are necessary.
Make Clean Grooming Tools a Lasting Habit
Before each grooming session, inspect your brush or comb for trapped fur, damaged pins, rough edges, and lingering moisture. Carefully check accessible surfaces for anything that might snag your cat's coat. Choose a clean, undamaged tool suited to your cat's needs, and allow your cat to approach comfortably. Consistent checks help make grooming safer and more enjoyable.
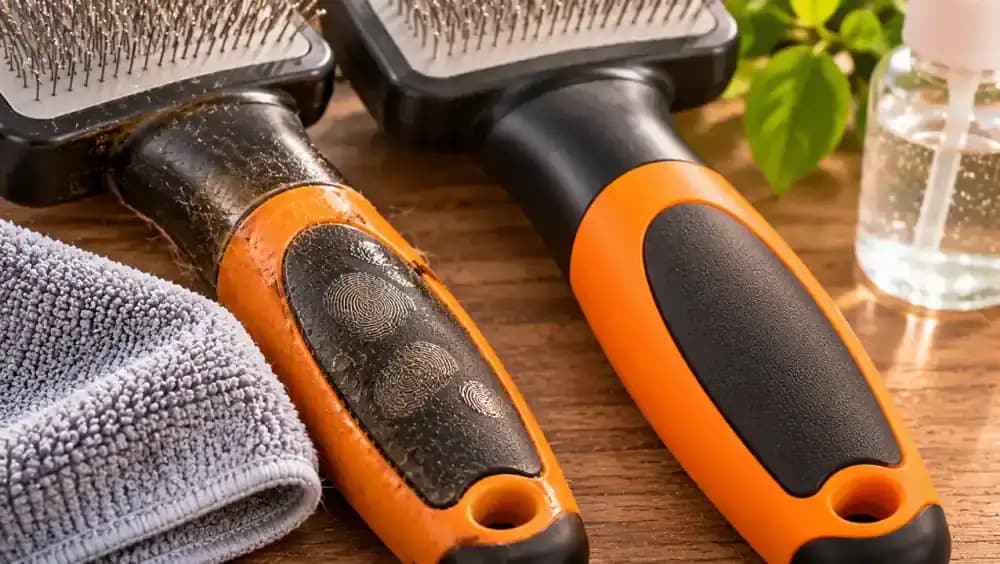
Do Not Forget Grooming Tool Handles
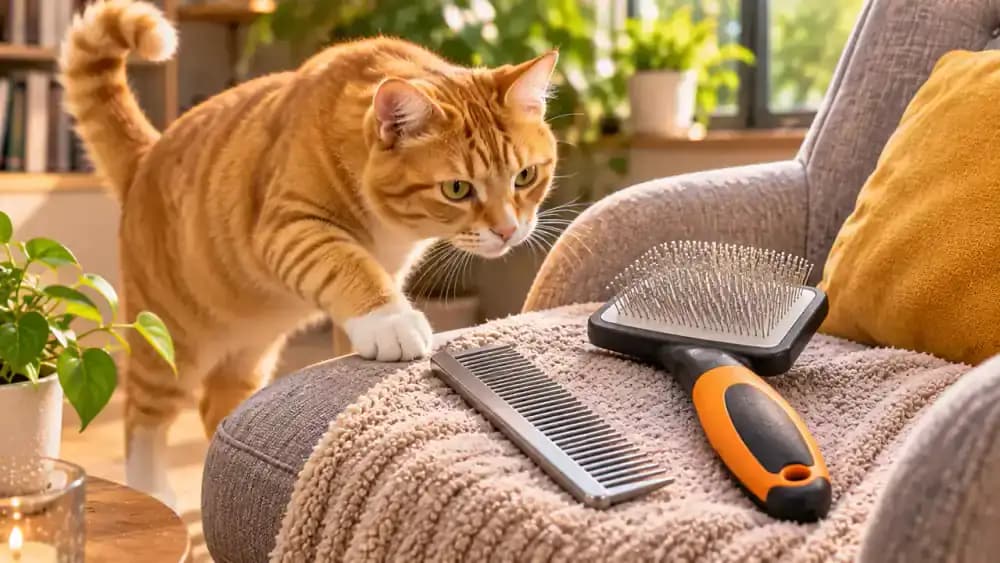
Inspect grooming tool handles for accumulated oils, fingerprints, and debris, especially around textured rubber grips and narrow seams. Wipe these areas with a suitable cloth and a cleaning method approved for the handle material. Dry the grip thoroughly before use. Keeping handles clean and secure helps prevent slipping and gives you better control over brushing pressure.
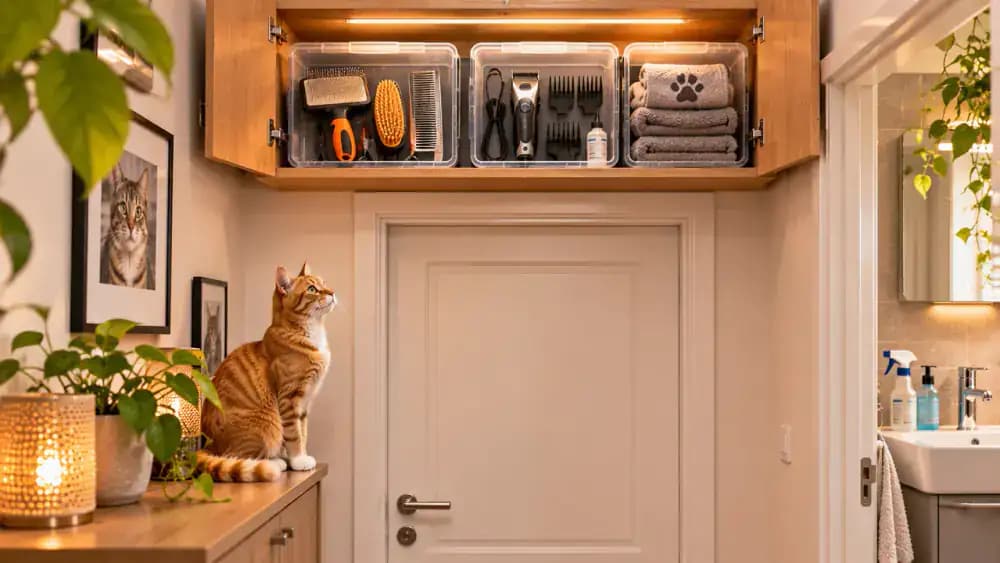
Choose a Safe Storage Location
Store clean, completely dry grooming tools in a dedicated cabinet, drawer, or covered organizer away from humidity, splashing water, litter dust, and household cleaning products. Protect sharp accessories with suitable covers and avoid stacking heavy objects on delicate brush pins. Choose a secure location your cat cannot access, especially if the equipment has pointed or detachable components.
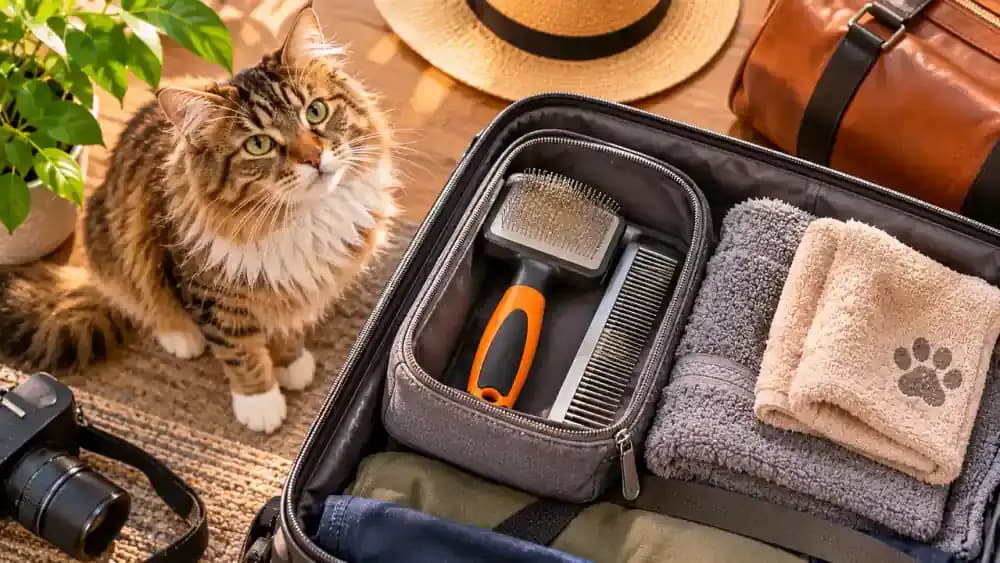
Protect Grooming Tools During Travel
Pack clean, dry grooming accessories in a washable, zippered pouch before traveling with your cat. Keep the pouch separate from used towels, soiled carriers, and other potentially dirty belongings. Protect delicate brush pins from pressure during transport. After returning home, inspect the tools and pouch for debris, and clean them as appropriate before storing them again.
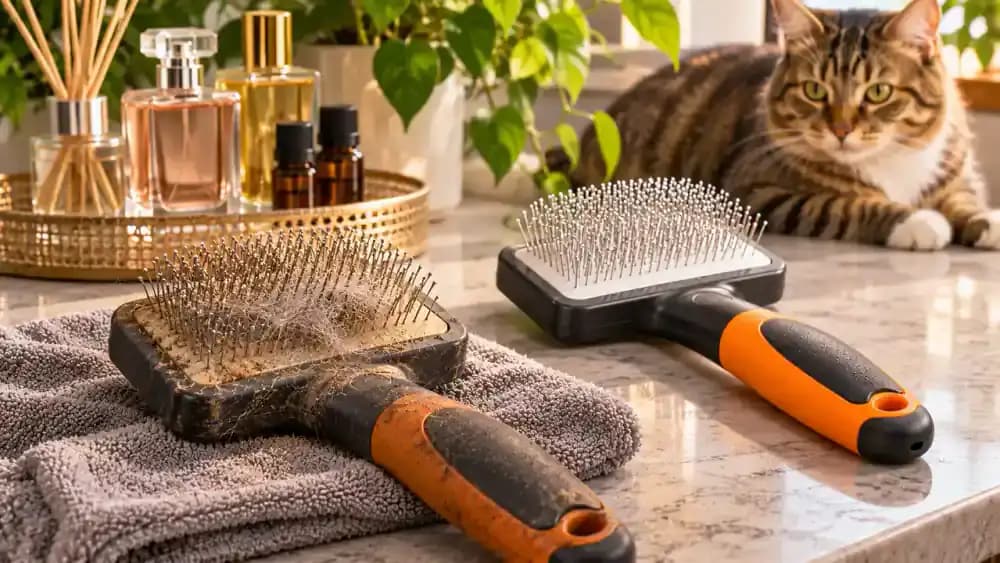
Avoid Fragrances and Essential Oils
If a grooming brush develops an unpleasant odor, inspect it for trapped fur, moisture, or residue instead of covering the smell with perfume or scented sprays. Avoid essential oils, some of which can be toxic to cats. Clean compatible surfaces according to manufacturer instructions and dry thoroughly. Replace the tool if an unexplained odor persists despite proper cleaning.
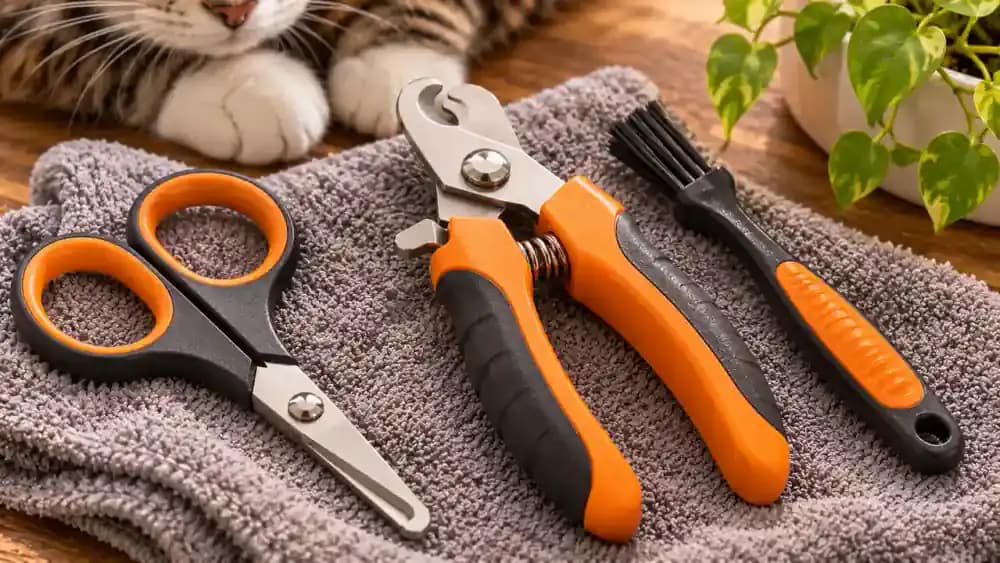
Maintain Grooming Scissors and Nail Clippers
Place grooming scissors and cat nail clippers on a stable, nonslip surface before cleaning. Carefully remove trapped hair and debris with a small cleaning brush, keeping fingers away from sharp edges. Follow manufacturer instructions for cleaning blades and hinges. Check that both tools open and close smoothly, and arrange professional sharpening or replacement if cutting performance deteriorates.
Prevent Grooming Product Buildup
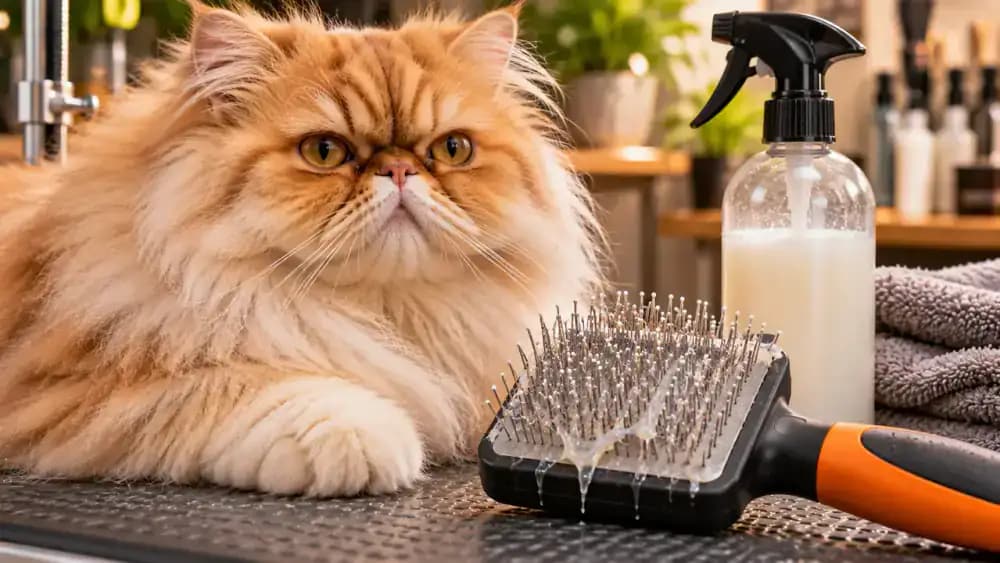
When using cat-safe grooming sprays or detangling products, follow the label instructions and avoid spraying equipment directly unless permitted. Residue can accumulate on brush pins, create sticky surfaces, and attract loose fur and debris. Inspect grooming accessories after applying products, remove visible buildup promptly, and clean compatible surfaces according to manufacturer recommendations.
Keep Grooming Comfortable and Consistent
Focus on keeping grooming accessories clean, functional, and appropriate for your cat's coat rather than making them look brand-new. Use material-safe cleaning methods, inspect equipment for wear, and avoid products that could irritate your cat. Choose gentle brushing techniques and respect your cat's comfort. Consistent maintenance helps create a calmer, more predictable grooming experience.
Wash Your Hands Before Handling Grooming Tools
Wash your hands thoroughly with soap and water before handling clean grooming tools, especially after cleaning litter boxes, using household chemicals, or completing messy chores. Dry your hands with a clean towel before picking up brushes or combs. This simple hygiene habit helps prevent dirt, chemical residue, and other unwanted contaminants from transferring onto your cat's coat.

Choose Grooming Tools That Are Easy to Maintain
When purchasing replacement grooming tools, look for durable materials, smooth surfaces, accessible pins, and clear manufacturer cleaning instructions. Removable components can simplify maintenance when designed for safe disassembly. Avoid brushes with difficult-to-clean grooves or poorly secured parts. Most importantly, choose equipment appropriate for your cat's coat type and grooming needs, not just cleaning convenience.
Keep Cleaning Cloths Hygienic
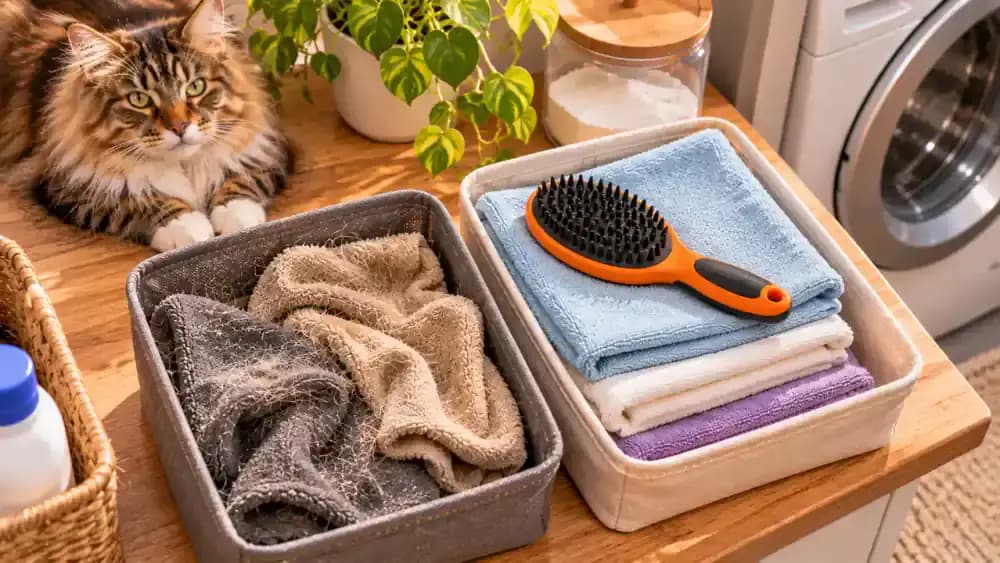
Use fresh, clean cloths whenever wiping down your cat's grooming accessories. Dirty cloths can transfer oils, debris, and other contaminants back onto freshly cleaned equipment. Keep dedicated microfiber cloths with your grooming supplies, wash reusable cloths according to their care instructions, and discard disposable wipes after use. Never reuse a soiled cloth on clean tools.
Check Hygiene Standards at Grooming Salons
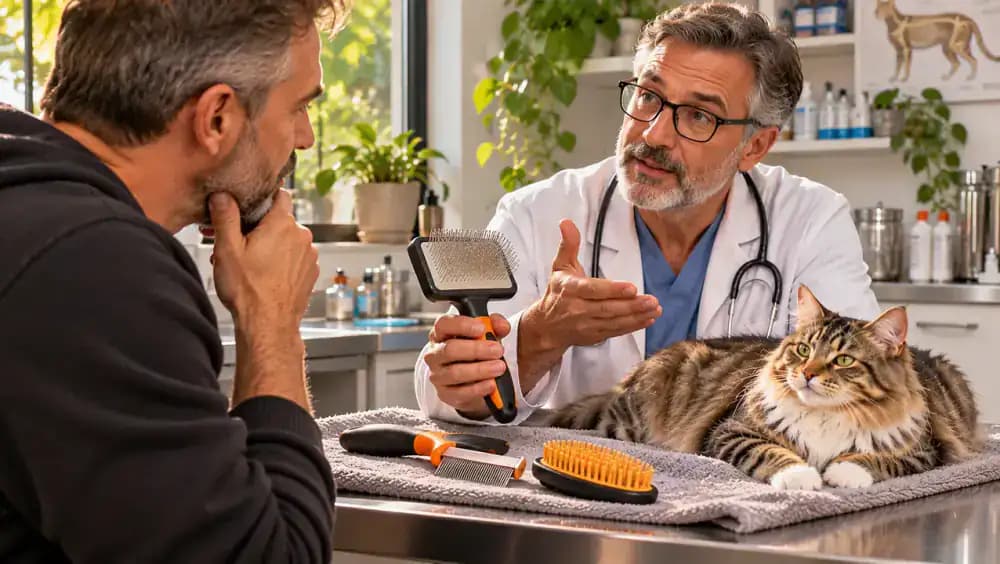
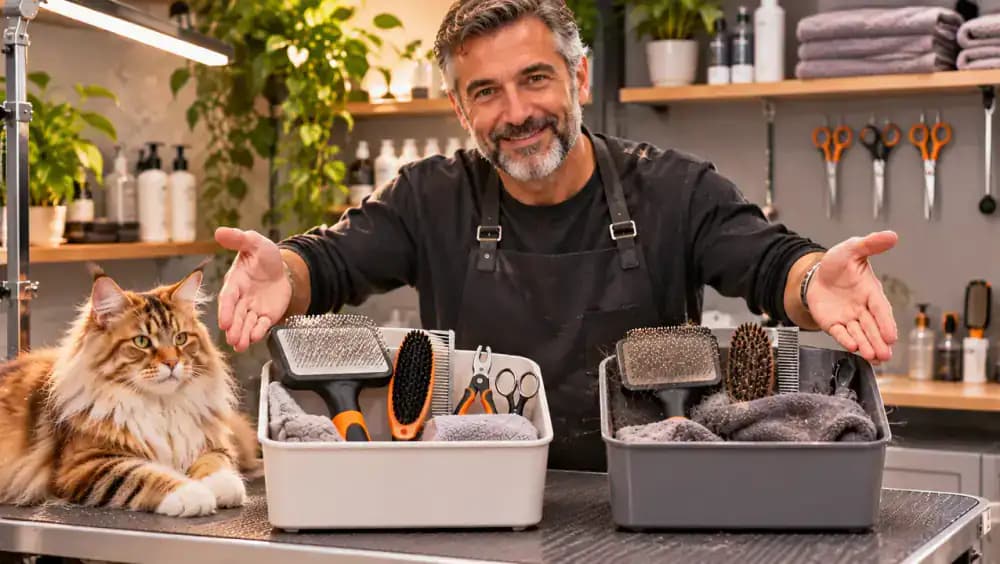
Before visiting a professional cat groomer, ask how brushes, combs, and other shared equipment are cleaned between animals. Find out whether used tools are kept separate from ready-to-use supplies and when disinfection is performed. A reputable groomer should explain their hygiene procedures clearly. If you have concerns, ask whether bringing your own suitable grooming accessories is permitted.
Recognize When Buildup Signals a Coat Problem
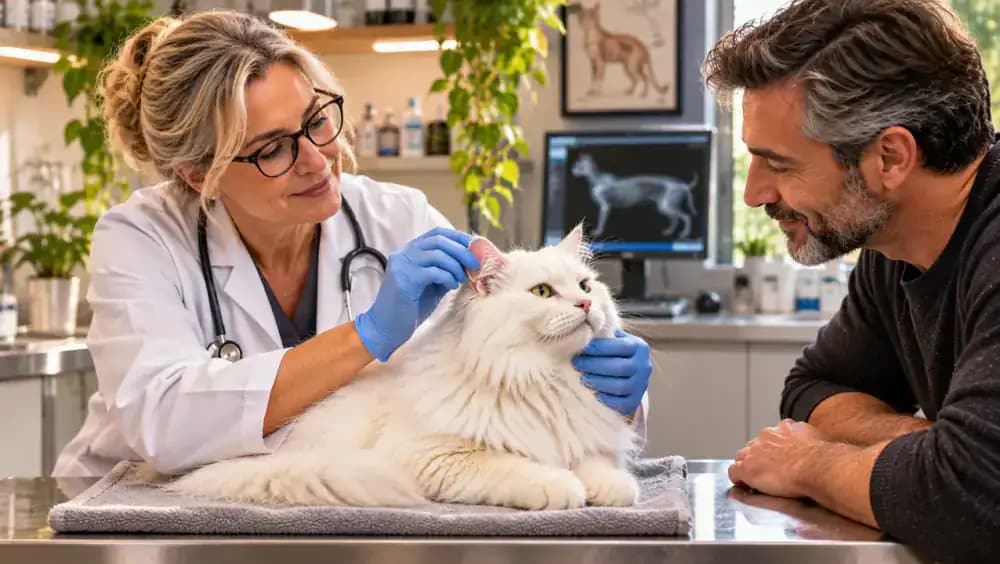
Pay attention when your grooming tools suddenly collect unusual amounts of skin flakes, greasy residue, or loose fur. These changes may reflect differences in your cat's coat or skin rather than inadequate brush cleaning. Record when the changes began and note any itching, redness, or discomfort. Contact your veterinarian for guidance instead of experimenting with stronger cleaning products.
Track Grooming Tool Maintenance and Replacement
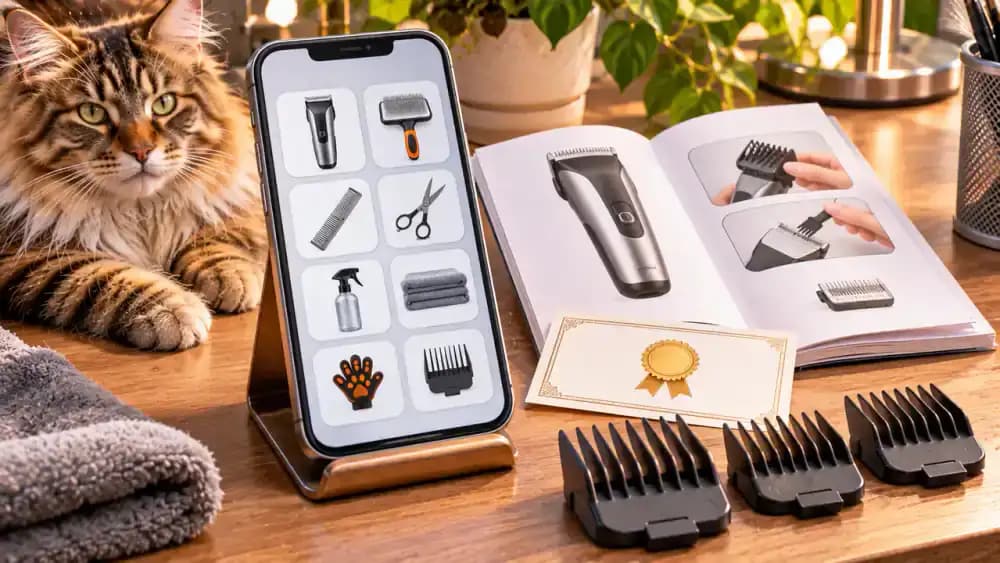
Keep a simple digital record of your grooming equipment, including purchase dates, cleaning instructions, warranty information, and compatible replacement parts. Photograph product labels and save manufacturer manuals for future reference. For expensive clippers or specialized brushes, note maintenance and blade replacement dates. These records make it easier to obtain suitable parts and avoid unnecessary purchases or improper repairs.
Make Every Grooming Session Safer and More Comfortable
Before grooming, choose a clean, dry, undamaged brush appropriate for your cat's coat. Use gentle movements, watch for signs of discomfort, and allow breaks whenever needed. Remove trapped fur afterward and return the equipment to dry storage. Consistent maintenance and patient handling help make grooming more comfortable while building positive associations between your cat and regular coat care.

Take a close look at your cat's favorite grooming brush. If the pins are packed with loose fur, tiny flakes of skin, and trapped debris, that brush is overdue for some attention. Even tools that look relatively clean can collect oils, dirt, and residue after repeated grooming sessions. Keeping them clean is a simple way to make grooming more comfortable for your cat and help your equipment last longer.
Whether you use a slicker brush, a metal comb, a soft-bristle brush, a deshedding tool, or a grooming glove, each accessory needs slightly different care. Some can be washed with mild soap and lukewarm water, while others have wooden handles, padded bases, or electrical components that should never be soaked. Always check the manufacturer's cleaning instructions before introducing water or cleaning products.
The good news? Most routine grooming tool maintenance takes only a few minutes. Removing accumulated hair, gently cleaning washable surfaces, and allowing everything to dry completely can prevent stubborn buildup and reduce the risk of rust or material damage.
This guide covers what you'll need, which cleaning habits to avoid, how to recognize worn-out equipment, and when replacement makes more sense than another cleaning. With a little regular attention, your cat's grooming tools can stay clean, functional, and ready for the next brushing session.
Where people go wrong
Leaving Trapped Fur in the Brush After Every Session. A thick layer of loose hair can trap skin flakes, oils, and debris around brush pins, making later cleaning more difficult. It can also reduce the brush's effectiveness by preventing the pins from moving freely through your cat's coat. Remove accumulated fur after each grooming session rather than allowing it to build up over several weeks.
Soaking Brushes That Are Not Designed for Water. Submerging a grooming brush may seem like the easiest cleaning method, but water can damage wooden handles, loosen adhesives, and become trapped beneath padded bases. Moisture may also encourage corrosion around metal components. Check the manufacturer's instructions before washing, and use a lightly dampened cloth instead when full water exposure is not recommended.
Using Harsh Cleaners or Strongly Scented Products. Bleach, abrasive cleaners, concentrated disinfectants, and strongly fragranced products may damage grooming tool materials or leave unwanted residue. Cats can be sensitive to scents, and residues may transfer to their coats during brushing. Choose a mild cleaning product compatible with the accessory, rinse washable surfaces thoroughly, and avoid applying household chemicals without manufacturer guidance.
Scrubbing Too Aggressively Between Brush Pins. Forcefully pulling trapped hair or using stiff cleaning implements can bend fine metal pins, loosen protective tips, or damage a brush's padded base. Bent pins may catch on fur or scratch sensitive skin during grooming. Work gently around the pins, use a suitable cleaning tool, and inspect the brush afterward for changes in shape or stability.
Putting Grooming Tools Away Before They Are Completely Dry. Even when a brush feels dry on the outside, water can remain between metal pins, inside joints, or beneath flexible padding. Storing damp equipment in a closed container can encourage corrosion, odors, and unwanted microbial growth. Remove excess moisture with a clean towel and allow adequate airflow before returning the tool to storage.
Continuing to Use Damaged or Rusty Grooming Tools. A brush with bent or exposed sharp pins, cracked plastic, rust, or a deteriorating cushion can become uncomfortable or unsafe for your cat. Cleaning cannot reliably restore damaged protective surfaces or weakened components. Inspect grooming equipment regularly and replace accessories that could snag fur, scrape skin, or shed damaged material during use.
Using the Same Cleaning Method for Every Accessory. A stainless steel comb, wooden-handled brush, silicone grooming glove, and electric clipper have different cleaning requirements. Treating every accessory as waterproof can lead to corrosion, damaged finishes, or electrical problems. Follow the instructions for each tool, remove detachable components only as directed, and keep powered equipment disconnected during permitted maintenance.
Storing Clean Brushes in Damp or Dirty Locations. A freshly cleaned grooming brush can quickly collect dust, moisture, and debris when stored on a bathroom counter or inside a dirty drawer. Humid conditions are especially undesirable for tools with metal components. Keep accessories in a clean, dry location, protect delicate pins from pressure, and avoid sealing away any equipment that still feels damp.
Questions people ask
Remove trapped fur after every grooming session. For washable brushes, a more thorough cleaning every one to four weeks is a reasonable starting point, depending on how frequently you groom your cat and how quickly oils and debris accumulate. Clean sooner whenever you notice visible buildup, unpleasant odors, or residue. Follow any more specific manufacturer instructions.
Fixed it?
Get one guide like this every Thursday.