How to Fix Yellow Lawn Patches Without Overwatering
Yellow and brown lawn patches can signal dry soil, poor drainage, compacted ground, mowing damage, pet spots, or disease. Learn how to inspect your grass, identify likely causes, and choose targeted fixes without wasting water.

What you’ll need
Tap to tick things off before you start.
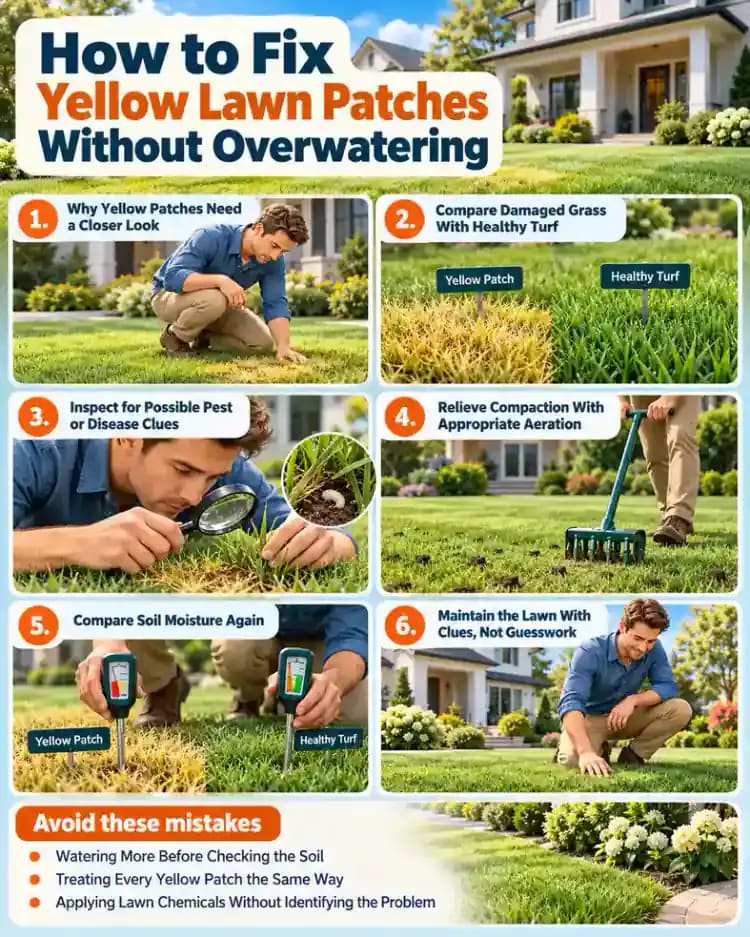
Why Yellow Patches Need a Closer Look
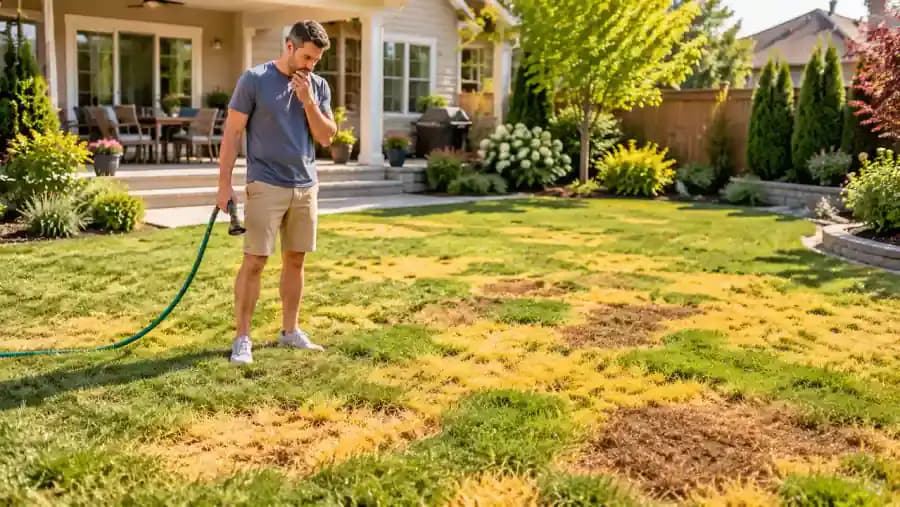
Look across your lawn and identify where yellow and brown patches appear among the healthy green grass. Before turning on the hose, pause and consider whether the damage follows a pattern, such as low spots, sprinkler coverage, or areas of frequent foot traffic. Adding water without checking the cause can waste resources and worsen some problems. Start by photographing the affected areas so you can compare their condition as you investigate.
Gather Simple Inspection Tools
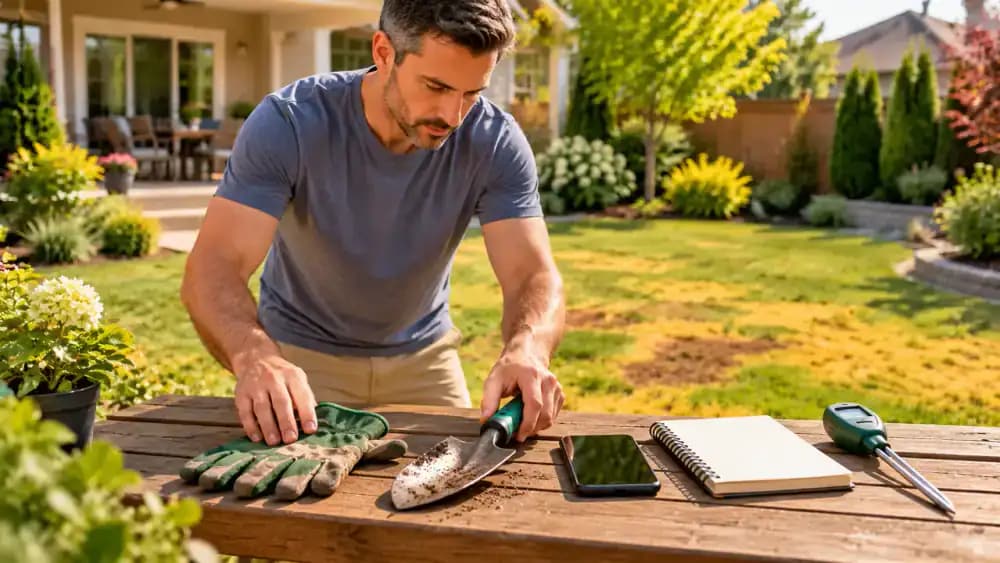
Set out a pair of gardening gloves, a small hand trowel, and your phone or a notebook with a pencil before inspecting the lawn. If you have a soil moisture meter, include it to compare moisture levels in damaged and healthy areas. Keep the tools together on a garden bench or in a small bucket so you can record observations as you work. You do not need lawn treatments to begin investigating the cause.
Review Recent Lawn Conditions
Review the past week or two of weather and lawn care records on your phone or in a notebook. Note recent rainfall, sprinkler run times, mowing dates, and any fertilizer or lawn products applied. Compare these details with when the yellow patches first appeared, if you know. If some information is missing, record what you remember instead of guessing. This history can help you interpret your inspection findings and avoid unnecessary watering or treatments.

Make the Lawn Safe to Inspect
Put on gardening gloves and keep children and pets away from the areas you plan to inspect. Close a gate or establish a clear boundary so everyone knows which parts of the lawn are off-limits. If fertilizer or other lawn products were recently applied, check their labels for relevant safety precautions before proceeding. Do not open or apply treatments just to investigate yellow patches. A clear, safe inspection area lets you examine the grass without unnecessary exposure.

Map Where the Damage Appears
Sketch a simple outline of your yard and mark each yellow or brown patch, along with nearby walkways, downspouts, and sprinkler heads. Look for patterns such as isolated circles, damage along footpaths, or discoloration in low spots. Compare these locations with the surrounding healthy grass. Note the approximate size and shape of each patch so you can revisit the same areas later. Treat these patterns as clues, not proof of a specific cause.

Compare Damaged Grass With Healthy Turf
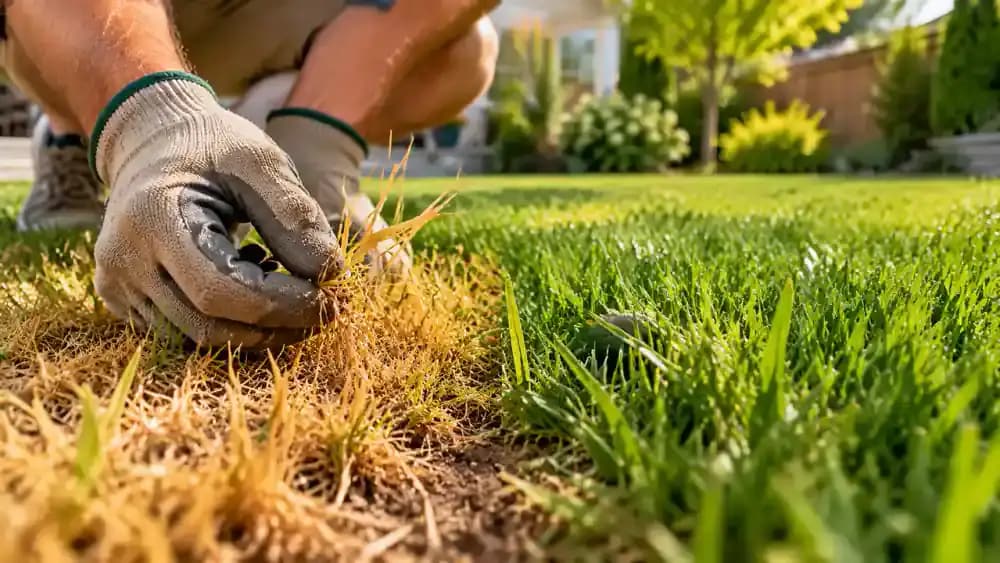
Choose one yellow patch and a nearby section of healthy grass to compare them side by side. Gently part the blades with a gloved hand and look at their color, density, and overall condition. Notice whether the damaged area has a sharp boundary or fades gradually into green turf. Record these differences in your notebook and photograph both areas from a similar angle. Appearance offers useful clues, but further inspection is needed to narrow down the cause.
Check for Low Spots and Standing Water
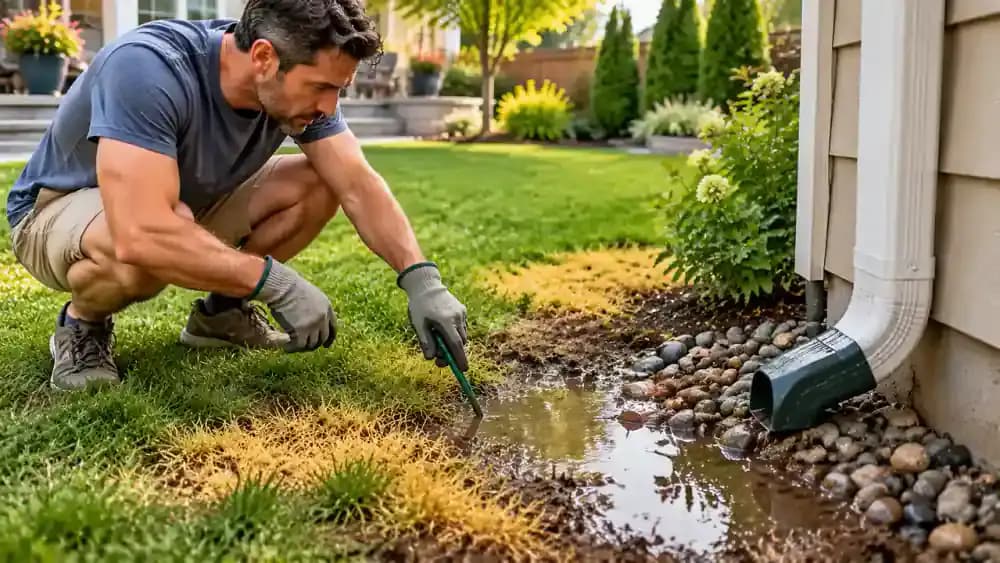
Examine the ground around yellow patches, especially near downspouts and shallow depressions where rainwater may collect. Look for lingering puddles, muddy soil, or footprints that remain wet after nearby areas dry. From firm ground, use a garden stake to indicate low spots without disturbing soggy soil. Note how long water appears to linger after rainfall. Persistent saturation may point to drainage trouble, so avoid adding water until you understand the conditions.
Compare Soil Moisture Below the Surface
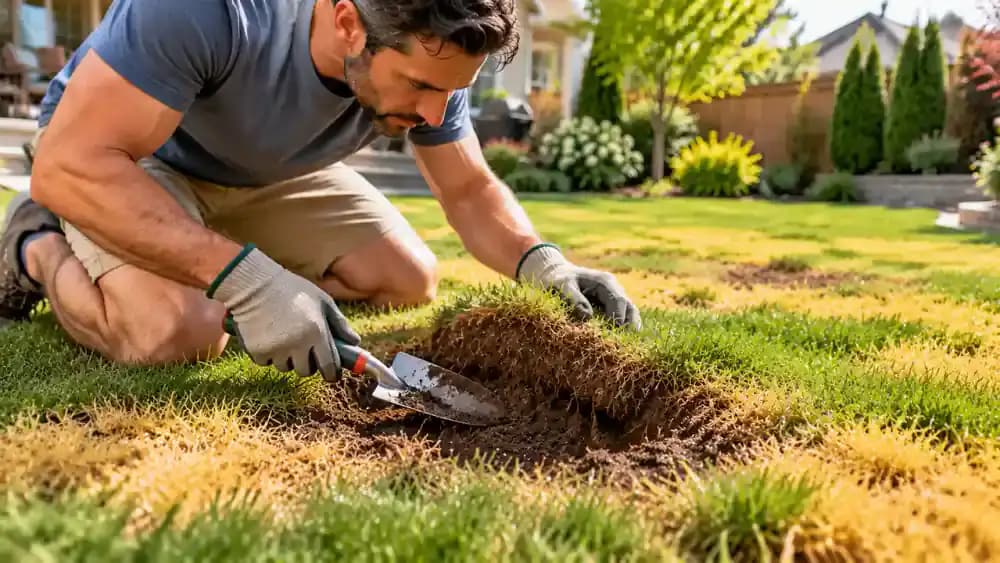
Put on gardening gloves and use a small hand trowel to carefully expose soil a few inches below the yellow grass. Gently feel the soil, noting whether it is dry, lightly moist, or soggy. Repeat the check in a nearby section of healthy turf and compare the results. Keep your inspection shallow to limit root disturbance, and record what you notice. These differences can guide watering decisions, but soil moisture alone may not identify the cause.
Check Whether the Soil Is Compacted
After checking moisture, gently press a gloved finger into the exposed soil beneath the yellow patch. Notice whether the ground feels unusually firm or tightly packed rather than loose and crumbly. Repeat the same check at a similar depth in nearby healthy turf. Record any consistent differences in soil texture and resistance. Compaction can restrict root growth and water movement, but compare several clues before deciding whether aeration may be appropriate.
Inspect Grass Blades for Mowing Stress
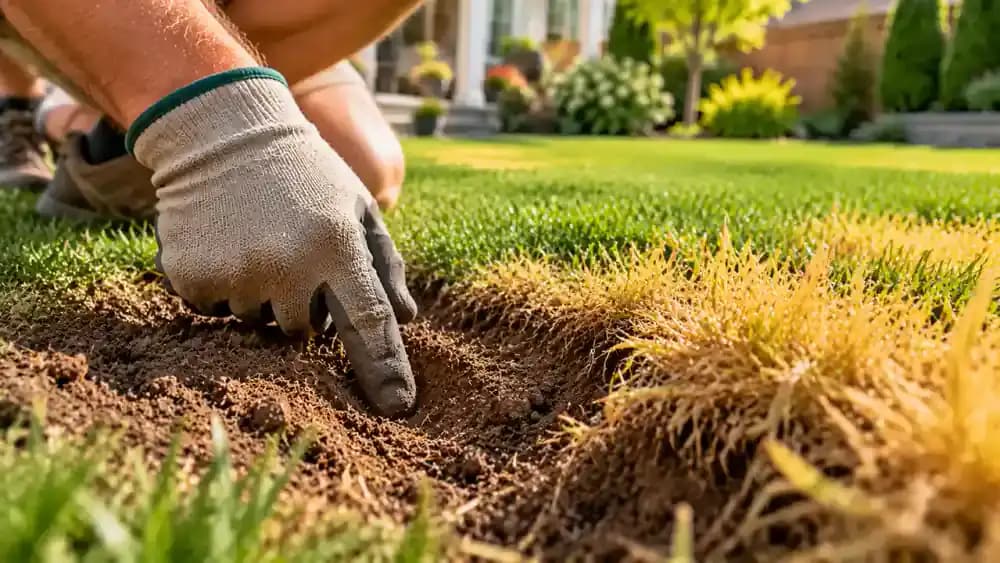
Wear gardening gloves and gently separate several grass blades in the yellow patch to inspect their tips and lengths. Look for ragged edges, uneven cuts, or areas that appear unusually short, then compare them with blades in nearby healthy turf. Note whether the damaged grass follows your usual mowing route. If mowing stress seems possible, review your cutting height and mower blade condition before making changes, especially during hot weather.
Look for Clues From Pets and Foot Traffic
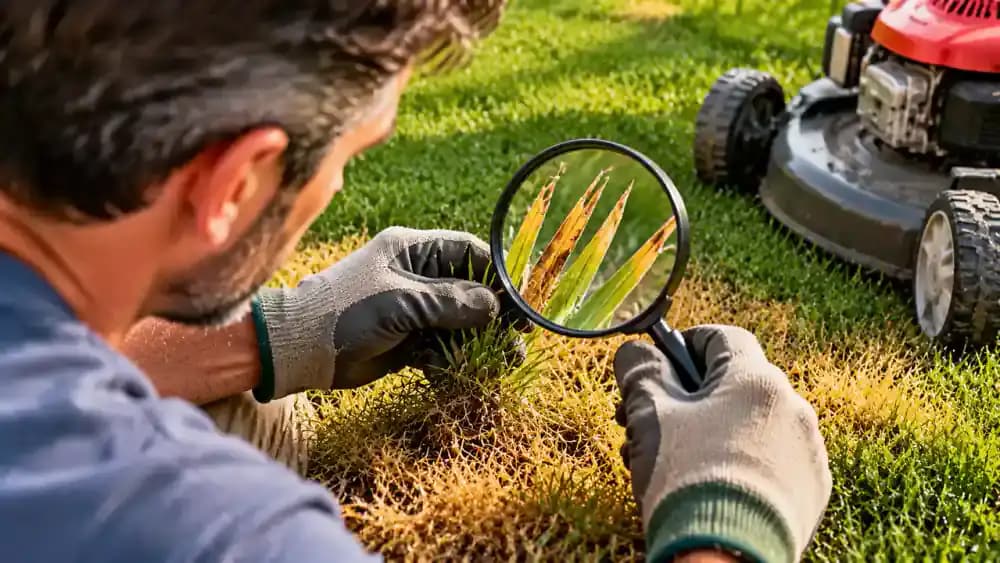
Walk along the lawn and look for flattened grass or worn paths between patios, gates, and other frequently used areas. Repeated foot traffic can compact soil, while localized discolored spots near pet resting areas may have a different cause. Mark these locations on your yard map and compare their shapes with nearby grass. Avoid assuming every circular patch is the same problem; use these patterns alongside your soil and grass inspections.

Inspect for Possible Pest or Disease Clues
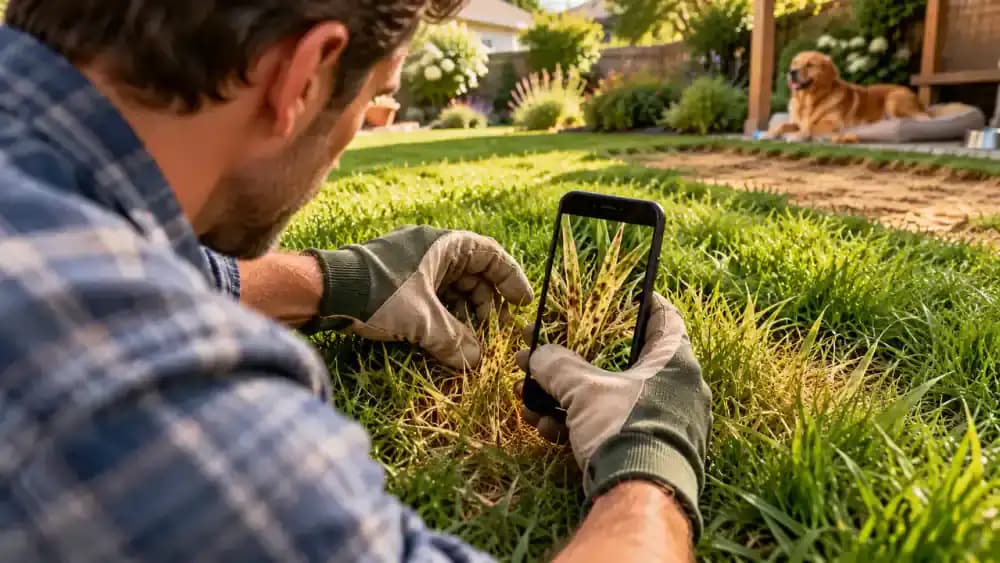
If watering, drainage, and mowing patterns do not explain the damage, part the grass gently with gloved fingers and inspect the blades and plant bases. Look for chewed edges, small insects, unusual discoloration, or patches that appear to be spreading. Use a phone to photograph anything unusual for comparison or expert review. Because symptoms can overlap, avoid guessing with pesticides or fungicides and seek reliable local identification before treating an uncertain problem.
Record Clues Before Choosing a Fix
Gather your notes and photos, then record what you found in the yellow patches and nearby healthy turf. Include soil moisture, drainage, ground firmness, mowing patterns, pet activity, and any unusual grass symptoms. Mark uncertain observations rather than guessing at a diagnosis. Keeping everything in one place helps you choose a targeted response, avoid unnecessary treatments, and track which areas need closer attention before making changes to your lawn care routine.

Set a Clear Plan Before Making Changes
Review your notes and choose one practical change that matches the strongest clues, such as adjusting irrigation when soil is dry, investigating recurring drainage issues, or reviewing mowing height. Write the planned action and date on a task card beside your lawn map. Avoid treating unidentified pest or disease symptoms until a local expert can help identify them. Changing one thing at a time makes it easier to track whether your response helps.

Adjust Watering Only If the Soil Needs It
Use your soil inspection results to decide whether the irrigation schedule needs changing. If the soil is dry below the surface, review watering frequency and duration so moisture can reach the roots without creating runoff. Account for recent rainfall before adding another cycle. If the ground remains soggy, do not increase watering; investigate drainage instead. Record the adjustment date and check soil moisture again before watering to see whether conditions are improving.
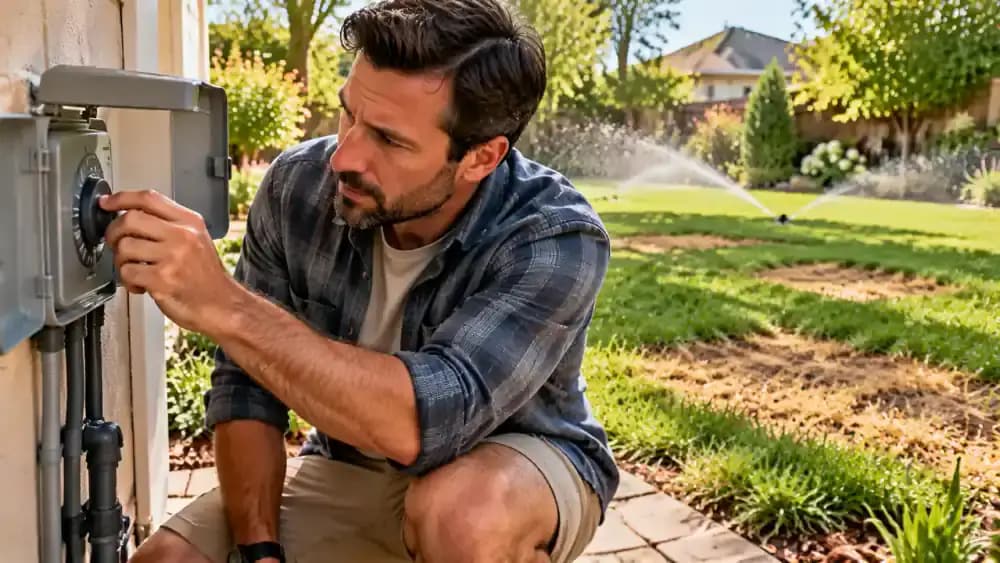
Check Sprinkler Coverage Across the Lawn
With the sprinkler switched off, inspect each head for leaves, dirt, misalignment, or other obstructions that could limit coverage. Clear visible debris and gently adjust the nozzle direction if a dry strip appears to fall between spray areas. Check the spacing of nearby heads rather than extending watering time across the entire yard. After testing coverage, compare soil moisture in dry and already damp spots before making further irrigation changes.
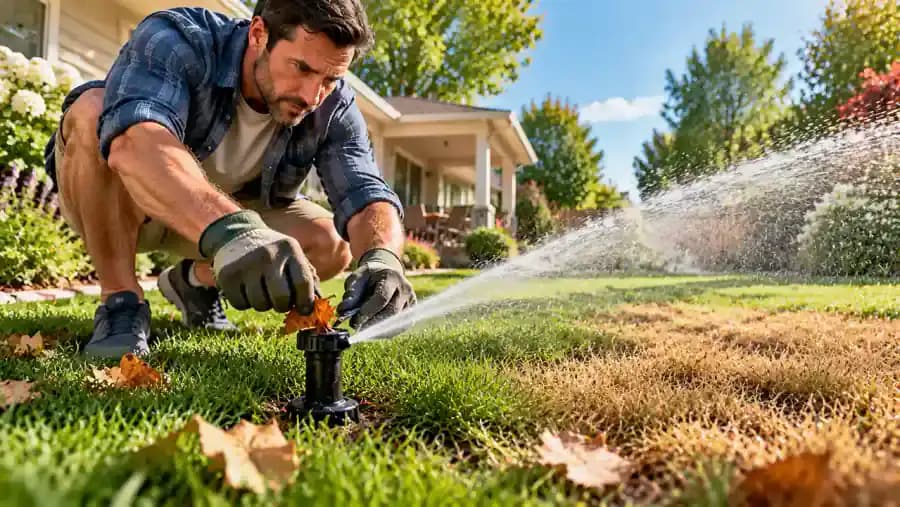
Address Drainage Before Adding More Water
If the soil stays soggy or puddles return repeatedly, trace where excess water travels across the yard. Check the downspout outlet, shallow depressions, and areas where runoff collects, then mark the wet spots on your yard map. Note whether pooling follows heavy rain or irrigation. Avoid digging without a plan or redirecting water onto neighboring property. If the problem persists, consult a local professional before making major grading changes.
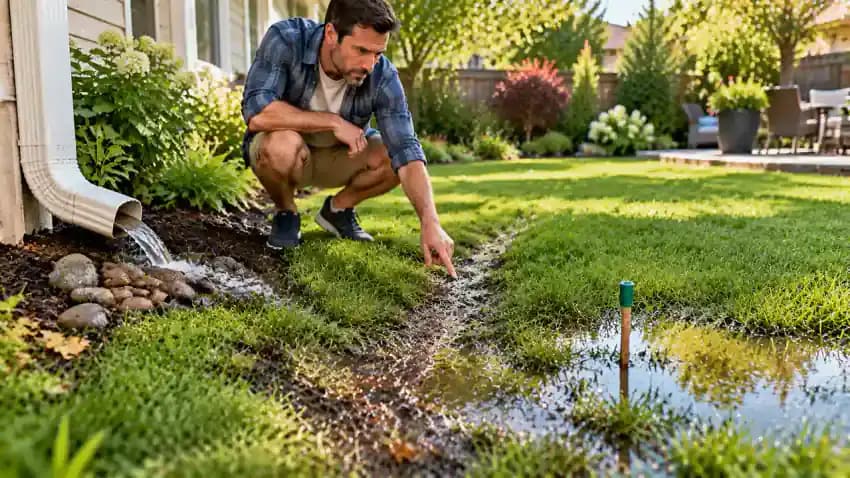
Relieve Compaction With Appropriate Aeration
If several inspections suggest tightly packed soil, consider whether core aeration is appropriate for your grass type and the current season. A manual core aerator removes small plugs of soil to help relieve compaction. Work only when the ground is firm enough, not saturated, and avoid disturbing areas with unresolved drainage problems. If you are unsure about timing, equipment, or whether compaction is responsible, ask a qualified lawn professional before proceeding.

Reduce Mowing Stress With the Right Cutting Height
If your inspection suggests mowing stress, measure the standing grass with a small ruler and check the recommended cutting height for your grass type. Adjust the mower height while the machine is switched off, keeping your hands clear of the cutting deck. Avoid removing more than one-third of the blade length at once, keep mower blades sharp, and postpone mowing drought-stressed grass when possible. Record the change and monitor new growth.

Avoid Treating Unidentified Lawn Problems
If patches keep spreading or you notice unusual insects or disease-like symptoms, pause before applying any lawn treatment. Review your close-up photos and inspection notes with a local cooperative extension service or qualified lawn professional who can help identify the problem. Similar symptoms may have different causes, so guessing can lead to unnecessary treatments. If a product is recommended, follow its label exactly, keep children and pets away as directed, and never mix lawn chemicals.

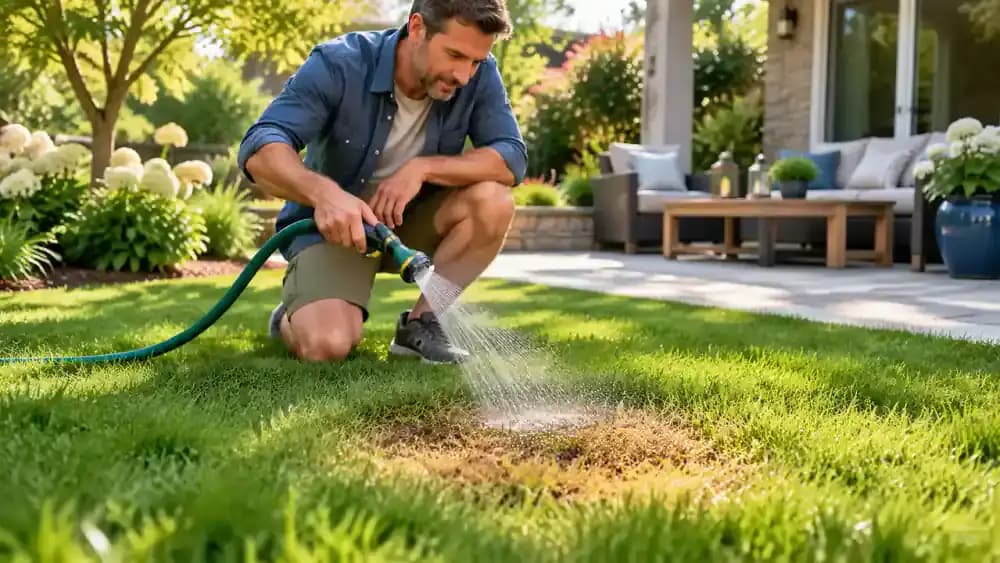
Handle Pet Spots With Care
If a small discolored patch may be linked to pet urine, avoid reaching for a lawn treatment right away. When the area is fresh and the soil drains well, use a garden hose on a gentle, low-flow setting to rinse the spot briefly. Keep the water localized and stop before runoff develops. Do not rinse already soggy soil, and monitor the patch over the next several days for persistent or spreading discoloration.
Avoid Overcorrecting After the First Change
After making one targeted adjustment, mark it on your maintenance checklist and photograph the affected patch for reference. Keep other lawn care routines consistent where conditions allow, rather than changing watering, mowing, and treatments all at once. This makes it easier to judge whether your adjustment helps. Record any necessary exceptions, such as heavy rainfall, and watch for spreading damage or new symptoms that may require expert attention.

Track Changes With Repeat Photos
Return to the same lawn patches every few days and photograph them from a consistent angle and distance. Use a fixed reference, such as a patio corner or stone border, to help match each view. Record the date, recent rainfall, watering, and mowing in your notebook. Compare photos alongside soil checks, looking for new green growth, spreading discoloration, or little change. Recovery takes time, so avoid judging progress by color alone.

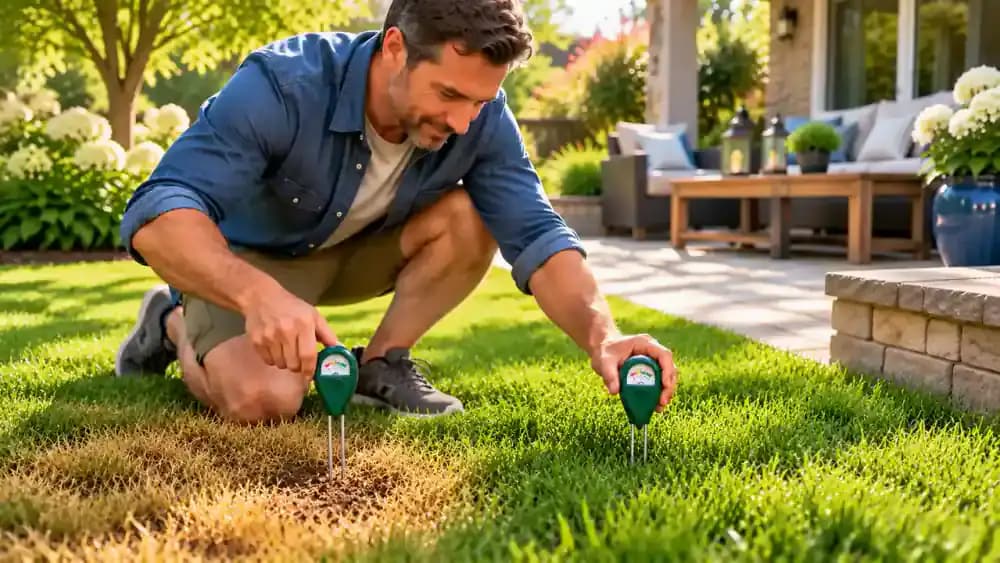
Compare Soil Moisture Again
Return to the same yellow patch and a nearby healthy section, then check soil moisture a few inches below the surface. Insert a soil moisture meter carefully near the grass roots, wipe the probe clean, and repeat the check in the second area. If you do not have a meter, gently feel the soil with a gloved hand. Record whether each spot is dry, moist, or soggy before deciding on further changes.
Know When Grass Needs Repair
After addressing the likely cause, gently part the grass at the edge of the damaged patch and look for fresh green shoots near the base. Check bare areas without pulling up plants, and note whether new growth is appearing or the soil remains exposed. Living grass may recover gradually under suitable conditions, while fully dead areas usually need repair. Before reseeding or replacing turf, confirm the underlying problem is addressed and check the best season for your grass type and climate.

Prepare Bare Patches for Seasonal Repair
If a patch remains bare after correcting the likely cause, prepare for repair when the season suits your grass type and local climate. Wear gardening gloves and use a hand rake to loosen the soil surface and remove loose dead grass. Check that the area is reasonably level and drains well before planting. Choose seed or sod suited to your existing lawn, then follow its recommended establishment instructions and keep the repaired area moist without waterlogging it.
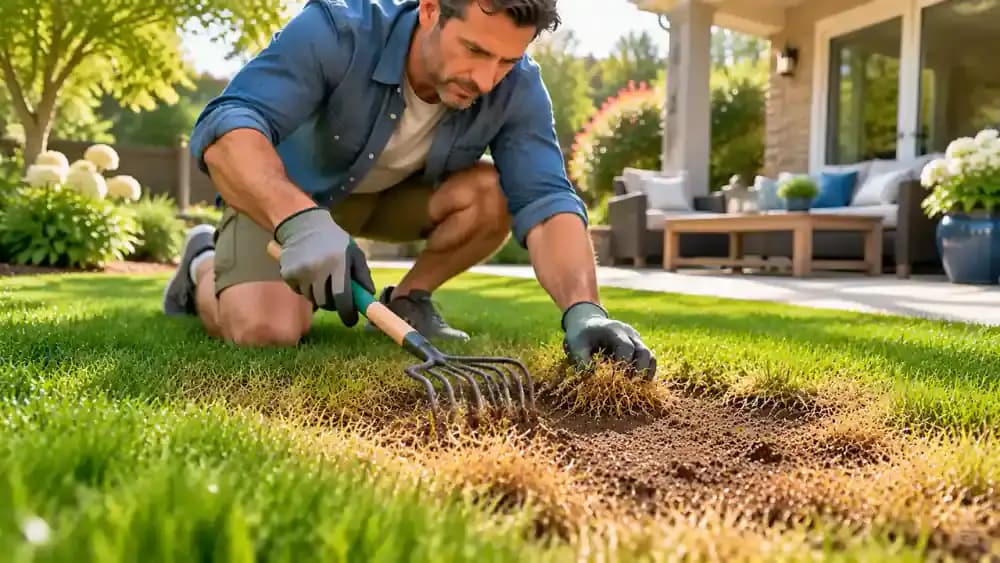
Apply Seed Evenly to the Prepared Soil
Once the soil is prepared and the timing suits your grass type, spread grass seed evenly across the bare patch at the rate listed on the package. Avoid creating thick piles, which can lead to uneven coverage. Use the back of a small hand rake to settle the seed gently against the soil, following package directions. If you choose sod instead, fit pieces snugly without overlapping edges, then follow the recommended establishment and watering guidance.

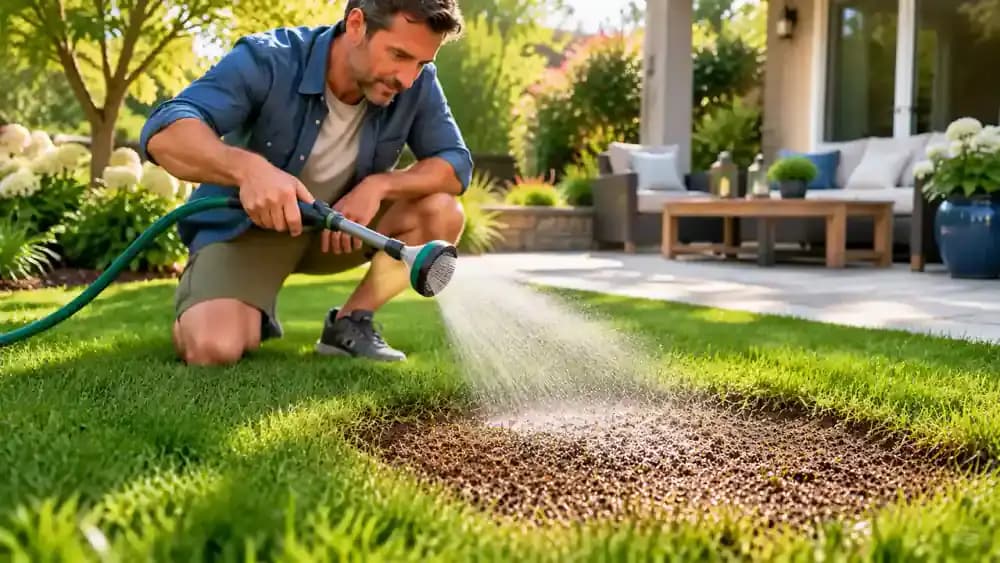
Water New Seed Without Washing It Away
After spreading seed, use a watering wand with a fine spray setting to moisten the soil gently and evenly. Keep the flow light enough to prevent seeds from shifting into piles or washing away. Check the surface frequently, especially during warm or windy weather, and account for rainfall before watering again. Follow the seed package instructions to maintain moisture without saturation, then adjust your routine as seedlings establish and roots develop.
Keep a Simple Lawn Care Record
Use a small lawn journal to record rainfall, watering changes, mowing dates, and any new growth or spreading discoloration. Attach a photo of the affected patch and note the date so you can compare conditions over time. Keep entries brief and consistent, even when nothing seems to change. These records can reveal patterns across different weather conditions and help a local lawn professional assess persistent damage if your adjustments do not improve the grass.

Maintain the Lawn With Clues, Not Guesswork
Walk the lawn regularly with your notebook and inspect remaining yellow patches alongside nearby healthy grass. Check soil conditions, drainage, mowing patterns, and new growth as weather changes, recording anything that looks different. Make measured adjustments based on your observations rather than automatically adding water. If you use lawn products, protect children and pets as appropriate and follow every label. Seek local expert guidance if damage persists or the cause remains unclear.

Irregular yellow and brown patches can make a healthy-looking lawn seem to deteriorate overnight. Your first instinct might be to turn on the sprinklers, but extra water is not always the answer. Dry soil can leave grass thirsty, while poor drainage can keep roots too wet, and compacted ground may prevent water from reaching them effectively. Mowing damage, pet spots, insects, and lawn diseases can also cause discoloration. The key to fixing yellow lawn patches is to identify the likely cause before spending money on treatments or using more water.
Start by comparing damaged areas with nearby healthy grass and checking the soil a few inches below the surface. Look for patterns around sprinklers, footpaths, low spots, pet routes, and mower tracks. A hand trowel, gardening gloves, and a notebook or phone for photos are enough to begin, while a soil moisture meter can provide extra information. These clues can help narrow down the problem, although they may not confirm a diagnosis. Before applying any lawn products, review their labels, keep children and pets away from treatment areas as appropriate, and never mix lawn chemicals. With a careful inspection, you can choose a targeted fix instead of guessing.
Where people go wrong
Watering More Before Checking the Soil. Adding extra water without checking soil moisture can waste water and worsen problems caused by poor drainage or persistently saturated ground. Inspect several inches below the surface in both damaged and healthy areas, then adjust irrigation only when conditions indicate that more water is needed.
Treating Every Yellow Patch the Same Way. Yellow grass can result from dry soil, compaction, mowing damage, pet spots, insects, or disease. Applying the same fix everywhere may leave the real problem untouched. Compare patch locations, grass blades, and soil conditions to narrow down likely causes before choosing a response.
Applying Lawn Chemicals Without Identifying the Problem. Using pesticides or fungicides based on guesswork can introduce unnecessary treatments without addressing the cause of the damage. Do not apply treatments until you have identified the likely problem, follow all product labels, keep children and pets away as appropriate, and never mix lawn chemicals.
Expecting Damaged Grass to Recover Immediately. Lawn recovery depends on grass type, season, weather, and whether roots remain alive. Repairing bare areas too soon may distract from an unresolved underlying problem. Record observations, take comparison photos, and monitor changes over several days and weeks before deciding whether further repair is necessary.
Questions people ask
Check the soil a few inches below the surface in both yellow patches and nearby healthy grass. Dry soil may indicate insufficient moisture, while persistently wet soil suggests a drainage problem. Review recent rainfall and sprinkler settings before adjusting irrigation. Do not add water automatically just because grass looks yellow.
Fixed it?
Get one guide like this every Thursday.