How to Fix a Running Toilet Without Replacing the Whole Toilet
Stop a toilet from running constantly by checking the flapper, chain, flush lever, float and fill valve before replacing major parts.
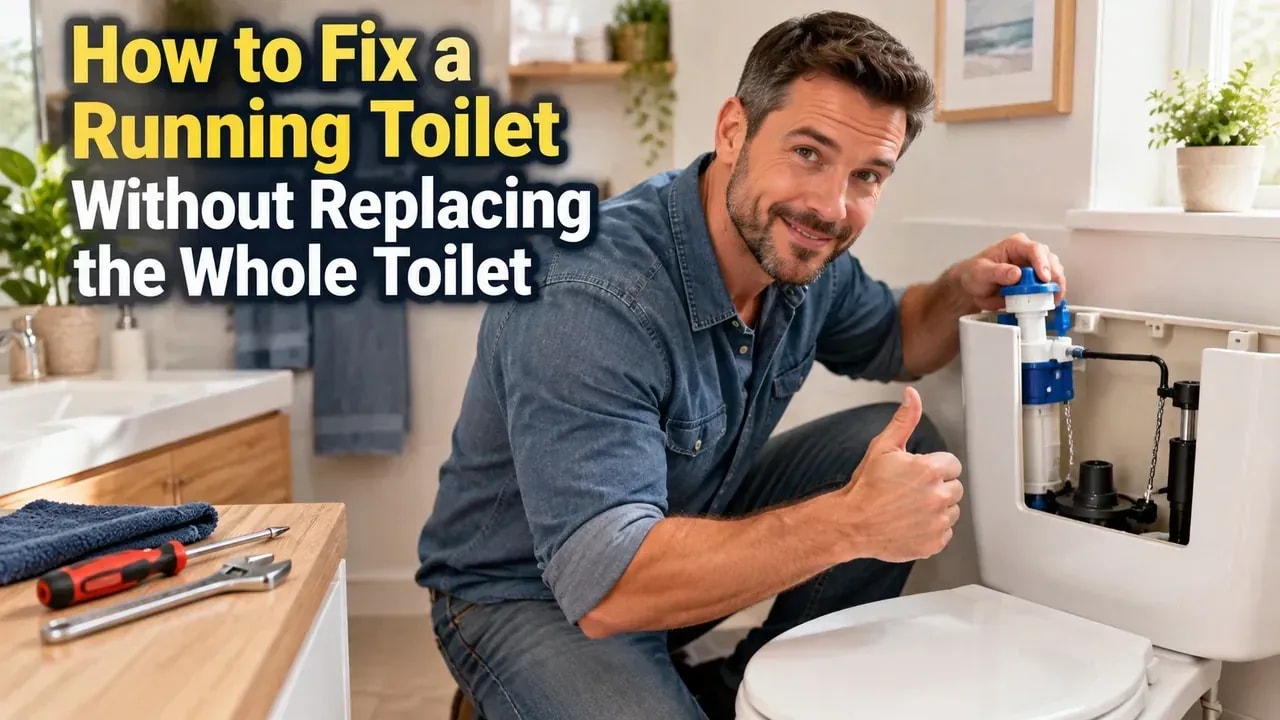
What you’ll need
Tap to tick things off before you start.
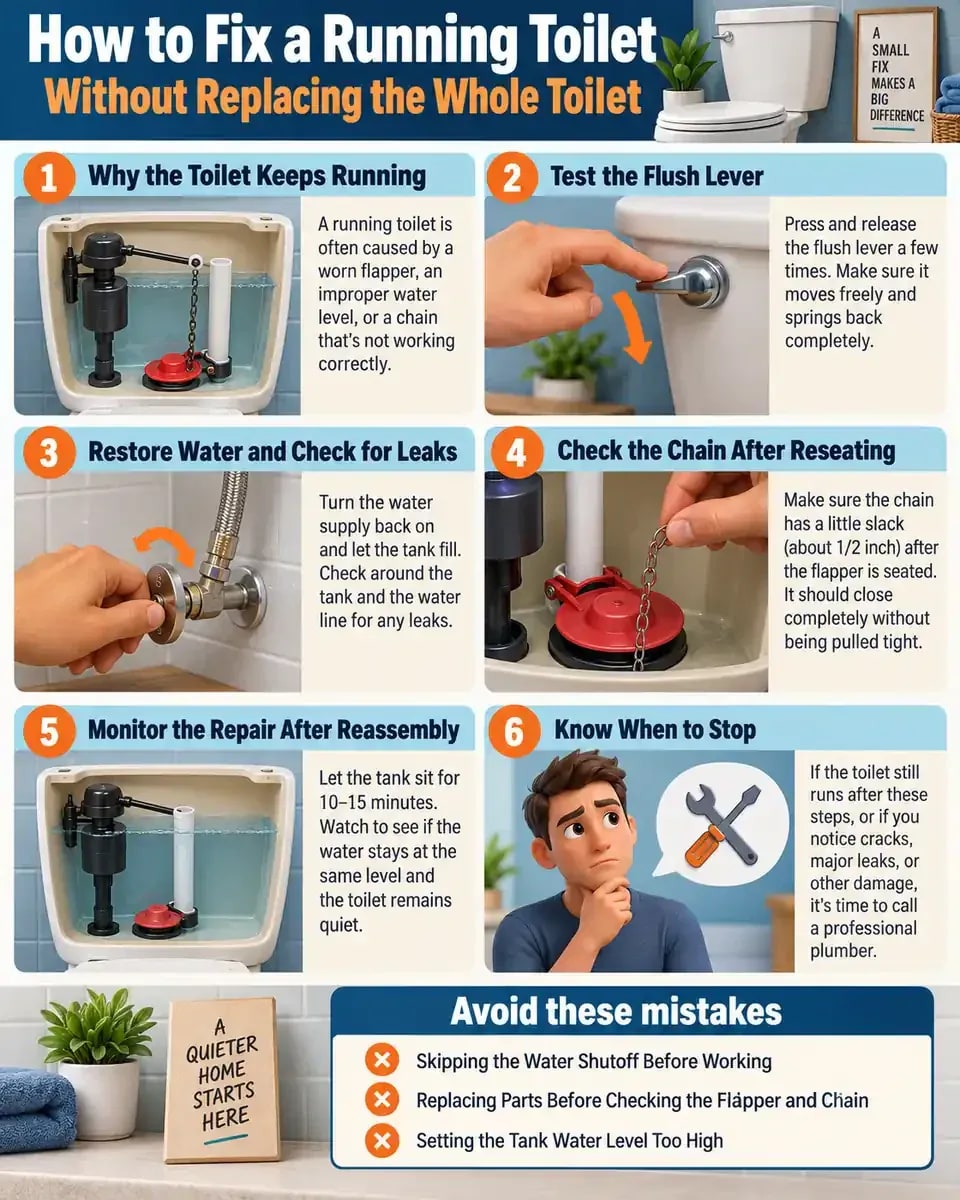
Why the Toilet Keeps Running
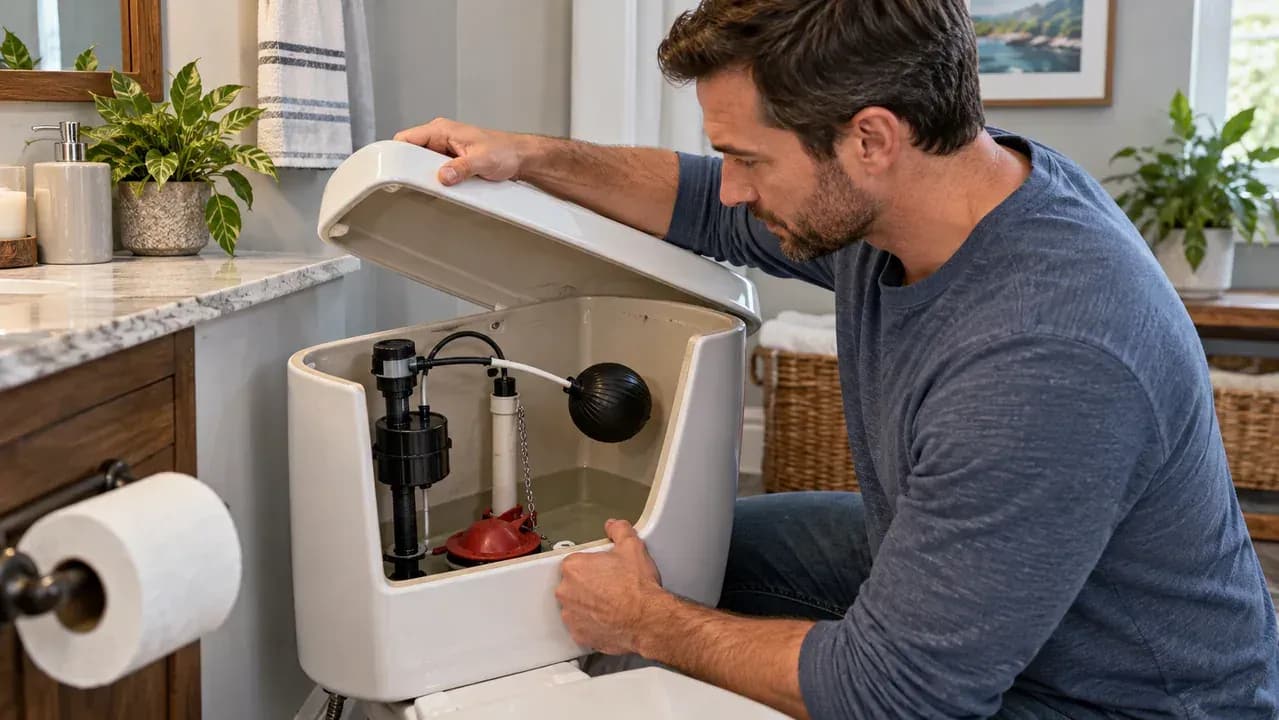
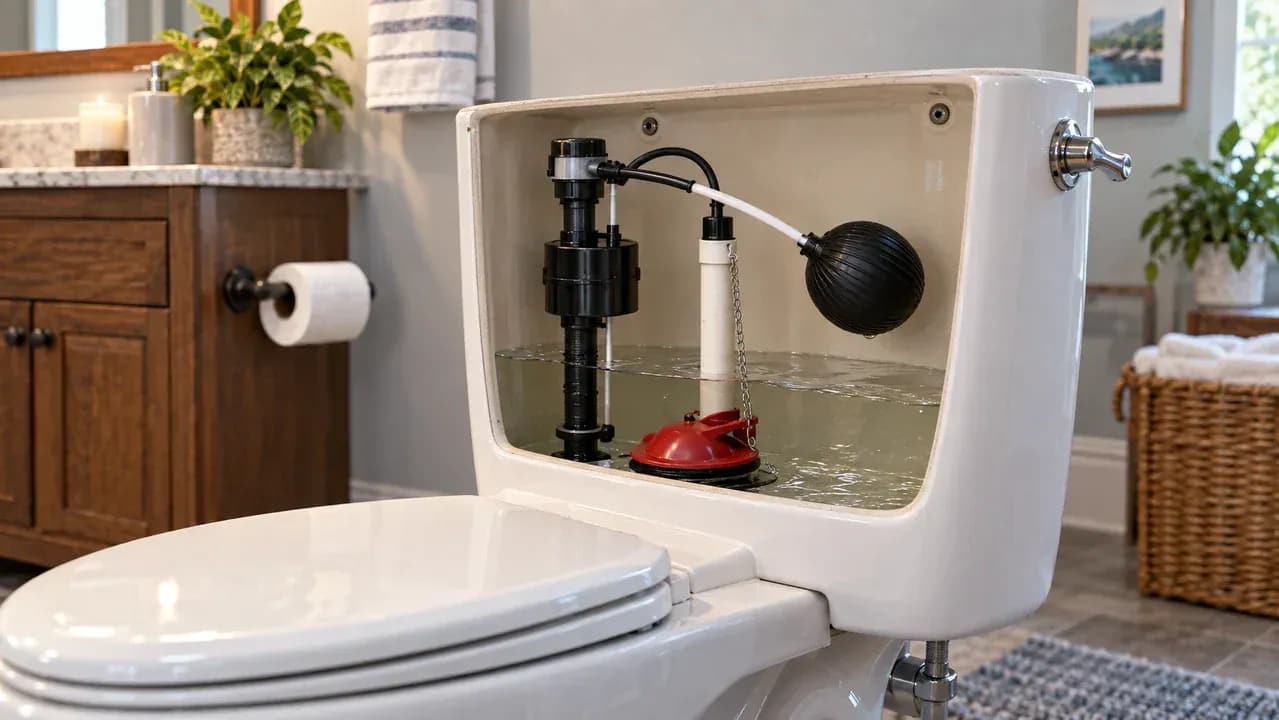
Listen for a steady trickle or periodic refill before removing the tank lid. Lift the lid straight up with both hands and place it on a folded towel where it cannot chip or crack. With the tank open, locate the flapper, chain, overflow tube, float, and fill valve. Most constant running starts when one of these parts leaks, sticks, or prevents the valve from shutting off completely after the tank refills.
Confirm Where the Water Is Going
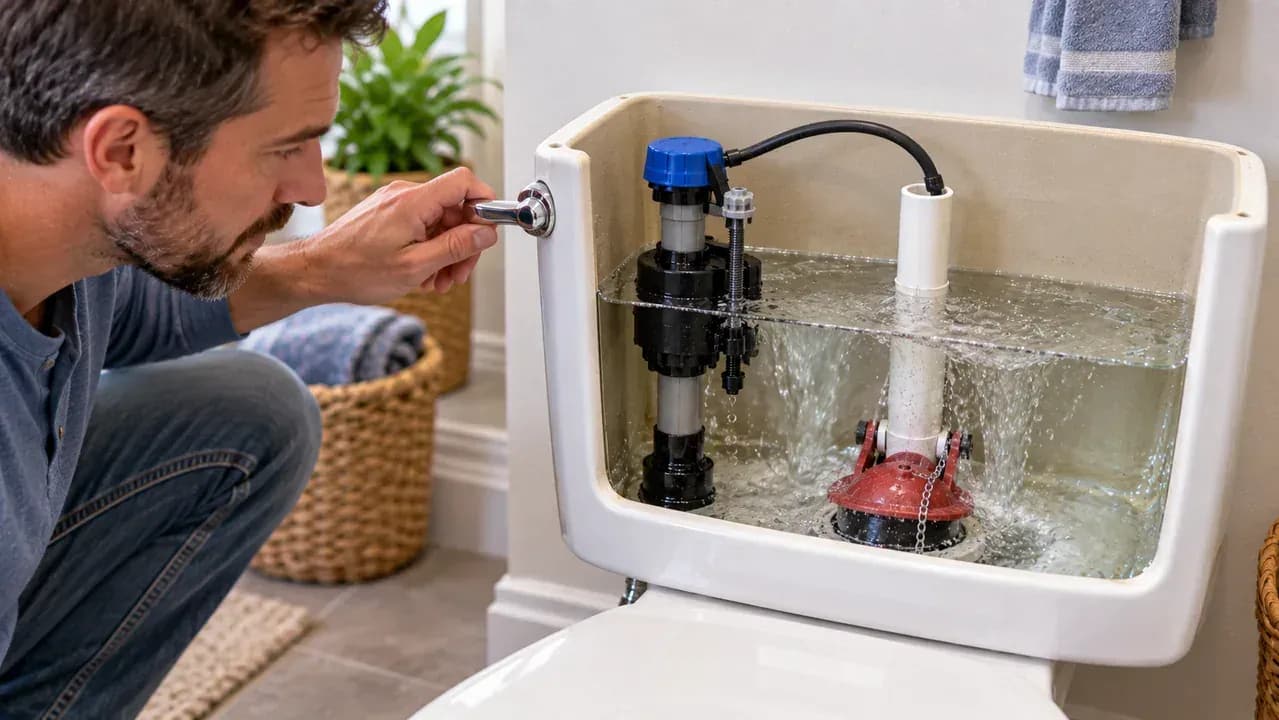
Leave the tank open and watch the water level without touching any parts. If the level slowly falls and the fill valve turns on again, water is probably escaping into the bowl. Listen for brief refill cycles that repeat every few minutes. This check helps distinguish a leaking flapper seal from a fill valve that is failing to shut off completely. Mark the starting water level with a small piece of tape for easier comparison.
Shut Off the Water Safely
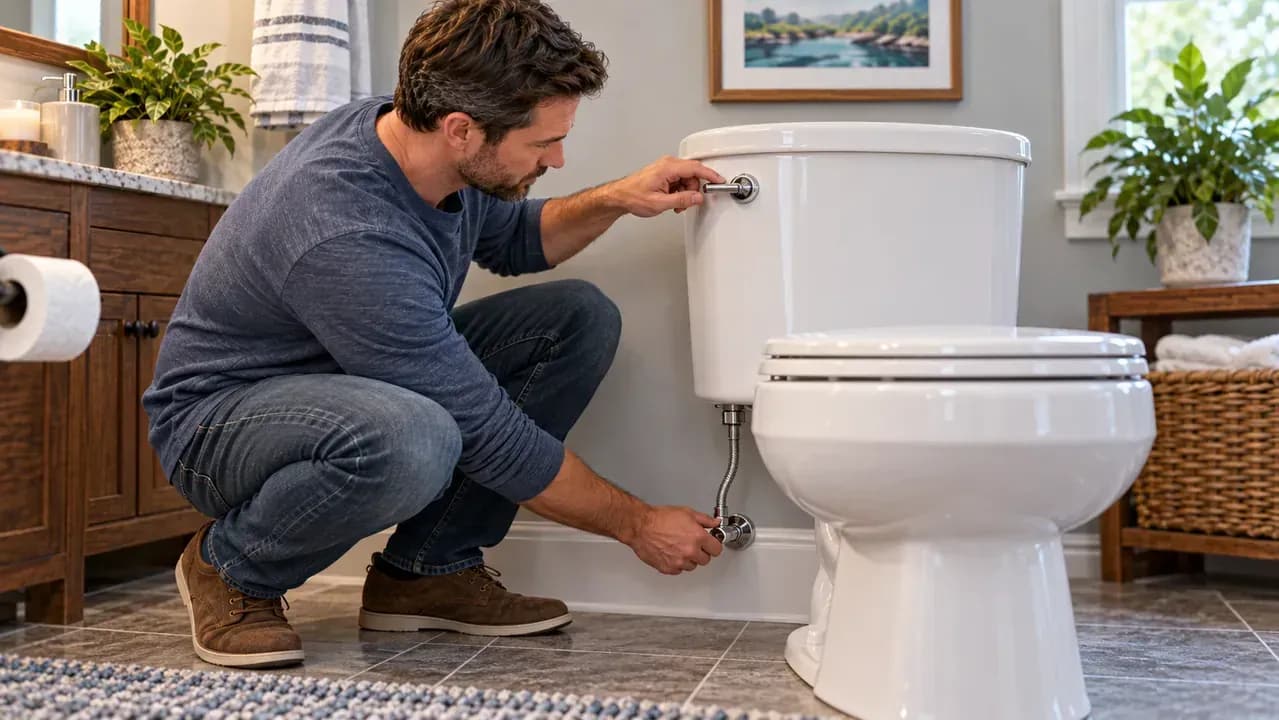
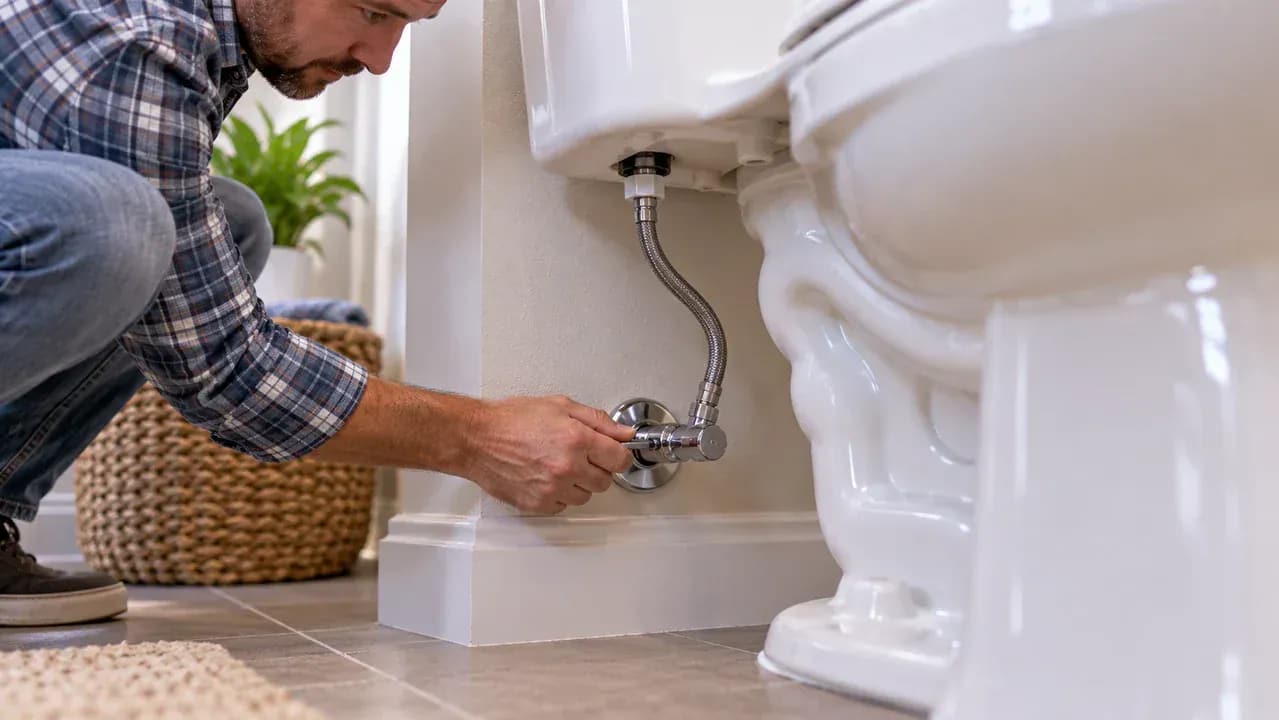
Turn the wall-mounted toilet supply valve clockwise until it stops gently, then flush the toilet once to lower the water level inside the tank. This helps limit spills and gives you a clearer view of the internal parts before touching anything. Do not force a stiff valve. If the shutoff valve leaks, will not close fully, or feels damaged, stop the repair and contact a qualified plumber before continuing.
Inspect the Flapper Seal
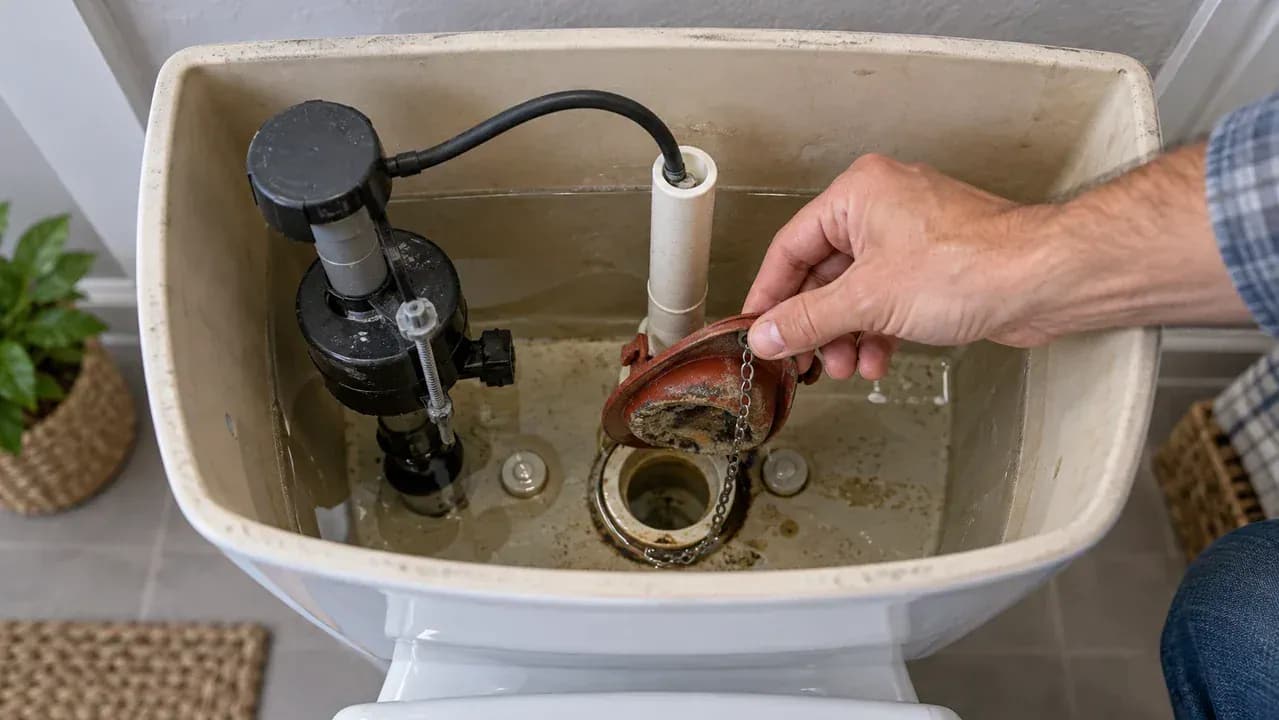
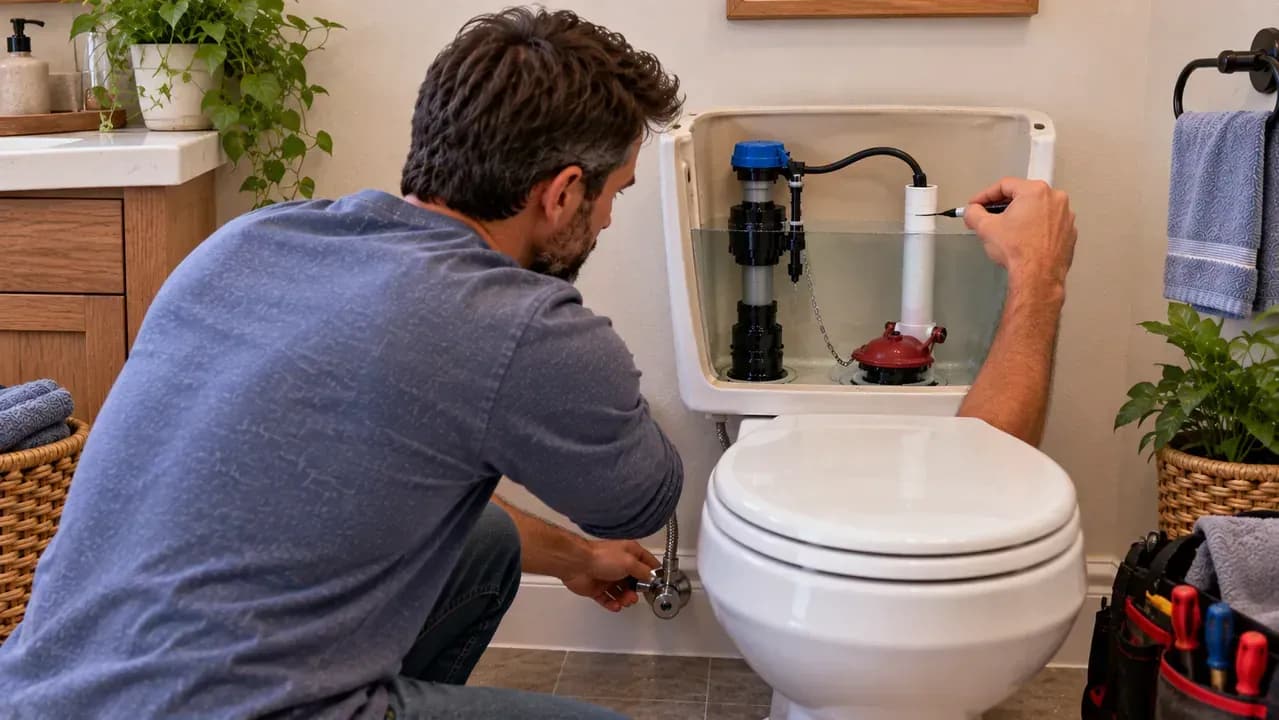
With the tank mostly drained, gently lift the rubber flapper and inspect both its underside and the flush valve seat. Make sure the flapper sits flat and look for cracks, warping, mineral deposits, or debris along the sealing edge. Wipe away loose buildup with a soft cloth, then lower the flapper back into place. Avoid pulling on the chain or disturbing the fill valve while checking the seal.
Check the Flapper Chain
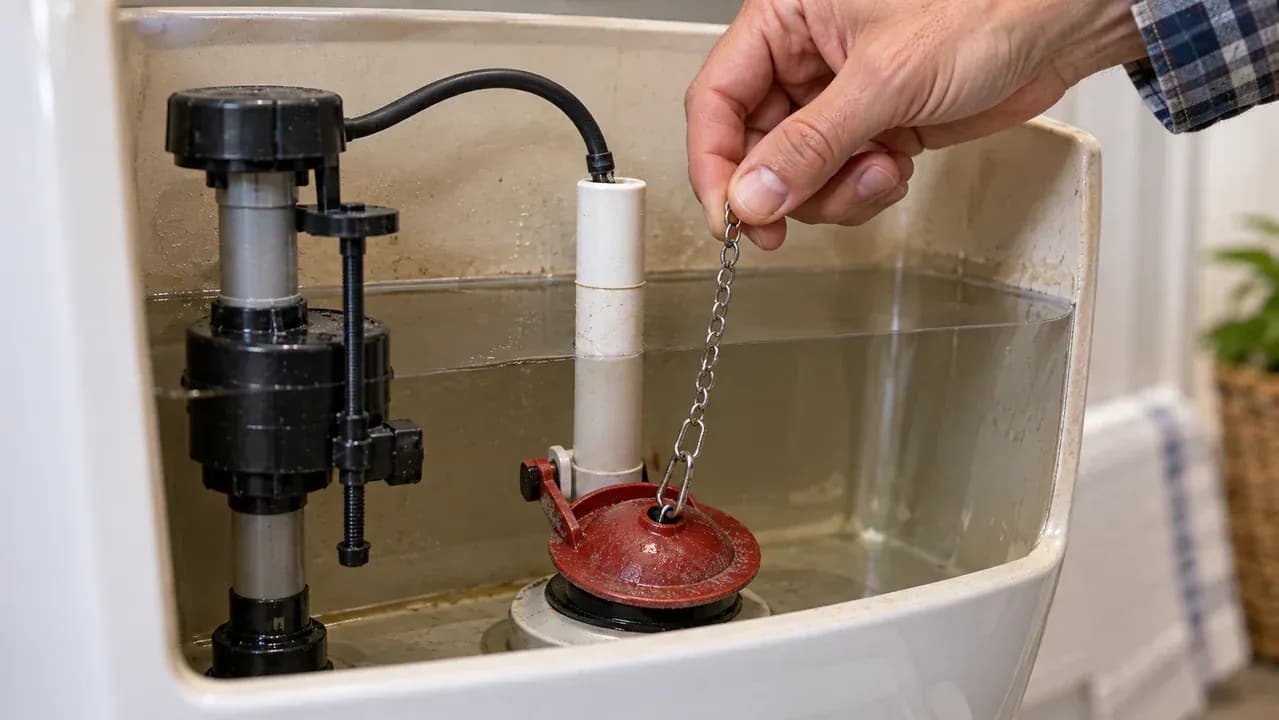
With the flapper fully seated, lightly lift and release the chain to confirm it has a small amount of slack. Follow the chain up toward the flush lever and make sure it hangs freely without wrapping around the lever arm or nearby tank parts. If the chain is pulled tight, it can hold the flapper slightly open. Adjust its attachment point so the flapper closes completely after every flush.
Test the Flush Lever
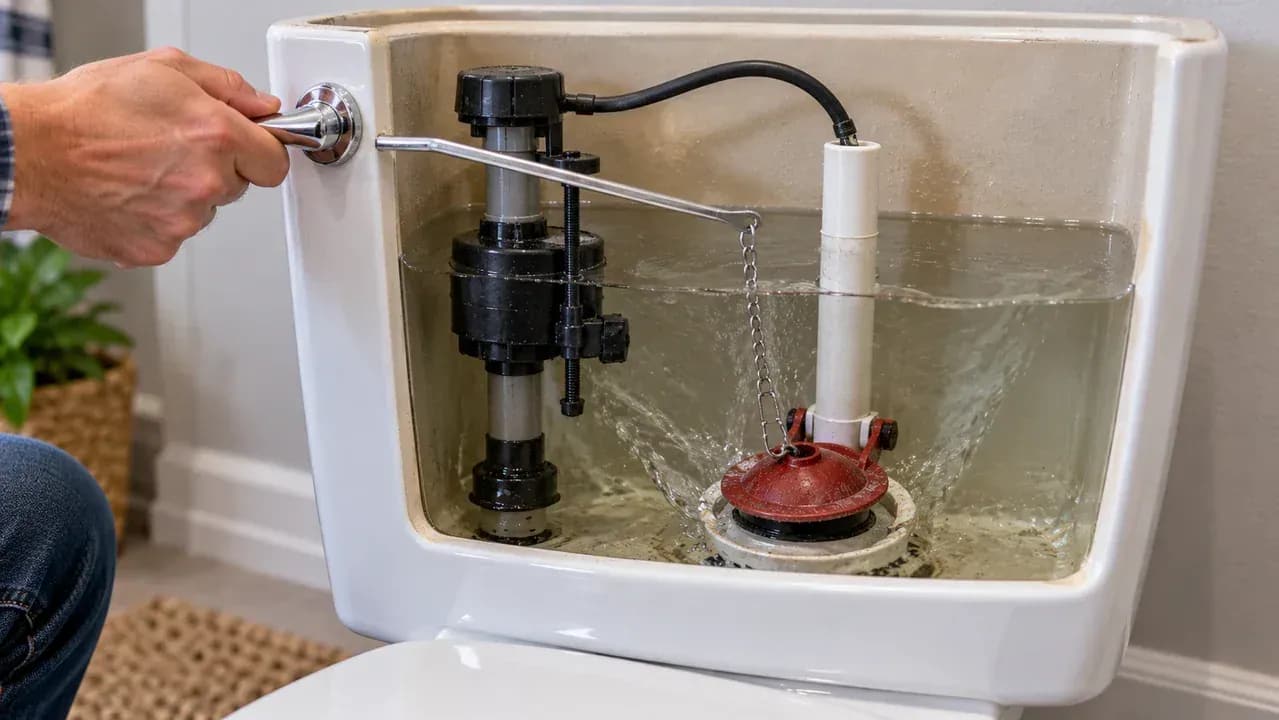
Press and release the flush handle slowly while watching the lever arm inside the tank. The arm should raise the chain smoothly and return fully to its resting position so the flapper can settle flat on the valve seat. If the handle sticks, feels loose, or leaves the arm partly raised, check the mounting nut and lever alignment. A freely moving lever helps prevent a small gap that can cause continuous water loss.
Inspect the Float and Fill Valve
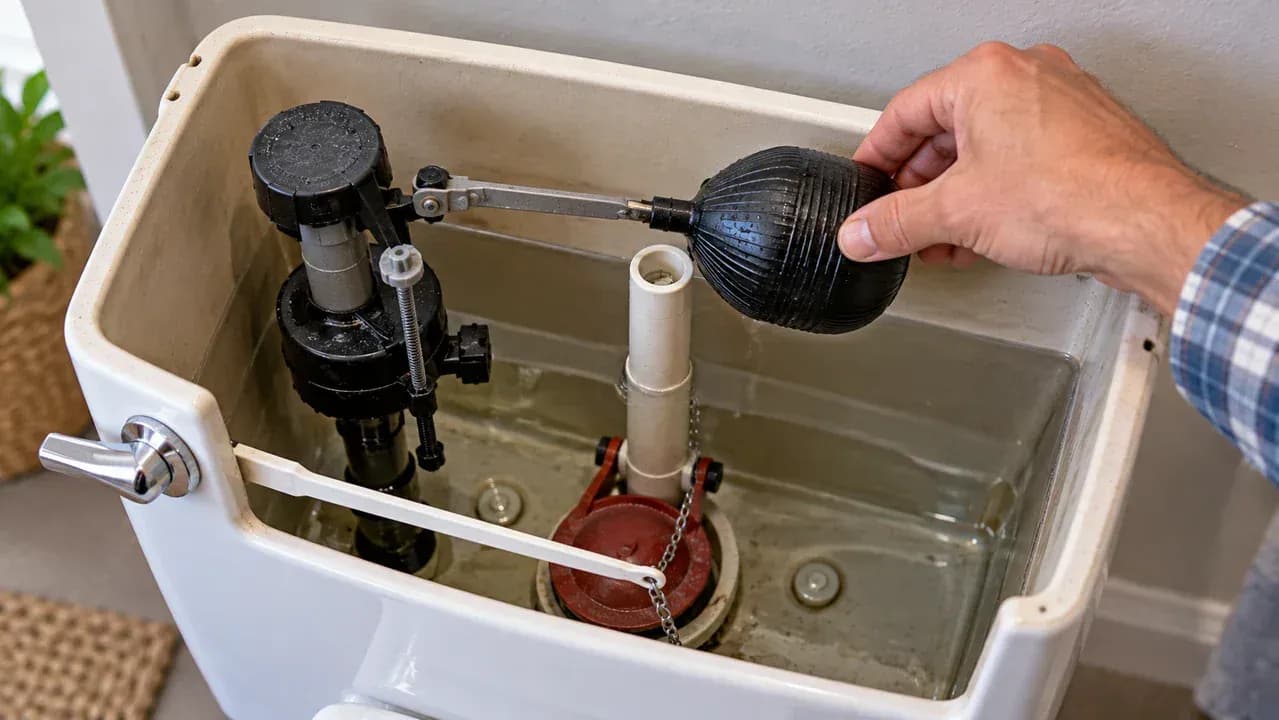
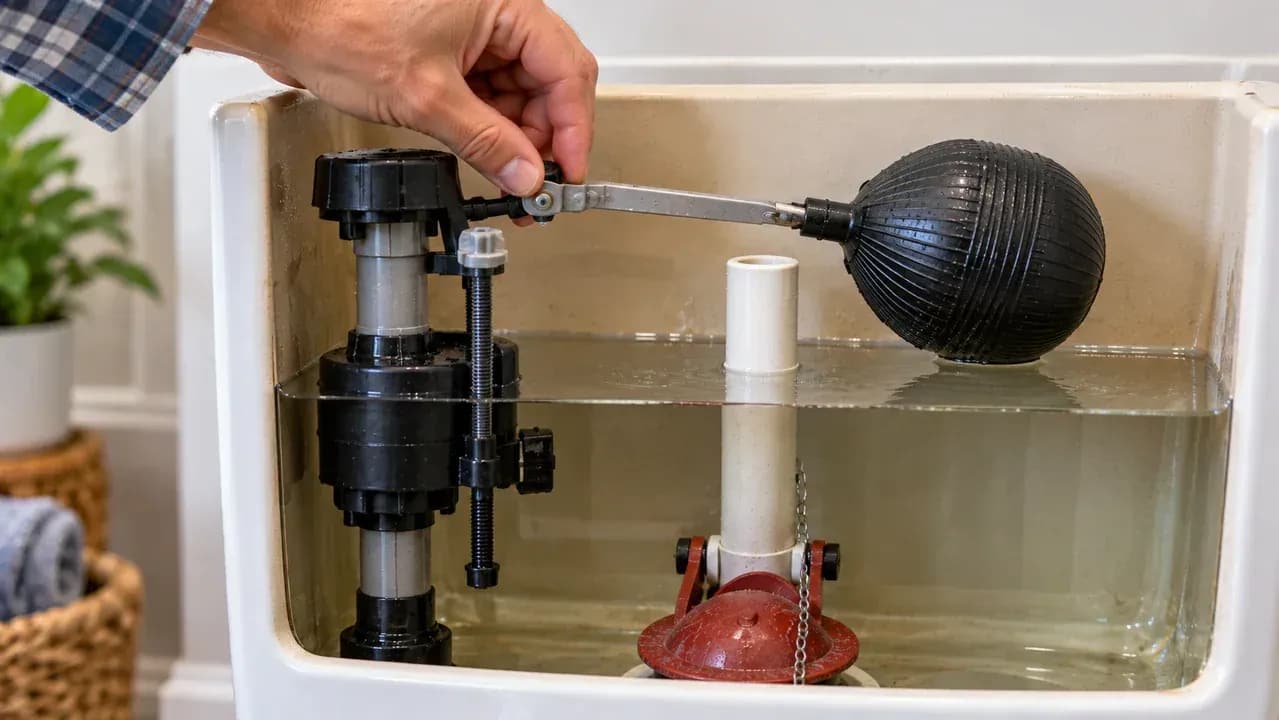
With the water supply still turned off, gently raise and lower the float to confirm it moves through its full range without catching on the tank wall, overflow tube, or other hardware. Watch the fill valve connection as the float moves, but do not adjust or remove anything yet. A freely moving float should later rise with the water level and tell the fill valve to stop refilling before water reaches the overflow tube.
Set the Correct Water Level
Use the overflow tube as your reference point and set the tank's target water level about 1 inch below its top, unless the toilet manufacturer marks a different level. Adjust only the float control designed for this purpose, turning the screw or moving the clip a little at a time. Keep the float and fill valve aligned, and avoid bending arms or forcing plastic parts, which can damage the mechanism.
Clean Mineral Buildup Carefully
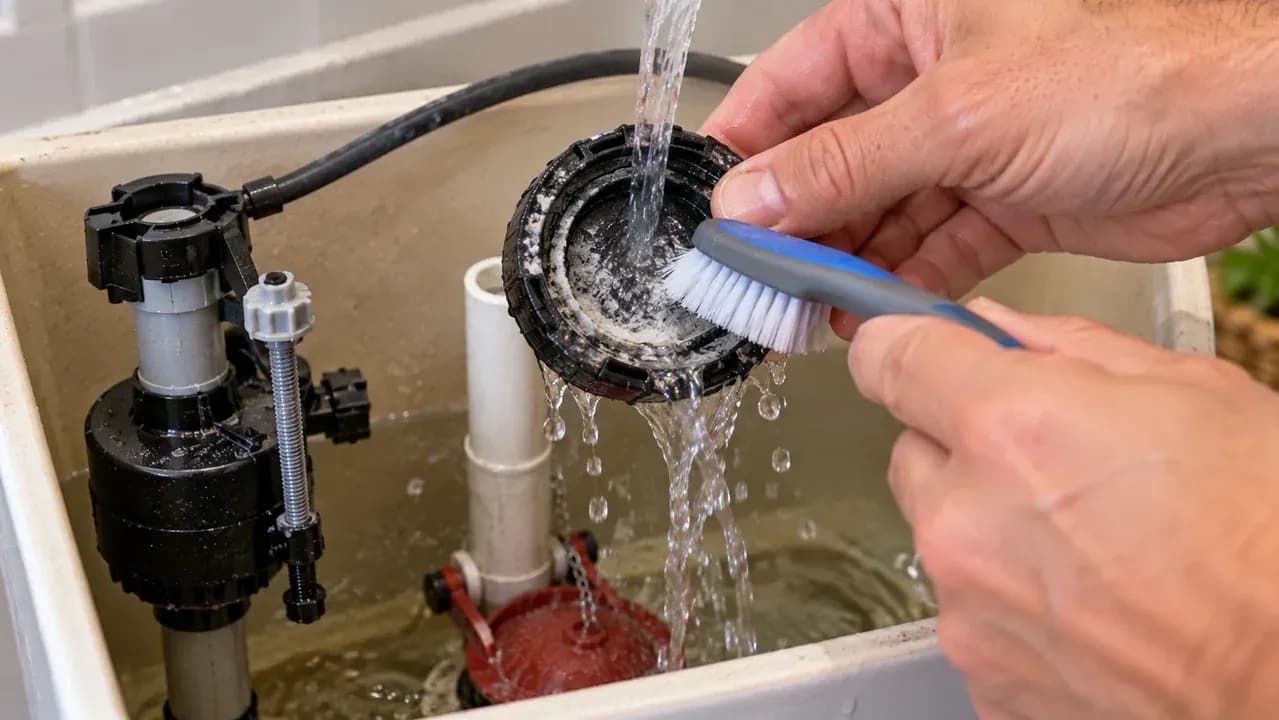
With the water supply still turned off, remove only the manufacturer-approved cap or insert from the fill valve. Rinse loose mineral deposits away with clean water, then gently wipe any accessible surfaces with a soft cloth. Before reinstalling the part, check that tabs, clips, and plastic threads are aligned correctly. If anything resists, stop and realign it rather than forcing it, which can crack plastic or damage the valve.
Replace a Worn Flapper
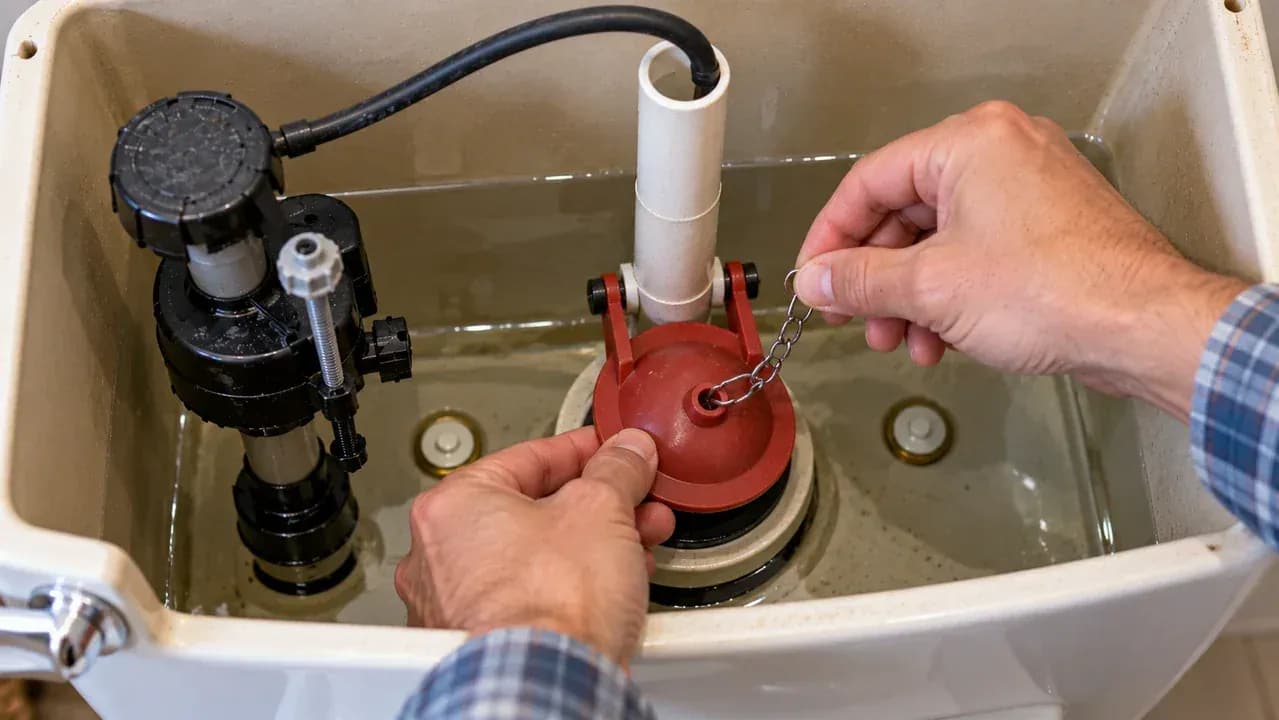
With the water supply off and the tank mostly empty, unhook the worn flapper from its mounting ears and disconnect the chain. Fit a compatible replacement onto the same mounting points, then reconnect the chain so it has slight slack when the flapper is closed. Lower the new flapper gently onto the flush valve seat and check that it rests evenly. Too much chain tension can prevent a complete seal.
Replace a Faulty Fill Valve
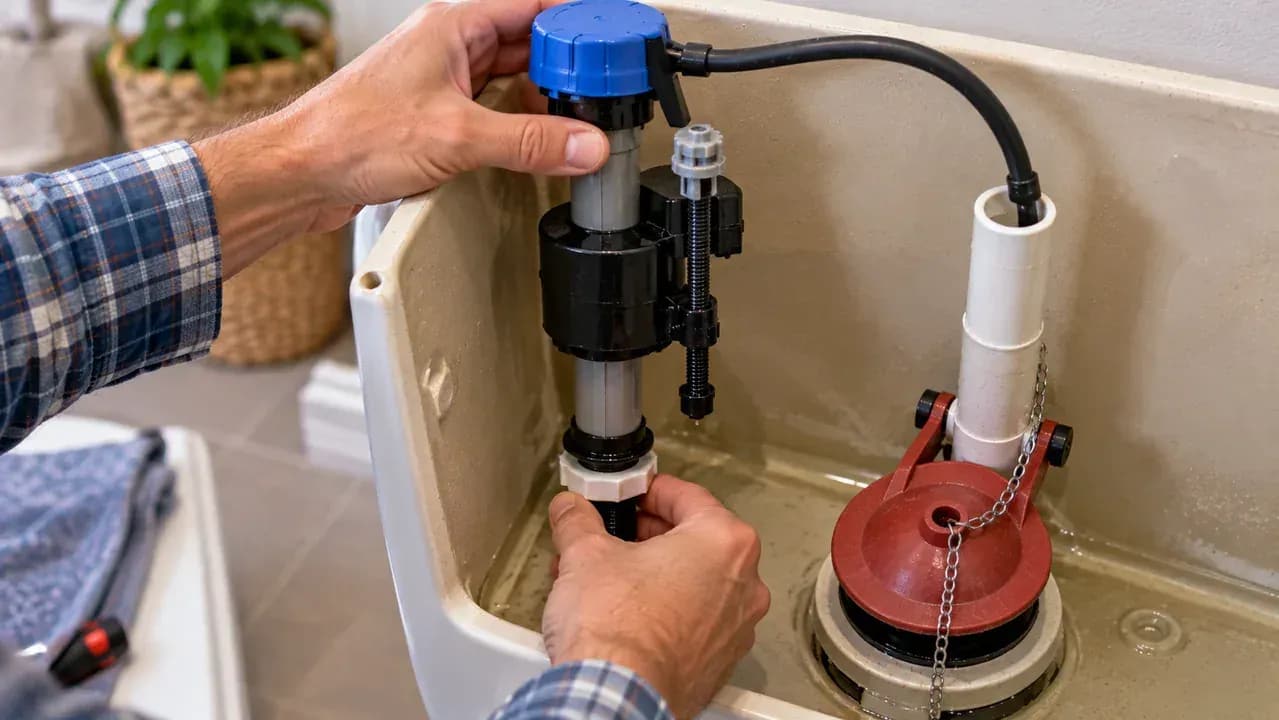
With the water supply off and the tank drained, loosen the retaining nut and lift the old fill valve straight out. Position the compatible replacement vertically at the height specified by its manufacturer, then hand-tighten the plastic retaining nut until it seals securely. Avoid using tools against the porcelain or overtightening the fitting. Before restoring water, confirm the valve is upright and has enough clearance to move freely.
Restore Water and Check for Leaks
Slowly turn the wall supply valve counterclockwise and let the tank refill while watching the water level and every connection. The water should stop below the top of the overflow tube. Inspect the fill valve base and supply line connection for any moisture or dripping before flushing. Use a dry paper towel around each fitting to spot small leaks. If you find one, shut off the water before adjusting anything.
Test Several Flush Cycles
Flush the toilet several times and watch the tank complete each cycle before flushing again. Confirm the flapper lifts freely, settles flat over the valve opening, and the water rises to the same level below the overflow tube each time. The fill valve should stop completely after refilling. Wait a minute between cycles and listen for trickling or an unexpected refill, which can reveal a slow leak that is easy to miss.
Know When to Stop and Call a Plumber
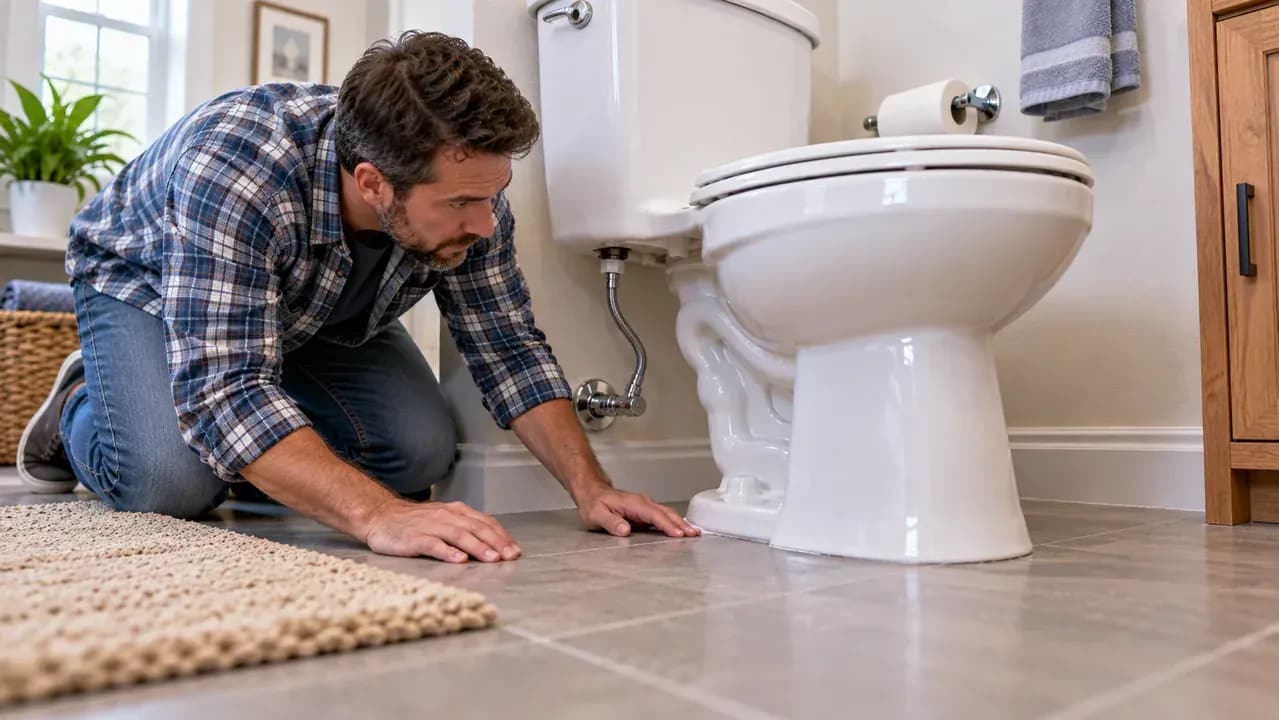
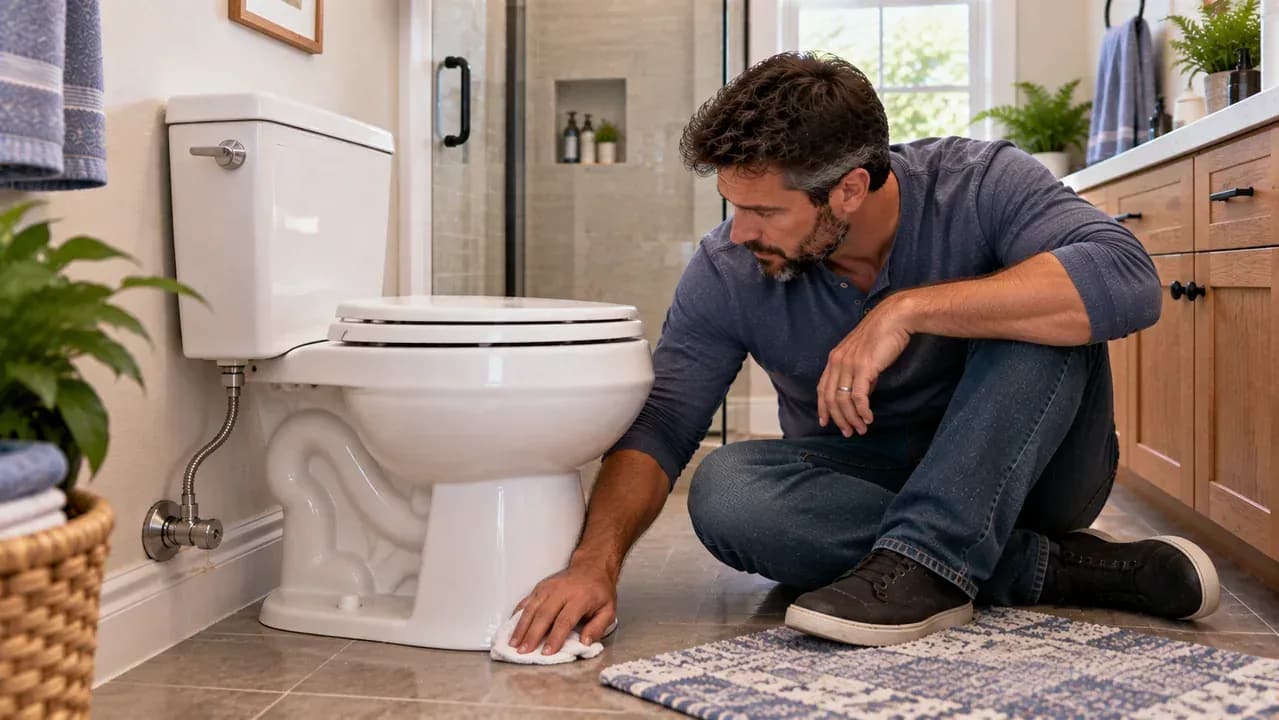
Inspect the area around the toilet before declaring the repair complete. Look closely at the shutoff valve, supply connection, porcelain tank and bowl, and the floor around the base. Stop if you see active leaking, a crack in the porcelain, water outside the fixture, or signs of a drain-line problem. These issues can worsen quickly, so avoid further adjustments and contact a qualified plumber.
Recheck the Most Common Tank Causes
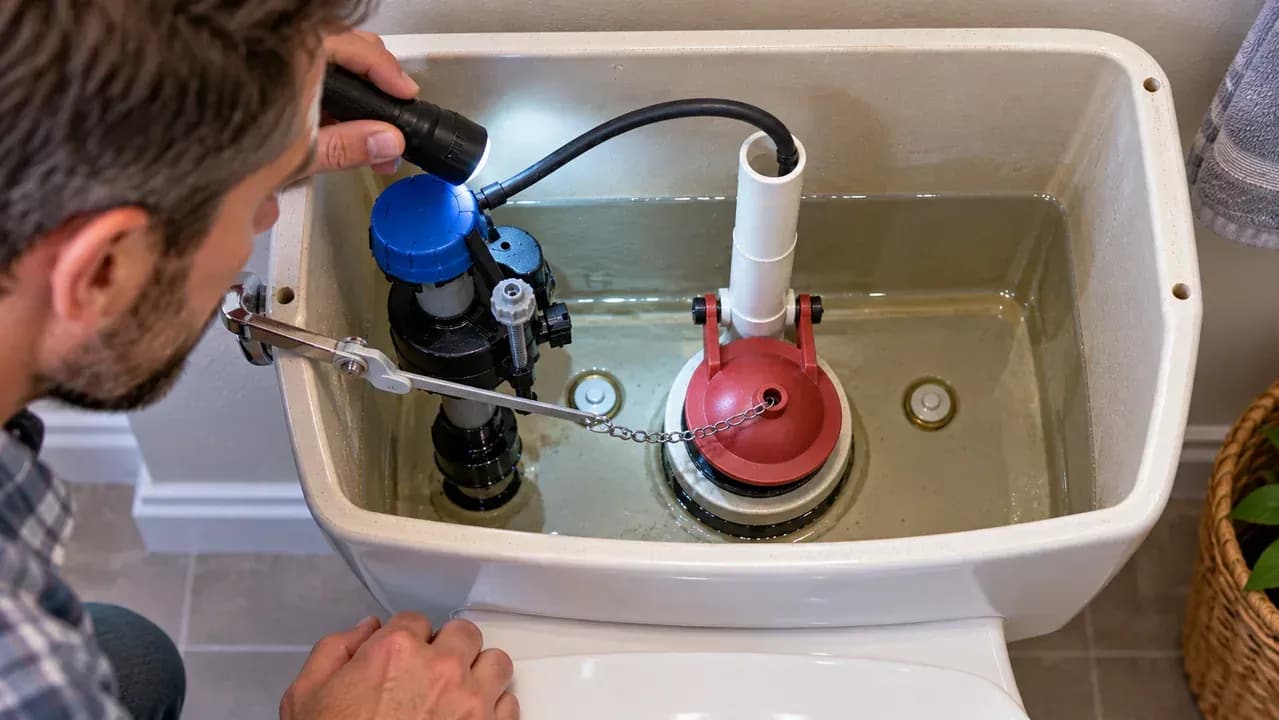
Shine a small flashlight into the open tank and inspect the main moving parts in order without touching them. Confirm the flapper lies flat over the valve opening, the chain has a small amount of slack, the lever arm moves without binding, and the float has a clear path upward. Check from more than one angle because a slightly twisted chain or off-center flapper can be easy to miss from directly above.
Use the Water Level to Narrow the Cause
Turn the water supply off and mark the current tank level with removable tape. If the water gradually falls below that mark, the flapper is probably allowing water to leak into the bowl. If the level stays steady, restore the supply and watch the refill. When the tank reaches the correct height but water keeps flowing, inspect the float position and fill valve instead of replacing unrelated parts.
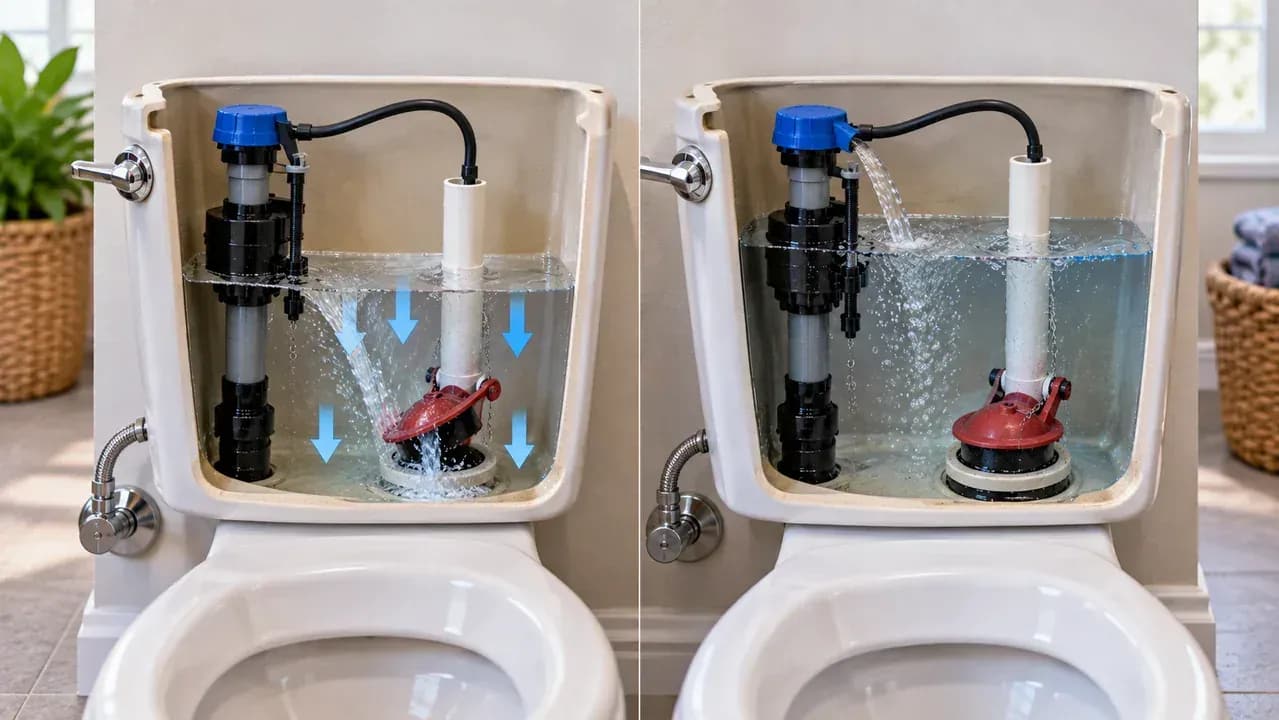
Confirm the Flapper Seats Cleanly
Lower the flapper gently onto the flush valve opening and inspect the entire sealing edge for gaps. Remove any grit or mineral buildup that keeps the rubber from sitting flat, then let the flapper settle naturally without forcing it. Also check that the mounting ears are straight and not pulling one side upward. Even a tiny obstruction can let water leak into the bowl and make the toilet keep running.
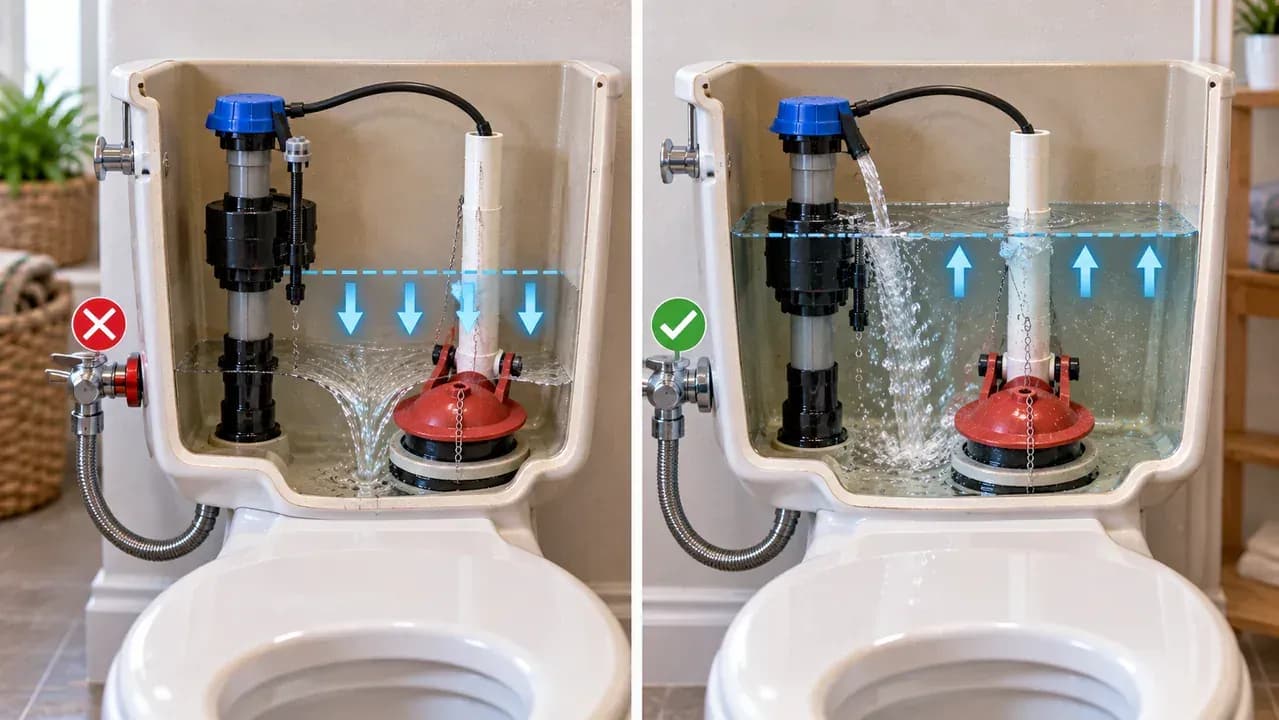
Check the Chain After Reseating
With the water supply still off and the tank drained, confirm the closed flapper has a small amount of chain slack so the chain is not pulling it upward. If the chain is too tight or too loose, move its connection one hole along the lever arm. Then press the handle gently and watch the chain lift straight up. It should raise the flapper smoothly, return freely, and avoid catching on nearby parts.
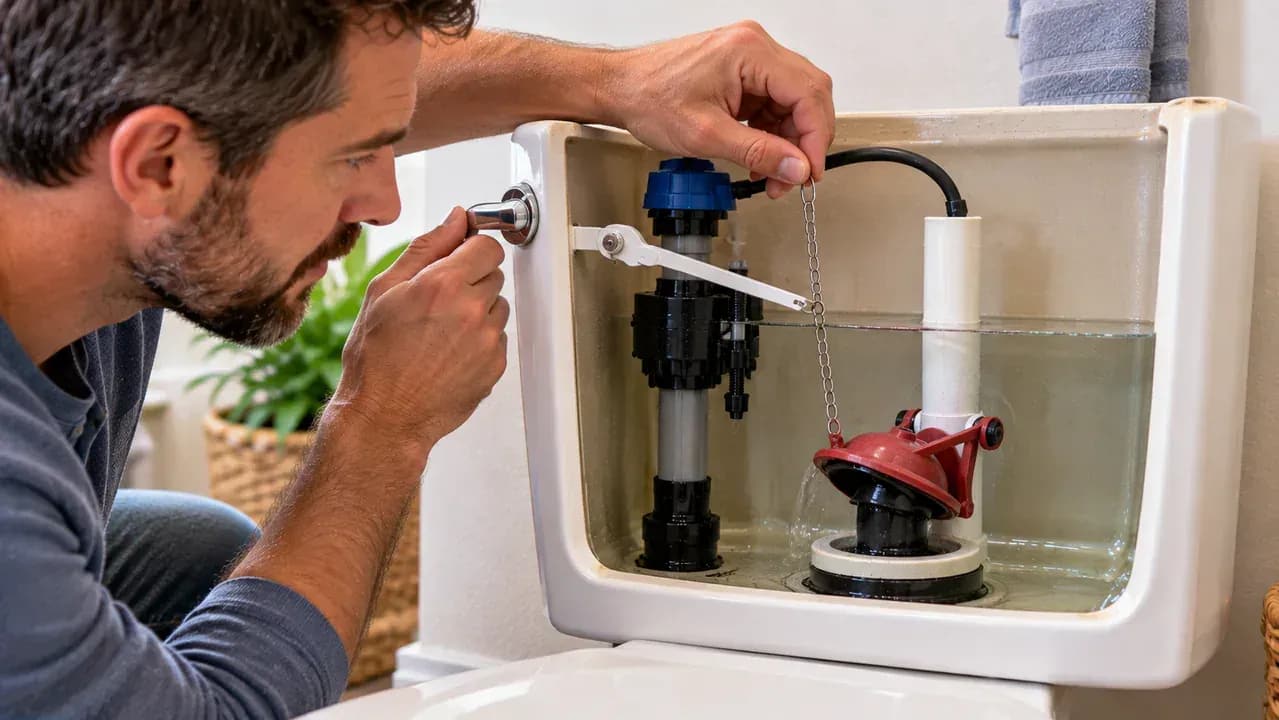
Verify the Float Shutoff Point
Slowly reopen the water supply and watch the float rise as the tank fills. The fill valve should stop the flow before the water reaches the top of the overflow tube. Use the measuring card as a quick visual reference for the target shutoff zone. If the water passes that mark, close the supply, make only a small approved float adjustment, then refill and check again before using the toilet.
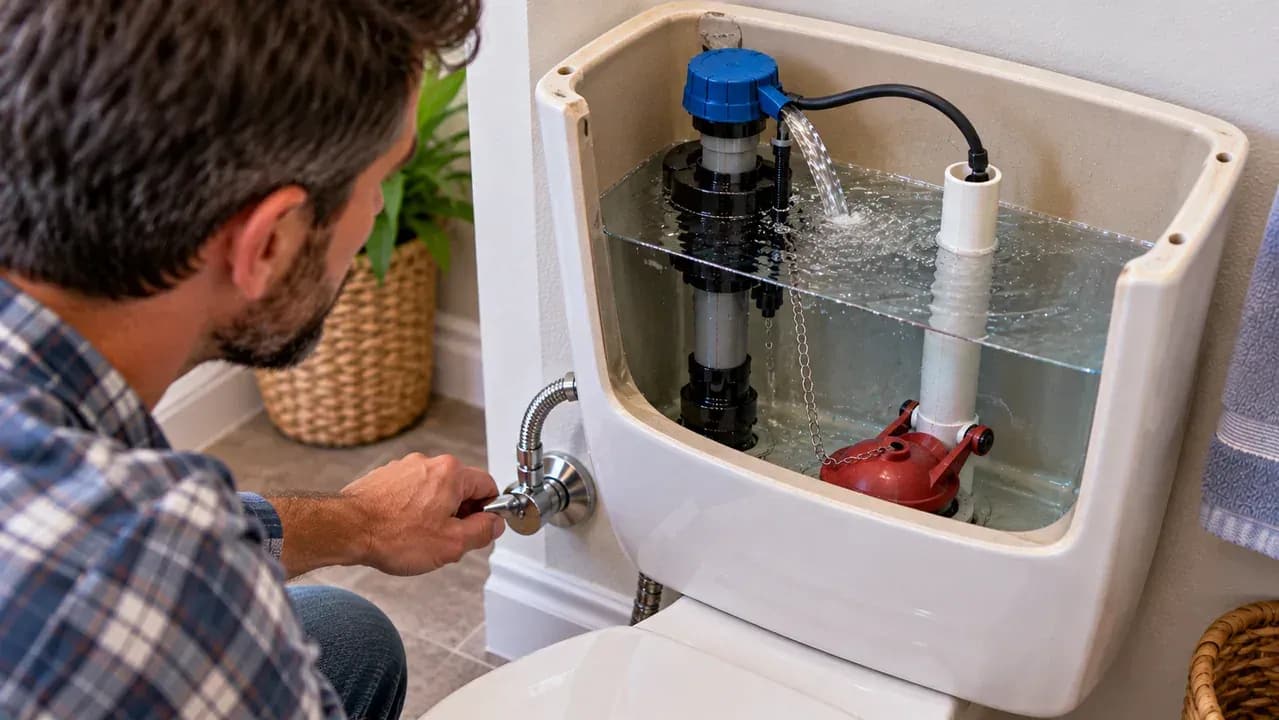
Make a Small Float Adjustment
With the water supply off and the tank level below the fill valve, turn the approved adjustment screw only a small amount, such as a quarter turn. Use the target water mark below the overflow tube as your reference. Restore the water supply and let the tank refill completely before judging the result. Make another small adjustment only if needed, and never bend the float arm or force plastic components.
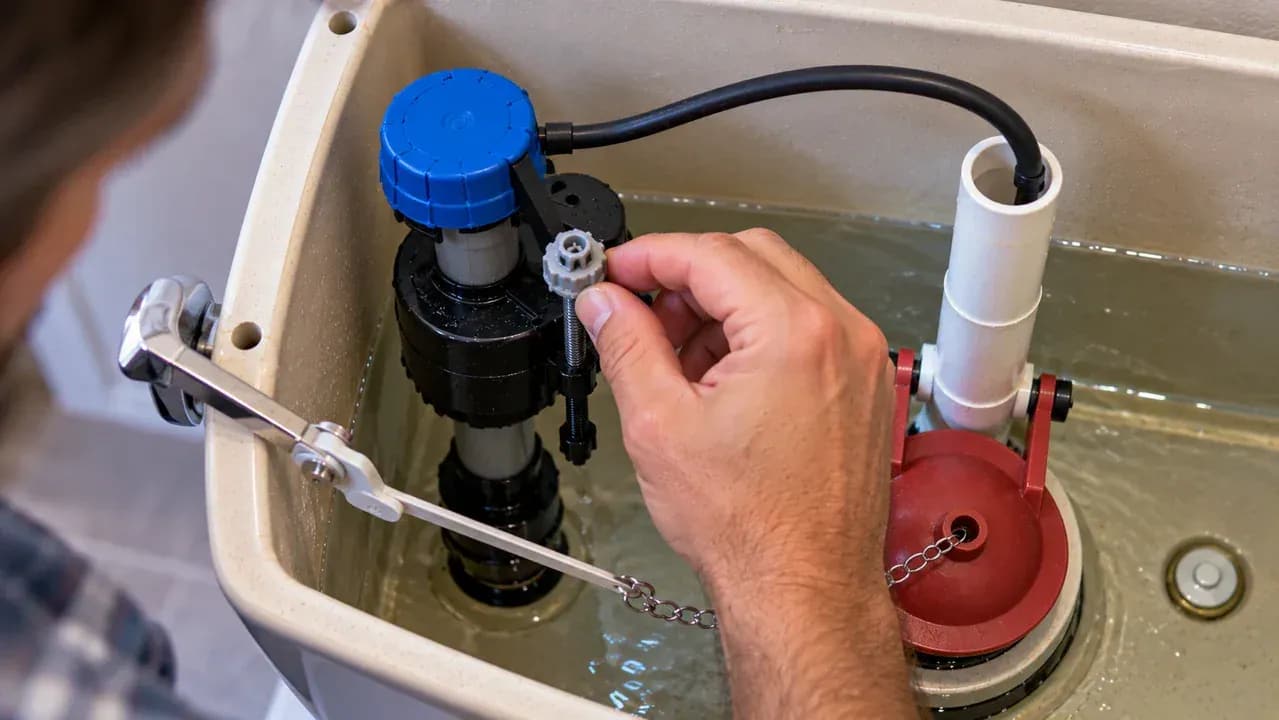
Refill and Recheck the Shutoff Level
Open the shutoff valve slowly and allow the tank to refill without touching any internal parts. Watch the rising water against the temporary level marker just below the overflow tube, then confirm that the flow stops and the fill valve becomes quiet and still. If the final level is too high or too low, close the supply again before making another small manufacturer-approved adjustment. Recheck after each change instead of making a large correction.
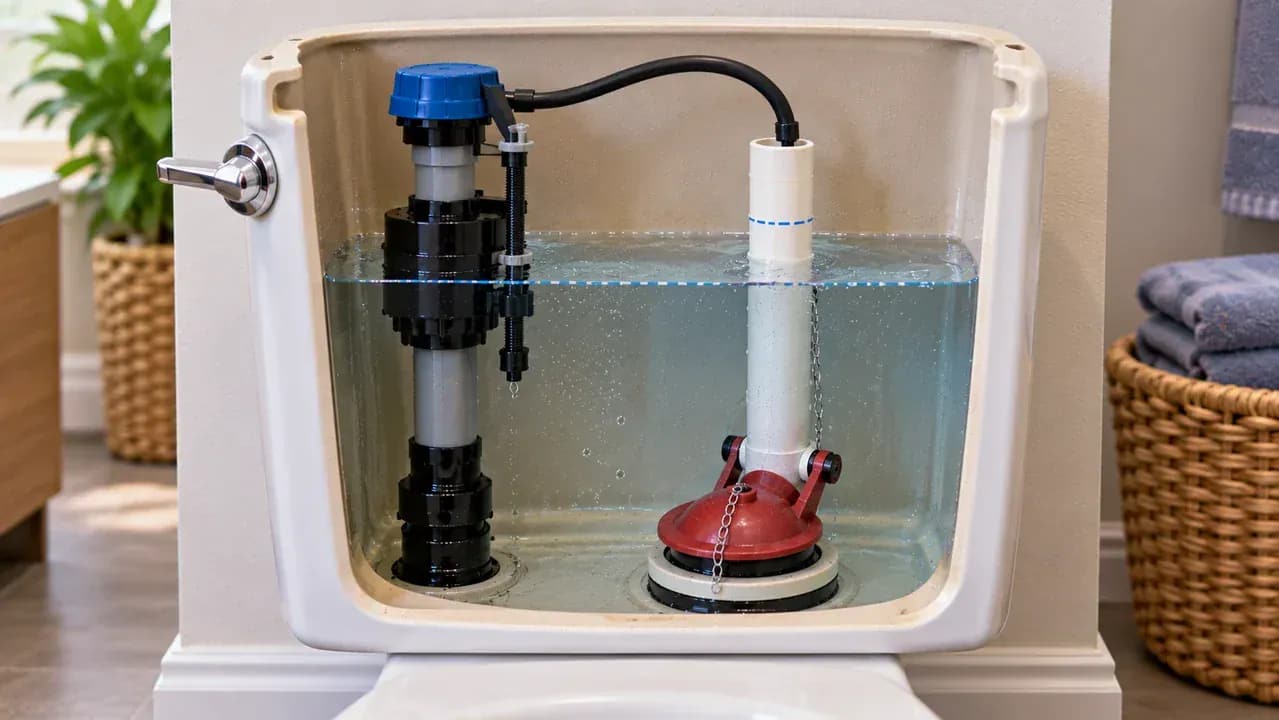
Verify One Complete Flush Cycle
Flush the toilet once and watch the entire cycle with the tank lid removed. Make sure the flapper lifts freely, then settles flat against the valve seat as the tank empties. Watch the water rise back to the established level and confirm the fill valve shuts off completely. After everything stops moving, wait quietly for about one minute. Any unexpected refill sound can indicate that water is still leaking from the tank.
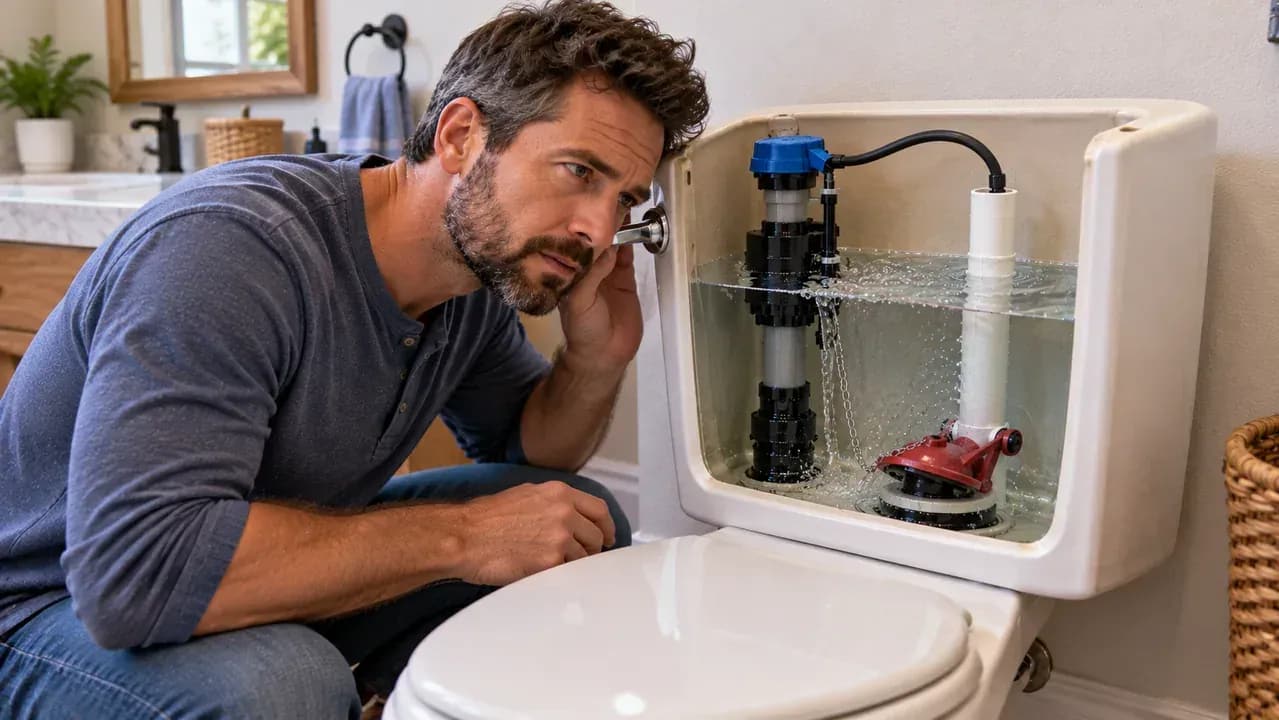
Complete the Final Tank Check
Leave the tank open after the toilet finishes refilling and confirm the water level stays below the overflow tube. Check that the chain has a small amount of slack and inspect the supply connection for any moisture or slow drips. Watch everything for another minute to make sure it remains stable. If the tank stays dry and quiet, lower the lid straight down carefully so it does not bump or pinch any internal parts.
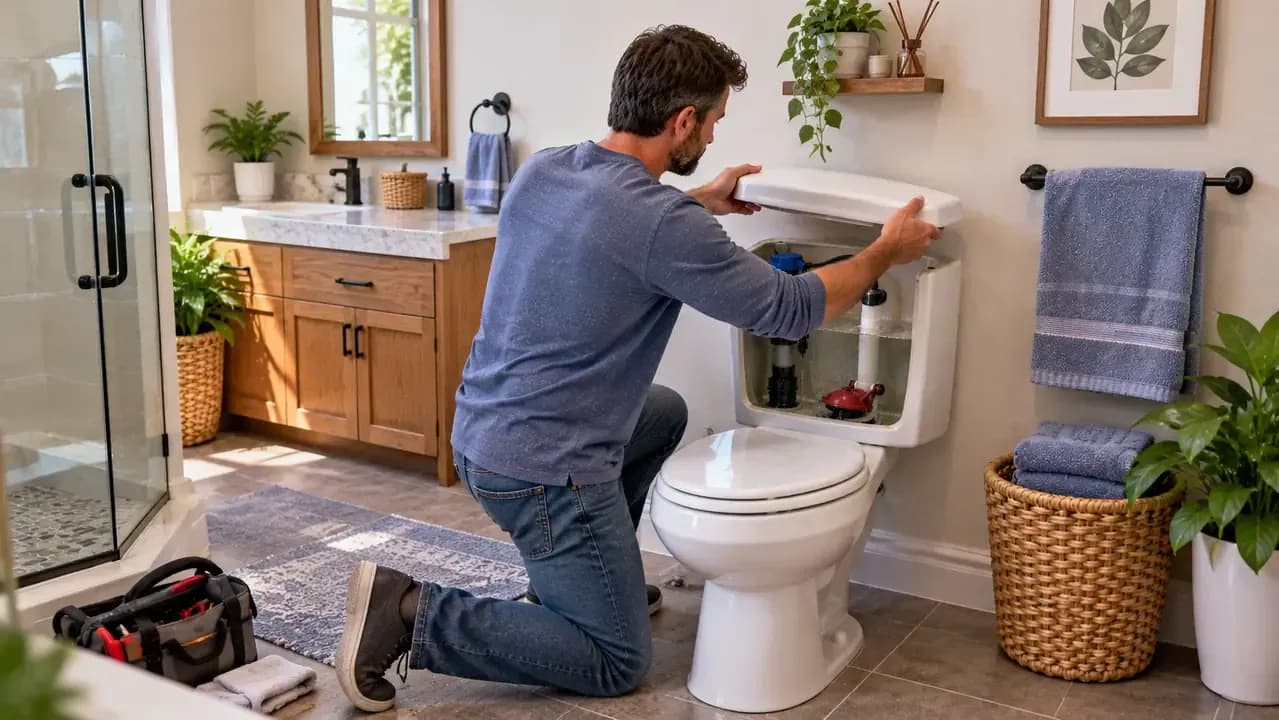
Monitor the Repair After Reassembly
Replace the tank lid, then stay nearby for several minutes and listen for unexpected refill cycles or water movement in the bowl. Once the toilet remains quiet, inspect the supply connection and floor around the base for any moisture. A dry paper towel can help reveal small leaks. If running returns, or you find a leaking shutoff valve, cracked porcelain, outside water, or a drain problem, contact a qualified plumber.
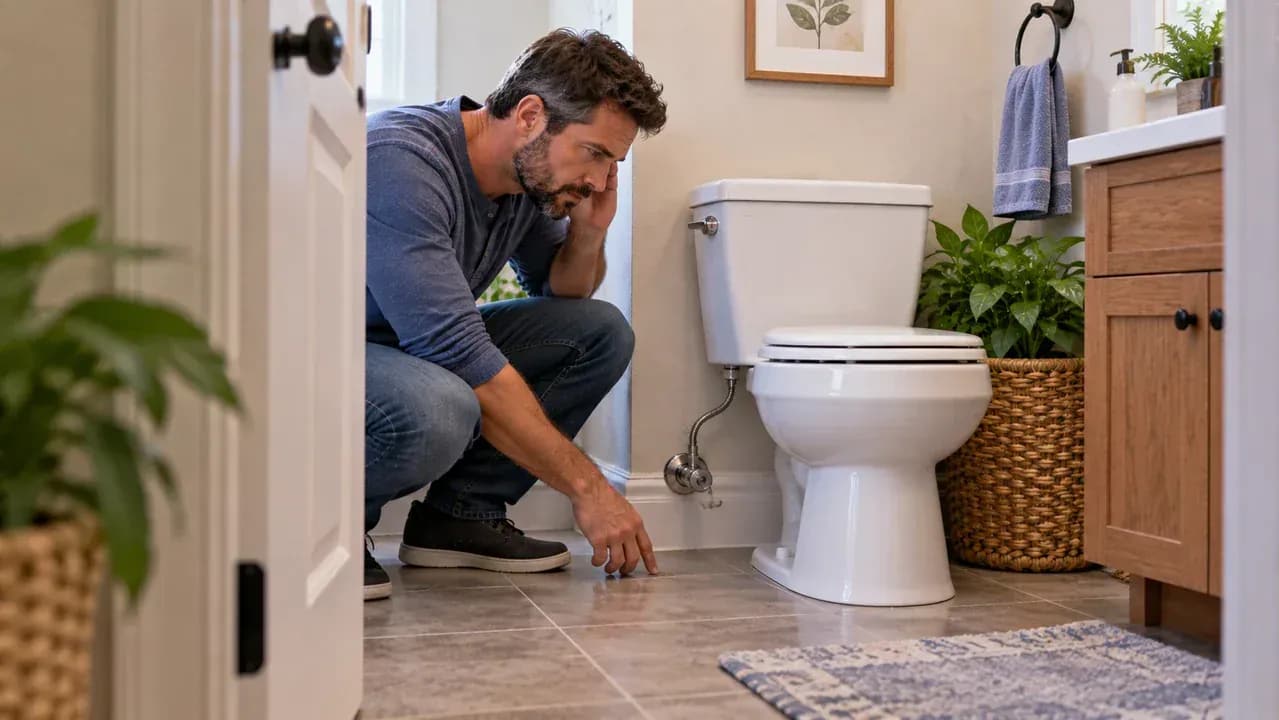
Know When the Repair Is Finished
Flush the toilet once with the tank lid installed and watch the full cycle. The bowl should clear normally, the tank should refill to the proper level, and the fill valve should shut off completely. Check that the floor and supply connection remain dry, then listen for continued water movement. Repeat this check after several uses. If everything stays quiet, dry, and consistent, the repair is likely complete.
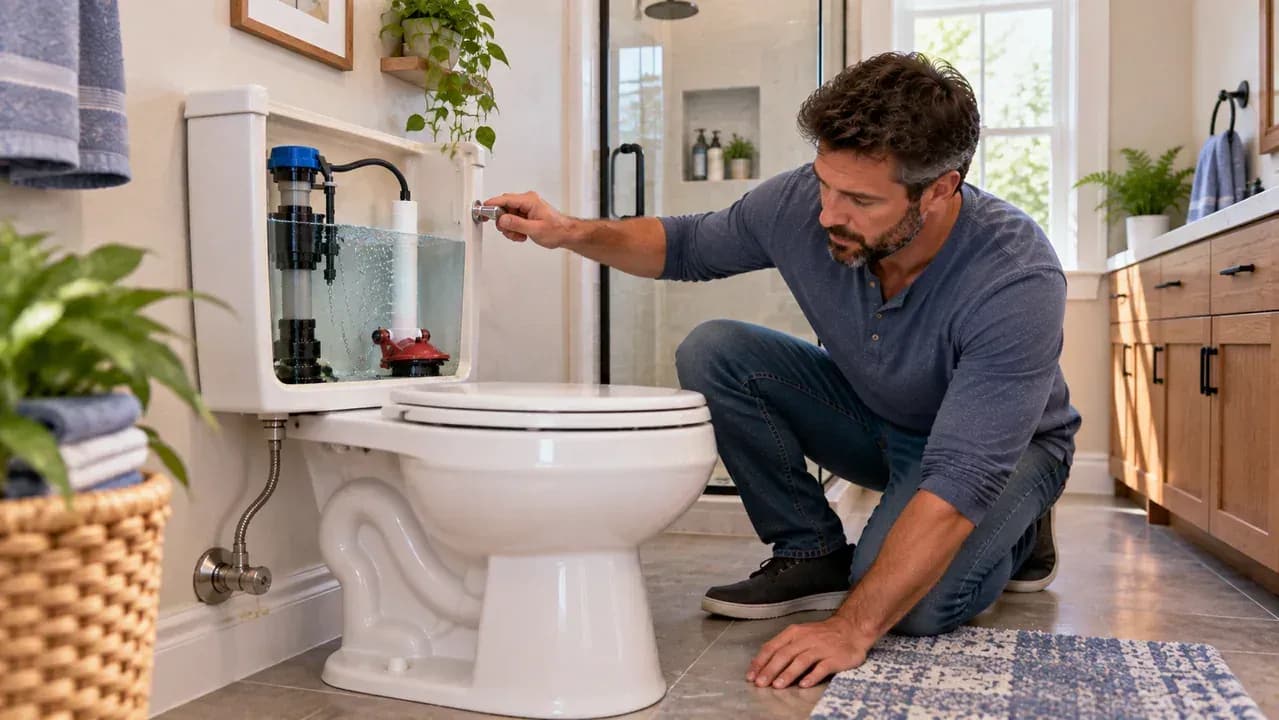
If the Toilet Starts Running Again
If the running sound returns, remove the tank lid and watch one complete flush and refill cycle without touching anything. Confirm that the flapper drops fully into place, the chain keeps a small amount of slack, and the water stops below the top of the overflow tube. Watching first helps you identify the actual failure instead of creating a new problem by repeatedly adjusting parts that may already be set correctly.
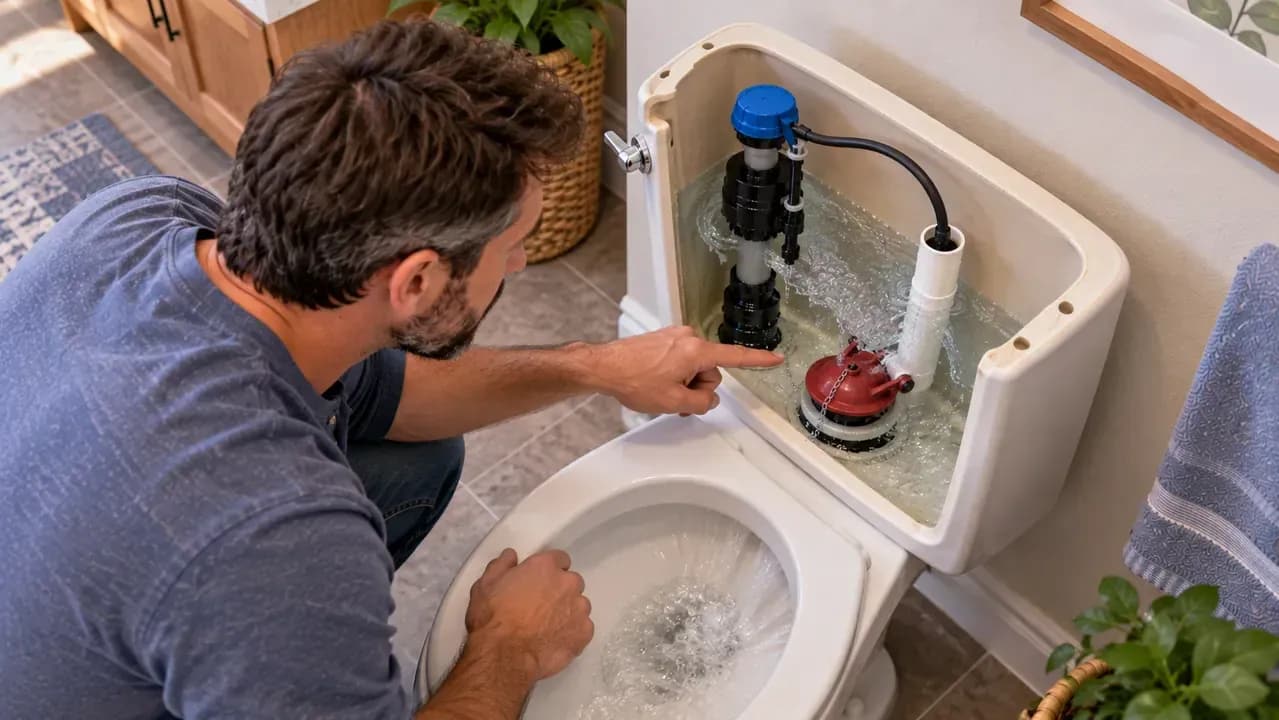
Know When to Stop Troubleshooting
Stop working if you spot moisture at the shutoff valve, a visible porcelain crack, water outside the toilet base, or signs of a drain problem. Do not keep tightening fittings around damaged components. If water is still flowing, gently close the supply valve without forcing it, step away from the toilet, and call a qualified plumber. Taking a clear photo of the leak or crack can also help explain the problem before service begins.
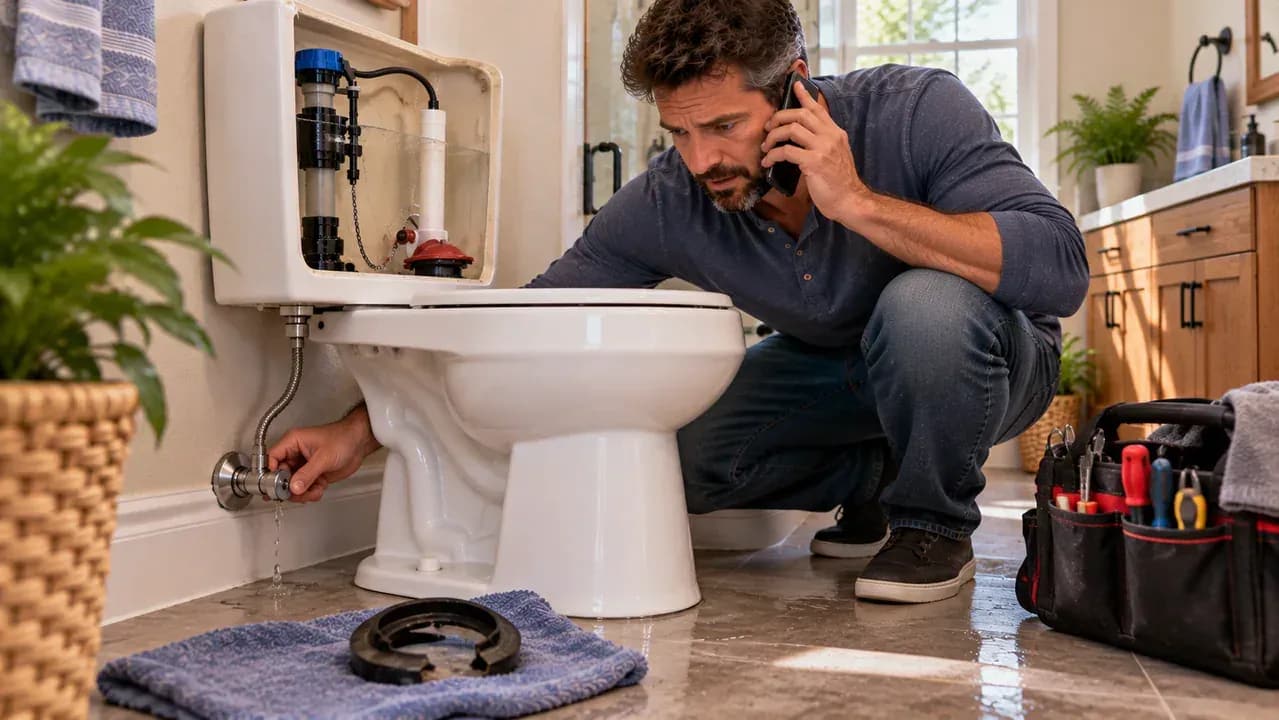
Make the Final Shutoff Check
Flush the toilet one more time and let the tank refill completely. Confirm the fill valve stops moving, the water settles below the overflow tube, and the toilet becomes quiet. Use a removable clip to mark the settled water level so you can spot any change. Wipe the supply connection with a clean paper towel and check the floor for moisture. If running returns, repeat the diagnosis instead of forcing another adjustment.
Confirm the Repair Is Holding
Step away after one normal flush and give the toilet several minutes without touching anything. Return and listen for any unexpected refill sound, then check that the tank water level appears unchanged and the floor and visible supply connection remain dry. If everything stays quiet, steady, and dry, stop making adjustments. A useful final check is to wait through another few minutes of silence before considering the repair complete.
Know When to Stop
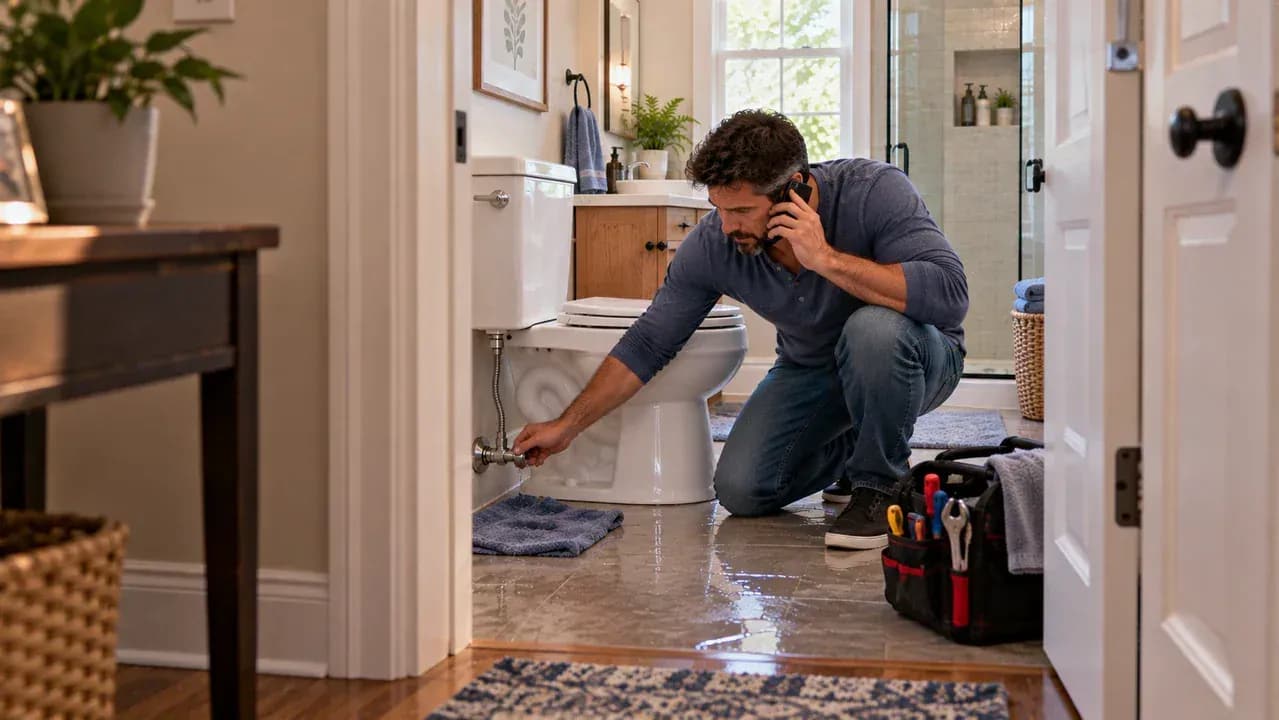
Confirm that the toilet flushes, refills, and shuts off quietly before considering the repair complete. If running returns, water appears around the base, the shutoff valve leaks, porcelain is cracked, or the issue seems connected to the drain line, stop using the toilet. Close the supply valve only if it can be done safely, place a clear do-not-use note on the lid, and contact a qualified plumber.
A toilet that keeps running is more than an annoying background sound. It usually means water is slipping past a part that should be sealing or shutting off, and the good news is that the problem often comes down to a few serviceable components inside the tank. Common causes include a worn flapper, a chain or flush lever that is holding the flapper open, or a float and fill valve that are allowing the tank to refill past the correct level.
Start by confirming that the toilet is repeatedly losing water from the tank, then close the toilet supply valve and flush once before touching or removing any parts. From there, you can inspect the flapper, chain, lever, float and fill valve without replacing the entire toilet. Make adjustments in small increments, use compatible replacement parts when needed, and never overtighten plastic fittings or porcelain bolts. If the shutoff valve leaks, the porcelain is cracked, water appears outside the fixture, or the problem involves the drain line, stop and call a qualified plumber.
Where people go wrong
Skipping the Water Shutoff Before Working. Removing or adjusting toilet parts while the supply valve is still open can cause unnecessary water flow and make the repair harder to control. Close the toilet supply valve first, then flush once to lower the tank water before removing or replacing any components.
Replacing Parts Before Checking the Flapper and Chain. A running toilet does not automatically mean the fill valve needs replacement. First inspect the flapper for warping, buildup or a poor seal, then check that the chain has slight slack and is not tangled, shortened or holding the flapper partially open.
Setting the Tank Water Level Too High. If the float is adjusted too high, water may continue flowing into the overflow tube instead of shutting off normally. Make only small manufacturer-approved float adjustments and confirm that the final water level stops below the top of the overflow tube.
Overtightening Fittings or Ignoring External Leaks. Plastic fittings and porcelain bolts can be damaged by excessive tightening, creating a larger repair problem. Tighten components only as needed. If the shutoff valve leaks, porcelain is cracked, water appears outside the toilet or the drain line is involved, call a qualified plumber.
Questions people ask
A running toilet usually means water is leaking past the flapper, the chain is holding the flapper open, the flush lever is sticking, or the fill valve and float are not shutting off correctly. Remove the tank lid and watch the refill cycle to see which part is causing the problem.
Fixed it?
Get one guide like this every Thursday.