How to Fix a MacBook That Keeps Running Out of Storage
Running out of space on your MacBook? Learn how to find large files, remove unused apps, manage downloads, and safely free up storage using built-in macOS tools.

What you’ll need
Tap to tick things off before you start.
Recognize the Signs of a Nearly Full Startup Disk
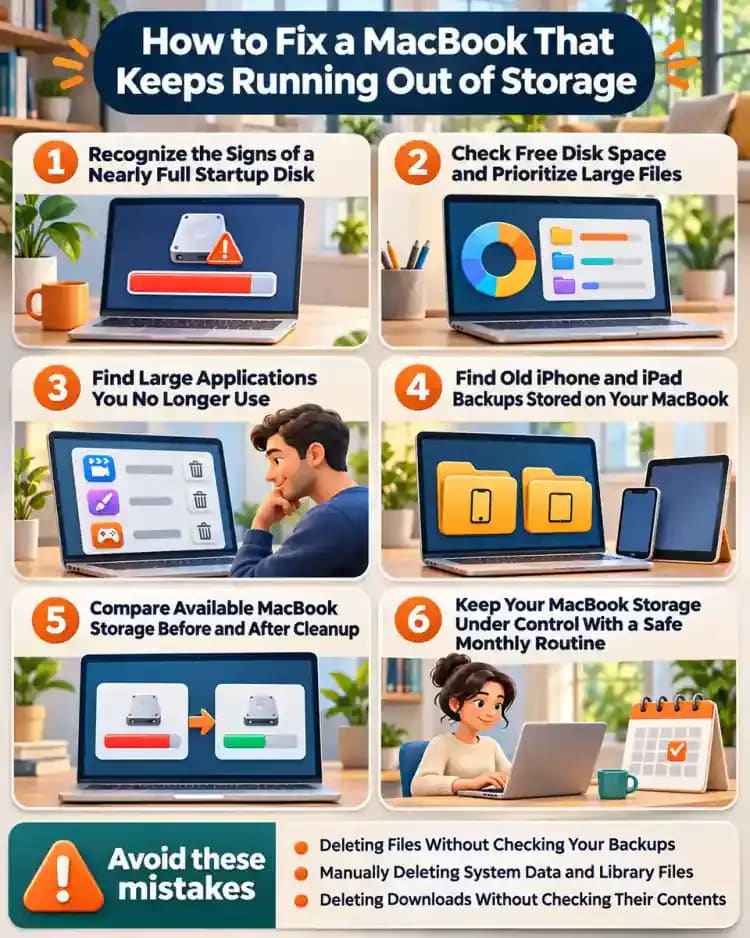
When your MacBook displays a startup disk almost full warning, take a moment to investigate before deleting anything. As shown on the screen, the storage indicator signals that available disk space is running low. This can prevent downloads, interrupt macOS updates, and slow everyday tasks. Note the warning and check whether recent downloads, large projects, or installed applications might explain the problem. You can investigate using built-in macOS tools.

Verify Your MacBook Backup Before Deleting Files
Connect your external backup drive to your MacBook using the appropriate USB-C cable. Open System Settings > General > Time Machine and check the date and time of your latest completed backup. Next, open Time Machine and locate an important document or photo to confirm a recoverable version exists. If your backup is outdated or missing essential files, create a fresh backup and verify it before removing anything from your MacBook.

Know When to Remove an iCloud Download Instead of Deleting a File
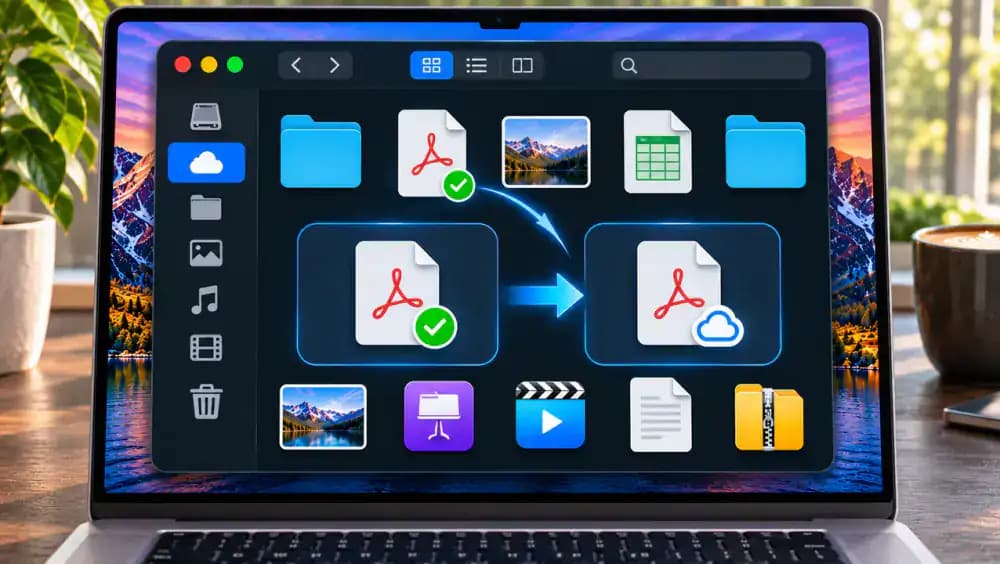
Open Finder and select iCloud Drive to review your synchronized documents. As illustrated, deleting a file from iCloud Drive can also remove it from your iPhone, iPad, and iCloud account. To free local storage without deleting the cloud copy, right-click an eligible downloaded file and select Remove Download. Confirm the file remains accessible in iCloud afterward. Keep an independent backup because synchronization cannot protect against accidental deletions.

Check Available Disk Space in macOS Storage Settings
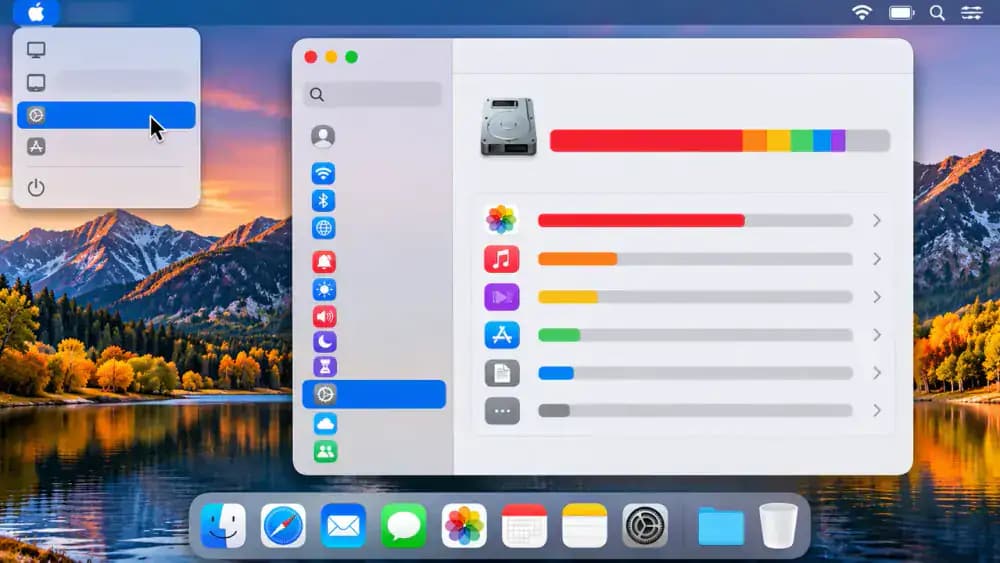
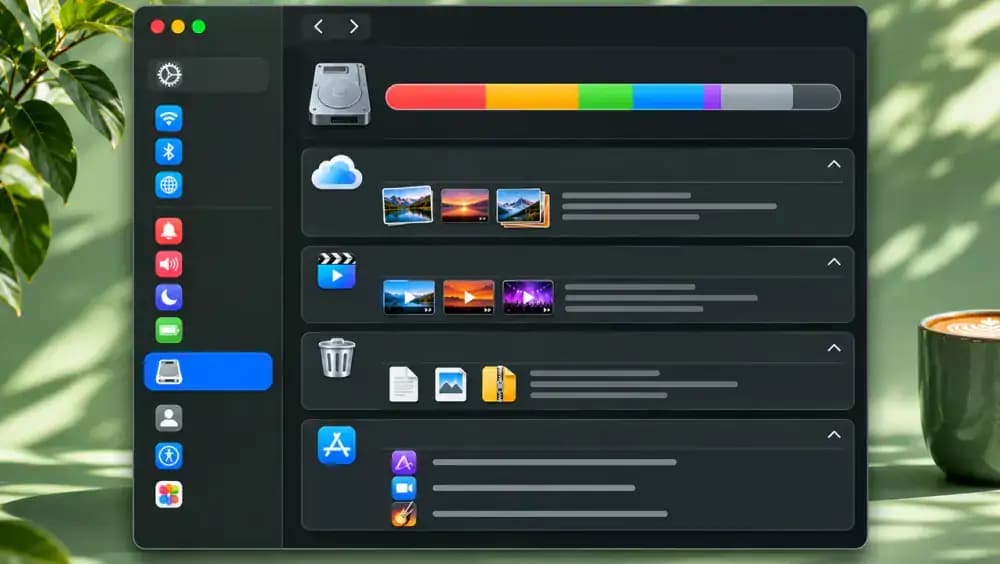
Click the Apple menu in the upper-left corner of your screen and select System Settings. Choose General in the sidebar, then click Storage to open your MacBook's storage overview. You'll see your total disk capacity, available space, and a breakdown of storage categories. Allow macOS time to finish calculating these values, especially if you have thousands of files. Note your available space before starting the cleanup.
Identify Which Storage Categories Are Using the Most Space
Review the storage breakdown and compare the space used by Documents, Applications, Photos, and System Data. Documents includes personal files, Applications covers installed software, and Photos represents your photo library. System Data contains files managed by macOS and applications. These category sizes are estimates, so use them as a starting point rather than exact measurements. Begin with Documents, where you can inspect familiar files before deciding what to remove.
Check Free Disk Space and Prioritize Large Files
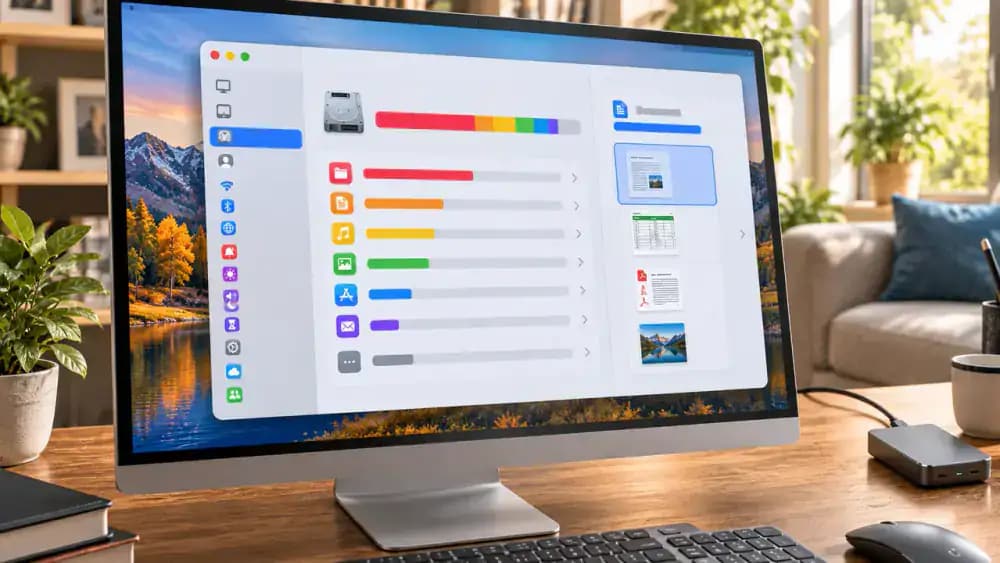
Look at the available-space figure in System Settings > General > Storage and compare it with your MacBook's total capacity. The illustrated example shows a 512 GB drive with just 8 GB available. When free space is this limited, prioritize reviewing large, recognizable files such as video exports, outdated installers, and ZIP archives. Check each file's contents and backup status before deleting it. Leave enough room for updates and temporary files.
Find the Largest Files in macOS Storage Settings
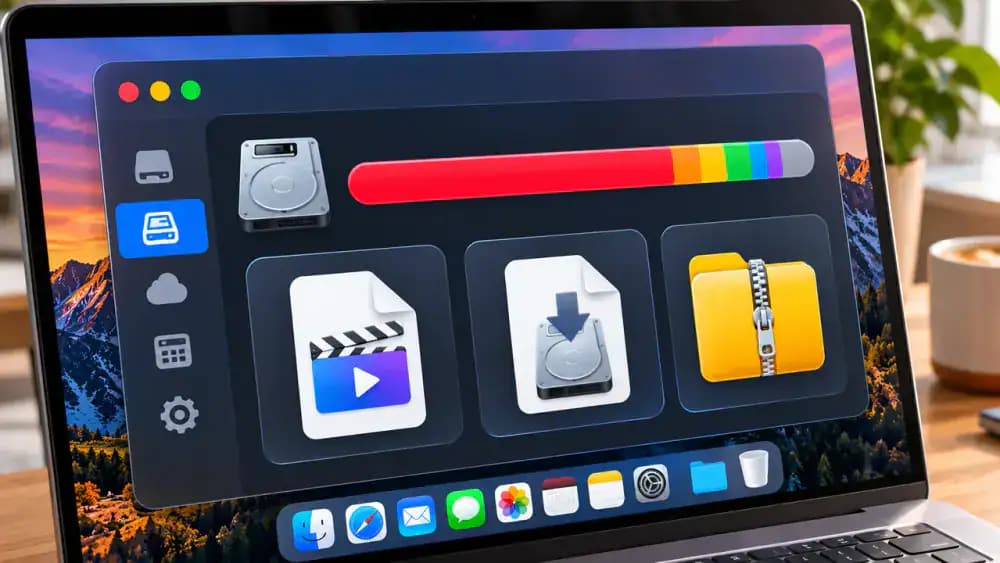
Open System Settings > General > Storage and click the information button beside Documents. If your macOS version includes a Large Files section, select it to review files consuming substantial disk space. Sort the list by size, placing the largest items first. Check each file's name, location, and contents before considering removal. For unfamiliar files, use Finder to investigate further and confirm that important data has a usable independent backup.
Sort Your Downloads Folder to Find Unnecessary Large Files
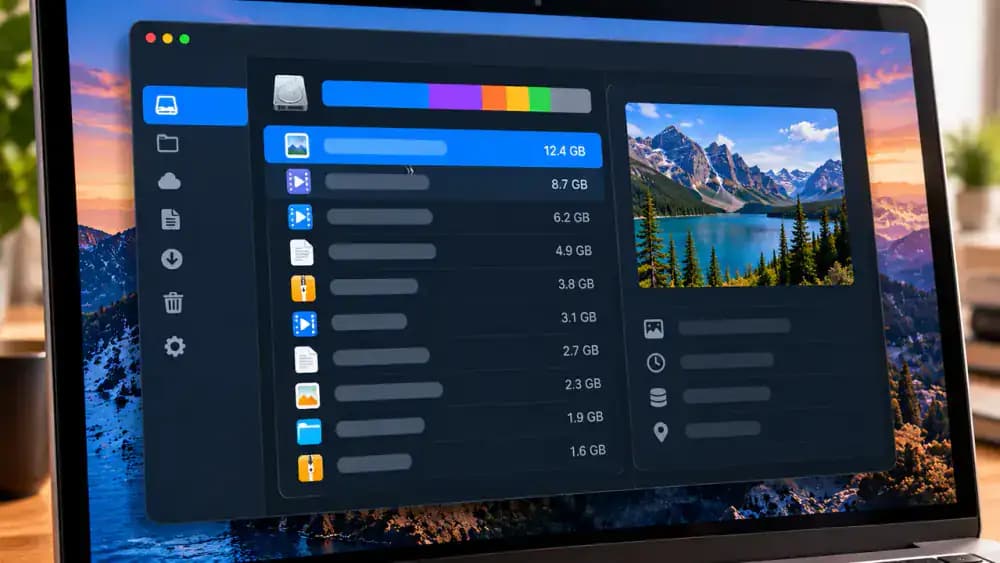
Open Finder and select Downloads in the sidebar, then switch to List View. Click the Size column header until the largest files appear first. Look for recognizable video exports, outdated software installers, and ZIP archives that may no longer be needed. Select a file and press Command-I to open Get Info and inspect its size and location. Check its contents and confirm important files are backed up before removing anything.

Check Old Installers and ZIP Archives Before Removing Them
In Finder, select a downloaded DMG or PKG installer and press Command-I to check its file type, size, and modification date. Confirm the associated application is already installed and the installer is no longer needed. For ZIP archives, open a recognizable example in a temporary folder and inspect the extracted contents. Look for unique documents or project backups. Only consider removing files after verifying their contents and independent backups.
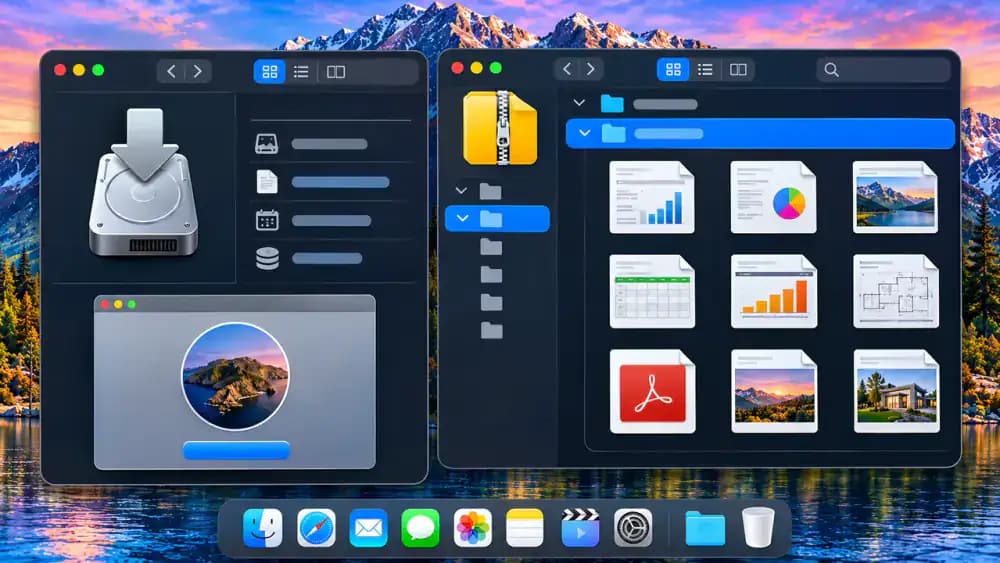
Compare Duplicate Files Before Removing Extra Copies
Open Finder, search for a familiar filename such as Annual_Report, and select This Mac to search across your computer. Compare matching results by opening Get Info with Command-I to check each file's size, location, and modification date. Then open both documents side by side in Preview to inspect their contents. Identical filenames do not guarantee identical files. Keep the correct version and verify your independent backup before removing duplicates.
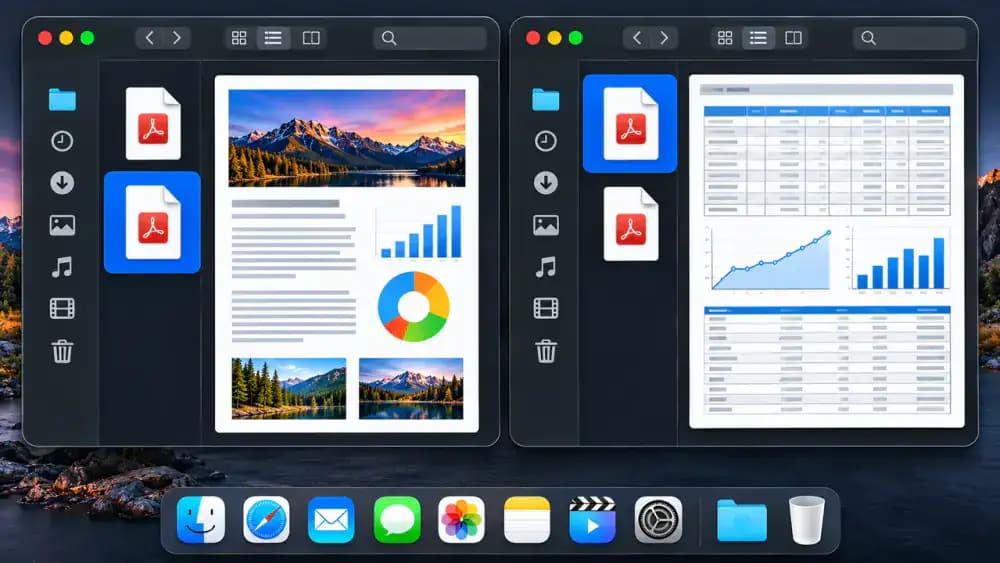
Move Unnecessary Files to Trash Without Permanently Deleting Them
Open Finder and locate a file you've already confirmed is unnecessary, such as an outdated installer. Right-click the file and select Move to Trash. The file disappears from its original folder but remains recoverable in Trash. Click the Trash icon in the Dock to review its contents, including filenames and original locations when available. Leave Trash intact until you've verified that important files have usable independent backups.
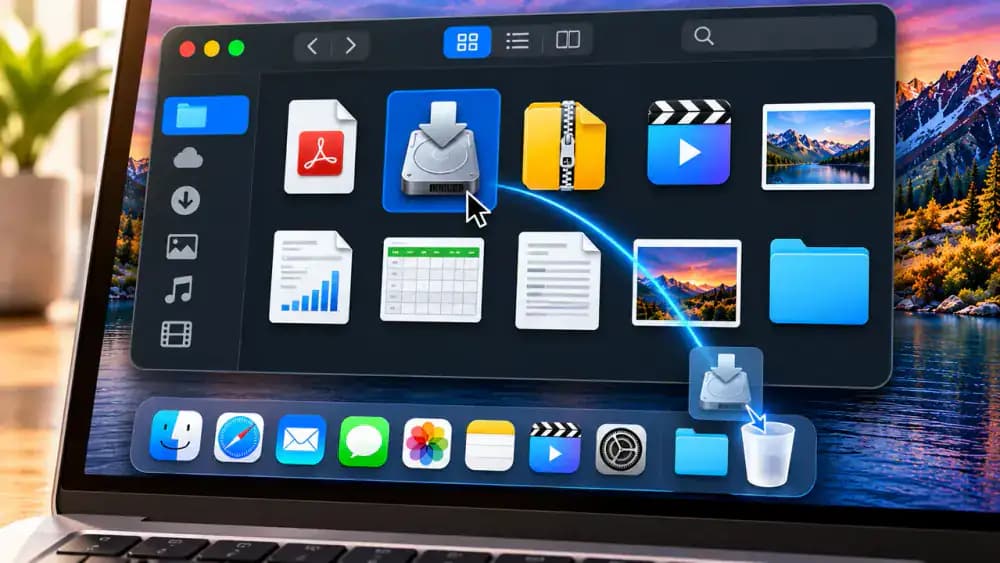
Find Large Applications You No Longer Use
Open System Settings > General > Storage and locate the Applications category. Click its information button to view installed software and how much storage each app uses. If your macOS version supports sorting by size, arrange the largest applications first. Review each app's name and storage usage, then identify programs you recognize but rarely use. Keep essential software installed, even if it occupies substantial space, and avoid deleting unfamiliar application files.

Remove Unused Mac Applications Using the Correct Uninstall Method
Before removing an unused application, check its developer's instructions for the recommended uninstall method. Some programs include an official uninstaller that removes associated components safely. For apps that support standard removal, open Finder > Applications, right-click the app, and select Move to Trash. First, confirm that important projects, documents, and settings have independent backups. Leave unfamiliar Library folders and Application Support files untouched, and review Trash before emptying it.
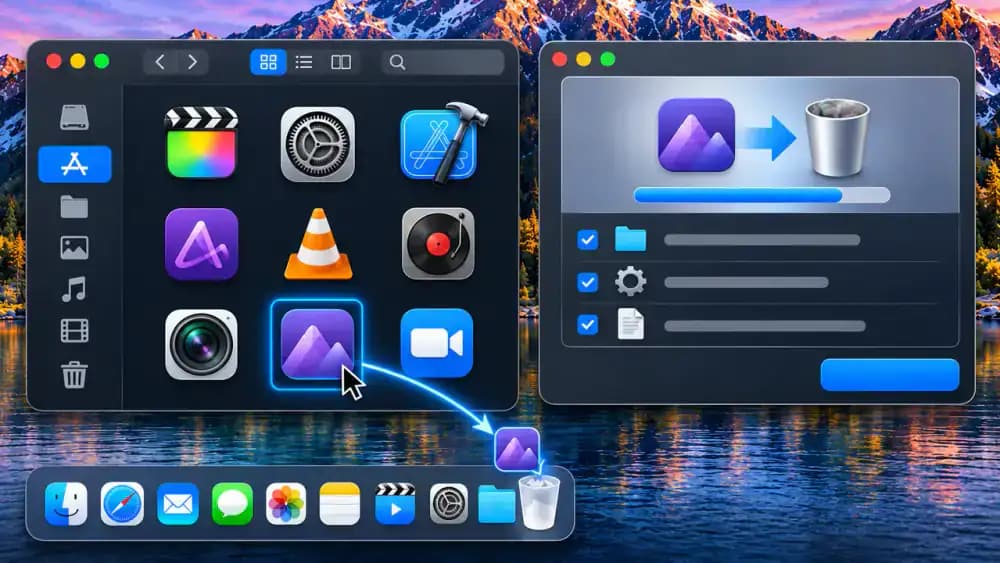
Review Personal Files Left Behind After Uninstalling Apps
Open Finder and navigate to Documents to check for projects or exports associated with applications you've uninstalled. Select a recognizable folder, such as SketchPad Projects, and inspect its contents. Press the Space bar to preview individual files with Quick Look without changing them. Keep valuable designs, documents, and exports, even if their original application is gone. Verify independent backups before removing anything, and leave unfamiliar system and application support folders untouched.

Understand System Data Without Deleting Essential macOS Files
Open System Settings > General > Storage and locate the System Data category. As illustrated, this category can include caches, logs, temporary files, and other information managed by macOS. Its reported size may change as storage calculations update, so treat the figure as an estimate. Avoid manually deleting unfamiliar system folders, Library contents, or Application Support files. Instead, use supported macOS storage tools and focus on recognizable personal files you can safely review.

Review Built-In macOS Storage Recommendations Before Enabling Them
Open System Settings > General > Storage and scroll through the available storage recommendations. Depending on your macOS version, you may see options such as Store in iCloud or Optimize Storage. Select an available information or details control to understand what each recommendation changes before enabling it. Pay particular attention to settings affecting locally downloaded cloud files or automatic removal of content. Confirm important files have independent backups before accepting any storage management changes.
Remove Local iCloud Downloads Without Deleting Cloud Files
Open Finder and select iCloud Drive in the sidebar. Locate a downloaded file, such as Completed_Project.pdf, and confirm it has finished uploading and is accessible in iCloud. Right-click the file and choose Remove Download if the option is available. The file should remain visible in Finder with a cloud download indicator, while its local contents are removed. Verify your independent backup first, and never select Move to Trash for this purpose.
Find Old iPhone and iPad Backups Stored on Your MacBook
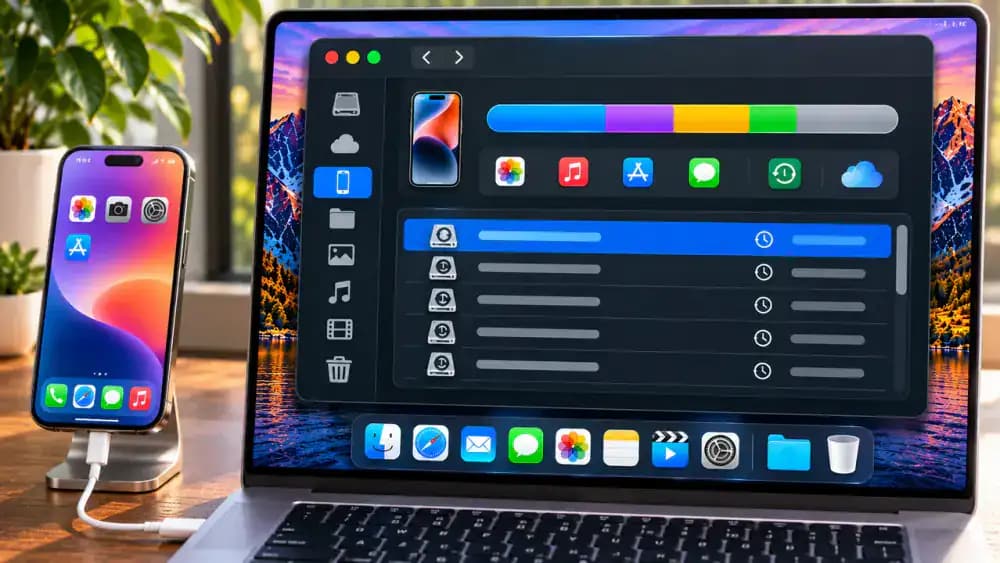
Connect your iPhone or iPad to your MacBook if needed, then open Finder and select the device under Locations. In the device management window, click Manage Backups to review locally stored backups. Compare device names and backup dates to identify older copies that may no longer be necessary. Before removing any backup, confirm another usable backup exists and contains the information you need. Leave anything uncertain untouched until you've verified it.
Delete an Unneeded iPhone Backup Only After Verifying a Replacement
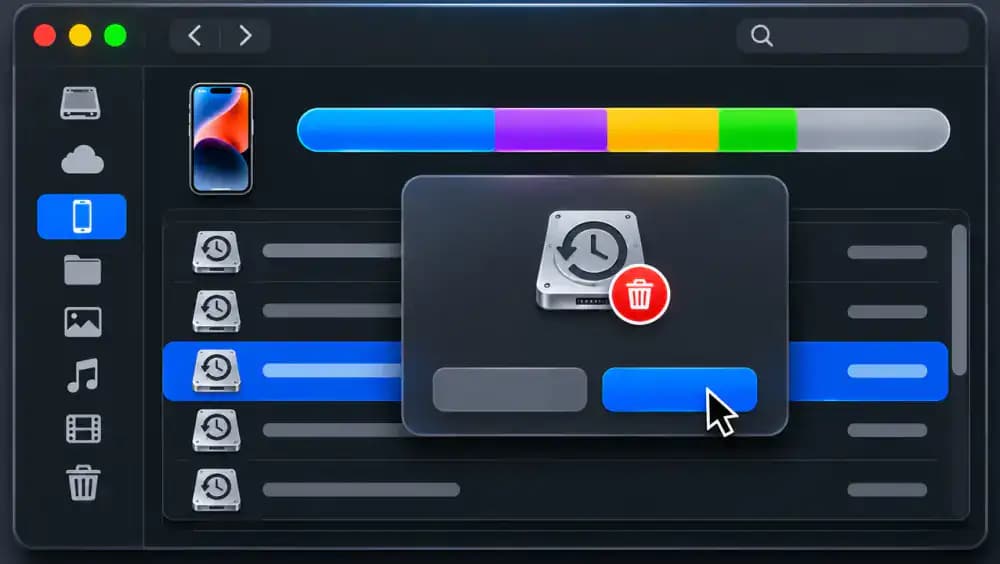
In Finder's Manage Backups window, select an older device backup and carefully check its device name and date. Confirm that another usable backup exists and contains the information you need. Click Delete Backup to review the confirmation dialog, but choose Cancel if anything remains uncertain. Unlike ordinary files moved to Trash, deleted device backups cannot be recovered from Trash. Proceed with permanent removal only when you've verified the backup is genuinely unnecessary.
Check Photo Library Storage and iCloud Photos Optimization
Open System Settings > General > Storage and check how much space Photos occupies. If you use iCloud Photos, open the Photos app and select Photos > Settings > iCloud. Compare Download Originals to this Mac with Optimize Mac Storage, which can reduce local storage usage while keeping full-resolution originals in iCloud. Review your current selection without changing it immediately. Verify an independent photo backup before enabling optimization, since iCloud synchronization alone is insufficient.

Confirm iCloud Photos Has Finished Syncing Before Optimizing Storage
Open the Photos app, select Library, and switch to All Photos. Scroll to the bottom of the library to find the iCloud synchronization status, which may show pending uploads or indicate that syncing is complete. If photos are still uploading, leave your originals and storage settings unchanged. Once syncing finishes, verify that important photos are accessible in iCloud and protected by an independent backup before considering Optimize Mac Storage.

Inspect Trash and Restore Important Files Before Permanent Deletion
Click the Trash icon in the Dock and review every file listed in the Finder window. Check filenames, file types, and original locations when available. If you recognize something worth keeping, such as Vacation_Photos.zip, right-click it and select Put Back to restore it to its original folder. Inspect the remaining items individually before considering permanent deletion. Confirm that important documents, photos, and projects have usable independent backups before emptying Trash.
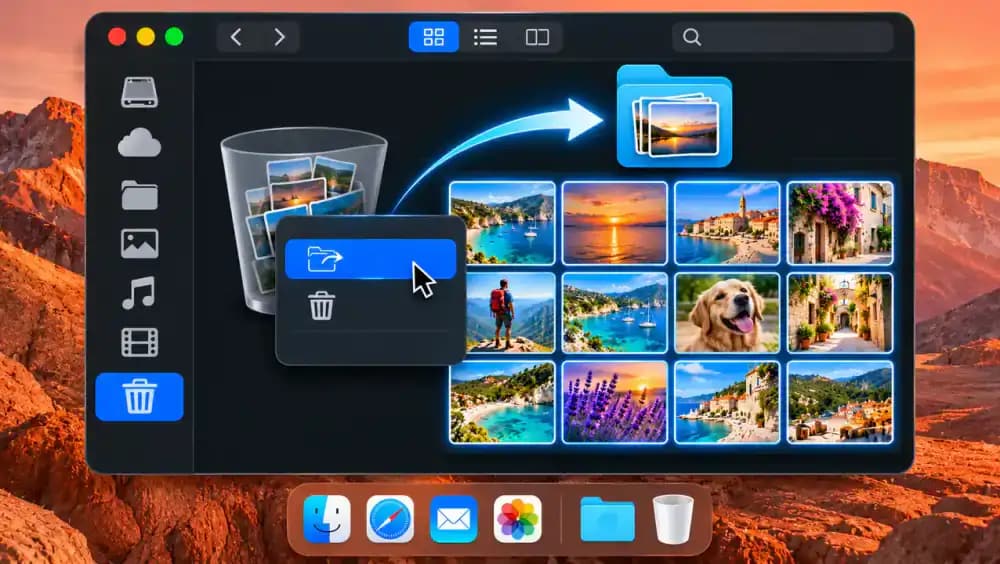
Empty Trash to Reclaim Storage After Verifying Every File
Open Trash and confirm that every remaining file is unnecessary and any important information has a usable independent backup. With Finder active, open the Finder menu and select Empty Trash. Read the confirmation dialog carefully before approving permanent deletion. Unlike moving files to Trash, this action cannot be undone through Trash. Once the files are removed, their occupied storage can become available again, although macOS may take time to update its calculations.

Compare Available MacBook Storage Before and After Cleanup
Open System Settings > General > Storage and check the available-space figure after emptying Trash. Compare it with the number you recorded before cleanup. The illustrated example shows available storage increasing from 8 GB to 14 GB on a 512 GB drive, but your results will vary. If the figure has not changed, allow macOS time to recalculate storage usage. Avoid deleting additional files simply to force an immediate increase.
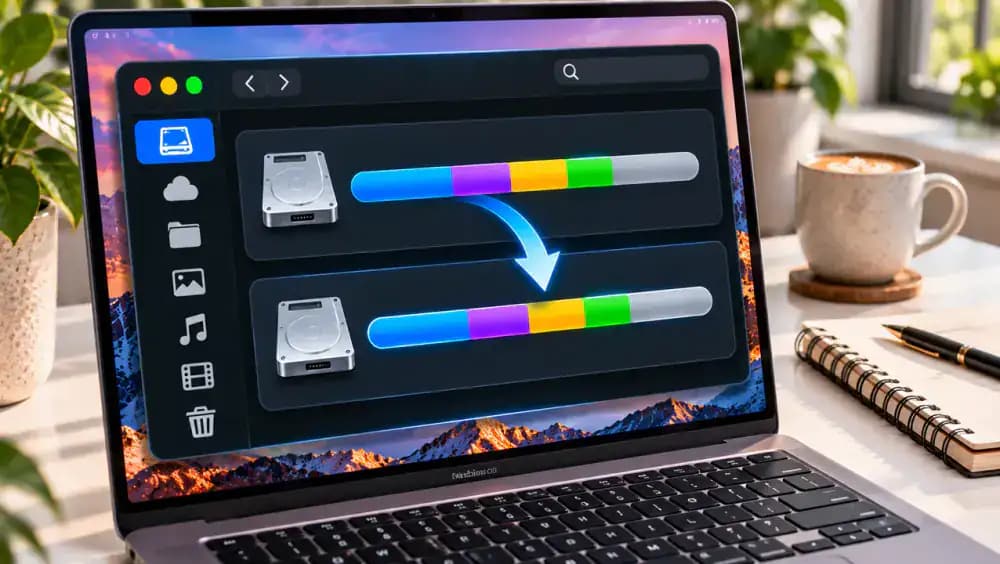
Give macOS Time to Recalculate Available Storage
If available storage has not increased after cleanup, close System Settings and continue using your MacBook normally. Later, return to System Settings > General > Storage and compare the updated figure with your earlier reading. macOS may still be recalculating categories or managing temporary files. If capacity remains critically low, investigate only recognizable personal files. Never manually delete System Data, hidden system folders, or Application Support contents to force a change.

Test File Saving and Everyday MacBook Tasks After Cleanup
Open TextEdit, create a short sample note, and save it as Storage_Test.txt in a local folder inside Documents. Next, open Finder, locate the saved file, and press the Space bar to verify its contents using Quick Look. Check whether routine downloads can proceed without storage warnings, but avoid downloading large files just for testing. If problems persist, revisit System Settings > General > Storage and record the available space before investigating further.
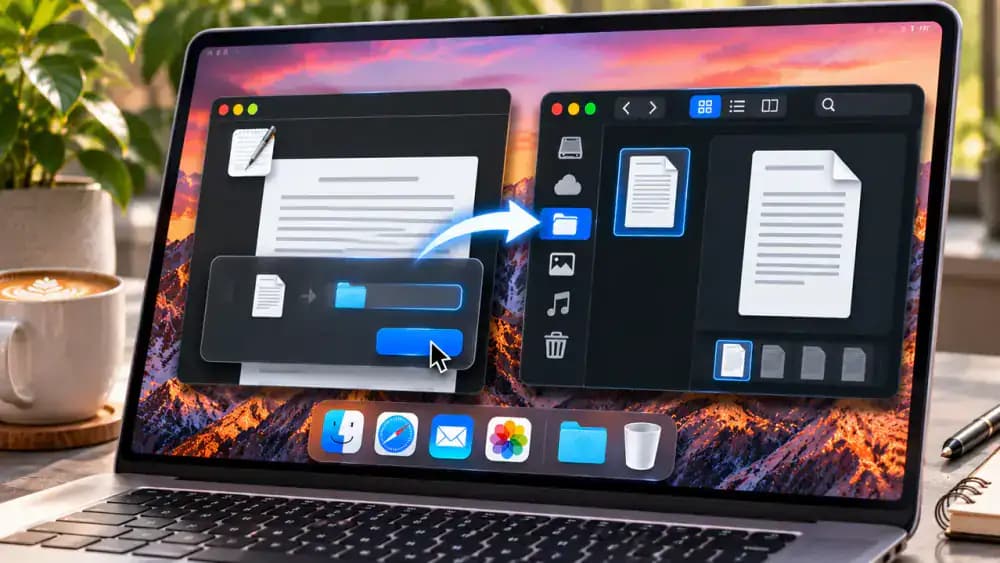
Set a Monthly Reminder to Keep MacBook Storage Under Control
Open the Reminders app and create a list called Mac Maintenance. Add a reminder named Review MacBook Storage and configure it to repeat monthly. Include four subtasks: Review Downloads, Check Large Files, Review Unused Apps, and Verify Backups. During each review, open System Settings > General > Storage to check available capacity. Inspect files before removing anything, and confirm your independent backups remain current and usable. Keep the maintenance tasks unchecked until completed.
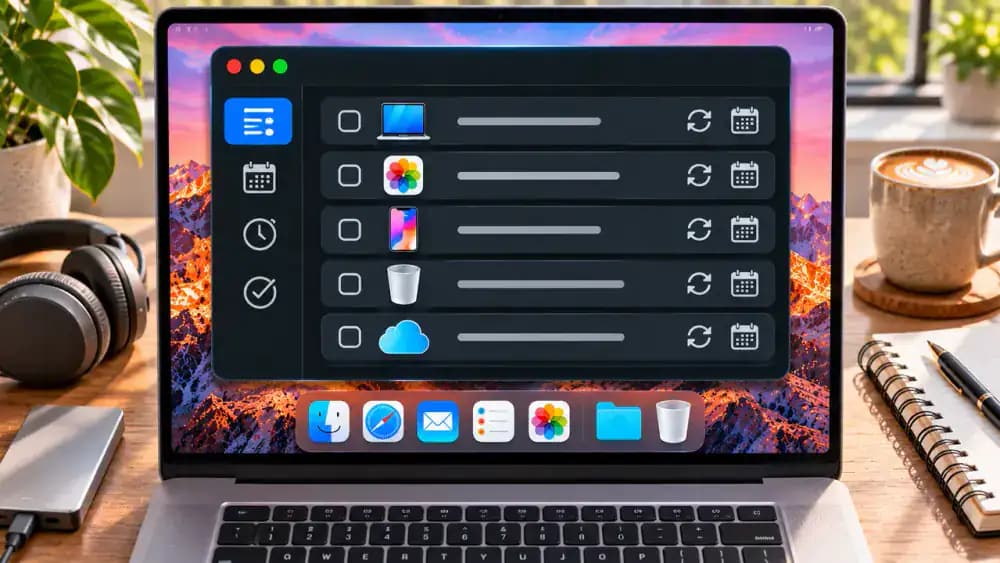
Check Time Machine Backups and Maintain Healthy Free Storage
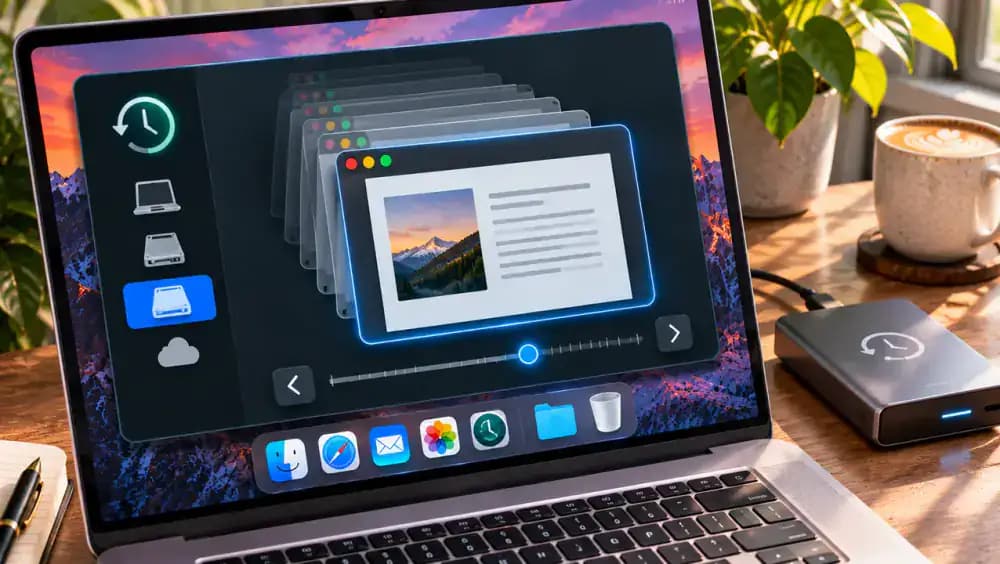
Open System Settings > General > Time Machine and review the latest completed backup date and configured backup disk. Confirm the drive is accessible, then browse Time Machine to locate an important document, such as Monthly_Report.pdf. Periodically test restoring a sample file to verify your backup works. Remember that iCloud synchronization is not an independent backup. Also monitor available storage regularly, leaving enough room for macOS updates, temporary files, and everyday tasks.
Contact Apple Support if Your MacBook Still Reports Low Storage
If storage warnings persist after safe cleanup, stop deleting files and visit support.apple.com for assistance. First, open the Apple menu > About This Mac to record your Mac model and macOS version. Then check System Settings > General > Storage and note the available capacity. Write down the exact warning message and cleanup steps already attempted. Share these details with Apple Support to help investigate unexplained storage usage without risking important files.

Keep Your MacBook Storage Under Control With a Safe Monthly Routine
Use the checklist to maintain your MacBook without risking important files. Start by verifying an independent backup, reviewing macOS Storage settings, and inspecting large downloads. Remove unused applications through supported methods and manage local cloud copies carefully. After cleanup, check your available space and repeat these checks monthly. Never delete unfamiliar system files or Application Support contents. If storage problems persist, contact Apple Support instead of attempting risky fixes.

That "Your startup disk is almost full" warning on your MacBook is more than an annoying notification. When available storage gets too low, macOS may struggle to install software updates, download files, or handle everyday tasks smoothly. Photos, forgotten downloads, old installers, unused applications, and temporary files can quietly consume valuable disk space. The good news is that you can often reclaim a significant amount of storage without buying additional hardware or installing third-party cleanup software.
This guide walks you through a practical, safe MacBook cleanup using tools already built into macOS. You'll learn how to check what's taking up space, find unnecessary large files, uninstall applications you no longer use, and review cloud storage options. Before removing anything, you'll also learn why verifying an independent backup matters and why iCloud syncing alone isn't enough to protect your files. We'll avoid risky changes to System Data and unfamiliar system folders, then show you how to check your results and keep storage problems from returning.
Where people go wrong
Deleting Files Without Checking Your Backups. Removing large files before confirming a usable backup can permanently erase important documents, photos, or projects. Verify that your files exist in an independent backup and can be restored. Remember that iCloud synchronization is not a backup, and deleting synced files may remove them from other devices.
Manually Deleting System Data and Library Files. A large System Data category can make unfamiliar folders look like easy cleanup targets. However, manually deleting macOS system files, Library folders, or Application Support data can break applications or affect system stability. Storage categories are estimates, so use supported macOS cleanup options instead.
Deleting Downloads Without Checking Their Contents. Old installers, ZIP archives, and exported files often occupy substantial storage, but not everything in Downloads is disposable. Sort files by size, inspect their contents, and compare suspected duplicates before removing anything. Check that important originals are safely stored elsewhere rather than assuming matching filenames mean identical files.
Emptying Trash Before Reviewing Deleted Files. Moving files to Trash does not immediately recover their occupied storage space, but emptying Trash makes recovery much harder. Review everything inside before permanently deleting it. Afterward, revisit System Settings > General > Storage and allow time for macOS to recalculate available capacity.
Questions people ask
Open System Settings > General > Storage to see your available space and estimated usage by category, including Documents, Applications, Photos, and System Data. Start with categories containing files you recognize. You can also open Finder, visit Downloads, and sort files by size to identify large items worth reviewing.
Fixed it?
Get one guide like this every Thursday.