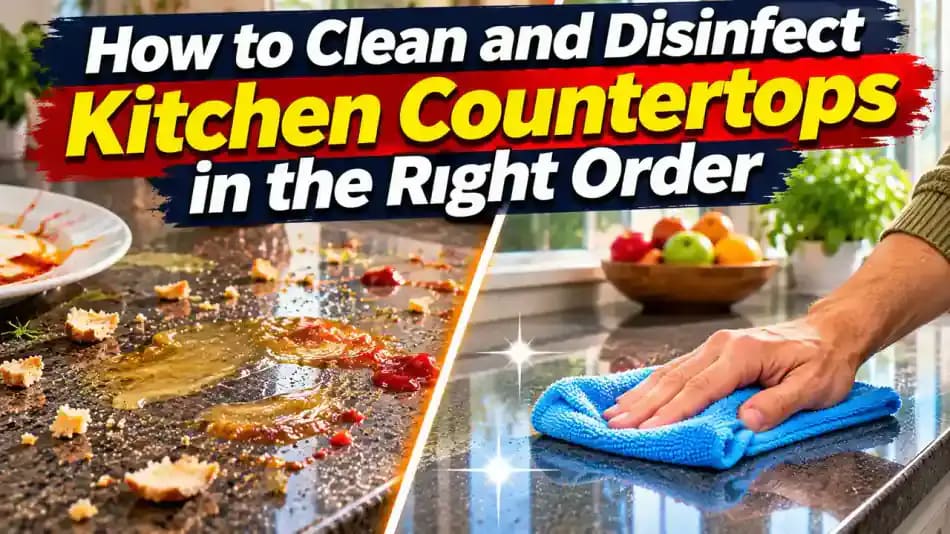
How to Clean and Disinfect Kitchen Countertops in the Right Order
Spraying disinfectant over crumbs and grease is not enough. Learn how to clean kitchen countertops first, disinfect them safely, protect different surfaces, and prepare your counters for food handling.
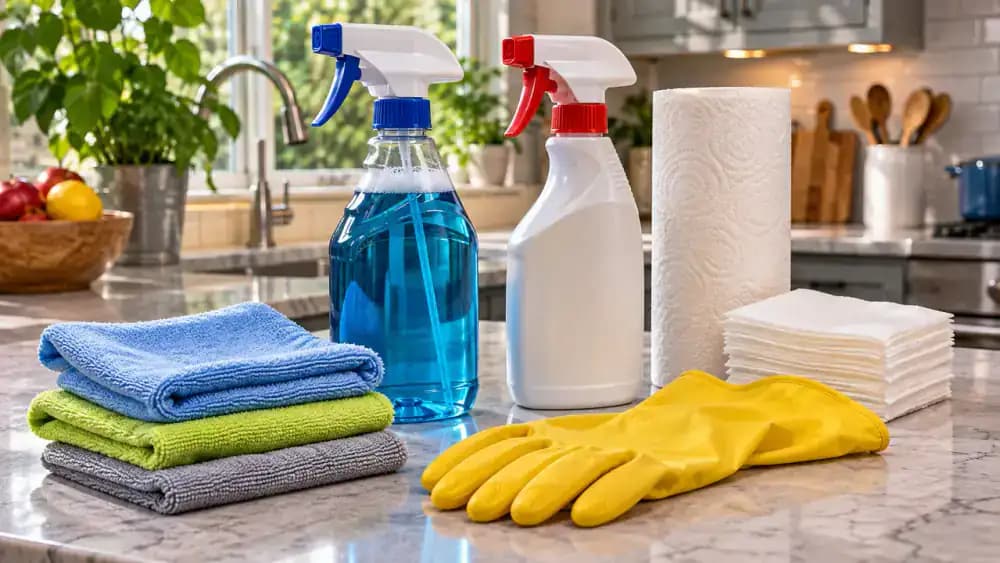
What you’ll need
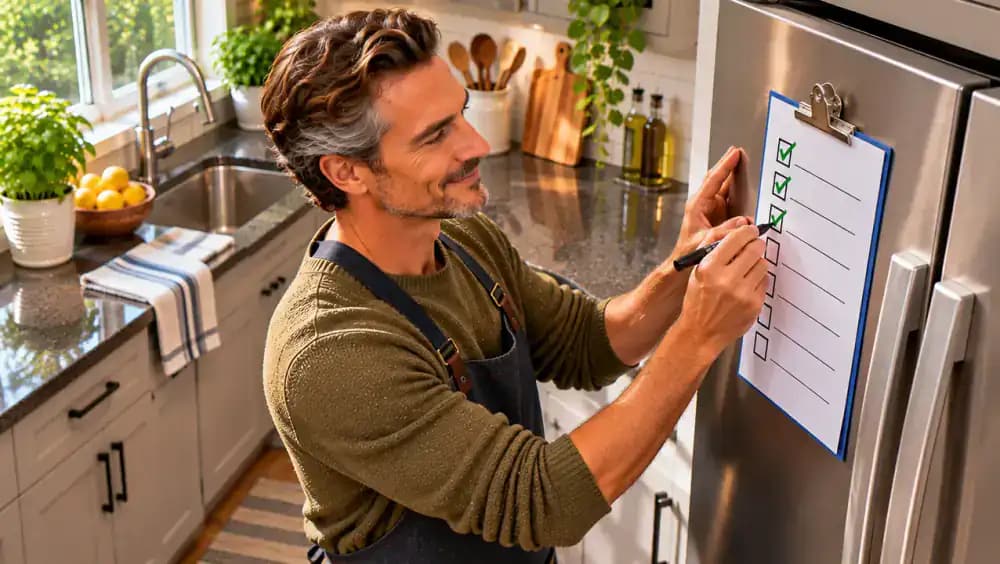
Tap to tick things off before you start.
Don't Spray Disinfectant Over Dirt and Grease
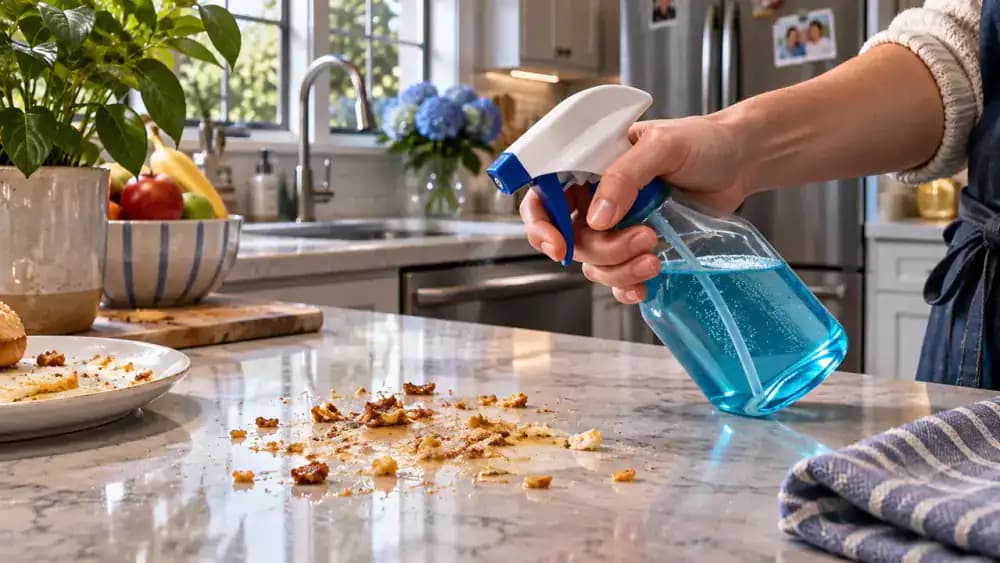
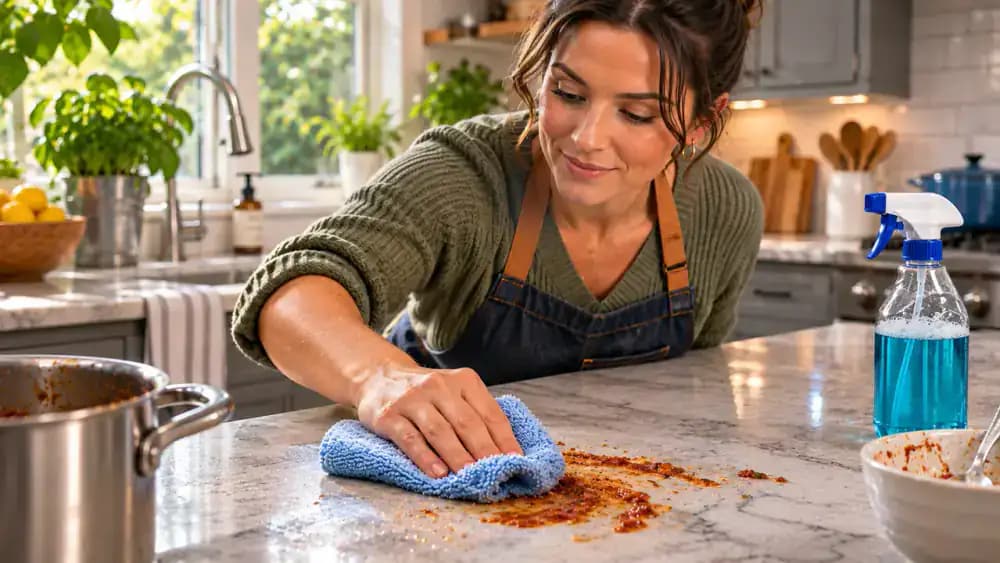
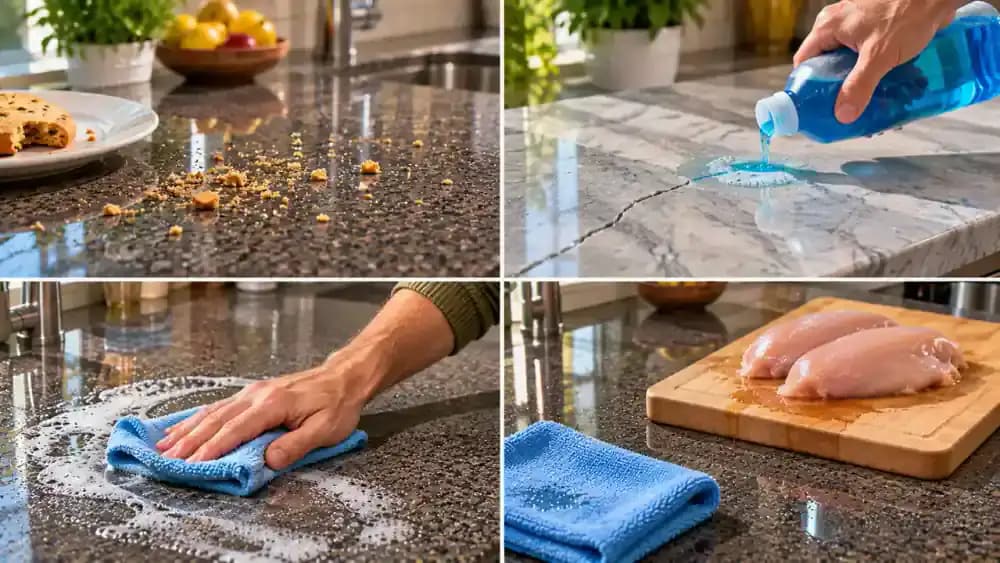
Before reaching for the disinfectant, take a closer look at the countertop. Bread crumbs, greasy fingerprints, and dried tomato sauce are still visible around the cutting board. Spraying disinfectant directly over this mess skips an essential step because dirt and food residue can interfere with proper disinfection. Remove visible debris and clean the surface first. Pay particular attention to sticky spots and areas around cutting boards where residue can accumulate.
Understand Why Cleaning Must Come Before Disinfecting
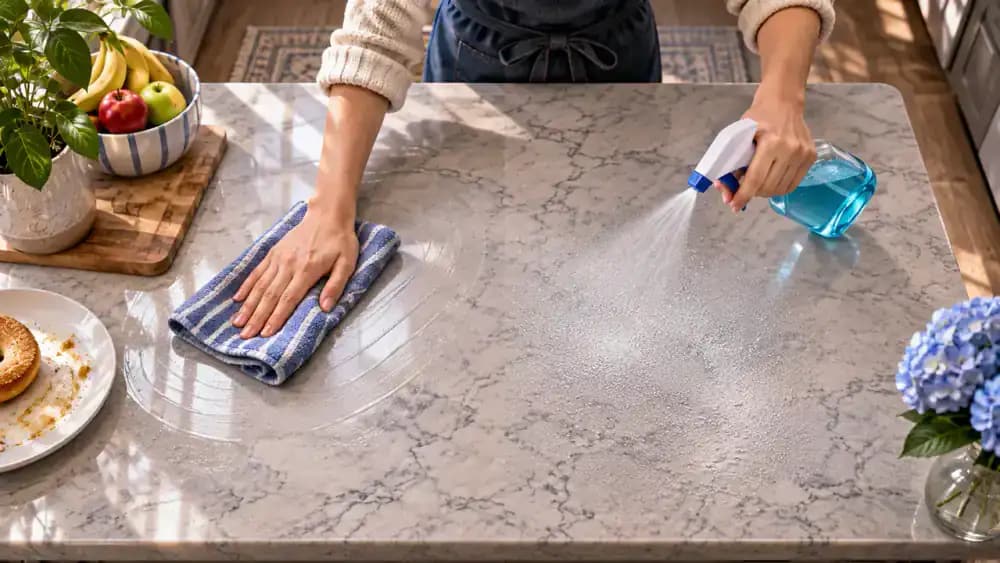
The countertop demonstration shows two separate tasks performed in sequence. On the left, a microfiber cloth and surface-compatible cleaner remove grease and food residue from the laminate. On the right, disinfectant is applied to an already-clean section. Cleaning physically removes dirt, while disinfecting reduces germs when used correctly. Always check the product label for surface compatibility, application directions, and required contact time before disinfecting.
Remove Food, Dishes, and Appliances From the Countertop
Start by moving the cutting board, plates, utensil holder, and food containers to a separate table, as shown. Relocate exposed food to prevent contact with cleaning products, and move small appliances out of the work area. Unplug appliances before moving them when appropriate. Check behind containers and along appliance edges for hidden crumbs or spills. Leave the entire countertop accessible so you can clean every section without obstacles.

Choose Surface-Safe Supplies and Check Product Labels
Arrange clean microfiber cloths, disposable paper towels, a countertop-compatible cleaner, a separate disinfectant, and protective gloves on a dry surface. Before opening either bottle, read the labels carefully, as shown. Verify approved countertop materials, application directions, required contact time, ventilation, and food-contact rinsing instructions. Keep both products closed and separate until needed. Using different colored cloths for cleaning and rinsing helps prevent accidentally spreading residue between tasks.
Gently Remove Crumbs and Loose Food Debris
Fold a clean disposable paper towel and gently sweep loose bread crumbs, cereal flakes, and rice into a small pile, as shown. Start near the backsplash and work toward the front edge using short, controlled movements. Lift the collected debris into the towel instead of dragging gritty particles across the laminate. Check corners and seams for trapped crumbs. This dry pass prepares the surface for cleaning without scratching its finish.
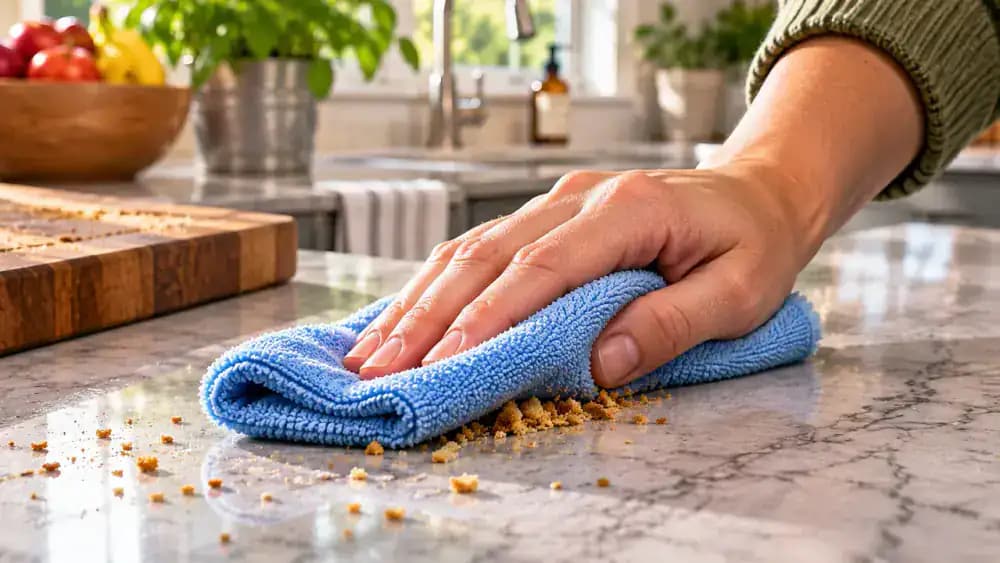
Soften and Remove Dried Food Without Scratching
Place a clean microfiber cloth lightly dampened with water over the dried pasta sauce, as shown, provided your countertop manufacturer permits water. Allow the moisture to soften the residue, then gently rub with short, controlled movements and minimal pressure. As the sauce transfers onto the cloth, switch to a clean section to avoid spreading it. Never use metal scrapers, abrasive pads, or excessive force that could damage the finish.
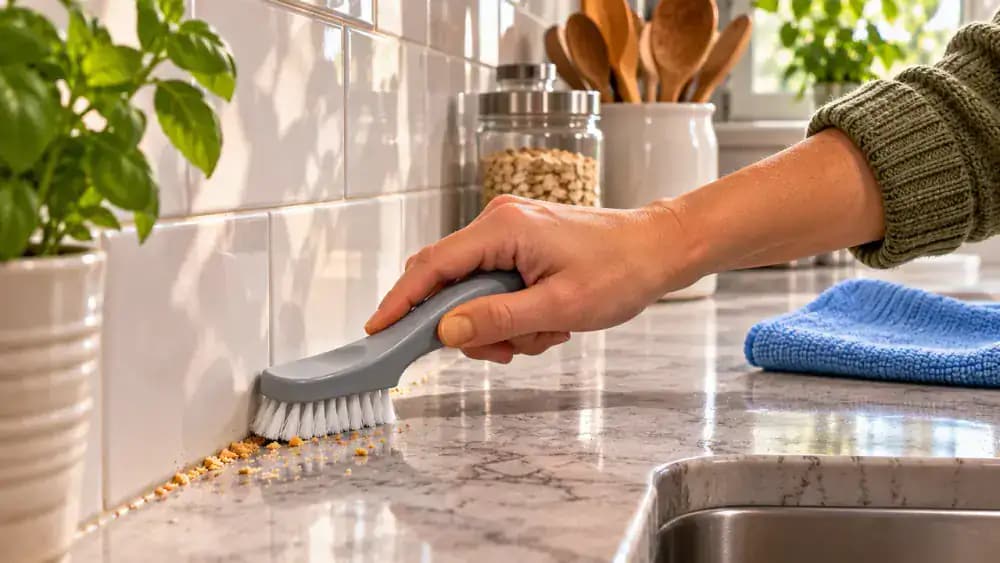
Remove Hidden Crumbs From Seams and Appliance Edges
Inspect the narrow spaces where crumbs collect, especially along the backsplash, around sink edges, and beside small appliances. As shown, gently loosen trapped debris with a soft-bristled brush approved for your countertop, then collect it with a dry microfiber cloth. Use short, controlled strokes without pushing particles deeper into seams. Keep moisture away from electrical outlets and appliance openings, and never force brushes or tools into sealed joints.
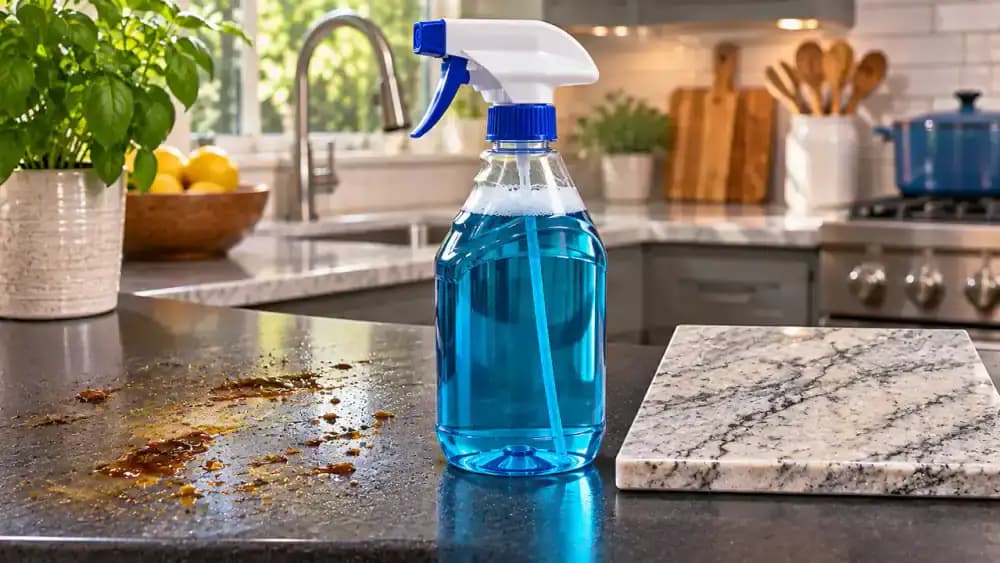
Select a Grease Cleaner Approved for Your Countertop
Before treating the oily residue near the stove, check that your cleaner is approved for the countertop material. As shown, read the bottle label for compatible surfaces, application methods, and rinsing requirements. A cleaner suitable for laminate may damage natural stone or other finishes. Compare the label with your countertop manufacturer's care instructions. Keep the bottle closed until you have confirmed compatibility and understand how to use it safely.
Apply Countertop Cleaner Without Oversaturating the Surface
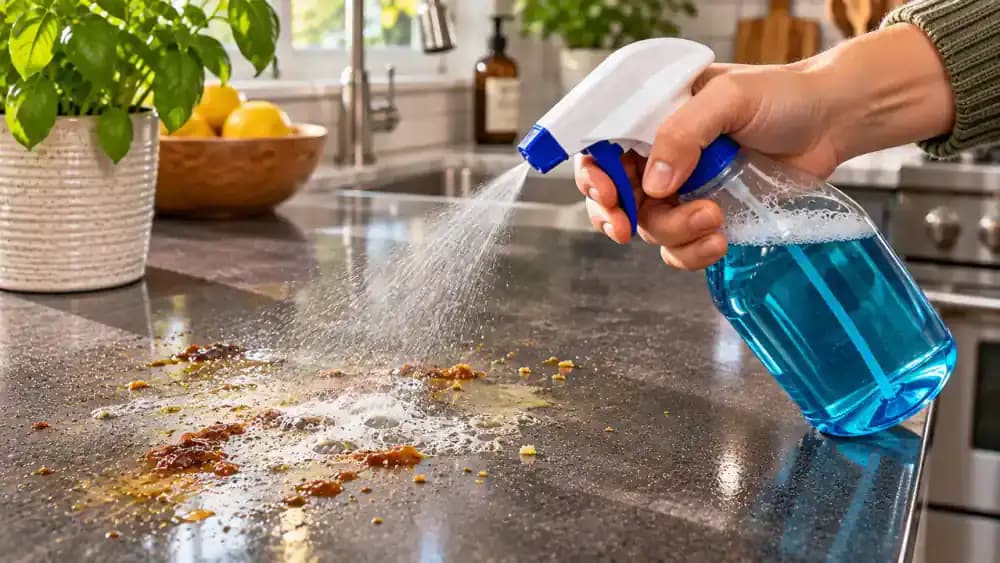
Hold the approved cleaner about 8 inches above the greasy laminate countertop and apply a light, even spray, as shown, only if the product label permits direct spraying. If not, apply the cleaner to a fresh microfiber cloth instead. Cover the greasy area without soaking the surface, seams, or nearby appliances. Allow any working time specified on the label before wiping away the loosened residue with a clean cloth.
Lift Away Grease With Clean, Overlapping Wipes
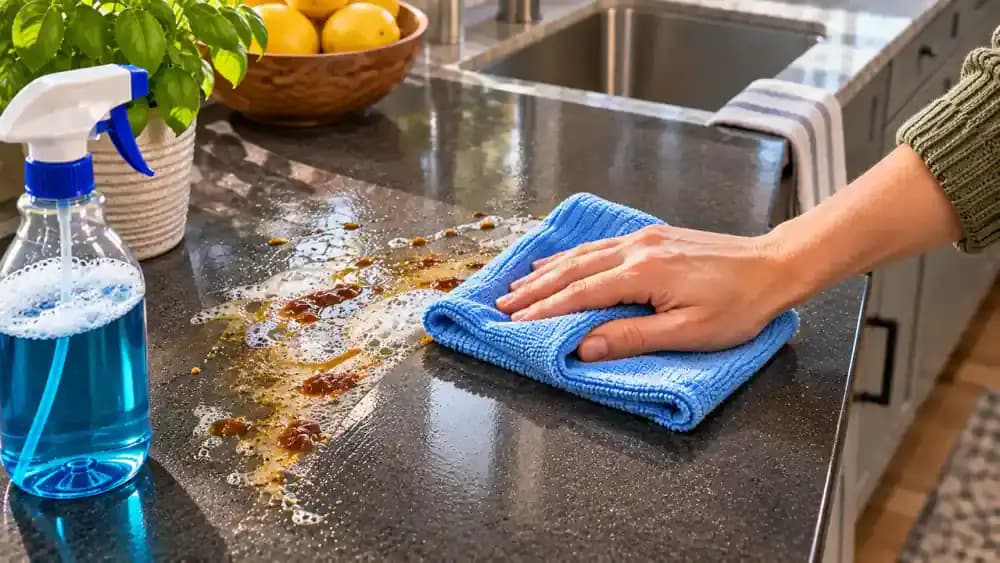
After the cleaner has worked for the time specified on its label, use a fresh microfiber cloth to remove loosened grease. As shown, wipe in straight, overlapping strokes from cleaner sections toward dirtier areas. Apply gentle pressure and fold the cloth inward whenever it collects oily residue, exposing a clean section for the next pass. Check the countertop for remaining greasy patches before proceeding to any required rinsing.
Rinse Away Cleaner Residue Before Disinfecting
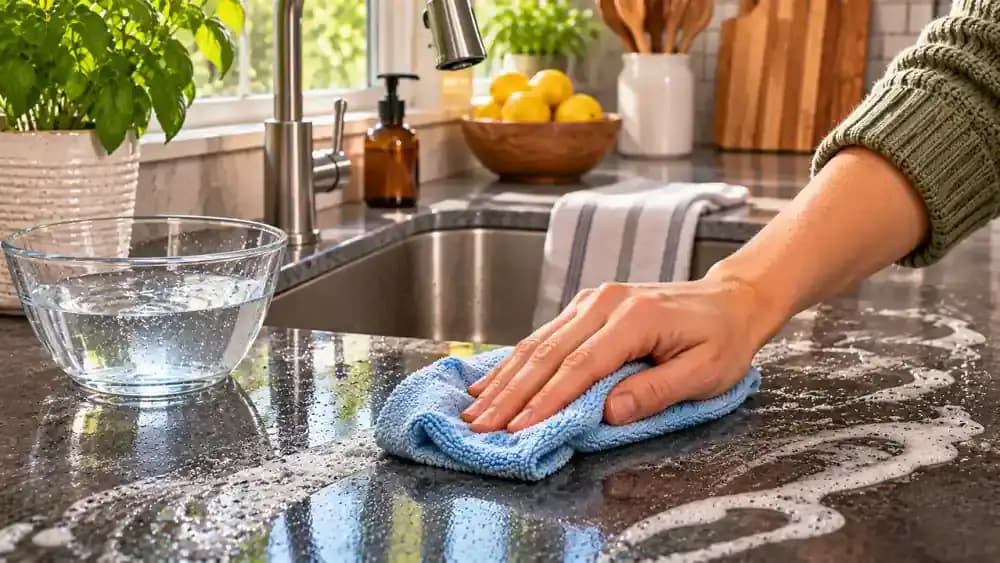
Check the cleaner label to determine whether rinsing is required. As shown, wet a fresh microfiber cloth under running water, wring it until damp, and wipe the countertop in smooth, overlapping strokes. Use clean water and a separate cloth to avoid transferring leftover grease or cleaning chemicals. Keep moisture away from seams and electrical openings, and follow any drying instructions before applying a compatible disinfectant to the cleaned surface.
Check for Hidden Grease and Food Residue
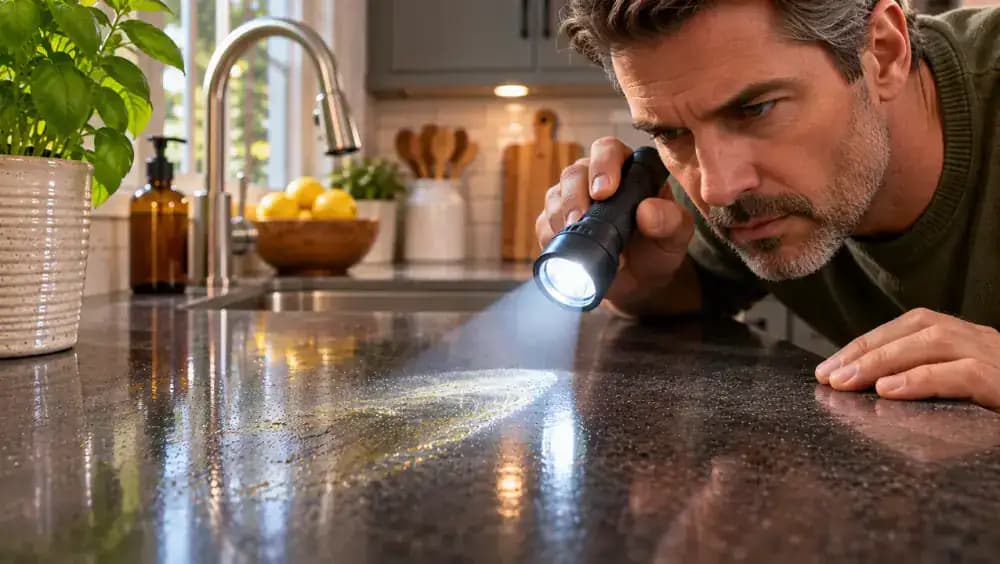
Hold a small flashlight at a shallow angle above the cleaned countertop, as shown, to reveal greasy streaks, crumbs, or dried food that overhead lighting might miss. Examine the surface from several angles, especially near seams and appliance edges. Gently check suspicious spots with a fresh microfiber cloth rather than bare fingers. If residue transfers onto the cloth, clean that area again before disinfecting. A spotless appearance does not prove disinfection.
Choose a Disinfectant Safe for Your Countertop Material
Identify your countertop material before selecting a disinfectant. As shown, compare sealed granite, engineered quartz, laminate, and stainless steel samples while reviewing the manufacturer's care instructions. Next, check the disinfectant label for approved surfaces, including any hard, nonporous surface requirements. Pay special attention to whether natural stone is sealed or unsealed. A product labeled for kitchen use is not automatically compatible with every countertop material or finish.
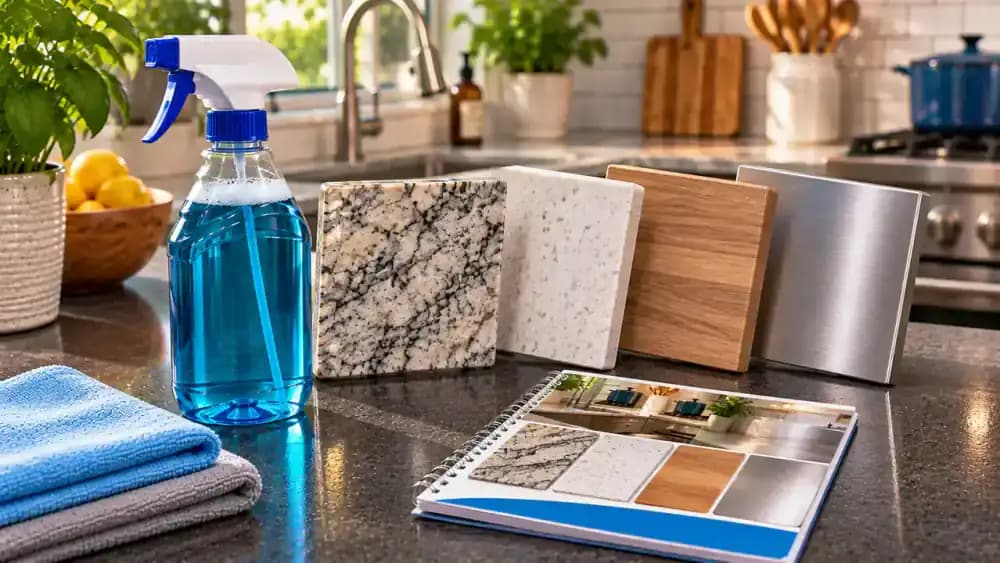
Check Disinfectant Contact Time, Dilution, and Rinsing Instructions
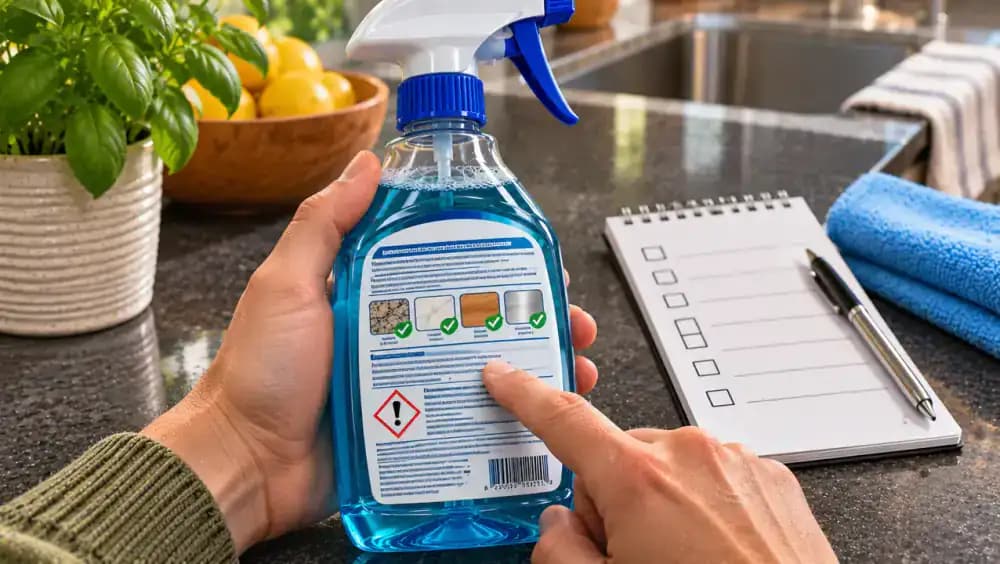
Hold the closed disinfectant bottle upright and examine its back label, as shown. Locate the approved surfaces, application method, dilution requirements, and exact wet contact time. Check whether food-contact surfaces require a potable-water rinse afterward. Review ventilation and protective equipment instructions before opening the bottle. Write down the key requirements if needed, especially the contact time, so you can follow every direction accurately without guessing.
Ventilate the Kitchen and Put On Required Protective Gear
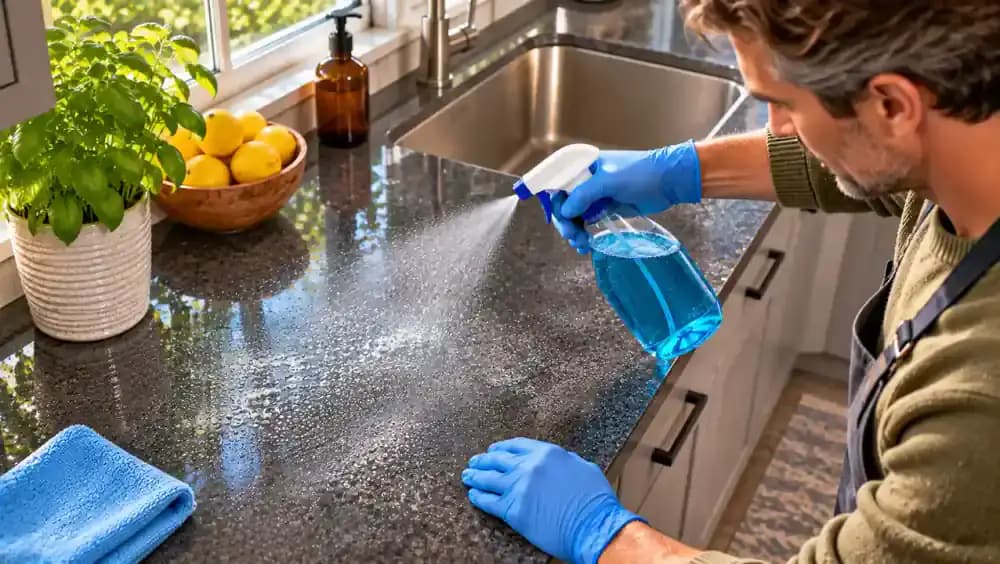
Before opening the disinfectant, prepare your kitchen according to its label instructions. As shown, open a nearby window if ventilation is required and put on appropriately sized protective gloves when directed. Keep food, utensils, and cutting boards away from the work area. Store other cleaning products separately with their containers closed. Confirm the required concentration and application method before proceeding, and make sure the countertop is free of leftover cleaner.

Apply Disinfectant Evenly Across the Clean Countertop
Hold the surface-compatible disinfectant bottle at the distance specified on its label, as shown. If spraying is permitted, apply the product in controlled, overlapping passes across the cleaned countertop. Aim for even, visibly wet coverage without creating puddles or soaking seams. Keep the spray away from food, electrical outlets, and appliance openings. Leave the treated area undisturbed and follow the full labeled wet contact time before wiping or rinsing.
Keep the Countertop Wet for the Required Contact Time
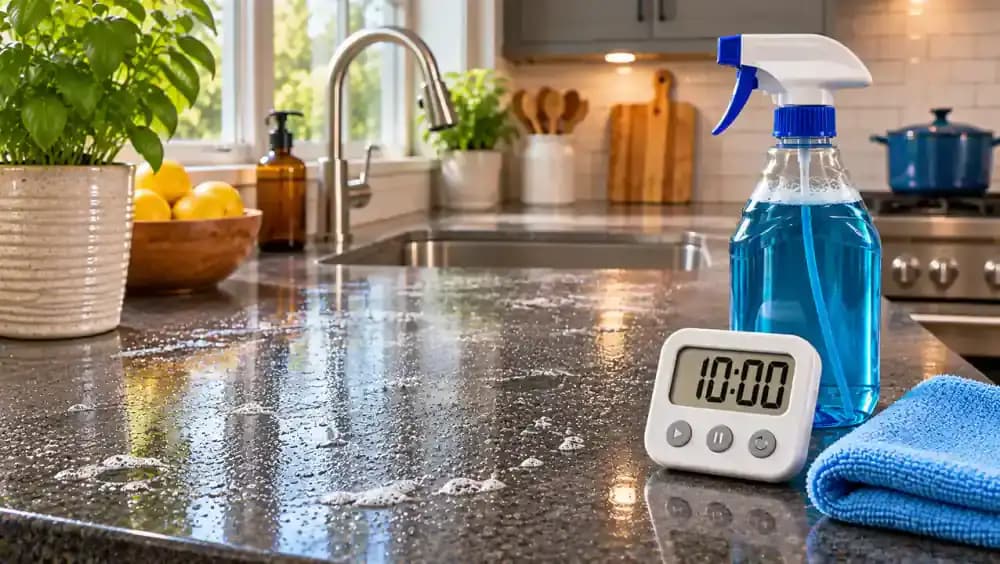
Check the disinfectant label for its exact wet contact time, then set a kitchen timer accordingly, as shown. Leave the treated countertop visibly wet throughout the entire period without wiping or rinsing it early. Watch for areas that begin drying before the timer finishes. If moisture evaporates too quickly, consult the label for approved reapplication instructions. Keep food and utensils away until all required disinfection and post-treatment steps are complete.
Watch for Dry Spots While the Disinfectant Works
Inspect the treated countertop from a low angle, as shown, to identify sections that begin drying before the required contact time ends. Pay particular attention to edges and areas exposed to airflow. If a dry spot appears, check the disinfectant label for approved reapplication instructions before adding more product. Maintain visibly wet coverage for the full labeled period without creating puddles. Surface shine alone cannot confirm successful disinfection.
Check Whether Food-Contact Surfaces Need Rinsing
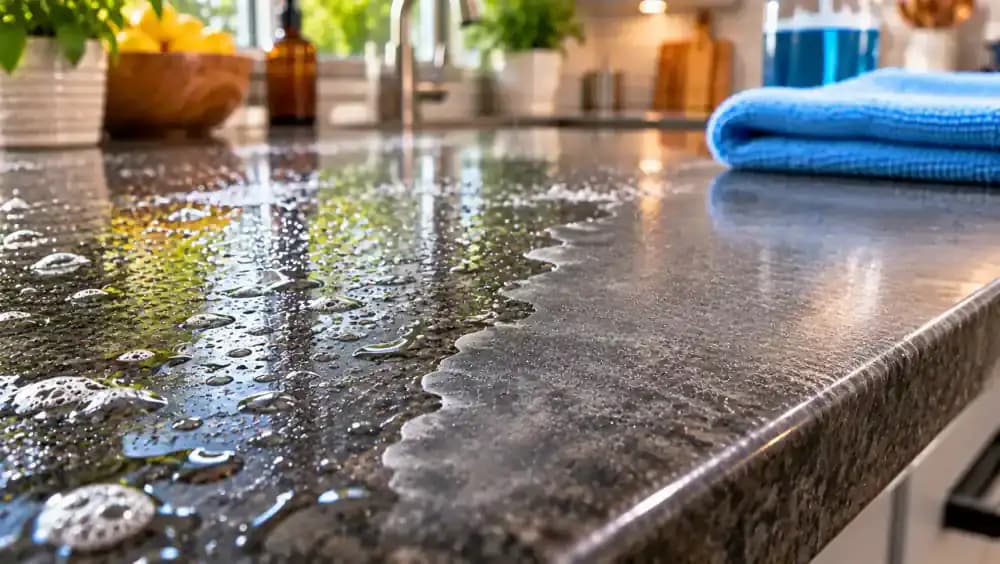
After the full disinfectant contact time has passed, examine the product label before touching the countertop. As shown, locate the food-contact instructions and determine whether a potable-water rinse is required. Some disinfectants require rinsing before direct food contact, while others specify different finishing procedures. Consider how you use the countertop for food preparation. Keep cutting boards, vegetables, and utensils away until all required rinsing and drying instructions are completed.
Rinse the Countertop With Potable Water When Required
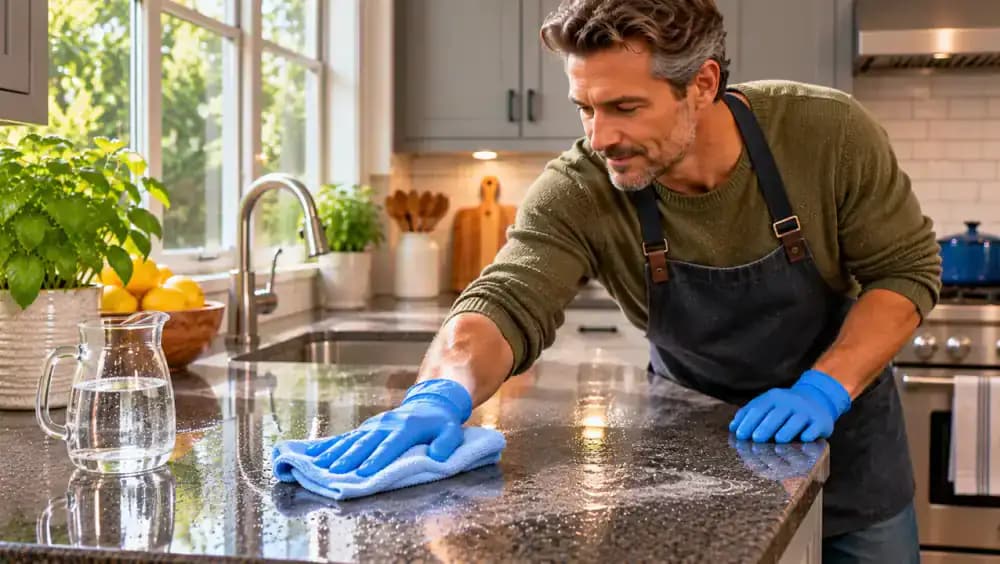
Once the full disinfectant contact time has elapsed, dampen a fresh green microfiber cloth with potable water if the product label requires rinsing. As shown, wipe the treated countertop in controlled, overlapping strokes, following the manufacturer's directions. Refold the cloth frequently to expose clean sections and avoid spreading residue. Prevent excess water from collecting around seams or electrical openings. Keep food and utensils away until all required finishing steps are complete.
Dry the Countertop According to the Disinfectant Instructions
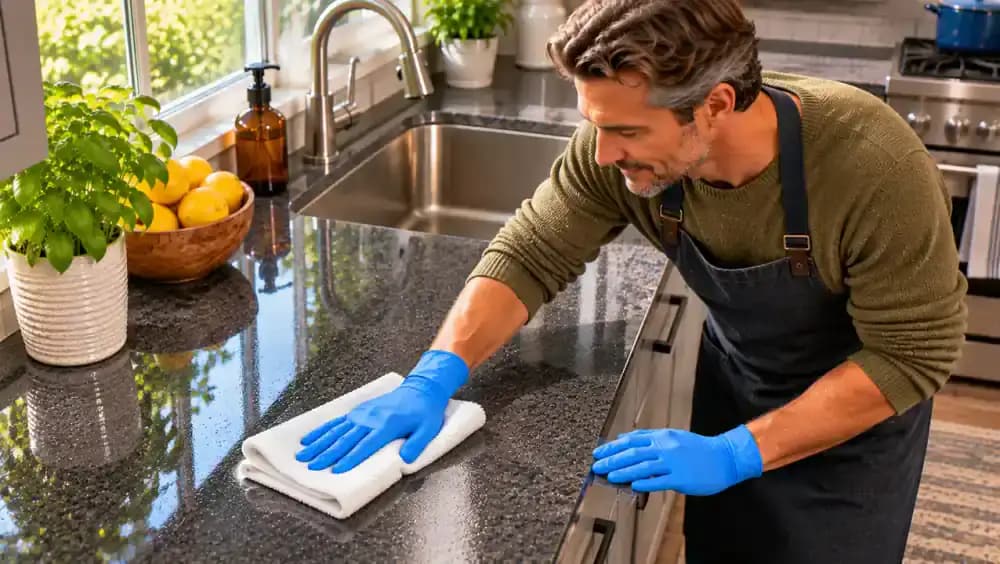
After completing the required potable-water rinse, check the disinfectant label for drying instructions. If towel drying is permitted, gently absorb remaining moisture with a fresh, dry, lint-free microfiber cloth, as shown. Use light, overlapping strokes and avoid pushing water into countertop seams. If the label requires air drying, leave the surface undisturbed instead. Keep food and utensils off the counter until all finishing instructions are complete.
Inspect the Countertop Before Returning Kitchen Items
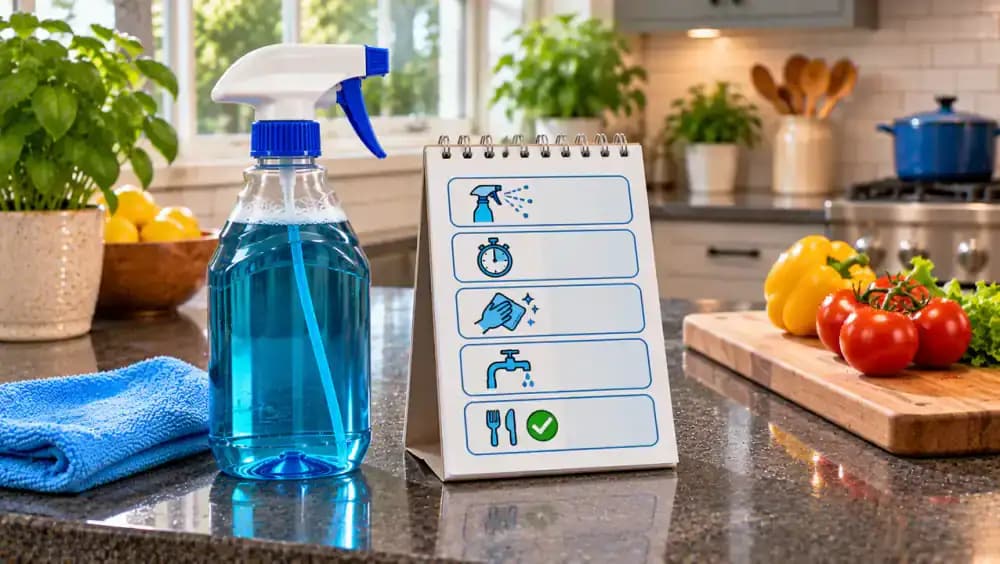
Examine the finished countertop for remaining crumbs, greasy streaks, or moisture, especially along the backsplash and front edge. As shown, review your checklist to confirm that cleaning, the full disinfectant contact time, any required potable-water rinse, and final drying are complete. Once all label instructions have been followed, return clean, dry cutting boards and utensils. Remember that a spotless appearance cannot confirm whether disinfection was effective.

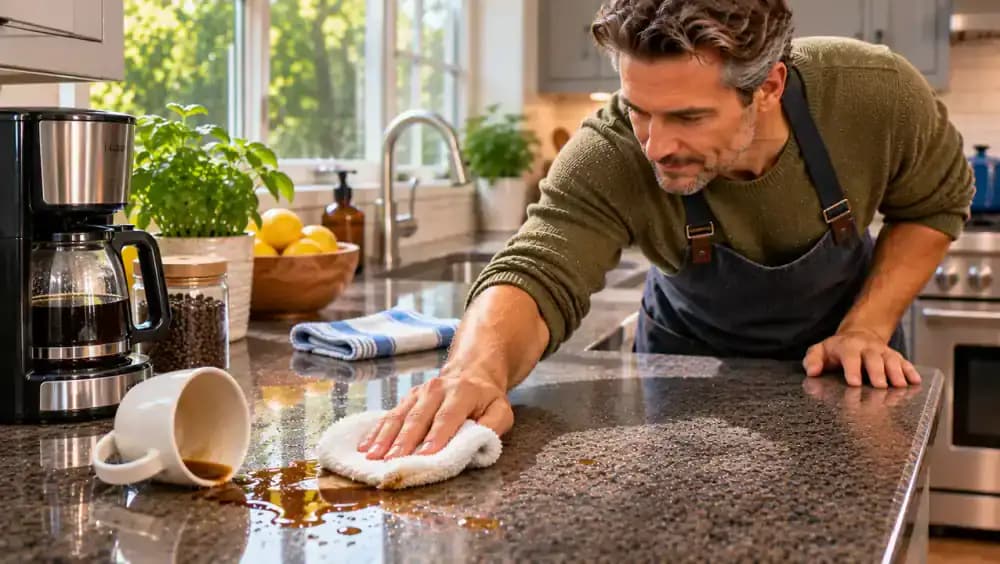
Clean Up Everyday Spills Before They Become Stubborn
When coffee spills or crumbs collect during breakfast, clean them up promptly rather than letting residue dry. As shown, move dishes aside, collect loose crumbs with a disposable towel, and wipe the spill using a clean microfiber cloth and countertop-compatible cleaner. Follow the cleaner's label instructions and avoid abrasive scrubbing. Place used reusable cloths in the laundry afterward. Everyday messes generally need cleaning, not automatic disinfection after every meal.
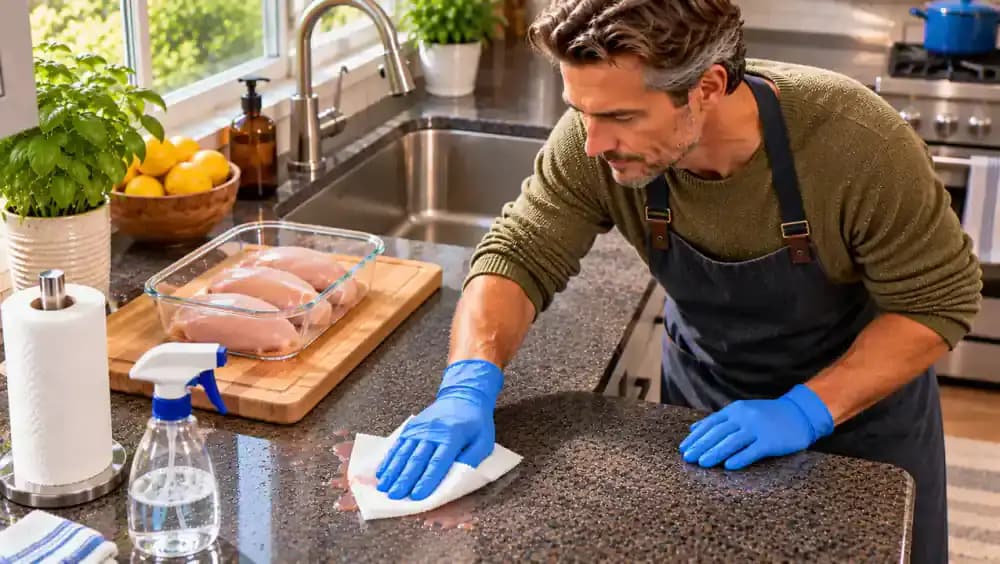
Take Extra Precautions After Raw Meat Contamination
When raw chicken juices spill onto the countertop, treat the affected area with extra care. As shown, move the raw poultry and cutting board away without spreading contamination, absorb the spill with disposable paper towels, and discard them safely. Clean the surface with a compatible product before disinfecting when appropriate. Follow food-safety guidance and the disinfectant label, including its full wet contact time and any required food-contact rinse.
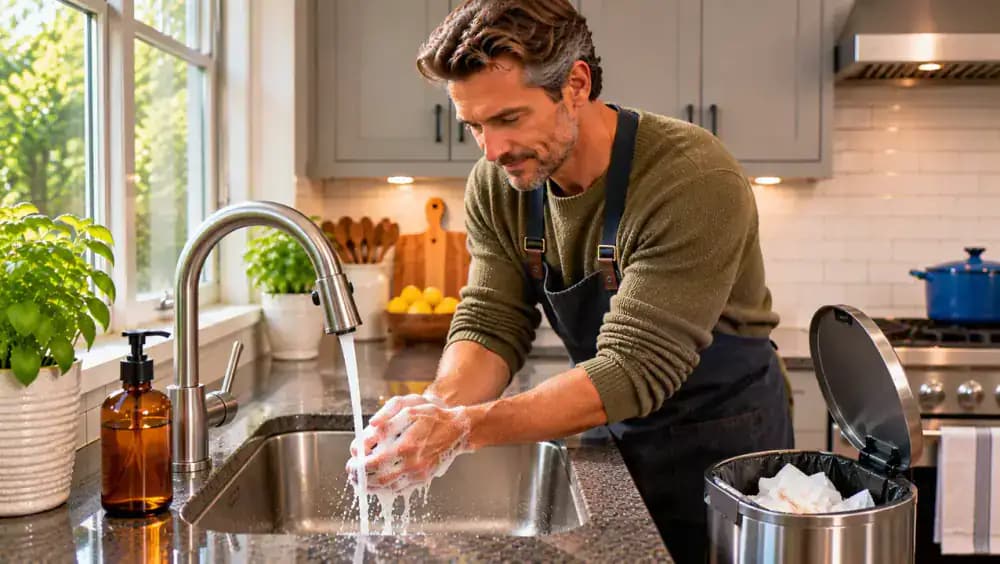
Dispose of Contaminated Supplies and Wash Your Hands
Place contaminated paper towels in a lined trash can and close the lid, as shown. Remove disposable gloves carefully, turning them inside out without touching their contaminated exterior. Wash your hands thoroughly with soap and running water, then dry them with a clean towel. Launder reusable cleaning cloths according to their care instructions before reuse. Finally, store tightly closed cleaning products separately in a secure cabinet away from children.
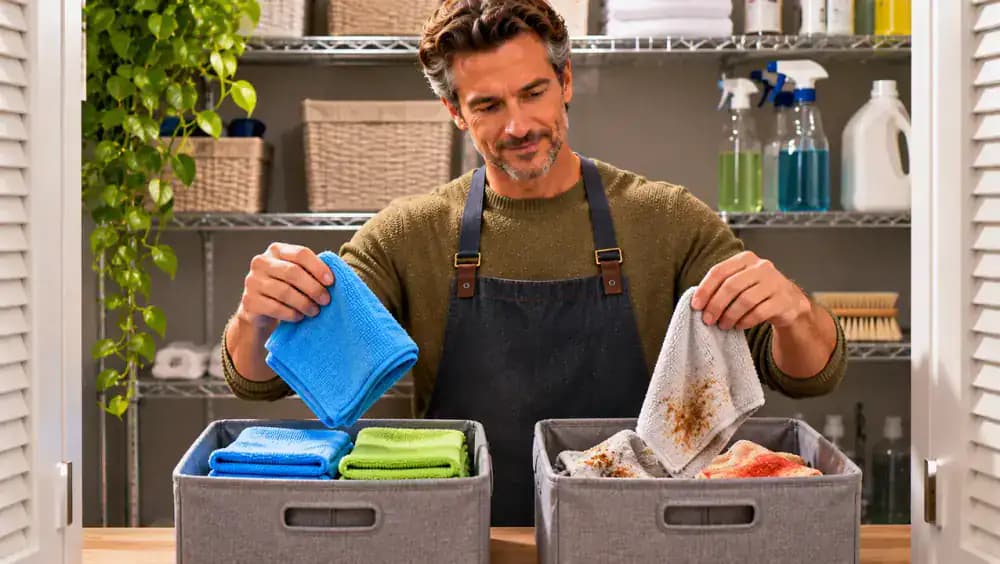
Organize Clean Cloths and Store Cleaning Products Safely
Fold freshly washed, completely dry microfiber cloths and place them in a dedicated clean storage bin, as shown. Keep used cloths in a separate closed laundry hamper to prevent cross-contamination. Inspect your supplies and discard cloths with frayed edges or heavy wear. Before restocking products, verify their labels against your countertop manufacturer's care instructions. Store cleaning products tightly closed, upright, and securely according to their labels, away from children.
Create a Weekly Countertop Cleaning Checklist
Use a simple checklist to keep countertop maintenance consistent, as shown. After meals, remove crumbs and wipe spills before they dry. Clean greasy cooking areas with a surface-compatible product, following its label instructions. Once a week, inspect seams, backsplash corners, and appliance edges for hidden buildup. Adjust the routine to match how often you cook. Disinfect when appropriate, always following the product's contact time and food-contact instructions.
Avoid Four Mistakes That Can Undermine Disinfection
Review the four common mistakes shown: applying disinfectant over visible dirt, using a product incompatible with the countertop, wiping before the required contact time ends, and skipping a required food-contact rinse. Each mistake can compromise safety or effectiveness. Check both product labels and countertop care instructions before proceeding. Never mix disinfectants with cleaners, bleach, ammonia, or acids. Using the correct method matters more than applying extra product.
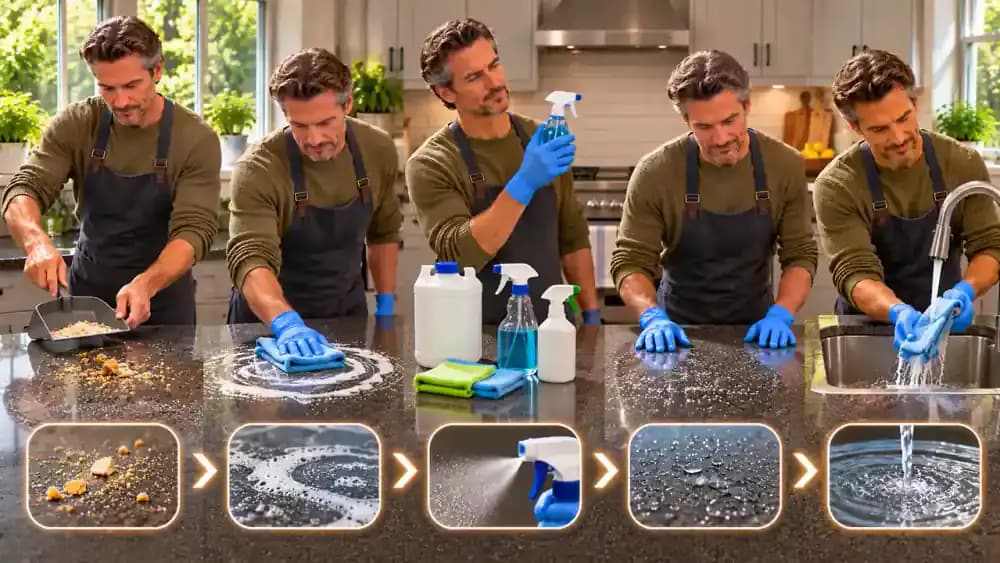
Follow These Five Steps for Proper Countertop Disinfection
Use the five stations shown to remember the correct sequence. First, remove crumbs and food residue. Second, clean away grease with a countertop-compatible cleaner. Third, verify that your disinfectant is approved for the surface. Fourth, maintain visibly wet coverage for the full labeled contact time. Fifth, complete any required potable-water rinse and drying instructions. Keep products separate throughout the process, and never rush or skip steps when disinfecting.
Keep Your Kitchen Countertops Ready for Everyday Use
With cleaning and all required disinfectant instructions completed, return clean kitchen items to the dry countertop, as shown. Keep the surface in good condition by wiping spills promptly, removing crumbs, and using products approved for its material. Disinfect when appropriate, following the full labeled wet contact time and food-contact rinsing requirements. Never mix disinfectants with other cleaners, bleach, ammonia, or acids. Consistent maintenance helps prevent unnecessary buildup.

Your kitchen countertop might look clean after a quick spray and wipe, but appearances can be misleading. Crumbs, grease, and leftover food can interfere with disinfectants, making it harder for them to work as intended. One of the most common kitchen cleaning mistakes is spraying disinfectant directly onto a dirty surface and immediately wiping it away. Cleaning and disinfecting serve two different purposes: cleaning removes visible dirt, grease, and food residue, while disinfecting reduces germs when the product is used correctly. For effective results, the order matters: clean first, disinfect second.
Whether your countertops are laminate, granite, quartz, or another material, using the wrong products or techniques can damage the finish or leave unwanted residue behind. This guide explains how to remove stubborn food debris, tackle greasy spots, choose surface-compatible products, and apply disinfectant safely. You'll also learn why the full labeled contact time matters, when a potable-water rinse is required, and how to maintain cleaner countertops between deep cleanings. Always follow disinfectant label instructions, and never mix disinfectants with other cleaners, bleach, ammonia, or acids.
Where people go wrong
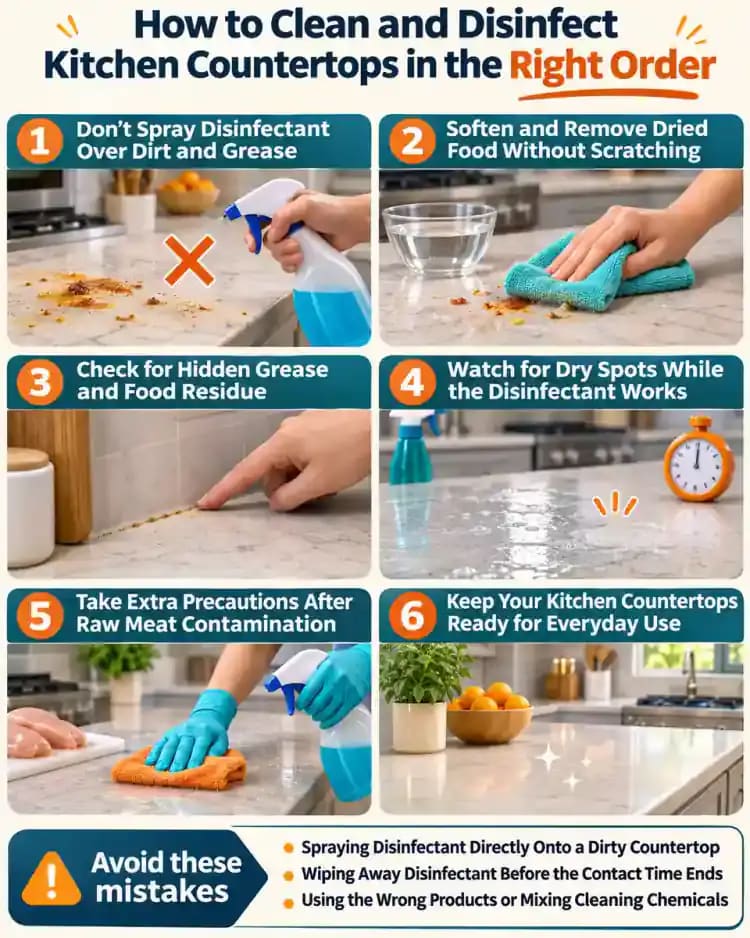
Spraying Disinfectant Directly Onto a Dirty Countertop. Applying disinfectant over crumbs, grease, and food residue skips the essential cleaning stage. Dirt can interfere with the disinfectant's effectiveness. Always remove loose debris, clean greasy areas with a surface-compatible cleaner, and complete any required rinse before applying disinfectant according to its label.
Wiping Away Disinfectant Before the Contact Time Ends. Spraying disinfectant and immediately wiping it dry may prevent the product from working as intended. Check the label for the required contact time and keep the surface visibly wet for that entire period. Follow the manufacturer's application instructions rather than assuming a quick spray is enough.
Using the Wrong Products or Mixing Cleaning Chemicals. A disinfectant suitable for one countertop material may damage another. Always verify surface compatibility, dilution requirements, and application instructions before use. Never mix disinfectants with other cleaners, bleach, ammonia, or acids. Follow all label requirements for ventilation and protective equipment to avoid unnecessary chemical exposure.
Skipping the Required Rinse Before Preparing Food. Some disinfectants require a potable-water rinse before the countertop can safely contact food. Skipping this instruction can leave unwanted chemical residue on food preparation surfaces. Read the label carefully, complete any required rinse, and follow drying instructions. A countertop that looks clean is not necessarily properly disinfected.
Questions people ask
Yes. Cleaning and disinfecting perform different jobs, and the order matters. Cleaning removes crumbs, grease, and food residue that can interfere with disinfectants. Start by clearing the countertop, removing debris, and wiping it with a surface-compatible cleaner. Complete any required cleaner rinse before applying disinfectant according to its label.
Fixed it?
Get one guide like this every Thursday.