How to Remove Limescale From an Electric Kettle Safely
Chalky white buildup inside your electric kettle? Learn how to safely dissolve limescale, clean the filter, rinse away residue, and prevent mineral deposits from returning.
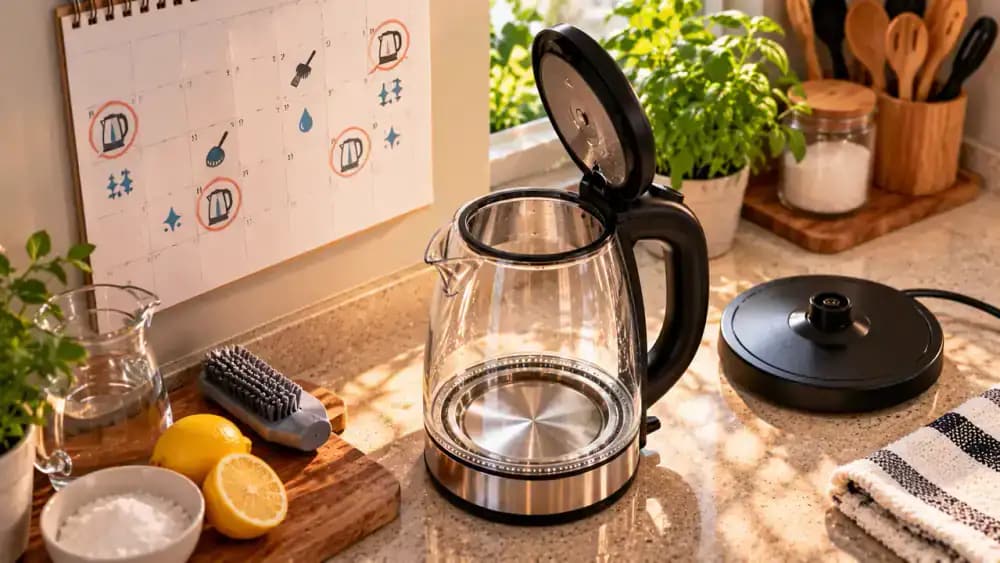
What you’ll need
Tap to tick things off before you start.
Check for Chalky Mineral Deposits Inside the Kettle
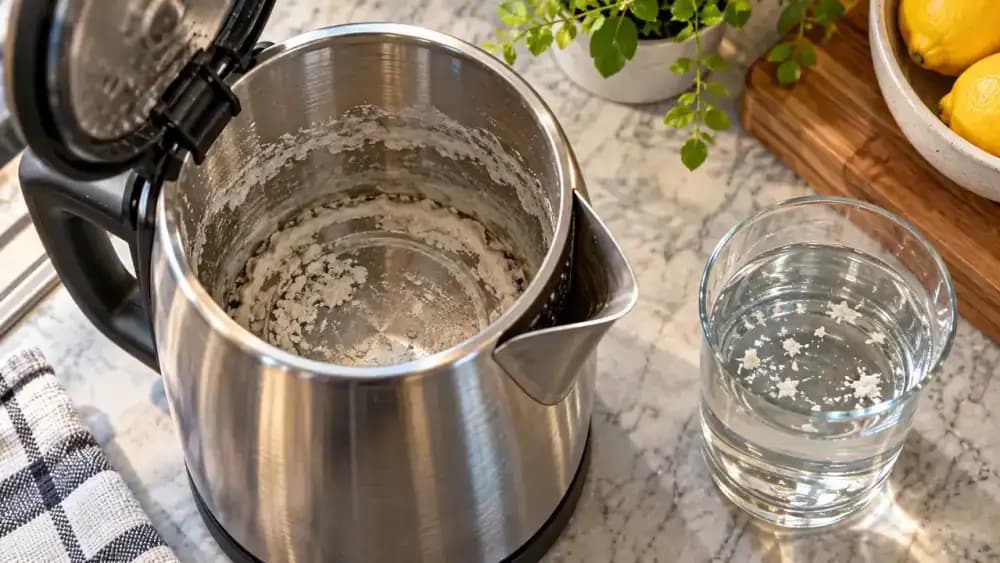
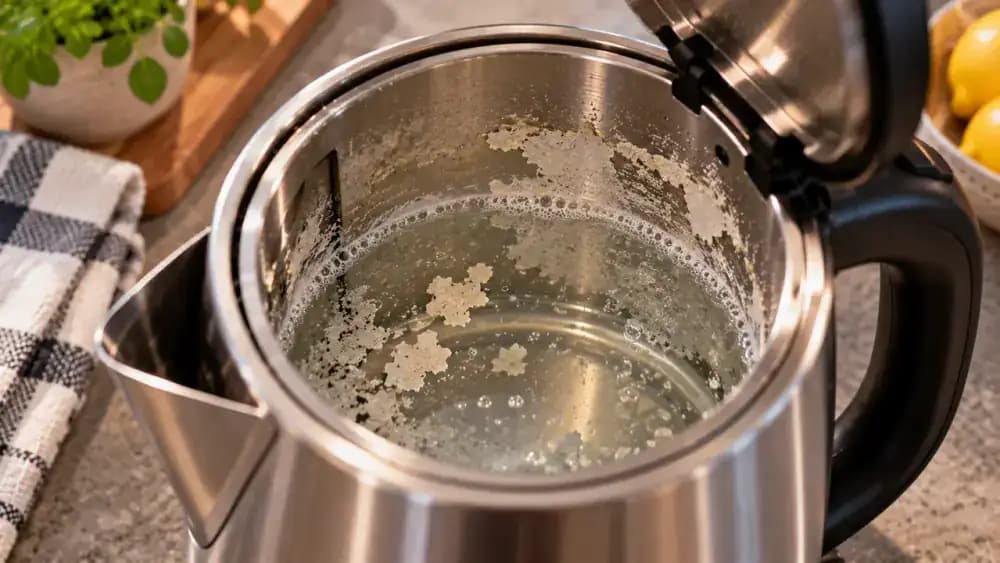
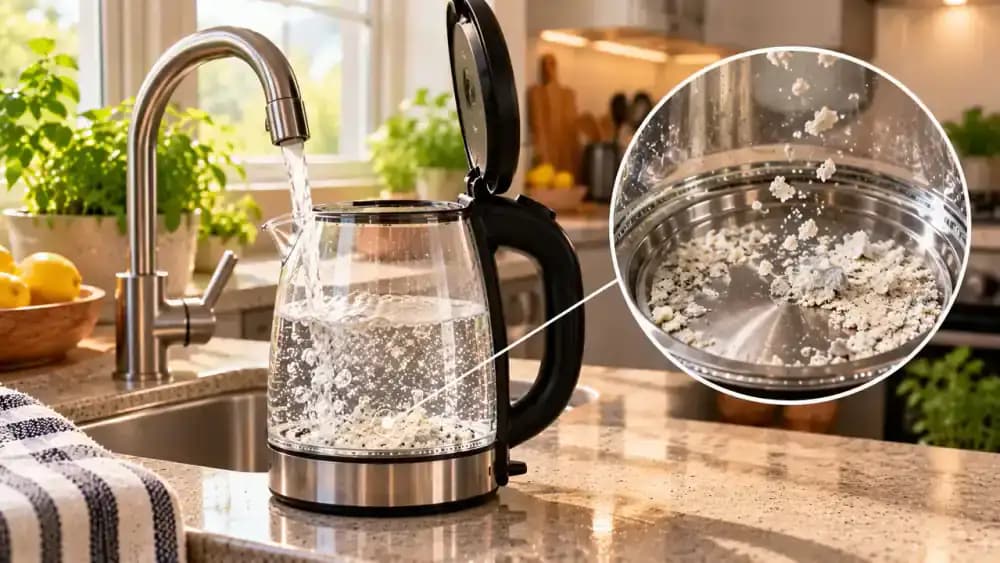
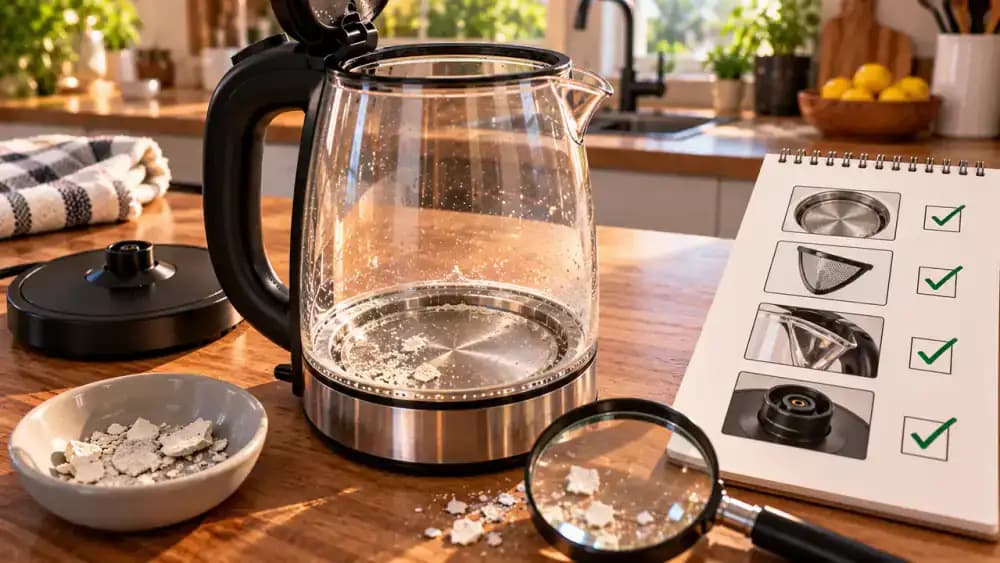
Look inside the unplugged, completely cooled kettle for chalky white or tan deposits, especially around the heating surface and lower walls. The rough, crusty patches shown here are typical of limescale caused by minerals in hard water. Tiny white flakes may also appear in previously poured water. Inspect the interior carefully without scraping or touching the deposits. Check the removable filter, interior material, and manufacturer's instructions before choosing a cleaning method.
Choose a Gentle Descaler Instead of Abrasive Tools
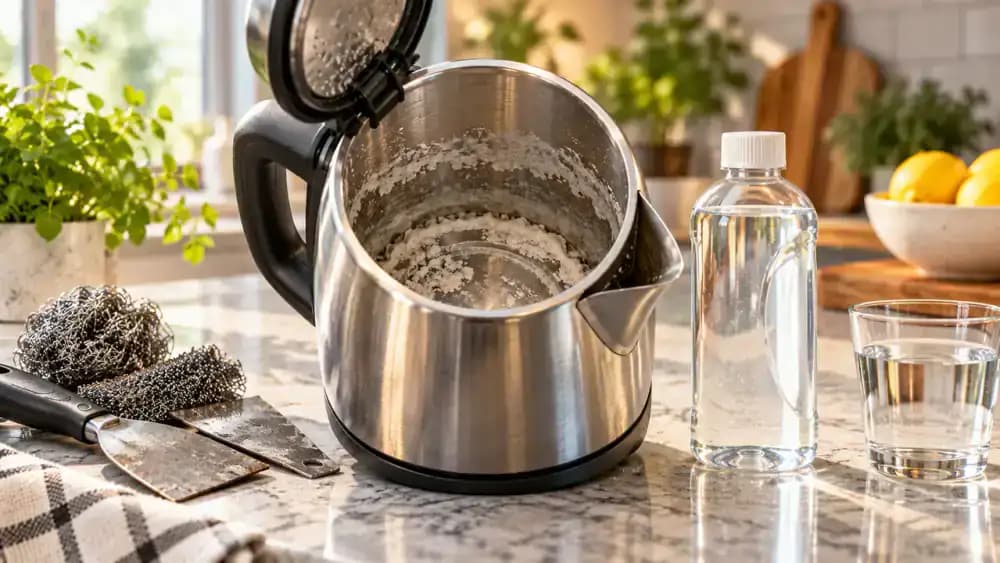
Move metal scrapers and scouring pads away from the kettle, as shown, to avoid scratching its stainless steel interior or damaging protective surfaces. Hardened mineral deposits respond better to suitable descaling solutions than forceful scrubbing. Check your kettle's instructions to confirm which cleaning agents are approved for its interior material. Keep the kettle unplugged, completely cool, and separated from its electrical base while preparing for cleaning.
Inspect the Heating Plate and Interior Walls for Limescale
Shine a small flashlight into the open kettle, as shown, to examine the heating plate and lower interior walls. Look for uneven, crusty deposits that appear chalky white, cream, or light tan. Compare these patches with clean stainless steel to identify mineral buildup. Pay particular attention to corners and areas where deposits collect. If you notice dark rust spots, peeling coatings, or damaged surfaces, stop and investigate before descaling.

Review Your Kettle's Descaling Instructions
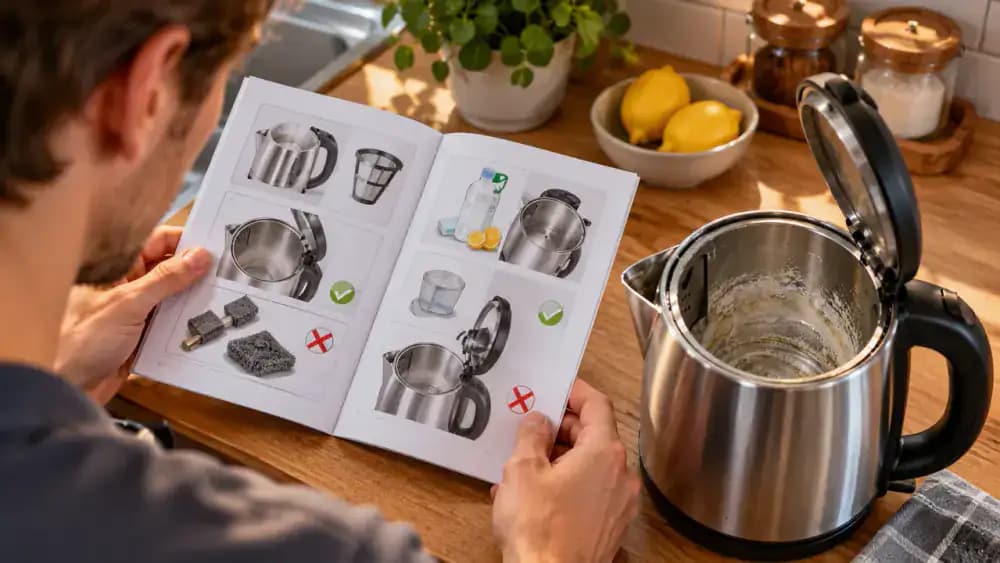
Find your kettle's model number and compare it with the manufacturer's manual, as shown. Check whether the interior is stainless steel, glass, or coated, since cleaning requirements can differ. Identify approved descaling solutions, recommended concentrations, fill limits, and contact times. Confirm whether the filter is removable and whether heating is allowed during descaling. Keep the kettle unplugged and completely cool, with its electrical base safely separated and dry.
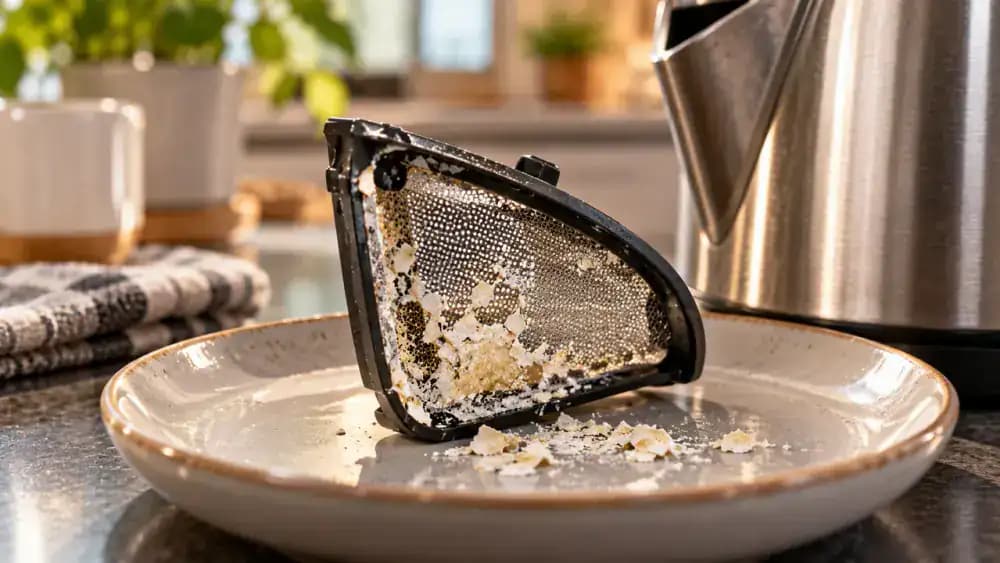
Remove and Check the Kettle's Spout Filter
Open the cooled kettle and locate the small mesh filter near the spout. If your model has a removable filter, gently release it using the manufacturer's recommended method, as shown. Hold it over a clean, dry tray and examine the mesh for trapped white mineral flakes, cracks, or damaged mounting clips. Never force the filter loose or bend its frame. Set it aside for cleaning according to the manufacturer's instructions.
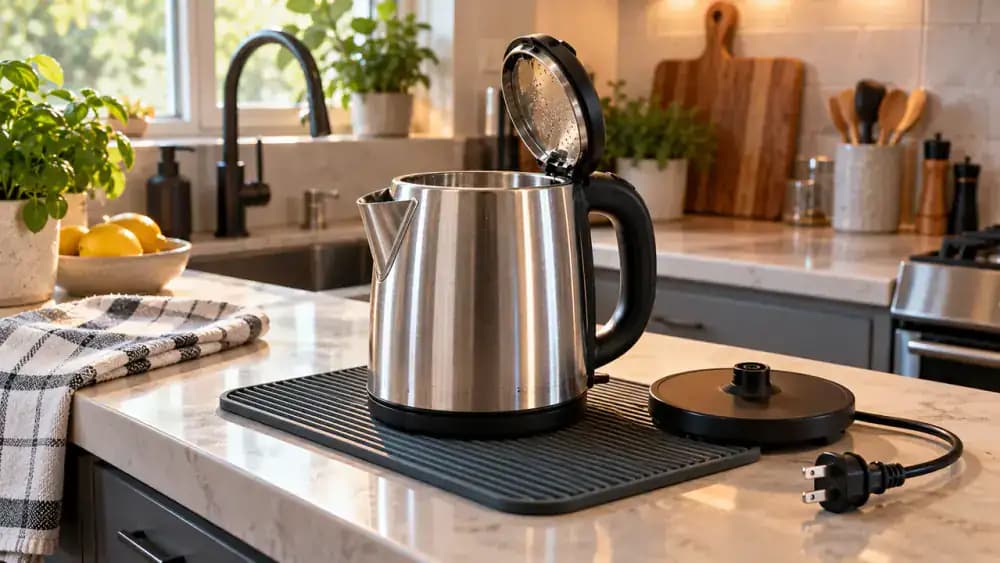
Unplug the Kettle and Set Up a Dry Cleaning Area
Switch off the kettle and disconnect it from the wall outlet by gripping the insulated plug, not pulling the cord. Allow the kettle to cool completely before lifting it from its electrical base, as shown. Place it upright on a stable, dry surface away from the outlet and electrical connections. Move the base to a separate dry location, and keep the kettle's electrical connector completely dry throughout cleaning.
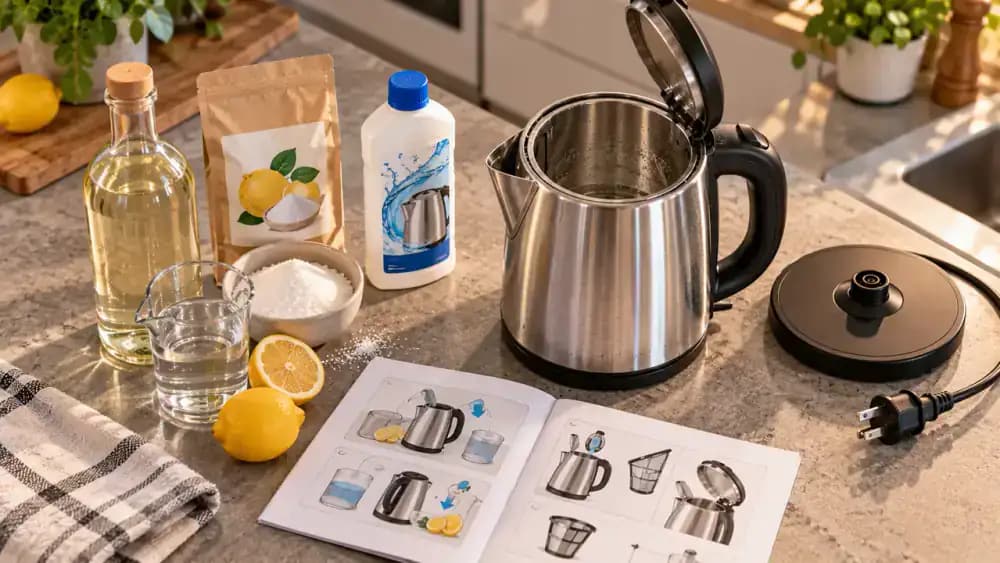
Select the Right Descaler for Your Electric Kettle
Compare the labels on white vinegar, citric acid, and commercial kettle descalers with your manufacturer's instructions, as shown. Select only a product explicitly approved for your kettle's interior material. Check the required dilution, recommended concentration, and contact time before proceeding. Keep unused products closed and separate, and never mix cleaning chemicals. If your manual specifies a particular descaler, follow that recommendation rather than substituting another product.
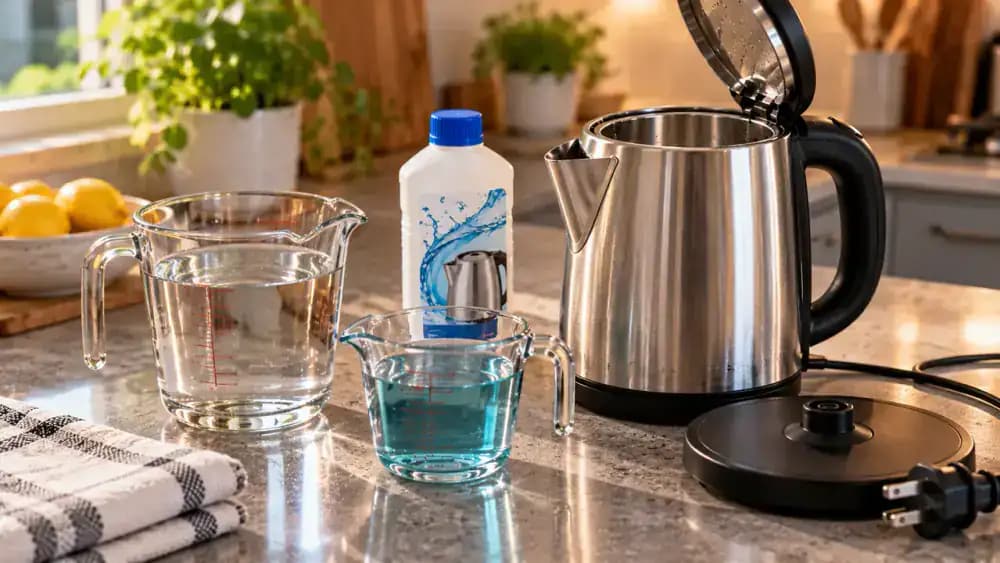
Measure and Dilute the Descaling Solution
Place two clean measuring cups on a dry countertop and check the dilution instructions for your approved descaler. Measure the required amount of descaler in one cup and clean water in the other, as shown. If instructed, combine them carefully in a separate container. Use the exact proportions specified for your kettle rather than guessing or increasing the strength. Keep all liquids away from the electrical base and connector.
Carefully Add the Descaling Solution to the Kettle
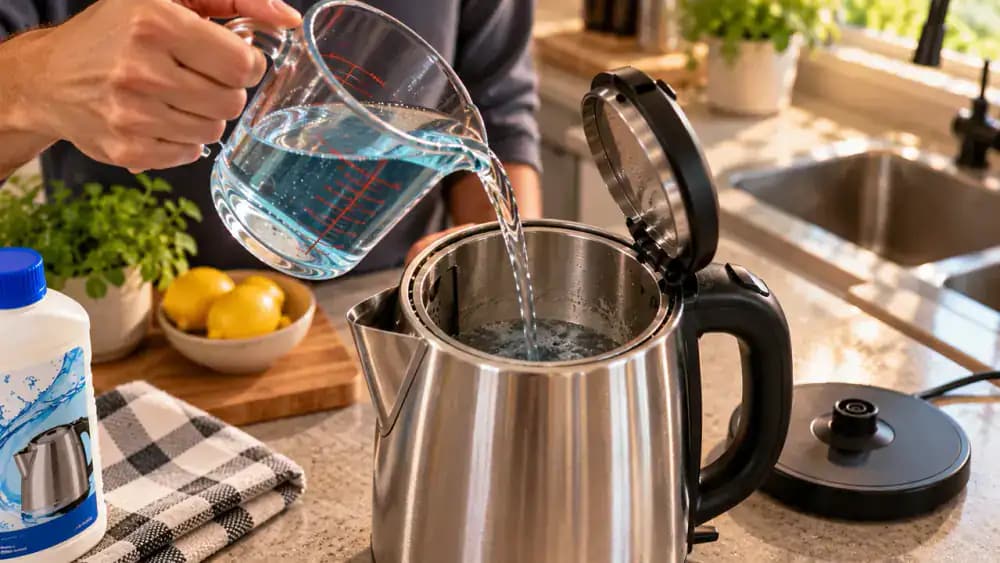
Place the completely cooled, unplugged kettle on a stable, dry surface. Slowly pour the prepared descaling solution through the open lid, directing the stream toward the interior wall as shown. Allow the liquid to reach the mineral deposits around the heating surface without exceeding the manufacturer's approved fill level. Stop pouring at the specified amount, even if some deposits remain exposed. Keep the exterior, electrical connector, and separate base completely dry.
Let the Descaler Loosen the Mineral Buildup
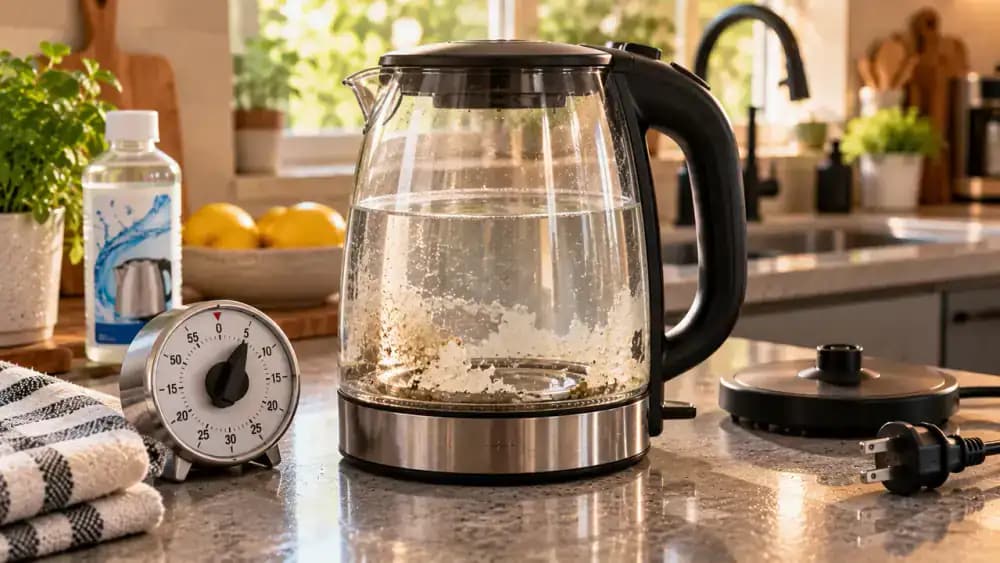
Set a kitchen timer for the contact time specified by your kettle manufacturer and descaler instructions, as shown. Leave the unplugged kettle upright on a stable, dry surface while the solution contacts the mineral deposits. The approved descaler can gradually loosen limescale without scraping or scrubbing. Do not extend the recommended soaking time or add more chemicals. Never heat the solution unless both the kettle manufacturer and descaler instructions explicitly permit it.
Watch How the Descaler Breaks Down Limescale
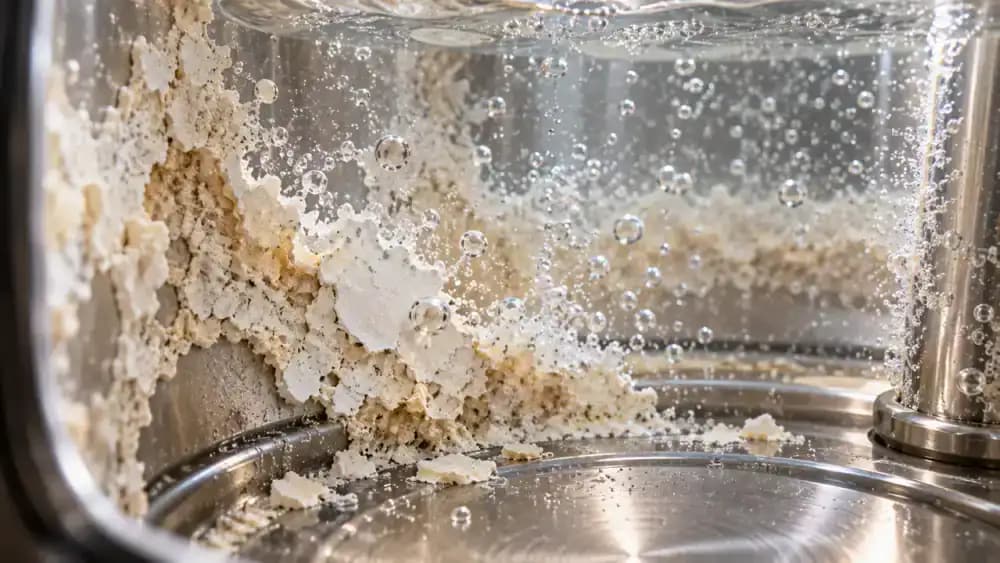
As the approved descaling solution contacts the white mineral crust, its acidic ingredients can gradually dissolve calcium carbonate, a common component of limescale. The close-up illustration shows how the solution works along the deposit's surface without abrasive scrubbing. You may notice tiny bubbles, although not every product produces visible fizzing. Leave the kettle unplugged and undisturbed for the recommended contact time, even if the deposits appear slow to dissolve.
Verify Whether Heating Is Safe During Descaling
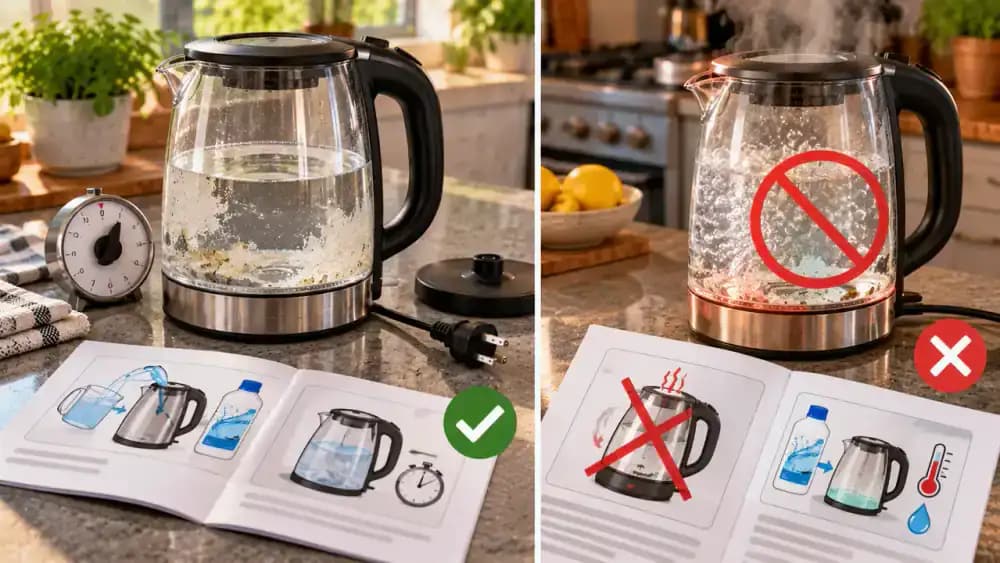
Check the heating instructions for both your electric kettle and the selected descaler before considering turning on the appliance. As shown, compare the two sets of guidance to confirm whether heating is explicitly permitted. Some products require room-temperature soaking instead. If either set of instructions prohibits heating or provides no clear approval, leave the kettle unplugged. Follow the approved soaking method and keep the electrical connector and base completely dry.
Inspect Remaining Limescale Without Scraping
After the recommended contact time, look through the open lid to examine the mineral deposits, as shown. Some patches may appear thinner or partially loosened, while thicker buildup can remain. Keep the kettle unplugged and avoid putting your fingers or tools into the solution. Check the manufacturer's instructions before considering another treatment. Never extend the soaking time or use abrasive scrubbers to remove stubborn deposits.
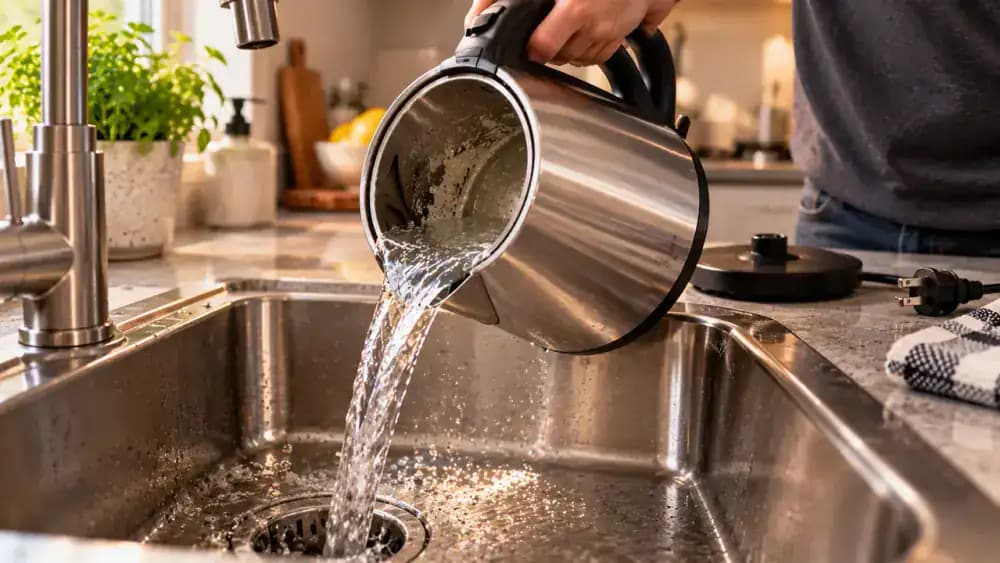
Pour Out the Used Descaling Solution Safely
Confirm the descaling solution has cooled completely before carrying the unplugged kettle to the sink. Hold the insulated handle securely and slowly tilt the kettle, directing the used solution into the drain as shown, but only if the product instructions permit drain disposal. Pour carefully to prevent splashing the exterior or underside electrical connector. Keep the power base away from the sink, and never reuse the discarded solution.
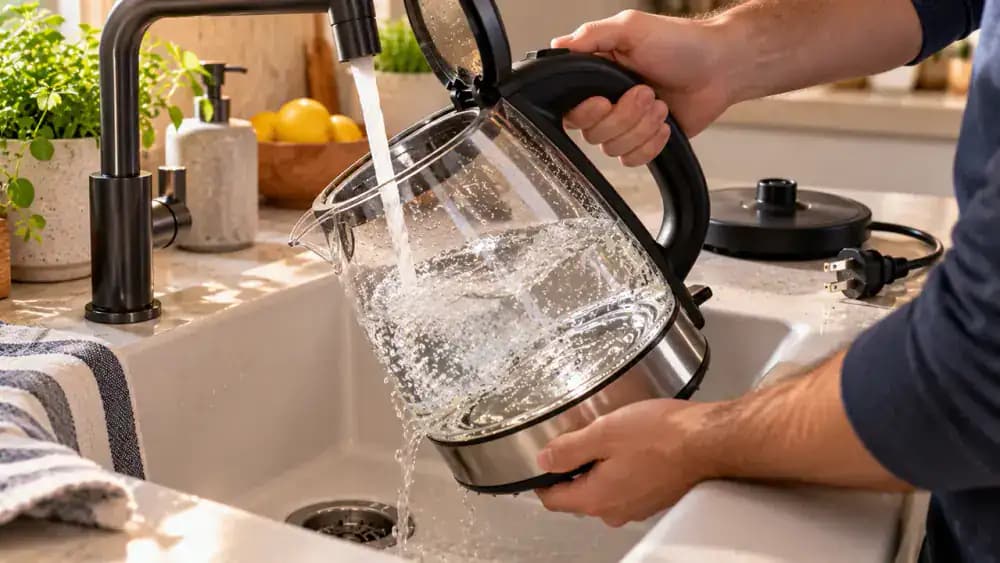
Rinse the Kettle Interior With Fresh Water
Pour a small amount of clean, fresh water into the cooled, unplugged kettle, directing it carefully through the opening as shown. Gently swirl the water around the heating plate and interior walls to loosen remaining mineral particles and descaling residue. Empty the rinse water slowly into the sink. Repeat this process according to the manufacturer's instructions until residue is cleared, keeping the underside electrical connector and separate power base completely dry.
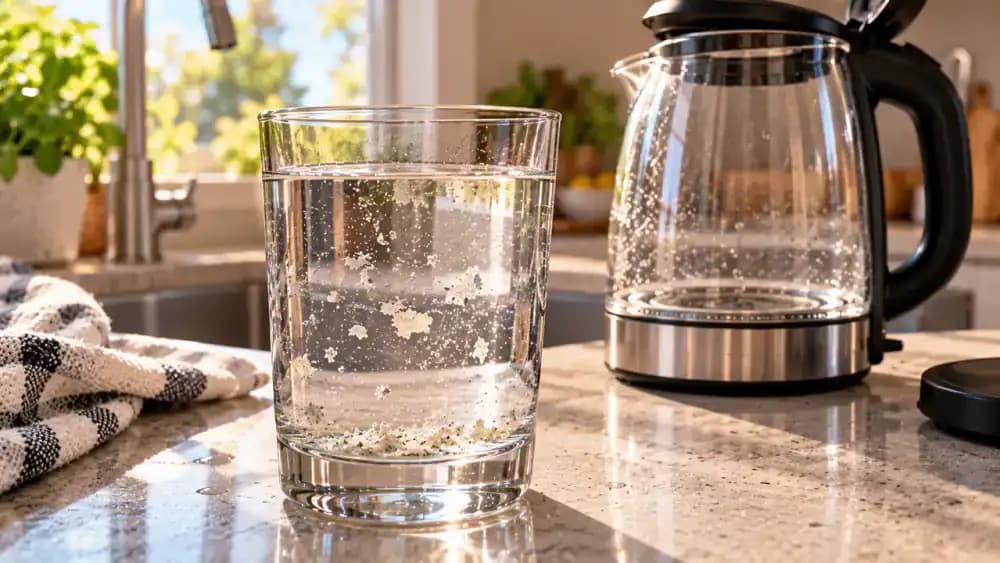
Check Rinse Water for Loose Mineral Flakes
Pour a small sample of previously collected rinse water into a clean, transparent glass and hold it against natural light, as shown. Look closely for tiny white mineral flakes floating in the water or settling at the bottom. If particles remain visible, continue rinsing the kettle according to the manufacturer's instructions. Check for lingering descaler odors or residue before using the kettle again. Never taste the rinse water.
Clear Trapped Mineral Flakes From the Spout and Filter
Examine the kettle spout for small mineral flakes that may remain after rinsing. If the mesh filter is removable, place it on a clean tray and gently brush away trapped particles using a soft, manufacturer-approved brush, as shown. Check the mesh, frame, and attachment tabs for cracks or damage. Hold the filter against light to spot blocked openings, then reinstall it according to the manufacturer's instructions. Avoid sharp tools and forceful scrubbing.
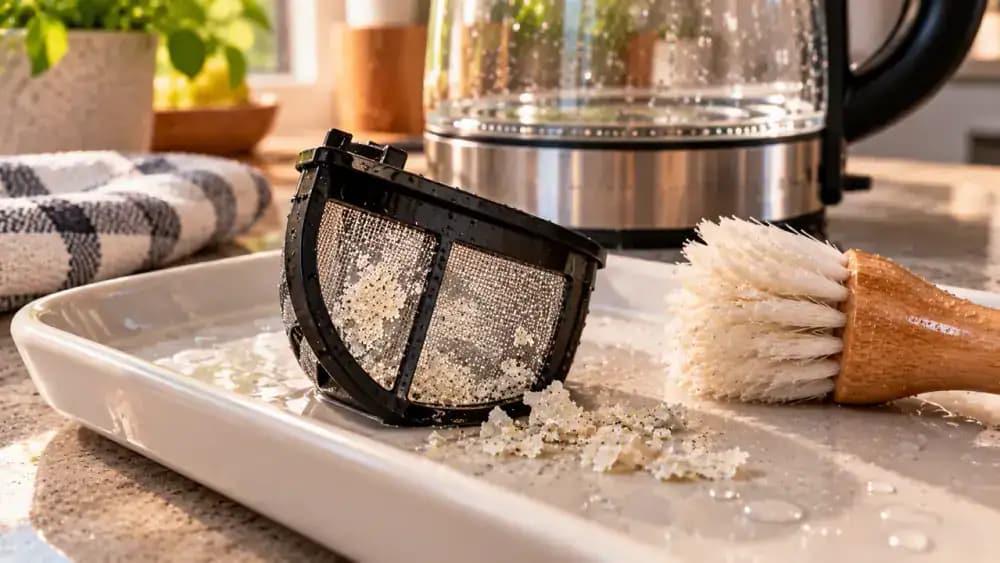
Boil and Discard Fresh Water if Required
Check whether your kettle manufacturer requires a fresh-water boiling cycle after descaling. If required, fill the kettle with clean water to the specified level, as shown. Confirm the underside connector and electrical base are completely dry before reconnecting power. Boil the water normally, then switch off and unplug the kettle. Allow it to cool sufficiently before discarding the water. Repeat any required cycles, and never drink the rinse water.
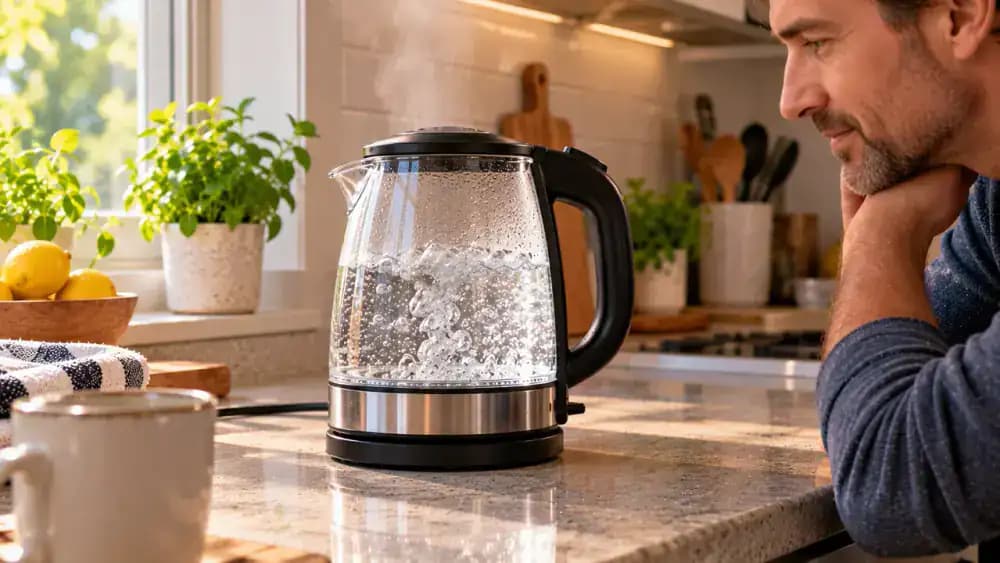
Check for Remaining Descaler Odors and Residue
After completing the required rinsing and boiling cycles, unplug the kettle and allow it to cool completely. Open the lid and examine the interior under good lighting, as shown. Check for visible mineral flakes, discoloration, or cleaning residue. Notice any lingering vinegar or descaler odor without placing your face over the opening or inhaling deeply. If residue or odors remain, follow the manufacturer's instructions for additional rinsing before preparing drinks.
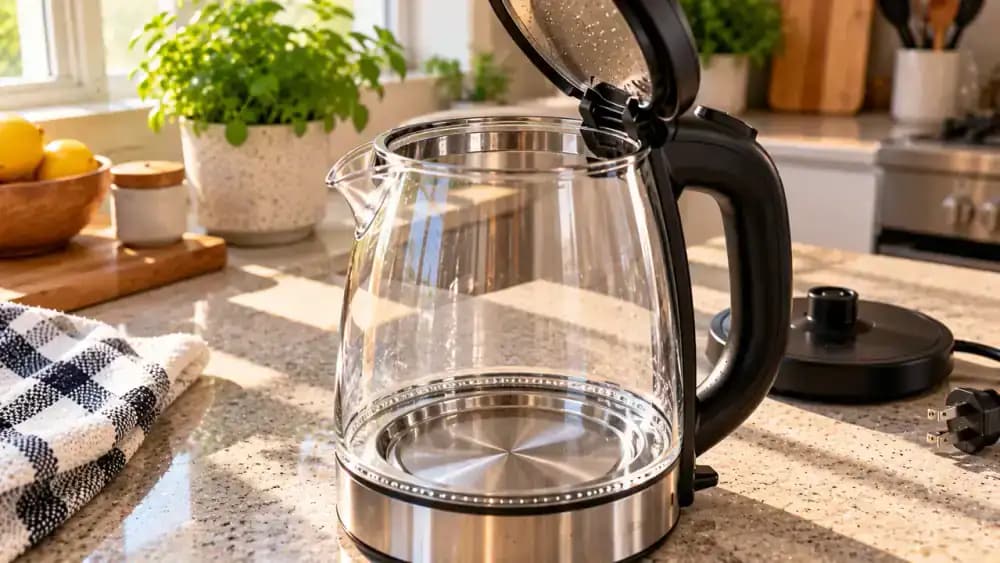
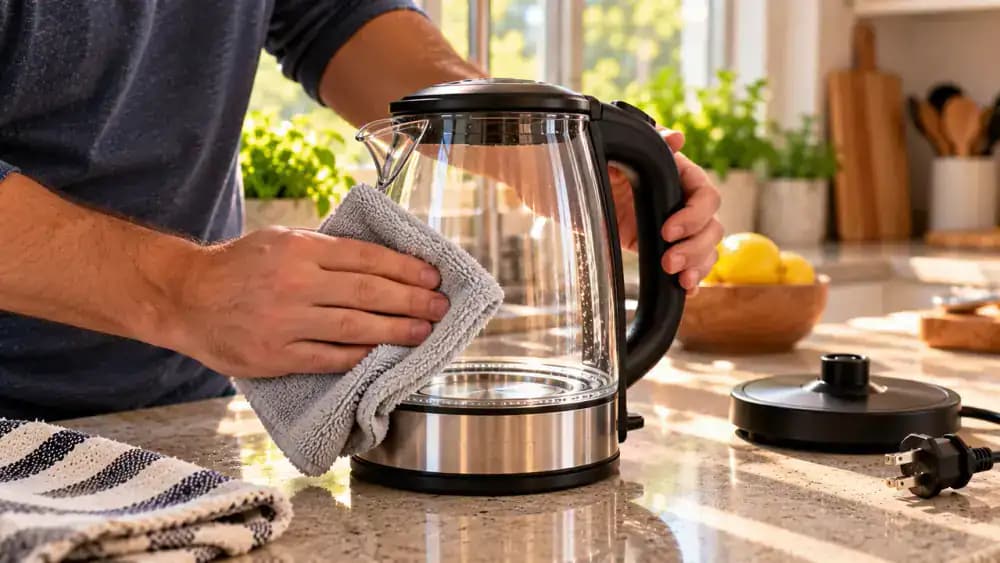
Wipe Fingerprints and Water Spots From the Kettle Exterior
Make sure the kettle is unplugged and completely cool before wiping its exterior with a soft, lightly damp microfiber cloth, as shown. Use gentle strokes to remove fingerprints, dust, and water spots from the stainless steel body. Carefully clean around the handle, lid, and spout without allowing moisture into openings or electrical components. Avoid abrasive cleaners and excessive water. Keep the underside connector and separate electrical base completely dry.
Inspect the Kettle's Electrical Contacts for Moisture
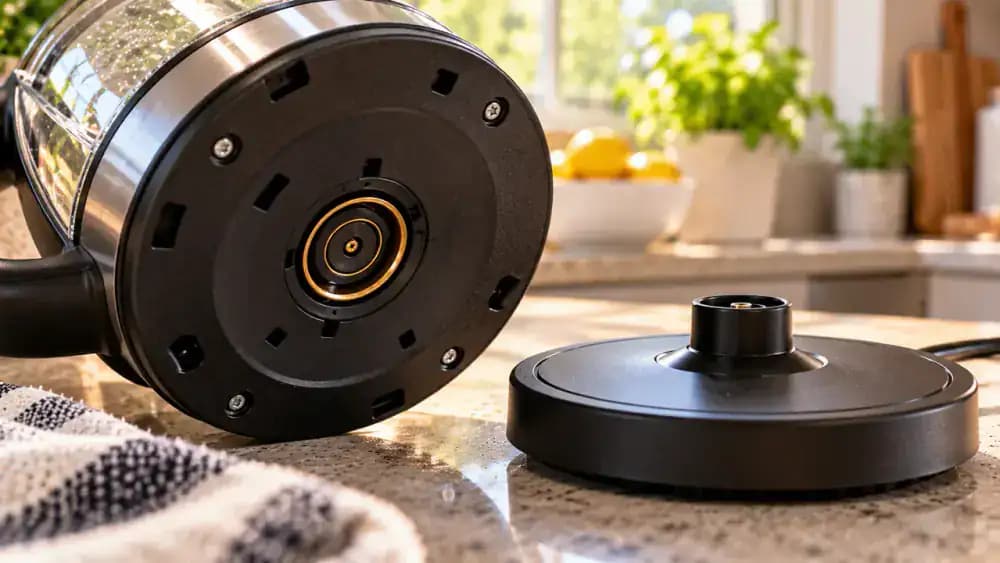
Hold the cooled, unplugged kettle securely by its insulated handle and carefully angle it to view the underside connector, as shown. Visually inspect the electrical contacts and separate power base for moisture without touching or inserting anything into them. Both areas must remain completely dry before reconnecting power. If you notice water, leave the appliance disconnected and follow the manufacturer's drying and safety instructions. Never apply cleaning liquids directly to electrical contacts.
Understand Why Hard Water Causes Limescale Buildup
Fill a clear glass with tap water and place it beside the cooled, unplugged kettle, as shown. Hard water contains dissolved minerals, primarily calcium and magnesium, that are usually invisible. When water is repeatedly heated, some minerals can form chalky deposits on the heating plate and interior walls. Areas with harder water may experience faster buildup, especially with frequent kettle use. Check your local water hardness to help plan regular descaling.
Use Hardness-Reducing Filtered Water to Limit Limescale
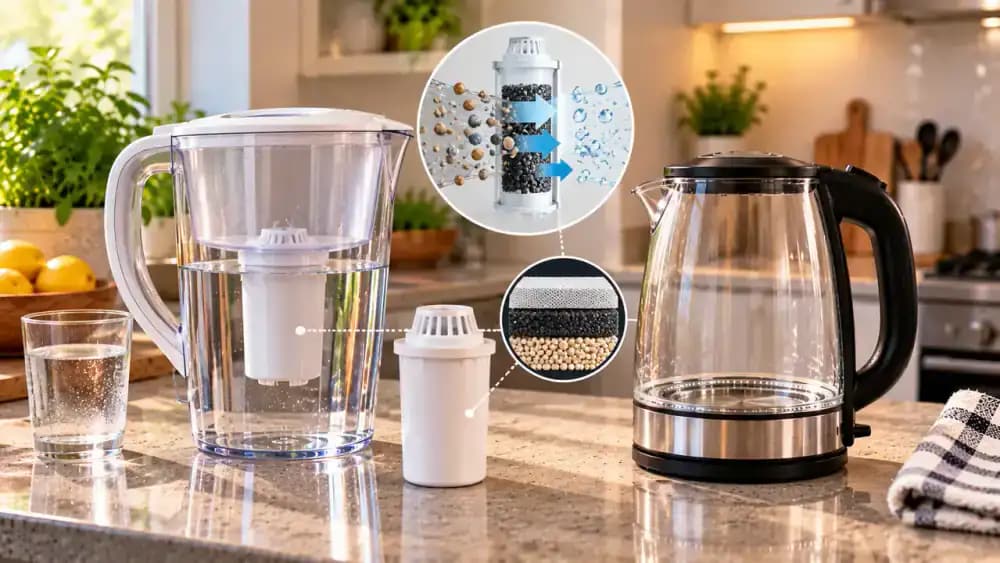
Check your water filter's specifications to see whether it reduces calcium, magnesium, or overall water hardness, as shown. Ordinary carbon filters may not remove these dissolved minerals. Confirm that your kettle manufacturer permits filtered water, then carefully pour the prepared water into the cooled, unplugged kettle without exceeding its fill markings. Keep electrical connections completely dry. Lower-mineral water may slow limescale buildup, but regular inspection and descaling remain necessary.
Empty Leftover Water After Each Use
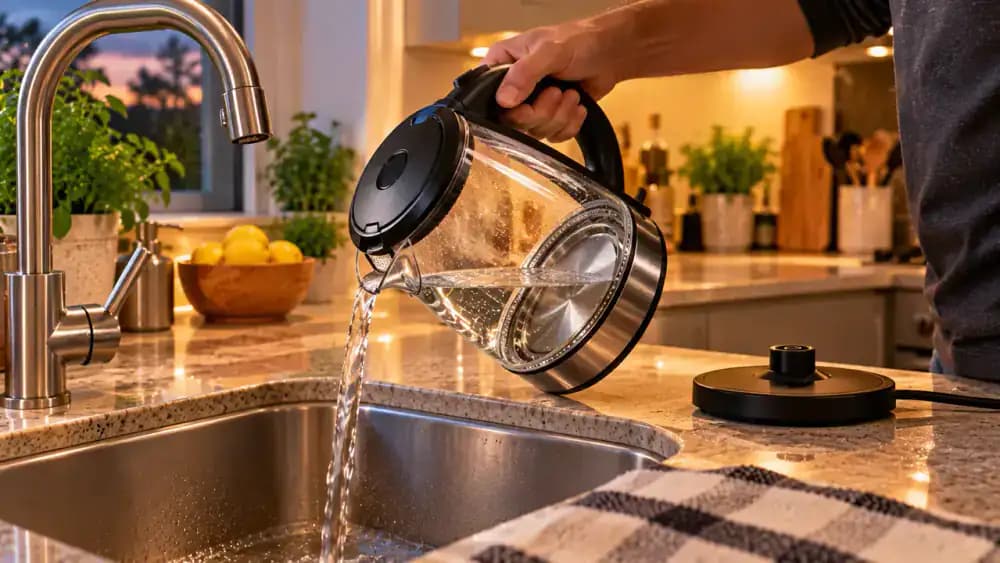
Allow the kettle to cool completely, then unplug it and check the water-level window for any remaining water. As shown, lift the kettle by its insulated handle and carefully pour the leftover water into the sink without splashing the exterior or underside connector. Return the empty kettle to a clean, dry countertop. Follow the manufacturer's storage recommendations. This simple habit reduces standing water but does not completely prevent limescale buildup.
Set a Regular Kettle Inspection and Descaling Schedule
Open the completely cooled, unplugged kettle and check the heating plate and interior walls for early white mineral deposits, as shown. Review the manufacturer's maintenance recommendations, then mark a recurring inspection reminder on your calendar. Consider your local water hardness and how frequently you use the kettle when choosing an appropriate schedule. Regular checks help you address buildup before thick deposits develop, making future descaling easier without unnecessary cleaning.
Recognize the Early Signs Your Kettle Needs Descaling
Inspect the completely cooled, unplugged kettle under good lighting, looking for thin white deposits near the heating plate, loose mineral flakes, or thicker crust along the lower walls. Compare these warning signs with your maintenance checklist, as shown. If buildup returns sooner than expected, consider whether your water is particularly hard. Consult the manufacturer's care instructions to determine when another descaling treatment is appropriate, rather than waiting for heavy deposits.
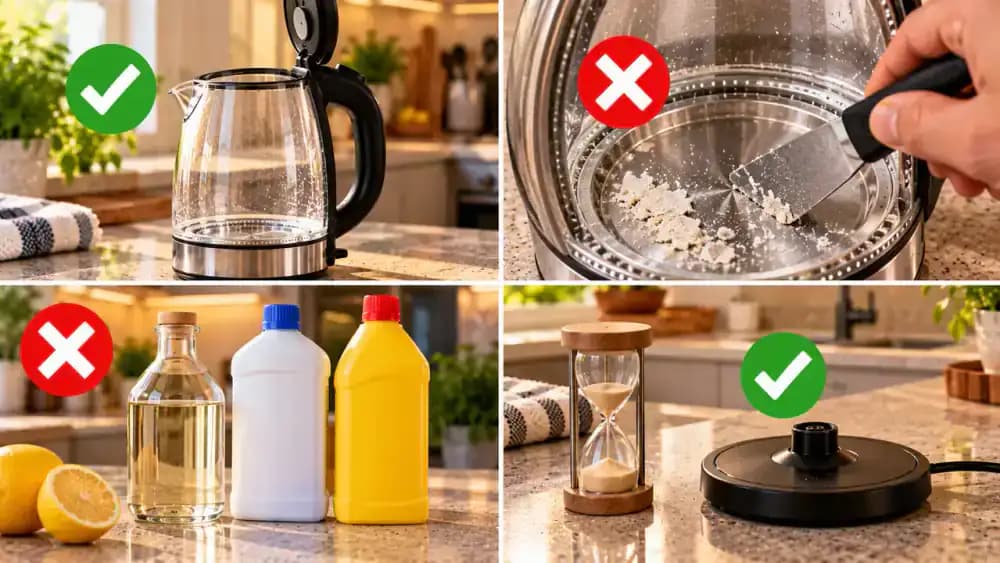
Avoid Descaling Mistakes That Can Damage Your Kettle
Move metal scrapers and abrasive pads away from the kettle, as shown, and keep different cleaning chemicals separate. Check the manufacturer's instructions before measuring descaler, setting a timer, or considering heating. Never exceed the approved concentration or soaking time, even for stubborn deposits. Always unplug the kettle and allow it to cool completely before cleaning. Keep the underside electrical connector and separate power base completely dry throughout the process.
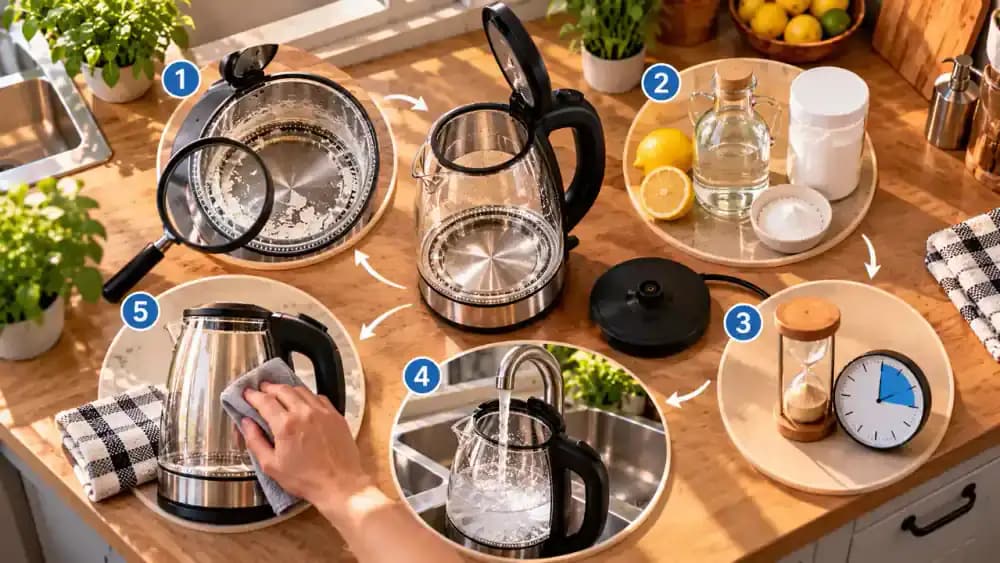
Follow These Five Essential Kettle Descaling Steps
Use the five stations surrounding the kettle as a practical cleaning checklist. First, identify mineral deposits and review the manufacturer's instructions. Second, unplug and cool the kettle before preparing an approved descaler. Third, follow the specified treatment time without unauthorized heating. Fourth, rinse thoroughly and inspect for remaining residue. Fifth, wipe the exterior and establish a maintenance schedule. Keep the electrical connector and power base completely dry throughout.
Compare a Scaled Kettle With a Clean Interior
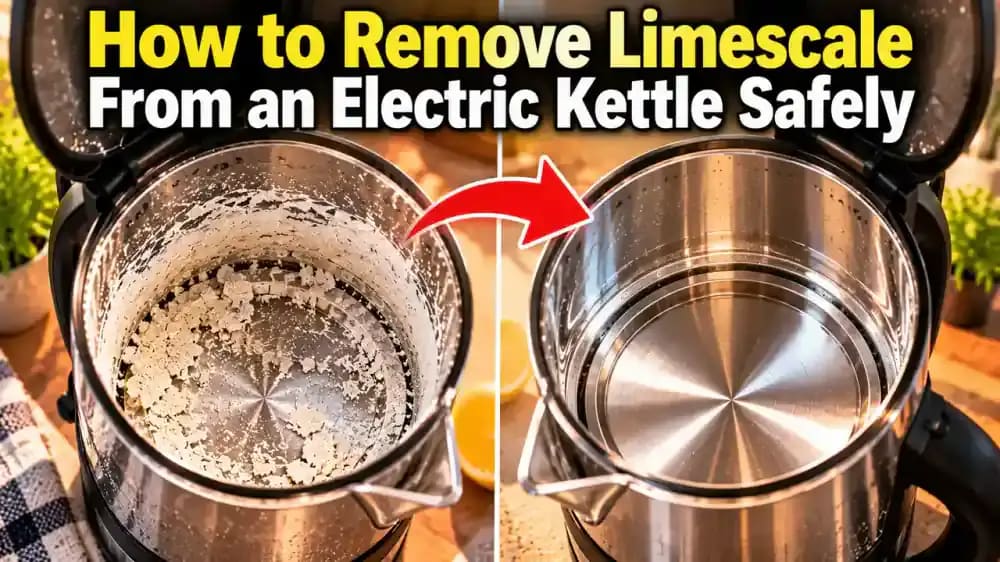
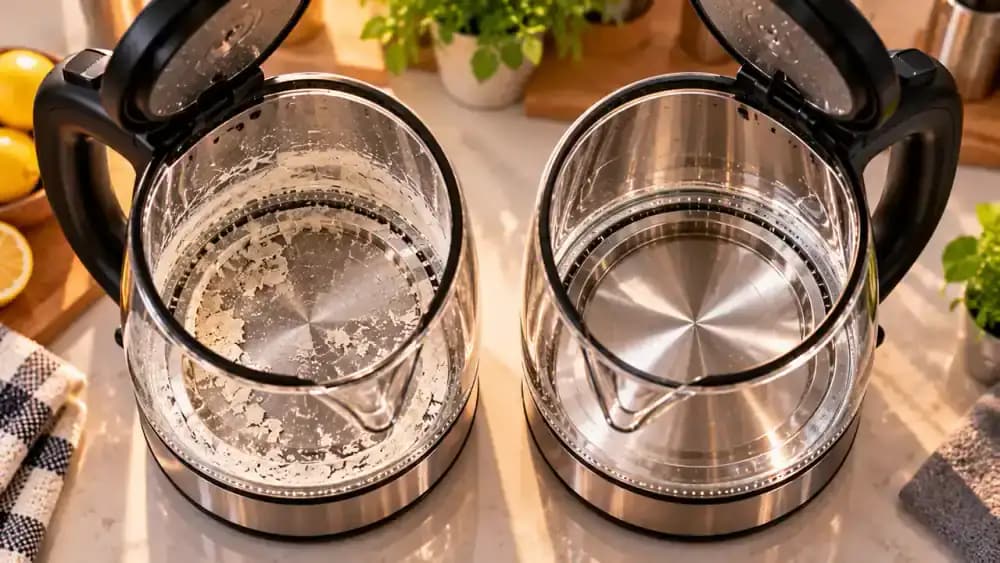
Compare the two illustrative kettle interiors shown side by side. The left example has chalky white mineral deposits around the heating plate and lower walls, while the right shows clean, intact stainless steel without visible loose flakes. After descaling, inspect your own cooled, unplugged kettle for remaining particles or cleaning residue. Results vary with deposit thickness and water hardness. If buildup persists, follow manufacturer guidance rather than scraping or repeating treatment without approval.
Keep Your Electric Kettle Ready for Everyday Use
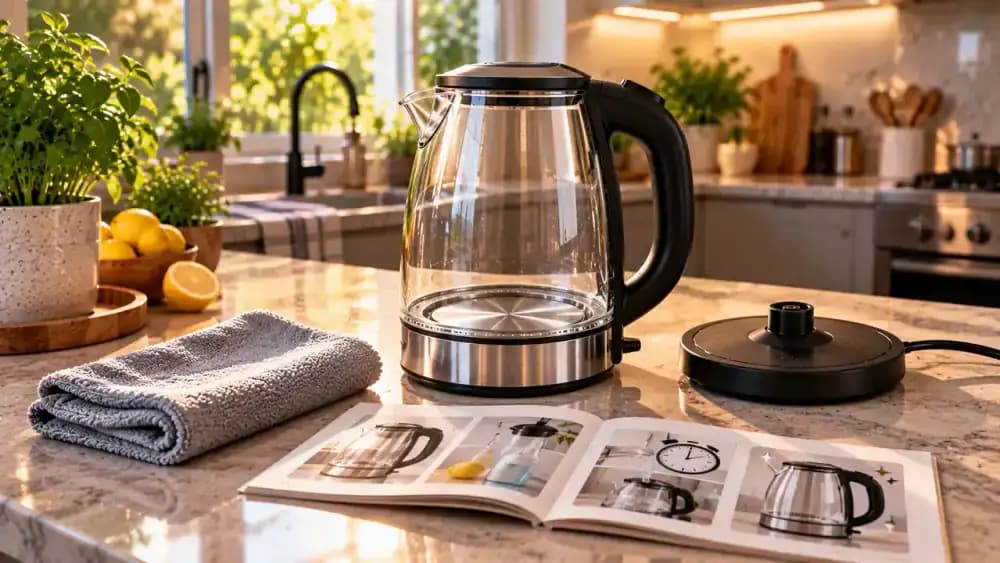
After completing all required rinsing cycles, let the kettle cool, unplug it, and make one last visual inspection. Gently close the lid and place the empty kettle on a clean, dry surface, as shown. Keep the manufacturer's care instructions and a maintenance reminder nearby. Check regularly for returning mineral deposits, especially if you have hard water. Continue using approved descaling methods and keep electrical connections completely dry.
Noticed chalky white deposits inside your electric kettle or tiny mineral flakes floating in your freshly boiled water? That's usually limescale, a buildup of minerals left behind when hard water is heated. Over time, these deposits can collect around the heating surface, inside the spout, and on the removable filter. Although limescale might look stubborn, you generally don't need to scrape it away. Using a suitable descaling solution is a gentler way to loosen mineral deposits without risking scratches or damage to the kettle's interior.
The good news is that removing limescale is a straightforward maintenance task you can usually handle at home. This guide walks you through five practical steps, from identifying mineral buildup and choosing a manufacturer-approved descaler to rinsing thoroughly and preventing future deposits. Before cleaning, always unplug the kettle, let it cool completely, and remove it from its electrical base. Follow the manufacturer's instructions for cleaning solutions and heating, and keep all electrical connections dry throughout the process.
Where people go wrong
Scraping Limescale With Sharp or Abrasive Tools. Trying to remove stubborn mineral deposits with a knife, metal scrubber, or abrasive sponge can scratch the kettle's interior or damage its protective coating. Instead, use a manufacturer-approved descaling solution to dissolve buildup gradually. Avoid forceful scrubbing, even when deposits appear thick or difficult to remove.
Using the Wrong Descaler or Mixing Cleaning Chemicals. Not every electric kettle can safely handle vinegar, citric acid, or commercial descaling products. Using an unapproved cleaner, mixing chemicals, or guessing the concentration can damage internal components. Always check the manufacturer's instructions, measure the recommended dilution, and follow the specified fill level and contact time.
Heating the Descaling Solution Without Checking Instructions. Boiling a descaling solution might seem like a faster way to remove mineral deposits, but some manufacturers prohibit heating certain cleaners. Never heat the solution unless the kettle's instructions explicitly permit it. Unplug the kettle and let it cool before cleaning, and keep the electrical base completely dry.
Skipping Thorough Rinsing After Descaling. Emptying the descaling solution once does not guarantee that all loosened minerals and cleaning residue are gone. Rinse the kettle repeatedly with clean water, checking the interior, spout, and removable filter. Complete any manufacturer-required fresh-water boiling cycles before using the kettle to prepare drinks again.

Questions people ask
Yes, diluted white vinegar can help dissolve limescale, but only if your kettle's manufacturer approves its use. Check the recommended dilution, fill level, and contact time before starting. Never mix vinegar with other cleaning chemicals, and rinse the kettle thoroughly afterward to remove any remaining vinegar smell or residue.
Fixed it?
Get one guide like this every Thursday.