How to Descale a Coffee Maker and Remove Stale Coffee Oils
Restore better water flow and fresher coffee by removing mineral scale and oily residue with the cleaning method approved for your machine.

What you’ll need
Tap to tick things off before you start.
Check the Approved Descaling Method
Turn the coffee maker to find its model label, then use that exact model number to locate the manufacturer’s cleaning instructions. Confirm which descaling product is approved, how much water to mix with it, and which cleaning cycle to run before pouring anything into the reservoir. Similar-looking machines can require different procedures, so matching the model first helps prevent damaged seals, leftover cleaner, or an incomplete descale.
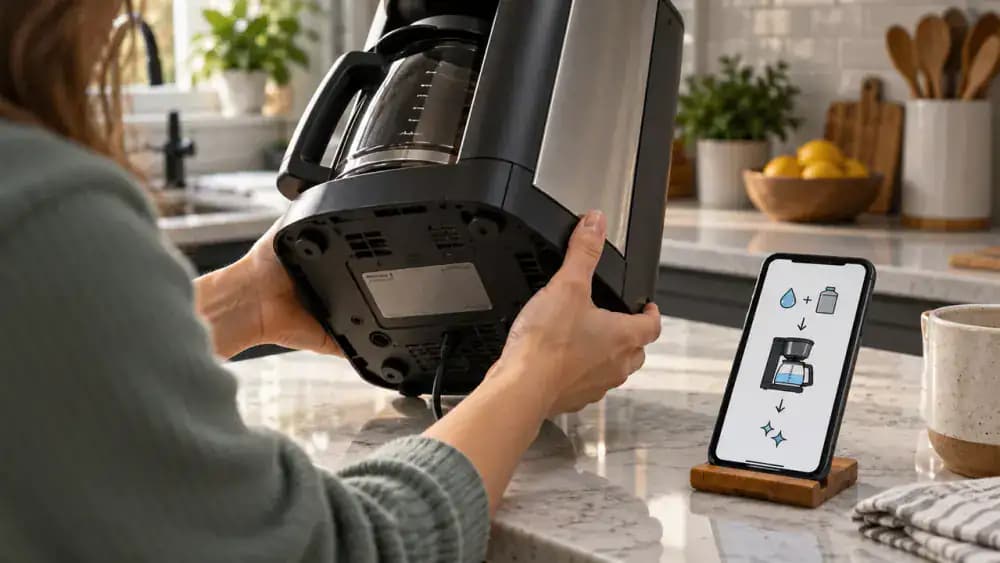
Wash the Removable Coffee Parts
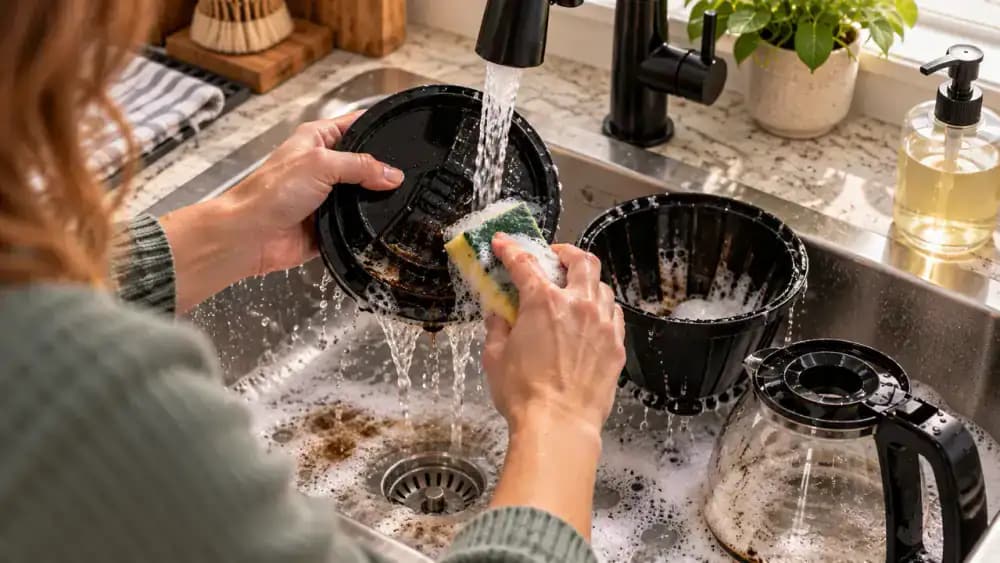
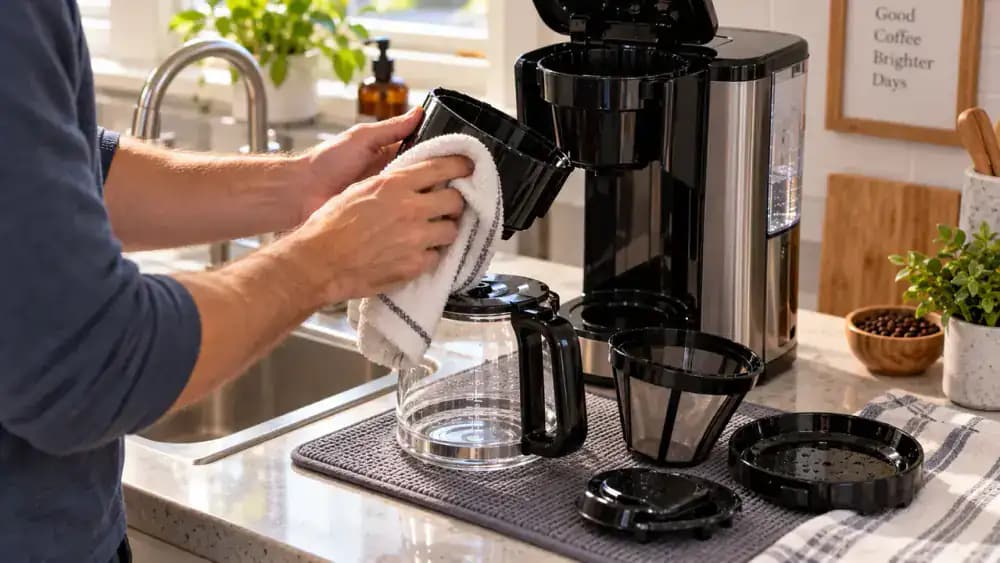
Unplug the coffee maker, then remove the brew basket, reusable filter, carafe, lid, and any other washable parts listed in the manual. Clean each piece with warm water, mild dish soap, and a soft sponge, paying extra attention to brown, slick coffee-oil buildup around edges and lids. Rinse thoroughly under clear running water. Let the parts drain and dry completely before putting them back into the machine.
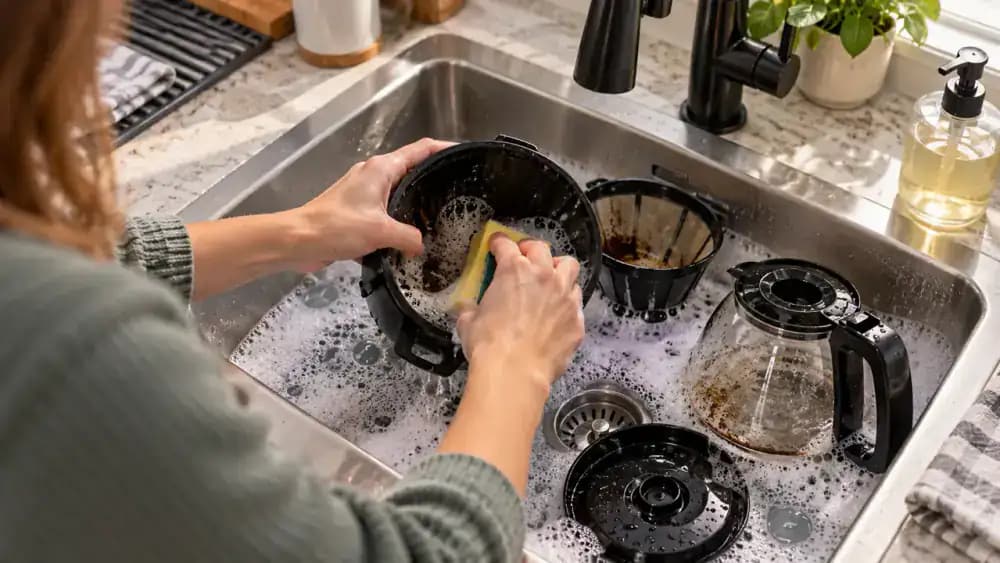
Prepare the Approved Descaling Solution
Measure the manufacturer-approved descaling product and water in the exact proportions listed for your coffee maker, using a marked measuring cup for accuracy. Gently combine the specified amounts, then pour the prepared solution into the open water reservoir without overfilling it. Never increase the concentration or substitute vinegar, bleach, or another cleaner. Using the correct mixture helps loosen mineral deposits while reducing the risk of damaging internal components.
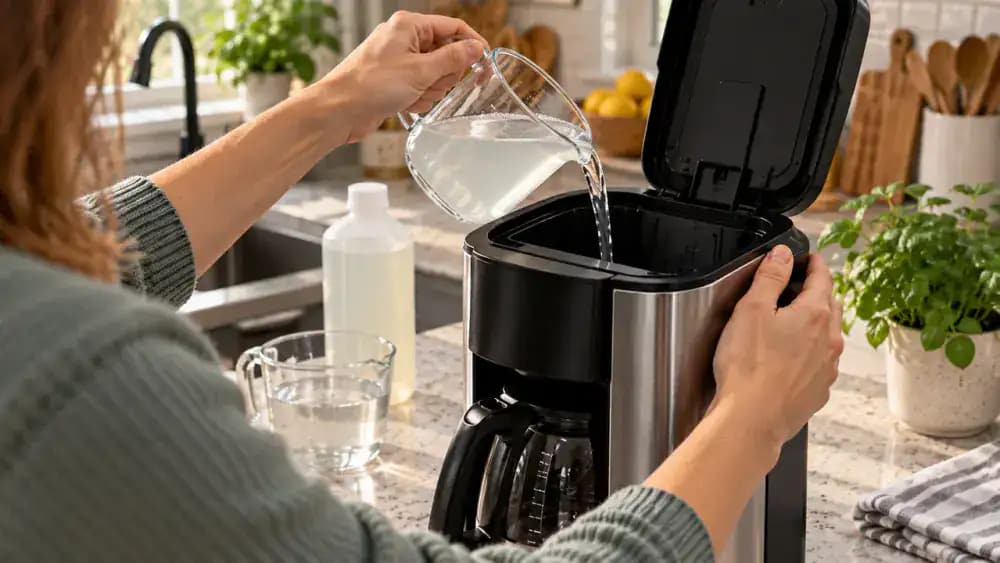
Run the Correct Descaling Cycle
Set the carafe securely on the warming plate, then start the cleaning mode or brew cycle specified in your coffee maker's manual. Once the machine begins drawing descaling solution through the brew head, let the entire programmed cycle finish without changing settings or stopping it early. Keep the carafe in place throughout the process, and make sure it has enough capacity to hold the full amount of liquid dispensed during descaling.
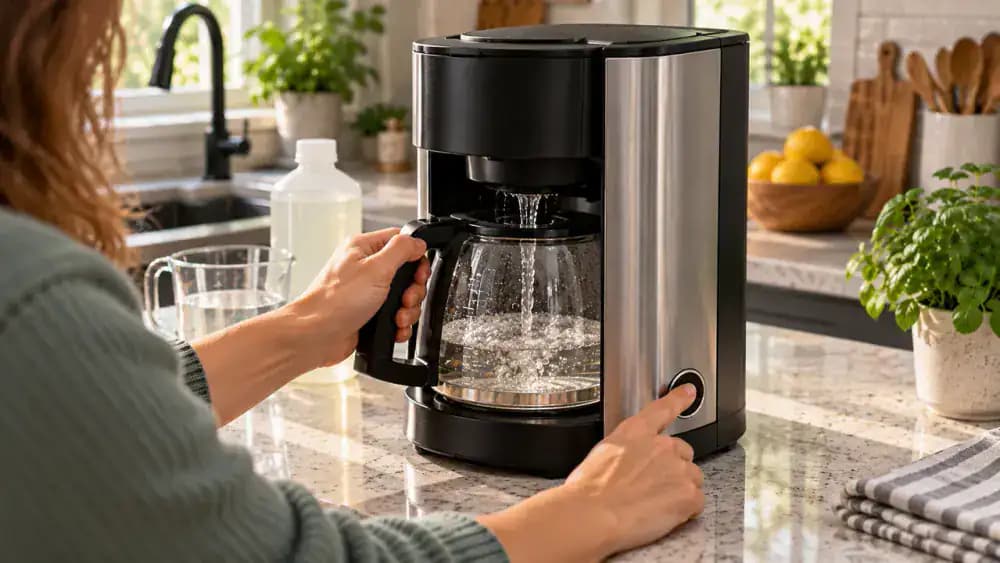
Flush With Fresh Water
Pour the used descaling solution out of the carafe, then rinse the water reservoir thoroughly with fresh water. Refill the reservoir to the manufacturer’s recommended level, return the empty carafe to the warming plate, and run a complete water-only brewing cycle. Repeat the rinse cycle as directed until the water looks clear and no cleaning odor remains. Keep the carafe positioned correctly during every rinse to prevent spills.
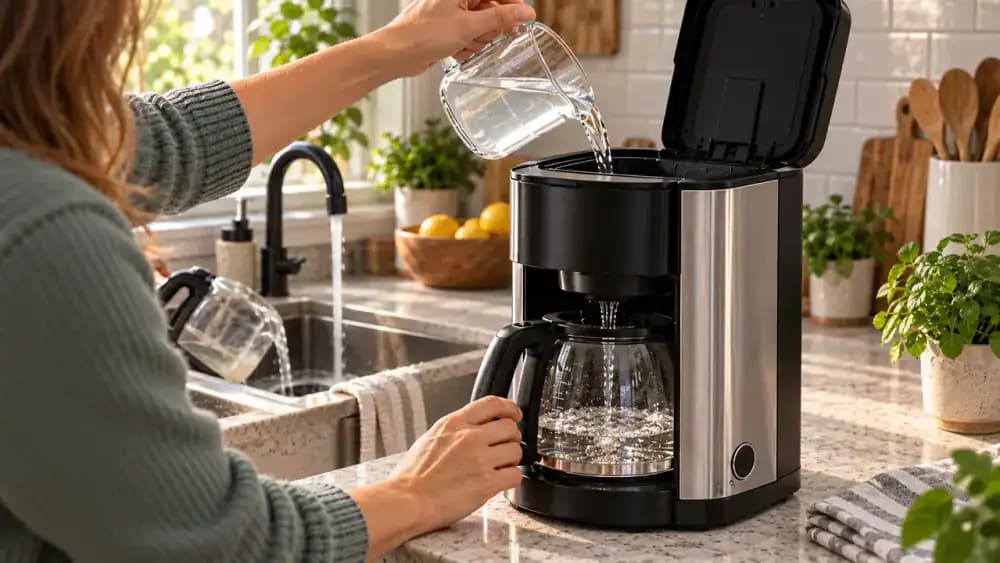
Check Flow and Cleanliness
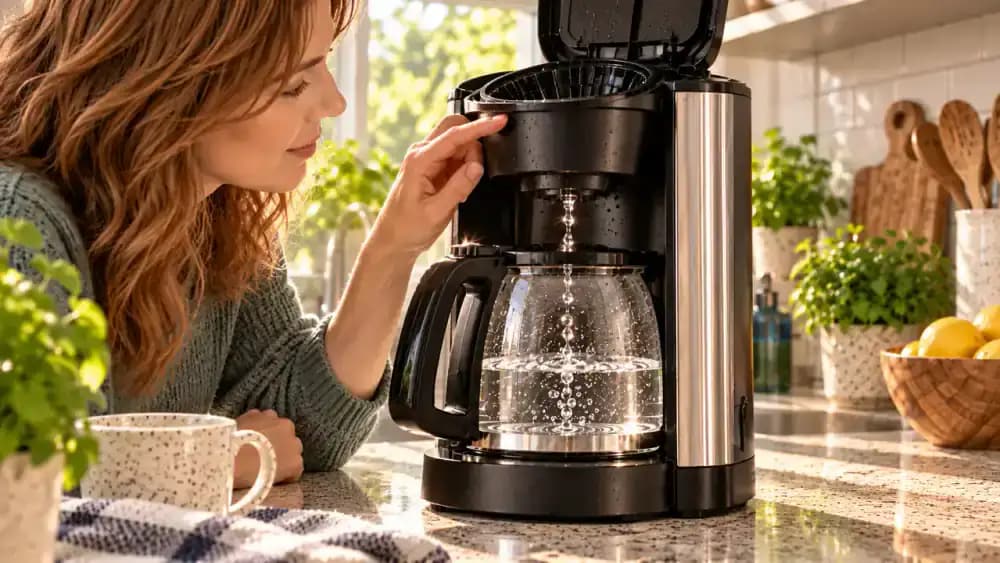
Run one more water cycle and watch the stream entering the carafe. It should stay steady without sputtering, slowing, or stopping unexpectedly. Under bright light, inspect the basket, reusable filter, lid, and carafe for any brown staining or greasy film. If residue remains, wash those removable parts again with warm water and mild dish soap, rinse thoroughly, and let them air-dry completely before reassembling the coffee maker.
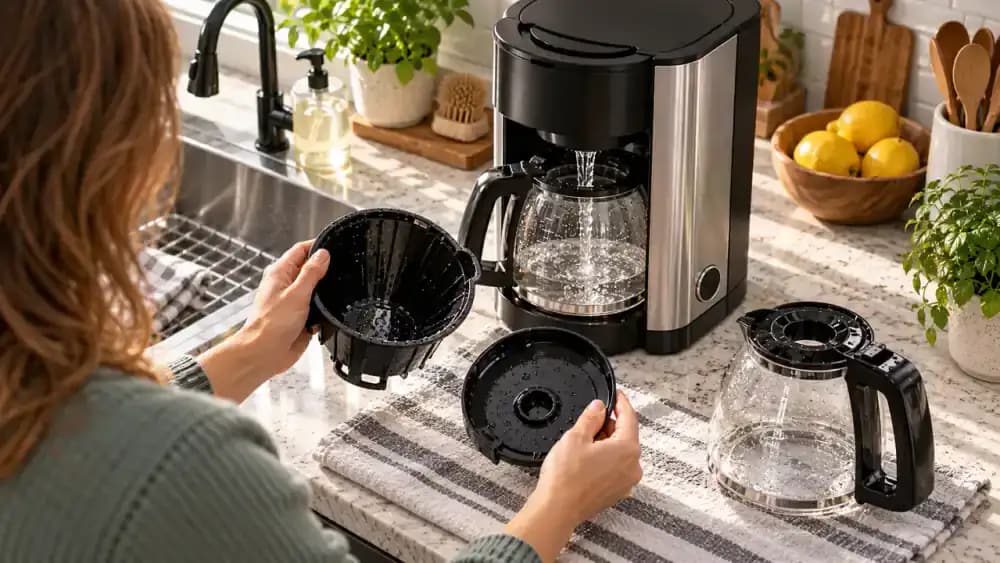
Set a Maintenance Schedule
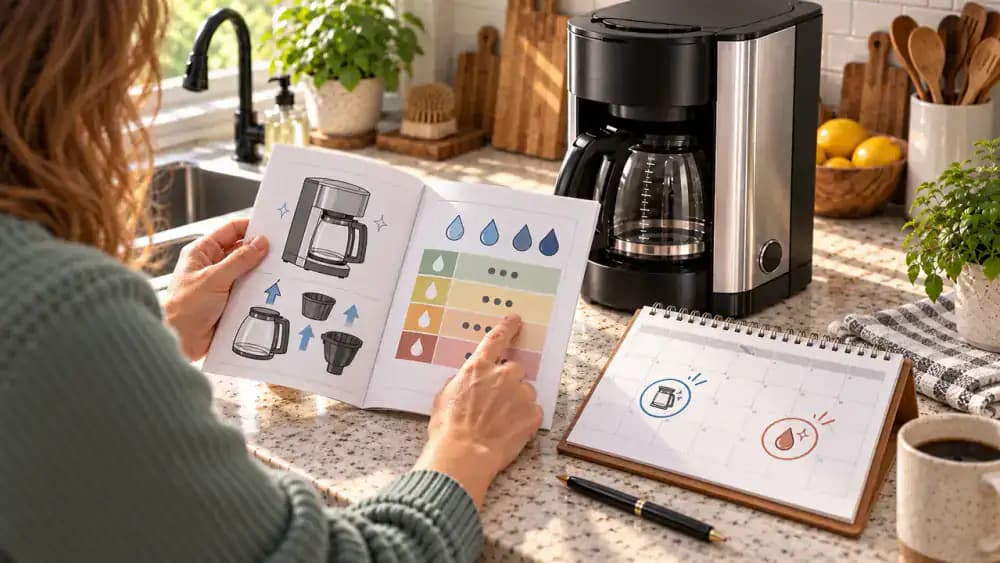
Check the coffee maker manual for the recommended descaling interval, then mark the next cleaning date on a calendar so it does not get overlooked. Use a water hardness test strip or your local water report to fine-tune that schedule. Hard water usually means descaling more often, while softer water may allow longer intervals. Continue washing removable coffee-contact parts regularly even when a full descaling cycle is not yet due.

Track Early Warning Signs
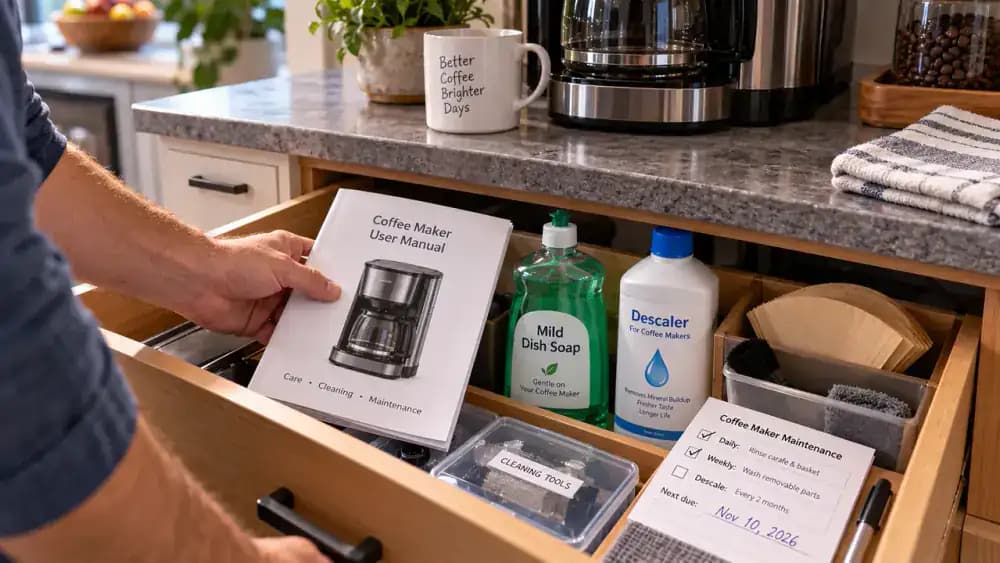
Write the latest descaling date on a maintenance card beside the coffee maker, then note changes you notice during normal brewing. Watch for a slower brew stream, unusual sounds, or stale flavor returning earlier than expected. These clues can signal that mineral buildup is coming back before your scheduled cleaning date. If the pattern repeats, shorten the interval slightly while continuing to use only the descaling product and cleaning procedure approved for your machine.
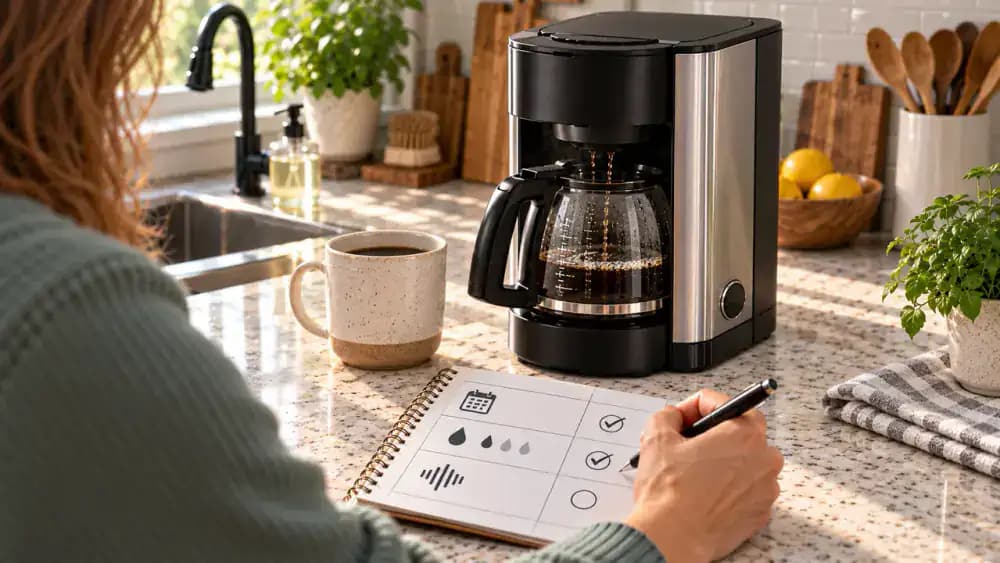
Factor In Water Hardness
Compare your local water hardness reading with the coffee maker manual before changing how often you descale. If your water is hard, mineral deposits can build up faster and make warning signs return sooner. When the manufacturer allows it, fill the reservoir with filtered water for daily brewing to reduce scale. Keep following the recommended descaling schedule, though, because common filters do not remove every dissolved mineral that can accumulate inside the machine.

Separate Oil Cleaning From Descaling
Let the coffee maker cool completely, unplug it, and remove the basket, reusable filter, lid, and carafe for routine washing with mild dish soap if the manufacturer permits it. Keep this job separate from descaling, which cleans mineral buildup inside the water system. A simple maintenance card can help: wash coffee-contact parts frequently, but follow the manufacturer-approved interval and product instructions for descaling the internal water path.
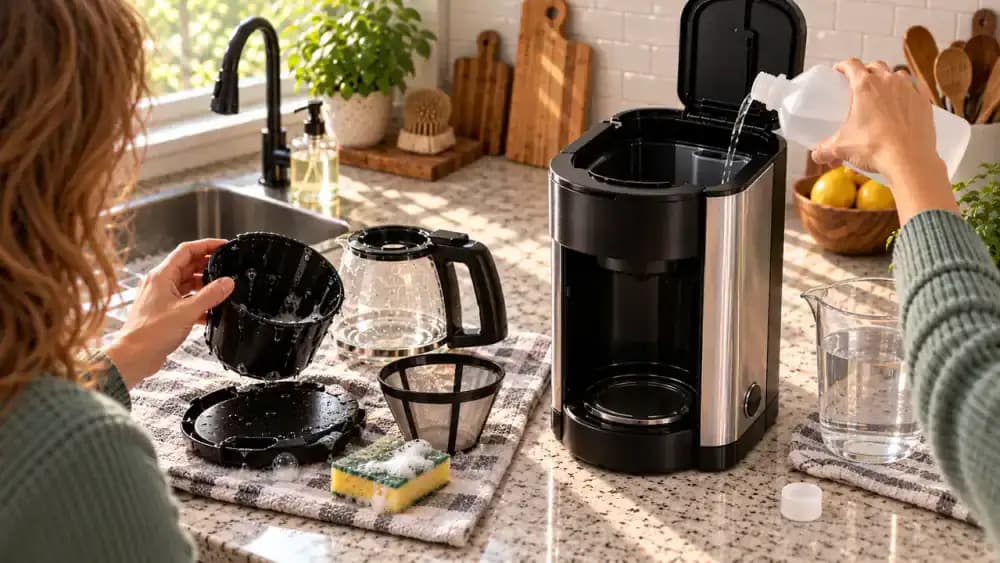
Wash Away Stale Coffee Oils
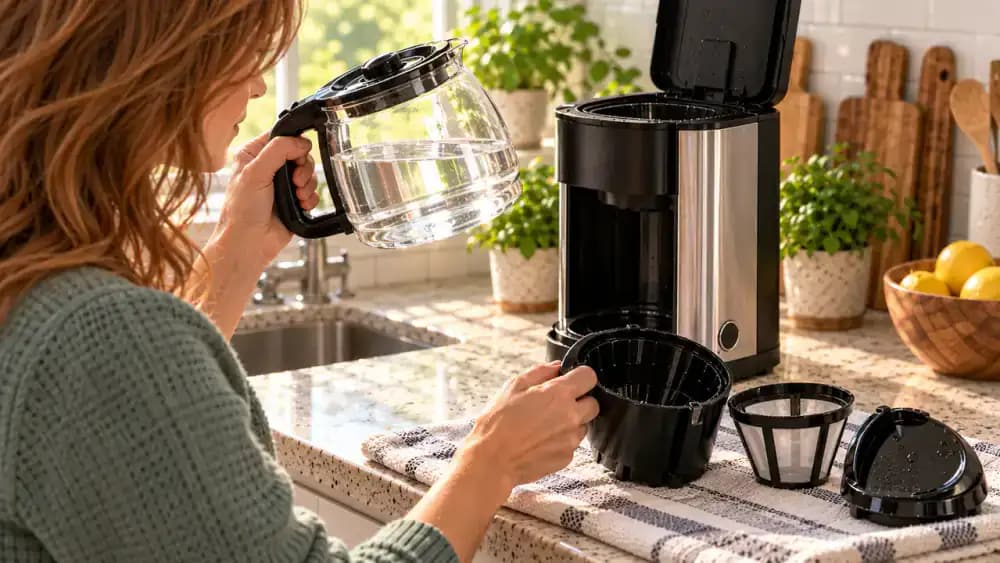
Wash the brew basket, reusable filter, carafe, and lid with warm water, mild dish soap, and a soft sponge. Turn each piece by hand so you can reach narrow seams, underside channels, and areas around the lid where oily residue tends to hide. Rinse everything under a gentle stream until the water runs clear and no soap remains. Check your coffee maker manual before placing any removable parts in the dishwasher.
Let Clean Parts Dry Before Reassembly
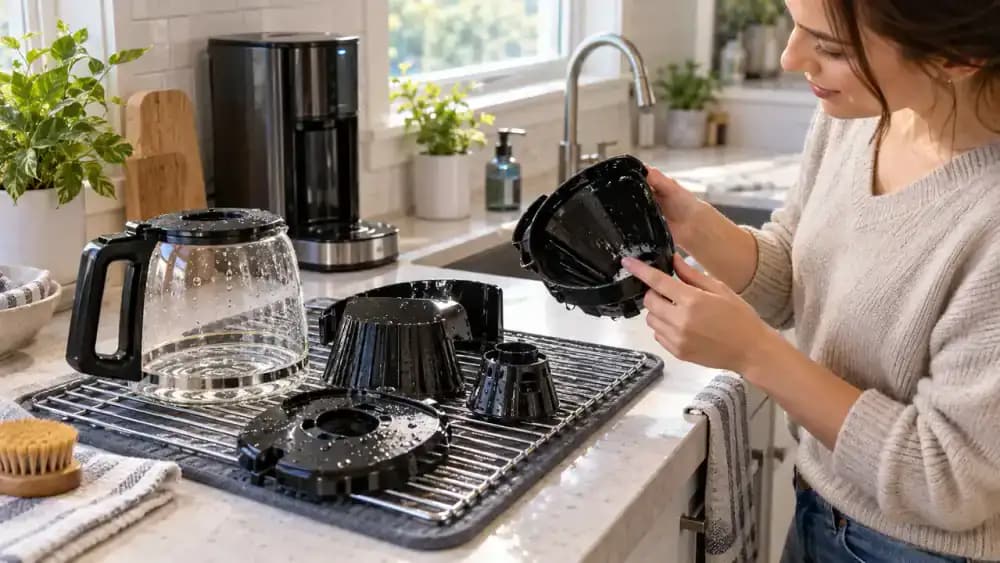
Place the rinsed basket, reusable filter, carafe lid, and carafe separately on a clean towel or drying rack so water can drain away. Angle openings downward when possible, then tilt each piece under good light to check for trapped suds, moisture, or greasy residue. Give thicker parts extra drying time, especially around seams and handles. Reinstall each component only after it looks clean, fully drained, and ready for normal use.
Confirm the Descaling Setup
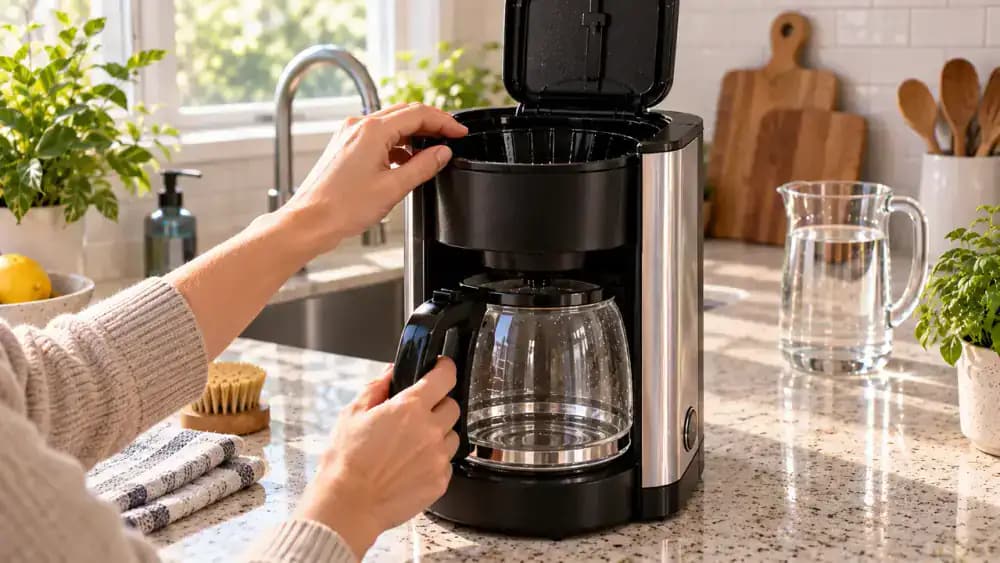
Check that the water reservoir is completely empty, then press the brew basket firmly into its normal brewing position. Slide the clean carafe directly beneath the outlet so any liquid will collect safely during the cycle. Before adding descaling solution or water, place the manufacturer instructions beside the coffee maker and verify the required quantity and cycle setting. Models differ, so using the exact directions helps avoid an incorrect mixture or program.
Add the Approved Descaling Solution
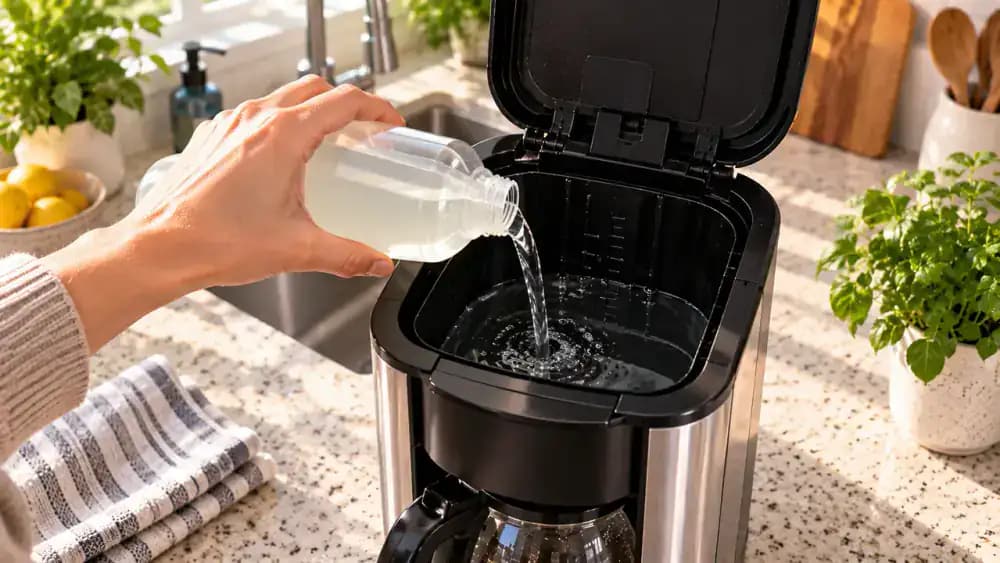
Measure the manufacturer-approved descaling solution exactly as specified for your machine, then pour it slowly into the open reservoir until you reach the instructed fill level. Stop before the maximum line and avoid changing the dilution. Do not add extra concentrate, substitute another acid, or mix in bleach or any other cleaner. Set the empty measuring cup aside, close the reservoir lid securely, and keep the product instructions nearby for the next cycle step.
Start the Correct Descaling Cycle
Place the filled carafe under the coffee maker, then check your manufacturer instructions before touching the controls. Select the exact clean, descale, or normal brew mode specified for your model and press start. Watch for the display or indicator light that confirms the cycle has begun. Keep the carafe in position throughout the process, and avoid stopping the machine unless the instructions specifically tell you to pause or refill it.
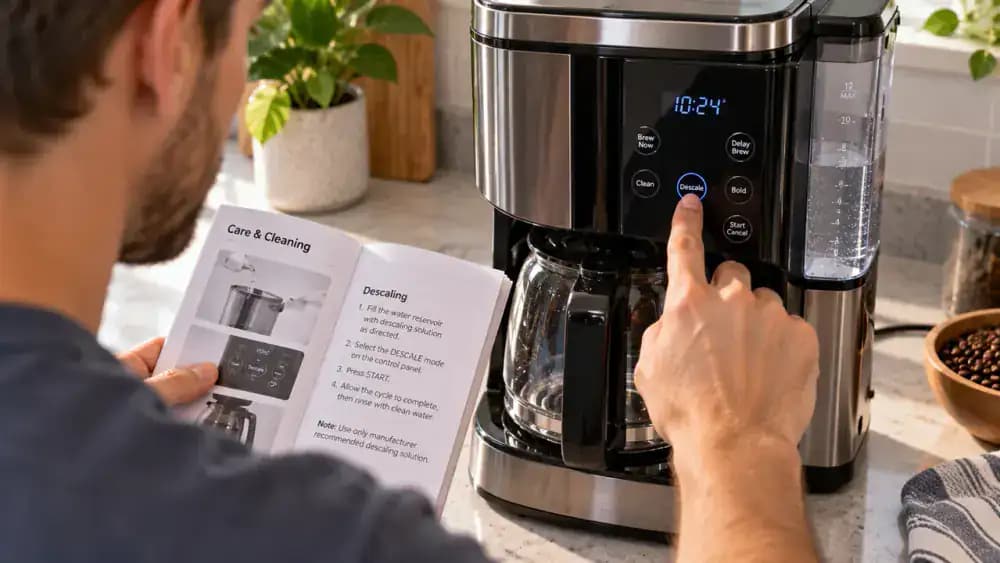
Let the Descaling Cycle Finish
Leave the coffee maker alone while the programmed descaling cycle runs from start to finish. The carafe should stay under the brew outlet to catch the discharged solution as the machine pumps, pauses, and resumes automatically. Do not press controls, refill the reservoir, or add extra cleaner during the process. When the display or indicator confirms completion, empty the carafe as directed and begin the model-specific rinse procedure before brewing coffee again.
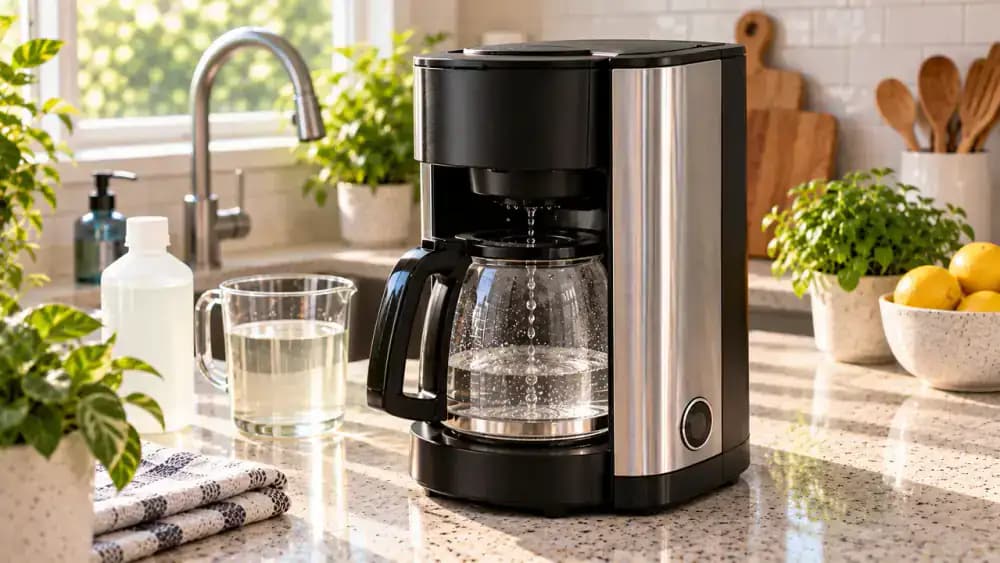
Discard the Used Solution and Rinse
Carefully remove the carafe and pour the used descaling solution into the sink according to the cleaner manufacturer's disposal directions. Rinse the carafe thoroughly with fresh tap water. Empty the water reservoir, rinse it with clean water, swirl the water around to reach the interior surfaces, and drain it completely. Refill the reservoir with fresh water to the manufacturer's specified level so the machine is ready for the first rinse cycle.
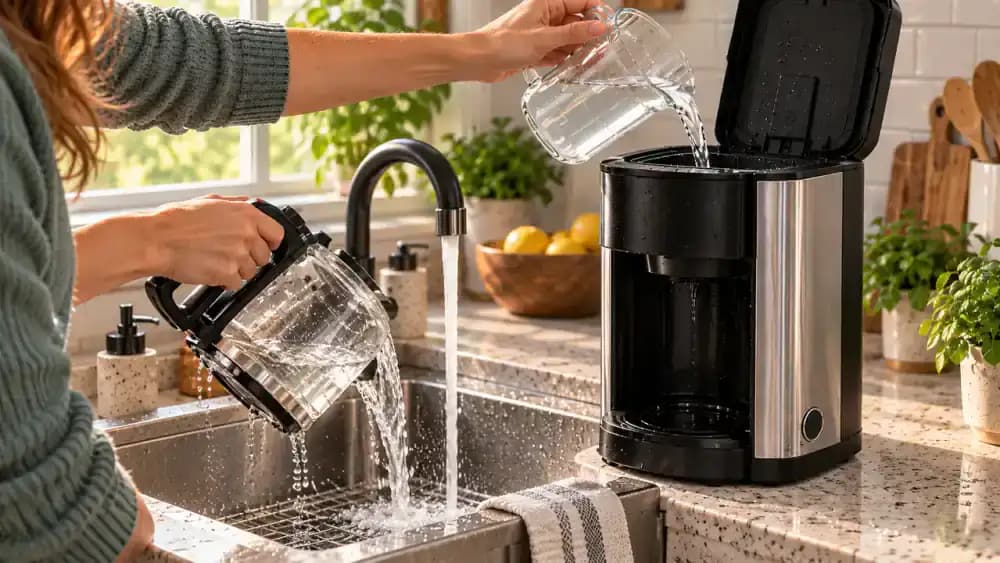
Run the First Fresh-Water Rinse
Set the rinsed carafe securely beneath the brew outlet, confirm the reservoir contains only fresh water, and start the full rinse setting recommended for your coffee maker. Keep the filter basket empty and let the cycle finish without interruption. Watch the clear water collect in the carafe as it flushes descaling residue from the internal lines. If the water still smells acidic afterward, plan on running another complete fresh-water rinse.
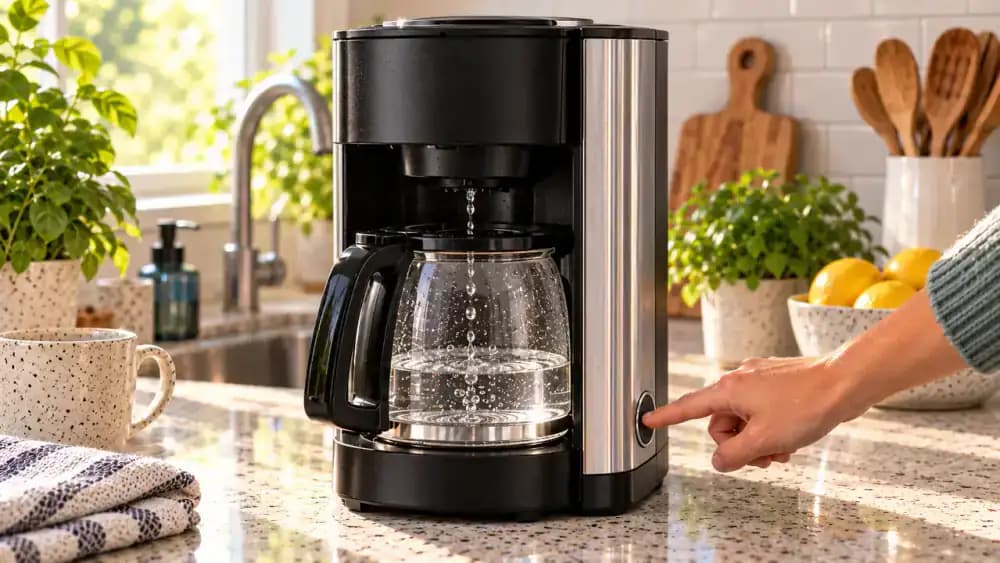
Complete Every Required Rinse Cycle
Pour out the first batch of rinse water, then check the coffee maker's manufacturer instructions to see whether another fresh-water cycle is required. If so, refill the reservoir with clean water, place the empty carafe back in position, and run the complete cycle. Avoid stopping the rinse early. Completing every specified cycle helps flush remaining descaling solution from the internal water path before you brew coffee again.
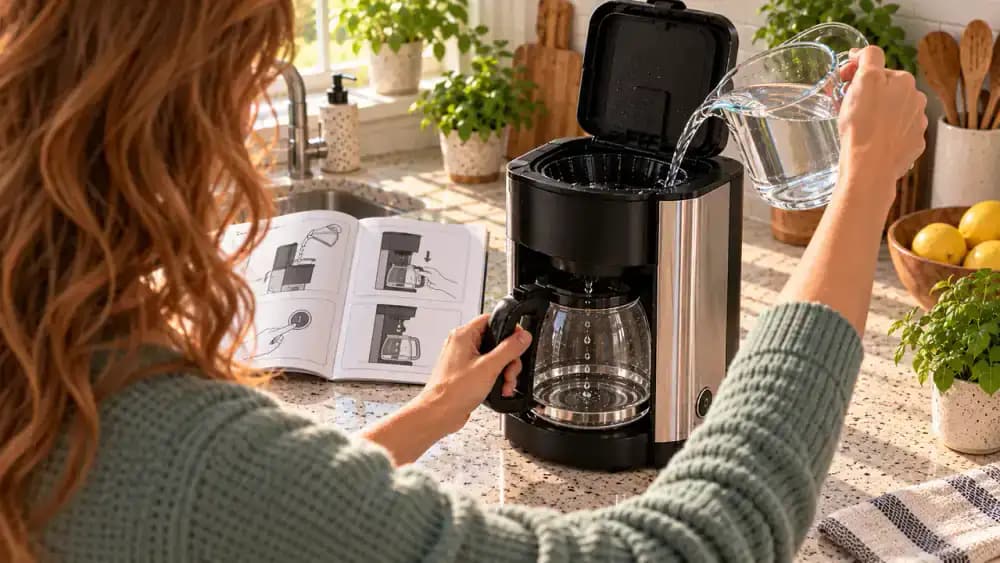
Verify the Final Rinse Is Complete
Hold the finished rinse water under good light and check that it looks clear, with no floating particles or visible cleaning residue. Empty the carafe, inspect the reservoir, and check for any lingering cleaner smell without putting your face directly over the opening. Follow the manufacturer's instructions if another rinse is required. Once everything looks and smells clean, reinstall the basket and reusable filter before the next normal brew.
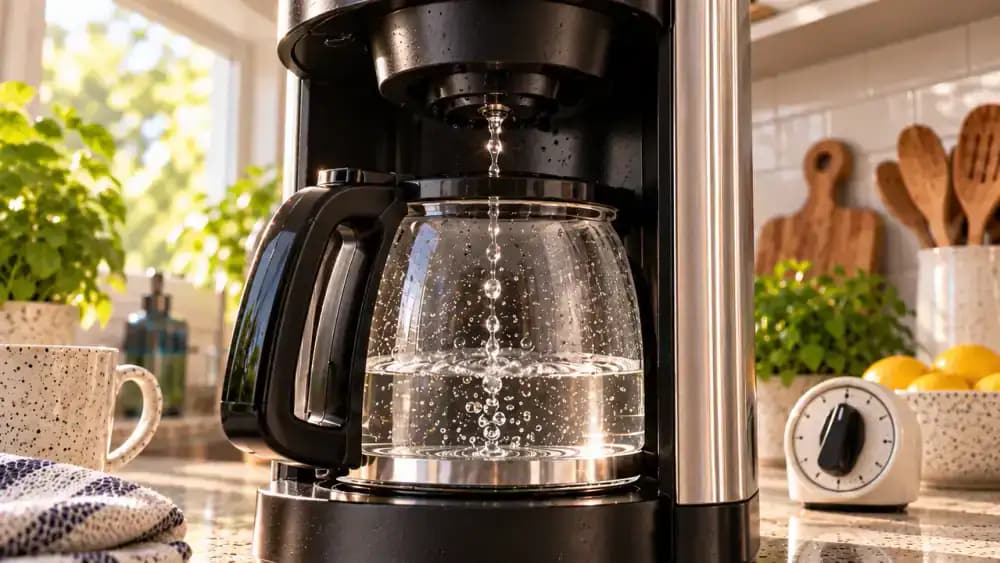
Check the Brewing Flow After Descaling
Run a normal brew cycle only after rinsing is complete and the machine is fully reassembled according to the manufacturer's instructions. Watch the liquid leaving the brew head for a smooth, steady stream and note whether the cycle finishes in its usual amount of time. Keep a simple timer nearby for reference. Improved flow can suggest that scale had caused restriction, but this visual check should not be treated as a formal performance measurement.
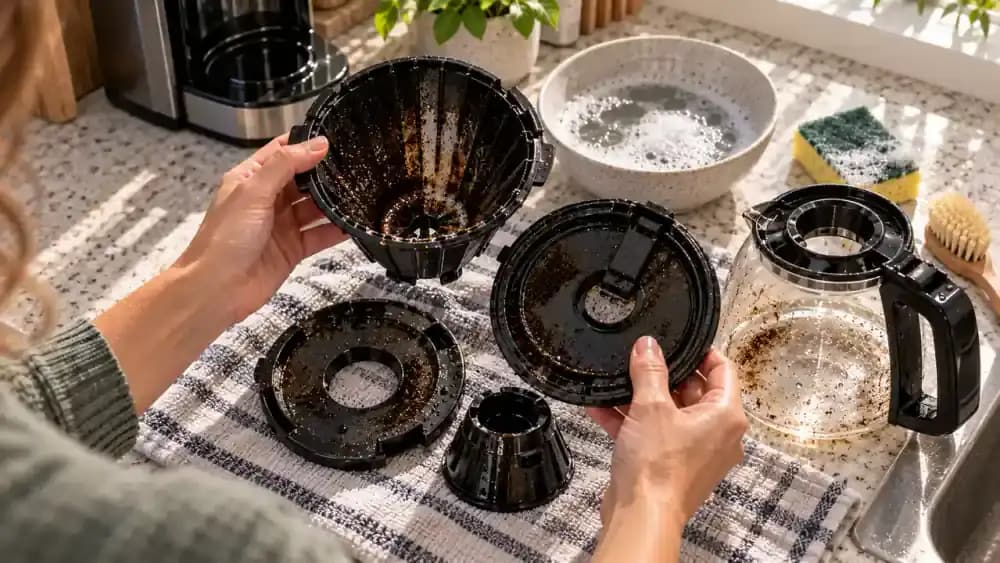
Inspect Every Part That Touches Coffee
Once the coffee maker is fully cool, remove the basket, reusable filter, carafe, and lid and inspect each piece under bright light. Look for brown film, oily streaks, or a slick feel, especially around rims and seams. Rewash any affected parts in warm water with mild dish soap, then rinse thoroughly. Descaling handles mineral deposits inside the machine, but coffee oils on removable parts still need regular washing.
Dry and Reassemble the Clean Parts
Let every rinsed coffee-contact part drain until no soapy water remains, then use a clean lint-free towel only on droplets that will not air-dry quickly. Reinstall the basket, reusable filter, lid, and carafe in the correct order, checking that each piece sits fully in place. Leaving parts damp or slightly soapy can affect flavor, so inspect seams and corners before putting the coffee maker back into normal use.
Set the Right Maintenance Interval
Check your local water hardness on the tablet and compare it with the maintenance interval listed in your coffee maker manual. Hard water typically requires more frequent descaling, while softer water may allow longer gaps. Write separate recurring reminders for descaling and for washing the basket, lid, filter, and carafe. As a practical safeguard, set the first reminder a little early so you can adjust the schedule based on actual buildup.
Tie the Schedule to Real Use
Review your recent brew counts and compare them with the maintenance intervals in the manufacturer manual before changing the schedule. If daily use has increased, circle an earlier inspection date instead of automatically using stronger cleaners or more frequent descaling. Keep routine washing, oil removal, and approved descaling as separate tasks. Slower brewing or stale flavors should trigger a careful inspection first, especially if removable parts have not been cleaned recently.

Keep Maintenance Consistent
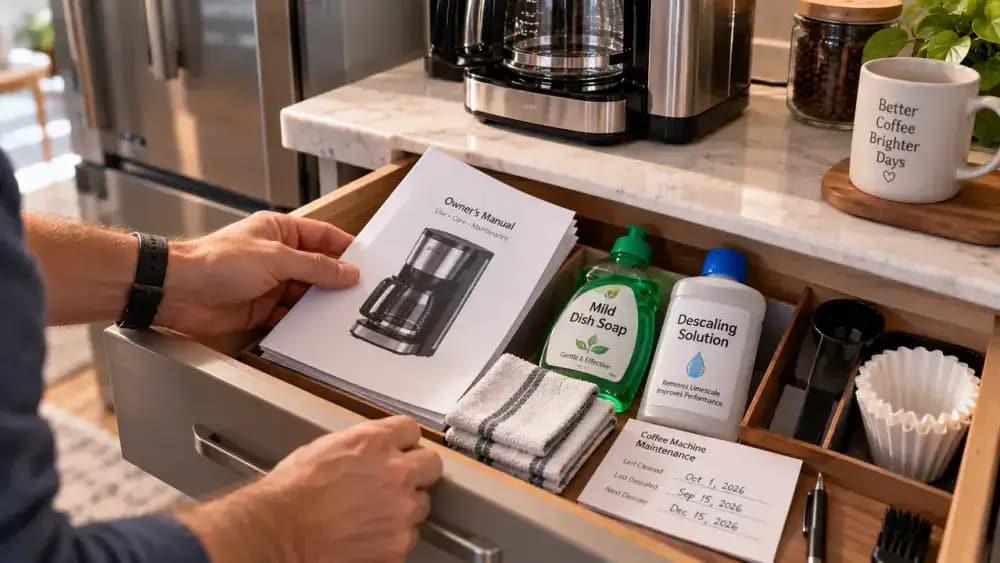
Open your maintenance drawer and check the dated cleaning record before adding more cleaner or descaler. Keep only the coffee maker manual, mild dish soap, and manufacturer-approved descaler nearby so the routine stays simple and safe. Wash coffee-contact parts before oily residue becomes sticky, and schedule descaling according to your water hardness and the manufacturer instructions. Recording each cleaning date helps prevent slow brewing and stale flavors without unnecessary chemical use.
Check Normal Brew Flow
Run a normal brew using plain water and watch the machine closely. The reservoir level should drop steadily as water moves through the clean, empty basket and into the carafe without pooling, backing up, or sputtering. If the stream still looks restricted, stop before trying stronger cleaners. Check the manufacturer manual, verify that the approved cleaning steps were followed correctly, and repeat the process only when another cycle is specifically permitted.
Set the Right Maintenance Rhythm
Keep descaling and routine washing on separate schedules so each job is done for the right reason. Place the manufacturer manual beside your local water hardness information, then set the next descaling reminder based on both. If your water is especially hard, the interval may need to be shorter. Wash the basket, carafe, lid, and reusable filter regularly as well, since coffee oils build up independently of mineral scale.
Keep the Routine Easy to Repeat
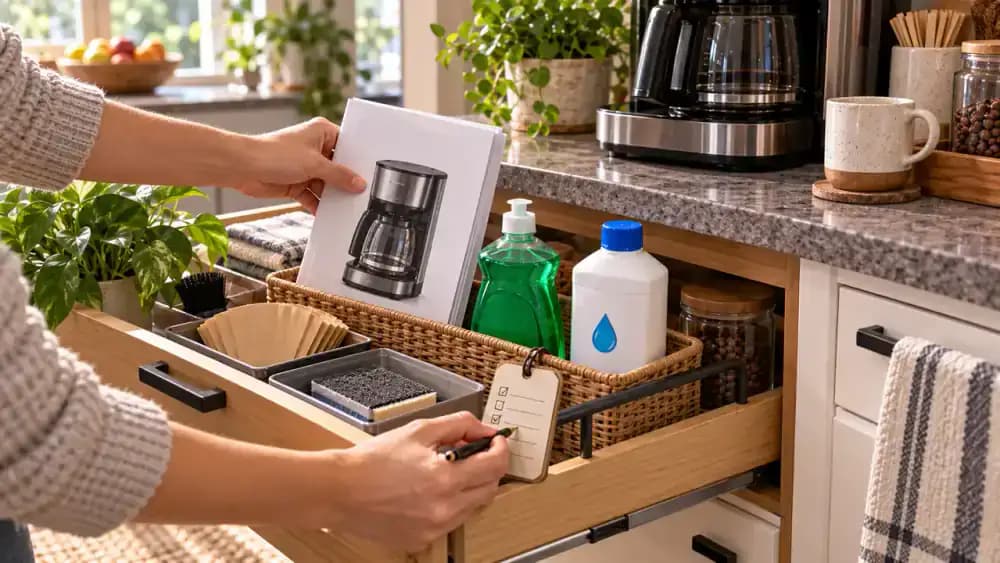
Place the coffee maker manual upright in a file holder, then keep the manufacturer-approved descaler and mild dish soap beside it on the pull-out shelf. Write the completed cleaning date on the reusable maintenance tag so the next service is easy to track. Keeping these items together reduces guesswork, helps separate routine oil cleaning from descaling, and makes regular maintenance easier to complete before brewing slows down or flavors start tasting stale.

Brew Your First Fresh Pot
Add fresh coffee grounds to the clean basket, fill the reservoir with plain water, and brew a normal pot with the machine fully reassembled. Watch the coffee stream as it enters the carafe, then pour a cup and check the taste. Over the next few brews, pay attention to slower flow or returning bitterness. If either comes back quickly, review the manufacturer manual and adjust your descaling schedule for your water hardness.
A coffee maker does not have to look dirty to start causing problems. Mineral scale can build up inside the water system while stale coffee oils collect around the basket, lid, filter, and carafe. The result may be slower brewing, uneven water flow, or coffee that tastes bitter even when you are using fresh beans. Regular cleaning handles the visible residue, but descaling is what helps remove deposits hidden inside the machine.
Before you start, check the owner manual or manufacturer website for the descaling product, dilution, and cleaning sequence approved for your exact model. Some machines use a dedicated descaling mode, while others rely on a normal brew cycle. Do not guess, substitute stronger acids, or mix descaler with bleach or other chemicals. Unplug the coffee maker before cleaning exterior surfaces or removable parts, and rinse everything thoroughly before brewing coffee again.
Where people go wrong
Using the Wrong Descaling Product. Do not assume vinegar or a stronger acid is safe for every coffee maker. Use only the manufacturer-approved descaling product and dilution for your exact model. The wrong cleaner can damage internal components, leave unwanted residue, or conflict with the machine's required cleaning procedure.
Ignoring Stale Oils on Removable Parts. Descaling removes mineral buildup, but it does not replace washing the basket, carafe, reusable filter, lid, and other coffee-contact parts. Oily residue can continue causing bitter or stale flavors even after the internal water system has been properly descaled.
Guessing Which Cleaning Cycle to Run. Some coffee makers use a dedicated descaling mode, while others require a normal brew cycle with specific pauses or steps. Do not improvise. Check the manual or manufacturer instructions and follow the cleaning sequence designed for that particular machine.
Stopping Before the Fresh-Water Rinse Is Complete. After descaling, rinse the reservoir and run the required number of full fresh-water cycles. Do not brew coffee while cleaning odor or residue remains. Keep rinsing as directed until the machine is clean, water flow is steady, and no descaling solution remains.

Questions people ask
Common signs include slower brewing, uneven water flow, or coffee that tastes unusually bitter even after washing the removable parts. Mineral scale can build up inside the machine where you cannot see it. Follow your manufacturer’s recommended descaling schedule, especially if your home has hard water.
Fixed it?
Get one guide like this every Thursday.