How to Degrease a Kitchen Floor Without Leaving Sticky Residue
Does your kitchen floor still feel sticky after mopping? Learn how to remove built-up cooking grease and detergent residue with floor-safe cleaning methods that leave surfaces clean, dry, and comfortable underfoot.

What you’ll need
Tap to tick things off before you start.
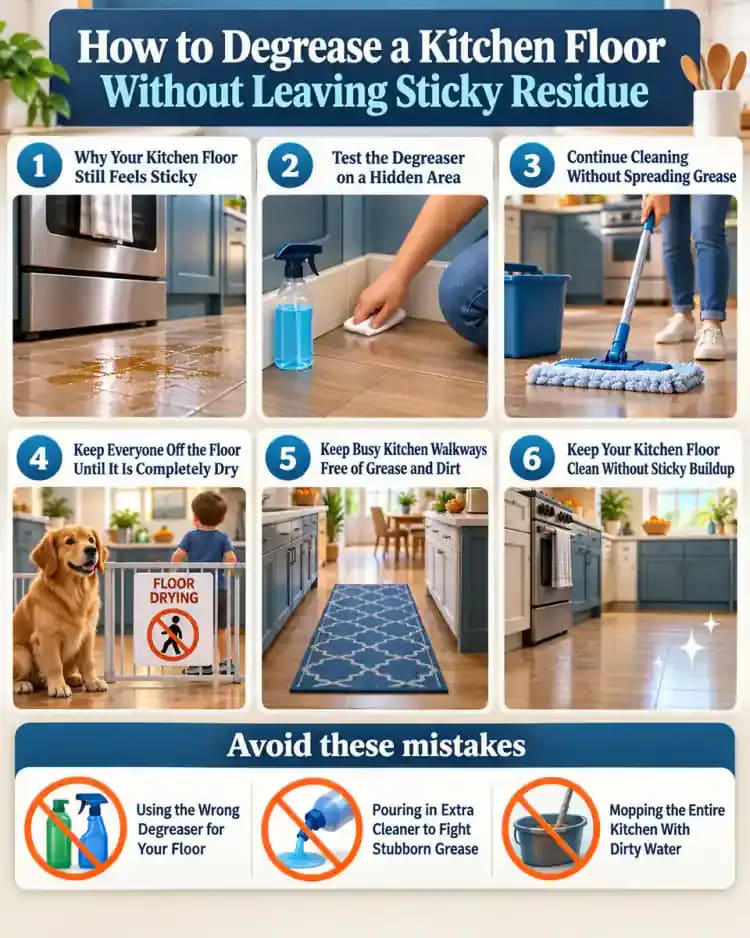
Why Your Kitchen Floor Still Feels Sticky
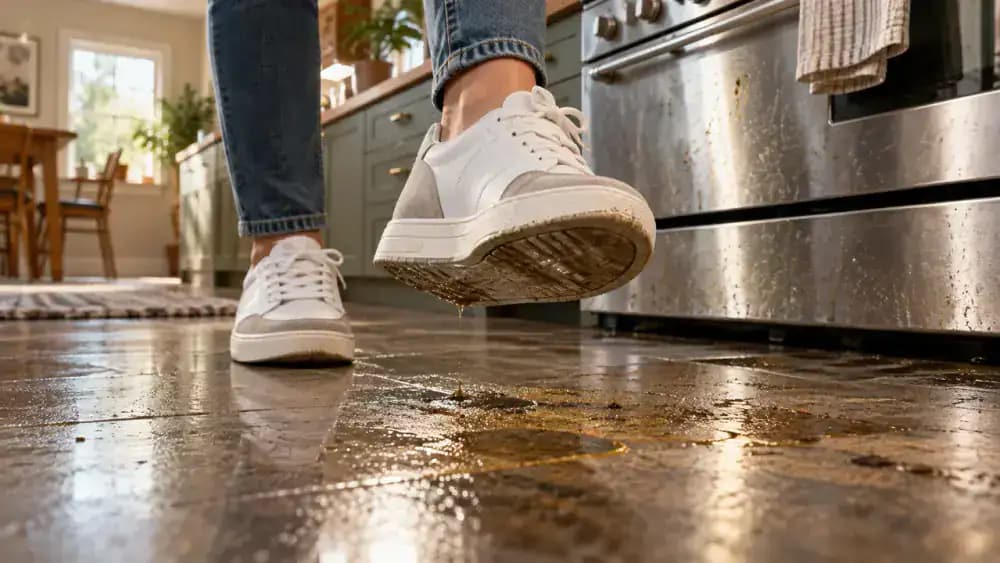
Walk across your seemingly clean kitchen floor in sneakers, then lift one shoe to check for tackiness. Pay particular attention to dull patches near the stove and cabinets, where airborne cooking grease tends to settle. Leftover detergent and dirty mop water can create additional residue that regular mopping spreads instead of removes. Before cleaning again, identify your flooring material so you can choose a suitable cleaner without damaging its finish.
Identify Your Flooring Before Choosing a Cleaner
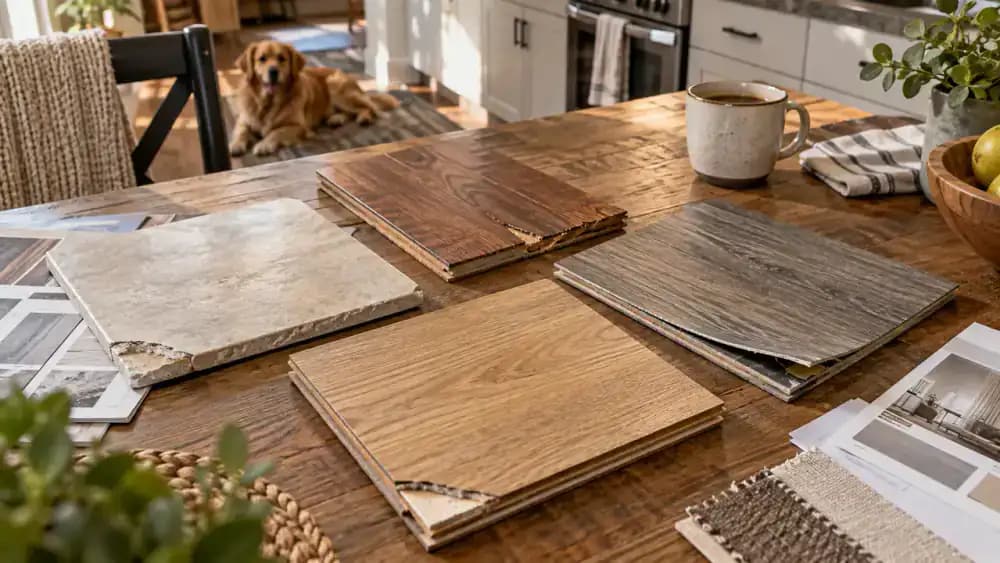
Examine your kitchen flooring before selecting a degreaser. Ceramic tile, vinyl, sealed hardwood, and laminate have different cleaning requirements. Look closely at tile grout, lifted vinyl edges, worn hardwood finishes, and gaps between laminate planks. These vulnerable areas can allow moisture underneath the flooring. Check the manufacturer's care instructions for approved cleaning products and application methods. If you cannot identify the material, avoid harsh chemicals and excessive water until you confirm its care requirements.
Clear the Kitchen and Organize Your Floor Cleaning Supplies
Remove dining chairs, small rugs, and lightweight furniture to create an unobstructed cleaning area. Open a nearby window for ventilation and position a yellow wet-floor warning sign at the kitchen entrance. Arrange a soft broom, microfiber mop, two empty buckets, clean towels, and a degreaser approved for your flooring. Check the product label and wear protective gloves if recommended. Keep supplies within easy reach, but away from walkways to prevent tripping.

Sweep Away Crumbs, Dust, and Grit
Start with a soft-bristle broom, pulling crumbs, dust, and gritty particles away from cabinet bases and the front edge of the stove. Work debris into a small pile and collect it with a dustpan rather than pushing it across the floor. Use a vacuum with a manufacturer-approved hard-floor attachment to clean tight corners. Check beneath appliance edges for leftover grit before mopping, since trapped particles can scratch delicate finishes.

Measure and Dilute the Degreaser Correctly
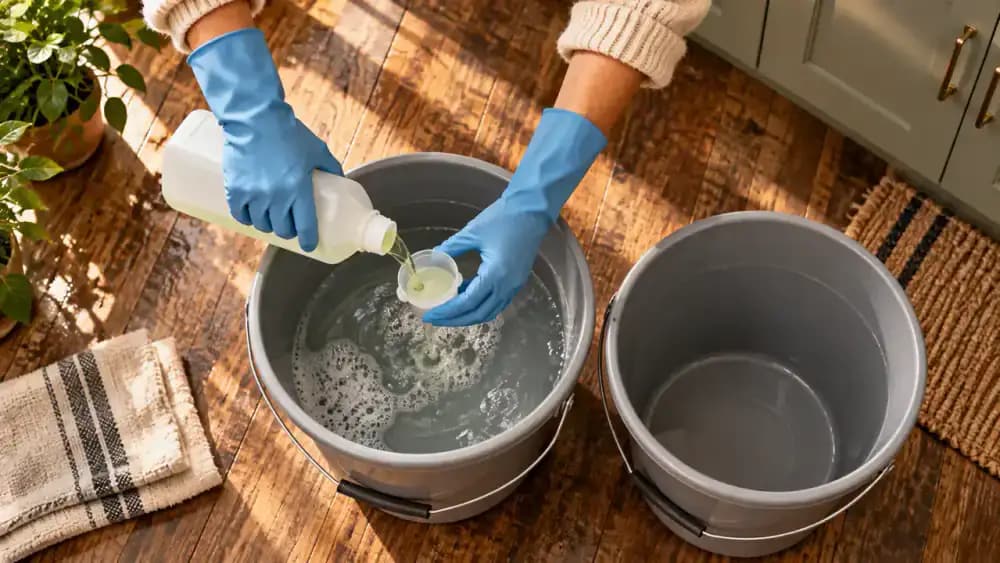
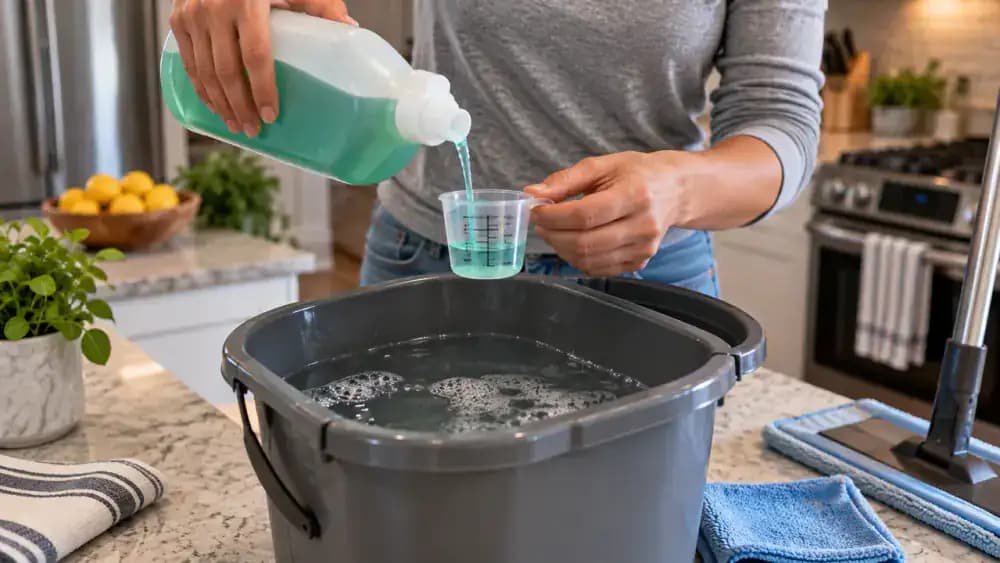
Check the degreaser label to confirm it is compatible with your flooring and find the recommended mixing ratio. If instructed, put on protective gloves before pouring the specified amount into a graduated measuring cup. Fill one bucket with the required quantity of water, then add the cleaner in the order directed by the manufacturer. Keep the second bucket separate for rinsing if needed. Excess degreaser can leave sticky residue instead of improving cleaning.
Test the Degreaser on a Hidden Area
Choose a small, inconspicuous spot near a cabinet, away from flooring seams, and mark it with removable painter's tape. Lightly dampen a microfiber cloth with your diluted, vinyl-safe degreaser and gently wipe the test patch without soaking it. Follow the product label's contact time, remove the solution as directed, and dry thoroughly with a separate towel. Inspect from different angles under natural light for discoloration, dullness, or finish damage before proceeding.
Divide the Floor Into Manageable Sections
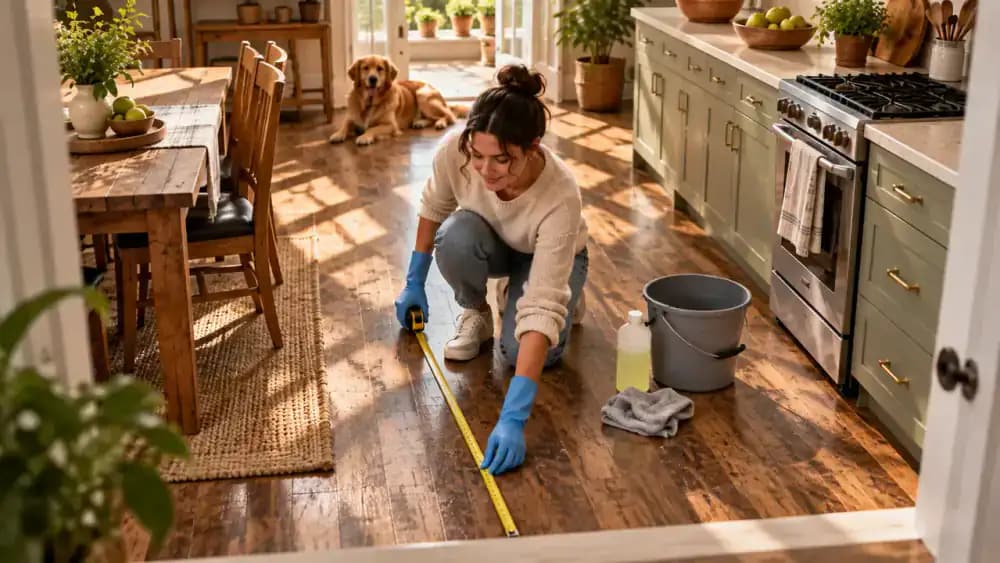
After confirming the hidden test area shows no visible changes, use a tape measure to plan sections approximately 3 feet by 3 feet. Begin in the corner farthest from the doorway and work toward the exit. Keep your microfiber mop ready on dry flooring, and clean one section before moving to the next. This prevents degreaser from drying too quickly, limits the spread of dirty solution, and helps you avoid stepping on freshly cleaned areas.
Apply the Degreaser With a Lightly Damp Mop
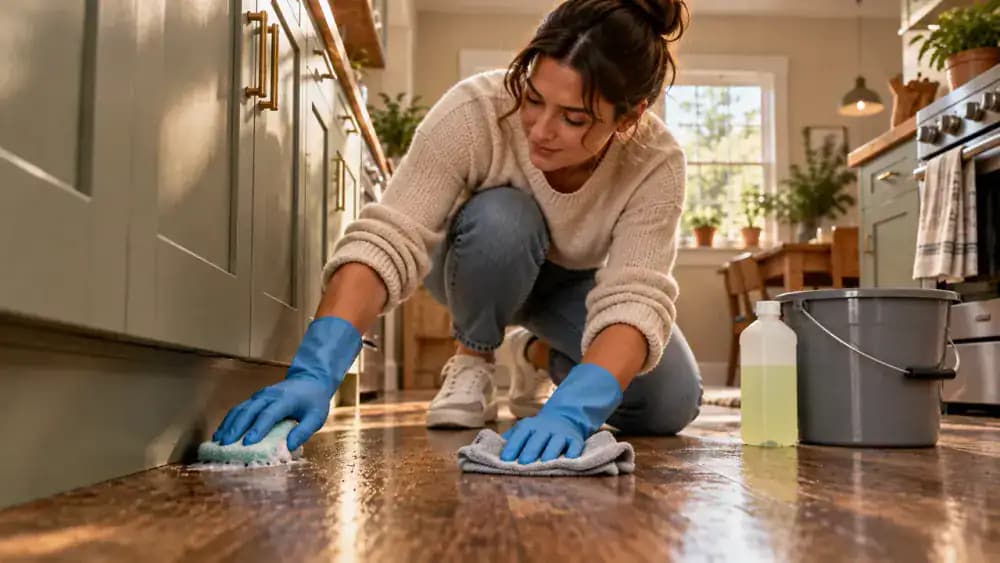
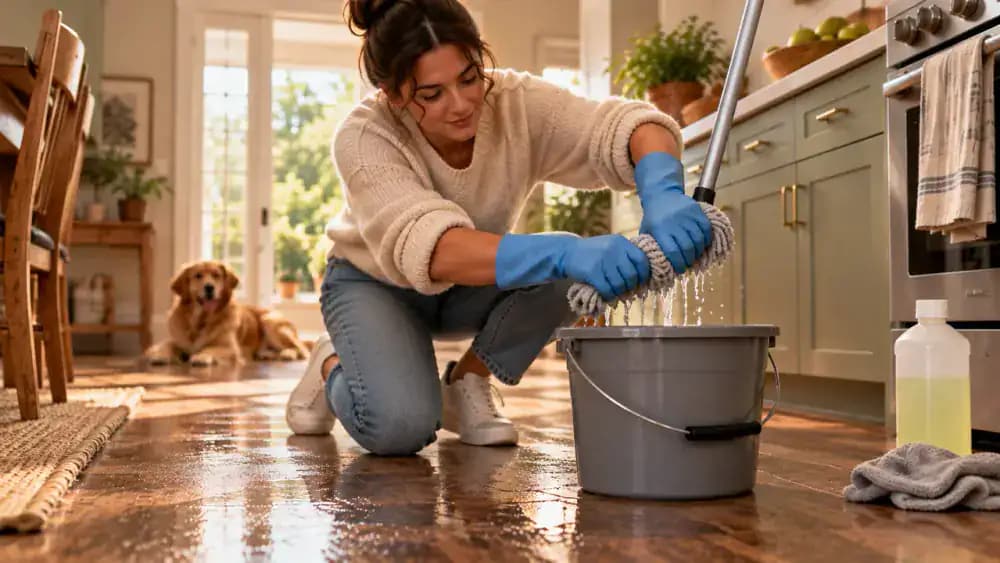
Dip a clean microfiber mop into the properly diluted, vinyl-safe degreaser, then squeeze it firmly in the bucket wringer until dripping stops. Working within your first 3-foot by 3-foot section, glide the damp mop across the vinyl planks using slow, overlapping strokes. Apply just enough solution to leave a thin, even coating. Avoid exposed plank seams, especially near cabinets, and immediately wipe away any puddles to prevent moisture damage.
Allow the Degreaser to Work for the Approved Contact Time
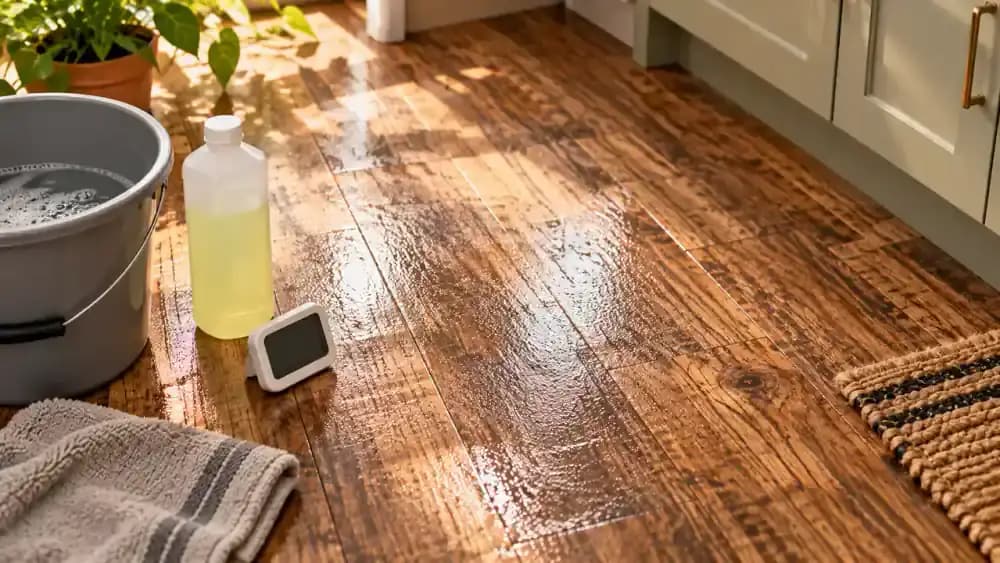
Read the degreaser bottle's instructions to find the required contact time, then set a timer for that exact duration. Keep the treated 3-foot by 3-foot section lightly damp while the product loosens greasy buildup. Watch for drying or pooling, and follow the label's directions if either occurs. If immediate removal is required, do not wait. Leave the wet-floor warning sign in place and prevent foot traffic until cleaning is complete.
Lift the Loosened Grease With a Clean Microfiber Pad
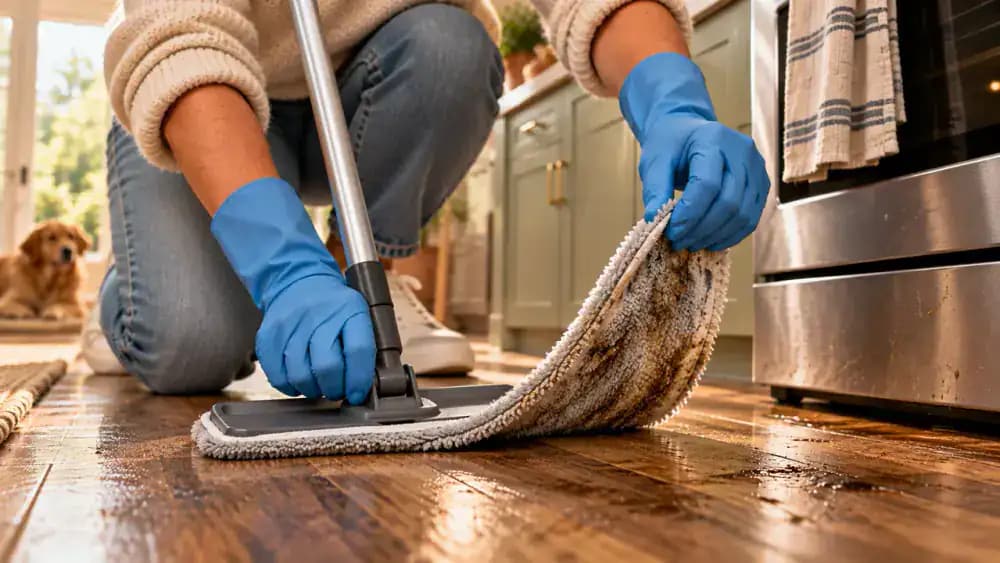
Once the cleaner has completed its approved contact time, attach a fresh microfiber pad to a flat mop. Starting at one edge of the treated vinyl plank flooring, guide the pad across the surface using slow, overlapping strokes and gentle pressure. Check the microfiber frequently for grayish, oily residue. When the pad becomes visibly dirty, replace it immediately to avoid transferring grease onto clean areas. Keep excess moisture off the floor.
Replace Dirty Cleaning Water Before Moving On
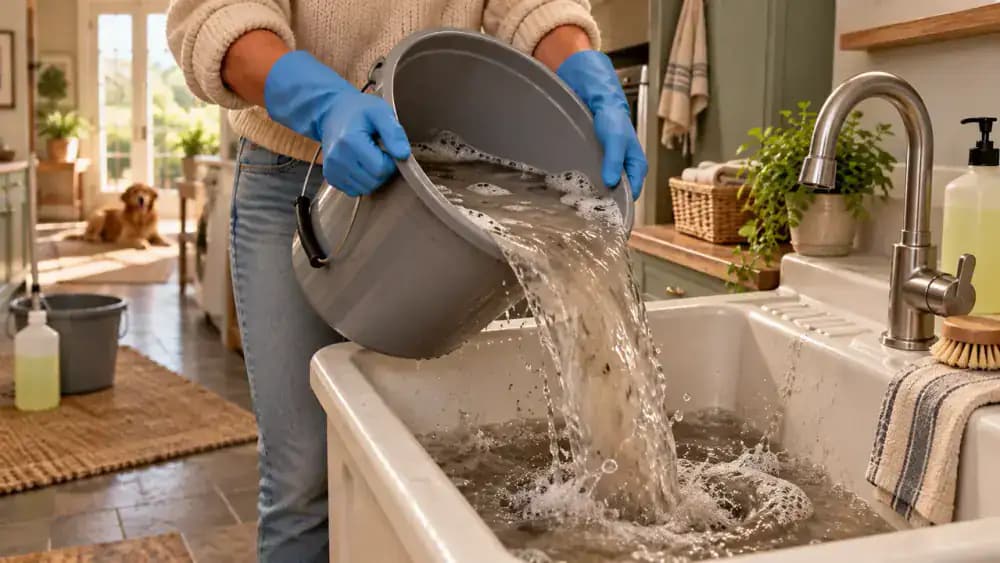
Check the bucket after cleaning each greasy section of vinyl flooring. If the water appears cloudy, gray, or oily, carefully empty it into a utility sink only if the cleaner's disposal instructions permit. Rinse the bucket thoroughly before adding fresh water and the label-specified amount of vinyl-safe degreaser. Avoid guessing the dilution ratio or combining cleaning products. Fresh solution helps prevent dissolved grease from being spread onto the next section.
Continue Cleaning Without Spreading Grease
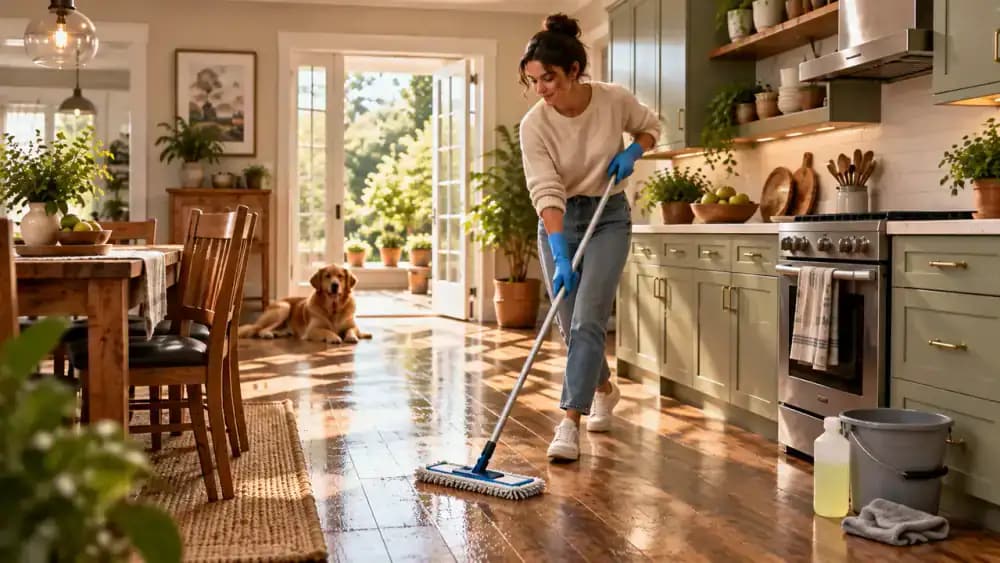
Move your freshly rinsed, lightly damp microfiber mop into the next 3-foot by 3-foot section. Use slow, parallel strokes that overlap slightly to avoid missed spots. Start at the far side of the kitchen and work toward the exit, keeping your feet on dry flooring. Lift and reposition the mop instead of pulling dirty water into cleaned areas. Around cabinets and plank seams, use minimal moisture to prevent liquid from collecting.
Check the Cleaner Label Before Adding Rinse Water
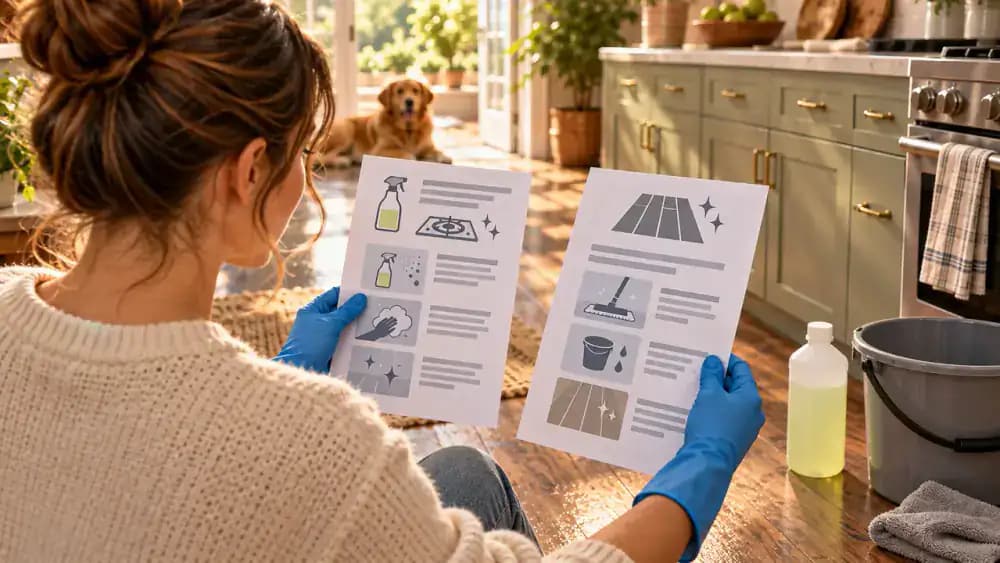
Place the degreaser bottle beside your flooring manufacturer's care instructions and locate the rinsing directions on both. Some cleaners require a separate rinse, while others are designed to remain on the surface without rinsing. Keep your rinse bucket empty until you confirm which method applies. If rinsing is required, use only the recommended amount of water and avoid soaking vinyl plank seams, laminate edges, or hardwood joints. Never leave standing water behind.
Rinse Vinyl Plank Floors Without Soaking the Seams
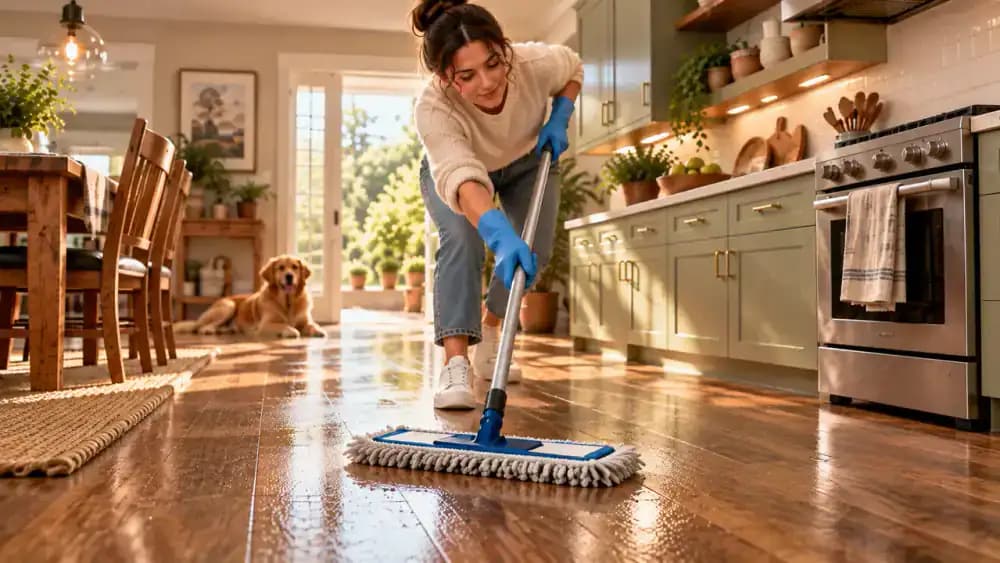
If the degreaser label requires rinsing and your flooring manufacturer allows it, fill a second bucket with clean water. Dip a fresh microfiber mop into the bucket and wring it until it stops dripping. Gently wipe each cleaned 3-foot by 3-foot section using overlapping strokes. Keep the mop lightly damp, replace cloudy rinse water immediately, and avoid pushing moisture into plank seams. Leave the surface free of puddles and visible foam.
Dry the Floor Thoroughly
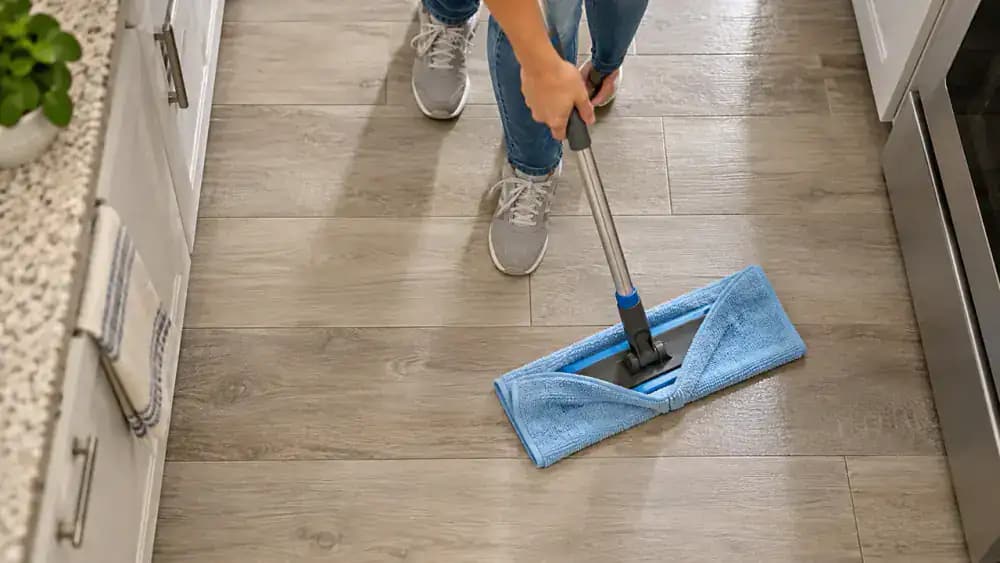
After rinsing, attach a fresh, dry microfiber towel to a flat mop and move it across the vinyl planks in straight, overlapping passes, working toward the doorway. Use a separate dry cloth to blot moisture along plank seams, cabinet edges, and tight corners without pushing water into the joints. Check the surface from a low angle under natural light to spot lingering dampness. Leave the wet-floor warning sign in place until everything is completely dry.
Check the Dry Floor for Sticky Spots
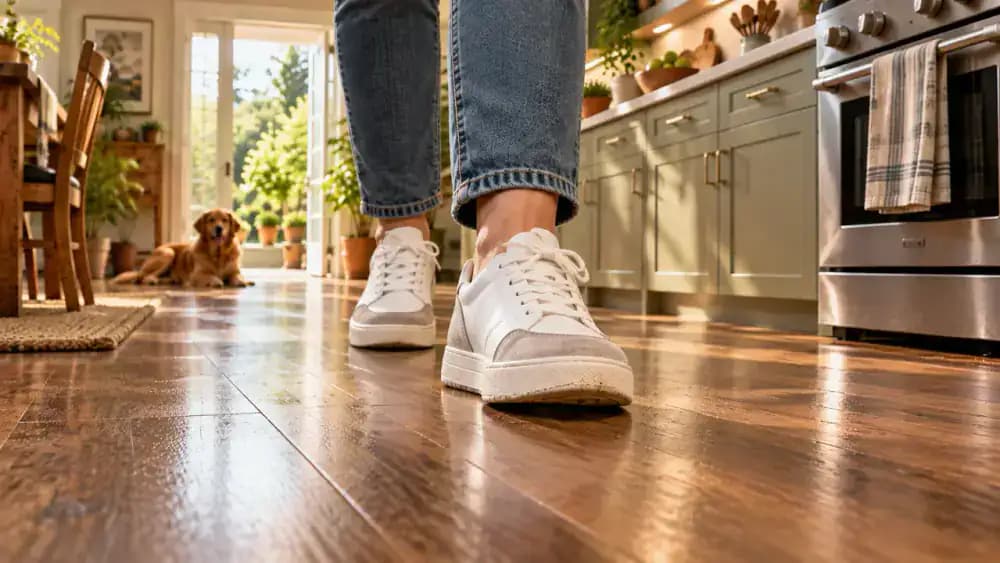
Once the vinyl plank flooring is completely dry, inspect your indoor shoes to ensure their soles are clean and dry. Walk slowly across each treated section, paying attention to any tacky sensation underfoot. Near the stove, gently lift one foot to check for resistance. Look across the planks from different angles using natural window light to spot dull patches or streaks. Note any suspicious areas that may need further cleaning.
Address Any Remaining Sticky Spots
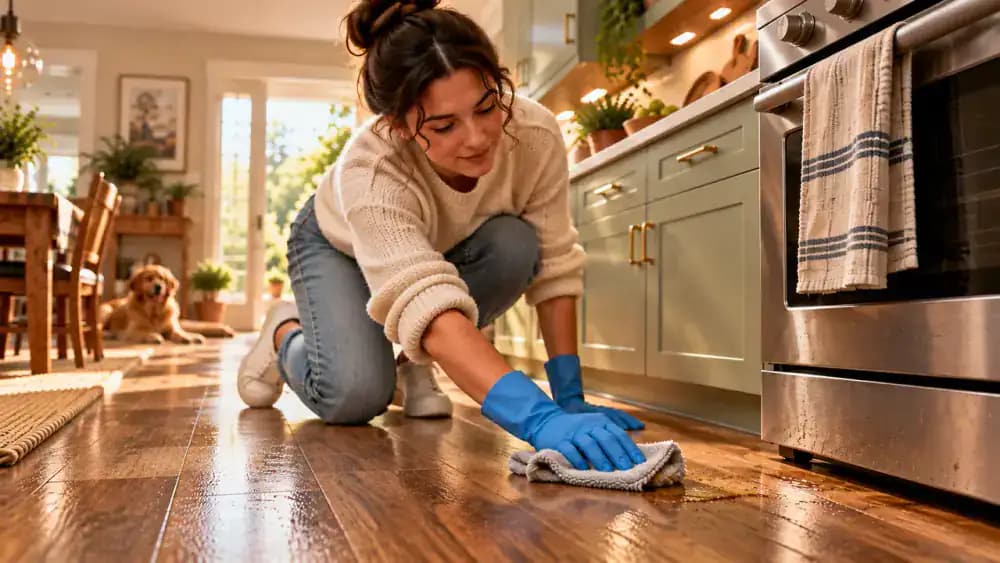
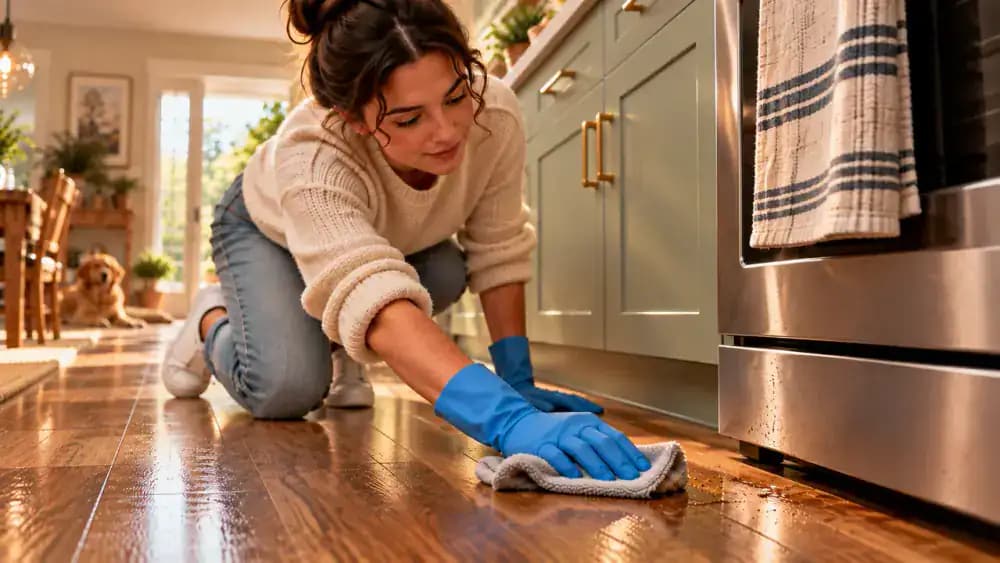
Once the vinyl plank floor is dry, inspect the dull patch beside the stove for lingering stickiness. Check the cleaner's label, then lightly dampen a fresh microfiber cloth with properly diluted, floor-approved cleaner. Wipe only the affected area using short, gentle strokes, keeping moisture away from plank seams. Follow the manufacturer's rinsing instructions if required, using a separate barely damp cloth. Press a dry towel against the spot and inspect it again after drying completely.
Keep Everyone Off the Floor Until It Is Completely Dry
Leave the wet-floor warning sign at the kitchen entrance and stop anyone from walking onto the freshly cleaned vinyl planks. Check for remaining moisture, especially around the sink, stove, cabinet bases, corners, and plank seams. If you spot dampness, gently blot it with a clean, dry microfiber towel while standing on a dry surface. Keep the area closed until all walking surfaces are completely dry, then remove the warning sign.
Clean Up Your Reusable Mop Pads
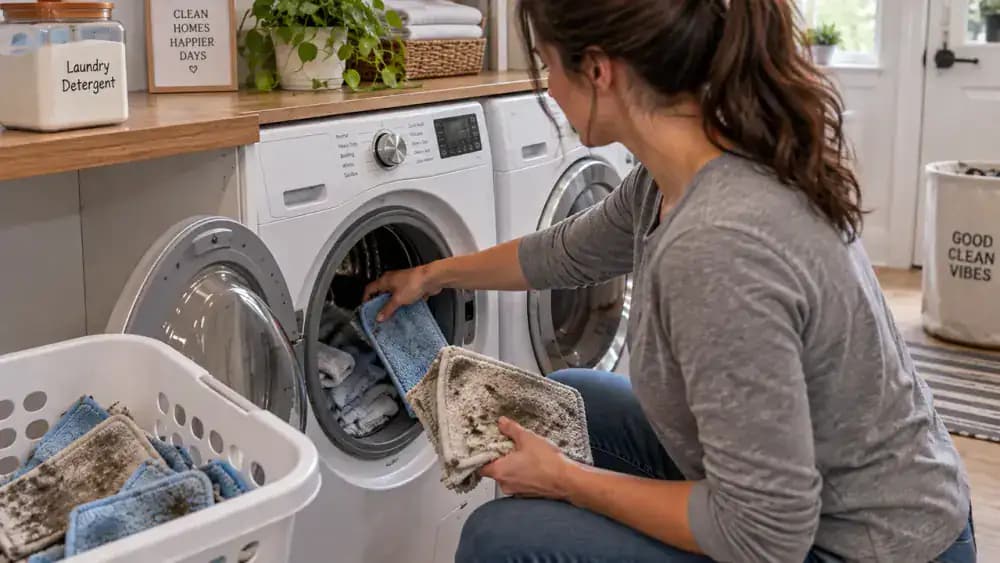
Place the used microfiber mop pads in a laundry basket, keeping heavily soiled pads separate from clean towels. Inspect the fibers for gray grease marks, then check each pad's care label for washing instructions. Measure the recommended amount of laundry detergent, load the pads into the washer, and select a compatible cycle. Skip fabric softener because it reduces microfiber cleaning performance. Dry the pads according to their care labels before storing them.

Store Buckets, Mop Pads, and Degreaser Safely
Empty both buckets following the cleaning product's disposal instructions, then rinse away any remaining residue. Place the buckets upside down on a ventilated rack until completely dry before stacking them. Rinse the mop head according to its care instructions and hang it to dry. Close the degreaser bottle tightly and store it upright in its original labeled container, away from food and out of reach of children and pets.
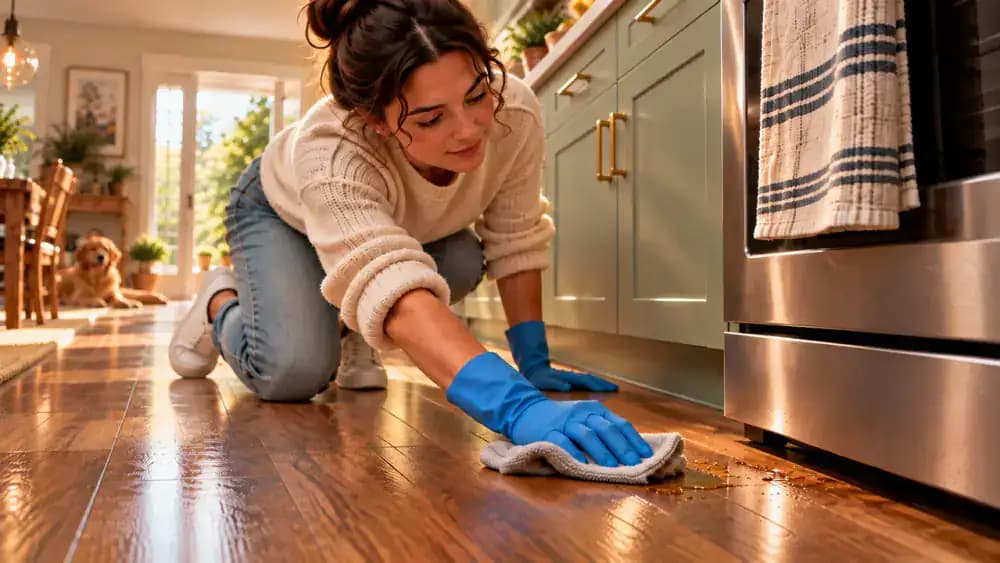
Wipe Up Cooking Spills Before Grease Builds Up
After cooking, inspect the vinyl plank flooring around your stove for fresh oil droplets and food spills. Once the skillet is safely set aside and the area is safe to clean, use a fresh microfiber cloth to wipe up splatters with short, controlled strokes. Check your flooring manufacturer's cleaning instructions before applying any cleaner. Avoid excess moisture around plank seams, follow any required rinsing instructions, and dry the cleaned area completely with a separate towel.

Use the Right Amount of Cleaner for Routine Mopping
Check the cleaner's label for the correct dilution ratio and confirm that the product is safe for your flooring. Measure the recommended amount with a clean measuring cup, then add it to the specified quantity of water in the order directed. Wring out a microfiber mop until lightly damp and clean with overlapping passes. Avoid soaking vinyl plank seams, and follow the label's rinsing and drying instructions to prevent sticky residue.
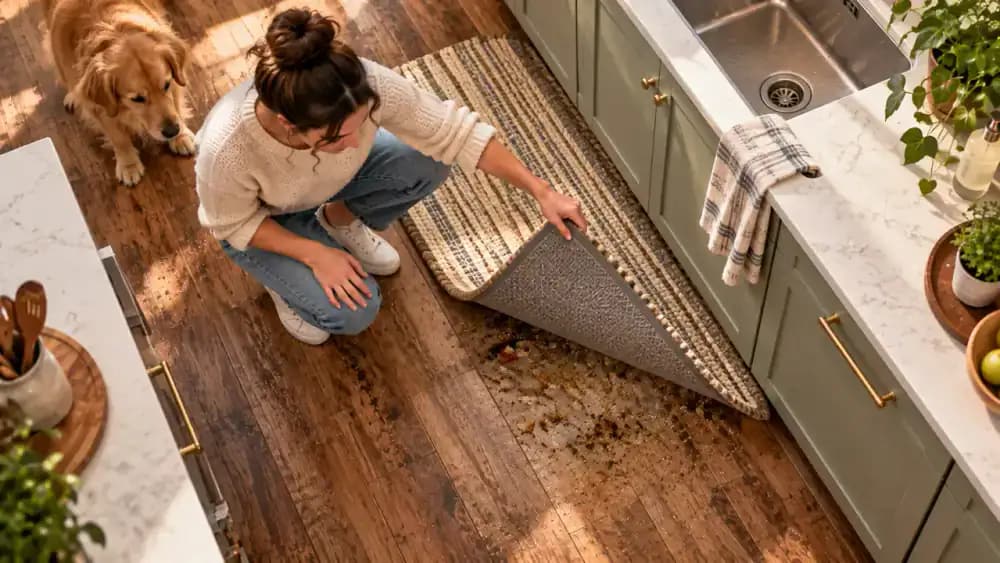
Keep Kitchen Floor Mats Clean to Prevent Grease Buildup
Lift the kitchen runner near your sink or stove and inspect the vinyl flooring underneath for crumbs and greasy spots. Check the mat's care label before cleaning it using the recommended method. Sweep away loose debris, then wipe greasy marks with a microfiber cloth lightly dampened with a flooring-approved cleaner. Follow any rinsing instructions, dry the floor completely, and replace the mat only when its backing is clean, dry, and floor-safe.
Keep Busy Kitchen Walkways Free of Grease and Dirt
Check the walking paths between your stove, sink, and refrigerator, where crumbs, shoe marks, and cooking residue accumulate quickly. Sweep loose debris into a dustpan using a soft-bristle broom. For greasy spots, check your vinyl flooring care instructions and gently wipe with a microfiber cloth dampened with an approved cleaner. Avoid soaking plank seams, follow any required rinsing instructions, and dry the cleaned area completely with a separate towel.
Set Up a Weekly Vinyl Floor Cleaning Routine
Pick a consistent day each week and add a reminder to your calendar. Inspect the kitchen floor for crumbs and greasy spots, then sweep loose debris into a dustpan. Check your flooring manufacturer's instructions before using an approved cleaner. Lightly dampen and wring out a microfiber mop, then clean with overlapping strokes without soaking the seams. Follow any required rinsing instructions, dry thoroughly, and keep foot traffic away until completely dry.
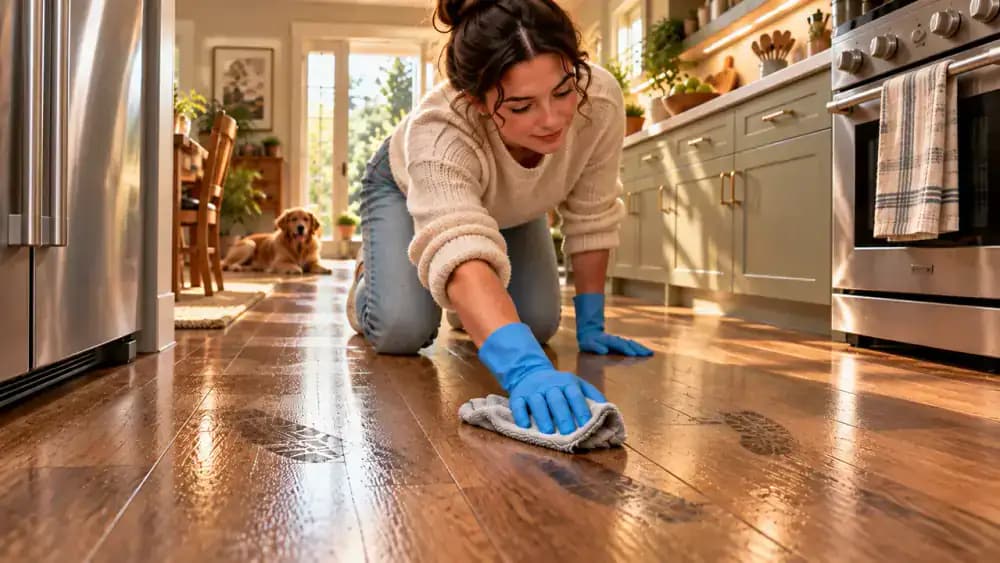
Inspect Hidden Floor Areas for Crumbs and Grease
Slide the trash can forward to inspect the flooring underneath, then sweep up crumbs with a soft-bristle hand broom. Use a flashlight to spot greasy marks beneath cabinet overhangs and beside the dishwasher. Check your flooring manufacturer's care guidance before wiping each mark with a microfiber cloth lightly dampened with an approved cleaner. Follow rinsing instructions if applicable, keep moisture away from plank seams, and dry every area thoroughly before replacing the trash can.

Prevent Grease Buildup Around Kitchen Appliances
After cooking, let the stove cool before checking the narrow floor strip beside it. Shine an LED light across the vinyl planks at a low angle to spot tiny grease droplets. Sweep away crumbs with a soft hand broom, then check the flooring manufacturer's cleaning instructions. Gently wipe each splatter with a fresh microfiber cloth and floor-approved cleaner if needed. Follow permitted rinsing directions, avoid soaking seams, and dry the area completely.
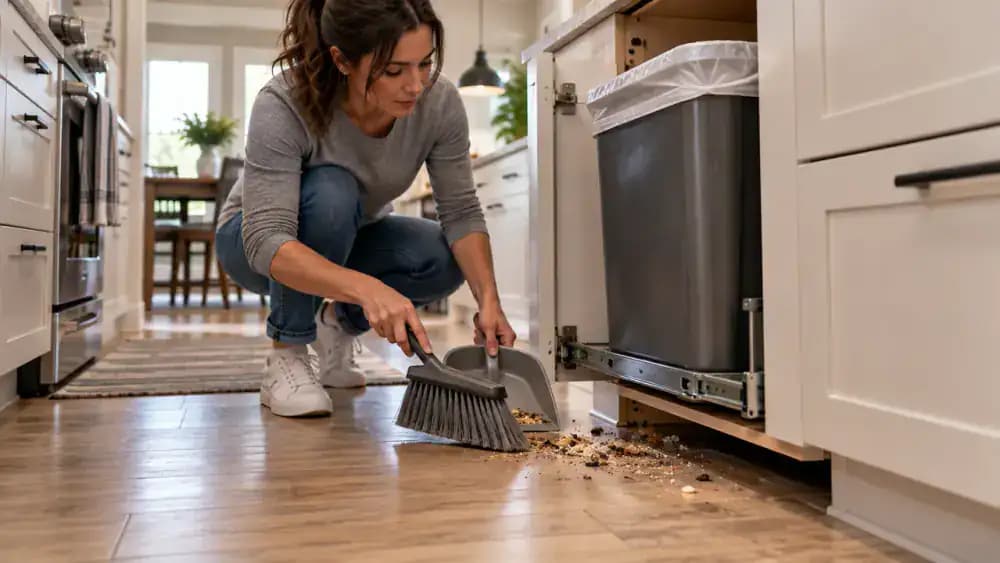
Check Floor Seams for Hidden Grease and Moisture
Inspect vinyl plank seams under natural light for trapped crumbs, greasy residue, and moisture. Use a magnifying glass to examine narrow edges, then gently sweep debris onto the plank surface with a dry, soft-bristle brush. Collect particles with microfiber. If the flooring manufacturer permits damp cleaning, wipe the edges with a barely damp cloth and approved cleaner. Avoid pushing liquid into gaps, and dry both edges completely before walking on them.
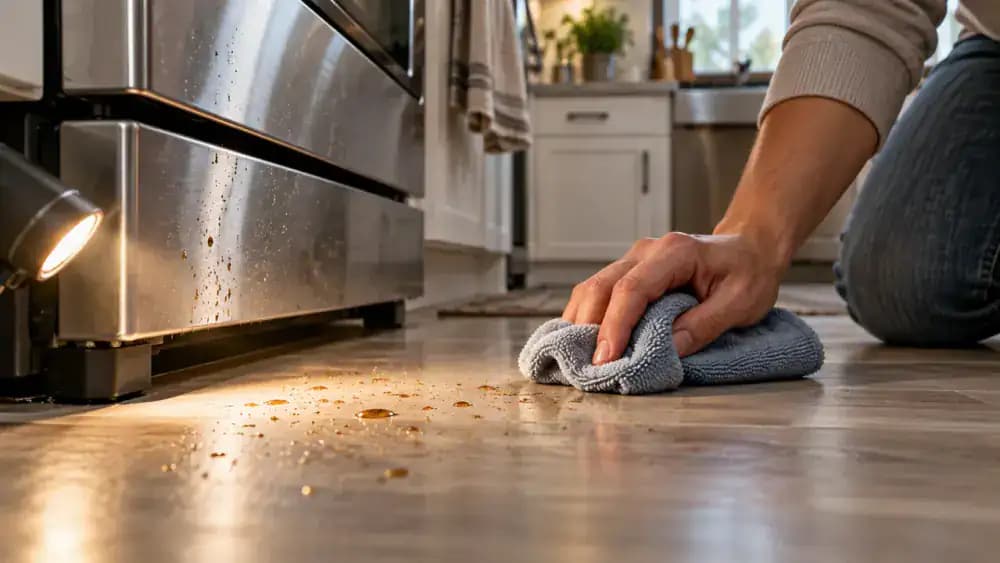
Make a Final Check Before Returning the Kitchen to Normal
Inspect the entire vinyl plank floor from several angles, using natural light to spot dull patches, leftover residue, or moisture. Crouch to examine seams, corners, cabinet edges, and areas beneath dining furniture. Once everything is completely dry, walk slowly across the floor in clean indoor shoes to check for tackiness. If the surface feels clean and dry, carefully lift dining chairs back into place instead of dragging them across the planks.
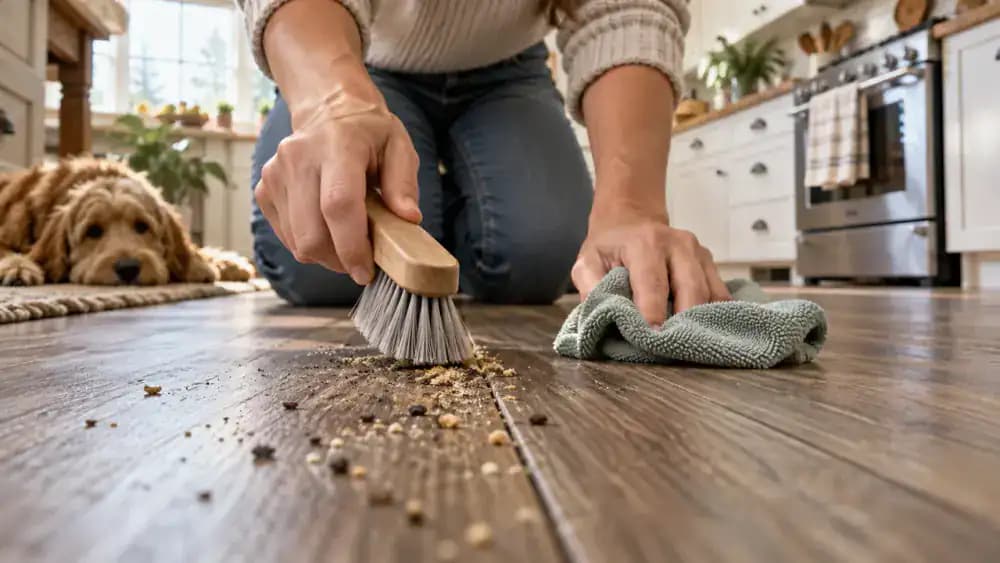
Keep Your Kitchen Floor Clean Without Sticky Buildup
Maintain your clean vinyl plank floor with a few simple daily habits. Blot fresh cooking grease promptly using a microfiber cloth, and sweep away crumbs before mopping. Measure only the recommended amount of floor-approved cleaner, following the product label to avoid residue. Place used microfiber pads in the laundry basket for regular washing, keep a dry towel nearby, and remove any remaining moisture. Store cleaning products safely after use.

Your kitchen floor looks spotless, but every step tells a different story. Your shoes stick slightly to the surface, bare feet pick up an unpleasant tacky feeling, and the floor seems dull no matter how often you mop. The problem might not be dirt at all. Cooking grease, leftover cleaning detergent, and dirty mop water can gradually create layers of residue that ordinary mopping fails to remove. Adding more cleaner often makes things worse, leaving behind an even stickier surface that attracts dirt and can become dangerously slippery.
The solution is to break down the grease, lift away the buildup, and remove any remaining cleaning residue without damaging your flooring. Whether you have ceramic tile, vinyl, sealed hardwood, or laminate, the right approach depends on the material and its finish. You'll learn how to choose a manufacturer-approved degreaser, dilute it correctly, clean in manageable sections, and dry the floor thoroughly. You'll also avoid common mistakes, including mixing chemicals, using too much detergent, and soaking moisture-sensitive floors.
Where people go wrong
Using the Wrong Degreaser for Your Floor. A cleaner that works on ceramic tile may damage vinyl, sealed hardwood, or laminate. Harsh chemicals can dull protective finishes, while excess moisture can penetrate vulnerable seams. Always choose a degreaser approved by your flooring manufacturer and test it in a hidden area before cleaning.
Pouring in Extra Cleaner to Fight Stubborn Grease. Adding more degreaser than the label recommends can leave behind a sticky film that attracts dirt and makes the floor feel greasy again. Measure the product carefully, follow its dilution instructions, and never mix cleaning chemicals. More concentrated does not automatically mean more effective.
Mopping the Entire Kitchen With Dirty Water. Using the same dirty mop water across the entire kitchen spreads dissolved grease instead of removing it. Sweep away loose debris first, then clean in sections approximately 3 feet by 3 feet. Replace dirty water frequently and switch to clean microfiber pads whenever they become saturated with grime.
Leaving the Floor Wet After Degreasing. Excess water can seep into laminate joints, hardwood seams, and damaged finishes, potentially causing swelling or deterioration. Never flood moisture-sensitive flooring. Rinse only when the cleaner instructions require and permit it, dry thoroughly with clean towels, and keep wet-floor warnings in place until the surface is completely dry.
Questions people ask
A sticky kitchen floor often has layers of cooking grease, leftover detergent, or dirt spread around by dirty mop water. Using too much cleaner can make the problem worse. Start by removing loose debris, then clean with a properly diluted, floor-approved degreaser. Replace dirty water frequently and follow the product's rinsing instructions.
Fixed it?
Get one guide like this every Thursday.