How to Clean Microwave Splatters and Odors Without Harsh Chemicals
Clean dried microwave splatters, grease and lingering food odors with controlled steam, minimal moisture and simple household supplies.
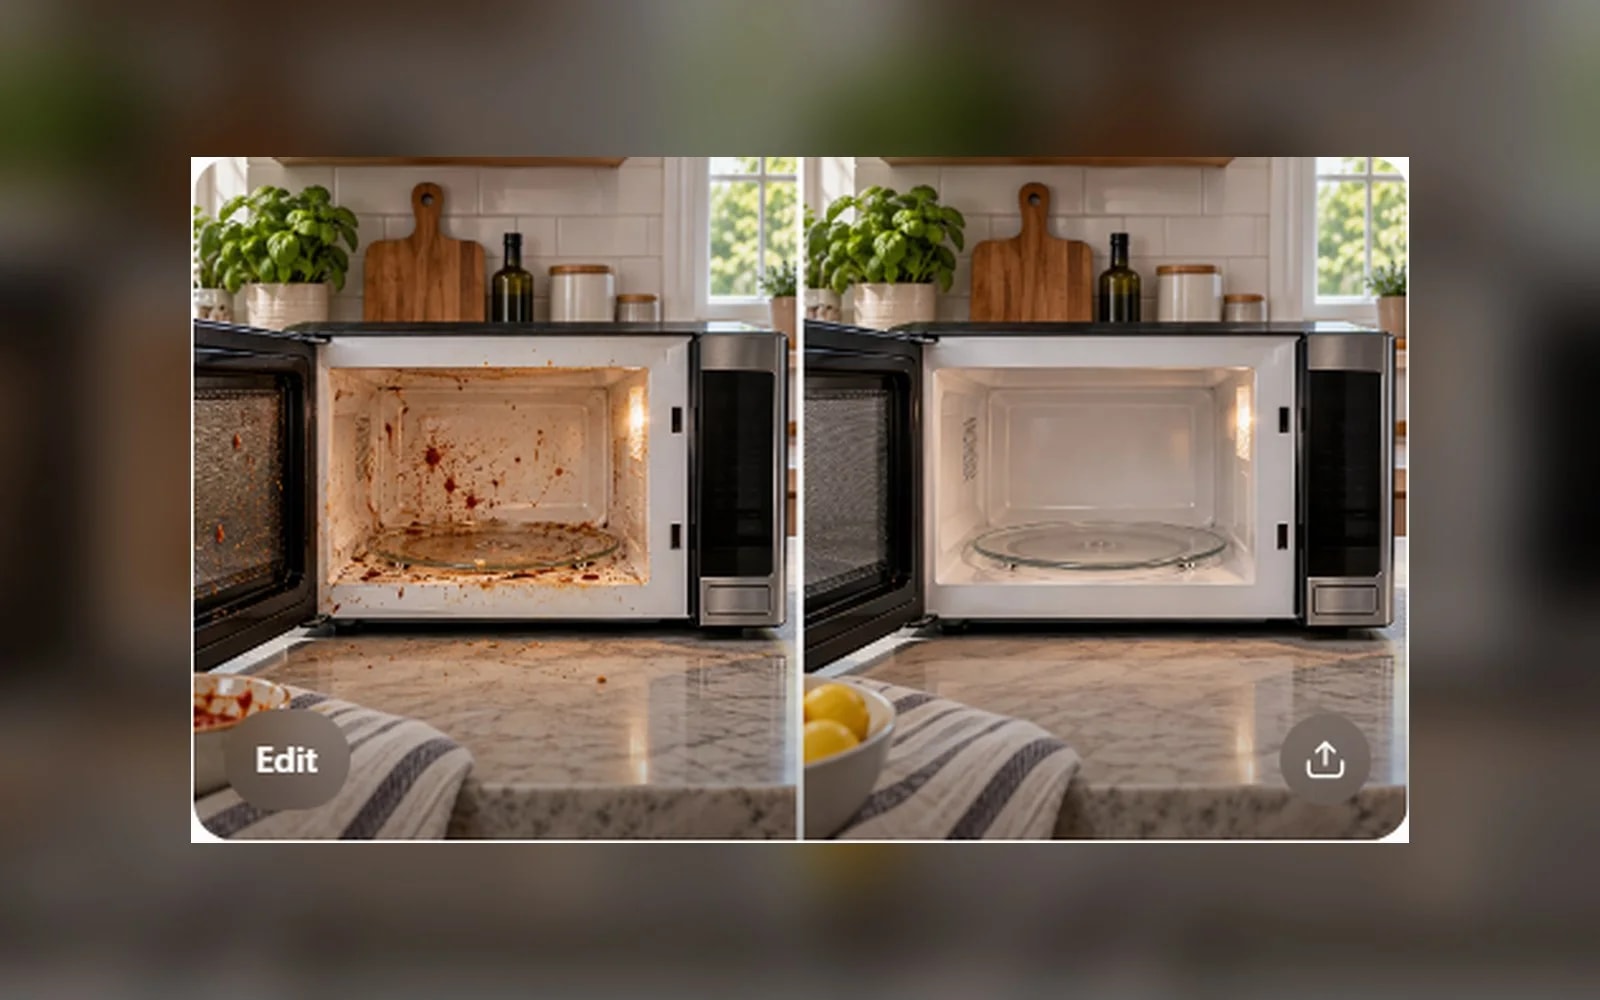
What you’ll need
Tap to tick things off before you start.
Start With the Mess, Not the Scrub
Look over the microwave before reaching for a scrubber. Dried sauce splatters and trapped food odors may look stubborn, but the first goal is simply to prepare the surface for easier cleaning. Make sure the microwave is cool, note where residue has collected, and keep moisture away from vents and controls. Steam can loosen much of the buildup later, reducing the need for aggressive scrubbing or excessive water.
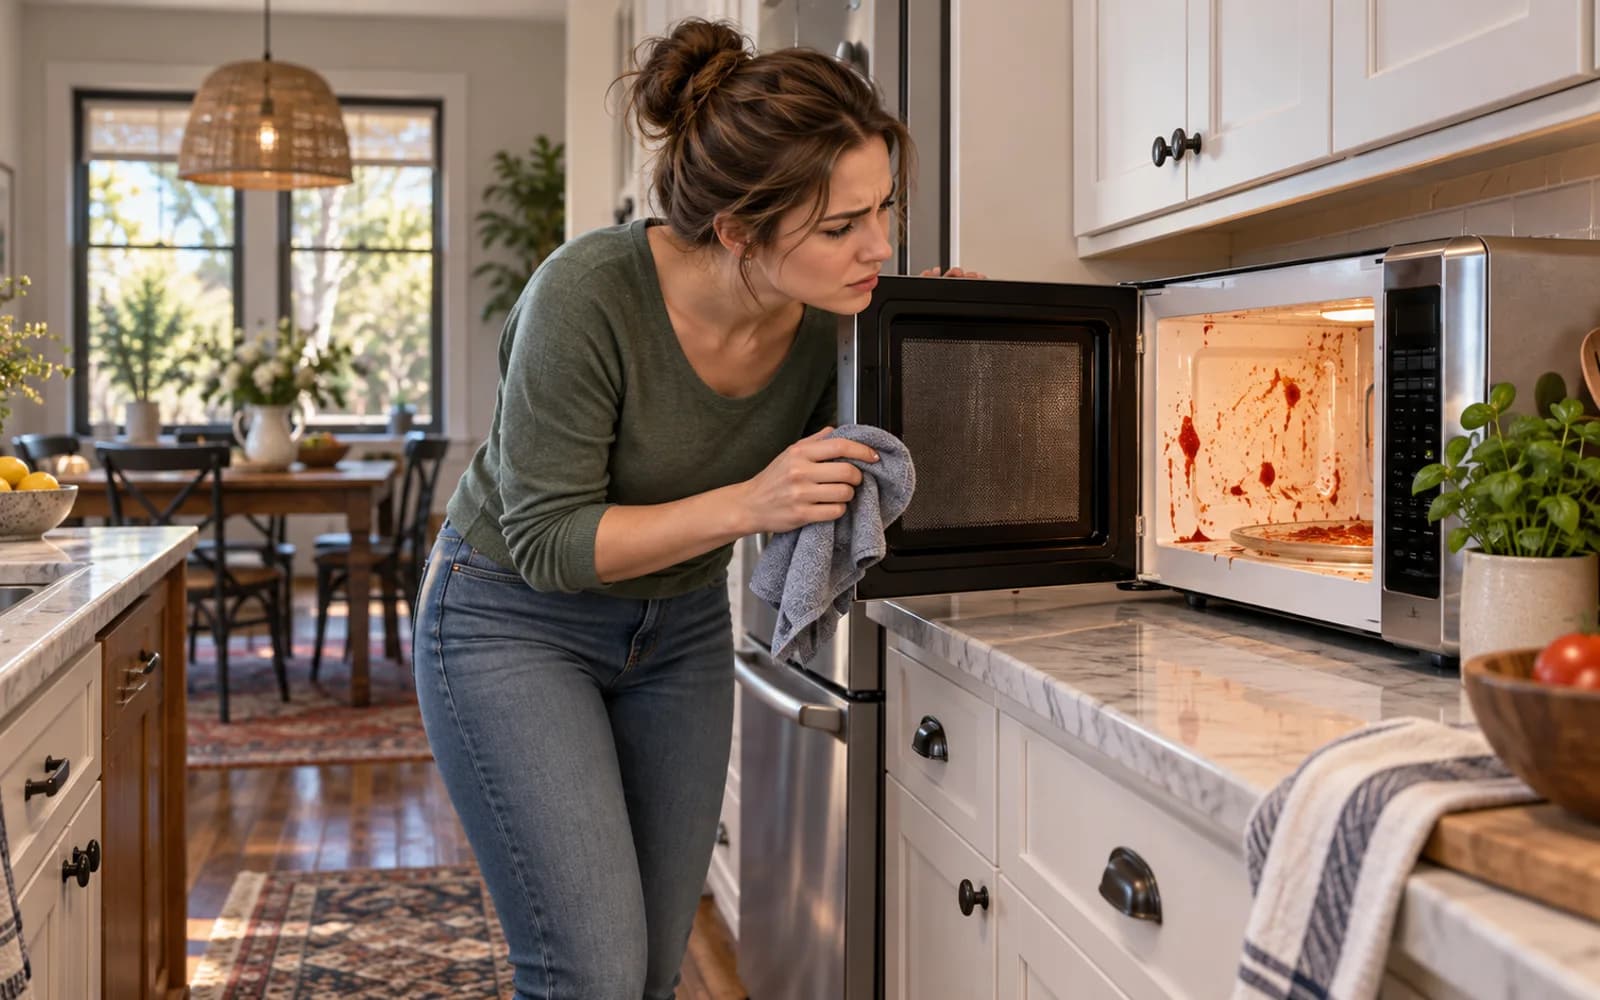
Power Down and Let the Microwave Cool
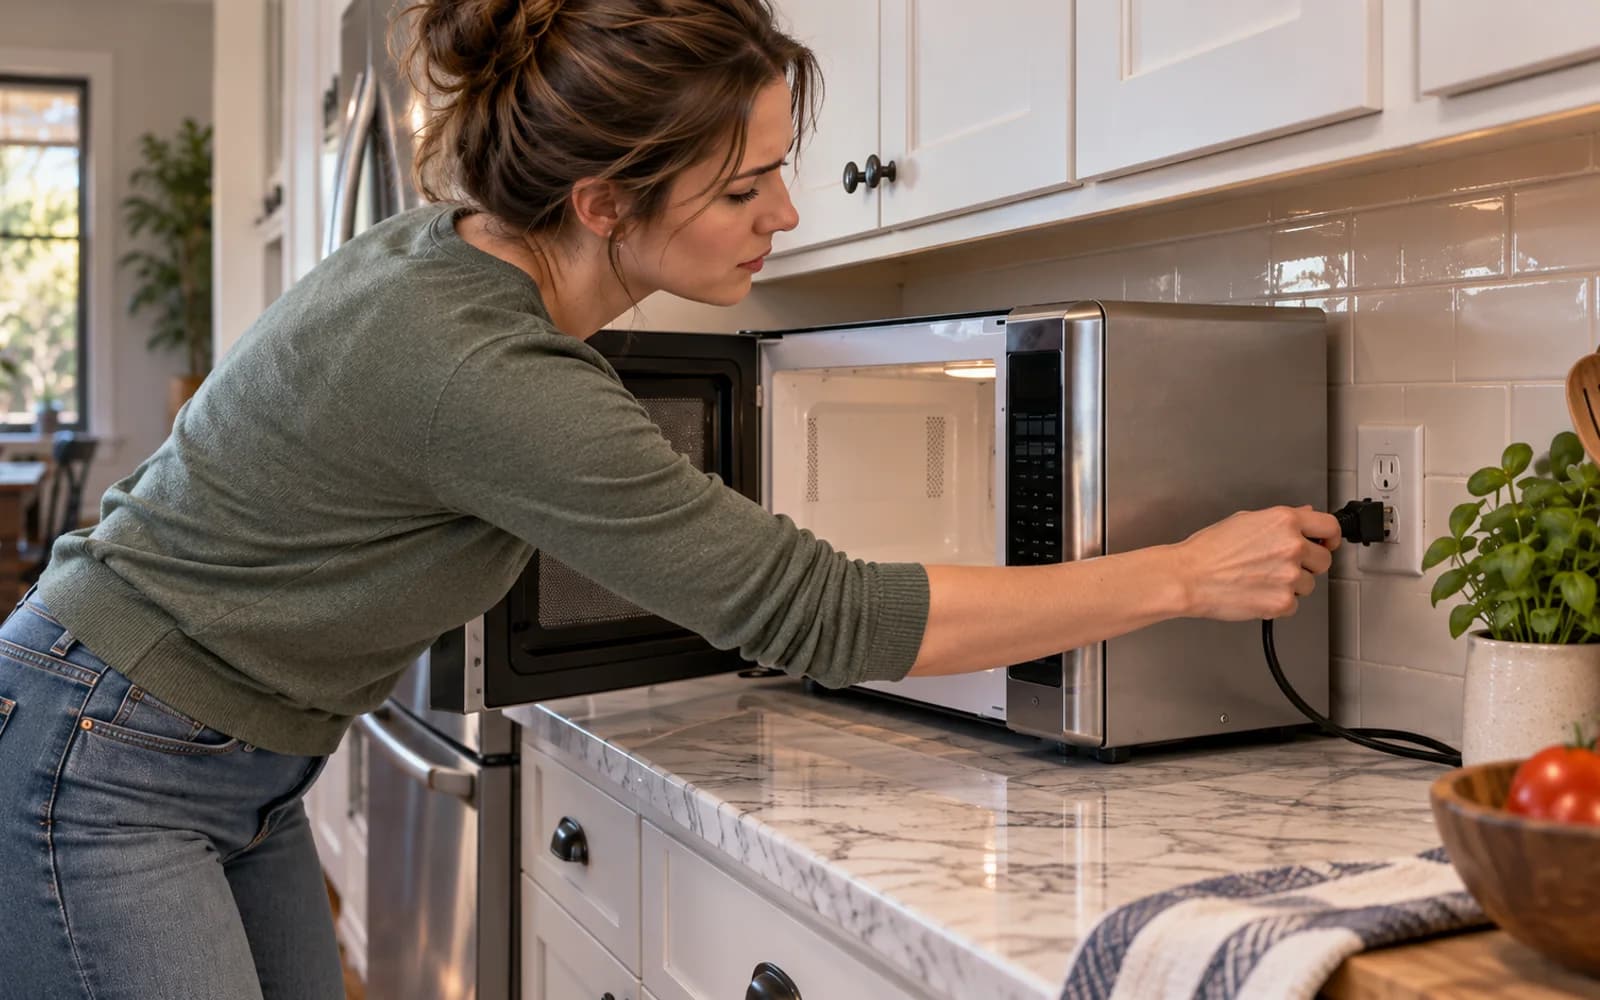
Unplug Before You Start Cleaning
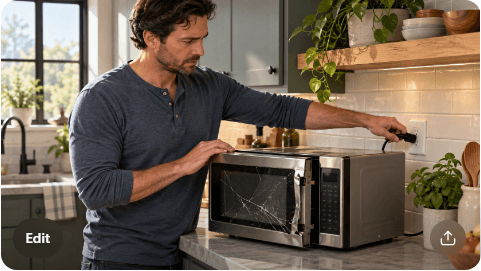
Stop the microwave and wait until the interior surfaces are completely cool. If the outlet is easy to reach, unplug the appliance before cleaning, as shown. This reduces the chance of accidental operation while your hands are inside. Keep liquids away from the control panel, vents, latch openings, and electrical areas. Removing loose crumbs while the interior is cool also prevents them from becoming a sticky mess.
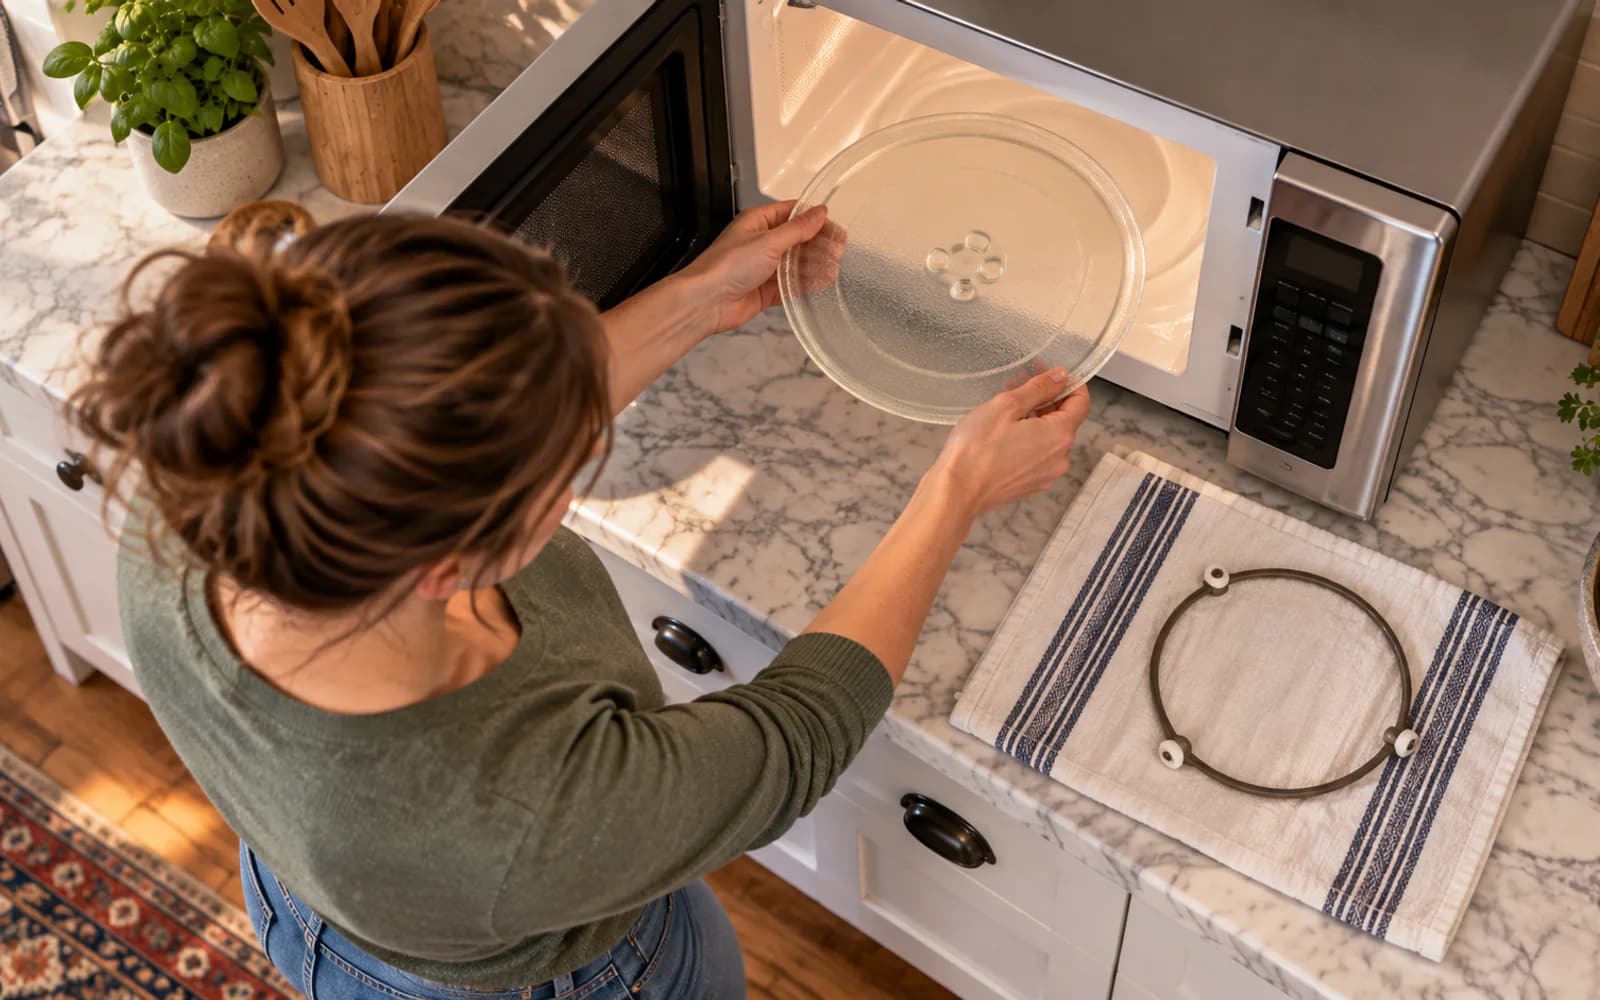
Remove the Turntable and Roller Ring
Lift Out the Removable Parts
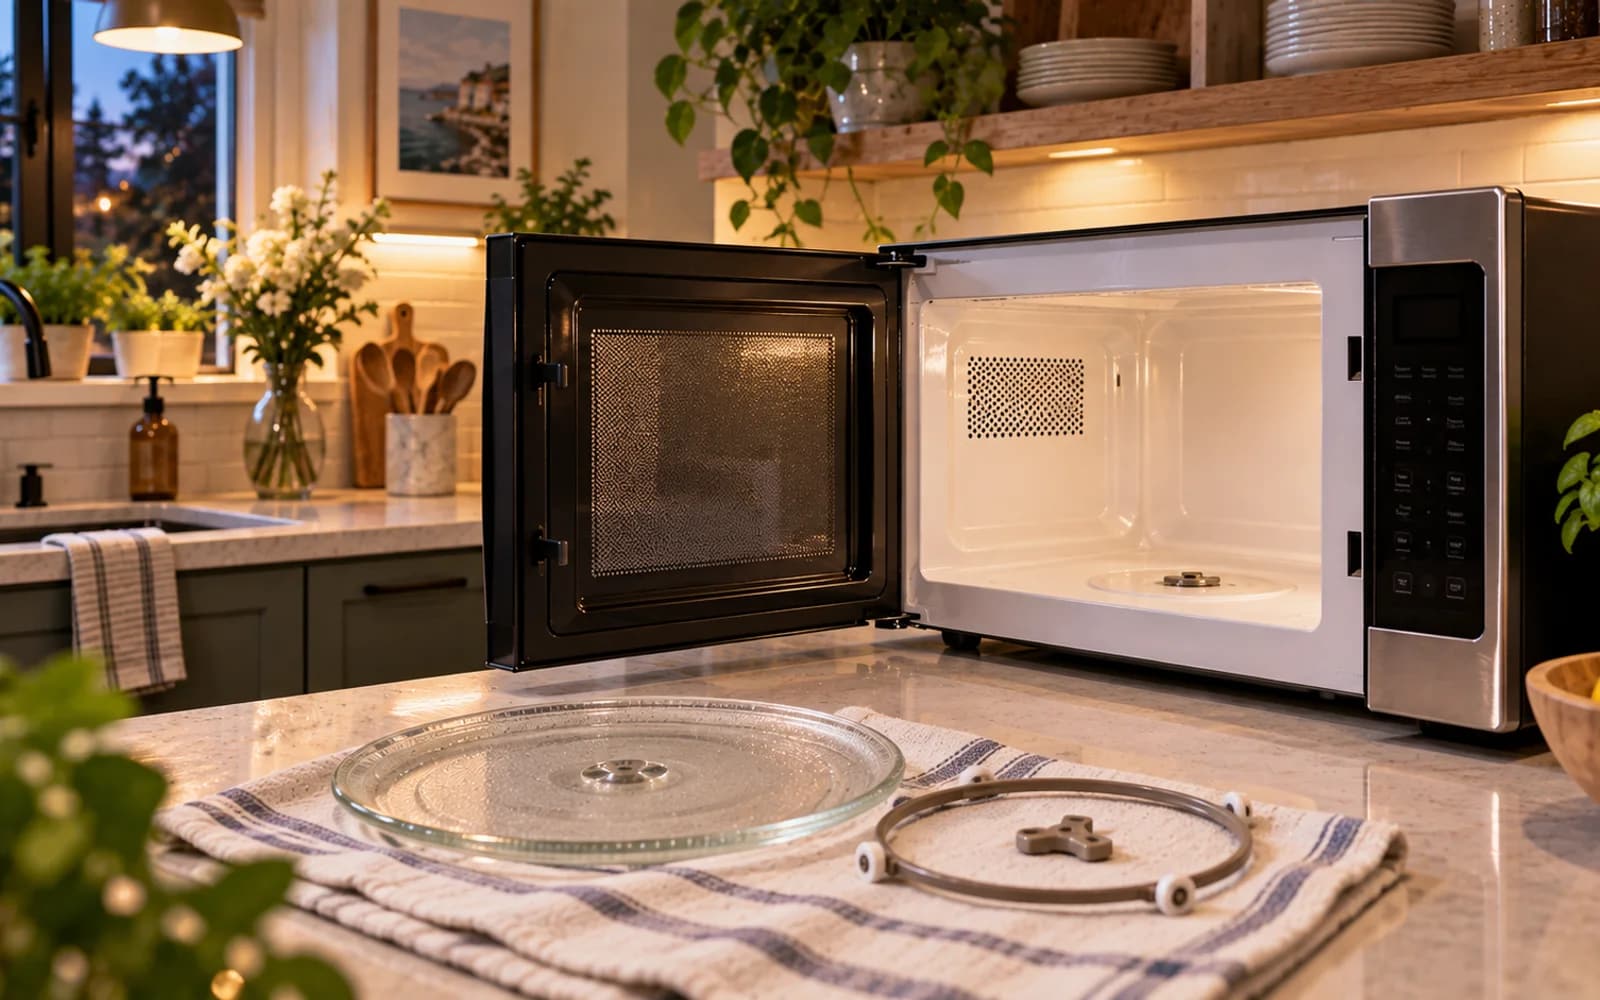
Open the microwave door and carefully lift out the glass turntable, followed by the roller ring or support underneath. Place both pieces on a folded kitchen towel so the glass stays protected and stable. Removing them exposes crumbs and dried spills that collect below the tray and keeps the turntable from shifting during cleaning. If your microwave uses a different tray system, check the owner's manual before wiping.
Sweep Out Loose Debris First
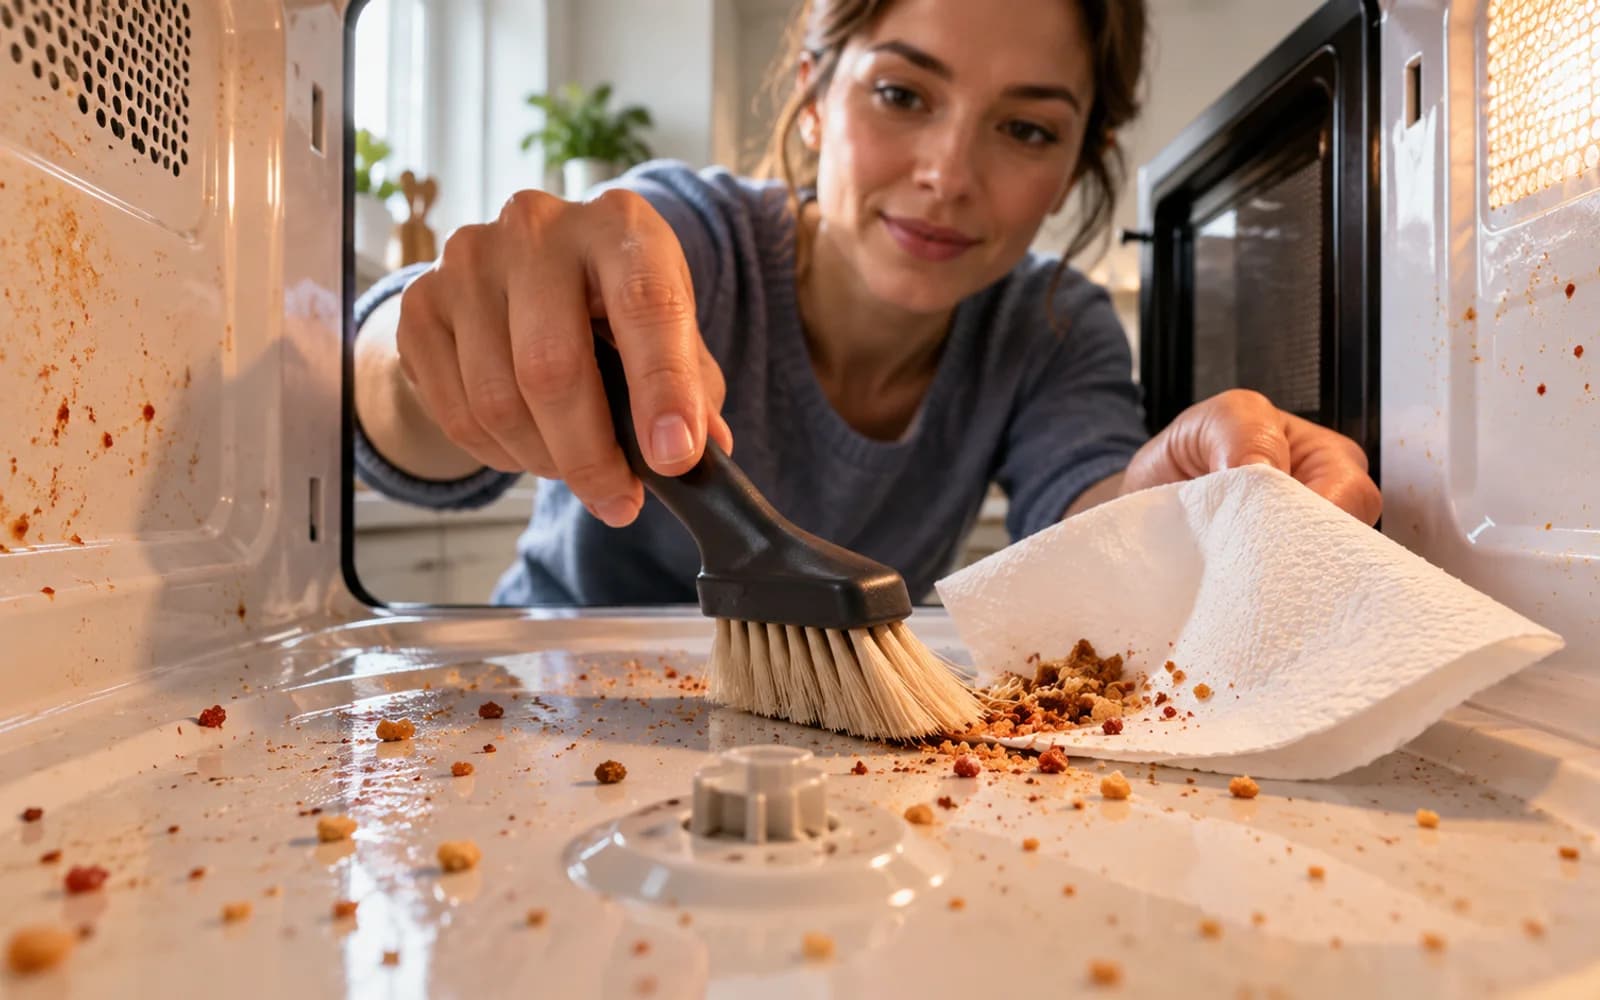
Clear the crumbs before adding moisture Use a dry microfiber cloth, soft brush, or folded paper towel to sweep loose crumbs from the microwave interior. Start at the ceiling and walls, then work downward so debris collects on the floor. In the image, a soft brush pushes dry crumbs into a paper towel for easy removal. Clearing debris first prevents wet crumbs from smearing into corners, around the spindle, and along the door edge.
Choose a Microwave-Safe Container With Room to Steam
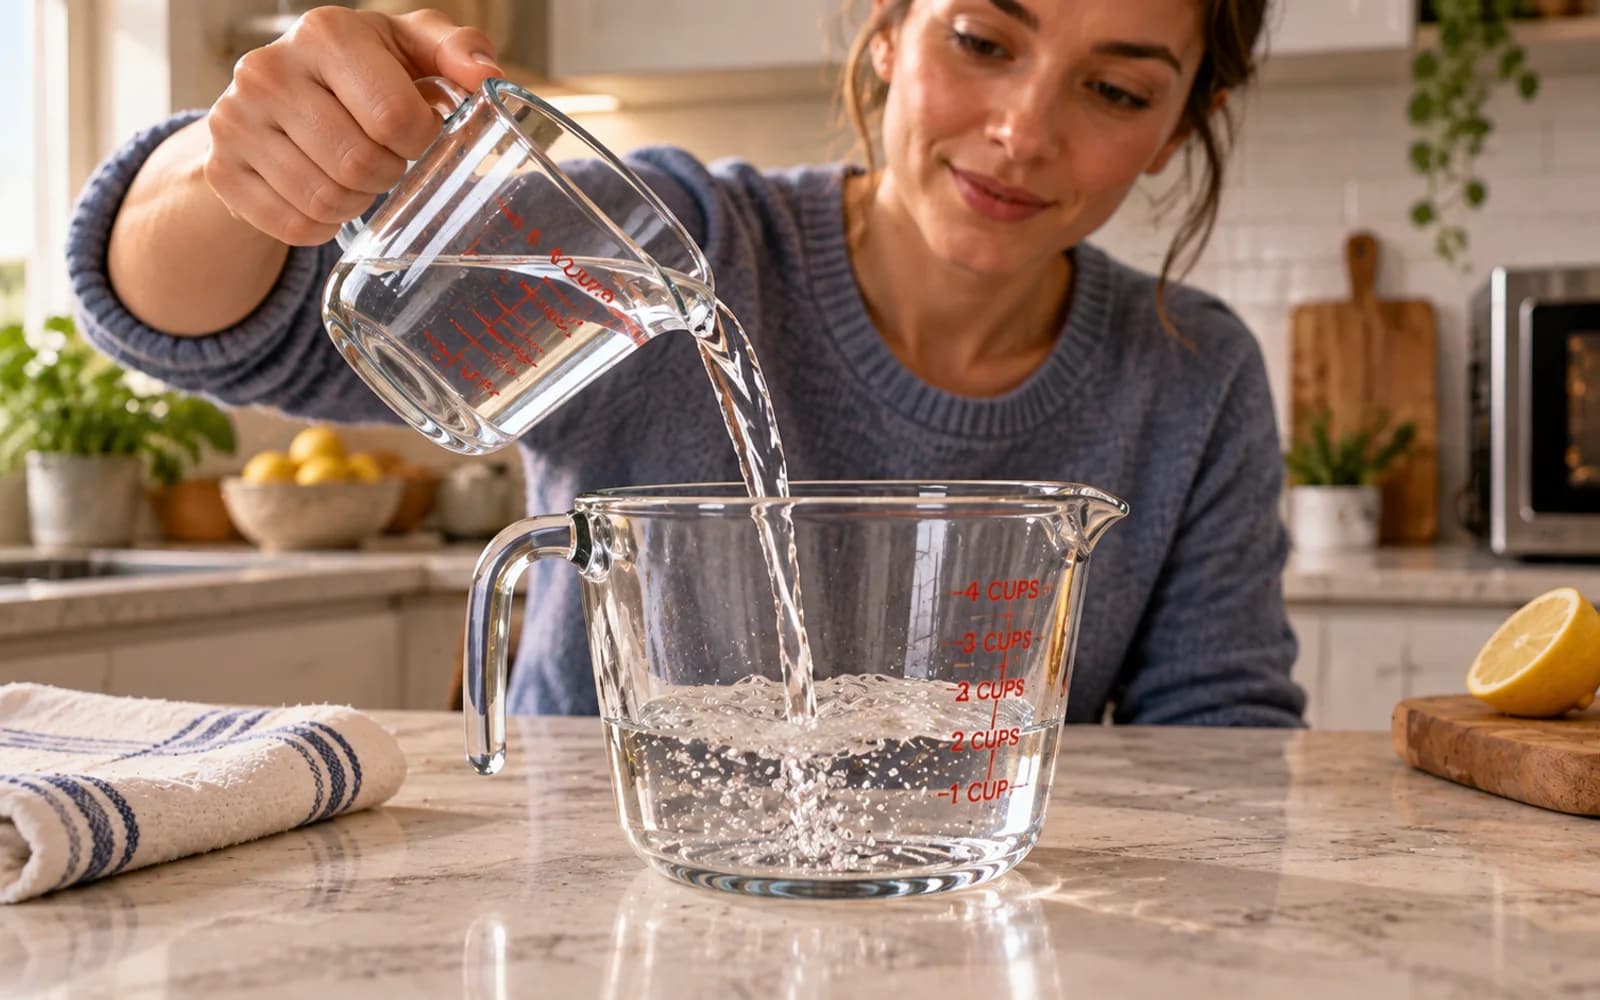
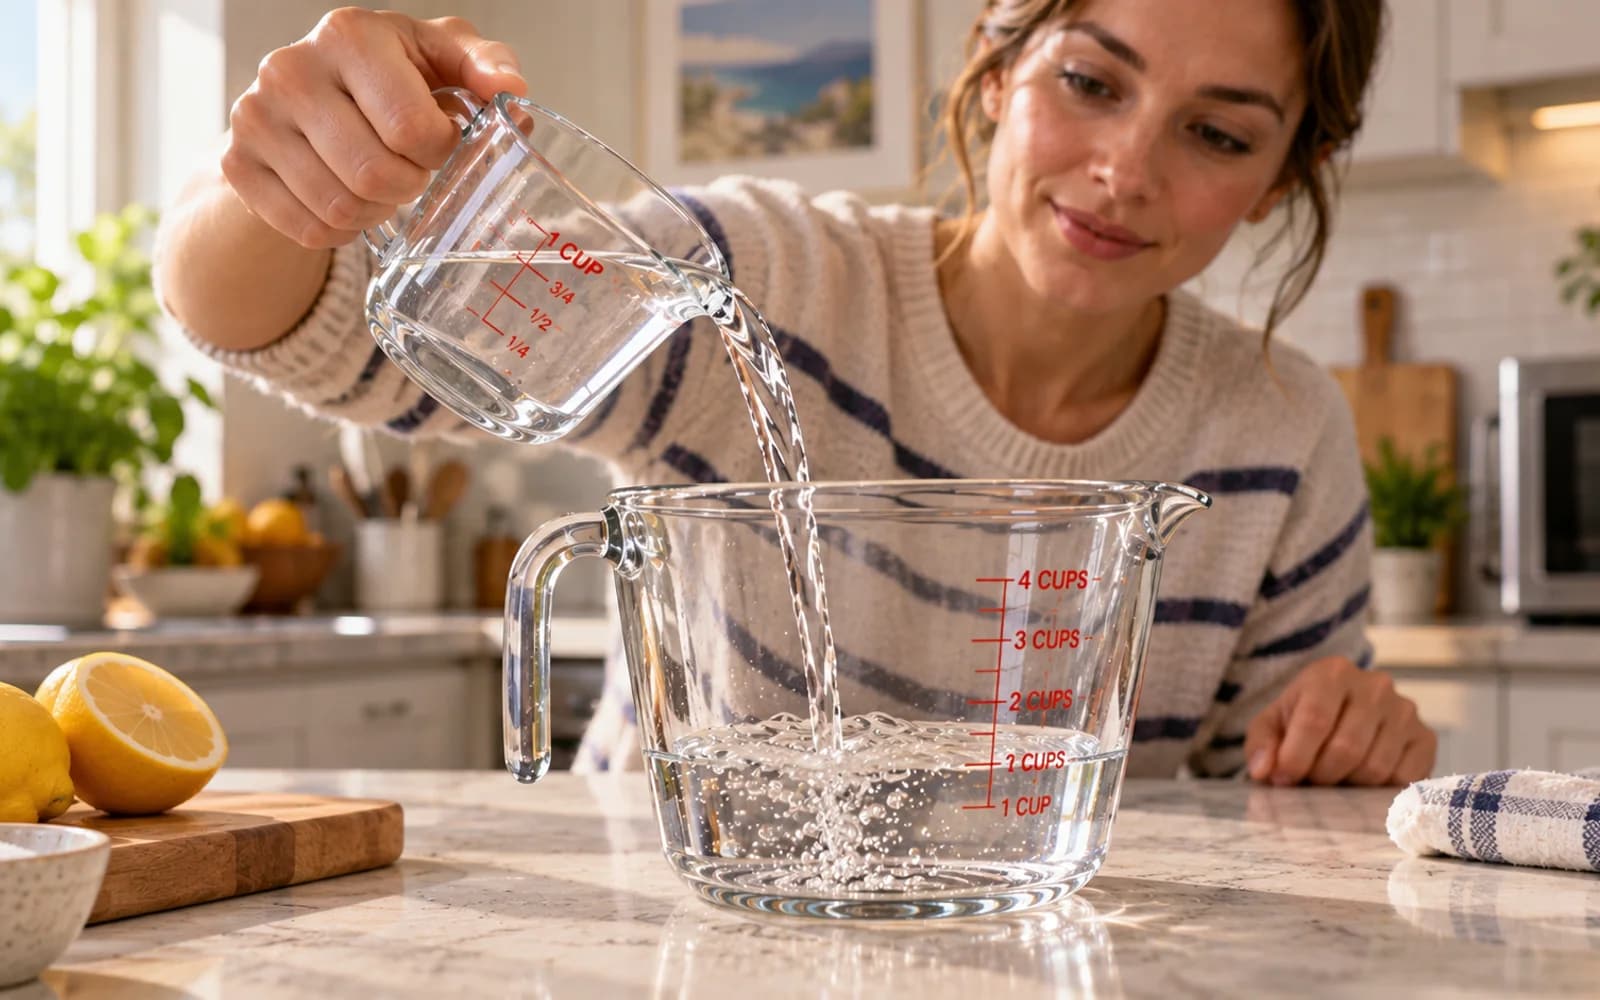
Pour about one cup of water into a large microwave-safe bowl or measuring cup, leaving plenty of empty space above the water. The extra headroom helps prevent bubbling water from spilling over as it heats. A wide container also exposes more water surface to produce steam efficiently. Keep the container uncovered, and avoid metal trim, sealed lids, or any vessel that is not clearly labeled for microwave use.
Add Lemon for a Fresher Scent
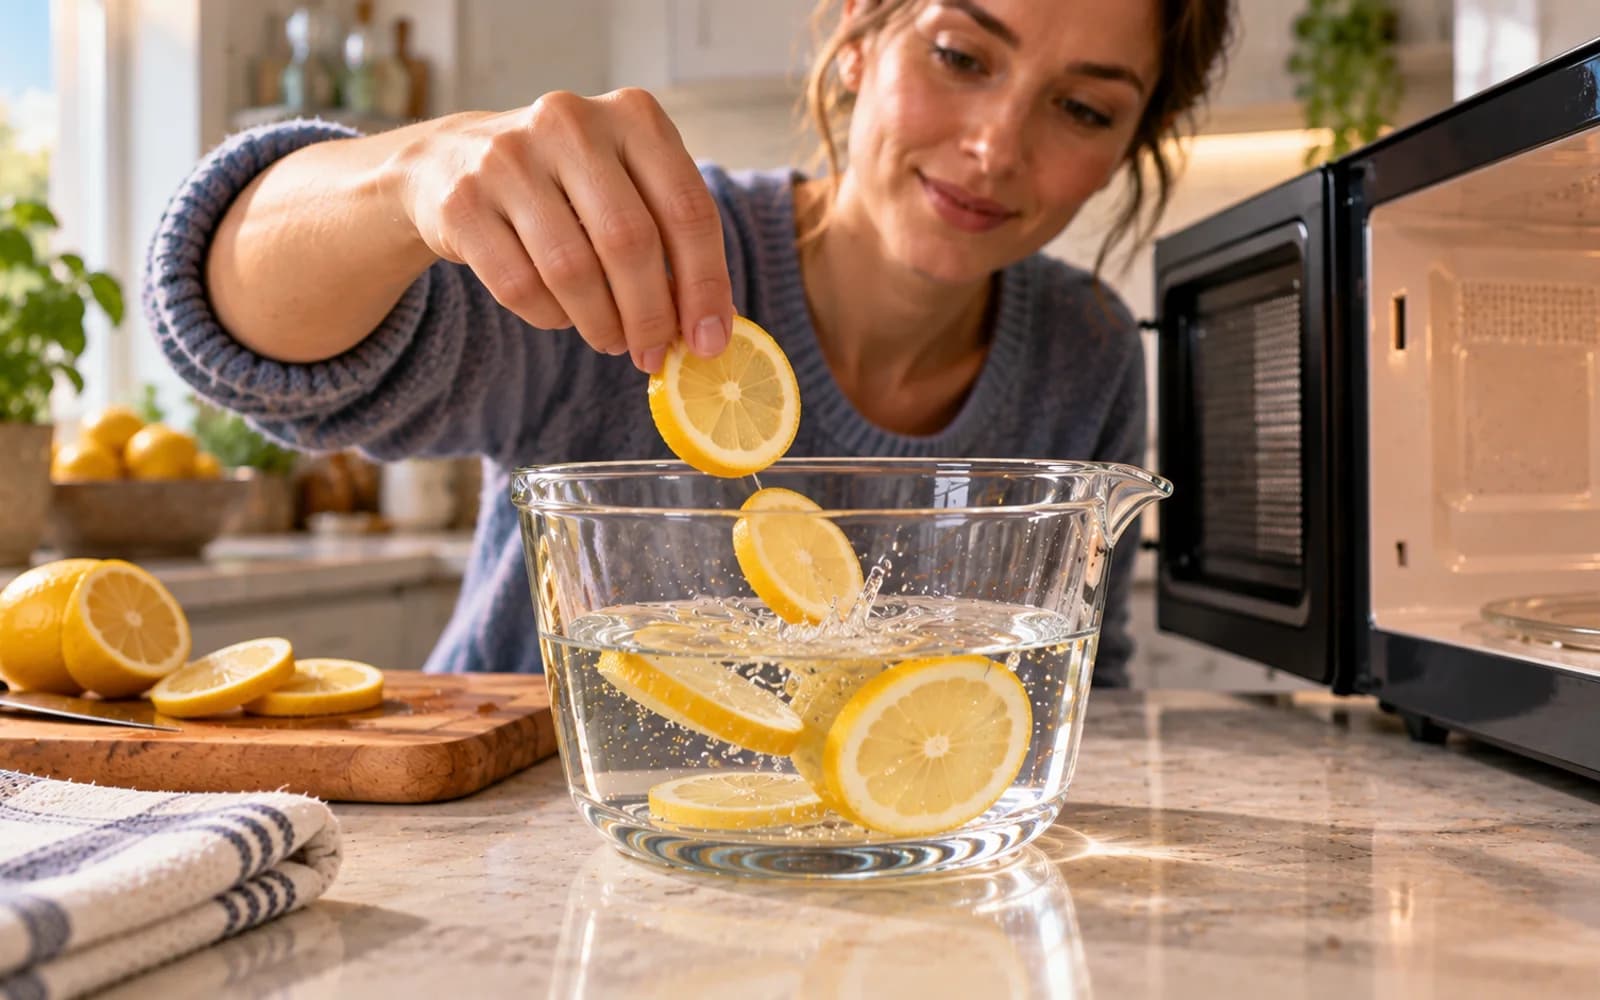
Drop a few fresh lemon slices into the water before placing the bowl in the microwave. You can also use about one tablespoon of lemon juice instead. This step is optional and mainly helps reduce lingering food odors while leaving a mild citrus scent. The steam does the actual cleaning by softening dried residue. Skip concentrated essential oils, which are unnecessary and may irritate your eyes or airways.
Heat the Water in Short, Controlled Intervals
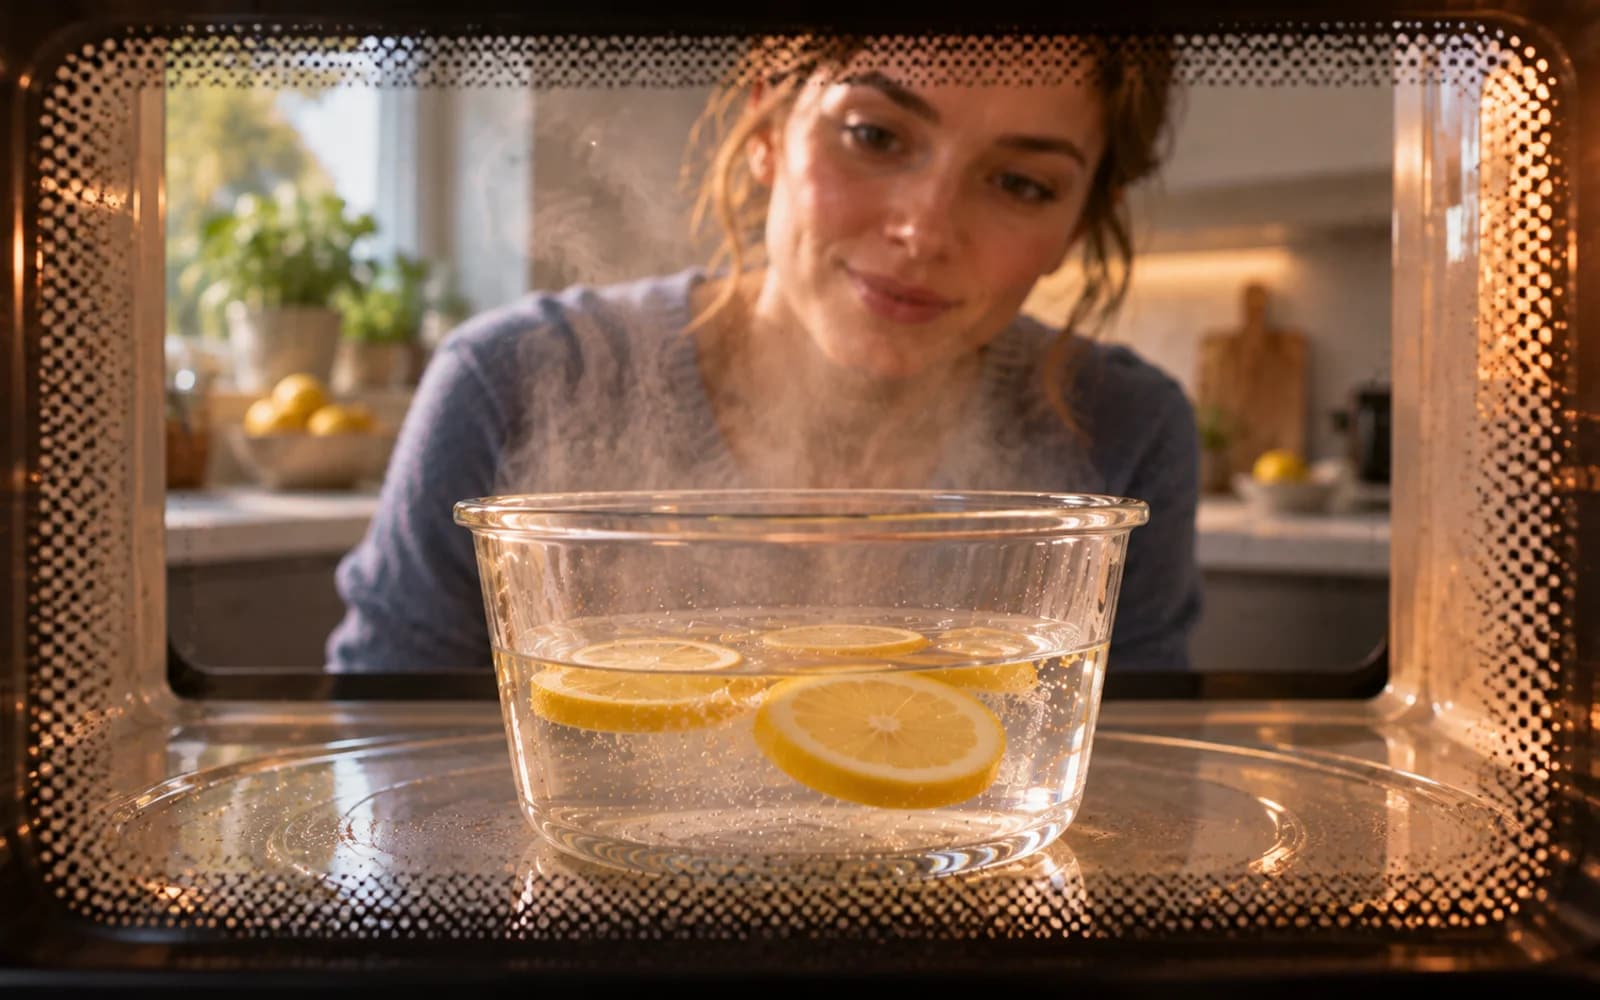
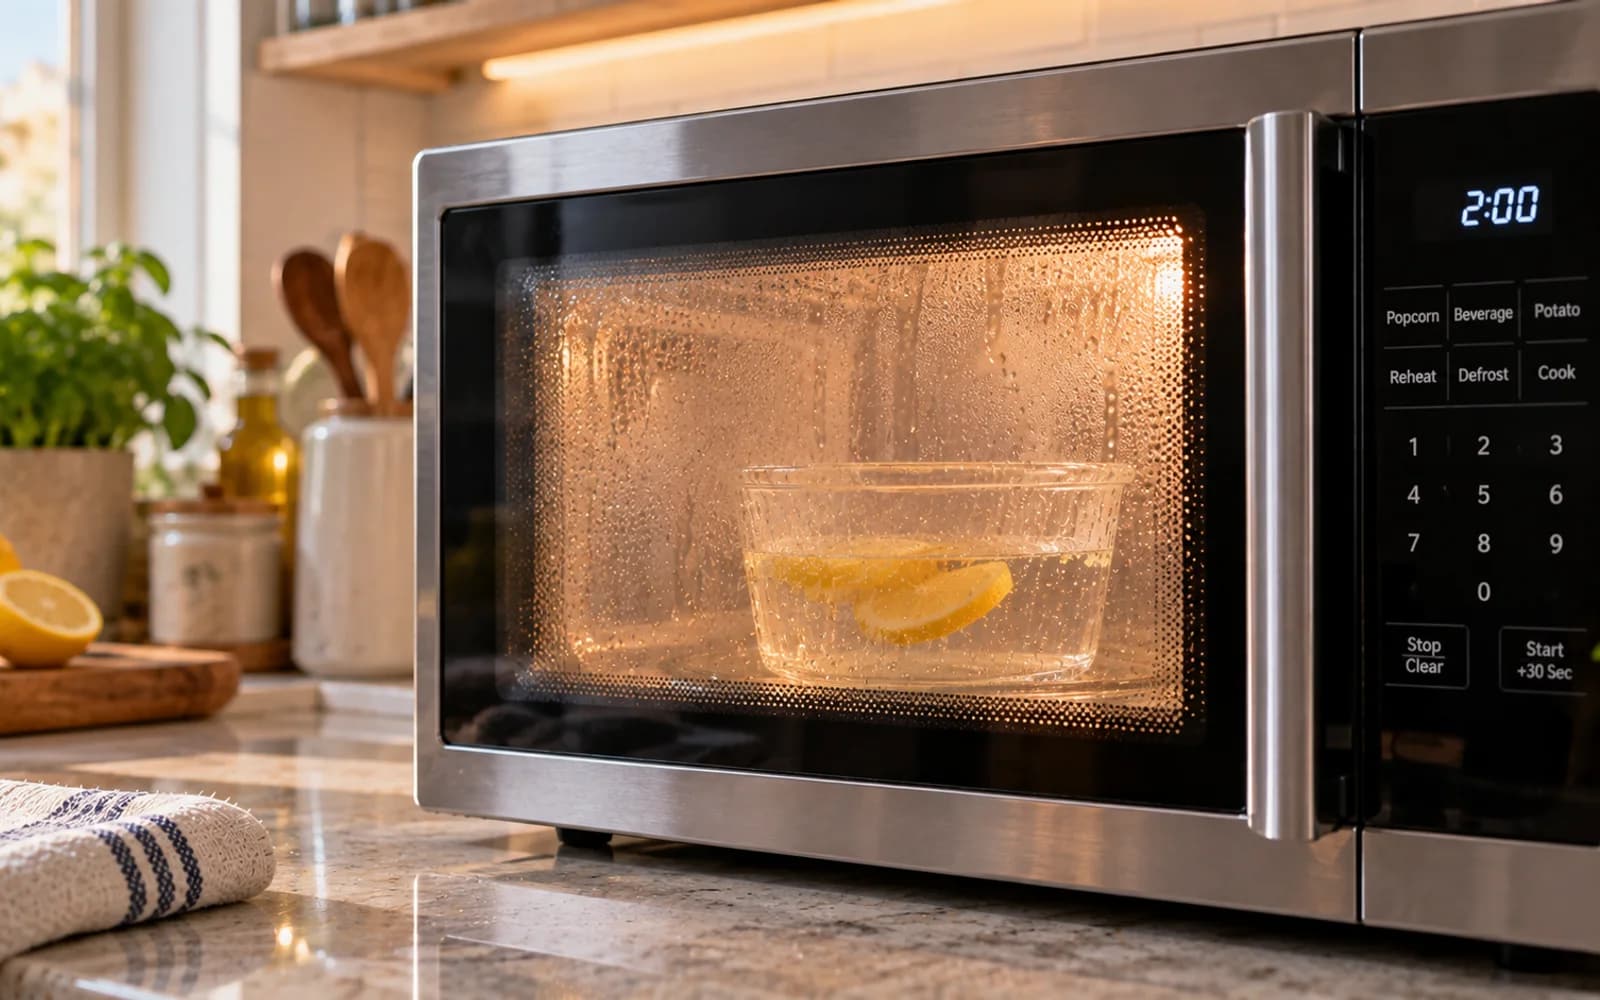
Place the uncovered bowl in the microwave and heat the water in short intervals until strong steam begins to form. Most microwaves need about two to four minutes total, but wattage varies, so stay close and monitor it. Stop the microwave if the water starts boiling aggressively. Leave enough empty space in the bowl to reduce splashing. You want steady steam that can loosen residue, not prolonged boiling.
Let the Steam Work Before Opening the Door
Keep the Microwave Closed for a Few Minutes
After the heating cycle ends, leave the microwave door closed for about three to five minutes. The trapped steam will condense on the interior walls, ceiling, door, and dried food splatters, helping soften stubborn residue. This short resting period makes wiping much easier. For better results, avoid opening the door early, since releasing the steam reduces the moisture available to loosen grime.
Remove the Hot Bowl Without Rushing
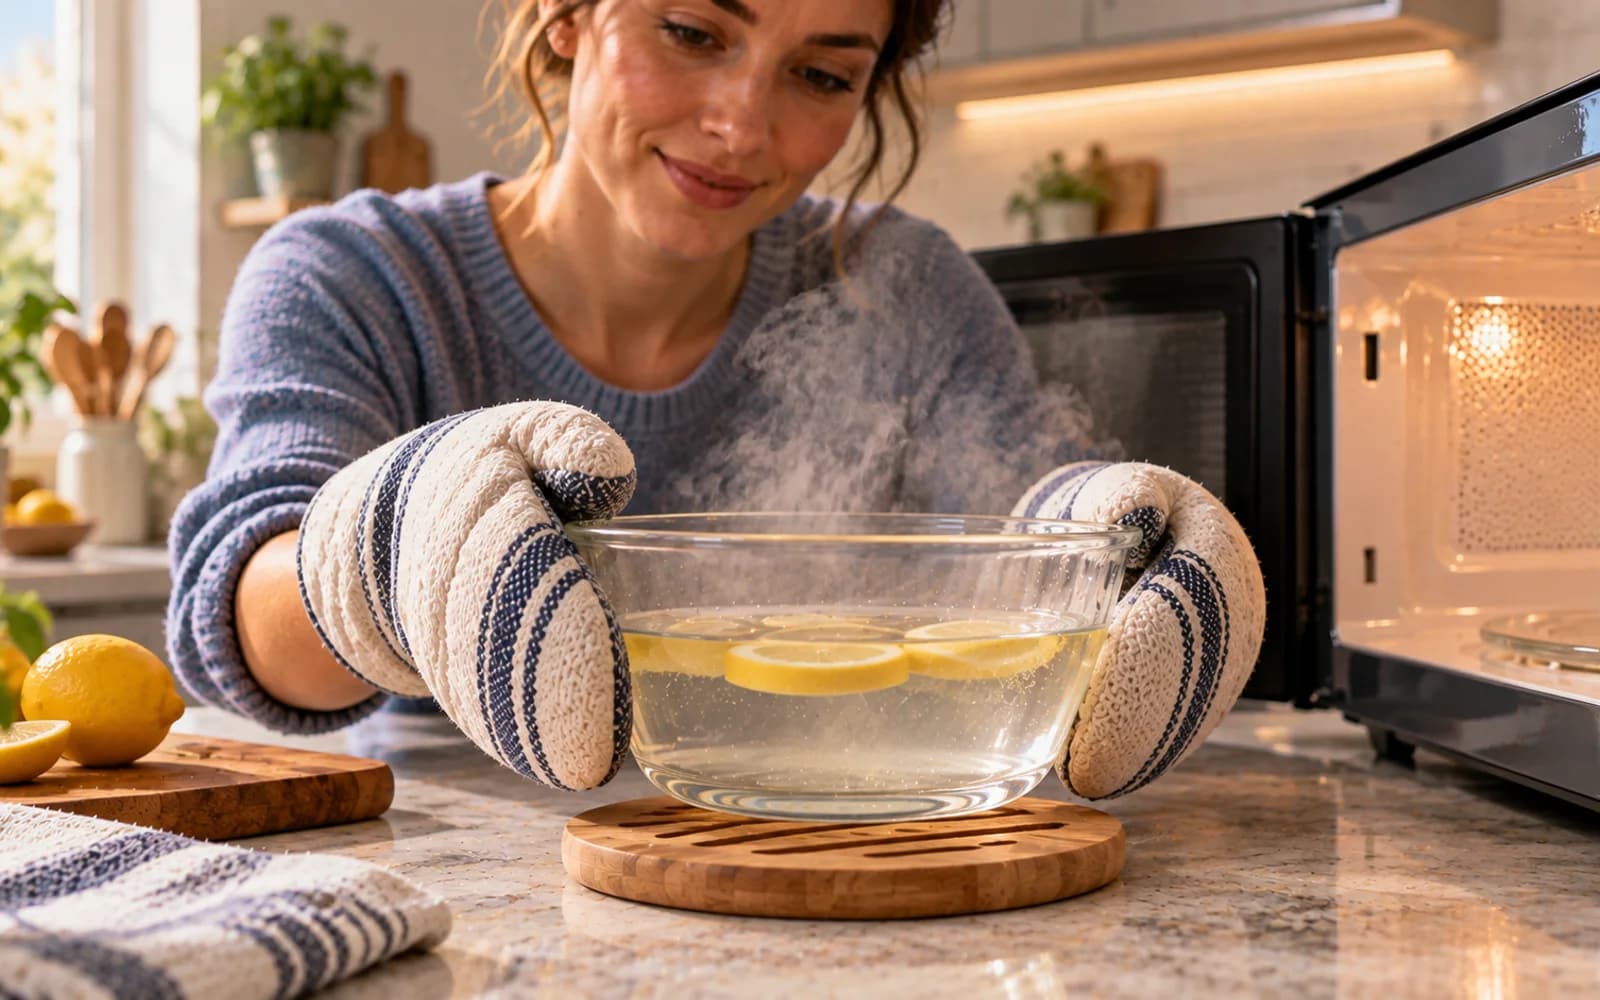
Open the microwave door slowly, then use oven mitts or a dry towel to lift out the bowl. Steam and hot water can cause burns even when the container does not look dangerously hot. Set it on a heat-safe trivet well away from the counter edge. Start wiping soon after removal, while the loosened food residue is still warm, damp, and easier to lift with gentle pressure.
Wipe the Microwave Ceiling First
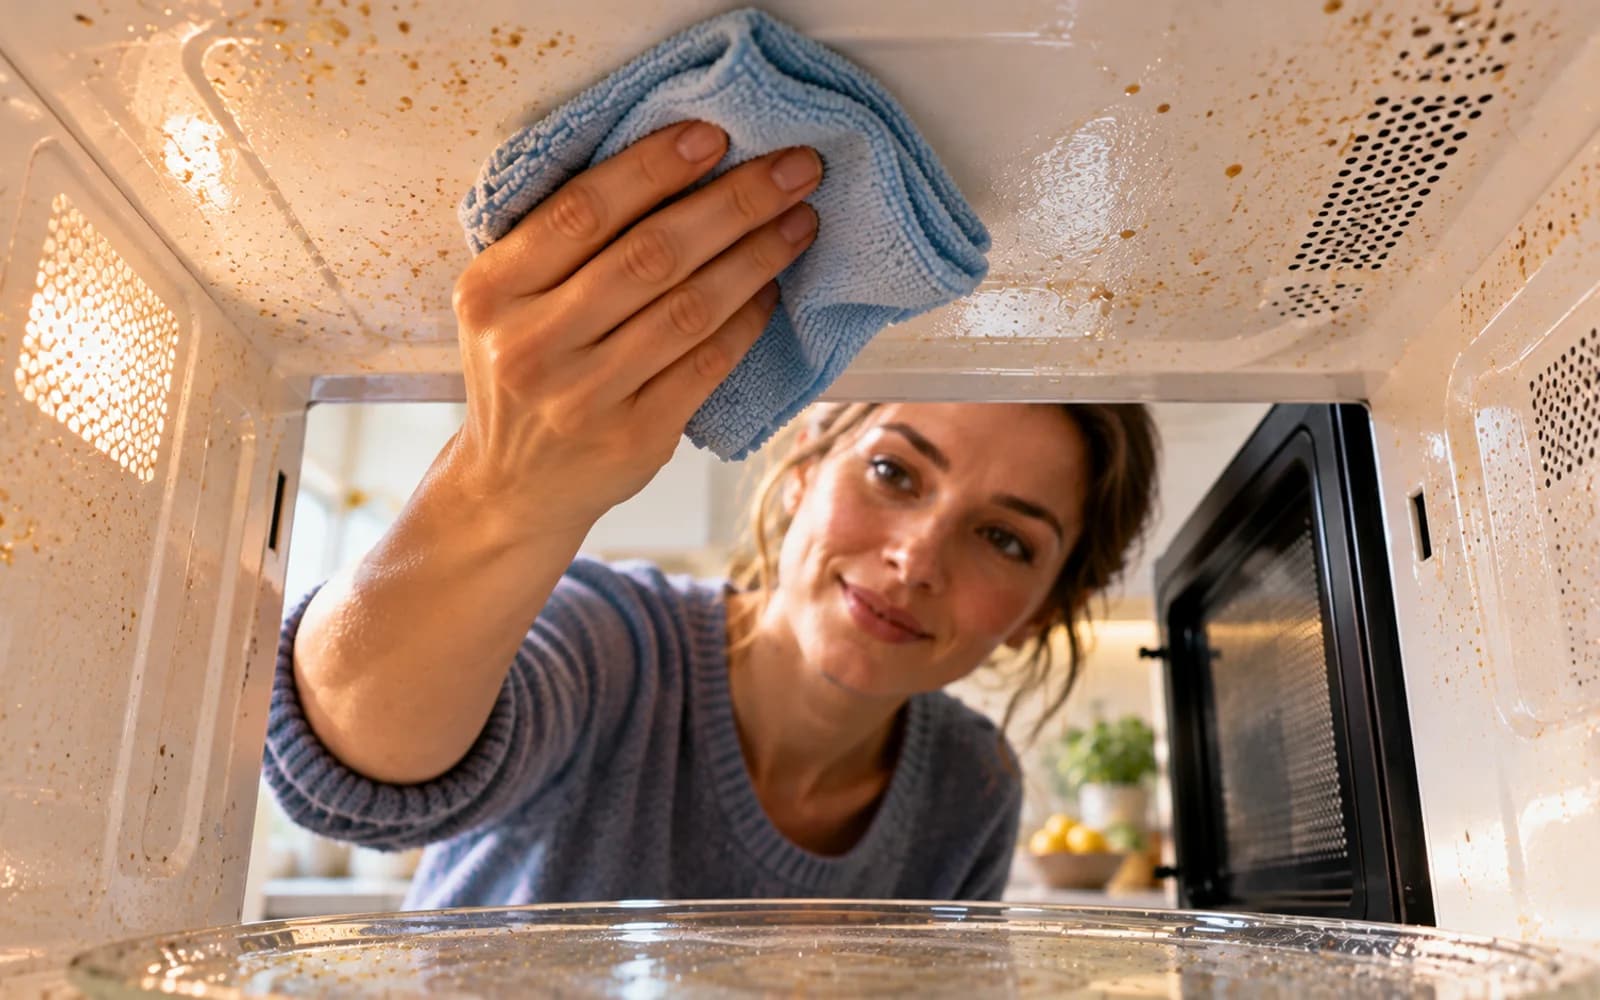
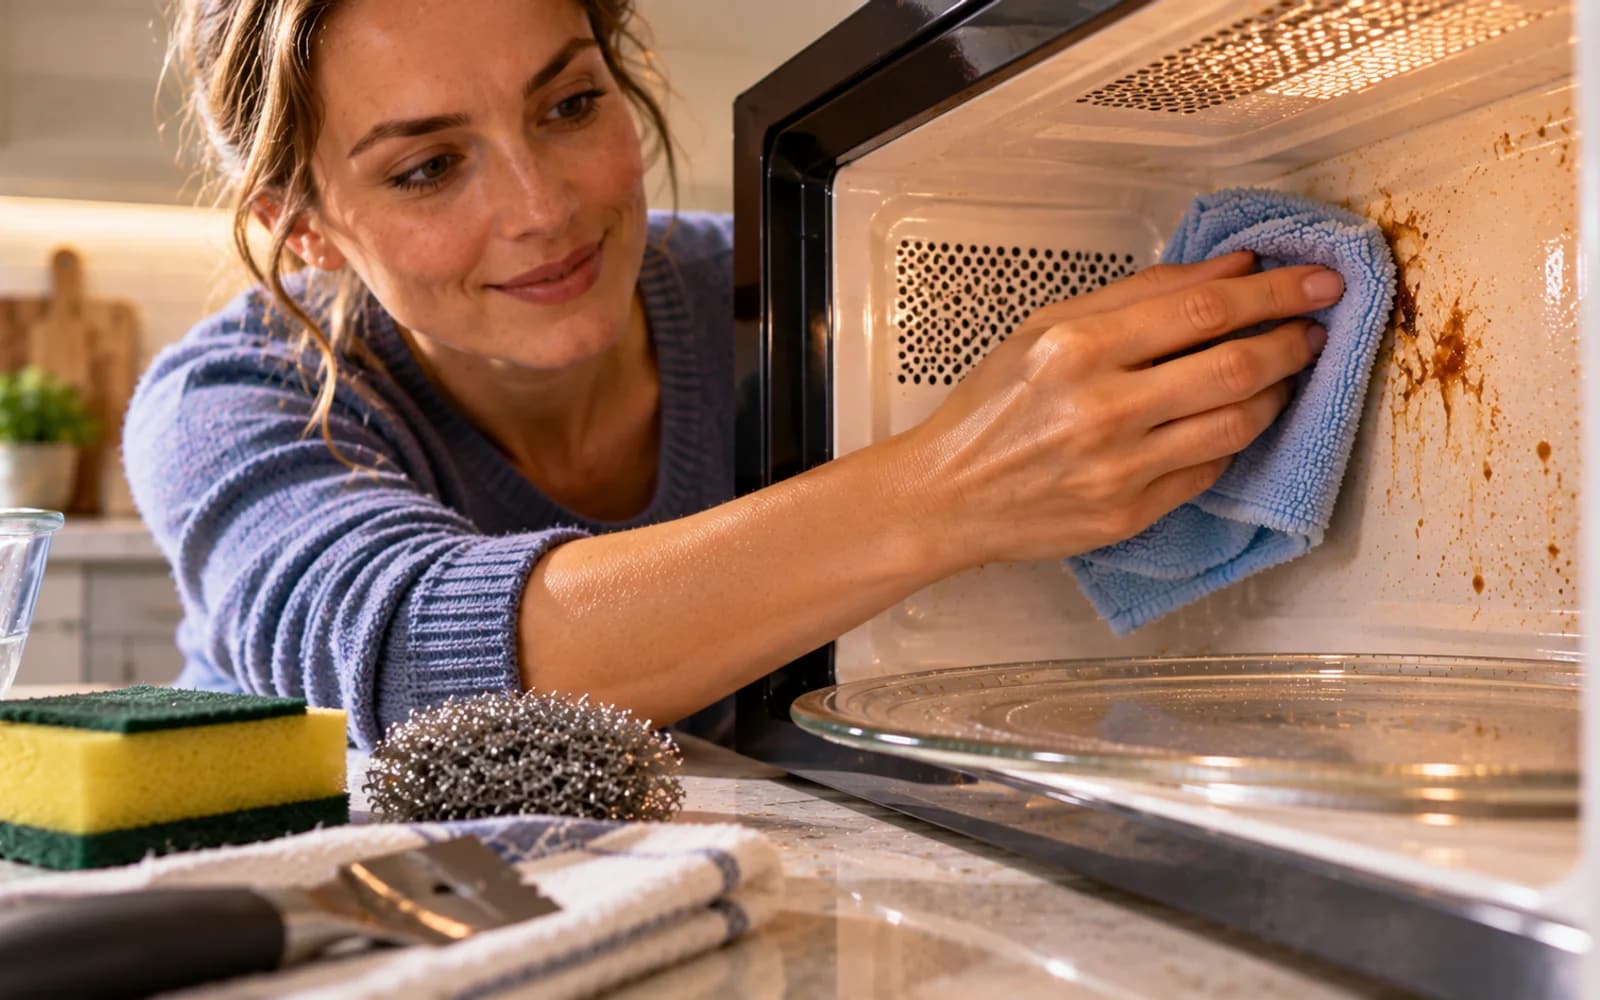
Start with the microwave ceiling so loosened food residue does not fall onto surfaces you have already cleaned. Use a damp microfiber cloth or soft sponge that has been wrung out thoroughly. Wipe gently across the ceiling while staying clear of vents, openings, and the waveguide cover. For stubborn splatters, hold the damp cloth against the spot for several seconds to soften it, then wipe with gentle pressure instead of scraping.
Clean the Side Walls in Sections
Work One Side at a Time Clean one side wall with slow, overlapping cloth passes, focusing on small sections so loosened grease and sauce do not smear across the surface. Rotate the cloth often to expose a clean area as residue transfers onto it. Near vents or perforated panels, keep the cloth only lightly damp and wipe away from openings. If stubborn residue remains attached, repeat the steam step before wiping again.
Clean the Turntable Track and Center Spindle
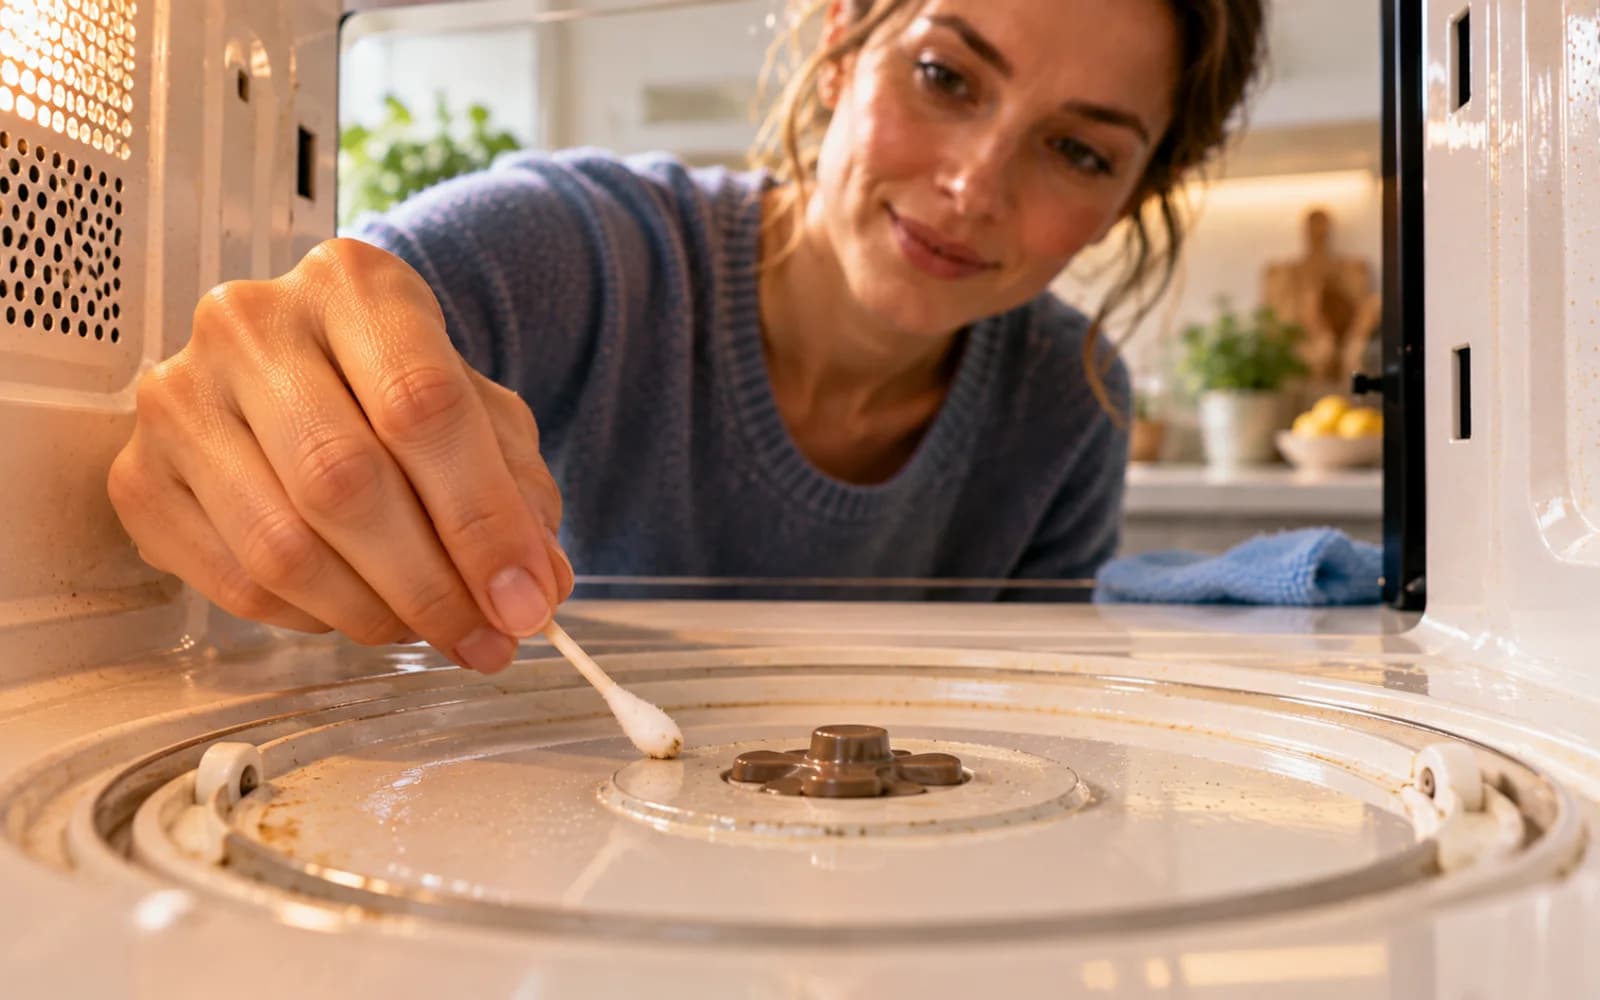
Wipe the microwave floor after the walls so any loosened crumbs are removed last. Clean around the circular turntable track and center spindle with a soft cloth. For narrow grooves, use a cotton swab that is only barely damp, as shown. Check carefully for trapped food around the spindle base, then dry the entire area before replacing the turntable. Never pour water into the microwave bottom to loosen stuck residue.
Wash the glass turntable separately
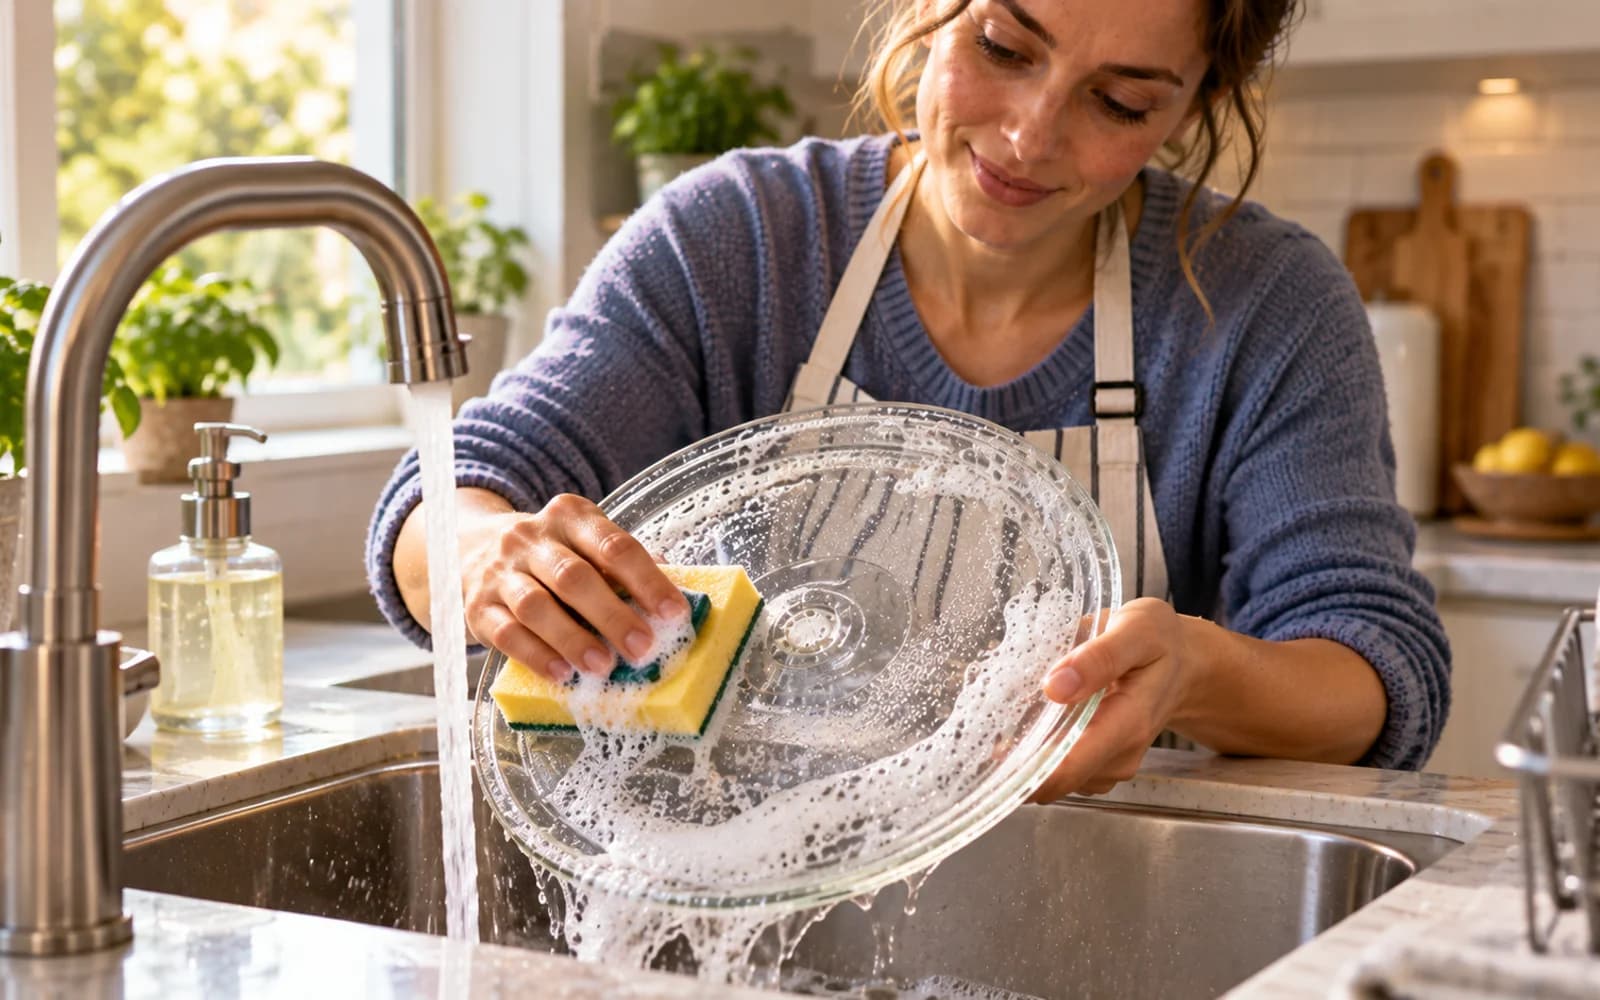
Take the glass turntable to the sink and wash it with warm water, mild dish soap, and a soft nonabrasive sponge. If the glass is still warm, let it cool before washing to avoid damage from sudden temperature changes. Rinse away all soap, then dry the turntable completely. Before reinstalling it, inspect the edges and surface for chips or cracks that could make continued use unsafe.
Clean the Roller Ring and Microwave Track
Clean the Roller Ring and Track
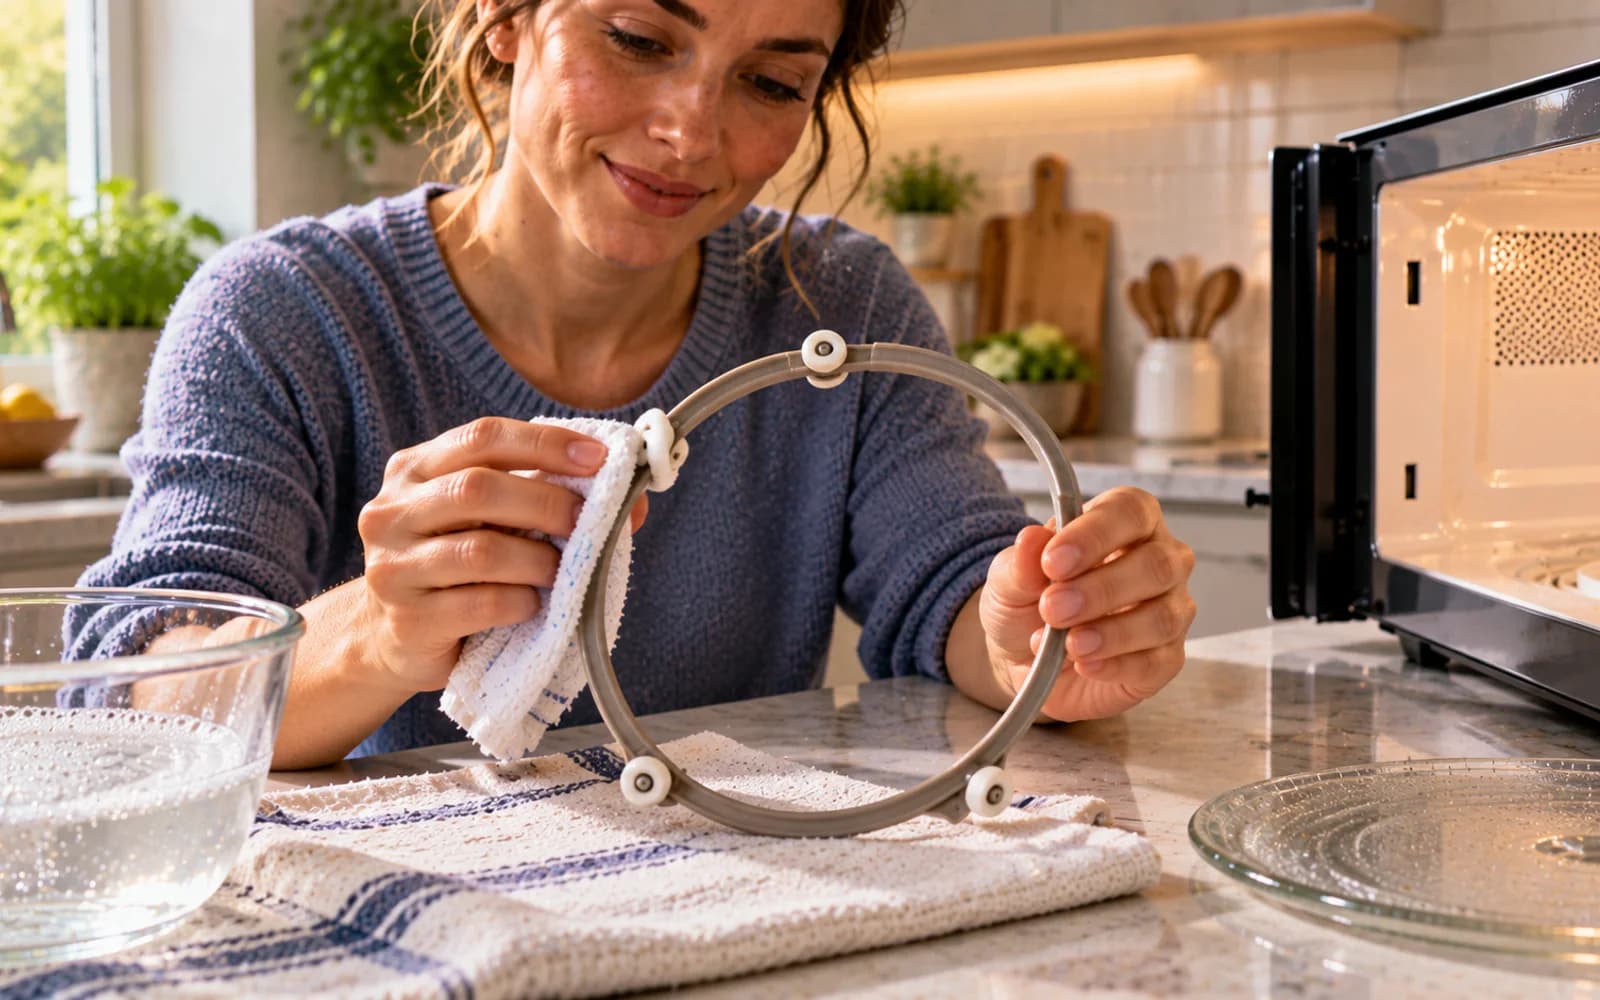
Remove the roller ring and clean it according to your microwave manufacturer's instructions. If the ring is washable, use mild dish soap, rinse it thoroughly, and dry it completely. Pay special attention to the small wheels, where grease can cause drag, noise, or uneven rotation. Wipe the recessed track inside the microwave as well, removing crumbs and residue before reinstalling the clean, dry roller ring.
Treat Stubborn Splatters Without Scraping
Soften the spot before wiping again
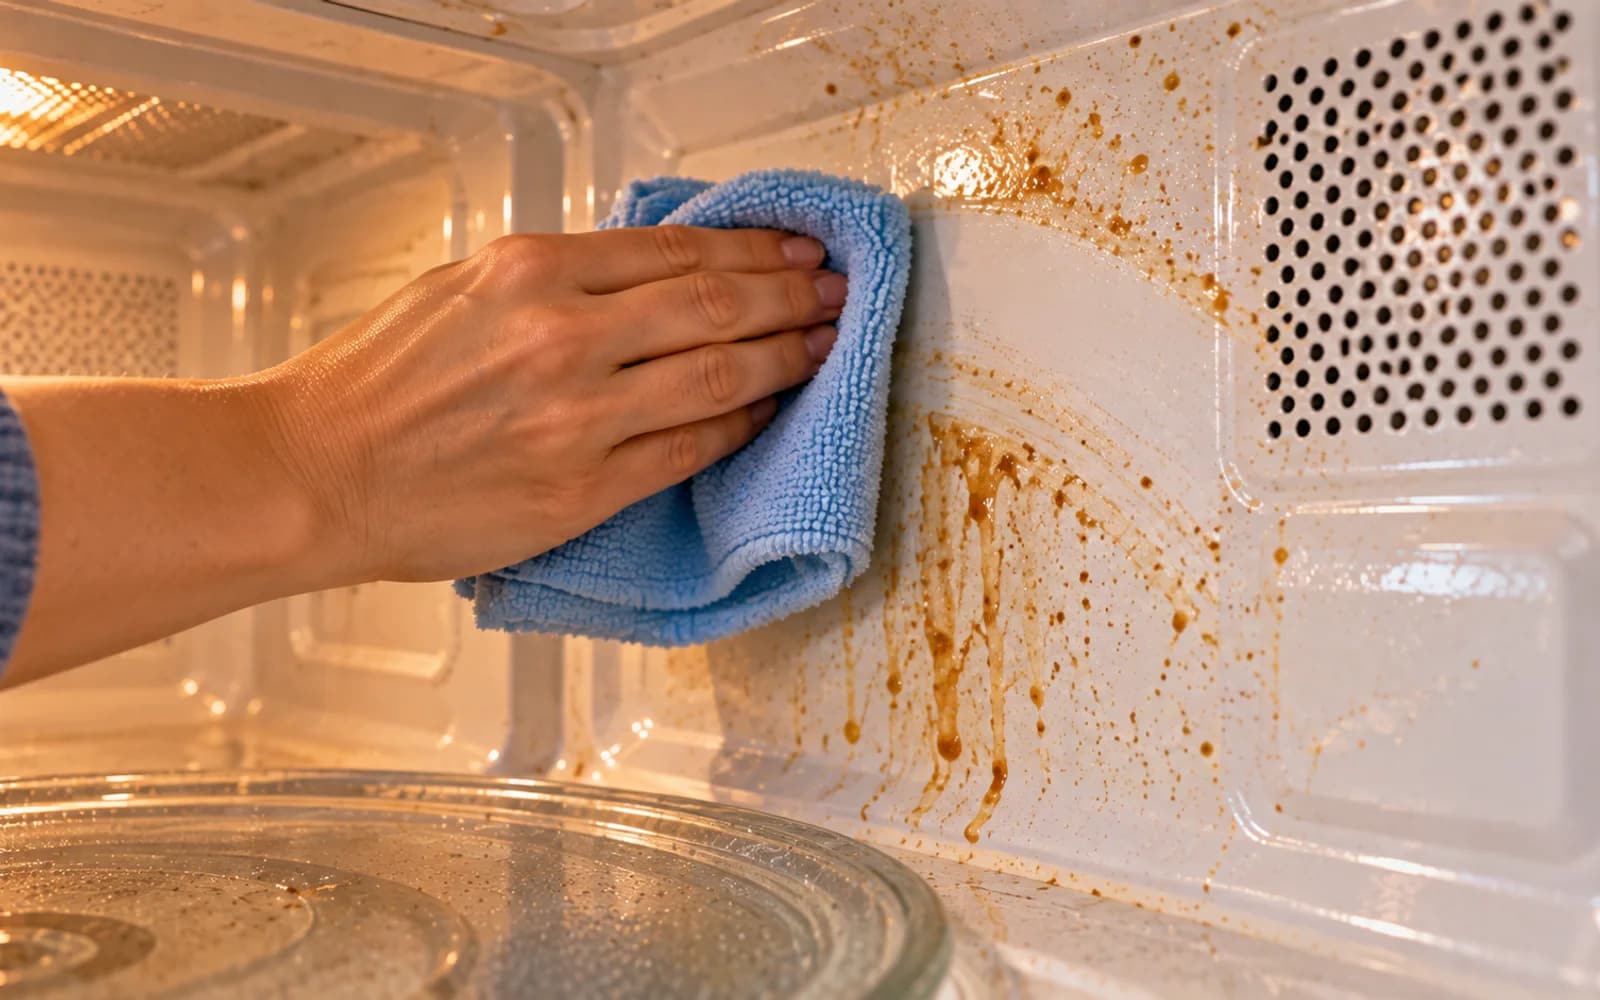
Press a warm, damp cloth directly over the stubborn dried splatter for 30 to 60 seconds. The trapped warmth and moisture help loosen residue so you can wipe it away without blades or abrasive pads. If the spot remains, repeat the steam cycle instead of scrubbing harder. Use a soft microfiber cloth and light pressure to avoid damaging the oven's interior coating.
Clean the Inside of the Oven Door
Wipe the door glass without soaking the edges
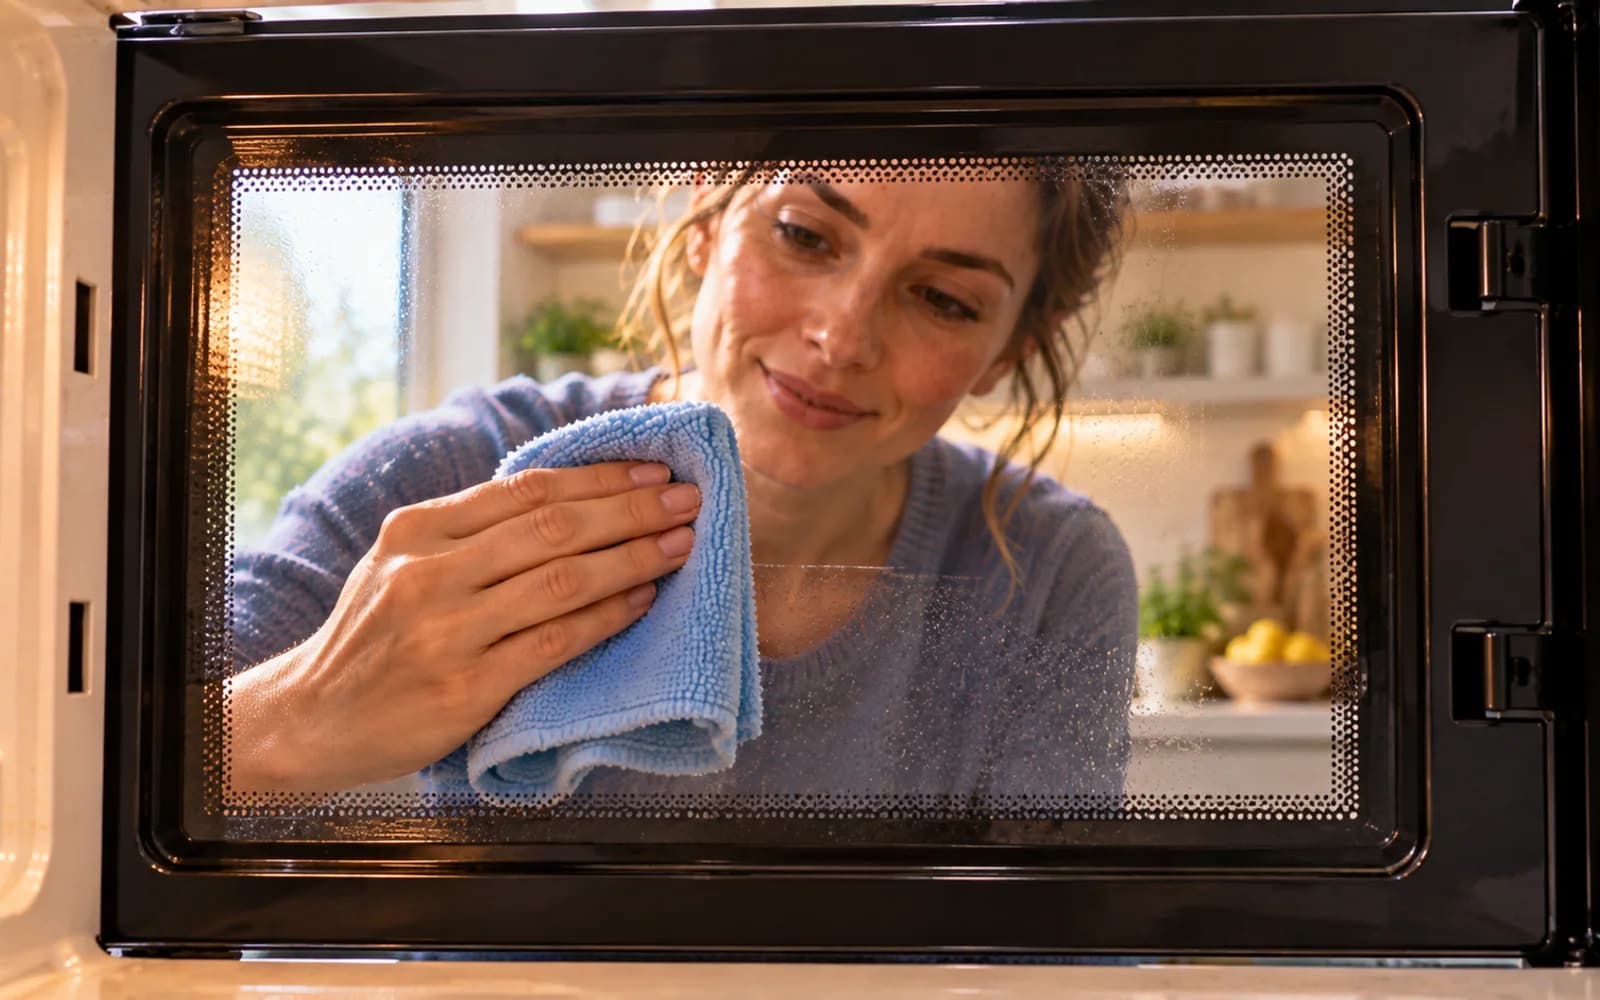
Use a lightly damp microfiber cloth to wipe the inside of the oven door glass. If greasy residue remains, add one small drop of mild dish soap to the cloth. Keep moisture away from seams, vent slots, and the latch area. Wipe again with a second cloth dampened only with plain water, then dry thoroughly. This keeps the glass clear without heavy scrubbing or flooding sensitive areas.
Polish the Exterior Glass and Handle
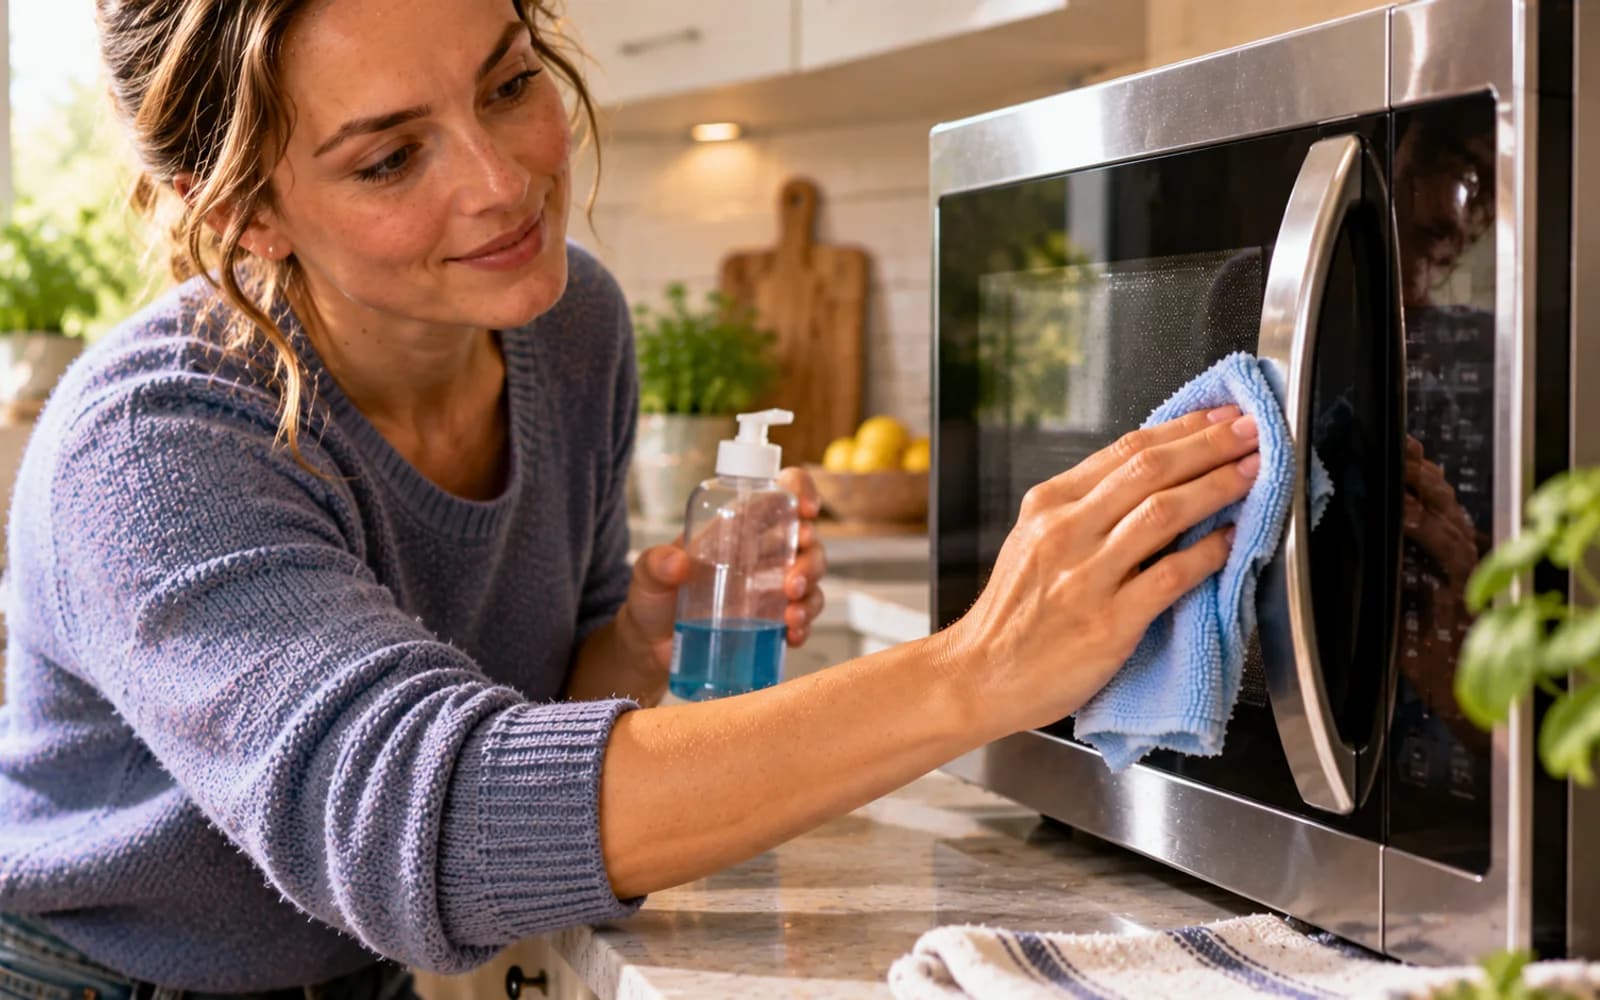
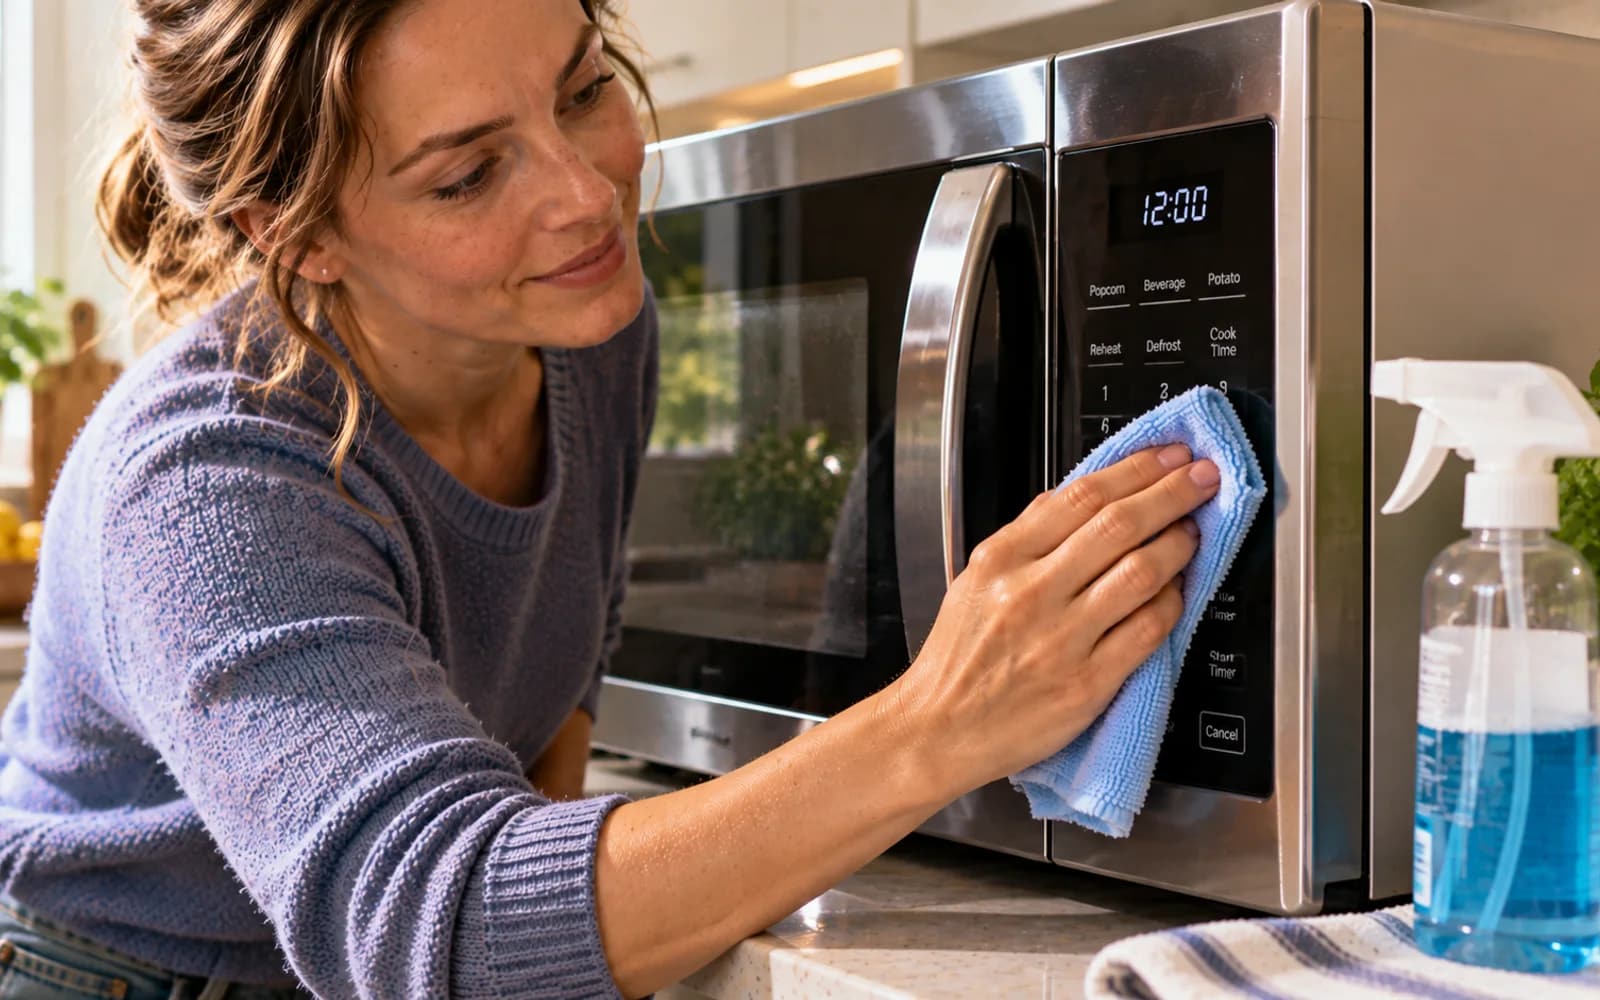
Close the microwave door, then wipe the exterior glass and handle with a soft cloth suited to the appliance finish. Apply cleaner to the cloth instead of spraying the microwave directly, which helps keep liquid out of controls, seams, and ventilation gaps. Focus on the handle and other frequently touched areas. Finish with a clean, dry microfiber cloth to reduce streaks, fingerprints, and leftover moisture for a polished appearance.
Gently Clean Around the Door Seal
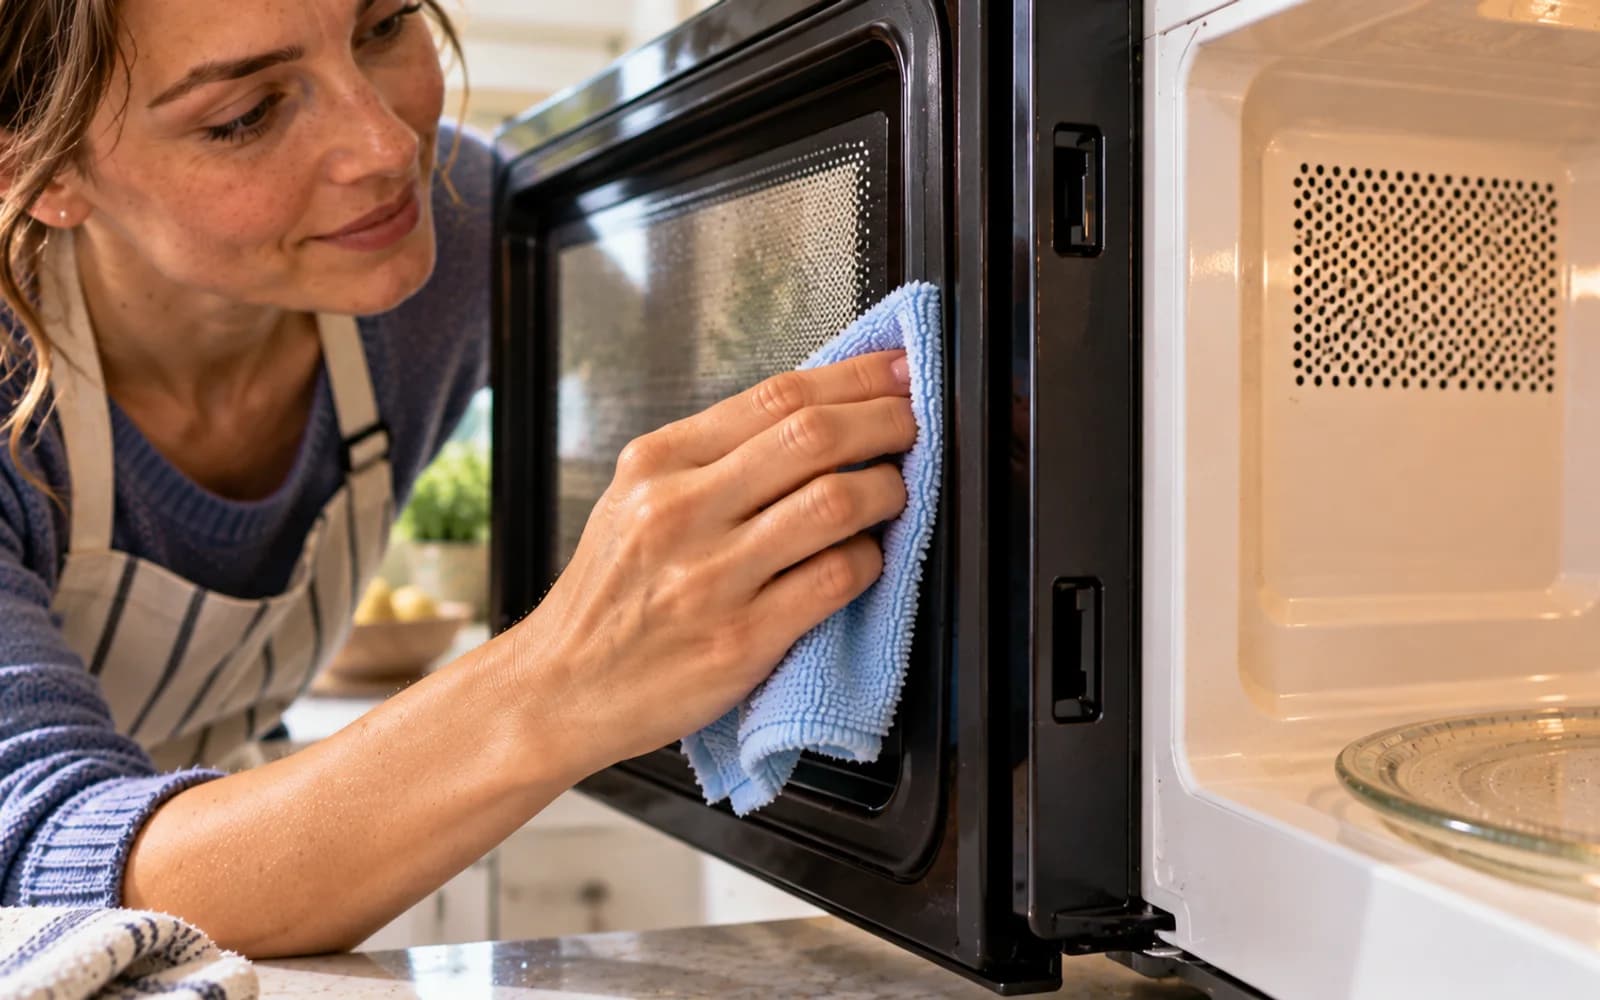
Wipe the door perimeter and seal contact area gently with a barely damp cloth, using only enough moisture to lift residue. Follow with a dry cloth so water does not remain around the edge. Do not pick at seals, bend latches, or push fabric into openings. Keeping this contact area clean helps the door close normally. Use light pressure and inspect for crumbs or grease without disturbing the alignment or hardware.
Wipe the Control Panel Without Soaking Electronics
Clean the controls with minimal moisture Use a dry or barely damp microfiber cloth to wipe the control panel with light pressure. For greasy fingerprints, add a tiny drop of mild soapy water to the cloth, not directly to the appliance. Wipe the surface once, then dry it immediately with a clean section of cloth. Keep moisture away from button edges, touchscreen seams, display gaps, and other openings where liquid could reach sensitive electronics.
Use Baking Soda to Absorb Lingering Microwave Odors
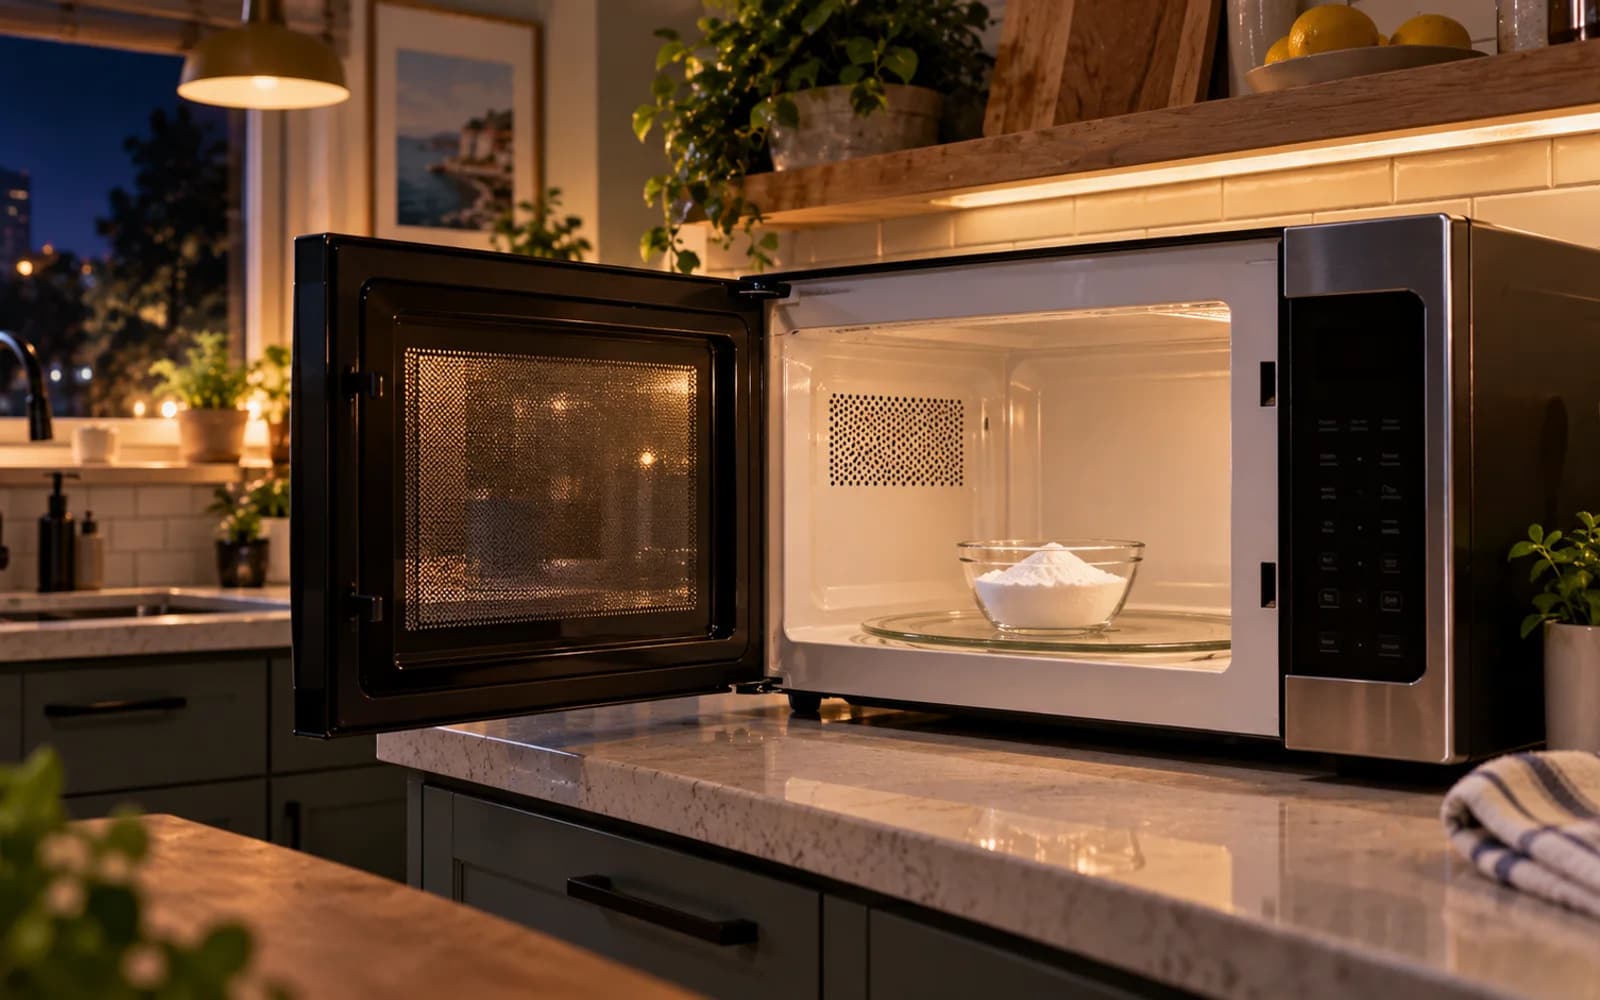
Place a small open bowl with a few tablespoons of baking soda inside the clean, completely dry microwave. Keep the microwave unplugged and leave the bowl in place for several hours or overnight so the baking soda can absorb lingering odors. Do not heat the baking soda. Before using the microwave again, remove the bowl and check that no powder has spilled onto the turntable or interior surfaces.
Let the Microwave Air Out
Leave the microwave door open briefly after the final wipe so trapped moisture can escape from the clean interior. Keep the area supervised and make sure children or pets cannot interfere with the open door. Leave the glass tray and roller ring nearby until they are completely dry. Before reassembly, check corners, the floor, and the door area with a clean towel so no damp spots remain.
Reassemble the Microwave Turntable Correctly
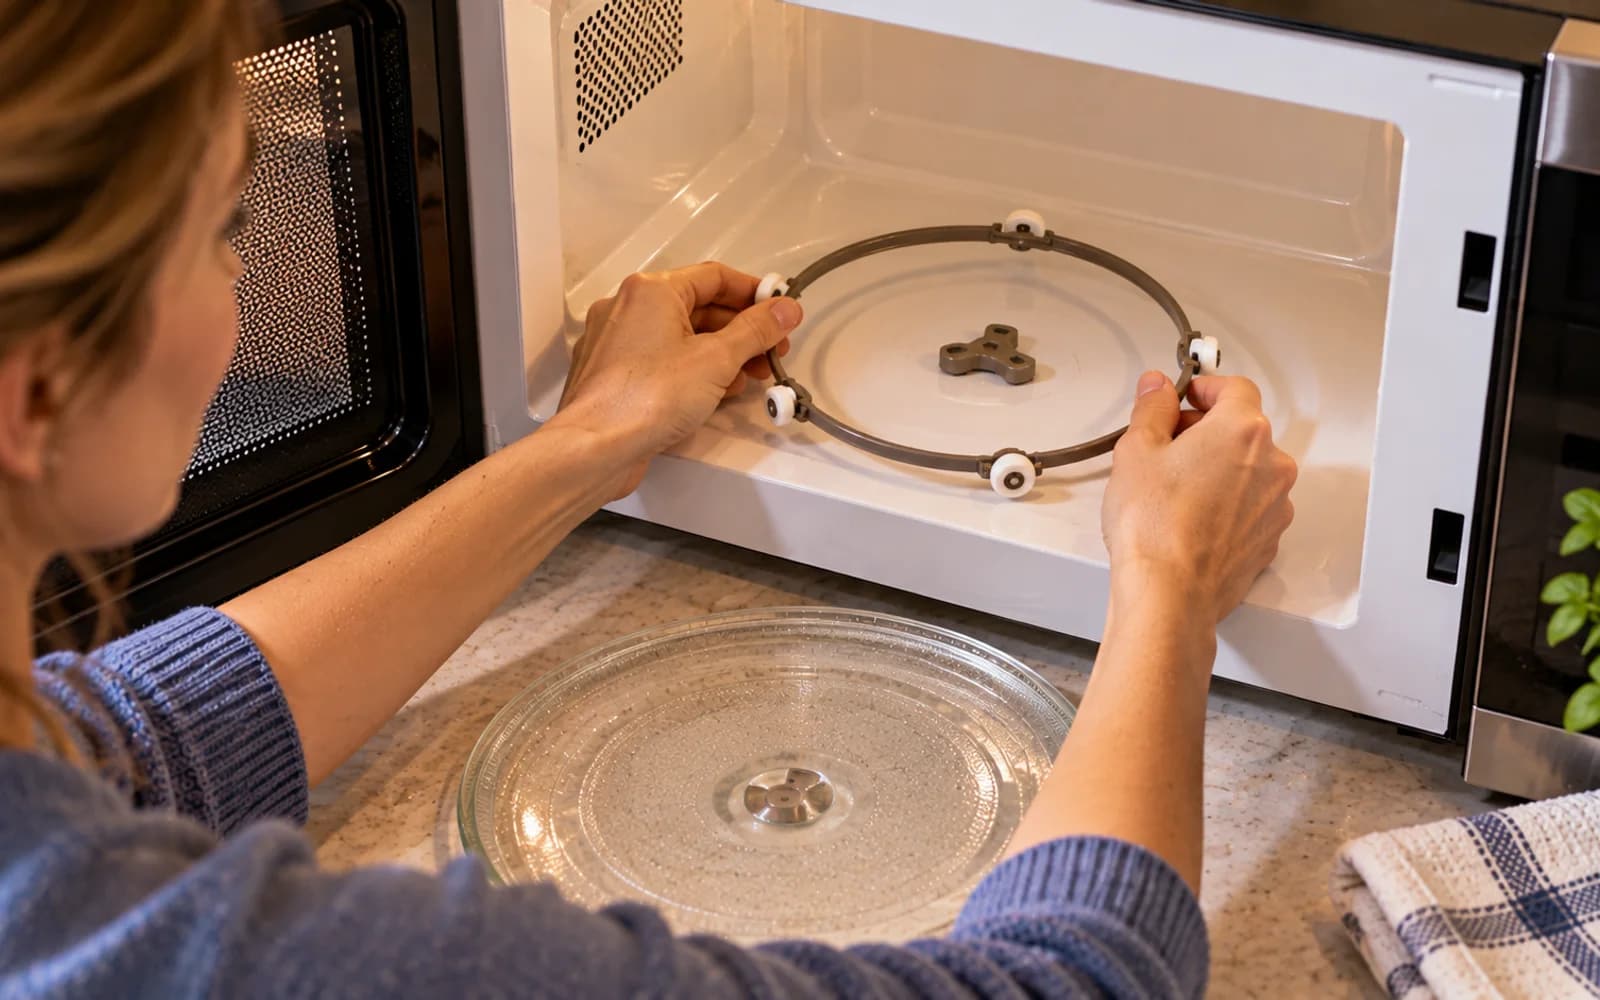
Set the tray back in place Place the completely dry roller ring or support in its original position, making sure it sits flat. Lower the glass turntable onto the center coupling and rotate it gently by hand. The tray should turn smoothly without rocking, catching, or sitting at an angle. If it feels uneven, lift it out and realign the ring and coupling. Never push or force the glass tray into position.
Check Vents and Openings Before Power-Up
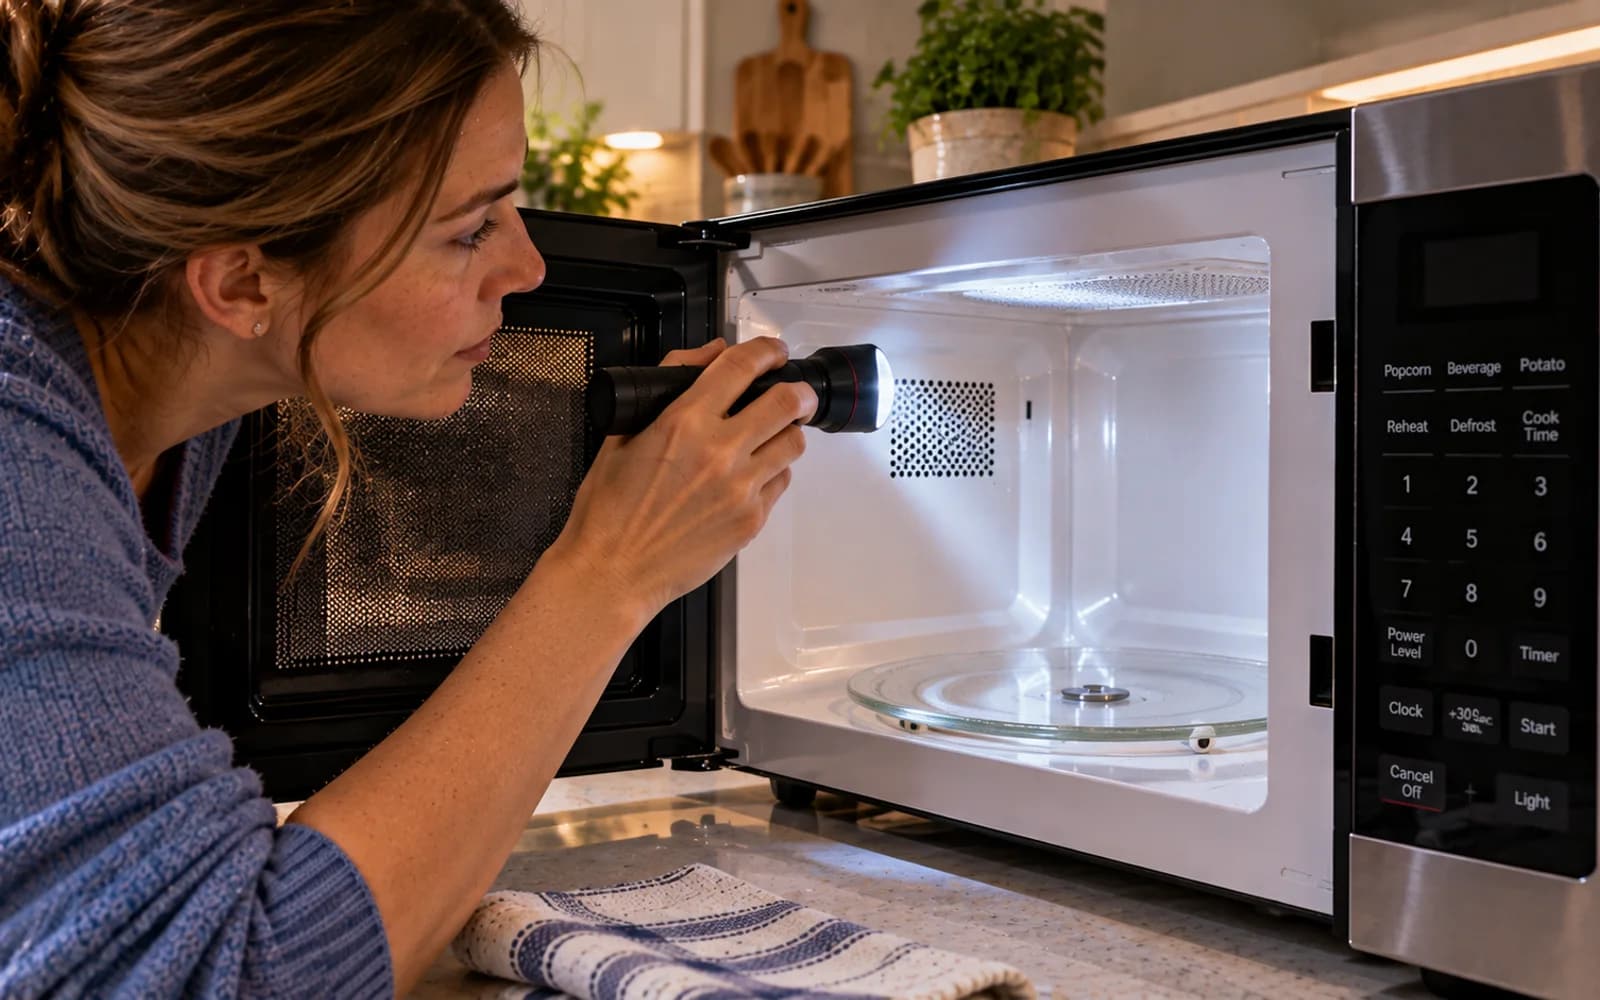
Use a flashlight to inspect the microwave floor, vents, seams, and openings before reconnecting power. These areas should look wiped clean, not wet or soaked. Check carefully for pooled water or moisture near controls and electrical openings. If excess liquid reached any sensitive area, leave the microwave unplugged and allow it to dry fully according to the manufacturer's guidance. Never restore power while visible moisture remains inside.
Test the Turntable With a Cup of Water
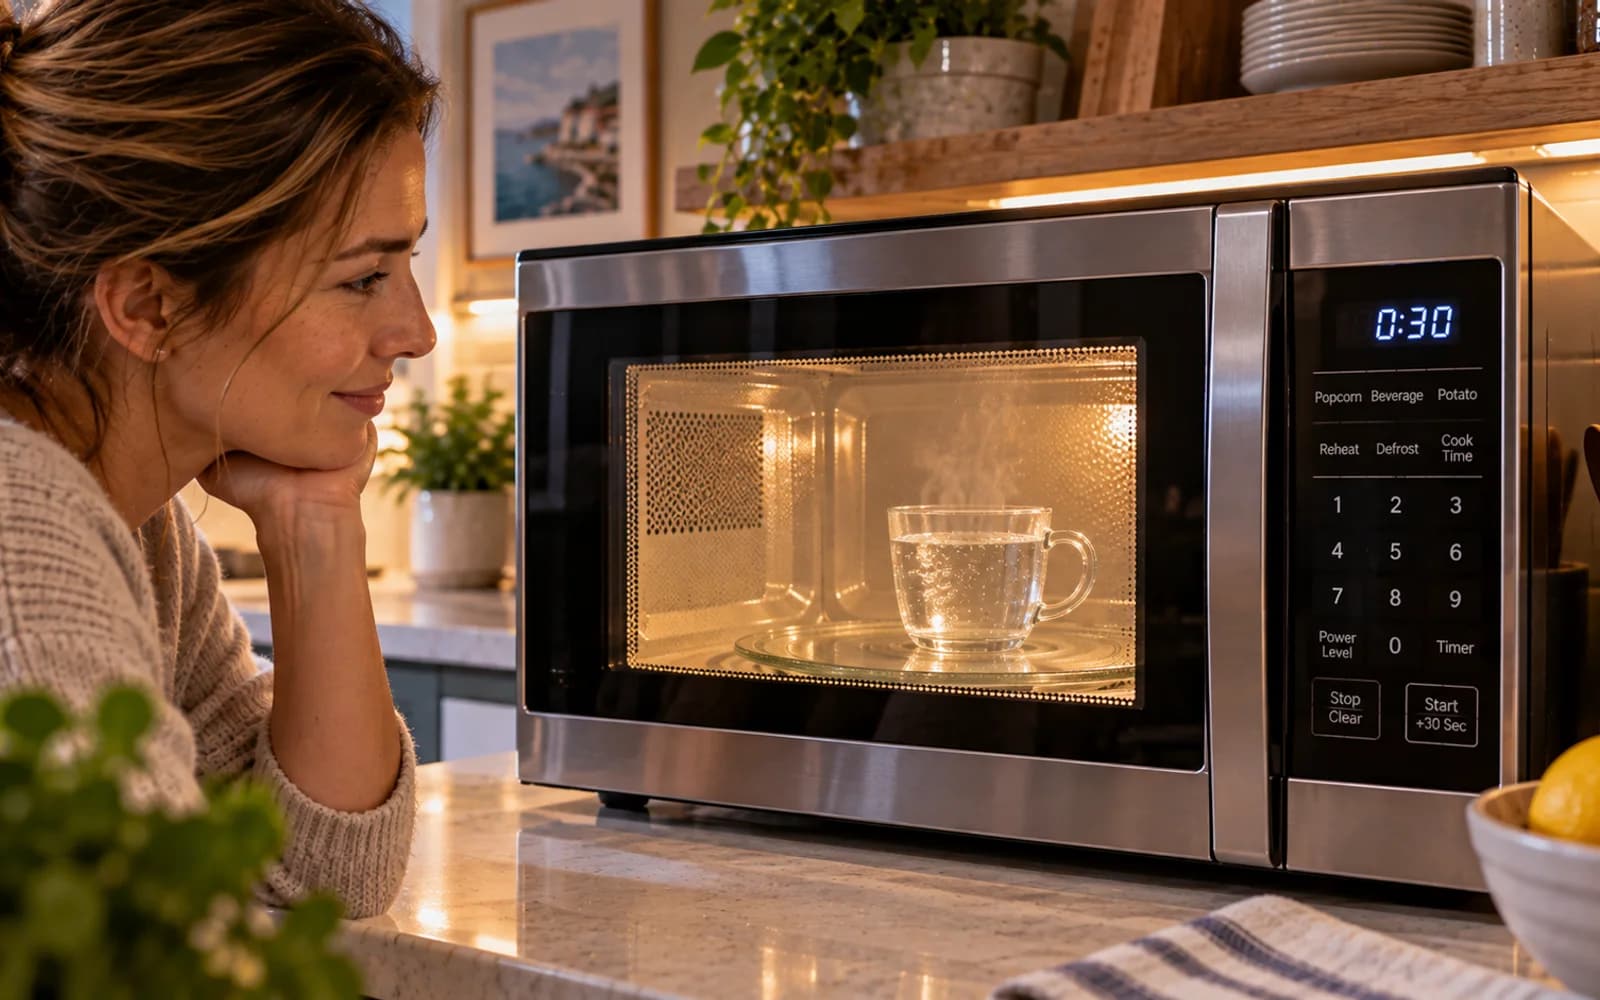
Place a microwave-safe cup of water in the center of the clean, dry turntable, then run the microwave on a normal setting for a short cycle. Watch through the door to confirm that the tray rotates smoothly without sticking or wobbling. Keep the test brief and stay nearby. Stop the microwave immediately if you notice sparks, unusual sounds, a burning smell, or any new behavior that was not present before cleaning.
Prevent Splatters With a Vented Microwave Cover
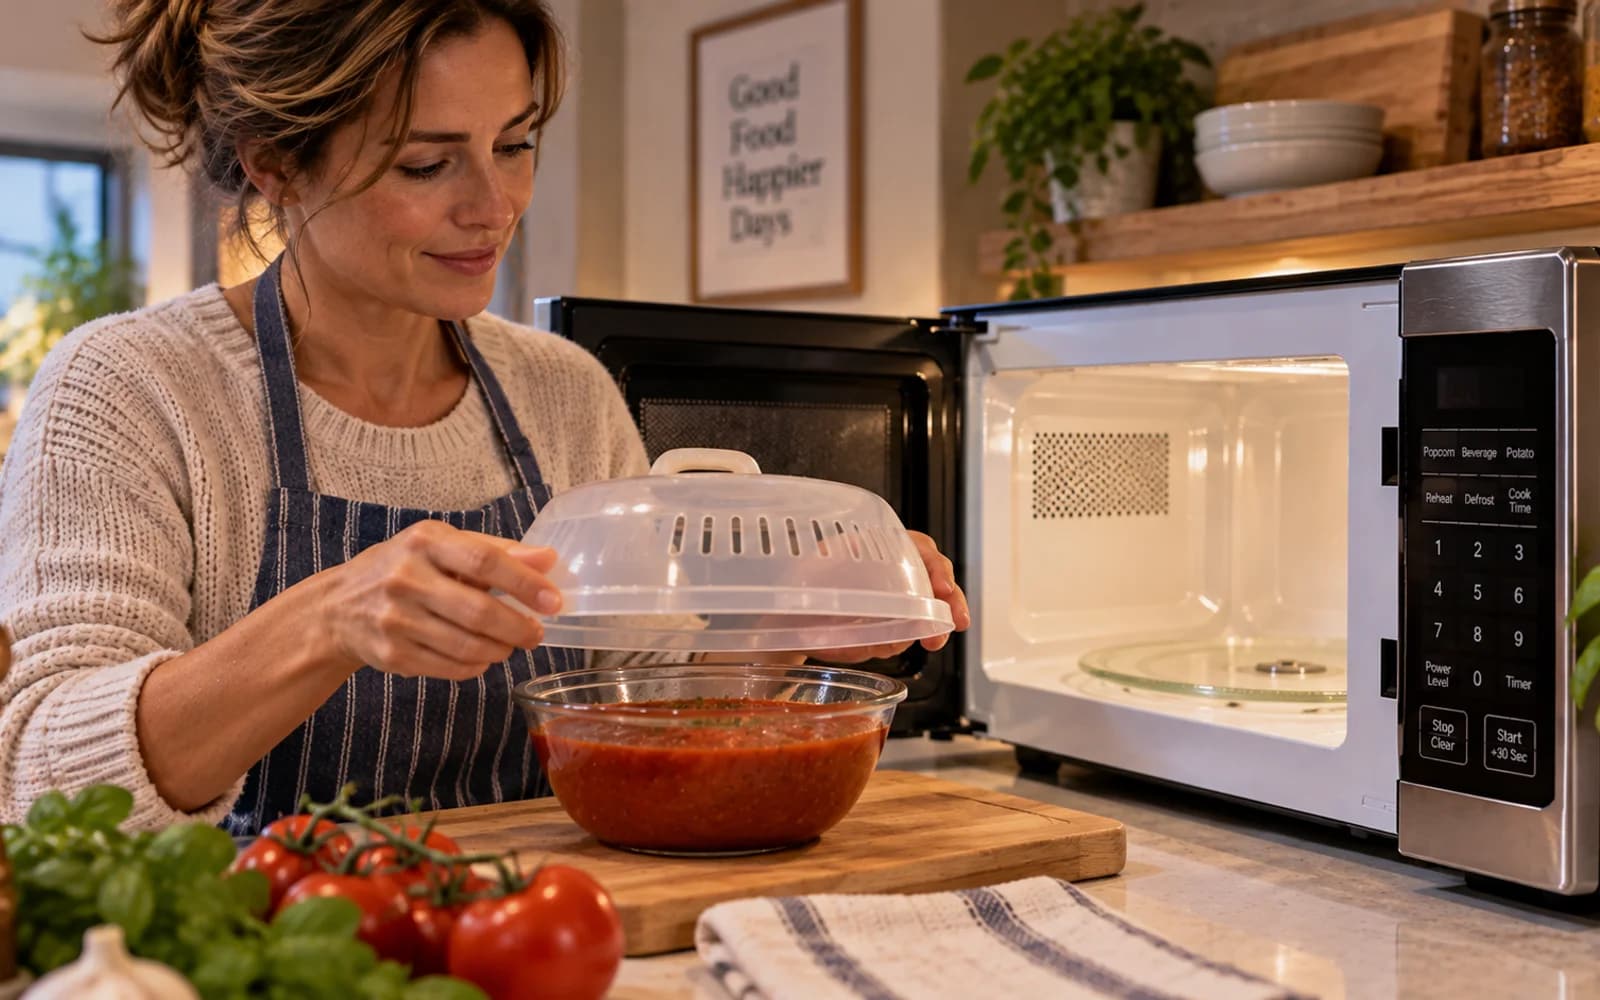
Place a microwave-safe vented cover over bowls and plates before reheating foods that tend to bubble, pop, or spit, such as tomato sauce. Keep the cover slightly vented so steam can escape instead of building pressure. This simple barrier catches grease and sauce before they reach the microwave ceiling and walls. Choose a cover wide enough to contain splatter without touching the food, and wash it after messy reheats.
Wipe Fresh Spills Before Reheating Again
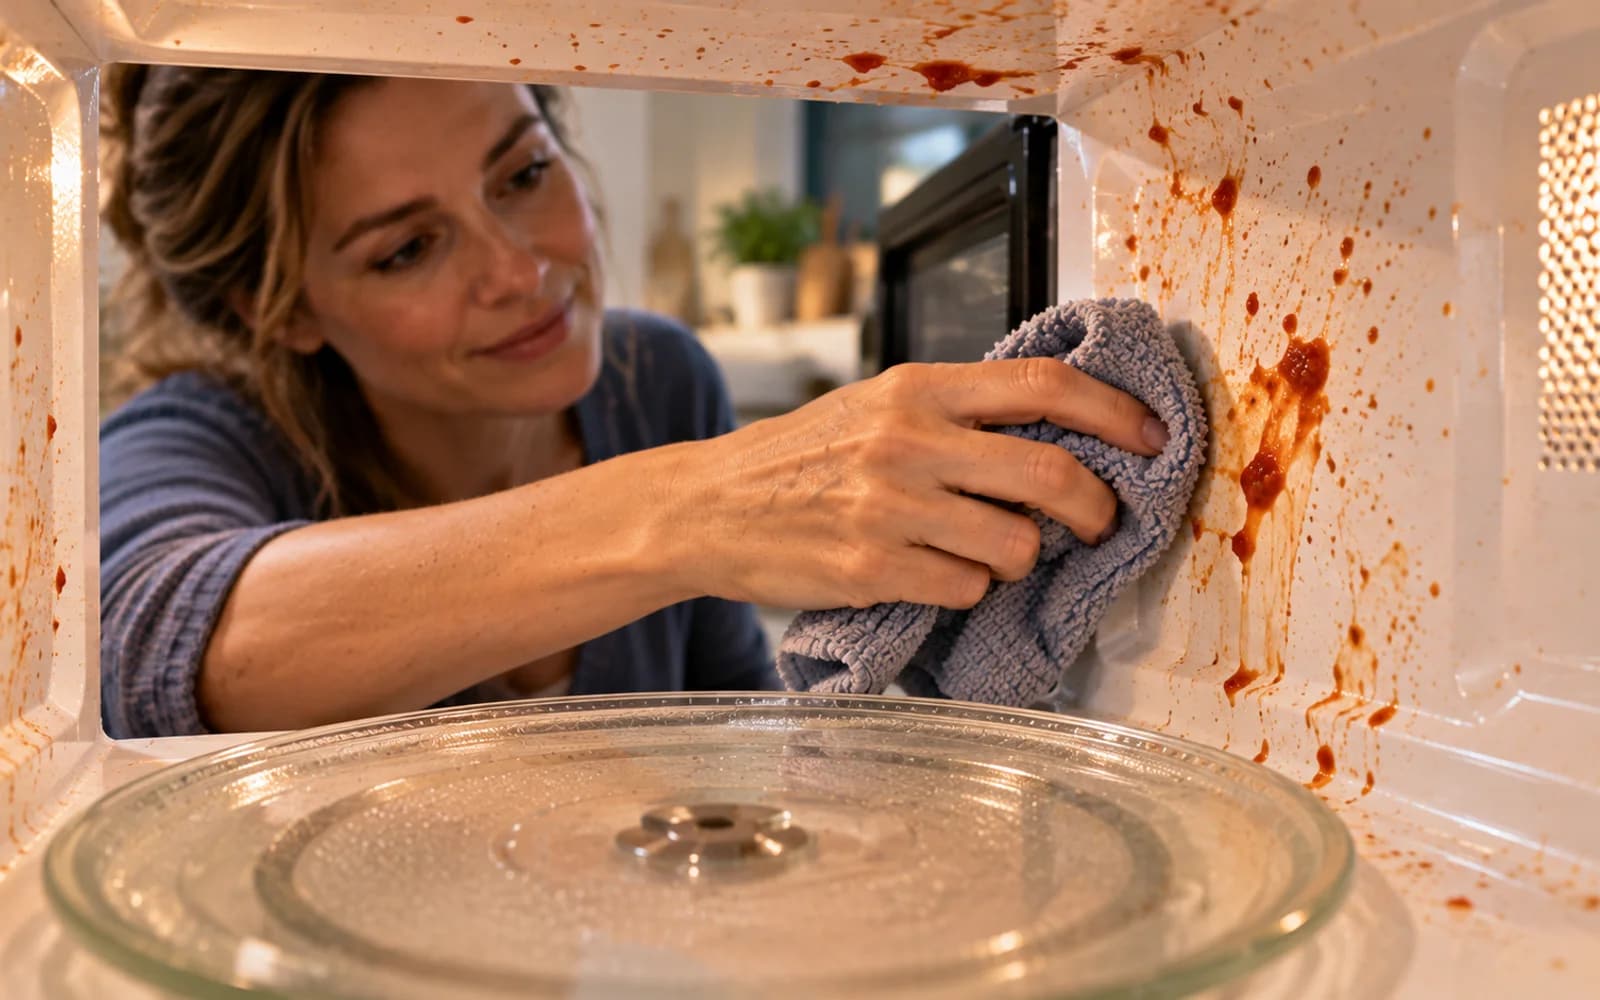
If sauce splashes inside the microwave, let the appliance cool until the surface is safe to touch, then wipe the spill before heating anything else. Fresh residue usually comes away quickly with a damp cloth, while another heating cycle can dry it into a stubborn film. Pay special attention to corners and the turntable edge, where thin splashes are easy to miss and can harden between uses.
Clear Strong Food Odors at the Source
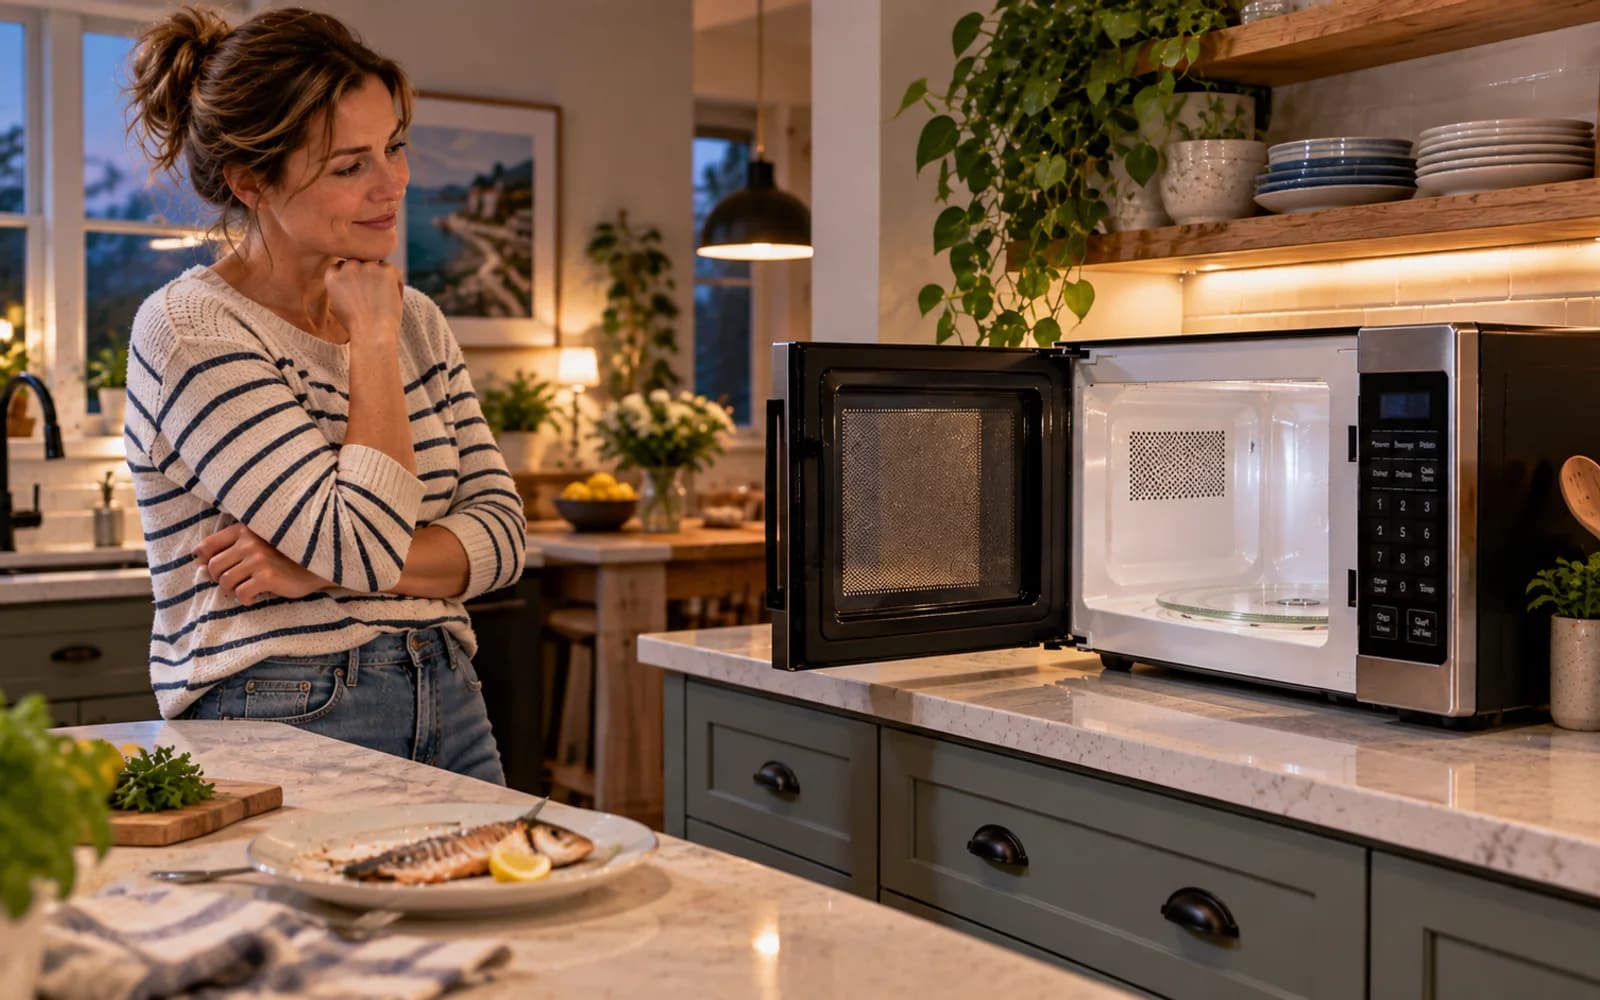
After reheating fish or another strongly scented food, remove any visible residue and leave the clean microwave open briefly so trapped odors can dissipate. Persistent smells often come from a thin food film, so cleaning the source is more effective than spraying fragrance inside the appliance. If an odor remains after cleaning, place an open container of baking soda inside only while the microwave is off and not in use.
Stop Cleaning When the Microwave Shows a Safety Problem
Do not keep cleaning a microwave that shows signs of an electrical or mechanical fault. If it sparks without obvious food or metal inside, smells like burning wiring, has a damaged door, or operates unpredictably, stop using it. Unplug the microwave if you can do so safely. Leave the damaged area alone and follow the manufacturer's service instructions or arrange professional assessment before using the appliance again.
Build a Two-Minute Weekly Oven Routine
Keep Buildup From Getting Ahead of You
Set aside two minutes once a week to remove loose crumbs, wipe the oven handle and control area, and check inside for fresh splatters. Clean new spots before they harden into baked-on residue. A quick weekly check keeps the job manageable and reduces the need for aggressive scrubbing later. Once a month, or whenever visible residue develops, use the controlled steam cleaning routine.
The complete microwave reset
Finish by checking the microwave from top to bottom. Make sure the interior is cool, dry, and free of loose debris, then reinstall the clean turntable and any removable parts. Wipe away remaining moisture, especially near seams and vents, without flooding openings. For easier upkeep, cover foods that tend to splatter and wipe fresh spills before they dry onto the interior surfaces.
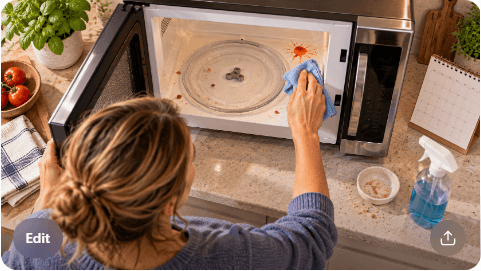
Microwave splatters have a way of turning into stubborn, baked-on spots, especially when spills are left through several heating cycles. The good news is that you usually do not need harsh chemicals or aggressive scrubbing to clean them. A little controlled steam can soften dried food residue, making the interior easier to wipe while also helping release trapped cooking odors. The key is to work with minimal moisture, clean removable parts separately, and pay attention to areas where liquid should never collect.
Before you begin, unplug the microwave when practical and remove loose crumbs or debris along with the turntable. Use only an open, microwave-safe vessel for steaming, and never heat a sealed container. Keep water and cleaning moisture away from vents, controls, and electrical openings. After cleaning the ceiling, walls, floor, door, and removable parts, make sure everything is completely dry before reassembling the microwave and restoring power. For lingering odors, passive baking soda can help without adding unnecessary fragrance or residue.
Where people go wrong
Using Too Much Water Near Vents and Controls. Soaking the microwave interior or spraying cleaner directly can push moisture into vents, controls, or electrical openings. Use a lightly dampened cloth instead, unplug the appliance when practical, and wipe carefully so liquid stays on cleanable interior surfaces rather than entering sensitive components.
Heating a Sealed Container to Create Steam. Steam can loosen dried food, but the container must remain open and be microwave-safe. Never heat a sealed vessel, because pressure can build inside it. Use a controlled amount of water, monitor the heating period, and handle the hot container carefully afterward.
Reassembling the Microwave While Parts Are Still Wet. Putting the turntable, support ring, or other removable parts back while they are damp can leave trapped moisture inside the appliance. Dry cleaned components thoroughly, check the interior for remaining moisture, and restore power only after everything has been safely dried and reassembled.
Ignoring Loose Debris Before Steaming and Wiping. Starting with steam before removing crumbs and loose food can turn dry debris into a sticky mess that is harder to clean. Remove loose material first, take out the turntable, then steam and wipe from the ceiling downward so loosened residue does not soil cleaned areas.

Questions people ask
Remove loose crumbs first, then place an open microwave-safe vessel with water inside and heat it briefly to create steam. The steam helps soften dried food so it wipes away more easily. Never heat a sealed container, and keep liquids away from vents, controls, and electrical openings.
Fixed it?
Get one guide like this every Thursday.