How to Deep Clean a Kitchen Trash Can and Stop Leaks and Odors
Hidden spills, sticky residue, and trapped liquids can keep a kitchen trash can smelling bad even after the bag is removed. This guide shows how to clean every surface, dry it properly, and prevent future leaks and odors.
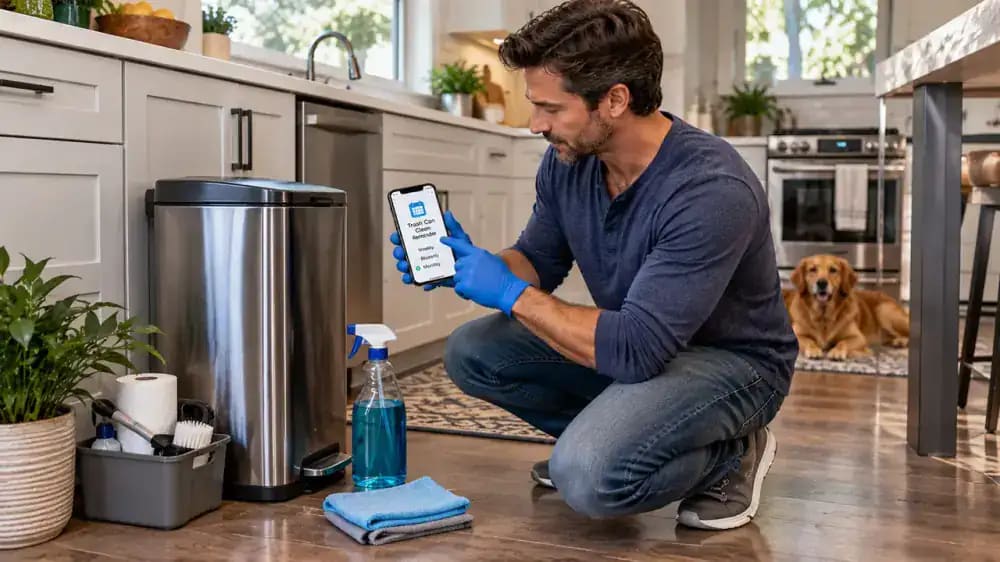
What you’ll need
Tap to tick things off before you start.
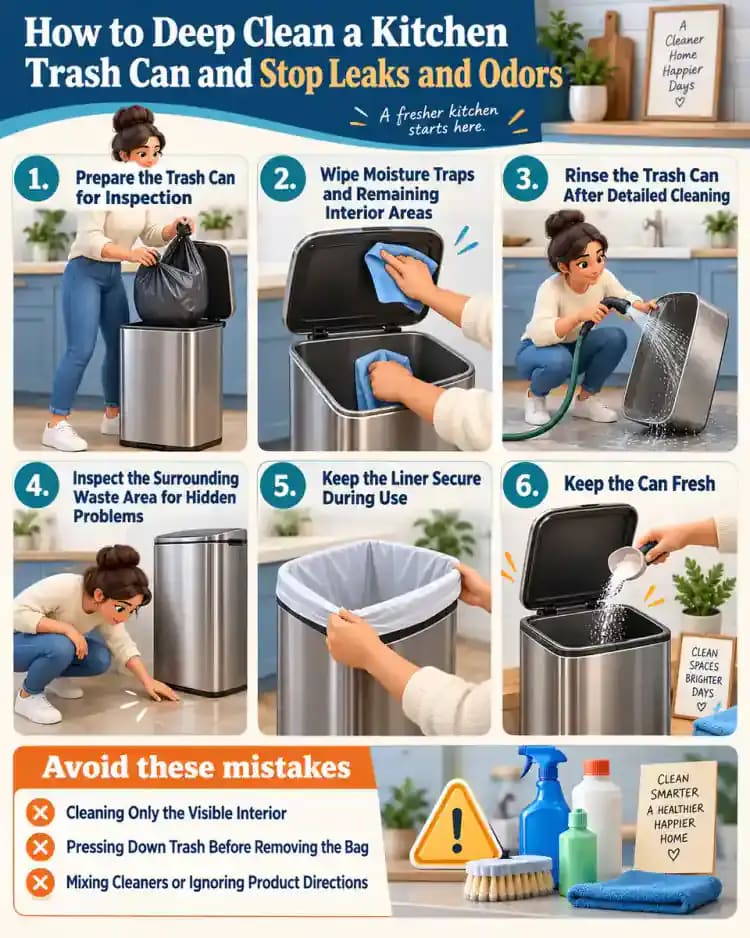
Prepare the Trash Can for Inspection
Put on disposable gloves, then lift the full trash bag straight out without pushing down on the contents. Set it aside where it will not leak or tip over. Keep the lid open and look inside the empty can for spills, stuck-on residue, moisture, or food buildup that may be causing the odor. Avoid reaching blindly into the bottom, since broken glass or other sharp items could be hidden under debris.

Inspect the Trash Can for Hidden Problems
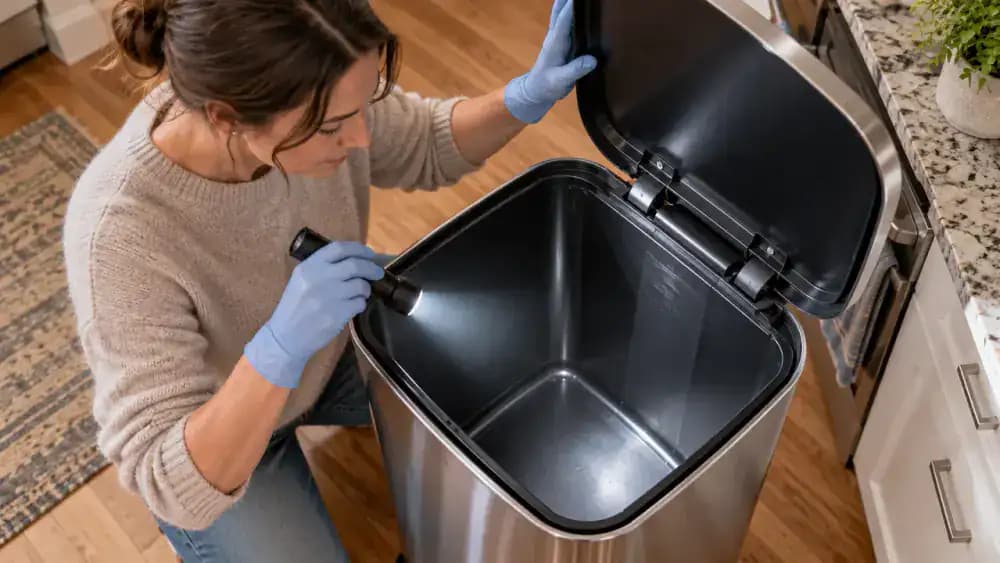
Remove the bag and shine a flashlight into the empty trash can, checking the bottom, side walls, rim, lid edges, hinges, and other moving parts. Look for dried food, sticky liquid marks, trapped debris, cracks, or damaged liner areas that could hold odors. Tilt the can slightly for a better view, but avoid reaching into areas where broken glass or other sharp waste may be hidden.
Prepare the Trash Can for Cleaning
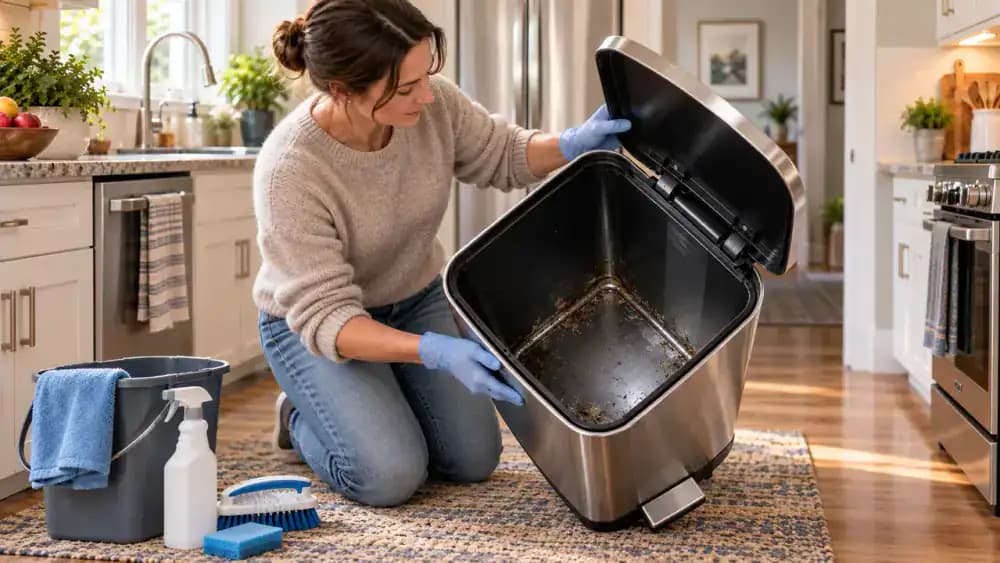
Move the empty trash can to a clear, easy-to-clean workspace and place your bucket, soft brush, and cleaning supplies within reach. Keep your gloves on, then tilt the can slightly so you can inspect and access the bottom corners, seams, and other spots where residue tends to collect. If dried debris is stuck, do not pry at it with a sharp tool. Loosen it gently during the next cleaning step instead.
Loosen Dried Leaks and Sticky Residue
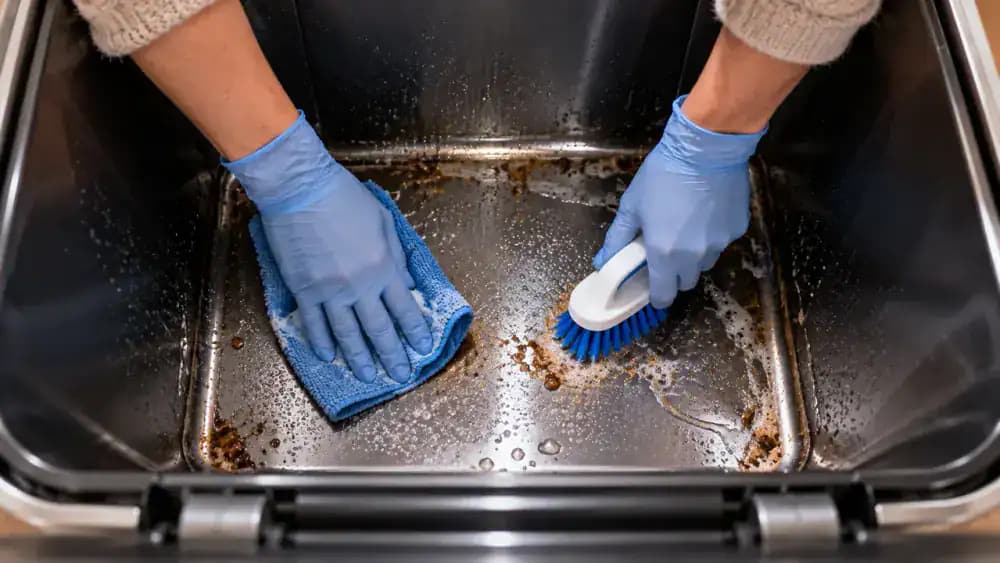
Apply a suitable cleaning solution directly to dried spills and sticky buildup, especially across the bottom where leaked liquids tend to collect. Let the residue soak briefly so it softens before you scrub with a soft cloth or nonabrasive brush. Work in small sections and wipe away loosened grime as you go. Avoid metal scrapers or other aggressive tools that can scratch the interior and create rough surfaces that trap future residue.
Remove Loosened Buildup From Seams and Corners
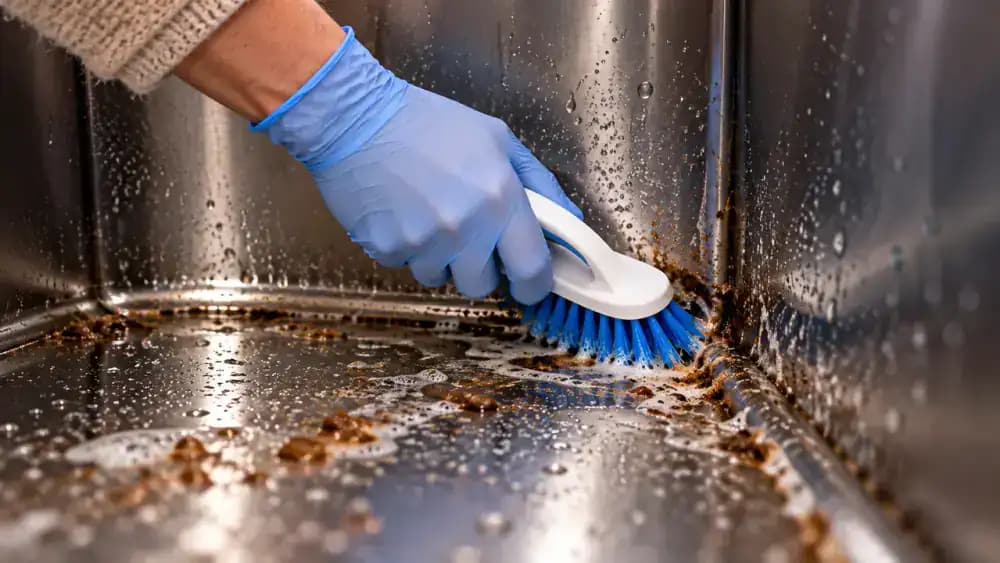
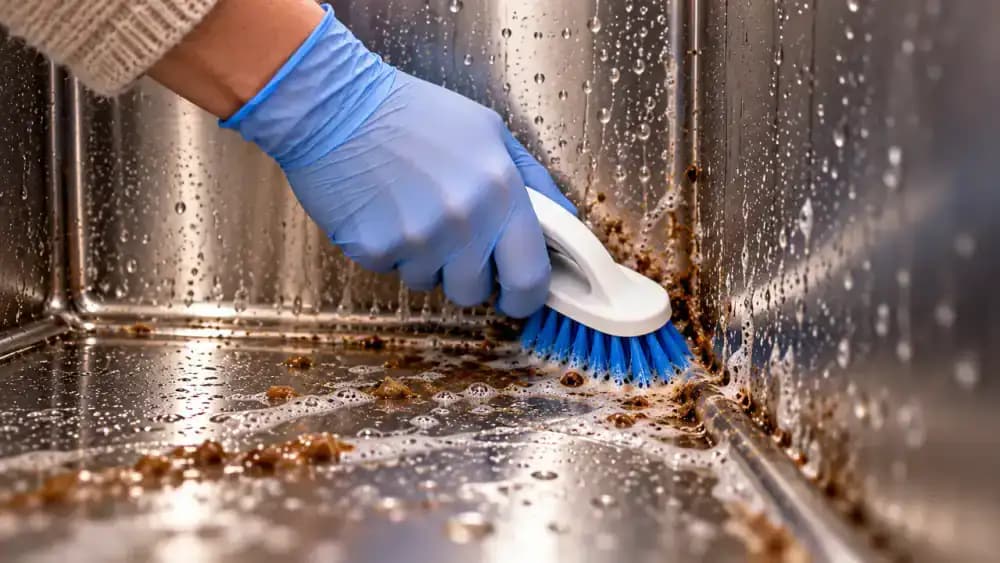
Once the residue has softened, use a soft detail brush or cloth to lift debris from seams, bottom edges, and corner grooves. Work slowly around the interior base so you remove hidden buildup without scratching the trash can surface. Angle the brush gently into narrow areas instead of forcing it deeper. If debris starts smearing instead of lifting, wipe the brush clean and continue with light, controlled strokes.
Wipe Moisture Traps and Remaining Interior Areas
Use a damp microfiber cloth to wipe the lower interior walls, rim, and any drainage points where moisture and grime tend to collect. Work methodically around the empty trash can so you do not miss recessed areas or narrow edges. Rinse or refold the cloth as it becomes dirty to avoid spreading residue. This quick wipe removes remaining film and prepares the interior surfaces for a more thorough wash in the next step.
Clean the Lid, Handle, and Outer Contact Areas
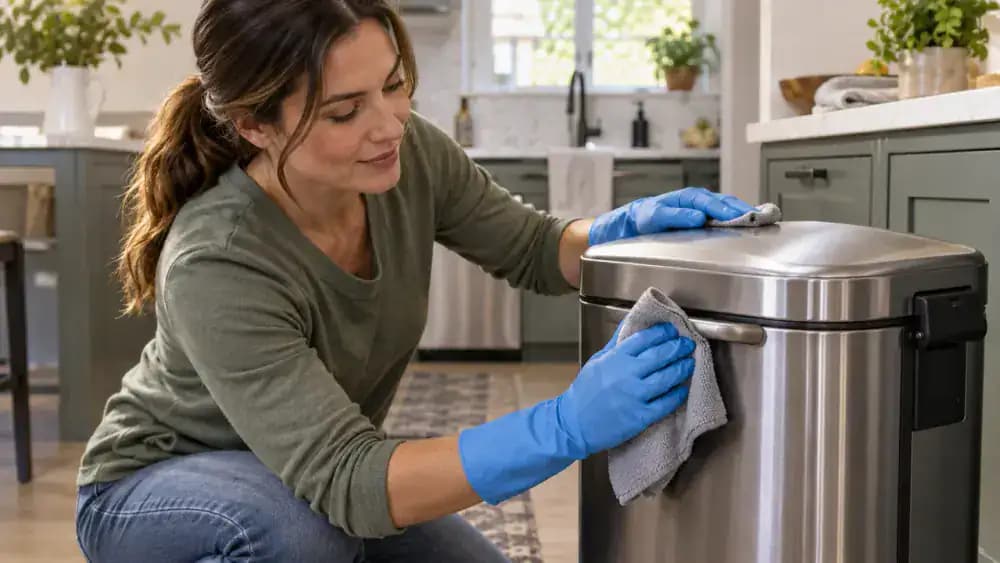
Wipe the lid, handle, hinge joints, and other frequently touched exterior surfaces with a clean microfiber cloth, paying extra attention to seams where residue can collect. Use a cleaner that is suitable for the trash can material and avoid soaking hinges or mechanical parts. For narrow gaps around the lid assembly, fold the cloth over a fingertip or use a soft detailing brush to loosen trapped grime without damaging the mechanism.
Reach Wheels, Seams, and Small Moving Parts
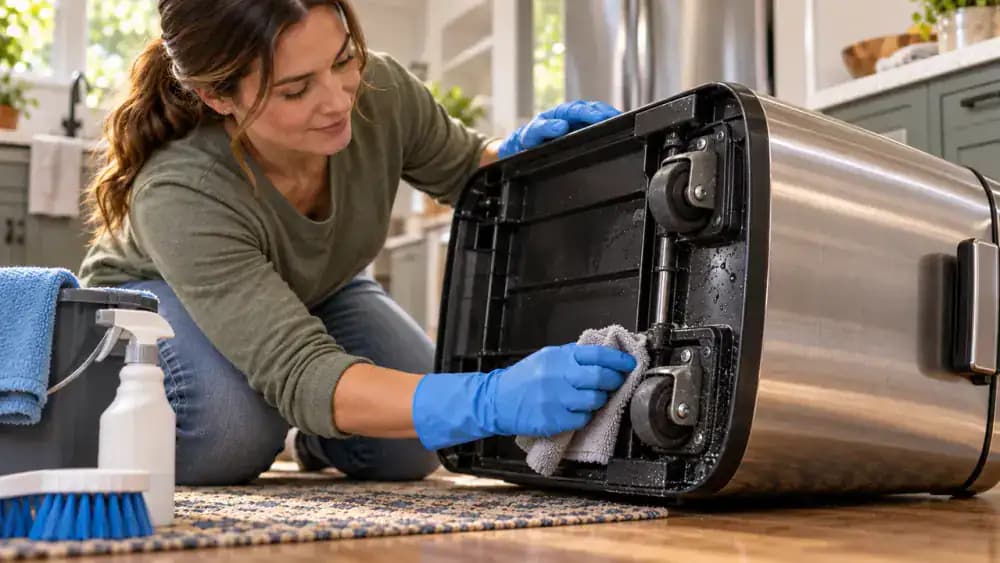
Lay the trash can carefully on its side so you can reach the wheel assemblies, mounting points, hinge gaps, and lower seams. Use a small soft brush to loosen trapped grime, then wipe each area with a damp cloth. Avoid forcing wheels or hinges if they resist. For narrow crevices, wrap the cloth around a cotton swab or blunt plastic tool to remove moisture and residue without scratching the surface.
Set Up the Trash Can for a Complete Wash
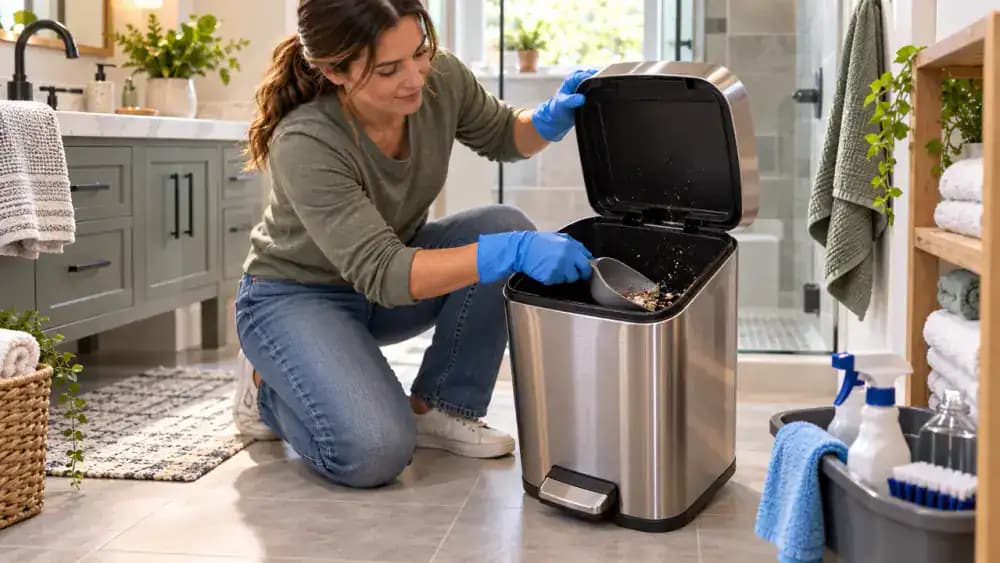
Place the empty trash can in a bathtub or outdoor cleaning area where water and runoff can be contained. Use a handheld scoop to remove any remaining loose particles, then position the can upright with the lid fully open. Check the bottom, corners, and lid hinges for hidden debris before washing. Keep your gloves, cleaner, brush, and rinse source nearby so everything is ready once water is introduced.
Rinse and Wash the Main Interior Surfaces
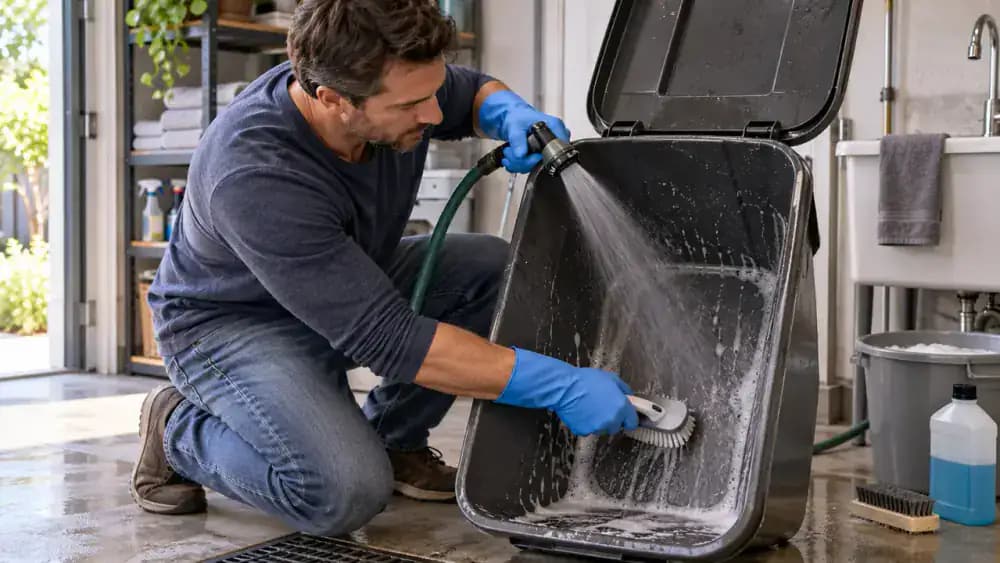
Rinse the empty trash can with a controlled stream of water while working a soft scrub brush across the inside walls and bottom. Move from the upper surfaces downward so loosened dirt flows toward the base instead of spreading back over cleaned areas. Pay extra attention to corners, seams, and molded edges where residue can collect. Avoid spraying damaged sections, electrical components, or any area that should not be saturated.
Detail Clean the Lid Connections and Inner Edges
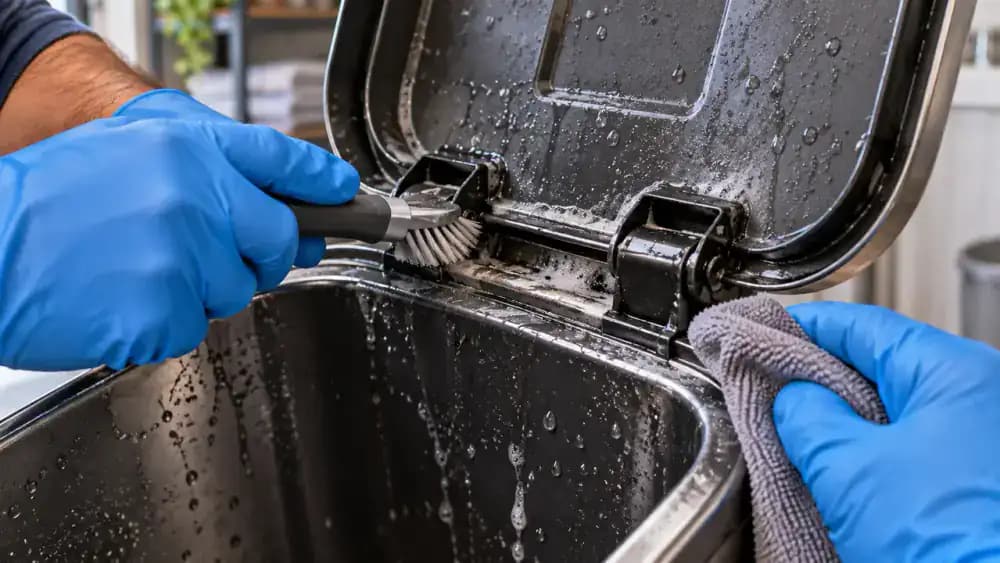
Use a small soft brush to loosen residue around the lid attachment points, hinge areas, inner rim, and narrow grooves. Follow with a microfiber cloth to lift away particles and absorb trapped moisture. Pay extra attention to corners where water can sit after rinsing, since these spots are easy to overlook. Rotate or lift the lid as needed so you can reach both sides of each connection before moving on to final drying.
Rinse the Trash Can After Detailed Cleaning
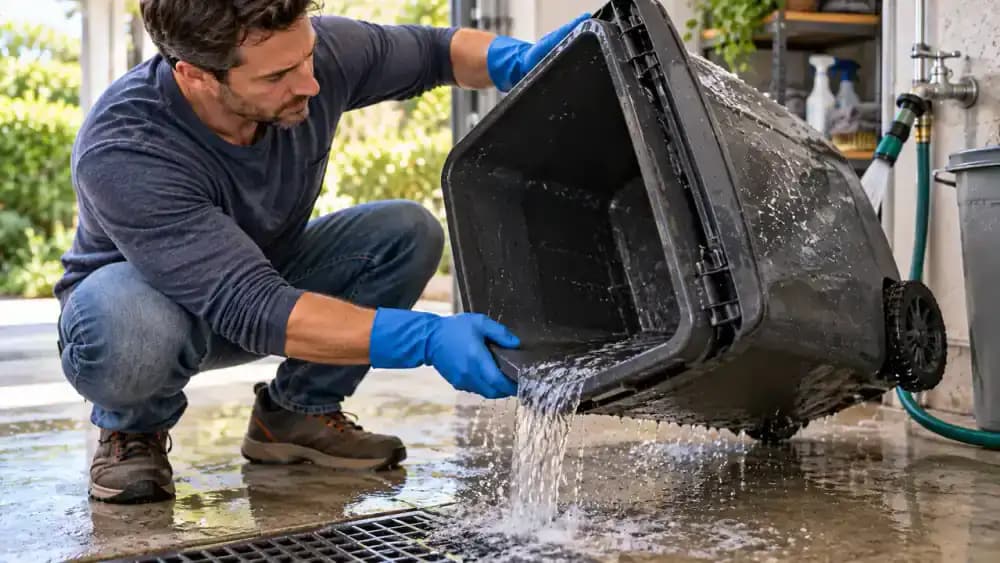
Place the trash can near a safe drainage area, then rinse the interior with a steady stream of clean water. Tilt and rotate the can slightly so the water reaches the sidewalls, corners, and bottom before flowing out. Continue rinsing until visible cleaner residue is gone. Avoid using excessive pressure, which can splash dirty water back onto cleaned surfaces. Let the remaining water drain completely before moving on to sanitizing.
Prepare the Trash Can for Safe Disinfecting
Set the clean, empty trash can on a dry, stable surface and keep your gloves on while you review the disinfectant label. Confirm the product is suitable for the can's material and check the required contact time, dilution instructions, and ventilation guidance before use. Make sure no soap or cleaner residue remains, since mixing products can create unsafe reactions. Keep the area clear so you can apply the disinfectant evenly and safely.
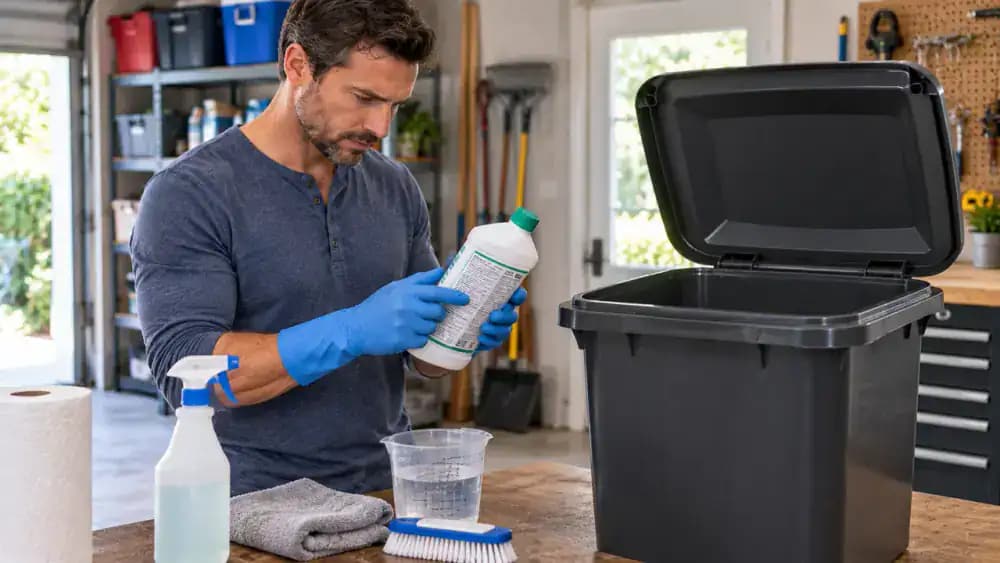
Apply Disinfectant According to Label Instructions
Apply disinfectant evenly to the cleaned interior walls and bottom of the empty trash can, using a spray bottle or cloth as directed by the product label. Keep the lid open and allow the surface to remain wet for the full required contact time. A visible timer helps prevent wiping too soon. Maintain good ventilation, confirm the product is safe for the can material, and never combine different cleaners.
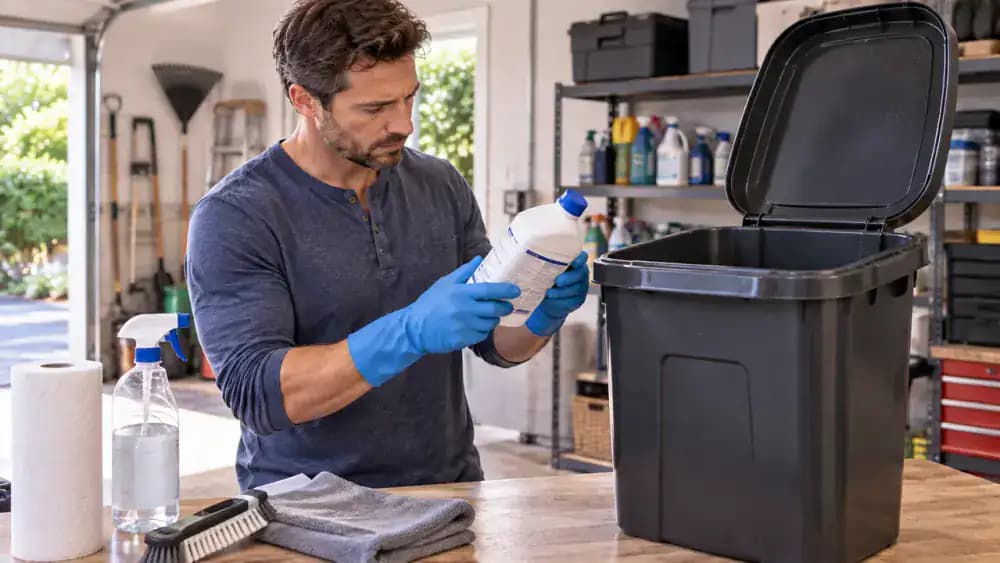
Remove Residue and Prepare the Trash Can for Drying
Once the disinfectant has completed the contact time listed on its label, wipe away any remaining cleaner as directed. Use a clean, dry microfiber towel to reach the bottom seams, interior corners, and other areas where moisture can collect. Keep the lid open to improve airflow, and check for hidden damp spots before moving on. Do not install a fresh liner until excess water and cleaner residue are fully removed.
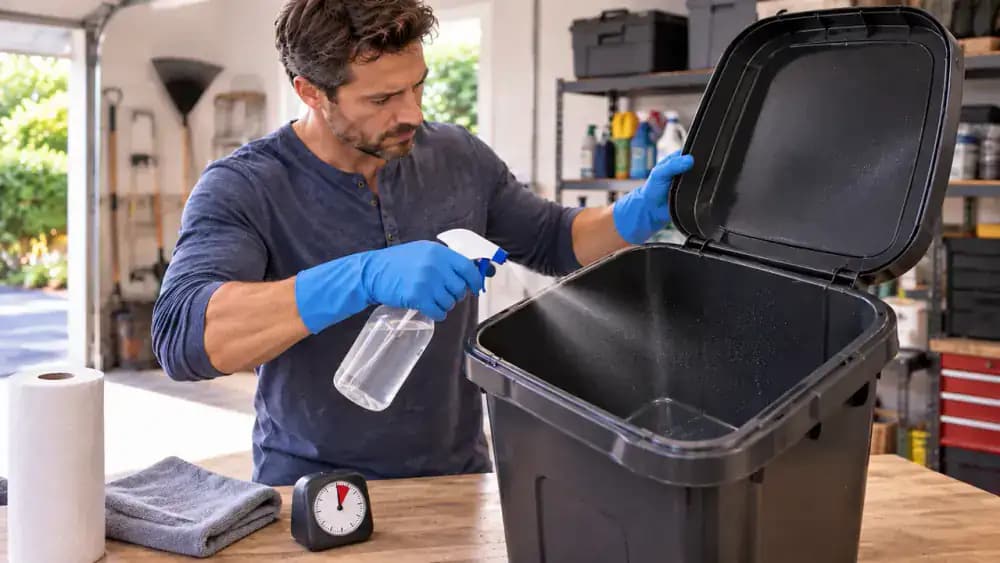
Install a Fresh Liner Correctly to Prevent Leaks
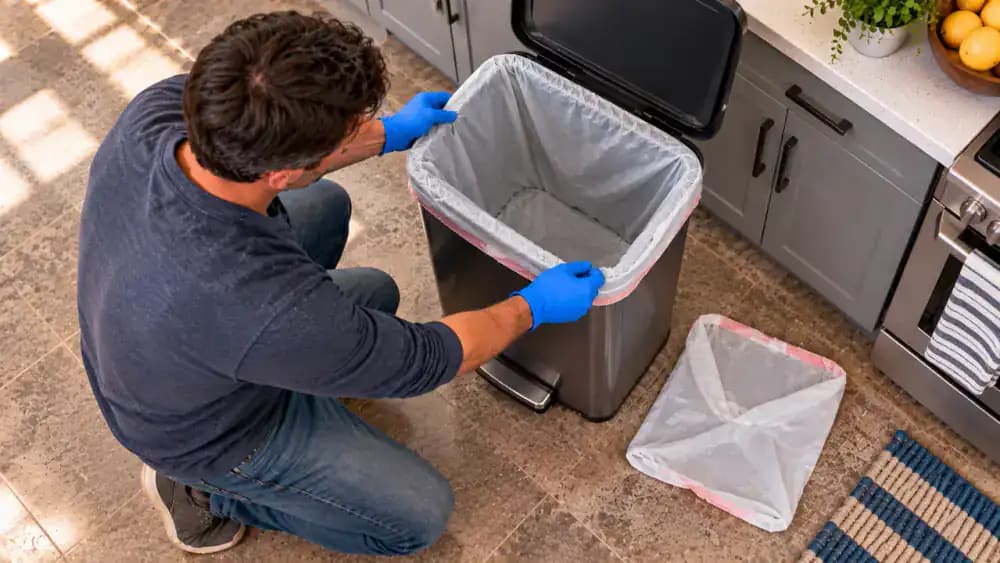
Set the fresh liner inside the clean, dry trash can and push it all the way into the bottom corners. Smooth out folds that could trap liquid, then pull the liner evenly over the rim without stretching it tightly against sharp edges. Leave a little slack near the base so the bag can settle as trash is added. A properly fitted liner is less likely to tear, shift, or allow spills underneath.
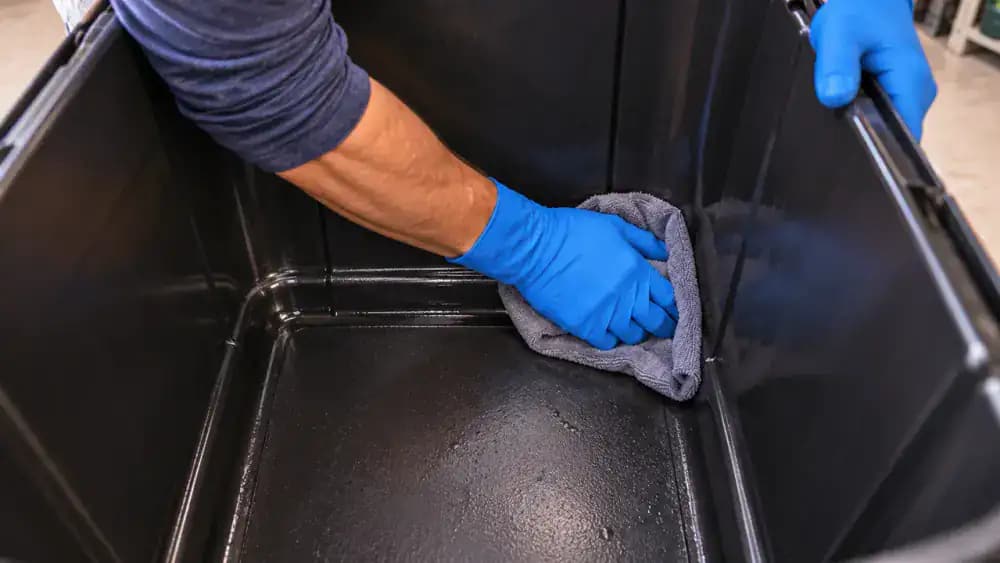
Create a Simple Maintenance Routine to Prevent Future Odors
After each bag change, check that the liner sits evenly around the rim so leaks are less likely to reach the can. Wipe up small spills right away with a microfiber cloth, especially around the base and nearby floor. Keep liquids out of the trash whenever possible, and return the can to a clean, dry position. A quick weekly check helps prevent odor buildup and makes future deep cleaning faster and easier.
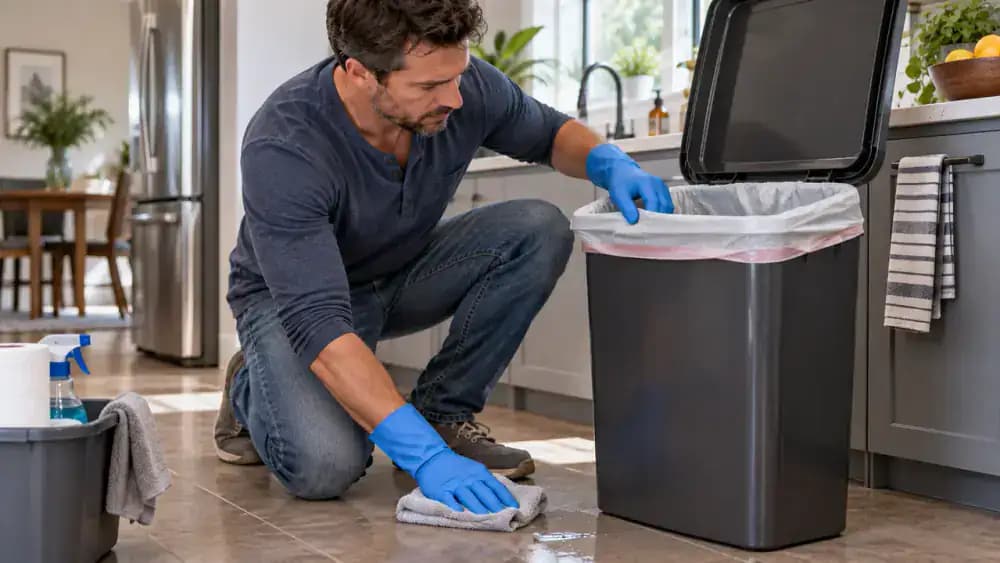
Inspect the Surrounding Waste Area for Hidden Problems
Move the trash can aside and inspect the floor, wall edges, and nearby surfaces for dried drips, moisture marks, or sticky residue that could create odors later. Use a flashlight to check darker corners, then wipe the area with an appropriate household cleaner and let it dry before returning the can. Pay special attention to seams near cabinets or baseboards, where small spills can remain unnoticed and attract grime over time.
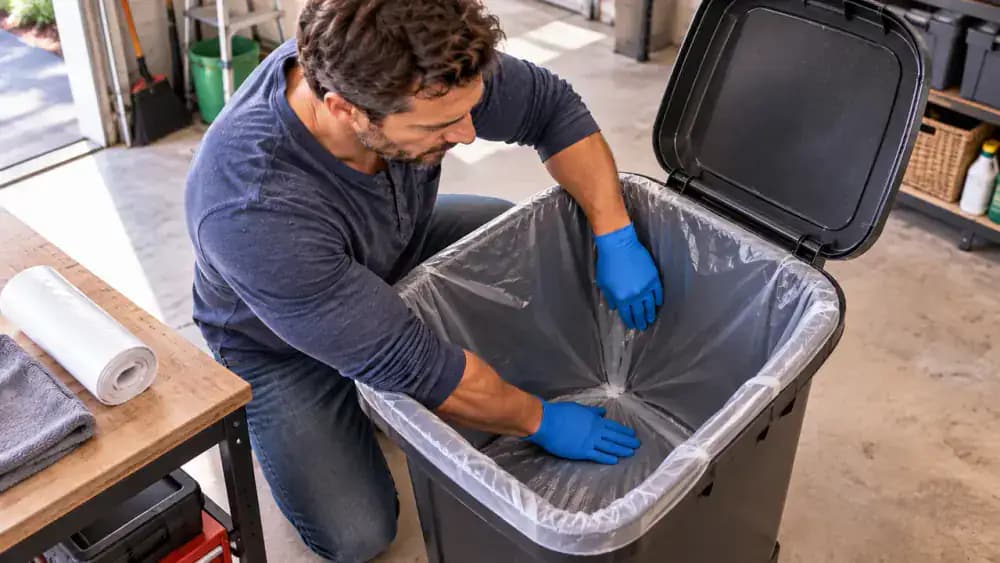
Build Simple Habits That Prevent Future Trash Can Problems
Check the trash can during normal kitchen use instead of waiting for the next deep clean. Wearing gloves, look at the bag level from the outside, straighten the liner around the rim, and wipe up any small water spot beside the can right away. Avoid packing the bag too full, since extra weight can pull the liner loose. Keeping a few spare liners nearby makes quick replacements easier and helps prevent leaks from becoming bigger messes.
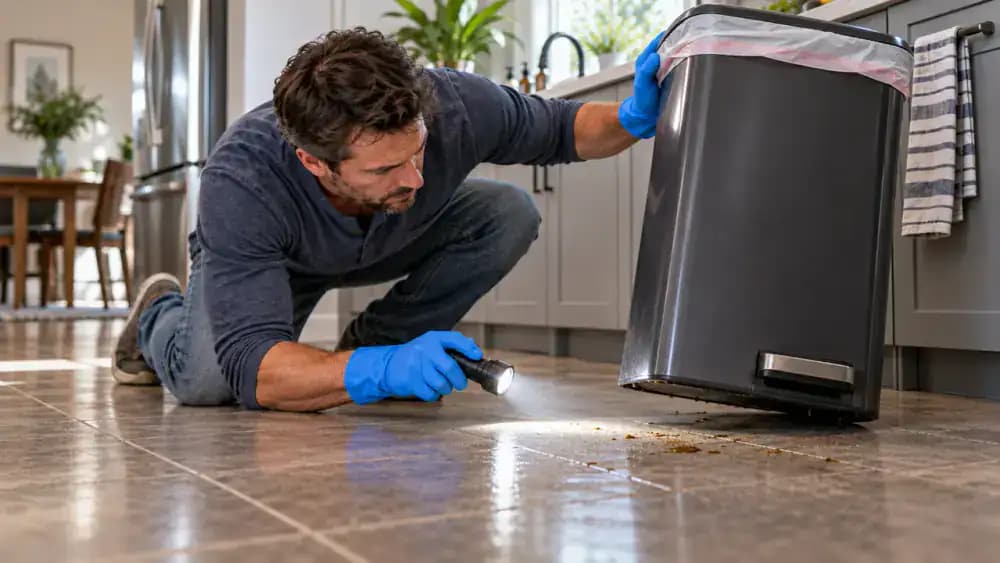
Recognize Early Warning Signs Before Odors Return
Open the lid during normal use and quickly inspect the liner, bag edges, inner rim, and nearby surfaces. Watch for moisture, a liner that has slipped out of position, or an unusual smell developing around the can. Fixing a shifted bag or wiping a small damp spot right away can prevent residue from spreading. If odors persist after a quick wipe, schedule a deeper cleaning before the problem becomes harder to remove.
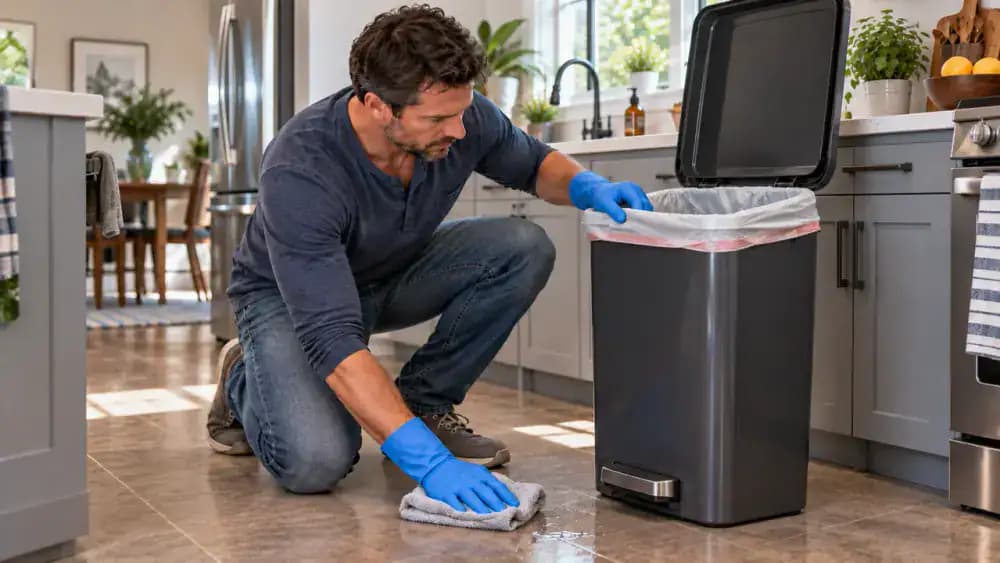
Respond Quickly When Leaks or Odors Return
If moisture or odor returns, remove the liner and inspect the bottom of the trash can before the problem spreads. Wearing gloves, use a dry paper towel to check the base, corners, and liner contact points for dampness or residue. Finding the source early helps protect the cleaned surface and prevents buildup. If you detect moisture, replace the liner only after the area is fully dry.
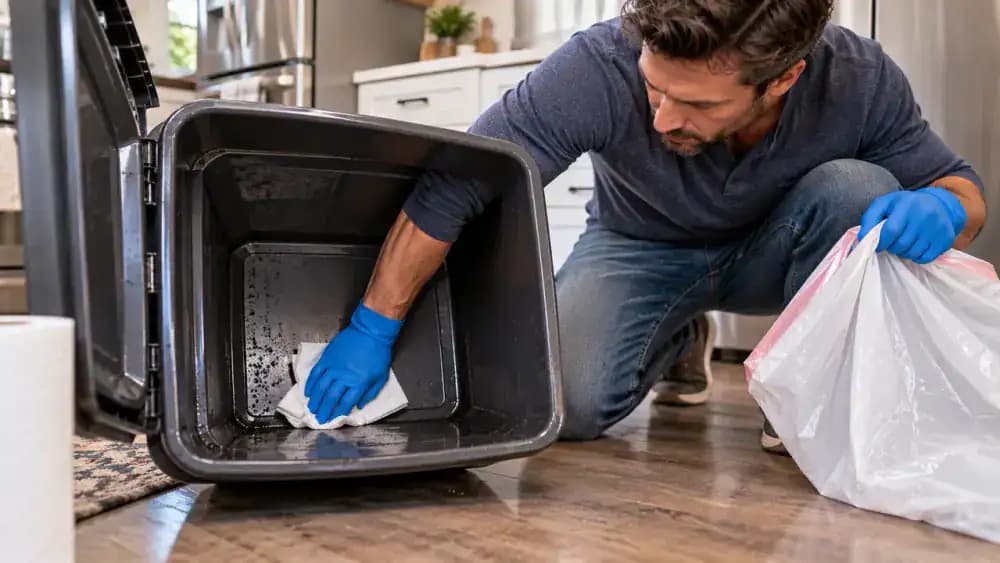
Protect the Area Around the Trash Can
Place a clean absorbent tray beneath the trash can to help catch small drips before they spread across the floor. Wearing gloves, check the floor and nearby surfaces for any damp spots, residue, or hidden moisture around the base. Keep this area dry between deeper cleanings, and inspect the tray regularly. If it becomes wet, clean and dry both the tray and floor before returning the can.
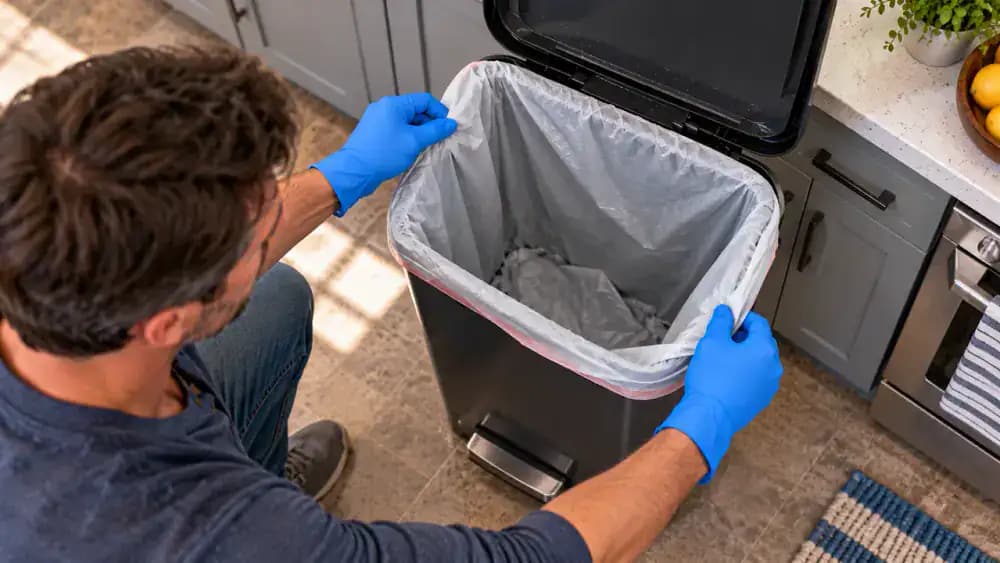
Create a Stable Trash Can Setup
Position the trash can on a flat section of floor where it will not wobble, tip, or press tightly against nearby cabinets. Leave enough clearance around the base to spot moisture quickly and make routine checks easier. After placing it, confirm the can stays level during normal use and that the liner remains properly seated. A stable, visible setup helps contain small leaks and makes cleanup faster before moisture spreads.
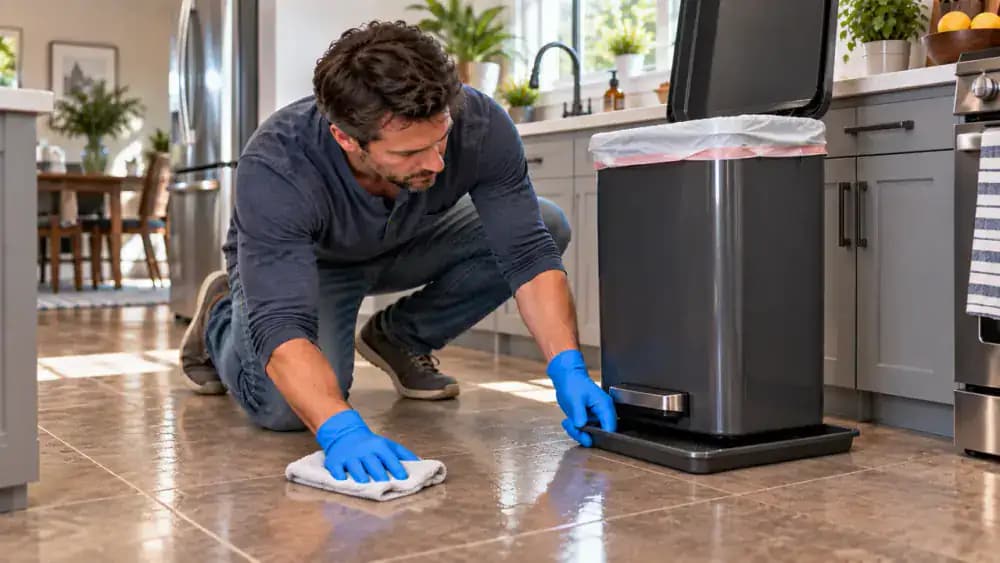
Keep the Liner Secure During Use
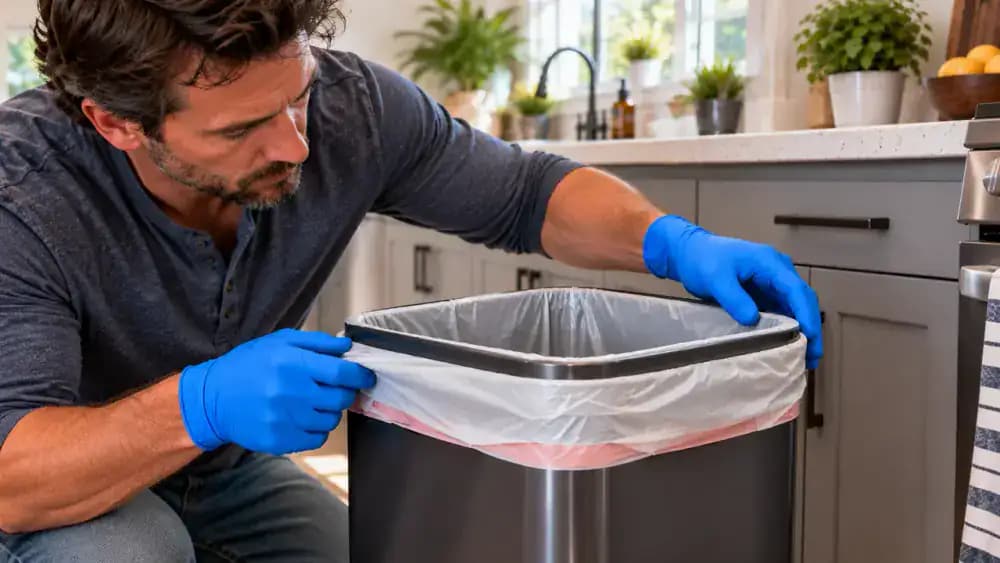
With the trash can back in its normal kitchen position, run a gloved hand around the rim and check that the liner is evenly anchored on every side. Gently tug any loose sections outward so the bag cannot slide into the can as trash is added. If the liner regularly slips, leave a little extra material folded over the rim or use a properly sized liner that grips the container more securely.
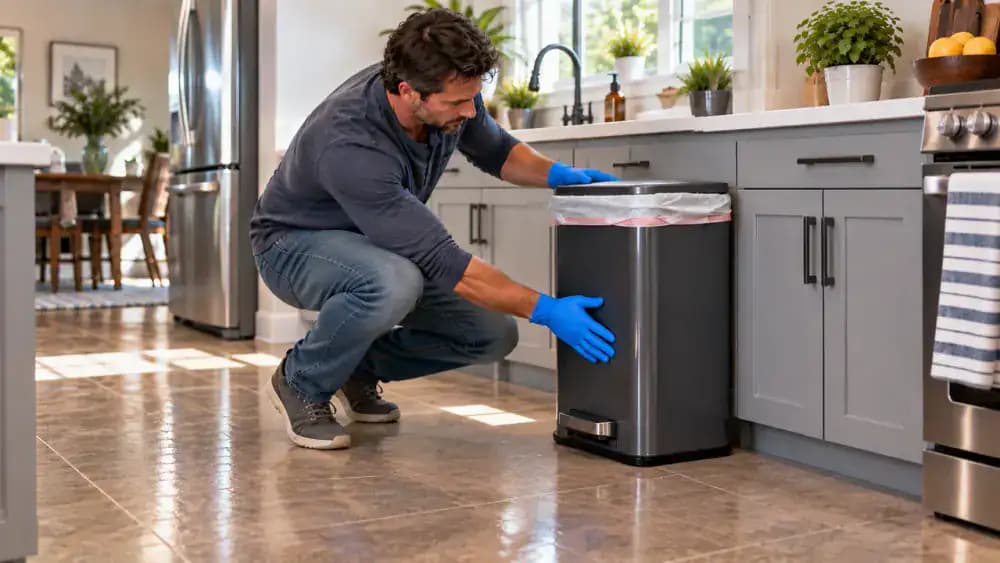
Add a Simple Moisture Check Before Regular Use
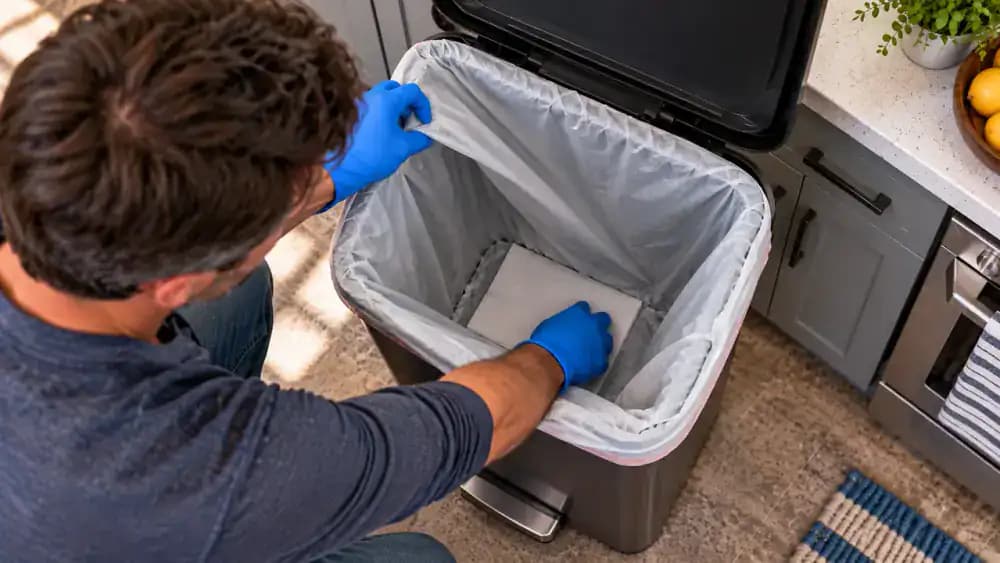
Place a folded dry paper towel or other clean absorbent check material flat at the bottom before you start using the trash can normally again. Keep it smooth so any unexpected moisture is easy to spot instead of being hidden in a crumpled corner. Check the towel after the first few uses, especially after disposing of damp waste. If it stays dry, remove it and continue with normal use.
Build a Leak Check Into Future Bag Changes
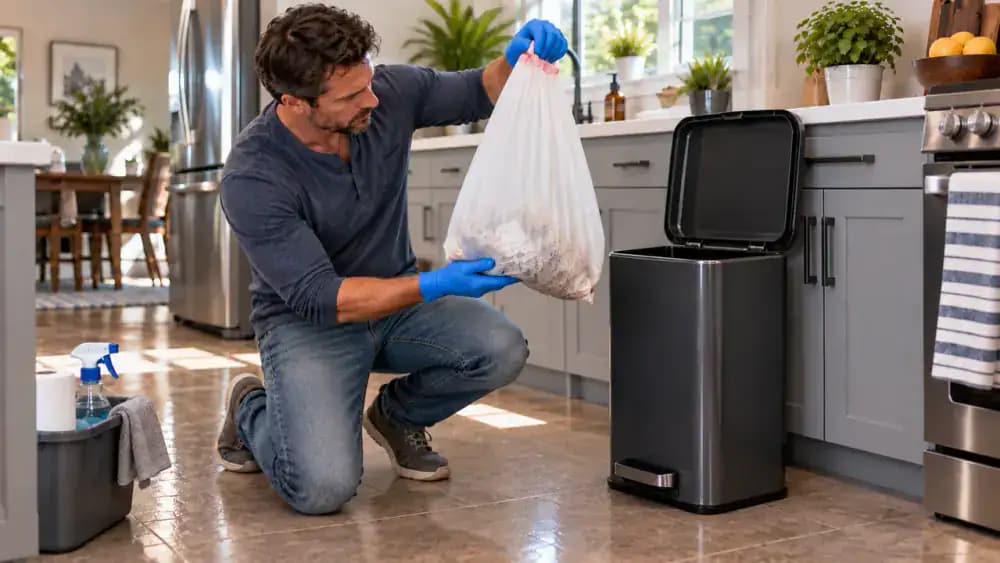
During each routine bag change, remove the used liner carefully and hold it upright for a quick inspection before installing a new one. Look for damp patches, tiny tears, stretched seams, or weak spots that could allow liquid to escape. Also check the bottom of the trash can and nearby cabinet surfaces for moisture. Catching small leaks early helps prevent odors, staining, cabinet damage, and unnecessary deep cleaning later.
Reduce Loose Liquid Before It Reaches the Bag
Drain leftover liquid from food containers into the sink before placing the empty packaging in the trash. Cups, takeout boxes, and containers with pooled liquid can quickly create leaks, odors, and extra weight inside the liner. Hold each container over the sink for a few seconds to let excess moisture escape. This small habit reduces stress on the bag and helps keep the bottom of the trash can cleaner between washings.
Use the Right Size Liner
Compare the liner to the trash can before loading it with waste. The bag should sit inside with a little slack along the walls instead of stretching tightly across the corners. Fold several inches of material over the rim so it stays anchored as the bag fills. If the liner feels taut when empty, move up a size. Extra room reduces stress on the plastic and helps prevent tearing, slipping, and pulled edges.

Prevent Stress on the Liner
Add lightweight trash evenly around the lined can instead of letting one side carry most of the weight. Stop filling the bag before it becomes tightly packed, especially if the contents could press against the liner walls. When it is time to remove the bag, lift it straight upward rather than dragging it along the rim. Leaving a little extra capacity makes removal cleaner and reduces the chance of splits, leaks, and residue.
Keep the Can Fresh
Check beneath the liner each time you replace the trash bag, and wipe away small drips before they dry or create odors. Keep a microfiber cloth and compatible cleaner nearby so quick maintenance takes only a minute. Add a recurring calendar reminder for a deeper wash, but clean sooner if residue or smells return. Let the can dry completely before adding a fresh liner to reduce trapped moisture and keep the waste area fresher.
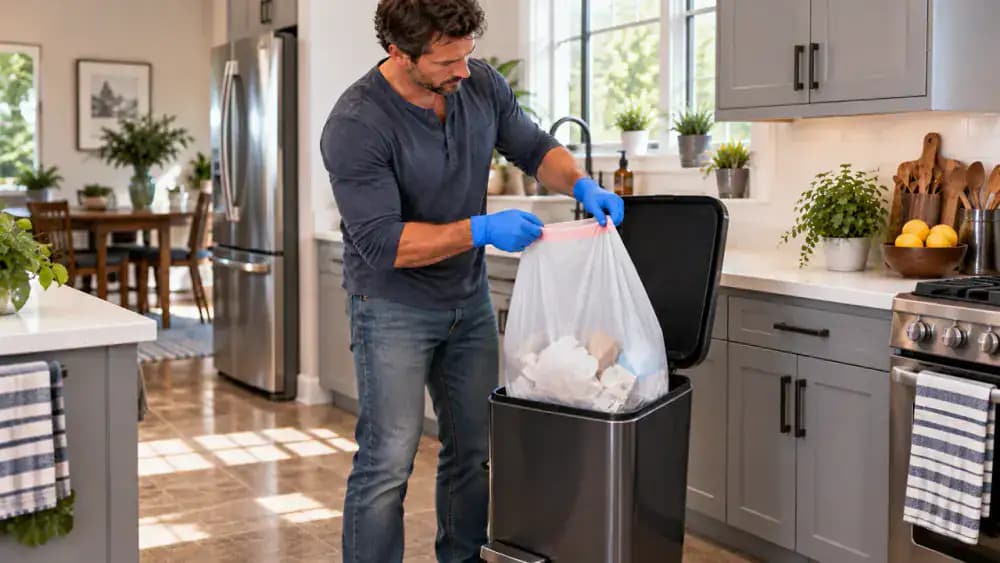
A kitchen trash can can look perfectly clean once the bag comes out and still be the source of a stubborn smell. Small leaks, food residue, and sticky liquid often collect underneath the liner, around the rim, inside lid hinges, or in corners you rarely notice. Over time, that hidden buildup can create odors, attract pests, and leave unpleasant drips on the floor. A proper deep clean tackles the entire can instead of just wiping the visible surfaces.
Before you start, put on gloves and remove the bag carefully without squeezing or compressing the trash, especially if sharp objects may be inside. Check the can for dried spills, stuck food, cracks, damaged liners, and places where liquid tends to collect. Clean compatible surfaces thoroughly, including handles, wheels, hinges, corners, and the lid. If you disinfect, follow the product label exactly, never mix cleaners, and leave the can open until fumes are gone and every surface is fully dry before installing a fresh liner.
Where people go wrong
Cleaning Only the Visible Interior. Wiping the obvious surfaces can leave liquid, food residue, and sticky buildup hidden beneath the liner or trapped in corners. Remove the bag carefully, inspect the entire can, and clean the bottom, seams, lid, handles, hinges, and other areas where grime collects.
Pressing Down Trash Before Removing the Bag. Compressing waste can push sharp objects through the liner, force liquids into the bottom of the can, and increase the chance of contact with contaminated debris. Wear gloves, lift the bag carefully, and check for sharp items instead of pressing the contents down.
Mixing Cleaners or Ignoring Product Directions. Using multiple cleaners together can create dangerous fumes or damage compatible surfaces. Choose appropriate products, follow disinfectant label directions exactly, and never mix cleaners. Keep the area ventilated, and do not close the trash can lid while chemical fumes are still present.
Putting in a New Liner Before the Can Is Dry. Installing a fresh bag while moisture remains inside can trap dampness and allow unpleasant odors to return quickly. Dry the trash can completely before adding a new liner, then position the liner securely and check regularly for small leaks, spills, or residue.
Questions people ask
Odors often come from liquid, food residue, or sticky buildup that has leaked underneath the liner and collected in corners, seams, hinges, or the bottom of the can. Removing the bag does not remove that residue. A proper deep clean should address every surface, including the lid, handles, wheels, and hidden crevices.
Fixed it?
Get one guide like this every Thursday.