How to Deep Clean a Blender Without Touching the Blades
Your blender can look spotless while hiding sticky residue around the blades, cloudy buildup inside the jar, and food trapped in the lid. Learn how to safely clean these overlooked areas using a simple soap-and-water cycle, gentle brushes, and manufacturer-approved disassembly.

What you’ll need
Tap to tick things off before you start.
Spot the Hidden Grime Around the Blade Hub and Lid
Place the blender jar on a clean countertop, disconnected from its unplugged motor base, and examine it closely. Look for dried smoothie residue around the blade hub, cloudy film coating the inside walls, and food particles trapped in the removed lid's grooves. Tilt the transparent jar slightly to spot buildup from different angles, but keep your fingers outside. Identifying these problem areas now helps you focus your cleaning efforts without unnecessary contact with sharp blades.
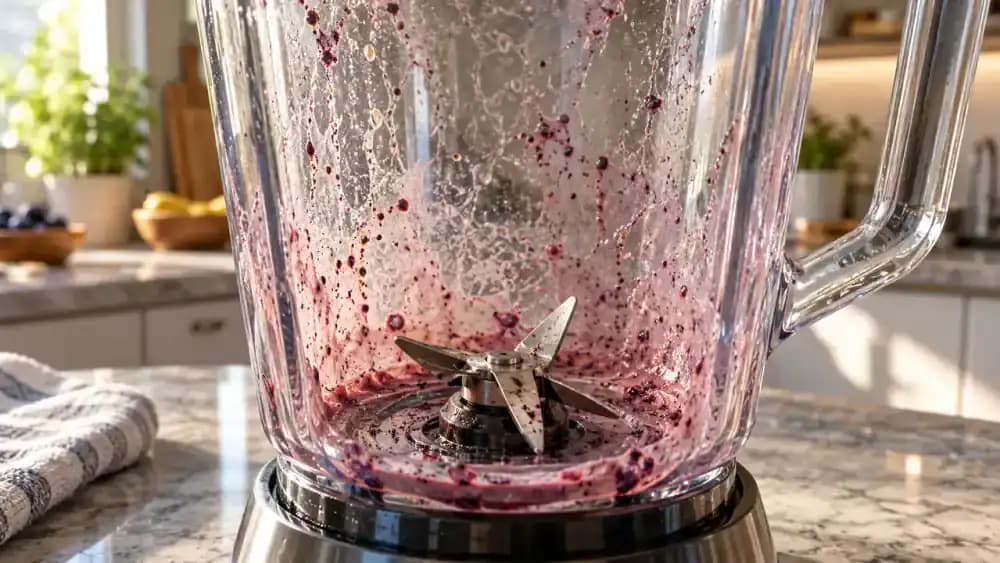
See Where Rinsing Leaves Stubborn Residue Behind
With the blender unplugged and the jar resting securely on the countertop, hold its exterior handle and gently pour a little warm water inside. Watch how the water runs down the walls while sticky residue remains around the blade hub and narrow seams. Carefully empty the water without reaching inside. This quick inspection helps identify stubborn buildup that needs a proper cleaning cycle rather than risky scrubbing near the installed blades.

Turn Off and Unplug the Blender Before Cleaning
Check that the blender's control dial is set to OFF and the blades have stopped moving completely. Grip the insulated plug housing and pull it straight out of the wall outlet without tugging the cord. Place the disconnected plug where you can clearly see it, away from the sink and any water. Keep the motor base dry and leave the blender unplugged throughout preparation to prevent accidental activation while handling components.
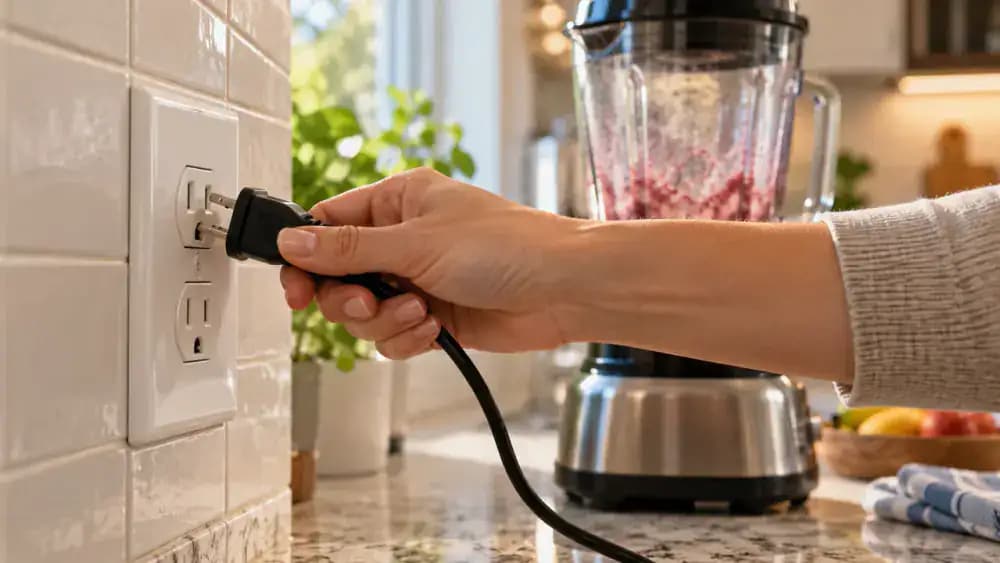
Lift the Blender Jar Off Its Motor Base
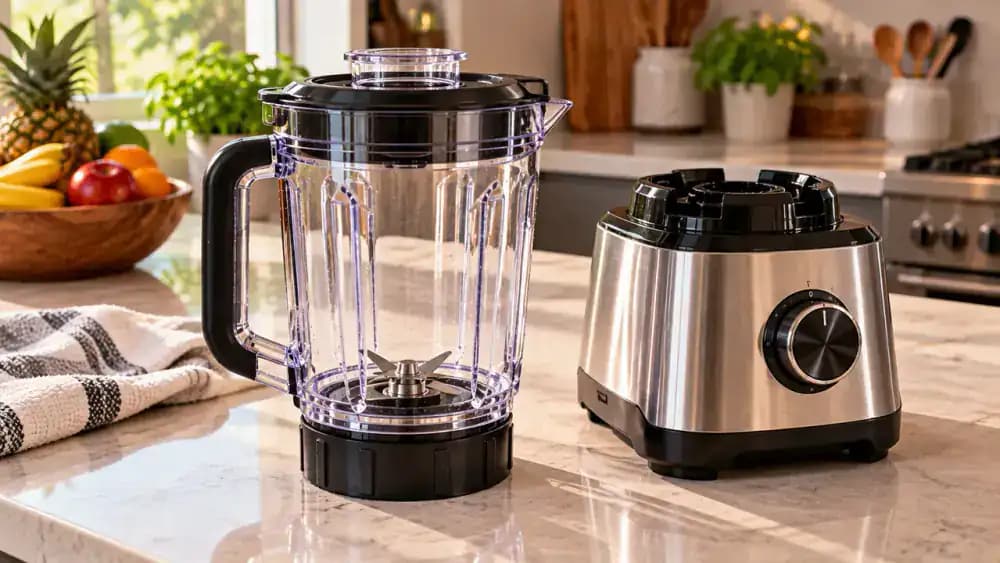
With the blender unplugged, grip the jar firmly by its exterior handle while using your other hand to steady the motor base. For the straight-lift model shown, raise the jar vertically in one controlled motion. Other models may require a gentle twist or release mechanism, so follow your manufacturer's instructions. Set the jar upright on a dry, nonslip surface, keeping your hands outside the container and away from the installed blades.
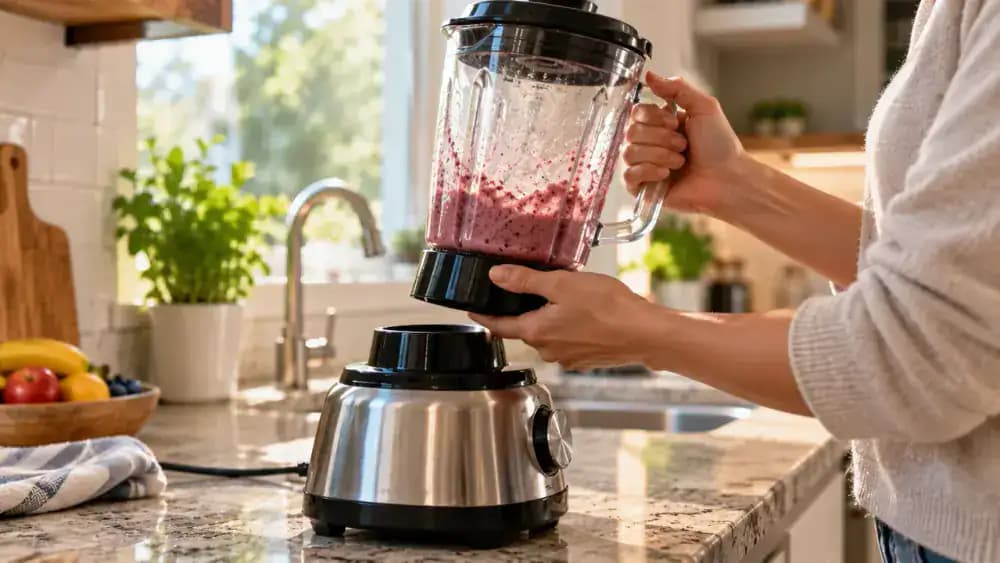
Empty the Blender Jar and Check for Damage
Hold the separated blender jar by its exterior handle and carefully pour any leftover smoothie into the sink without reaching inside. Place the jar upright on a dry, nonslip mat and rotate it slowly to inspect the transparent walls for cracks. Check visible seals for deterioration and look for trapped food around the blade hub. Good lighting makes small defects easier to spot. Stop if you notice damaged or loose components.
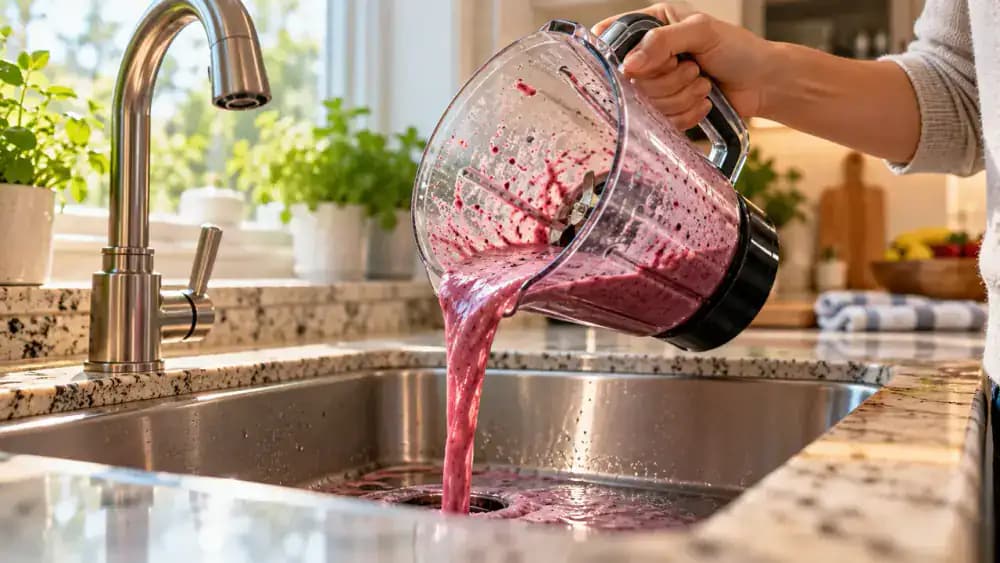
Confirm Which Blender Parts Are Safe to Remove
Open your blender's owner manual to the cleaning and maintenance section. Identify which components, such as the lid, gasket, or blade assembly, are designed for removal. Compare the diagrams with your actual blender before attempting to separate anything. Check dishwasher compatibility and any special cleaning restrictions. Some blade assemblies are permanently sealed, so never force a connection apart. Keep the blender unplugged and all sharp components untouched during this inspection.
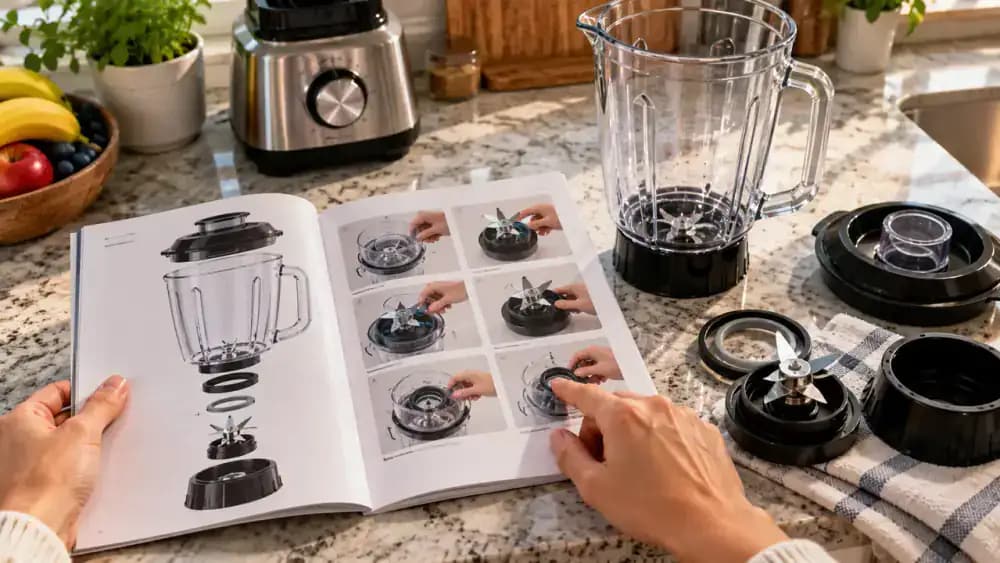
Add the Right Amount of Warm Water for Cleaning
Fill a measuring cup with warm tap water, avoiding boiling water that could damage certain blender materials. Check your manufacturer's recommended cleaning fill limit, then carefully pour the measured water into the upright blender jar. Add enough to cover the lower blade area without exceeding that limit. Keep both hands outside the jar and make sure it remains stable on a nonslip surface. Leave the unplugged motor base away from the pouring area.
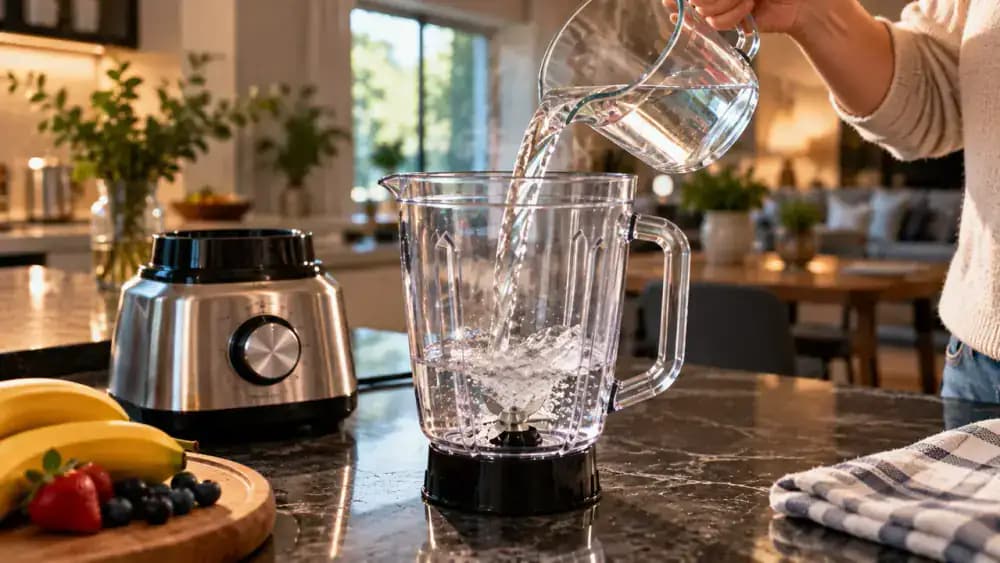
Add One Small Drop of Mild Dish Soap
Hold a bottle of mild liquid dish soap several inches above the blender jar, which should already contain warm water below the approved fill limit. If your manufacturer's instructions permit soap, squeeze exactly one small drop into the water without reaching inside. Watch the soap disperse naturally around the stationary blades. Avoid adding extra soap because excessive foam can overflow during the cleaning cycle and make thorough rinsing more difficult afterward.
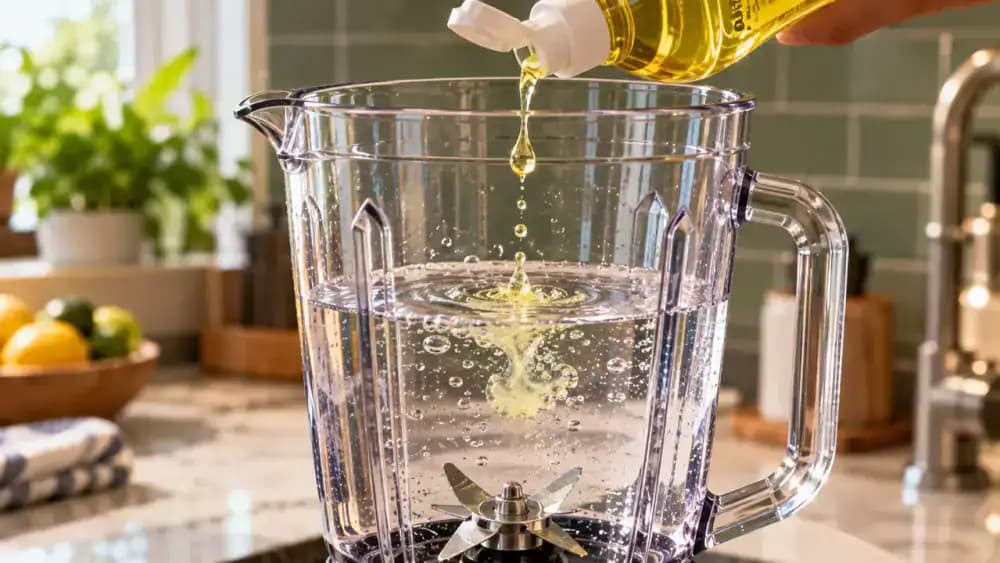
Secure the Blender Lid to Prevent Splashes
Position the blender lid directly over the jar opening, aligning it with the manufacturer's locking mechanism. Press or lock it firmly into place without forcing any components. Check that the lid sits evenly against the rim, then secure the removable center cap if your model has one. Gently check the fit from outside the jar. Before starting the cleaning cycle, confirm that the soapy water remains below the approved fill limit.
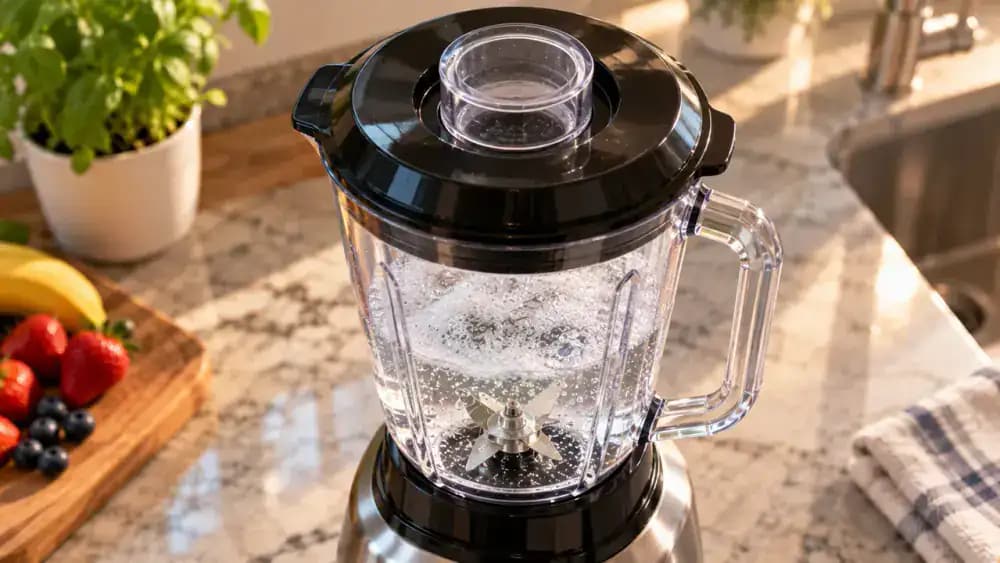
Run the Blender's Approved Self-Clean Cycle
Place the sealed blender jar onto the completely dry motor base and secure it according to the manufacturer's instructions. Connect the power cord to a dry outlet, then select the approved cleaning program or recommended low-speed setting. Let the blender run only for the specified duration while watching for leaks, excessive foam, or unusual movement. Keep the lid closed throughout operation, and switch off immediately if anything appears wrong. Wait until the blades stop completely.
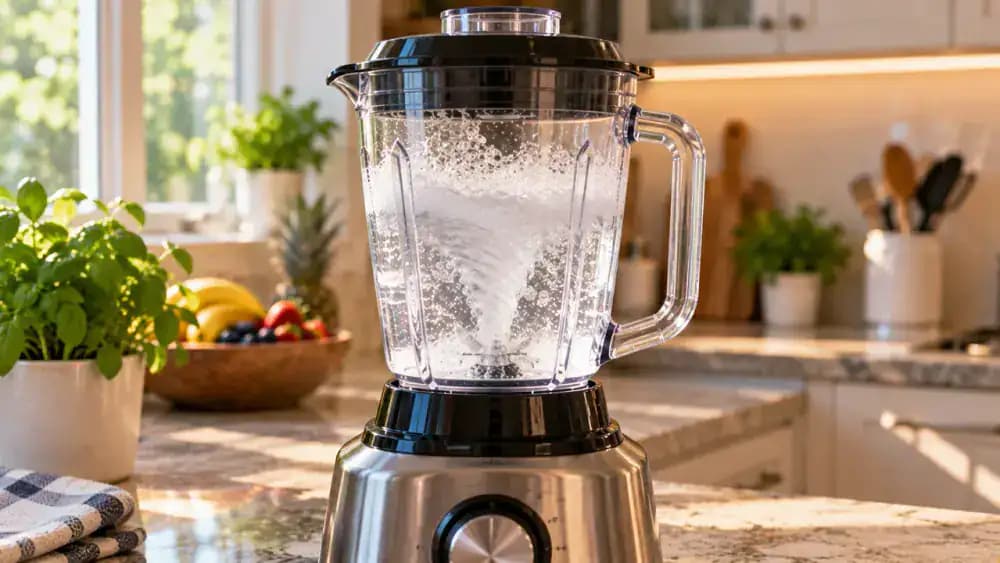
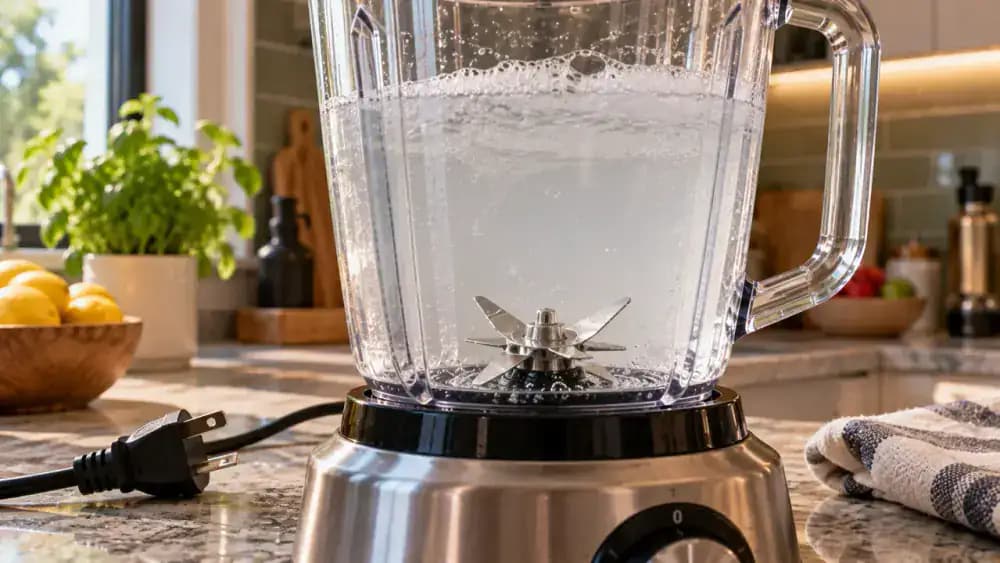
Stop the Blender and Disconnect the Power
Wait until the cleaning cycle finishes and the blades stop spinning completely. Turn the control to OFF, then grip the insulated plug and disconnect it from the wall outlet without pulling the cord. Keep the plug visible on a dry surface away from the sink. Hold the jar by its exterior handle while preparing to release it according to the manual. Cloudy cleaning water may contain loosened residue, so further inspection is still necessary.
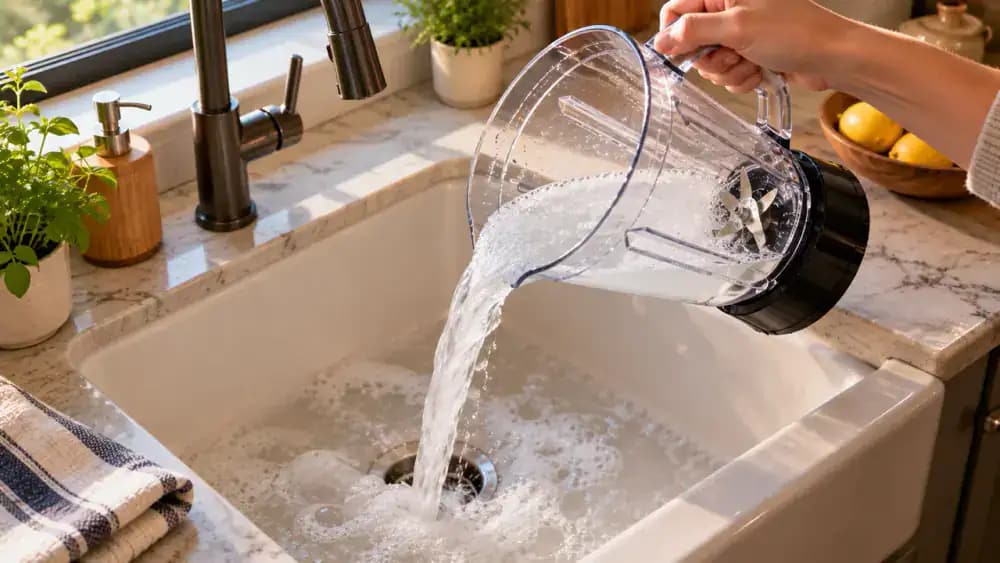
Pour Out the Cleaning Water and Rinse Away Soap
With the blender unplugged and its blades completely still, detach the jar and carry it to the sink by its exterior handle. Remove the lid carefully, keeping your fingers outside the container. Tilt the jar to pour the cloudy cleaning water down the drain, then rinse with a gentle stream of fresh warm water. Empty the rinse water and check for remaining bubbles or food particles, especially around the blade hub.
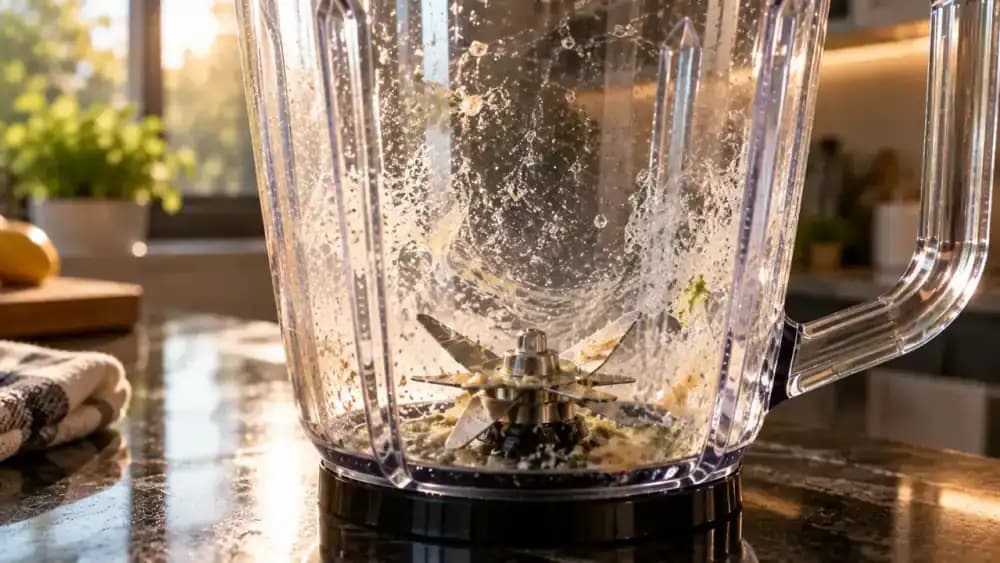
Check for Remaining Buildup Around the Blade Hub
Place the rinsed blender jar upright on a stable, nonslip surface under bright lighting. Hold its exterior handle and gently rotate the jar to examine the transparent walls from several angles. Use a flashlight outside the container to reveal cloudy patches, trapped food around the stationary blade hub, and residue along the bottom seams. Note exactly where buildup remains so you can choose an appropriate manufacturer-approved cleaning method without touching the installed blades.
Locate the Blade Assembly's Approved Release Mechanism
With the blender unplugged and the jar empty, carefully tilt the container by its exterior handle to examine the underside. Compare the visible locking collar or connection points with the manufacturer's manual. Some blenders have removable blade assemblies, while others are permanently sealed. Identify the approved release mechanism without turning or loosening anything yet. Keep your fingers away from sharp edges, and never attempt to force apart components that are not designed for removal.
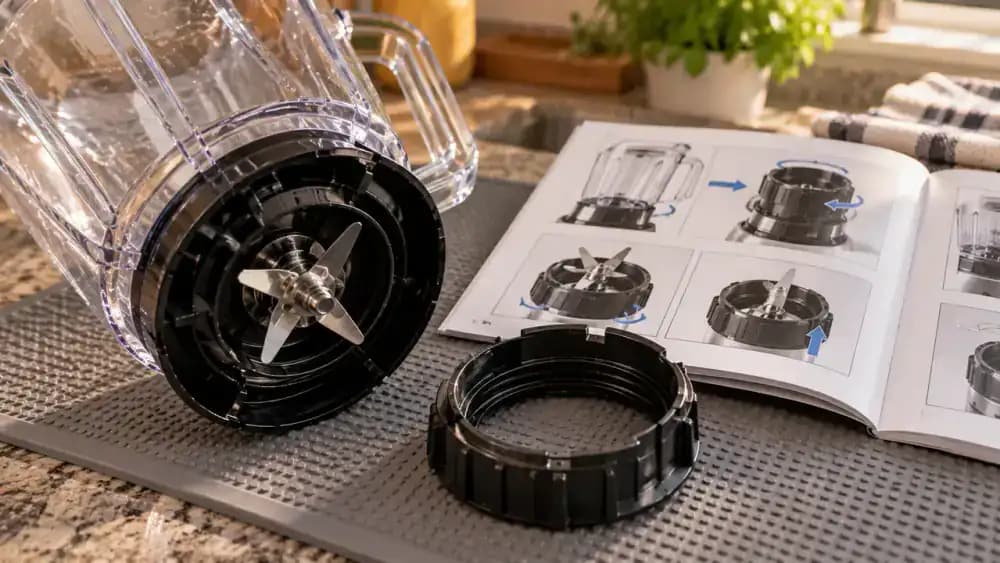
Remove the Detachable Blade Assembly Without Touching the Blades
Keep the blender unplugged and position the empty jar securely in a padded support cradle to prevent rolling. Following your manufacturer's instructions, stabilize the exterior handle and grip only the designated plastic release collar. Carefully unlock the assembly using the approved motion, without forcing resistant connections. Once released, lift the assembly by its protective housing and place it on a stable, nonslip surface with sharp edges facing away from your hands.
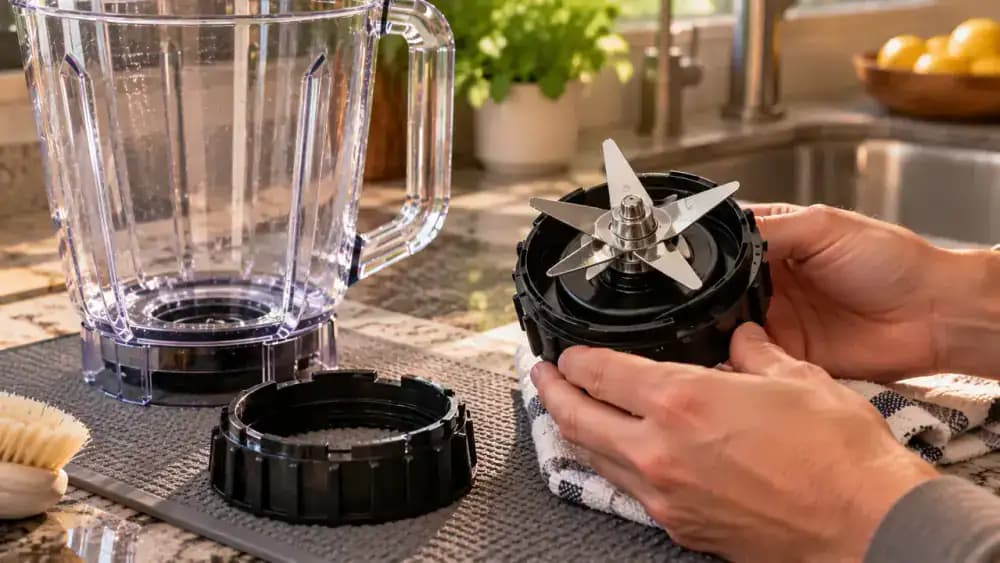
Gently Brush Away Residue From the Removable Blade Assembly
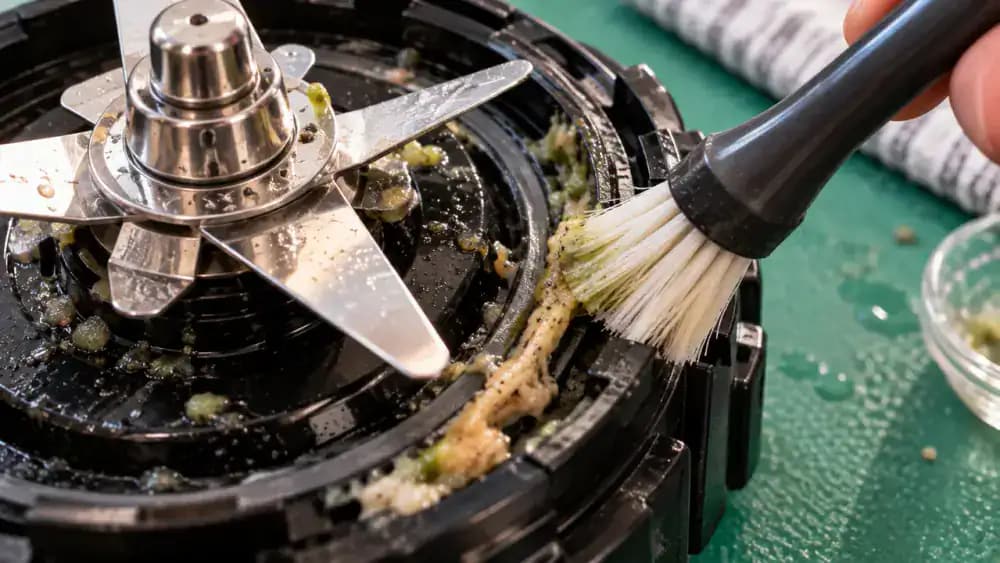
Place the manufacturer-approved removable blade assembly in a stable holder on a nonslip surface, with sharp edges facing away from your hands. Hold only the protective plastic housing while using a long-handled, soft-bristle brush to loosen food residue around accessible seams and the blade hub. Apply a little warm, soapy water if the manual permits it. Use gentle strokes, avoid abrasive scrubbers, and never press against or attempt to bend the metal blades.
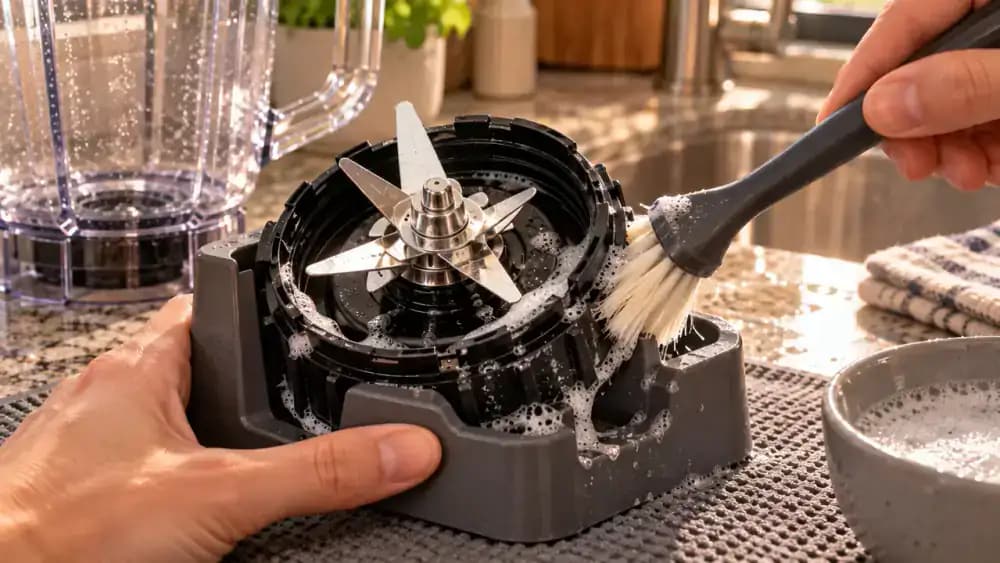
Remove, Clean, and Inspect the Blender Gasket
With the detached blade assembly secured and its sharp edges facing away, check whether the manufacturer permits gasket removal. If approved, use the recommended blunt plastic tool to gently lift the rubber seal from its accessible outer groove. Wash the gasket with warm, soapy water and a soft brush, paying attention to trapped residue. Inspect for cracks, stretching, or flattened areas, then place the clean gasket on a drying towel.
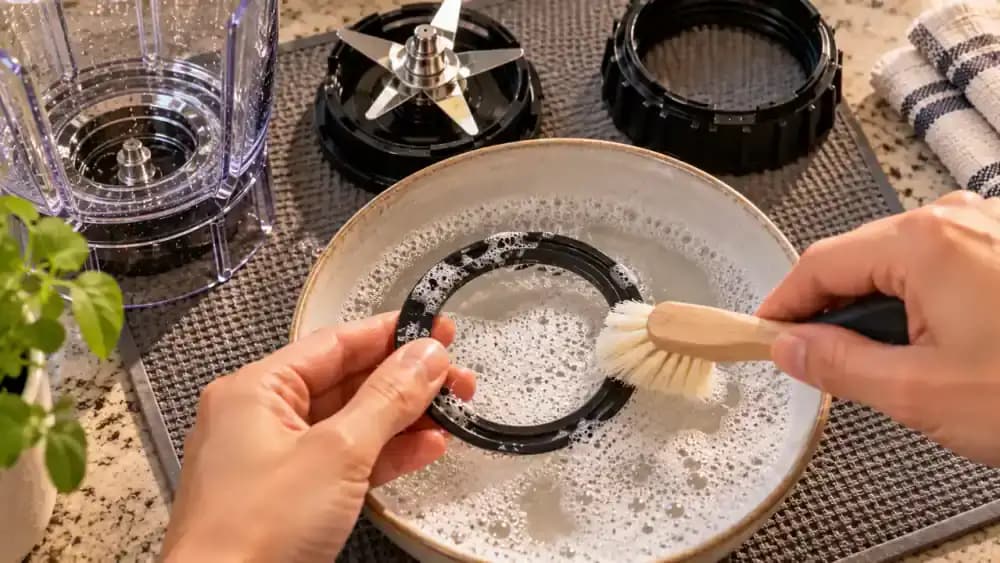
Brush Away Hidden Food From the Gasket Groove
Secure the detached blade housing in a stable holder with sharp edges facing away from your hands. Using a narrow, soft-bristle brush dampened with warm, soapy water, gently clean the accessible circular groove where the gasket normally sits. Follow the channel to loosen trapped food without scratching the sealing surface. Wipe away remaining residue with a damp, lint-free cloth using a blunt cleaning tool, keeping everything clear of the exposed blades.
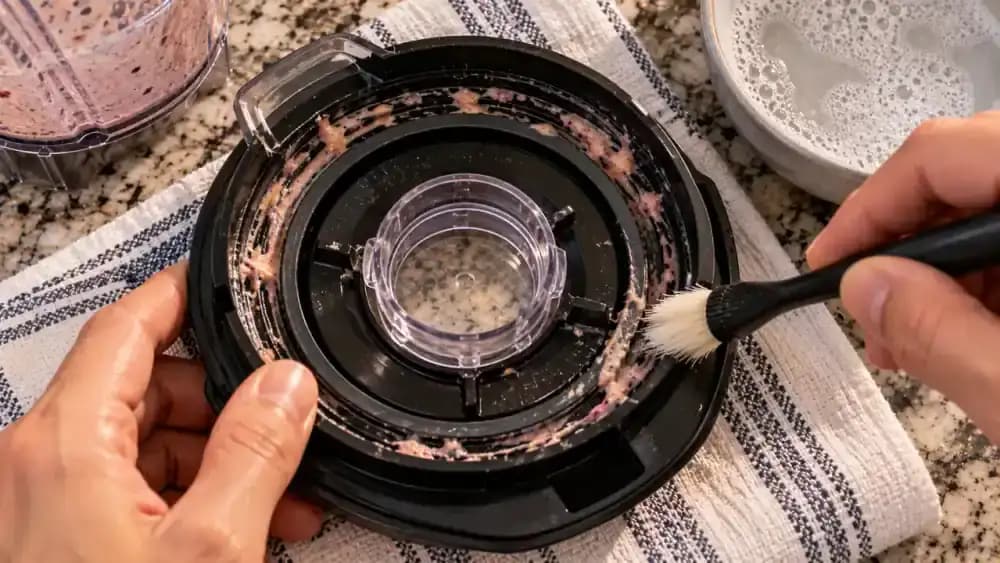
Remove Trapped Food From the Blender Lid Grooves
Place the blender lid on a clean towel and remove the center cap only if your manufacturer's instructions allow it. Inspect the inner channels, sealing edges, and underside of the cap for dried smoothie residue. Apply warm, soapy water and gently work a narrow, soft-bristle brush along each accessible groove. Pay particular attention to corners where food collects. Avoid abrasive scrubbers or sharp tools that could scratch the plastic or damage the seals.
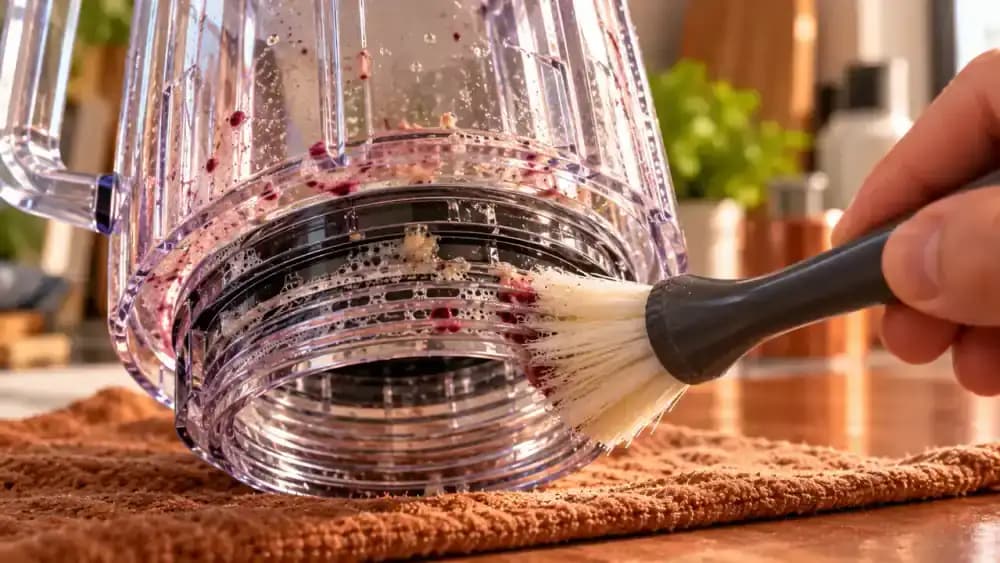
Brush Sticky Residue From the Blender Jar Threads
With the manufacturer-approved blade assembly removed and stored safely, position the empty blender jar upside down in a padded, nonslip support. Dampen a long-handled, soft-bristle brush with warm, soapy water and gently follow the exposed threads around the lower opening. Rotate the supported jar by its exterior handle to reach each section. Use angled lighting to check for remaining residue, and avoid sharp tools or abrasive pads that could damage the connection.
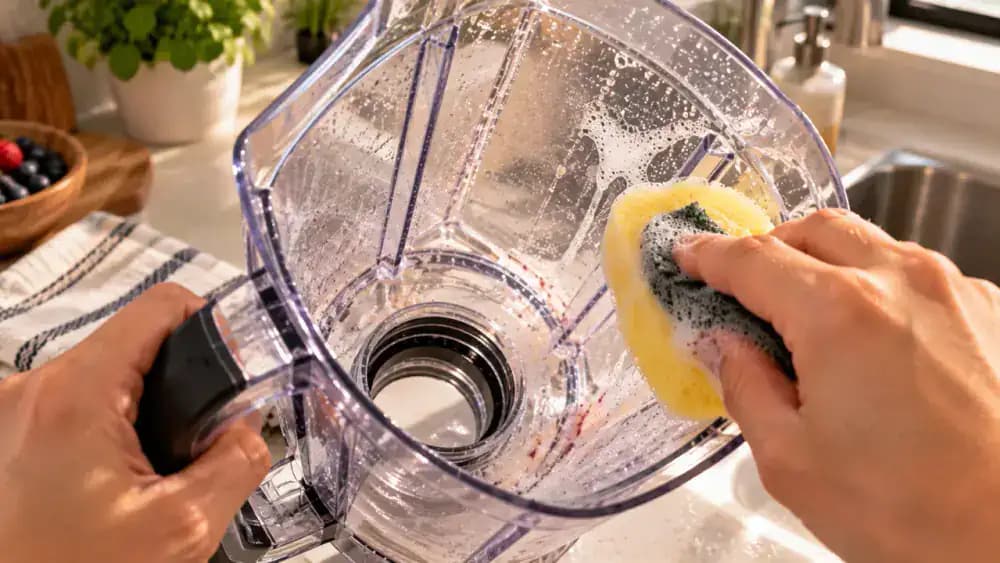
Wipe Away Cloudy Film From the Blender Jar Walls
With the manufacturer-approved blade assembly completely removed, secure the jar on its side in a padded, nonslip cradle. Dampen a soft, nonabrasive sponge with warm, soapy water and gently wipe the interior walls using circular motions. Pay extra attention to cloudy patches, lower corners, and the pouring spout where residue can collect. Avoid rough scrubbers and excessive pressure, which may scratch plastic surfaces or damage protective coatings. Set the jar upright afterward.
Rinse the Blender Jar, Lid, Gasket, and Removable Parts
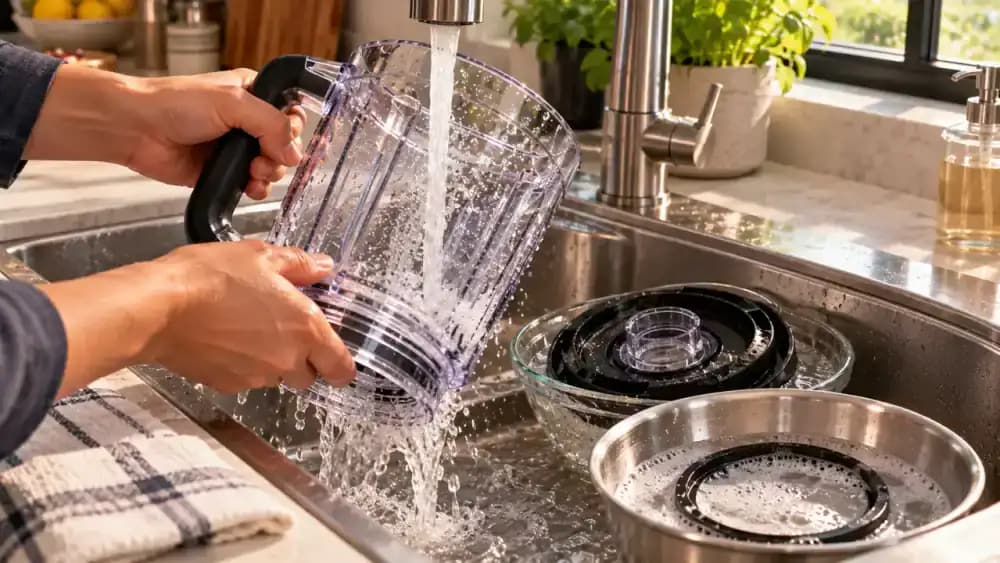
Hold the blade-free blender jar by its exterior handle and rinse its interior walls, pouring spout, and lower threads under gentle warm running water. Rinse the lid grooves separately, then place the removable gasket in a small mesh strainer to prevent it from slipping down the drain. Rinse approved washable blade components in a secure holder, keeping clear of sharp edges. Continue until no visible soap bubbles remain on any surface.
Air-Dry the Blender Parts to Prevent Trapped Moisture
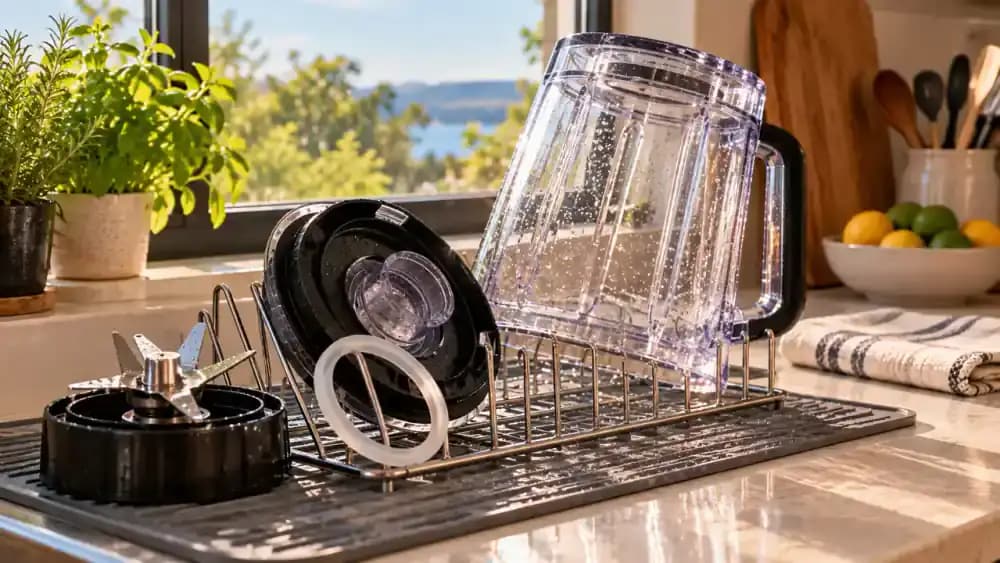
Place the rinsed blender jar in a stable, angled drying cradle with its openings positioned to drain freely. Arrange the lid, center cap, and removable gasket separately on a clean drying rack, leaving space for airflow. Keep the gasket flat to prevent stretching. Secure the detached blade assembly in a protective drying holder with sharp edges facing away. Check threaded connections and gasket grooves for trapped droplets, and allow everything to dry completely before reassembly.
Check for Hidden Water Droplets Before Reassembling
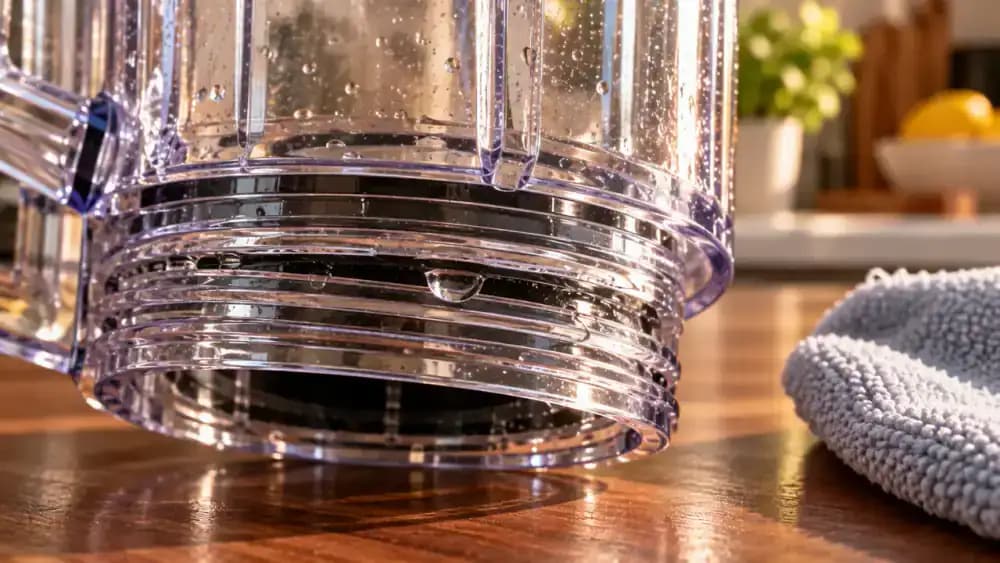
After the blender components have air-dried, inspect the jar's lower threads, gasket groove, lid channels, and removable blade housing under bright directional light. Look closely for small water droplets trapped in narrow connections. Gently absorb accessible moisture with a clean, lint-free cloth, avoiding sharp edges and abrasive rubbing. Keep the detached blade assembly secured in its protective holder. Confirm that every sealing surface and connection is completely dry before putting the blender back together.
Reinstall the Gasket and Secure the Blade Assembly
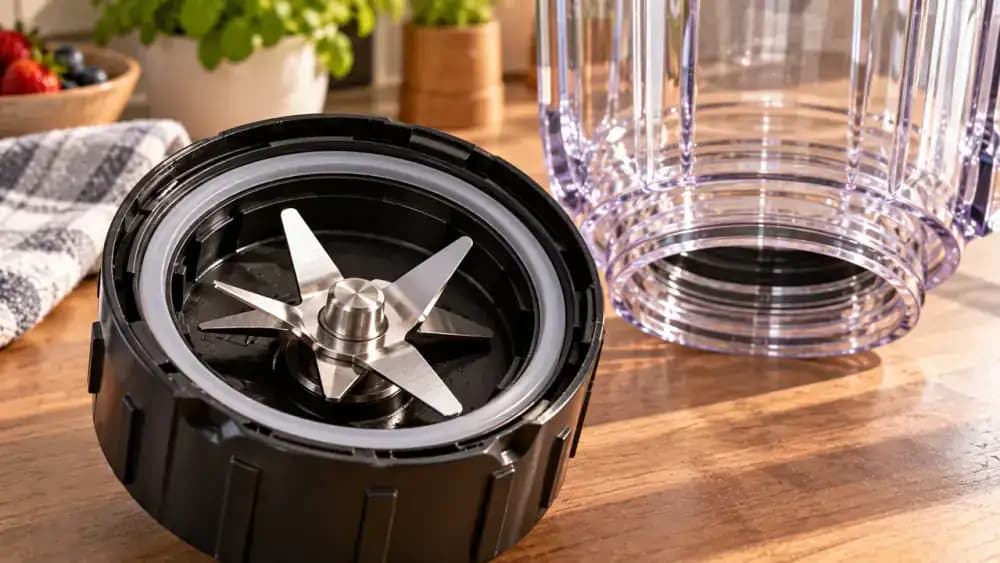
With the blender unplugged and all parts completely dry, position the undamaged rubber gasket in its designated groove on the removable blade housing. Check that the seal sits evenly without twisting, stretching, or pinching. Support the jar securely, then align the blade assembly using only its protective plastic collar. Follow the manufacturer's locking instructions without overtightening. Keep your fingers away from sharp edges and confirm the connection is properly secured.
Check the Blender Jar for Leaks Before Use
Place the reassembled blender jar upright on a clean, dry, absorbent towel, keeping it separate from the unplugged motor base. Pour a small amount of cool water into the jar, staying below the manufacturer's fill limit. Watch the lower blade connection and surrounding towel for drips without operating the motor. If you notice moisture escaping, empty the jar and inspect the gasket placement and locking connection before using the blender.
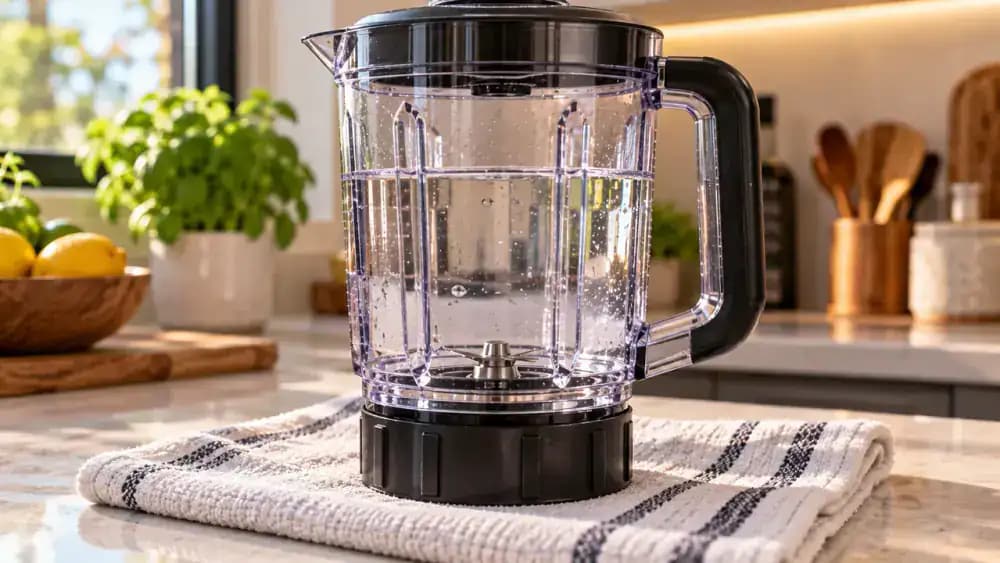
Confirm the Blender Is Safely Reassembled
After checking for leaks, carefully empty the remaining water into the sink while keeping your fingers outside the jar. Place the blender jar upright on a dry, nonslip surface and inspect the exterior blade housing connection. Confirm the gasket is seated correctly and the locking mechanism is secure. Fit the lid and center cap firmly, then check that the unplugged motor base, power cord, and electrical connections are completely dry before use.
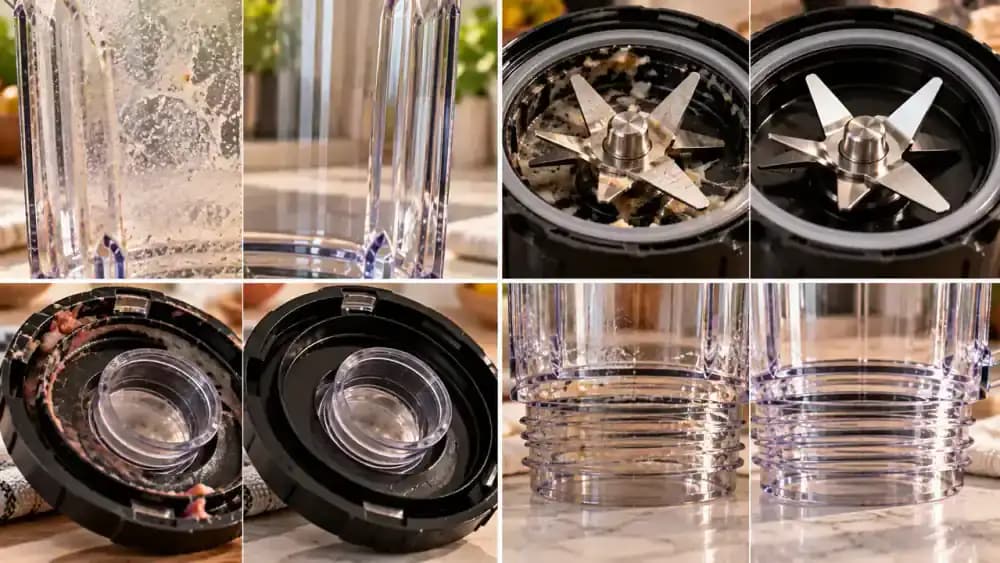
Compare Visible Residue Before and After Cleaning
Examine the freshly cleaned blender alongside earlier views of the same problem areas. Compare cloudy film on the jar walls, residue around the blade hub, trapped food in lid grooves, and buildup on lower threads. Look for visible improvements using similar lighting and viewing angles. Keep your hands outside the assembled jar and away from installed blades. Remember that cleaner-looking surfaces do not guarantee sanitation or a leak-free seal.
Keep Your Blender Clean With a Simple Daily Routine
After each use, switch off and unplug the blender, then rinse the jar promptly with warm water while keeping your fingers away from the installed blades. Follow the manufacturer's approved quick-clean method to loosen fresh residue. Check the lid grooves, visible seals, and accessible connections regularly for trapped food or wear. Allow washed parts to drain and dry completely. Deep clean when buildup appears, and replace damaged gaskets with compatible parts.
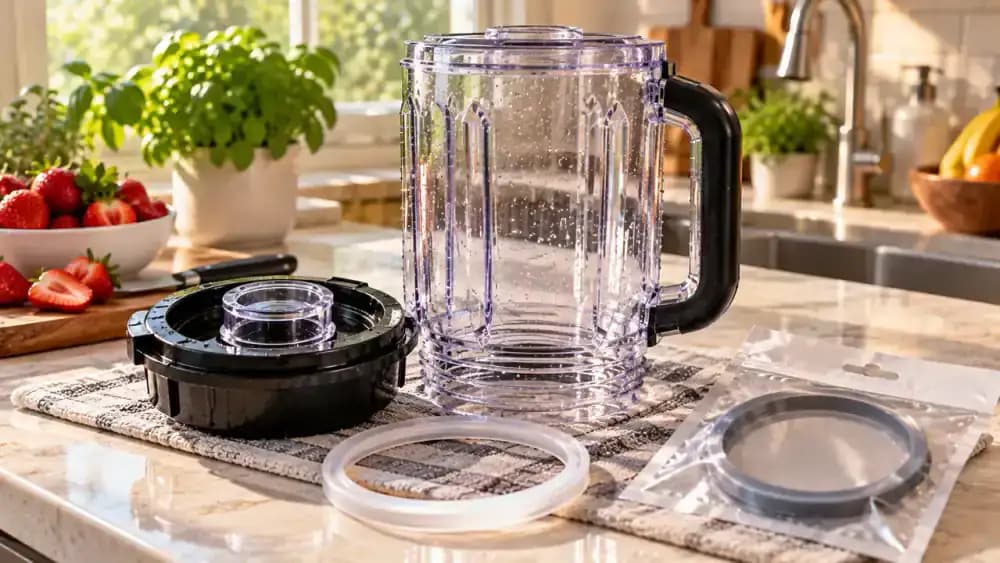
Keep Your Blender Ready for the Next Smoothie
Once every component is clean, dry, and correctly assembled, place the blender jar securely onto its unplugged motor base using the approved mounting mechanism. Keep a soft cleaning brush, microfiber towel, and owner's manual nearby for future maintenance. Remember to unplug before handling components, use only approved cleaning methods, and dry parts thoroughly. Never reach around installed blades or immerse the motor base. Regular cleaning helps prevent stubborn buildup and makes maintenance easier.
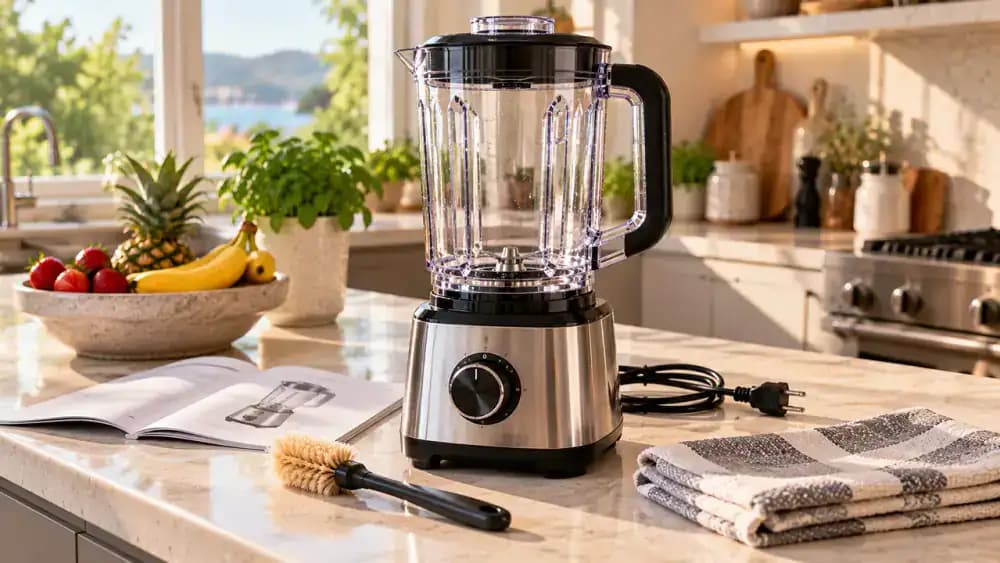
Your blender might look perfectly clean after a quick rinse, but take a closer look. Sticky smoothie residue can collect around the blade hub, a cloudy film can cling to the inside of the jar, and tiny bits of food can hide in the lid grooves. Over time, these overlooked areas can develop unpleasant odors and stubborn buildup. The problem is that reaching down toward sharp blender blades with a sponge or your fingers is an unnecessary risk, and ordinary rinsing rarely reaches every hidden spot.
Fortunately, you can deep clean most blenders without touching the installed blades or using harsh chemicals. A short cleaning cycle with warm water and a little dish soap helps loosen residue, while soft brushes can tackle accessible grooves, seals, and other removable parts. The key is knowing what your blender's manufacturer allows you to disassemble and keeping the motor base completely dry. With the right approach, you can clean your blender thoroughly, inspect its seals, and keep it ready for your next smoothie in about 10 to 15 minutes, plus drying time.
Where people go wrong
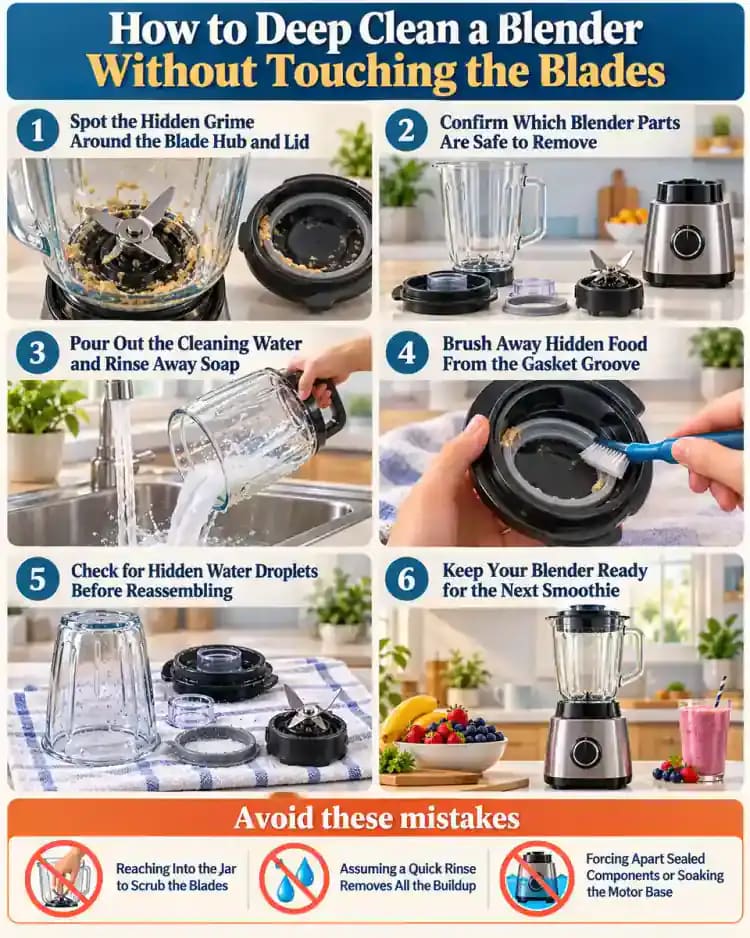
Reaching Into the Jar to Scrub the Blades. Blender blades can cause serious cuts even when the appliance is turned off. Never reach inside the jar around installed blades or attempt to scrub them with your fingers. Always unplug the blender before handling components, and use a soft brush only on safely accessible surfaces.
Assuming a Quick Rinse Removes All the Buildup. A quick rinse may remove visible smoothie residue while leaving sticky food around the blade hub, inside lid grooves, and along removable seals. Run a manufacturer-approved cleaning cycle with warm water and a small drop of dish soap, then rinse thoroughly and inspect accessible areas for remaining buildup.
Forcing Apart Sealed Components or Soaking the Motor Base. Not every blender has a removable blade assembly or gasket. Forcing sealed components apart can damage the appliance and create leaks. Follow the manufacturer's disassembly instructions, clean only approved removable parts, and never immerse the motor base or allow water into its electrical components.
Reassembling the Blender Before Everything Is Dry. Trapped moisture in lid grooves, threaded areas, and gasket channels can contribute to unpleasant odors and lingering residue. Rinse each cleaned component thoroughly and allow it to air-dry before reassembly. Check that removable seals are correctly seated and inspect for potential leaks before operating the blender again.
Questions people ask
Start with a manufacturer-approved cleaning cycle using warm water and a small drop of dish soap. Turn off and unplug the blender before further handling. Never reach inside the jar around installed blades. If your model has an approved removable blade assembly, carefully clean accessible surfaces with a soft brush while keeping your fingers away from sharp edges.
Fixed it?
Get one guide like this every Thursday.