How to Clean Your Kitchen Sink in 5 Minutes a Day
Keep your kitchen sink clean with a simple five-minute daily routine that removes food scraps, fresh grease, grime, fingerprints, and water spots without harsh scrubbing.

What you’ll need
Tap to tick things off before you start.
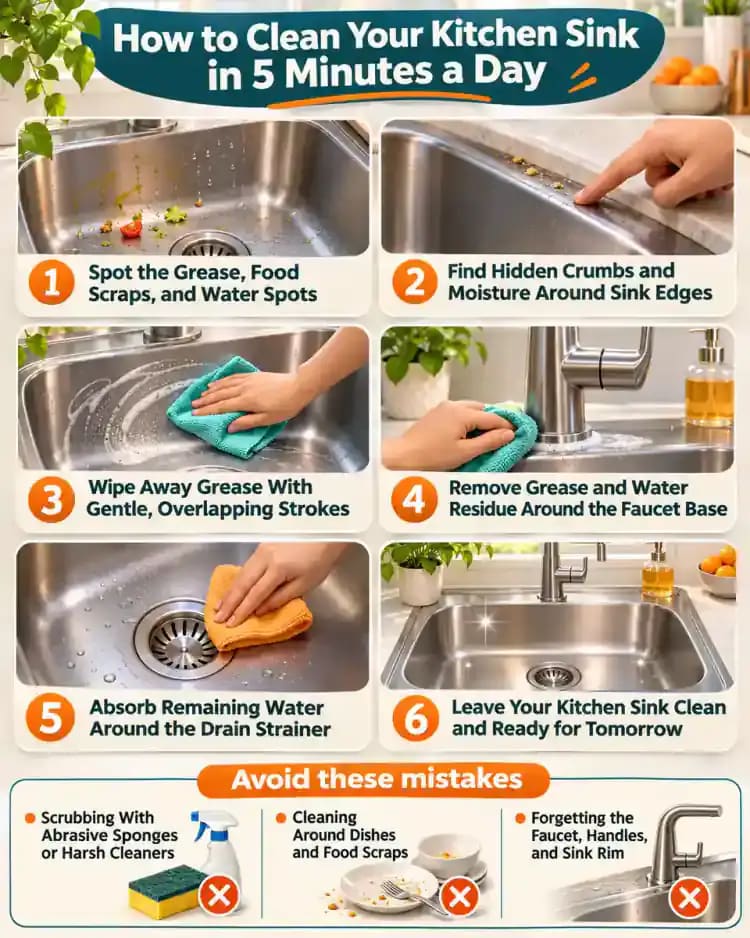
Spot the Grease, Food Scraps, and Water Spots
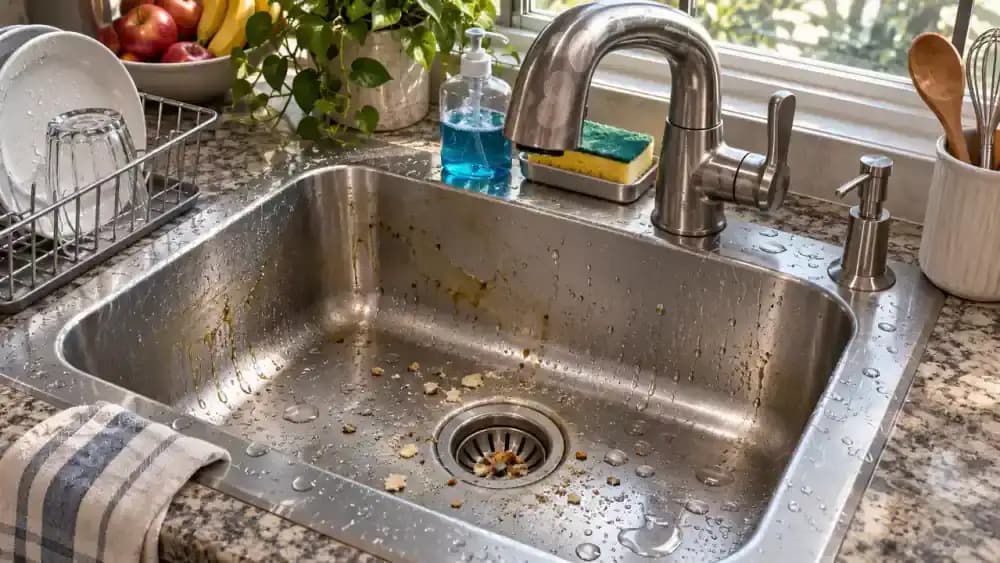
Take a close look at your sink before cleaning. Small vegetable scraps often collect around the drain strainer, while a thin layer of grease clings to the basin walls. Check the faucet for fingerprints and dried water droplets, too. These everyday messes are easier to remove before they accumulate. Pay special attention to corners, the drain surround, and the faucet base, where residue can go unnoticed after washing dishes.
Make Daily Sink Cleaning a Five-Minute Habit
Follow the five tasks shown on the countertop cards: empty the basin, remove food scraps, wipe away grease, clean the faucet, and dry all surfaces. Keeping this order makes the routine easy to remember and helps prevent small messes from becoming stubborn buildup. Place your soft sponge and microfiber towel beside the sink before starting. For best results, complete the routine after washing your last dishes of the day.
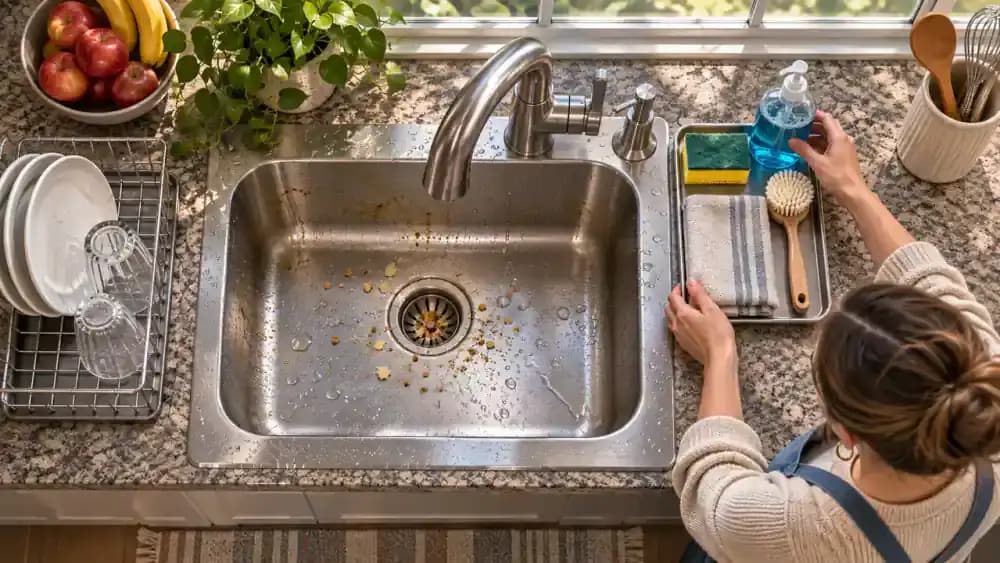
Get Your Sink Cleaning Supplies Ready
Place a bottle of mild dish soap, a soft nonabrasive sponge, a clean microfiber towel, and a small soft-bristled brush on the countertop beside your sink. Turn on the faucet briefly to check that warm water is available, then shut it off. Keeping these basic supplies within reach saves time during your daily routine. Avoid abrasive scrubbers that could scratch delicate finishes, and always check your sink manufacturer's cleaning recommendations.

Check Your Sink Material and Cleaning Instructions
Before applying any cleaner, identify whether your sink is stainless steel, porcelain, composite, or natural stone. Check the manufacturer's care instructions on your phone, then read the dish soap label and inspect your sponge to confirm it is nonabrasive. Different finishes require different cleaning methods, so never assume a product is suitable for every sink. Keep incompatible chemicals separate, and never leave concentrated cleaners on surfaces longer than directed.

Empty the Sink to Expose Hidden Food and Grease
Remove all plates, glasses, utensils, and loose accessories from the sink before cleaning. Place dirty dishes in the dishwasher and move any removable dish racks to a designated countertop area. Once the basin is empty, look for food particles near the drain and greasy residue that was hidden beneath the dishes. Keep the surrounding counter clear so you have enough room to reach every corner and edge without obstacles.

Find Hidden Crumbs and Moisture Around Sink Edges
Use a small flashlight to inspect the back corners of the empty sink, where crumbs and water droplets can collect. Follow the curved basin edges toward the drain, checking for food residue around the drain flange. Then examine the narrow seam where the sink rim meets the countertop. Pay extra attention to areas previously covered by dishes. Identifying these spots now helps you target hidden grime during cleaning without unnecessary scrubbing.

Collect Loose Food Scraps Before Rinsing
Use a folded paper towel to gently gather vegetable pieces, rice grains, bread crumbs, and other loose debris from the sink basin. Lift the collected scraps and discard them in the trash or compost bin rather than pushing them down the drain. Work from the outer edges toward the center to catch scattered particles. Removing larger food scraps first prevents unnecessary drain buildup and makes the upcoming soap cleaning more effective.

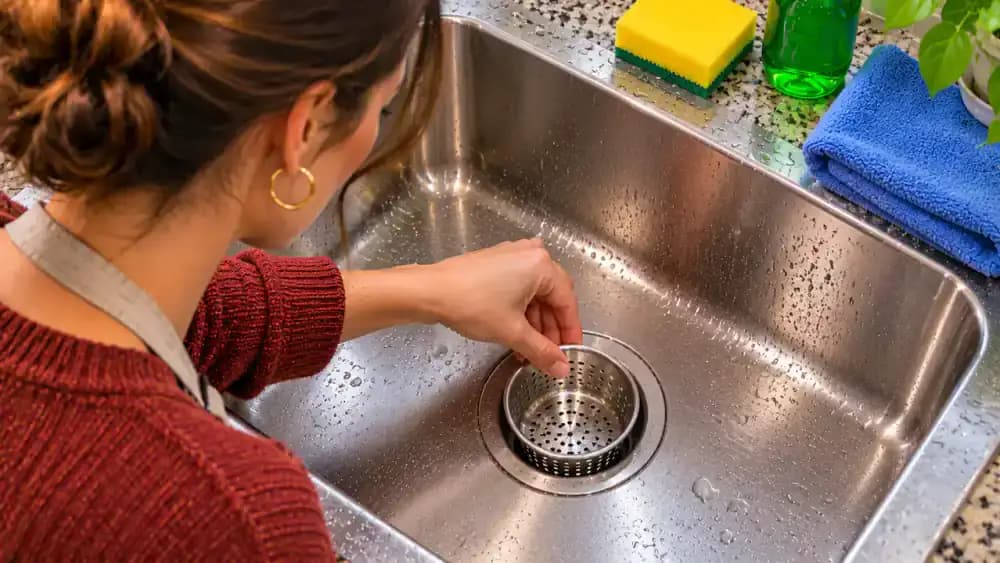
Remove and Empty the Kitchen Sink Drain Strainer
Grasp the rim of the removable drain strainer and lift it straight out of the sink. Hold it over a trash or compost container, turn it upside down, and gently tap out trapped vegetable pieces, rice grains, and other food scraps. Check the perforations for particles that remain stuck. Emptying the strainer daily helps maintain water flow and prevents leftover food from sitting in the sink overnight.
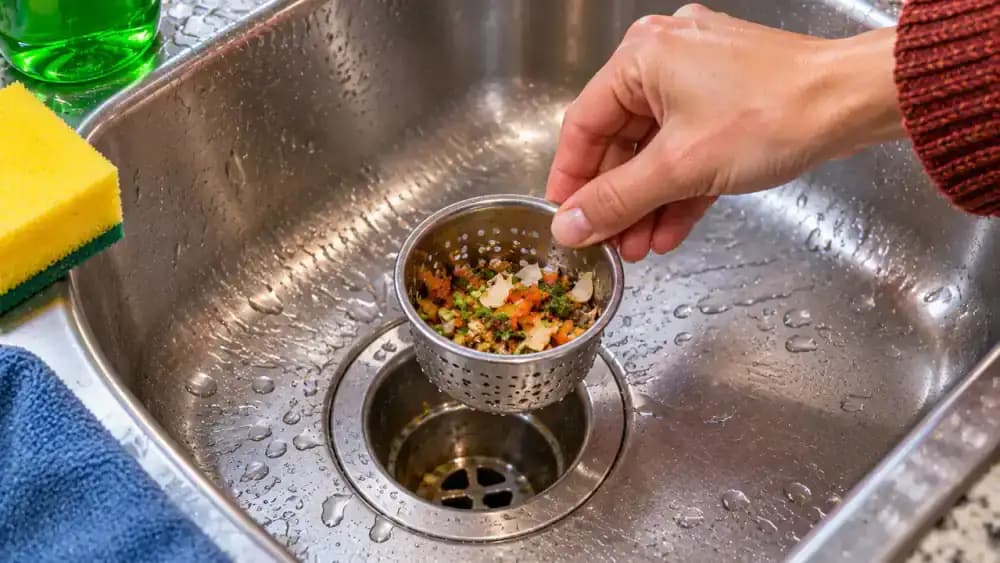
Brush Away Trapped Food and Rinse the Drain Strainer
Hold the removable drain strainer by its rim under a gentle stream of warm running water. Use a small soft-bristled brush to loosen food particles stuck in the perforations, working with short, controlled strokes. Turn the strainer over and gently brush the underside before rinsing both surfaces thoroughly. Check that the openings are clear and water passes through freely. Never insert your fingers or cleaning tools into a garbage disposal.

Rinse the Basin and Reinstall the Clean Drain Strainer
Direct a gentle stream of warm water across the lower sink basin to rinse away remaining loose residue. Use a paper towel to collect any larger food scraps rather than washing them down the drain. Watch that water flows normally through the opening, then carefully lower the cleaned strainer back into place. Make sure it sits securely and evenly. The damp basin is now ready for removing grease with mild dish soap.
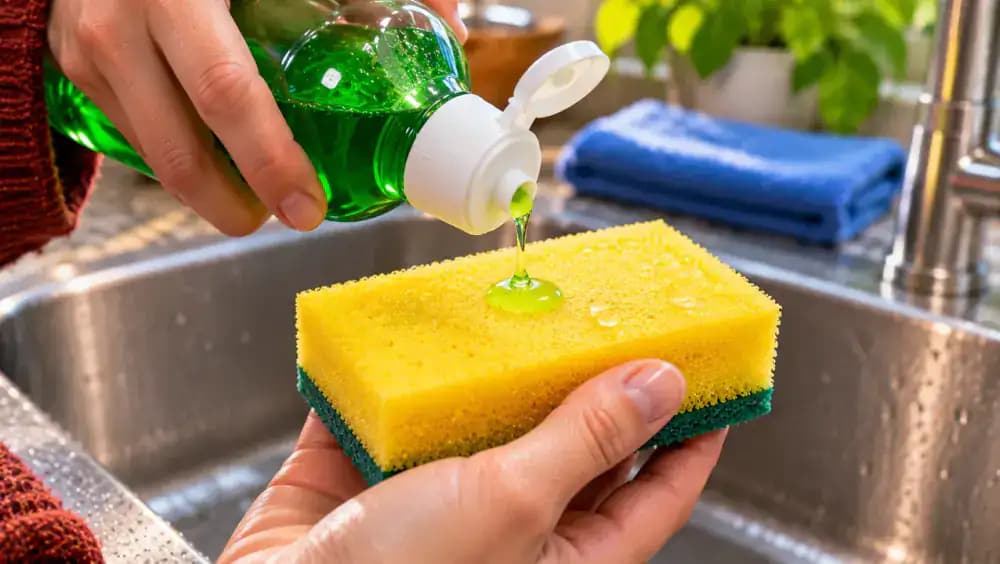
Dampen a Soft Sponge and Add a Drop of Dish Soap
Hold a soft, nonabrasive sponge under warm running water until it is evenly damp. Add one small drop of mild dish soap, then gently squeeze the sponge once or twice to distribute the soap and create light suds. Avoid using excessive detergent, which can leave more residue to rinse away. For ordinary fresh kitchen grease, gentle cleaning is usually sufficient. Check your sink manufacturer's instructions before using any cleaning product.
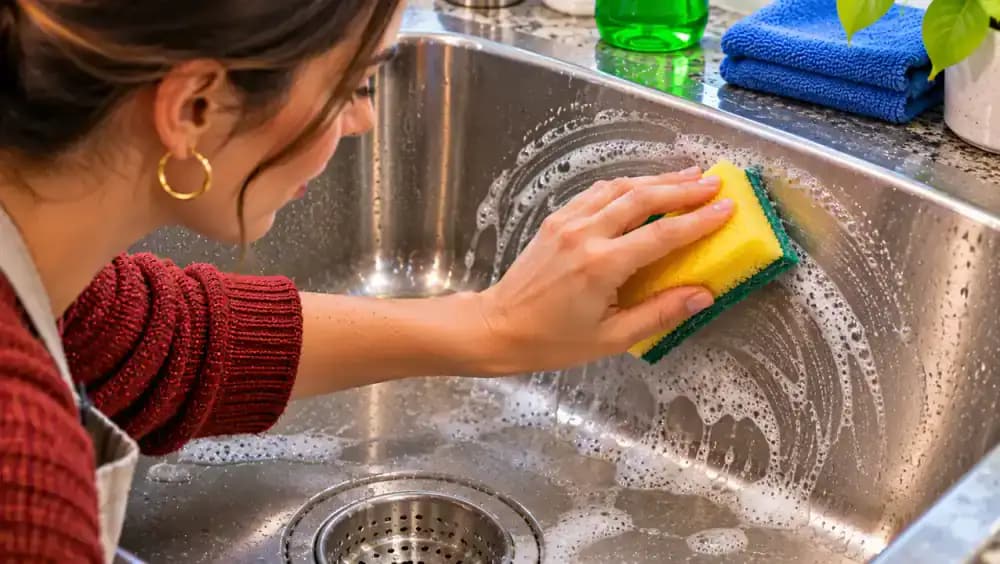
Wipe Away Grease With Gentle, Overlapping Strokes
Starting near the upper sink wall, move your soapy sponge across the stainless steel in gentle, overlapping strokes. Gradually work downward toward the basin floor, covering areas where greasy pots and pans previously rested. Maintain light, even pressure and let the diluted dish soap loosen fresh residue. Make sure each section receives attention without repeatedly scrubbing the same spot. Avoid abrasive pads or excessive force that could damage the sink finish.
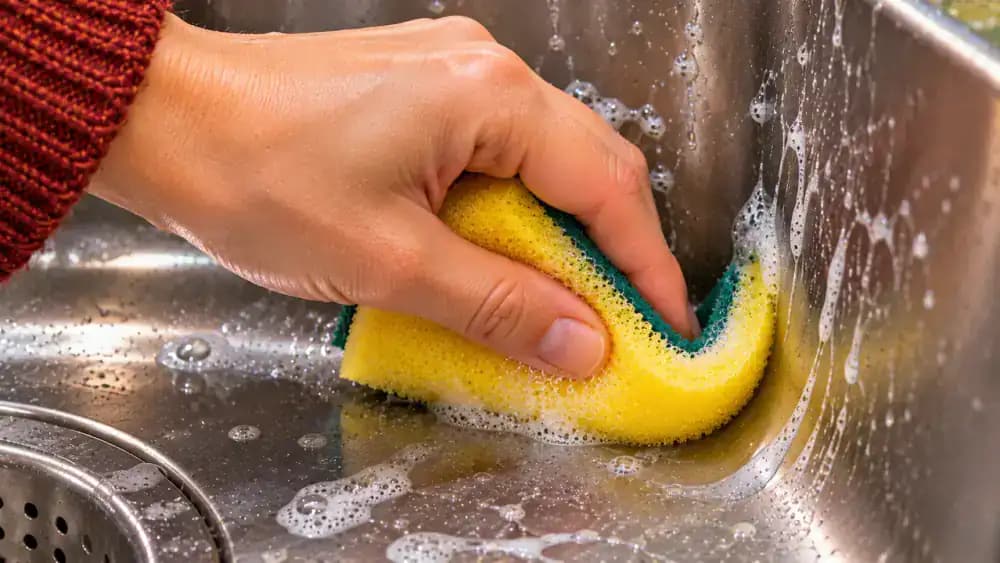
Remove Grease From Sink Corners and Curved Edges
Gently fold your soft, soapy sponge so its edge fits into the curved junction where the sink wall meets the basin floor. Use short, controlled strokes to wipe along the seam, paying particular attention to the rear corners. Follow the curve without pressing hard or using abrasive tools. Repeat on the opposite side, checking for any remaining greasy film. Cleaning these narrow areas daily helps prevent sticky residue from accumulating.
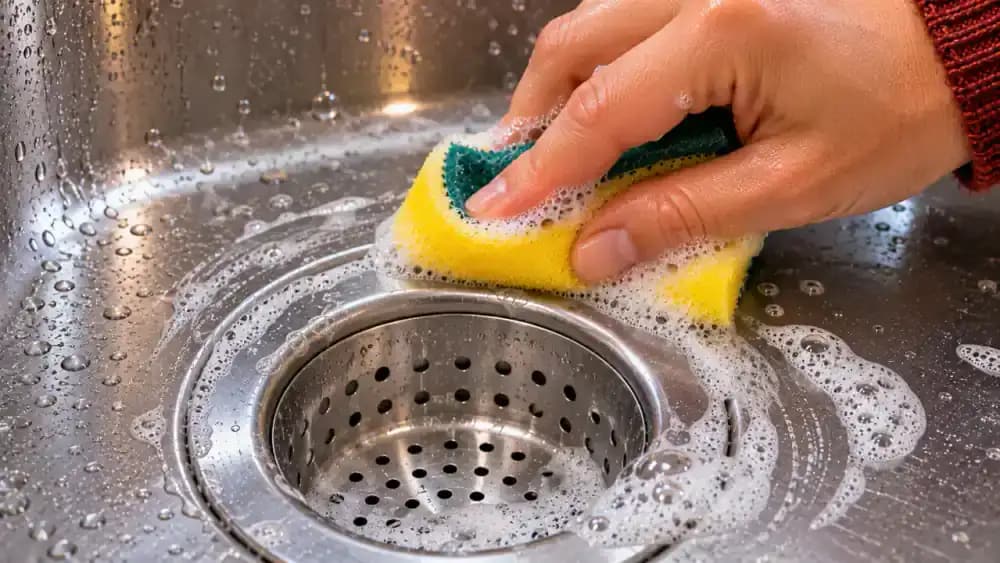
Gently Clean Around the Kitchen Sink Drain Ring
Place the rounded corner of your damp, soapy sponge against the metal ring surrounding the sink drain. Move it in small, gentle circles around the entire opening to loosen grease, soap residue, and tiny food particles. Pay attention to the narrow seam where the drain fitting meets the basin, but never force the sponge underneath it. Leave the strainer seated and avoid pushing fingers or tools into the drain.
Rinse the Sink Thoroughly to Remove Soap and Grease
Turn on the faucet and direct a gentle stream of warm water across the upper sink walls, working downward toward the drain. Let the flowing water carry away loosened grease and dish soap suds. Pay special attention to the rear corners, curved edges, and metal drain ring, where bubbles can linger. Continue rinsing until no visible soap remains, then turn off the faucet. Thorough rinsing helps prevent dull detergent residue.
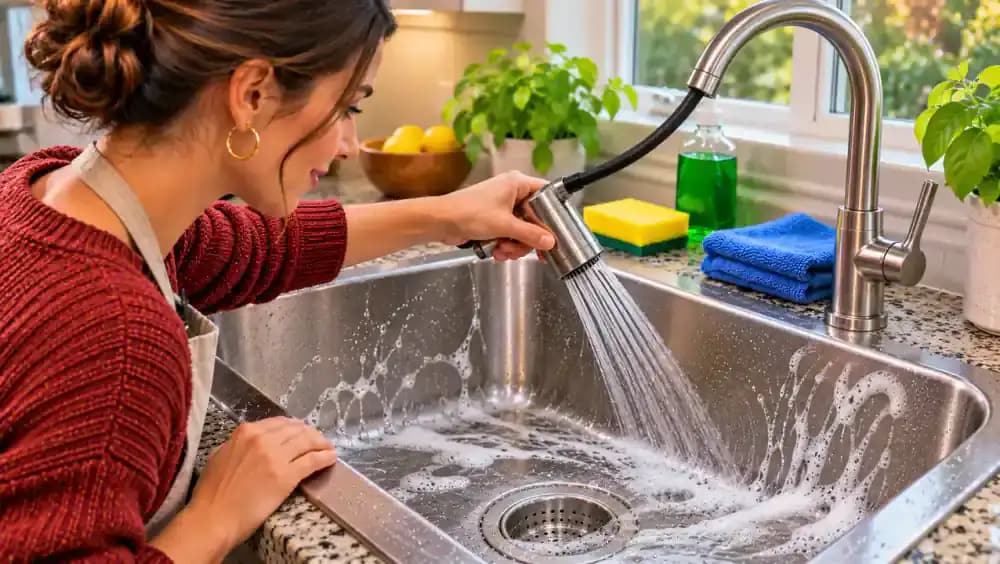
Wipe Fingerprints and Grease From the Faucet Handle
Lightly dampen a soft microfiber cloth with diluted mild dish soap and gently wipe the faucet handle. Start across the top, where fingerprints and greasy smudges commonly collect, then clean the sides and underside of the lever. Carefully wipe where the handle meets the faucet body without forcing the mechanism. Keep moisture away from openings and controls, and avoid spraying cleaner directly onto the fixture. Use gentle pressure to protect the finish.

Clean the Faucet Spout, Underside, and Aerator Exterior
Wrap a soft microfiber cloth lightly dampened with mild soapy water around the curved faucet spout. Wipe from the base toward the tip, following the metal surface to remove fingerprints, water spots, and cloudy residue. Gently clean the underside and the exterior around the aerator without twisting or removing any components. Fold the cloth to expose a clean, damp section, then wipe again to remove remaining soap without scratching the finish.

Remove Grease and Water Residue Around the Faucet Base
Fold a soft microfiber cloth into a narrow edge and lightly dampen it with mild soapy water. Carefully wipe around the circular faucet base where it meets the sink deck, using short, gentle strokes to remove splashes and greasy residue. Work around the entire perimeter, including the back where moisture often collects. Avoid pushing fabric into sealed gaps or moving the fixture. Finish with a clean, damp section to remove leftover soap.
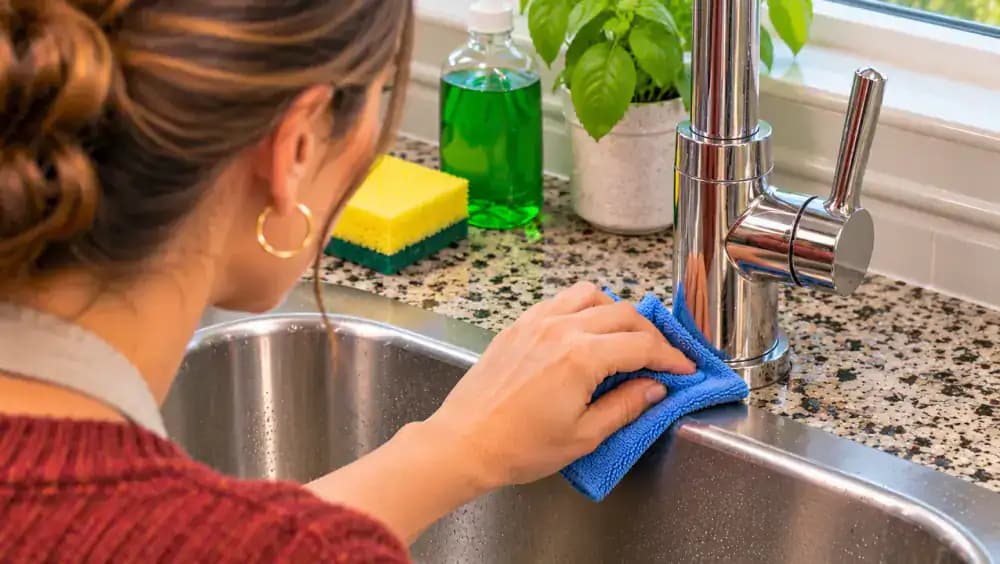
Wipe the Sink Rim and Frequently Touched Edges
Lightly dampen a soft microfiber cloth with mild soapy water and wipe along the front rim of the sink using smooth, overlapping strokes. Continue around both side edges, removing fingerprints, grease smudges, and water splashes. Pay attention to the narrow junction where the stainless steel meets the countertop, but avoid pushing moisture into seams. Turn the cloth to a clean, damp section and make another pass to remove remaining soap residue.

Clean Behind the Faucet and Around Sink Accessories
Lift any removable accessories, such as a sponge holder, from the rear sink deck and place them on a dry countertop. Fold a clean, lightly dampened microfiber cloth and wipe behind the faucet using short, controlled strokes. Carefully clean around the exterior base of the soap dispenser without loosening fixtures or forcing moisture into mounting gaps. Use a clean, damp section to remove remaining soap film, then return accessories to their original positions.
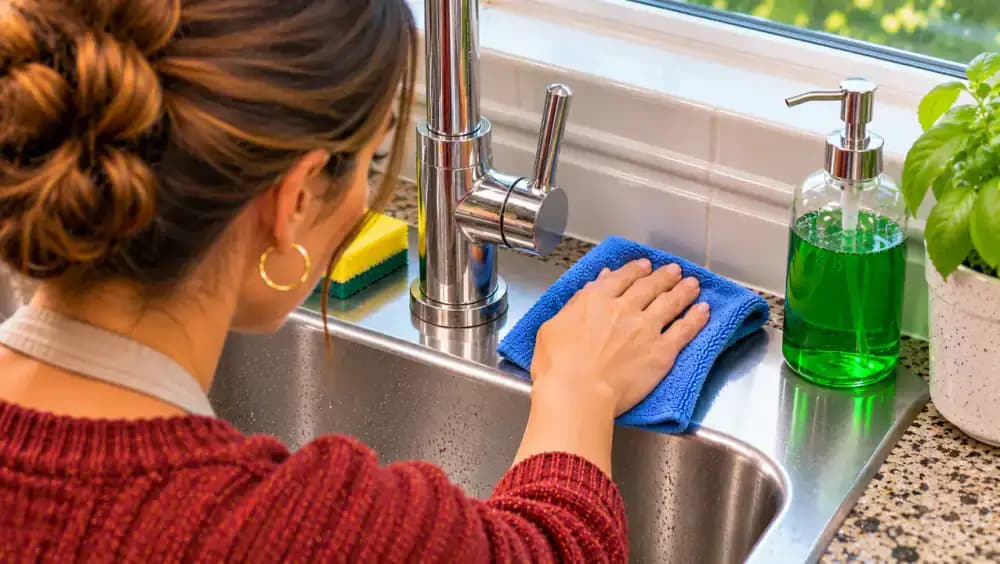
Dry the Sink Basin to Help Prevent Water Spots
Unfold a fresh, dry microfiber towel and place it against the upper interior wall of the sink. Wipe downward in broad, smooth strokes, absorbing water droplets rather than spreading them around. Continue across the basin floor, folding the towel to expose a dry section whenever the fabric becomes damp. Carefully dry around the drain strainer without removing it. Removing standing moisture helps reduce visible mineral spots and prevents water from lingering overnight.
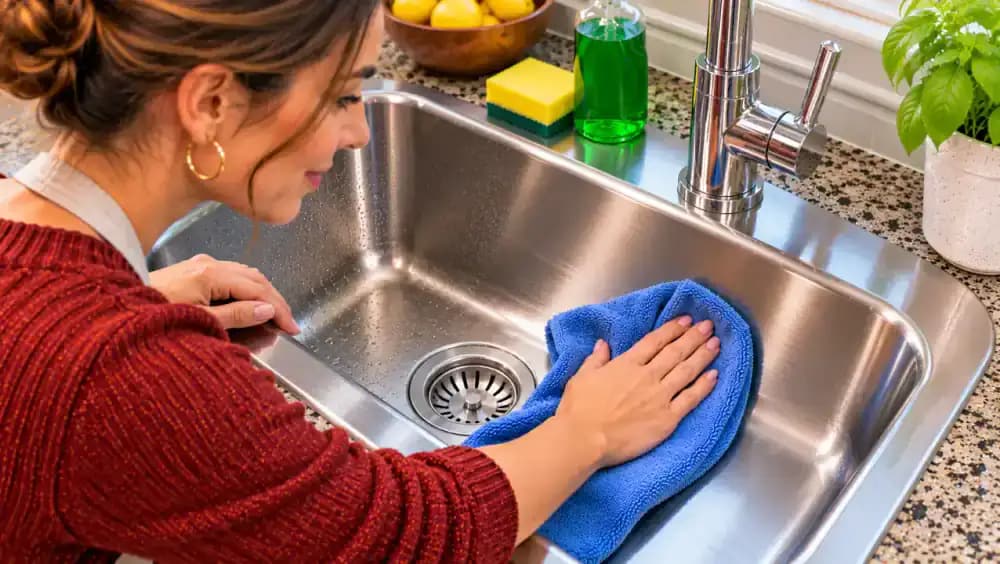
Dry the Faucet Handle, Spout, and Base to Reduce Water Spots
Fold a clean, dry section of your microfiber towel into a narrow strip and gently wipe the faucet handle to absorb remaining droplets. Wrap the towel around the curved spout and move from the base toward the outlet, following its shape. Use a dry corner to remove moisture around the faucet mounting base and nearby sink deck. Pay attention to small crevices where water collects, especially if your home has hard water.

Dry the Sink Rim and Countertop Seams
Fold a clean, dry section of your microfiber towel into a narrow strip and gently press it against the front sink rim to absorb lingering water droplets. Work along the front lip and both side edges, then check the rear corners where moisture often collects. Use a dry towel corner to reach accessible countertop junctions without forcing fabric underneath the mounting lip. Avoid pushing water into seams, and check that surrounding surfaces are dry.

Absorb Remaining Water Around the Drain Strainer
Inspect the metal drain ring and removable strainer for small water droplets left behind after drying the basin. Fold a clean, dry corner of your microfiber towel into a flat pad and gently dab the exposed metal surfaces. Carefully absorb moisture from the accessible upper portion of the strainer without disturbing its position. Never push fingers or fabric into the drain or garbage disposal. Removing these last droplets helps minimize visible water spots.
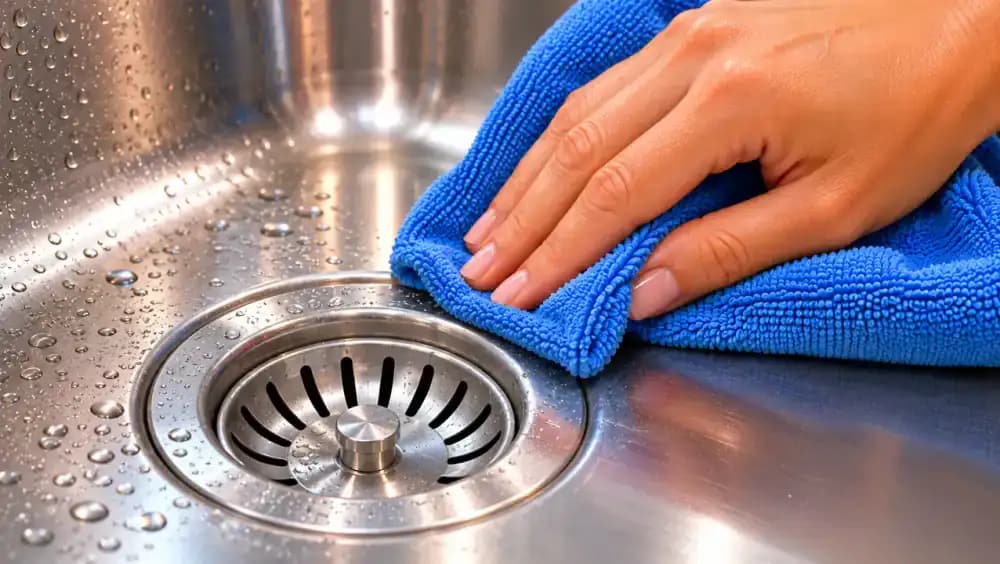
Inspect the Sink for Leftover Soap Film, Crumbs, and Moisture
Step back and examine the entire sink under natural light, looking for leftover crumbs, cloudy soap streaks, or lingering water droplets. Change your viewing angle to catch residue in the stainless steel reflections. Check the rear corners, drain strainer, faucet base, and countertop edges carefully. If you notice a missed spot, identify its exact location so you can clean only that area instead of repeating the entire routine.
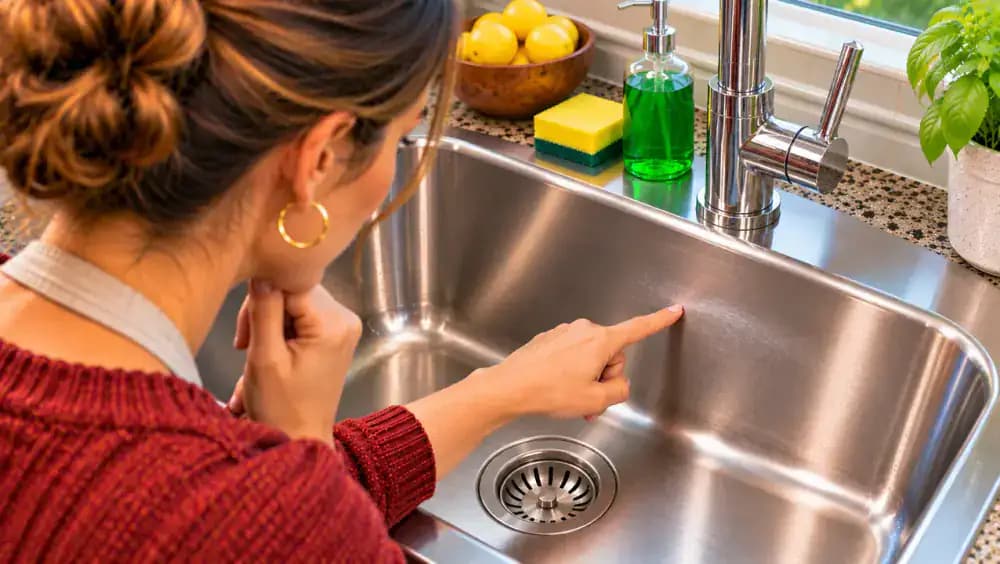
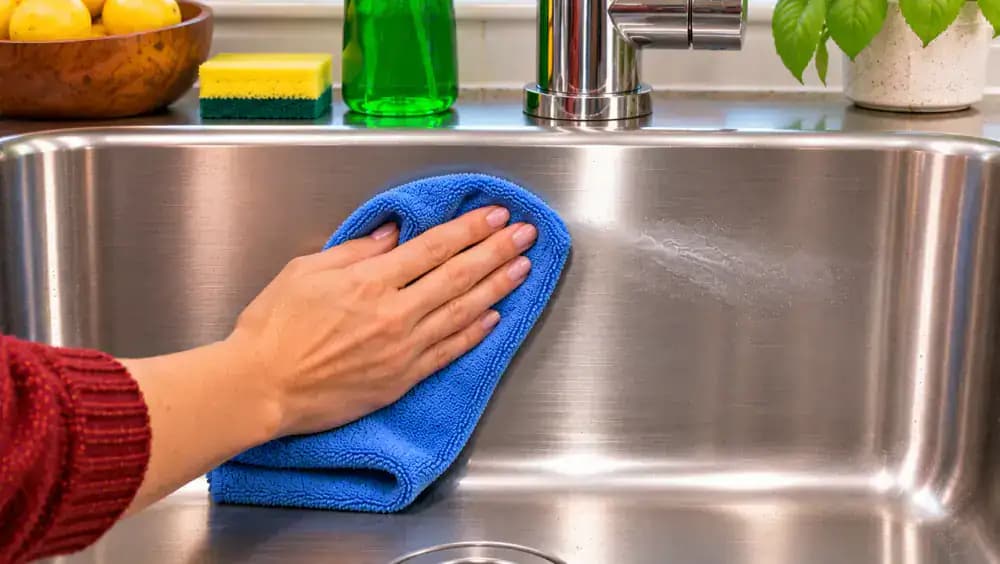
Remove Leftover Soap Streaks With a Damp Microfiber Cloth
Lightly dampen a clean corner of your microfiber cloth with plain water and fold it into a small pad. Gently wipe the cloudy soap streak using short, overlapping strokes, focusing only on the affected area. If residue remains, repeat with a fresh, damp section of the cloth. Finish by drying the spot thoroughly with a separate dry section. Avoid aggressive scrubbing or adding more cleaner, which can leave additional residue behind.
Identify Stubborn Mineral Deposits That Need Separate Cleaning
Look closely at any chalky white spots remaining around the faucet base or sink surfaces after your daily cleaning. These marks may be mineral deposits from hard water rather than ordinary dirt or soap residue. Avoid scraping them with abrasive pads or applying stronger chemicals without checking compatibility. Make a note to address persistent buildup during a separate cleaning session, using only products approved for your sink finish and following manufacturer instructions.

Make Five-Minute Sink Cleaning Part of Your Evening Routine
After finishing the evening dishes, close the dishwasher and check that the sink is empty and free of loose food scraps. Return your mild dish soap and soft sponge to their designated storage spots, then hang a clean microfiber towel where it can dry between uses. Keep these supplies within easy reach for tomorrow. Making this quick reset part of your nightly cleanup helps control everyday grease, grime, and water spots.

Keep Your Kitchen Sink Clean With Five Simple Daily Tasks
Follow the same five actions each evening: empty the sink, collect food scraps, gently wipe away fresh grease, clean the faucet and surrounding edges, and dry all surfaces with microfiber. Keep your drain strainer seated properly and return cleaning supplies to their storage spots afterward. Focus on everyday residue rather than stubborn deposits that need separate cleaning. Repeating this routine after your final meal helps prevent grime from accumulating.

Leave Your Kitchen Sink Clean and Ready for Tomorrow
Check that the basin is empty and dry, the drain strainer is properly seated, and the surrounding countertop is tidy. Secure the cap on your mild dish soap and store it away from incompatible cleaning products. Hang your microfiber towel where it can dry between uses. Always follow manufacturer care instructions and cleaner contact times. Leave stubborn mineral deposits for separate, surface-safe cleaning rather than scrubbing aggressively during daily maintenance.

Your kitchen sink handles everything from rinsing vegetables and washing dishes to collecting food scraps and greasy residue. Even when it looks reasonably clean, small messes build up around the drain, along the basin edges, and at the base of the faucet. Fingerprints, soap film, and standing water can quickly leave the entire area looking dull and neglected. The good news? You don't need expensive cleaning products or a lengthy scrubbing session to keep your sink looking fresh every day.
With just five minutes after your final meal cleanup, you can remove food debris, wipe away fresh grease, clean the faucet, and prevent many visible water spots before they develop. All you need is mild dish soap, warm water, a soft sponge, a small brush, and a microfiber towel. This simple routine works as everyday maintenance rather than a replacement for occasional deep cleaning. Always check your sink manufacturer's care instructions, especially for specialty finishes, and avoid abrasive pads or mixing cleaning chemicals.
Where people go wrong
Scrubbing With Abrasive Sponges or Harsh Cleaners. Using steel wool, rough scrubbing pads, or concentrated cleaning products can scratch or damage certain sink finishes. For daily cleaning, stick to diluted mild dish soap and a soft, nonabrasive sponge. Always follow manufacturer instructions, keep incompatible chemicals separate, and never leave concentrated cleaners on surfaces longer than directed.
Cleaning Around Dishes and Food Scraps. Trying to clean a sink while dishes, utensils, and accessories are still inside leaves hidden grime around corners, edges, and the drain. Empty the basin completely, remove food particles, and clean the removable strainer first. Brush only accessible openings and never reach into a garbage disposal.
Forgetting the Faucet, Handles, and Sink Rim. Wiping only the bottom of the sink leaves fingerprints, grease, and dried splashes around frequently touched areas. Pay attention to faucet handles, the faucet base, the sink rim, and the drain surround. These spots collect residue throughout the day and deserve a quick wipe during every cleaning.
Leaving Water and Soap Residue Behind. A freshly rinsed sink can still develop visible water spots when droplets evaporate and leave mineral deposits behind. Soap residue can also create a dull film. Rinse the basin and fixtures thoroughly, then dry everything with a clean microfiber towel. Check corners and edges for remaining moisture.
Questions people ask
A quick five-minute cleaning session every day helps prevent food scraps, fresh grease, and soap residue from building up. The easiest time is after washing the dishes following your final meal. Regular maintenance keeps the sink looking cleaner between occasional deep cleanings, especially in kitchens that get heavy daily use.
Fixed it?
Get one guide like this every Thursday.