How to Clean Under Your Kitchen Sink After a Leak
A leaking sink can leave your cabinet damp, stained, and musty. Learn how to find the moisture source, clean safely, dry hidden areas, spot water damage, and prevent future leaks from ruining your cabinet.

What you’ll need
Tap to tick things off before you start.
Why Drying the Cabinet Is Not Enough
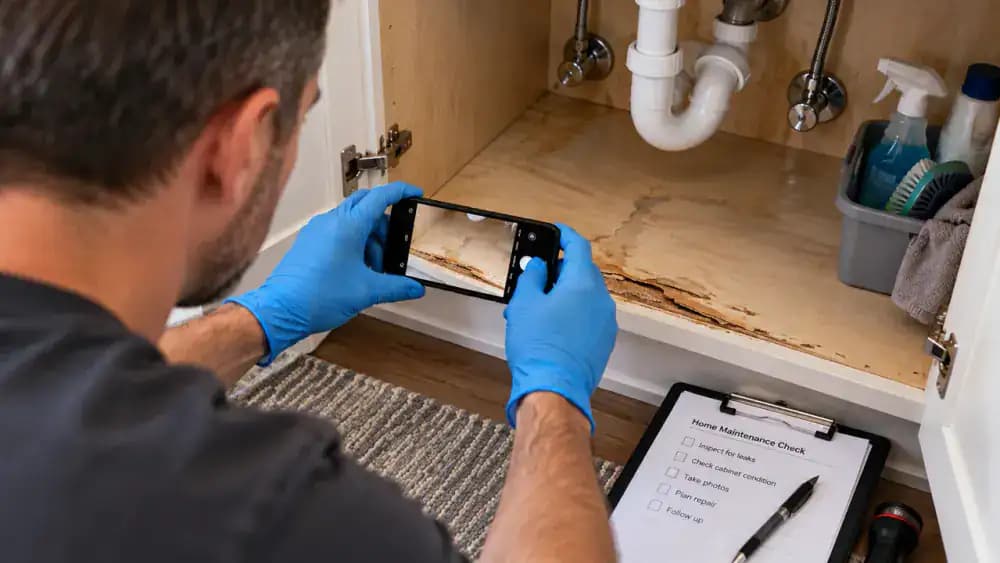
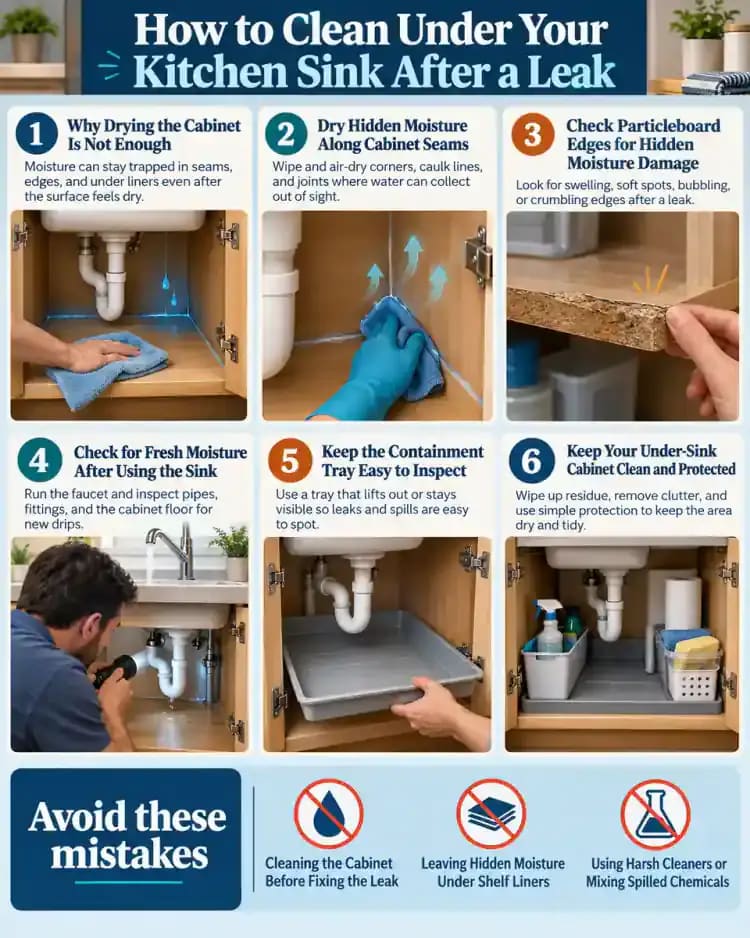
Open the cabinet beneath your kitchen sink and carefully move cleaning supplies aside to inspect the floor and exposed plumbing. Look for standing water, damp shelf liner, dark stains, and droplets forming around pipe connections. Wiping up the puddle only addresses the visible moisture, not its source. Place a dry paper towel beneath a suspected drip to help identify fresh water. Avoid touching or loosening plumbing connections until you understand where the moisture originates.
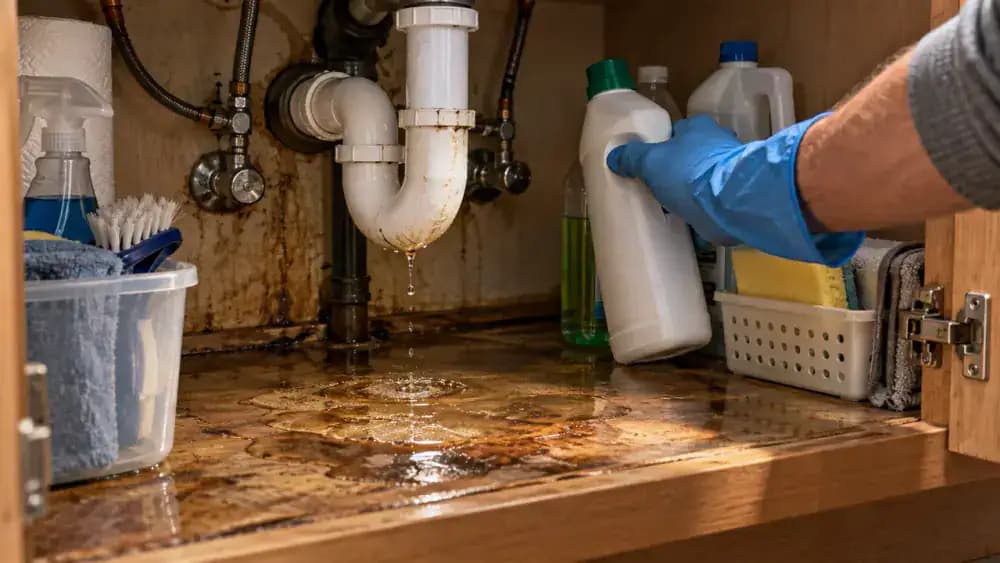
Stop the Leak Before Cleaning
Open the cabinet and check the pipes and water supply lines for active dripping. Wearing protective gloves, turn the appropriate shutoff valve clockwise by hand until the water stops. Watch the connection and the area beneath it for continued leaks. Leave cleaning supplies in place and avoid loosening plumbing connections. If dripping continues, seek plumbing assistance. Stop immediately and contact a qualified professional if water reaches electrical equipment, sewage is present, or extensive mold appears.
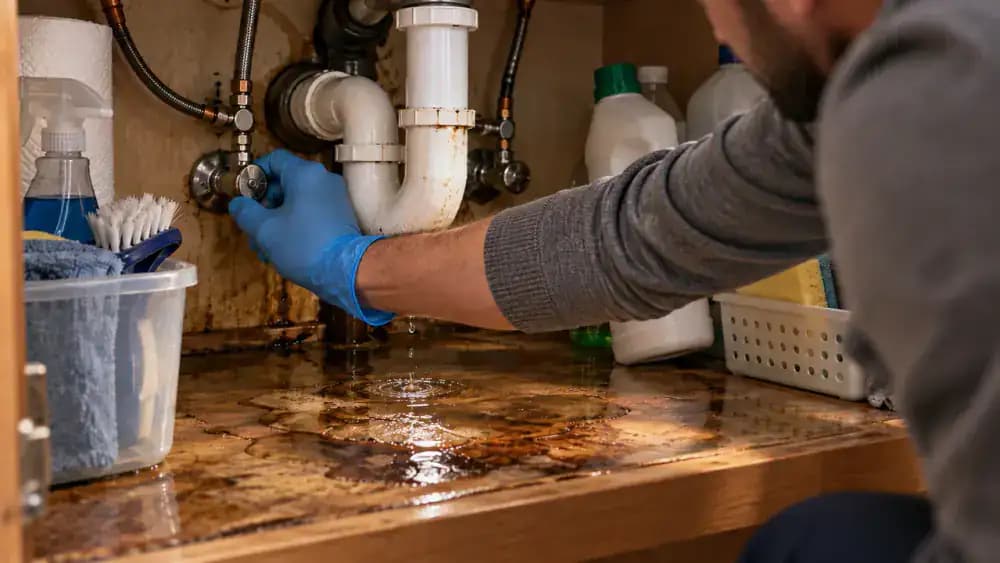
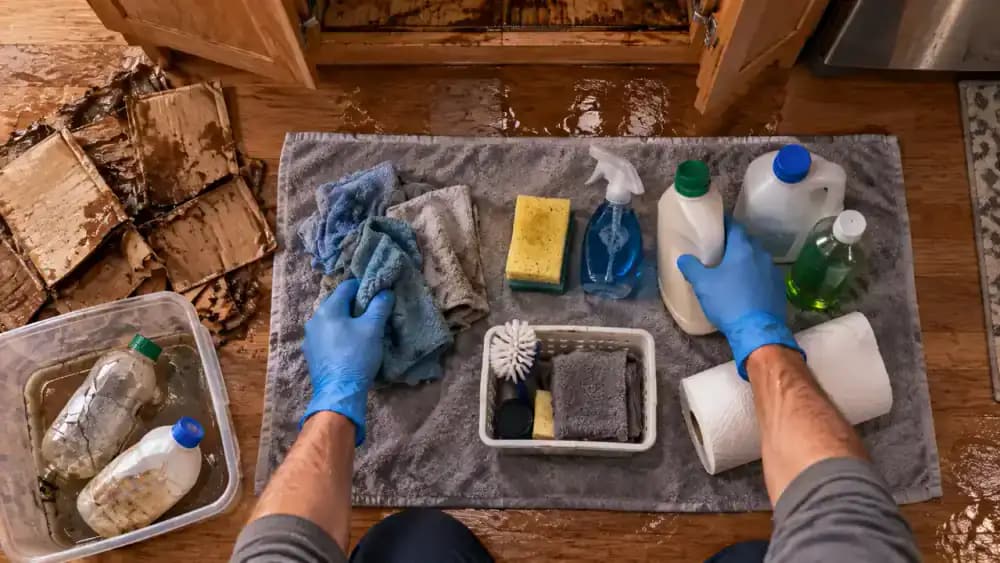
Empty the Cabinet and Separate Wet or Damaged Supplies
After stopping the leak, put on protective gloves and remove items from beneath the sink one at a time. Place dry, undamaged bottles and sponges on a clean towel. Put soaked cardboard in a separate disposal bag and keep leaking bottles upright in a plastic containment tray. Inspect containers for moisture, cracks, or loose caps before keeping them. If chemicals have spilled, avoid direct contact and never mix cleaning products.
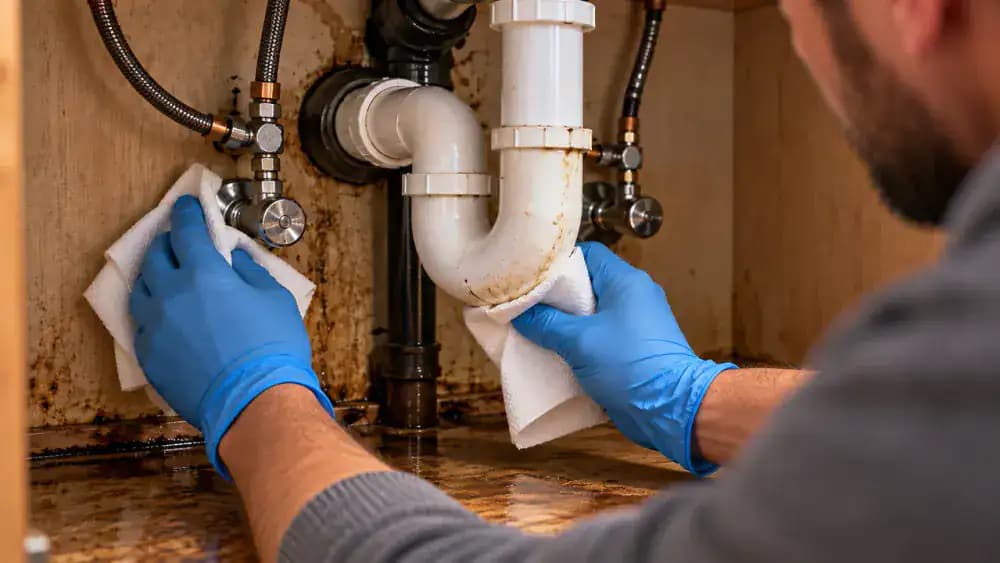
Inspect Plumbing Connections and Cleaning Bottles for Leaks
With the cabinet empty, examine the supply lines, pipe connections, and curved drain trap for moisture. Gently press a clean, dry paper towel against each accessible connection, then check for damp spots. Repeat along the outside of the drain trap without moving or loosening any fittings. Inspect the bottoms of stored cleaning bottles for cracks or leaks, keeping their caps closed. If water continues dripping, contact a qualified plumber for repairs.
Absorb Standing Water Before Cleaning
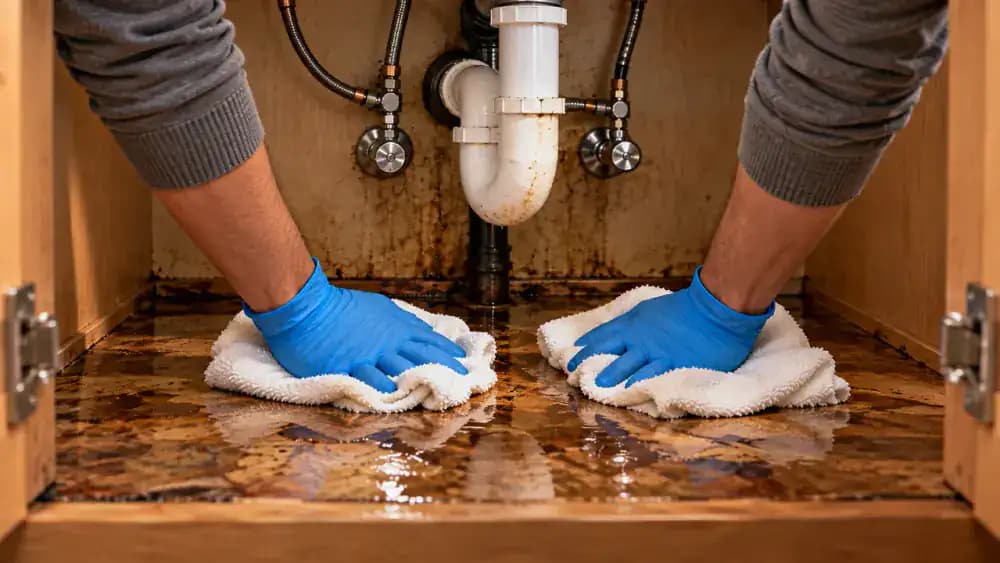
After stopping the leak, put on protective gloves and press a folded, thick cotton towel directly onto the puddle inside the empty cabinet. Let the fabric absorb the water without scrubbing or pushing moisture toward dry areas. Work from the largest puddles toward the back corners and cabinet edges. Replace saturated towels with dry ones to maintain absorption. Check around pipe openings for trapped moisture, but leave cleaning products aside until standing water is removed.
Dry Hidden Moisture Along Cabinet Seams
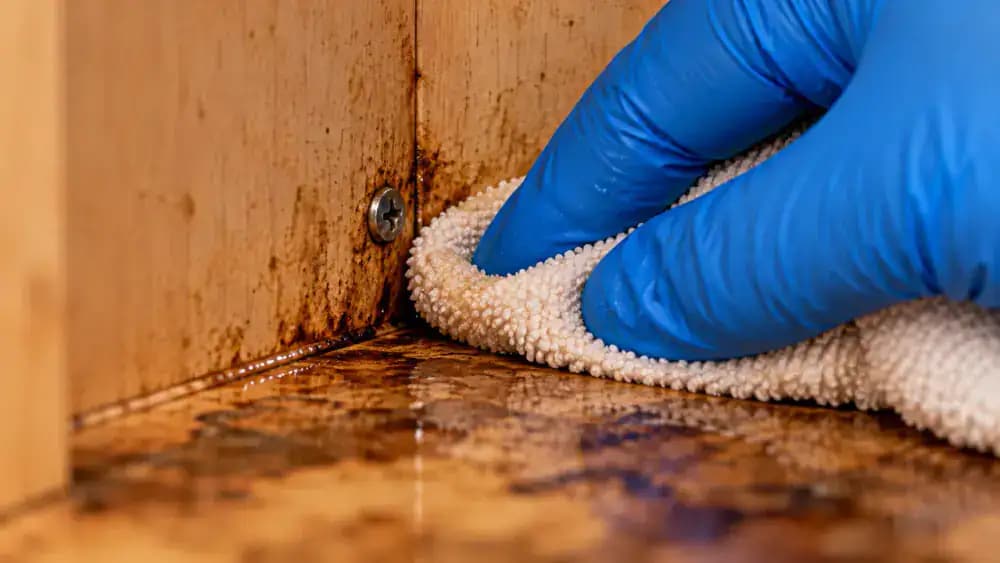
Fold a clean, dry microfiber cloth into a narrow point and gently press it into the seam where the cabinet floor meets the back wall. Work along the junction, blotting trapped droplets around corners, exposed edges, and recessed screw heads without scraping the surface. Unfold the cloth periodically to check for dampness, then switch to a fresh, dry section. Continue until the cloth no longer absorbs visible moisture from these hard-to-reach areas.
Check Beneath Shelf Liners for Trapped Water
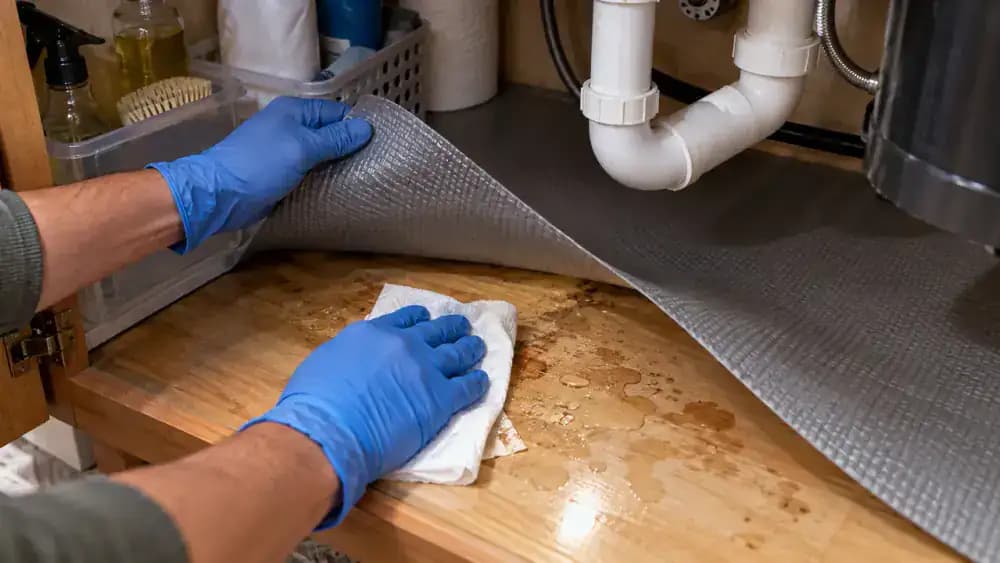
After drying the cabinet seams, gently lift the front edge of any removable plastic or rubber shelf liner. Check the cabinet floor underneath for hidden droplets, damp spots, or discoloration. If moisture is present, peel the liner away completely and press a clean, absorbent cloth against the wet area without rubbing. Place the liner separately on a dry countertop and leave the cabinet floor uncovered until both surfaces are thoroughly dry.
Improve Airflow to Dry Hidden Moisture
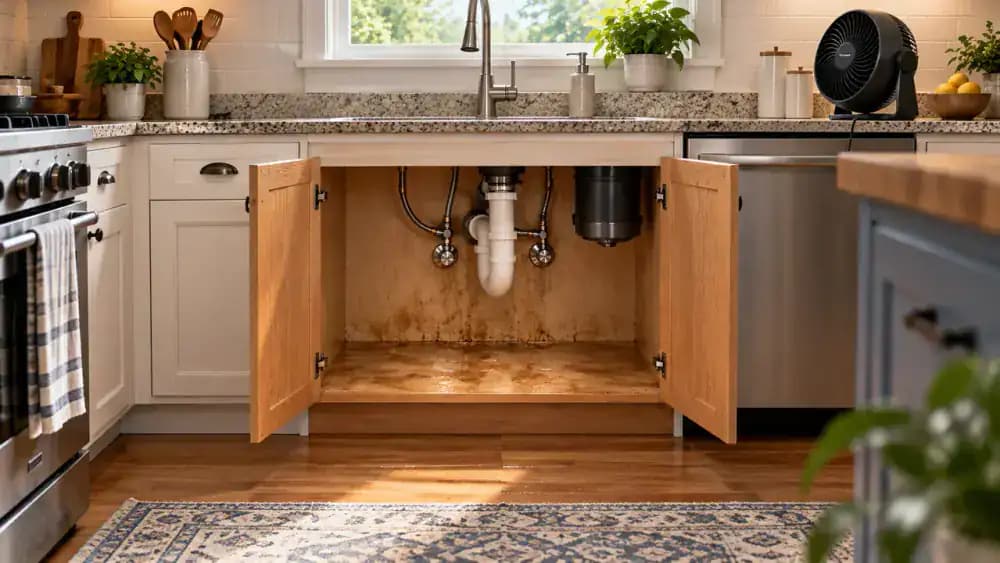
Leave both cabinet doors fully open after removing the shelf liner so fresh air can reach the exposed floor and rear corners. Once electrical hazards have been ruled out, place a small fan on a dry countertop several feet away and aim gentle airflow into the cabinet. Keep the fan, outlet, and power cord away from moisture. Check the floor, corners, and seams by touch before replacing anything.
Mix a Gentle Soap Solution for Cabinet Cleaning
Check the cabinet manufacturer's care guidelines before applying any cleaning solution. If mild soap is approved, add three drops of liquid dish soap to a bowl containing about 2 cups of warm water. Stir gently with a clean microfiber cloth, then wring the cloth over the bowl until it feels damp but does not drip. Excess moisture can damage cabinet materials, especially exposed particleboard, seams, and unfinished edges.
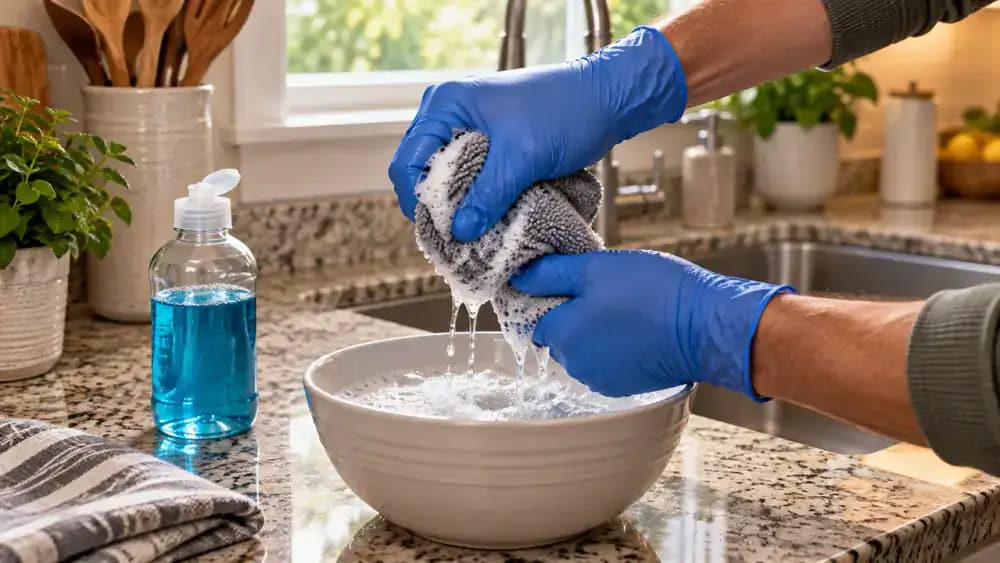
Gently Wipe Away Stains and Residue
Use a lightly dampened microfiber cloth to wipe the cabinet floor in smooth strokes, moving from the back toward the front edge. Apply gentle pressure over visible water marks and sticky spots without saturating the laminate or wood. Fold the cloth to expose a clean section before making a second pass over stubborn residue. Avoid abrasive scrubbing or stronger cleaning products, which could damage the cabinet's protective finish.
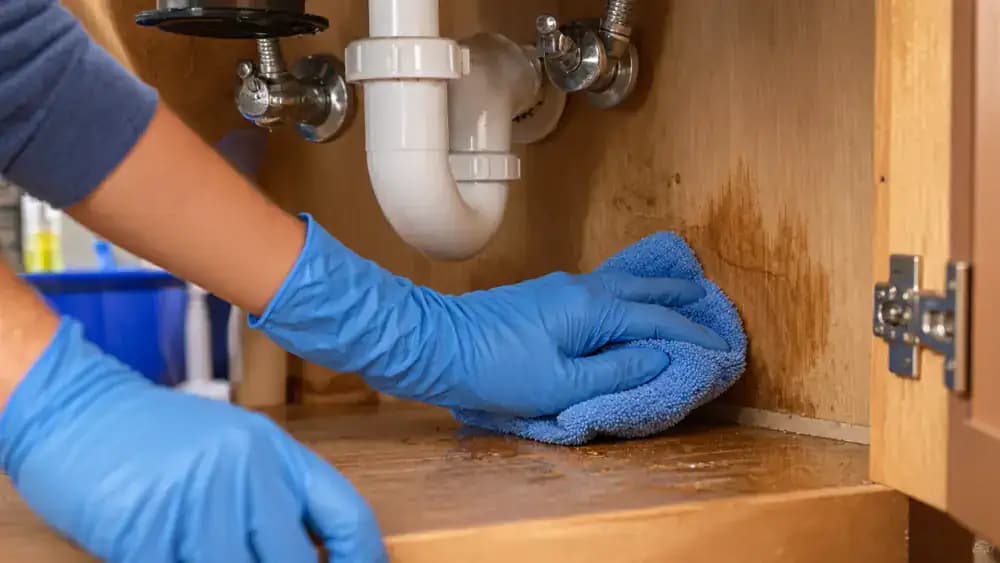
Remove Soap Residue and Dry the Surface
Use a separate white microfiber cloth lightly dampened with clean water to wipe away any remaining dish soap from the cabinet floor. Avoid soaking the laminate, particularly near seams and exposed edges where moisture can penetrate. Switch to a completely dry microfiber towel and gently press it across the surface. Pay extra attention to corners, the front cabinet edge, and areas around screw heads. Use a fresh, dry section of the towel whenever it becomes damp.
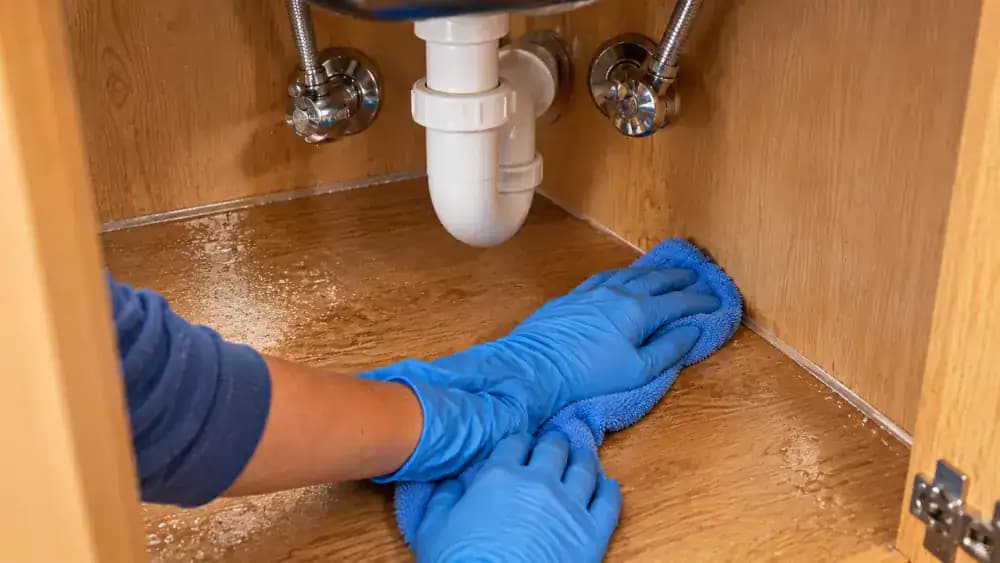
Check Particleboard Edges for Hidden Moisture Damage
Use a small inspection mirror to examine exposed particleboard edges beneath the cabinet's laminate surface. Look closely for swollen fibers, raised finishes, bubbling, or separation along seams and corners. Gently press discolored areas with a gloved fingertip to check for unusual softness without breaking the material. Pay particular attention to where the cabinet floor meets the side panels. Even when the surface feels dry, prolonged moisture exposure may have weakened the underlying particleboard.
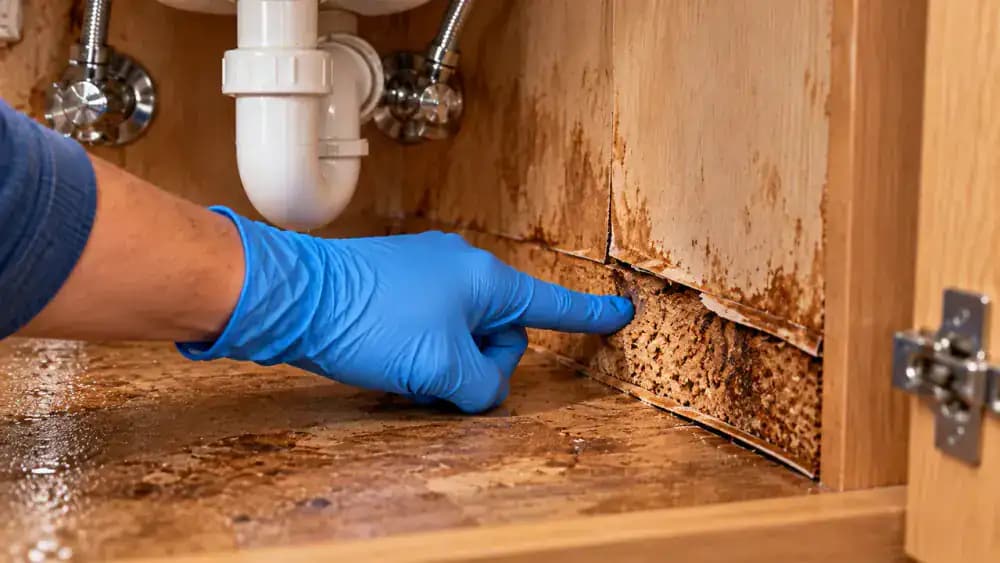
Determine When Damaged Cabinet Panels Need Replacement
Look for swollen particleboard, peeling laminate, or visibly deteriorated cabinet panels. Place a removable identification sticker on undamaged laminate beside each affected area, then record its location on an inspection checklist. Photograph the damage and sticker together for reference. Water-weakened panels cannot be restored by drying or painting alone. Keep the cabinet empty until a professional evaluates possible replacement, especially if persistent musty odors or visible mold are present.
Measure the Under-Sink Cabinet for a Waterproof Tray
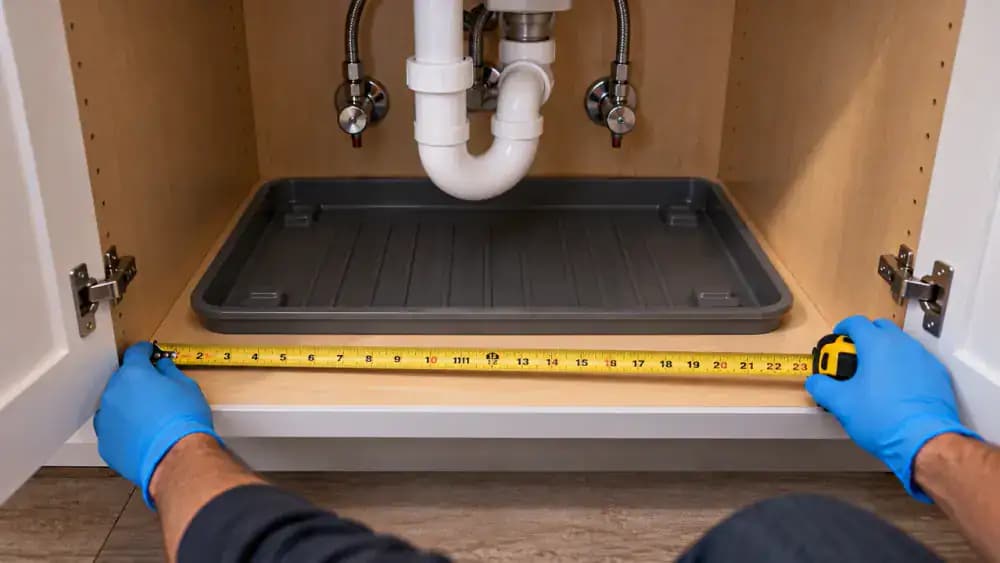
With the cabinet completely dry and free of damage, stretch a measuring tape across the interior floor to record its usable width. Measure the depth from the front opening toward the back, allowing clearance around pipes and shutoff valves. Write both measurements in inches, then compare them with a shallow waterproof containment tray. Choose one that sits flat, catches minor spills, and lifts out easily for cleaning. Leave damaged cabinet sections uncovered until repaired.
Install the Waterproof Containment Tray
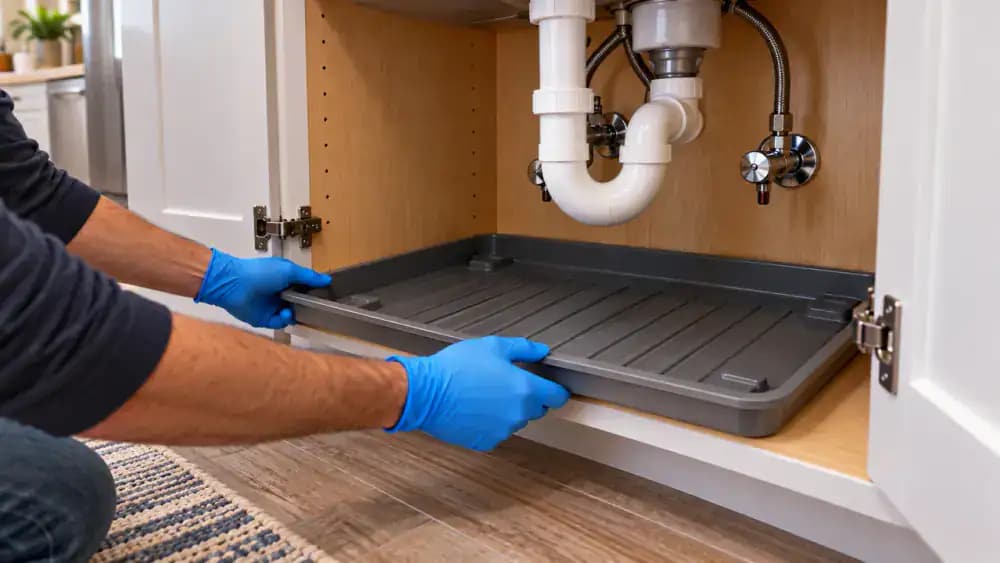
With the cabinet clean, completely dry, and measurements confirmed, hold the tray with both hands and slide it diagonally through the opening. Rotate it into position, then lower it gently onto the cabinet floor. Check that all four corners sit flat without bending or pressing against plumbing. Keep the shutoff valves and drain trap accessible. As a final check, lift the front rim to confirm the tray can be removed easily for cleaning and inspections.
Inspect and Prepare Stored Cleaning Supplies
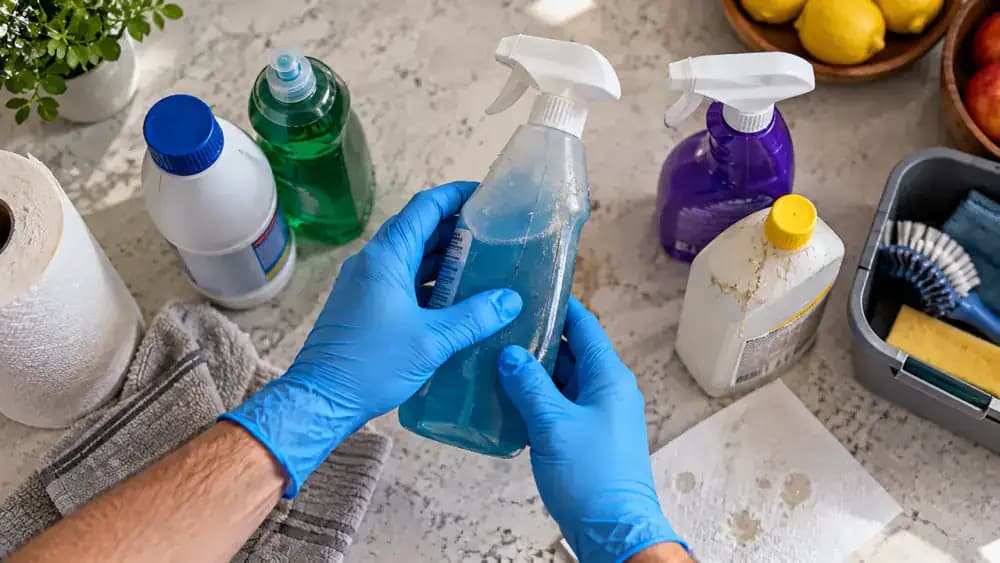
Arrange the cleaning bottles upright on a clean protective mat, keeping them separated. Wearing protective gloves, rotate each bottle to check its base for cracks, then inspect the closed cap and exterior for leaks, moisture, or sticky residue. Wipe intact, sealed containers with a clean microfiber cloth, keeping product labels visible. Group clean bottles separately and isolate damaged or leaking containers in a shallow plastic tray for disposal according to label instructions and local guidelines.
Return Clean Supplies to the Cabinet
Place each inspected, tightly sealed cleaning bottle upright inside the waterproof containment tray, keeping heavier containers toward the back and frequently used products near the front. Store products in their original labeled containers, follow storage instructions, and separate incompatible chemicals. Leave small gaps between bottles so you can spot moisture or leaks. Make sure the drain pipes, supply lines, and water shutoff valves remain visible and accessible without moving heavy containers.
Check for Fresh Moisture After Using the Sink
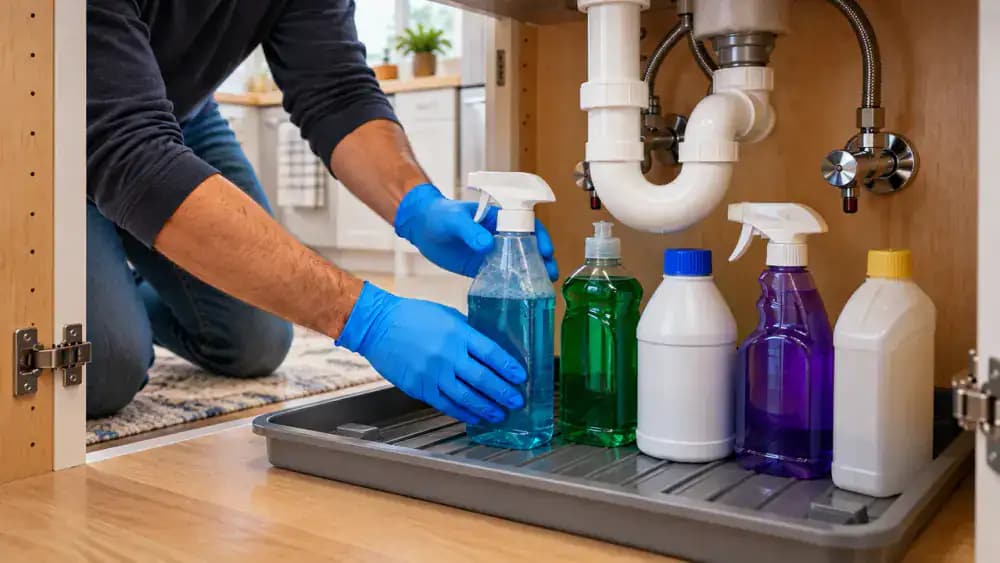
Run the faucet briefly, letting water flow directly into the drain, then turn it off and open the cabinet doors. Inspect the containment tray, exposed pipe connections, drain trap, and cabinet seams. Gently press a fresh, dry paper towel against accessible surfaces and check it for damp spots. Keep cleaning bottles clear of the plumbing and shutoff valves. If fresh moisture or dripping appears, stop using the sink and arrange repairs.
Monitor the Cabinet Over the Following Days
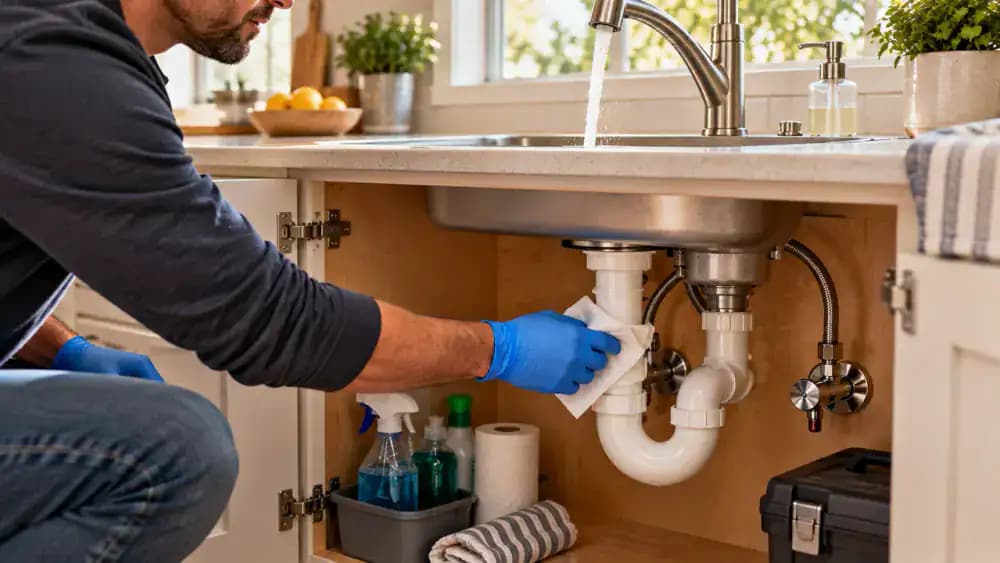
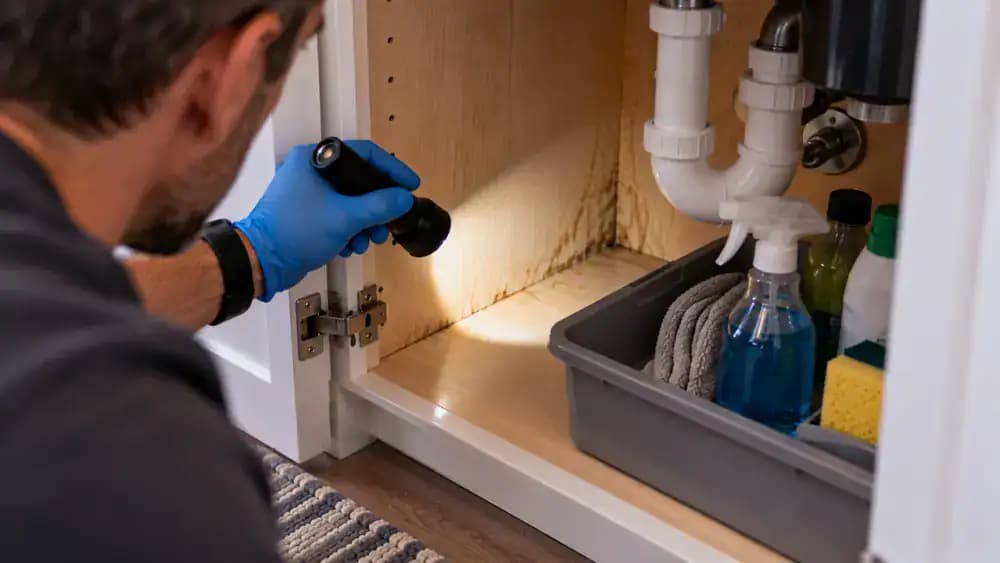
Inspect the cabinet after normal sink use for several consecutive days, using a handheld flashlight to examine the drain trap, supply connections, waterproof tray edges, and rear seams. Mark each completed inspection on a simple daily checklist, noting any new damp spots, stains, or unusual odors. Keep cleaning products sealed and avoid touching or loosening plumbing fittings. If moisture reappears, stop using the sink and have the underlying leak repaired before continuing.
Establish a Monthly Cabinet Inspection Routine
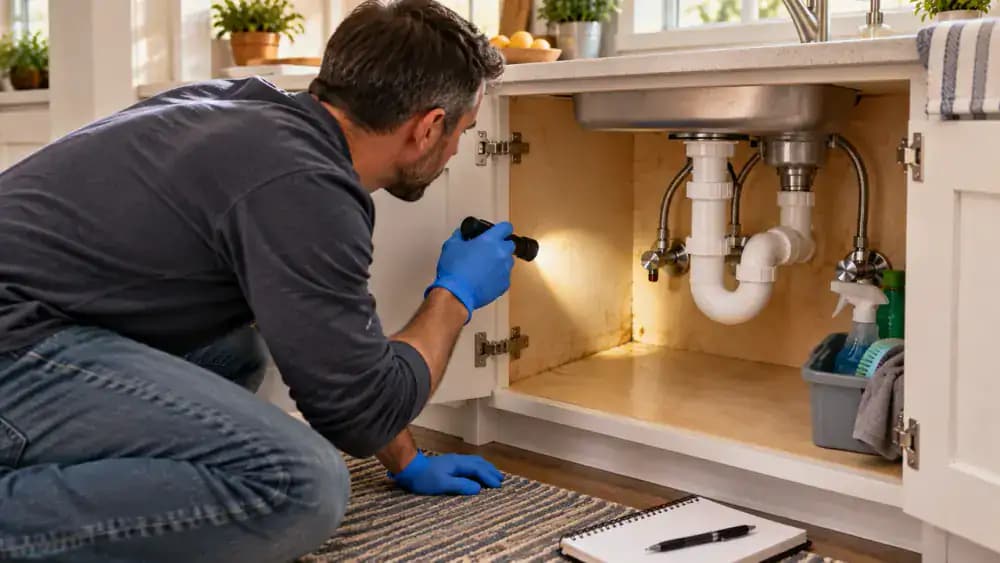
Circle the first Saturday of every month on a household maintenance calendar and label it Under-Sink Cabinet Check. Open both cabinet doors and visually inspect accessible pipe connections, cabinet seams, and sealed cleaning bottles for stains, cracks, residue, or moisture. Check beneath accessible storage areas by carefully lifting an empty removable tray section, then return it without disturbing plumbing or chemicals. Keep the containment tray clean and shutoff valves accessible.
Know When to Escalate a Recurring Leak
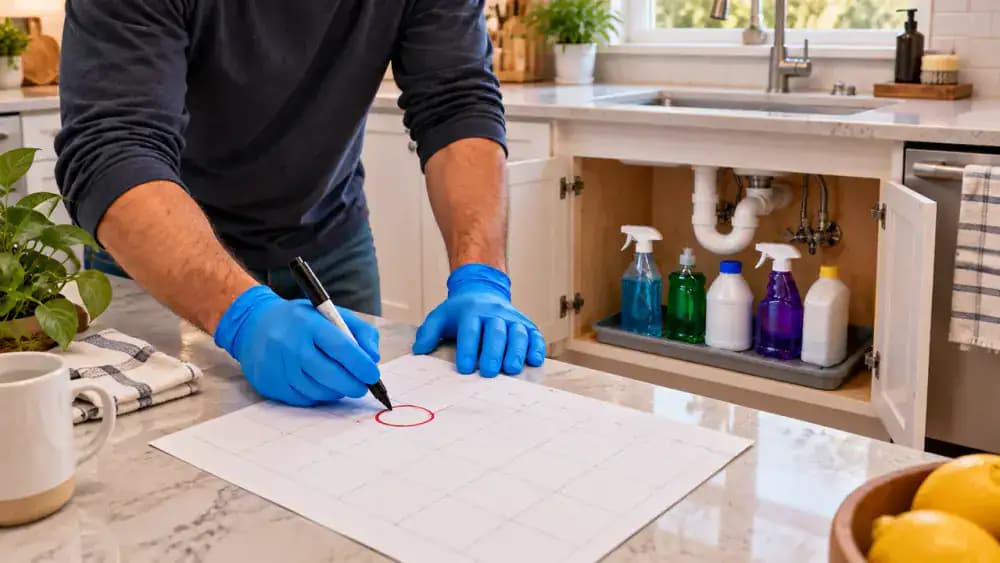
Watch for recurring damp spots, swollen laminate, discolored cabinet edges, or persistent musty odors during monthly inspections. If these warning signs appear, remove stored supplies and place them on a separate dry mat. Keep the affected cabinet area empty, attach a warning tag, and contact a qualified plumber for an inspection. Avoid disturbing plumbing connections or repeatedly cleaning over the problem. Take dated photos to help document changes before the appointment.
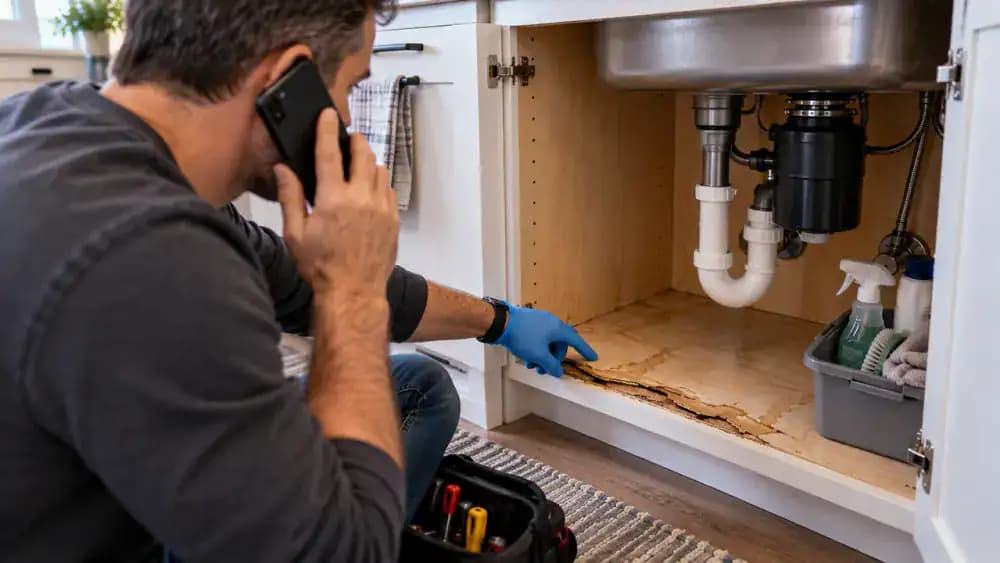
Keep Damaged Cabinets Empty Until Repaired
Wearing protective gloves, carefully remove cleaning supplies from the affected under-sink cabinet and transfer sealed bottles to a dry, secure storage shelf. Follow each product's storage instructions and keep incompatible chemicals separated. Leave both cabinet doors open when safe to help trapped moisture escape. Avoid covering swollen laminate or discolored areas with liners or trays. Keep cabinet seams and plumbing connections visible so a professional can inspect the damage without obstructions.
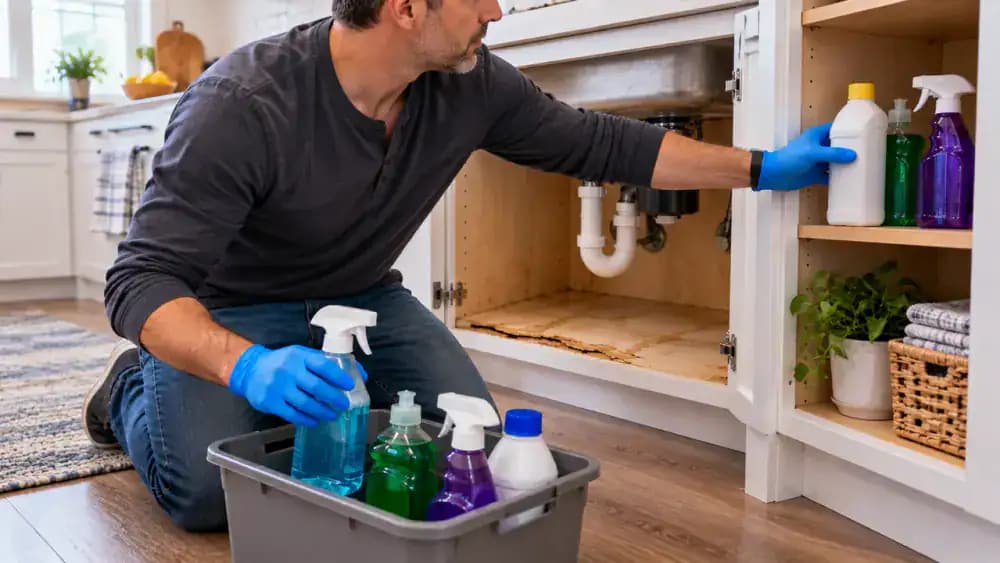
Know When the Cabinet Is Ready for Use Again
Review the professional's inspection report before restoring your under-sink storage. Damaged particleboard may need replacement rather than surface cleaning. Complete recommended repairs, confirm the plumbing leak has been corrected, and make sure the replacement cabinet floor is completely dry. Once the professional's recommendations are satisfied, position an empty waterproof containment tray inside. Return only clean, tightly sealed supplies, keeping bottles upright and leaving shutoff valves and the drain trap accessible.
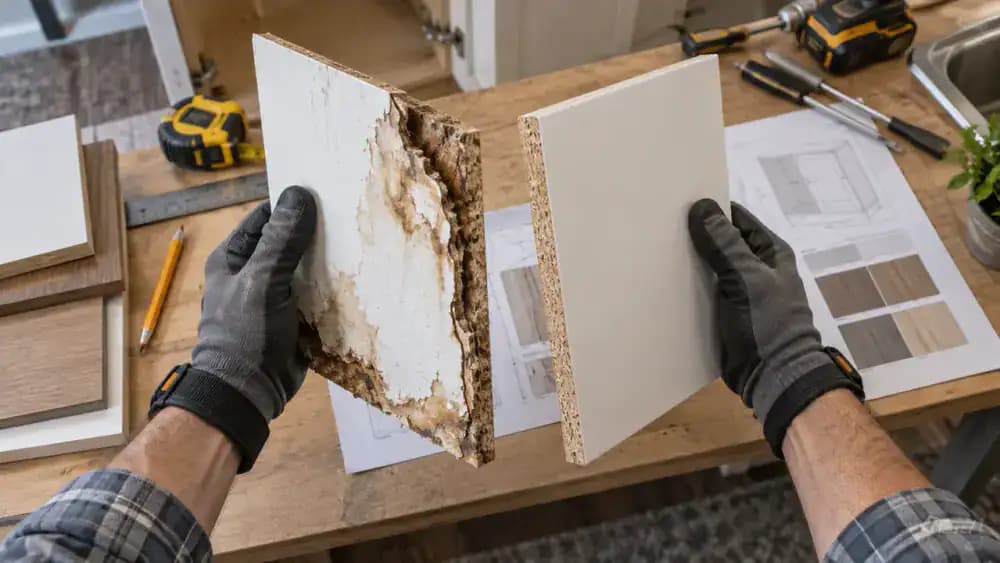
Keep the Containment Tray Easy to Inspect
Move the sealed cleaning bottles onto a dry protective mat, keeping each container upright. Check the empty tray's raised edges, corners, and waterproof surface for trapped liquid, residue, cracks, or warping. Carefully lift the tray with both hands to examine its underside without disturbing plumbing connections. Return it to position and replace the bottles, leaving enough clearance to spot future spills and reach shutoff valves. Clean the tray according to manufacturer instructions when needed.
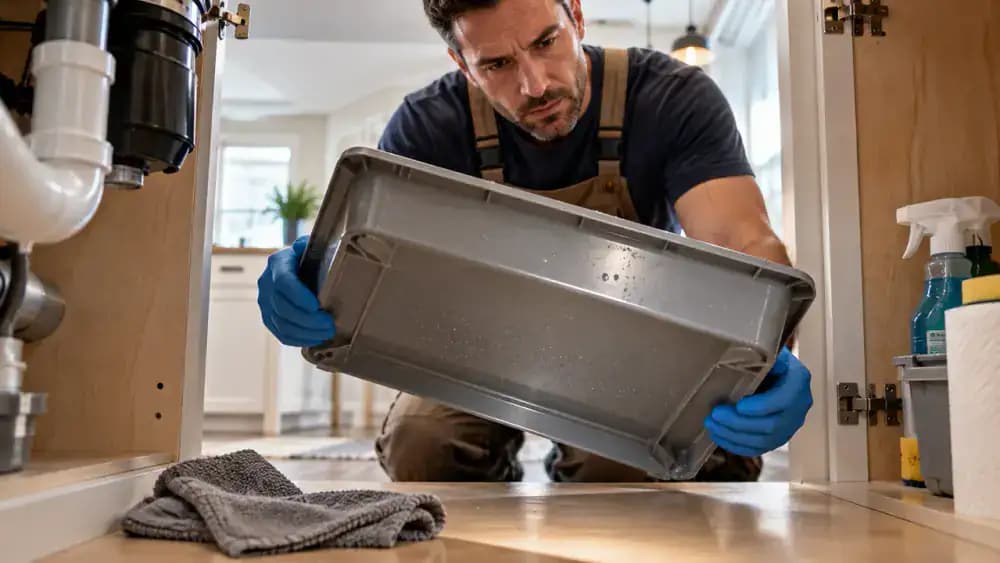
Inspect Hidden Cabinet Seams for Moisture Damage
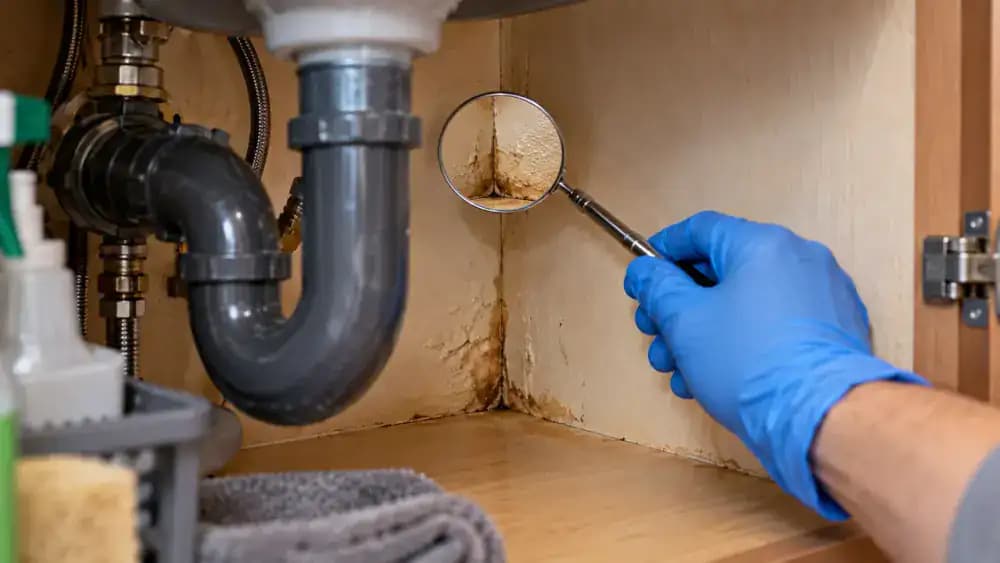
Hold a small inspection mirror near the back corners of your under-sink cabinet, using natural daylight to examine seams that are difficult to see directly. Compare the surfaces with a reference card showing darkened joints, bubbling laminate, and separating panel edges. Inspect the side walls and exposed front edges without touching damaged areas. Keep containers away from these seams, and photograph suspicious changes to compare during future checks.
Leave Space Between Cleaning Bottles and Cabinet Walls
Move cleaning bottles slightly inward so they do not touch the back or side walls of the cabinet. Keep each container upright, tightly capped, and inside the waterproof containment tray, with incompatible products safely separated. Leave enough clearance to see cabinet seams, check for moisture or residue, and notice damaged packaging. Make sure plumbing shutoff valves remain accessible. During routine checks, inspect these visible gaps without removing every bottle.
Keep the Containment Tray Easy to See
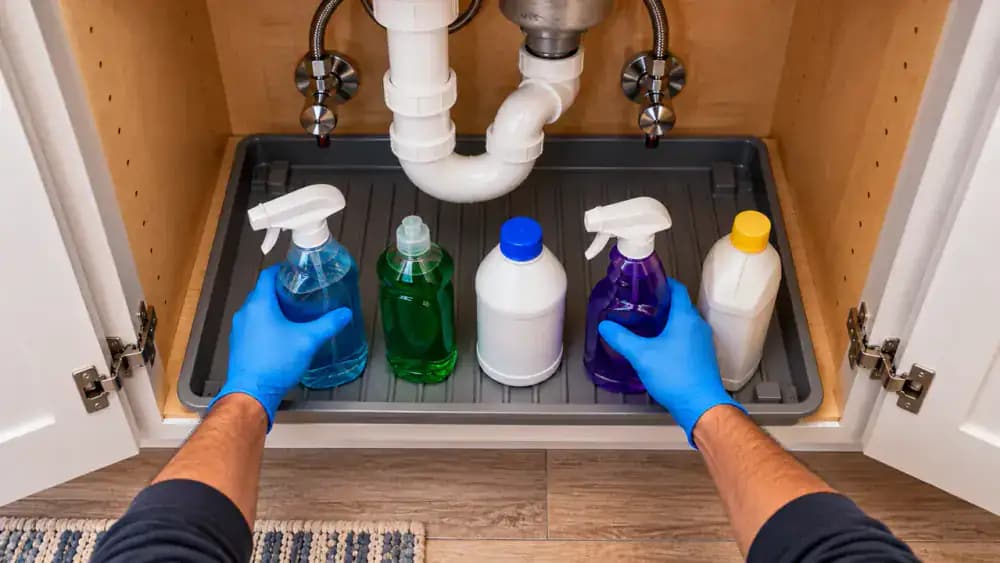
Lift any cleaning cloth draped over the tray's raised rim and place it on a separate dry shelf. Move spray bottles completely inside the tray, keeping them upright and tightly sealed. Check that the front, sides, and rear corners remain visible, with no stacked supplies hiding the tray floor. Leave enough room between containers to spot new moisture quickly and remove individual bottles without disturbing nearby supplies or blocking plumbing access.
Keep a Clear View of the Cabinet Floor
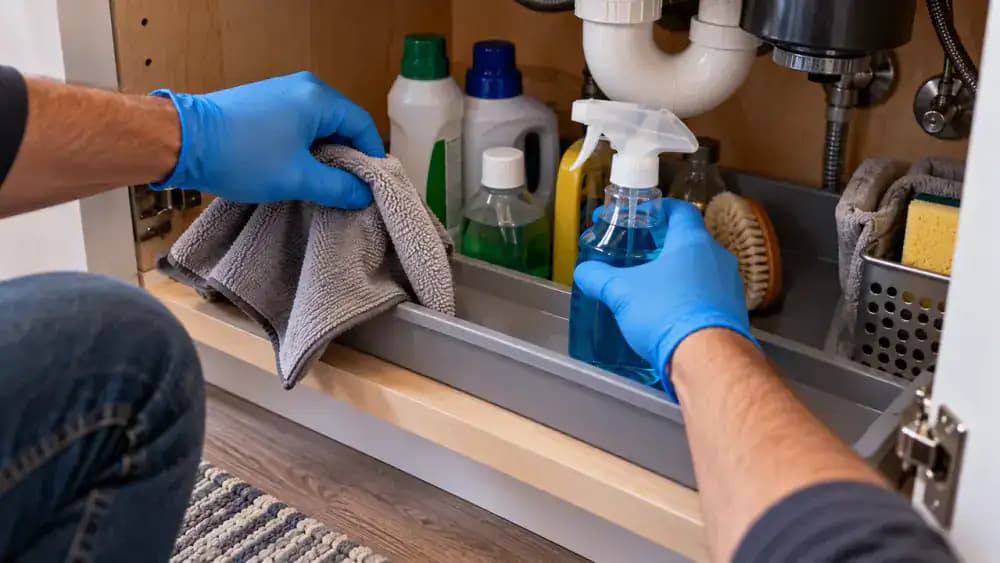
Move small, tightly sealed cleaning containers upright into the waterproof tray, leaving the exposed cabinet floor and front corners unobstructed. Shine a handheld flashlight along the narrow floor strips beside the tray and into each front corner. Look for discoloration, damp spots, swelling, or unusual marks that could indicate moisture. Check these areas whenever you retrieve supplies, and avoid touching suspected moisture or nearby plumbing components until the cause is identified.
Make Monthly Under-Sink Inspections a Simple Habit
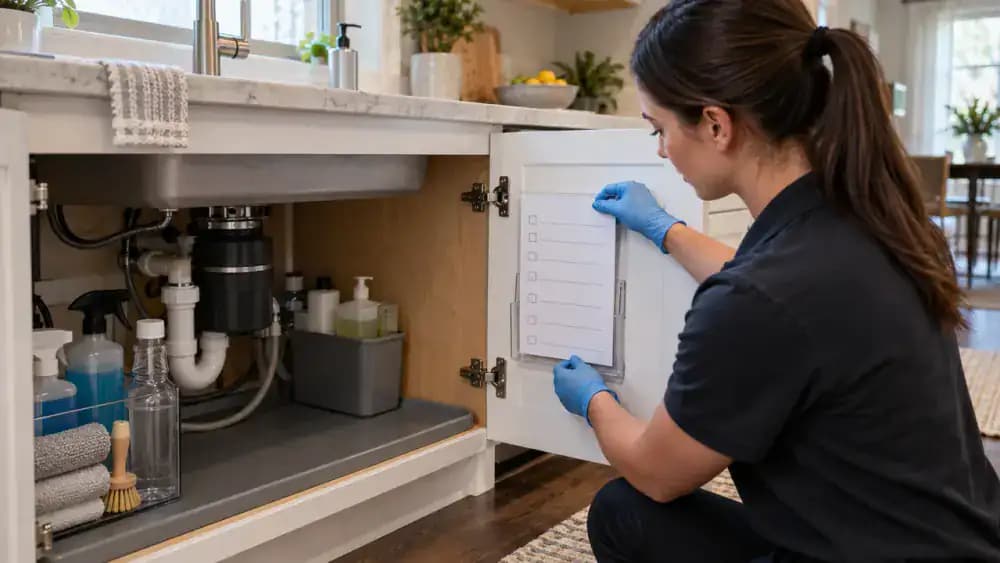
Remove your laminated inspection checklist from the utility drawer and review the items for pipe connections, cabinet seams, tray edges, and stored bottles. Use a pencil to mark reminders, then place the checklist in a clear holder on the dry cabinet door, away from plumbing and chemicals. Each month, check for moisture, stains, or residue and note anything unusual. Investigate new warning signs promptly, even after a previous cleanup.
Keep Your Under-Sink Cabinet Clean and Protected
With the cabinet floor dry, the waterproof containment tray positioned beneath the plumbing, and cleaning products sealed and upright, gently close both cabinet doors. Place a reusable monthly inspection reminder on the outside without blocking the handle. During each check, look for moisture, stains, unusual odors, or damp materials around the pipes and cabinet floor. Keep shutoff valves accessible, and investigate any returning moisture promptly before additional damage develops.

You open the cabinet under your kitchen sink and find damp cleaning supplies, soggy packaging, and a musty smell that wasn't there yesterday. Maybe there's a dark stain along the cabinet floor or a small puddle beneath the drainpipe. It's tempting to grab a towel, wipe everything down, and put your supplies back. But if a pipe connection is still dripping or a bottle is leaking, that moisture will return. Even a small, ongoing leak can damage cabinet materials, trap unpleasant odors, and create conditions where mold can grow.
Cleaning up properly starts with finding and stopping the source of the water, not just drying what you can see. Once the leak is resolved, you'll need to empty the cabinet, remove trapped moisture, clean affected surfaces, and check whether any materials are too damaged to save. Never mix spilled household chemicals. If water has reached electrical equipment, sewage is involved, or extensive mold is present, stop and contact a qualified professional. With the right precautions, you can restore a clean, dry cabinet and help prevent another messy surprise.
Where people go wrong
Cleaning the Cabinet Before Fixing the Leak. Wiping up water without stopping the leak only creates a temporary improvement. Check supply lines, drain connections, the trap, and stored bottles for fresh moisture using a dry paper towel. If the source involves plumbing you cannot safely repair, contact a qualified professional before cleaning.
Leaving Hidden Moisture Under Shelf Liners. A cabinet floor may feel dry while water remains trapped beneath shelf liners, along seams, or around fasteners. Remove liners and absorb standing water before drying corners and edges thoroughly. Use ventilation or a fan only when electrical conditions are safe, and inspect for swelling or softness.
Using Harsh Cleaners or Mixing Spilled Chemicals. Strong cleaning products can damage cabinet finishes, and mixing spilled household chemicals can create dangerous reactions. Wear protective gloves, separate leaking containers, and never combine unknown residues. Clean compatible cabinet surfaces with mild dish soap and water according to manufacturer guidance, then remove residue and dry everything thoroughly.
Covering Up Water Damage Instead of Replacing Damaged Material. Peeling laminate, swollen particleboard, soft spots, and persistent musty odors can indicate damage that surface cleaning cannot correct. Do not hide these problems beneath a new shelf liner. Replace deteriorated materials when necessary, seek professional help for extensive mold, and check for returning moisture after normal sink use.
Questions people ask
Start by checking the supply lines, pipe connections, drain trap, and any bottles stored inside the cabinet. Gently press a dry paper towel against each area to identify fresh moisture without loosening connections. If you find an active plumbing leak, shut off the appropriate water valve and arrange a qualified repair.
Fixed it?
Get one guide like this every Thursday.