How to Clean Toaster Crumbs and Burned Bits Without Damaging Your Toaster
Burned crumbs can leave your toaster smelling smoky and looking dirty. Learn how to safely clean the crumb tray, remove accessible debris, wipe the exterior, and spot warning signs without damaging heating elements or electrical components.

What you’ll need
Tap to tick things off before you start.
Check for Crumbs and Burned Debris Beneath Your Toaster
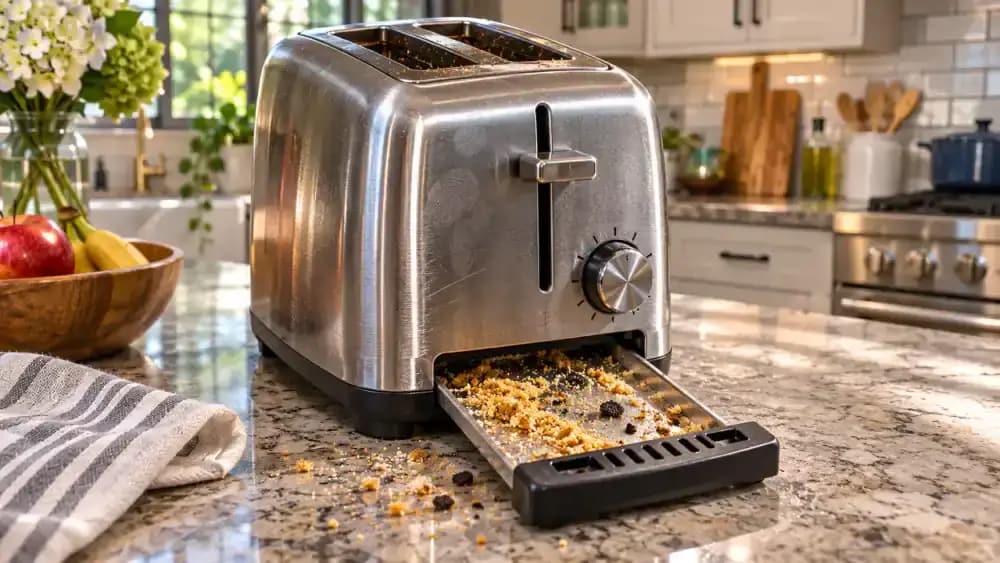
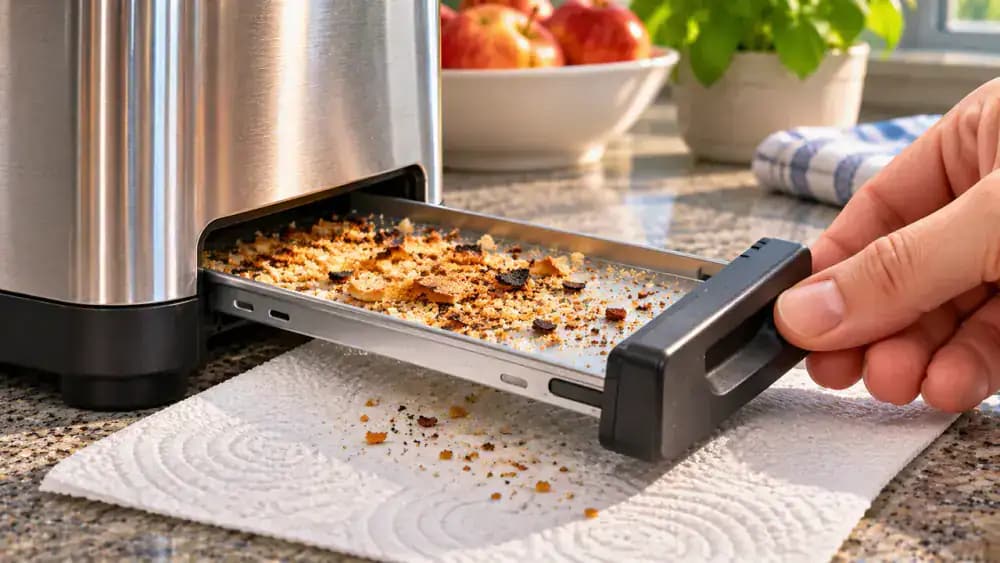
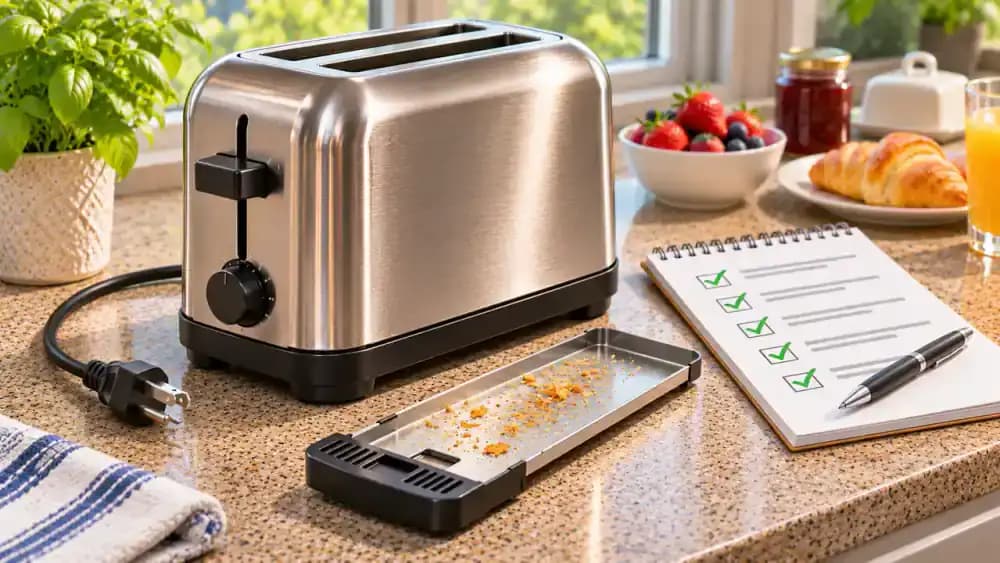
Look closely at the partially opened crumb tray beneath the stainless steel toaster. Golden breadcrumbs, dark burned fragments, and fine debris can accumulate here, even when the outside looks spotless. These leftovers may scorch during normal use and cause unpleasant odors. Before inspecting the tray, always unplug the toaster and let it cool completely. Place it on a stable, dry countertop, and check the manufacturer's instructions for safe tray removal.
Use the Crumb Tray Instead of Shaking Your Toaster
Keep the unplugged, completely cool toaster upright on a stable, dry countertop. Notice the loose breadcrumbs beside it and locate the removable crumb tray near the bottom. Shaking or flipping the appliance may leave debris trapped around internal components and could damage delicate heating elements. Instead, identify the tray release area and check the manufacturer's cleaning instructions. Plan to empty the tray first, then gently clean only approved accessible areas.

Disconnect the Power Cord Before Touching the Toaster
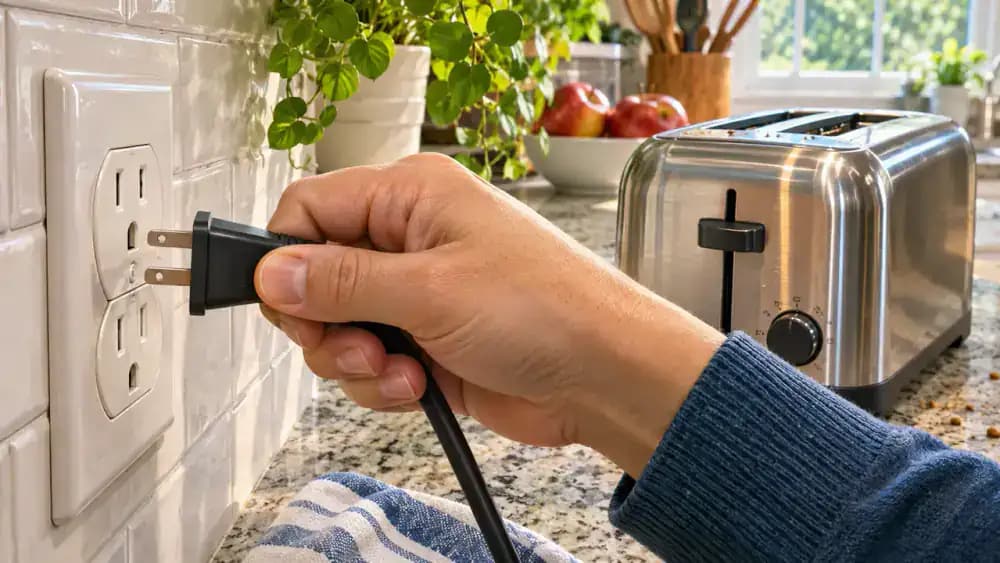
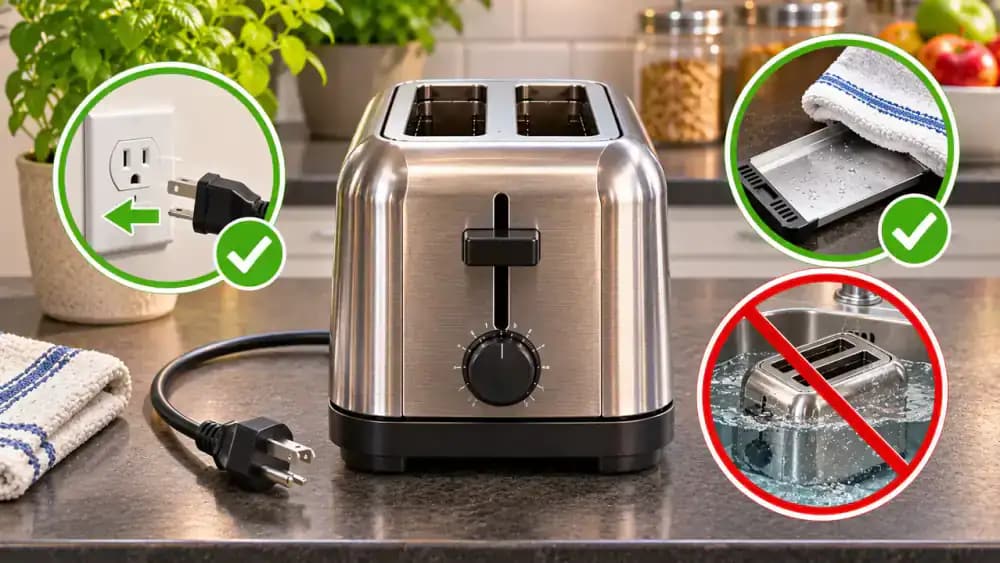
Grip the insulated body of the toaster's plug and pull it straight out of the wall outlet, as shown. Never yank the cord or touch the metal prongs. Place the disconnected plug on a dry countertop where it remains clearly visible. Even when the toaster is switched off, it must be unplugged before cleaning. Wait until the appliance has cooled completely before opening the crumb tray or wiping any surfaces.
Allow the Toaster to Cool Before Handling Any Parts
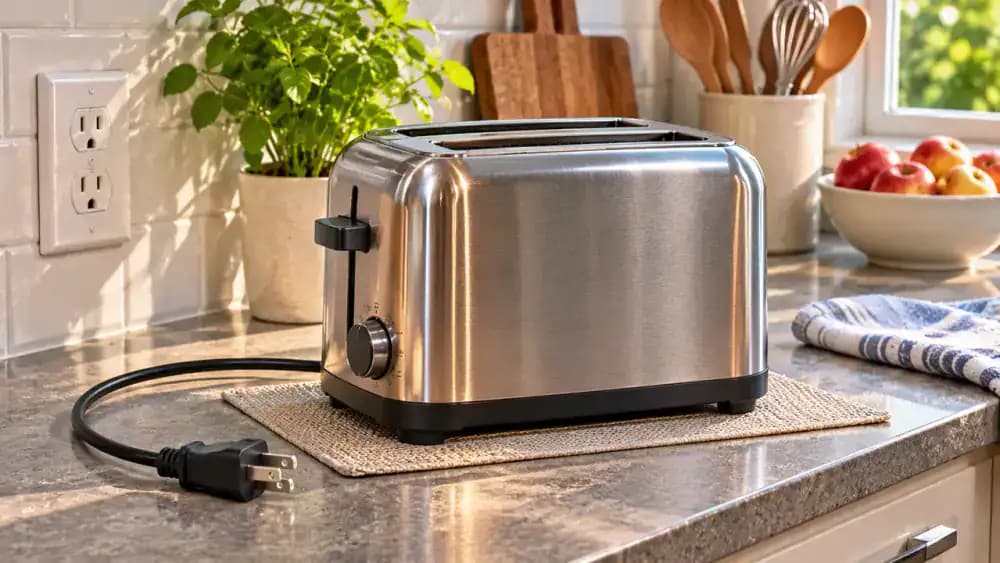
Leave the unplugged toaster upright on a dry, heat-resistant countertop, with its disconnected plug resting safely beside it. Heating elements and surrounding metal surfaces can remain hot long after toasting finishes, so allow plenty of time for everything to cool naturally. Avoid touching the slots or reaching inside to check the temperature. Cooling time varies by appliance and recent use. Begin cleaning only when the toaster is completely cool.
Set Up a Dry, Spacious Countertop for Cleaning
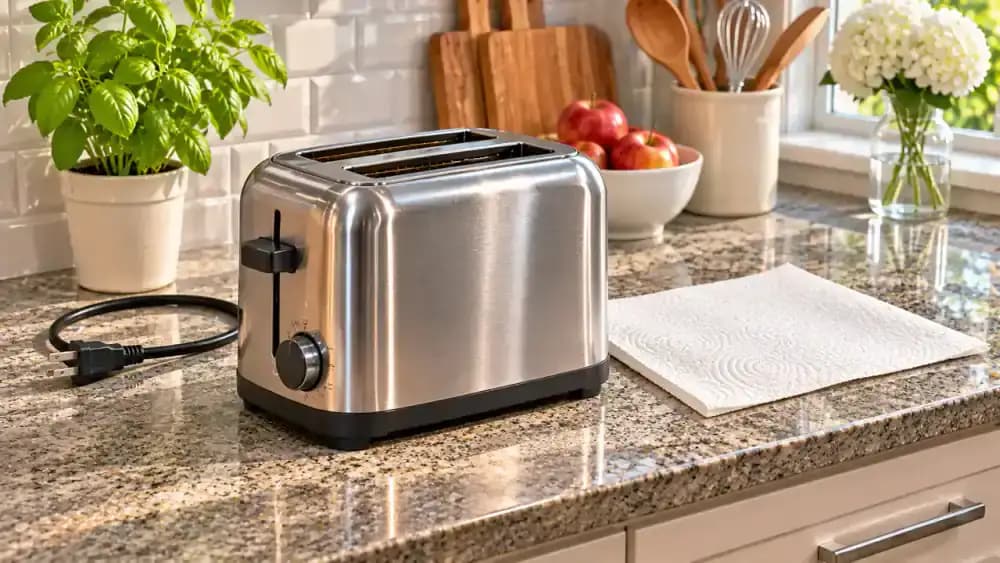
Carefully lift the unplugged, completely cool toaster by its exterior sides and place it upright on a clean, dry, stable countertop away from the sink. Make sure all four feet rest securely on the surface, with enough space to remove the crumb tray comfortably. Position the disconnected power cord away from your working area. Lay a paper towel beside the toaster to catch loose crumbs and simplify cleanup afterward.
Gather Gentle Cleaning Supplies and Check Your Toaster's Manual
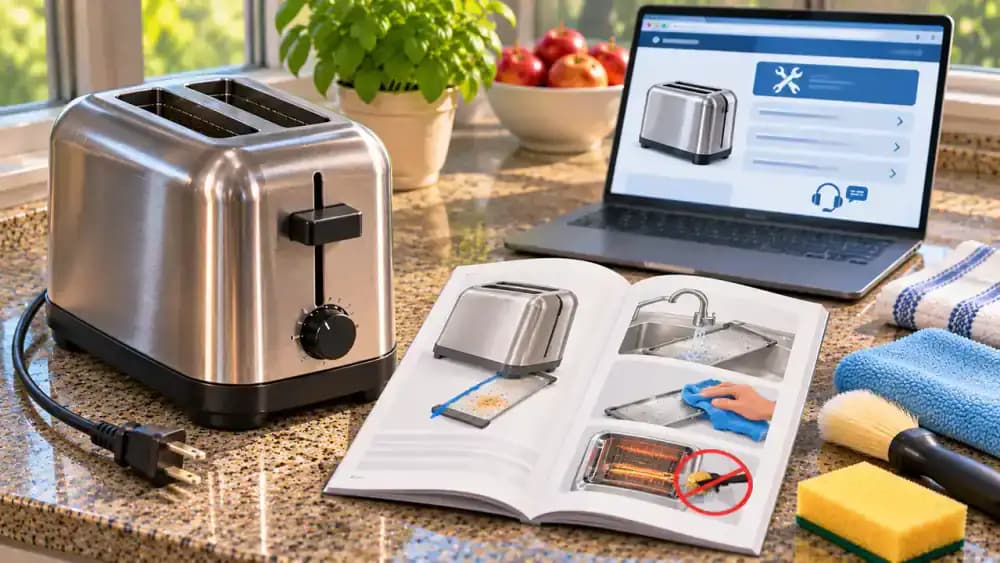
Arrange a soft-bristle brush, two microfiber cloths, mild dish soap, and a small bowl of warm water on your prepared countertop. Keep the water well away from the unplugged, completely cool toaster and its power cord. Use the brush for loose crumbs in manufacturer-approved accessible areas, one cloth for lightly dampened exterior cleaning, and the other for drying. Check your toaster's instruction manual for specific cleaning restrictions before proceeding.
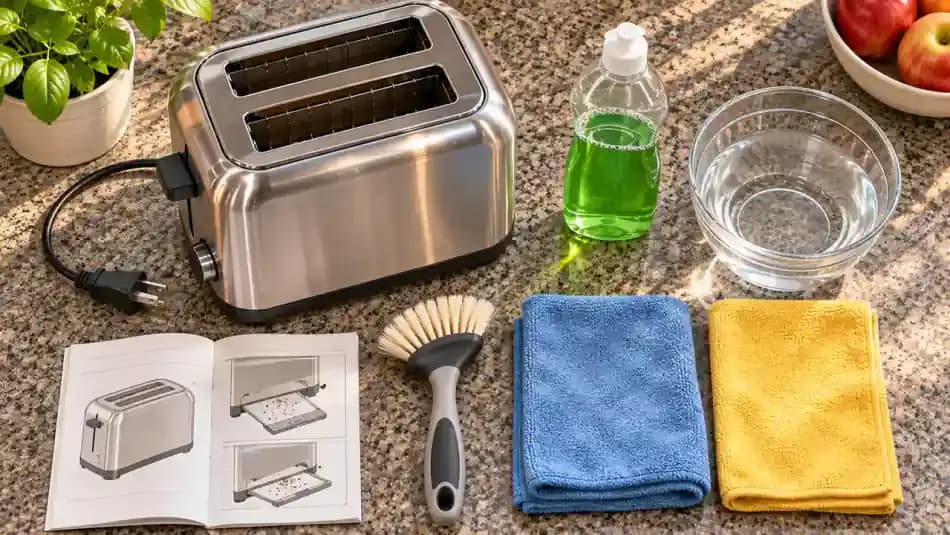
Confirm How to Remove and Clean Your Toaster's Crumb Tray
Open your toaster's owner's manual to the cleaning and maintenance section. Find the crumb tray removal diagram and compare it with the tray handle on your appliance. Check whether the tray slides out, requires a release mechanism, or has special handling instructions. Confirm whether washing with mild soapy water is permitted and which areas allow gentle brushing. Following these model-specific directions helps prevent damaged parts and accidental moisture exposure.
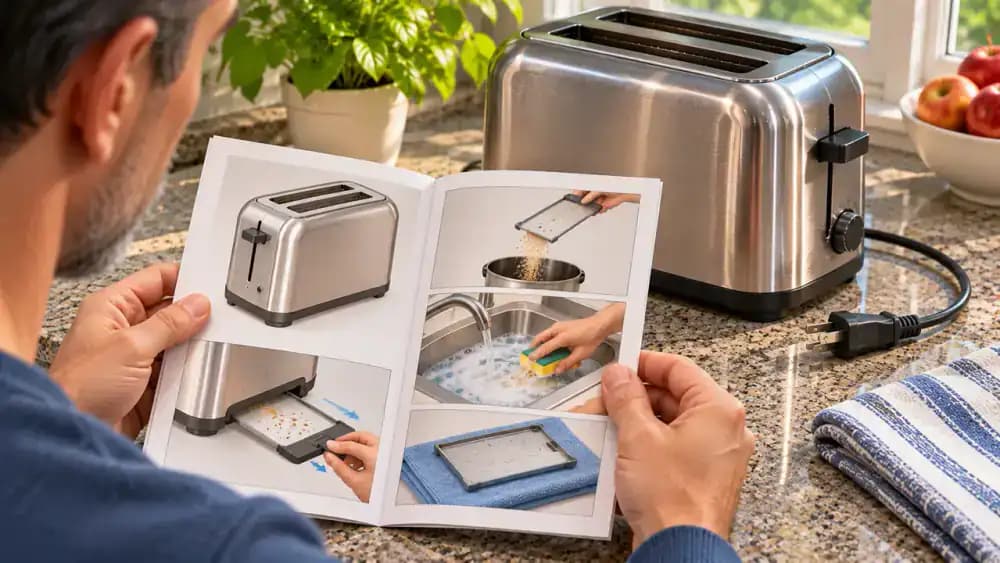
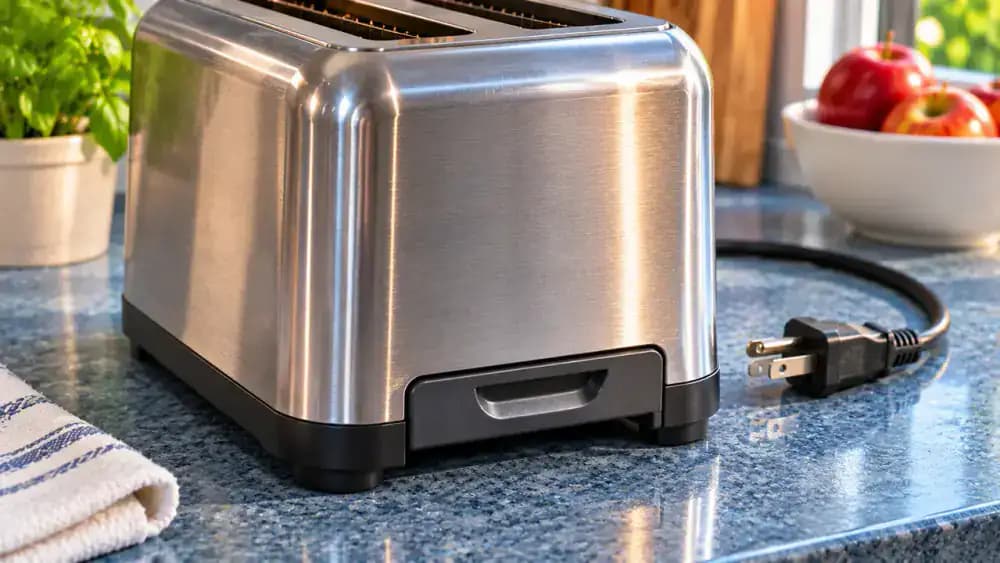
Find the Crumb Tray Handle Near the Toaster's Base
Gently rotate the unplugged, completely cool toaster by holding its exterior sides, keeping it upright on the dry countertop. Examine the lower back and side panels for a narrow removable tray with a small handle, tab, or recessed grip. The tray usually sits close to the base, but its location varies by model. Compare what you see with your owner's manual before attempting removal. Do not force any unfamiliar panels.
Slide Out the Crumb Tray Without Spilling Debris
Steady the unplugged, completely cool toaster with one hand while gripping the crumb tray handle with the other. Slowly slide the tray straight out along its guides, keeping it level so loose breadcrumbs and burned fragments stay inside. If you encounter resistance, stop and check the manufacturer's instructions for a release mechanism. Once removed, place the tray flat on your prepared paper towel without emptying it yet.
Empty Loose Breadcrumbs and Burned Bits Into the Trash
Hold the detached crumb tray over a lined kitchen trash can and slowly tilt it until loose breadcrumbs and burned fragments fall into the bag. Keep the tray close to the opening to prevent crumbs from scattering across the floor. If particles remain, gently tap the tray against the inside rim of the trash can. Avoid banging, bending, or scraping the metal. Leave stubborn residue for the next cleaning step.

Brush Remaining Crumbs From the Tray's Corners and Edges
Place the detached crumb tray on a clean paper towel and hold its outer rim steady. Using a soft, dry brush, gently sweep remaining breadcrumbs and burned particles from the corners, edges, and shallow grooves. Work with short, controlled strokes that follow the tray's contours, allowing debris to collect on the paper towel. Avoid abrasive scrubbing that could scratch the surface. Inspect the tray afterward to determine whether additional cleaning is necessary.
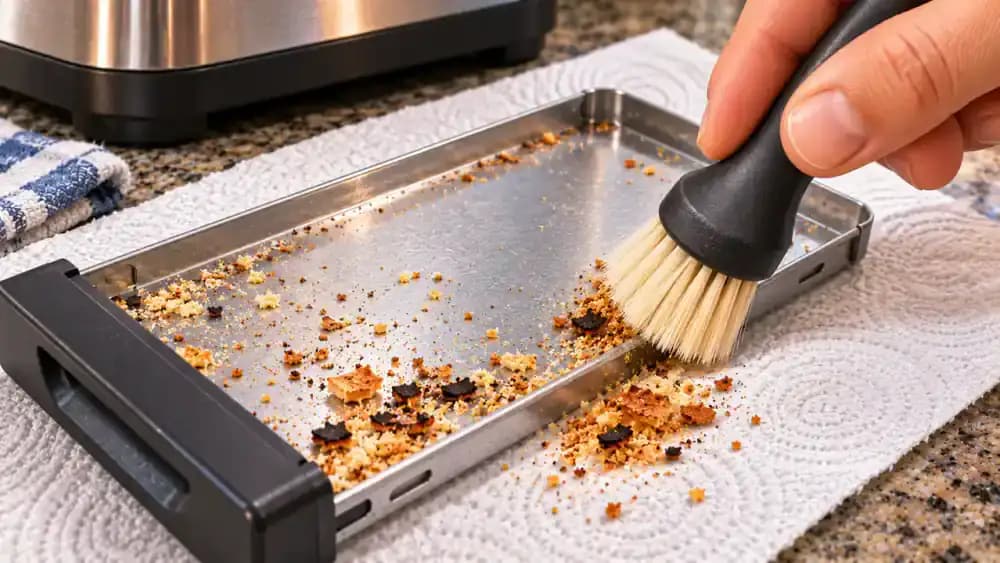
Gently Wash the Removable Crumb Tray If the Manufacturer Allows It
Check your toaster's manual to confirm that the detached crumb tray is washable. If approved, hold the tray over the sink and gently wipe its interior with a soft microfiber cloth, warm water, and a drop of mild dish soap. Rinse thoroughly to remove any soap residue, avoiding abrasive scrubbers or excessive pressure. Keep the unplugged toaster body on a separate, dry countertop, safely away from the sink and running water.
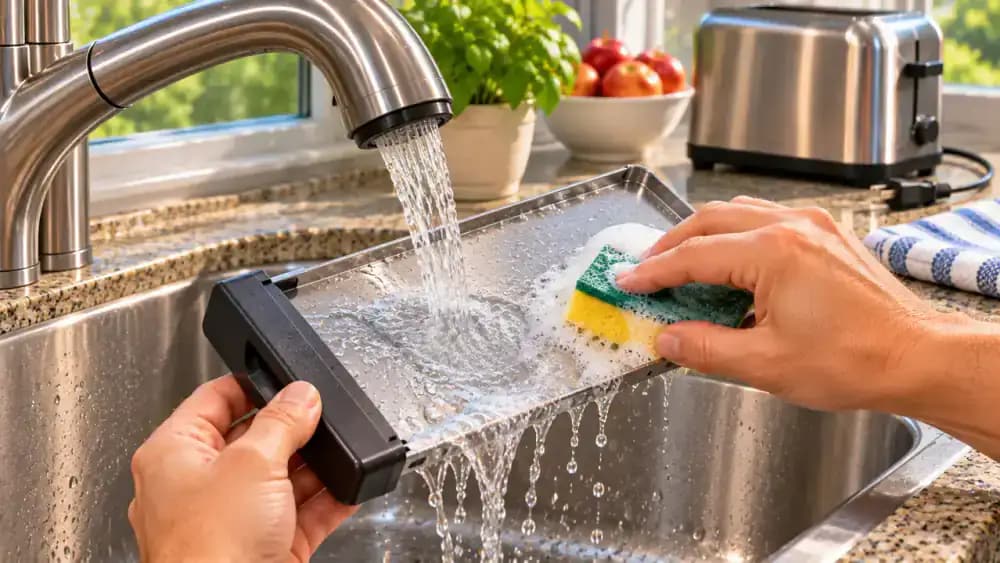
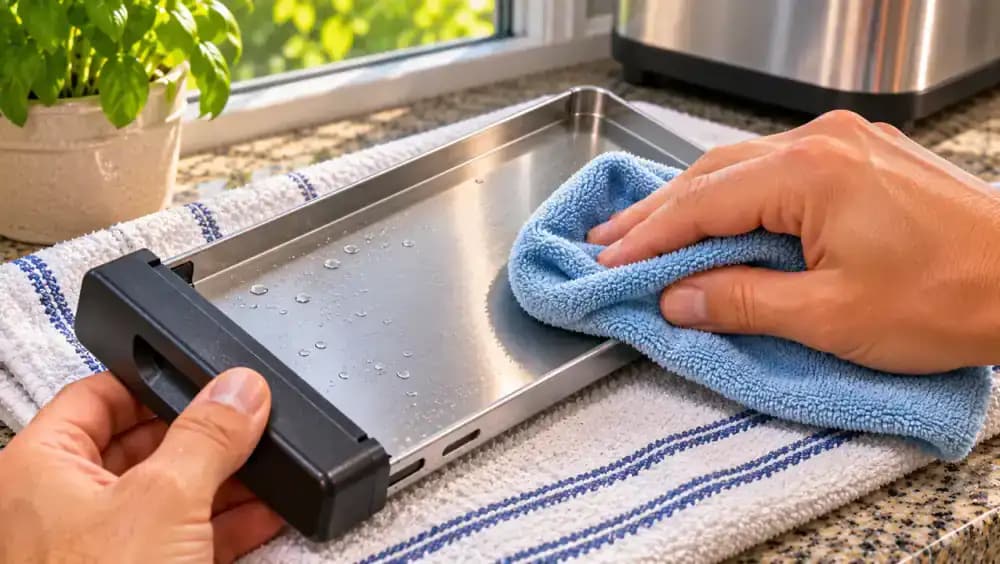
Dry Every Corner and Edge of the Crumb Tray Before Reassembly
Use a clean, dry microfiber cloth to wipe the freshly washed crumb tray, carefully absorbing water from its flat surface, corners, folded edges, and recessed handle. Turn the tray over and dry its underside, paying special attention to seams where droplets can collect. Place it face up on a fresh, dry towel and allow any remaining moisture to evaporate completely. Keep the tray separate from the toaster until it is fully dry.
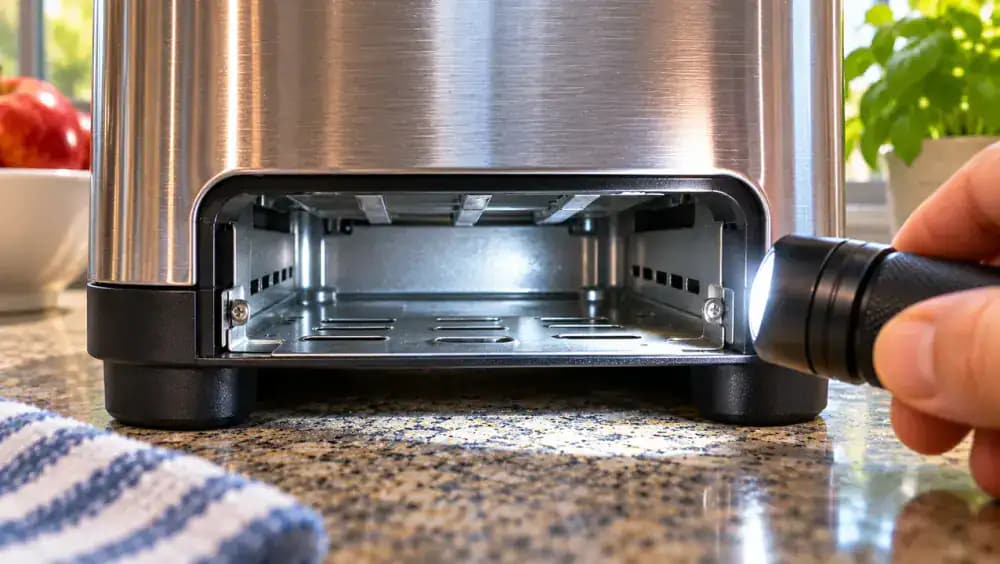
Check the Empty Crumb Tray Compartment for Hidden Debris
Keep the toaster unplugged, completely cool, and upright while the detached crumb tray finishes drying. Hold a small LED flashlight outside the empty tray opening and direct its beam across the visible lower edges. Look for loose breadcrumbs near the accessible outer lip and darker debris farther inside. Adjust the flashlight angle for a clearer view without inserting anything. Identify only manufacturer-approved cleaning areas, leaving debris near heating elements untouched.
Brush Loose Crumbs From the Outer Edge of the Tray Opening
With the toaster unplugged and completely cool, use a soft, dry brush to sweep loose breadcrumbs from the accessible outer lip of the empty crumb tray opening. Position a paper towel underneath to catch falling debris. Make several gentle strokes along the manufacturer-approved exterior edge, keeping the bristles outside the internal compartment. Never push the brush toward heating elements or internal mechanisms. Leave stubborn or inaccessible particles untouched rather than forcing them loose.
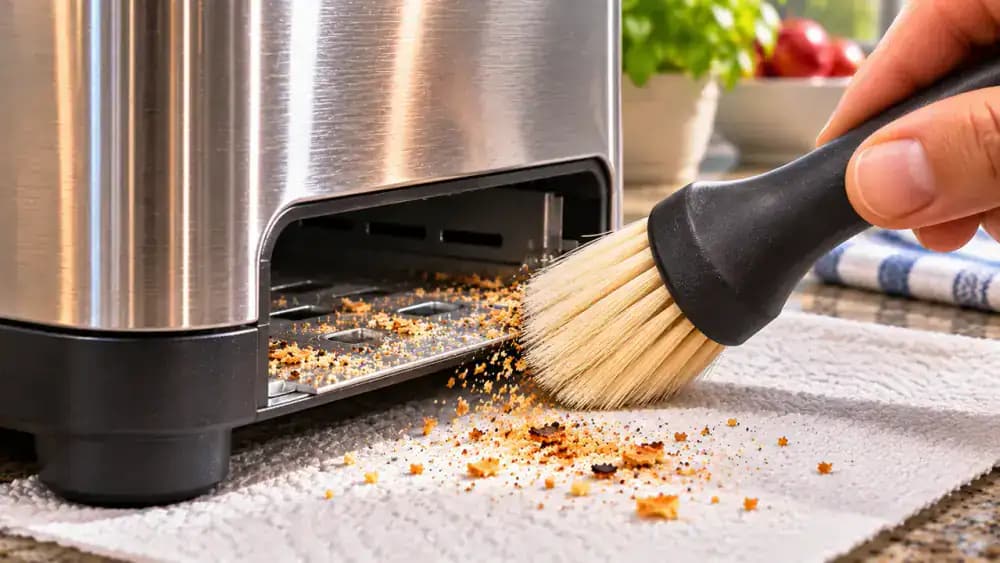
Leave Burned Debris Near the Heating Elements Untouched
Look at the toaster's slots without reaching inside, even if you can see dark, burned fragments trapped near the heating elements. These delicate wires and internal supports can be damaged by brushing, scraping, or pulling at stubborn debris. Keep fingers, knives, forks, and other metal tools out of the openings. Set your cleaning brush aside and consult the manufacturer about safe servicing options for particles you cannot reach through approved cleaning areas.
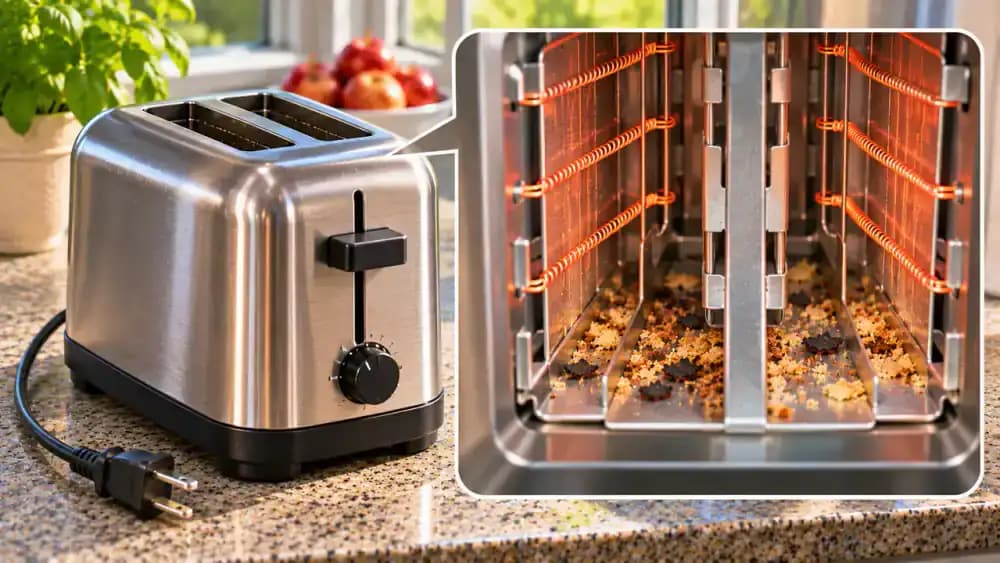
Stop Cleaning and Seek Guidance for Trapped Internal Debris
If burned crumbs remain trapped beyond approved cleaning areas, set your brush aside rather than attempting to reach them. Keep the toaster unplugged, completely cool, and upright while reviewing the maintenance and troubleshooting section of its owner's manual. Look for manufacturer-approved cleaning procedures or official support information. If the debris remains inaccessible, contact the manufacturer for servicing guidance. Never scrape, pry, shake, or dismantle the appliance to remove stubborn particles.
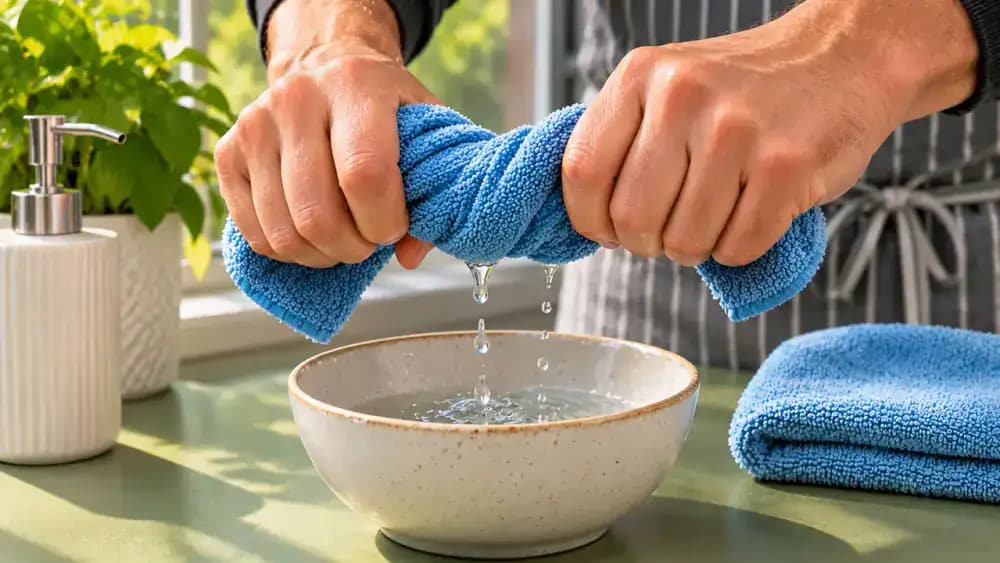
Prepare a Barely Damp Microfiber Cloth for Exterior Cleaning
Dip one corner of a clean microfiber cloth into a small bowl of warm water, then wring it out thoroughly until no droplets fall. The fabric should feel slightly damp, not wet. Keep the bowl away from the unplugged, completely cool toaster and its electrical cord. If your manufacturer's instructions permit it, a tiny drop of mild dish soap can help remove greasy fingerprints. Never spray cleaner directly onto the appliance.
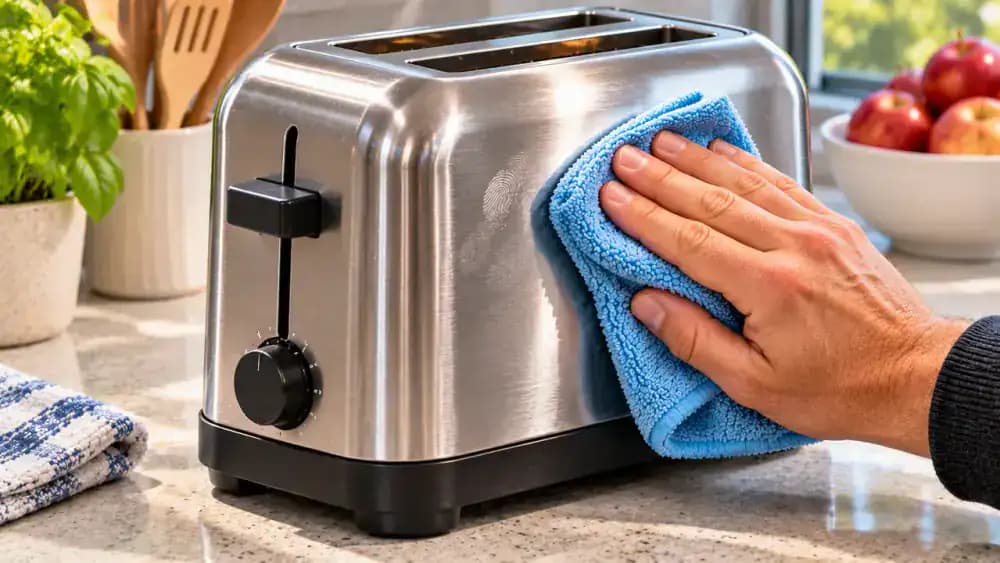
Remove Fingerprints and Smudges From the Toaster's Exterior
Gently wipe the toaster's broad stainless steel panels with your barely damp microfiber cloth, using smooth, overlapping horizontal strokes. Start near the upper middle section and work toward the lower exterior housing, removing fingerprints, dust, and greasy smudges. Keep the cloth away from toaster slots, seams, controls, and electrical connections. Apply light pressure to avoid scratching the finish, and never use abrasive cleaners. Keep the unplugged, completely cool appliance upright throughout cleaning.
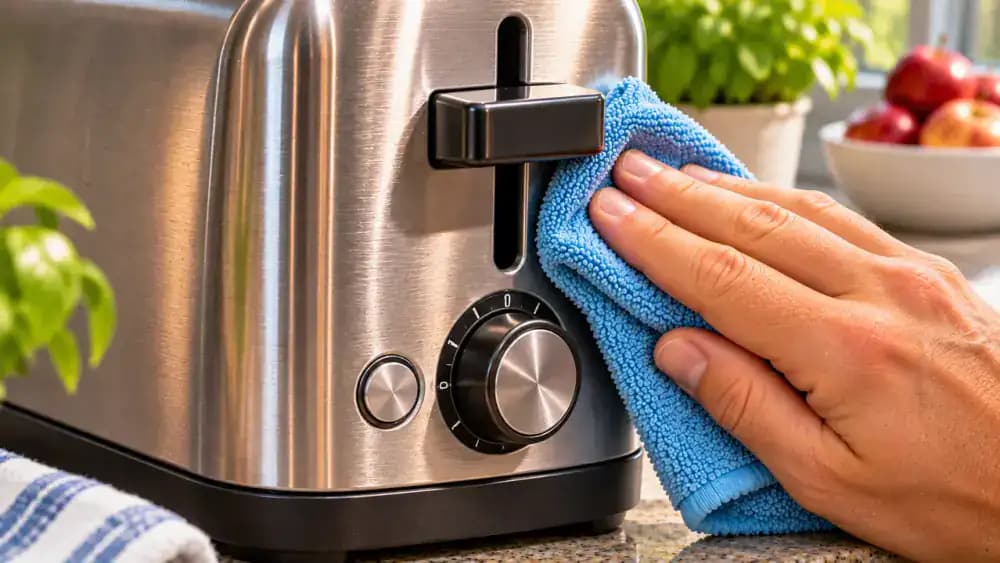
Wipe the Browning Dial, Buttons, and Lever Handle
Using your barely damp microfiber cloth, gently wipe the exposed surfaces of the browning dial, cancel button, and bread-lift lever handle. Fold the cloth into a small, flat corner to clean around accessible exterior edges without pushing fabric into gaps. Apply light pressure and avoid moving the controls unnecessarily. Keep moisture away from switches, seams, and electrical components. Never spray cleaner directly onto the unplugged, completely cool toaster.
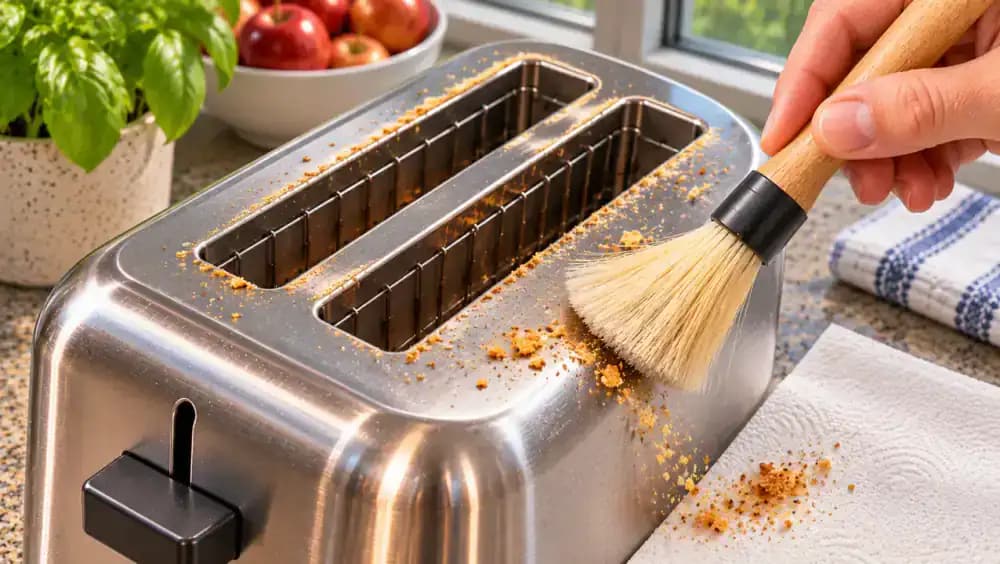
Brush Crumbs Away From the Outer Edges of Toaster Slots
Use a small, soft, dry brush to gently sweep loose breadcrumbs from the flat metal surface surrounding each toaster slot. Work with short, controlled strokes directed outward toward the exterior edges, preventing crumbs from falling into the openings. Position a paper towel beside the toaster to catch falling debris. Keep the brush entirely on the external surface, and never insert fingers, cloths, or tools into the slots or touch the heating elements.
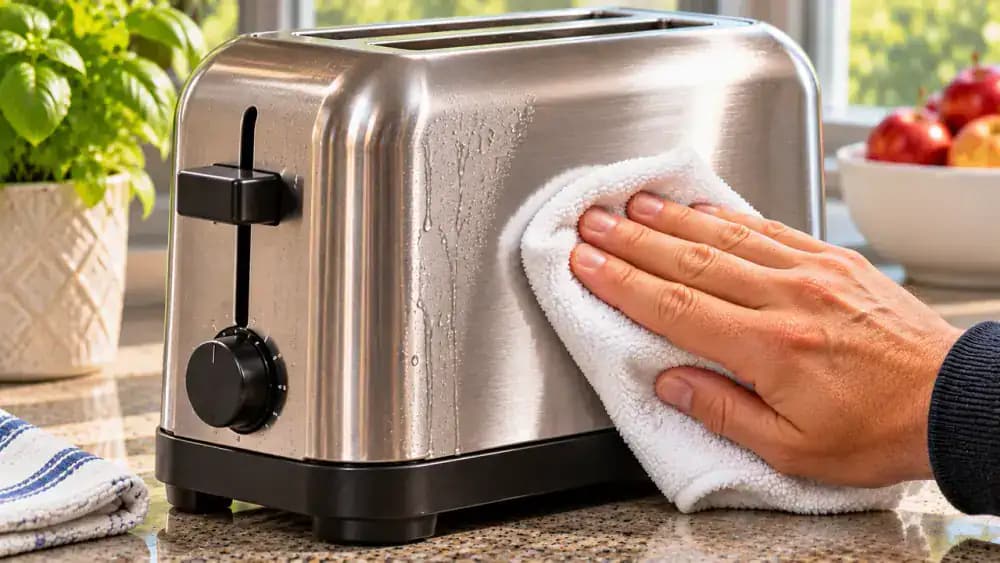
Remove Remaining Moisture From the Toaster's Exterior
Take a fresh, completely dry microfiber cloth and gently wipe the toaster's exterior housing using smooth downward strokes. Fold the cloth to dry the exposed browning dial, lever handle, and flat top panel without pushing fabric into openings. Pay special attention to exterior corners and areas where moisture or streaks may remain. Inspect the surfaces carefully and ensure everything is completely dry before reinstalling the crumb tray or reconnecting power.
Check the Toaster's Power Cord and Plug for Damage
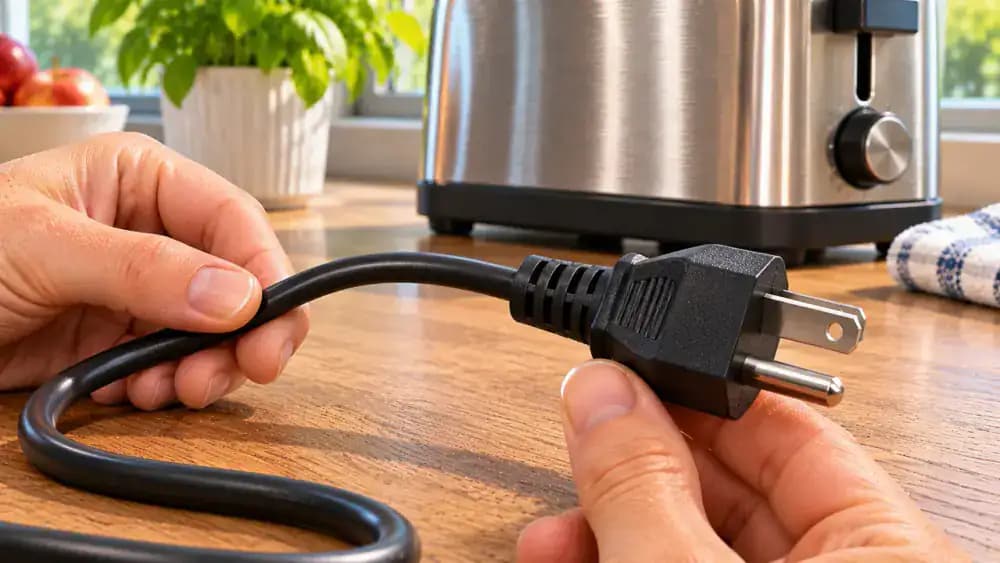
Lay the disconnected power cord in a gentle curve on a clean, dry countertop. Starting where it meets the toaster, visually inspect the insulation for cracks, fraying, exposed wires, or unusual discoloration. Continue toward the plug, checking its housing and metal prongs for damage or bending. Handle the insulated plug body without touching the prongs, and avoid pulling or twisting the cord. If you notice damage, leave the toaster unplugged.
Inspect the Toaster Housing and Crumb Tray for Damage
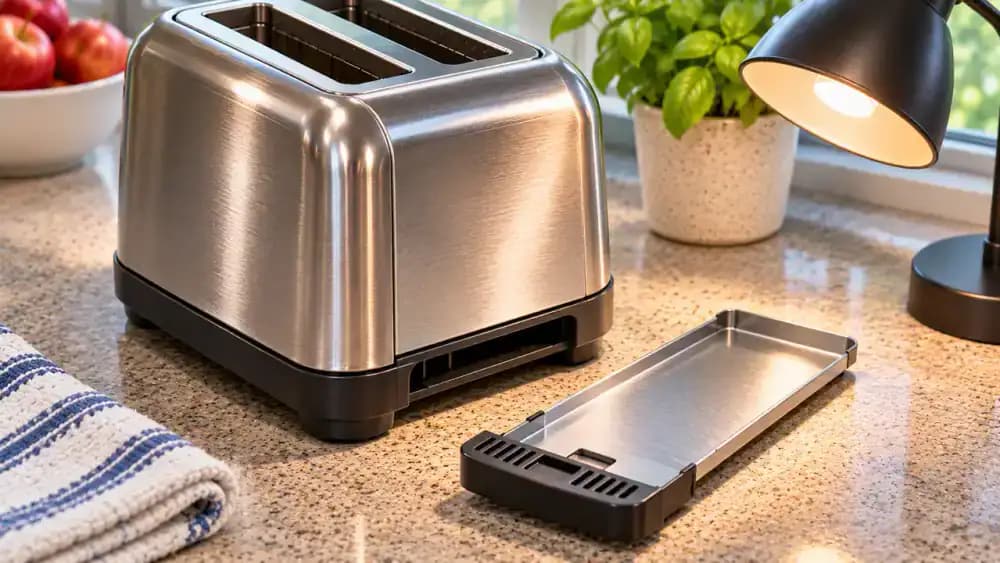
Examine the unplugged, completely cool toaster's exterior housing for cracks, loose panels, bent edges, or unusual discoloration that could indicate overheating. Next, hold the clean, completely dry crumb tray by its outer edges and inspect both sides under good lighting. Check the corners, handle, and sliding rails for damage, corrosion, or deformation. Place the tray beside the toaster without reinstalling it. If anything appears damaged or unsafe, stop and seek professional guidance.
Slide the Clean, Dry Crumb Tray Back Into Place
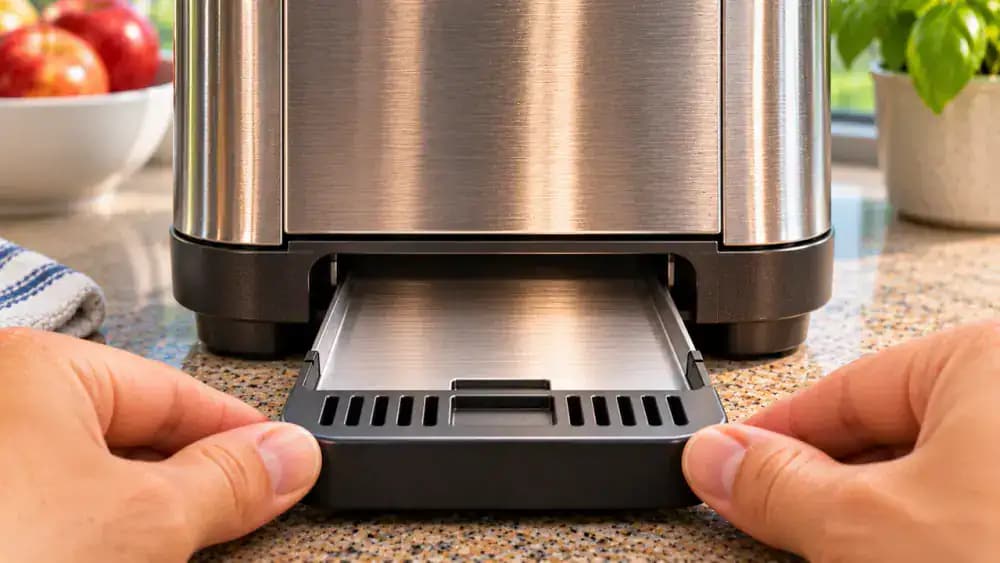
Confirm that the crumb tray is completely dry, clean, and undamaged before reinstalling it. Hold the tray level by its exterior handle and carefully align both edges with the toaster's guide rails. Slide it straight into the lower opening using gentle, steady pressure until the handle sits flush with the housing. If you feel resistance, stop and check the alignment. Keep the toaster unplugged and completely cool throughout reassembly.
Check for Persistent Burning Odors and Overheating Warning Signs
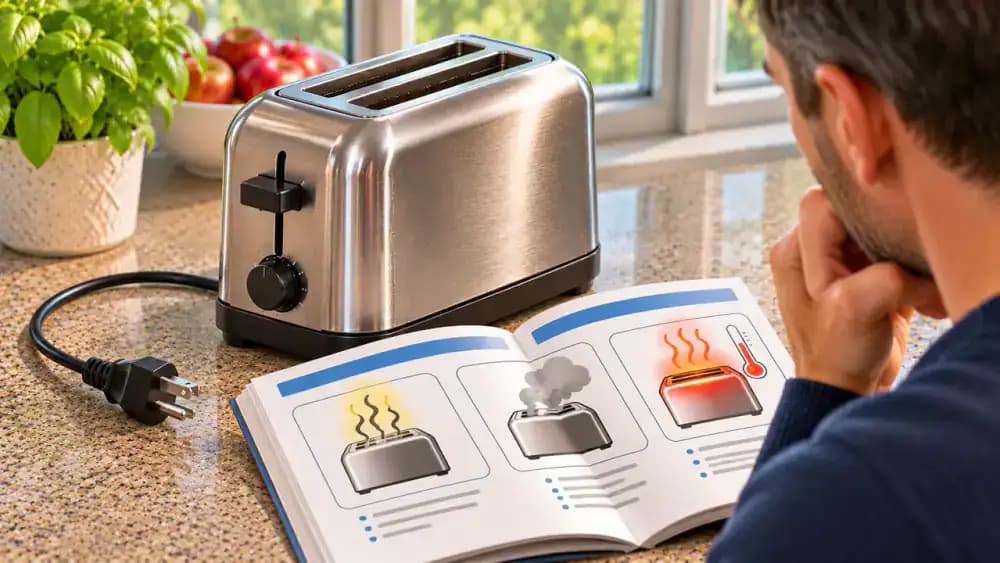
With the clean, dry crumb tray securely installed, review any unusual symptoms your toaster showed before cleaning. Ordinary crumb buildup can cause scorching odors, but persistent burning smells, smoke, or overheating may indicate a more serious problem. Check that the tray sits flush and review the manufacturer's troubleshooting instructions. If you previously noticed strong odors, smoke, or visible damage, leave the toaster unplugged and contact the manufacturer or a qualified service professional.
Empty the Crumb Tray Regularly to Prevent Buildup
Add a crumb tray check to your regular kitchen cleaning routine, especially if you use the toaster daily. Mark a reminder on your checklist, then unplug the appliance and allow it to cool completely. Carefully remove the tray, keep it level, and empty loose breadcrumbs into a lined trash can. Follow your manufacturer's recommended cleaning schedule rather than relying on a fixed interval. Frequent maintenance helps prevent accumulated crumbs from scorching.
Wipe Away Fingerprints and Dust Between Deep Cleanings
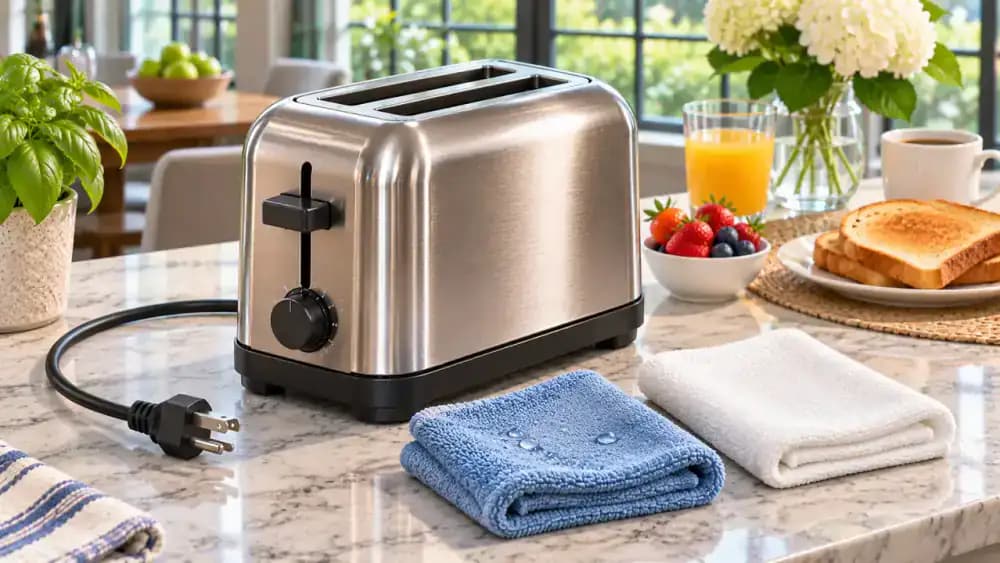
Make a quick exterior wipe-down part of your regular kitchen cleaning routine. First, unplug the toaster and let it cool completely. Use a barely damp, thoroughly wrung-out microfiber cloth to gently remove fingerprints and light dust from the exterior housing. Keep the fabric away from slots, seams, switches, and electrical connections. Follow with a separate, completely dry microfiber cloth to remove remaining moisture. This simple habit helps prevent stubborn surface buildup.
Follow These Essential Toaster Cleaning Safety Rules
Before cleaning your toaster again, remember four essential precautions. Always disconnect the power and allow the appliance to cool completely. Never insert fingers, forks, knives, or other metal tools into the slots, and leave heating elements untouched. Keep the toaster body away from water, washing only removable parts approved by the manufacturer. Dry every cleaned surface and component thoroughly before reassembly or reconnecting power. Check the owner's manual whenever you are uncertain.
Keep Your Toaster Clean With Five Simple Maintenance Habits
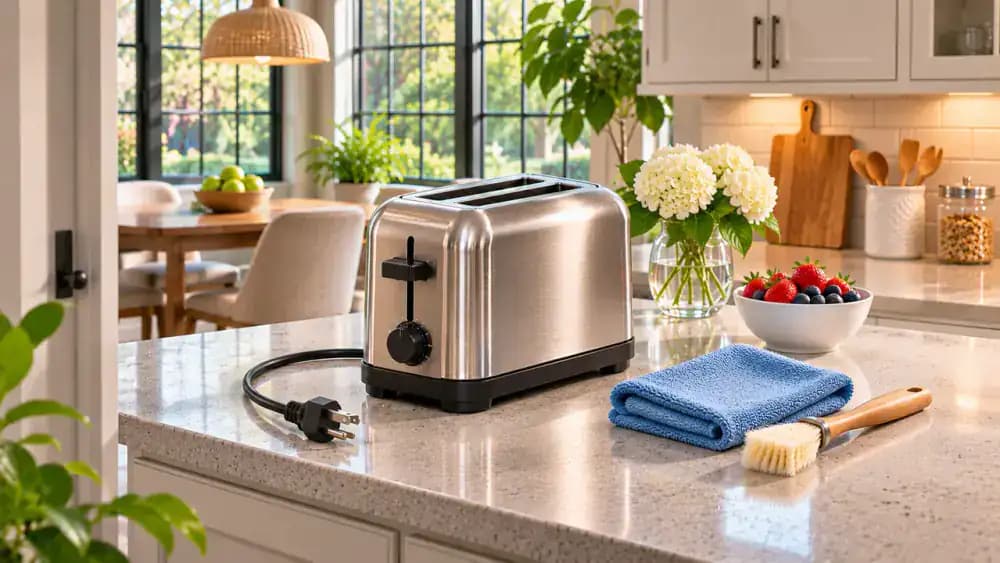
Keep your toaster in good condition by following a simple routine: unplug it, allow it to cool completely, empty the crumb tray, gently clean manufacturer-approved surfaces, and dry everything thoroughly before reassembly. Check for damage and never reach into the slots or disturb heating elements. Regular maintenance helps control crumb buildup and reduce unwanted scorching odors. Keep a soft brush and microfiber cloth handy to make future cleaning easier.
If your toaster smells burnt, leaves dark crumbs on the counter, or has a crumb tray packed with debris, it's probably overdue for a cleaning. Tiny pieces of bread and other food can collect inside the appliance, where repeated heating may scorch them and create unpleasant odors. Shaking the toaster or turning it upside down might dislodge a few loose crumbs, but it won't necessarily remove everything. Worse, trying to scrape stubborn bits from inside the slots can damage delicate heating elements or create an electrical hazard.
Fortunately, cleaning a toaster doesn't require special equipment or harsh chemicals. With a soft brush, microfiber cloth, and a few basic household supplies, you can clean the removable crumb tray, gently remove accessible debris, and freshen up the exterior. The key is knowing which areas are safe to clean and which should be left alone. Always unplug the toaster, let it cool completely, and follow the manufacturer's instructions. Never put fingers or metal tools into the slots, immerse the appliance, or allow water near electrical components.
Where people go wrong
Cleaning the Toaster While It's Plugged In or Still Warm. Starting before the toaster has completely cooled can cause burns, while cleaning a plugged-in appliance creates an electrical hazard. Always disconnect the power cord, wait until every surface is cool, and place the toaster on a stable, dry countertop before removing crumbs or wiping surfaces.
Turning the Toaster Upside Down Instead of Cleaning the Crumb Tray. Shaking or flipping a toaster may release some loose crumbs, but it rarely removes all the debris collected inside. Instead, locate the removable crumb tray, empty it into the trash, and gently brush away remaining particles. Follow the manufacturer's instructions for any additional cleaning.
Sticking Knives, Forks, or Fingers Into the Toaster Slots. Trying to scrape burned pieces from inside the slots can damage delicate heating elements and create serious safety risks. Never insert metal utensils or fingers into toaster openings, even when unplugged. Use gentle dry brushing only in manufacturer-approved accessible areas, and leave stubborn internal debris for professional servicing.
Letting Water Enter the Toaster or Reassembling Wet Parts. Spraying cleaner directly onto the toaster, soaking its housing, or reinstalling a damp crumb tray can allow moisture to reach electrical components. Use a lightly dampened microfiber cloth on exterior surfaces only. Wash removable parts only when manufacturer-approved, and let everything dry completely before reassembly.

Questions people ask
Empty the crumb tray regularly, especially if you use your toaster every day. Frequent cleaning prevents bread crumbs and burned particles from accumulating and producing unpleasant odors. Always unplug the toaster and let it cool completely before removing the tray. Check the manufacturer's instructions for specific cleaning recommendations.
Fixed it?
Get one guide like this every Thursday.