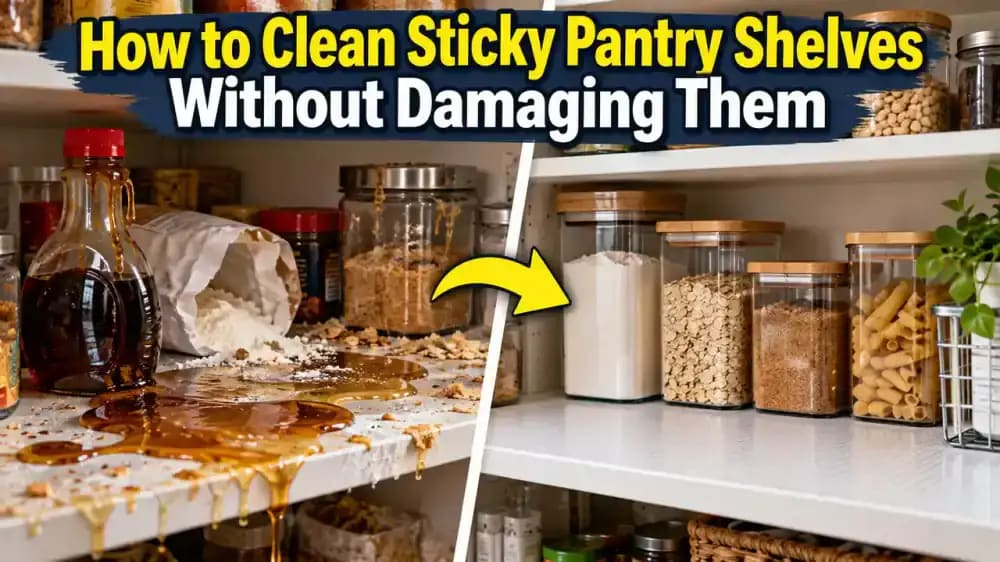
How to Clean Sticky Pantry Shelves Without Damaging Them
Sticky syrup rings, flour dust, and crumbs can turn pantry shelves into a mess. Learn how to remove stubborn residue, protect delicate shelving, check food packages, and organize your pantry using simple household supplies.
What you’ll need
Tap to tick things off before you start.
Inspect Your Pantry Shelf for Sticky Spills and Hidden Crumbs
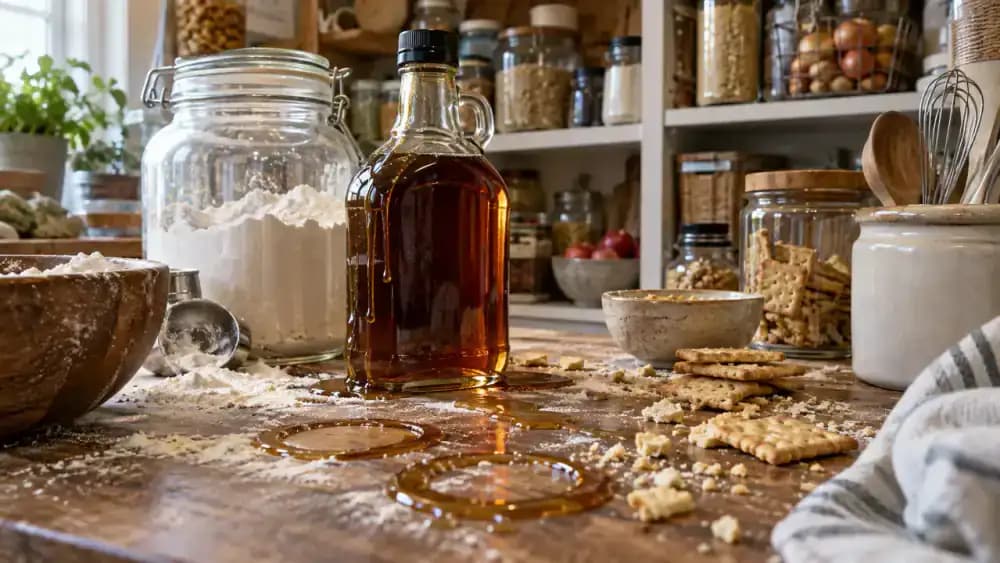
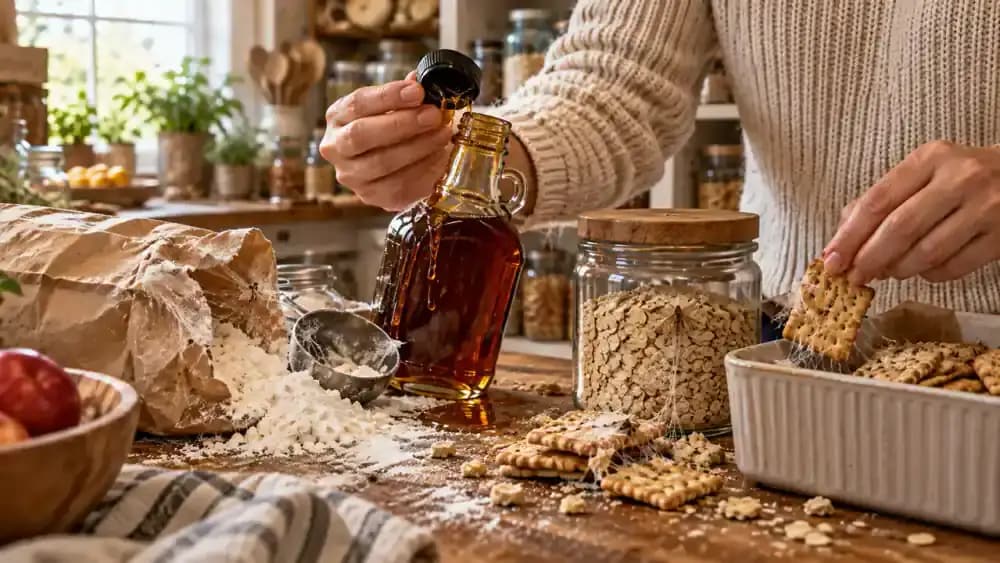
Examine your pantry shelves for sticky syrup rings beneath bottles, spilled flour, and cracker crumbs trapped around cereal boxes and food containers. Look closely at shelf corners and beneath containers, where residue can accumulate unnoticed. Choose one shelf to tackle first rather than emptying the entire pantry. Before moving anything, clear a nearby countertop to hold the items temporarily. This keeps your kitchen organized and helps prevent additional spills during cleanup.
Gather Your Cleaning Supplies
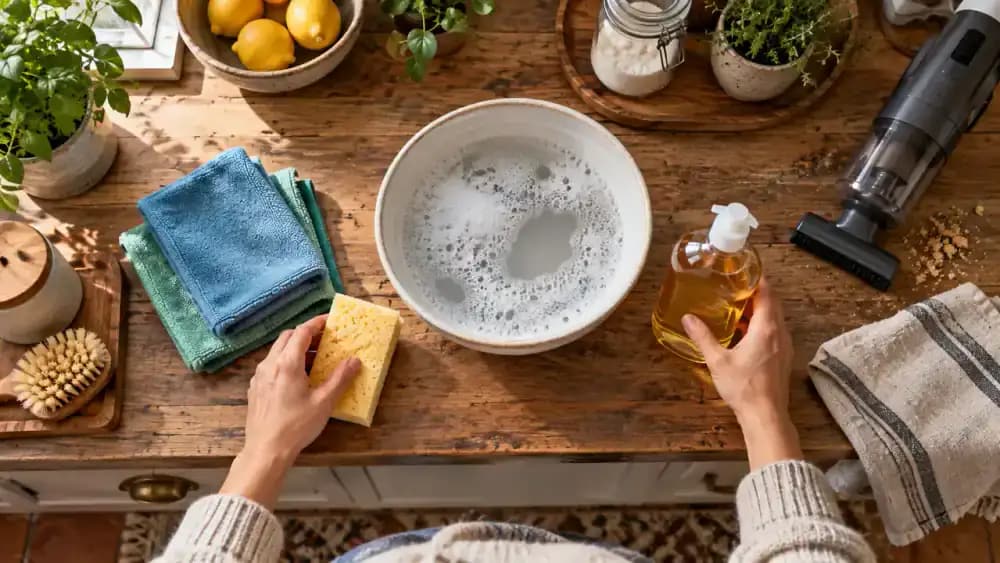
Before removing food from your pantry, arrange two folded microfiber cloths, a soft nonabrasive sponge, mild dish soap, a bowl of warm water, and a clean drying towel on the nearby countertop. Set a vacuum with its crevice attachment beside them for reaching shelf corners and narrow gaps. Keep the drying towel away from the water bowl to prevent splashes. Start with dry crumbs and debris before using any moisture.
Start With the Messiest Shelf
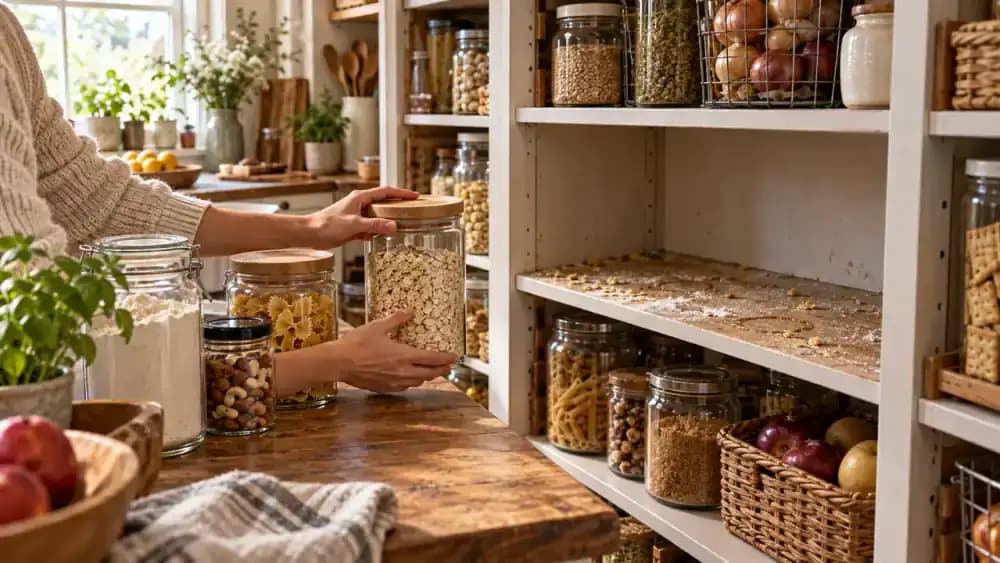
Find the pantry shelf with the most sticky spills, flour dust, and crumbs. Carefully lift each item onto a clean countertop, keeping syrup bottles and other liquids upright to prevent leaks. Move containers, cereal boxes, and smaller packages individually, grouping them neatly so nothing gets knocked over. Leave the surrounding shelves stocked and untouched. Once the shelf is empty, check for residue hidden beneath containers before beginning the actual cleaning.
Check Every Container for Leaks and Damage
Pick up each pantry item and inspect it carefully before putting it back. Rotate bottles to check for sticky leaks around caps and bottoms, placing any leaking containers on a washable tray. Examine flour bag seams for tiny insects, webbing, or unusual residue, and check expiration dates on cereal boxes. Isolate packages showing possible pest activity in securely closed containers. Discard visibly contaminated food immediately, keeping clean items safely separated.
Vacuum Loose Crumbs and Flour Before Wet Cleaning
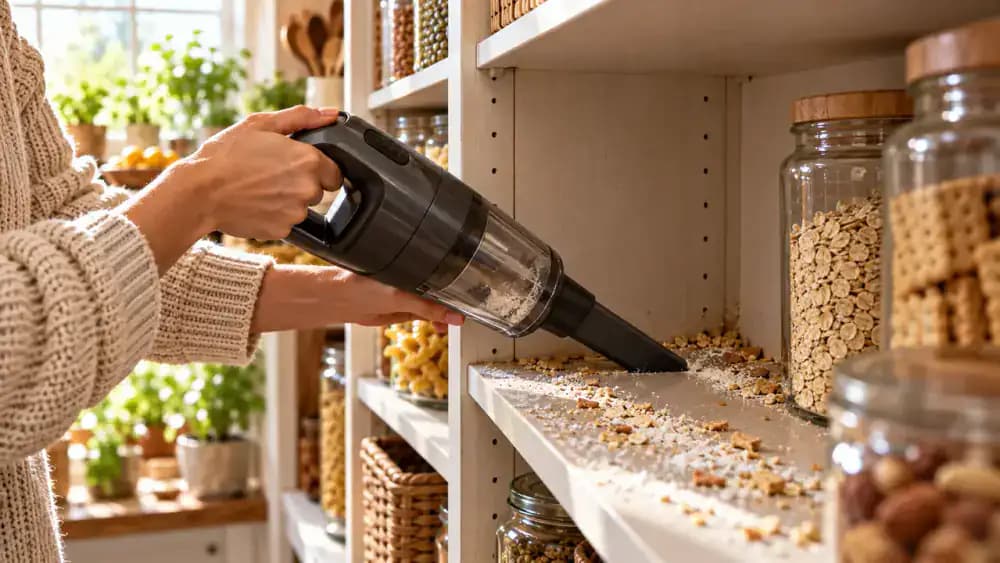
Attach the narrow crevice tool to your vacuum and slowly guide it across the empty pantry shelf, collecting scattered flour, cracker crumbs, and dust. Pay special attention to the back edge, corners, and seams where the shelf meets the side panels. Leave any sticky syrup residue untouched for now. Removing dry debris first prevents spilled flour from mixing with water and forming a stubborn paste that requires extra scrubbing.
Mix Warm Water and Mild Dish Soap
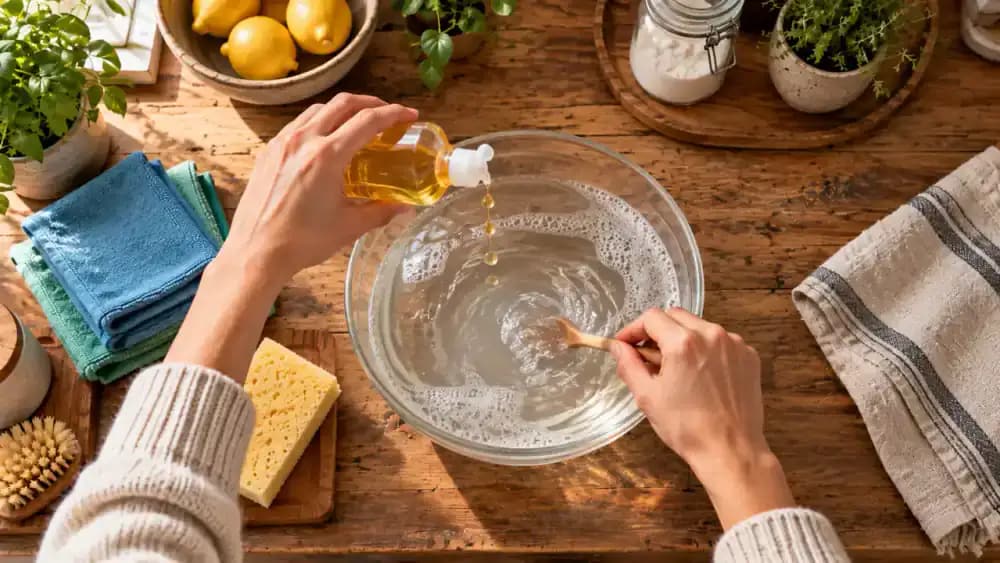
Fill a small glass bowl with approximately 2 cups of warm water, then add three drops of mild liquid dish soap. Stir gently with a teaspoon until the soap disperses and a few small bubbles appear. Avoid adding extra detergent, since excessive suds can leave residue on pantry surfaces. Keep a clean, dry microfiber cloth nearby for the next step. The solution should be mild enough to loosen sticky syrup without harsh cleaning chemicals.
Dampen the Cloth, Not the Shelf
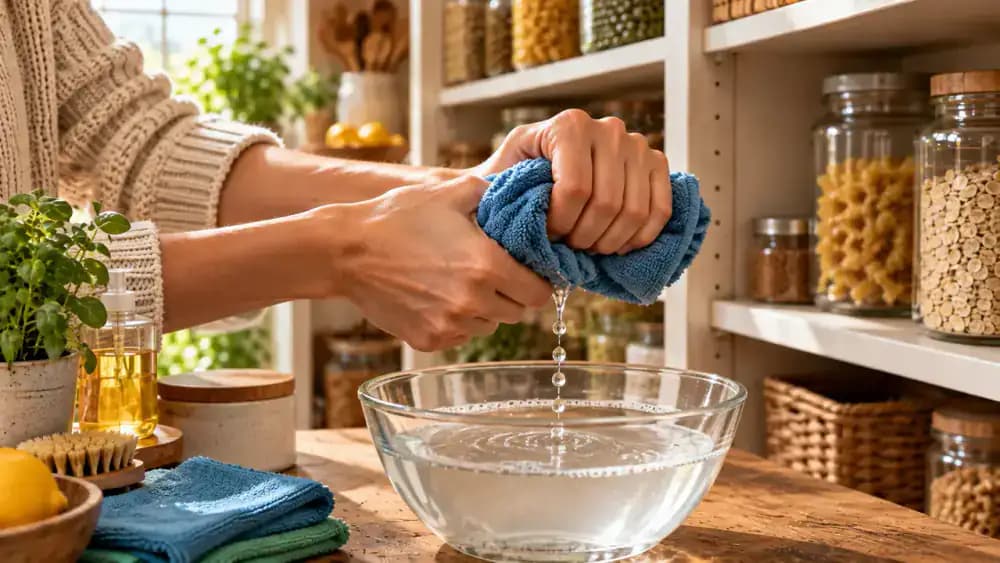
Dip just one corner of a clean microfiber cloth into the prepared soapy water. Squeeze it firmly over the bowl until no water drips from the fabric. Fold the cloth into a small pad for better control when tackling the remaining sticky syrup residue. Keep the pantry shelf completely dry until you're ready to wipe. Never spray or pour water directly onto shelving, especially laminate-covered particleboard, which can swell if moisture reaches its exposed edges.
Soften the Sticky Syrup Residue
Place the folded, barely damp blue microfiber cloth directly over the dried syrup ring on the pantry shelf. Apply light, even pressure and hold it still for about 20 seconds to help loosen the sticky residue. Gently lift one edge to check the spot. If syrup remains firmly attached, repeat the process without adding more water. Keep moisture away from exposed particleboard edges to prevent swelling, and avoid scraping or aggressive scrubbing.
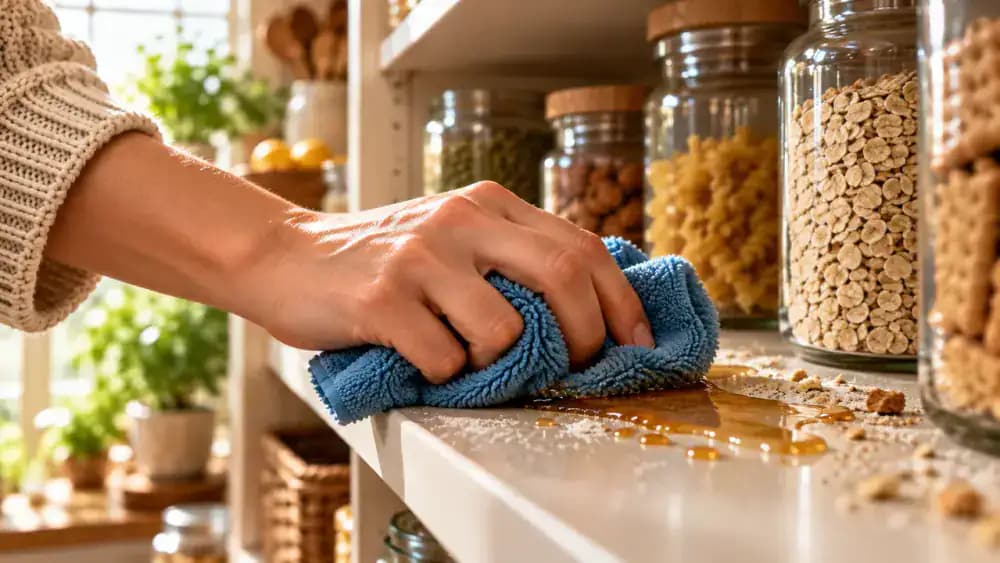
Gently Wipe Away the Loosened Syrup
Fold a lightly dampened microfiber cloth into a flat pad and wipe the softened syrup using short, gentle strokes. Start at the outside edge of the sticky ring and work toward the center to prevent spreading the residue. As syrup transfers onto the fabric, refold the cloth to expose a clean section. Use minimal pressure to protect laminate or painted surfaces, and keep moisture away from exposed particleboard edges.
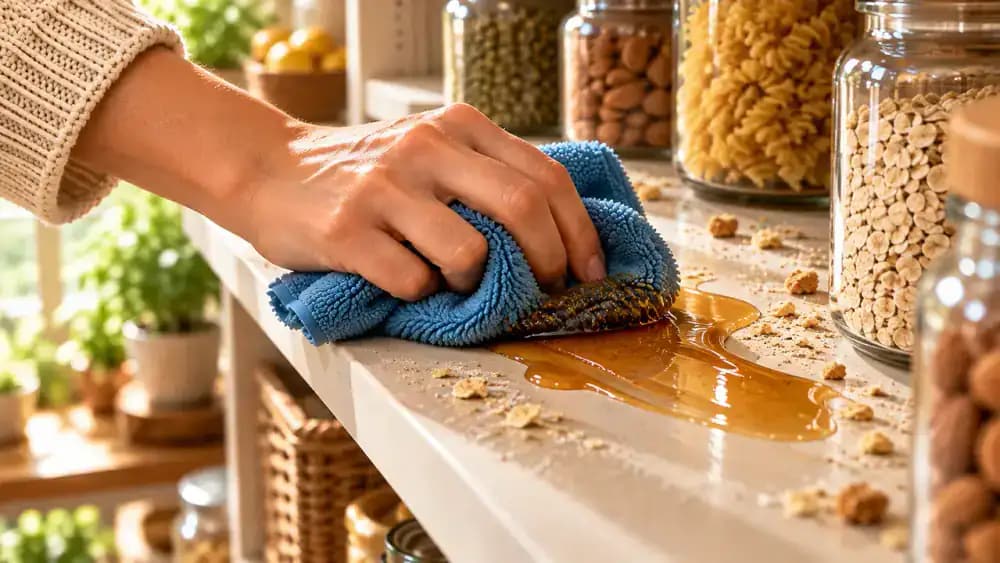
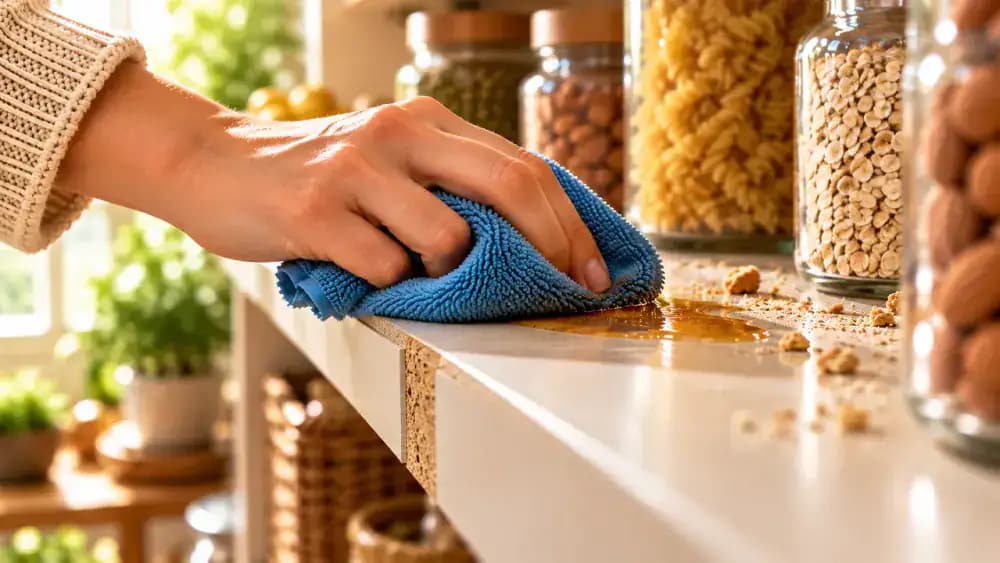
Prevent Water Damage Along Pantry Shelf Edges
Refold your blue microfiber cloth to expose a clean, barely damp section. Gently wipe the remaining syrup about an inch from the shelf edge, using short, controlled strokes toward the laminated center. Keep the cloth away from the seam where the shelf meets the pantry wall. Water can swell exposed particleboard or stain unfinished wood. If sticky residue remains, repeat with gentle pressure instead of adding more moisture.
Remove Soap Residue With a Fresh Damp Cloth
Dampen a fresh white microfiber cloth with plain warm water, then wring it out until no water drips. Fold the cloth into a flat pad and wipe the cleaned pantry shelf using smooth, parallel strokes that overlap slightly. Keep the cloth several inches away from exposed particleboard edges and rear seams to prevent moisture damage. Use a clean section of fabric if needed to avoid spreading soap film back onto the laminate.
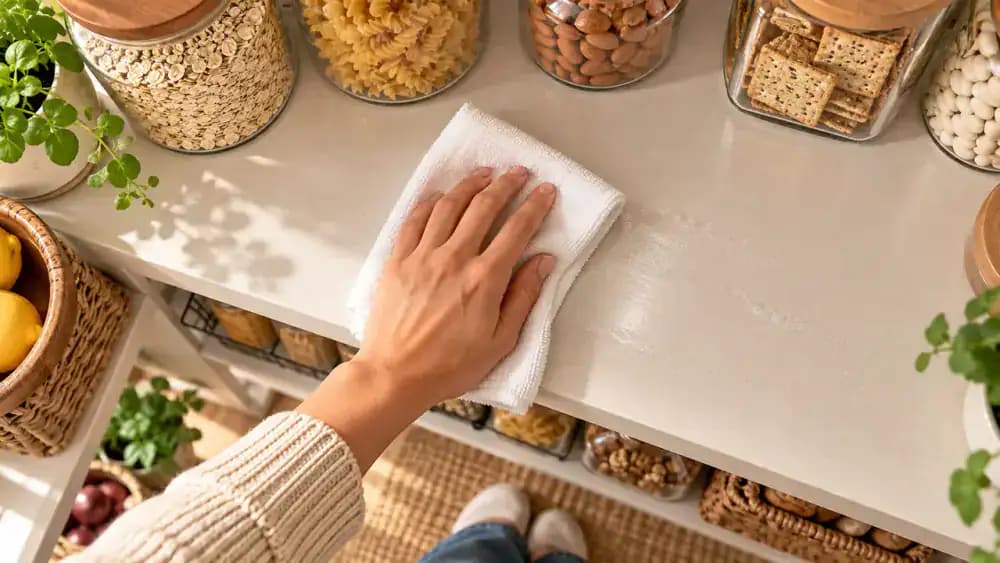
Dry Every Corner and Edge of the Pantry Shelf
Fold a clean, absorbent cotton towel into a thick pad and wipe the empty shelf from back to front using steady, even pressure. Refold the towel to reach the rear corners, wall joints, and narrow seams. Pay special attention to the front edge where exposed particleboard can absorb moisture and swell. Switch to a dry section of the towel as needed, then inspect the entire surface before replacing any containers.
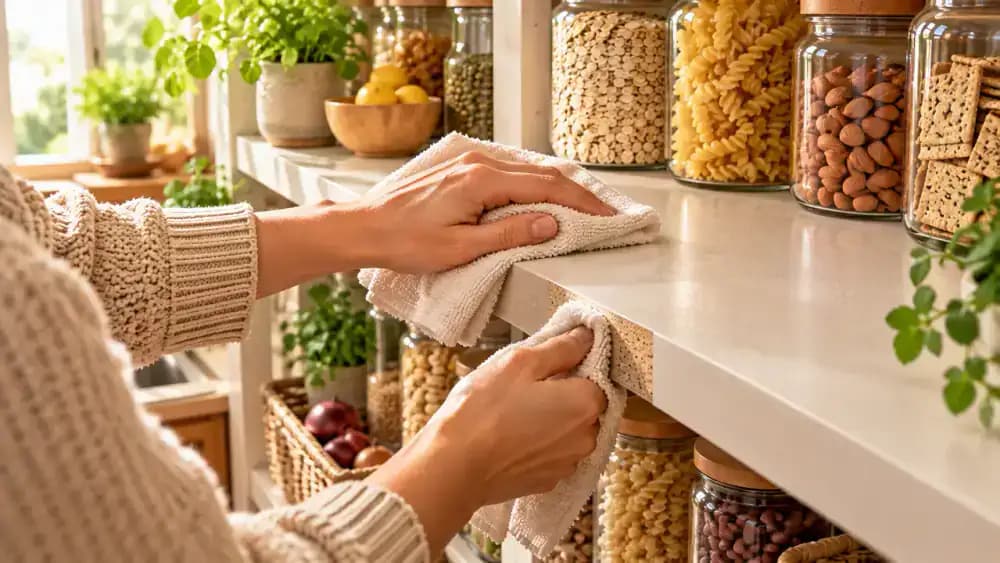
Clean the Bottoms of Pantry Containers
Before returning items to the pantry, lift each bottle, jar, and storage container to inspect its base for sticky residue, grease, or crumbs. Wipe the bottom of the maple syrup bottle with a barely damp microfiber cloth, keeping its cap closed. Rotate the bottle and dry its base completely with a separate towel. Repeat with sealed jars and flour containers. Place cleaned items on a dry countertop until you're ready to restock.
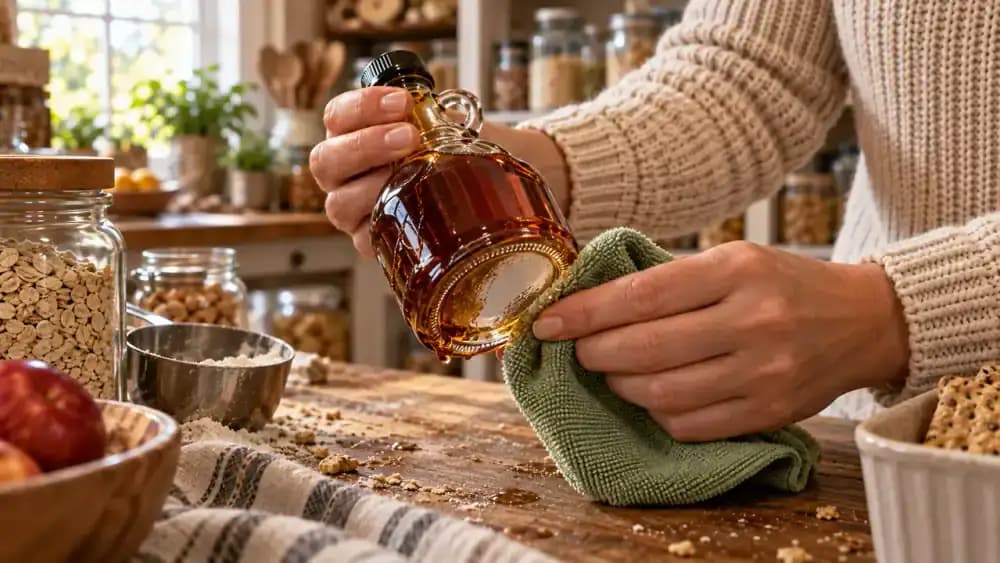
Check and Tighten Container Lids
Keep each container upright while checking that its lid sits evenly and closes securely. Start with the maple syrup bottle, wiping any dried, sticky residue from the outside of the neck with a barely damp microfiber cloth. Dry the area before tightening the cap by hand. Repeat with the honey jar and cooking oil bottle, avoiding excessive force. Pay particular attention to threaded closures, where trapped residue can interfere with a proper seal.

Group Pantry Items Into Practical Categories
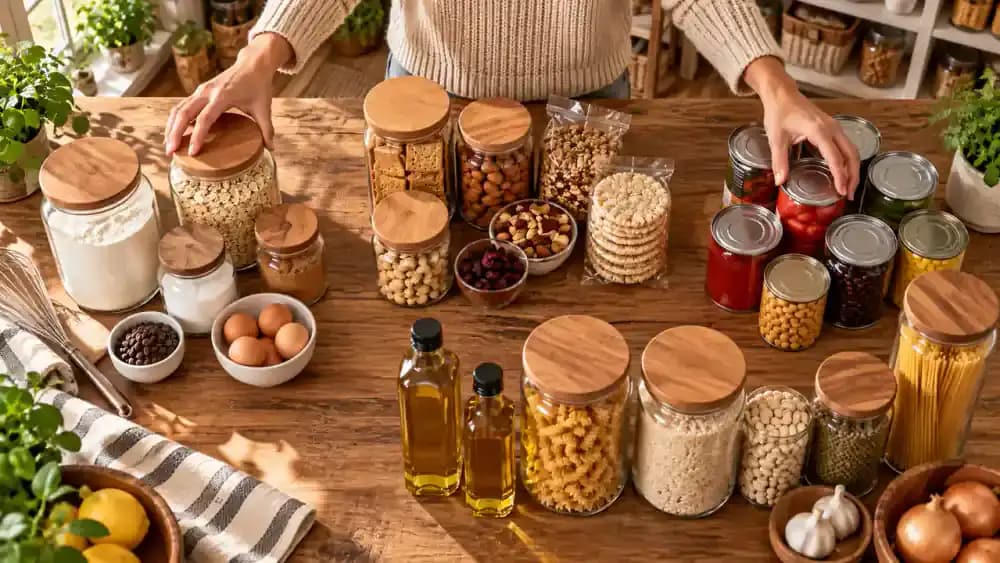
Arrange your clean, dry, securely closed pantry items into four separate groups on the countertop before putting anything away. Place flour, sugar, baking powder, and chocolate chips together for baking. Keep crackers, granola bars, and pretzels in a snack group. Gather canned vegetables and soups with their labels facing forward. Set pasta, rice, olive oil, and seasonings together for everyday cooking. Leave space between groups so you can easily identify what belongs where.
Return Baking Supplies to the Clean Shelf
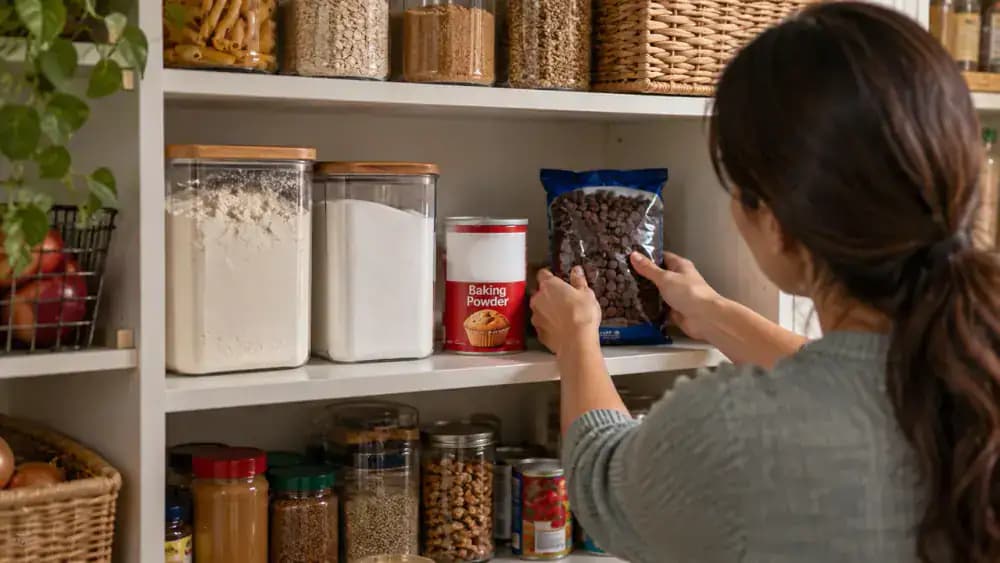
Place a securely sealed flour container on the left side of the completely dry pantry shelf, then position the sugar canister beside it with about 2 inches of space between them. Arrange baking powder and sealed chocolate chips behind the larger containers, keeping everything visible. Move frequently used ingredients slightly forward for easier access. Leave the center and right sections open for other categories, and avoid crowding containers against the shelf edges.
Give Snacks a Dedicated Spot in the Pantry
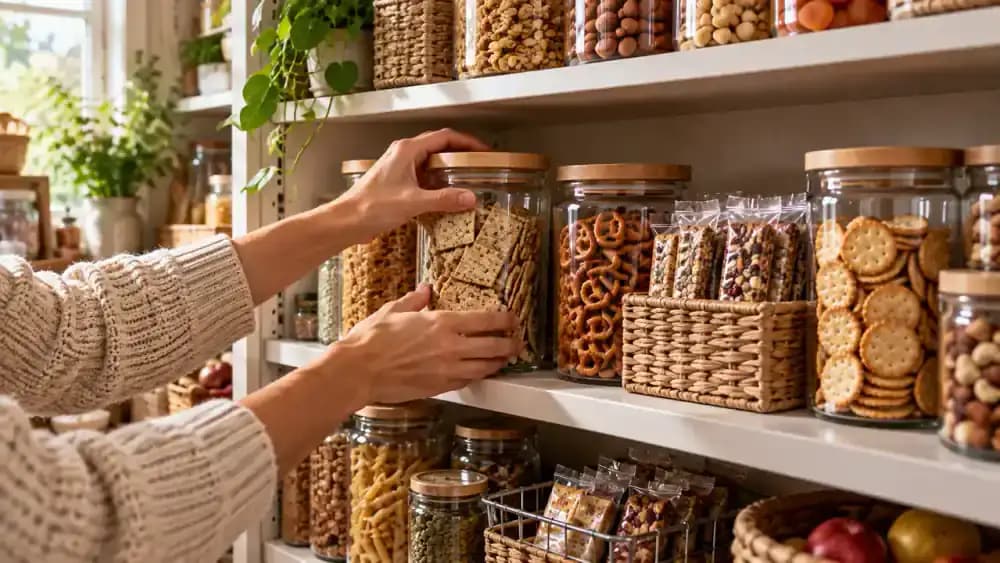
Place a sealed cracker box upright toward the back of the open center shelf, then position a sealed pretzel bag beside it. Arrange individually wrapped granola bars in a shallow, dry, open-top bin near the front for easy access. Leave about 2 inches between the snacks and baking supplies to keep categories separate. Check that packages stay stable and that you can remove your favorite snacks without shifting everything around.
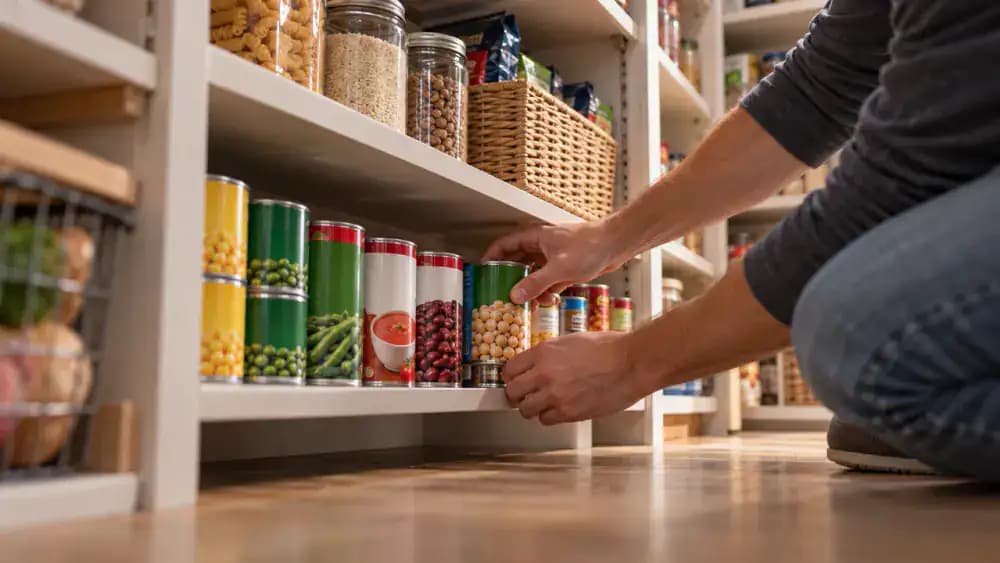
Arrange Heavy Cans on a Lower Pantry Shelf
Place clean, dry, undamaged cans upright on a sturdy lower pantry shelf, keeping heavier items away from lightweight packages. Arrange vegetables, soups, and beans in separate, stable single rows without stacking. Turn every label forward so you can identify items quickly. Move frequently used soup cans slightly toward the front, but leave the shelf edge clear. Make sure you can lift any can straight out without knocking over neighboring items.
Organize Everyday Cooking Essentials
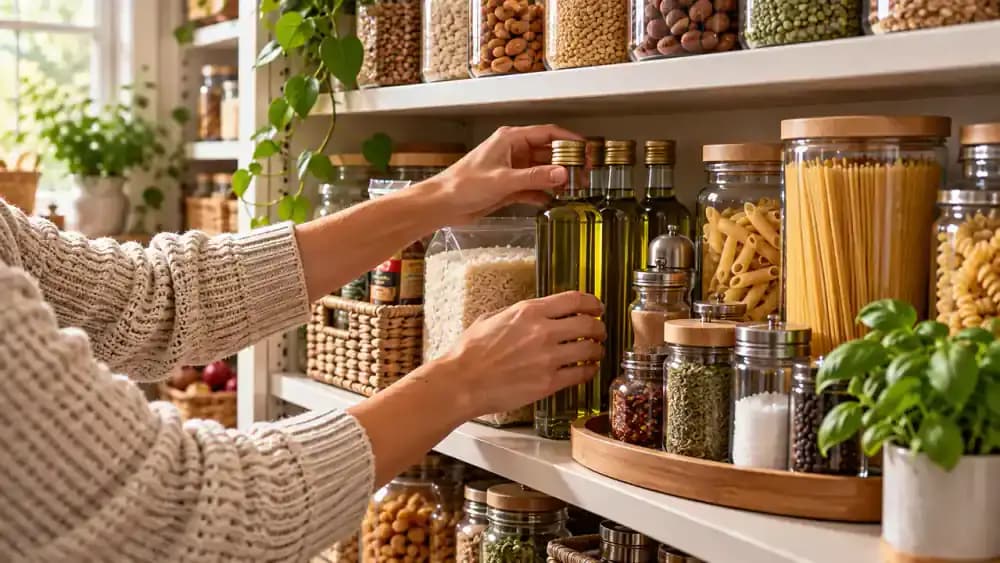
Place a clean, dry, tightly closed olive oil bottle upright toward the back of the middle shelf, away from the edge. Add a sealed rice container and support an unopened pasta package with a sturdy organizer. Arrange closed seasoning containers in front, turning their labels outward. Keep taller items behind smaller ones and leave enough space to lift out the olive oil without disturbing nearby packages. Store heavier canned goods below.
Perform a Final Shelf Inspection
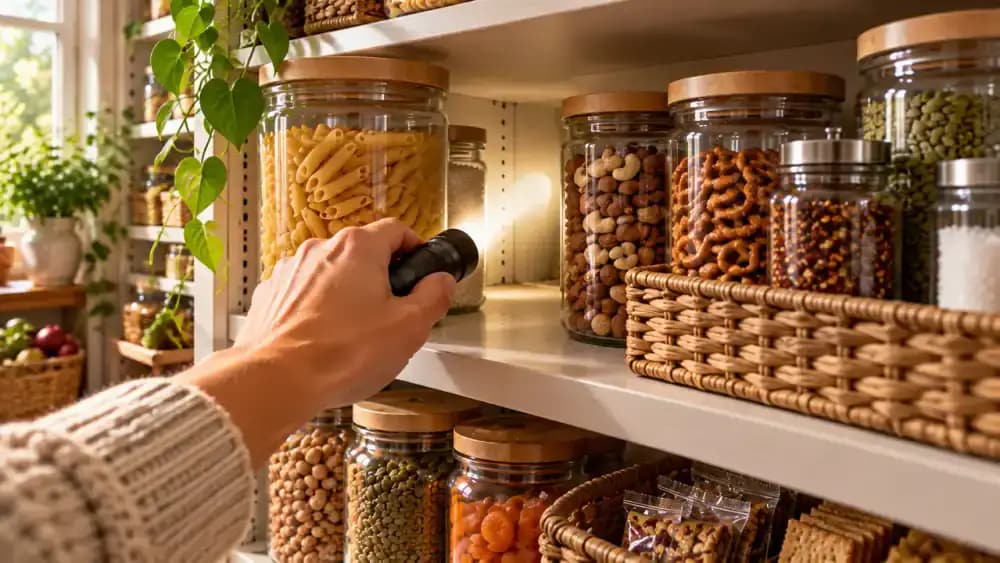
Use a small flashlight to inspect the organized shelf, including hidden corners, rear seams, and the front edge. Check sealed packages for tears and oil bottles for leaks around their caps and bases. If you spot sticky residue, remove nearby containers and gently wipe the area with a barely damp microfiber cloth, keeping moisture away from exposed particleboard. Dry thoroughly and check for remaining dampness before returning everything.
Check Pantry Bottles Weekly for Leaks
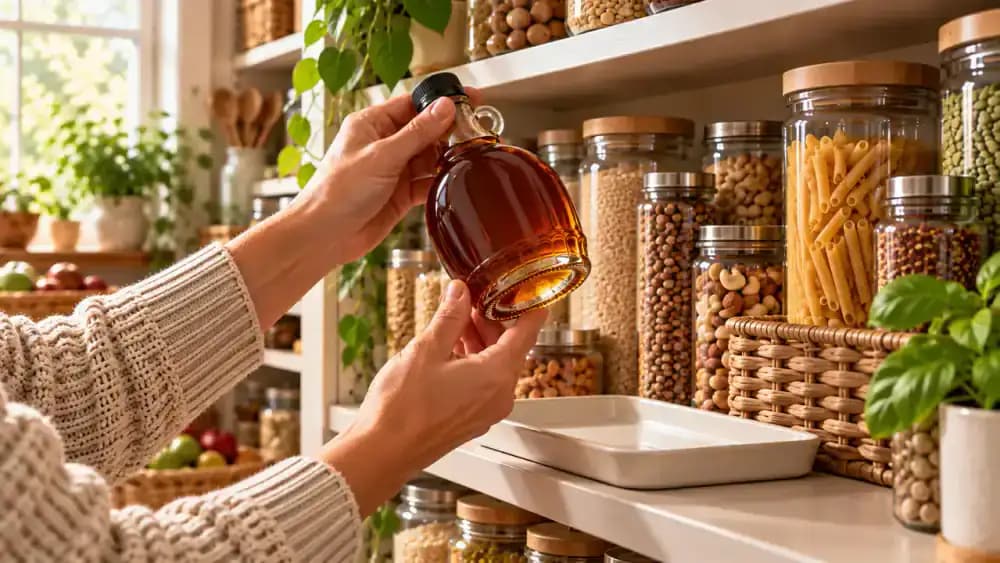
Set a weekly reminder to inspect maple syrup, honey, and cooking oil containers for small leaks before sticky residue builds up. Lift each closed bottle upright and examine its base, exterior cap, and the shelf underneath. If you spot a drip on a protected laminate surface, gently wipe it with a barely damp microfiber cloth, then dry immediately. Return each securely capped bottle only after confirming the shelf and container are completely dry.
Clean Fresh Pantry Spills Before They Spread
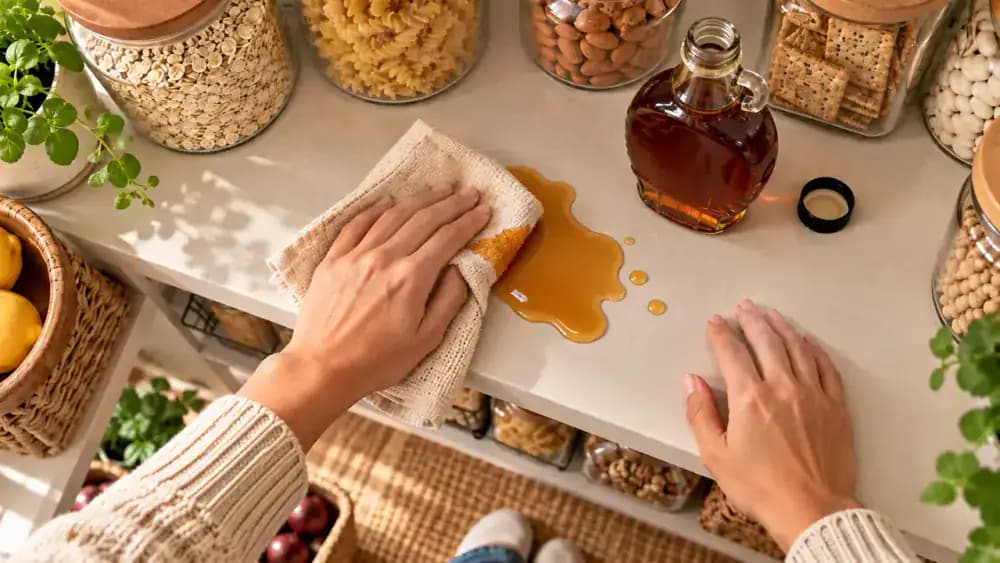
Move nearby snack containers to a clean countertop as soon as you notice a spill. Press a folded, dry cotton cloth onto the liquid to absorb it without spreading it toward shelf seams. Use a barely damp, well-wrung microfiber cloth to gently lift any sticky residue. Follow immediately with a dry towel, check the edges for moisture, and return the clean, securely closed containers only when the shelf is completely dry.
Vacuum Pantry Crumbs Once a Month
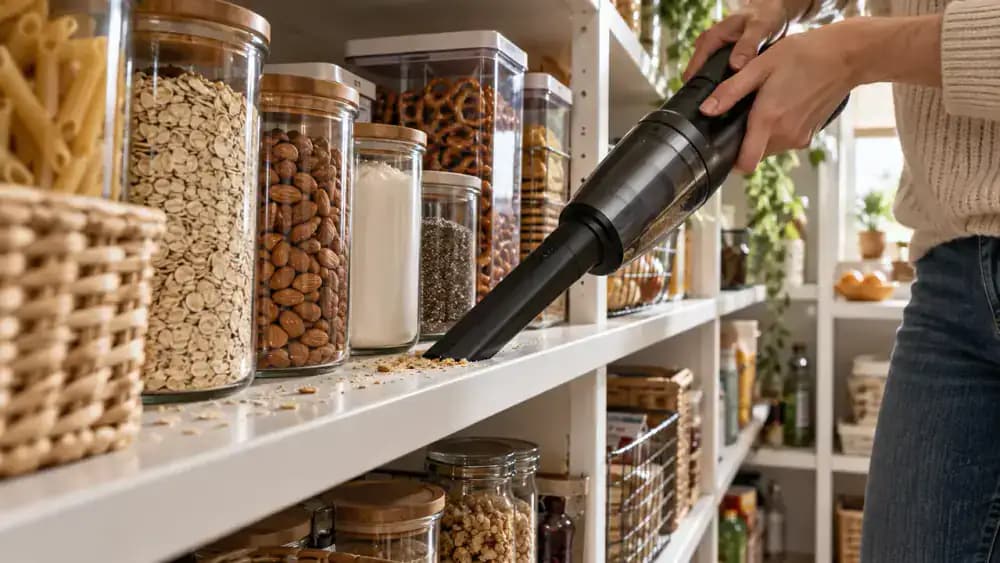
Make a monthly habit of removing dry crumbs and flour dust before they accumulate around stored food. Start by moving sealed containers onto a clean countertop to expose hidden debris. Use a handheld vacuum with a narrow crevice attachment, guiding it slowly along shelf fronts, accessible corners, and gaps between containers. Avoid scraping laminate surfaces or catching exposed particleboard edges. Inspect each section carefully, then return clean, dry, securely closed containers to their designated spots.
Organize a Grab-and-Go Pantry Cleaning Kit
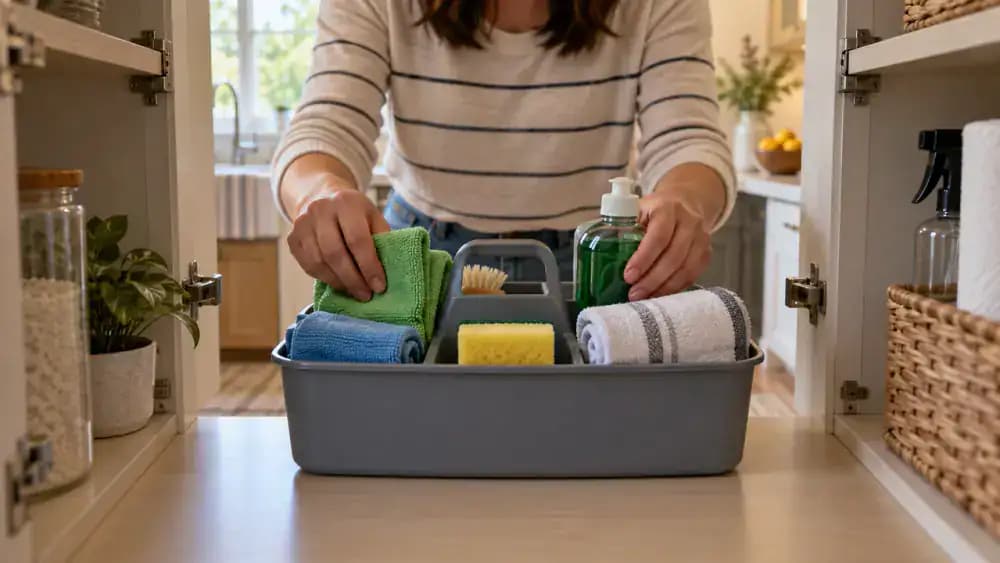
Place two clean, completely dry microfiber cloths in a small plastic caddy, then add a folded cotton drying towel and a soft, nonabrasive sponge. Position a securely closed bottle of mild dish soap upright in a separate compartment. Slide the caddy onto a stable shelf in a cleaning cabinet away from food. Keep a small bowl empty until needed, adding warm water only when cleaning spills to prevent unnecessary moisture and clutter.
Use a Washable Tray to Catch Sticky Bottle Drips
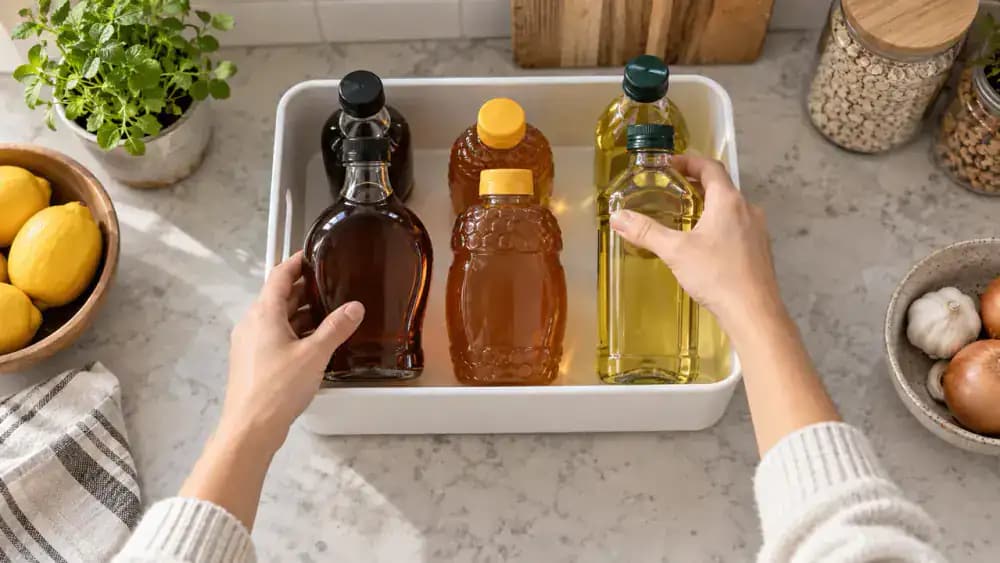
Place a shallow, washable plastic tray beneath frequently used maple syrup, honey, and cooking oil bottles to help protect your pantry shelves from sticky drips. Choose a tray with raised edges, a flat bottom, and enough room to lift each bottle out comfortably. Keep bottles upright and securely capped, then position the tray completely on a dry, sturdy shelf. Remove the tray periodically and wash away any residue before replacing it.
Leave Small Gaps Between Pantry Containers
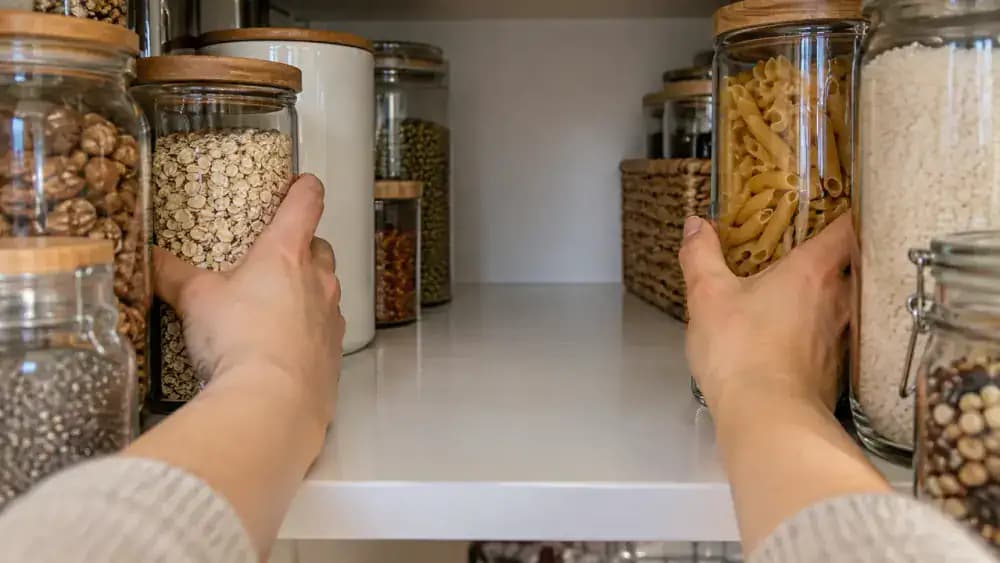
Slide sealed jars and canisters slightly apart, leaving about 2 inches where shelf space allows. Move cereal boxes a little forward instead of pressing them against the back wall. These small gaps let you see the shelf surface, check rear corners, and notice crumbs or leaks without removing everything. Keep each container stable and fully supported, and use a small inspection mirror to examine hard-to-see spaces during routine pantry checks.
Keep Frequently Used Items Within Easy Reach
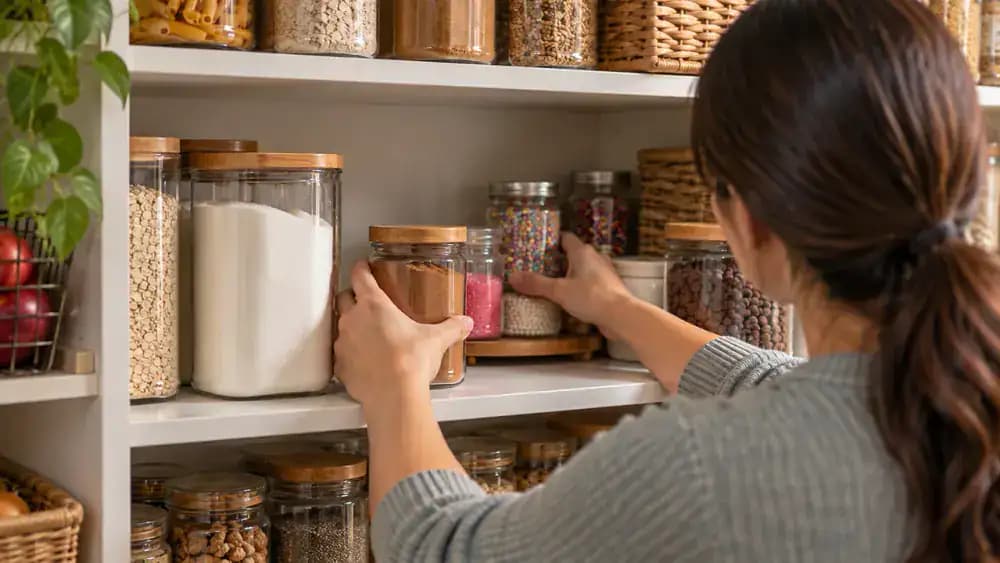
Arrange pantry containers based on how often you use them. Move rarely used baking decorations toward the back, keeping their labels visible, and bring everyday ingredients like cinnamon to the front. Leave enough space between containers to reach in comfortably without knocking neighboring jars. Position frequently used ingredients near your food preparation area when practical. Return each item to its designated spot after use so your pantry stays organized and spills are easier to spot.
Give Your Organized Pantry One Last Look
Stand back and scan every shelf from top to bottom. Confirm that flour and sugar containers sit flat, snack packages have no torn corners, and labels face outward. Check that nothing extends beyond the shelf edges and heavier cans remain on sturdy lower shelves. Look between containers for sticky residue or moisture, especially near corners. Inspect the tray holding syrup, honey, and cooking oil for leaks and make sure surrounding surfaces stay dry.

Keep Your Pantry Organized With Simple Daily Habits
After preparing food, return each ingredient container to its assigned pantry spot, making sure the lid is tightly secured. Place sealed snack packages inside their designated storage bin rather than leaving them loose on shelves. Take a moment to check exposed shelf surfaces for crumbs or spills before closing the door. Keep containers upright and away from shelf edges. A quick check after cooking helps prevent clutter and makes weekly upkeep easier.

Enjoy Your Clean and Organized Pantry
Open both pantry doors to appreciate the freshly cleaned shelves and clearly organized food zones. Transparent flour and sugar containers keep baking supplies visible, sealed snacks stay grouped together, and everyday ingredients stand upright for easy access. Keep syrup, honey, and cooking oil on a washable tray, with heavier cans stored securely below. Check periodically for crumbs, sticky spills, or leaks, and address small messes before they spread.

Sticky syrup rings, scattered flour, and crumbs tucked around pantry containers can turn an otherwise organized shelf into a frustrating mess. A leaking bottle or forgotten spill often leaves behind a stubborn residue that attracts more dust and debris every time you reach for something. Fortunately, cleaning sticky pantry shelves doesn't require harsh chemicals or aggressive scrubbing. The trick is to work one shelf at a time, using simple household supplies while protecting the surface from excess moisture. This approach keeps the mess contained instead of spreading it across your kitchen.
Before getting started, gather microfiber cloths, a vacuum with a crevice attachment, warm water, mild dish soap, a soft sponge, and a clean drying towel. You'll also want a clear countertop for temporarily storing pantry items while you inspect bottles, packaging, and expiration dates. Discard contaminated food and watch for signs of pantry pests. Whether your shelves are laminated particleboard, painted wood, or unfinished wood, gentle cleaning and thorough drying are essential to removing sticky buildup without causing swelling, stains, or lasting damage.
Where people go wrong
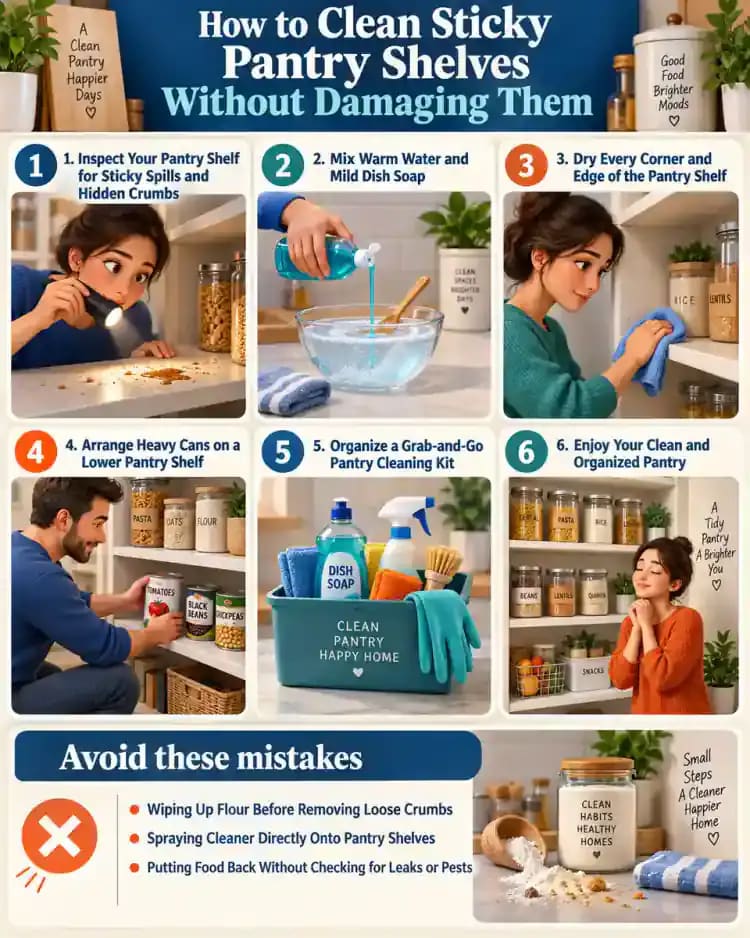
Wiping Up Flour Before Removing Loose Crumbs. Adding water to loose flour turns it into a sticky paste that spreads across the shelf and settles into corners. Vacuum flour, crumbs, and dust first using a crevice attachment. Once the dry debris is gone, tackle syrup rings and other sticky spots with a lightly dampened cloth.
Spraying Cleaner Directly Onto Pantry Shelves. Spraying cleaning solution directly onto shelves can saturate particleboard, damage unfinished wood, and splash nearby open food packages. Instead, mix a few drops of mild dish soap with warm water and apply it to a microfiber cloth. Gently wipe sticky areas without soaking the surface.
Putting Food Back Without Checking for Leaks or Pests. Returning every container without inspection can reintroduce sticky residue, crumbs, and contamination. Check bottles for leaks, examine package seals, and look for insects, webbing, or unusual residue. Discard contaminated food, isolate suspected pest problems, wipe container bottoms, and tighten lids before restocking the shelf.
Restocking Shelves While Corners Are Still Damp. Moisture trapped beneath containers or along shelf edges can damage vulnerable surfaces, especially particleboard and unfinished wood. After removing soap residue with a barely damp cloth, dry every corner thoroughly. Check for remaining stickiness and moisture before organizing food into practical zones for easier maintenance.
Questions people ask
Mix a few drops of mild dish soap into warm water and dampen a microfiber cloth with the solution. Hold the cloth against sticky syrup rings briefly to soften the residue, then wipe gently without scrubbing aggressively. Use a clean, barely damp cloth to remove remaining soap and dry the entire surface thoroughly.
Fixed it?
Get one guide like this every Thursday.