How to Clean a Stainless Steel Sink Without Scratching It
Remove grease, food residue, water spots and dull buildup from a stainless steel sink using gentle tools, mild cleaner and grain-following strokes that protect the finish.

What you’ll need
Tap to tick things off before you start.
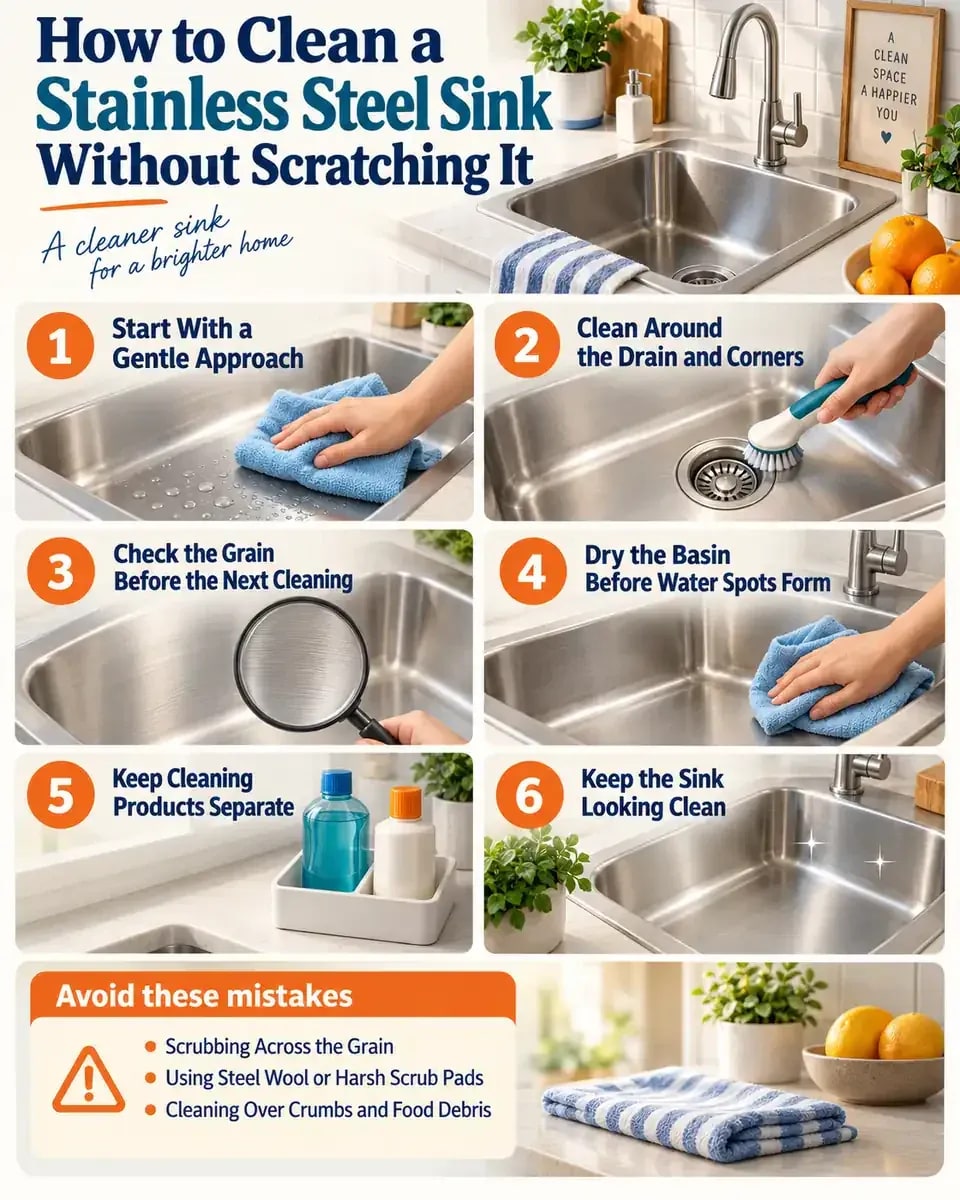
Start With a Gentle Approach
Clear dishes, utensils, crumbs, and anything else that could scrape across the stainless steel before you begin cleaning. Wet the sink lightly, then use a soft cloth or nonabrasive sponge to wipe in the direction of the steel grain rather than scrubbing in circles. This gentle start helps lift loose food residue and greasy film without adding scratches. Check the grain under good light if its direction is difficult to see.

Clear the Sink Before Cleaning
Remove all dishes, utensils, strainers, and removable racks so the stainless steel basin is completely exposed. Pick up larger food scraps with your hand or a soft cloth, then rinse loose crumbs and particles toward the drain with clean running water. Clearing the surface first helps prevent grit from being dragged across the metal during wiping. Check around the drain and corners, where small particles often remain hidden.

Choose Gentle Cleaning Tools
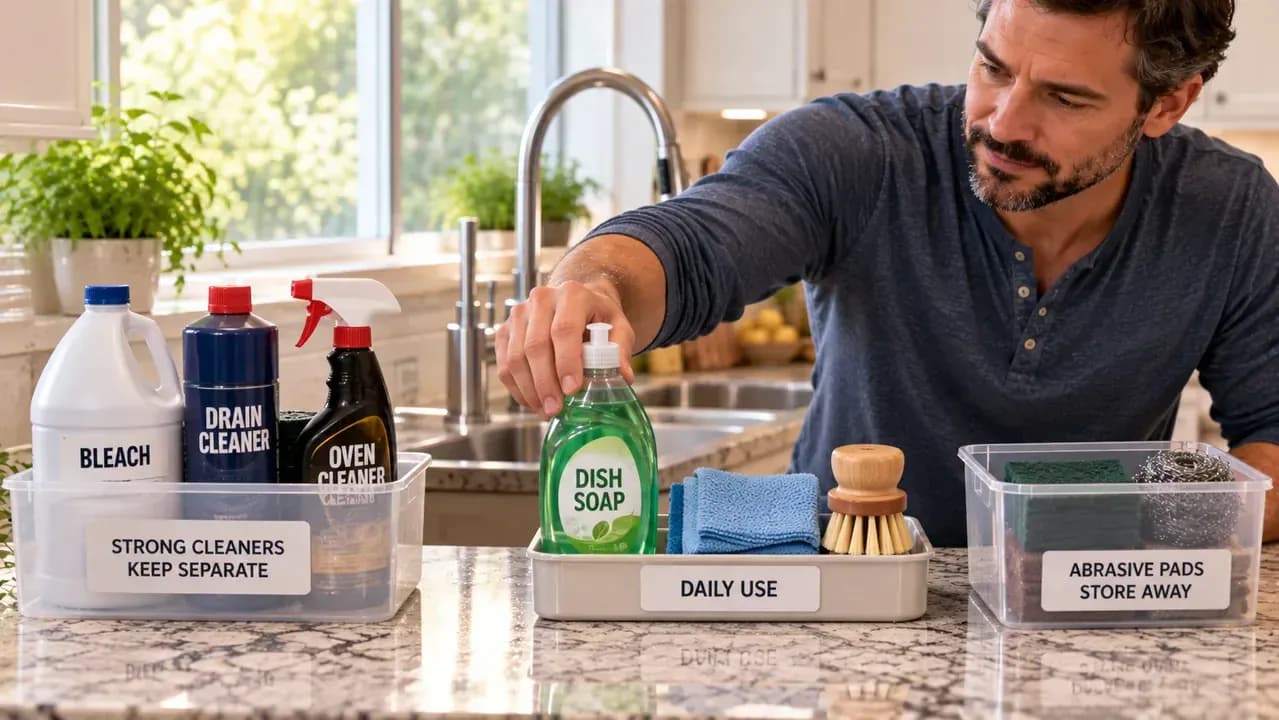
Set a clean microfiber cloth or soft nonabrasive sponge beside the cleared sink, along with mild dish soap or a stainless steel-safe cleaner. Gloves are optional if you prefer extra skin protection. Keep steel wool, rough scouring pads, and abrasive powders away from the basin because they can scratch or dull the finish. Use only one cleaner at a time, and never mix chlorine products with acids or ammonia.

Find the Direction of the Grain
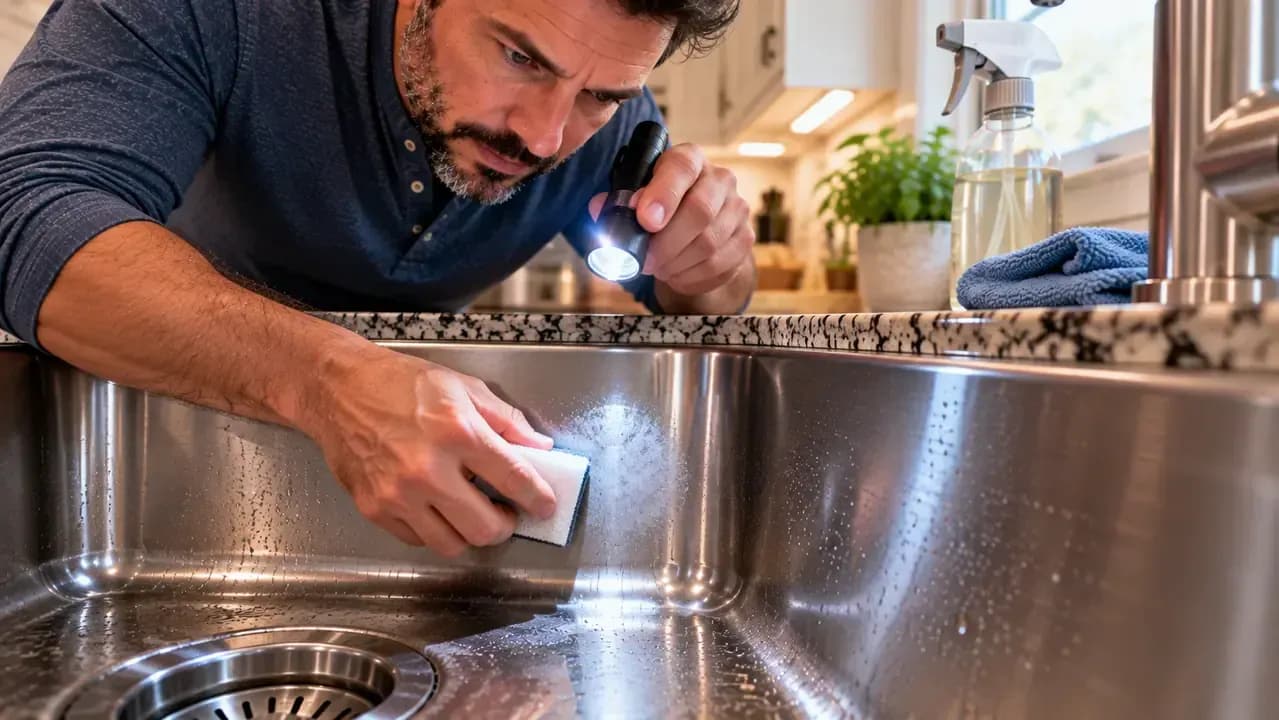
Look closely at the stainless steel before adding any cleaner and find the faint parallel lines that show the grain direction. Trace them with your finger across the basin floor, then check each side wall separately because the pattern may change. During cleaning, wipe in the same direction as those lines instead of scrubbing across them. Use bright overhead light or a flashlight at an angle if the grain is difficult to see.
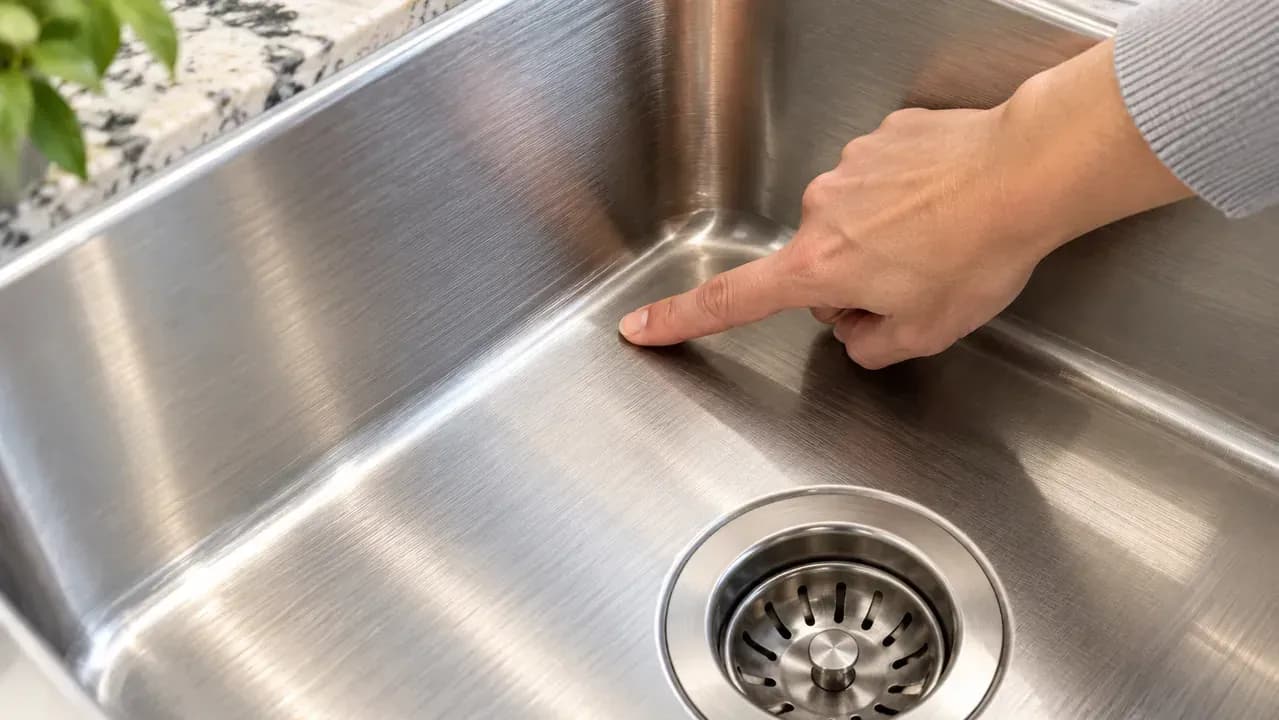
Apply Cleaner and Wipe With the Grain
Add a small amount of mild dish soap or stainless steel safe cleaner to a damp microfiber cloth or soft sponge. Wipe one basin wall using light, overlapping strokes that move in the same direction as the stainless steel grain. Keep your pressure gentle so the cleaner can loosen grease without scratching the finish. For stubborn film, make a second pass rather than pressing harder, and re-dampen the cloth if it starts dragging.
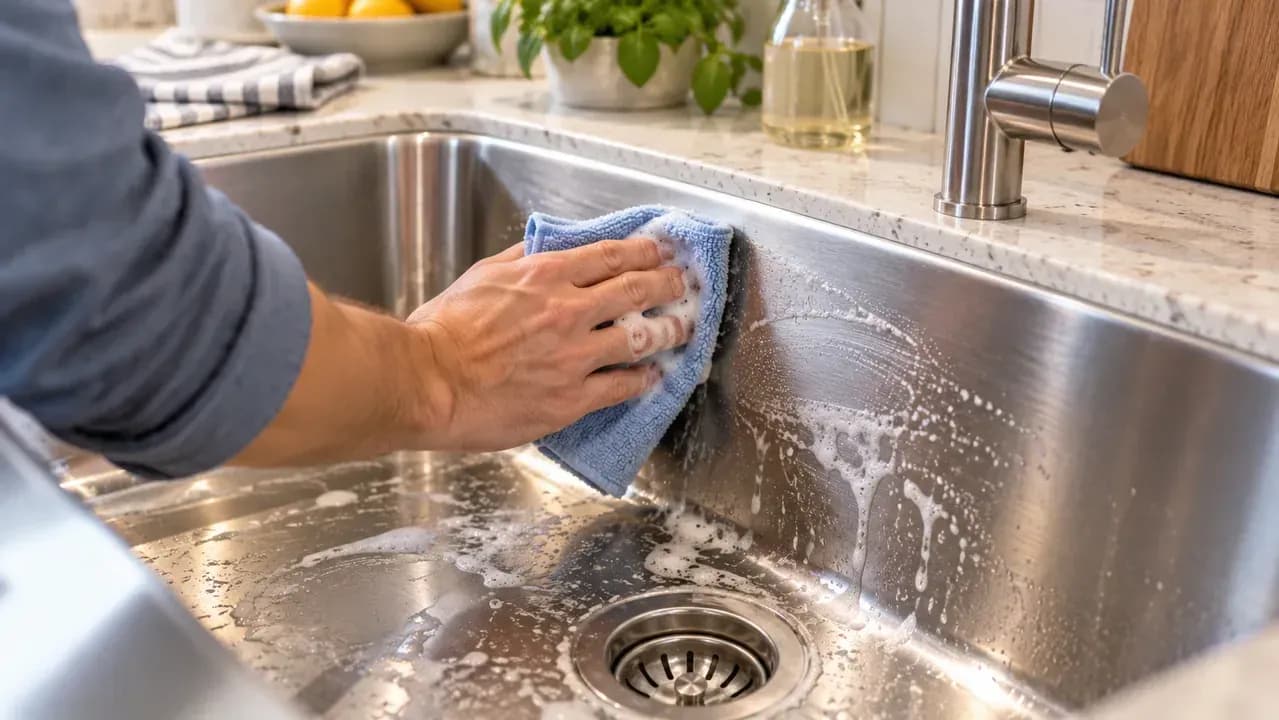
Clean Around the Drain and Corners
Focus next on the drain, corners, and faucet base, where grease and residue tend to collect. Apply the same mild cleaner, then loosen buildup gently with a small soft brush before wiping the area with a clean microfiber cloth. Keep pressure light, especially on stainless steel, and follow the visible grain whenever possible. For stubborn residue around the drain edge, let the cleaner sit briefly before brushing instead of scrubbing harder.
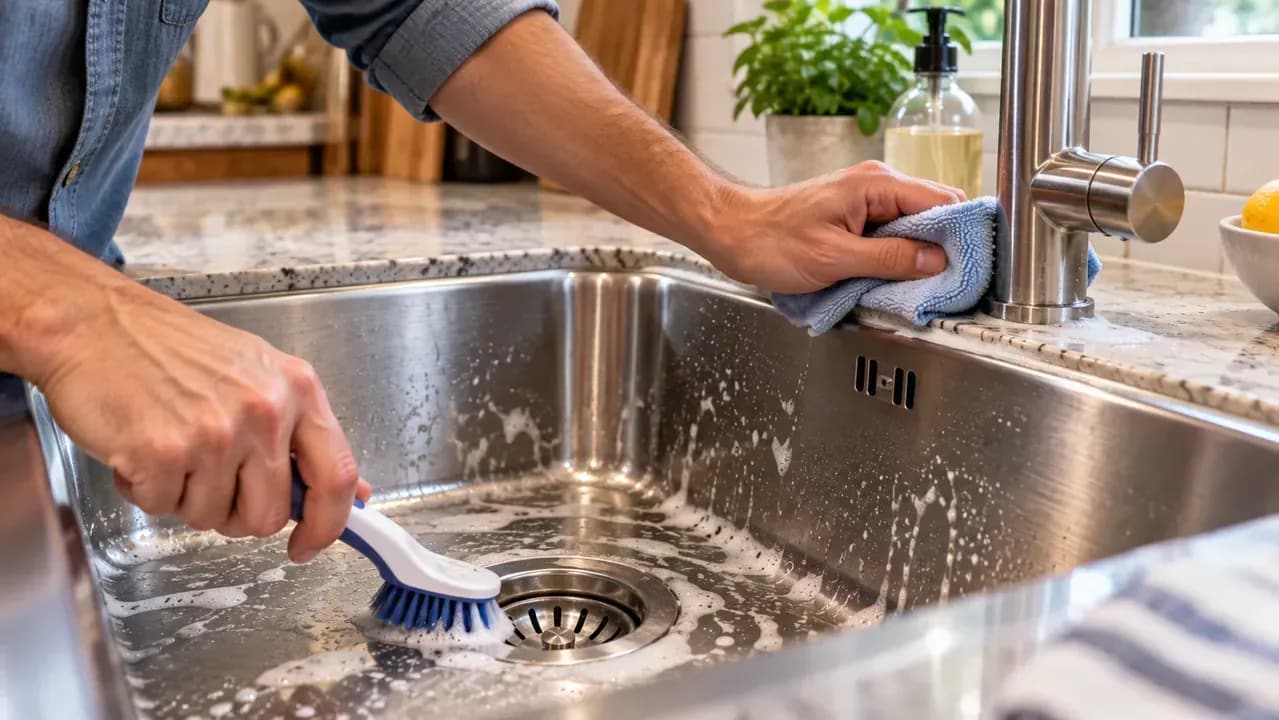
Rinse Every Surface Thoroughly
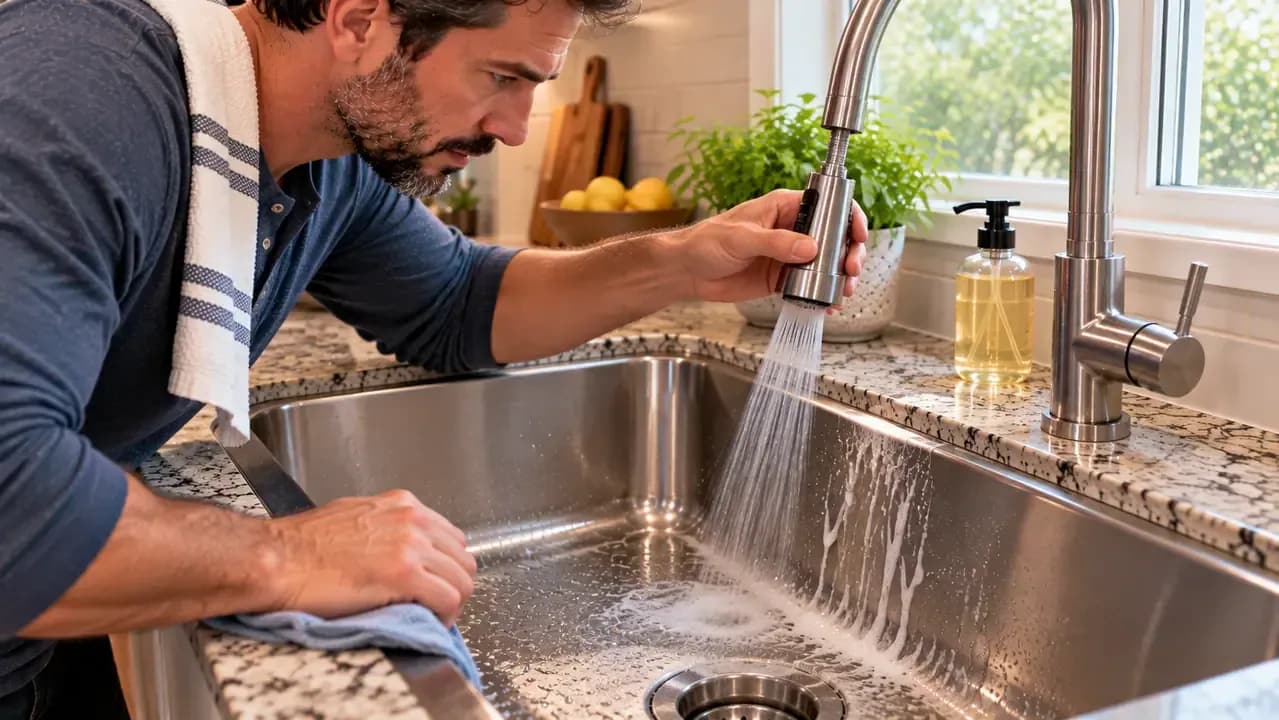
Rinse the entire sink with fresh water, working from the rear wall and sides down toward the basin floor, drain, and rim. Use the pull-down sprayer to keep water moving across every surface, then guide runoff from corners with a clean microfiber cloth. Pay extra attention around the drain and back edge, where cleaner can collect. Continue rinsing until no visible soap film or slippery residue remains before checking the finish.
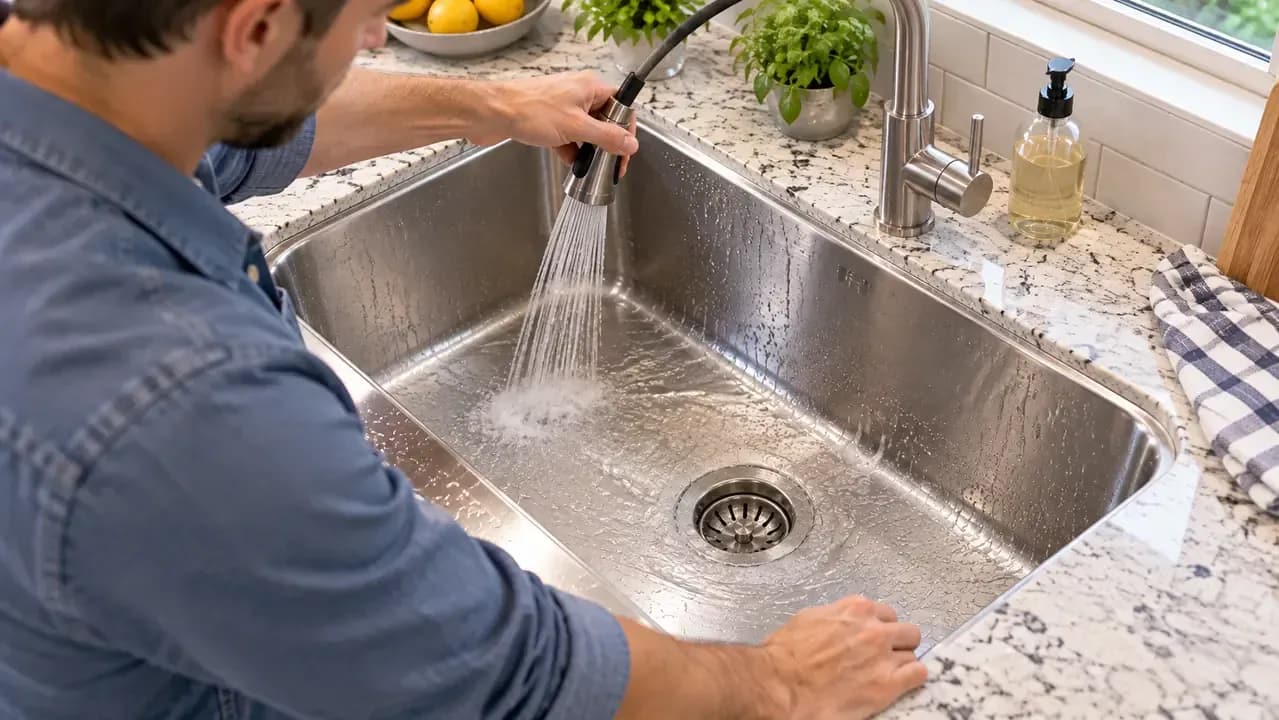
Inspect and Touch Up Remaining Film
Check the rinsed stainless steel from several angles under the kitchen light, since greasy haze and streaks can disappear when viewed straight on. If you find a dull or oily patch, dampen a fresh microfiber cloth and wipe only that area with light, overlapping passes that follow the grain. Avoid scrubbing harder or using abrasive tools. Recheck the spot from the same angle before deciding whether another gentle pass is needed.
Dry Away Standing Water
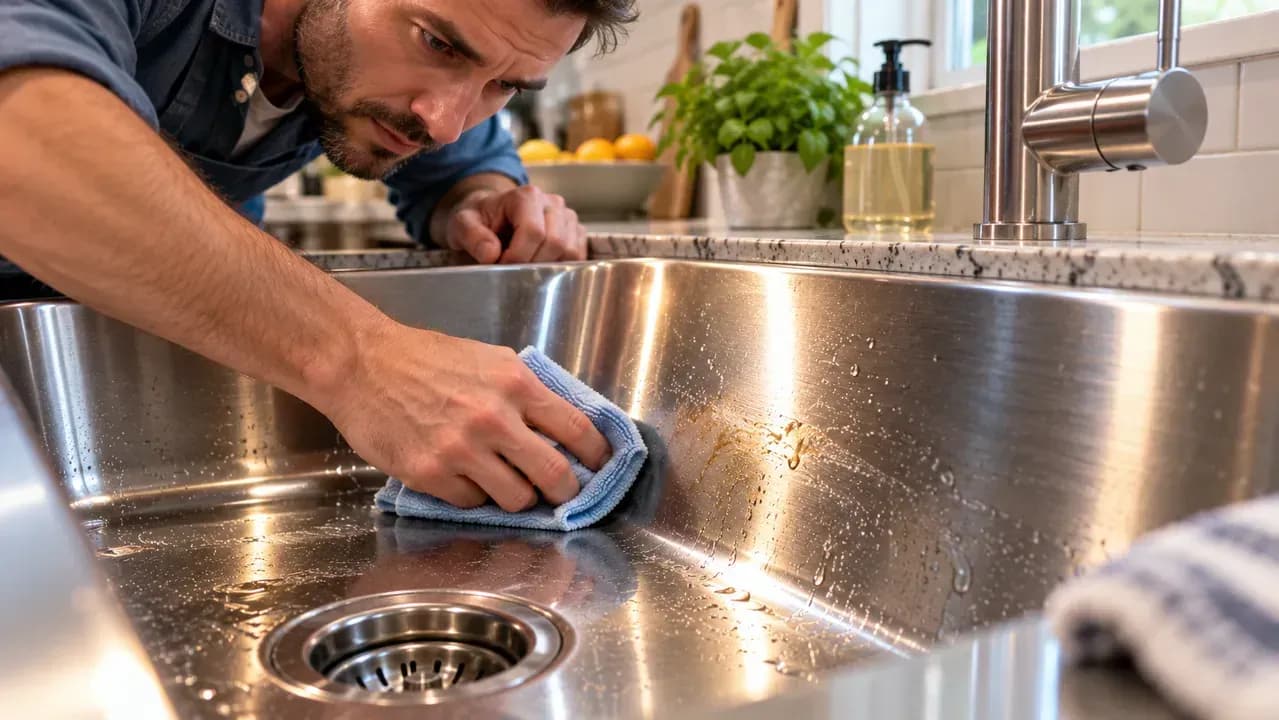
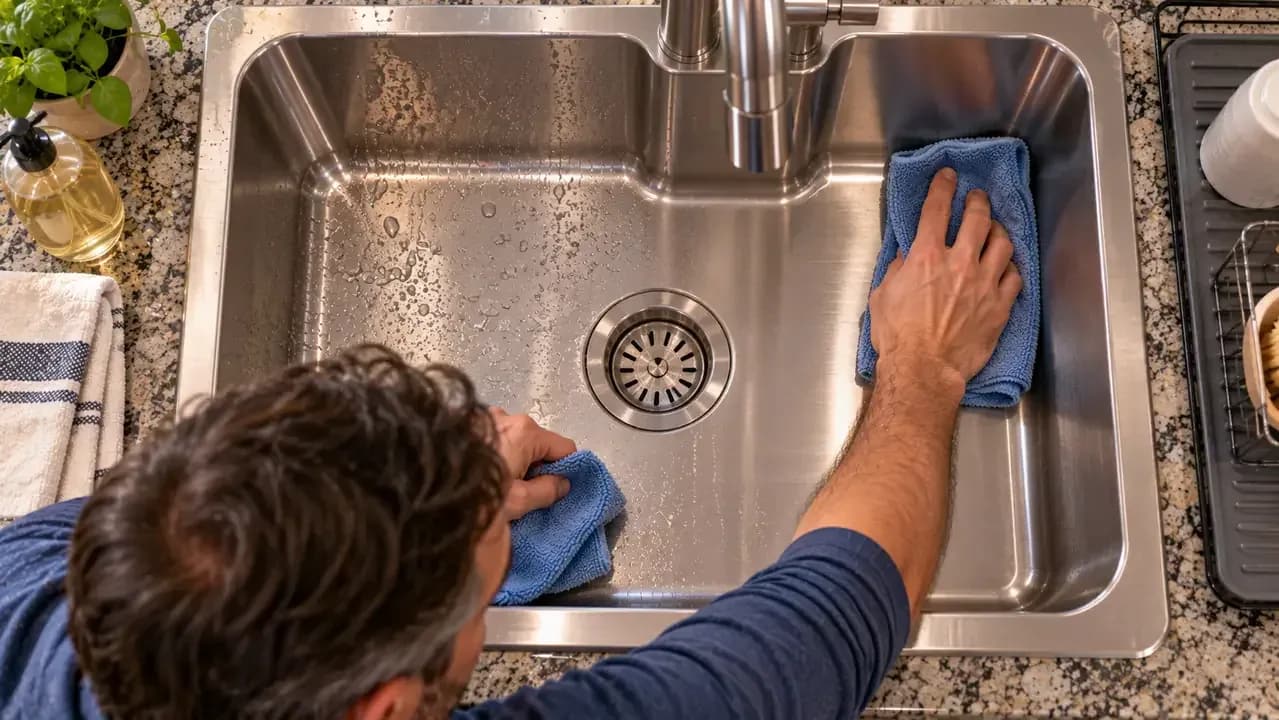
Use a fresh, dry microfiber towel to remove every visible droplet before the water can dry into fresh spots. Wipe in long passes that follow the stainless steel grain, starting on the upper basin walls and moving toward the drain. Overlap each pass slightly so you do not leave damp streaks behind. Finish by drying the rim, corners, and flat ledges, where small pools often remain unnoticed after rinsing.
Finish the Faucet, Rim and Drain
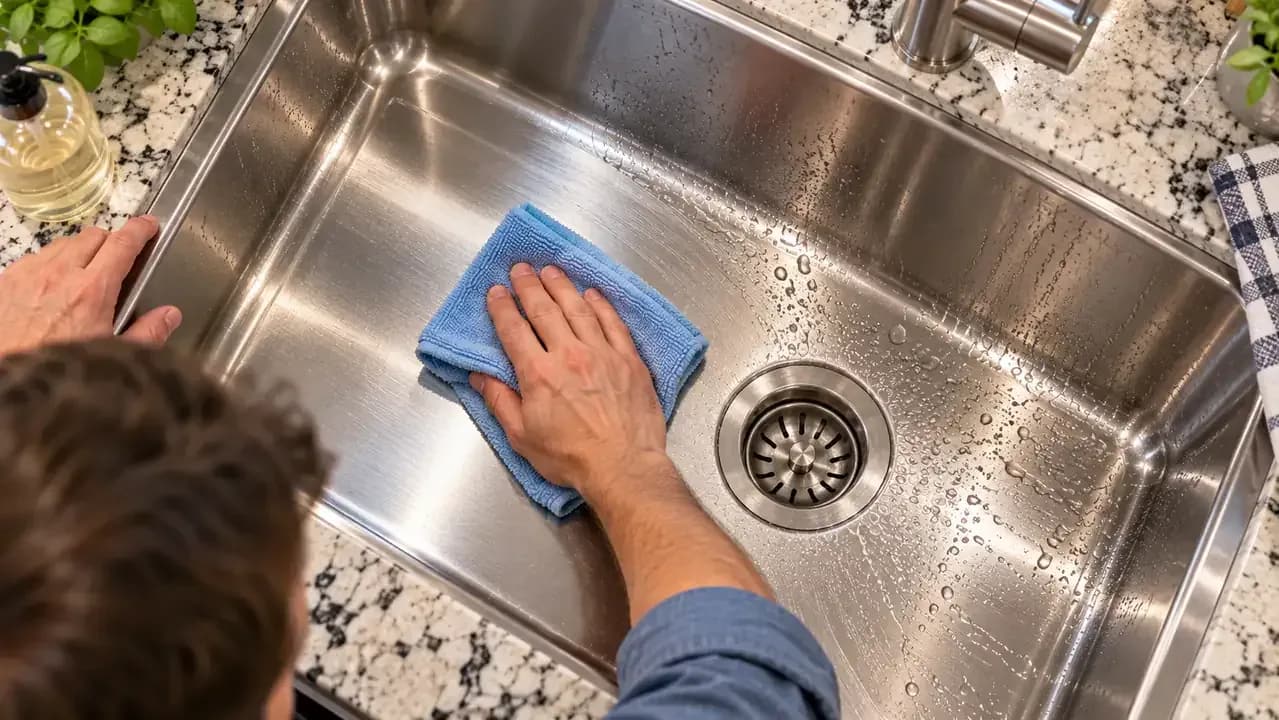
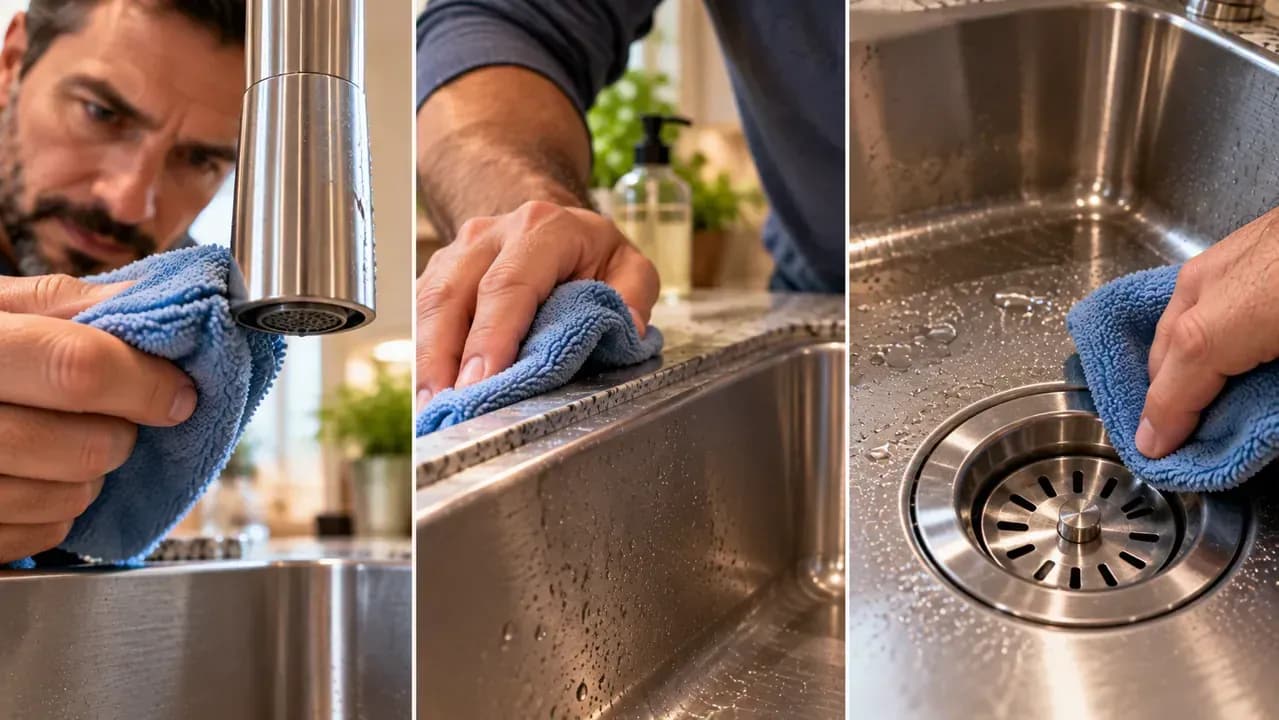
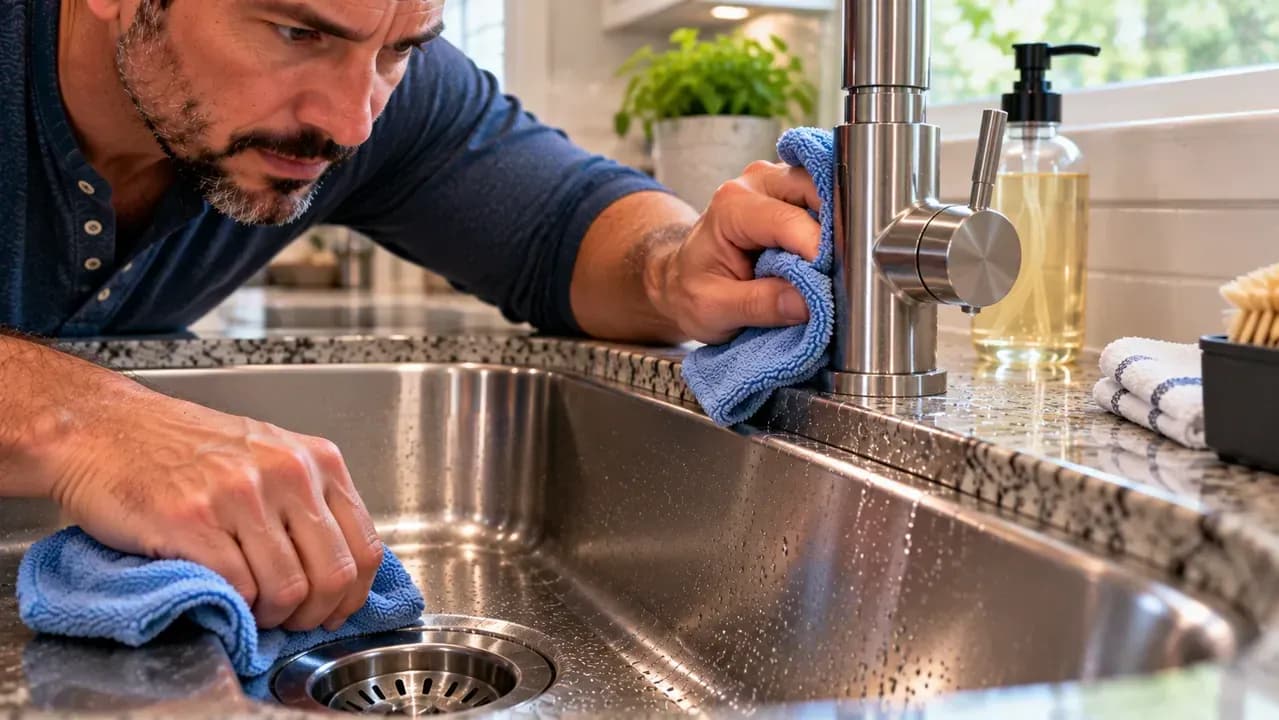
Dry the faucet base, sink rim, and drain flange with a clean microfiber towel, pressing the fabric into narrow seams where droplets can hide. Follow any visible grain to reduce streaking, then trace the rim and circle the drain edge until no moisture remains. Pay extra attention to joints around the faucet and drain, since trapped water there can leave mineral spots. Finish with the basin completely dry and free of cleaner or debris.
Maintain the Clean Finish
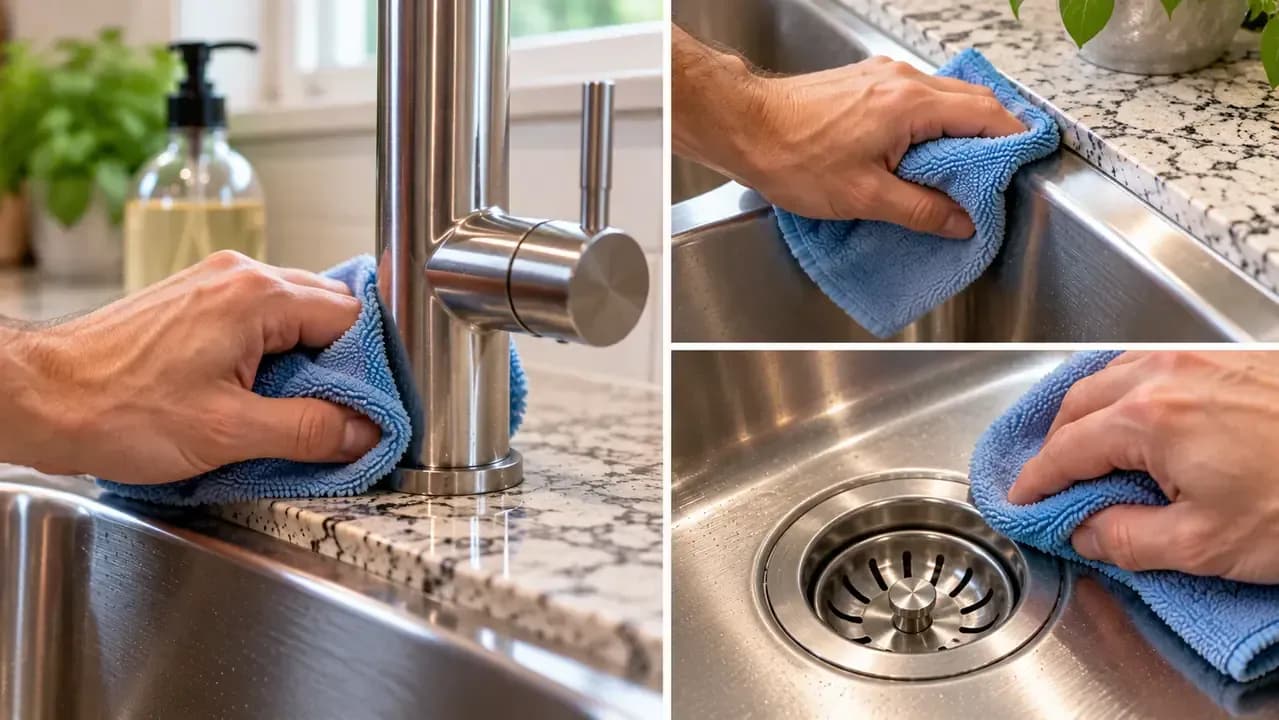
After everyday use, remove food scraps before they dry onto the basin, then rinse the sink with clean water to wash away soap and loose particles. Finish by wiping the stainless steel dry with a fresh microfiber towel, paying extra attention to the bottom edges and around the drain where water can linger. This quick habit reduces greasy film, dull residue, and visible water spots while making the next deeper cleaning much easier.

Check the Grain Before the Next Cleaning
With the sink completely dry, use angled task lighting to find the fine grain lines along the basin walls and rim. Lightly trace their direction with a fingertip before you start cleaning, then keep your wiping motion aligned with those lines. This quick check is especially useful after the sink has dried overnight because the pattern is often easier to see without water spots or cleaner residue hiding the finish.

Use Light Pressure on the Next Wipe
Dampen a clean microfiber cloth with warm water and one small drop of mild dish soap, then lay it flat against the stainless steel surface. Wipe slowly in straight strokes that follow the grain, using only light pressure. If a mark remains, make several gentle passes instead of scrubbing harder. Keep abrasive pads and brushes away from the finish, and rinse the cloth if it begins picking up visible grime.
Overlap Each Pass Along the Grain
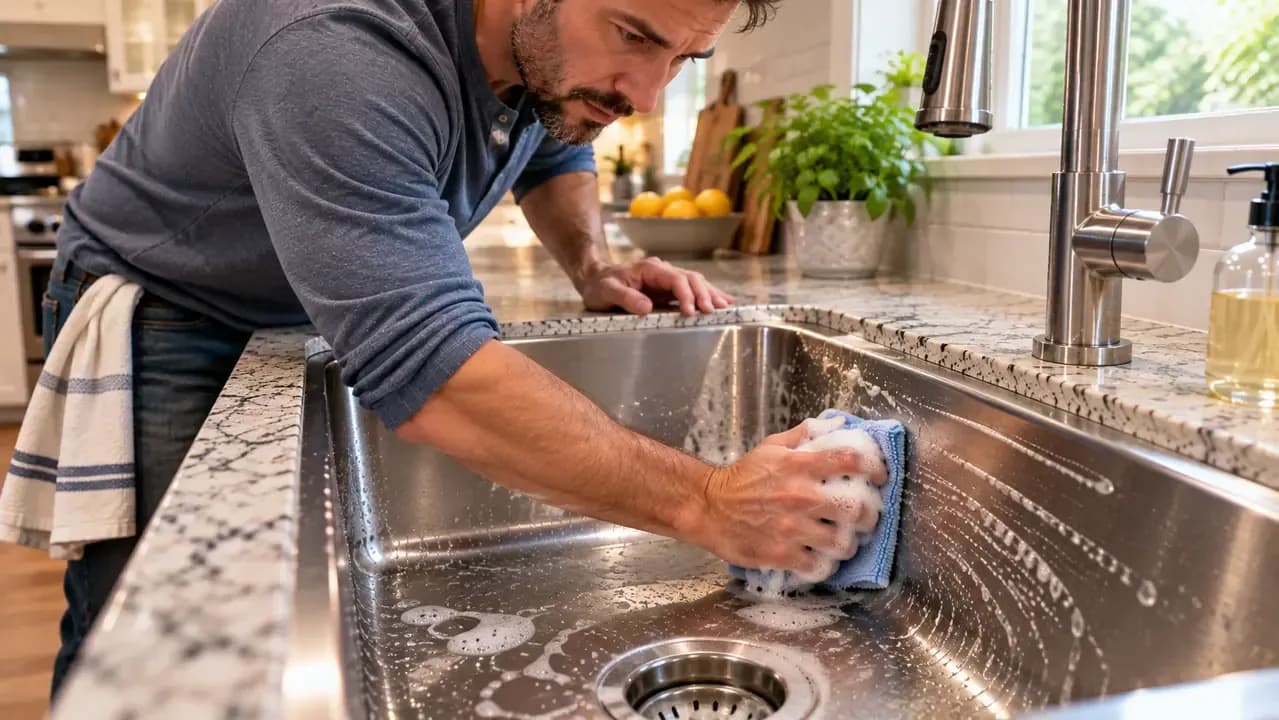
Move the microfiber cloth in long passes that slightly overlap the previous stroke, always following the stainless steel grain from one end of the section to the other. Keep the cloth flat and use light, even pressure so residue lifts consistently instead of being pushed into streaks. If the cloth starts to feel dry, lightly re-dampen it with warm water or a small amount of mild soap before continuing.
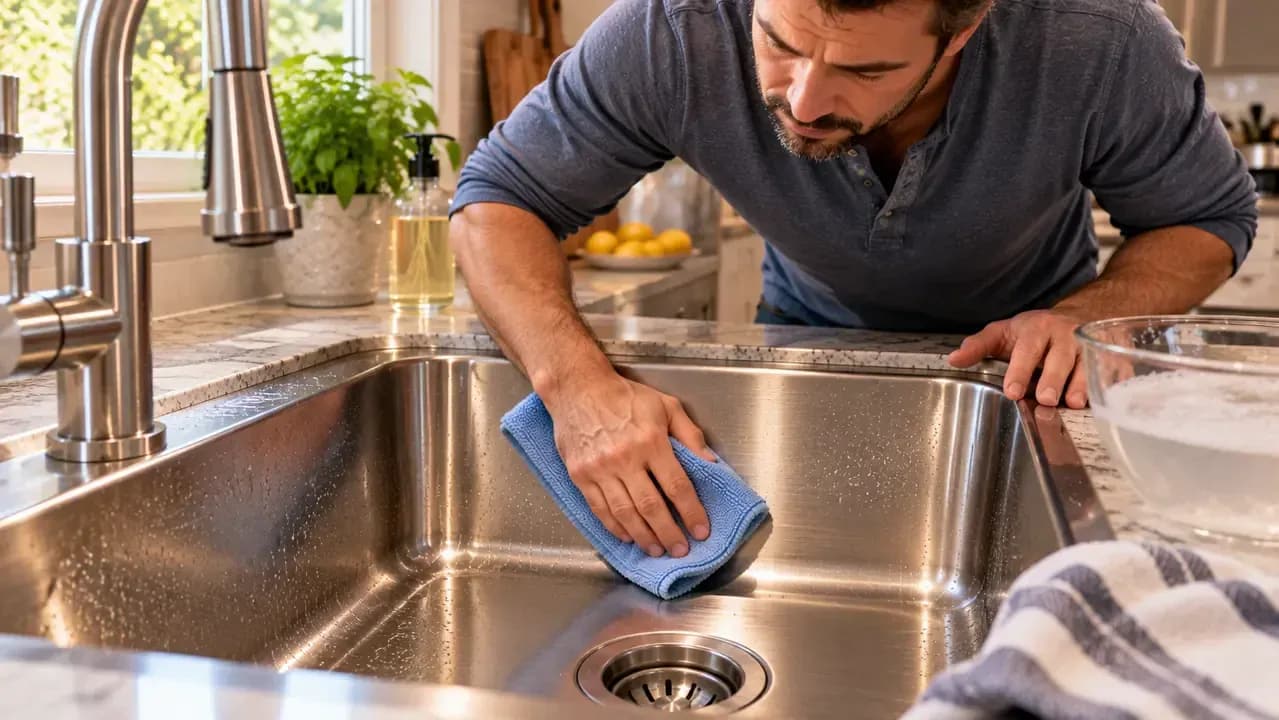
Target Grease Around Tight Areas
Fold a damp microfiber cloth over one fingertip and trace the narrow seam around the faucet base, using light pressure to loosen grease without scratching the finish. Switch to a small soft brush for the drain lip and curved sink corners where residue can collect. Work slowly and follow the grain whenever possible. If grease remains, repeat the gentle pass instead of scraping with a hard tool, which can permanently mark the surface.
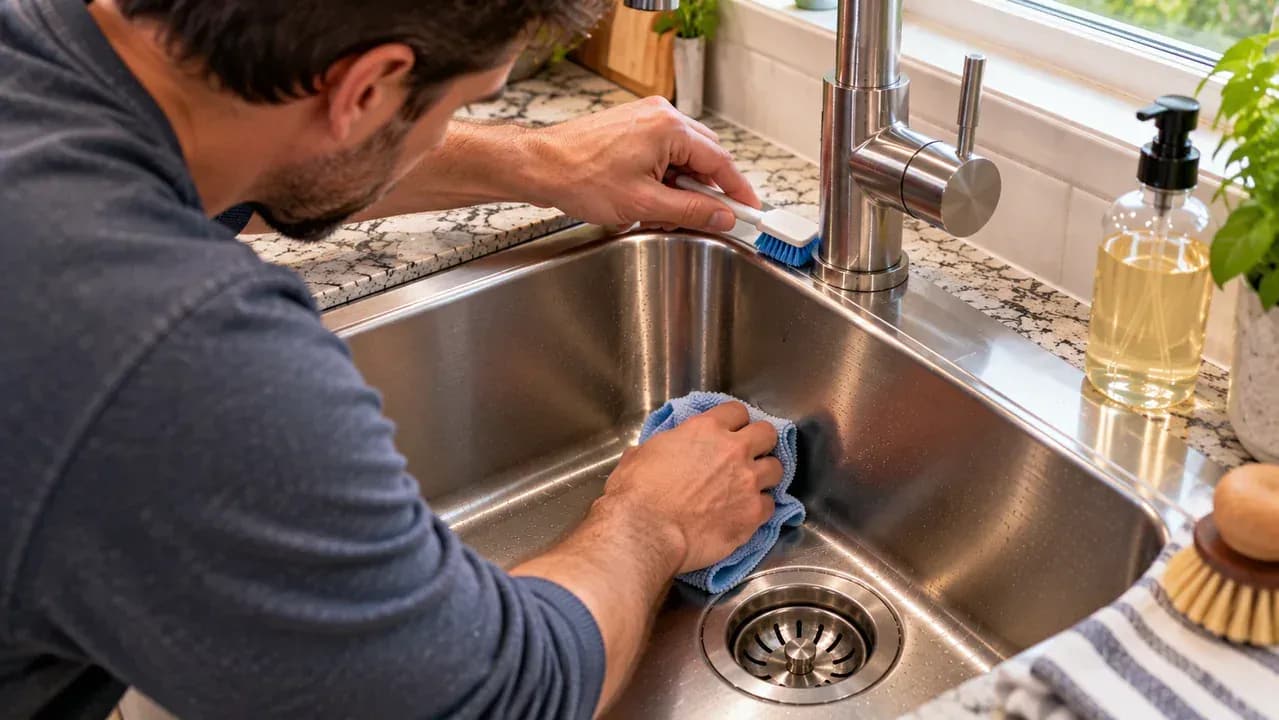
Rinse Away Loosened Residue
Pour clean water gently along the faucet-base seam and into the rear corners, then use a damp microfiber cloth to guide the runoff toward the drain. Work from the upper edges downward so loosened grease and soap do not settle back onto cleaned areas. Check the narrow seams around the faucet and drain carefully. A small measuring pitcher gives you better control than a strong faucet stream and helps prevent splashing.
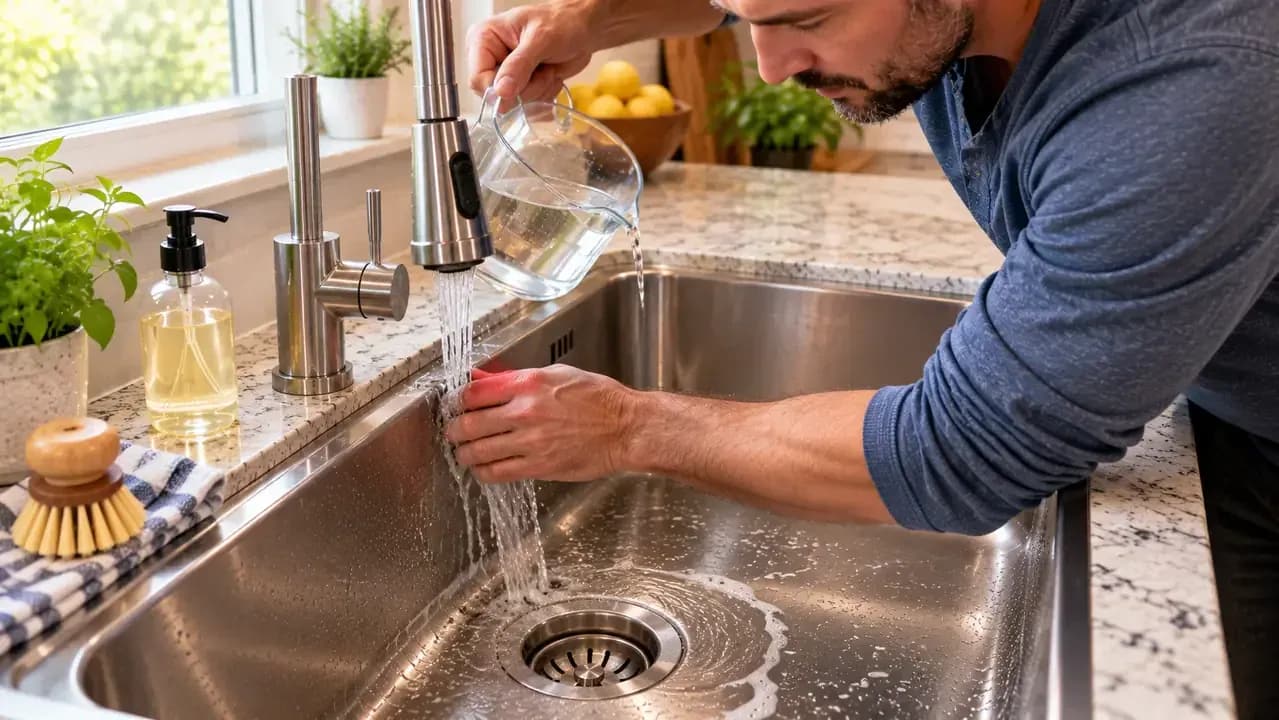
Inspect for Any Remaining Film
Before drying the sink, lower your viewing angle and scan the stainless steel under the kitchen light for any dull or cloudy patches. Pay close attention to the sidewalls and the area near the drain, where residue can be easier to miss. If you spot a faint film, use a fresh damp microfiber cloth for one or two gentle passes in the direction of the grain, then inspect the surface again.
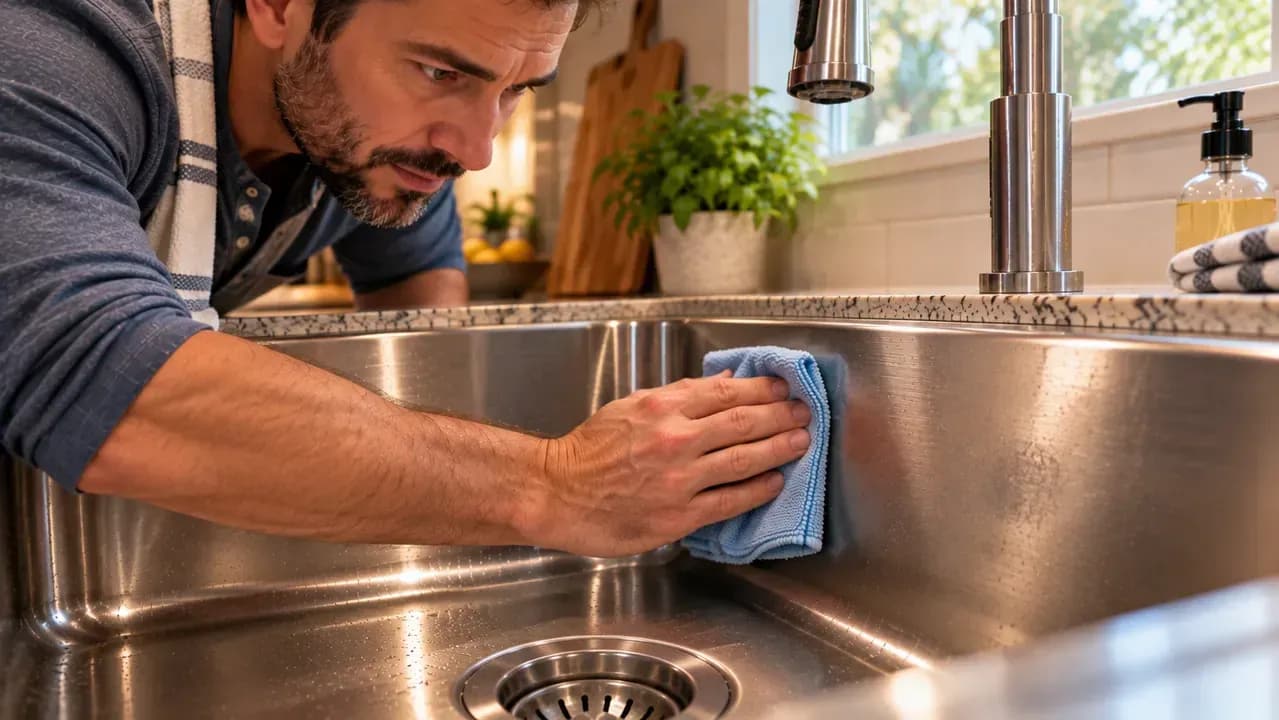
Dry the Basin Before Water Spots Form
Blot the two small puddles with a folded, dry microfiber towel instead of rubbing them across the surface. Once the standing water is absorbed, unfold the towel and wipe from the upper sidewalls toward the drain using long, straight passes that follow the stainless steel grain. Keep pressure light and switch to a dry section of the towel as it becomes damp to reduce streaks and prevent fresh mineral spots from forming.
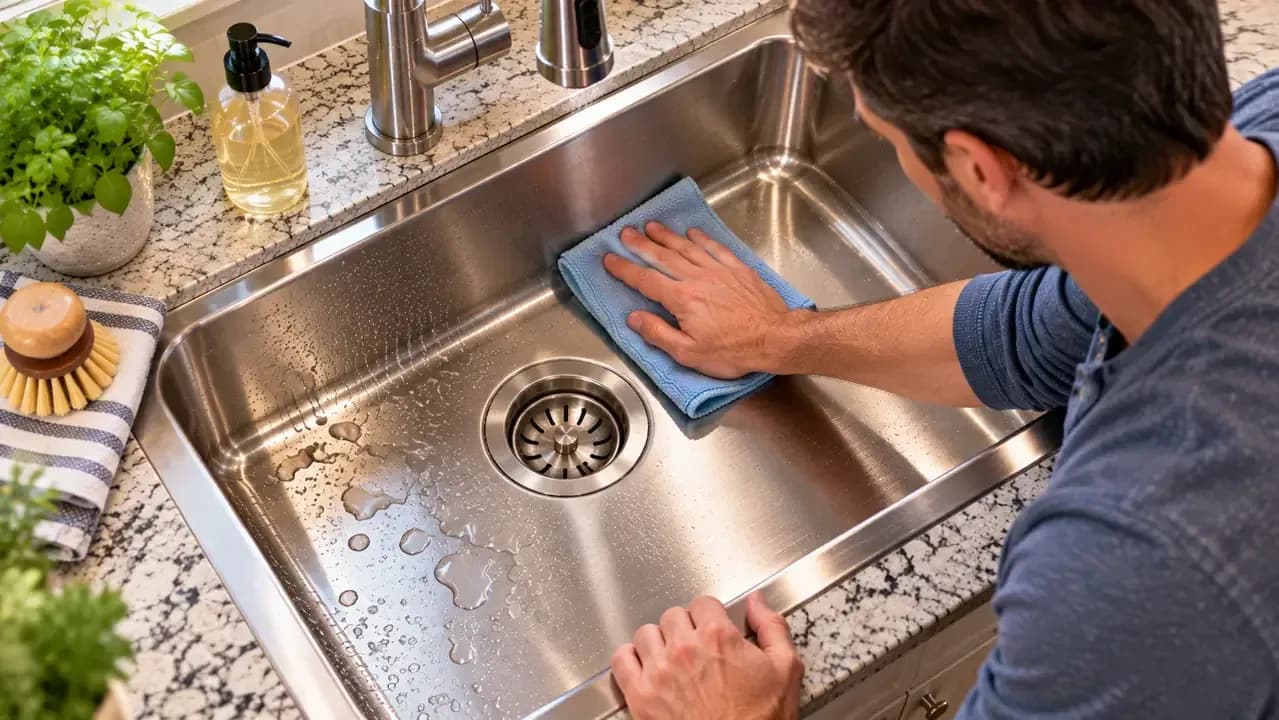
Dry the Faucet Rim and Drain Details
Use a clean, dry section of the microfiber towel to remove moisture from the faucet base, sink rim, and drain flange. Press the cloth into tight seams rather than scrubbing, then wipe exposed stainless steel with smooth strokes that follow the grain. Pay special attention to the joint where metal meets the counter, since trapped droplets there can leave fresh water spots even after the basin looks completely dry.
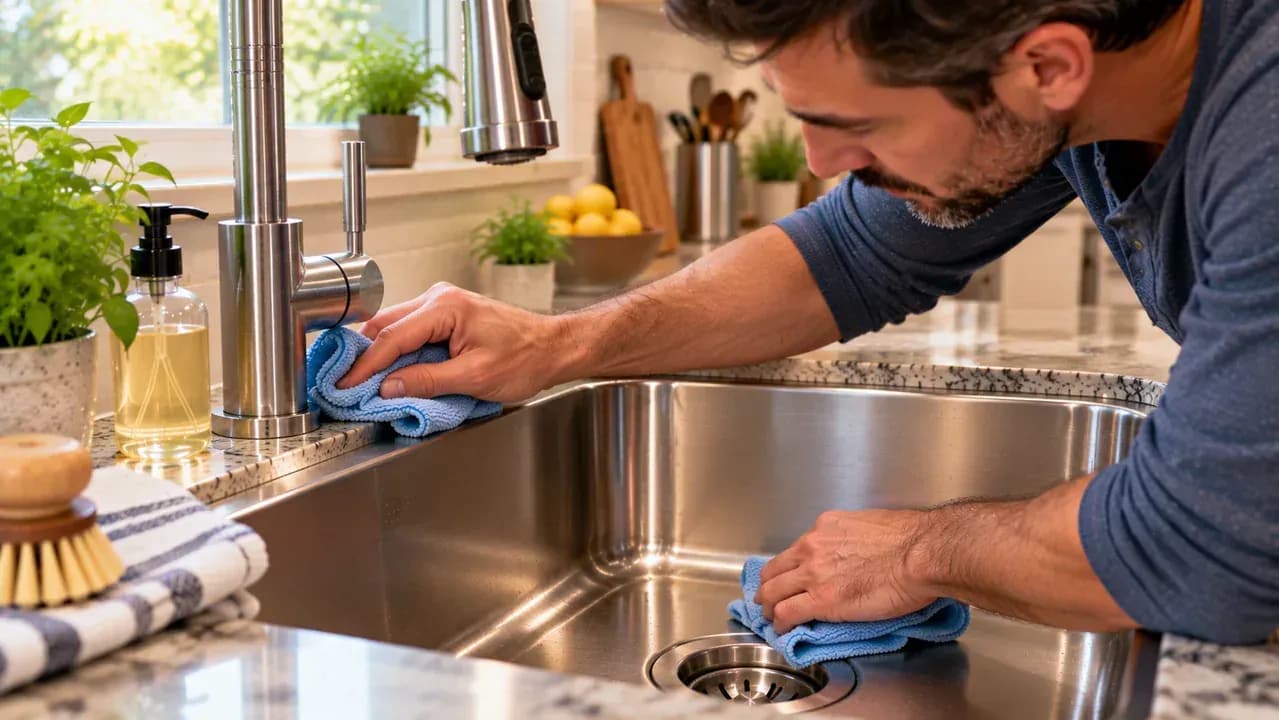
Keep the Sink Cleaner Between Deep Cleans
Remove food scraps as soon as you finish using the sink, then rinse the basin with clean faucet water to wash away loose soap and residue. Dry the stainless steel with a clean microfiber towel, wiping in straight strokes that follow the visible grain. This quick routine helps prevent water spots and dull buildup. Keep the towel nearby so drying the sink becomes an easy habit after meals and everyday kitchen cleanup.

Treat Fresh Water Spots Early
Dampen a clean microfiber cloth with plain water and wipe the fresh spots using straight strokes that follow the stainless steel grain. Work only on the marked area so you do not spread moisture across the basin. Immediately dry the same section with a second clean microfiber towel. Removing these spots while they are fresh helps prevent mineral residue from building into a cloudy film and reduces the need for harder scrubbing later.
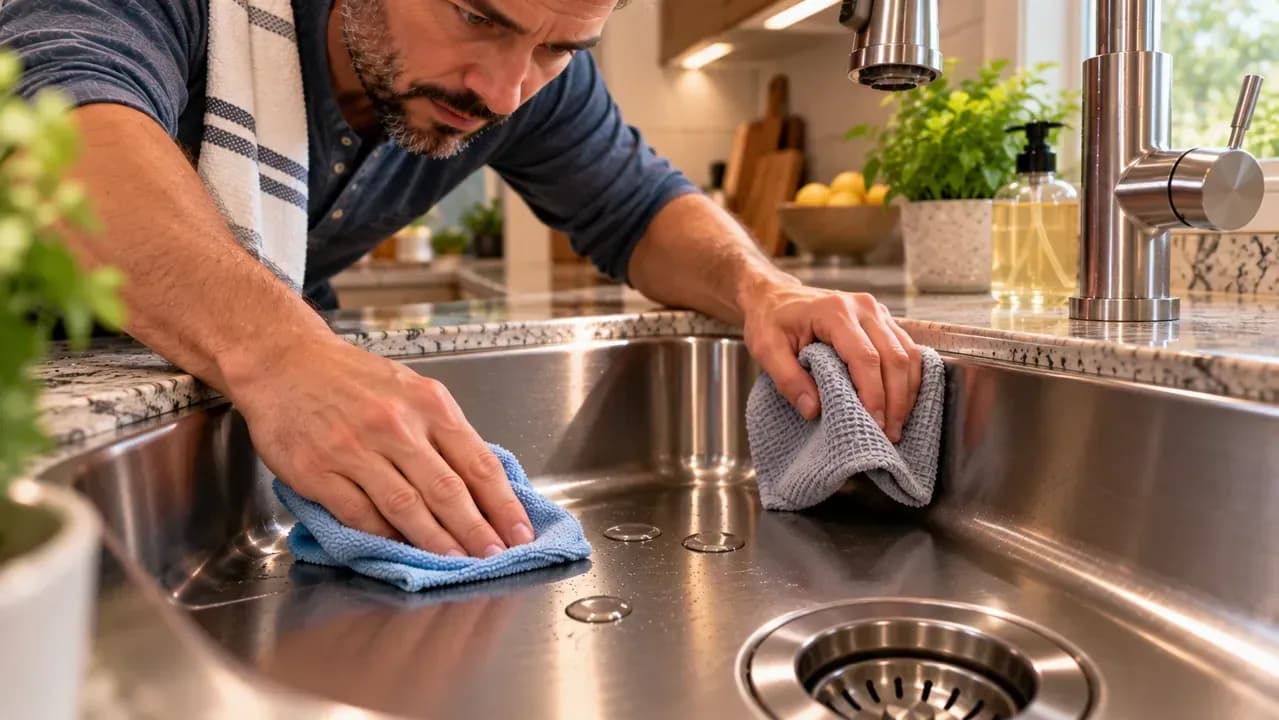
Use the Same Gentle Method Weekly
For a weekly reset, rinse away loose debris first, then place a small amount of mild dish soap on a damp microfiber cloth. Wipe one section of the stainless steel basin at a time using straight strokes that follow the grain. Keep abrasive pads and stronger cleaners out of the routine. Once the section is clean, rinse it thoroughly with fresh water and dry the sink completely to prevent soap residue and new water spots.
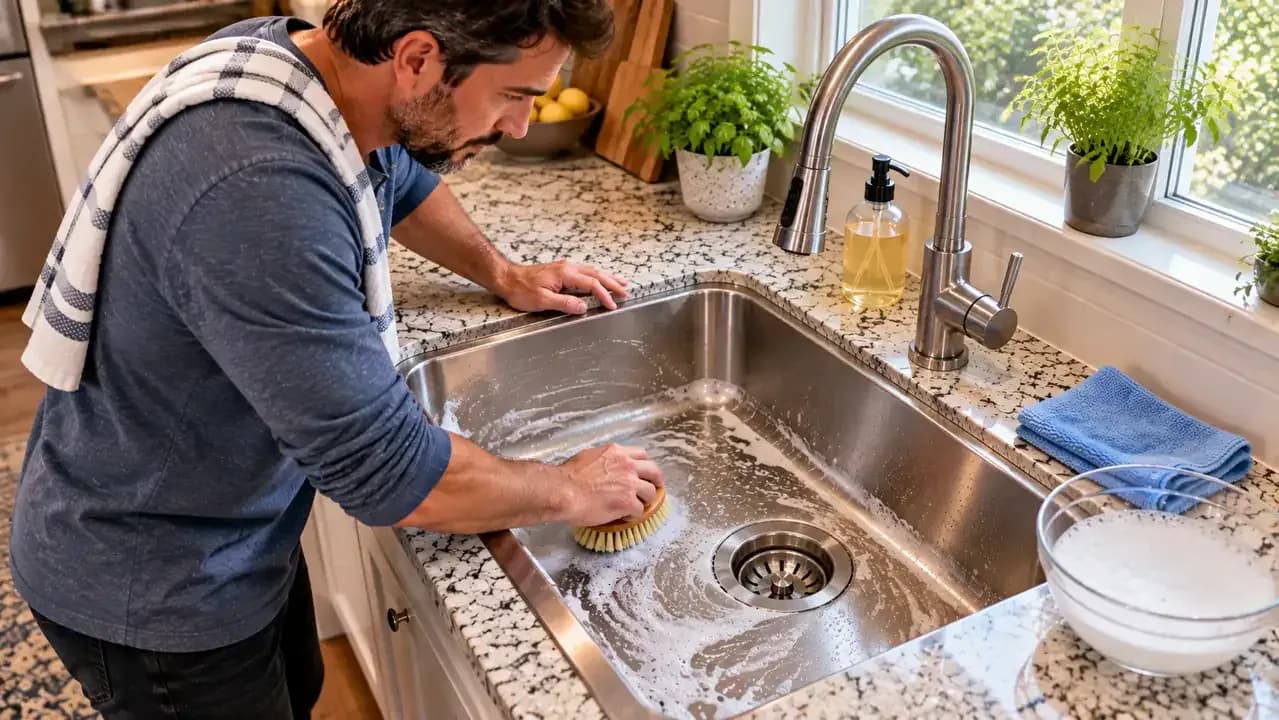
Store Abrasive Cleaners Away From Stainless Steel
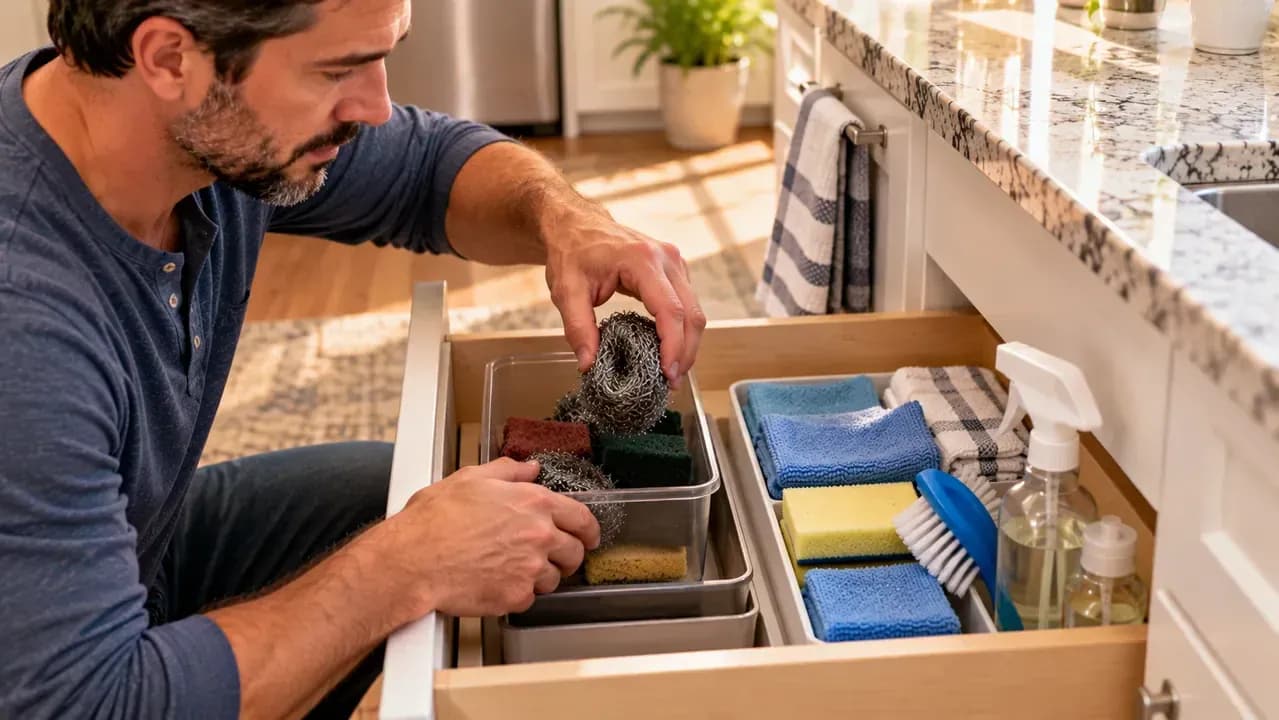
Move steel wool, rough scouring pads, and gritty cleaners into a separate utility bin so they are not grabbed by mistake during routine sink cleaning. Keep a microfiber cloth and soft nonabrasive sponge within easy reach instead. Even brief scrubbing with a harsh tool can leave fine scratches in stainless steel. A labeled storage bin under the sink makes it easier for everyone in the household to choose the right cleaning supplies.
Keep Cleaning Products Separate
Place only one appropriate cleaner at the sink, such as mild dish soap or a product labeled safe for stainless steel, and keep other household cleaners closed and stored separately. Do not combine chlorine cleaners with acids, ammonia, or other products because dangerous fumes can form. For routine cleaning, one suitable product is enough. After washing, rinse the sink thoroughly with clean water and wipe it with a clean microfiber cloth.
Use Just Enough Cleaner for One Section
Dispense a pea-sized dab of mild dish soap onto a damp microfiber cloth and work on only one small section of the stainless steel sink at a time. Use light, straight strokes that follow the visible grain instead of scrubbing in circles. Rinse the treated area completely before applying cleaner elsewhere. Keeping the amount small helps prevent leftover soap film, reduces unnecessary rinsing, and makes it easier to see when the surface is fully clean.

Rinse Before the Soap Dries
Rinse the freshly cleaned section right away using a gentle stream of clean water, moving from the upper edge downward in the same direction as the stainless steel grain. Follow the soap trails toward the drain and check curved seams, corners, and transitions where suds can collect. Give those areas an extra pass if needed. Removing all cleaner before it dries helps prevent streaks, cloudy residue, and unnecessary polishing afterward.
Check the Surface Before Drying
Before drying the sink, inspect the wet stainless steel from a low angle while moving a small light across the basin. Reflections make greasy residue and cloudy spots easier to see. If one appears, wipe only that area with a clean damp microfiber cloth, using short straight strokes that follow the grain. Rinse the corrected spot again with clean water so no loosened residue remains before you begin drying the entire surface.
Dry the Basin Right Away
Use a clean, dry microfiber towel as soon as the final rinse is finished so water does not sit on the stainless steel. Start near the upper basin wall and wipe downward in long, straight passes that follow the grain. Rotate the folded towel whenever one section becomes damp. For fewer water spots, keep a second dry towel nearby and use it for a final quick pass around corners, seams, and the drain.
Finish the Metal Edges
Use a clean, dry section of microfiber to catch the last droplets hiding around the faucet, sink rim, and drain opening. Fold the towel to create a pointed corner for tight seams, then glide it gently along narrow edges instead of scrubbing. On brushed stainless steel, follow the visible grain to reduce streaking. Give the underside of the faucet neck extra attention, since water often clings there after the basin looks dry.
Keep the Sink Looking Clean
Clear away crumbs and food debris as soon as you finish using the sink, then rinse the basin with clean water to remove leftover soap. Dry the stainless steel with a soft microfiber towel before water spots can form. Wipe in the direction of the grain for a cleaner finish. Keeping this routine quick and consistent reduces buildup, makes future cleaning easier, and helps you avoid aggressive scrubbing or harsh chemical cleaners.
A stainless steel sink can go from bright and clean to dull surprisingly fast when grease, food residue, soap film, and water spots build up. The good news is that restoring its finish does not require aggressive scrubbing. Stainless steel responds best to a gentler approach: remove loose debris first, use a nonabrasive sponge or microfiber cloth, and clean in the same direction as the metal grain so crumbs and rough pads do not leave visible scratches.
Start with mild dish soap or a stainless-steel-safe cleaner, then use light, overlapping strokes instead of heavy pressure. Pay extra attention around the drain, faucet base, rim, and corners where grime tends to collect. Avoid steel wool and harsh abrasive materials, and never mix cleaning chemicals, especially chlorine products with acids or ammonia. After cleaning, rinse thoroughly and dry the sink with a clean microfiber towel following the grain. Regular rinsing and drying will also help reduce dull buildup and water spotting.
Where people go wrong
Scrubbing Across the Grain. Wiping back and forth in random directions can leave the finish looking streaky and may make existing marks more noticeable. Identify the direction of the stainless steel grain first, then clean with light, overlapping strokes that follow the grain instead of fighting against it.
Using Steel Wool or Harsh Scrub Pads. Steel wool and aggressive abrasive pads can permanently scratch a stainless steel sink while trying to remove ordinary grease or residue. Use a nonabrasive sponge, microfiber cloth, or soft brush with mild dish soap or a stainless-steel-safe cleaner and let gentle repeated cleaning do the work.
Cleaning Over Crumbs and Food Debris. Starting to scrub before rinsing away loose food particles can turn small crumbs and hard debris into unwanted abrasives. Remove dishes and strainers, clear away loose material, and rinse the sink thoroughly before wiping so trapped particles are not dragged across the stainless steel surface.
Leaving Cleaner and Water on the Surface. Cleaner residue and standing water can leave the sink looking dull, streaked, or covered with visible water spots. Rinse thoroughly with clean water, then dry the basin, faucet, rim, and drain area with a clean microfiber towel while continuing to follow the grain.
Questions people ask
Start by removing dishes and loose debris, then rinse away food particles that could scratch the surface. Use mild dish soap or a stainless-steel-safe cleaner with a nonabrasive sponge or microfiber cloth. Wipe gently in the direction of the stainless steel grain using light, overlapping strokes.
Fixed it?
Get one guide like this every Thursday.