How to Clean a Greasy Stainless Steel Cooktop Without Streaks
Greasy fingerprints, cooking splatter, and cloudy streaks can make a stainless steel cooktop look dirty even after wiping. Learn how to remove stubborn grease, clean around knobs, eliminate soap residue, and restore a streak-free finish using simple household supplies.

What you’ll need
Tap to tick things off before you start.
Spot the Grease, Cloudy Patches, and Streaks
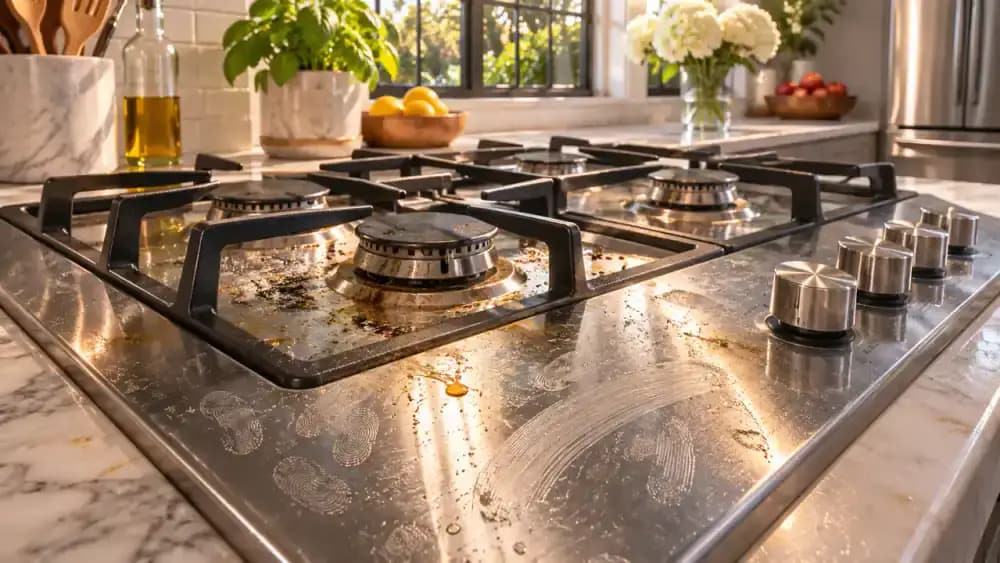
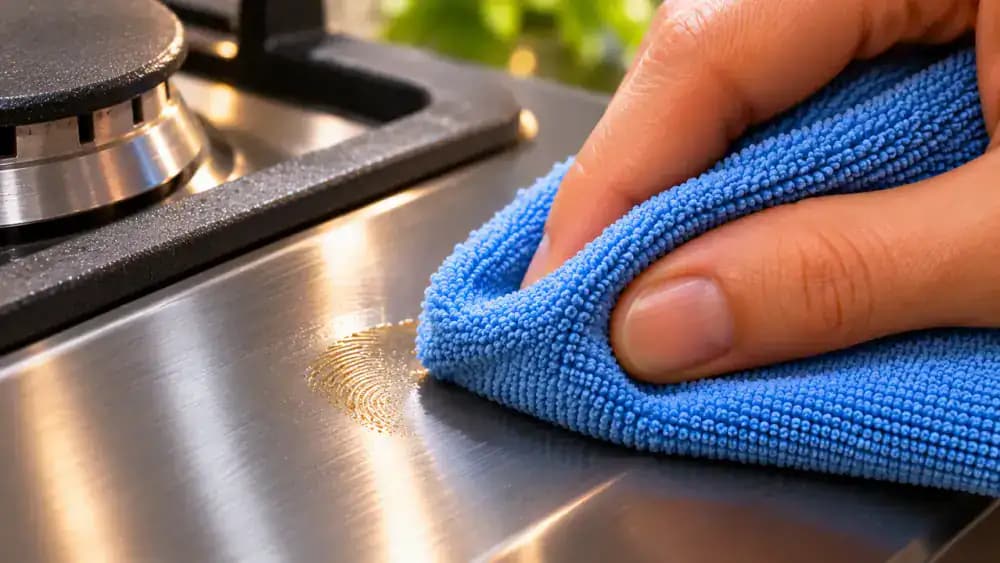
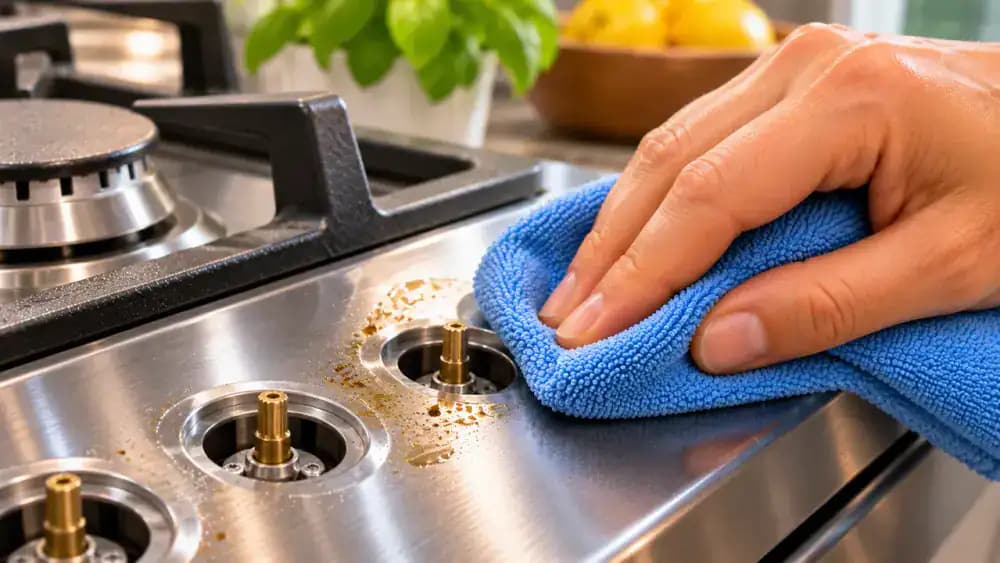
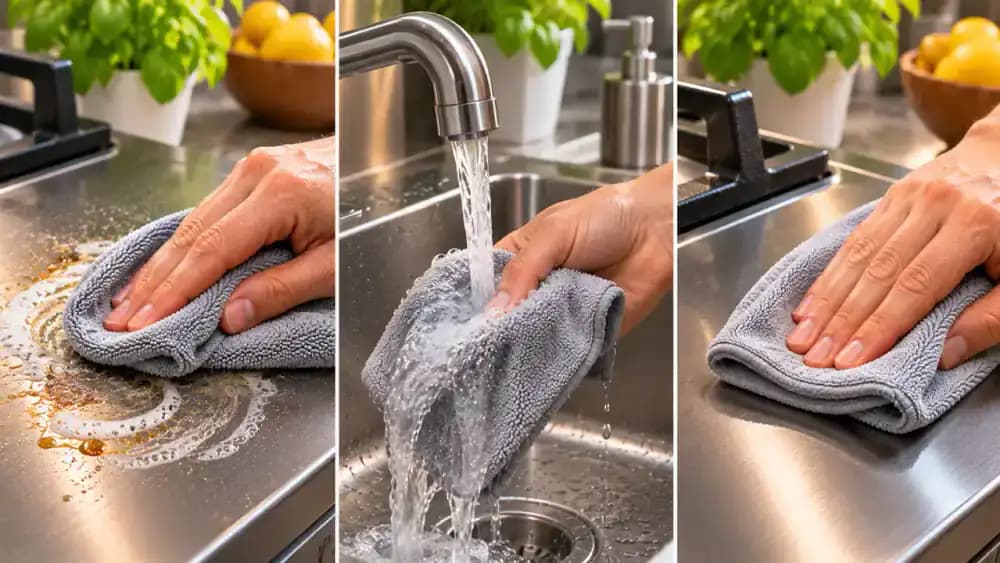
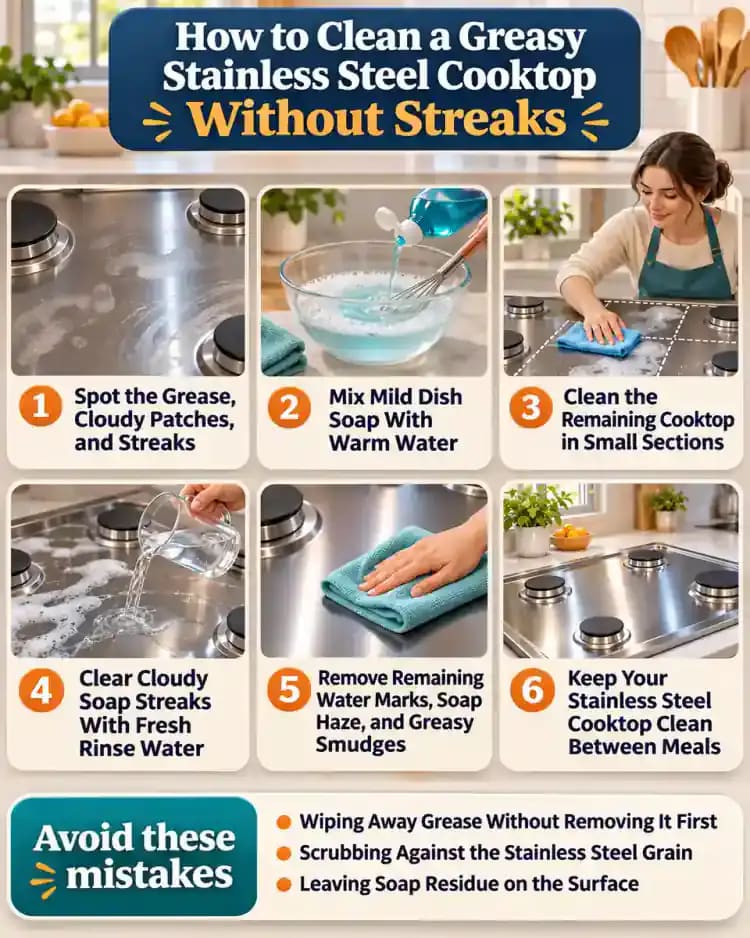
Examine your switched-off, completely cool cooktop under angled natural light, as shown in the close-up. Notice the greasy fingerprints, dried cooking splatter, cloudy patches, and overlapping wipe marks around the burner. These marks often appear when wiping spreads grease or leaves cleaning residue behind. Look especially closely near burner edges, where splatter collects. Identifying these problem areas helps you focus your cleaning efforts without unnecessary scrubbing or risking damage to the finish.
See How Dry Wiping Spreads Grease
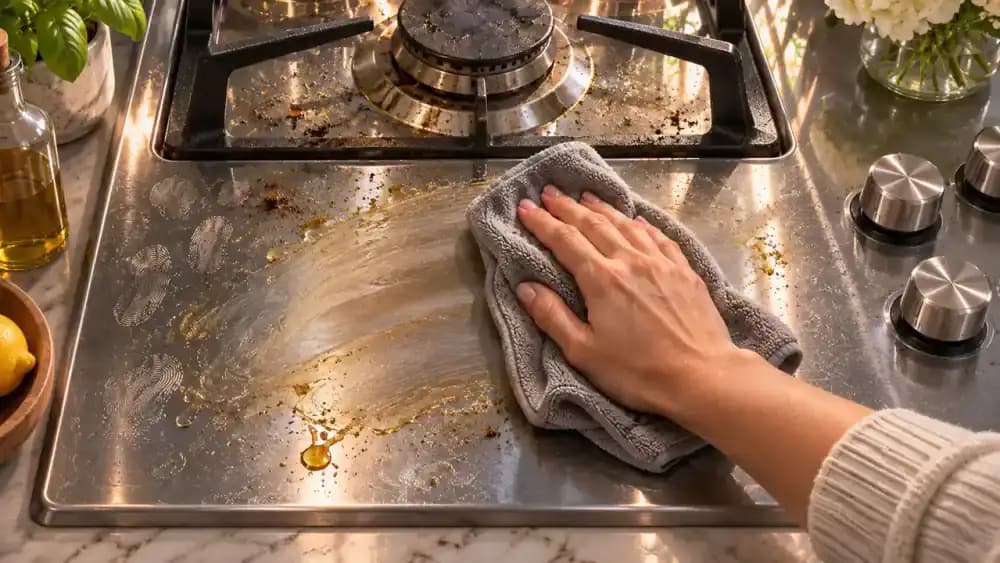
On a completely cool, switched-off cooktop, gently move a dry microfiber cloth across a greasy stainless steel section, away from burners and controls. Notice how the cloth can drag surface oils into thin, uneven streaks instead of lifting them away. These marks become more visible under angled lighting. Avoid repeated dry polishing, which may spread the residue further. Proper cleaning requires loosening the grease with diluted mild dish soap first.
Prepare Three Microfiber Cloths for a Streak-Free Finish
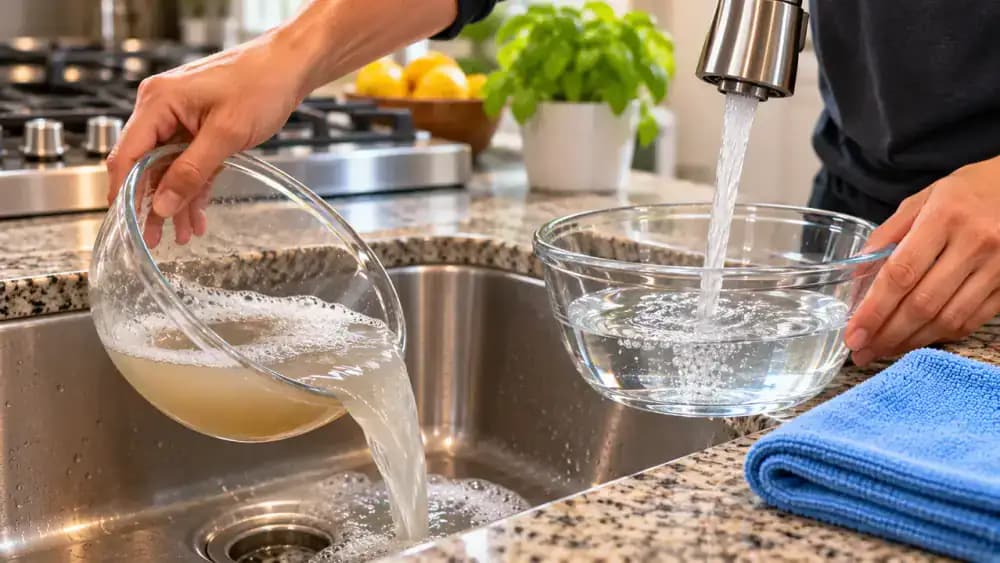
Arrange three clean microfiber cloths on the countertop, as shown, keeping each one dedicated to a separate task. Use the first with diluted mild dish soap to loosen grease, the second lightly dampened with clean water to remove soap residue, and the third completely dry for buffing. Before starting, confirm every burner is switched off and the cooktop is completely cool. Keep both water bowls away from controls and electrical openings.

Switch Off Every Burner and Confirm the Cooktop Is Cool
Turn each burner knob to its marked OFF position and verify that no flames remain. Allow the cooktop to cool completely before cleaning, especially around the burners where heat can linger. As shown, a noncontact infrared thermometer can help check surface temperature without touching the metal. Once cool, inspect the narrow gaps around control knobs and ignition openings. These areas must stay dry to prevent moisture from entering sensitive components.

Verify Which Cleaners Are Safe for Your Cooktop
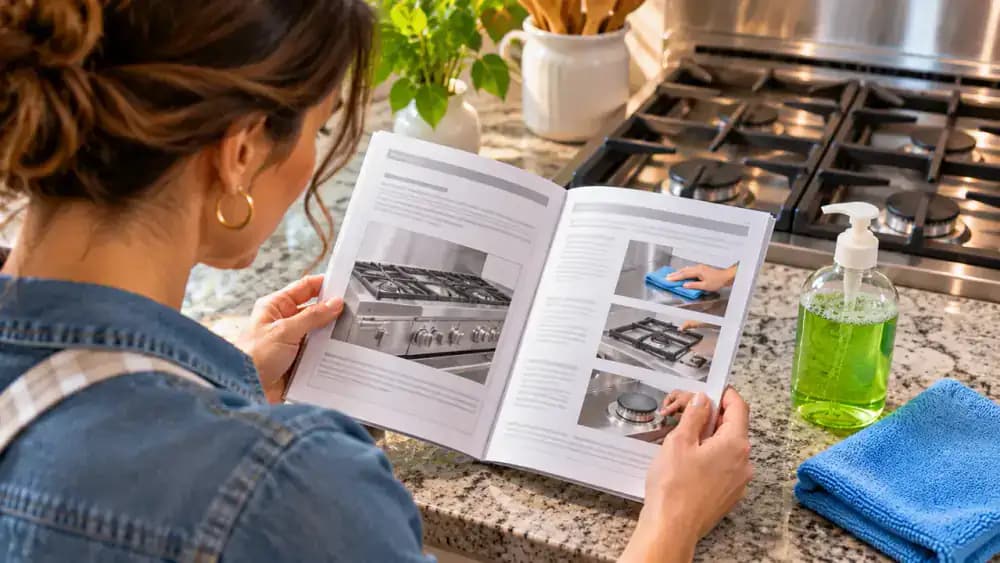
Open your cooktop's owner's manual to the care and cleaning section, as shown, and check which products are approved for the stainless steel finish. Some appliances have protective coatings that require special care. Compare the recommendations with your mild dish soap label before placing the approved cleaner beside your microfiber cloths. Look for restrictions on scrubbing tools, and avoid chlorine-based cleaners, steel wool, and abrasive pads unless specifically approved by the manufacturer.
Mix Mild Dish Soap With Warm Water
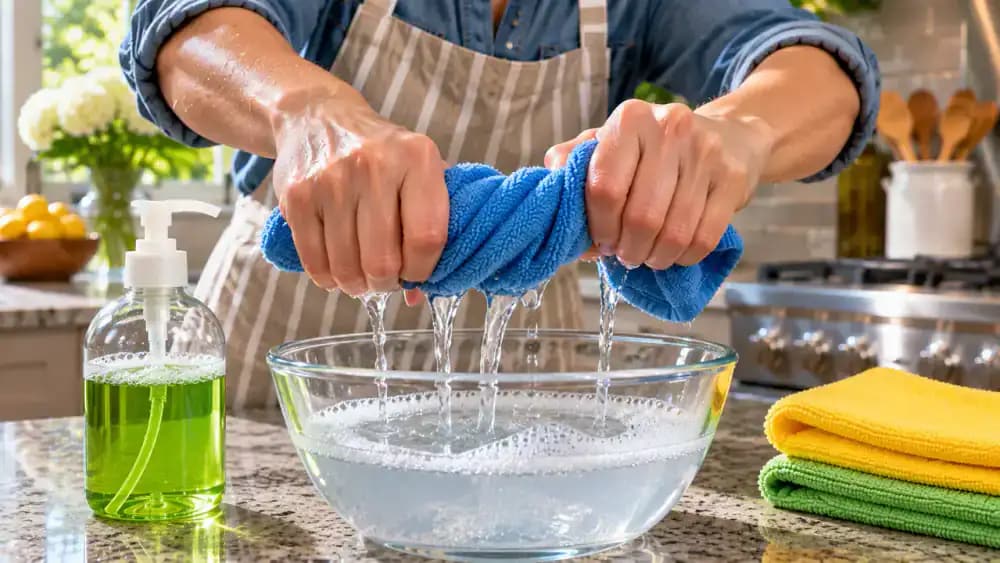
Pour approximately two cups of warm water into a small bowl on a dry countertop, away from the cooktop controls. Add three drops of manufacturer-approved mild dish soap and mix gently. As shown, dip a clean microfiber cloth into the solution, then wring it out thoroughly over the bowl. The cloth should feel lightly damp without dripping. Using only a little soap helps loosen everyday cooking grease while minimizing leftover residue and streaks.
Identify the Stainless Steel Grain Before Wiping
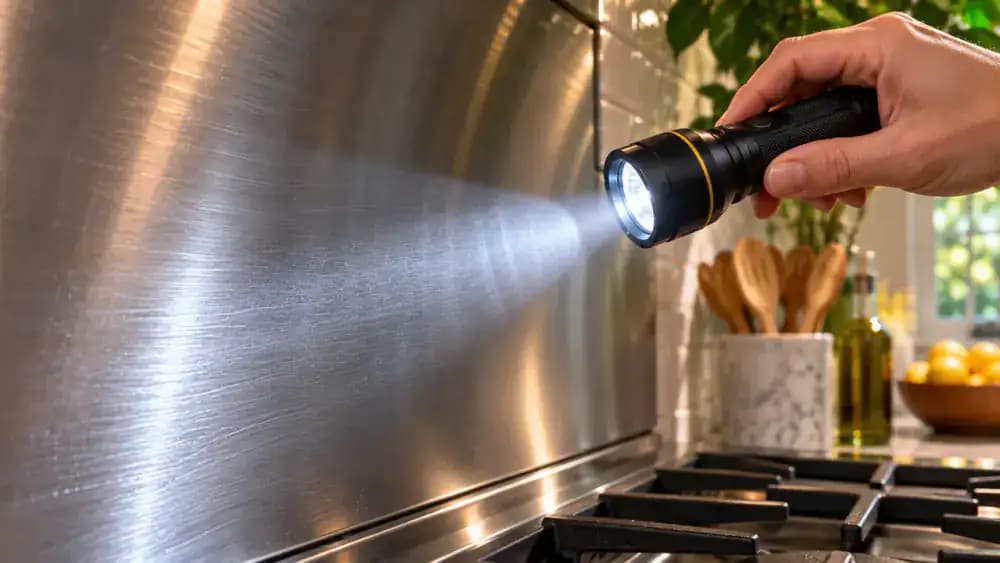
Hold a small flashlight several inches above a clean section of the completely cool cooktop, aiming the beam across the metal at a shallow angle. Look closely for the fine, parallel lines revealed by the light. These lines indicate the stainless steel grain, which may run horizontally or vertically. As shown, follow their direction when cleaning rather than wiping in circles. This helps minimize visible streaks and uneven reflections.
Clean Along the Grain With Gentle, Straight Strokes
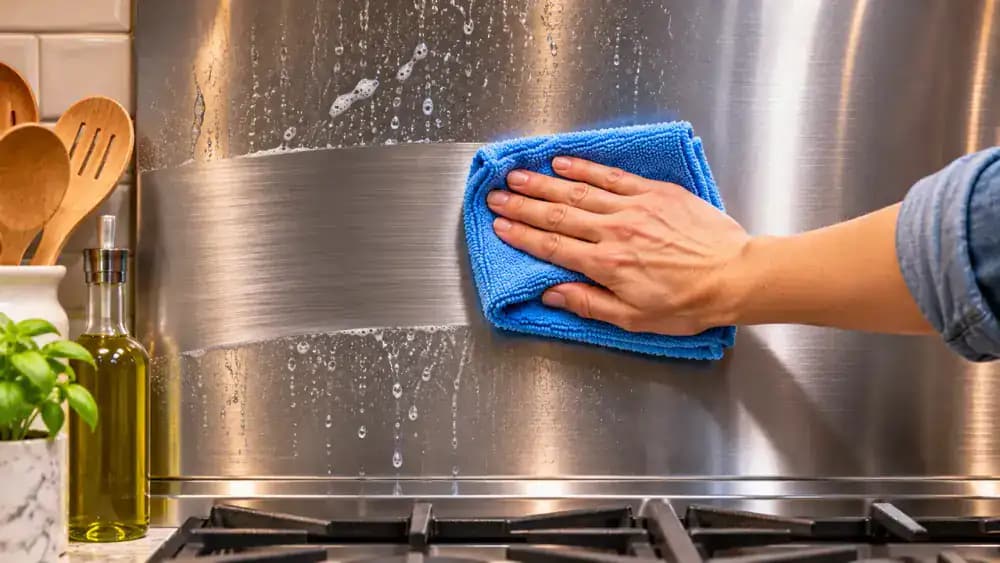
Place your lightly damp microfiber cloth flat against a small section of the cool stainless steel surface. As shown, move it from left to right in straight, gentle strokes that follow the horizontal grain. Lift and reposition the cloth between passes instead of rubbing in circles. Check for loose crumbs or grit before wiping to avoid scratching the finish. If another panel has vertical grain, adjust your wiping direction accordingly.
Remove Grease From One Small Area at a Time
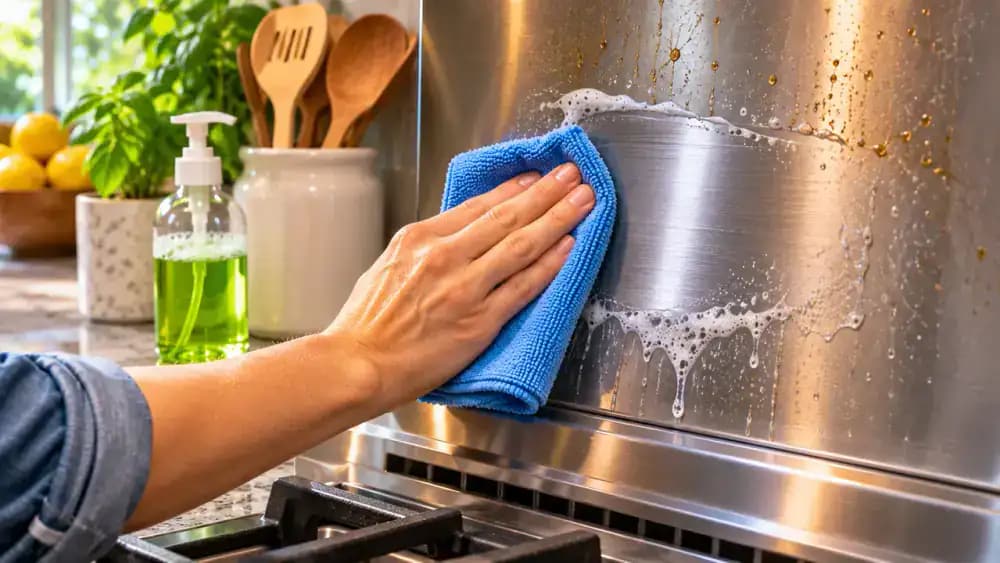
Fold your lightly damp, soapy microfiber cloth into a flat rectangular pad and place it against a greasy section about 6 inches wide, away from burners and controls. As shown, make one slow, gentle pass along the stainless steel grain, allowing the diluted dish soap to loosen fingerprints and cooking residue. Keep the cloth within this small area to prevent spreading grease. Refold it to expose a clean section when necessary.
Refold the Cloth to Keep Grease Off the Surface
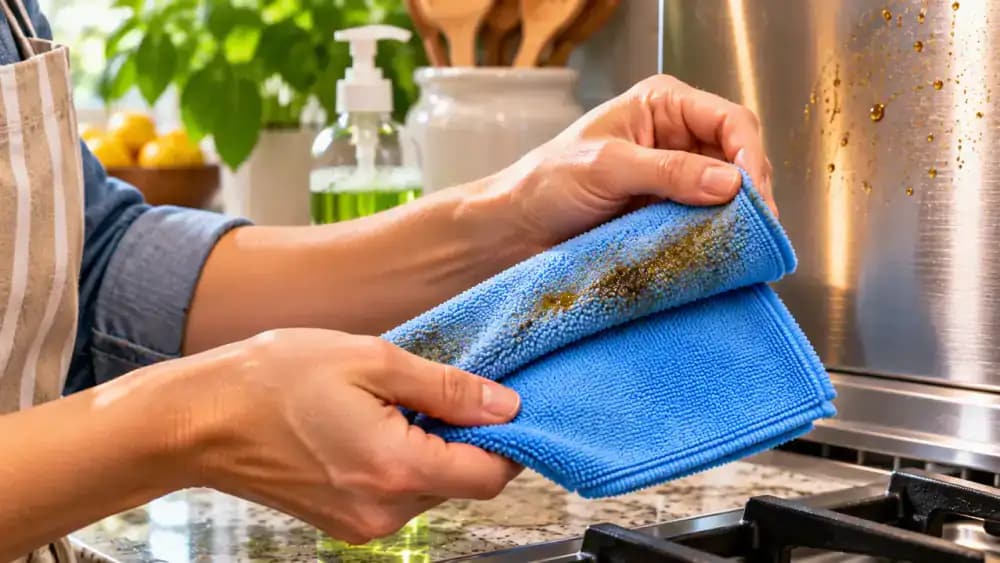
Lift your microfiber cloth after the first cleaning pass and inspect the fabric for collected grease. As shown, rotate or refold the cloth to expose a clean section before continuing. Make gentle, slightly overlapping strokes along the stainless steel grain, lifting the cloth between passes. If the fabric becomes greasy, rinse it in your soapy water bowl and wring it out thoroughly. Reusing a dirty section can transfer grease back onto the cooktop.
Loosen Stubborn Grease With Gentle Pressure
Place a folded microfiber cloth lightly dampened with diluted dish soap over a stubborn spot of dried cooking grease, as shown. Hold it against the cool stainless steel briefly to help soften the residue without soaking the surface. Lift the cloth, expose a clean section, and make two gentle passes along the grain. Avoid scraping or pressing harder. If grease remains, use only a cleaner approved for your specific cooktop finish.
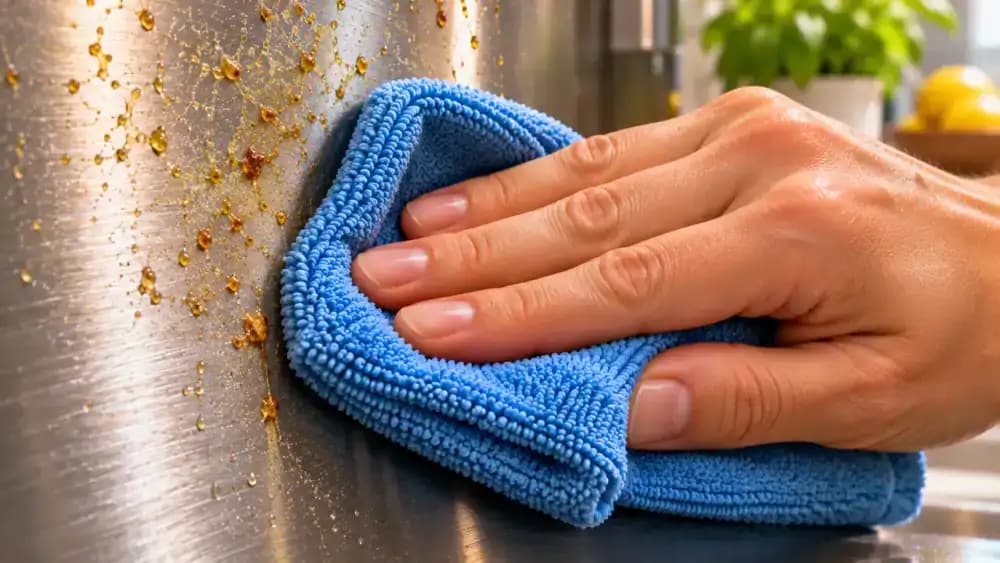
Clean the Remaining Cooktop in Small Sections
Continue cleaning the accessible flat stainless steel areas using your lightly damp microfiber cloth. As shown, divide the surface into manageable sections, starting with the least greasy area and moving toward heavier buildup. Make short, controlled strokes parallel to the metal's grain, lifting the cloth between sections. Refold it whenever grease accumulates to avoid spreading residue. Leave burner assemblies, control knobs, seams, and narrow edges for separate, more careful cleaning.
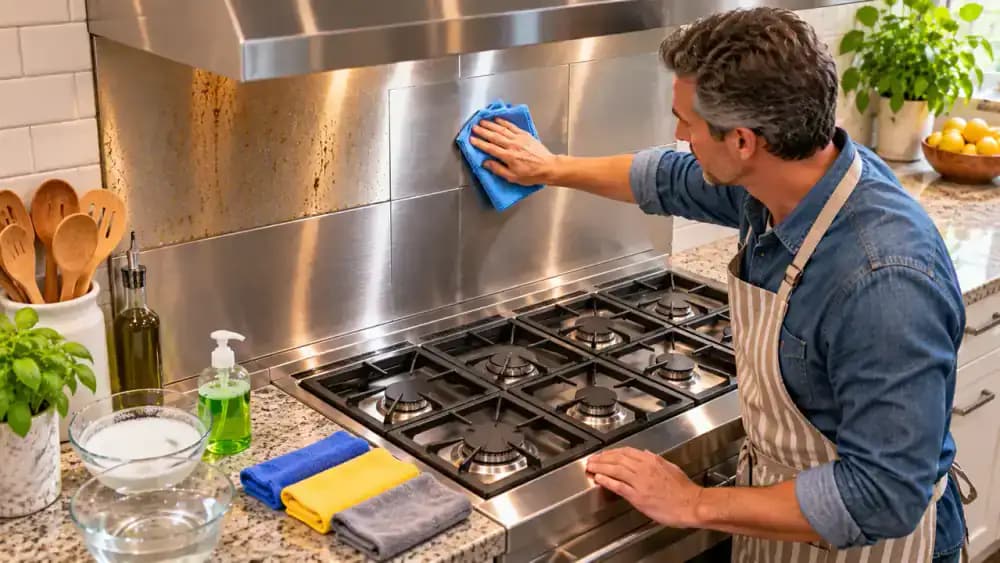
Remove Grease Around Burner Bases Without Wetting Openings
Fold a clean section of your barely damp microfiber cloth into a narrow tip, as shown, and gently follow the raised stainless steel edge surrounding each burner. Use short, controlled movements to lift grease from the accessible metal without pushing the cloth into gaps. Refold the fabric when it collects residue. Keep the burner assembly intact, avoid ignition components and burner ports, and never allow moisture to seep underneath the burner base.
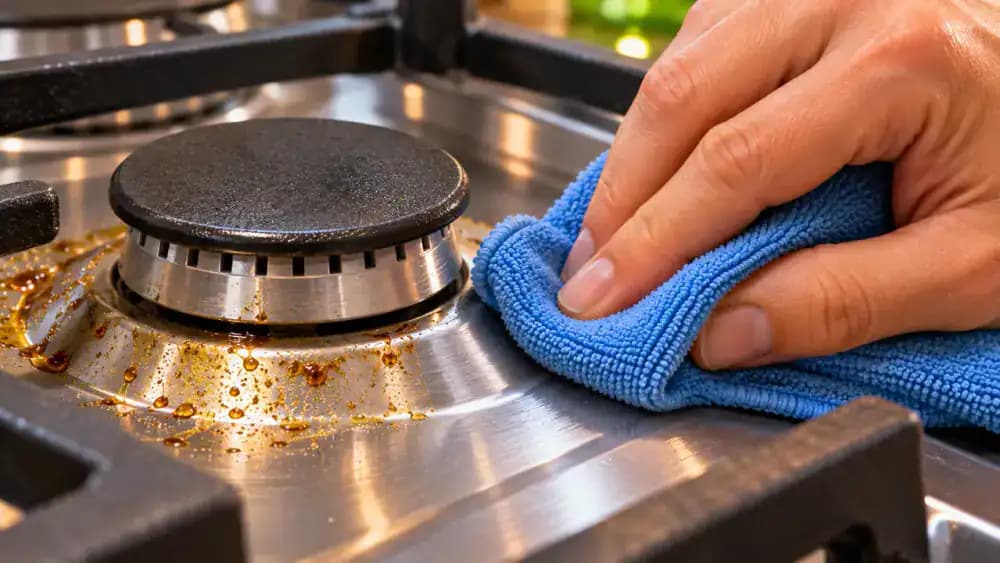
Wipe Greasy Fingerprints Around the Control Knobs
Confirm every control knob remains in the OFF position before cleaning. Fold a clean, barely damp microfiber cloth into a narrow pad, as shown, and gently wipe the exposed stainless steel between the knobs. Use short, controlled strokes to remove fingerprints and grease from each knob's outer surface and surrounding metal. Stop before reaching the gaps beneath the knobs. Never rotate or remove the controls while cleaning, and keep moisture away from internal components.
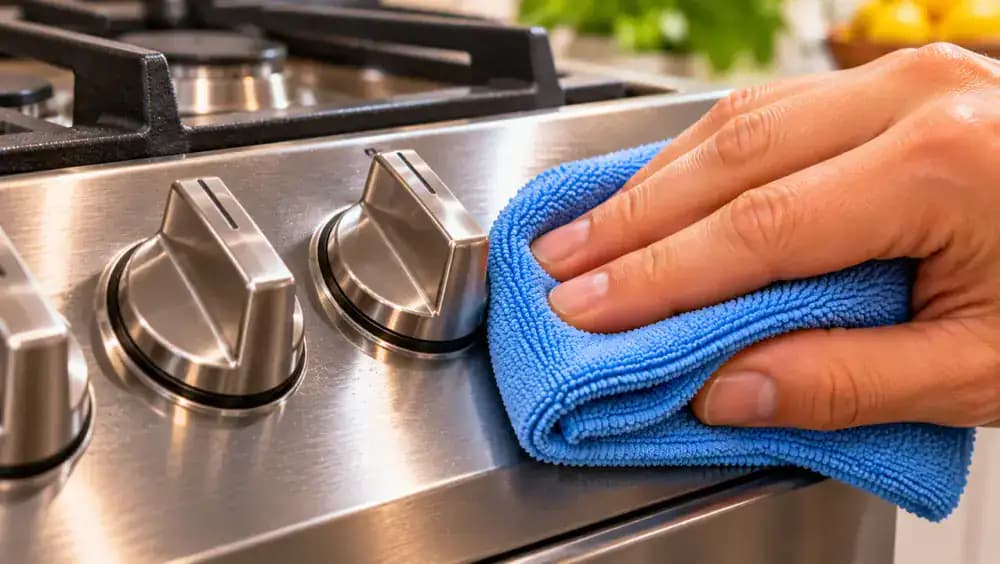
Clean Raised Trim and Narrow Edges Without Wetting Seams
Fold a clean section of your barely damp microfiber cloth into a firm, narrow edge. As shown, guide the folded fabric along the exposed stainless steel trim where the cooktop meets the countertop, using short, gentle strokes to lift accumulated grease. Keep the cloth on accessible metal surfaces without pushing it into the joint. Inspect each border for remaining residue, but never force fabric, cleaning solution, or sharp tools into tight seams.
Check for Leftover Grease Before Removing Soap Residue
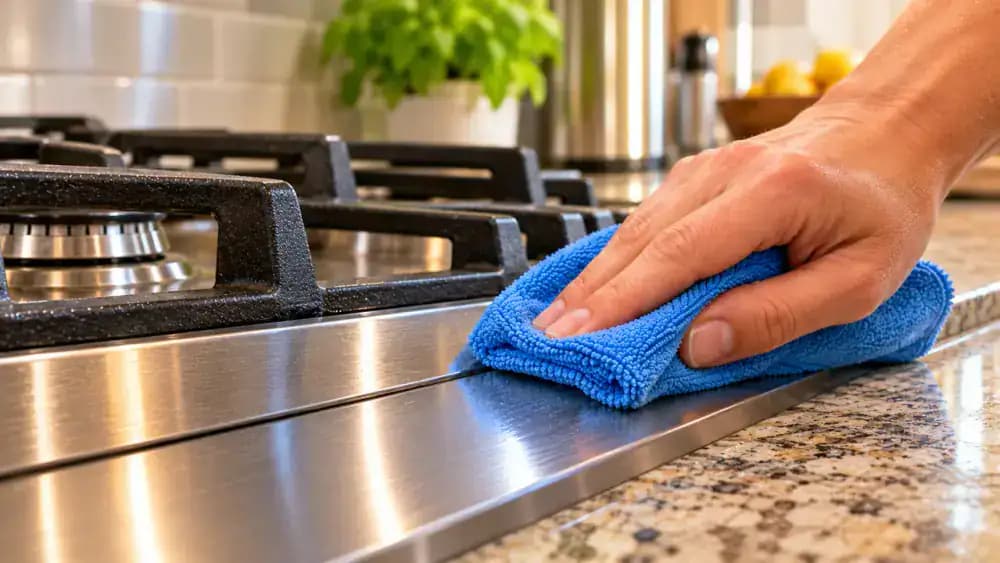
Examine the cool stainless steel surface under normal kitchen lighting, looking for greasy fingerprints or cooking residue that survived the first cleaning passes. As shown, refold your barely damp microfiber cloth to expose a clean section, then gently wipe any remaining spots along the metal's grain. Use two light passes rather than scrubbing harder. Check nearby areas for transferred grease, and avoid adding more soap unless stubborn oily residue remains.
Remove Leftover Soap Film With a Clean, Damp Cloth
Dip your second, completely clean microfiber cloth into a separate bowl of plain water, then wring it out until barely damp. As shown, place the cloth on a previously degreased section of stainless steel and make one gentle pass along the grain. This removes leftover dish soap that can cause cloudy streaks. Lift the cloth and inspect for remaining haze. Refold or rinse it frequently to avoid spreading soap residue.
Clear Cloudy Soap Streaks With Fresh Rinse Water
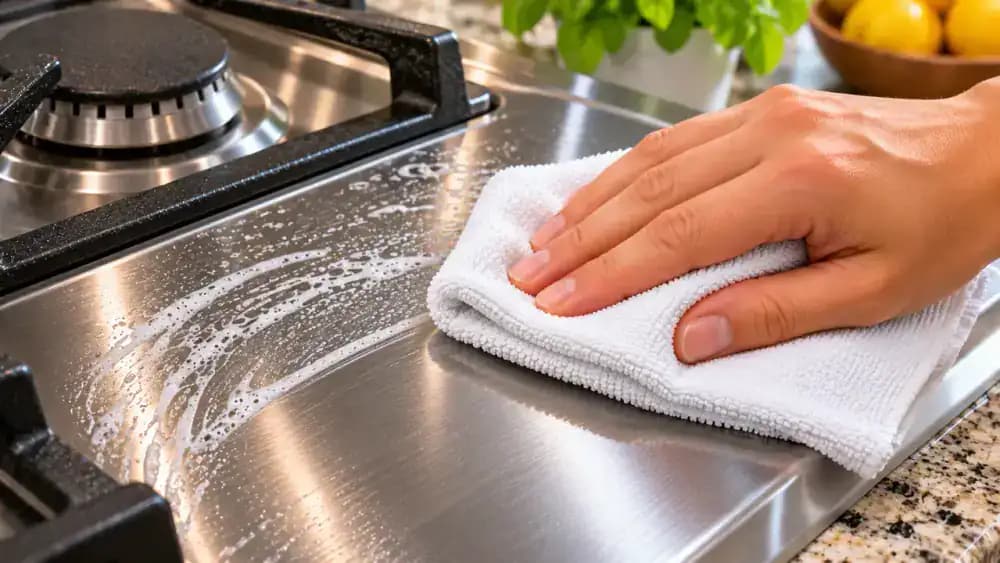
Inspect the stainless steel under angled light for faint cloudy lines left by soap residue. As shown, unfold your plain-water microfiber cloth to expose a clean section, then gently wipe the affected area along the grain. Avoid dragging collected residue into sections already cleaned. If the rinse water looks cloudy or soapy, replace it with fresh water. Rinse the cloth, wring it out thoroughly, and continue until the visible soap film is removed.
Remove Soap Residue Near Control Knobs Without Trapping Moisture
Fold your clean, barely damp microfiber cloth into a small pad and carefully wipe the exposed stainless steel beside the control knobs. As shown, use short strokes along the grain, directing each movement away from openings and gaps. Keep every knob in the OFF position and avoid letting water collect around its base. Immediately follow with a separate dry microfiber cloth to absorb remaining moisture. Inspect the surrounding metal for lingering soap film.
Inspect for Hidden Soap Film Before Drying
Examine the stainless steel from different angles, using reflections from nearby kitchen lighting to spot dull patches or faint soap streaks. As shown, fold a clean section of your barely damp, plain-water microfiber cloth and make one gentle pass along the grain over any remaining haze. Avoid leaving standing water or introducing moisture near controls. Once the surface looks evenly clean, pick up your completely dry microfiber cloth and begin drying immediately.
Dry the Stainless Steel Before Water Spots Form
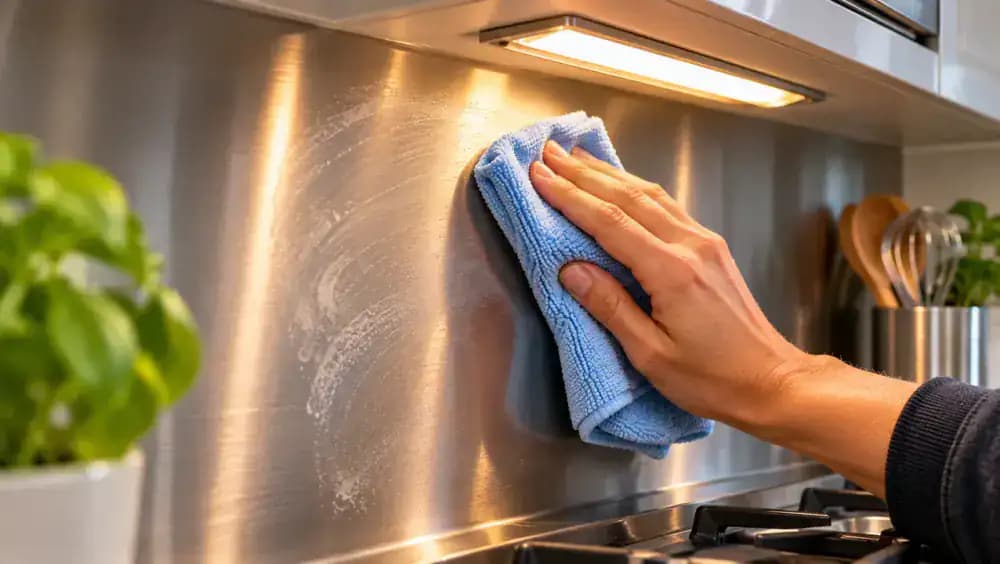
Fold your third, completely dry microfiber cloth into a broad rectangular pad and place it flat against the freshly rinsed stainless steel. As shown, start at one edge and make a long, smooth stroke following the metal's grain. Apply gentle, even pressure so the fabric absorbs remaining moisture without scratching. Lift the cloth at the end of each pass and reposition it. Drying immediately helps prevent water spots and streaks caused by evaporation.
Buff the Cooktop With a Fresh, Dry Microfiber Surface
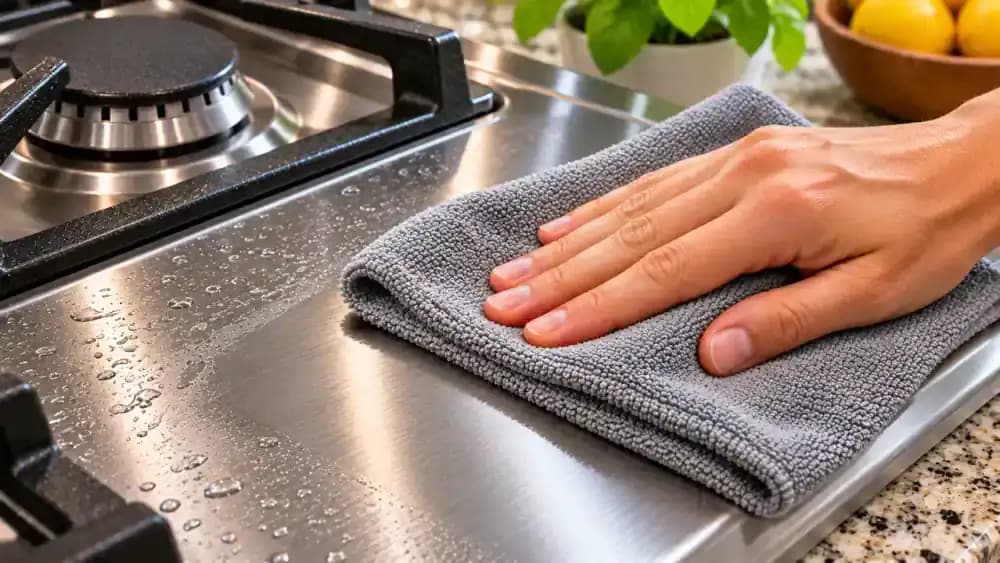
Unfold your drying cloth and refold it to expose a fresh, completely dry section of microfiber. As shown, gently buff the stainless steel using short, slightly overlapping strokes that follow the metal's grain. Work across one small area at a time, keeping pressure light and consistent. If the cloth becomes damp, replace it with another dry microfiber cloth. Aim for even, natural reflections rather than an artificially glossy, mirror-like finish.
Check the Cleaned Cooktop for Streaks Under Angled Light
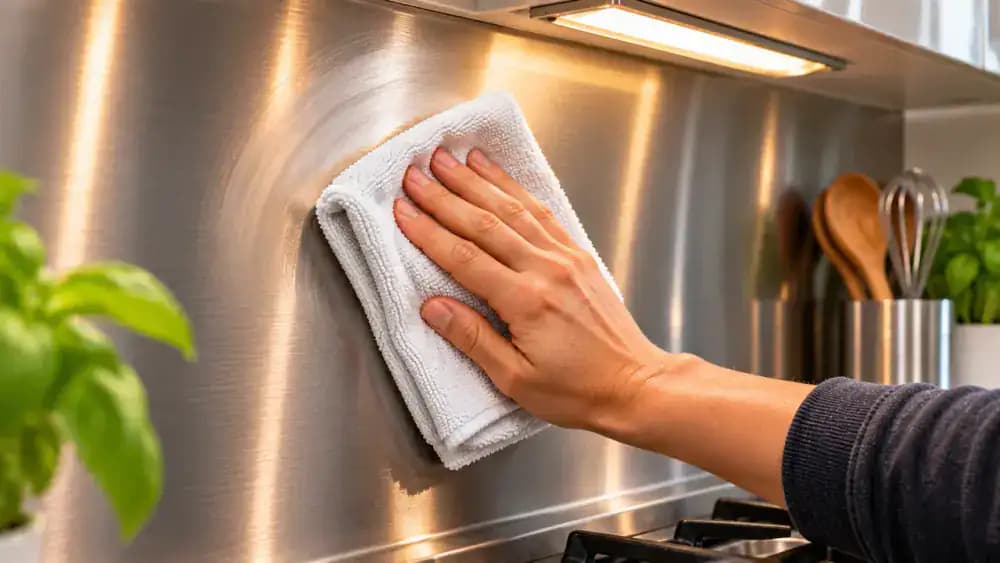
Stand slightly to one side of the cooktop and examine the freshly dried stainless steel under natural window light. As shown, shift your viewing angle to reveal faint streaks, fingerprints, or cloudy patches that may be difficult to see from directly above. Avoid touching the clean surface during inspection. Look for narrow water marks, diffuse soap residue, or greasy smudges. Identifying the type of mark helps you choose the appropriate cleaning correction.

Remove Remaining Water Marks, Soap Haze, and Greasy Smudges
Match your cleaning method to the remaining mark, as shown. Gently buff water streaks with a completely dry microfiber cloth, following the stainless steel grain. For cloudy soap residue, wipe with a separate cloth barely dampened with plain water, then dry immediately. Treat greasy fingerprints with diluted mild dish soap, followed by a clean-water wipe and thorough drying. Work only on affected areas, using light pressure and keeping moisture away from openings.
Check for Trapped Moisture and Confirm All Burners Are Off
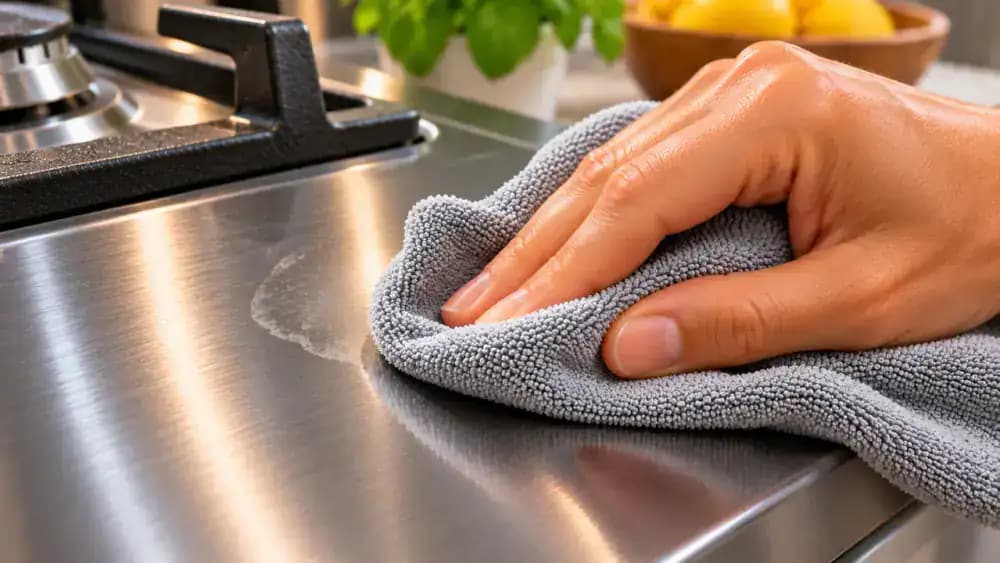
Inspect the cleaned cooktop for remaining moisture, paying particular attention to accessible surfaces around burner bases, raised edges, and control knobs. As shown, fold a completely dry microfiber cloth into a narrow pad and gently absorb any visible dampness without pushing fabric into openings. Check that burner assemblies remain intact and every control knob is aligned with OFF. If moisture appears trapped beneath components, follow the manufacturer's instructions rather than attempting to reach inside.
Wipe Fresh Cooking Splatter Before Grease Builds Up
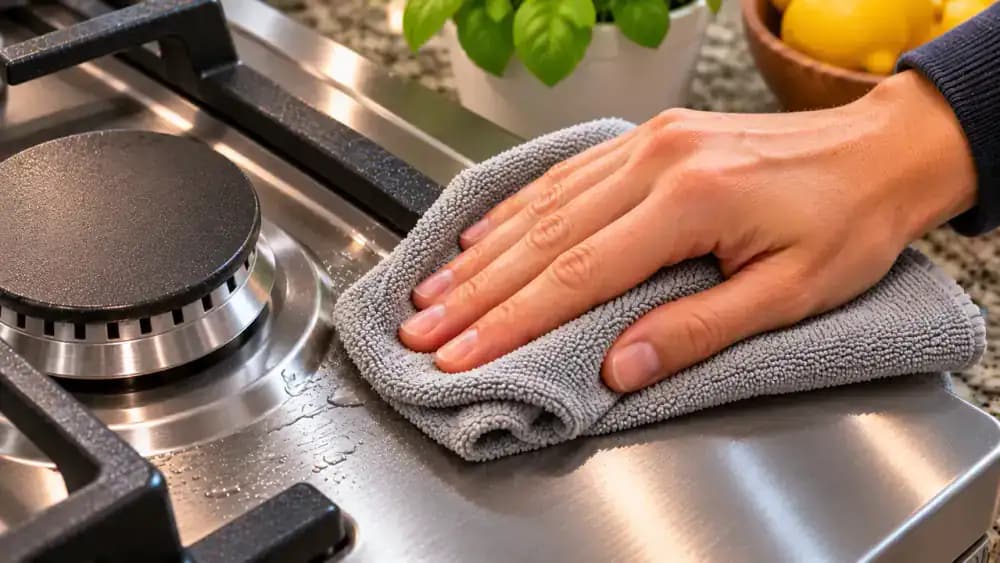
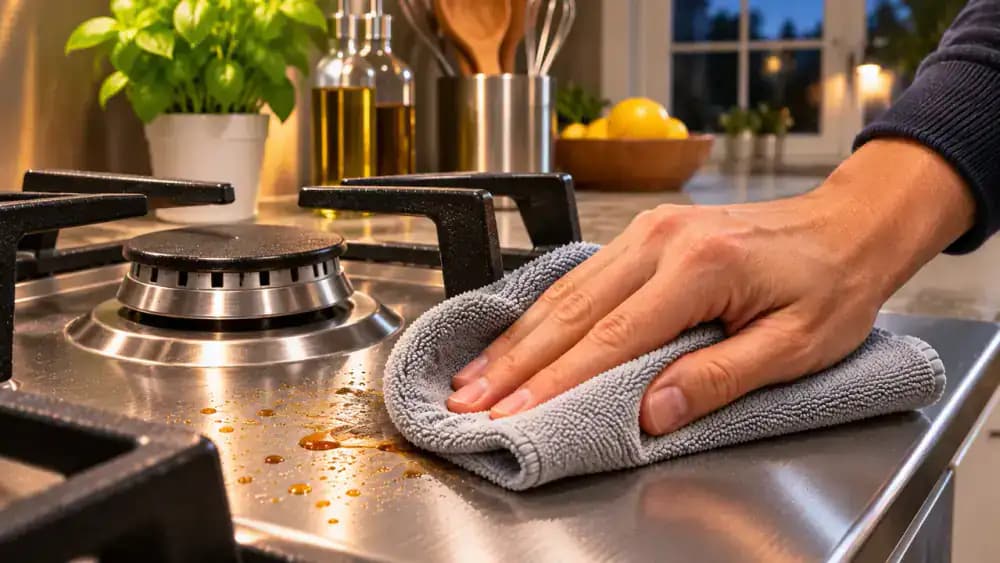
After each cooking session, switch off the burners and allow the stainless steel cooktop to cool completely. As shown, gently wipe fresh splatter with a clean, lightly damp microfiber cloth, following the metal's grain. For greasy spots, apply a little manufacturer-approved diluted mild dish soap to the cloth. Remove leftover soap with a separate barely damp cloth, then dry immediately. This simple routine helps prevent stubborn grease buildup and recurring streaks.
Wash and Store Microfiber Cloths to Prevent Greasy Streaks
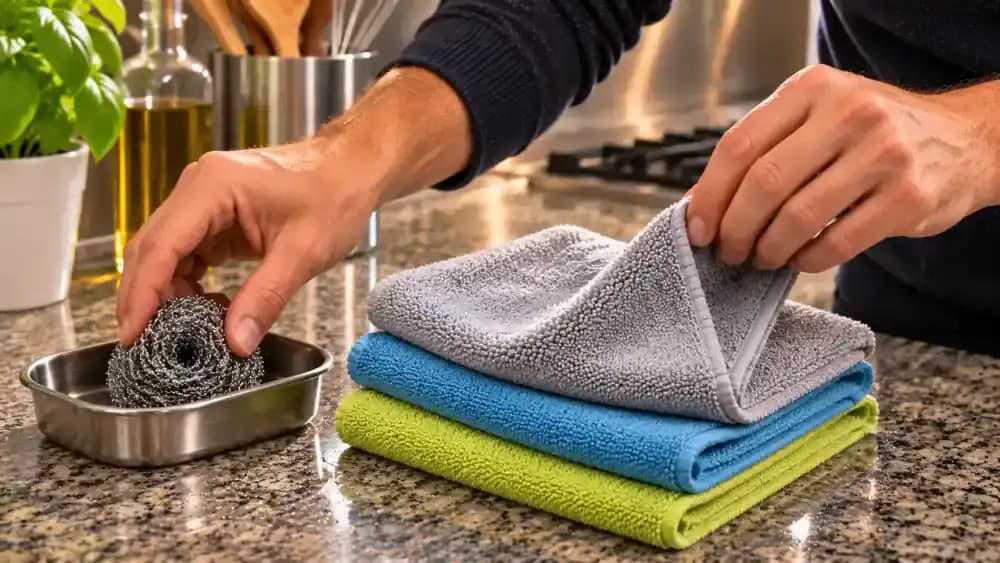
After cleaning your cooktop, separate the used microfiber cloths from regular kitchen towels. As shown, check their care labels and wash them with suitable detergent, avoiding fabric softener that can reduce absorbency. Pay particular attention to cloths used for grease removal, since trapped oils can transfer back onto stainless steel. Let every cloth dry completely before folding and storing it in a clean drawer, away from greasy towels and other contaminated fabrics.

Avoid Cleaning Habits That Bring Back Streaks
Keep your stainless steel cooktop looking clean by avoiding habits that leave residue or damage the finish. As shown, use only a few drops of mild dish soap, choose clean microfiber instead of greasy kitchen towels, and dry moisture immediately. Set aside steel wool, chlorine-based cleaners, and abrasive pads unless specifically approved by the manufacturer. Always follow the metal's grain and keep cleaning liquids away from controls, seams, and electrical openings.
Follow the Three Essential Steps for Streak-Free Stainless Steel
Use the three-part cleaning method shown to maintain a clean stainless steel cooktop. First, loosen grease with manufacturer-approved diluted mild dish soap and a barely damp blue microfiber cloth. Next, remove leftover soap using a separate white cloth dampened with plain water. Finally, dry and buff along the grain with a completely dry gray cloth. Before finishing, check that the surface is dry and every burner control remains in the OFF position.
Keep Your Stainless Steel Cooktop Clean Between Meals
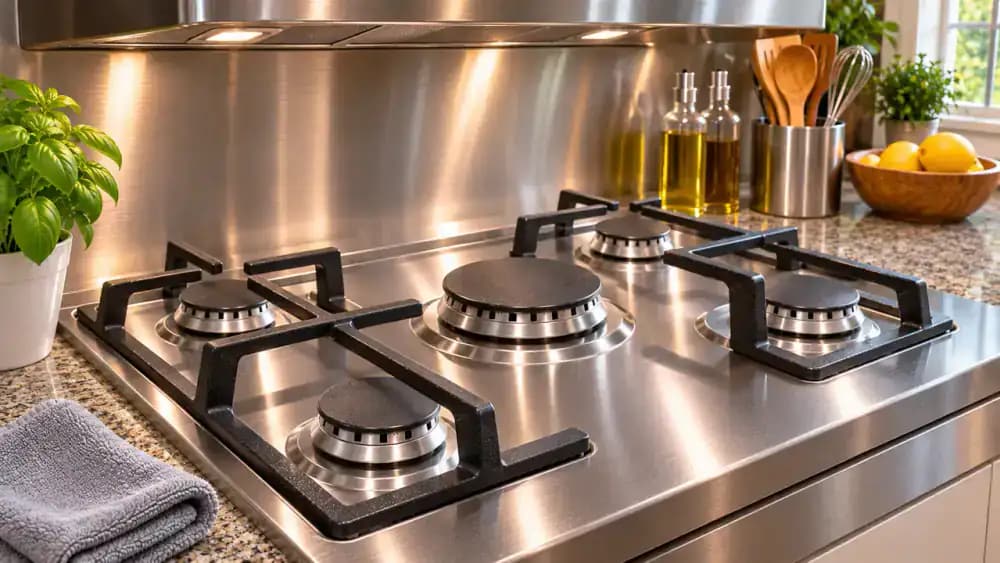
Take one last look at the clean, completely dry cooktop, checking its natural satin finish and confirming every burner knob remains OFF. As shown, store your clean microfiber cloth in a nearby drawer to keep it ready for future use. Maintain the finish by wiping fresh splatter only after the cooktop cools, removing any soap residue, and drying thoroughly. Regular gentle cleaning helps prevent grease buildup, cloudy patches, and recurring streaks.
A stainless steel cooktop can look spotless one minute and become a greasy, streaky mess after preparing a single meal. Fingerprints, cooking splatter, and oily residue cling to the surface, while ordinary wiping often spreads grease around instead of removing it. Even after cleaning, cloudy patches and visible streaks can make the metal look dull. The good news is that you don't need expensive specialty cleaners or harsh chemicals to restore a clean, polished appearance. The secret is removing grease completely, following the direction of the stainless steel grain, and drying the surface properly.
With a little mild dish soap, warm water, and three clean microfiber cloths, you can tackle everyday grease without scratching the finish. This guide explains how to clean flat surfaces, work carefully around knobs and seams, remove leftover soap film, and buff away streaks. Always turn off the cooktop and let it cool completely before cleaning. Check the manufacturer's instructions, avoid chlorine-based cleaners and unapproved abrasives, and keep excess moisture away from controls and electrical openings.
Where people go wrong
Wiping Away Grease Without Removing It First. Running a dry or barely damp cloth over greasy fingerprints and cooking splatter often spreads the oil across the stainless steel, creating cloudy patches. Instead, use a microfiber cloth lightly dampened with diluted dish soap. Clean small sections and repeat gentle passes until the grease lifts.
Scrubbing Against the Stainless Steel Grain. Wiping in circles or scrubbing aggressively can leave visible marks and make streaks more noticeable. Check the direction of the stainless steel grain under angled lighting, then wipe parallel to it. Avoid steel wool, chlorine-based cleaners, and abrasive pads unless the manufacturer specifically approves them.
Leaving Soap Residue on the Surface. Even mild dish soap can leave a cloudy film when it isn't completely removed. After loosening the grease, use a separate microfiber cloth lightly dampened with clean water to wipe away remaining detergent. Keep excess moisture away from knobs, ignition components, electrical openings, and seams.
Skipping the Final Drying and Buffing. Allowing rinse water to air-dry can leave water spots and streaks, making a freshly cleaned cooktop look dirty again. Immediately buff the surface with a clean, dry microfiber cloth, following the grain. Inspect under angled lighting and gently repeat cleaning wherever fingerprints or haze remain.
Questions people ask
Start with a completely cool cooktop. Use a microfiber cloth lightly dampened with warm water and mild dish soap to remove grease, wiping in the direction of the stainless steel grain. Follow with a separate cloth dampened with clean water, then immediately buff dry with a third microfiber cloth.
Fixed it?
Get one guide like this every Thursday.