How to Clean Stainless Steel Appliances Without Streaks
Remove fingerprints, grease, and streaks from stainless steel appliances using mild soap, microfiber cloths, and the right wiping technique.
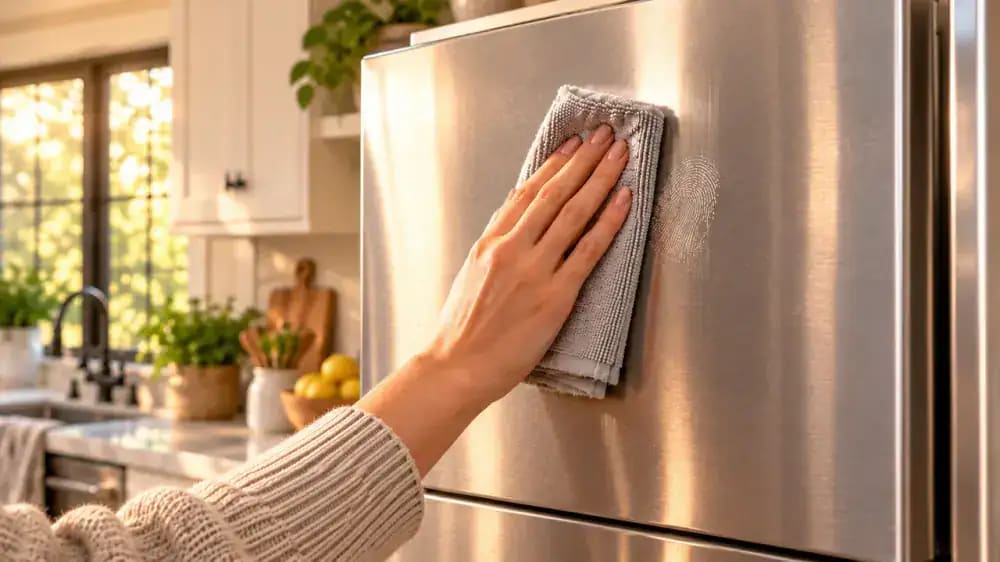
What you’ll need
Tap to tick things off before you start.
Start With the Surface and Grain
Before you clean, confirm that the visible panel is genuine stainless steel and check the manufacturer's care label for any finish-specific restrictions. Under bright light, look closely for the fine lines running across the metal, then trace them lightly with a fingertip to identify the grain direction. Wipe and polish in that same direction rather than across it. This reduces visible streaks and helps prevent residue from settling into the brushed texture.

Remove Loose Dust Before Cleaning
Use a clean, dry microfiber cloth to remove dust and crumbs from the stainless steel surface before adding any cleaner or moisture. Wipe gently in the direction of the grain, moving from one side to the other with smooth, overlapping passes. Avoid pressing hard, since loose particles can scratch the finish if dragged aggressively. Fold the cloth to expose a fresh section as it becomes dusty so debris is not spread back across the appliance.
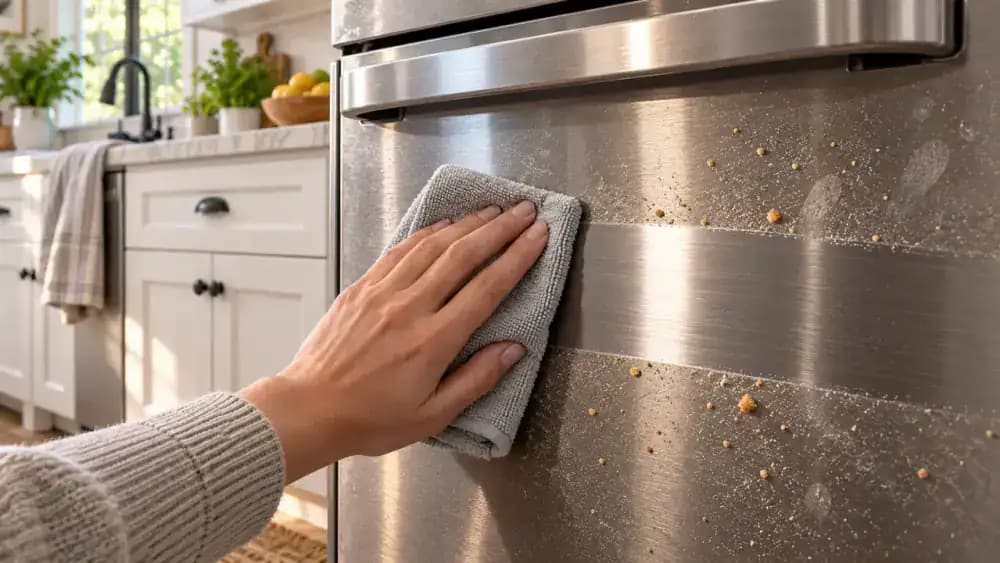
Lift Fingerprints and Grease
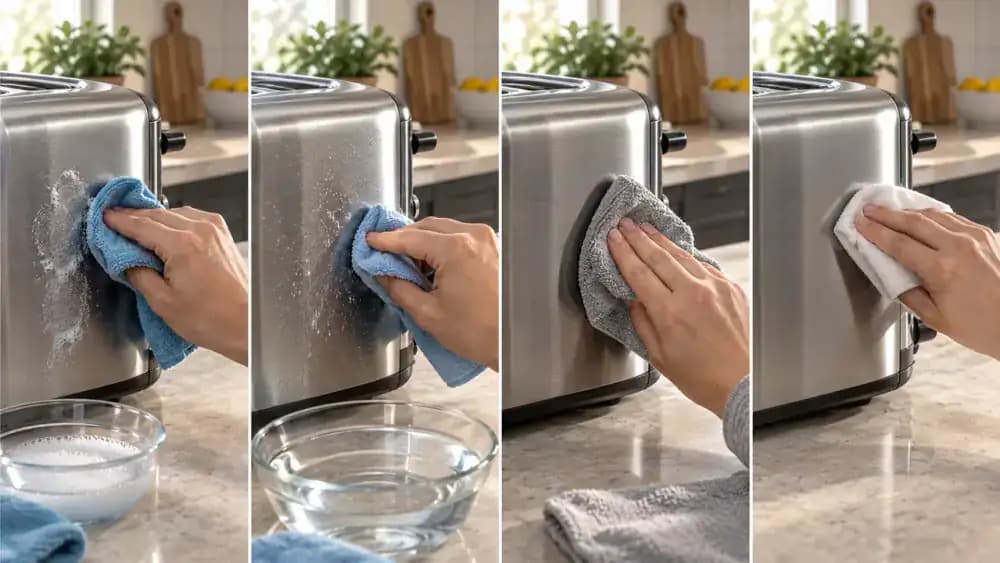
Mix a few drops of mild dish soap into warm water, then dampen a clean microfiber cloth and wring it out until it is nearly dry. Wipe a small section of the stainless steel surface at a time, following the grain with slightly overlapping passes. Pay extra attention around handles where grease builds up, but keep moisture away from control panels, seams, vents, and other openings where liquid could enter.
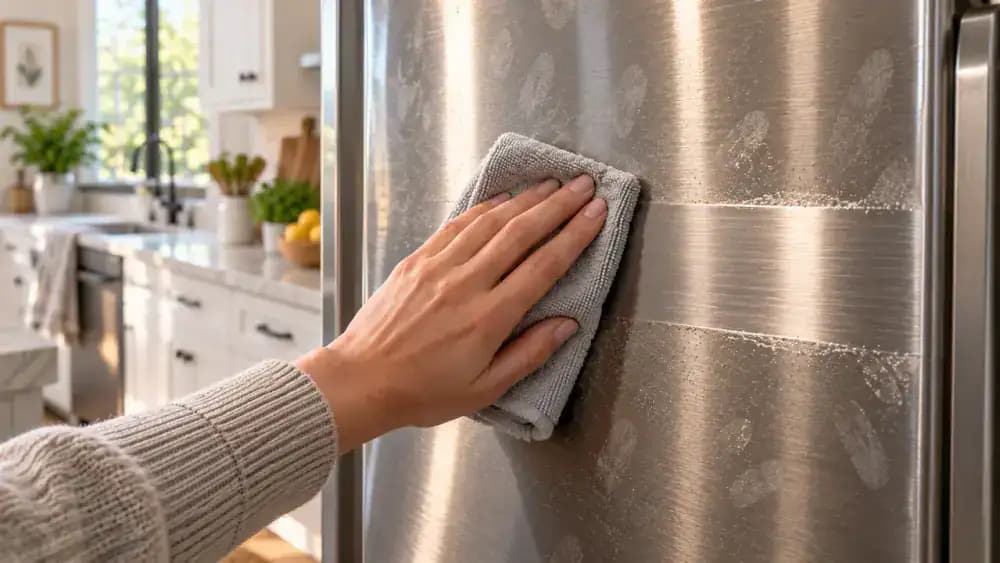
Remove Soap Residue Without Soaking the Surface
Lightly dampen a second clean microfiber cloth with plain water, then wring it out until it feels only slightly moist. Wipe the same stainless steel section in the direction of the grain using slow, overlapping passes to lift away the remaining soapy haze. Avoid pressing excess water into seams, handles, controls, vents, or electrical openings. If residue remains, rinse the cloth, wring it out again, and repeat once.
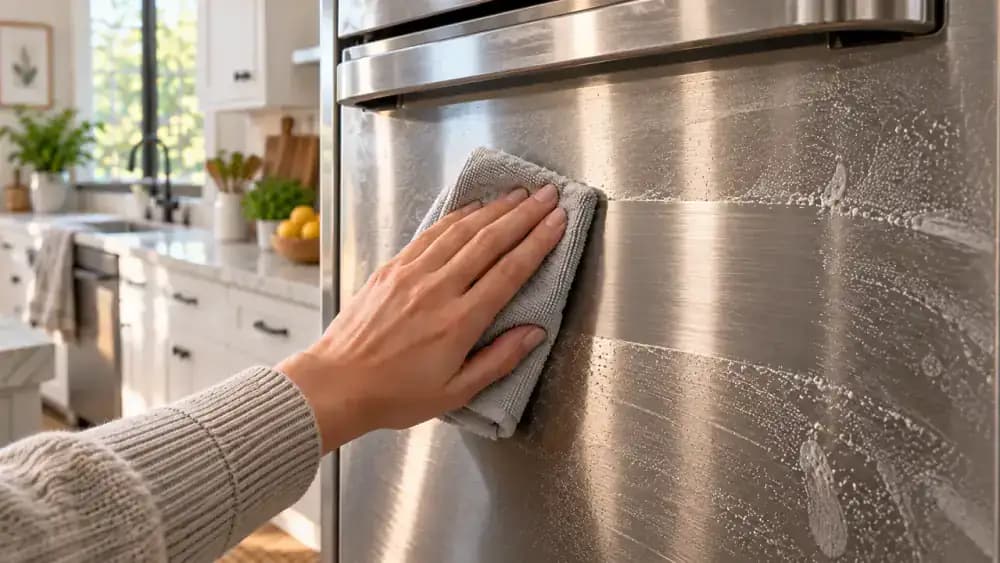
Dry and Buff Before Streaks Set
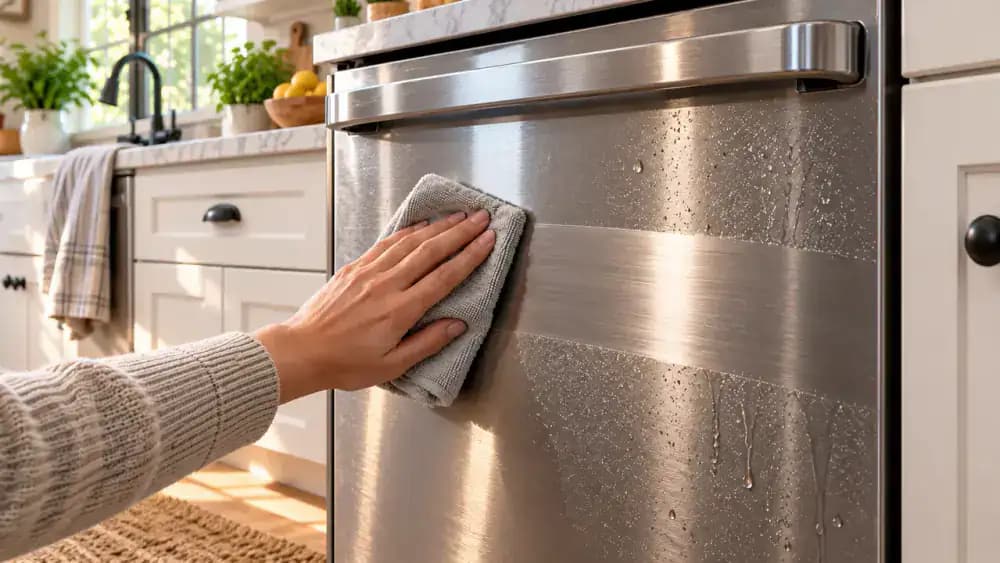
Use a third clean, completely dry microfiber cloth to remove moisture before it dries into visible streaks. Wipe horizontally with the stainless steel grain and cover the entire rinsed section, including the edges. Then make a few light buffing passes over the same area until the surface looks evenly dry. If streaks remain, repeat the full clean, rinse, dry, and buff process instead of applying additional cleaner or polish.
Maintain the Finish Between Cleanings
Use a clean, dry microfiber cloth to wipe away fresh fingerprints before skin oils have time to build up on the stainless steel. Move the cloth in the direction of the grain to help preserve an even, streak-free appearance. Wash reusable microfiber cloths separately from other laundry, and skip fabric softener because it can leave residue on the fibers. Keep two or three dedicated cloths near the kitchen for fast daily touch-ups.

Fix Any Remaining Streaks
If one dull streak still shows under side lighting, treat only that small section instead of adding more polish. Wipe it with a well-wrung microfiber cloth and mild soapy water, follow with a second lightly damp cloth to remove residue, then dry and buff completely with the grain. Use clean cloth sections for each pass so you do not spread leftover soap or moisture back across the stainless steel.

Keep Microfiber Cloths Residue-Free
Wash used microfiber cloths separately or with other lint-free items so they do not pick up fibers that can transfer back to stainless steel. Use a small amount of regular detergent and leave fabric softener out, since softener can coat the fibers and reduce absorbency. Allow the cloths to dry completely before folding them into a clean container. Keeping a dedicated storage bin helps prevent dust, grease, and household residue from contaminating freshly washed cloths.

Use the Least Product Needed
Start with a clean, dry microfiber cloth and wipe fresh fingerprints in the direction of the stainless steel grain. If a greasy spot remains, switch to a separate well-wrung cloth with a small amount of soapy water and treat only that area. Follow with a lightly damp rinse cloth, dry the surface immediately, and finish with a clean buffing cloth. Keeping each cloth separate helps prevent streaks and residue.

Check for Streaks in Angled Light
Stand slightly to the side of the stainless steel surface and use reflected light to reveal faint wipe marks that can disappear when viewed straight on. If you find a streak, buff only that area with a clean, dry microfiber cloth, moving in the same direction as the visible grain. Check again from the same shallow angle before stopping. A fresh cloth surface helps prevent transferring moisture, residue, or lint back onto the finish.
Stop When the Surface Is Clean
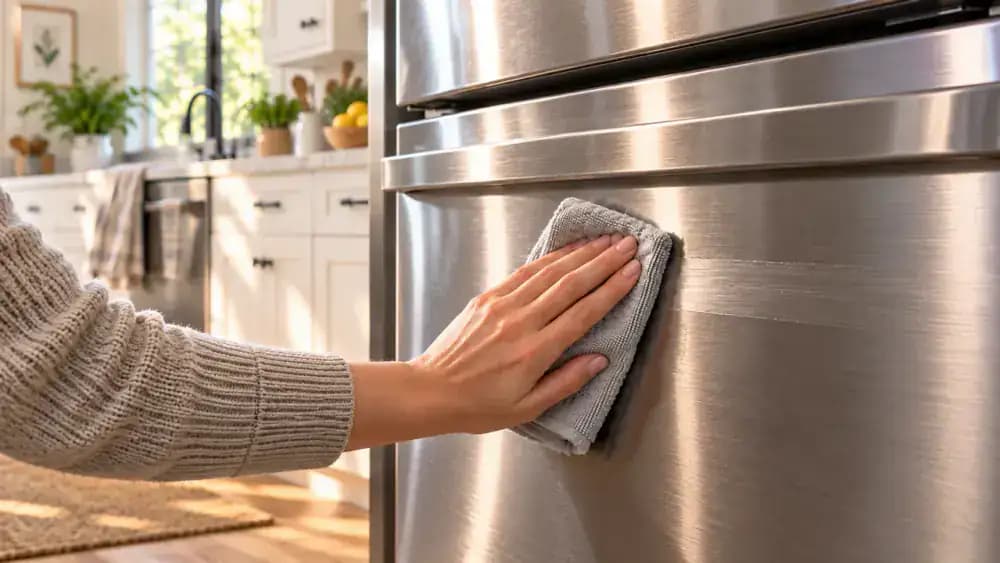
Once the stainless steel looks even and streak-free, resist the urge to add polish. Set the bottle aside and make one final light pass with a fresh, dry microfiber cloth, moving vertically with the grain. Use almost no pressure so you do not reintroduce marks. Finishing dry keeps the surface cleaner longer because oily residue can collect fingerprints, dust, and kitchen grime after you are done.

Check Handles and High Touch Areas
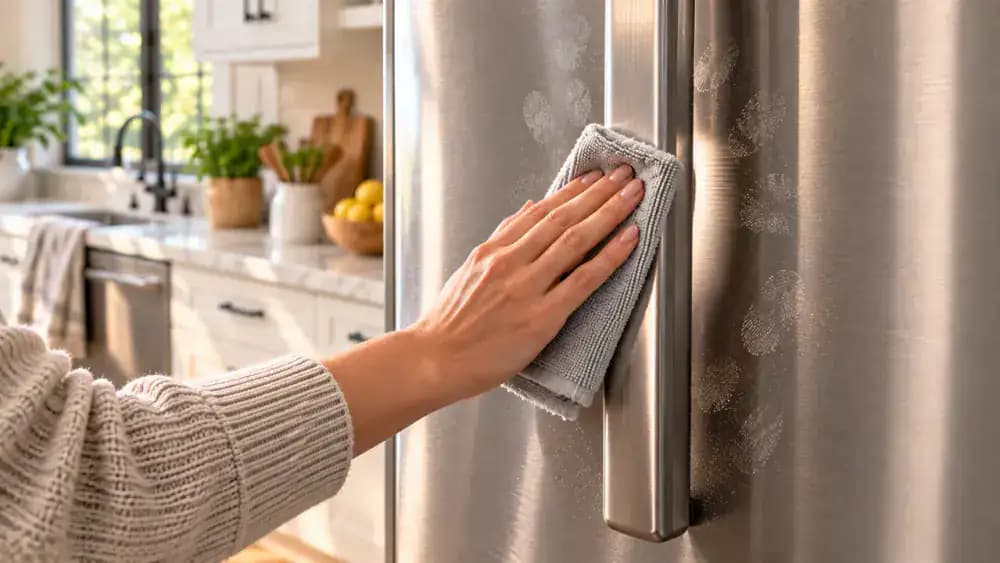
Inspect the refrigerator handles and nearby stainless steel for fingerprints left after cleaning the larger panels. Wipe the handle and surrounding metal with a clean microfiber cloth, following the grain when possible. For a stubborn greasy mark, use a nearly dry cloth with mild soapy water, then wipe with a lightly damp rinse cloth and dry completely. Keep all moisture away from door seams, dispenser buttons, and electronic controls.
Clean Lower Edges and Corners
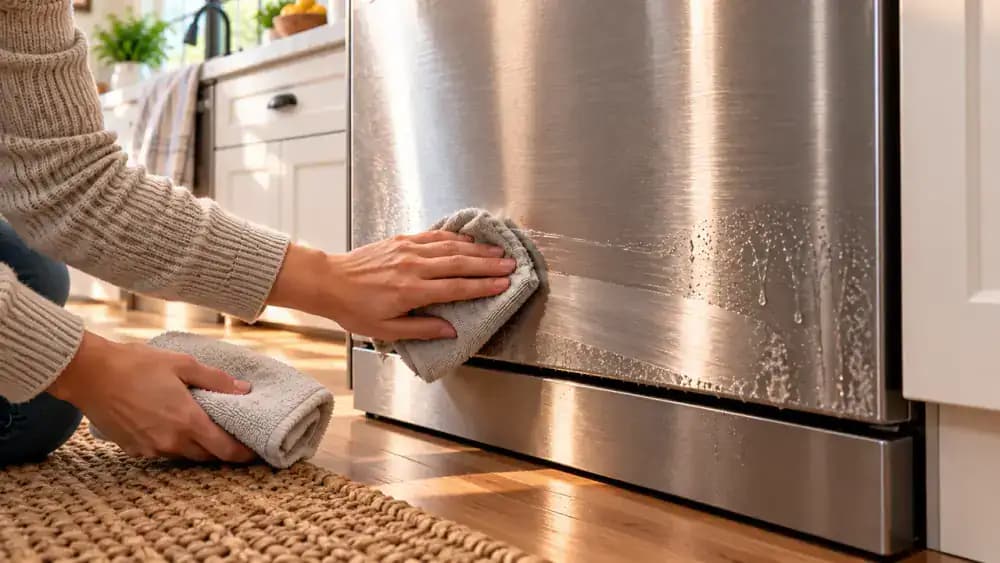
Inspect the bottom edge of the dishwasher for dried drips, fingerprints, or cleaner residue that may have settled above the toe kick. Wipe the metal gently with a lightly damp microfiber cloth, moving in the direction of the stainless steel grain. Follow immediately with a separate dry cloth to prevent streaks. Keep moisture away from door gaps, trim joints, seams, and toe kick openings where liquid could collect or seep inside.
Rinse Away Remaining Soap Film
Lightly dampen a clean microfiber cloth with fresh water, then wring it out until it is nearly dry. Wipe the stainless steel panel from left to right in overlapping passes, following the grain to lift any faint soap haze. Use minimal moisture and inspect the surface under angled light as you work. Stop well before controls, vent slots, door seams, and other openings where water could seep inside.
Dry the Stainless Steel Before Water Marks Form
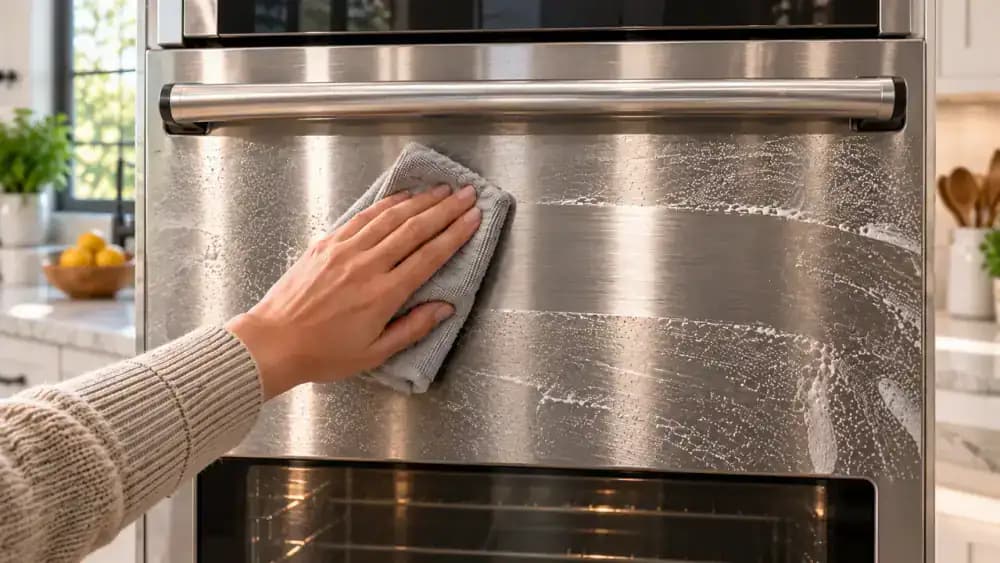
Dry the freshly rinsed stainless steel immediately with a clean, completely dry microfiber cloth before droplets can leave mineral spots or streaks. Wipe in the same direction as the visible grain, using long, slightly overlapping passes so moisture is removed evenly. Rotate or refold the cloth whenever it becomes damp. Check the surface from an angle under nearby light, and keep drying until the entire section has a consistent, moisture-free finish.
Buff With the Grain
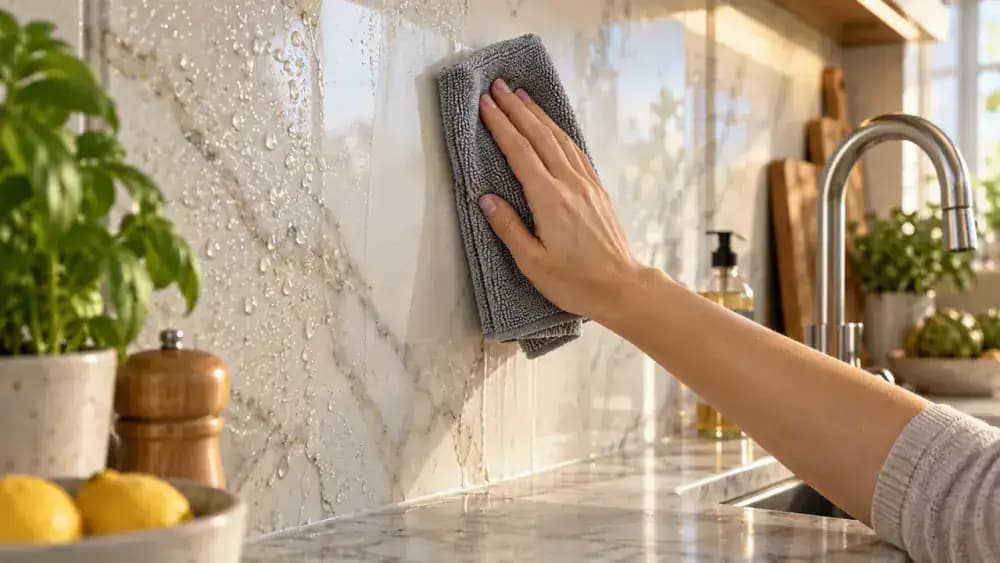
Once the stainless steel is completely dry, fold a fresh microfiber cloth into a flat pad and move it horizontally with the visible grain using light, even pressure. Work over the faint streak without adding polish or more cleaner. View the surface from a slight angle so reflected light reveals any remaining haze. If you still see a mark, buff only that area again with a clean section of the cloth.
Check From Another Angle
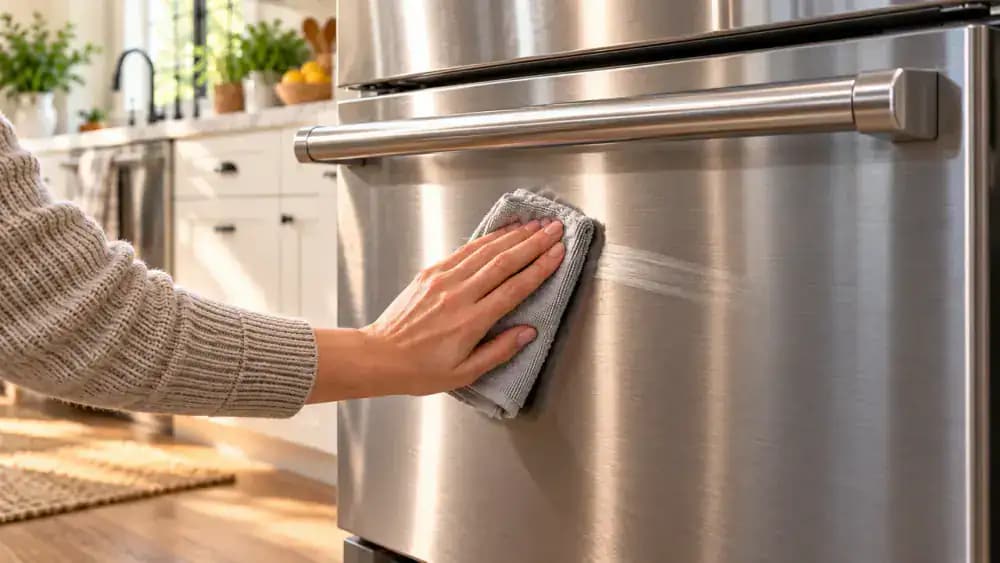
Step slightly to the side and inspect the stainless steel wine cooler door under the room light instead of judging the finish straight on. Reflections can reveal faint streaks that disappear from a front view. If you see one near the center, use a clean, completely dry microfiber cloth and make several light vertical passes with the grain. Keep pressure gentle and recheck from the same angle before stopping.

Rotate to a Fresh Cloth Side
Pause before the next pass and inspect the microfiber cloth. If the section touching the stainless steel looks damp, darkened, or greasy, unfold and refold the cloth so a clean, dry quadrant faces the surface. Wipe lightly in the direction of the grain using two smooth horizontal passes. A fresh contact area prevents old residue from being spread back across the panel and helps maintain an even, streak-free finish.
Finish Each Pass Cleanly
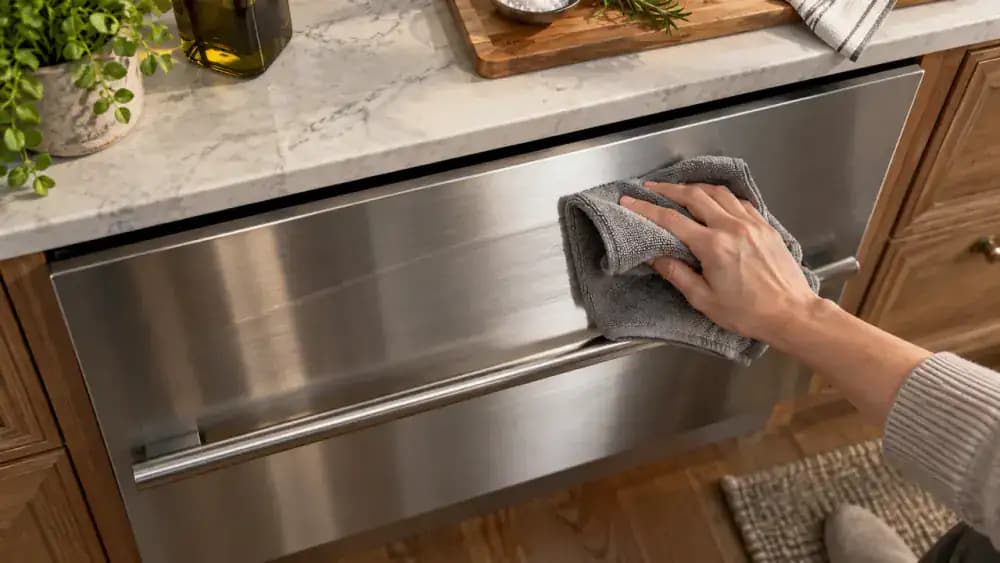
Use a fresh section of the microfiber cloth and move it in one smooth stroke across the full stainless steel area, following the grain from top to bottom. Avoid stopping midway or making short overlapping motions, which can leave visible streaks when light hits the surface. Keep pressure light, lift the cloth cleanly at the edge, then check the reflection before making another pass so you do not overwork the finish.
Check From Another Angle
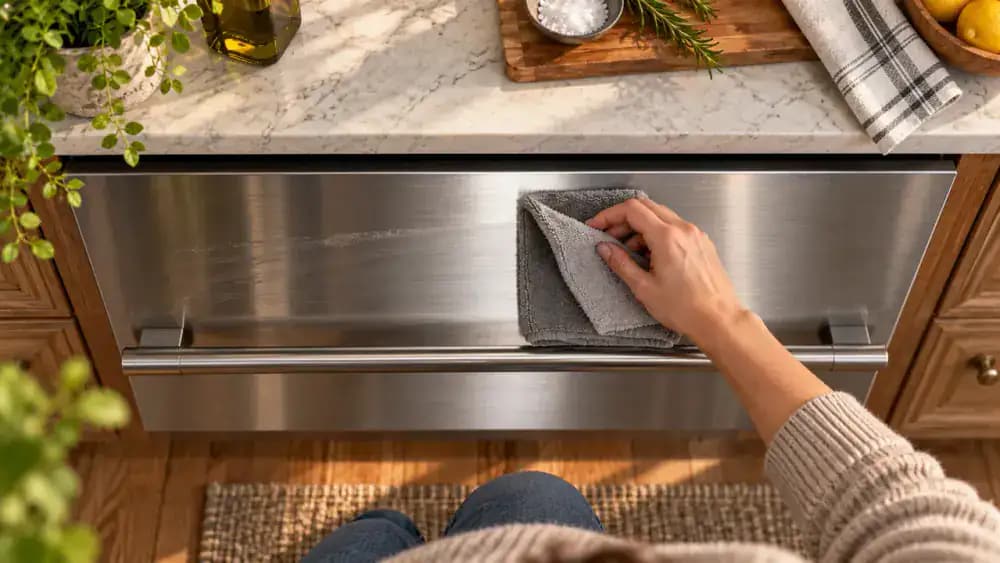
Shift to a shallow side angle so natural light skims across the stainless steel instead of looking straight at it. This makes faint streaks easier to spot without unnecessary rubbing. If the finish looks even, stop cleaning. If you see one remaining mark, point it out and treat only that small area. Repeat the same clean, rinse, dry, and buff sequence there, using a fresh microfiber section each time.

Repeat Only If Needed
If one small streak remains, treat only that spot instead of wiping the entire panel again. Use a nearly dry soapy microfiber cloth and move with the stainless steel grain, then rinse the area lightly with a separate damp cloth. Dry it completely and buff with a clean section of microfiber. Keeping the treatment zone small helps prevent fresh streaks, lint, and excess moisture near seams, vents, buttons, or electrical openings.
Final Light Check
Step back and inspect the stainless steel panel from several angles as light moves across the surface. Walk slowly from side to side without touching the oven door, watching for faint streaks, cloudy patches, or missed residue that may only appear in reflected light. If the finish looks even and dry, stop there. Avoid adding more cleaner or polish, since unnecessary product can create fresh smears and make future fingerprint marks more noticeable.

Store the Right Supplies
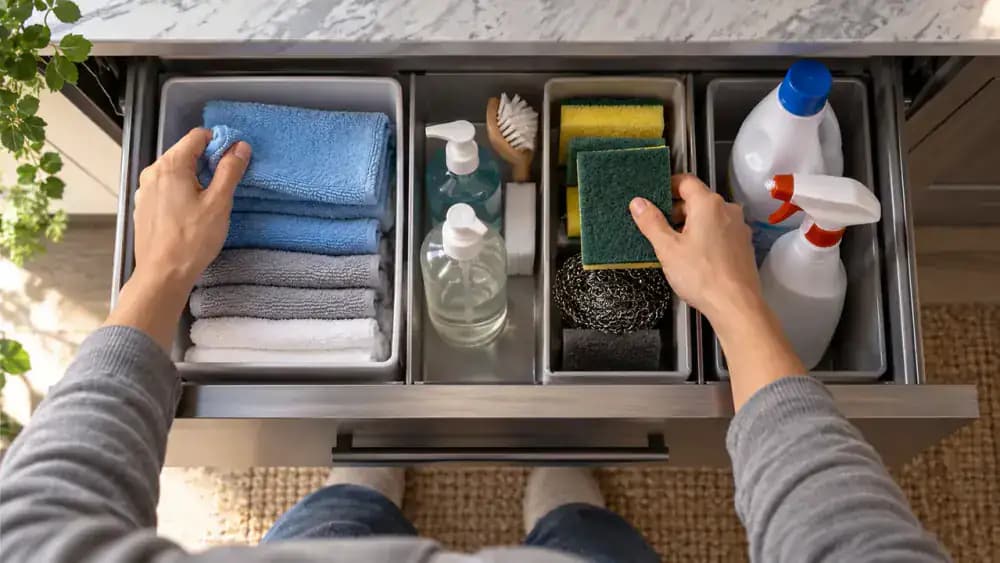
Put clean microfiber cloths in their own compartment with a small bottle of mild dish soap so they stay ready for stainless steel touch-ups. Keep greasy kitchen rags, abrasive scrub pads, and chlorine-based cleaners somewhere separate to avoid accidental scratches or chemical residue. Before closing the drawer, make sure the cloths are fully dry and free of grit, since trapped particles can mark the finish during the next quick wipe.

Know When to Stop
Stand a few feet back from the refrigerator and inspect the stainless steel from more than one angle instead of reaching for another wipe. Side lighting makes leftover streaks, haze, and fingerprints easier to spot. If the surface looks even, dry, and clean with the grain, leave it alone. Repeated polishing can put lint, moisture, or fresh fingerprints back onto a finish that was already done.
Handle Fresh Fingerprints Early
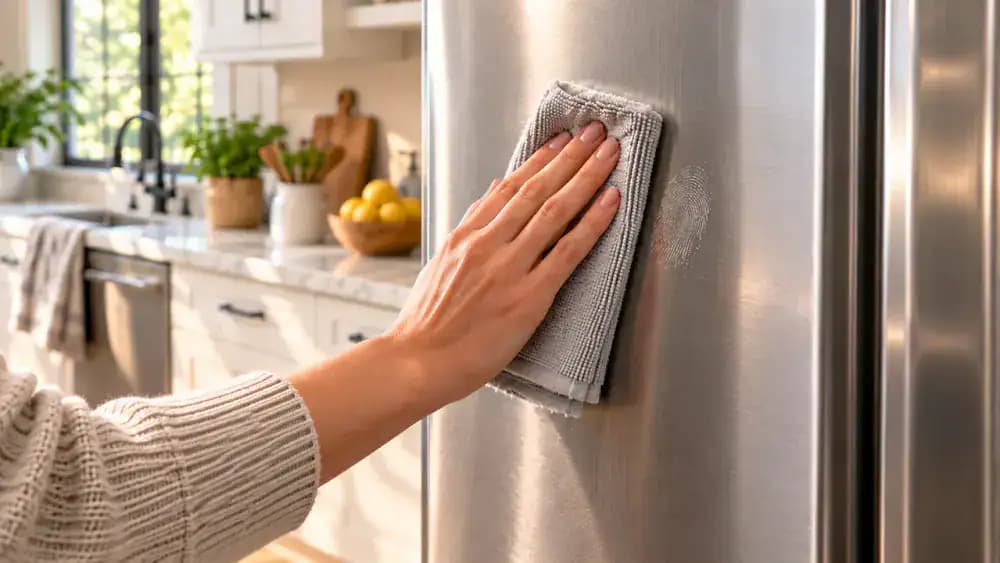
Wipe a fresh fingerprint as soon as you notice it, before skin oils attract dust and become harder to remove. Start with a clean, dry microfiber cloth and move it in one controlled pass that follows the stainless steel grain. Stop once the mark disappears instead of continuing to rub the surface. If a dry cloth leaves residue behind, use mild soap and water, then rinse and dry the area completely.

Return to the Full Sequence When Needed
If the fingerprint remains after a dry wipe, stop before adding pressure. Clean only the marked area with a well-wrung soapy microfiber cloth, then use a separate lightly damp cloth to remove soap residue. Finish with a clean dry microfiber cloth, wiping vertically with the stainless steel grain. Using three separate cloths prevents greasy residue from spreading and helps the panel dry clear without polish or unnecessary scrubbing.
Keep Microfiber Cloths Ready for Next Time
Rinse used microfiber cloths at the utility sink, then wash them with regular detergent so grease and cleaning residue do not transfer back onto stainless steel later. Leave the fabric softener closed because it can coat the fibers and reduce absorbency. After washing, hang each cloth fully open on a drying rack until completely dry. Store them only when dry to prevent odors and keep them ready for quick fingerprint cleanup.
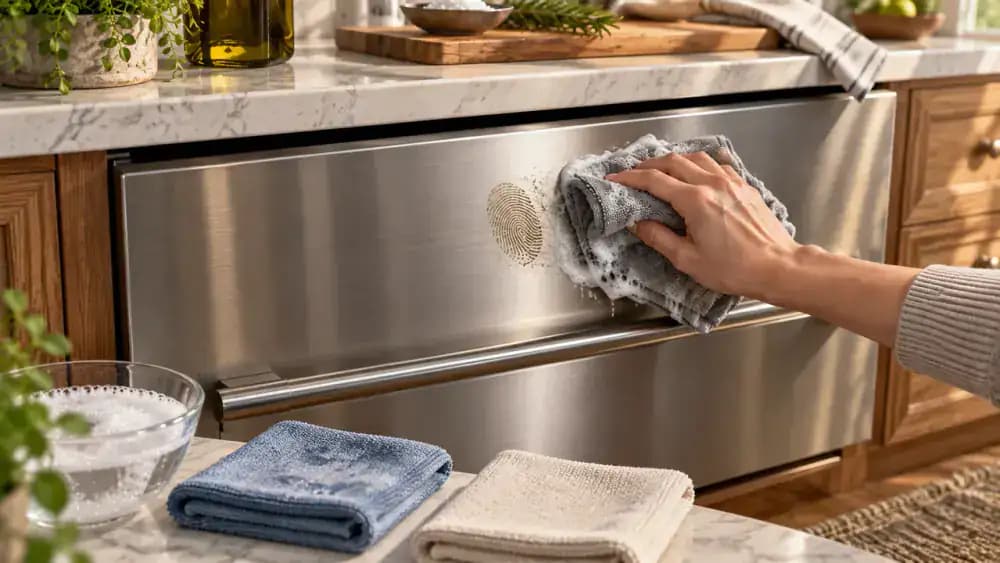
Remove Fresh Fingerprints Before They Build Up
Check the stainless steel when angled light makes new fingerprints easier to spot. Use a clean, dry microfiber cloth and wipe only the marked area in short passes that follow the visible grain. Lifting fresh oils early keeps them from spreading into a greasy film and often removes them without cleaner. Keep a dedicated microfiber cloth nearby so quick touch-ups become part of normal kitchen maintenance.

Keep a Dedicated Cloth Ready
Place a freshly washed, completely dry microfiber cloth in a small bin reserved only for stainless steel care, and remove any cloth that feels damp, greasy, or contaminated. Keeping the replacement cloth separate from general cleaning supplies helps prevent residue from being transferred back onto the surface. Avoid fabric softener when washing microfiber, since it can reduce absorbency and leave streak-causing residue. Swap cloths early instead of trying to reuse a dirty one.

Keep Stainless Steel Streak-Free
Once stainless steel is clean and completely dry, deal with new marks before they build up. Wipe a fresh fingerprint with a dedicated dry microfiber cloth, moving in the same direction as the grain, then hang the cloth where it can stay clean and dry. If grease comes back, repeat the full clean, rinse, dry, and buff routine. Avoid abrasive pads, chlorine cleaners, and soaking the surface with unnecessary liquid.

Stainless steel appliances can look freshly cleaned for only a few minutes before fingerprints, grease, and cloudy wipe marks show up again. The usual mistake is reaching for more polish when the real problem is leftover residue or wiping against the grain. A streak-free finish comes from a much simpler routine: identify the direction of the grain, clean gently, rinse away soap, and dry the surface completely before buffing.
Before you start, make sure the exterior is actually stainless steel and check the manufacturer's care instructions for that appliance. Skip abrasive pads, chlorine-based cleaners, and heavy amounts of liquid, especially around controls, seams, vents, and electrical openings. With a few clean microfiber cloths, warm water, and a small amount of mild dish soap, you can remove everyday fingerprints and grease without leaving the finish looking hazy or smeared.
Where people go wrong
Wiping Against the Grain. Cleaning across the stainless steel grain can leave visible wipe marks and make streaking look worse under bright light. Identify whether the fine lines run horizontally or vertically, then keep every cleaning, rinsing, drying, and buffing pass moving in that same direction.
Leaving Soap Residue Behind. Using soapy water without a separate rinse step often leaves a thin film that catches the light and looks like fresh streaks. Follow cleaning with a lightly dampened microfiber cloth and clean water, while keeping excess moisture away from controls, seams, vents, and openings.
Letting the Surface Air-Dry. Allowing moisture to evaporate on its own can leave water marks and uneven streaks. Dry the stainless steel immediately with a clean microfiber cloth, then buff gently with the grain. If marks remain, repeat the clean, rinse, dry, and buff process instead of adding polish.
Using Harsh or Abrasive Cleaners. Abrasive pads and chlorine-based cleaners can damage the finish rather than improve it. Confirm the exterior is real stainless steel, check the manufacturer's care instructions, and start with warm water, mild dish soap, and clean microfiber cloths before considering any other product.

Questions people ask
Streaks usually come from leftover soap, grease, or moisture rather than a lack of polish. Wipe with the grain using a lightly dampened cloth, rinse with a separate clean cloth, then dry immediately. Buff gently with a dry microfiber cloth until the remaining wipe marks disappear.
Fixed it?
Get one guide like this every Thursday.