How to Clean Small Kitchen Appliances Without Damaging the Controls
Safely remove grease, fingerprints and crumbs from small kitchen appliances using low-moisture cleaning methods that protect buttons, vents, cords and electronics.
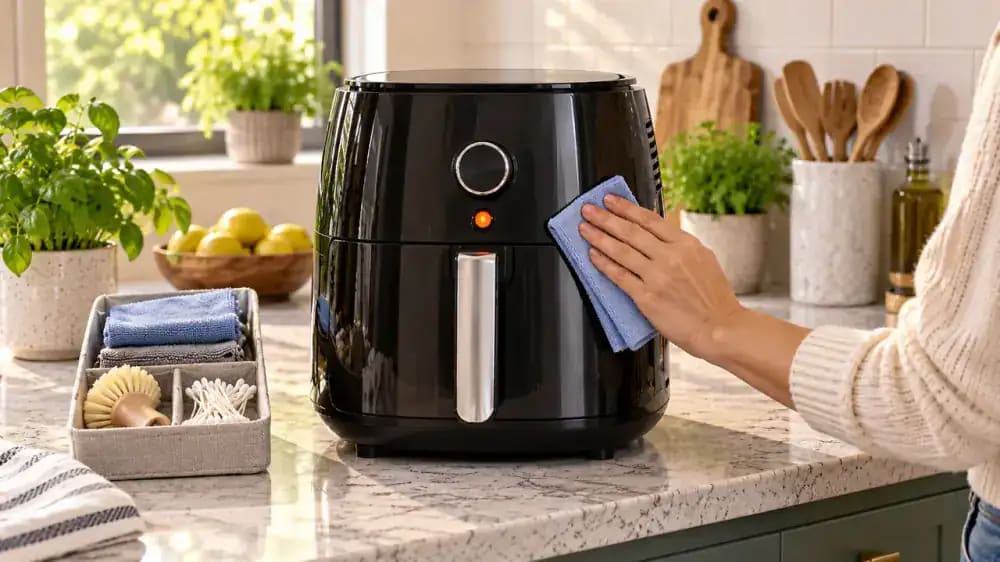
What you’ll need
Tap to tick things off before you start.
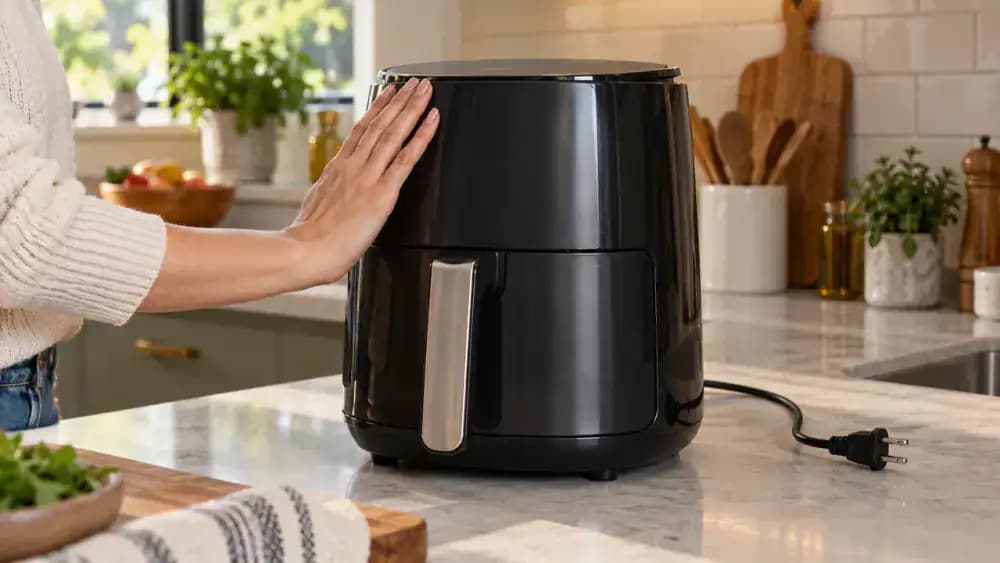
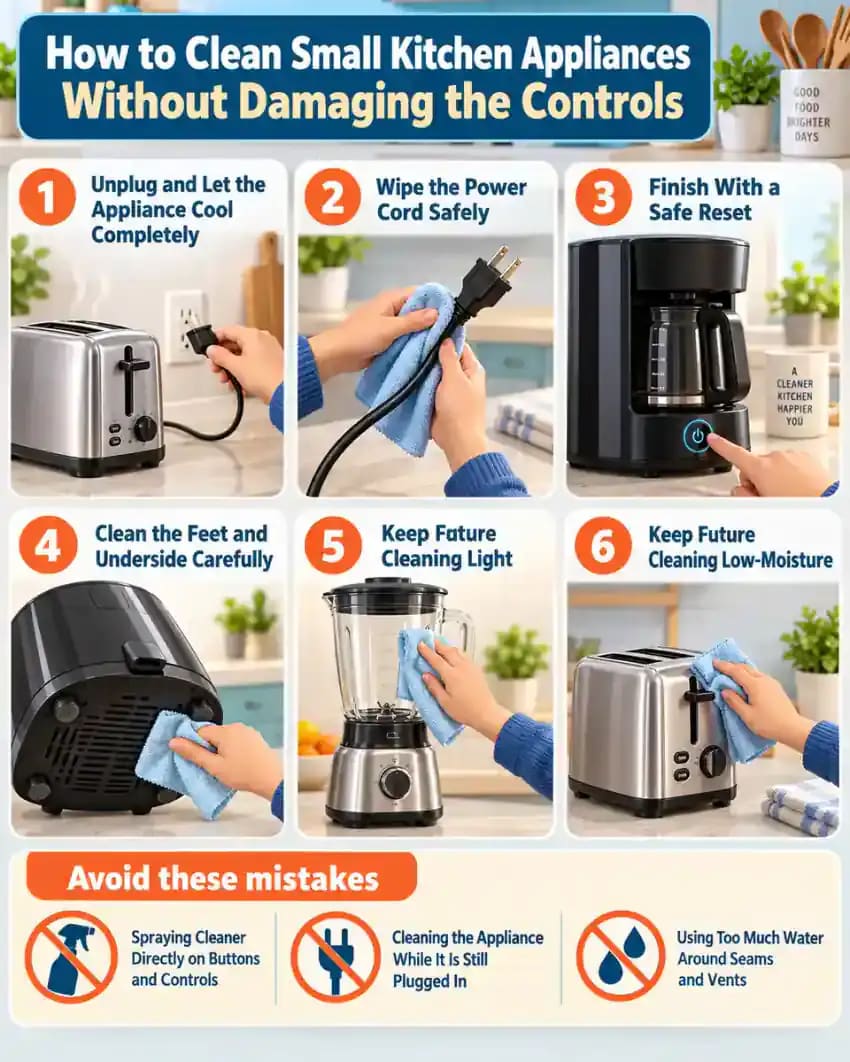
Unplug and Let the Appliance Cool Completely
Unplug the appliance before cleaning, then place it on a clear, dry section of the counter and wait until the exterior, heating surfaces, and motor housing are completely cool. Keep the cord and plug well away from the sink or any standing water. As a practical precaution, dampen your cleaning cloth away from the appliance instead of spraying cleaner directly onto controls, vents, seams, or electrical connections.
Remove Loose Crumbs First
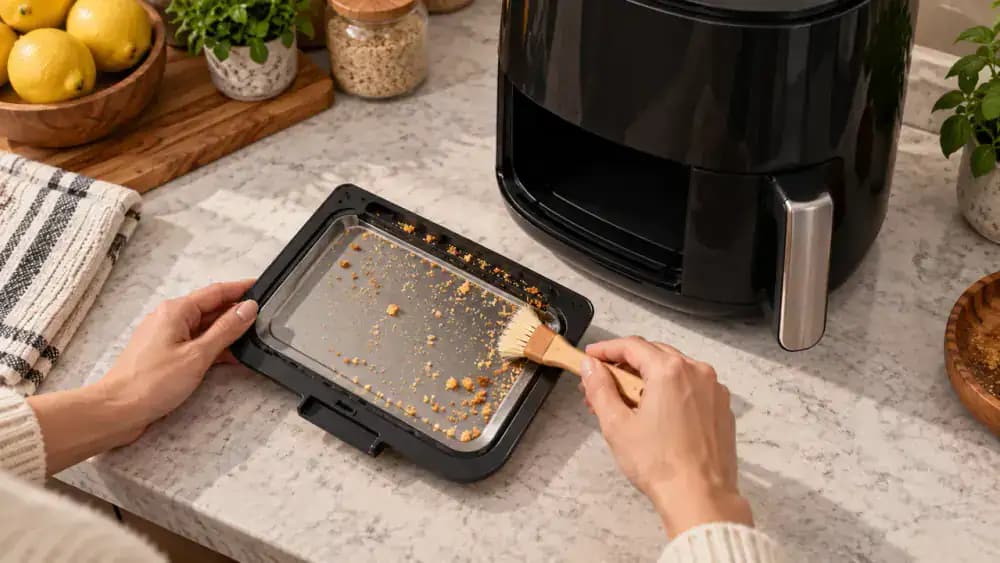
Unplug the appliance and wait until it is completely cool before removing any tray, basket, or cover approved for removal by the manufacturer. Set the parts on a dry surface, then use a soft dry brush or clean microfiber cloth to sweep crumbs from seams, vent edges, and recessed areas. Work from top to bottom so loosened debris collects in one place, and keep liquids away until all dry debris is removed.
Use a Damp Cloth on the Housing
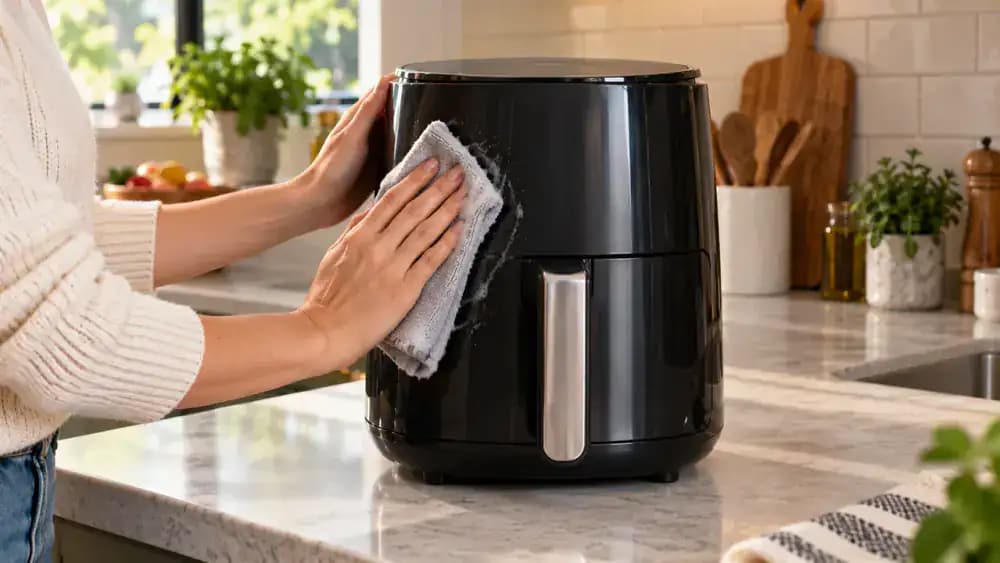
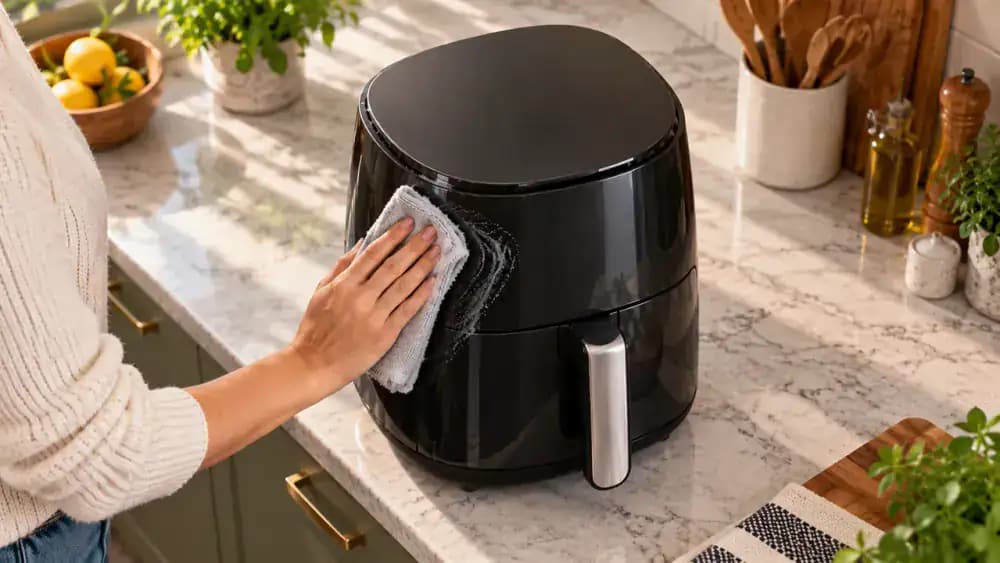
Lightly dampen a clean microfiber cloth with warm water and a small drop of mild dish soap, then wring it out thoroughly before touching the appliance. Wipe the solid exterior surfaces in short, controlled passes, working one section at a time. Keep the cloth away from buttons, vents, seams, and the cord connection. If the cloth begins leaving visible moisture behind, wring it again before continuing.
Detail Buttons and Narrow Seams
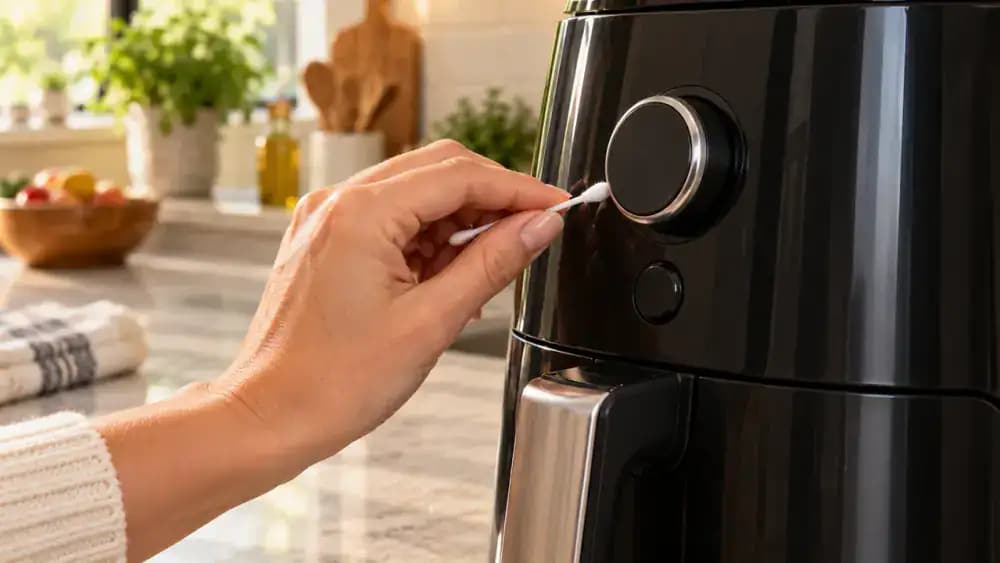
Use a barely damp cotton swab to trace around the outside edge of each raised button and around the base of knobs, keeping moisture away from openings. For narrow seams, fold a clean microfiber cloth into a firm corner and guide it slowly along the gap. If the swab appears wet rather than lightly damp, squeeze out the excess first. Finish by checking the panel for any visible moisture before moving on.
Clean the Feet and Underside Carefully
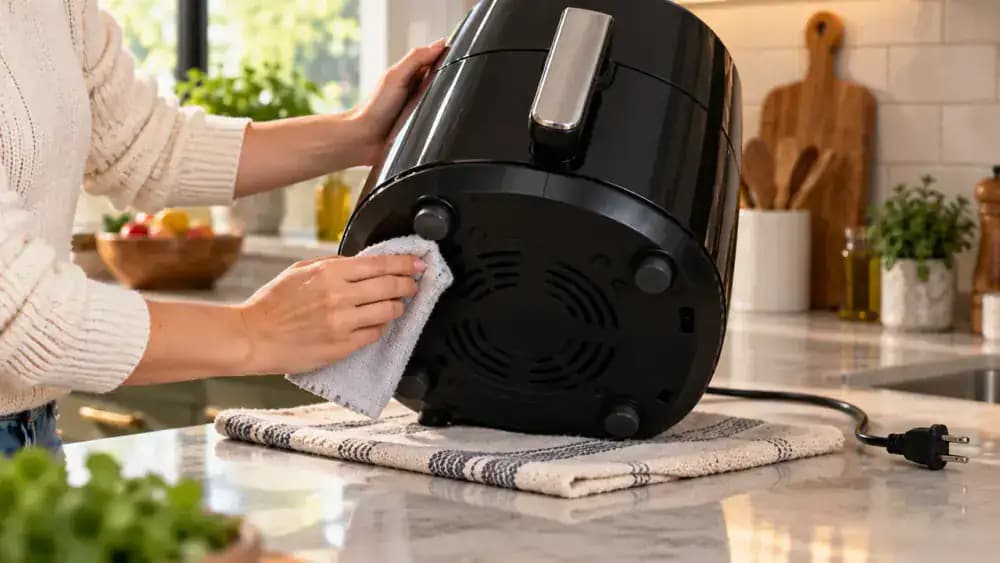
Place the unplugged appliance on a folded dry towel and tilt it carefully so you can reach the feet and solid underside surfaces without pulling on the cord. Steady the housing with one hand while wiping grease and crumbs away with a lightly damp microfiber cloth. Keep vents, screw openings, and housing gaps completely dry. For stuck-on residue, use gentle repeated passes rather than adding more water or scrubbing aggressively.
Wipe the Power Cord Safely
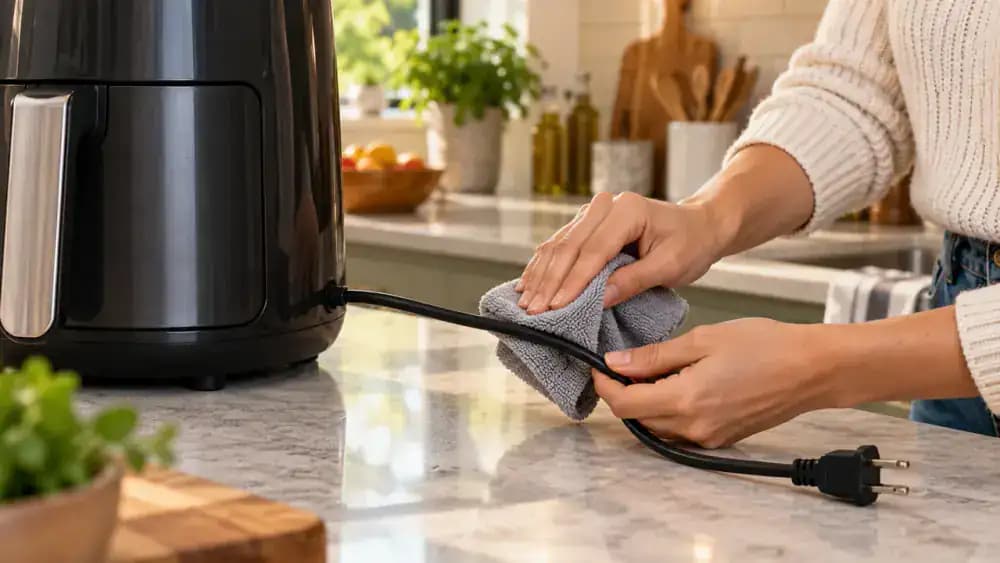
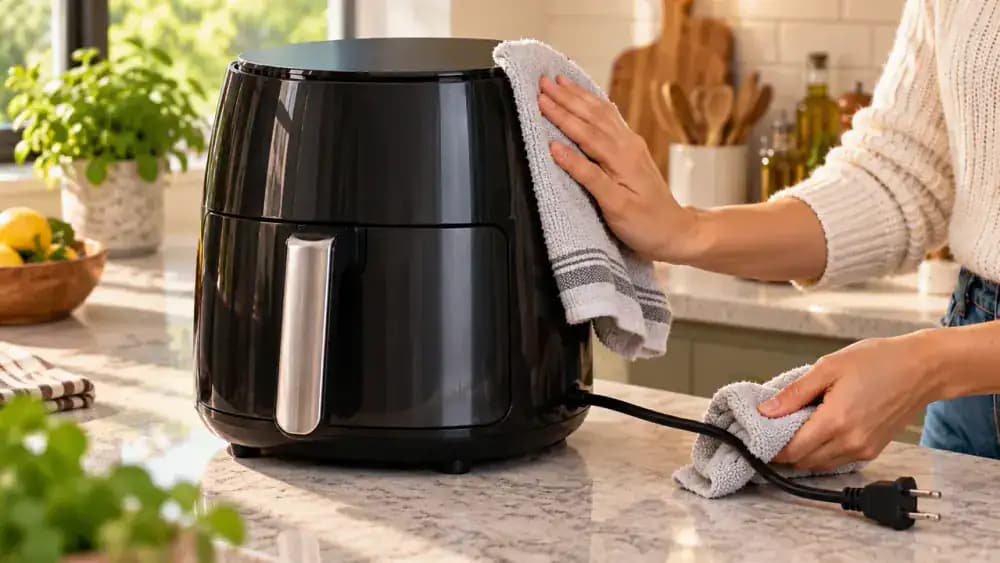
Set the appliance upright on a dry counter and support the unplugged cord loosely over a towel. Use a lightly damp microfiber cloth to wipe only the insulated cable, moving along its length without pulling or twisting it. Keep the plug, prongs, and appliance connection completely dry. As you wipe, inspect the cord closely for cracks, fraying, exposed wire, or damaged insulation, and stop using the appliance if you find any.
Remove Any Soap Residue
Use a fresh microfiber cloth dampened with plain warm water to remove any soap film left on the appliance housing. Wring the cloth out thoroughly before it goes near the appliance, then wipe only solid exterior panels where residue remains. Keep buttons, vents, seams, the plug, and the cord connection completely dry. If the cloth starts leaving visible moisture behind, wring it out again before continuing.
Dry Every Surface Thoroughly
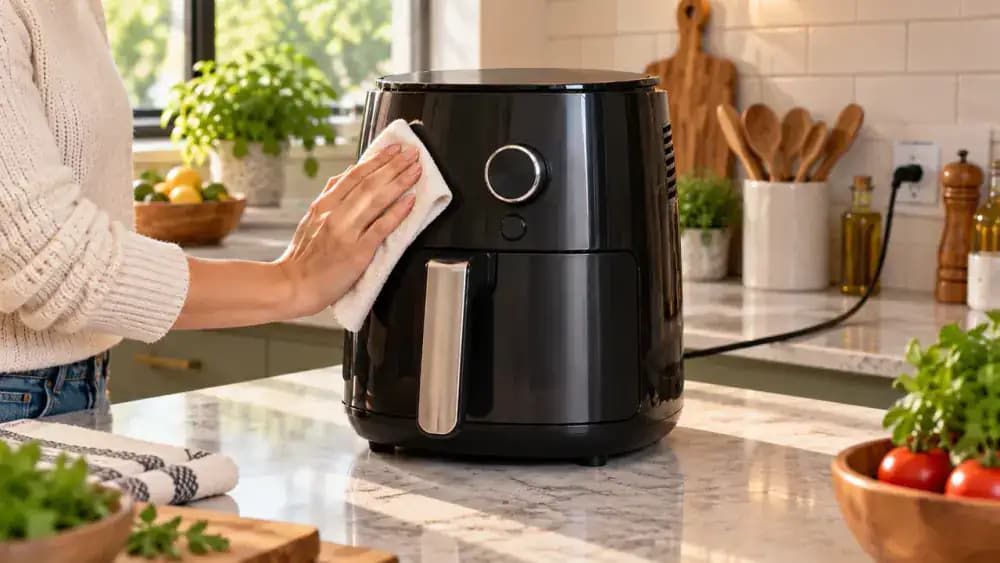
Rotate the unplugged appliance as you wipe it with a separate clean, dry towel, covering the housing, control area, exterior seams, underside, feet, and insulated cord. Press the towel gently into recessed exterior edges, but do not push it into vents or openings. Keep drying until no droplets or damp patches remain. For extra caution, check underneath the appliance again after a few minutes before reconnecting power.
Inspect Before Reconnecting
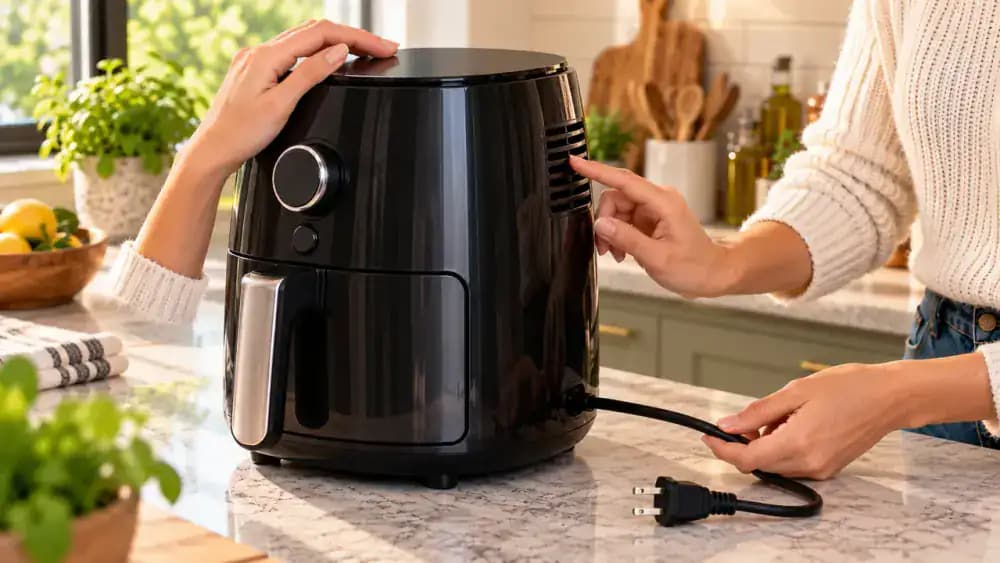
After the appliance is fully dry, inspect every area that could hide moisture or damage before plugging it back in. Check the control panel edges, vent openings, cord entry point, insulated cable, and both sides of the plug. Look closely for damp spots, cracks, exposed wire, or fraying. Use a flashlight if needed to inspect recessed edges. If anything looks wet or damaged, keep the appliance unplugged.
Keep Buildup Under Control
Once the appliance is fully dry and shows no damage, plug it back in and return it to normal use. After regular use, wipe fresh fingerprints, grease, and crumbs from solid exterior surfaces with a lightly damp microfiber cloth. Cleaning small messes early prevents hardened buildup that may require heavier scrubbing later. Keep moisture away from controls, vents, plugs, cord connections, and seams, and let the exterior dry before storing or moving it.
Make Low-Moisture Cleaning the Habit
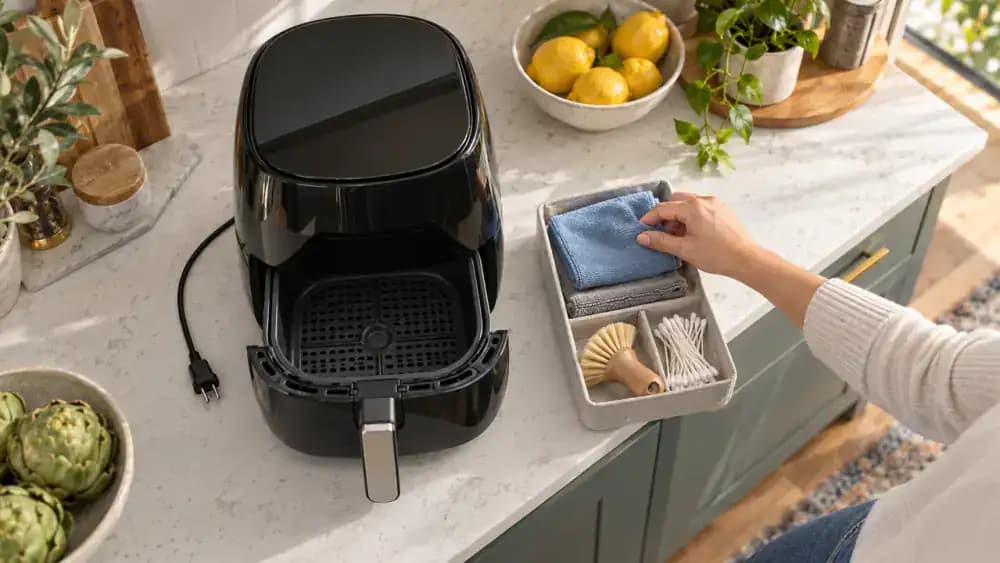
Keep a small maintenance kit near the kitchen so regular cleaning takes only a few minutes. Unplug the appliance first, then use dry microfiber cloths, a soft brush, and cotton swabs to remove crumbs and light grease. If moisture is needed, use only a barely damp cloth and keep liquid away from controls, vents, and openings. Let every surface dry completely before reconnecting power, and clean often to prevent stubborn buildup.
Finish With a Safe Reset
Reinstall only the removable parts approved for normal use, then place the appliance on a completely dry counter before routing the power cord behind it. Keep the cord loose enough that it is not pinched, sharply bent, or pulled tight against the plug. Make sure the controls stay dry and untouched during setup. This final check keeps the appliance tidy, reduces strain on the cord, and preserves the low-moisture cleaning approach.
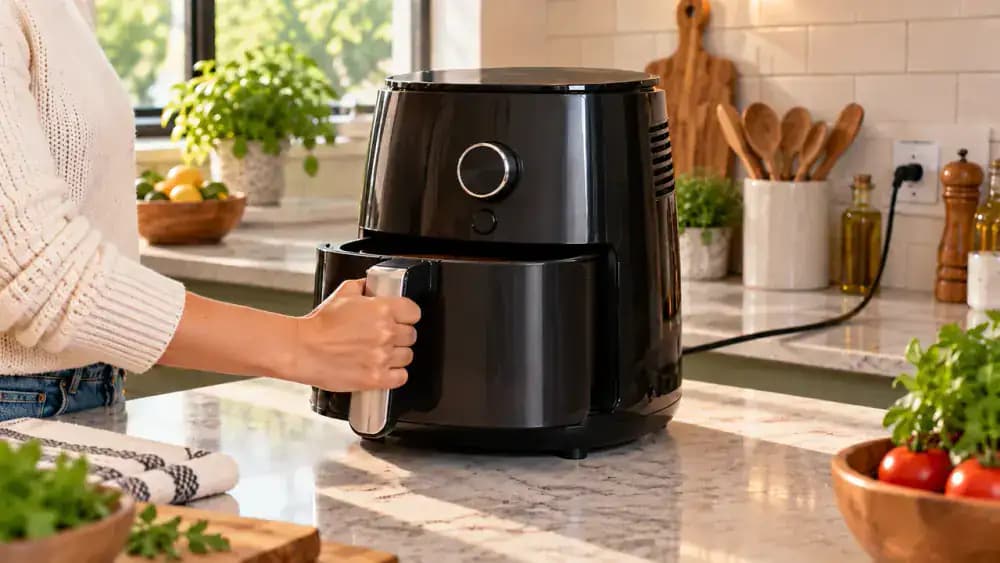
Prevent the Next Buildup
Once the appliance is unplugged and completely cool, wipe fresh fingerprints from the solid housing with a dry microfiber cloth, then use a soft, dry brush to sweep loose crumbs away from exterior seams. Avoid the controls and vents, and do not use water, cleaner, or spray for this routine touch-up. Doing this after regular use keeps residue from hardening and reduces how often deeper cleaning with moisture is necessary.
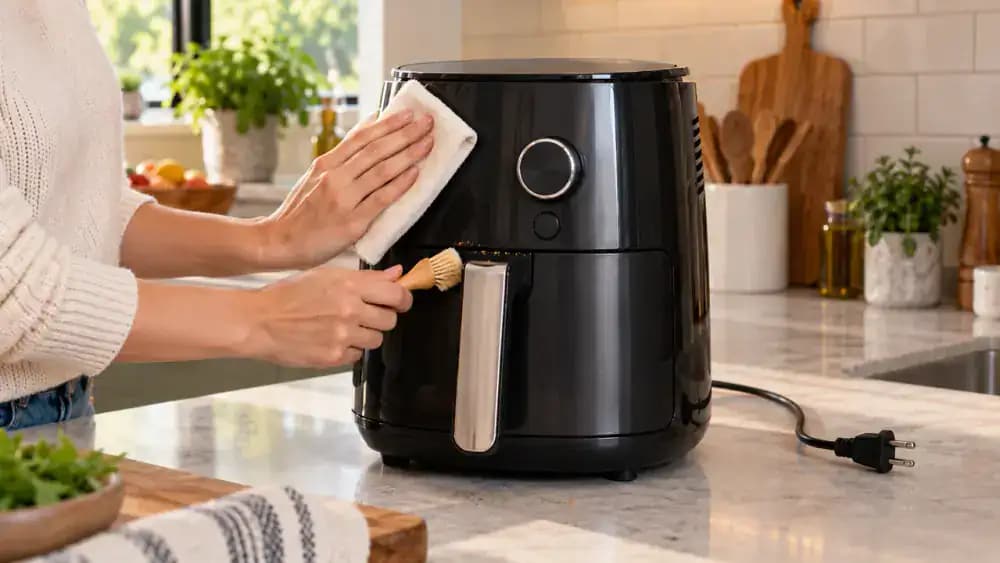
Target Only the Dirty Spot
Focus on the greasy seam or knob instead of wiping the entire appliance. Touch the dirty area with the tip of a barely damp microfiber cloth, using just enough moisture to loosen residue, then follow immediately with a separate dry cloth. For narrow seams, fold the cloth into a firm edge or use a lightly damp swab. Keep vents, switches, and control openings completely dry throughout the process.
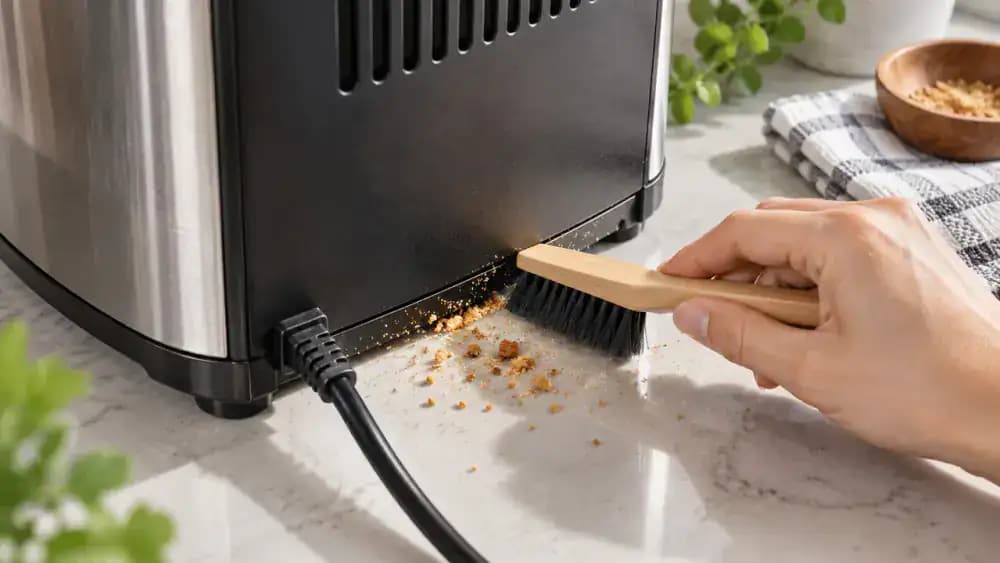
Use a Dry Brush for Stubborn Crumbs
Keep the appliance unplugged and use a small, soft detailing brush to loosen crumbs trapped in the dry rear seam. Work with short strokes that pull debris outward instead of driving it deeper into the housing. Once the crumbs reach the surface, collect them with a dry microfiber cloth. Keep the brush away from vent slots and other openings, and do not add water or cleaner just to free stubborn dry buildup.
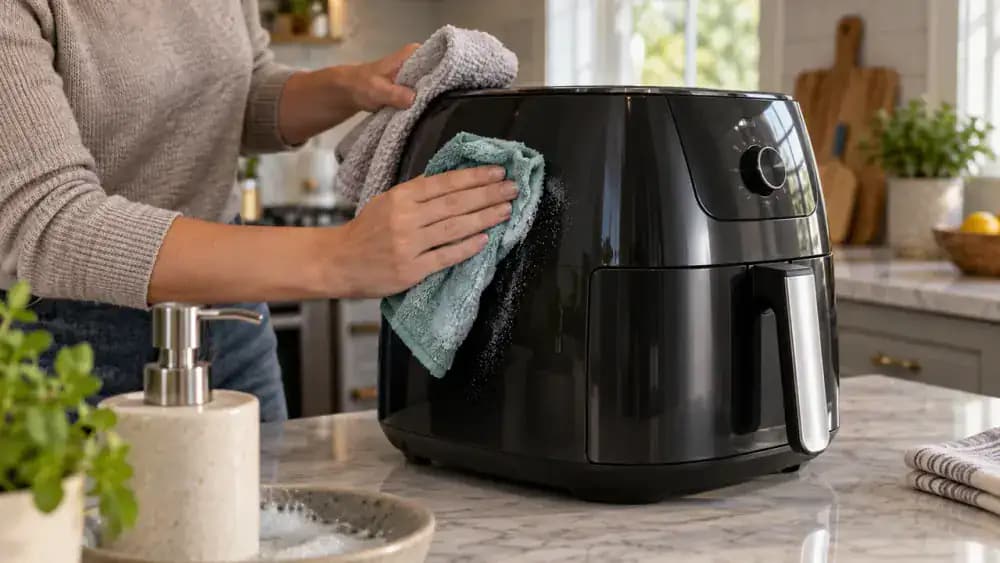
Wipe the Housing With Minimal Moisture
Lightly dampen a microfiber cloth with warm water and a single drop of mild dish soap, then wring it out until it feels barely moist. Wipe the solid housing in small overlapping passes, staying clear of controls, vents, seams, and cord connections. Follow immediately with a dry towel so moisture does not linger. Work section by section, and stop if you see droplets, streaks, or liquid collecting near any opening.
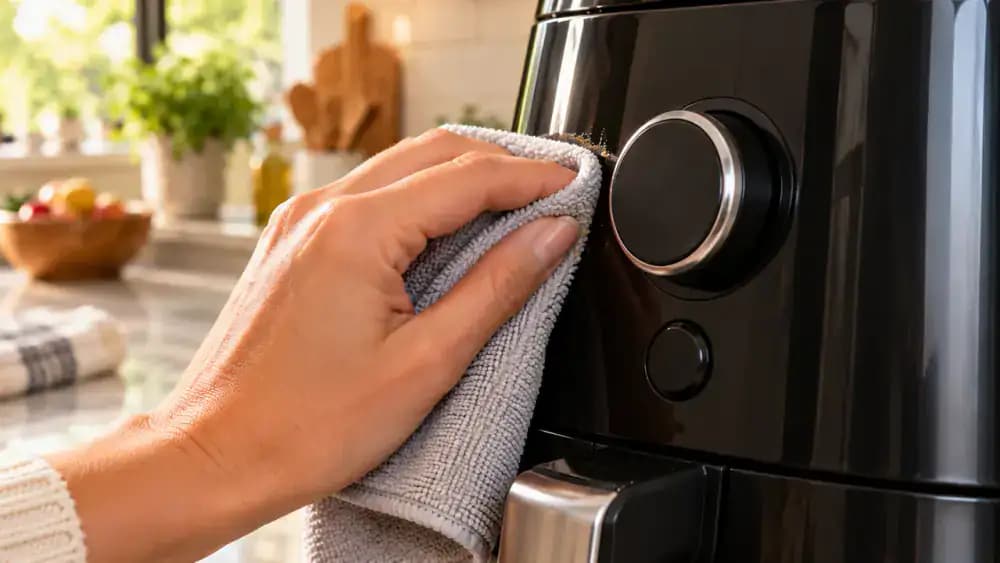
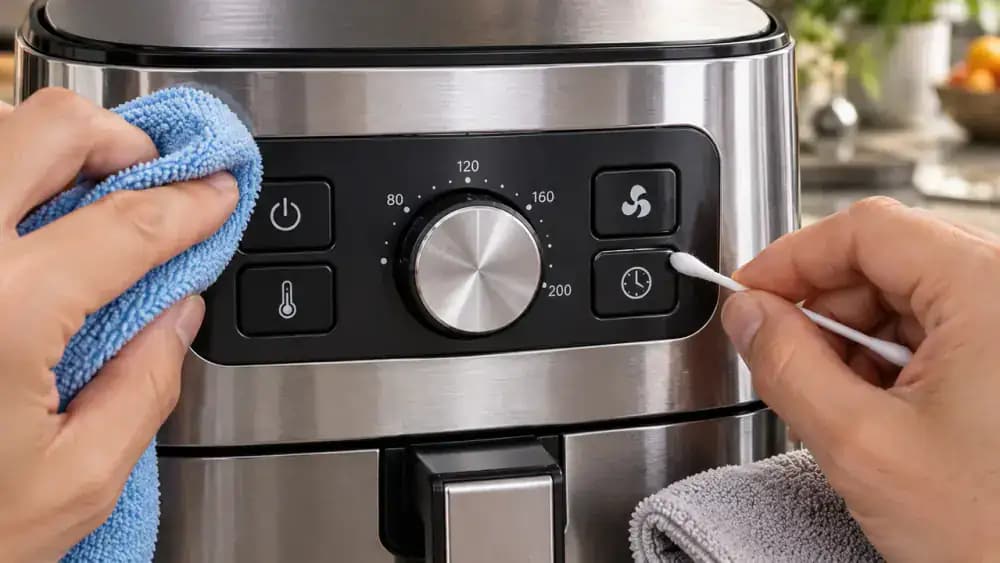
Detail the Controls With Almost No Moisture
Use the barely damp corner of a microfiber cloth to wipe the flat faces of each button, then clean carefully around the outer edges with a cotton swab. Keep liquid away from vents, seams, and openings where it could enter the appliance. Follow every cleaned area immediately with a dry swab or cloth. If a button or knob still looks dirty, make another light pass instead of adding more moisture.
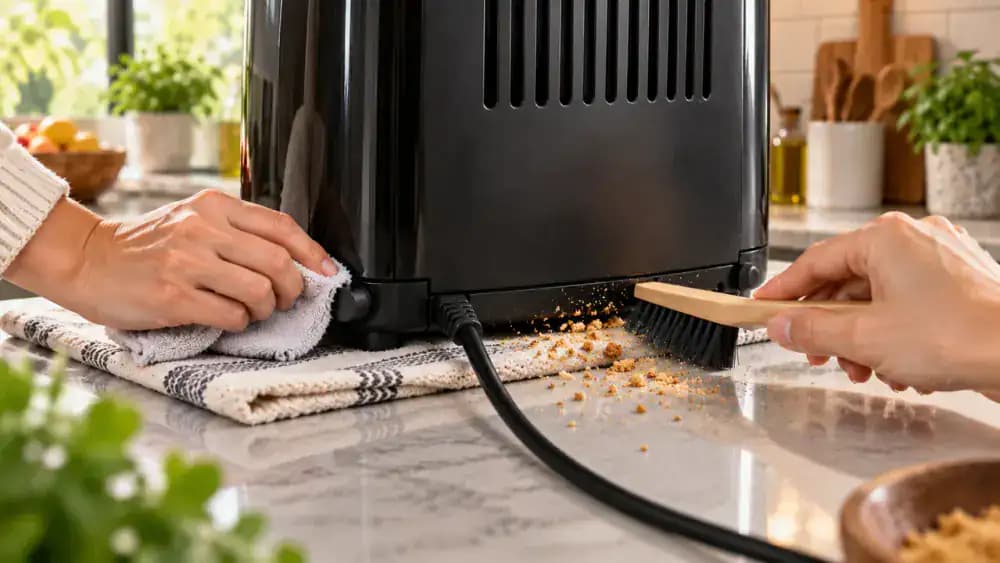
Clean the Feet and Underside Carefully
Place the unplugged appliance gently on a thick folded towel so the rubber feet and solid underside are easy to reach. Steady it with one hand while wiping each foot and flat surface with a lightly damp microfiber cloth. Stop before screw holes, vents, seams, or other openings where moisture could enter. For stubborn crumbs along the edge, use a dry soft brush and sweep outward without pushing debris into gaps.
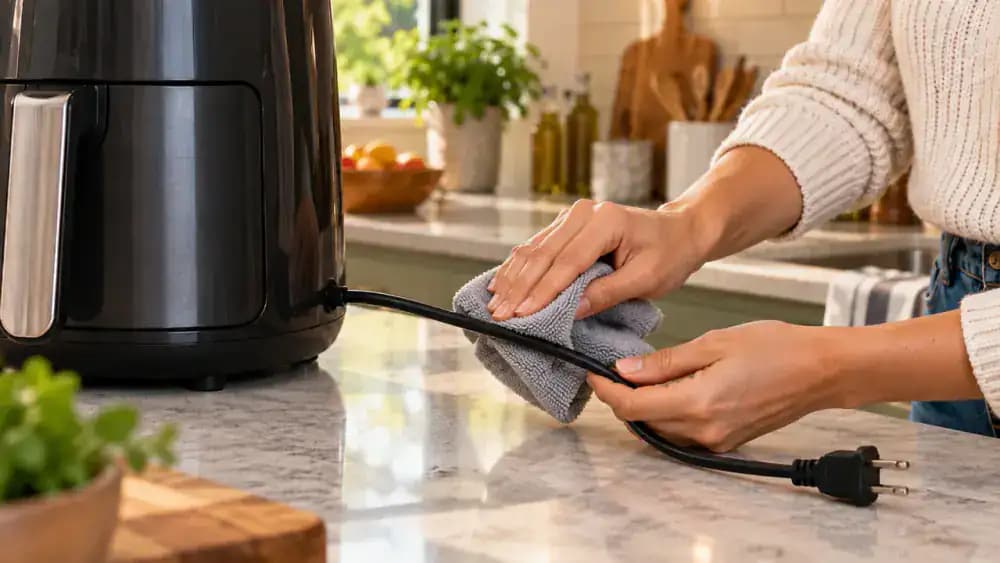
Wipe the Power Cord Safely
Support the unplugged cord with one hand and use a lightly damp microfiber cloth to wipe only the insulated cable, moving away from the appliance toward the plug. Stop several inches before the plug and avoid the cord entry point entirely. Keep the prongs, plug body, and all electrical connections completely dry. After wiping, check the cable for leftover residue, cuts, cracking, or exposed wire before putting the appliance away.
Remove Any Soap Residue
Use a fresh microfiber cloth dampened with plain warm water to remove any remaining soap film from the solid exterior housing. Wring the cloth out thoroughly before making one controlled pass over the hazy panel. Avoid buttons, vents, seams, the plug, and the cord connection completely. Keep the water bowl well away from the appliance, and finish with the surface looking clean and dry with no visible moisture left behind.
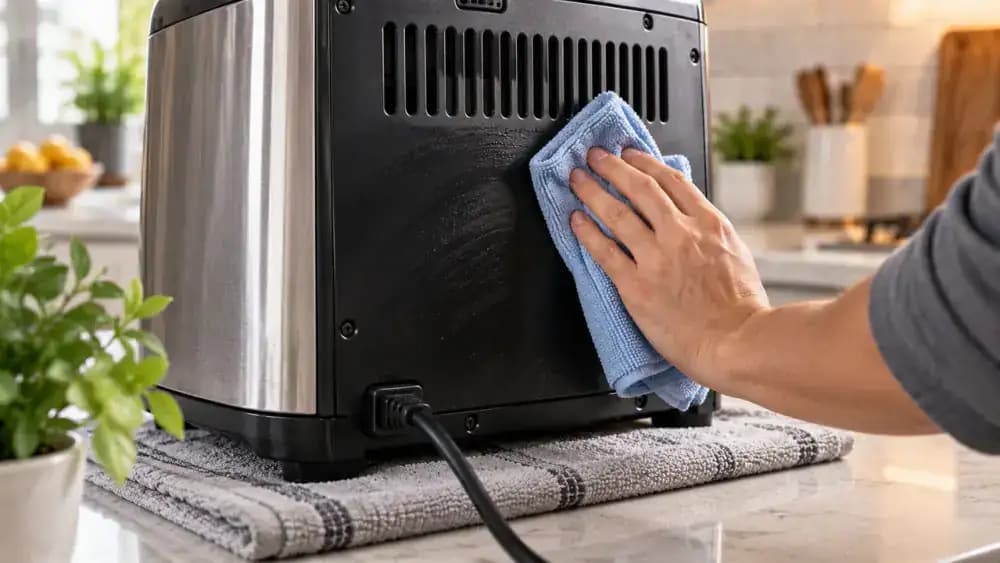
Dry Every Surface Thoroughly
Place the unplugged appliance on a fresh, dry absorbent towel, then use a second clean towel to blot the lower housing, exterior recesses, base perimeter, and insulated cord. Lift the appliance slightly so you can reach underneath without touching vents, control openings, plug prongs, or the cord connection. Work slowly and check for droplets, damp patches, or cool wet areas before moving on to the next step.
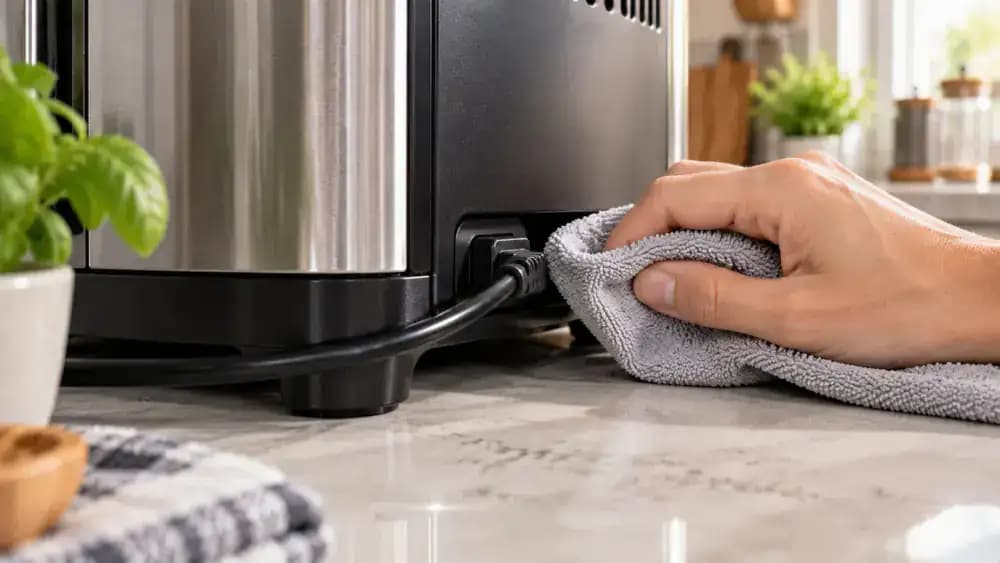
Inspect Before Reconnecting
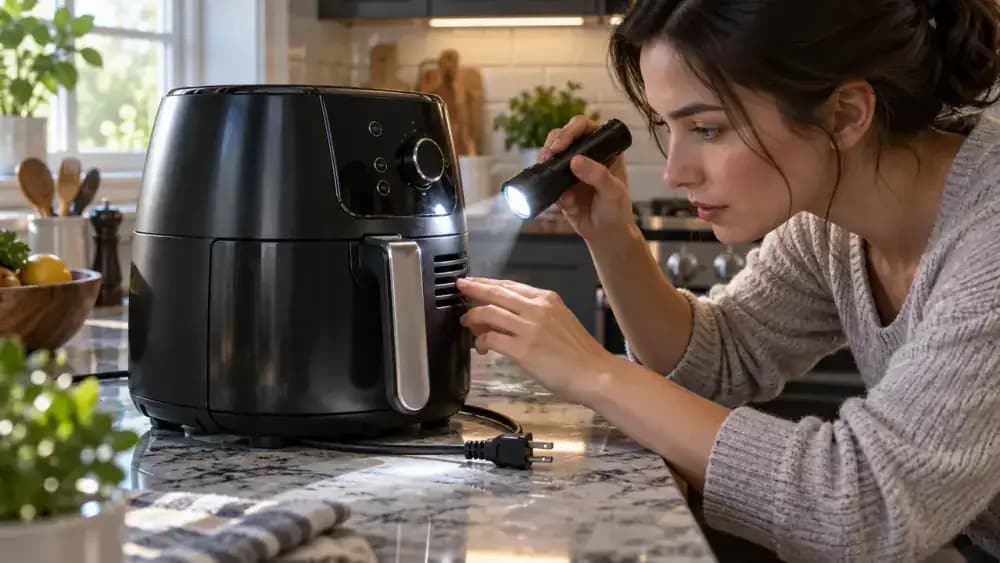
Keep the appliance unplugged and use a small flashlight to inspect button edges, vent openings, the rear cord entry, the full cord, and both sides of the plug. Gently bend the insulated cord just enough to expose cracks, fraying, or worn spots without stressing it. Check carefully for any remaining dampness. If you find moisture or damaged insulation, do not reconnect power until the appliance is completely dry and the damage is properly addressed.
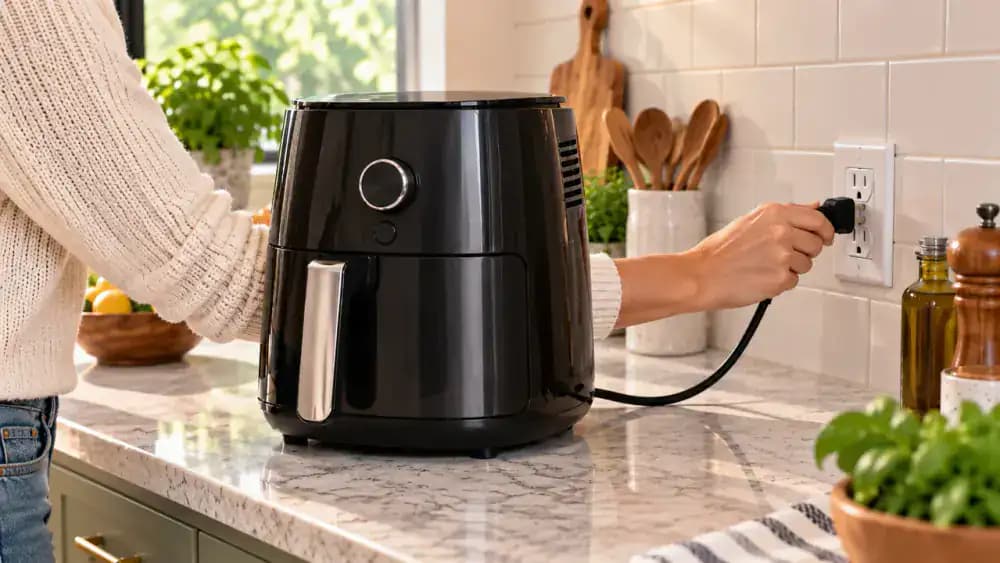
Reconnect Only When Completely Dry
Before reconnecting the appliance, confirm that the counter, outlet area, plug, prongs, cord connection, and your hands are completely dry. Lift the inspected plug from the dry towel and insert it straight into the outlet without twisting, bending, or forcing it. Place the appliance securely back in its normal position. If you notice any remaining dampness, keep it unplugged and allow additional drying time before trying again.
Keep Future Cleaning Light
Once the appliance has cooled completely, unplug it and wipe fresh fingerprints or grease from the housing with a dry or barely damp microfiber cloth. Brush loose crumbs away from the base before they collect around edges or controls. Keep moisture away from vents, buttons, and the cord connection. A quick wipe after regular use prevents stubborn buildup and reduces the need for stronger cleaners or heavier scrubbing later.
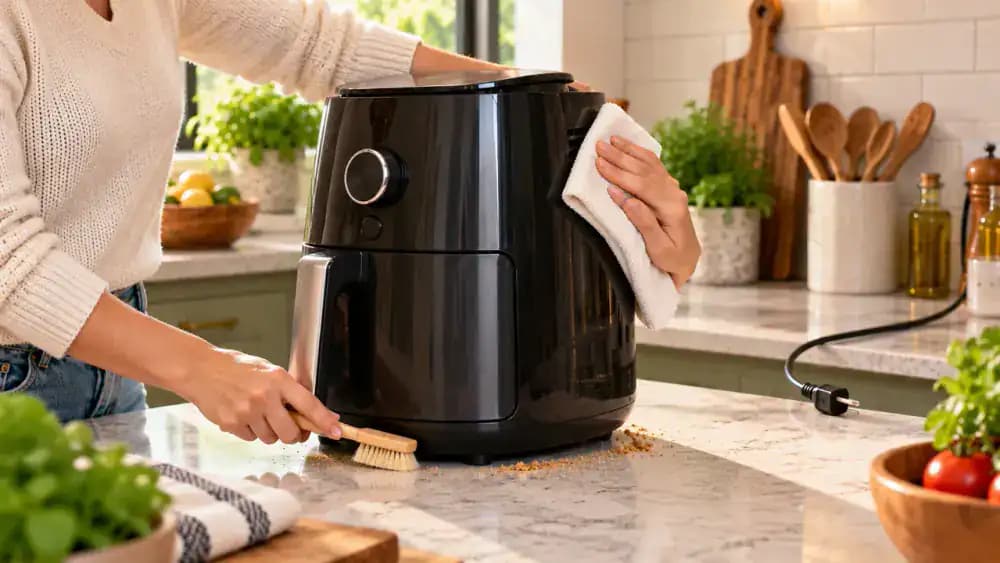
Apply Cleaner to the Cloth
Keep the unplugged appliance on a dry counter while you dampen a microfiber cloth at the sink. Add only a small amount of mild soapy water, then wring the cloth until it is barely damp before wiping a solid exterior panel. Never spray cleaner directly onto the appliance, because mist can enter controls, vents, seams, or cord connections. Re-wet the cloth away from the appliance if more cleaning is needed.

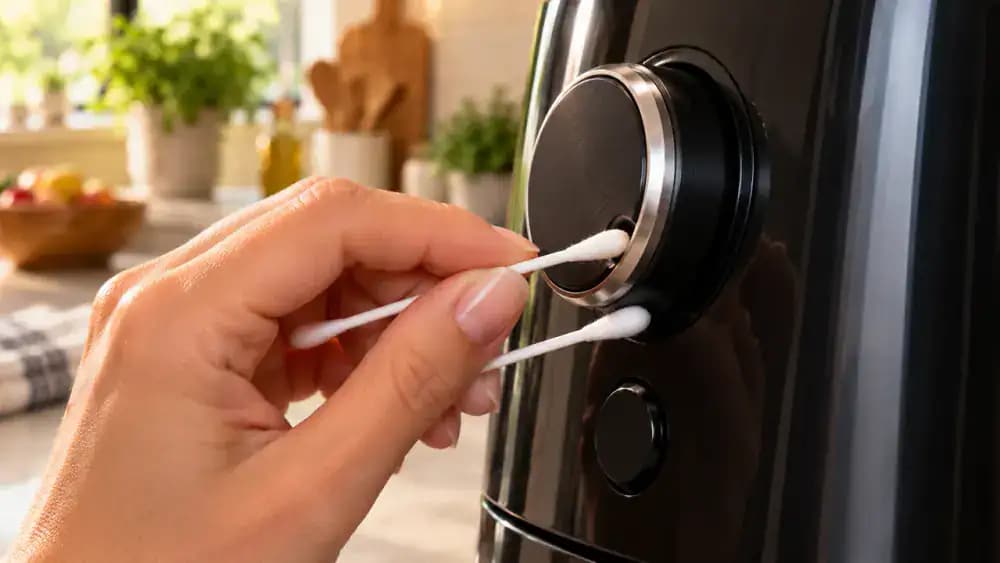
Detail Controls With Minimal Moisture
Clean around buttons, knobs, and narrow seams with a barely damp cotton swab, rolling it gently along the solid outer edge instead of pushing into the gap. Keep all moisture away from openings where it could enter the appliance. Follow immediately with a fresh dry swab or towel to remove any remaining dampness. For stubborn grime, make several light passes rather than adding more liquid or pressing harder.
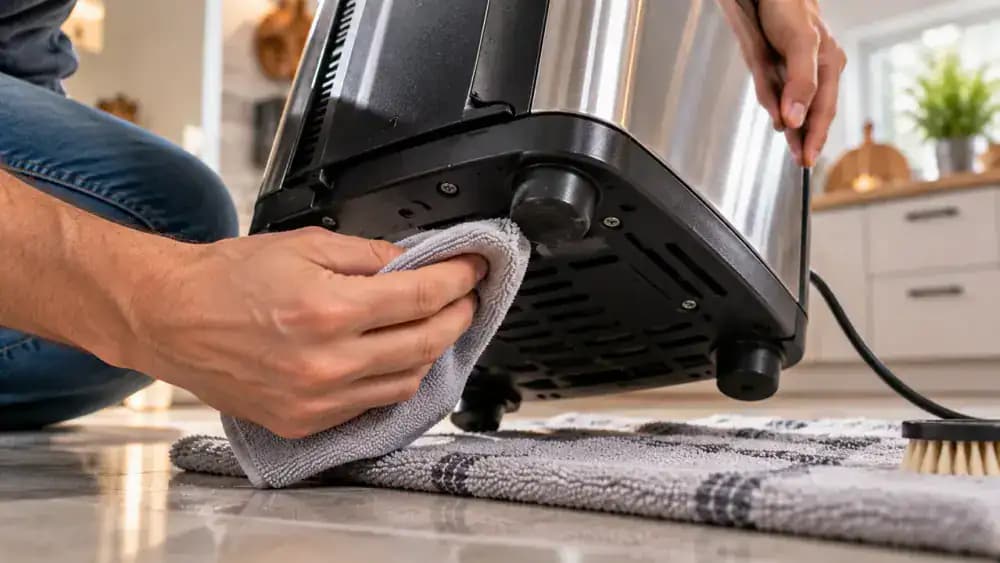
Clean the Feet and Underside Carefully
Tilt the unplugged appliance only far enough to expose the rubber feet and solid underside while keeping it securely supported. Use the corner of a lightly damp microfiber cloth to wipe dirt from these surfaces with short, controlled strokes. Stop before reaching screw holes, vents, seams, or recessed openings where moisture could enter. Follow immediately with a dry towel, then gently return the appliance upright once every cleaned area feels completely dry.
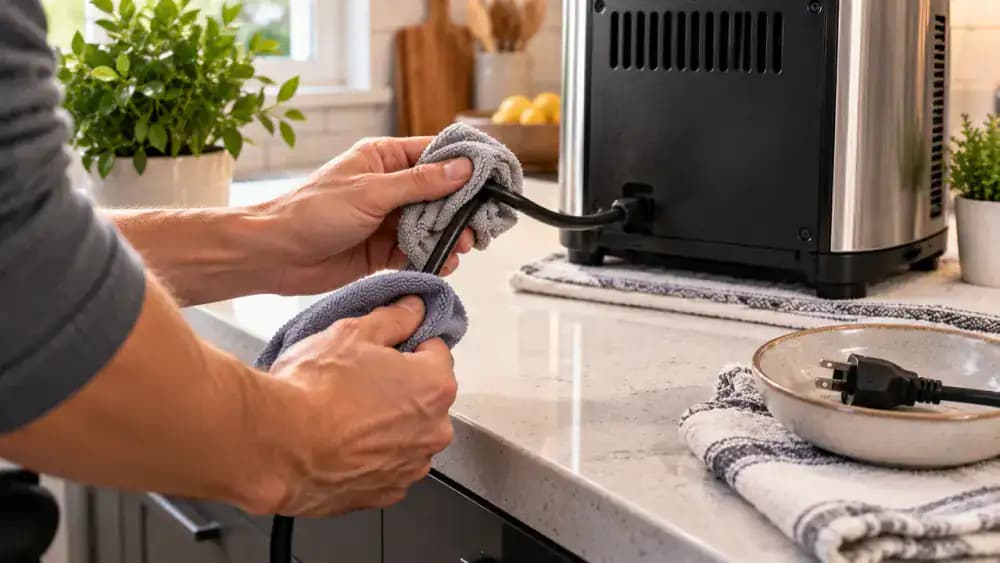
Wipe the Power Cord Without Wetting the Plug
Keep the appliance unplugged and upright, then loosely support the cord while wiping only the insulated cable with a lightly damp microfiber cloth. Work on a short section at a time and keep moisture away from the plug, prongs, and cord entry point. Follow immediately with a dry cloth so the cable is not left damp. Laying the cord in a loose S-shape helps prevent twisting or unnecessary strain while you clean.
Do a Final Dryness Check
Before plugging the appliance back in, wipe the housing, controls, seams, and base with a fresh dry towel. Check carefully around vents, buttons, the plug, and the point where the cord enters the appliance, since moisture can collect in these areas. Move the appliance slightly on the absorbent mat to inspect underneath as well. If any surface feels cool, damp, or wet, leave it unplugged until it is completely dry.
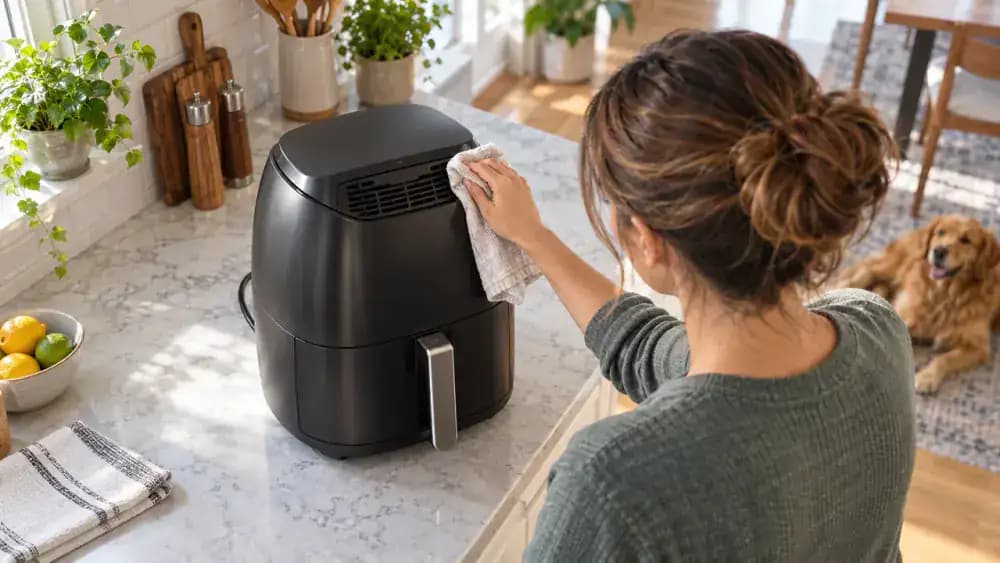
Keep Future Cleaning Low-Moisture
Keep a small cleaning caddy nearby with dry microfiber cloths, a soft brush, and cotton swabs so quick maintenance becomes effortless. When fingerprints or crumbs appear, remove them before they harden into greasy buildup. Start with a dry cloth or brush, using a barely damp cloth only when necessary. Always keep moisture away from controls, vents, plugs, and cord connections, and let every surface dry completely before normal use.
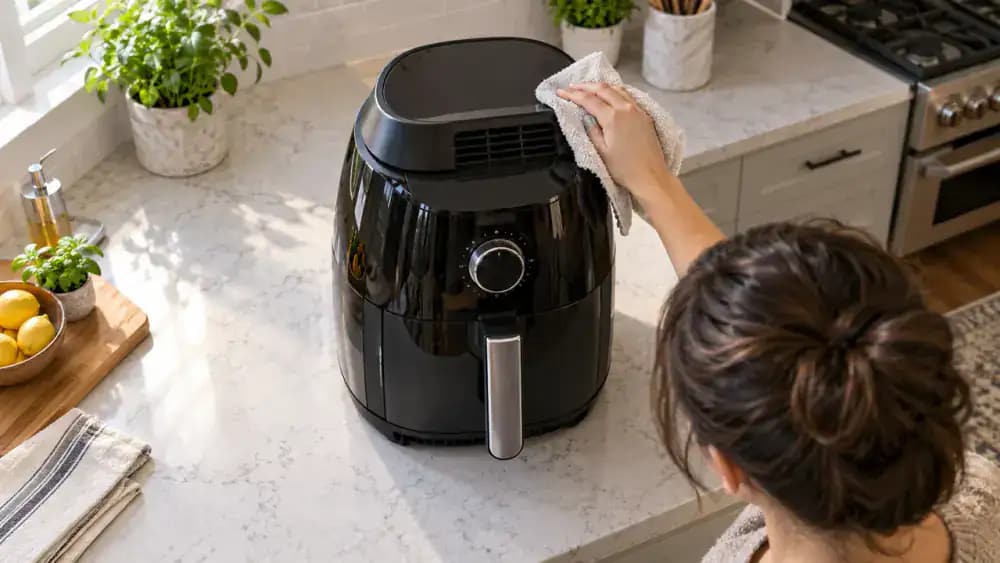
Small kitchen appliances collect grease, fingerprints and crumbs faster than most people realize, especially around buttons, seams, rubber feet, vents and cords. Cleaning them seems simple until moisture gets too close to the electronics. The safest approach starts with one rule: unplug the appliance and let it cool completely before touching it with any damp cloth. Never immerse a motor base, and never spray cleaner directly onto controls, vents, plugs or cord connections.
A careful low-moisture routine can remove everyday buildup without soaking sensitive areas. Start by loosening dry crumbs with a soft brush or microfiber cloth, then clean the exterior with a cloth that is only lightly dampened with warm water and mild dish soap. Use extra care around buttons, knobs and narrow seams, and keep plugs and connection points dry. Once the appliance is clean, dry every surface thoroughly and reconnect it only when you are sure no moisture remains.
Where people go wrong
Spraying Cleaner Directly on Buttons and Controls. Spraying cleaner onto buttons, touch panels, vents or seams can force liquid into sensitive electronics. Apply cleaner only to a microfiber cloth, and keep it merely damp. For tight control areas, use a barely damp cotton swab instead of soaking the surface.
Cleaning the Appliance While It Is Still Plugged In. Wiping around powered controls creates an unnecessary electrical and damage risk, especially when moisture is involved. Always unplug the appliance first and let it cool completely. Keep the plug, cord connection and electrical openings dry throughout the entire cleaning process.
Using Too Much Water Around Seams and Vents. A wet cloth can push moisture through seams, vent openings and gaps around knobs or rubber feet. Use a lightly dampened microfiber cloth and work in small sections. Never immerse the motor base, and immediately dry any area where moisture begins collecting.
Plugging the Appliance Back In Before It Is Fully Dry. Surfaces may look dry while moisture remains trapped around controls, vents or connection points. After cleaning, dry everything thoroughly with a separate towel and inspect the cord, plug and openings. Reconnect the appliance only when every cleaned area is completely dry.
Questions people ask
No. Unplug the appliance first and never spray liquid directly onto buttons, controls, vents, plugs or cord connections. Instead, apply a small amount of warm water and mild dish soap to a microfiber cloth. The cloth should feel damp, not wet, before you wipe the exterior.
Fixed it?
Get one guide like this every Thursday.