How to Clean Refrigerator Shelves Without Leaving Food Out Too Long
Learn how to clean refrigerator shelves safely by working one section at a time, keeping perishable food cold, removing sticky residue, and preventing future messes.

What you’ll need
Tap to tick things off before you start.
Start With a Controlled Cleaning Plan
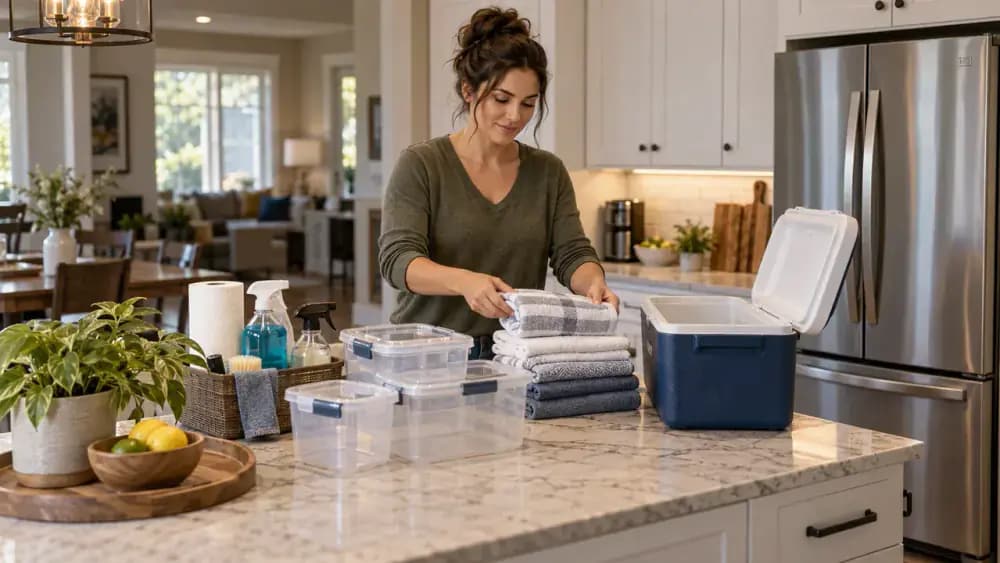
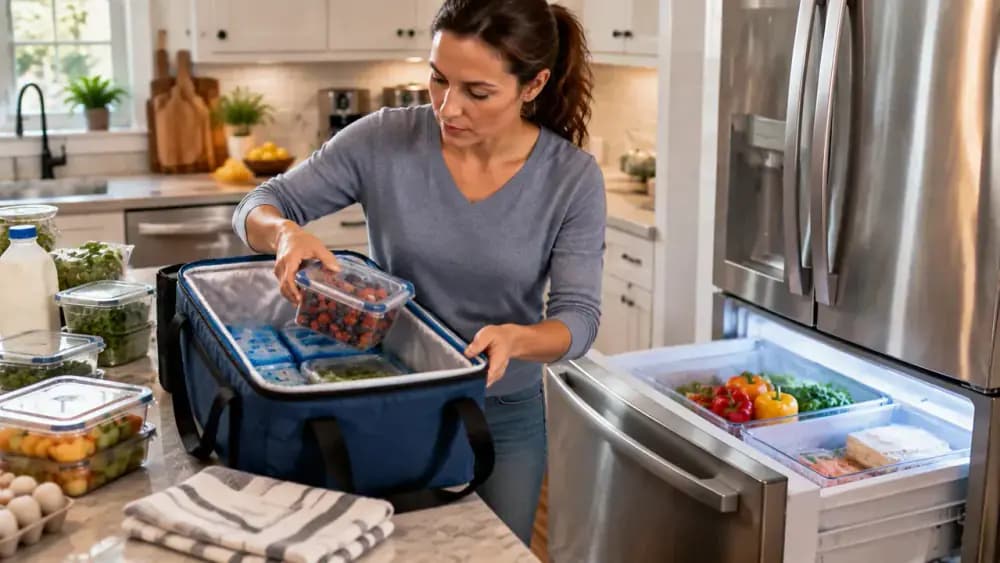
Before cleaning the refrigerator, prepare a clear workspace with towels, containers, cleaning supplies, and a cooler filled with ice packs nearby as shown in the image. Keep the refrigerator closed while organizing these items to protect food temperature and avoid unnecessary exposure. A temporary cold holding area helps keep perishable foods safe when shelves and storage zones are cleaned one section at a time. This approach reduces mess and makes the process easier to manage.
Remove One Refrigerator Zone at a Time
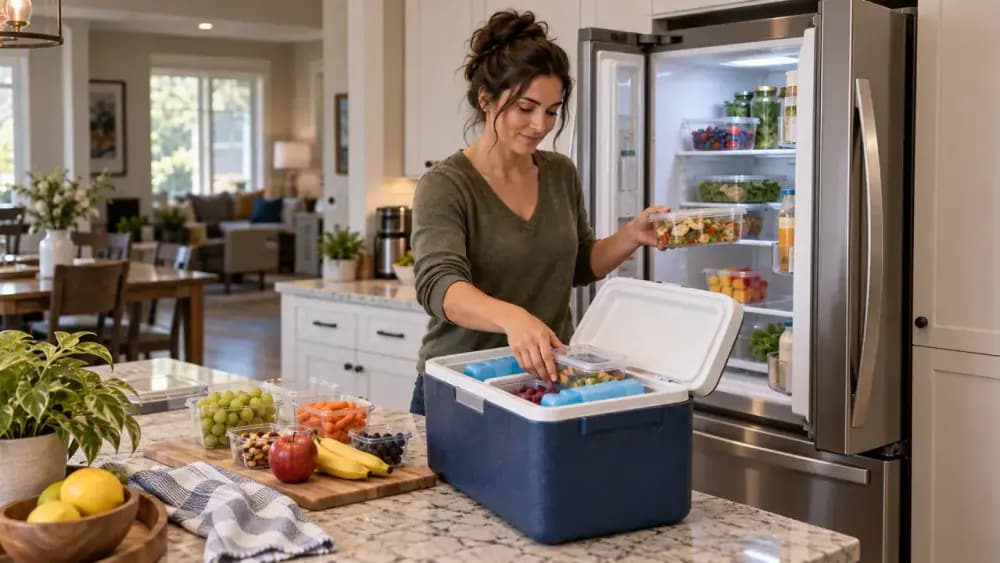
Open the refrigerator and clear only the selected shelf area before cleaning starts. Remove containers, jars, and packages one by one while checking dates and condition. Place foods that require extra protection into a cooler with ice packs or another cold storage option. Keeping other refrigerator sections untouched helps maintain organization and reduces unnecessary temperature changes. Work quickly with the door open to preserve freshness during the preparation process and avoid leaving perishables at temperature.
Remove Shelves According to Appliance Instructions
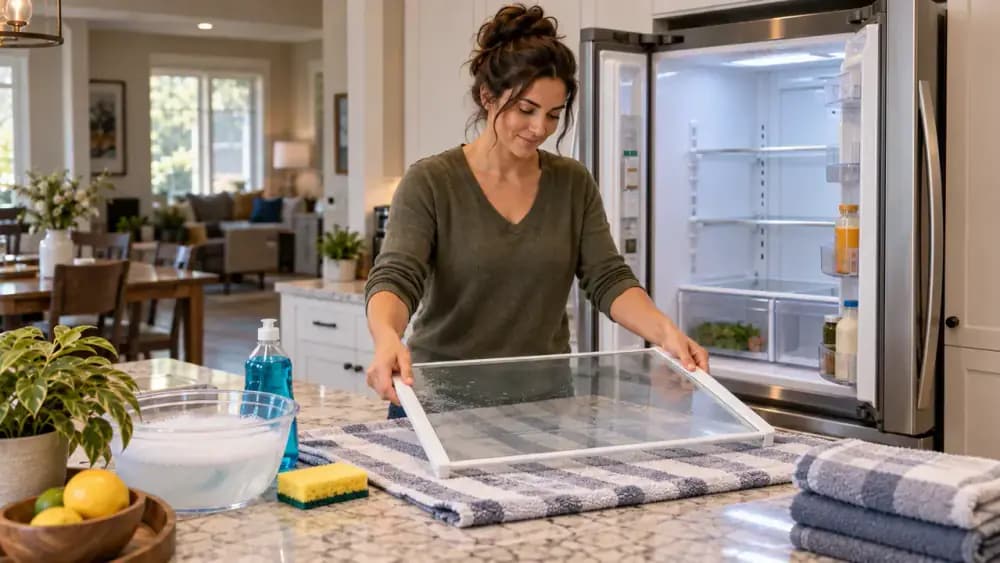
A person carefully lifts a refrigerator shelf with both hands and moves it to a protected towel-covered workspace for cleaning. Check your appliance instructions before removing any shelf to prevent damage or unsafe handling. Place glass shelves on a stable surface and use mild soap, warm water, and a soft cloth to clean them without scratching or stressing the material.
Wash Glass Shelves With Cool Water
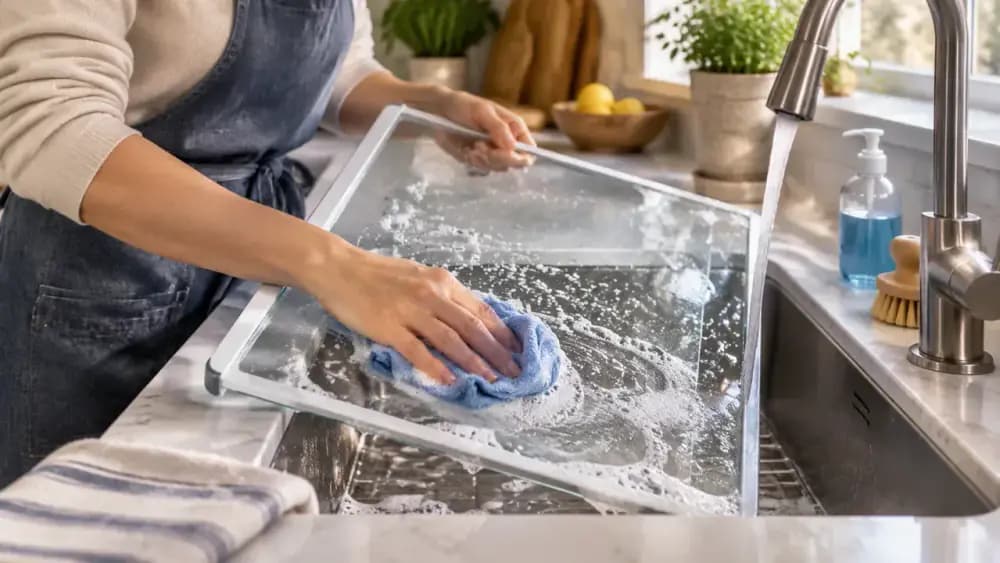
Place the removed shelf under cool or lukewarm water and gently wipe the glass with mild soap and a soft cloth to loosen residue. Keep the pressure light while cleaning the edges and corners where buildup collects. Avoid hot water, since rapid temperature changes may crack the glass. Rinse away soap carefully and dry the shelf completely before returning it to the refrigerator for safe everyday use.
Clean Shelf Tracks And Hidden Corners
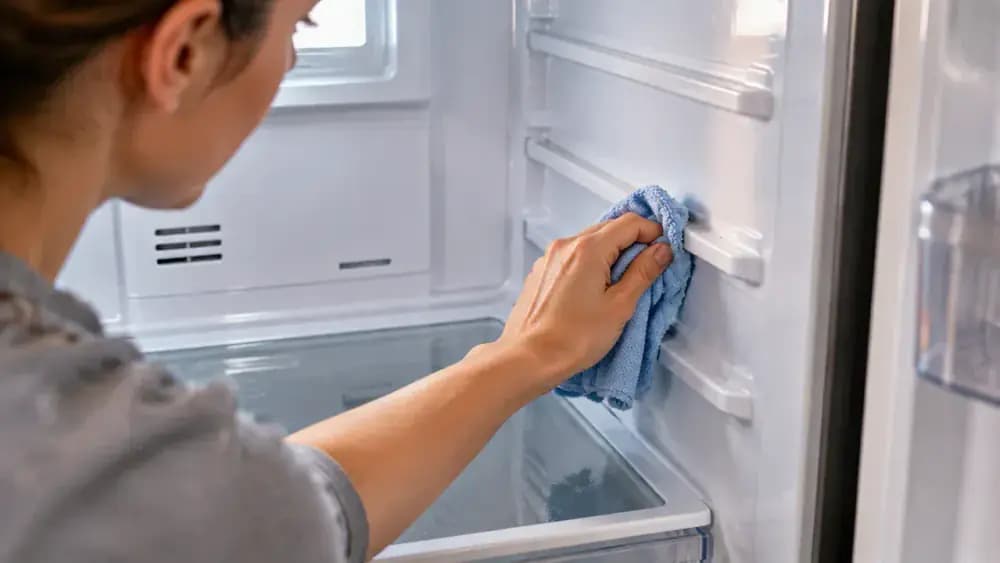
After removing visible spills, wipe the narrow shelf tracks and corner grooves with a damp cloth to collect crumbs and sticky residue. Move carefully around support rails and seams so nothing gets damaged while cleaning these hard-to-reach areas. Keeping the channels clear helps shelves sit properly when replaced and prevents hidden buildup from returning quickly. Use a clean section of the cloth for each area to avoid spreading dirt back onto the refrigerator interior.
Inspect Shelf Before Reinstalling
A person checks the clean refrigerator shelf on a dry counter, examining the edges, underside, and support areas before placing it back inside. Make sure the glass surface is completely dry and look for any leftover residue that could collect moisture. Keeping the shelf and supports clean before reassembly helps maintain a tidy storage space and reduces the chance of trapped dampness after replacement.

Return Shelf To Refrigerator
After confirming the shelf is clean and dry, place it back inside the refrigerator by aligning the edges with the side supports. Slide it gently into position without pushing or twisting the corners. Make sure the shelf sits level and secure before adding items again. Checking the fit now helps prevent spills, keeps storage organized, and protects the refrigerator interior from unnecessary strain.

Reload Cleaned Refrigerator Zone
Return cleaned containers to the refrigerator shelf by placing similar foods together and keeping temperature-sensitive items in their proper areas. Check date labels before storing each package to reduce future waste and make the space easier to manage. Keep the door open only briefly while organizing so cold air stays inside. This method helps maintain a tidy zone and makes it faster to find ingredients during daily meal preparation.

Move To The Next Refrigerator Zone
After finishing one shelf section, the person starts organizing the next refrigerator zone by moving nearby items onto a clean counter surface. The process keeps the transition controlled and prevents unnecessary door opening or temperature changes. Work through one area at a time and return items only after the space is cleaned and arranged properly. Keeping cold foods out briefly helps maintain freshness while making the task easier to manage during a refrigerator cleaning routine.

Clear The Selected Refrigerator Section
Remove only the containers and packages from the selected refrigerator zone and place them safely in a cooler with ice packs or a labeled holding area nearby. Keep the remaining sections untouched to maintain order and avoid unnecessary temperature changes. Before cleaning, check each item for leaks or spills and group similar foods together so they are easy to return later after the compartment is cleaned thoroughly.
Prepare The Empty Shelf Area
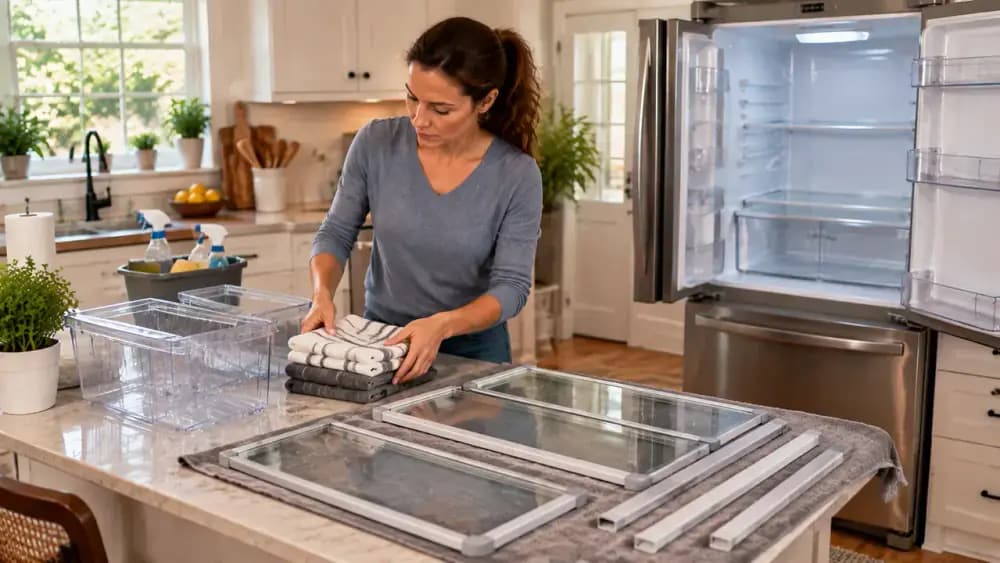
With the refrigerator section cleared, a person places a dry towel below the open door and organizes removed shelf pieces nearby before cleaning begins. The empty supports are checked for leftover debris while keeping the workspace ready and efficient. Store food items in a cold location and avoid leaving the door open longer than needed to help maintain temperature during the cleaning process and protect fresh ingredients safely.
Check Shelf Removal Instructions
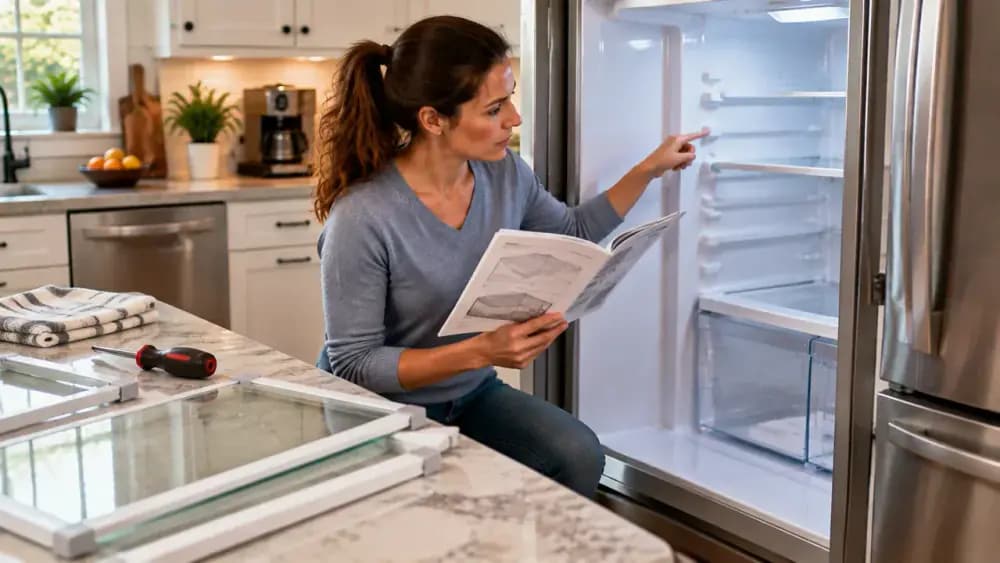
Review the refrigerator manual beside the open compartment before moving the shelf to identify release tabs and support points shown in the diagram. Check the shelf edges carefully and avoid forcing any part that does not move easily. This step helps match the removal method to the appliance design and prevents damage during cleaning. Keep the instructions nearby so you can confirm details for your specific refrigerator model before continuing the process safely.
Release the Shelf Carefully
Pressing the release tabs and supporting the glass shelf underneath allows it to separate safely from the refrigerator rails without sudden movement. Keep the shelf level while lifting it free to avoid stress on the edges or supports. Place the removed shelf on a stable surface before cleaning and check that all clips and attachments remain intact for easier reinstallation later. Use gentle pressure instead of forcing the shelf if it does not release easily
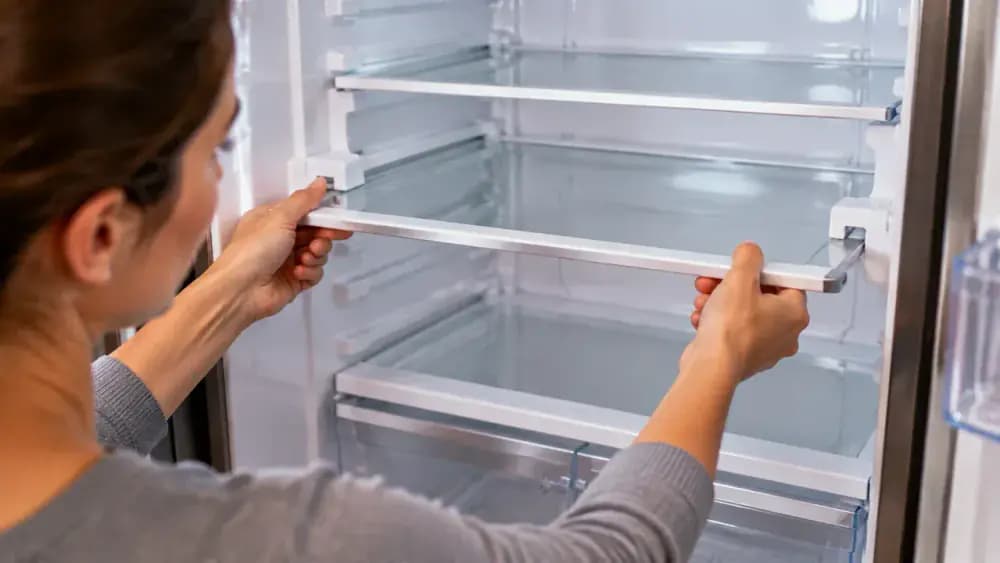
Inspect the Removed Shelf Before Washing
Place the removed refrigerator shelf on a thick towel and carefully rotate it to check the underside, corners, and edges for sticky spots, crumbs, or residue. Keep the glass supported and avoid setting it directly on hard surfaces where it could crack. Identifying problem areas first makes cleaning more effective and helps you focus extra attention where buildup has collected before washing begins.
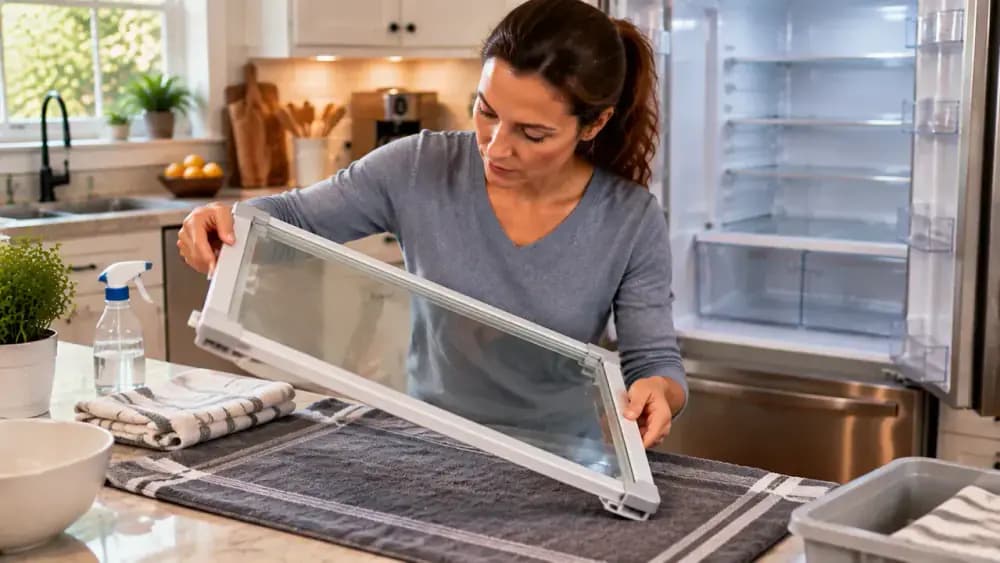
Clean the Shelf Surface With Gentle Methods
Use a damp microfiber cloth with mild soap and water to treat sticky areas on the glass shelf. The person wipes carefully across small sections, applying light pressure around corners and edges without scratching the surface. Keep the shelf supported on a padded area while cleaning, and avoid sudden temperature changes that may weaken or damage the glass during handling.
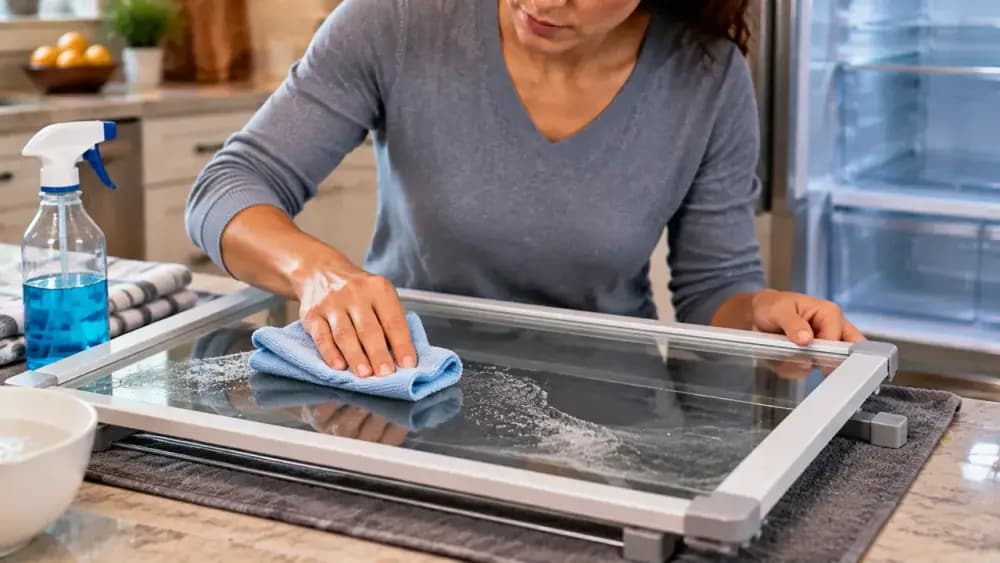
Clean Hidden Shelf Edges and Grooves
Use a soft cloth to wipe the shelf rim, underside grooves, and support contact points while the glass shelf rests on a towel-covered counter. Check narrow channels and recessed areas where spills can collect unnoticed. Avoid pressing hard on edges to prevent damage and make sure every hidden section is clean before returning the shelf to the refrigerator. Regular attention to these areas helps prevent buildup and keeps storage surfaces fresh during routine cleaning.
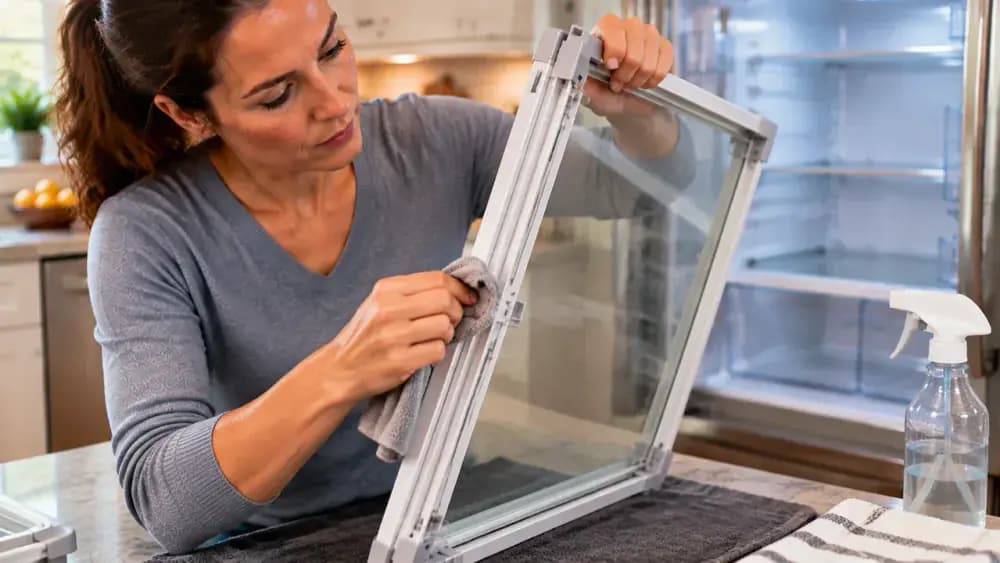
Treat Remaining Sticky Shelf Spots
Place the glass shelf on a padded kitchen mat and press a damp microfiber cloth over the stubborn spot to loosen dried residue gently. Use small circular motions while supporting the shelf to prevent movement. Focus on corners and hardened areas where spills collect, and avoid sharp tools that may scratch the surface. Let the moisture soften the buildup before wiping away the loosened residue for a cleaner finish.
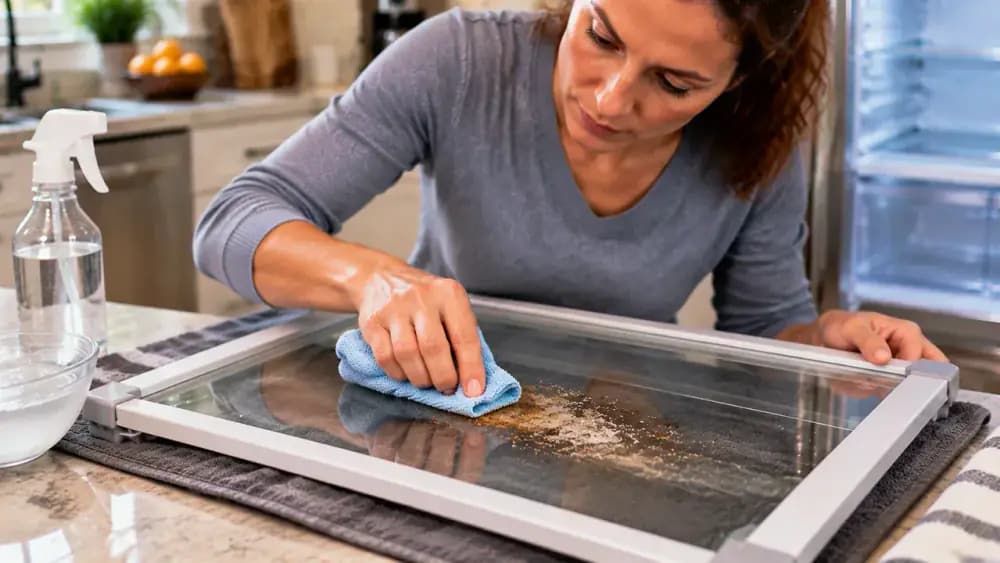
Wipe Away Loosened Residue
Using a fresh microfiber cloth, the person removes softened residue from the refrigerator glass shelf while it rests on a raised drying rack. The gentle wiping motion clears the treated area and helps restore a smooth surface. Use a slightly damp cloth afterward to remove leftover cleaner residue before drying completely. Avoid pressing too hard on the glass and check the surface for remaining spots before placing it back into the refrigerator.
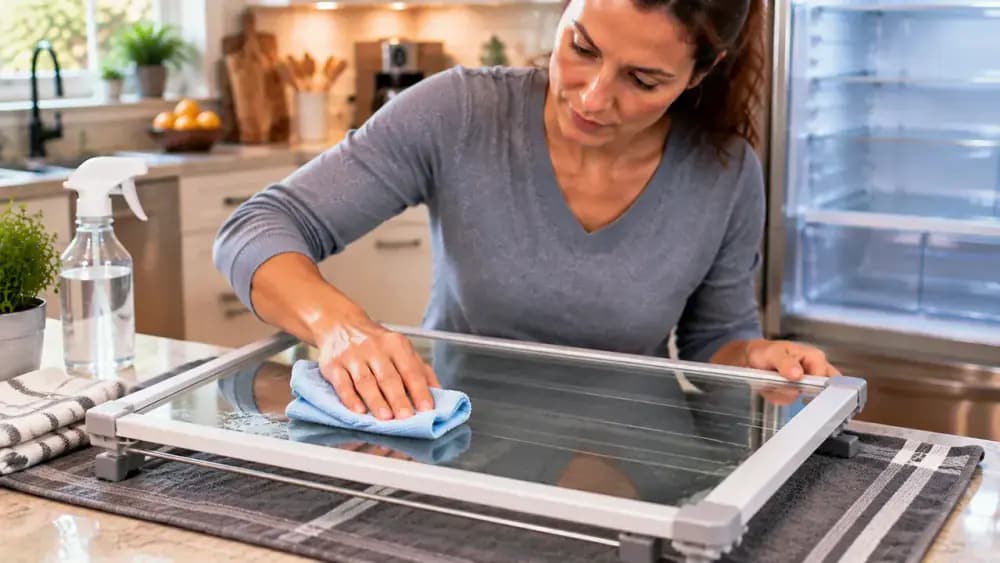
Inspect the Clean Shelf Surface
Hold the refrigerator glass shelf upright and check both sides for missed residue or streaks after cleaning. Use a clean damp cloth to lightly remove small traces of film while avoiding rough pressure that could scratch the surface. Look closely at reflections near a bright window because they reveal spots that are easy to miss. Place the inspected shelf in a clean dry area before reinstalling it later.

Prepare the Shelf Area for Replacement
With the refrigerator compartment open, the person checks the empty bay and support rails while keeping the cleaned shelf nearby on a dry towel. The placement area is cleared of obstacles so the shelf can return smoothly without pressure or damage. Before loading food, confirm that the supports are aligned and the surrounding space is organized to make the next storage step easier and safer.
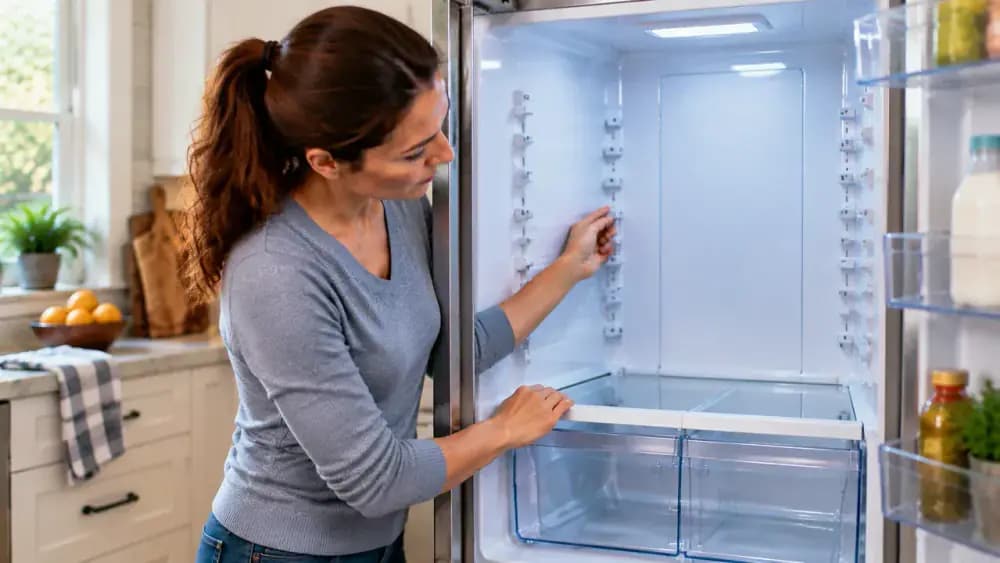
Reload the Clean Refrigerator Zone
Place the cleaned refrigerator shelf with sealed containers and bottles, grouping similar foods together so everything is easy to find. A small organizer bin keeps loose items contained, while checking lids and packages helps prevent future leaks. Leave some open space between containers to improve visibility and make it easier to notice spills quickly during regular refrigerator care. Keeping items chilled also reduces temperature changes when the door remains open briefly.

Optimize Food Placement for Airflow
Adjust the containers by leaving small gaps between packages and keeping bottles upright so air can move more freely throughout the refrigerator area. Group similar foods together and place labels facing forward for easier identification during daily use. Avoid filling the shelf too tightly because crowded spaces can block airflow and make items harder to find. This arrangement also helps maintain a cleaner storage zone and reduces future messes.

Maintain Clean Shelves With Quick Spill Checks
Place newly purchased containers on organized refrigerator shelves and use a clean microfiber cloth to remove any fresh drips immediately. The quick wipe shown helps stop spills from drying into sticky residue and keeps surfaces easier to maintain. Check shelf areas during regular grocery storage, especially around sauces, drinks, and leftovers, so small messes are handled before they require a deeper cleaning routine at home
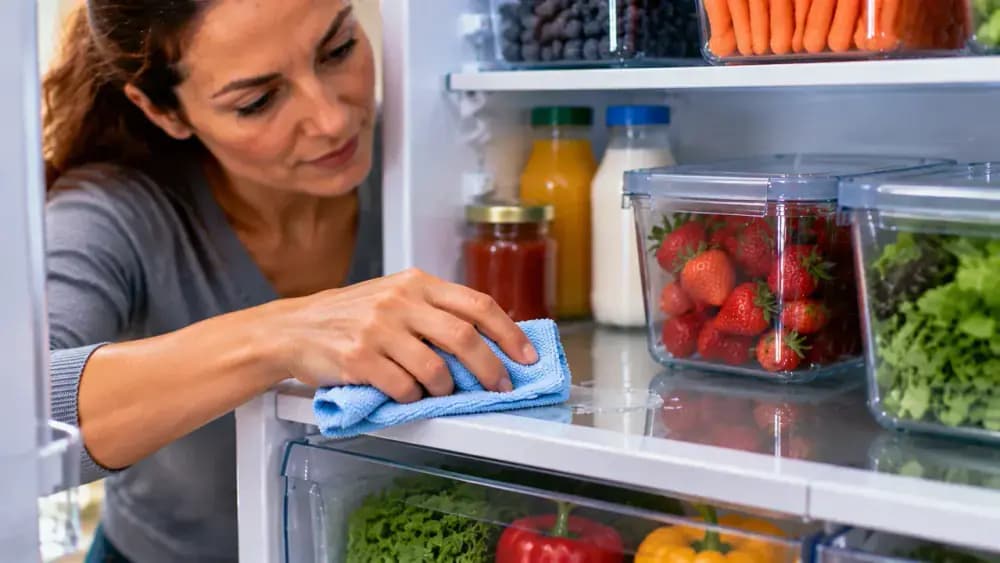
Review Refrigerator Organization For Easier Maintenance
With the refrigerator door open, the final check confirms that containers are grouped, labels face forward, and shelves have clear spaces for airflow. Review each section so frequently used items remain easy to reach and future cleaning tasks take less time. Keep similar foods together and avoid overcrowding shelves, because a simple layout makes spills easier to notice and maintain over time with regular organization and careful placement habits.

Track Refrigerator Cleaning For Future Maintenance
Record the completed maintenance on a nearby kitchen calendar by writing the date and noting the refrigerator area that received attention. The hand shown updating the reminder keeps future care organized and easy to follow. Place the calendar or note where it stays visible, and use the same format each time so cleaning intervals are easier to track and regular appliance upkeep becomes a simple household routine.

Create A Weekly Refrigerator Check Routine
Use the handheld light to scan shelf edges, corners, and container areas during regular refrigerator checks. Look for small spills, crumbs, or hidden residue before they become harder to remove. Keeping inspections focused by section makes maintenance faster and prevents missed spots. A quick weekly review also helps you notice expired items or containers that need attention before clutter builds up inside the refrigerator. This simple habit keeps storage areas cleaner between deeper cleanings.

Record Future Refrigerator Maintenance
Keep a simple log of dates and observations from each weekly check to make future upkeep easier and prevent minor problems from growing into larger tasks. The person records details in the notebook beside the appliance, creating a clear reminder system for upcoming care. Include notes about unusual sounds, temperature changes, or areas needing attention so the next inspection is more focused and efficient while keeping the refrigerator organized between cleanings.

Build Daily Refrigerator Habits
The person places similar foods into clear refrigerator bins and moves often-used items toward the front for easier access. This arrangement keeps storage areas visible and makes it simpler to spot spills or missing items during quick daily checks. Keeping frequently needed foods together reduces unnecessary searching and helps maintain an organized fridge between deeper cleanups. Use sturdy bins and avoid overcrowding shelves to allow proper airflow around chilled food.

Maintain a Simple Cleaning Rhythm
Set a recurring reminder on your phone and keep a small cleaning note nearby to maintain refrigerator care between deeper cleanups. The person shown is organizing a simple schedule beside the appliance so regular checks become easier to remember. Review shelves and storage areas during normal use and wipe small spills quickly to prevent buildup. A weekly review can help catch issues early and keep the kitchen more organized over time with less effort.

Keep Refrigerator Care Simple
After opening the refrigerator door, the person wipes a small drip from the bottom edge of a storage bin and places nearby containers in a neat row. This quick upkeep habit helps prevent sticky buildup and keeps frequently used areas easier to access during daily food storage. Check spills as they appear and clean them with a safe microfiber cloth to maintain a tidy refrigerator interior between deeper cleanings and reduce future messes.
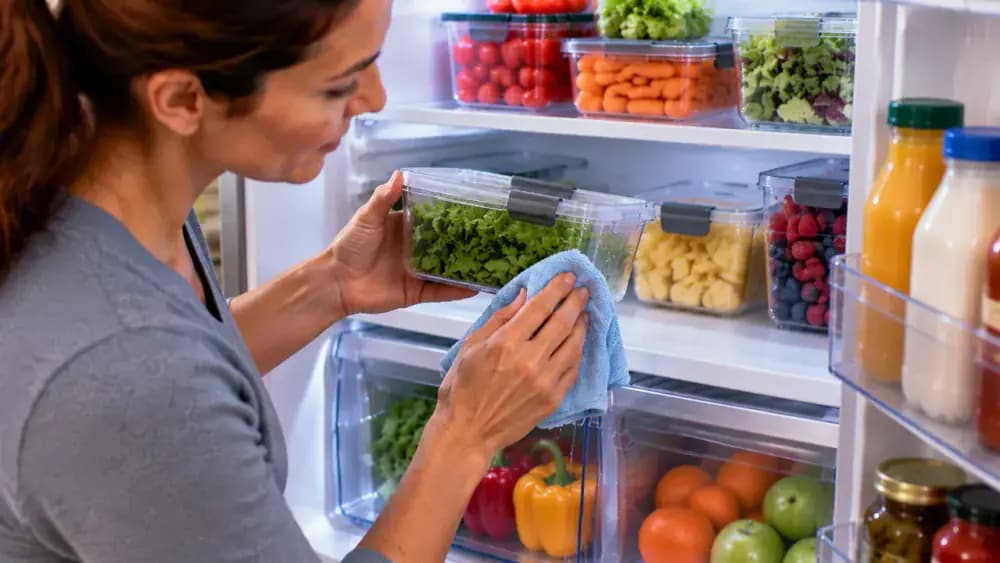
A messy refrigerator shelf can turn a simple kitchen cleanup into a frustrating task, especially when spills have dried, crumbs collect in corners, and food is packed tightly around the mess. The easiest way to clean your refrigerator shelves is to work in small sections so you can remove buildup without leaving perishable food at unsafe temperatures for too long.
Before starting, prepare a cooler with ice packs or another suitable cold storage option, along with mild cleaning supplies, towels, and containers. Clean one refrigerator zone at a time, follow your appliance instructions before removing parts, and handle shelves carefully. With the right approach, you can remove sticky residue, dry every surface completely, and keep your refrigerator organized while making regular cleaning much easier.
Where people go wrong
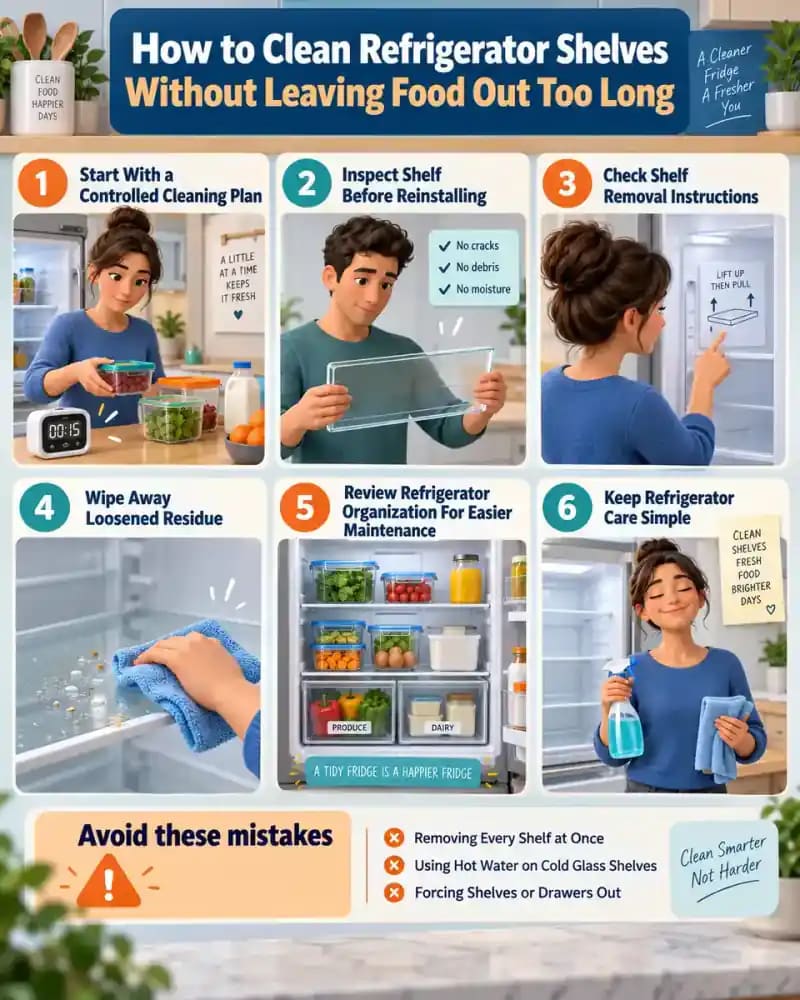
Removing Every Shelf at Once. Taking out the entire refrigerator contents and all shelves at once can leave food exposed and make the cleaning process harder to manage. Work through one refrigerator zone at a time, keeping perishable items cold and returning cleaned sections before moving forward.
Using Hot Water on Cold Glass Shelves. A sudden temperature change can cause refrigerator glass shelves to crack. Avoid placing cold shelves directly into hot water. Let them warm slightly and use cool or lukewarm water with gentle cleaning methods to remove residue safely.
Forcing Shelves or Drawers Out. Refrigerator parts can break when removed with too much pressure. Always check the appliance instructions before taking out shelves, drawers, or tracks. Remove components carefully and avoid bending or twisting parts that seem stuck during cleaning.
Putting Shelves Back Before Drying. Returning damp shelves to the refrigerator can leave moisture behind and create more cleaning problems. Dry every surface, corner, and track completely before reinstalling parts. Organize food afterward and check items before placing them back into storage.
Questions people ask
Clean one refrigerator section at a time instead of removing everything at once. Prepare a cooler with ice packs or another cold storage option before starting, then move only the items from the shelf you are cleaning. This keeps perishable food cold while allowing you to clean thoroughly and return items quickly.
Fixed it?
Get one guide like this every Thursday.