How to Clean Sticky Refrigerator Drawers and Tracks Without Damaging Them
Struggling with a refrigerator drawer that sticks or won't slide smoothly? Learn how to safely remove produce drawers, clean hidden tracks, dissolve sticky spills, and restore smooth movement without damaging plastic or glass components.

What you’ll need
Tap to tick things off before you start.
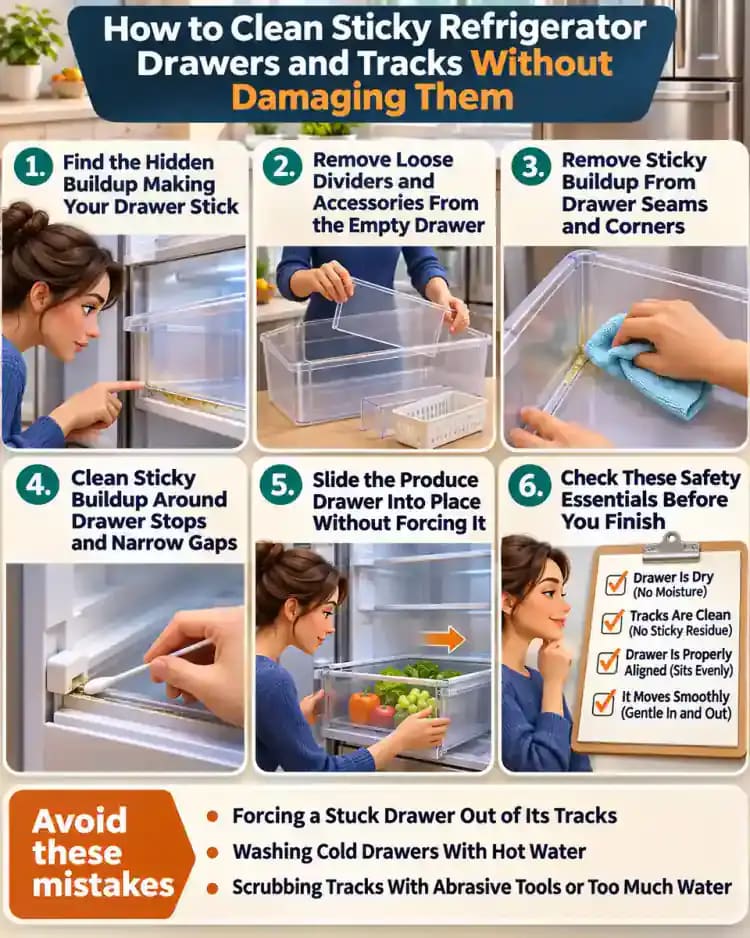
Find the Hidden Buildup Making Your Drawer Stick
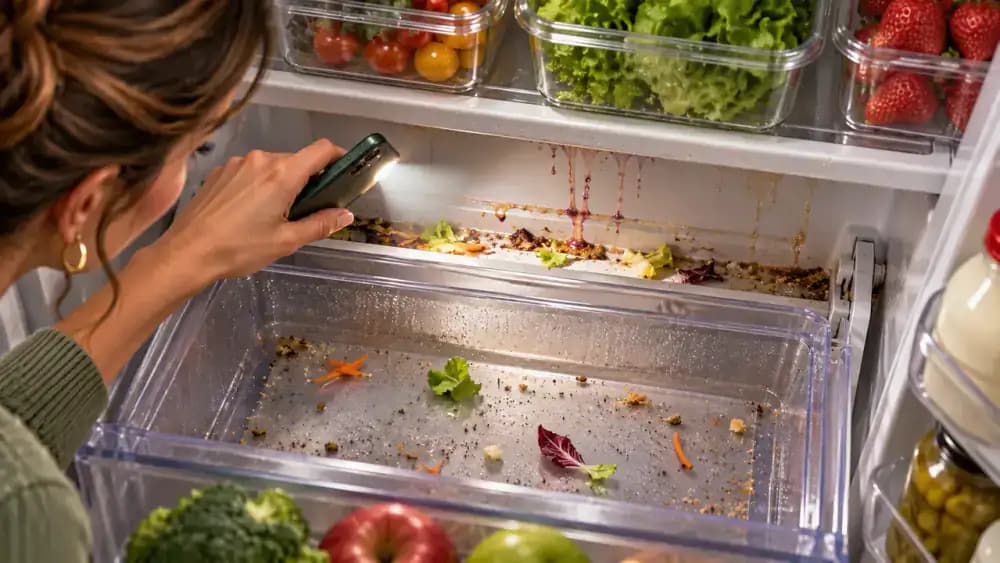
Gently pull the produce drawer open and notice where it begins to stick, scrape, or resist movement. Look closely at the exposed side tracks and the area beneath the drawer. Crumbs, dried vegetable scraps, and sticky spills can accumulate along these narrow surfaces, creating friction. Use a flashlight if the tracks are difficult to see. Avoid forcing the drawer past any obstruction, since excessive pressure can damage plastic stops or rails.

Inspect Drawer Rails, Rear Corners, and Track Stops
Open the produce drawer only as far as it moves comfortably, then shine a small flashlight along both side rails and into the rear corners. Look for dried juice stains, trapped vegetable fragments, and crumbs around the track stops. Check the refrigerator floor beneath the drawer as well. Identifying these hidden deposits before removing components helps you target problem areas without disturbing glass shelves or applying unnecessary moisture.
Keep Fresh Produce Chilled While You Clean
Transfer lettuce, carrots, bell peppers, and other perishable foods from the refrigerator drawer into another refrigerator or an insulated cooler with ice packs. Arrange the produce neatly above the ice packs, keeping packaged items protected from direct contact with melting ice. Close the cooler lid promptly to maintain a chilled environment. Keep temperature-sensitive foods refrigerated throughout the cleaning process rather than leaving them on the kitchen counter.

Prepare Gentle Cleaning Supplies for Refrigerator Drawers
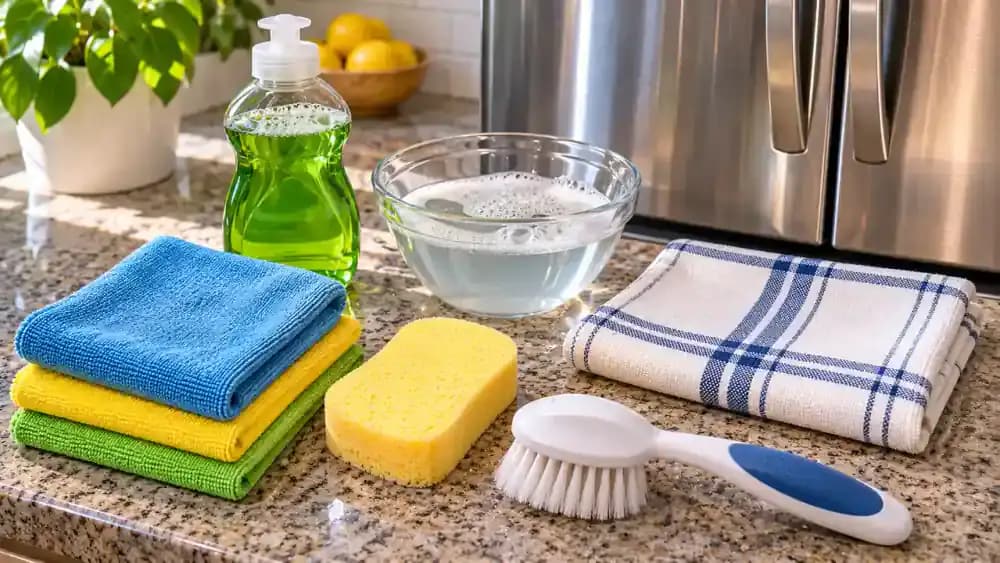
Arrange two microfiber cloths, a soft sponge, a small soft-bristle brush, mild dish soap, and a clean drying towel on the countertop beside your refrigerator. Keep the supplies within easy reach so you can clean the drawer and hidden tracks efficiently. Use one cloth for wiping away residue and the other for finishing surfaces. Avoid abrasive scrubbers, sharp scraping tools, and harsh chemicals that could damage plastic components.
Check Your Refrigerator's Drawer Removal Instructions
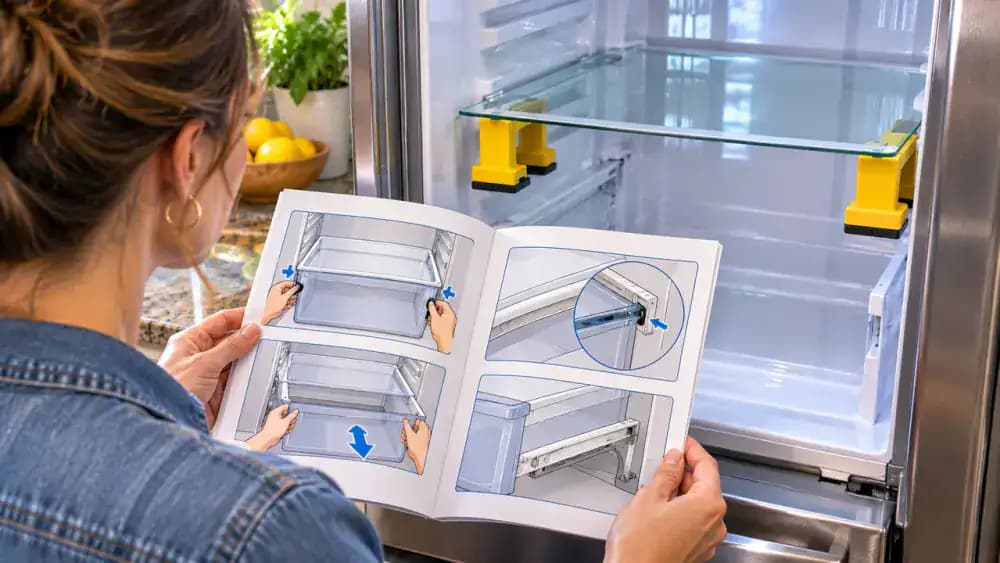
Open your refrigerator's instruction manual and locate the produce drawer removal diagram. Compare the illustrated rails, release tabs, and drawer stops with the components inside your refrigerator. Some drawers slide straight out, while others require lifting or releasing a locking mechanism. Pay particular attention to glass covers above the drawer, which must remain properly supported. Keep the drawer installed until you understand the correct removal procedure.
Remove Loose Dividers and Accessories From the Empty Drawer
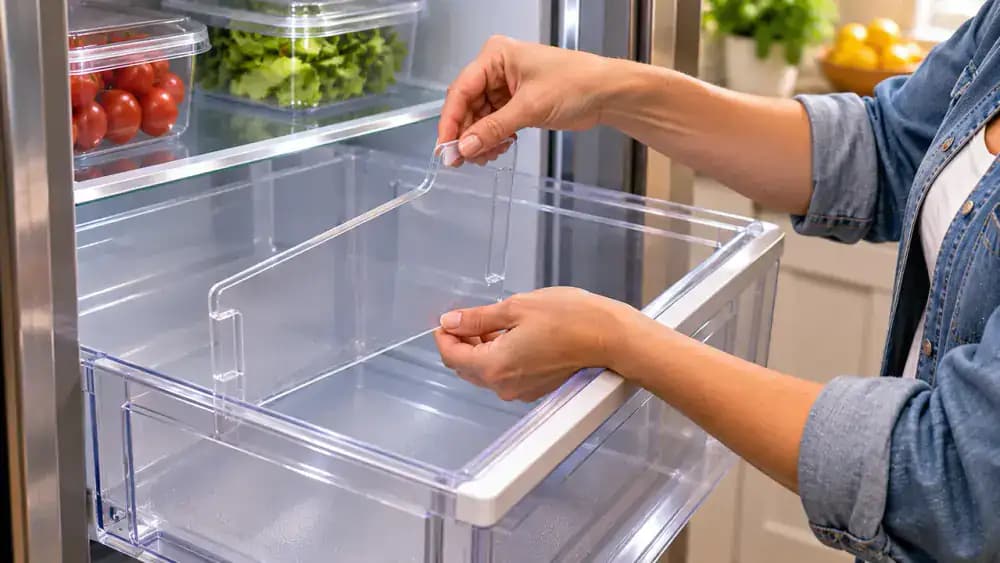
Make sure the produce drawer is completely empty before handling any removable accessories. Steady the drawer with one hand while gently lifting out loose dividers, humidity control inserts, or small trays, following your refrigerator manual. Place each approved removable piece on a clean, folded towel to prevent scratches. Note where every accessory belongs for reassembly. Leave fixed components and stubborn clips untouched, and keep the glass shelf above securely supported.
Support the Produce Drawer With Both Hands
Place one hand beneath the front edge of the empty produce drawer and use your other hand to steady the opposite side. Keeping the drawer level, gently slide it forward along its rails only as far as your refrigerator manual allows. Watch both sides to make sure the drawer stays properly aligned. If you encounter resistance or reach a mechanical stop, pause immediately rather than pulling harder or twisting the plastic.

Release the Drawer Stops Using the Approved Mechanism
When the drawer reaches its stopping point, locate the release mechanism identified in your refrigerator manual. If your model uses a spring-loaded tab, gently press it with one finger while supporting the drawer from underneath with your other hand. Some models require a slight upward lift instead. Keep the drawer level and avoid bending plastic parts. If the release resists movement, stop and recheck the manufacturer's instructions before proceeding.
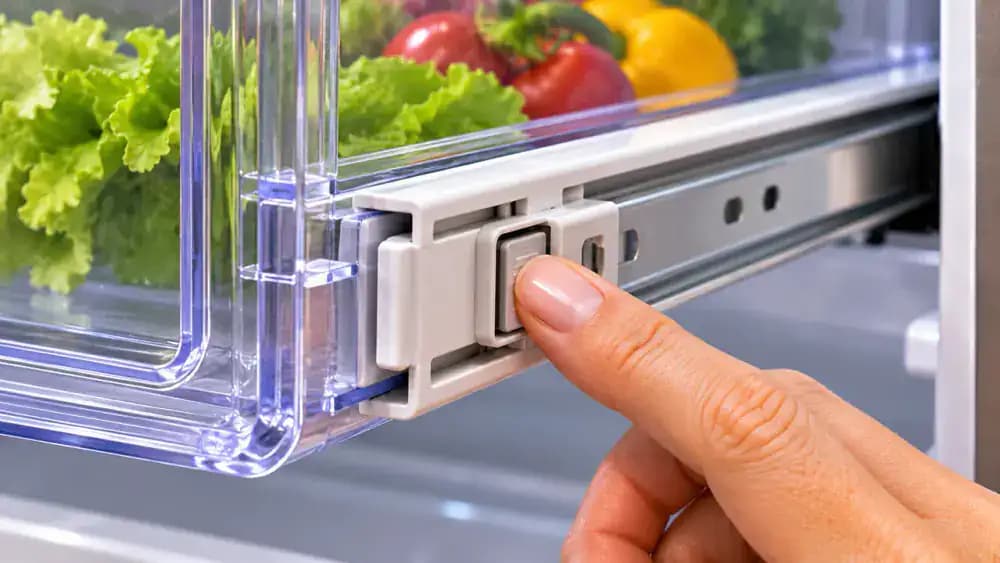
Lift Out the Drawer and Place It on a Protected Surface
Once the approved drawer stops are released, support the empty drawer from underneath with both hands and carefully guide it out of the refrigerator. Keep it level, lifting only if your manufacturer's instructions require it. Gently lower the drawer onto a clean, thick towel on a sturdy countertop, away from the edge. Make sure the glass shelf remains securely supported and check the exposed rails for any loose components.
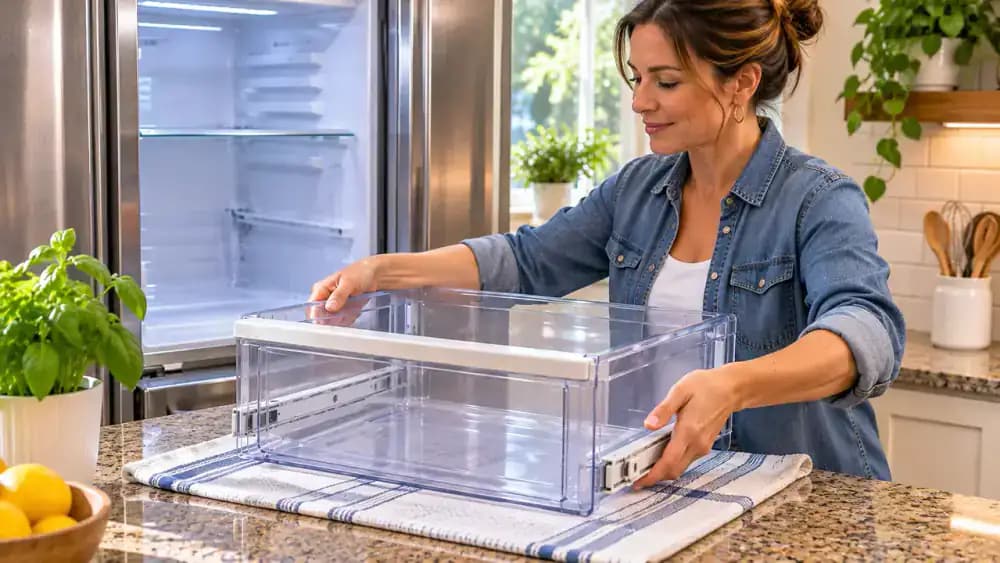
Allow Cold Drawer Parts to Warm Before Washing
Leave the removed refrigerator drawer and any approved detachable inserts resting on a thick towel in a secure spot on your countertop. Allow the cold plastic to warm gradually toward room temperature before cleaning. You may notice light condensation forming on its surface as it warms. Avoid hot water, hair dryers, or other heat sources that could damage plastic or glass. Keep any glass components properly supported throughout the process.
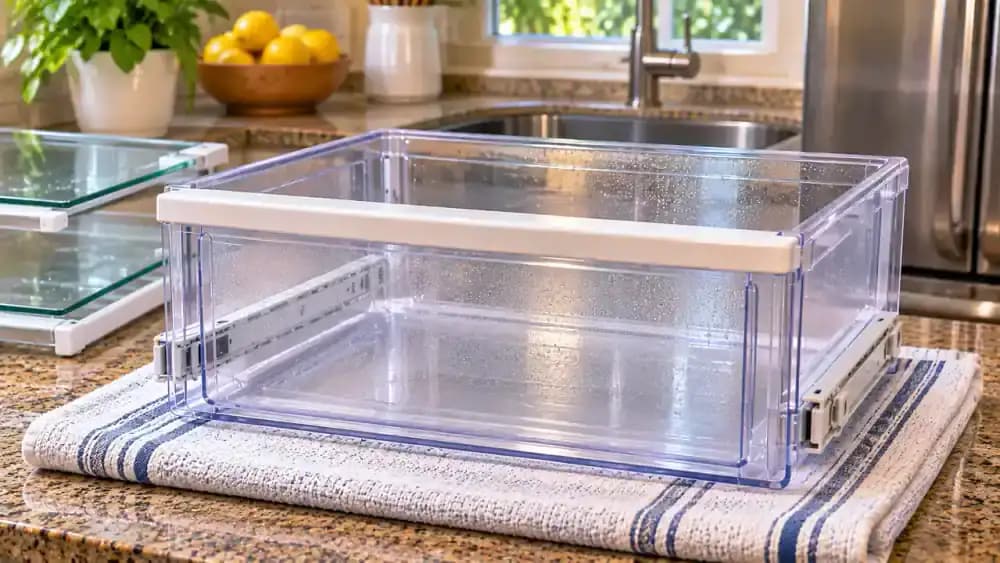
Wash the Drawer Interior With Mild Dish Soap
Once the drawer has gradually reached room temperature, place it on a soft protective mat inside the sink. Mix a few drops of mild dish soap with lukewarm water, then dip a soft sponge into the solution and squeeze out excess liquid. Hold the drawer steady while wiping its bottom and sidewalls with gentle, overlapping strokes. Pay extra attention to visible food residue without scrubbing aggressively or scratching the transparent plastic.
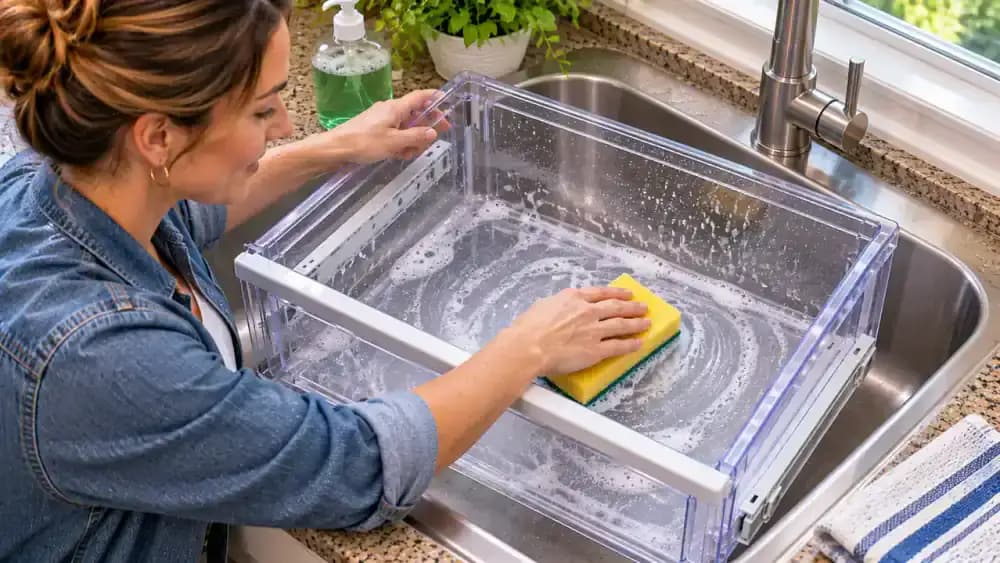
Remove Sticky Buildup From Drawer Seams and Corners
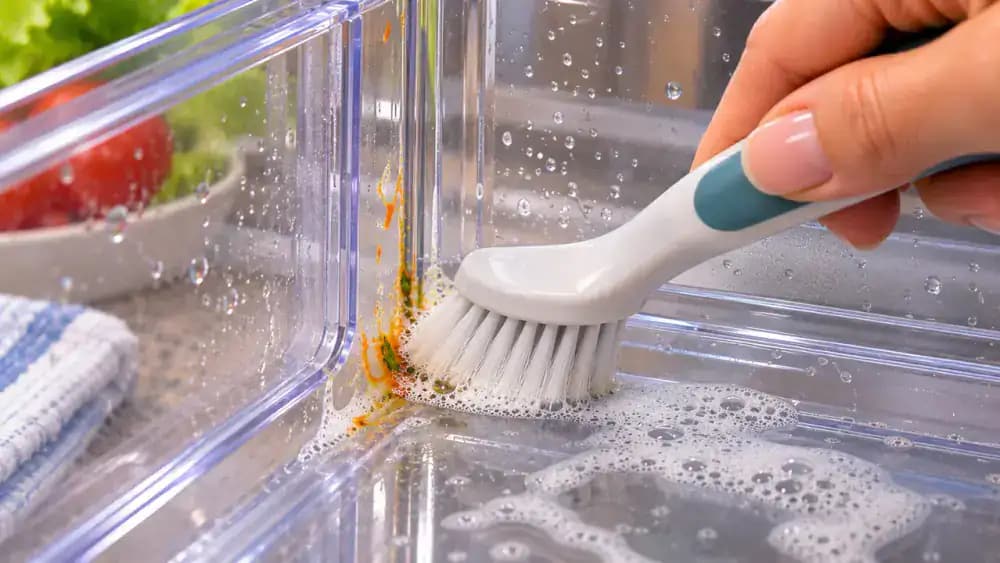
Dip a small, soft-bristle brush into lukewarm water mixed with mild dish soap, then gently work along the narrow seams where the drawer walls meet the bottom. Use short, controlled strokes to loosen dried vegetable juice and trapped food particles. Hold the drawer steady with your other hand to prevent movement. Pay special attention to rear corners where residue collects, and avoid sharp tools, stiff brushes, or excessive pressure.
Wipe Sticky Drawer Handles and Removable Dividers
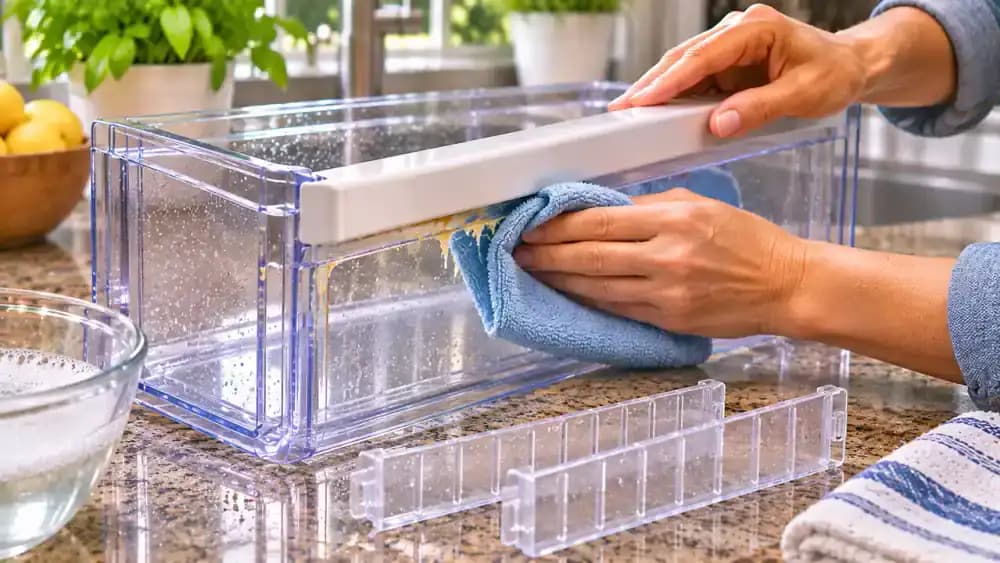
Fold a slightly damp microfiber cloth around your fingertips and gently wipe beneath the drawer handle, where fingerprints and dried produce juice often accumulate. Work the folded edge into narrow grooves without scraping the plastic. Clean approved removable dividers separately, paying attention to their attachment slots and corners. Use mild soapy water for stubborn residue, but avoid forcing clips or soaking components the manufacturer requires you to keep dry.
Rinse Soap From the Drawer With Lukewarm Water
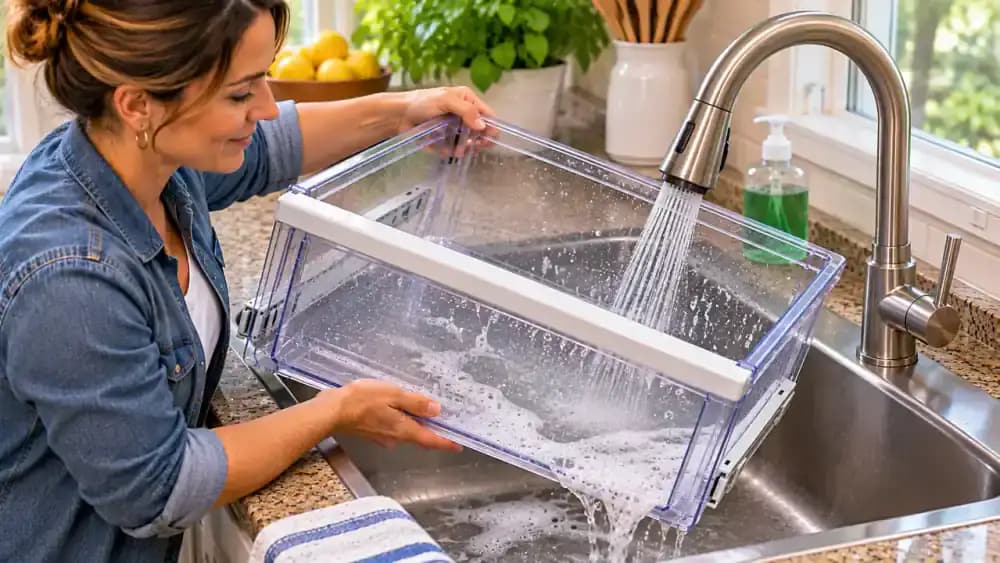
If your refrigerator manual permits rinsing, place the drawer securely on a protective mat inside the sink. Once the plastic has gradually reached room temperature, use a gentle stream of lukewarm water to remove remaining soap. Carefully tilt the drawer so water reaches the cleaned sidewalls and drains away. Avoid hot water, strong water pressure, or sudden temperature changes. Keep components that must remain dry away from running water.
Dry the Drawer Completely Before Putting It Back
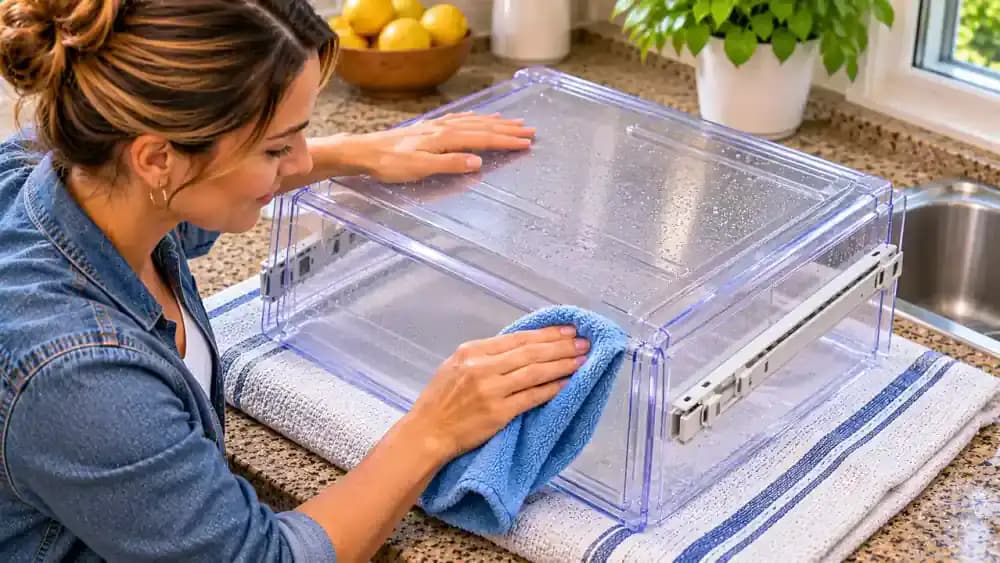
Place the rinsed refrigerator drawer upside down on a thick, clean towel over a sturdy countertop. Use a soft microfiber towel to absorb moisture from the bottom, sidewalls, handle, and recessed edges. Press the fabric gently into narrow seams and corners where water droplets tend to collect. Dry removable dividers separately, including their attachment points. Check both sides for remaining moisture before reinstalling any components or returning food to the drawer.
Brush Loose Crumbs Out of Refrigerator Drawer Tracks
With the produce drawer removed, inspect the exposed rails for crumbs, dried leaves, and vegetable fragments. Use a small, dry, soft-bristle brush to gently sweep loose debris forward from the track edges and stops. Position a folded, dry microfiber cloth beneath the area to catch falling particles. Work carefully around narrow gaps so you do not push debris deeper into the mechanism. Keep moisture and cleaning sprays away from the tracks for now.
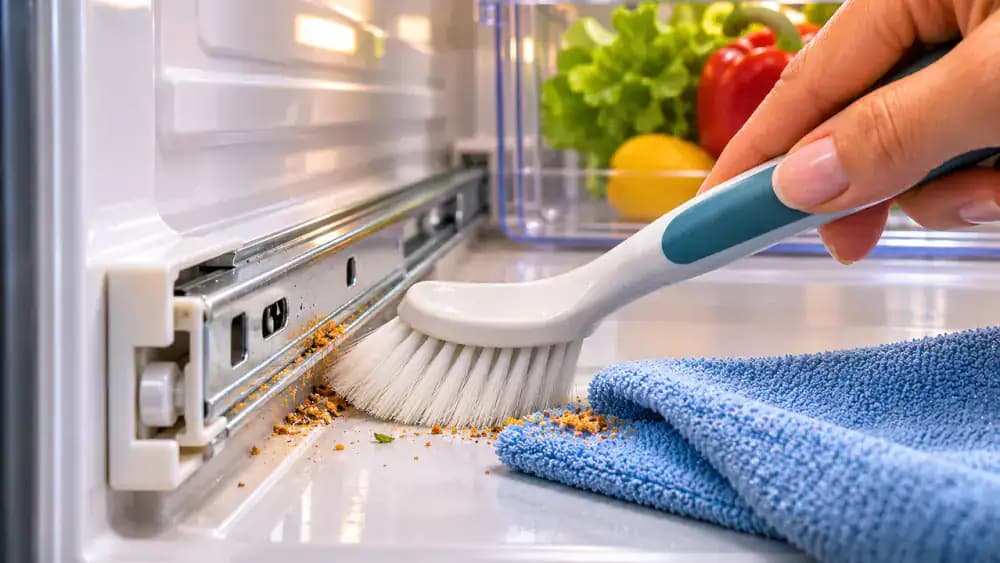
Gently Wipe Sticky Residue From Refrigerator Drawer Tracks
Lightly dampen a clean microfiber cloth with water and a drop of mild dish soap, then wring it out thoroughly. Fold the cloth around your fingertips and gently wipe along the accessible rail surfaces to loosen dried produce juice and sticky buildup. Work in short, controlled strokes, paying attention to areas where the drawer normally slides. Avoid spraying liquids, soaking moving hardware, or allowing moisture near refrigerator vents and electrical openings.
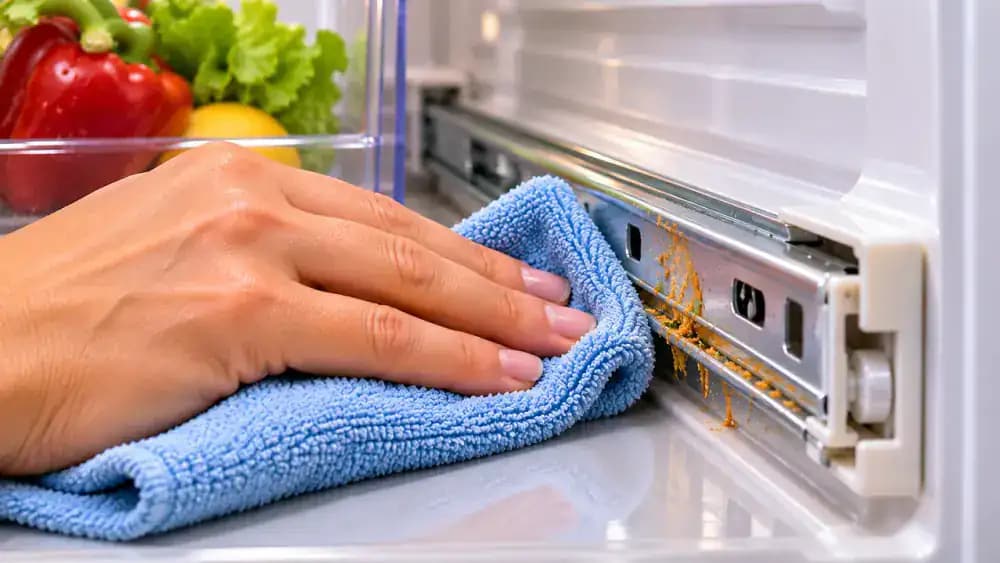
Clean Sticky Buildup Around Drawer Stops and Narrow Gaps
Wrap a slightly damp, thoroughly wrung-out microfiber cloth around a soft, blunt silicone cleaning tool. Gently guide the covered tip along accessible grooves beside the drawer stops to lift dried produce juice and trapped grime. Use light pressure and collect loosened residue on the cloth rather than pushing it deeper into gaps. Never pry against plastic stops, insert tools into enclosed mechanisms, or allow moisture near electrical openings.
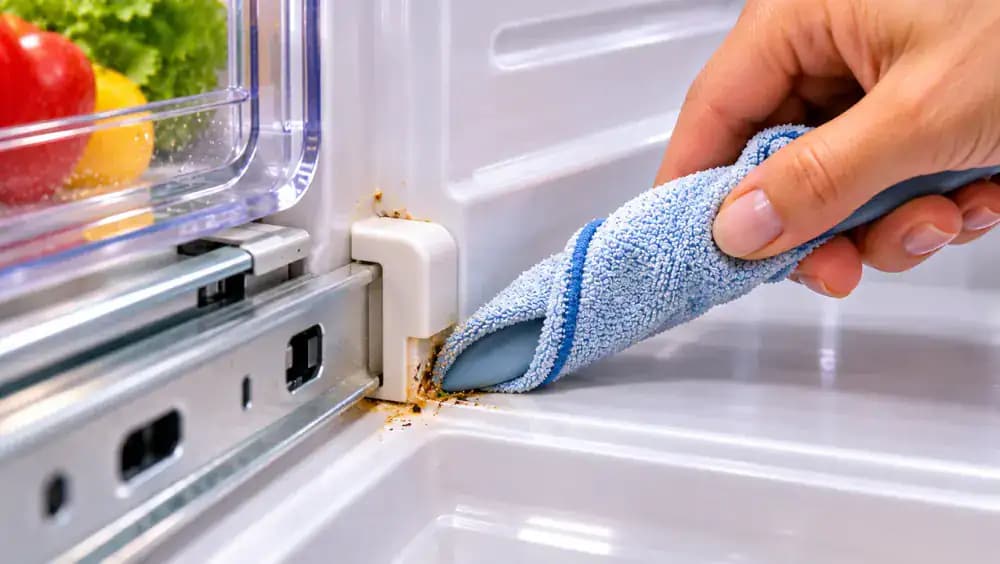
Remove Crumbs and Sticky Spills Beneath the Produce Drawer
Use a small, soft-bristle brush to sweep dried lettuce fragments, crumbs, and other loose debris toward the front of the exposed refrigerator floor. Collect the particles with a dry microfiber cloth before wiping sticky spots with a separate, barely damp cloth. Pay attention to the flat areas between the drawer tracks, where spills often collect. Keep moisture away from vents, seams, and electrical openings, then dry the cleaned surfaces thoroughly.
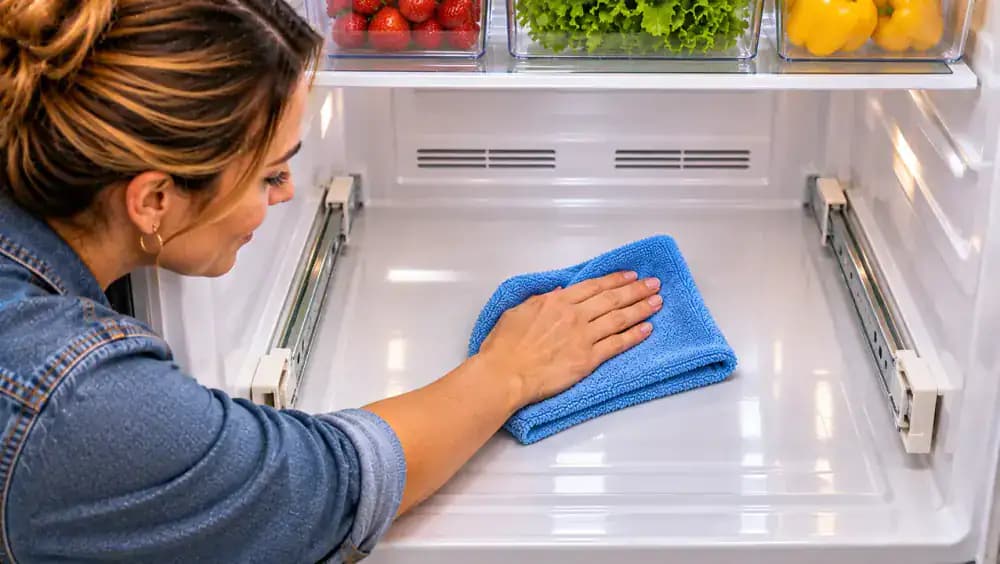
Remove Leftover Soap and Dry the Refrigerator Drawer Tracks
Fold a clean microfiber cloth into a narrow strip and lightly dampen it with fresh water. Gently wipe the accessible drawer rails and stops to remove any remaining soap residue. Follow immediately with a dry towel, paying special attention to rail grooves and recessed corners where moisture can collect. Check both tracks for damp spots before reinstalling the drawer. Avoid pushing fabric into enclosed mechanisms or allowing water near electrical openings.
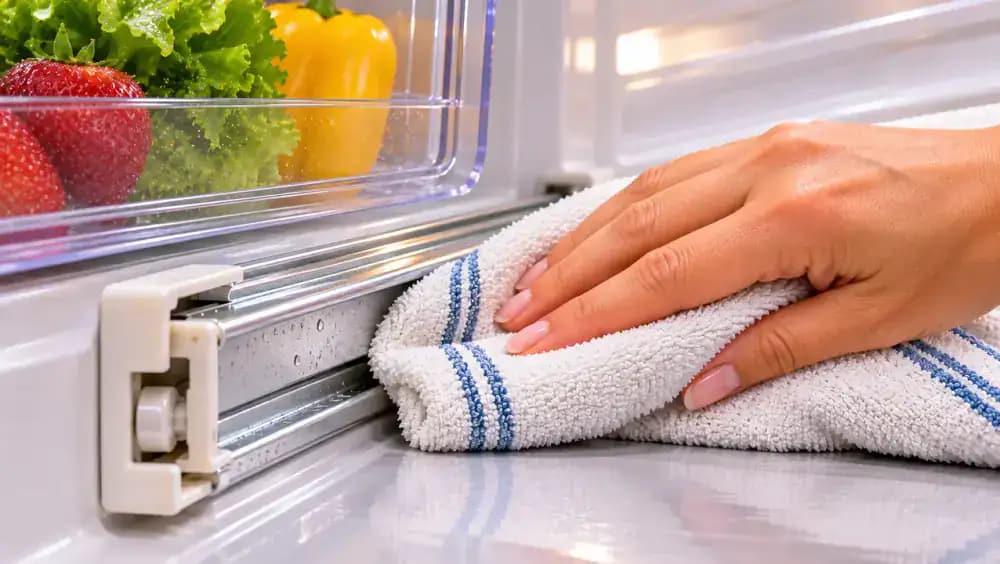
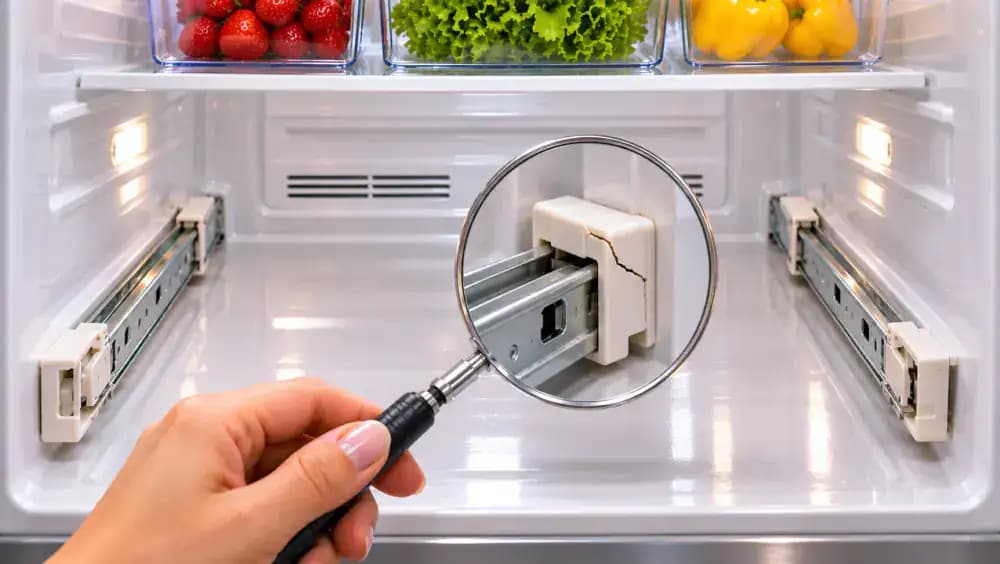
Check Refrigerator Drawer Rails for Cracks and Misalignment
Examine both clean, dry drawer tracks for cracks, bent sections, loose stops, or unevenly positioned supports. Use a small inspection mirror to check accessible areas beneath the rails without disturbing fixed hardware. Compare the left and right sides to identify anything that looks misaligned. Pay particular attention to plastic attachment points where damage may be difficult to see. If you notice broken or displaced components, consult your refrigerator manual or a qualified appliance repair professional.
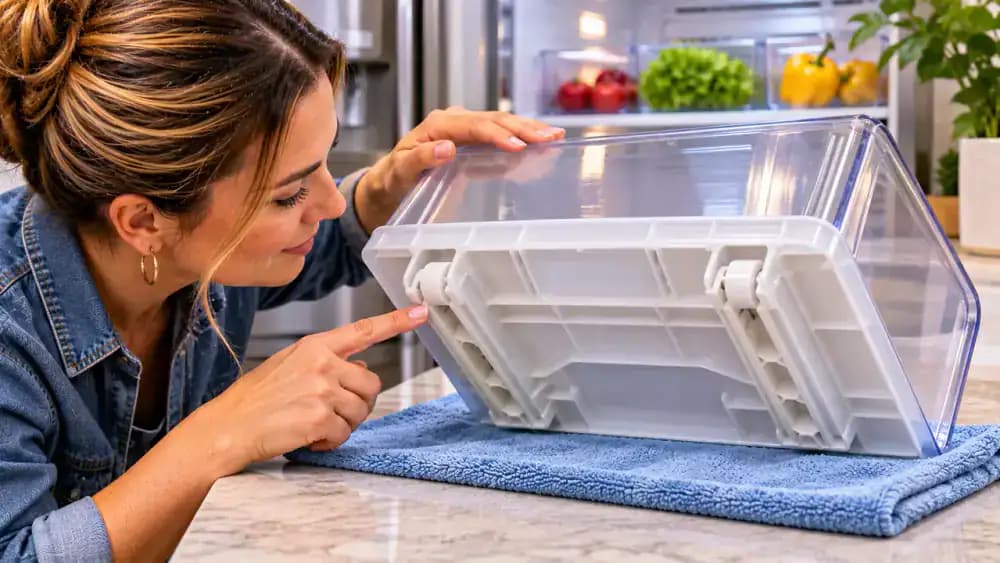
Check the Drawer Runners for Damage Before Reinstallation
Place the completely dry produce drawer upside down on a thick towel and examine the molded runners along its bottom edges. Compare both sides for cracks, warping, uneven surfaces, or remaining food debris. Check the rear corners and sliding contact points, where small defects can cause sticking even when the refrigerator tracks are clean. Confirm that removable inserts are dry, and avoid bending or attempting to repair damaged plastic components.
Align Both Drawer Runners With Their Refrigerator Tracks
Hold the clean, empty drawer level with both hands and position it at the refrigerator opening. Carefully line up the molded runners on each side with their matching tracks, following the starting angle specified in your appliance manual. Check that both rear corners are evenly positioned before pushing inward. If one runner catches or sits higher than the other, gently withdraw the drawer and correct its alignment without forcing the plastic.
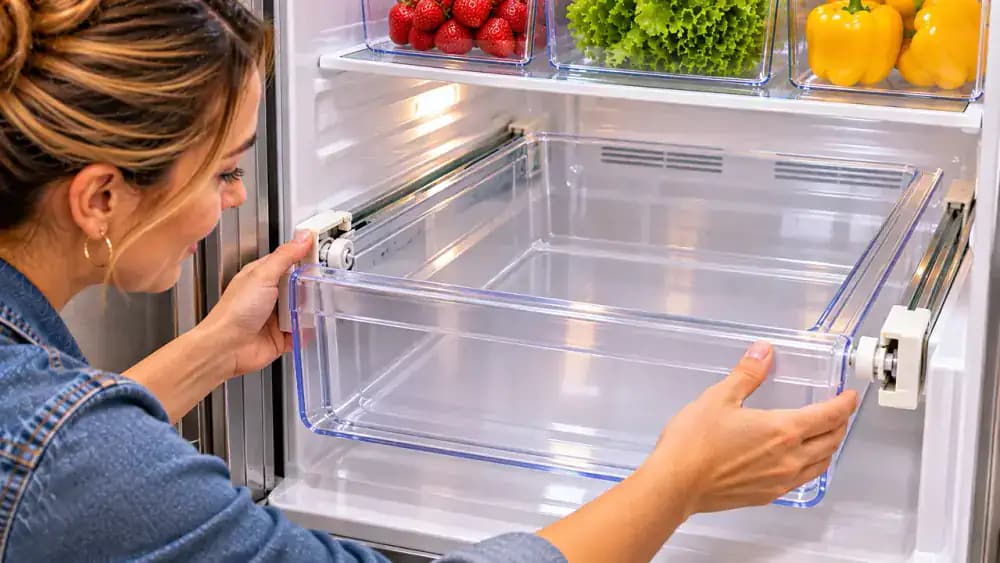
Slide the Produce Drawer Into Place Without Forcing It
With both runners correctly aligned, place your hands on the drawer's front corners and gently guide it inward using even pressure. Keep the drawer level as the runners move along their matching tracks, following your refrigerator manual's engagement instructions. Watch for tilting, catching, or unexpected resistance during movement. If the drawer begins to bind, carefully pull it back and check both rails for proper alignment before trying again.
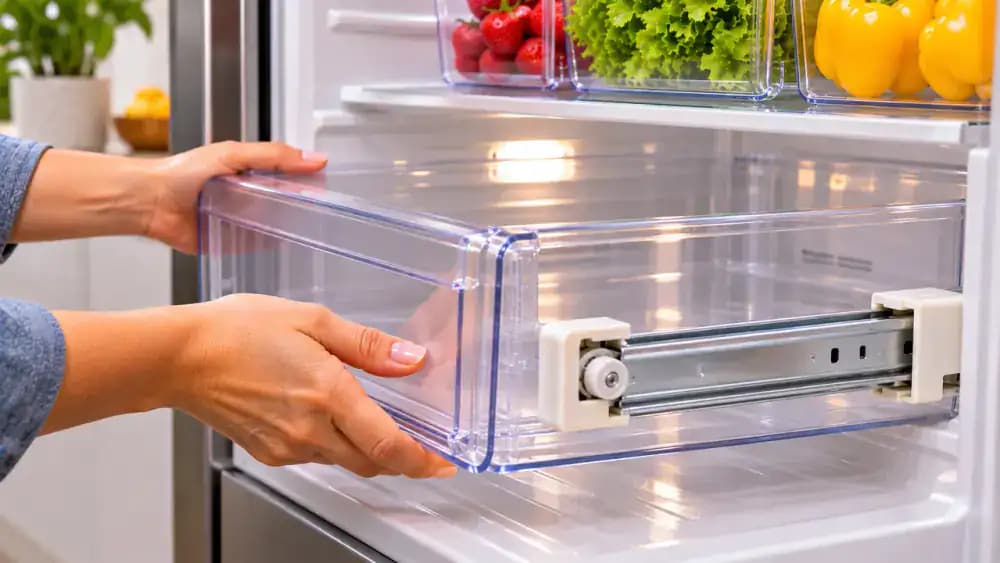
Test the Refrigerator Drawer for Smooth, Even Sliding
With the empty drawer fully reinstalled, gently grip the center of its handle and slide it forward and backward several times within its normal stops. Watch both sides to confirm they move evenly without tilting, twisting, or scraping. Check that the gaps between the drawer and surrounding compartment remain consistent. If you notice sticking or sudden resistance, stop immediately and recheck the tracks, runners, and alignment before adding food.
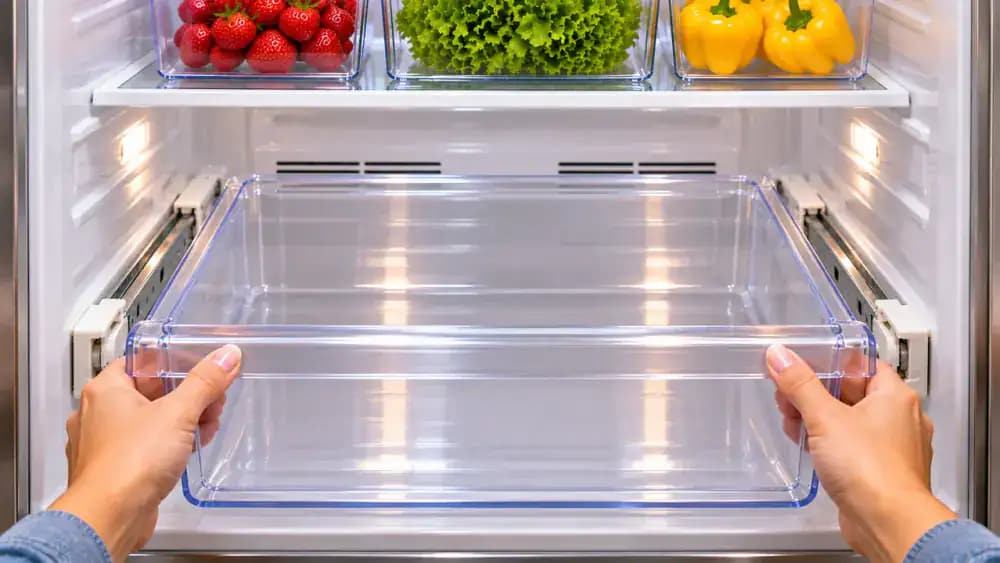
Reinstall the Drawer Dividers and Humidity Control Inserts
With the drawer sliding smoothly, carefully lower the clean, completely dry dividers into their original attachment slots. Follow your refrigerator manual to align each insert without bending plastic clips or forcing connections. Reinstall any removable humidity control components, then gently move the adjustment slider through its normal range. Check that everything sits securely and nothing extends into the drawer's sliding path. Keep the glass shelf above properly supported throughout reassembly.

Return Chilled Produce Without Overfilling the Drawer
Bring the chilled produce back from your cooler and inspect it for spoiled leaves, leaking packages, or loose vegetable scraps. Place heavier items near the bottom of the clean drawer, then arrange lighter produce in the appropriate compartments. Distribute everything evenly without overfilling or blocking the sliding edges. Keep food away from the rails and moving mechanisms. Remove damaged leaves before storage to help prevent fresh debris from accumulating.

Check Drawer Clearance and Refrigerator Door Sealing
Gently slide the loaded produce drawer fully closed, making sure it moves smoothly without catching or scraping. Check that vegetables and containers remain below the drawer rim and do not obstruct its movement. Close the refrigerator door normally, without forcing it, and inspect the gasket for even contact around the opening. If the door resists closing or leaves a visible gap, reopen it and check for protruding items or drawer misalignment.
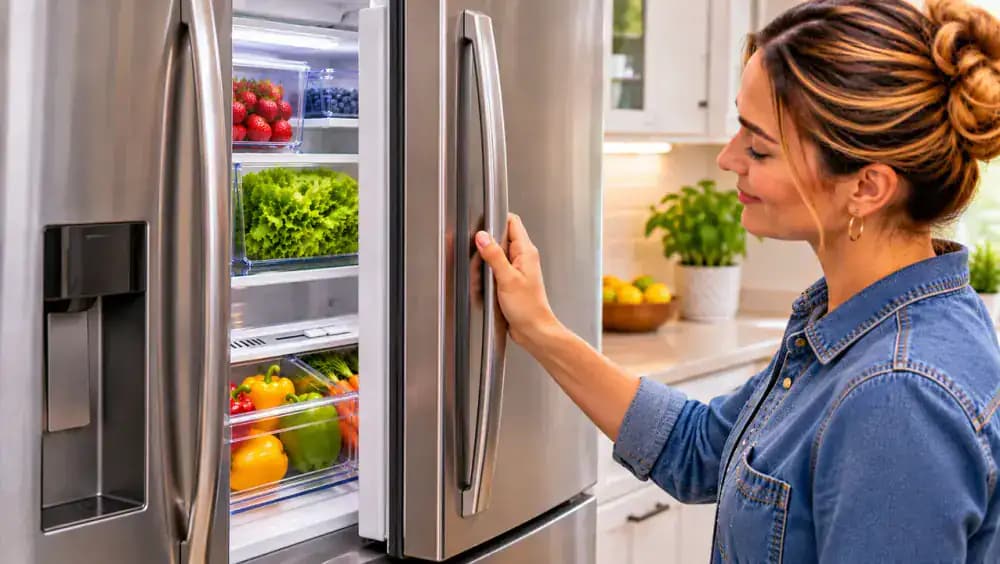
Prevent Sticky Refrigerator Drawers With Weekly Cleaning
Once a week, gently open the produce drawer and remove loose leaves, crumbs, or vegetable scraps from its accessible edges using a dry microfiber cloth. Check produce containers for leaks and wipe fresh spills promptly with a separate, barely damp cloth. Dry each cleaned area immediately to prevent moisture buildup. Keep the drawer comfortably filled, inspect visible track edges regularly, and avoid disturbing mechanical stops or supported glass shelves during routine maintenance.
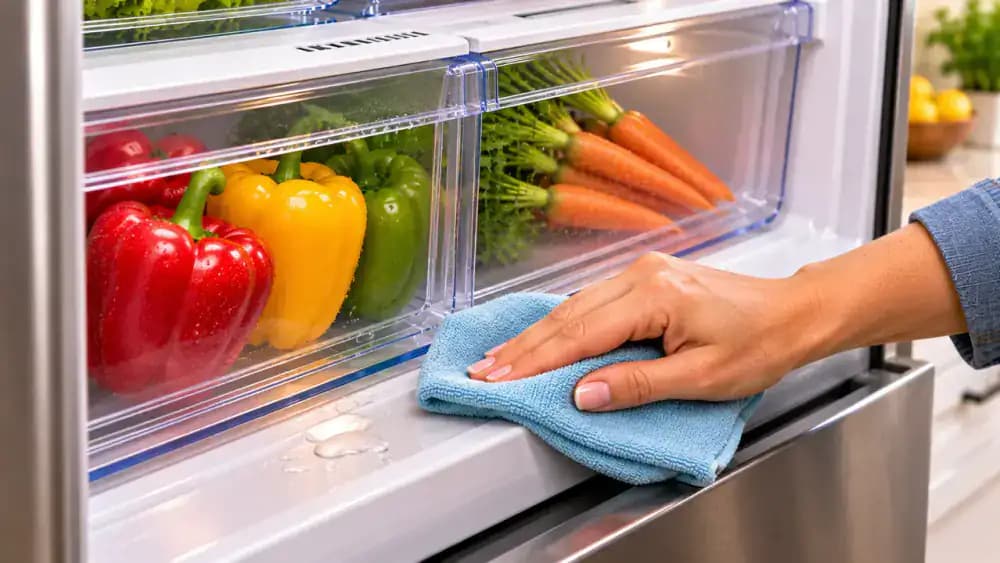
Check These Safety Essentials Before You Finish
Before finishing, confirm that your produce is chilled, the drawer is securely installed, and all components are completely dry. Keep glass covers properly supported and follow your refrigerator manual for removal and reinstallation. Never force drawer stops or expose cold plastic or glass to hot water. Gently check that the drawer moves smoothly and the refrigerator door closes fully. If sticking continues, inspect for damage and contact a qualified appliance repair professional.

A refrigerator produce drawer that sticks, jerks, or refuses to slide smoothly can turn a simple trip to the fridge into a frustrating chore. The problem is often hiding where you rarely look: beneath the drawer, along its tracks, or around the stops that guide it into place. Crumbs, dried vegetable residue, and sticky spills can gradually build up in these areas, creating resistance every time you open or close the drawer. Fortunately, a careful cleaning may be all it takes to restore smooth movement without replacing any parts.
Cleaning refrigerator drawers requires a little more care than wiping down an ordinary kitchen surface. Cold plastic and glass components can be vulnerable to sudden temperature changes, while drawer rails and supports may break if forced. In this guide, you'll learn how to safely remove the drawer, clean stubborn residue with mild dish soap and lukewarm water, clear hidden tracks, and reinstall everything correctly. You'll also discover simple maintenance habits that help prevent sticking from returning.
Where people go wrong
Forcing a Stuck Drawer Out of Its Tracks. Pulling harder when a refrigerator drawer refuses to move can crack plastic stops, bend rails, or damage shelf supports. Empty the drawer, support it with both hands, and consult your appliance manual for the correct removal procedure. Never force components that appear stuck or locked.
Washing Cold Drawers With Hot Water. Using hot water on cold refrigerator drawers or glass covers can cause sudden temperature changes that may crack or warp delicate components. Instead, use lukewarm water, mild dish soap, and a soft sponge. Support glass covers carefully and follow the manufacturer's cleaning instructions.
Scrubbing Tracks With Abrasive Tools or Too Much Water. Stiff brushes, abrasive pads, and sharp tools can scratch plastic tracks or damage their sliding surfaces. Excessive water may also reach electrical openings or collect in hidden areas. Use a soft brush and slightly damp microfiber cloth to gently loosen residue without soaking refrigerator components.
Reinstalling Drawers Before Cleaning and Drying the Tracks. Putting a clean drawer back into dirty tracks leaves crumbs and sticky residue behind, allowing the original problem to return. Thoroughly clean and dry the drawer, rails, and stops before reassembly. Check for damage or misalignment, reinstall according to the manual, and test movement gently.
Questions people ask
Sticky refrigerator drawers are often caused by crumbs, dried vegetable residue, or spilled liquids collecting along the tracks and underneath the drawer. This buildup creates friction that interferes with smooth movement. Remove the drawer according to the appliance manual, clean the hidden tracks, and check for damaged or misaligned components before reinstalling it.
Fixed it?
Get one guide like this every Thursday.