How to Clean Refrigerator Door Gaskets for a Better Seal
Crumbs, sticky spills, and grime can keep your refrigerator door gasket from making proper contact. Learn how to safely clean hidden folds, check the seal, and recognize when the gasket needs replacing.
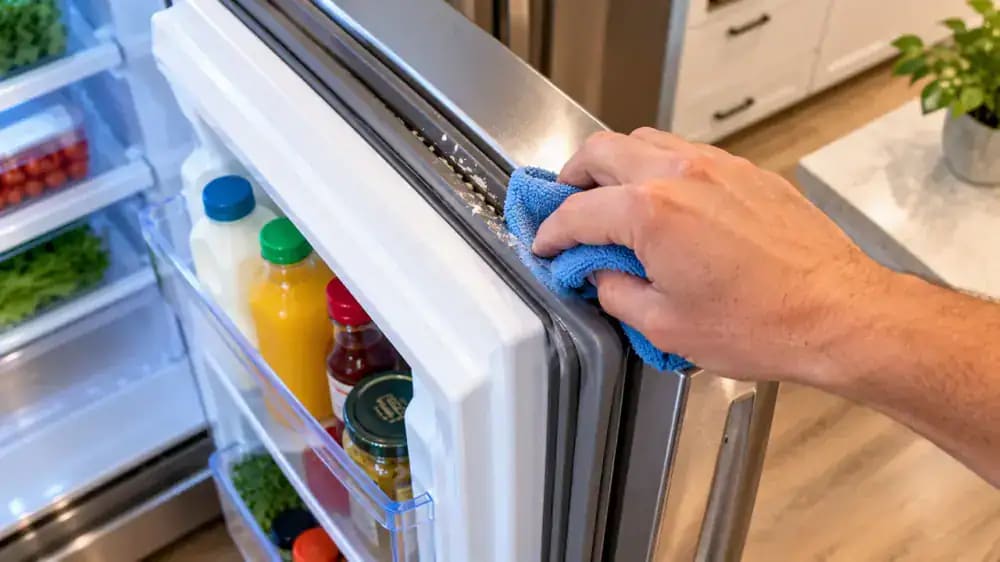
What you’ll need
Tap to tick things off before you start.
Inspect the Hidden Buildup Inside Your Refrigerator Door Seal
Open your refrigerator door slightly and examine the rubber gasket running around its edges. Look closely at the narrow folds, especially near the corners, where bread crumbs, dried spills, and dark residue can accumulate unnoticed. Check the surface that normally touches the refrigerator frame for uneven buildup. Even small deposits may interfere with proper contact. At this stage, simply identify problem areas without pulling, stretching, or scraping the rubber.
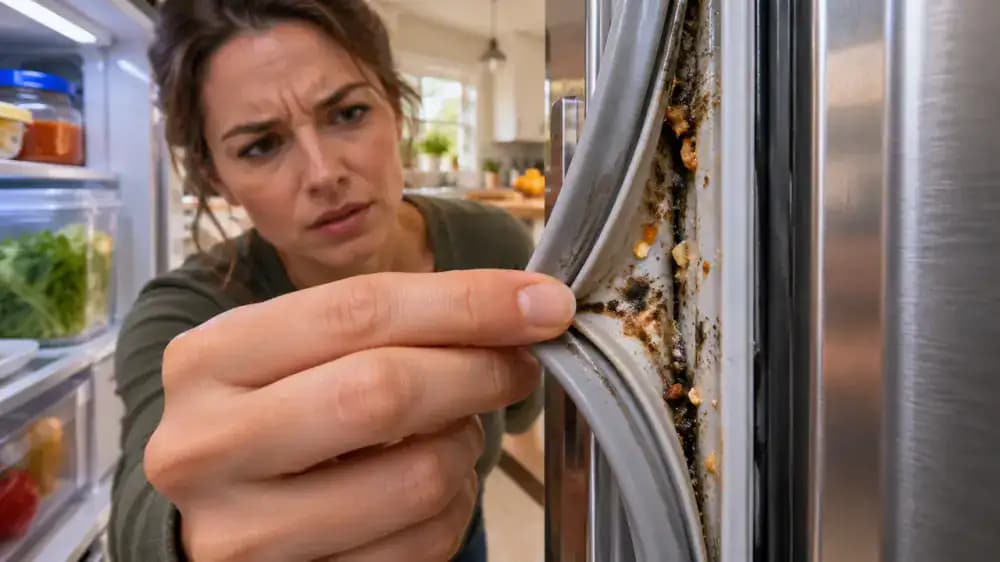
Check How Buildup and Damage Affect Gasket Contact
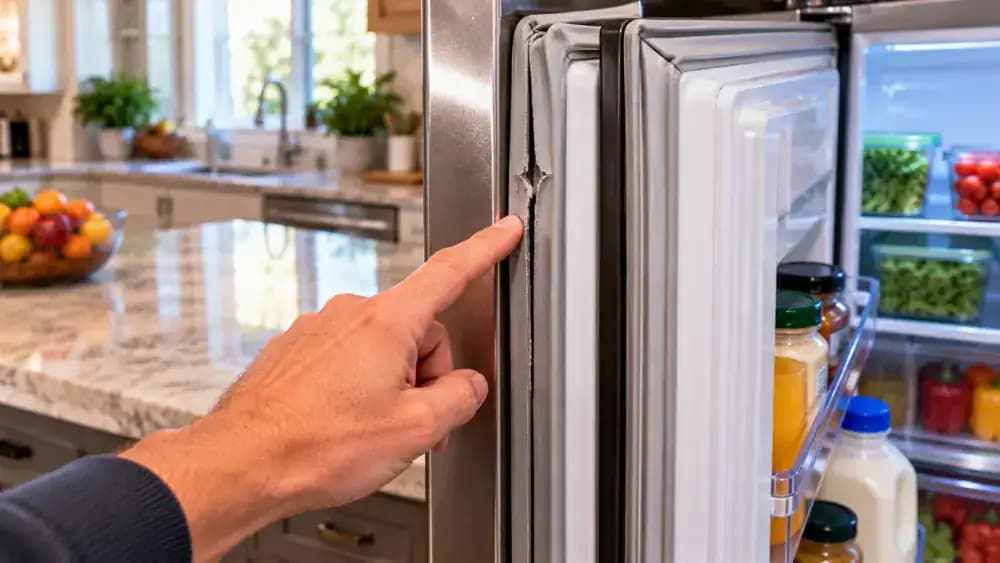
Watch how the rubber gasket meets the refrigerator frame as the door closes. A small piece of dried food on the contact surface can prevent the rubber from sitting evenly against the frame. Examine the entire gasket for tears, hardened areas, or permanent distortion, as shown in the close-up examples. Surface residue can be cleaned away, but damaged rubber may require replacement. Avoid stretching or forcing the gasket during inspection.
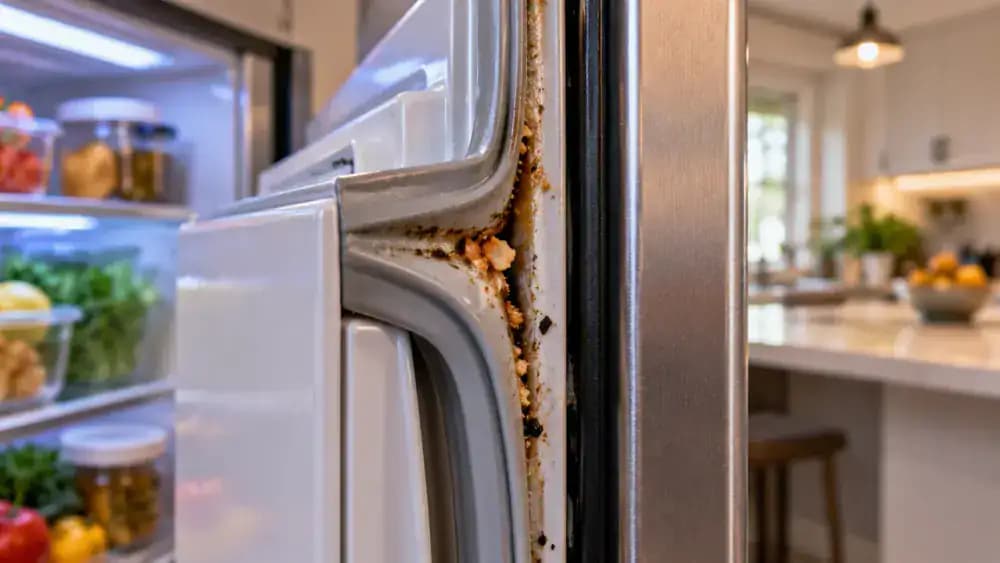
Examine the Full Gasket for Dirt and Wear
Open the refrigerator door fully and visually inspect the rubber seal around its entire perimeter. Start at an upper corner, follow the top edge, move down both sides, and finish along the bottom. Look for trapped crumbs, sticky patches, surface cracks, and sections that appear flattened or twisted. Pay extra attention to corners and lower edges where debris can collect. Point out problem areas without pressing, pulling, or stretching the rubber.
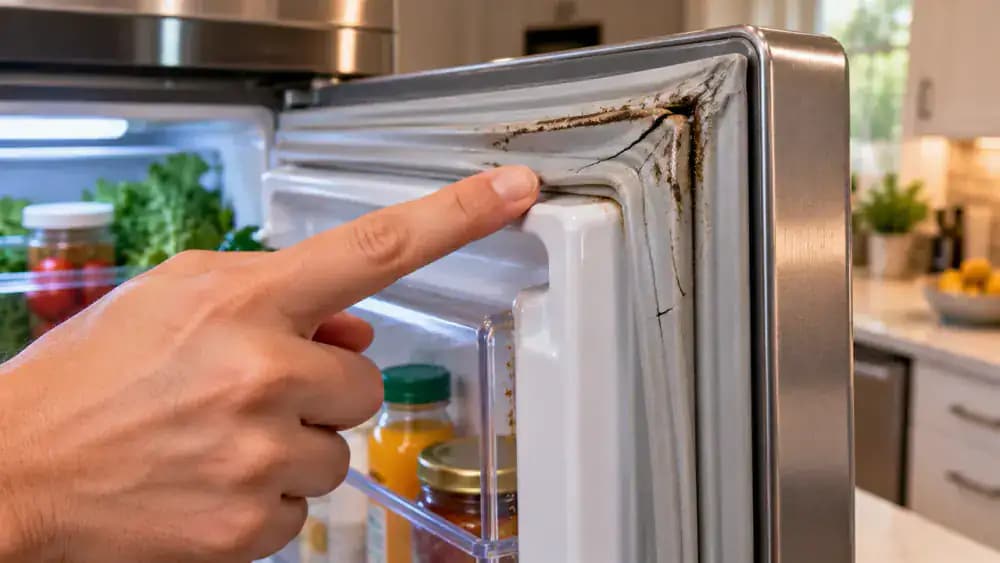
Check Door Seal Contact With a Dollar Bill
Place a dollar bill halfway across the rubber gasket, leaving one end outside the refrigerator. Gently close the door on the bill, then slowly pull it straight outward and notice how much resistance you feel. Repeat the process along the top, sides, and bottom corners. Compare the resistance at different locations to identify possible contact problems. This test provides only a rough indication of contact, not proof of an airtight seal.
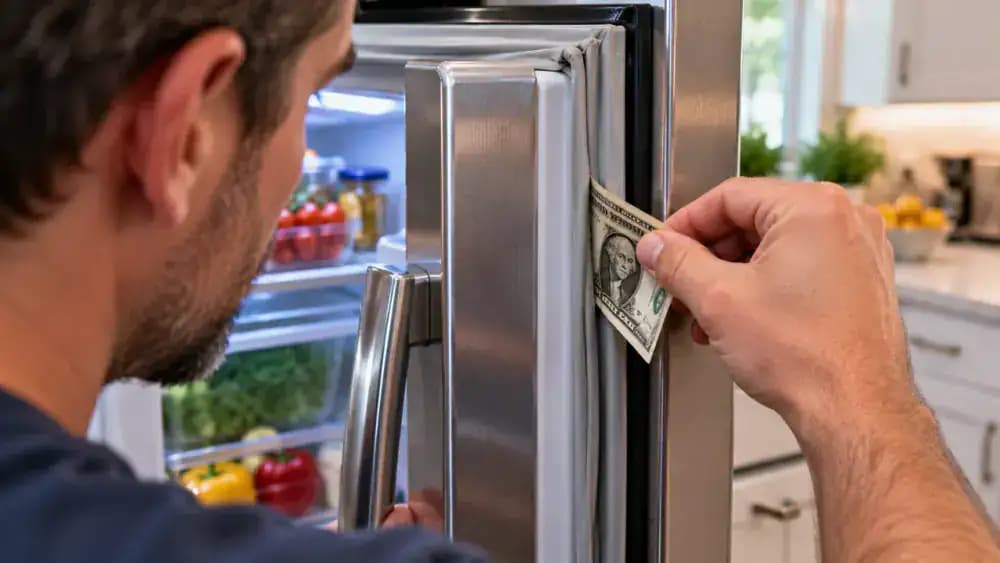
Remove Anything Blocking the Refrigerator Door
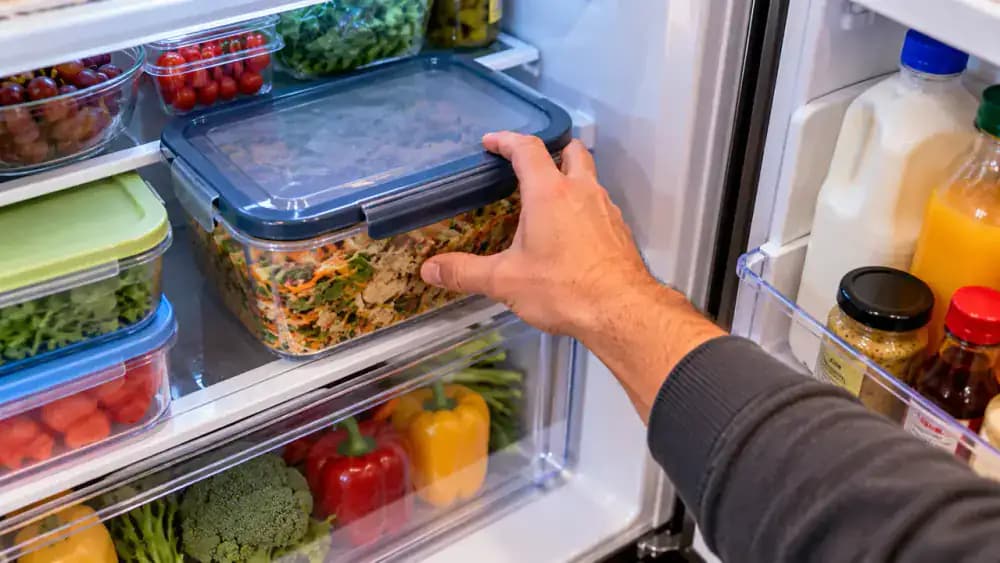
Look inside the refrigerator for food containers extending past shelf edges, drawers left partially open, or shelves sitting incorrectly in their supports. Gently slide oversized containers farther back and push drawers fully into place without forcing them. Check that nothing protrudes into the door's path, then close it slowly and inspect how the gasket meets the frame. An obstruction can cause uneven contact even when the rubber is undamaged.
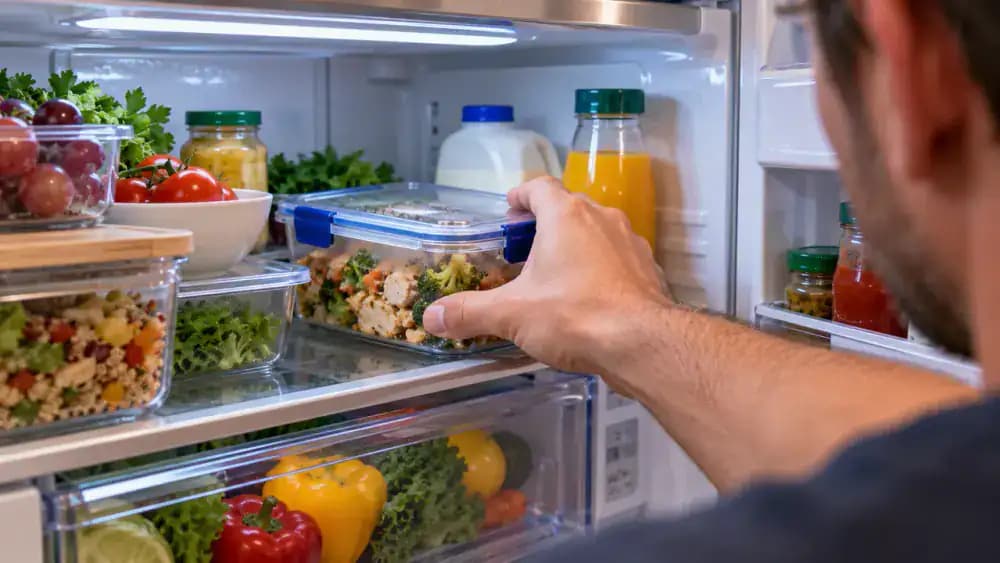
Prepare a Gentle Cleaning Solution and Supplies
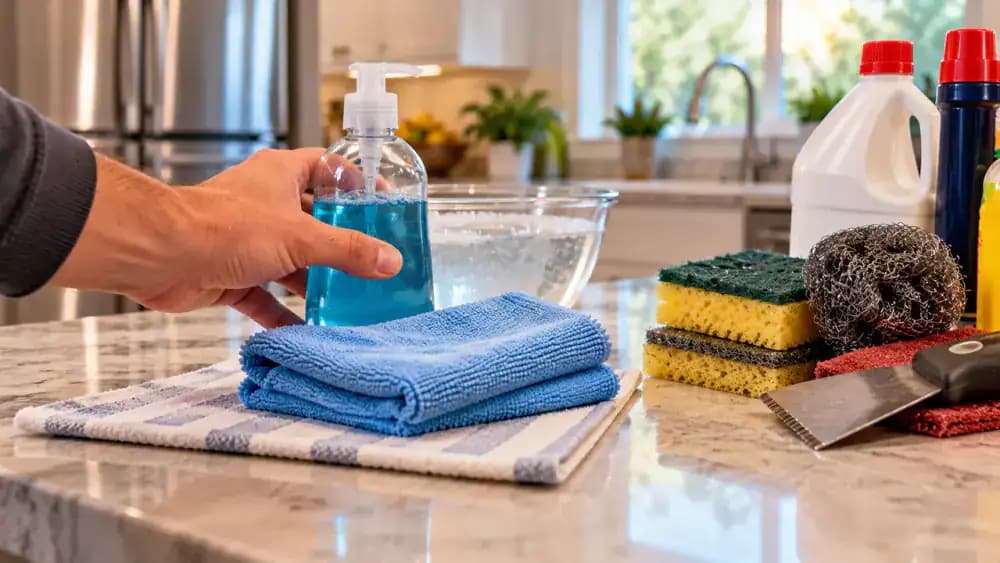
Arrange two soft microfiber cloths, a clean dry towel, a small bowl of warm water, and mild dish soap on the counter beside your refrigerator. Add a few drops of soap to the water and mix gently. Before cleaning, review your refrigerator manufacturer's instructions to confirm the recommended method. Keep the solution away from electrical components, and avoid abrasive pads, sharp tools, harsh solvents, or excessive moisture that could damage the gasket.
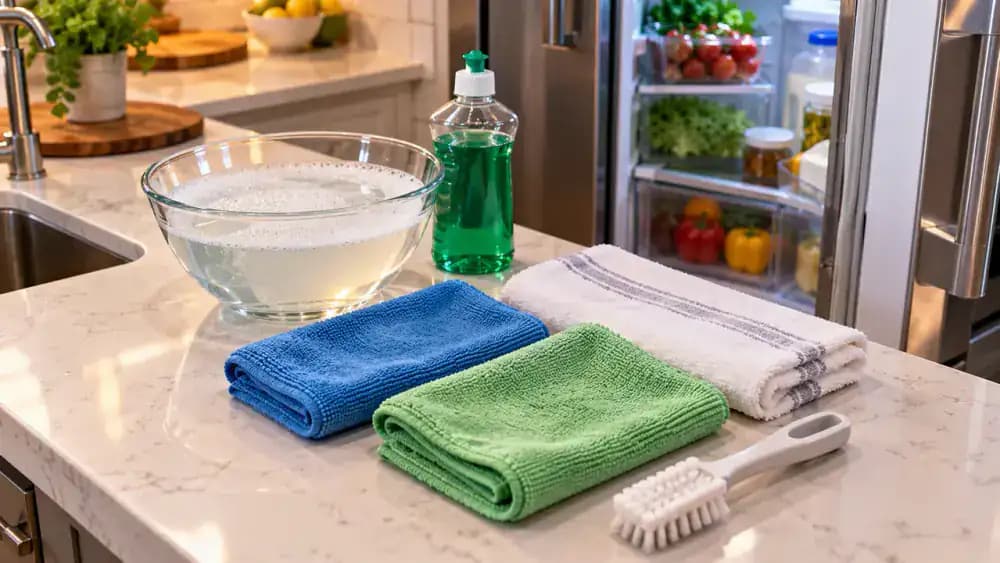
Wring Out the Cleaning Cloth to Prevent Excess Moisture
Dip a soft microfiber cloth into the prepared mild soapy water, then wring it thoroughly over the bowl until excess water stops dripping. Unfold the cloth and check that it feels slightly damp rather than soaking wet. Hold it near the gasket without touching the surface yet. Keep nearby refrigerator switches and electrical components dry, and never spray water directly onto the gasket. Excess moisture can collect inside narrow rubber folds.
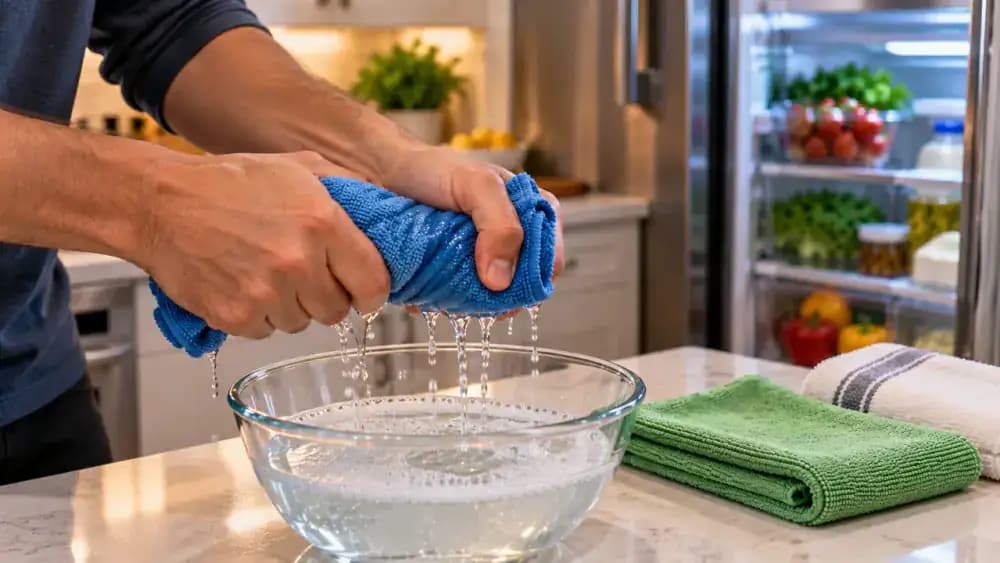
Gently Separate the Gasket Folds to Expose Hidden Debris
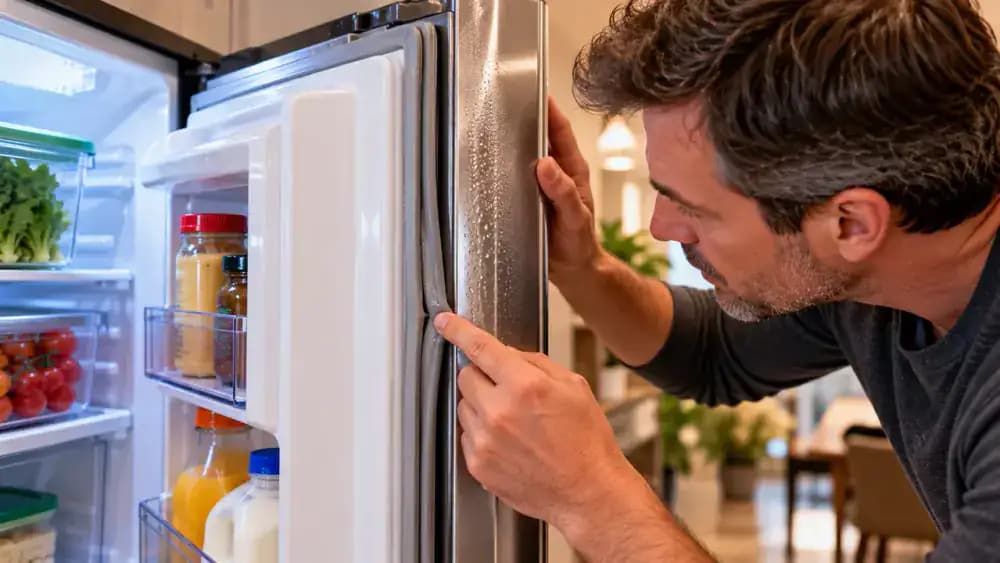
Use clean fingertips to gently separate one rubber gasket fold just enough to reveal the narrow channel underneath. Start near an upper corner, where crumbs and sticky residue often collect, then move along a short section of the seal. Keep the rubber attached to the refrigerator door and avoid pulling or stretching it beyond its natural shape. If a fold resists opening, do not force it. Leave exposed debris in place until cleaning begins.
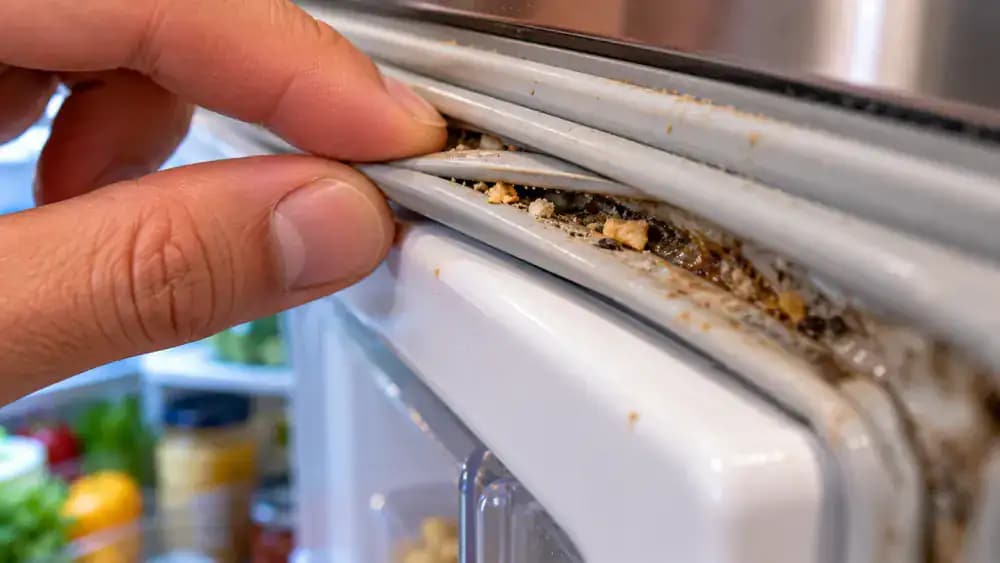
Locate Trapped Crumbs in Gasket Corners and Grooves
Focus on the bottom corners and narrow channels where the horizontal and vertical gasket sections meet. Gently hold a rubber fold open with one fingertip and use a small flashlight to illuminate the hidden groove. Look for bread crumbs, dried food particles, and residue along the bottom of the channel. Inspect a few inches at a time, noting where debris collects. Avoid inserting tools, stretching the rubber, or removing crumbs just yet.
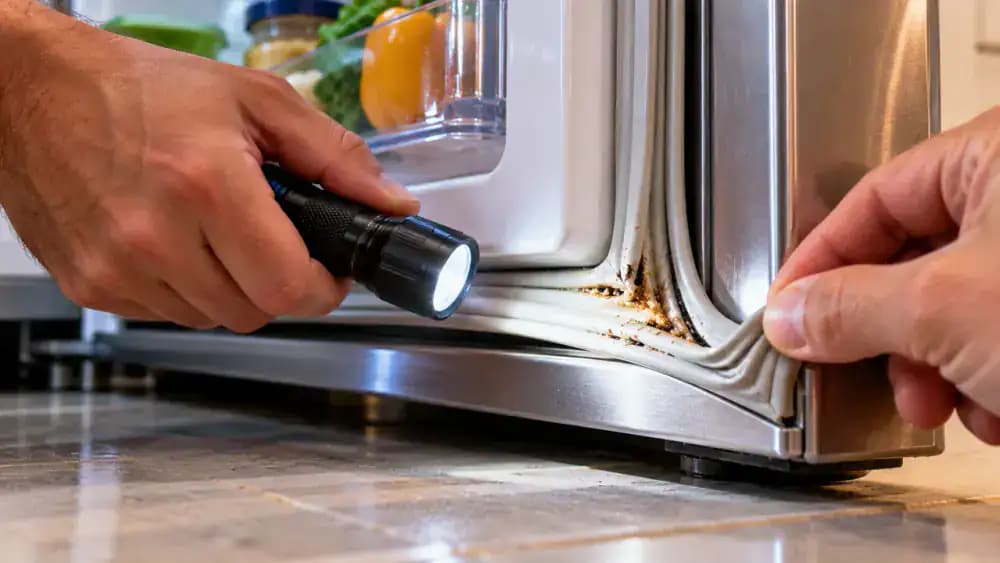
Lift Loose Crumbs With a Dry Microfiber Cloth
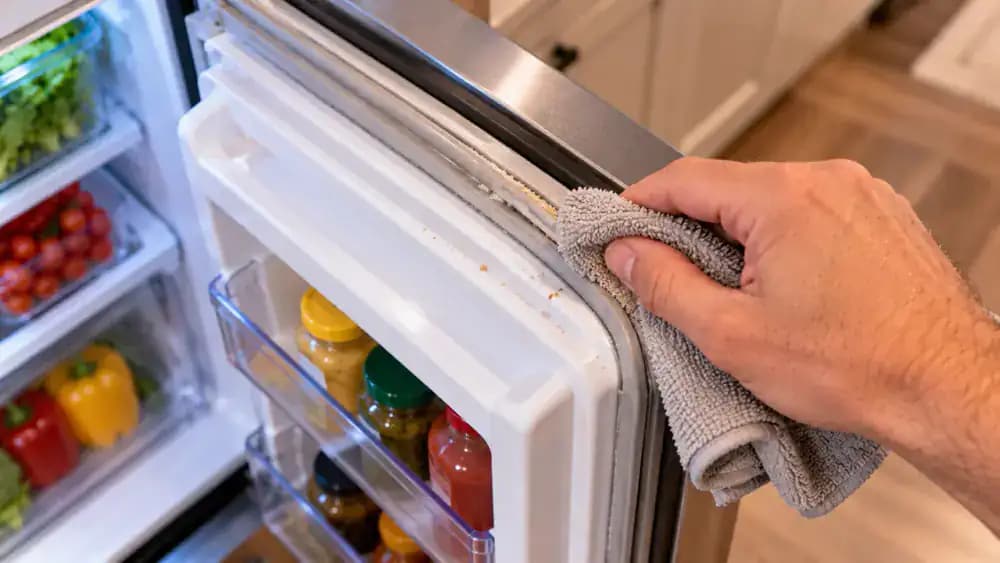
Fold the corner of a completely dry microfiber cloth over your index fingertip and gently wipe along the gasket channel using short, controlled strokes. Start with a small section, about 3 inches long, and lift loose crumbs onto the fabric instead of pushing them deeper into the folds. Check the cloth for collected debris and reposition it as needed. Avoid scraping, pressing hard, or stretching the rubber. Leave sticky residue for the next cleaning step.
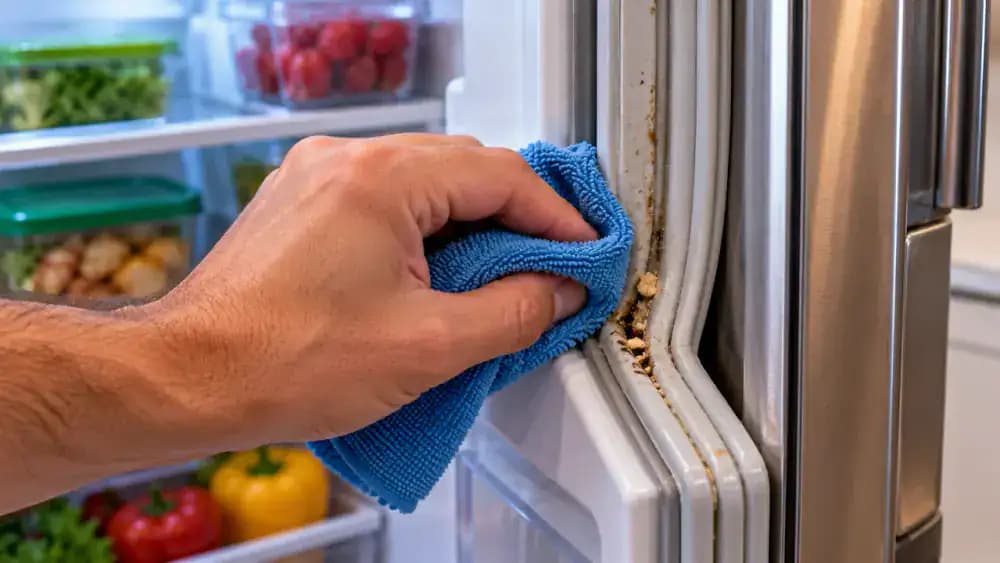
Gently Remove Sticky Residue With Mild Soapy Water
Fold a lightly dampened microfiber cloth over two fingertips and gently wipe the sticky residue inside the gasket fold. Use short, controlled strokes to loosen dried food buildup without pressing deeply into the rubber. Allow the diluted mild dish soap to soften the residue, then lift it onto the cloth. Work in small sections and reposition the fabric as it becomes dirty. Avoid soaking the folds, aggressive scrubbing, or stretching the gasket.
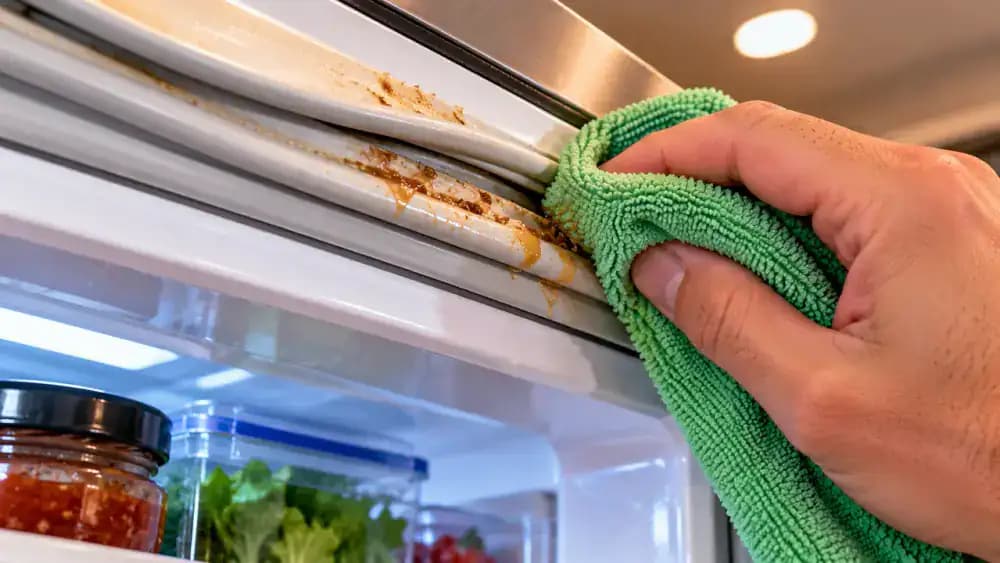
Clean Narrow Gasket Grooves Without Damaging the Rubber
Wrap a clean, lightly dampened section of microfiber cloth around your index fingertip and carefully guide it along the recessed gasket channel. Follow the groove's natural shape using gentle, steady movements to lift softened food residue. Work a few inches at a time, rotating the cloth to a clean section whenever dirt accumulates. Keep the gasket securely attached to the door and avoid forcing your fingertip into tight spaces or stretching the rubber folds.
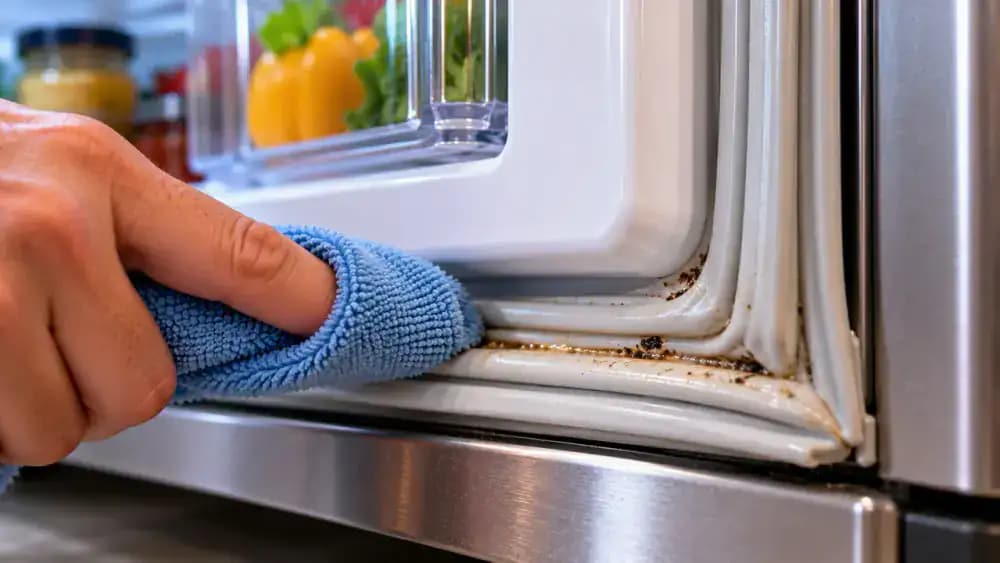
Gently Clean the Curved Corners of the Refrigerator Gasket
Fold a clean section of your lightly dampened microfiber cloth into a small, soft point. Starting at the lower corner, carefully guide the folded fabric along the curved gasket channel where the vertical and horizontal sections meet. Use short, gentle strokes to lift remaining food residue without pushing debris deeper into the folds. If the cloth cannot reach a narrow area easily, stop rather than forcing it inside or stretching the rubber.
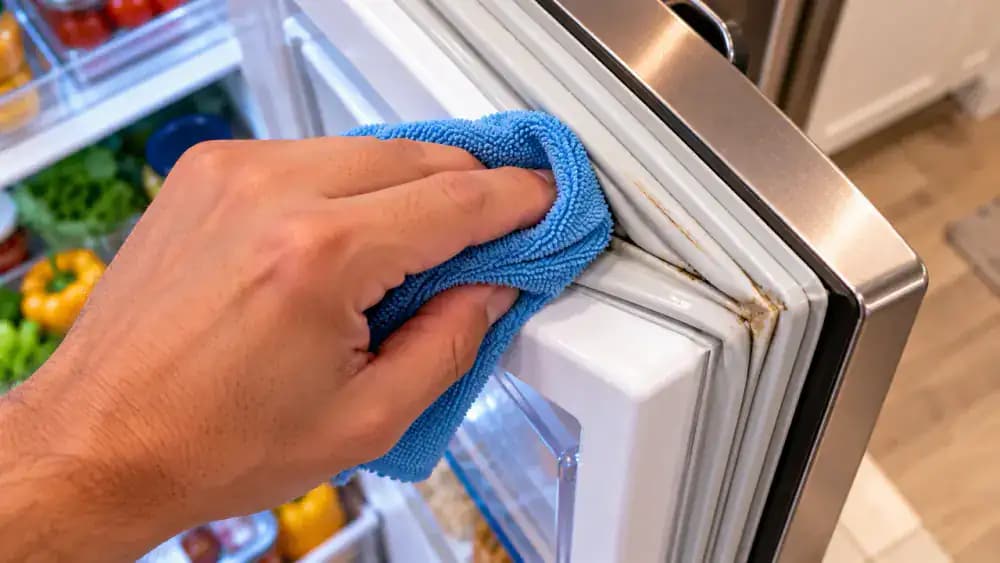
Clean the Remaining Gasket in Small Sections
Continue cleaning the refrigerator door gasket in sections about 4 inches long, using gentle downward strokes with your lightly dampened microfiber cloth. After each section, lift the cloth and inspect the grooves for remaining residue before moving to the next area. Fold the cloth to expose a clean surface whenever grime accumulates. Follow the gasket around the entire door, maintaining light pressure and avoiding excessive moisture, stretching, or aggressive scrubbing.
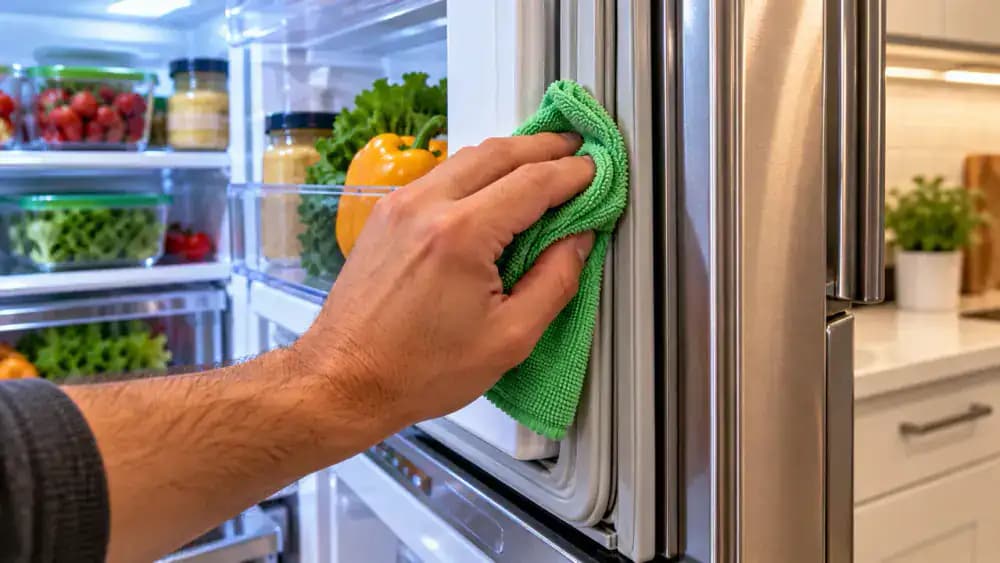
Wipe the Refrigerator Frame Where the Gasket Contacts It
With the refrigerator door fully open, inspect the flat cabinet frame where the rubber gasket normally makes contact. Look for sticky fingerprints, dried spills, and food residue along the metal surface. Use a separate microfiber cloth lightly dampened with diluted mild dish soap to wipe the frame in short, gentle strokes. Pay attention to stubborn spots near the upper edge, but keep moisture away from door switches, electrical openings, and nearby components.
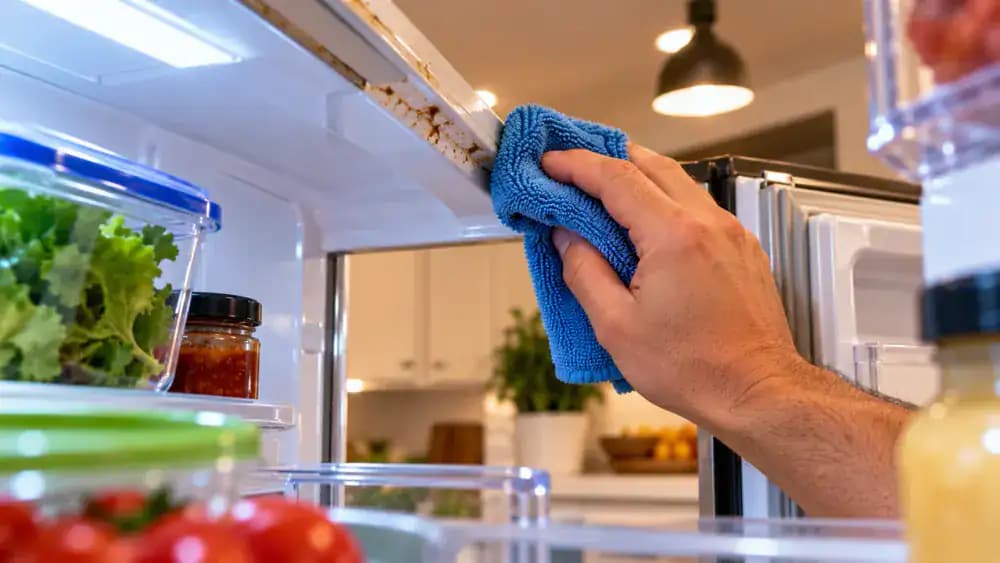
Remove Leftover Soap From the Gasket Folds
Dampen a fresh microfiber cloth with clean water and wring it thoroughly until no water drips. Gently wipe along the gasket ridges and accessible folds, following the rubber's natural contours with short, controlled strokes. Work in small sections, removing any remaining soap film without stretching the gasket. Rinse the cloth in clean water and wring it out again whenever residue accumulates. Keep nearby electrical components dry and leave the gasket ready for thorough drying.
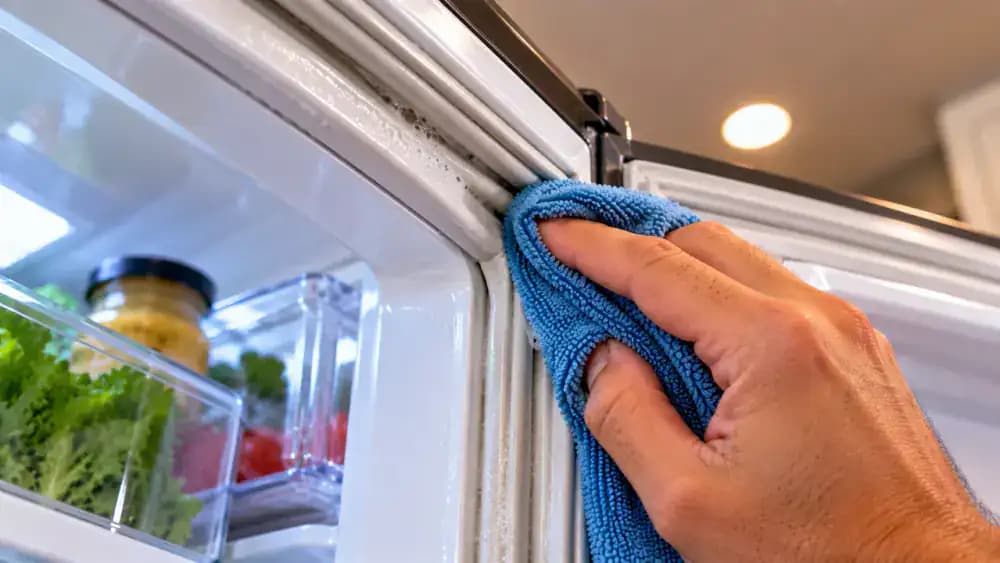
Dry Every Gasket Fold and Hidden Channel Thoroughly
Use a clean, completely dry microfiber cloth or soft cotton towel to absorb moisture from the refrigerator gasket. Fold the towel into a narrow, cushioned edge and gently press it against the lower ridges, shallow channels, and corners. Switch to a dry section of fabric whenever it becomes damp. Pay special attention to bottom grooves where water can collect. Check accessible folds with a clean fingertip to confirm they feel dry before closing the door.
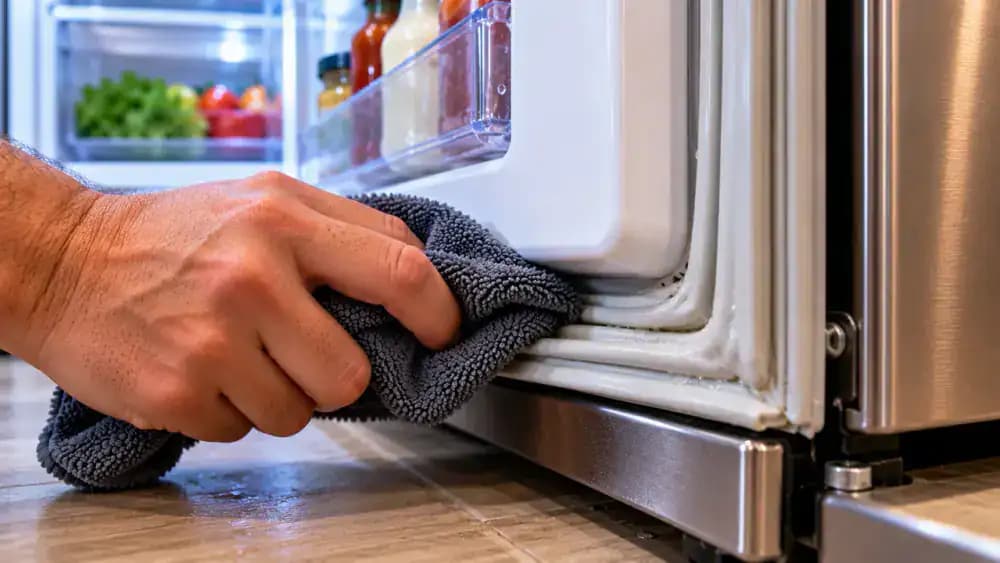
Close the Refrigerator Door and Check Gasket Alignment
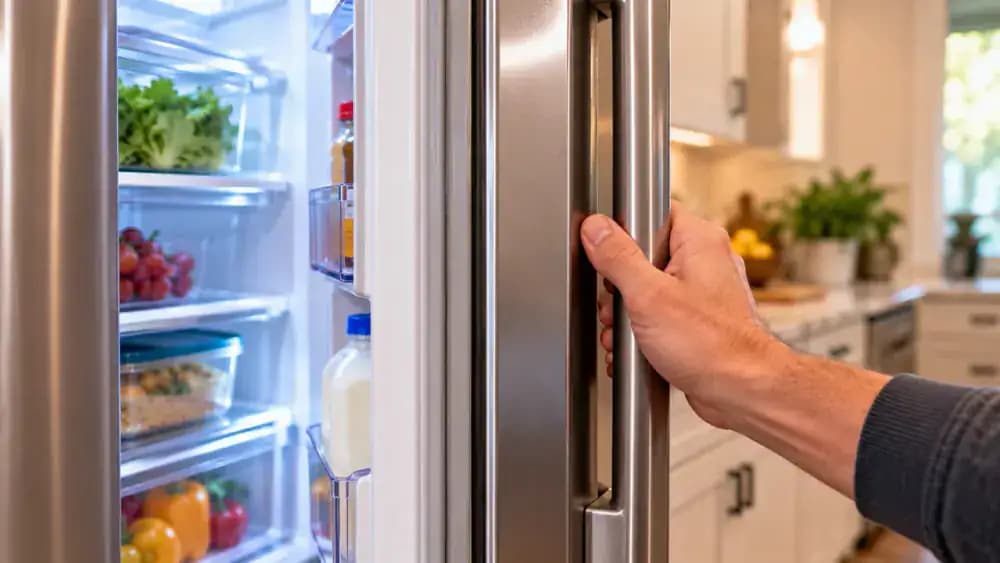
Use the refrigerator handle to slowly close the door with normal pressure, watching for anything that might obstruct its movement. As the gasket meets the cabinet frame, observe whether the rubber compresses naturally and stays properly positioned. Inspect the upper and side edges for visible gaps, twisted sections, or folds sitting unevenly. A smooth closure and consistent appearance are encouraging, but visual inspection alone cannot confirm an airtight seal.
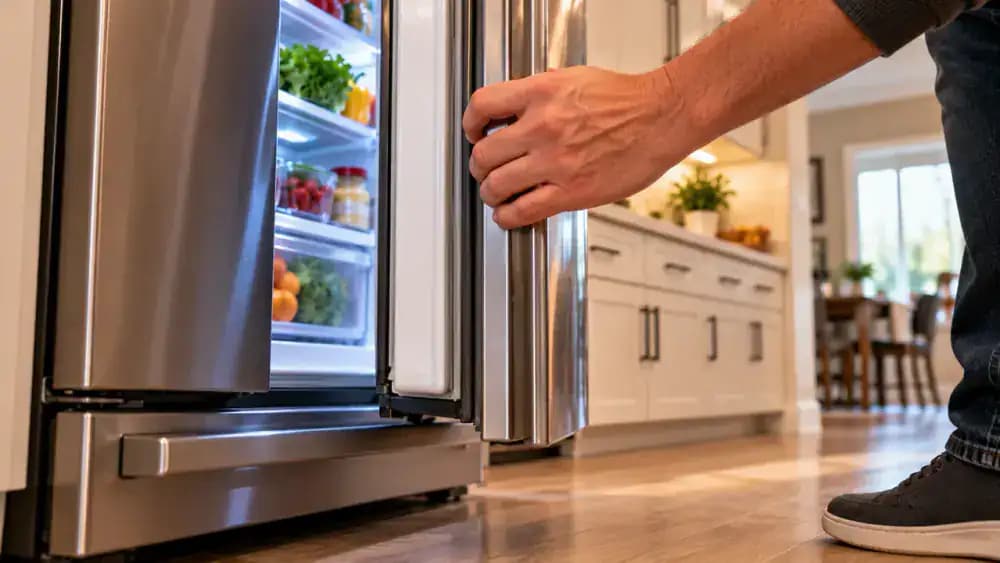
Repeat the Dollar Bill Test to Compare Gasket Contact
Open the refrigerator door and position a dollar bill halfway across the clean gasket at one of your previously tested locations. Close the door gently, leaving part of the bill exposed, then pull it straight outward to feel the resistance. Repeat along the upper, middle, and lower edges, using the same locations as before. Compare your observations for possible changes in contact. Remember, this test cannot confirm an airtight seal.
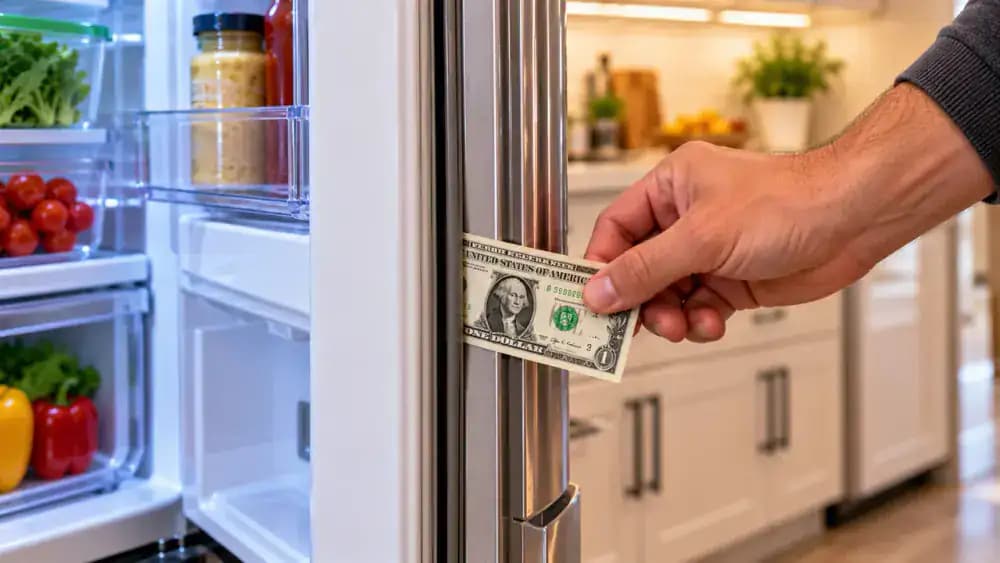
Compare Gasket Contact and Identify Areas Needing Attention
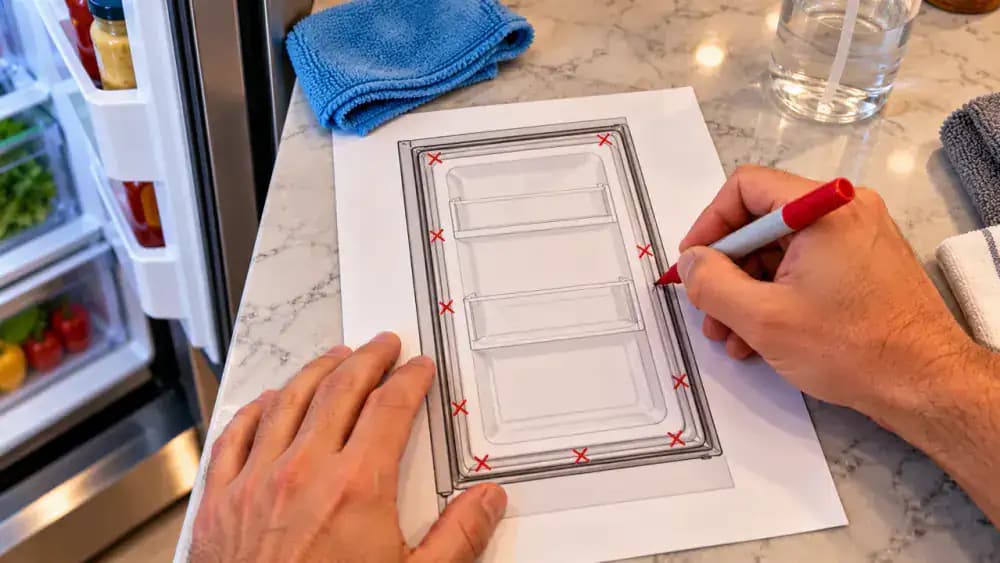
Review the resistance you felt during the dollar bill tests before and after cleaning. Sketch a simple outline of the refrigerator door and mark any locations where the bill still slides out easily. Open the door and visually inspect those areas for flattened rubber, damage, or misalignment without pulling or stretching the gasket. Increased resistance may suggest better contact, but this test cannot measure air leakage or confirm proper sealing.
Identify Gasket Damage That Requires Replacement
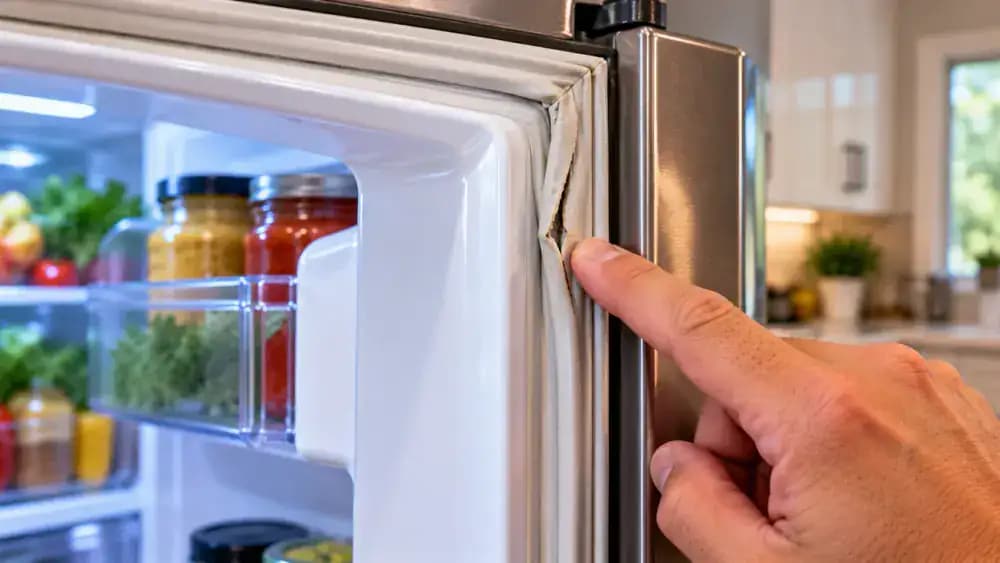
Examine any gasket sections that still show poor contact after cleaning. Look closely for visible tears, deep cracks, hardened rubber, or permanently flattened areas that no longer retain their original shape. Point out damaged sections without pulling, bending, or attempting to reshape them. Check your refrigerator's model information and consult the manufacturer manual for replacement guidance. Cleaning cannot repair damaged rubber, and persistent problems may require a replacement gasket or professional service.
Find a Replacement Gasket That Fits Your Refrigerator
Locate the refrigerator's model number on its factory identification label, usually inside the fresh food compartment. Photograph the label or write down the complete model number for reference. Visit the manufacturer's official parts catalog and search for a compatible replacement door gasket. Compare the listed dimensions and mounting design with your existing seal. Similar-looking gaskets may not fit correctly. If compatibility remains unclear, contact an authorized appliance service provider before ordering.

Wipe Up Fresh Spills Before They Harden
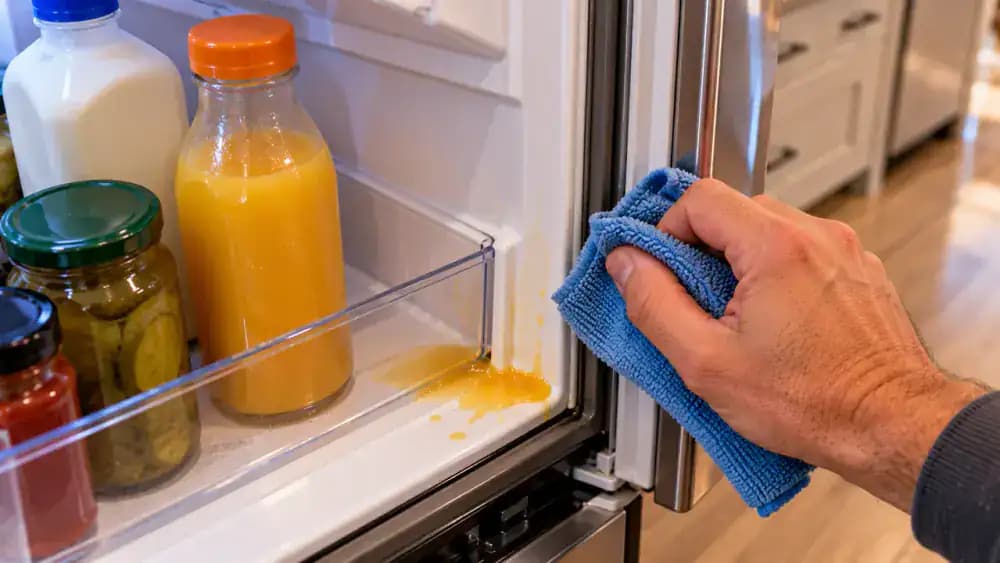
When juice, milk, or sauce spills near the refrigerator door, wipe it up promptly with a soft microfiber cloth lightly dampened with plain water. Clean the affected shelf edge first, then gently wipe any liquid from the nearby rubber gasket. Carefully inspect accessible folds for trapped droplets without stretching the rubber. Finish by blotting the gasket and surrounding surfaces with a completely dry towel. Prompt cleanup helps prevent sticky residue from accumulating.
Inspect the Refrigerator Gasket During Routine Kitchen Cleaning
Every few weeks, include a quick gasket inspection in your regular kitchen cleaning routine. Open the refrigerator door and visually check the upper edge, side folds, lower corners, and bottom channel for crumbs, moisture, sticky spots, or visible damage. If you find a loose crumb, gently lift it with a clean, dry microfiber cloth. Look closely at areas where debris collects, but avoid stretching the rubber. Close the door gently when finished.
Keep Food Containers From Blocking the Refrigerator Door
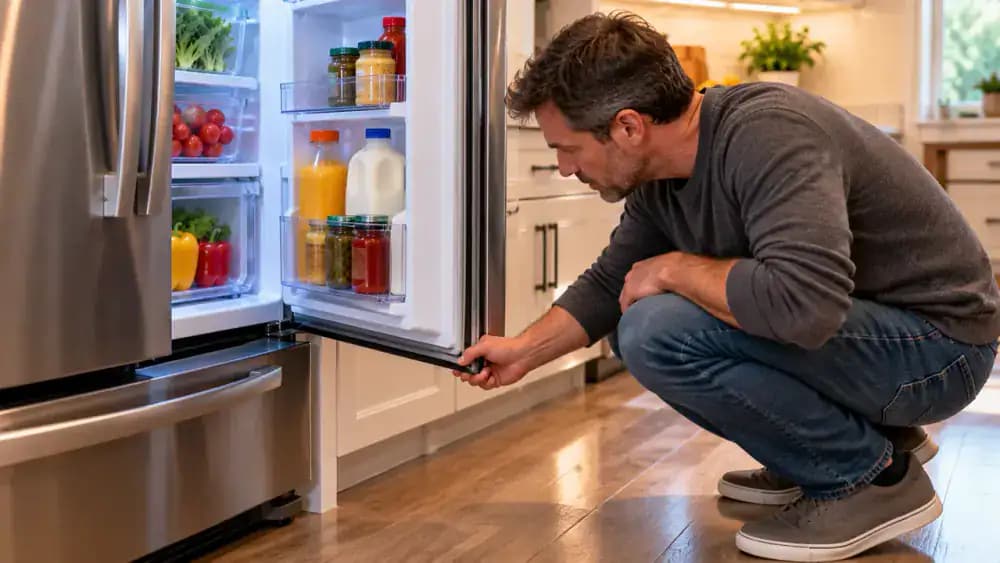
Check that food containers, bottles, and drawers are not interfering with refrigerator door closure. Slide oversized containers farther back so they sit completely within their shelves. Gently push produce drawers fully into place and reposition tall bottles inside their door bins. Leave enough clearance for the door to close naturally without contacting stored items. Before finishing, inspect the doorway for remaining obstructions and close the door gently using its handle.
Choose Gentle Cleaners That Protect Gasket Rubber
Keep harsh household cleaners, abrasive scouring pads, and scraping tools away from the refrigerator gasket. Instead, prepare warm water with a small amount of mild dish soap and select a soft microfiber cloth. Wring the cloth thoroughly before gently wiping an accessible rubber ridge with minimal pressure. Check your refrigerator manufacturer's cleaning instructions before using any other products. Avoid bleach, harsh solvents, excessive moisture, and forceful scrubbing that could damage the rubber.
Call a Technician for Persistent Refrigerator Door Sealing Problems
If your refrigerator door still has visible gaps, recurring condensation, or difficulty closing after cleaning and removing obstructions, inspect the affected area without disturbing the gasket. Look for uneven door alignment or signs of wear near the hinges, but avoid making adjustments yourself. Contact a qualified appliance technician and describe the symptoms you observed. Condensation alone does not confirm gasket failure, and professional inspection can help identify the underlying problem.
Check That Every Gasket Cleaning Step Is Complete
Review the cleaned gasket for any remaining crumbs, sticky residue, or visible damage. The cleaning process should include lifting loose debris with a dry cloth, gently wiping accessible folds with diluted mild dish soap, removing soap residue with a clean damp cloth, and drying thoroughly. Close the refrigerator door gently and repeat the dollar bill test at previously checked locations. Compare resistance without assuming the test confirms an airtight seal.
Maintain a Clean Gasket and Recognize Damage Cleaning Cannot Fix
Remove any remaining loose particles from accessible gasket folds with a clean, dry microfiber cloth, then inspect the rubber for tears, flattened sections, or other visible wear. An intact, clean gasket may contact the refrigerator frame more evenly, but cleaning cannot repair damaged rubber. Continue checking for spills and trapped crumbs during routine maintenance. If sealing problems persist, consult the manufacturer's guidance instead of attempting to stretch, reshape, or patch the gasket.
Finish With a Dry Gasket and a Simple Maintenance Routine
Inspect the clean refrigerator door gasket one last time for remaining crumbs, moisture, or visible damage. Gently blot any damp areas with a completely dry microfiber cloth, then store the cloth somewhere convenient for future cleanups. Close the refrigerator door using its handle, checking that nothing obstructs it. Make regular gasket inspections and prompt spill removal part of your kitchen routine. Replace torn or permanently deformed seals rather than attempting repairs.
Your refrigerator door may look clean from the outside, but the rubber gasket around its edges can hide crumbs, sticky spills, grease, and dark stains deep inside its folds. Over time, this buildup can prevent the gasket from sitting evenly against the refrigerator frame, potentially weakening the door's seal. Fortunately, a careful cleaning with warm water, mild dish soap, and a soft cloth may help restore better contact without expensive tools or special cleaning products. The key is reaching those hidden grooves without damaging the flexible rubber.
Before you start, it's important to know whether you're dealing with ordinary dirt or a damaged gasket. Cleaning can remove buildup, but it won't fix torn, hardened, or permanently deformed rubber. This guide explains how to inspect the gasket, safely clean its narrow folds, remove stubborn residue, and check door contact using a simple dollar bill test. You'll also learn when routine maintenance is enough and when replacing the gasket is the better solution.
Where people go wrong
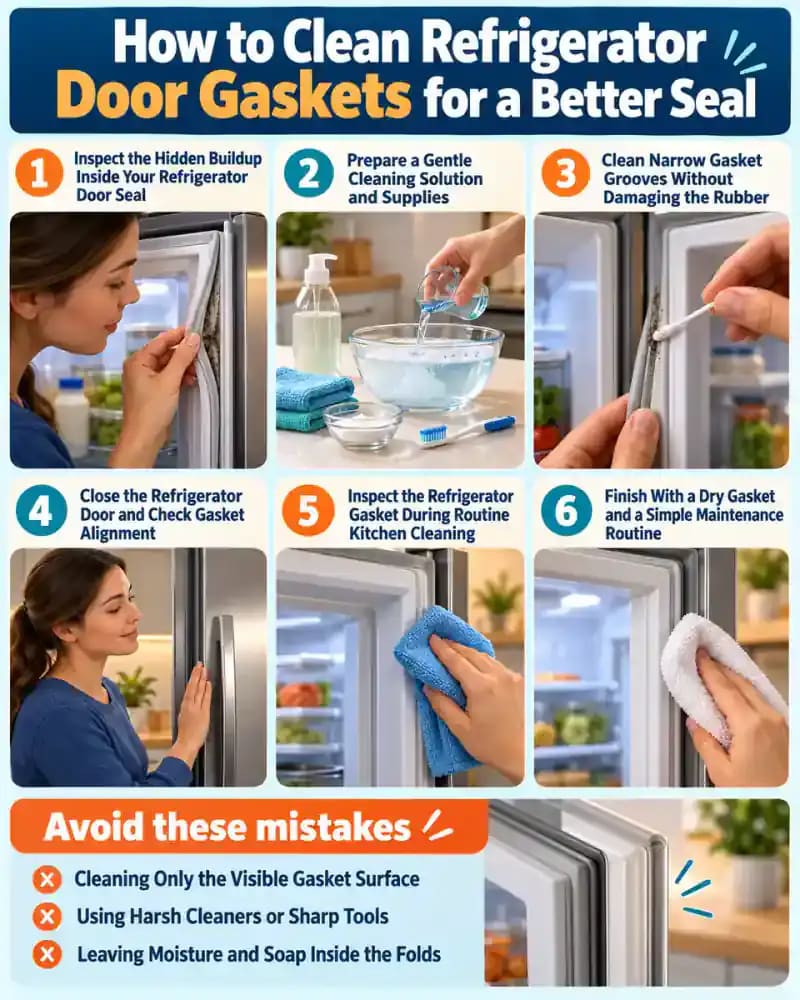
Cleaning Only the Visible Gasket Surface. Wiping the outside of the refrigerator door gasket while ignoring its inner folds leaves trapped crumbs, sticky residue, and grime behind. Gently separate the folds with your fingertips and clean narrow channels and corners using a lightly dampened microfiber cloth without stretching or dislodging the rubber.
Using Harsh Cleaners or Sharp Tools. Scraping stubborn deposits with knives, pointed tools, or abrasive scrubbers can tear or permanently deform the gasket. Harsh solvents may also damage the rubber. Instead, use diluted mild dish soap, warm water, and a soft cloth, following the manufacturer's cleaning recommendations and applying minimal pressure.
Leaving Moisture and Soap Inside the Folds. Using too much water or failing to remove leftover soap can leave moisture and residue trapped inside gasket channels. Keep your cleaning cloth lightly damp, protect nearby electrical components, wipe away soap with a clean cloth, and thoroughly dry every fold before closing the refrigerator door.
Trying to Clean a Damaged Gasket Back Into Shape. Cleaning cannot repair torn, hardened, or permanently deformed rubber. Inspect the entire gasket before starting and check for anything obstructing door closure. After cleaning, use the dollar bill test at several locations as a rough contact check, not proof of sealing performance. Replace damaged gaskets.
Questions people ask
Inspect your refrigerator door gasket regularly and clean it whenever you notice crumbs, sticky residue, or visible buildup. Wipe away spills promptly before they settle into the folds. During routine kitchen cleaning, gently check the corners and narrow channels where debris collects. Regular maintenance helps prevent buildup from interfering with door contact.
Fixed it?
Get one guide like this every Thursday.