How to Clean Greasy Oven Racks With Less Scrubbing
Learn how to loosen baked-on grease before you scrub, clean oven racks with non-scratch tools, rinse them properly, and avoid damaging coated or telescoping racks.
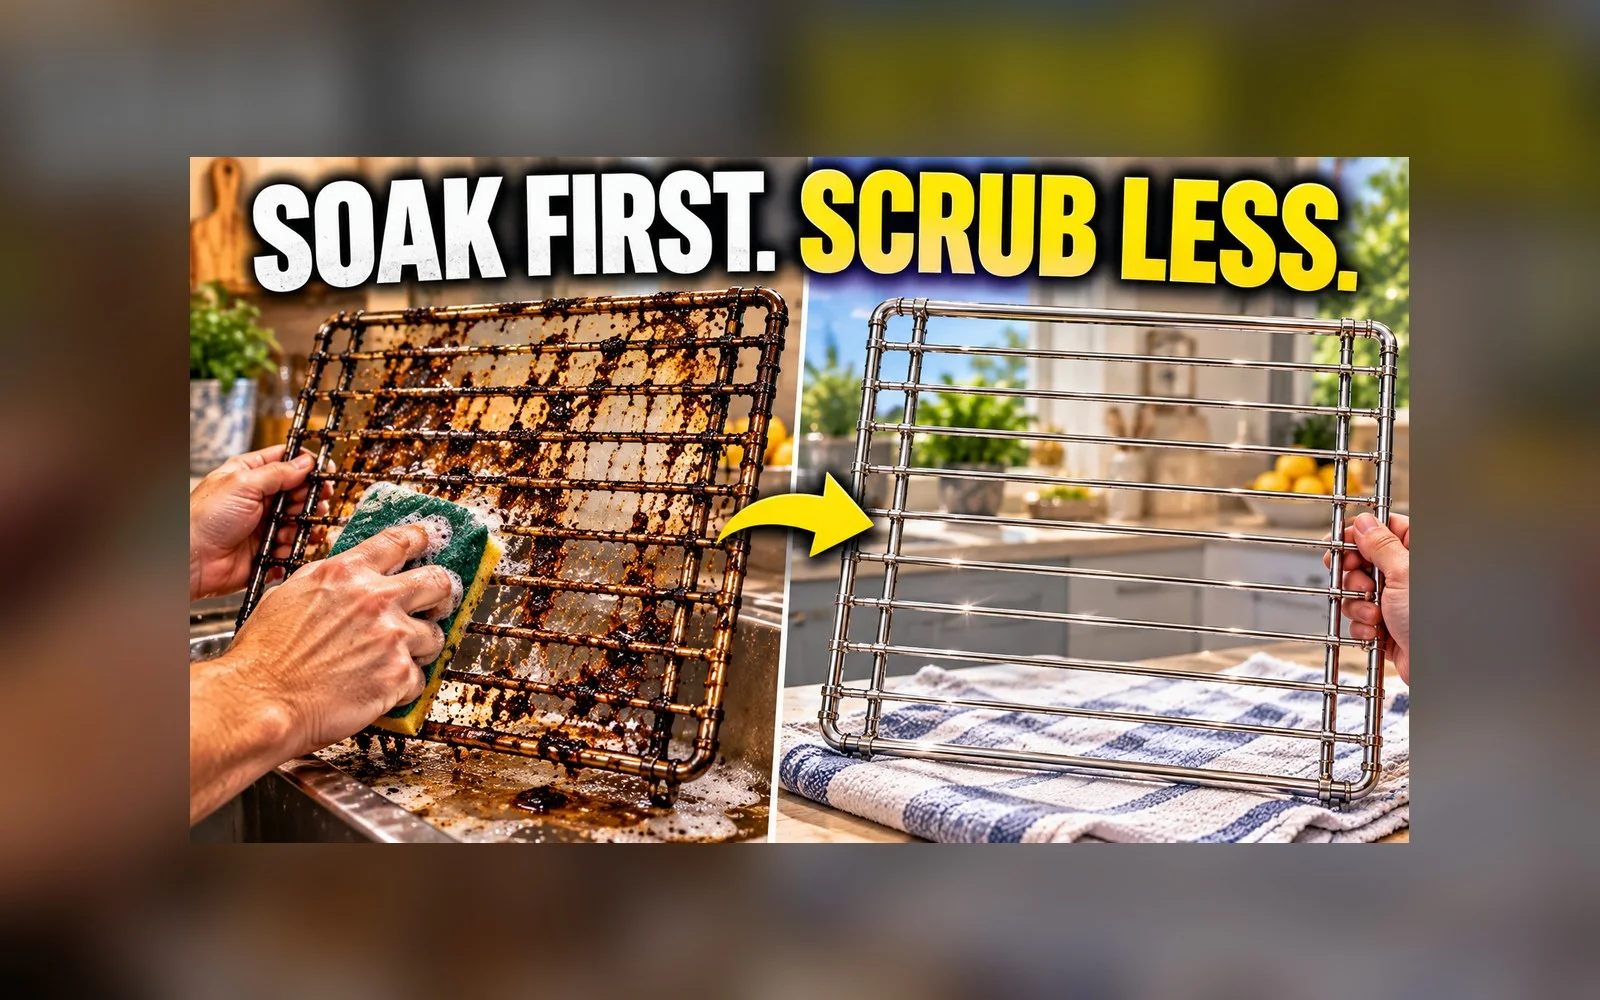
What you’ll need
Tap to tick things off before you start.
Start by Softening the Grease
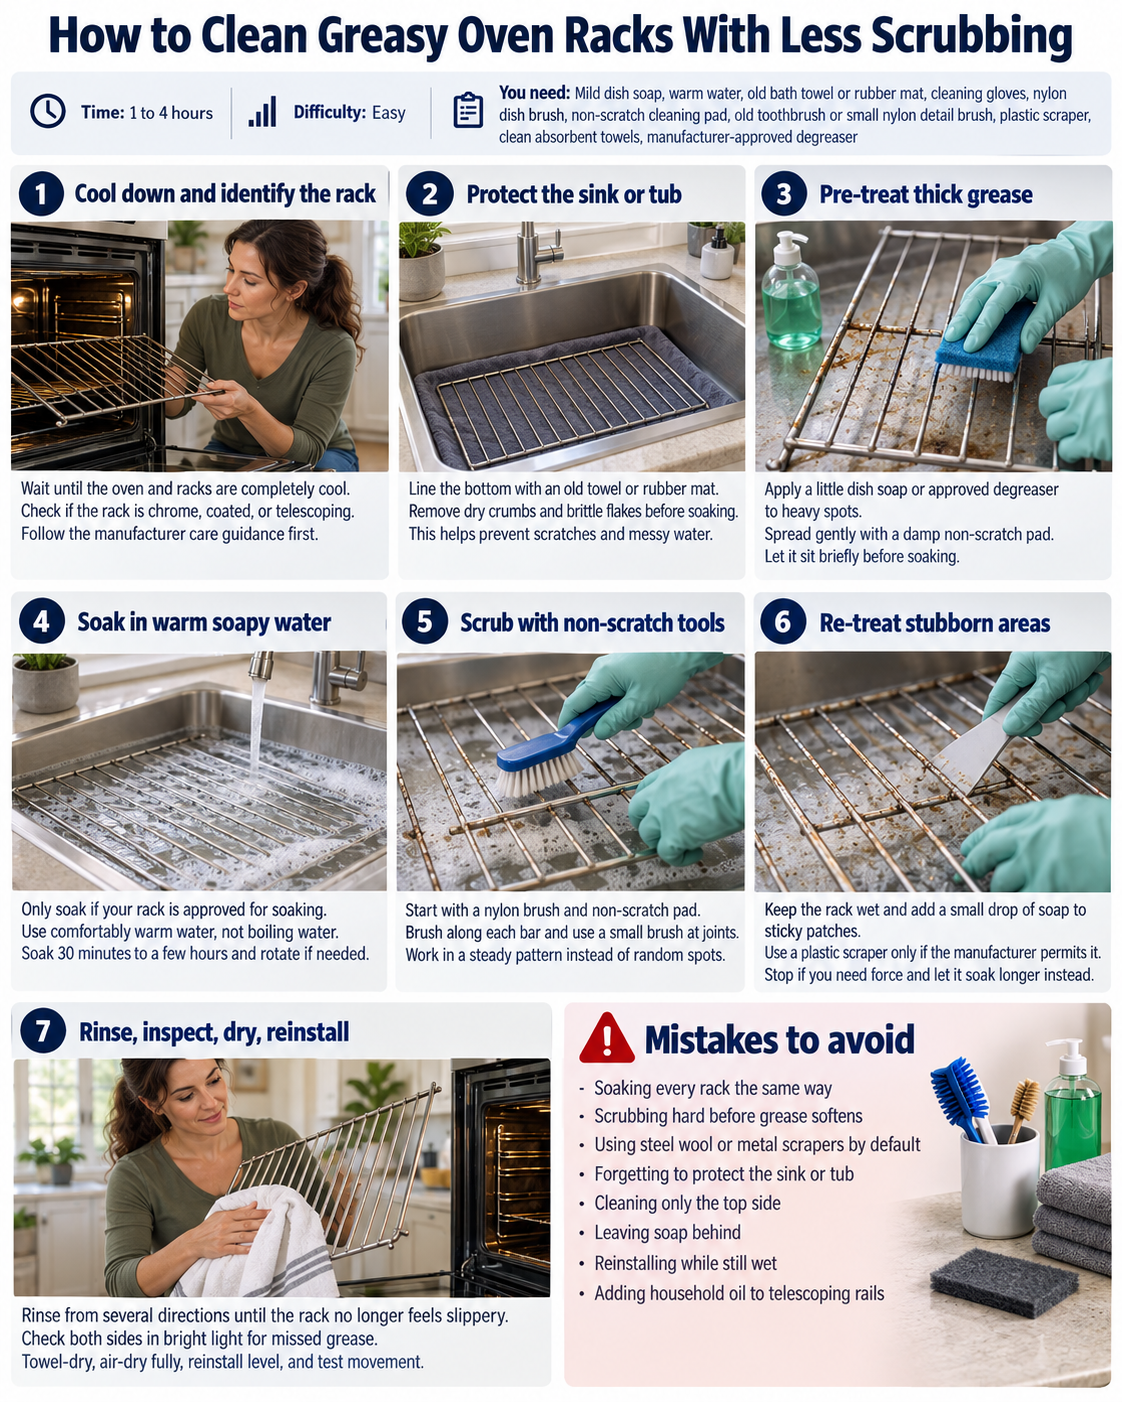
Set up the job around one principle: soften the buildup before you scrub it. Gather your dish soap, gloves, nylon brush, non-scratch pad, old towels, and any cleaner specifically approved for your oven rack. Baked-on grease that feels almost welded to the metal can become noticeably easier to lift after soaking. Starting with time and mild chemistry also reduces the temptation to use steel wool, sharp scrapers, or excessive pressure that can permanently mark the rack.
Identify What Kind of Rack You Have
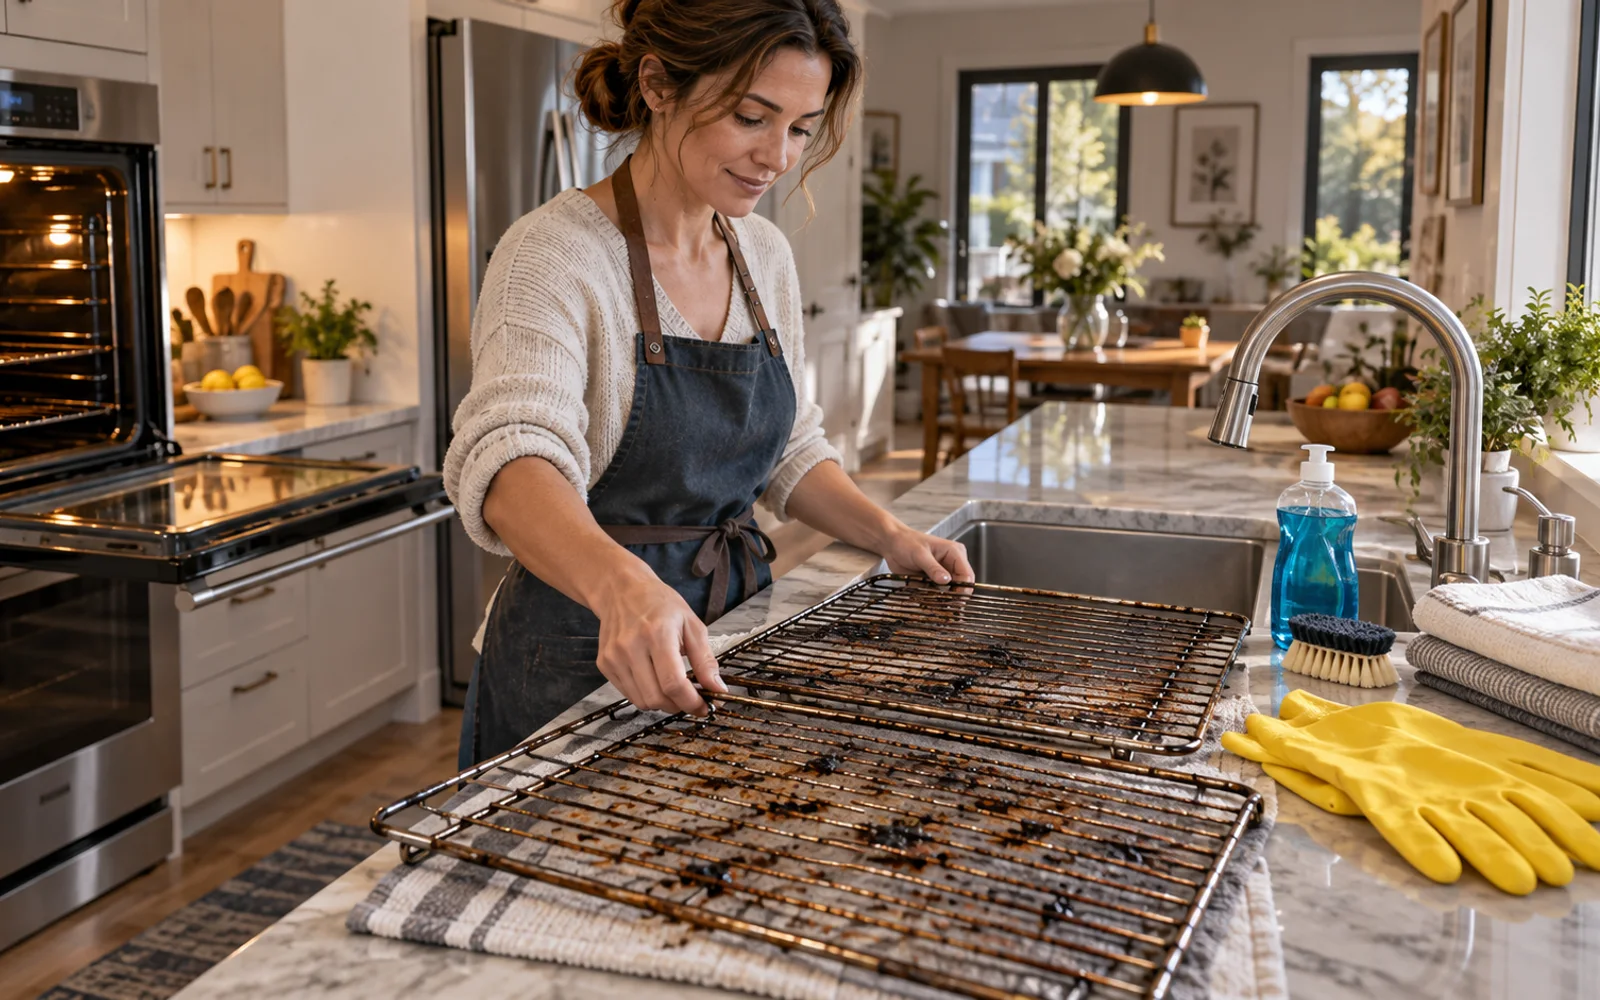
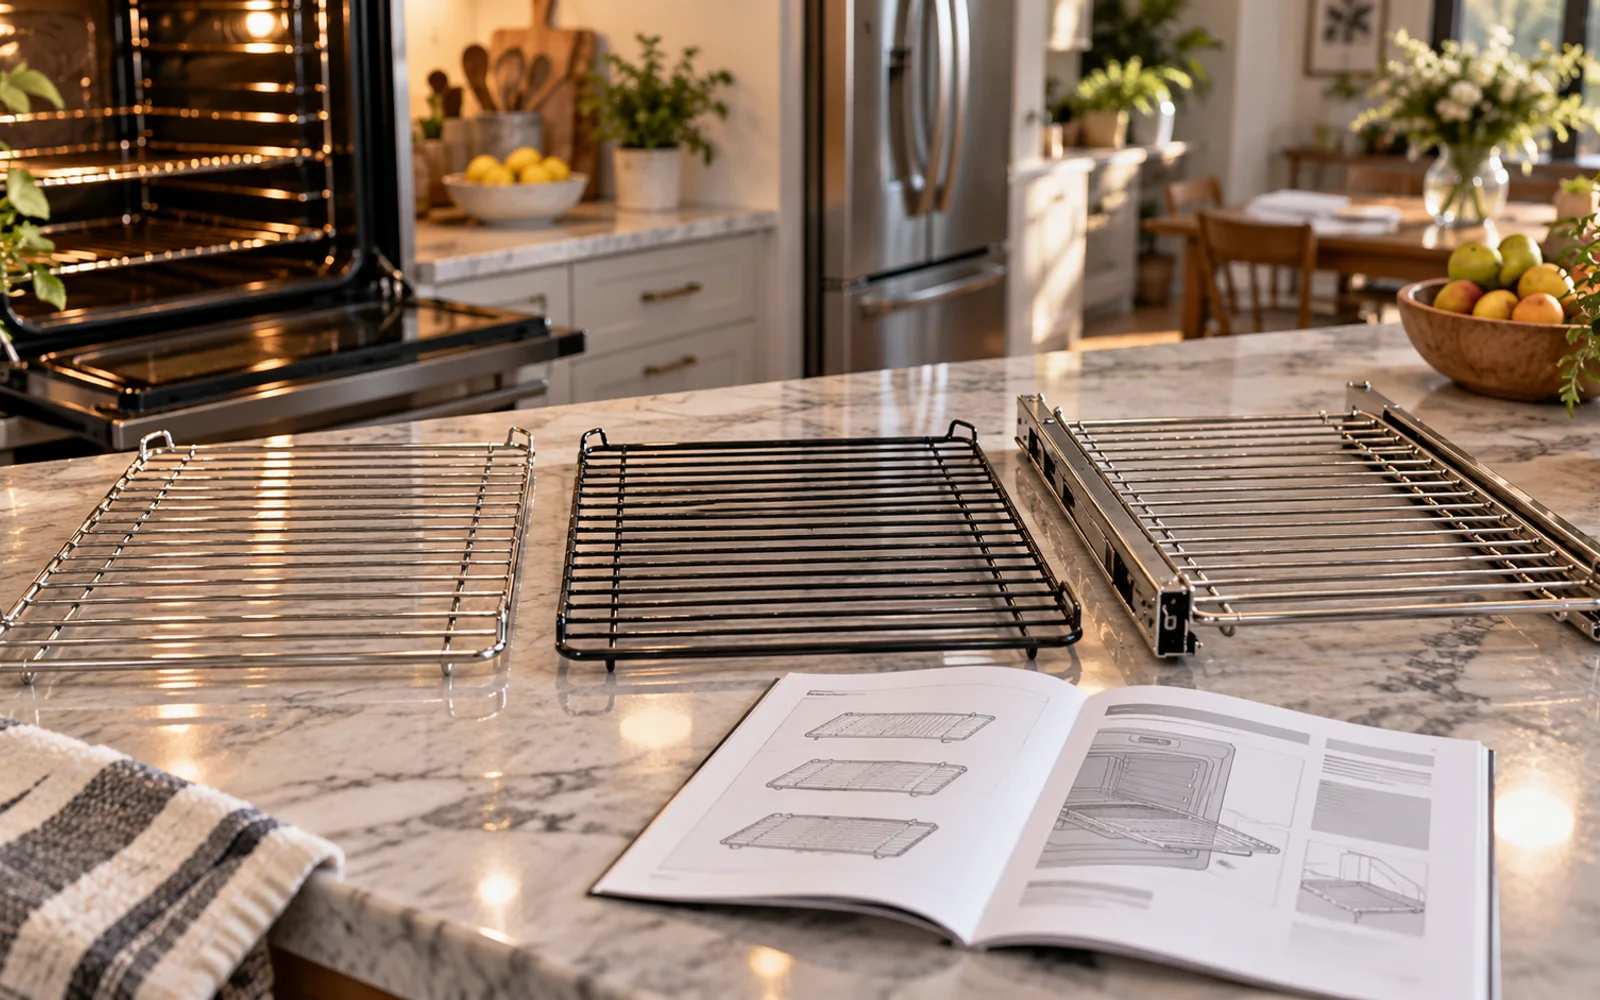
Look closely at the rack before putting it in water. A basic shiny chrome rack may have very different care instructions from a dark coated rack or a telescoping rack with sliding rails. Check your oven owner's manual or the manufacturer's online care guidance if you are unsure. Do not assume that a soaking method recommended for one oven is automatically safe for another. Specialty finishes can discolor or degrade, while telescoping mechanisms can be damaged if water or cleaner enters parts designed to remain lubricated or dry.
Wait Until the Oven Is Completely Cool
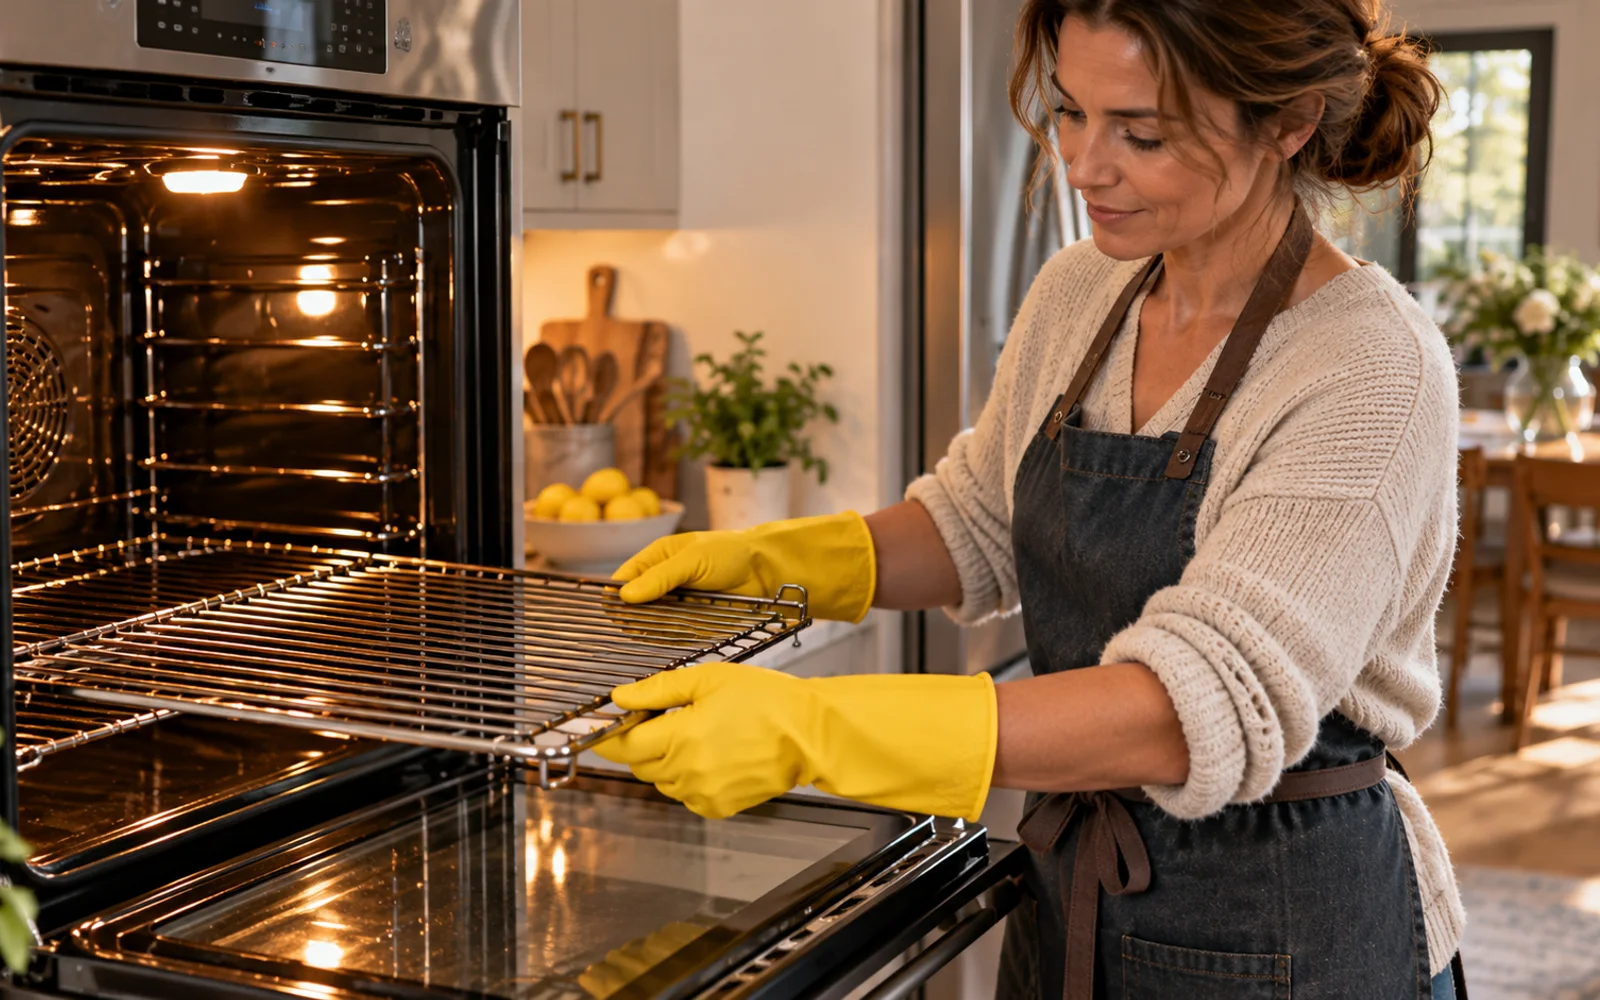
Turn the oven off and wait until the cavity and racks are completely cool. Do not try to speed the job up by removing very hot racks and immediately placing them in water. Besides the obvious burn risk, abrupt temperature changes are unnecessary and may be unsuitable for some finishes. Once everything is cool, pull the rack straight toward you while supporting both sides. Keeping it level reduces the chance of scraping the oven walls or dropping a heavy rack onto the floor.
Protect the Tub or Sink
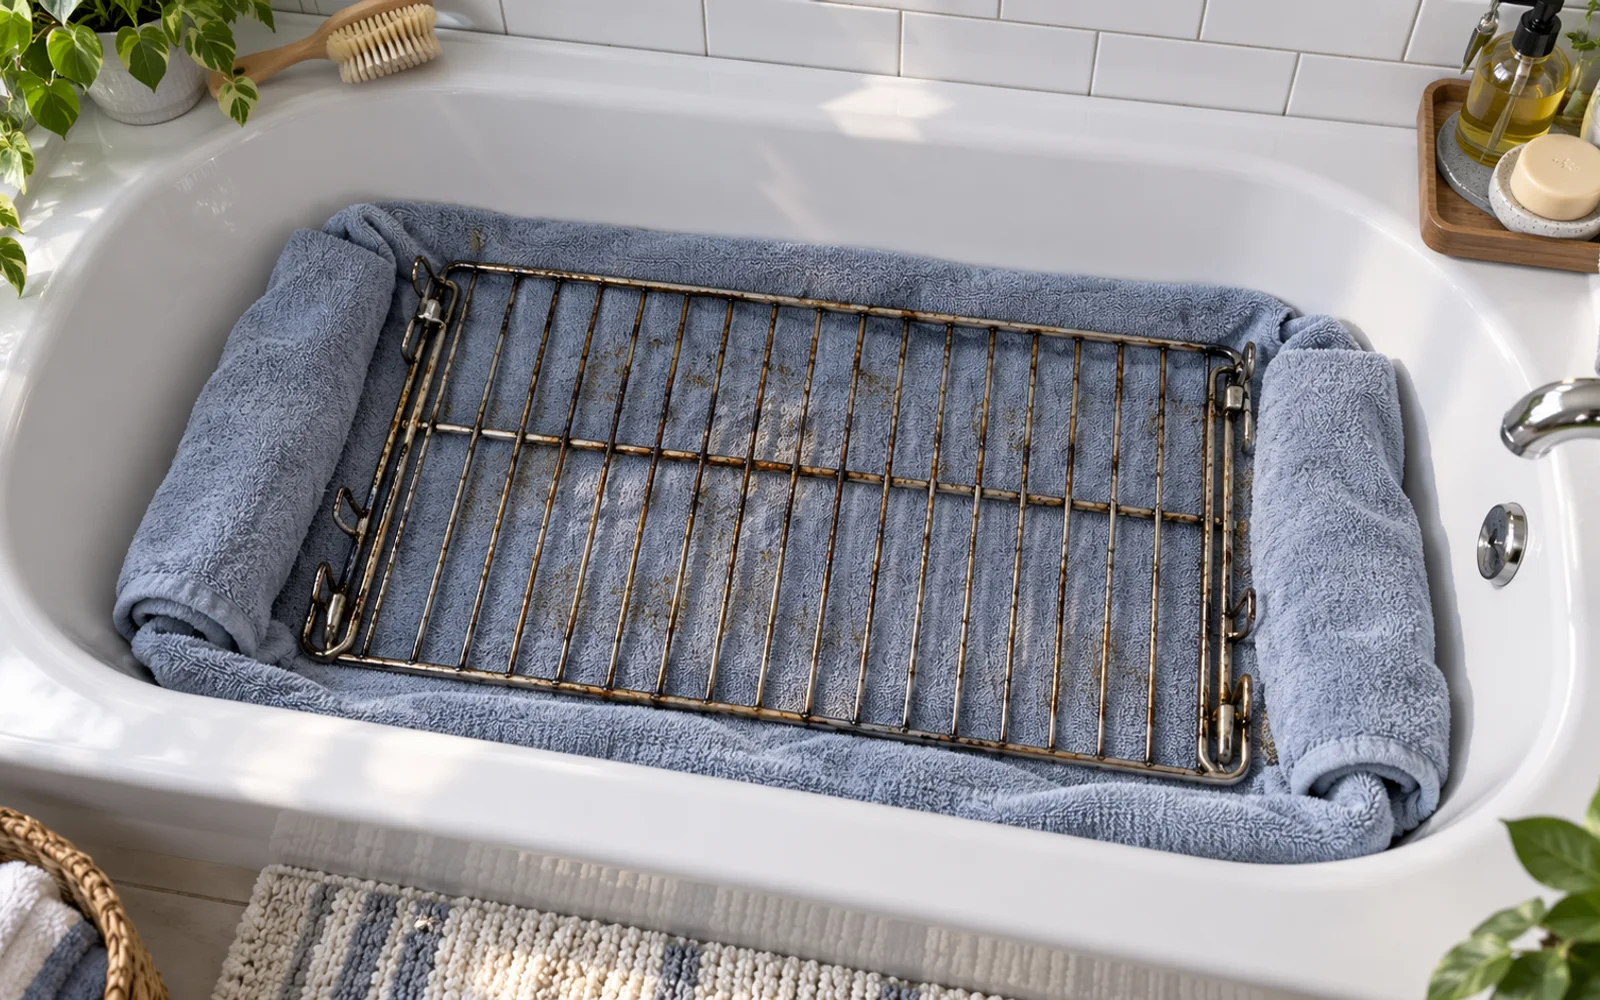
Before the rack touches your bathtub, utility sink, or large kitchen sink, cover the bottom with an old towel, rubber mat, or another non-slip protective layer. Bare metal can scratch porcelain, enamel, stainless steel, and other finished surfaces surprisingly quickly. A towel also keeps the rack from sliding while you clean it and makes the whole job quieter. Make sure the fabric lies flat enough that the rack remains stable when water is added.
Brush Away Dry Crumbs and Flakes
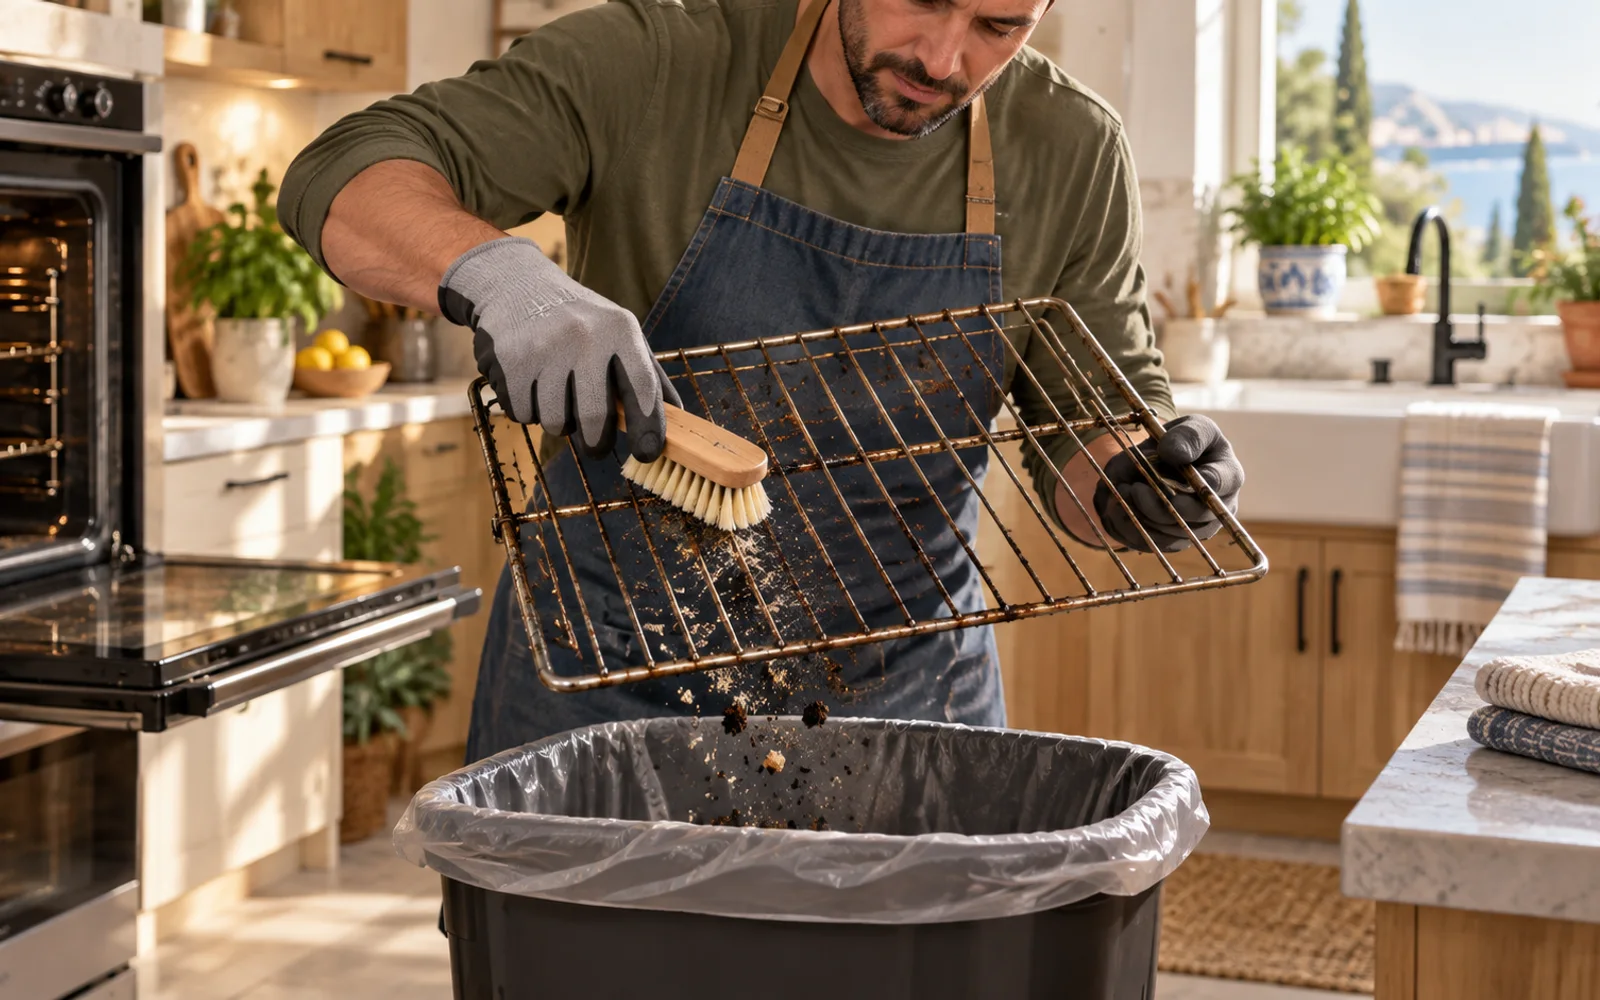
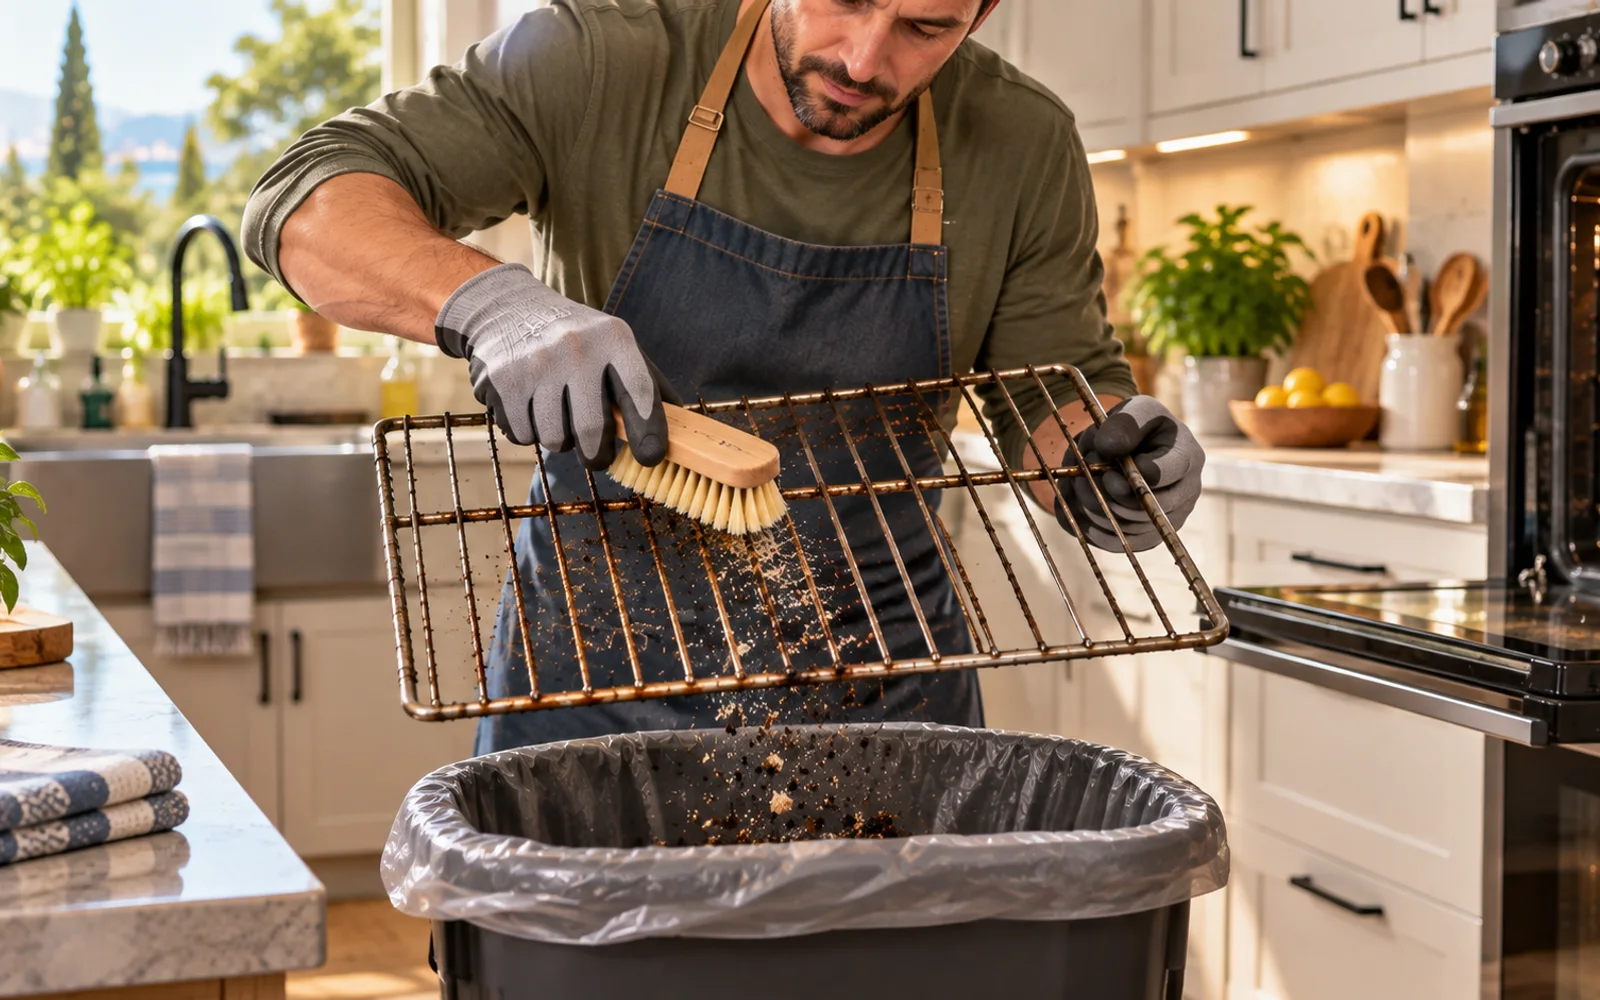
Remove loose food before making everything wet. Hold the rack over a trash can or work on a protected surface and use a dry nylon brush, paper towel, or finish-safe soft scraper to dislodge crumbs and brittle burned fragments. This small step keeps the soaking water from filling with unnecessary debris. It also lets the soap and water reach the greasy film directly instead of creating a murky mixture of softened food particles and grease.
Pre-Treat the Thickest Grease
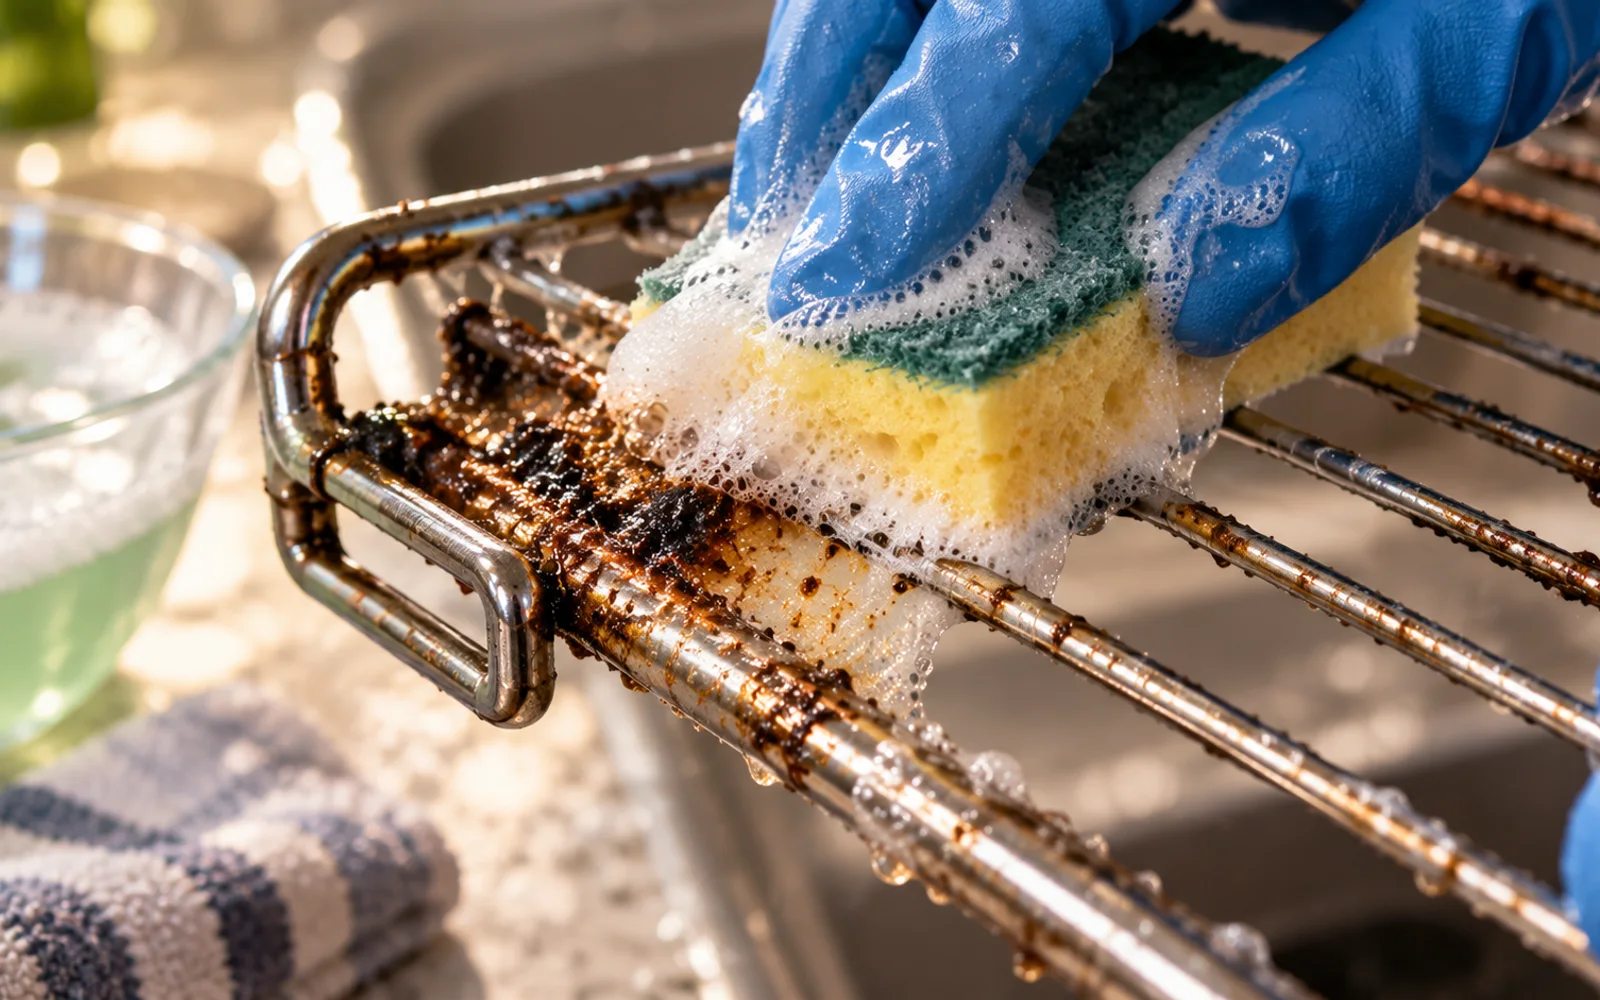
Find the worst patches before the full soak. If your rack finish allows it, put a small amount of mild dish soap or an approved degreaser directly onto thick, sticky grease. Spread it over the spot with a damp sponge or non-scratch pad and allow it to sit briefly. Targeted pre-treatment gives the cleaner extra contact time where it is most useful. There is no need to saturate the entire rack with concentrated cleaner.
Choose Non-Scratch Tools First
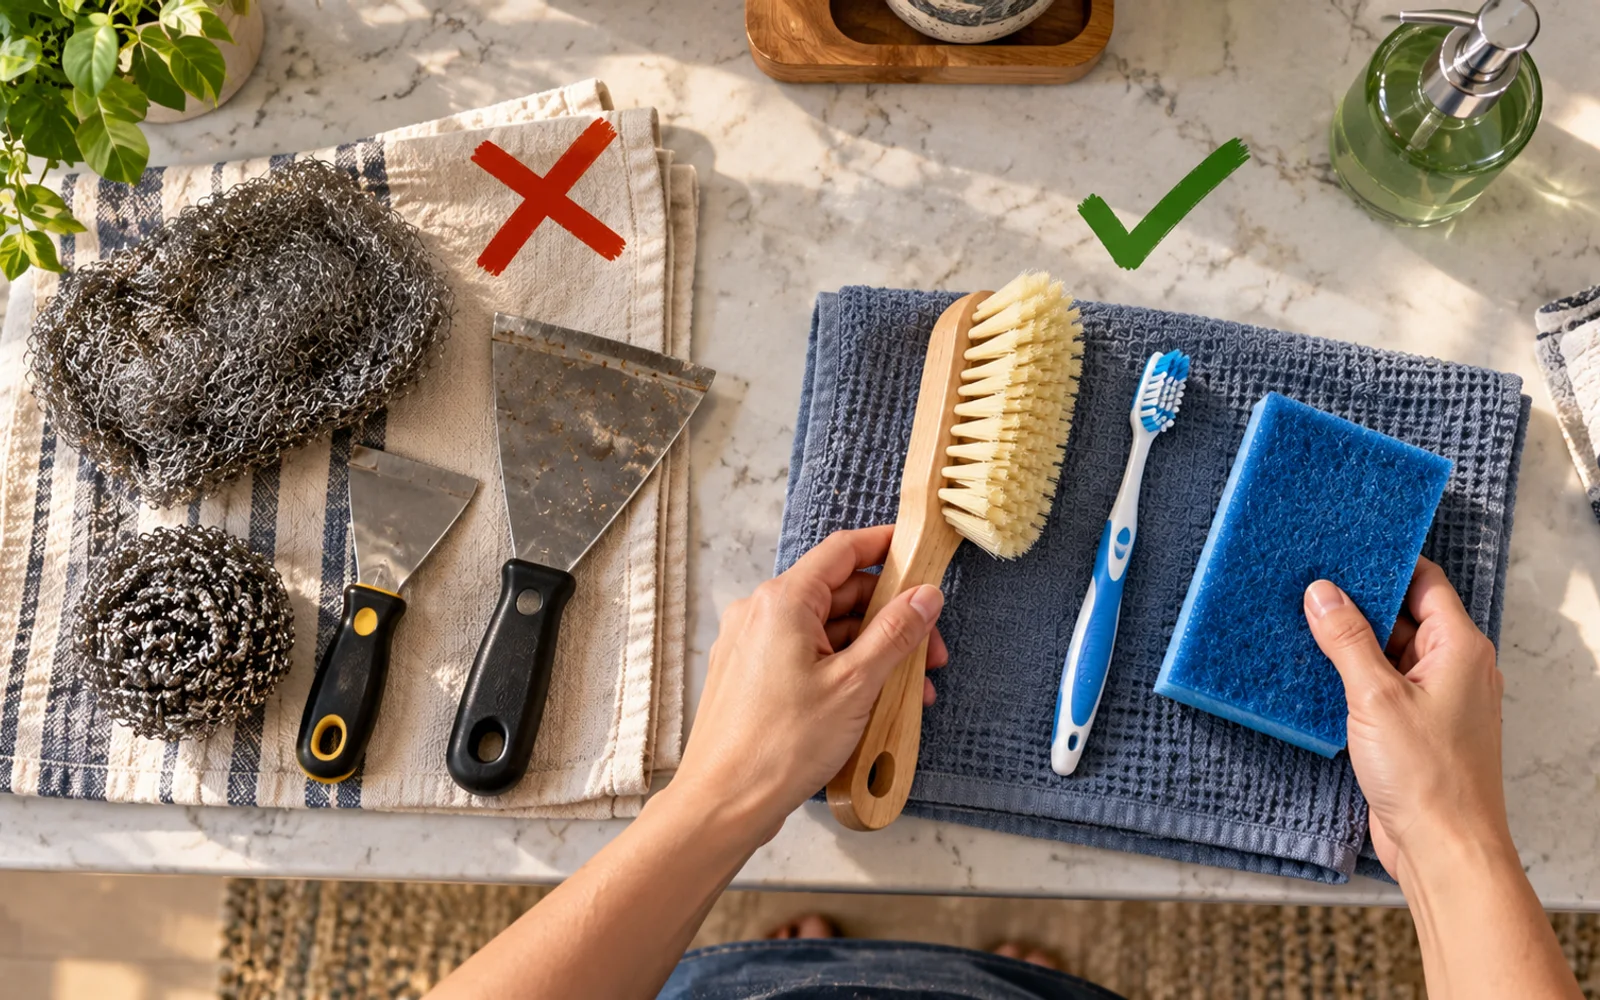
Set steel wool, metal putty knives, sharp blades, and aggressive scouring powders aside unless your rack manufacturer explicitly permits them. Chrome plating and specialty finishes can be scratched or dulled by tools that seem harmless on other surfaces. Start with a nylon dish brush, non-scratch pad, and old toothbrush. These tools provide enough mechanical action for softened grease while giving you much better control over how much pressure reaches the finish.
Prepare a Warm Soapy Soak
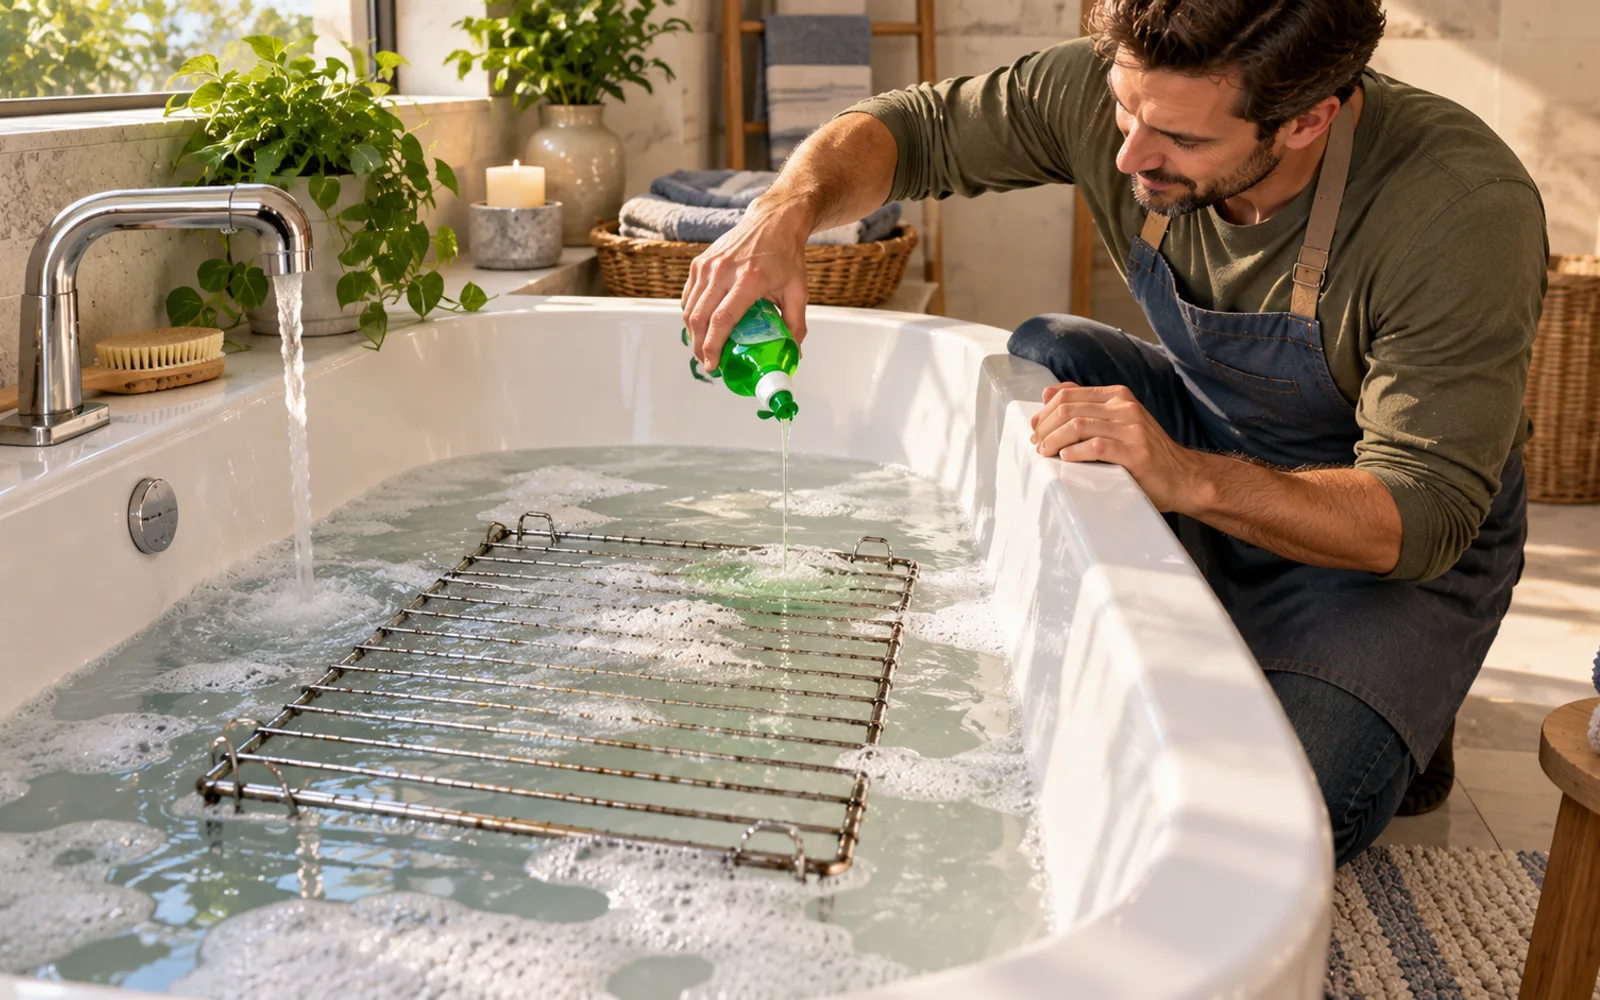
If your rack is approved for soaking, place it on the protected surface and add enough comfortably warm water to cover as much of the rack as possible. Mix in a modest amount of dish soap and move the water around so the soap disperses evenly. More soap is not automatically better. The combination of water, detergent, and contact time is what helps loosen the greasy film. Avoid mixing multiple cleaning products together.
Keep the Water Comfortably Warm
You do not need boiling water. Comfortably warm water helps soften oily residue while keeping the cleaning process easier and safer to handle. Extremely hot water creates an unnecessary burn risk and may expose finishes to harsher temperature changes than they need. If the water is uncomfortable to work around even while wearing cleaning gloves, let it cool. The real advantage comes from giving the detergent enough time to work, not from pushing the temperature to an extreme.
Let Time Do the Heavy Work
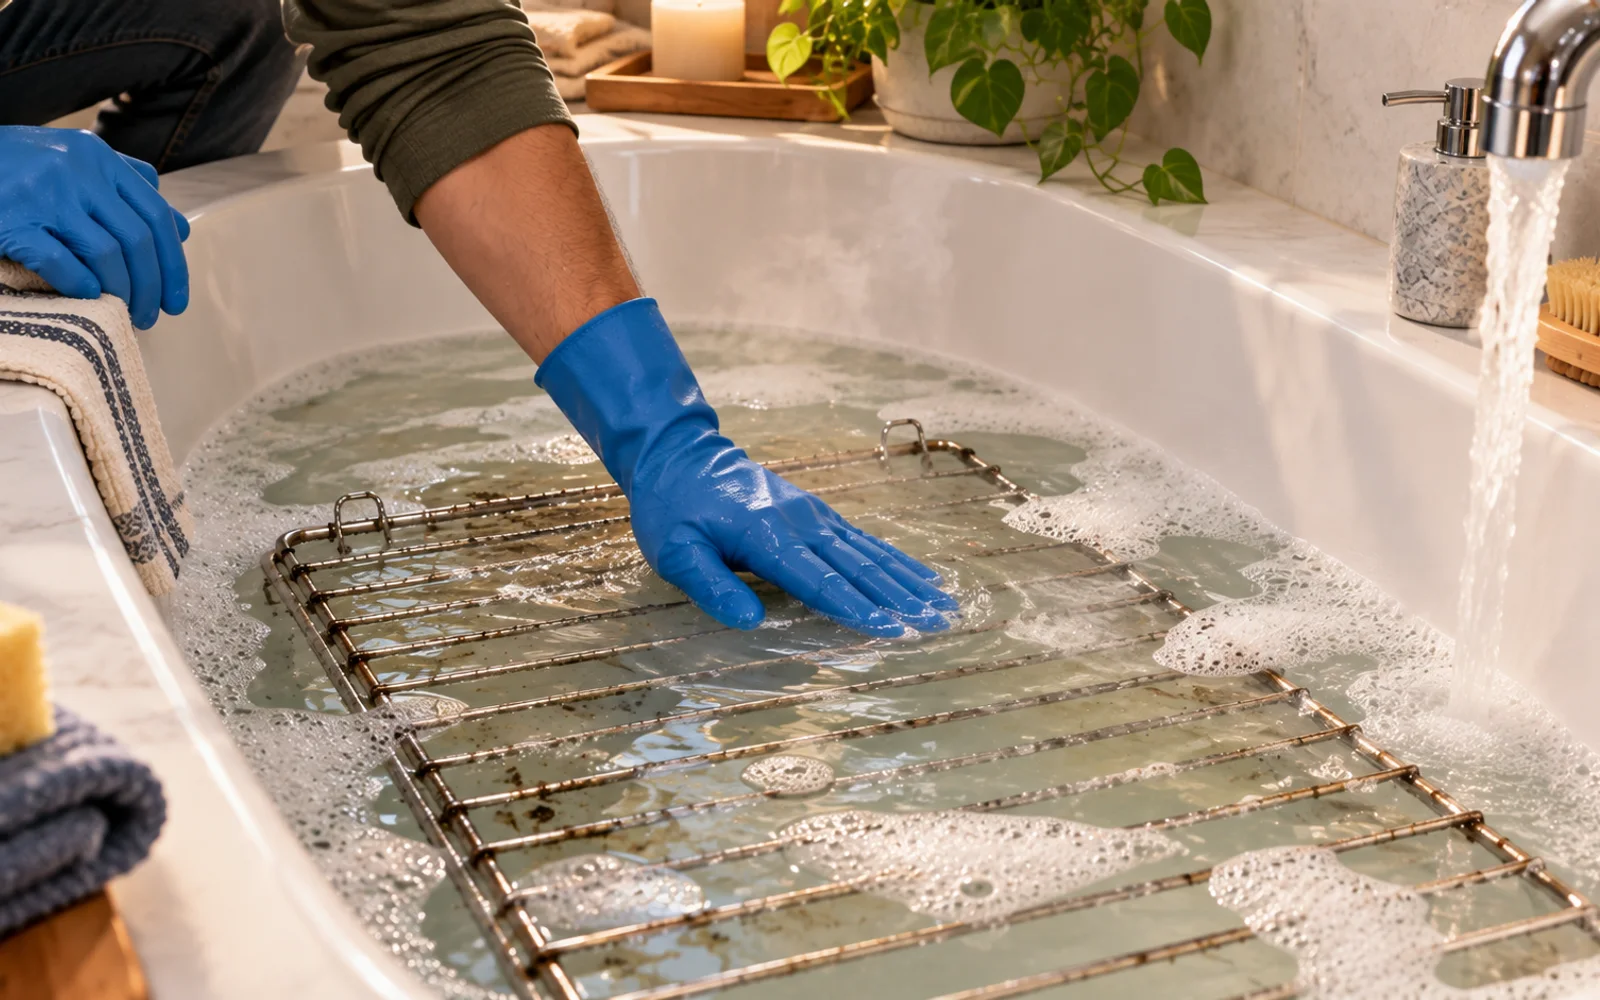
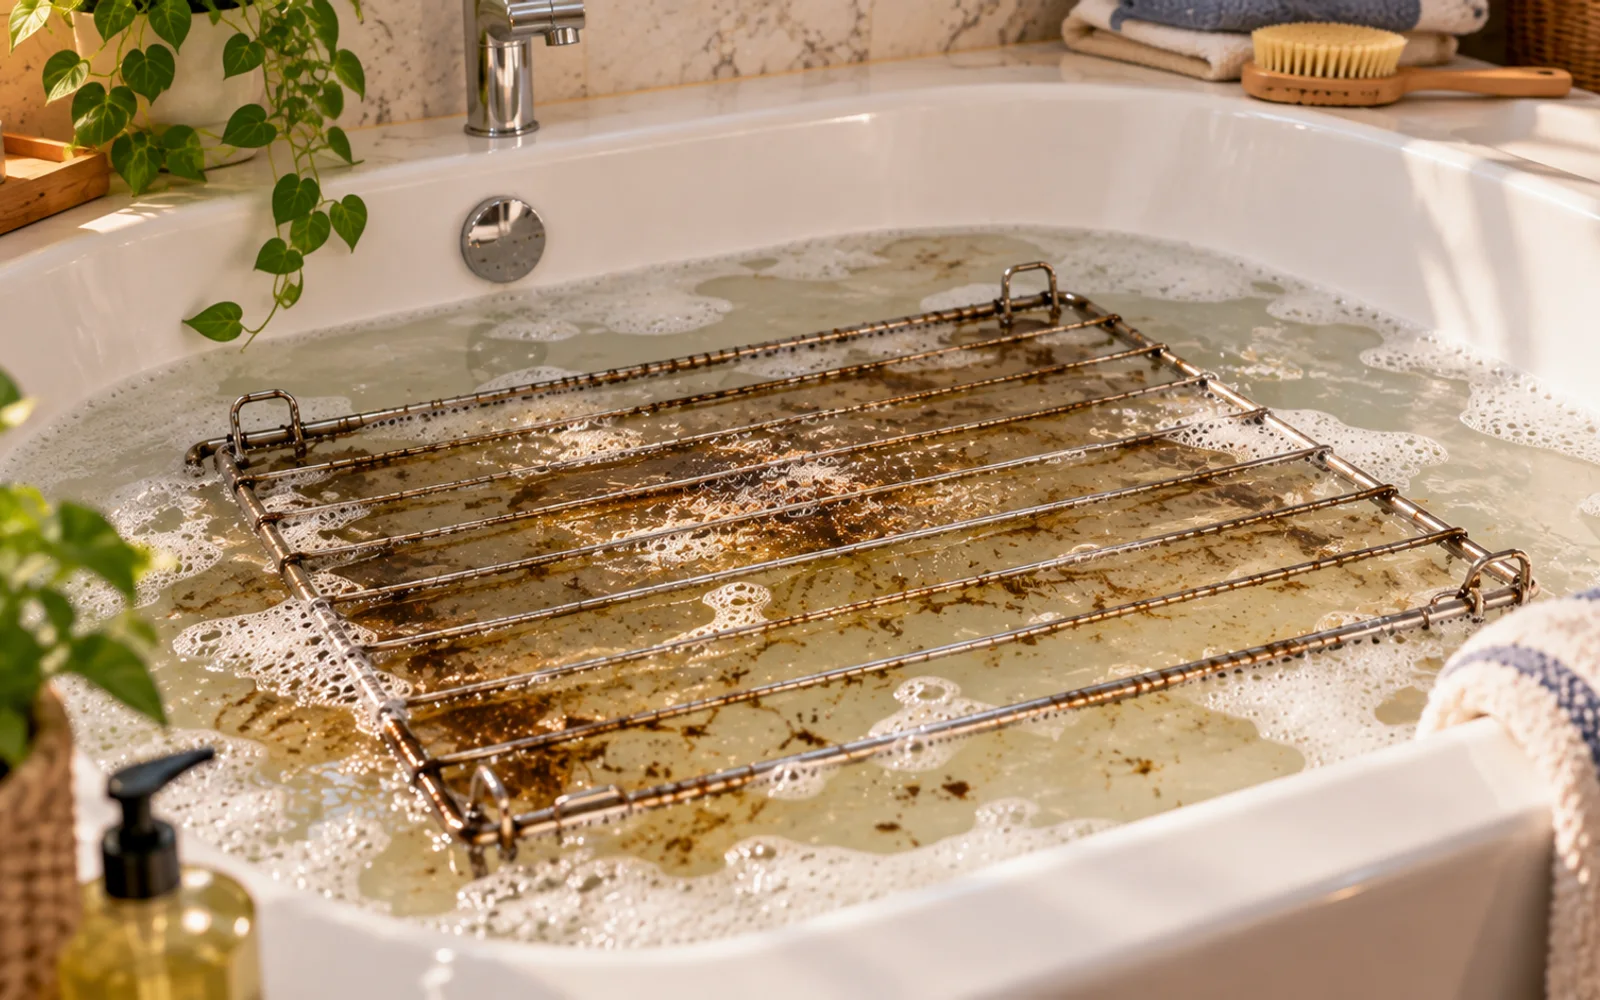
Leave the rack in the soapy water instead of beginning an aggressive scrub immediately. A moderately dirty rack may improve significantly after about 30 minutes, while heavier baked-on buildup may benefit from a few hours. Check progress rather than relying on a rigid timer. Lightly brush one greasy area. If the residue is still hard and firmly attached, continue soaking. Extra contact time is usually easier on both you and the rack than immediately increasing scrubbing pressure.
Rotate a Rack That Is Not Fully Covered
If your sink or tub is too shallow to submerge the entire rack, rotate it during the soak. Give the exposed section its own time below the water line, particularly the front rail, rear rail, and heavily soiled corners. Otherwise, one half may clean easily while the other remains dry and stubborn. Move the rack carefully because wet metal is slippery, and make sure the protective towel or mat stays underneath it.
Test the Grease With Light Pressure
Before committing to a full scrub, test one dirty spot using a nylon pad or brush. Properly softened grease may smear, peel, or lift with surprisingly little pressure. That is your signal to continue cleaning. If you have to push hard and the residue barely moves, give it more time. Re-soaking a stubborn rack for another interval is safer than escalating immediately to rough tools that can scratch the finish.
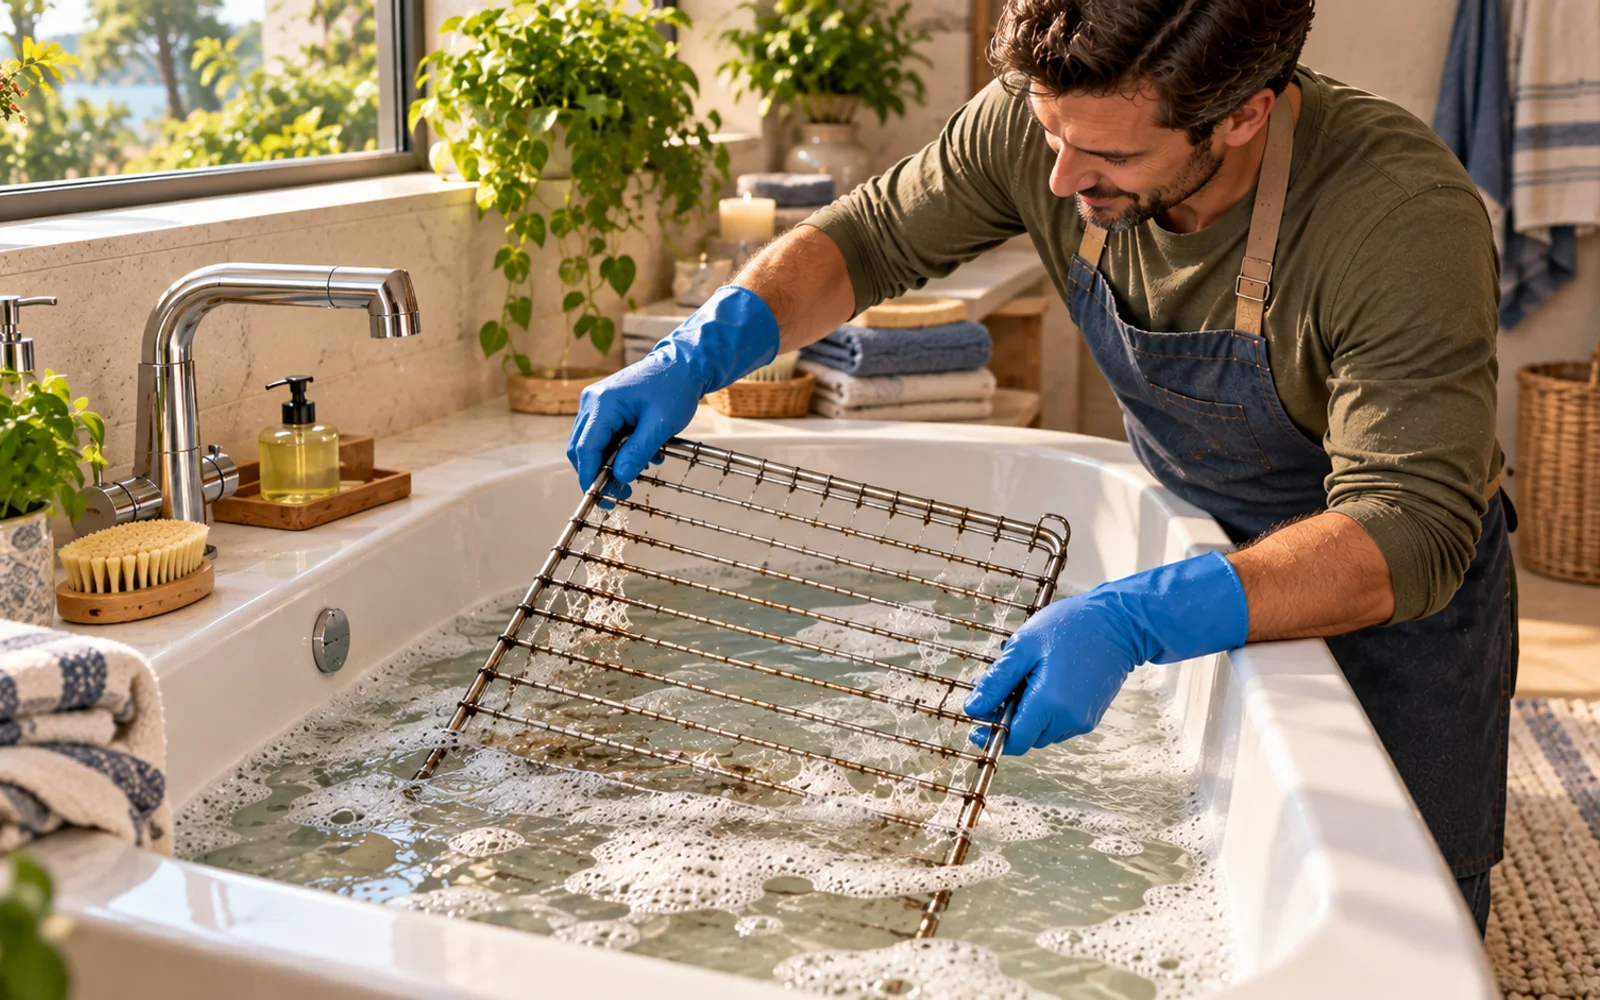
Clean in a Consistent Pattern
Work methodically instead of jumping between random dirty areas. Begin at one side rail, clean the nearby bars, and move across the rack in order. A consistent pattern reduces missed spots and keeps you from scrubbing the same section repeatedly. It also makes stubborn areas obvious. If most of one section comes clean but two patches remain, you can re-treat only those patches instead of repeating the entire cleaning process.
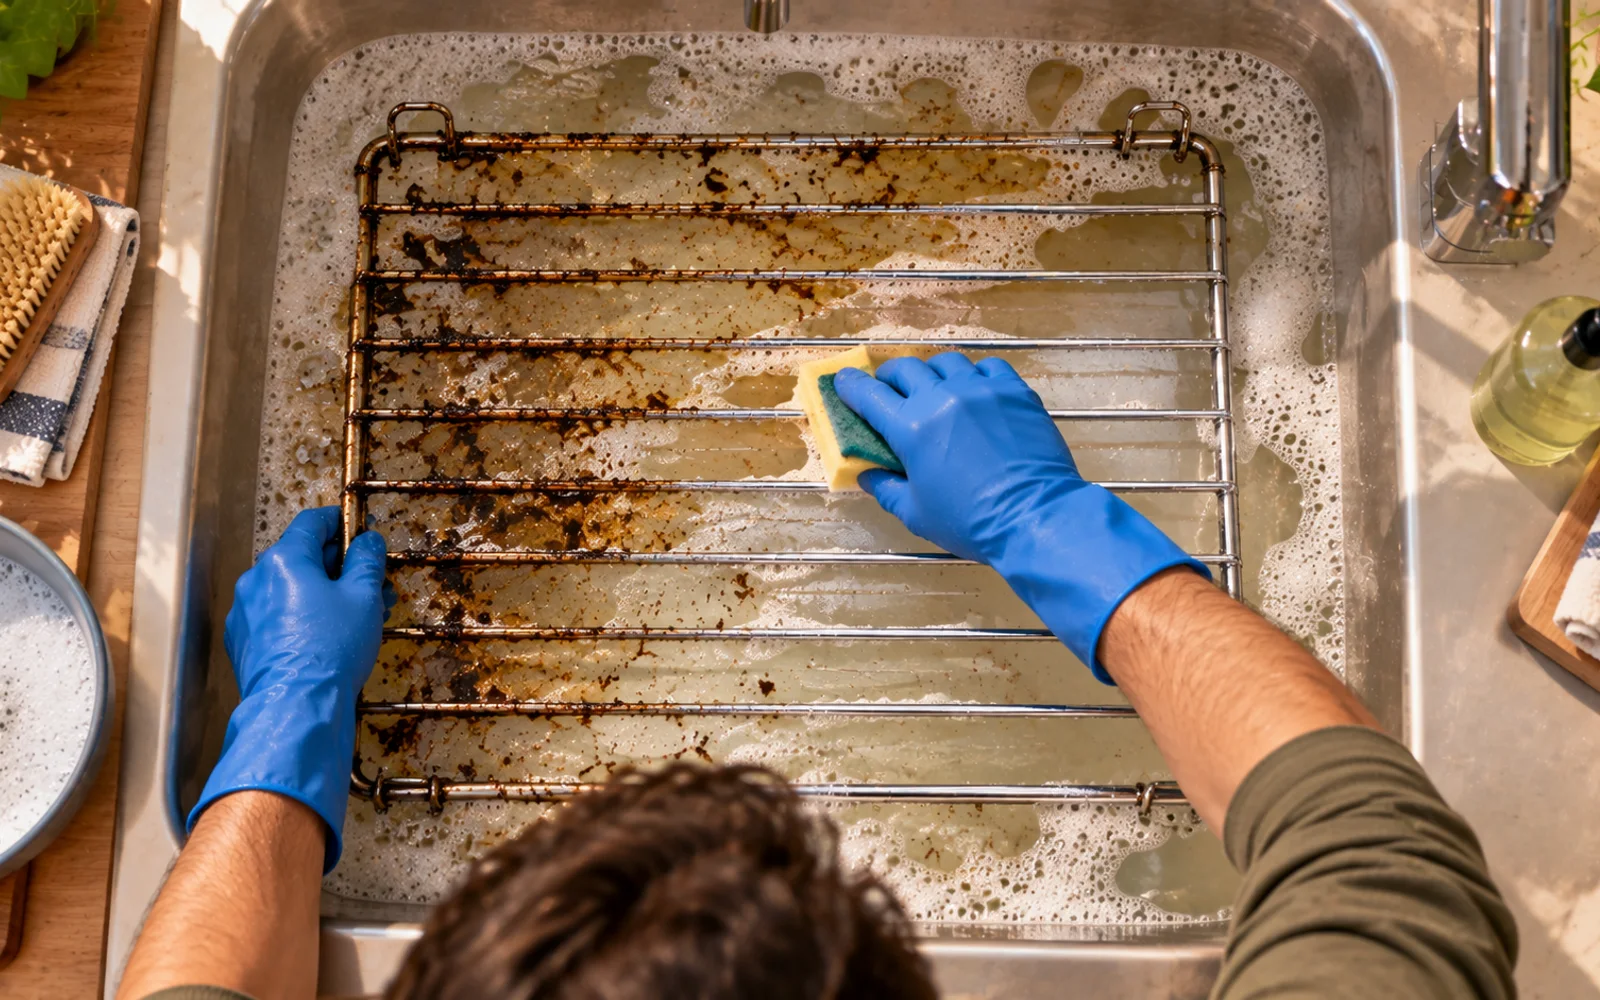
Brush Along the Length of Each Bar
Use a nylon dish brush on the long straight sections. Run the bristles lengthwise along each bar so they wrap around the curved metal rather than only touching the upper surface. Long strokes remove softened film efficiently. For localized buildup, switch to short back-and-forth strokes without dramatically increasing pressure. Hold the rack securely with your other hand so it does not slide across the tub or sink while you work.
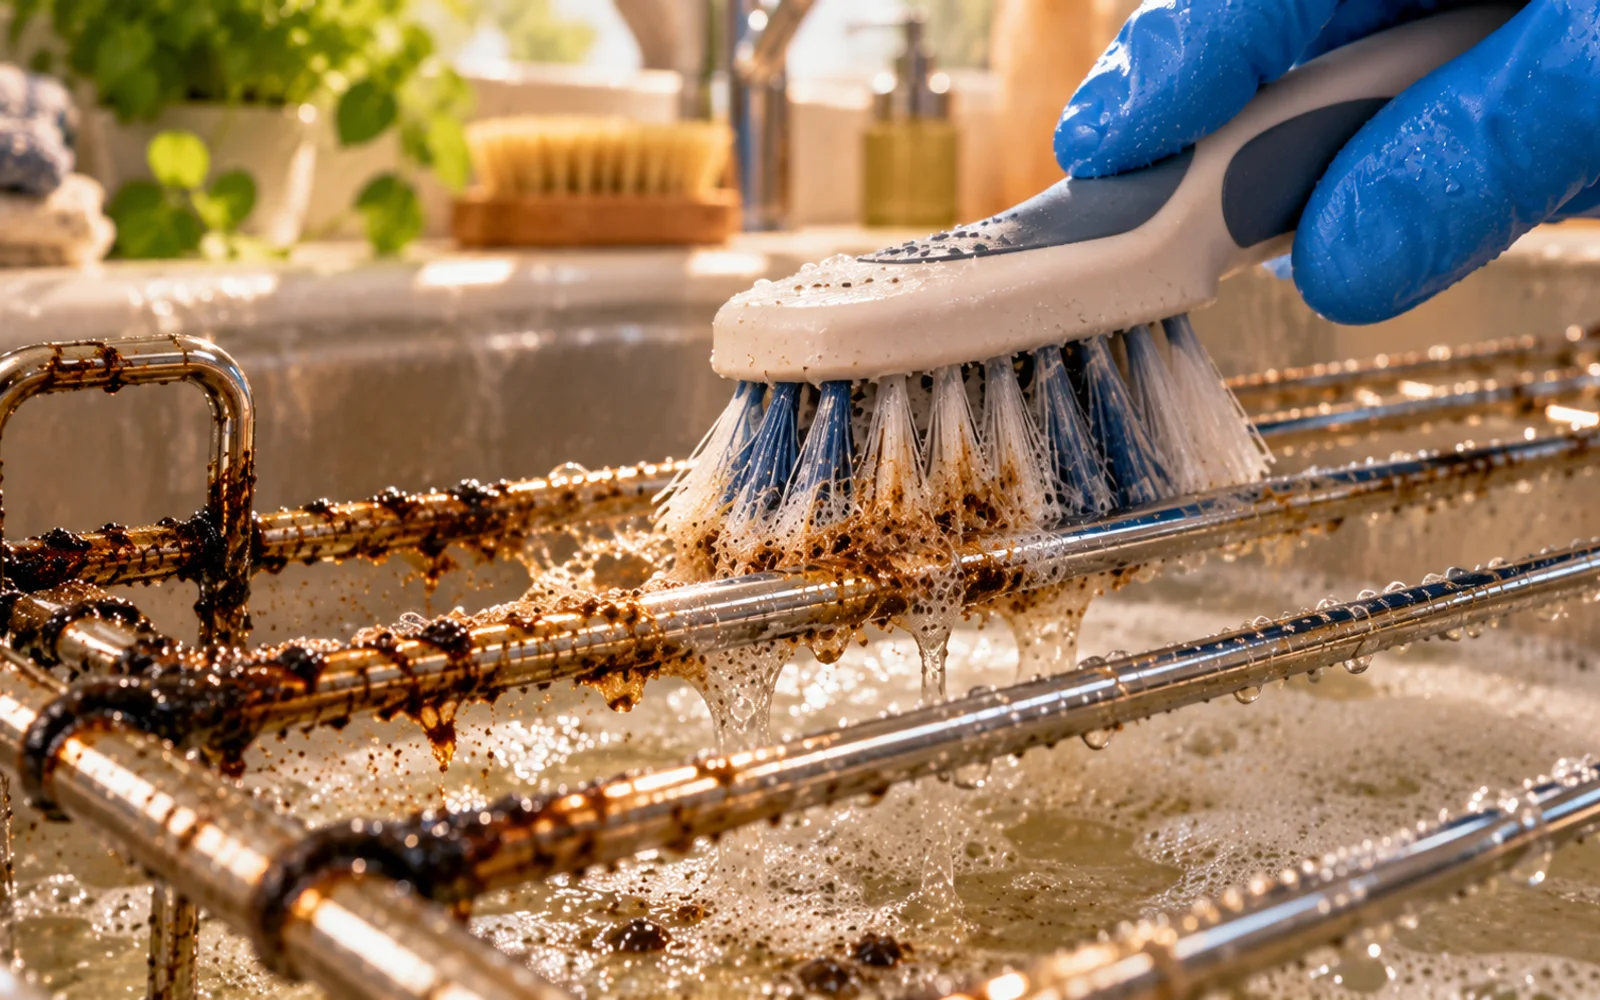
Detail the Crossings Between Bars
Intersections are common hiding places for grease because a larger brush cannot reach the narrow angles easily. Use an old toothbrush or small nylon detailing brush around each crossing. Approach the joint from two or more directions and let the bristles reach underneath the adjacent bar. If the residue is still hard inside a tight gap, wet it again and allow more contact time rather than trying to dig it out with a sharp metal object.
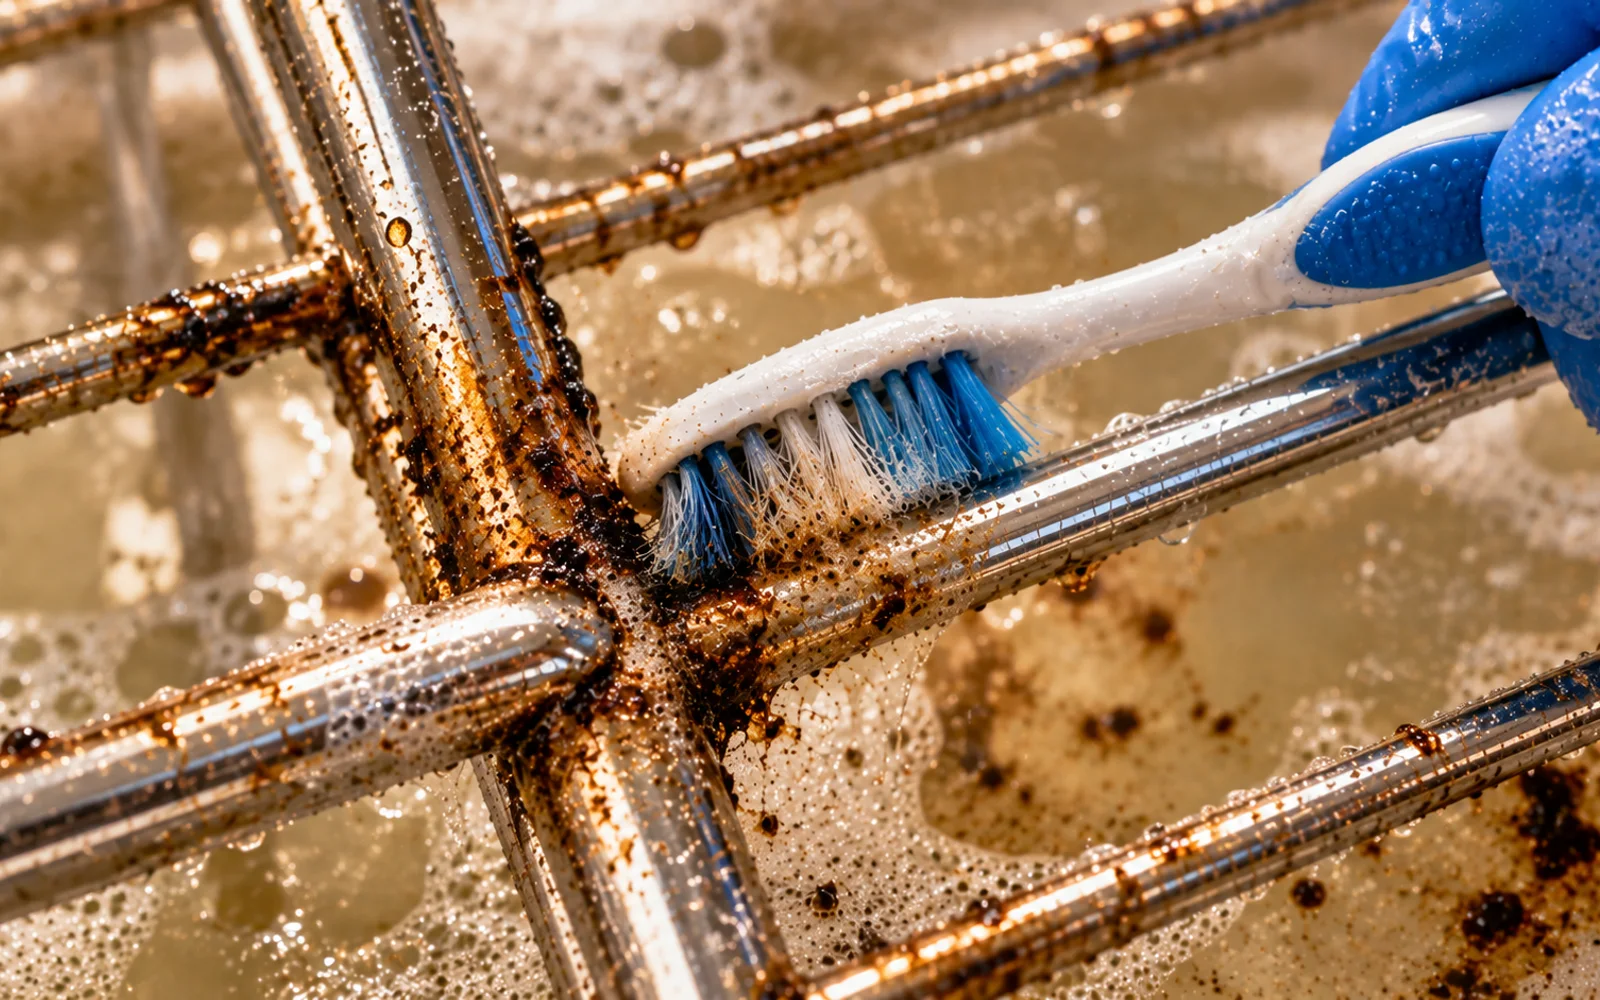
Follow the Shape of the Outer Frame
The perimeter of the rack can collect a dense combination of grease, splatter, and burned residue. Fold a non-scratch pad around the outer frame or use a small nylon brush to follow its shape. Pay particular attention to corners where several pieces of metal meet. Avoid jamming a hard scraper into those areas. A second application of soap and a few more minutes of softening are preferable to forcing residue away mechanically.
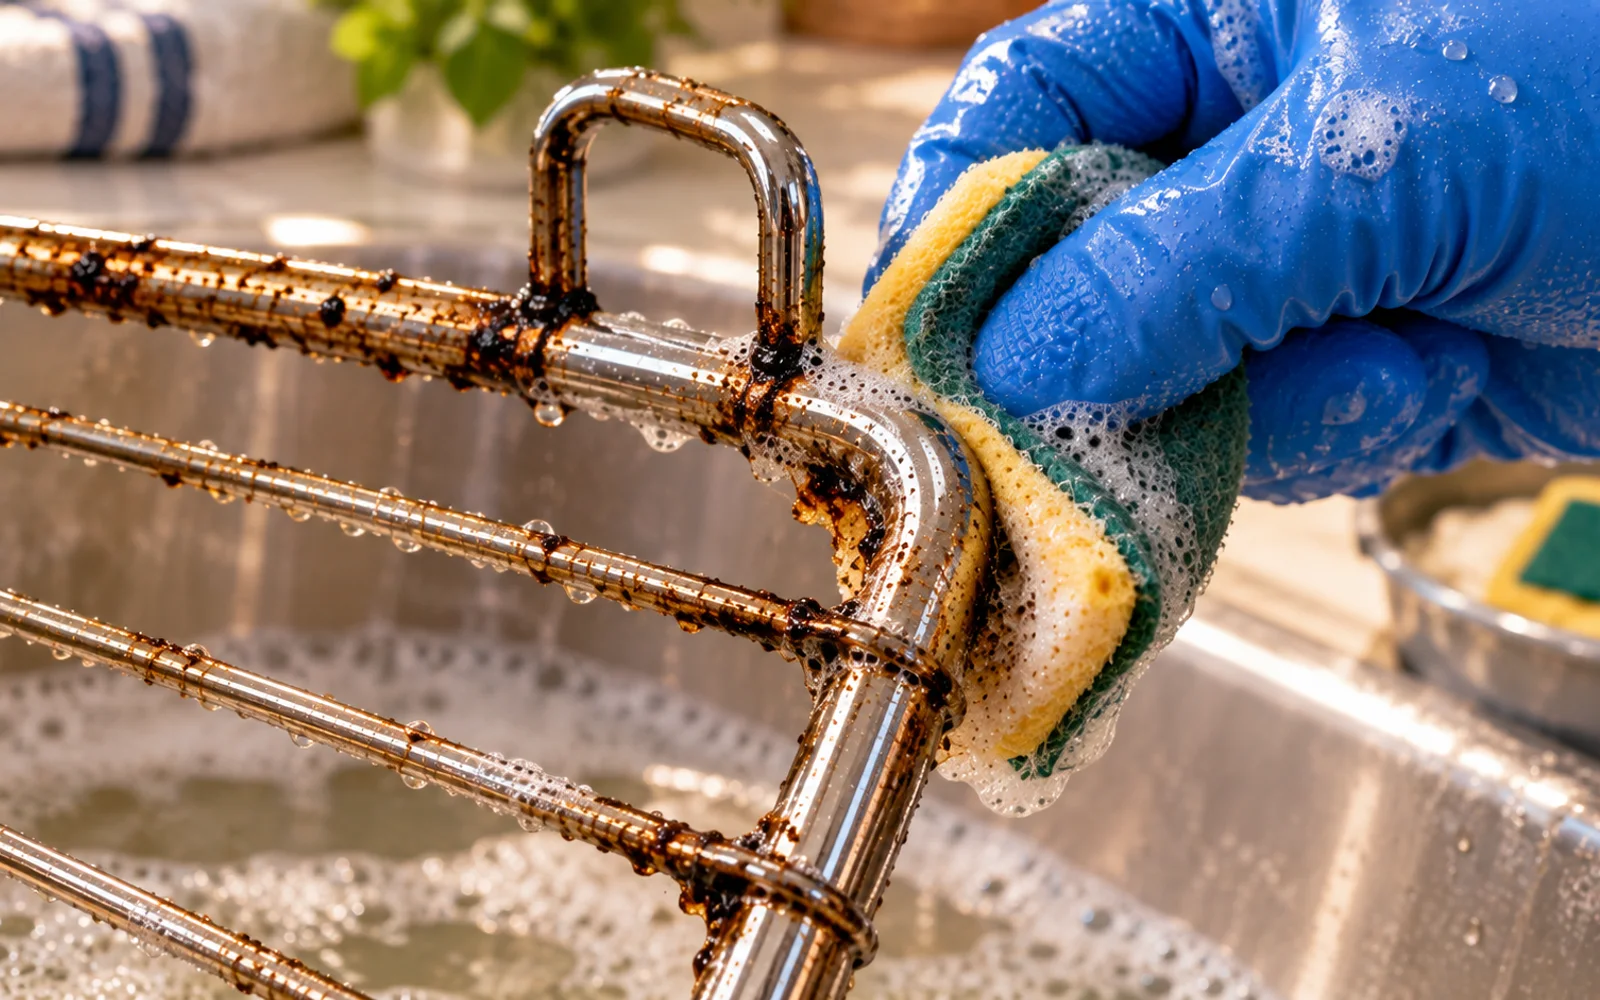
Re-Treat Only the Spots That Need It
After the first cleaning pass, you may have only a few sticky patches left. Keep the rack wet and apply a small drop of dish soap directly to each remaining area. Massage it gently with a non-scratch pad, then leave it alone for several minutes. Concentrating cleaner and contact time on a few trouble spots is more efficient than increasing pressure over the entire rack. It also reduces unnecessary wear on sections that are already clean.
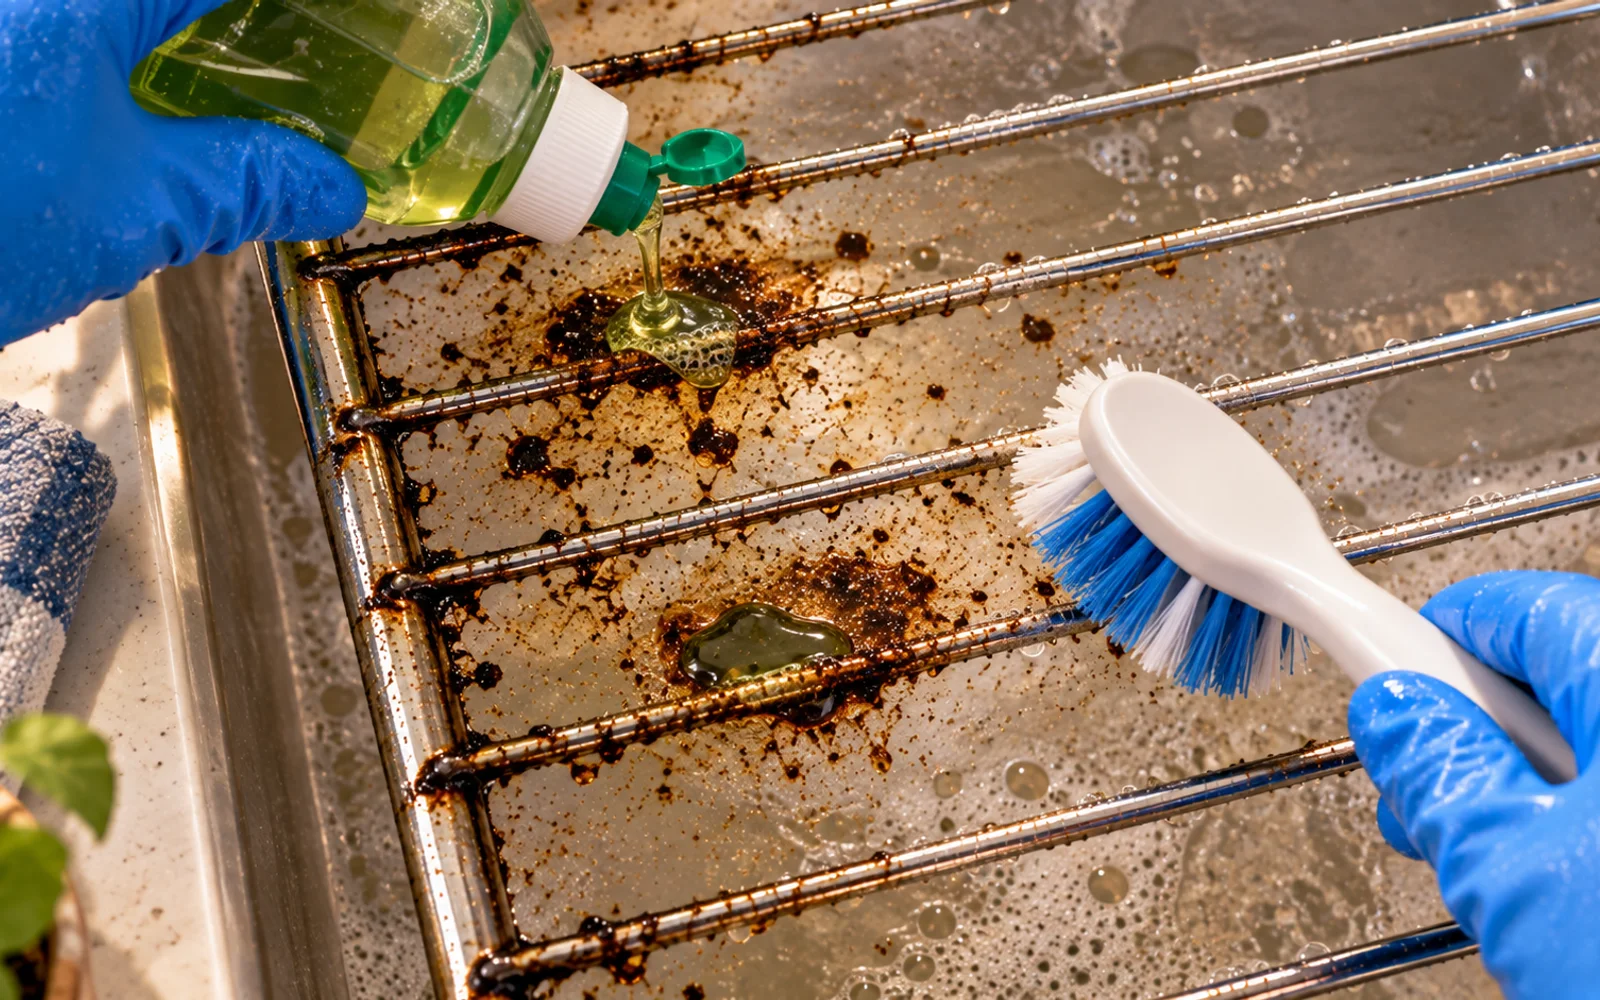
Use a Plastic Scraper Only When Appropriate
If your rack's care instructions permit it, a plastic scraper can help lift a softened, flat deposit that refuses to wipe away. Hold the scraper at a shallow angle and use gentle forward pressure. Do not drive the edge underneath chrome plating or a coated surface. If the residue will not lift without force, stop. Apply more warm water and detergent and give the area additional time rather than turning the scraper into a chisel.
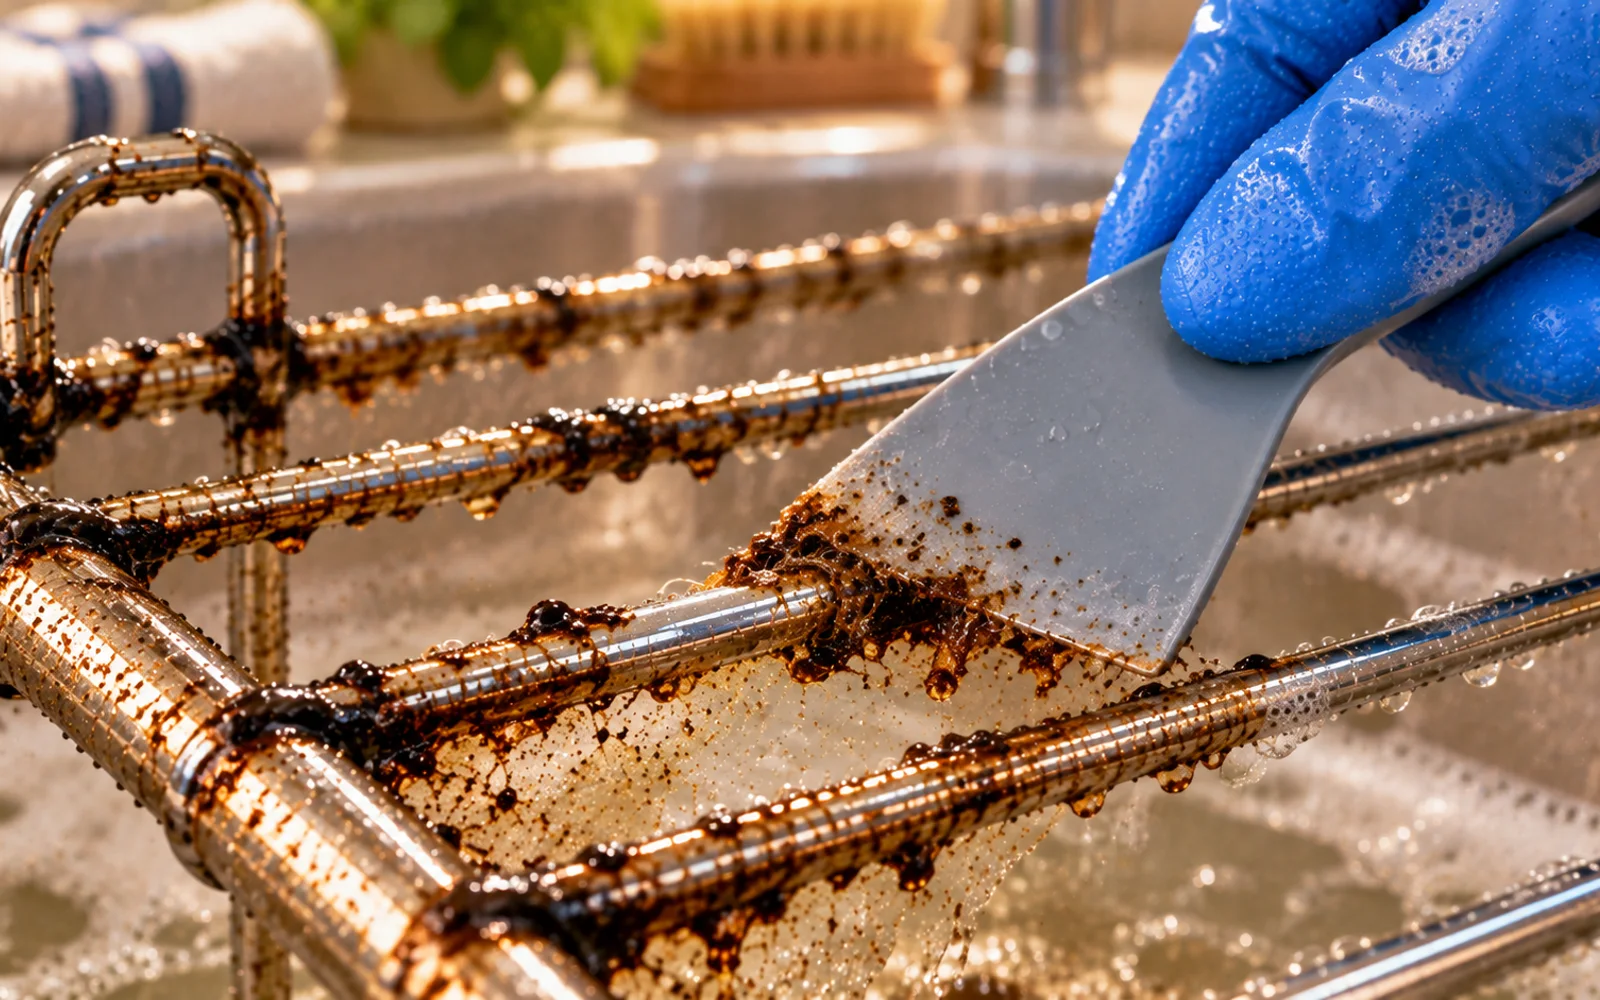
Turn the Rack Over
A rack can look clean from above while still holding grease underneath. Flip it over and inspect the lower surfaces of every bar, especially around the front rail, rear rail, and welded intersections. Wearing gloves, run your fingers lightly along the metal. A slick or tacky feeling can reveal residue that is difficult to see. Clean these areas with the same mild tools rather than assuming the visible side tells the whole story.
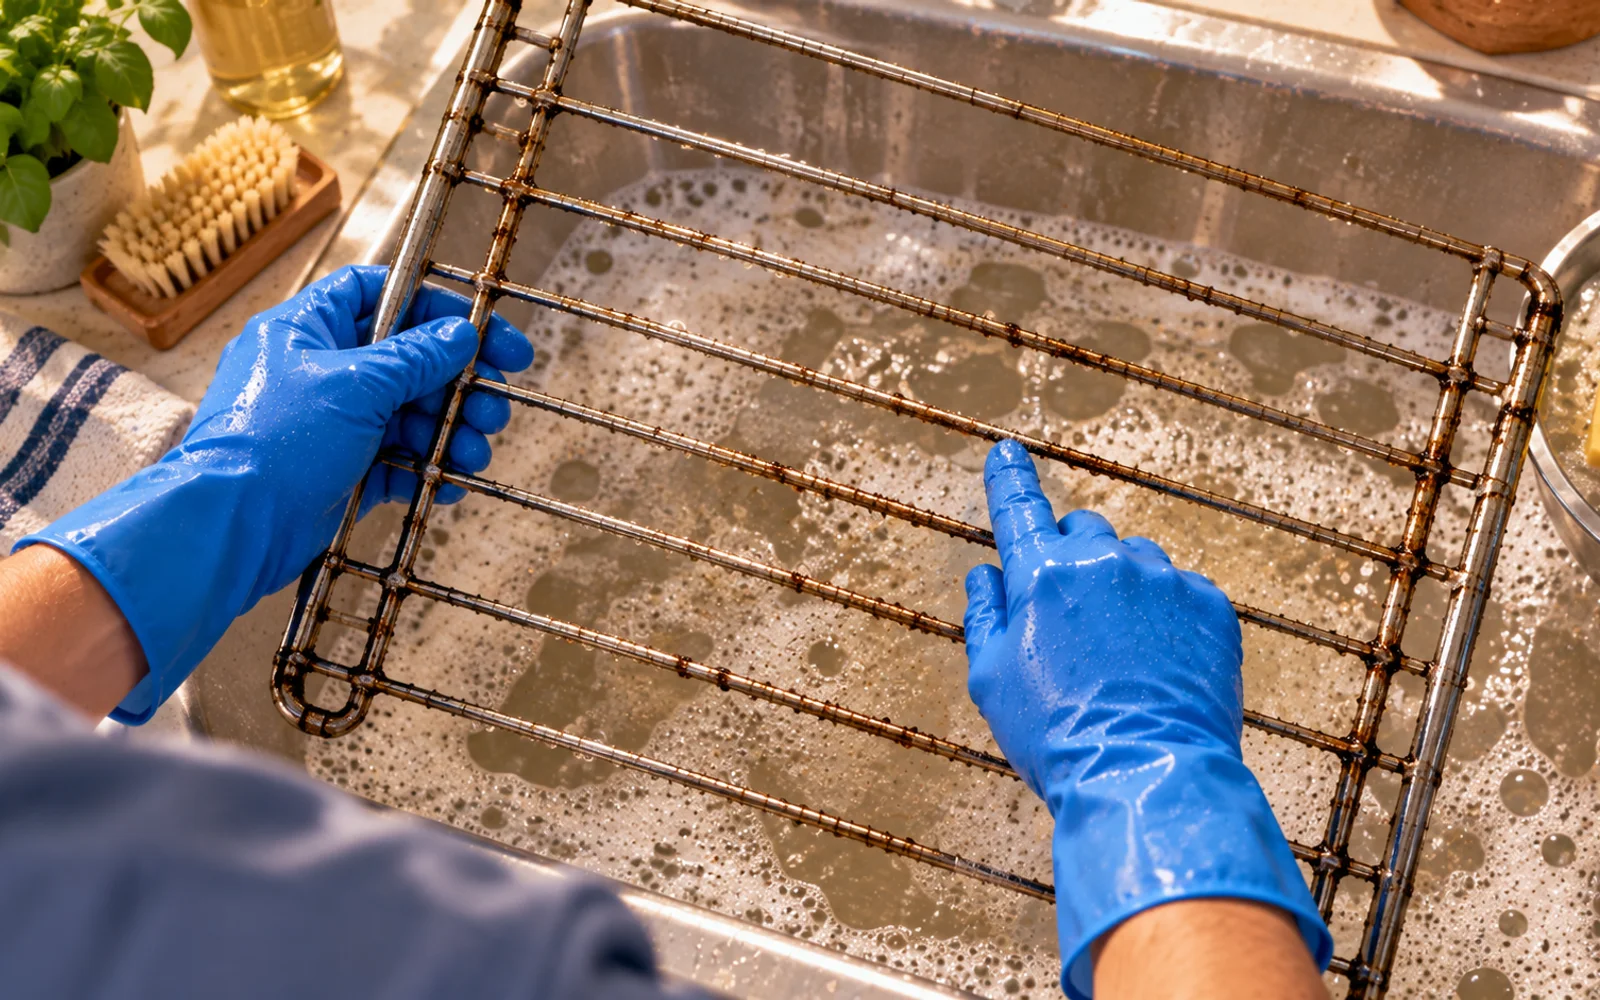
Rinse From Several Directions
Once the rack is clean, rinse it thoroughly with fresh water. Aim water from different directions so it passes through intersections, corners, and spaces around the outer frame. Soap mixed with loosened grease can remain trapped even when the visible surface looks clean. Continue until the runoff is clear and the rack no longer feels slippery. Leaving detergent on the metal can create residue and unwanted odors the next time the oven heats.
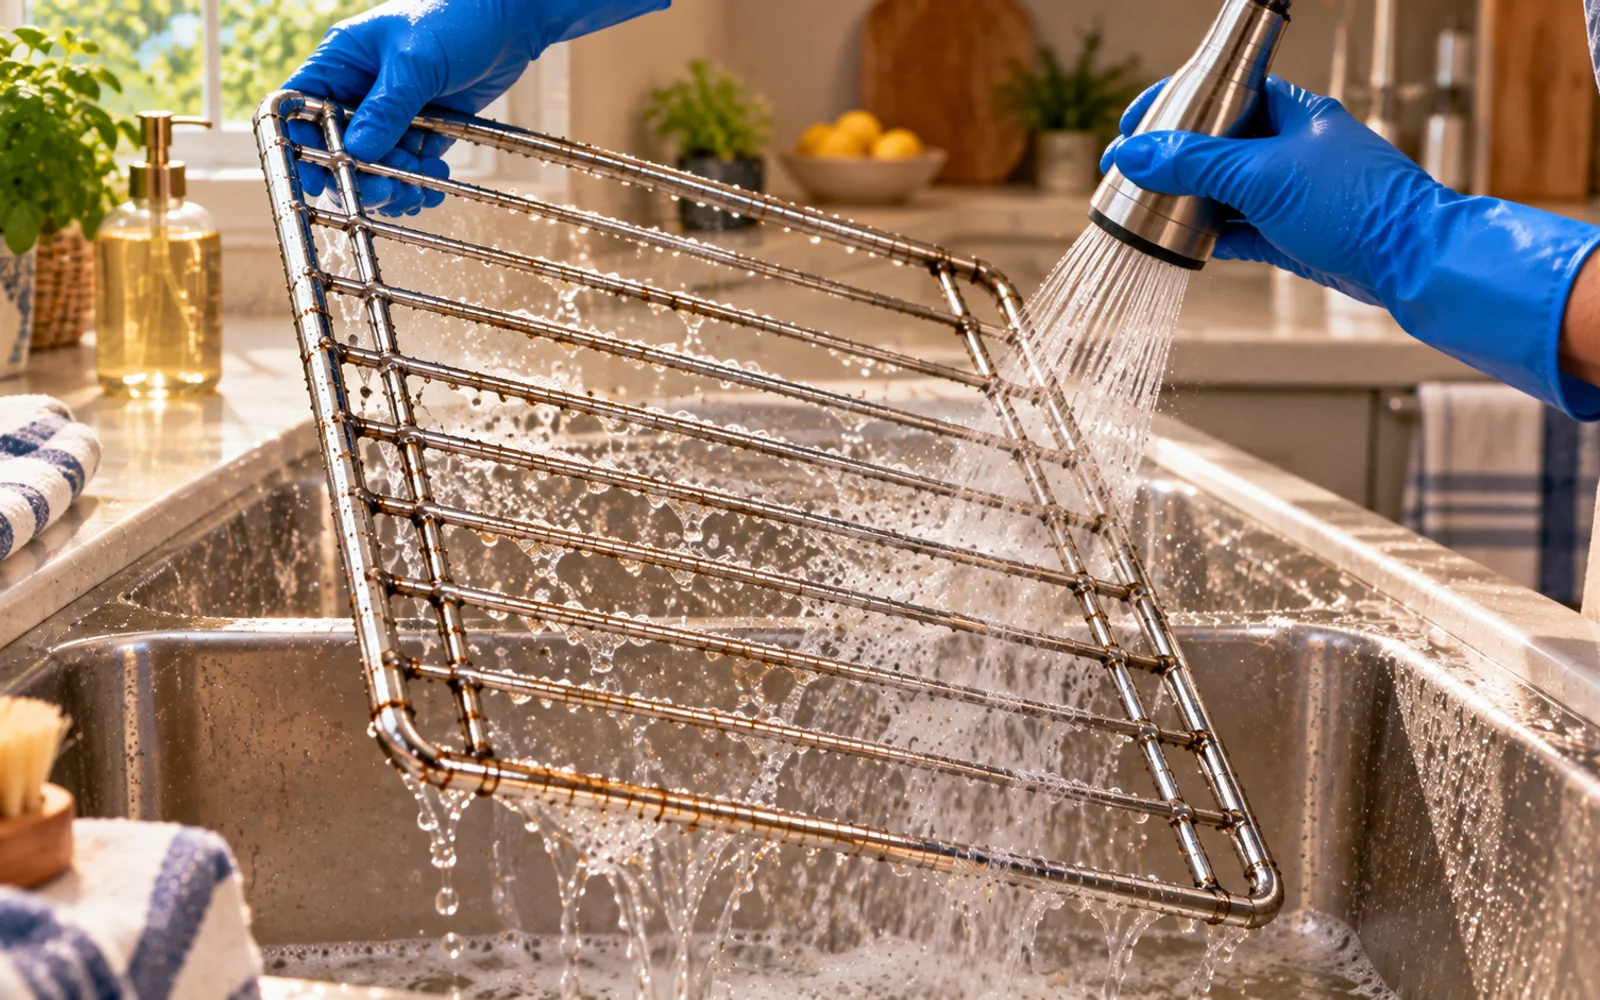
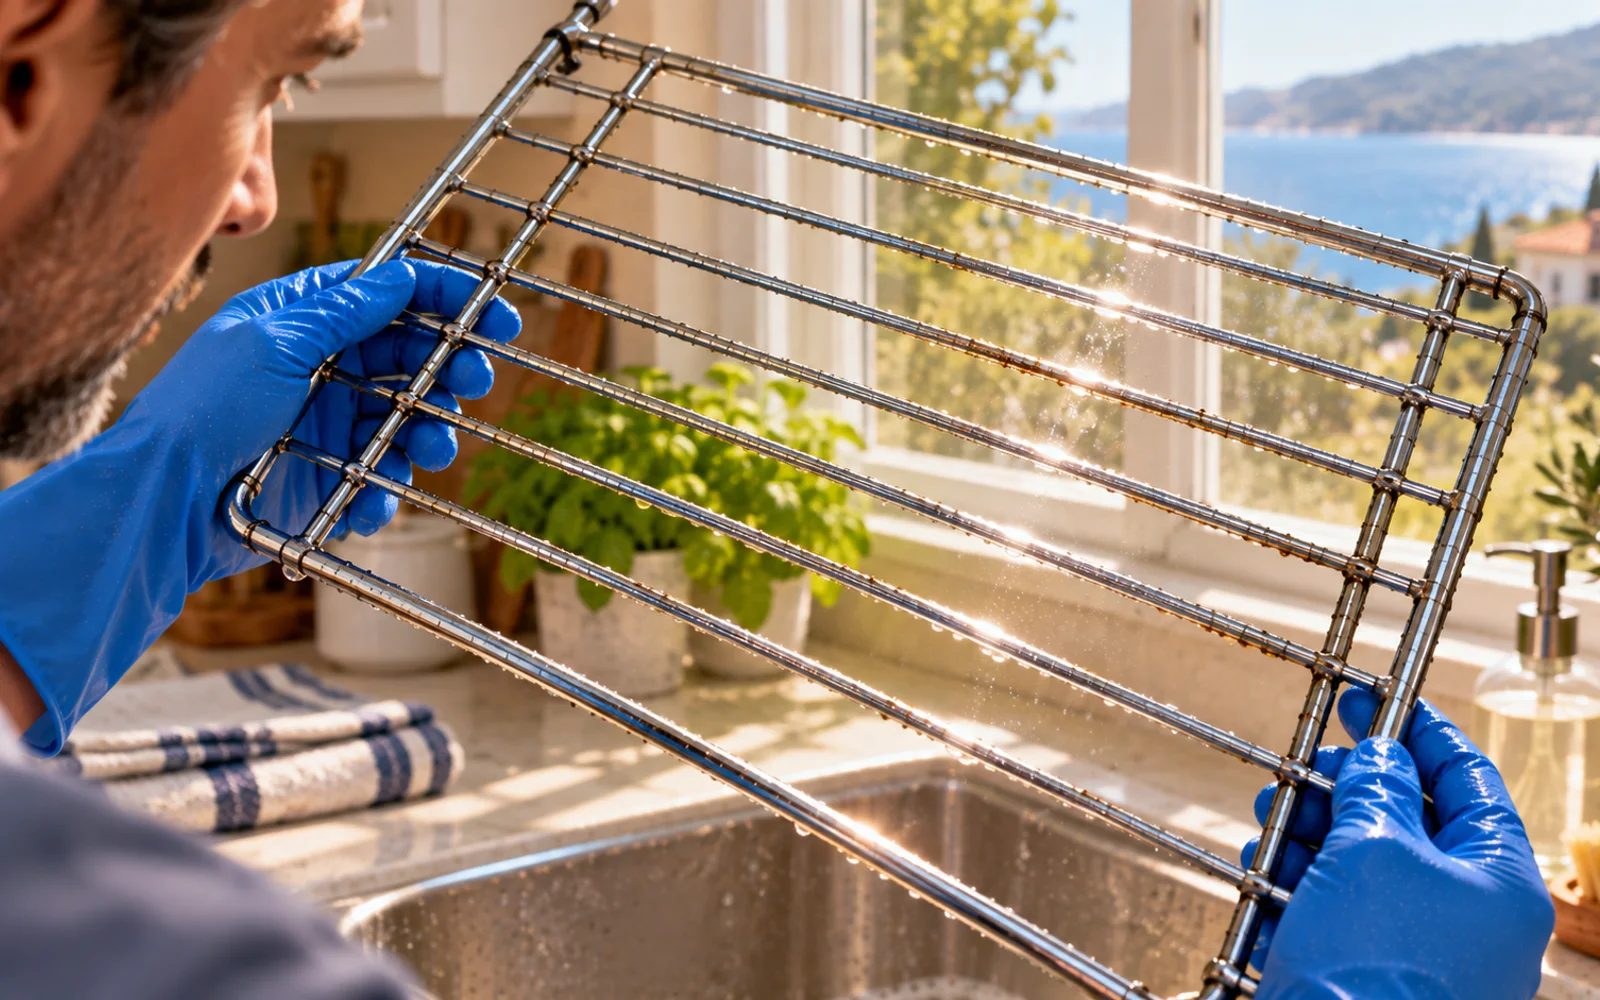
Use Bright Light to Find Missed Grease
Move the wet rack near a bright window or strong work light and tilt it slowly. Grease can appear as a dull patch, uneven sheen, or streak that was nearly invisible under normal kitchen lighting. Look closely at corners and bar intersections for trapped debris or bubbles. This inspection lets you correct a few missed areas now instead of reinstalling the rack and discovering them later. Touch up only what actually needs more cleaning.
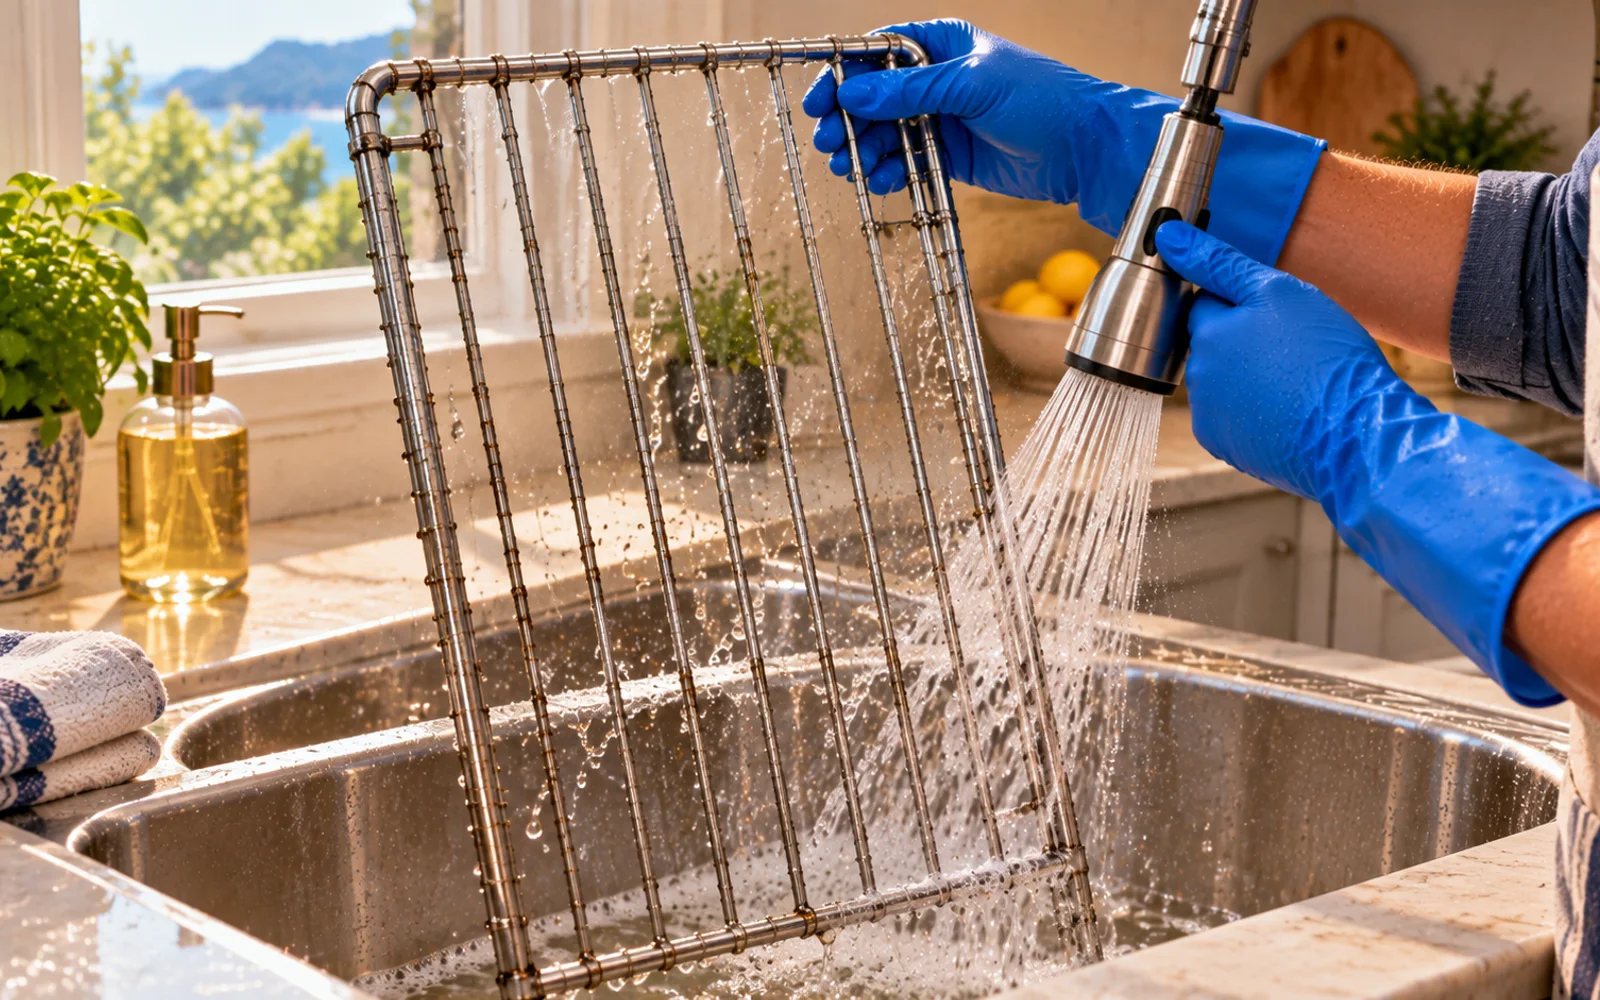
Finish With One Clean-Water Rinse
After any final touch-ups, rinse the rack again with fresh water. Rotate it vertically and horizontally so water can run away from corners and welded joints rather than pooling there. Give the front frame and any detailed areas special attention because cleaning solution tends to collect in those spots. When you are done, the rack should feel like clean metal, not slick, soapy, or coated with a film.
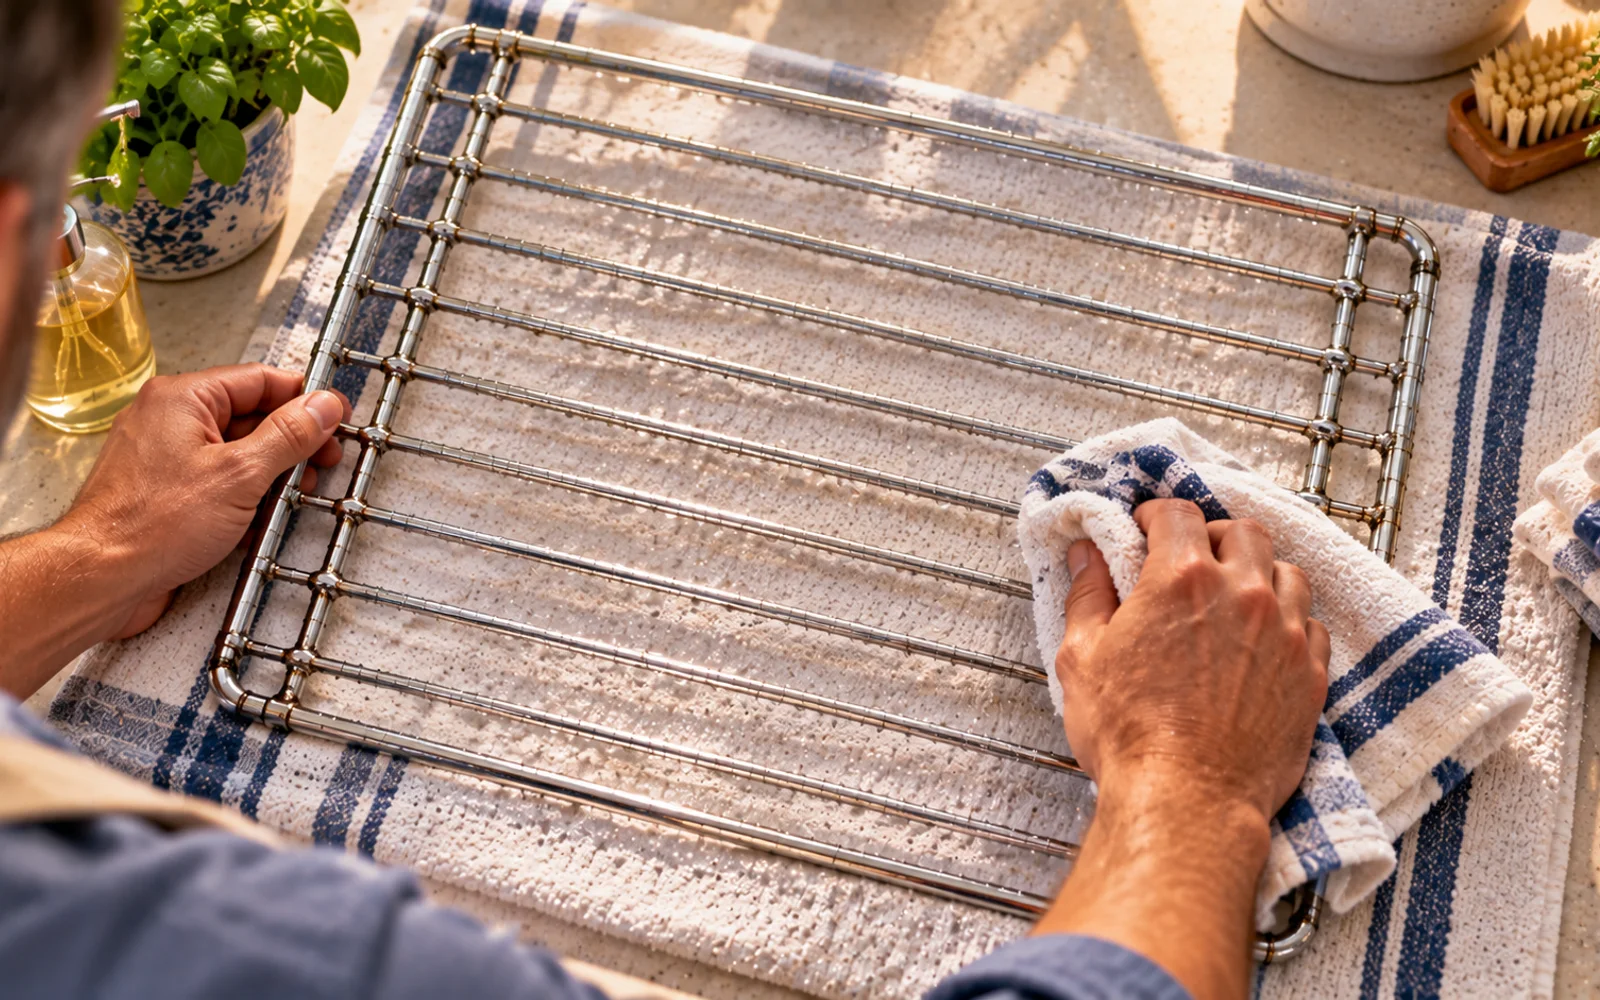
Blot Away Surface Water
Place the rinsed rack on a clean absorbent towel. Blot the bars and frame, or wrap sections of the towel around the metal to absorb droplets. Avoid dragging the rack across a counter or floor while drying it. Hand-drying speeds up the process, reduces water spots, and gives you another chance to feel for sticky residue. If the towel picks up noticeable grease, clean and rinse that area again before proceeding.
Let the Rack Air-Dry Fully
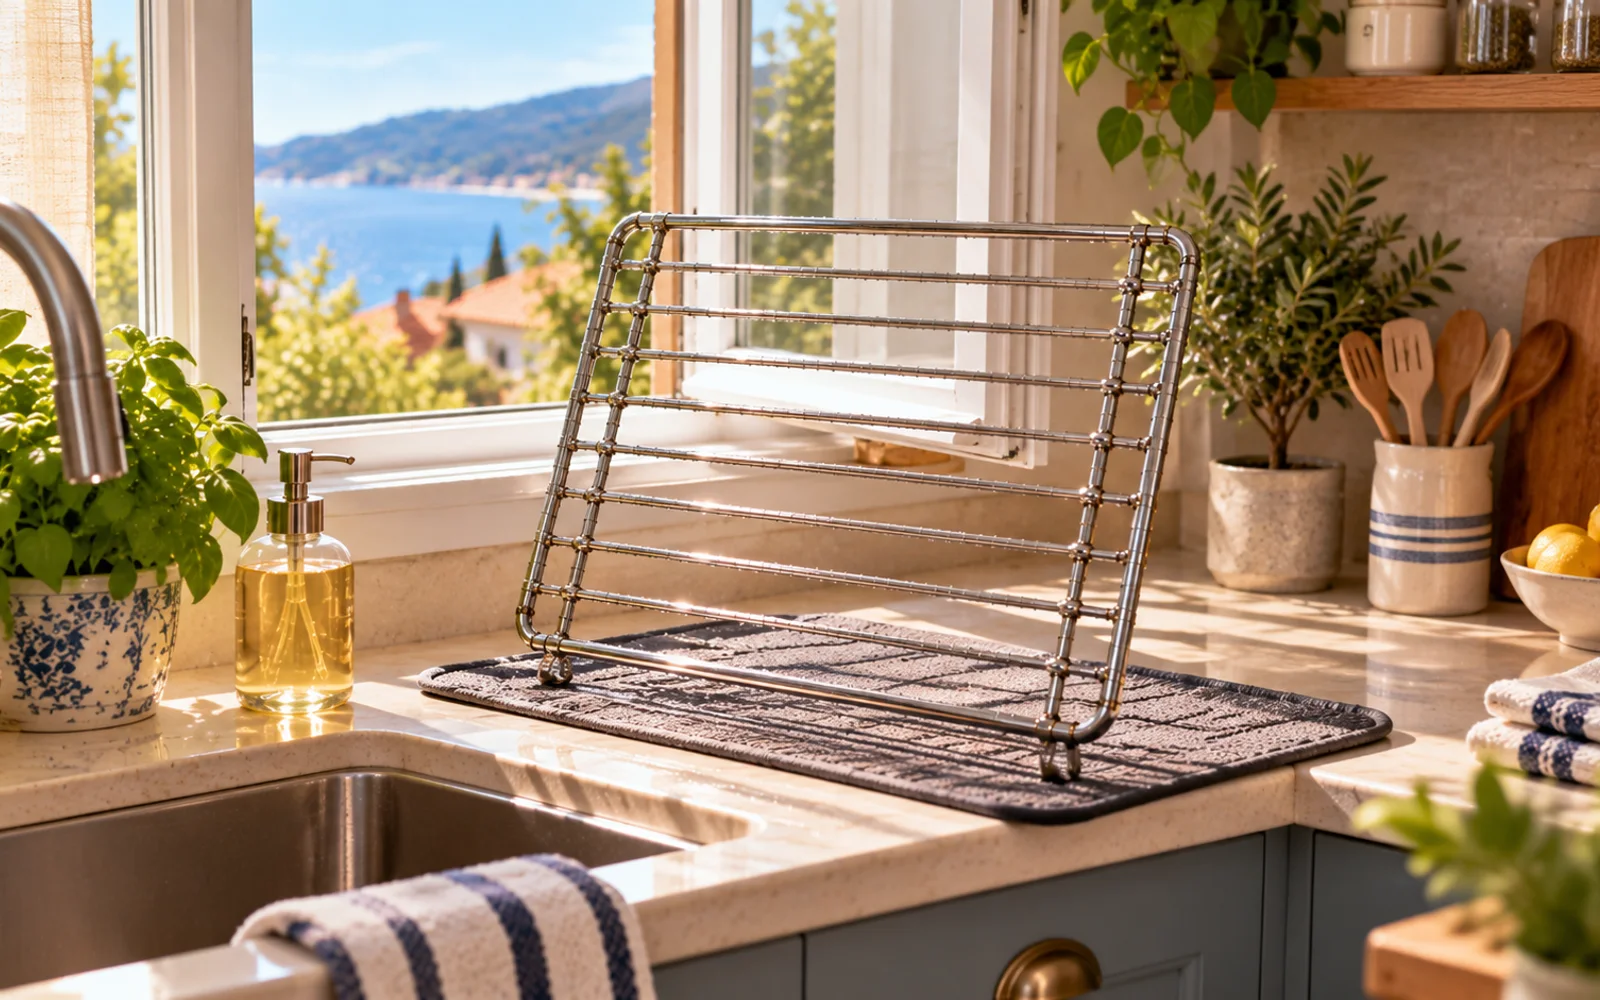
Even after towel-drying, allow the rack to finish drying in open air. Stand it securely on a drying mat or towel where air can circulate around both sides. Do not put a wet rack into a warm oven simply to accelerate drying. Complete air-drying is especially important around joints, corners, and complex components where moisture can linger. Reinstall the rack only when you are confident it is fully dry.
Treat Telescoping Rails as a Separate Job
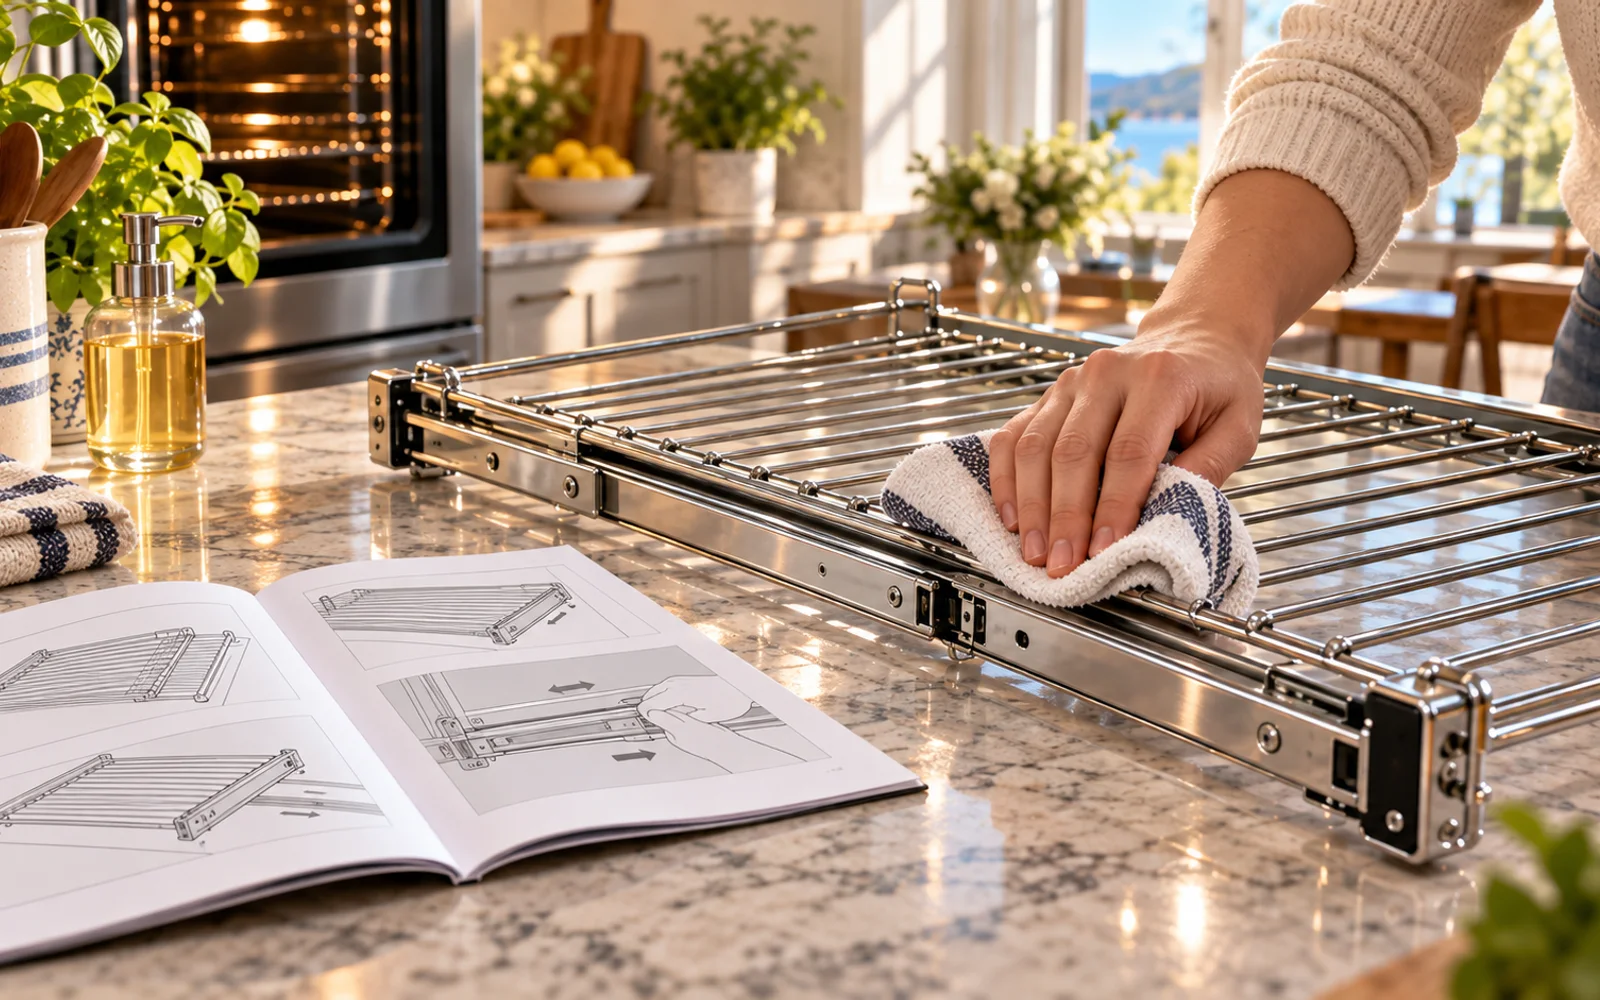
If your oven uses telescoping racks, pay special attention to the sliding hardware. Do not assume the entire assembly can be submerged just because the metal frame looks similar to a standard rack. Bearings, tracks, factory lubrication, and other moving components may have specific maintenance requirements. Follow the appliance manufacturer's instructions for cleaning the mechanism. In many designs, careful surface wiping is safer than a full soak. Never add household oil unless the manufacturer specifically instructs you to do so.
Reinstall the Rack Level
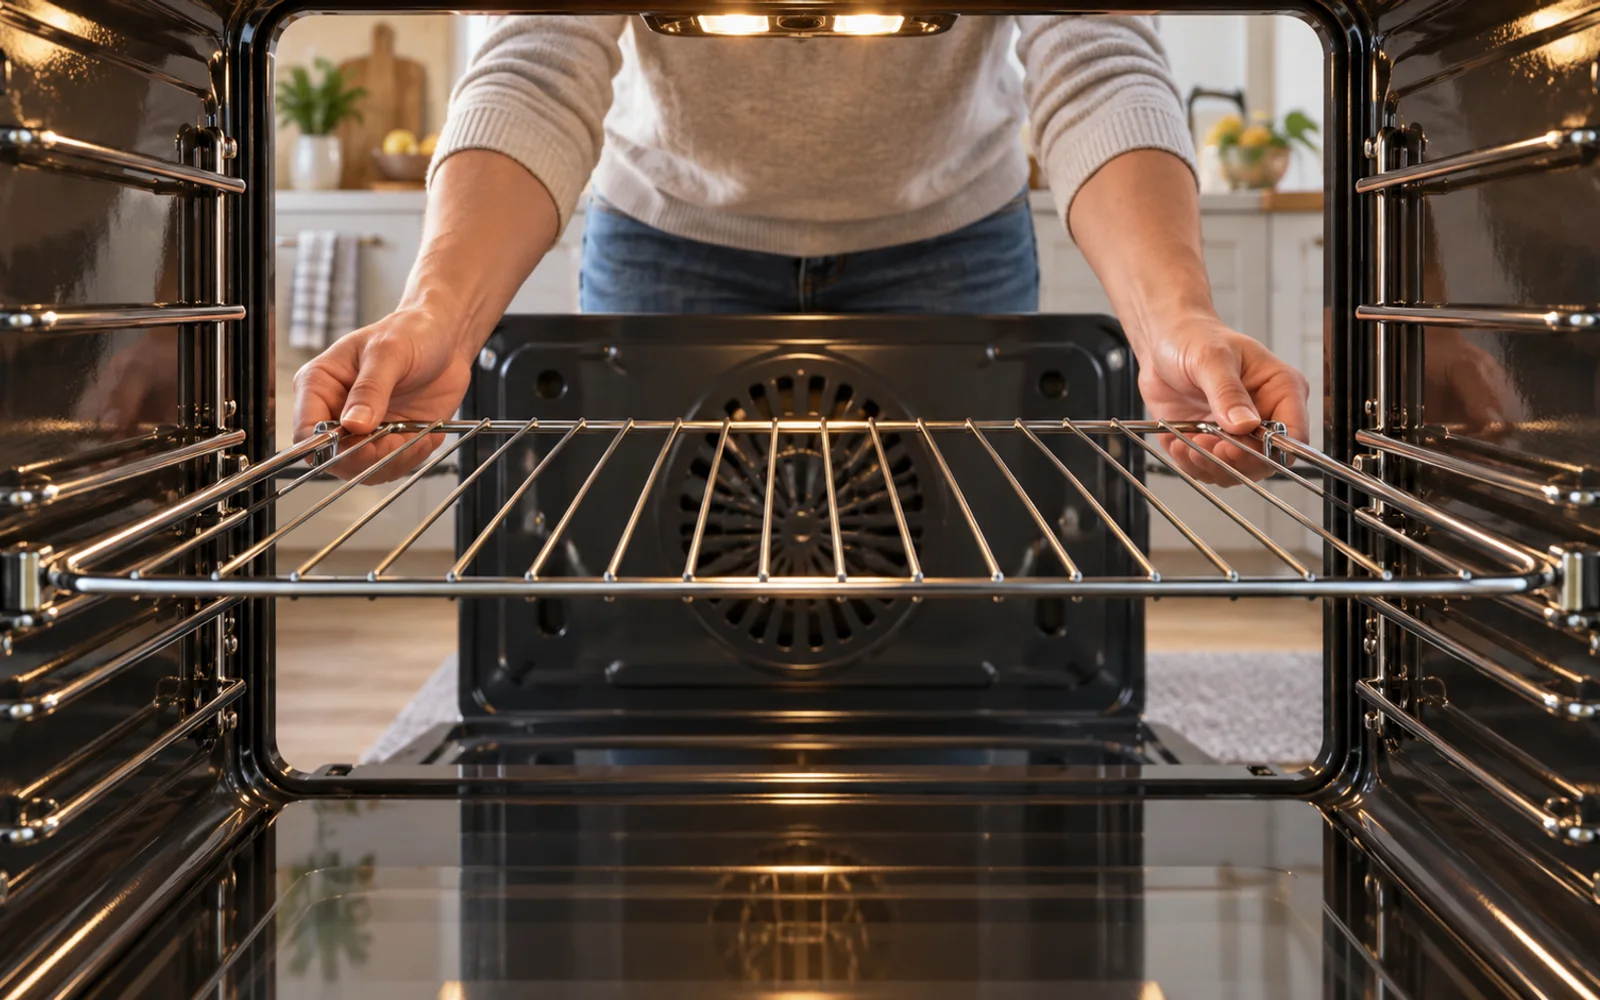
Once everything is completely dry, reinstall the rack at your preferred oven height. Hold it level and line up both sides with the appropriate rack guides before sliding it inward. Do not force it if one side catches. Pull it forward, correct the alignment, and try again. If your oven has removable side supports, make sure they are seated correctly first. Proper alignment helps prevent scraping the oven cavity and keeps the rack moving as designed.
Check That the Rack Moves Normally
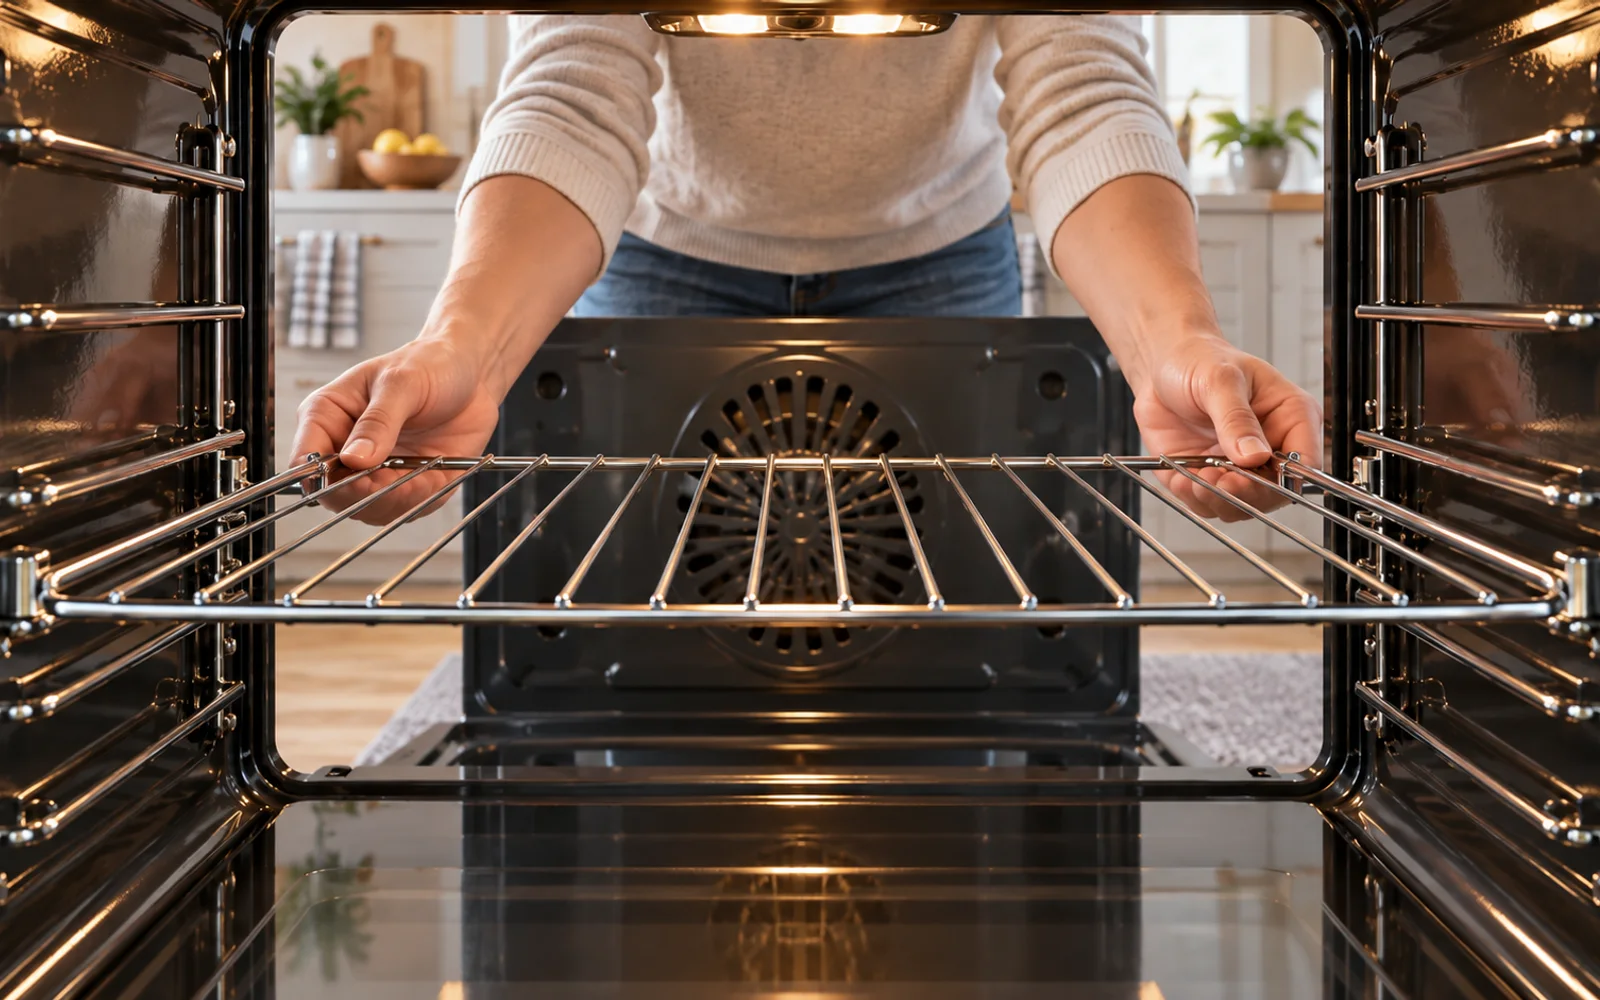
Slide the rack in and out once before placing cookware on it. A standard rack should move normally without unexpected binding or scraping. A telescoping rack should operate according to its normal mechanism. If it suddenly grinds, catches, or feels significantly stiffer after cleaning, stop and consult the manufacturer instructions. Do not solve the problem by spraying generic lubricant on the tracks. Some rack systems use specific lubricants, while others should not be lubricated by the owner at all.
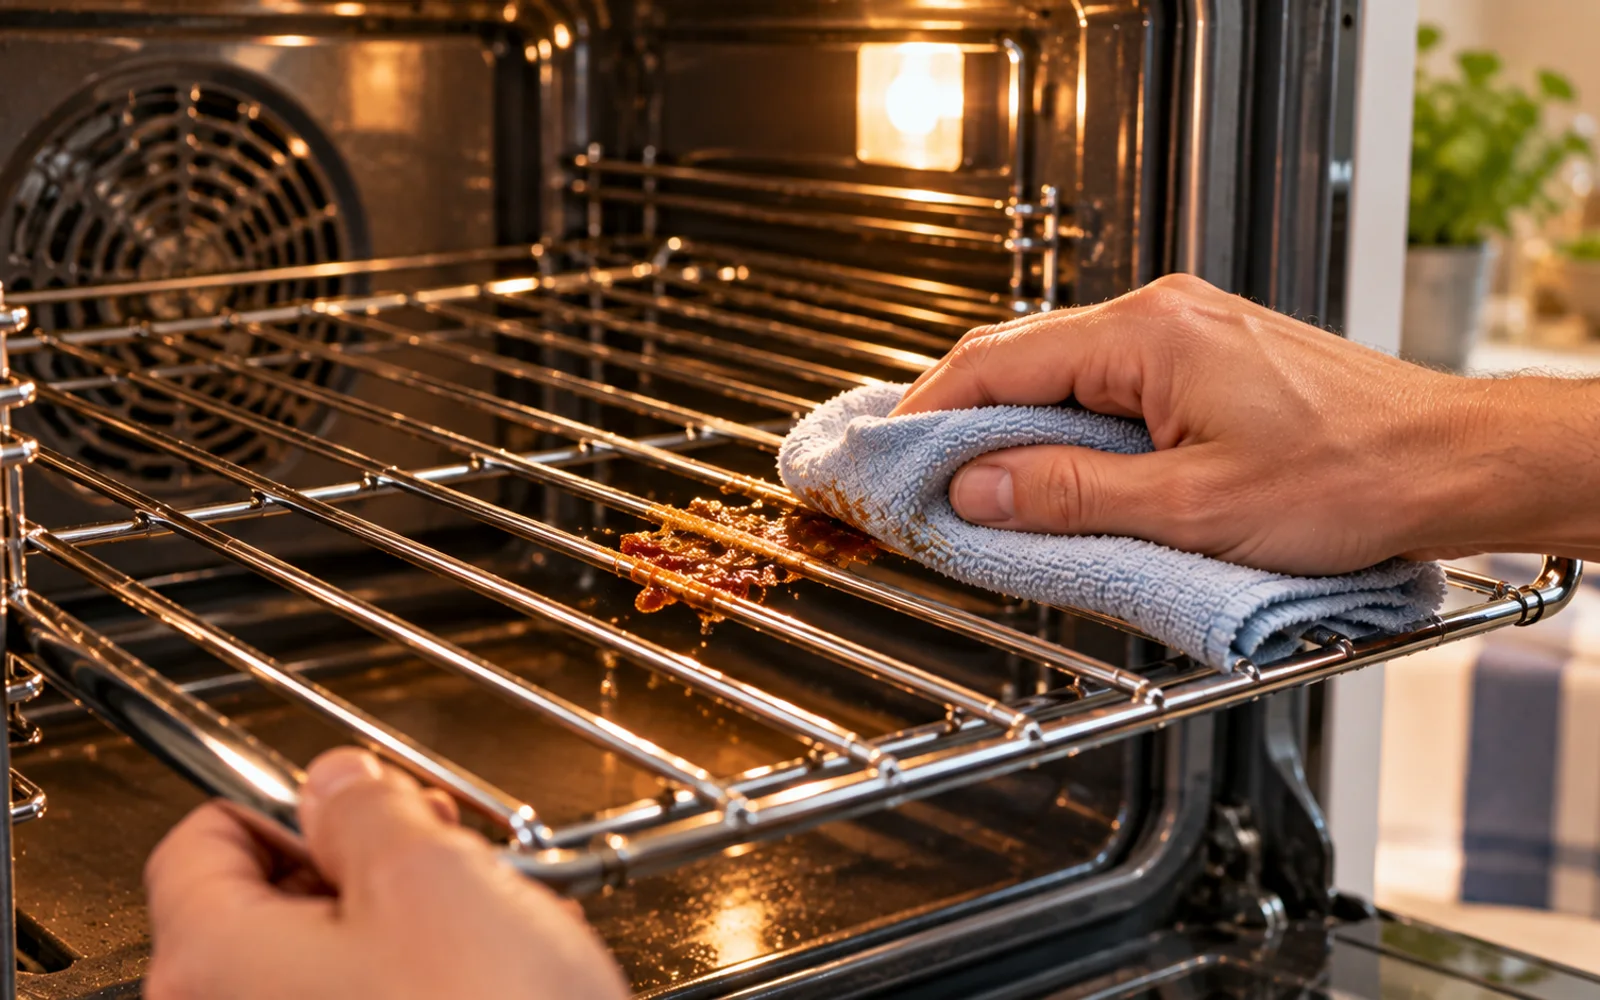
Wipe Fresh Spills Before They Bake On
The easiest future deep clean is the one you prevent. After cooking, wait until the oven and racks are completely cool. If you can safely reach a fresh splatter, wipe it with a damp cloth or mild dish soap if your rack finish permits it. Fresh grease usually comes away far more easily than grease that has been heated through repeated cooking cycles. A few minutes of occasional maintenance can save substantial scrubbing later.
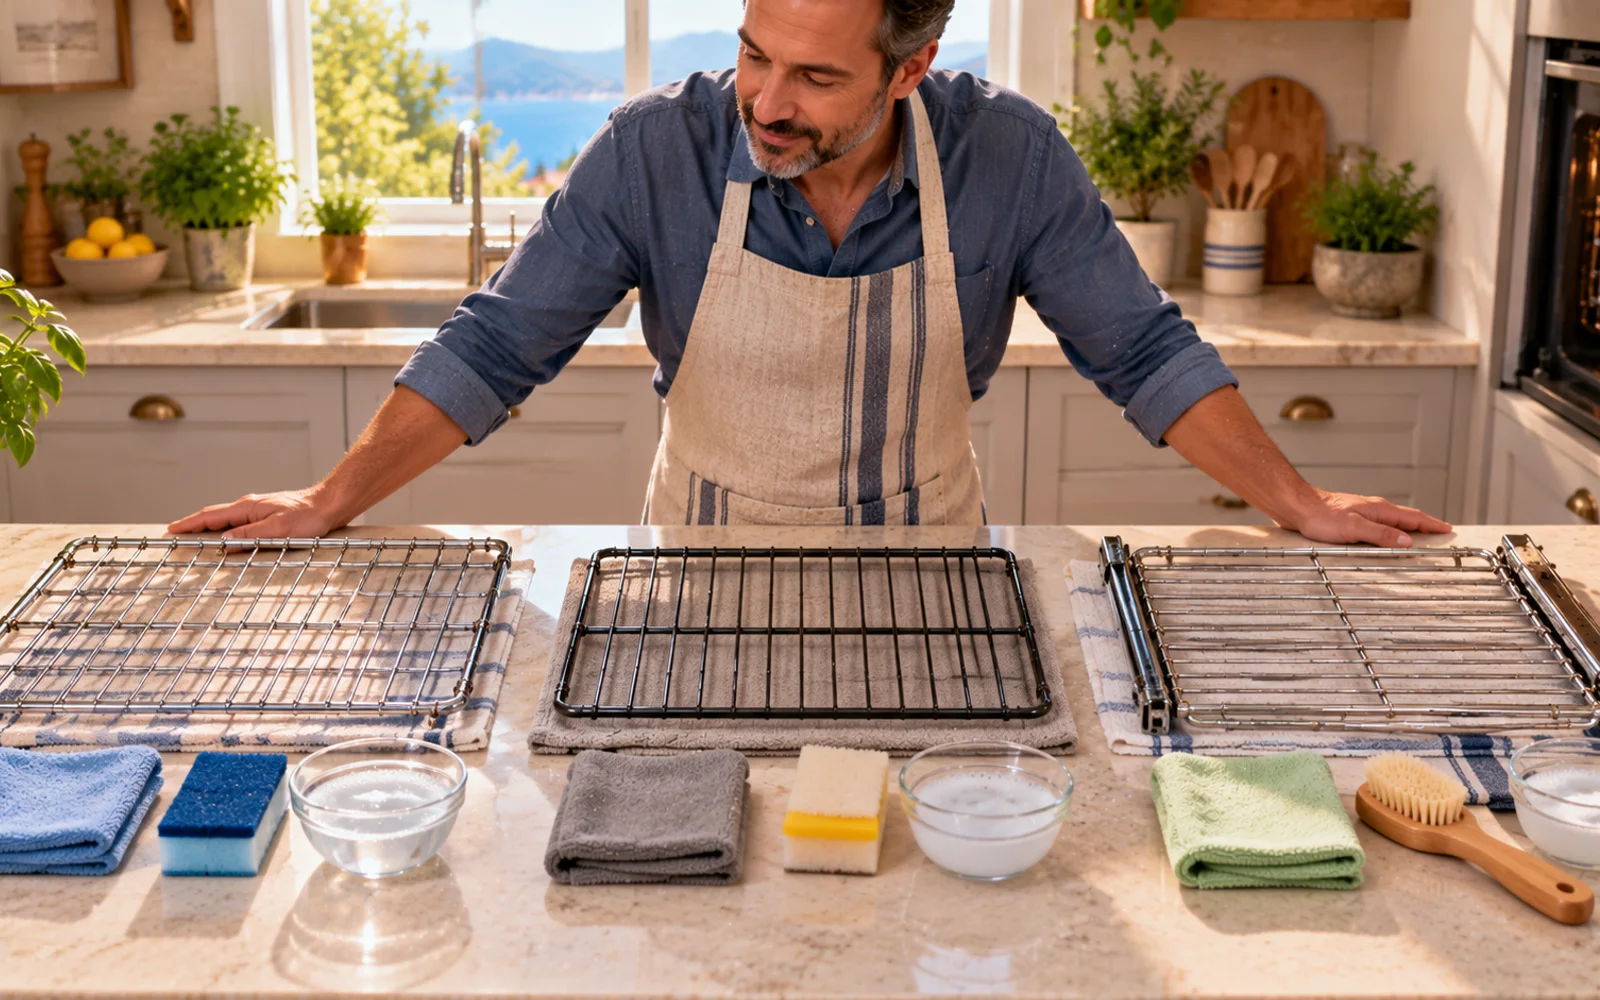
Match the Cleaning Method to the Rack
Resist one-size-fits-all cleaning advice. A standard chrome rack may tolerate a long soak that would be inappropriate for a coated or telescoping model. Start by identifying the rack, use the mildest compatible cleaning method, and increase intensity only when necessary. That means soaking only when permitted, avoiding harsh abrasives by default, and checking manufacturer guidance before using specialty cleaners. Protecting the finish is part of cleaning the rack properly, not a separate concern.
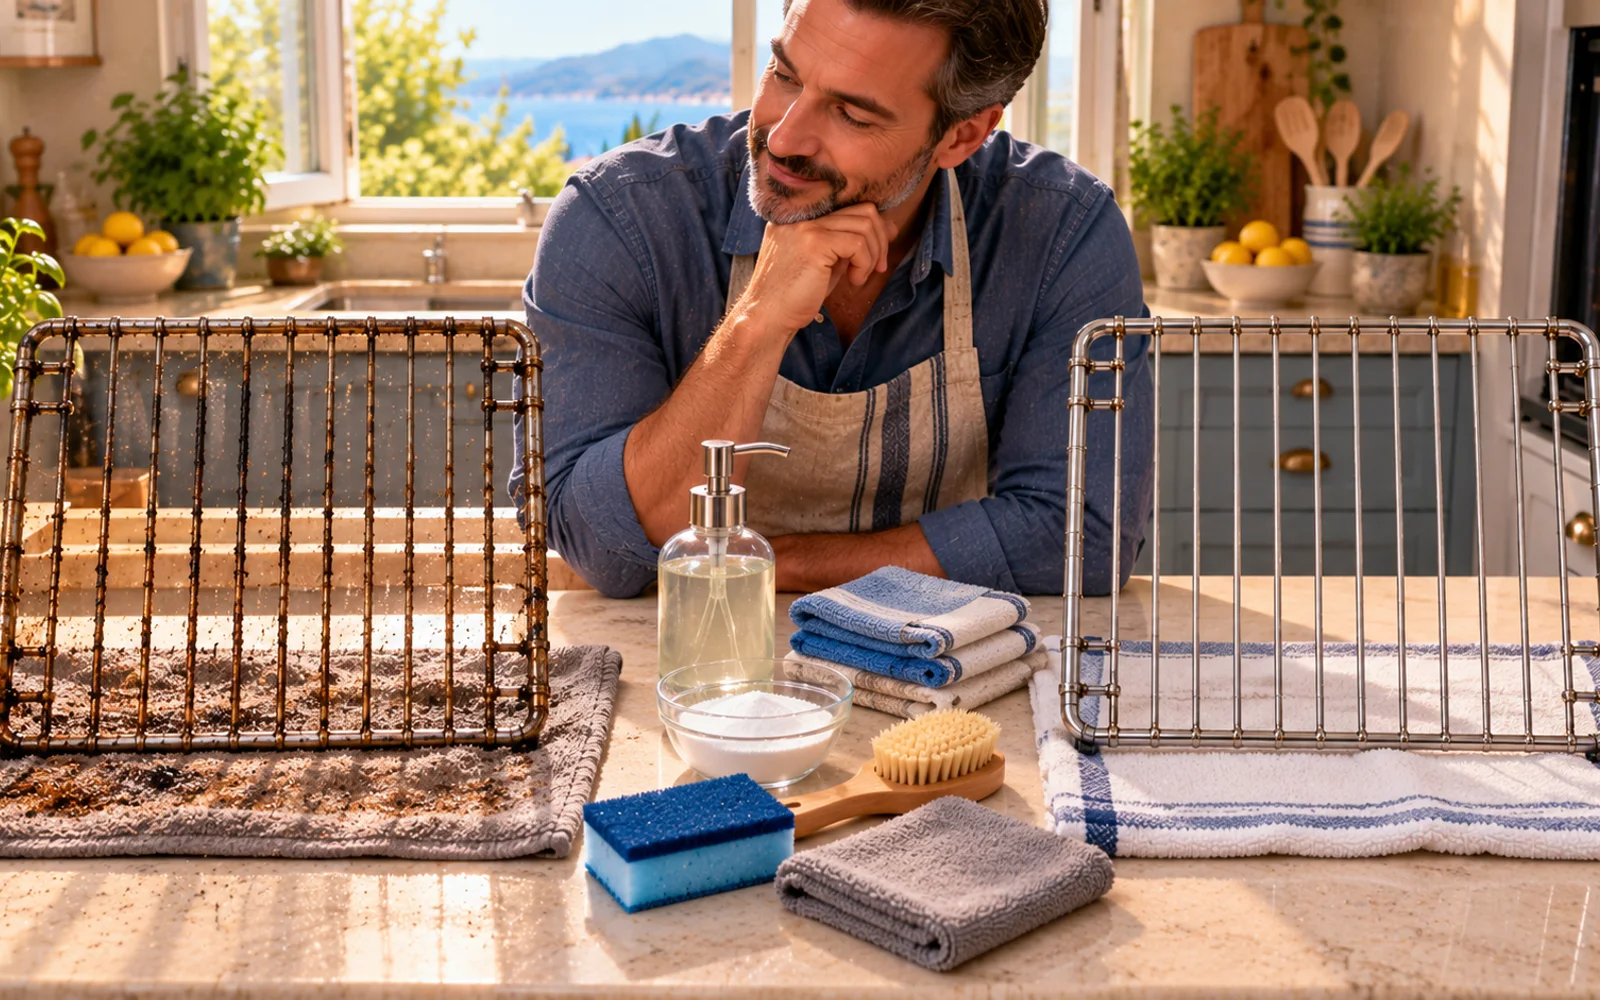
Remember the Rule: More Time, Less Force
For most compatible oven racks, the efficient approach is to let soaking do as much work as possible. Protect the surface underneath, loosen dry debris, pre-treat thick grease, use warm soapy water when approved, and scrub with non-scratch tools only after the buildup has softened. Rinse carefully, dry completely, and check movement after reinstalling. When a greasy patch resists reasonable pressure, another period of soaking is usually a better next step than reaching for a more aggressive tool.
A greasy oven rack can look like a job that requires aggressive scrubbing, but baked-on grease is usually much easier to remove after it has been given time to soften. The most useful change you can make is simple: stop treating scrubbing pressure as the first step. For many standard chrome racks, warm soapy water, adequate contact time, and a non-scratch brush can loosen a surprising amount of residue before you put much effort into cleaning.
The important exception is that not every oven rack should be treated the same way. Standard chrome racks, specialty coated racks, and telescoping racks can have different cleaning restrictions. Before soaking a rack or applying a degreaser, check the oven manual or the manufacturer's care instructions. Telescoping mechanisms in particular may contain bearings, lubricated tracks, or other components that should not be submerged. Once you know what your rack can tolerate, the process below will help you clean methodically, protect the finish, and avoid doing unnecessary work.
Where people go wrong
Soaking Every Rack the Same Way. A soaking method that works well for a basic chrome rack can be unsuitable for a coated or telescoping rack. Check the manufacturer's care instructions before submerging specialty finishes, slides, bearings, or lubricated mechanisms.
Scrubbing Hard Before the Grease Softens. Aggressive scrubbing at the beginning creates more work and increases the chance of damaging the finish. If the rack can safely be soaked, give warm water and detergent enough time to loosen the residue before using substantial pressure.
Using Steel Wool as the Default Tool. Steel wool, metal scrapers, and harsh abrasive powders can scratch plating or damage specialty surfaces. Start with a nylon brush, toothbrush, and non-scratch pad. Use anything more aggressive only when the manufacturer explicitly allows it.
Forgetting to Protect the Bathtub or Sink. Metal oven racks can leave scratches in porcelain, enamel, stainless steel, and other finished surfaces. Put an old towel or protective mat underneath the rack before soaking or scrubbing.
Cleaning Only the Top of the Rack. Grease wraps around bars and hides on undersides, intersections, corners, and rails. Flip the rack and inspect it under bright light before deciding the job is finished.
Leaving Soap Behind. Detergent and loosened grease can remain trapped around joints and intersections. Rinse from multiple directions until runoff is clear and the rack no longer feels slippery.
Reinstalling the Rack While It Is Still Wet. Towel-dry the rack and allow it to air-dry completely before putting it back into the oven. Moisture can remain in joints, corners, and complex mechanisms even when the broad surfaces appear dry.
Adding Household Oil to Telescoping Rails. A stiff telescoping rack does not automatically need generic oil or spray lubricant. Some mechanisms require a specific manufacturer-approved product, while others are intended to operate differently. Follow the appliance instructions.
Questions people ask
For a standard rack that the manufacturer says can be soaked, start by checking it after about 30 minutes. Light to moderate buildup may already be soft enough to scrub. Heavier baked-on grease can take a few hours. Rather than focusing on an exact time, test one dirty area with a nylon brush. If you need significant pressure to make progress, let the rack soak longer.
Fixed it?
Get one guide like this every Thursday.