How to Clean Greasy Oven Door Glass Without Scratching It
Remove greasy haze, baked-on spots, and streaks from oven door glass using controlled moisture, mild dish soap, microfiber cloths, and the least aggressive cleaning method possible.
What you’ll need
Tap to tick things off before you start.
Identify grease and baked-on deposits
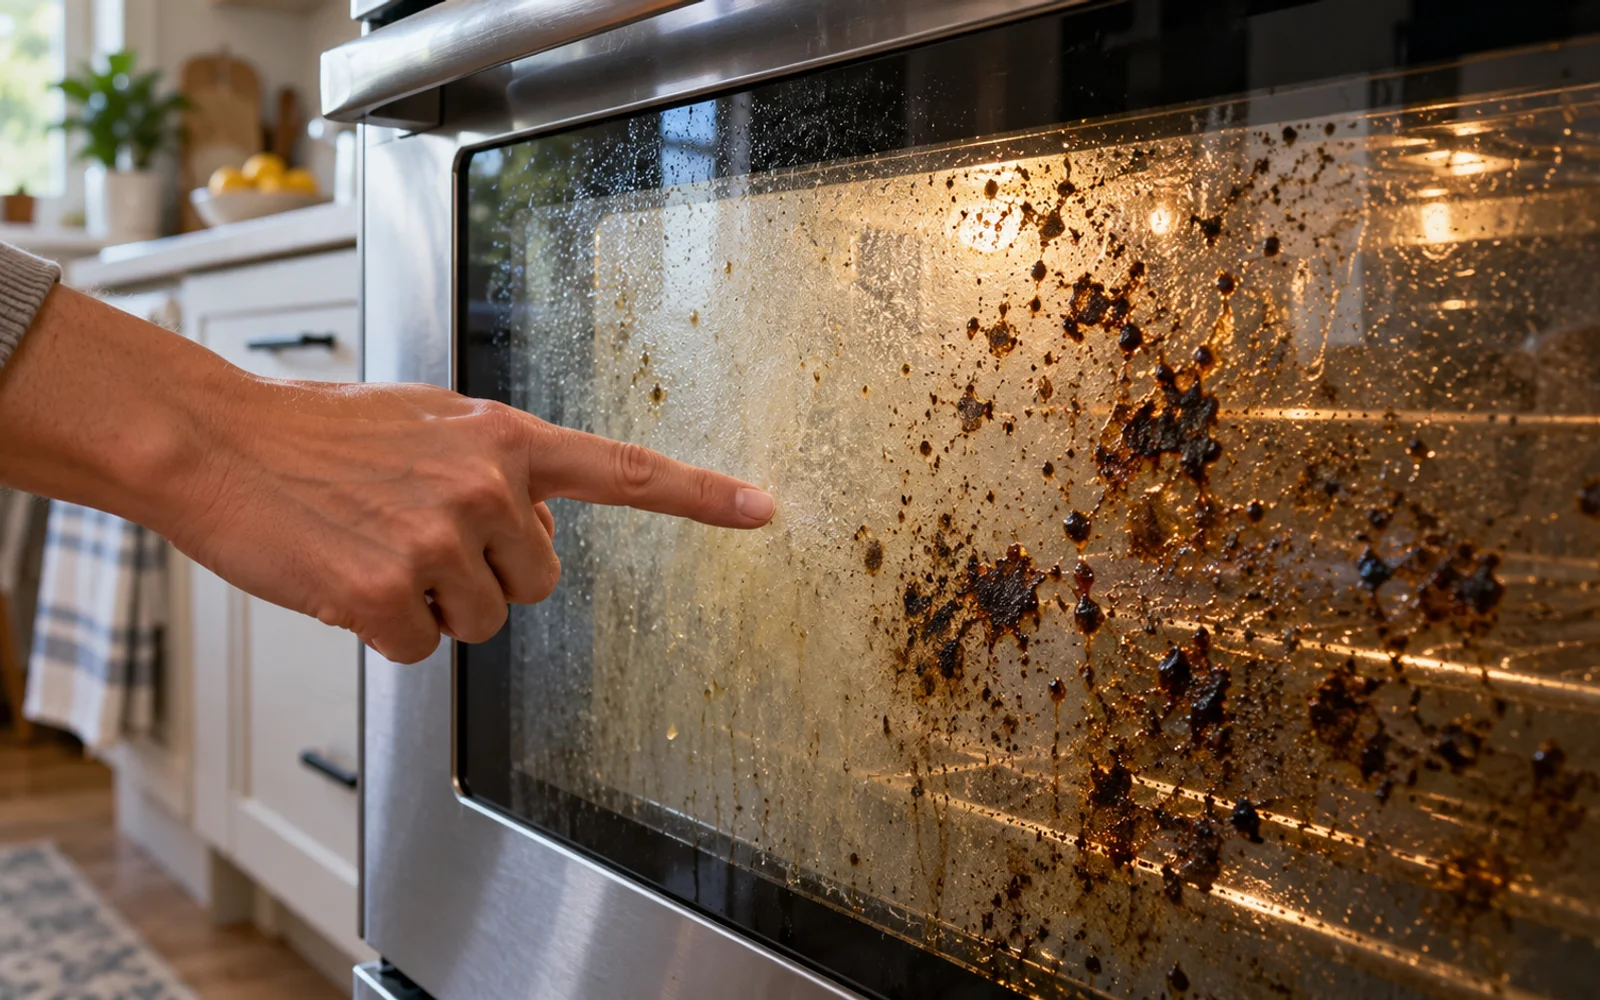
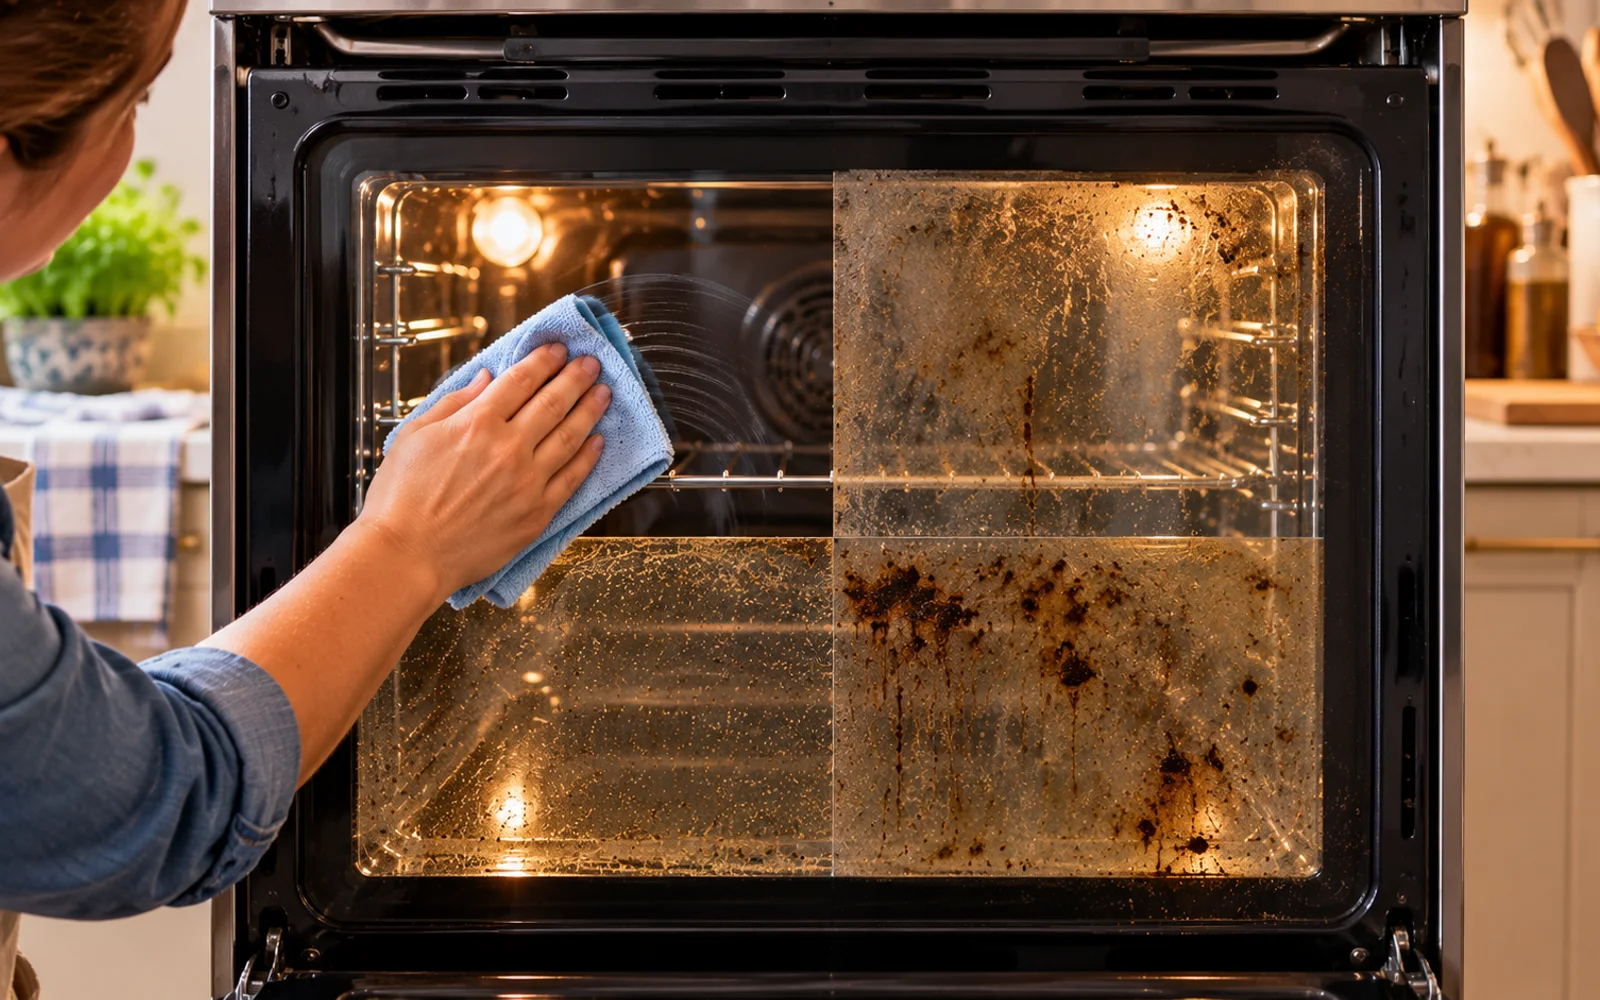
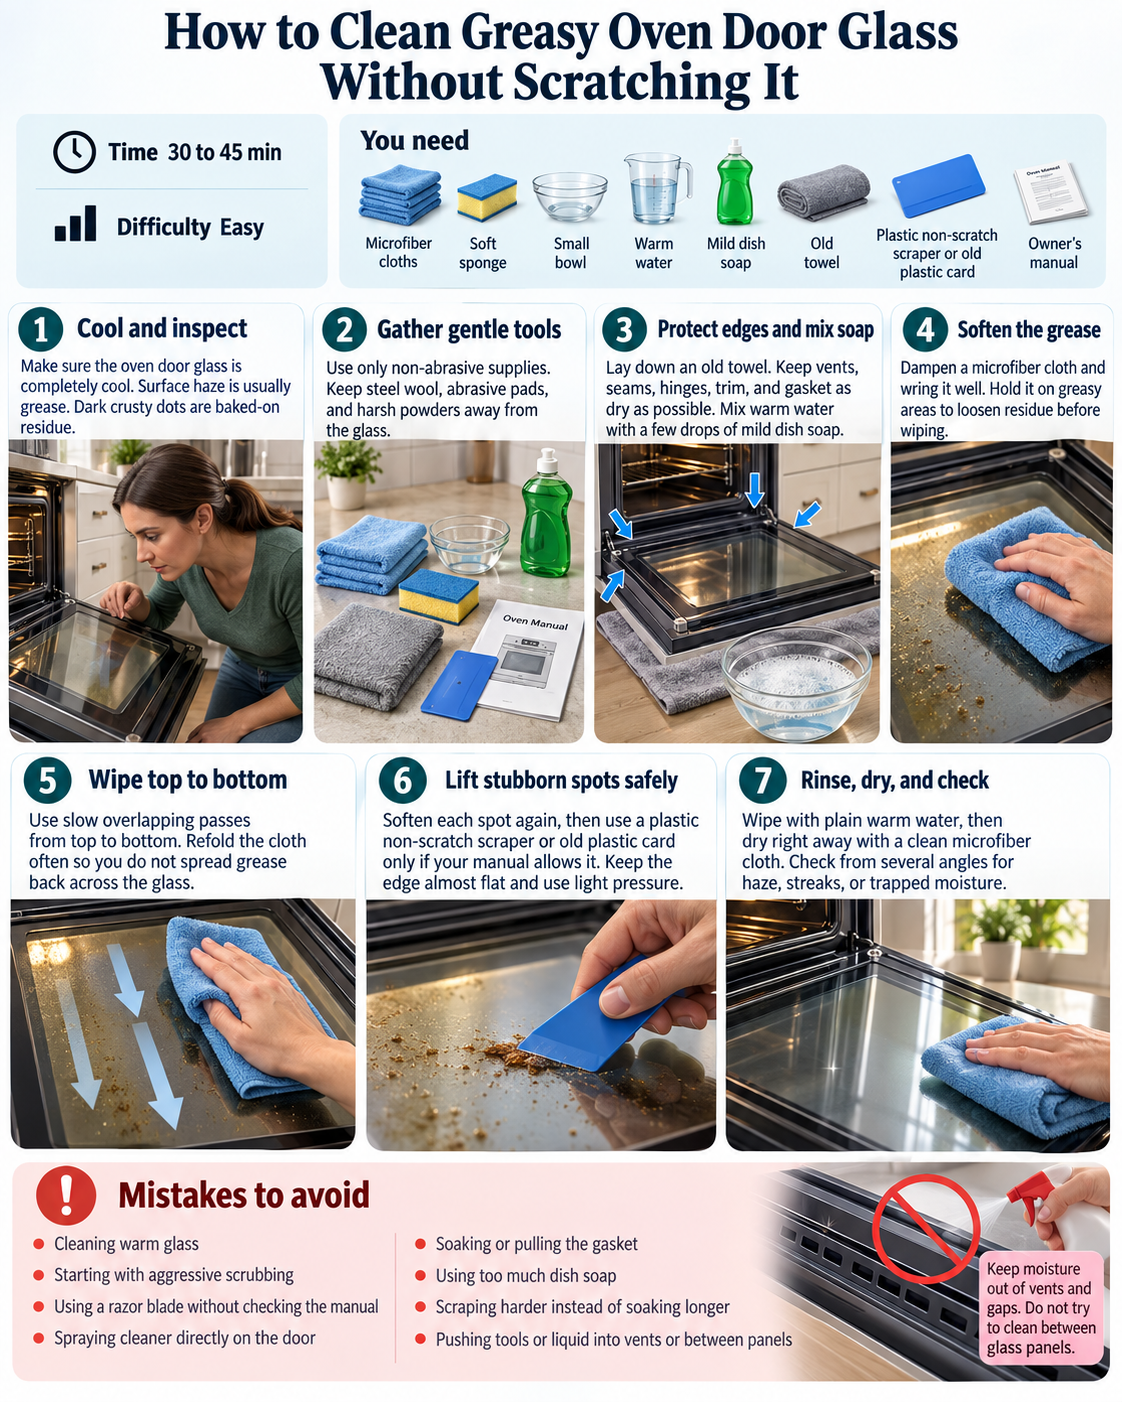
Start with the oven completely cool and examine the glass closely. Pale brown haze, fingerprints, and oily smears are usually surface grease. Darker, crusty dots are more likely to be baked-on food or grease that has hardened through repeated heating. This distinction matters because ordinary grease usually needs only soap and wiping, while hardened deposits benefit from additional soaking. Use side lighting if possible because reflected light makes differences in texture and residue easier to see.
Wait until the oven is completely cool
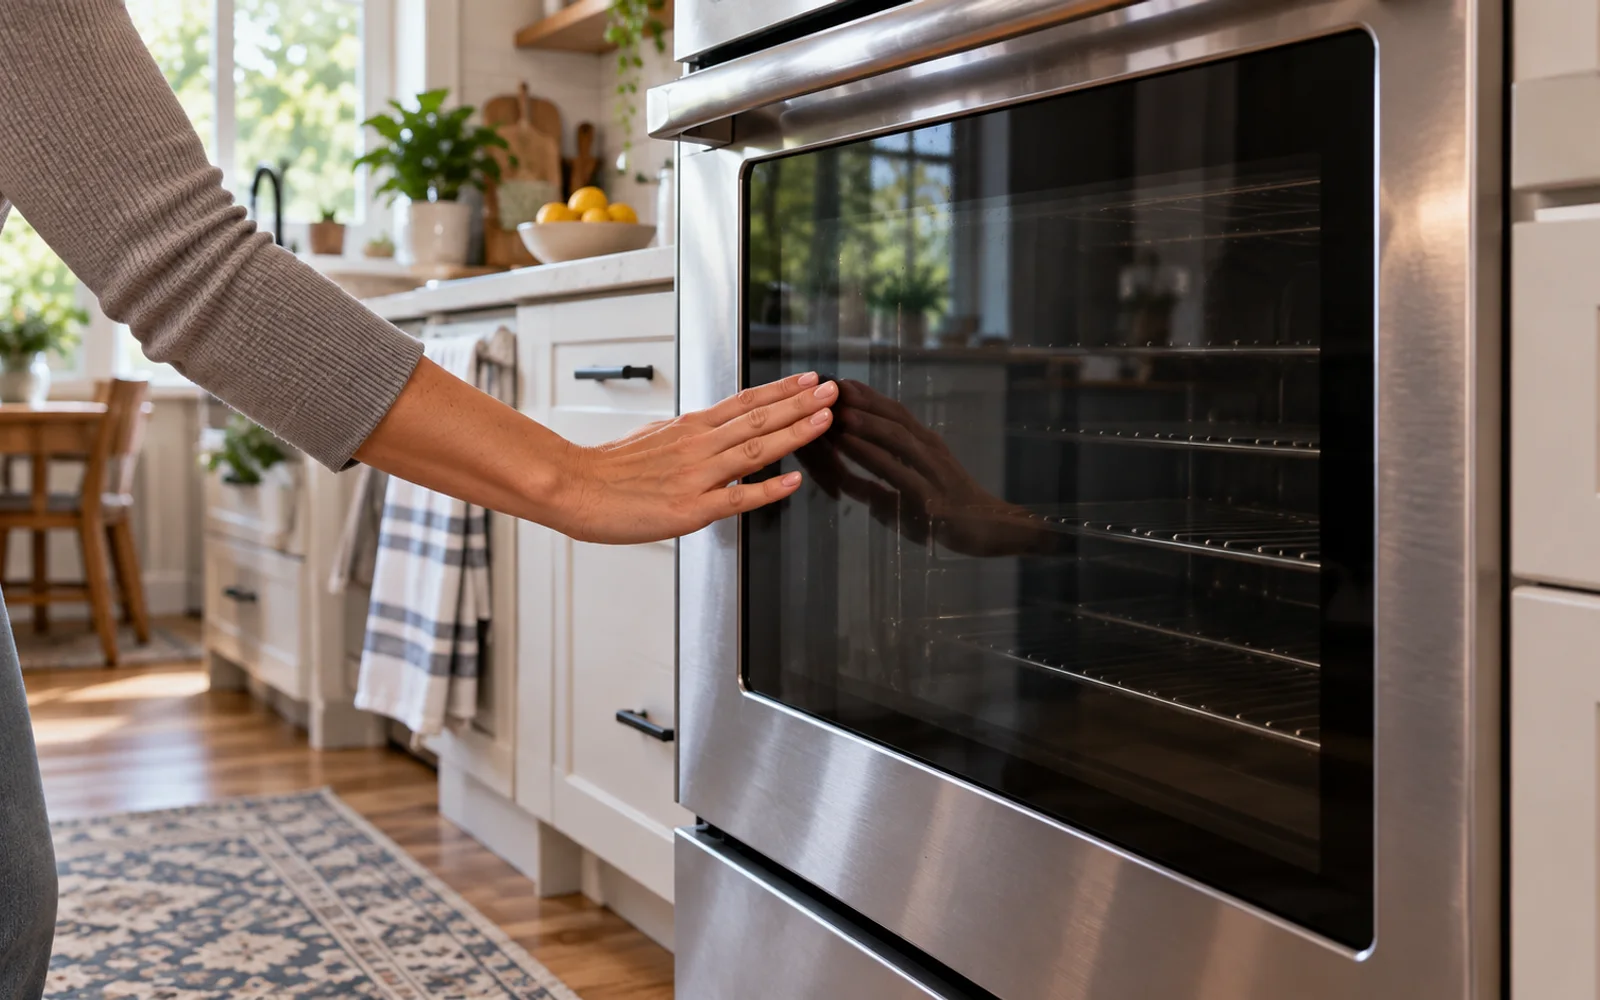
Turn the oven off and allow the door and surrounding trim to reach room temperature before cleaning. Do not judge only by the air inside the oven. Touch the exterior carefully and confirm that the glass itself is cool. Cleaning warm glass can cause water and cleaner to evaporate too quickly, leaving streaks, and it creates an unnecessary burn risk. Move pans, towels, and other items away from the work area before you begin.
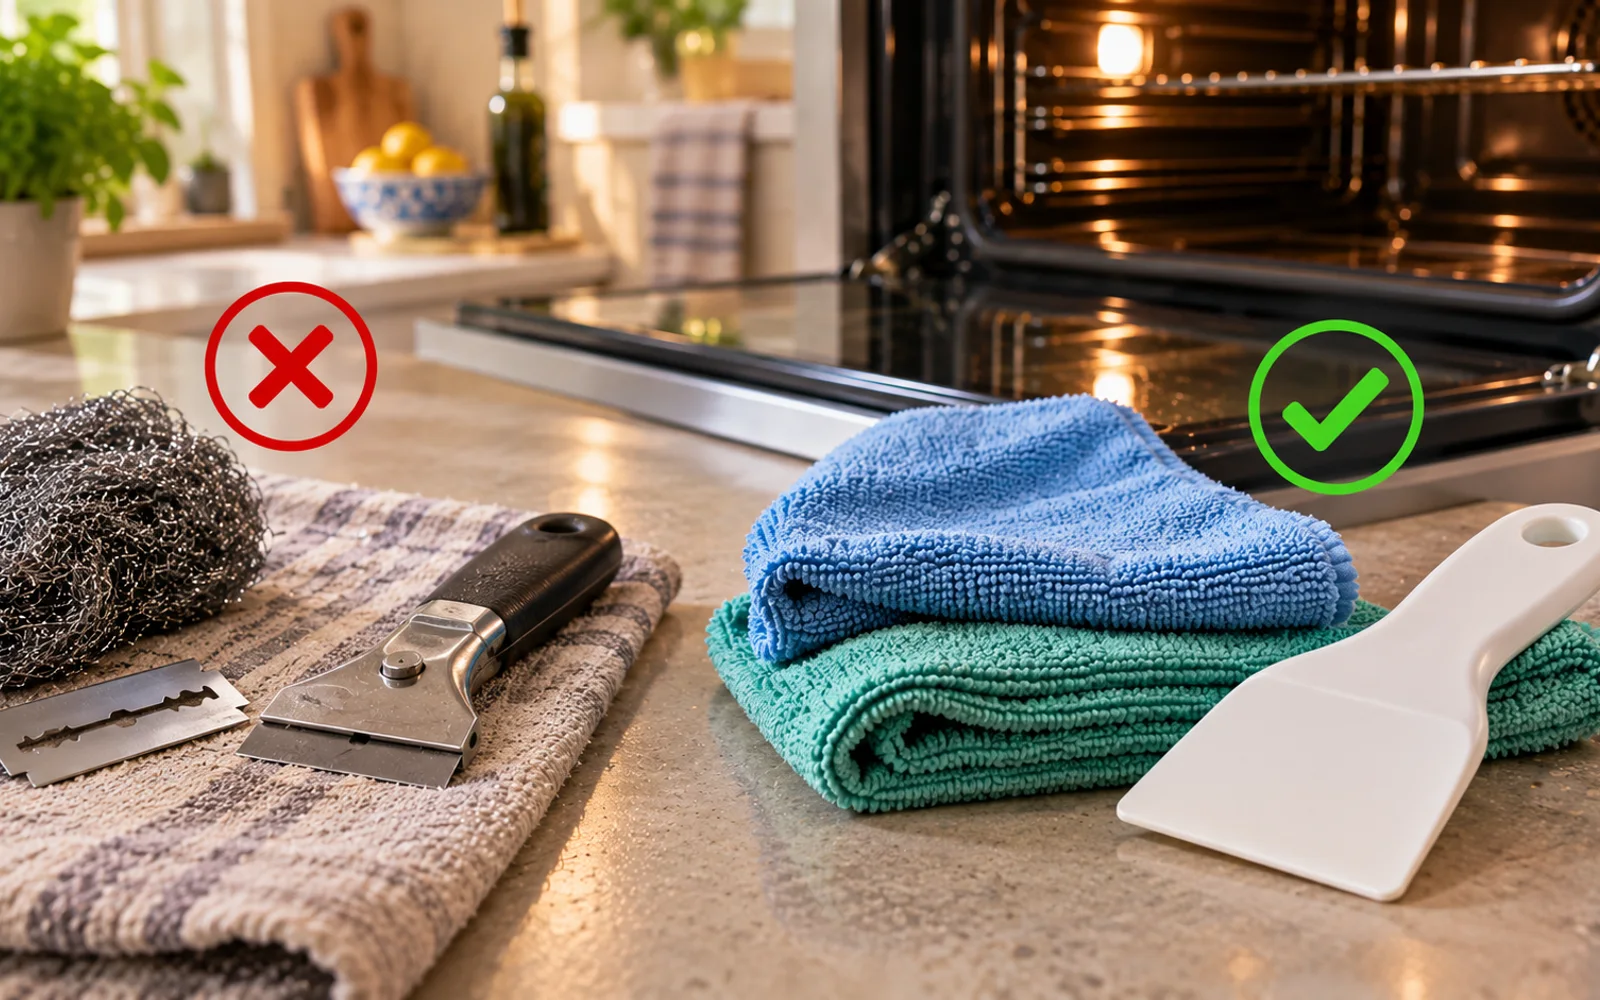
Set out only non-abrasive tools
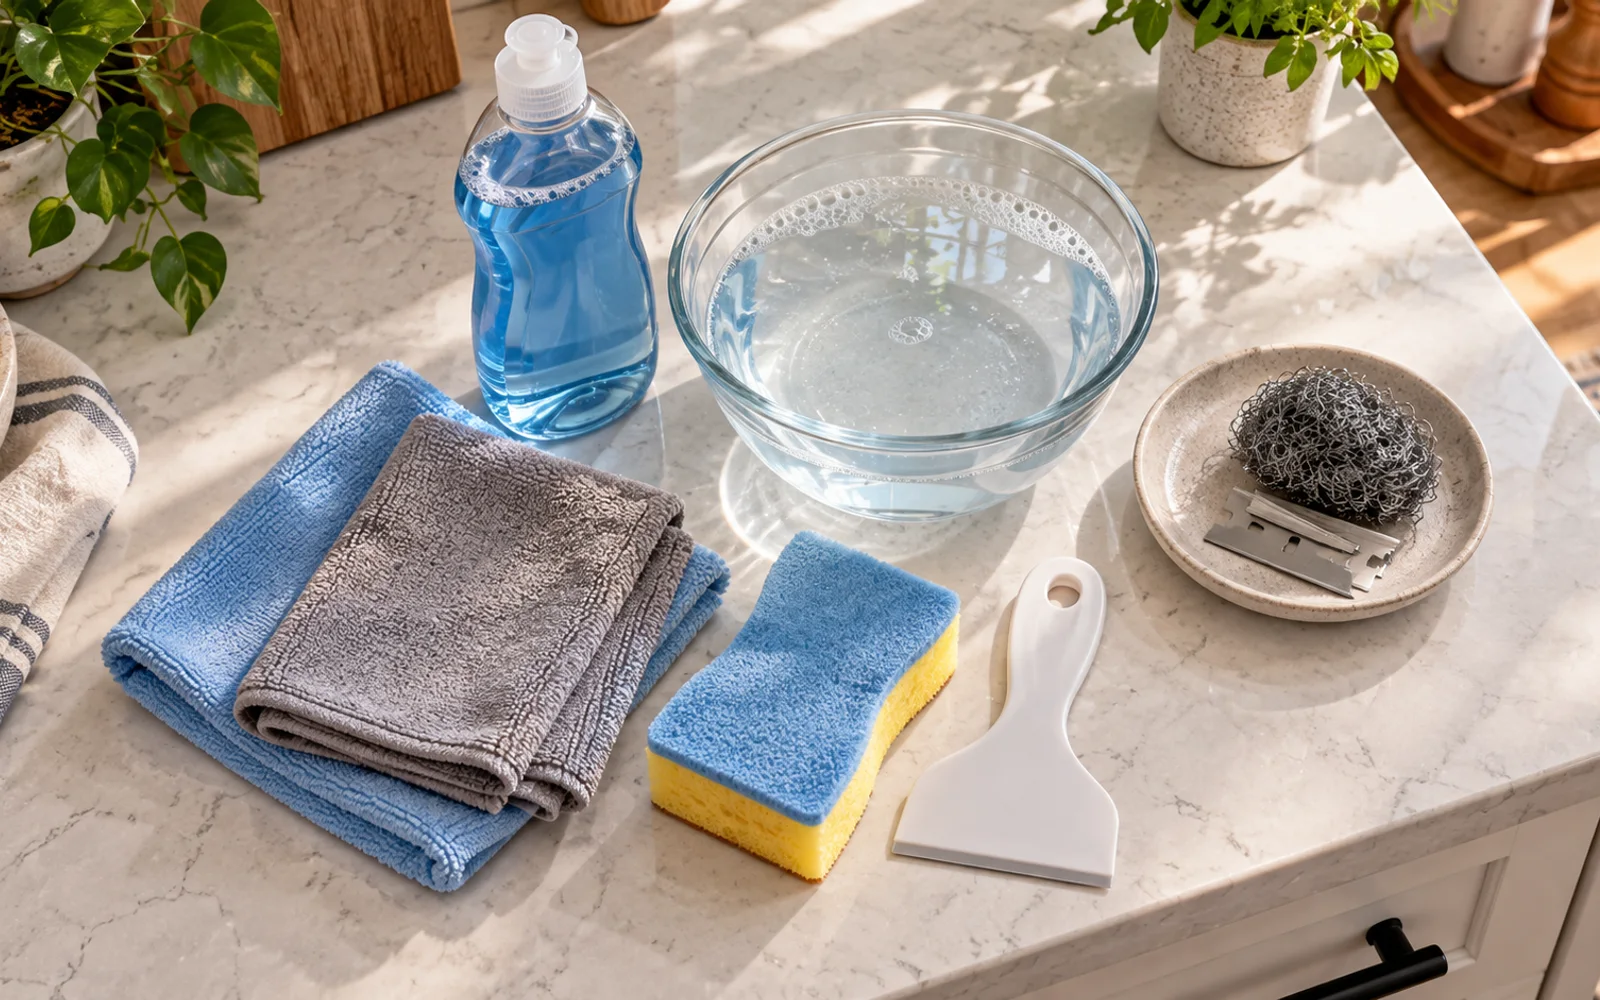
Gather microfiber cloths, a soft sponge, warm water, mild dish soap, and an approved plastic scraper if your oven manual permits one. Keeping the tool selection deliberately gentle reduces the chance that you will reach for something abrasive when a stain takes longer than expected. Leave steel wool, abrasive scrub pads, gritty powders, and razor blades out of the work area unless the manufacturer specifically authorizes a particular tool for your exact oven surface.
Protect the floor, trim, and openings
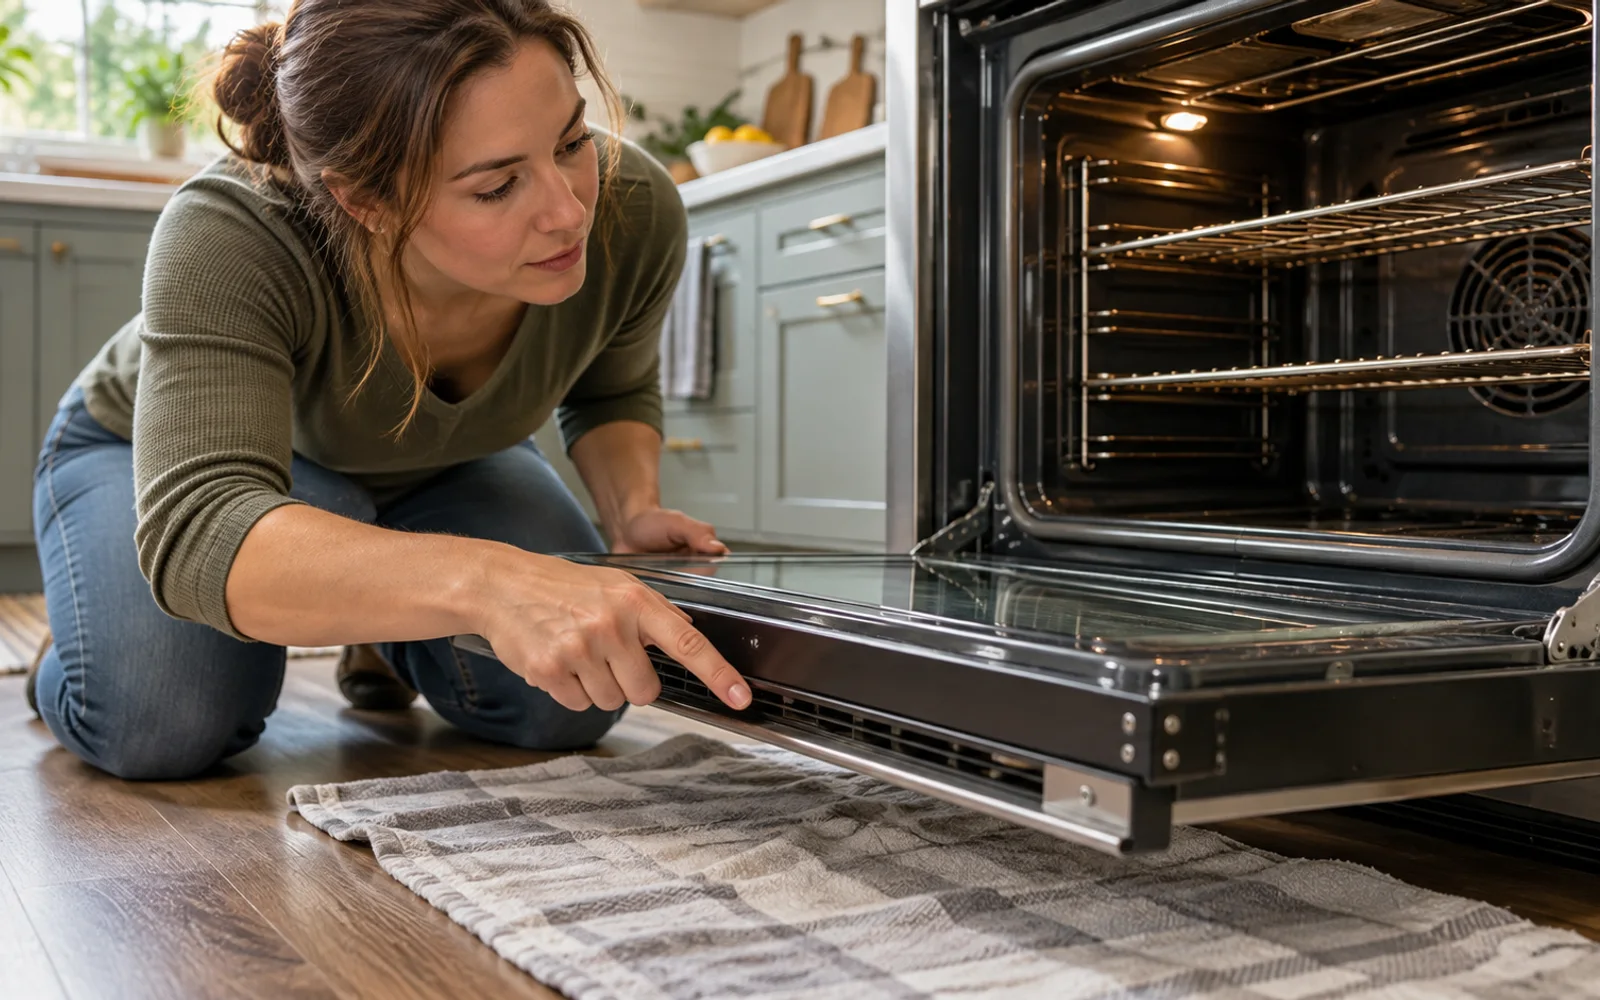
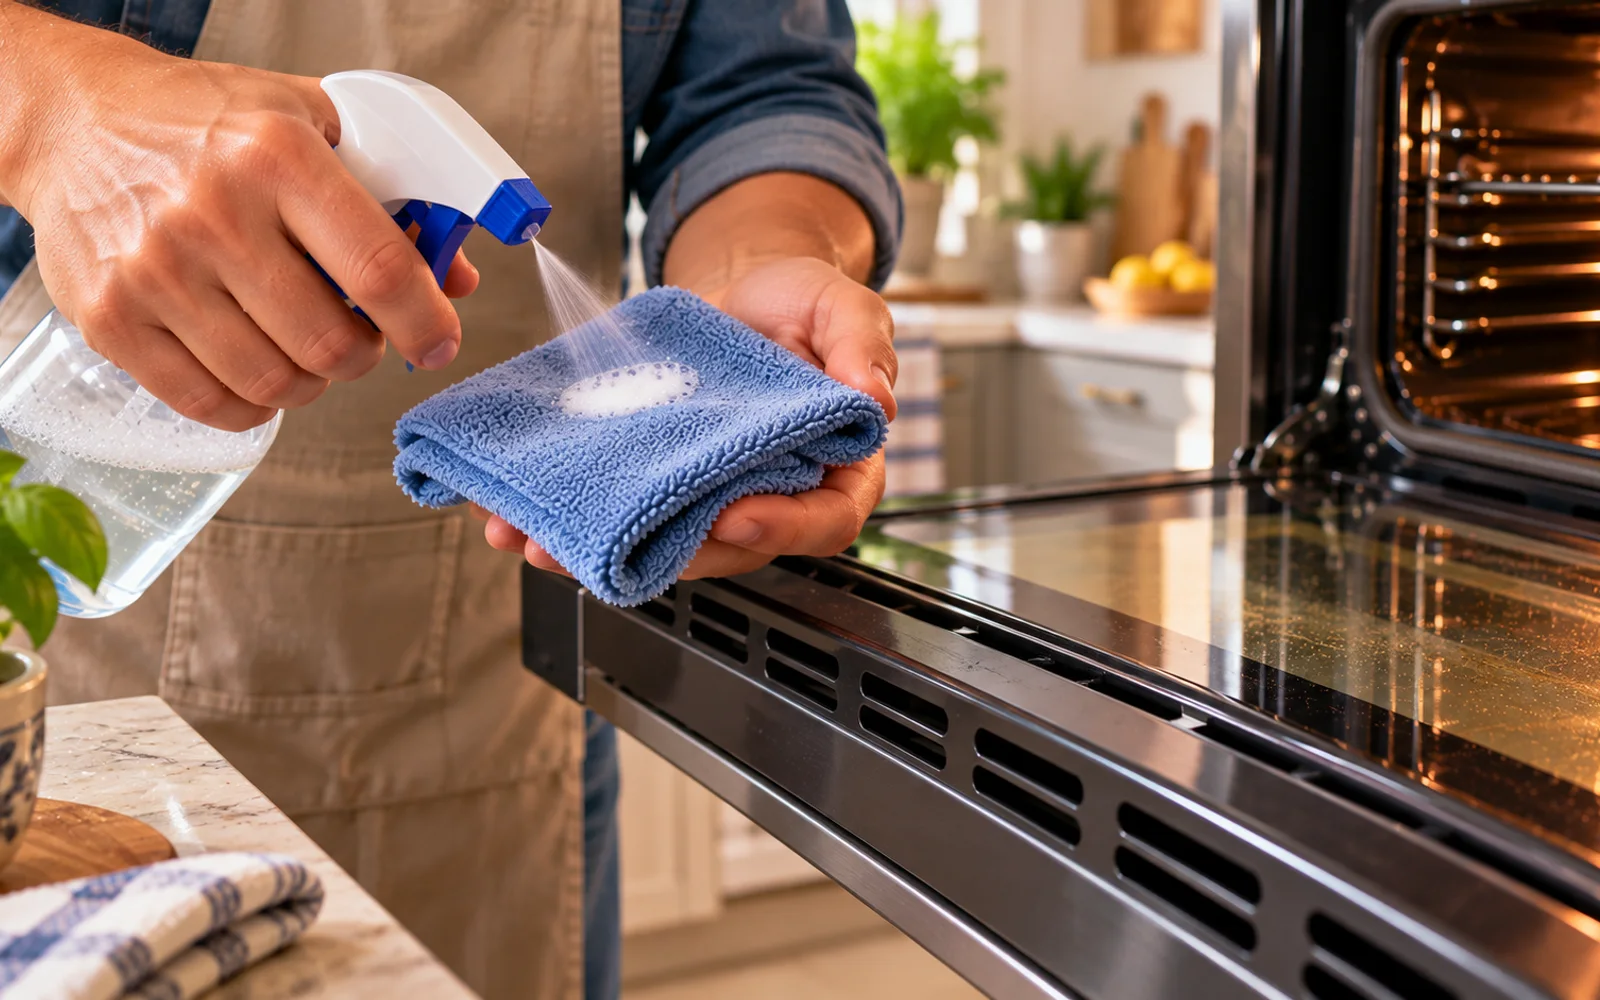
Spread an old towel below the door to catch the occasional drip. Then locate the vents, seams, hinges, gasket, trim, and any gaps around the glass. These areas should stay as dry as practical. Oven doors are assemblies rather than solid slabs, and excess liquid can migrate into places you cannot easily rinse or dry. Plan to put cleaner on your cloth instead of spraying the door directly.
Make a mild grease-cutting solution
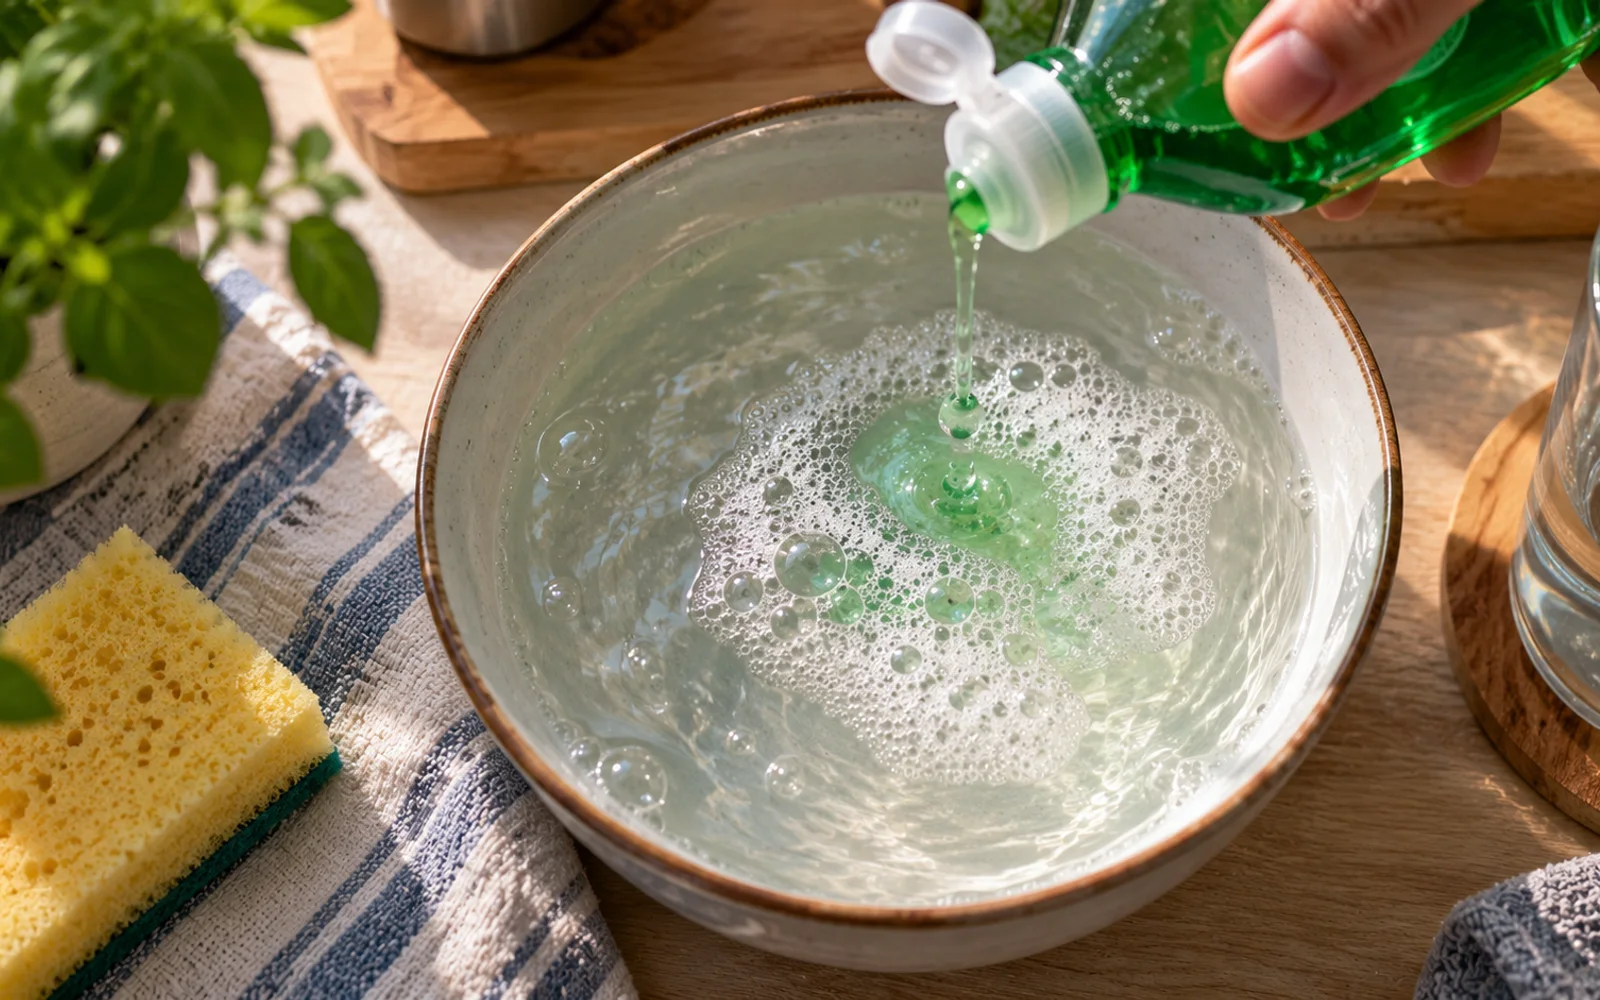
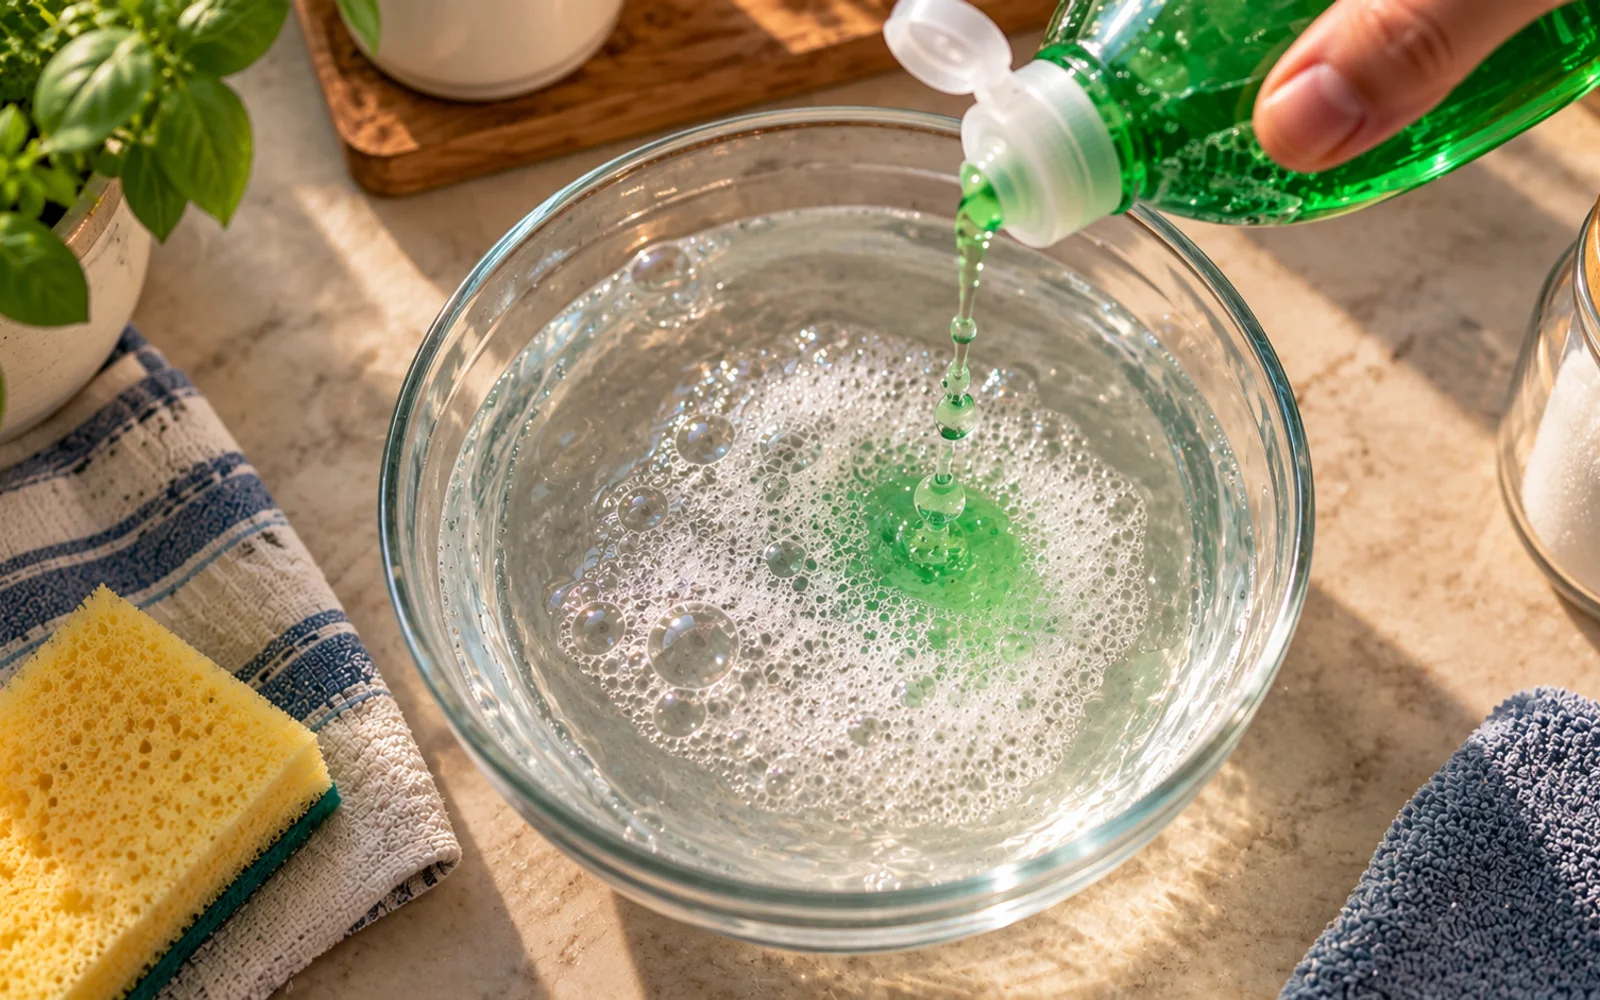
Fill a small bowl with warm water and add only a few drops of mild dish soap. Stir gently until the water has light suds. More soap does not automatically mean better cleaning. An overly concentrated mixture takes longer to rinse and can leave a cloudy film. Mild dish soap works well for routine oven glass because it helps loosen cooking oils without introducing abrasive particles.
Soften the greasy surface
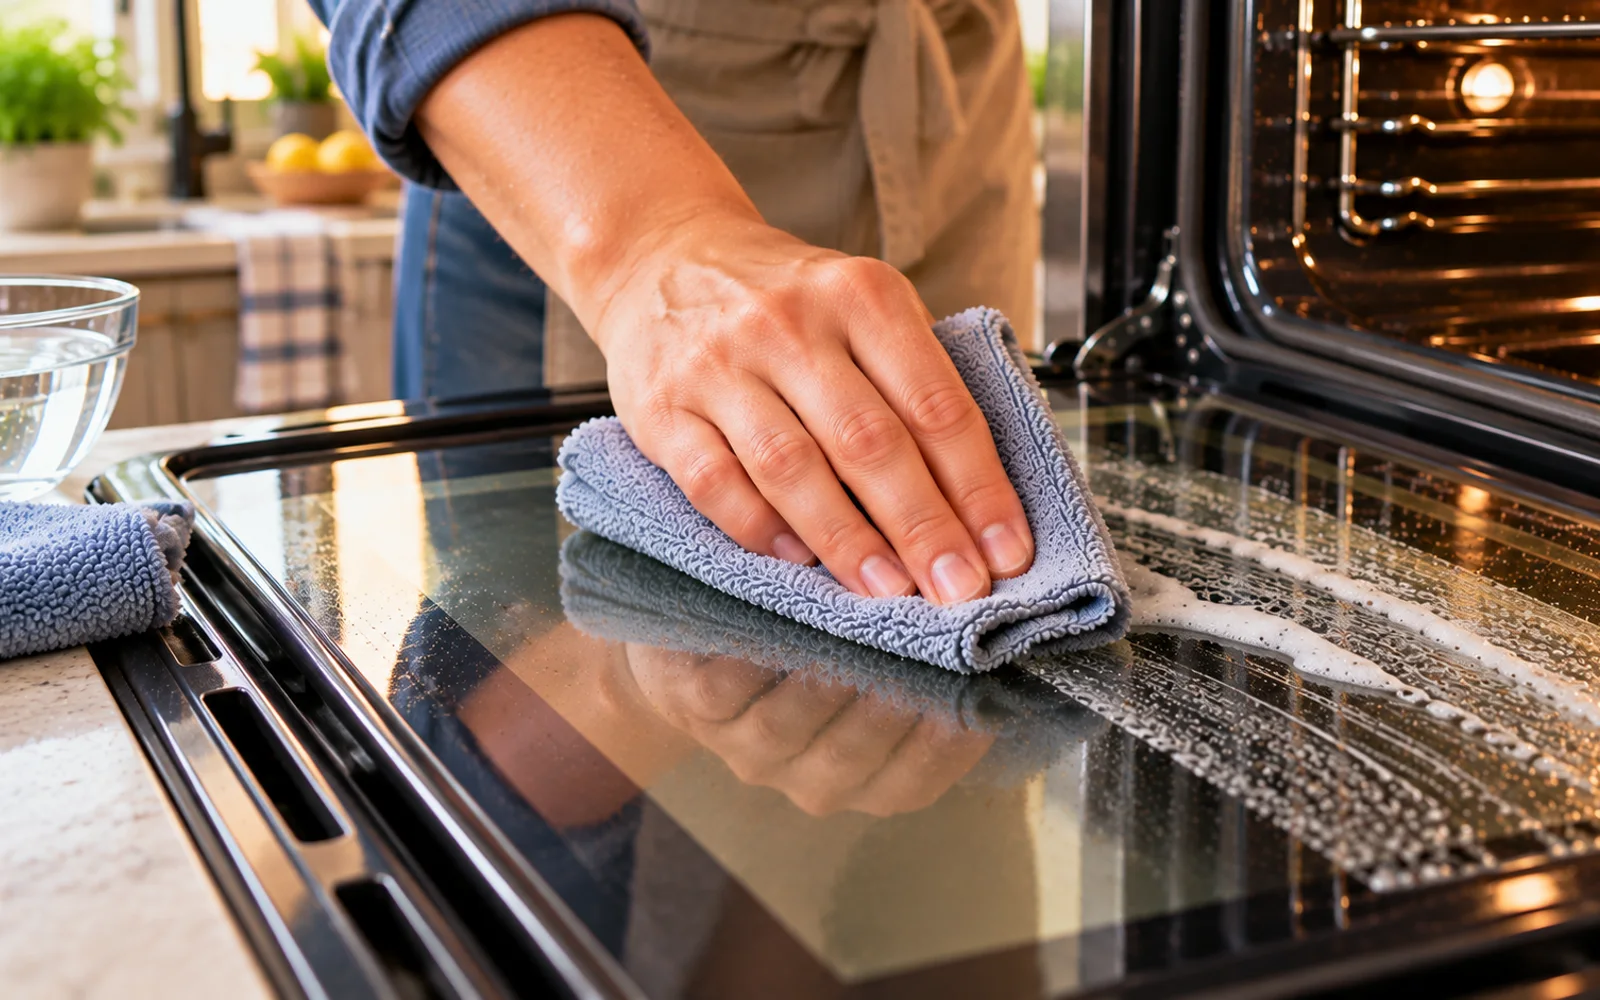
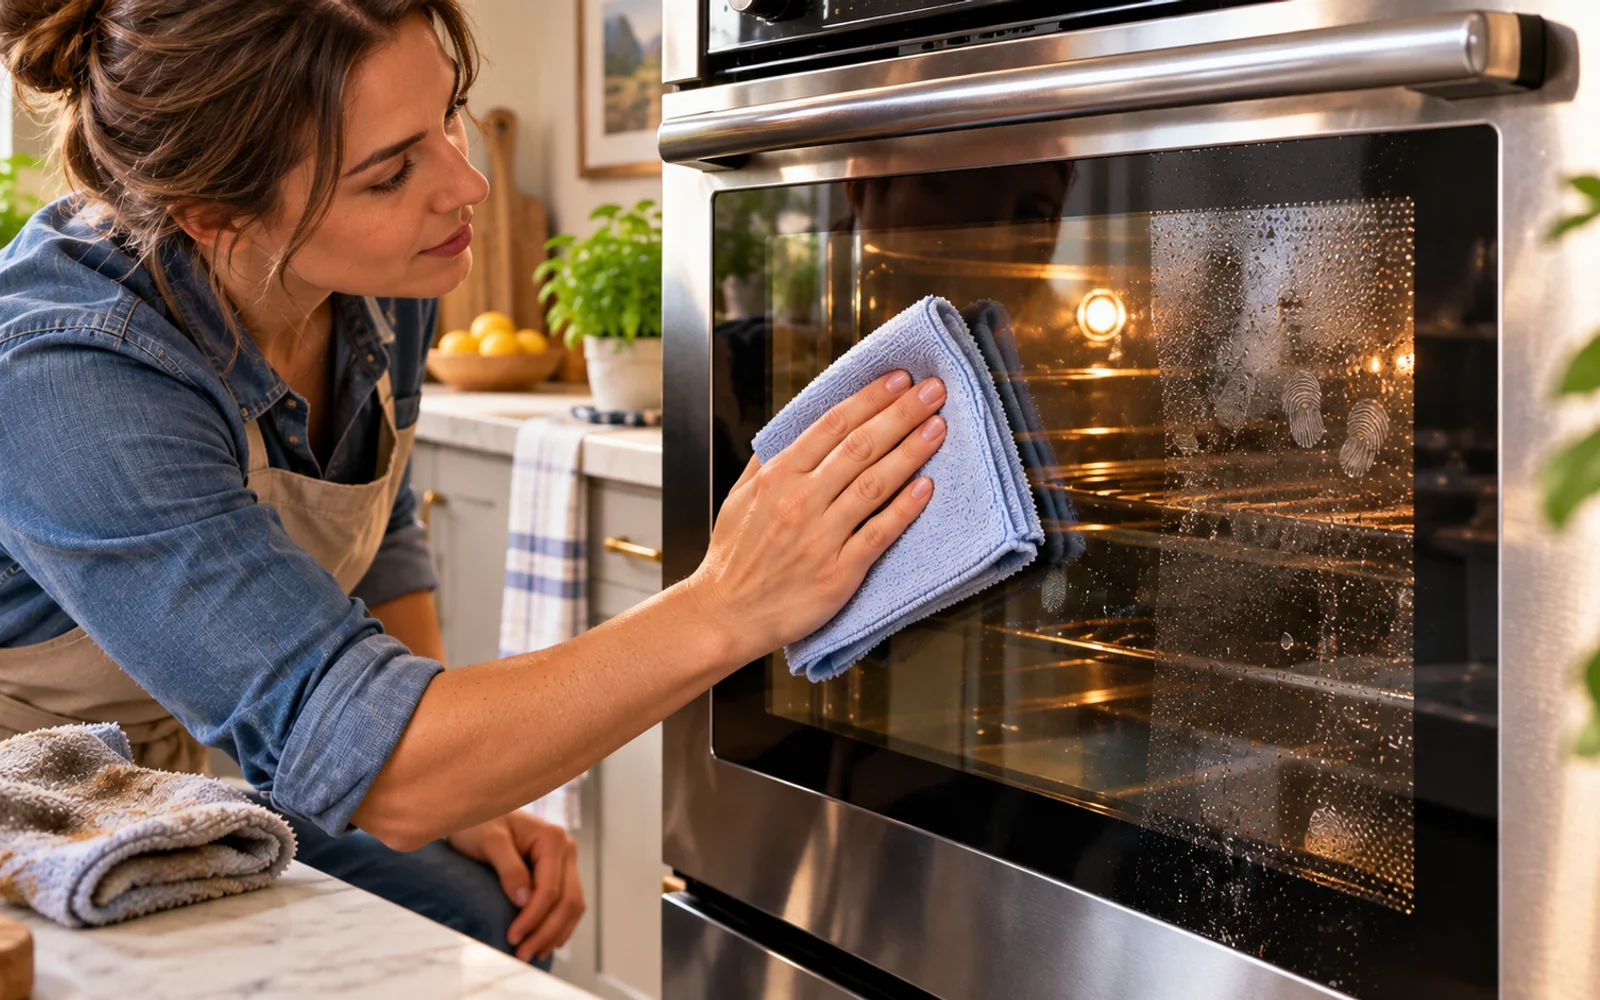
Dip a microfiber cloth into the soapy water, then wring it out thoroughly. It should feel damp but should not release water when pressed. Hold the cloth against the greasiest area for a short period instead of immediately scrubbing. Moisture and dish soap need contact time to begin loosening oily residue. Controlled soaking is more effective and safer than flooding the surface with cleaner.
Wipe from top to bottom
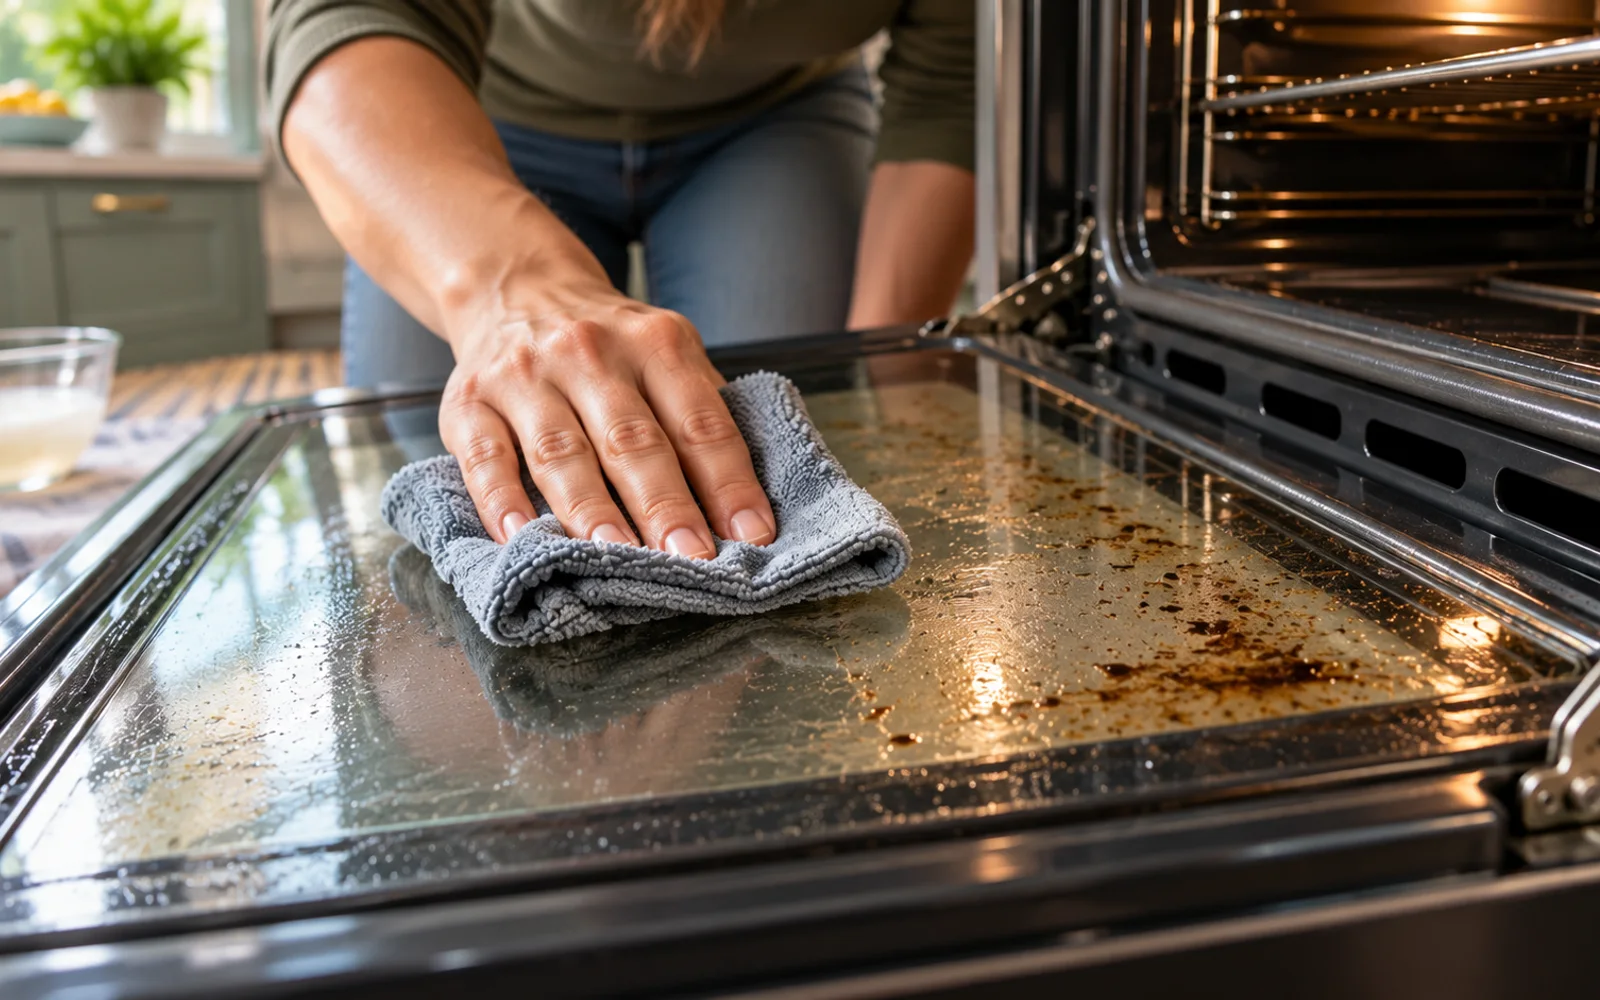
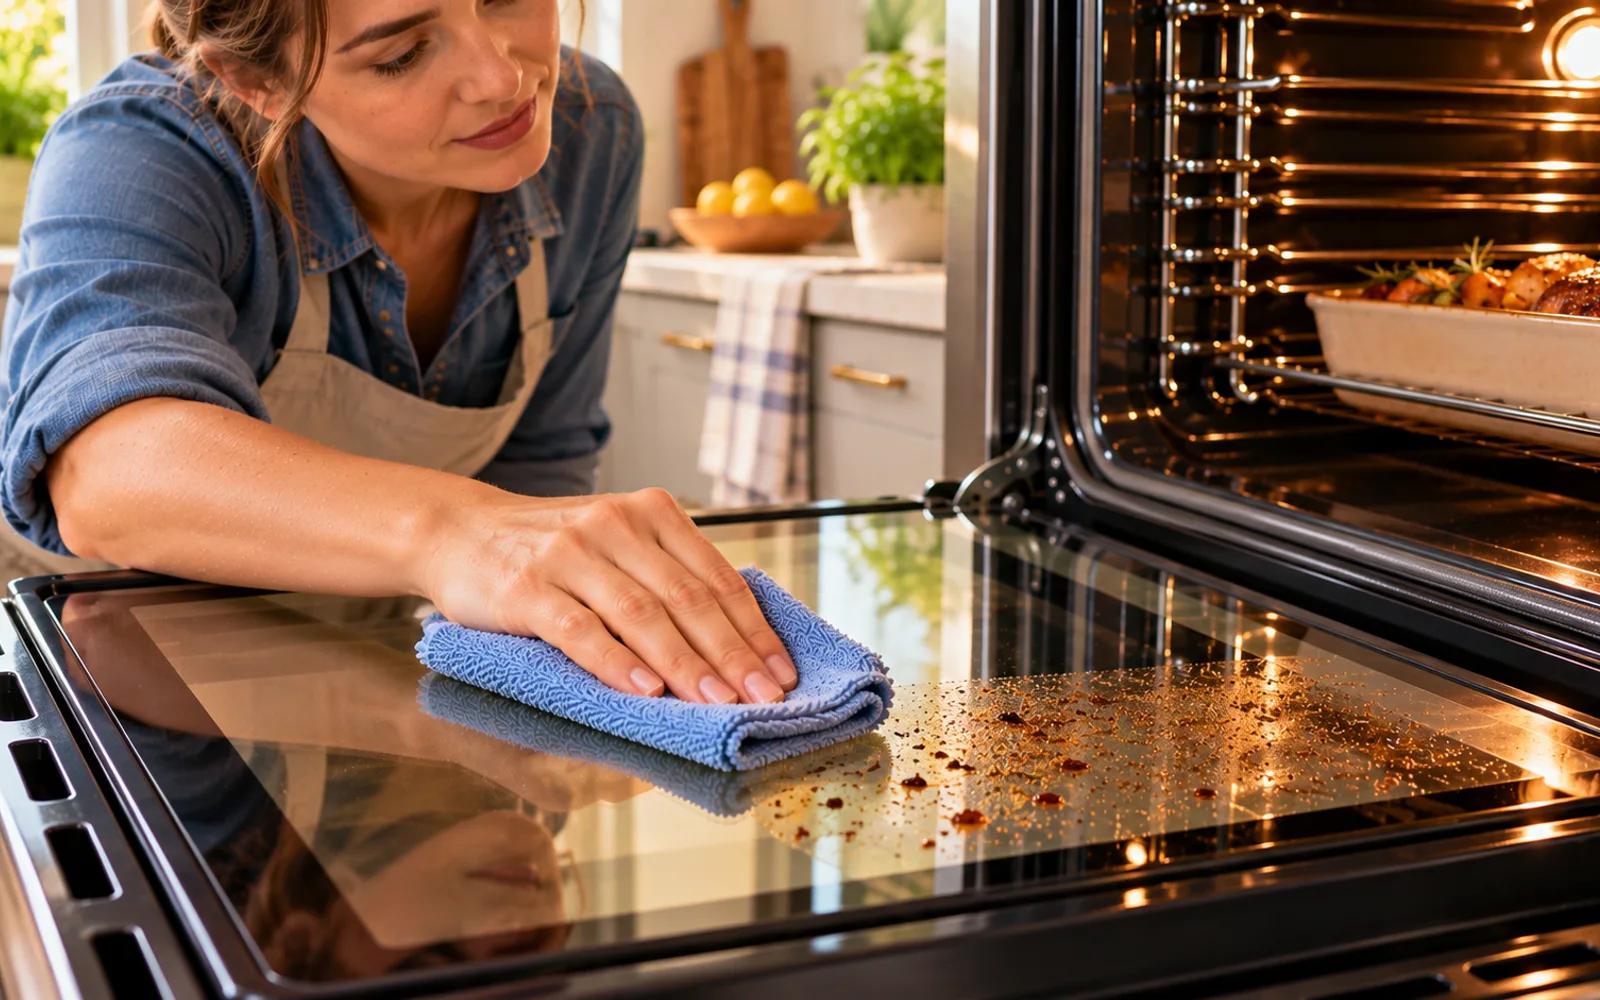
Wipe the glass using slow, overlapping passes, beginning near the top and moving downward. This direction keeps loosened grease from running across areas you have already cleaned. Rotate or refold the microfiber cloth frequently so a dirty section does not simply redistribute grease. If the cloth becomes heavily soiled, rinse it in the bowl, wring it thoroughly, and continue with a cleaner section.
Inspect the glass after the first pass
Step back and look across the glass from an angle. Much of the general brown haze should now be reduced, making individual baked-on deposits easier to identify. Resist the temptation to scrub harder just because a few spots remain. The first cleaning pass is supposed to remove easy residue and reveal what actually requires extra treatment. Targeting only those spots saves time and limits wear on the rest of the surface.
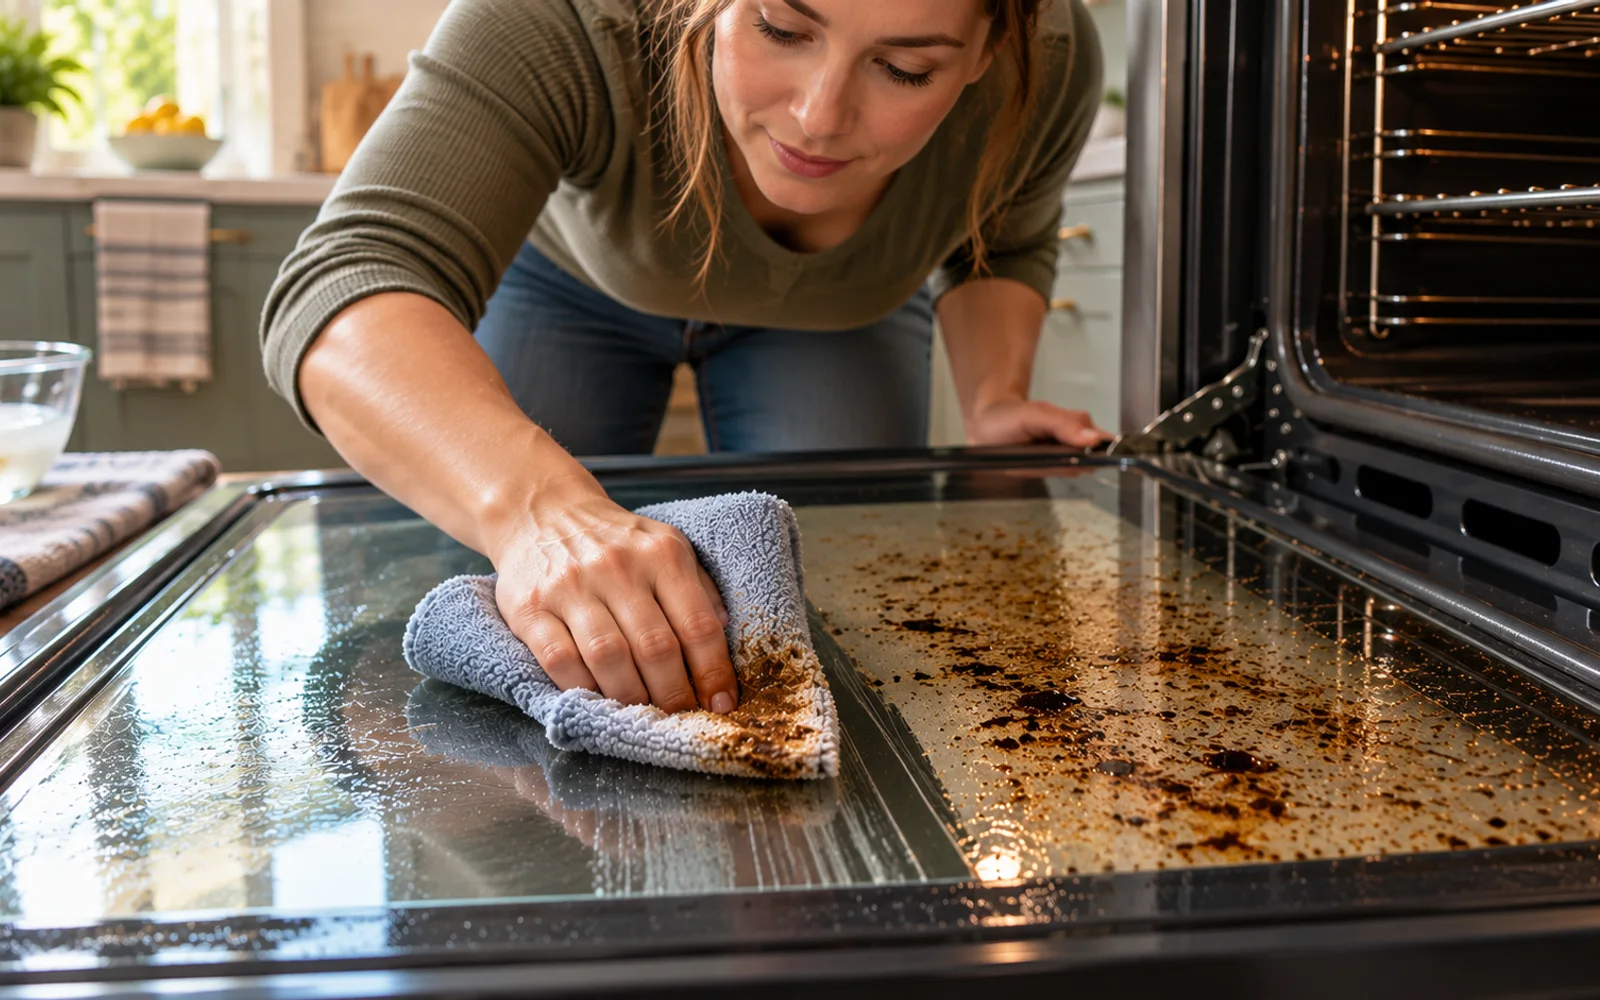
Soften stubborn spots individually
Use the corner of a damp cloth or a soft sponge to place a small amount of soapy moisture directly on each stubborn deposit. Keep the surrounding glass, trim, gasket, and vents as dry as possible. Let the spot remain damp for several minutes. Baked-on grease often releases much more easily after repeated softening, so give moisture time to work before adding pressure.
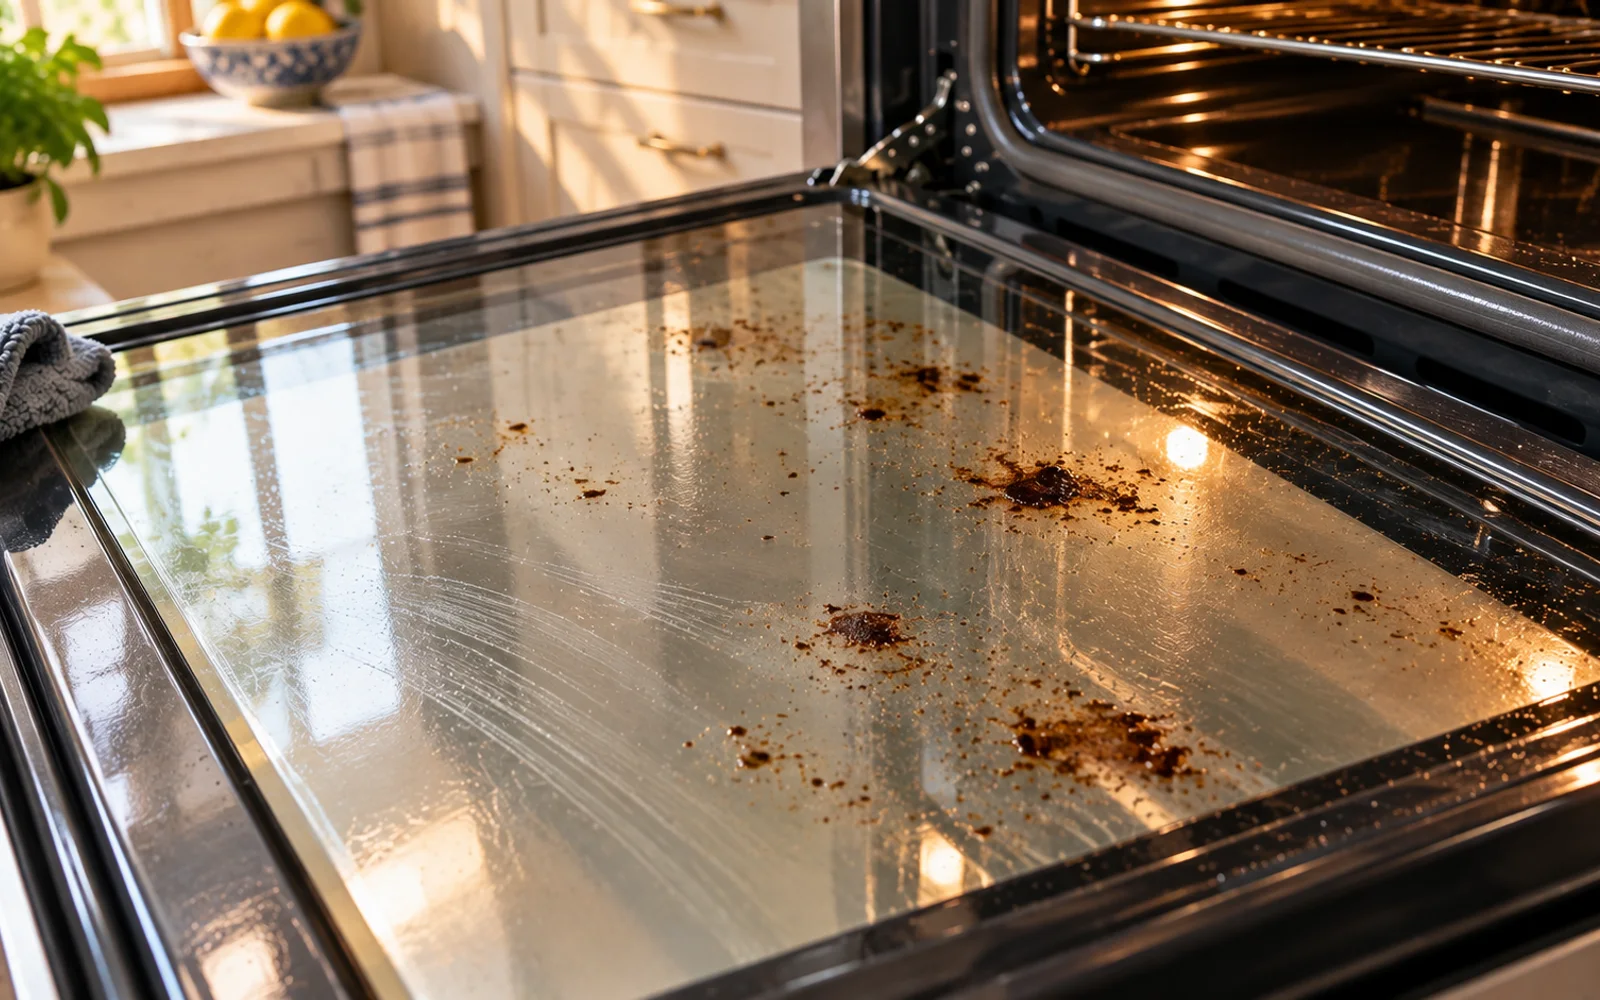
Lift softened residue with an approved plastic edge
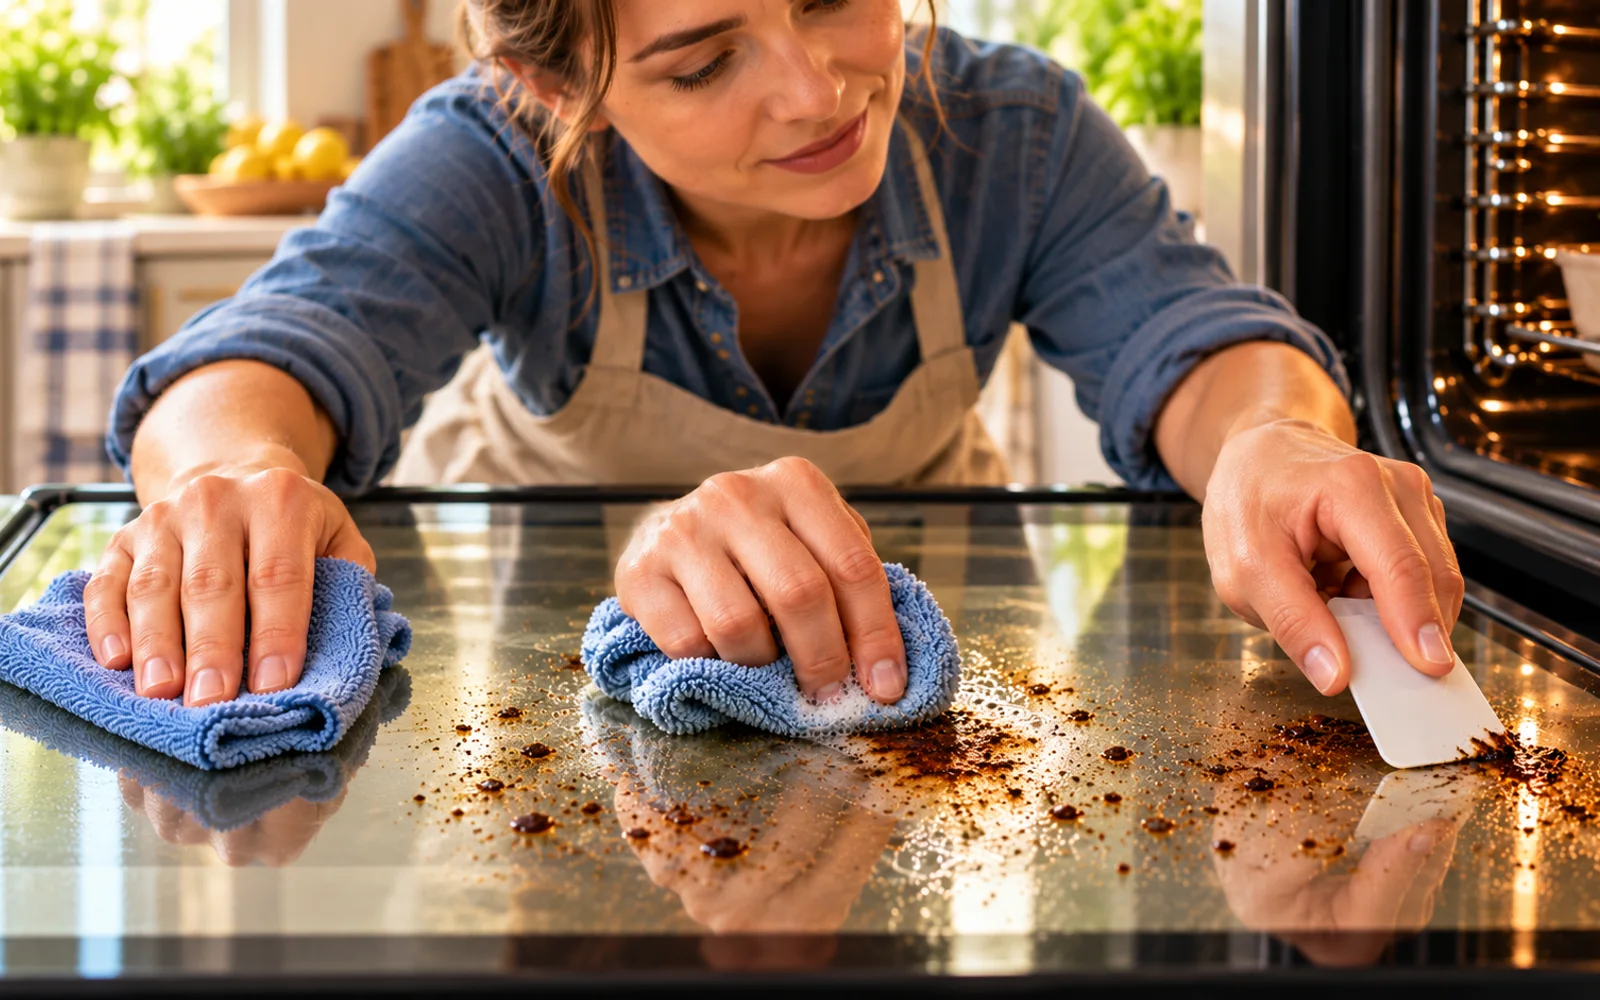
If your oven manufacturer allows a plastic non-scratch scraper, hold it almost flat against the glass and gently slide it beneath the softened residue. An old plastic card may also be suitable if the manufacturer permits this type of tool. Use light forward pressure rather than digging downward with the edge. Stop immediately if the tool catches on trim, markings, or a coated area.
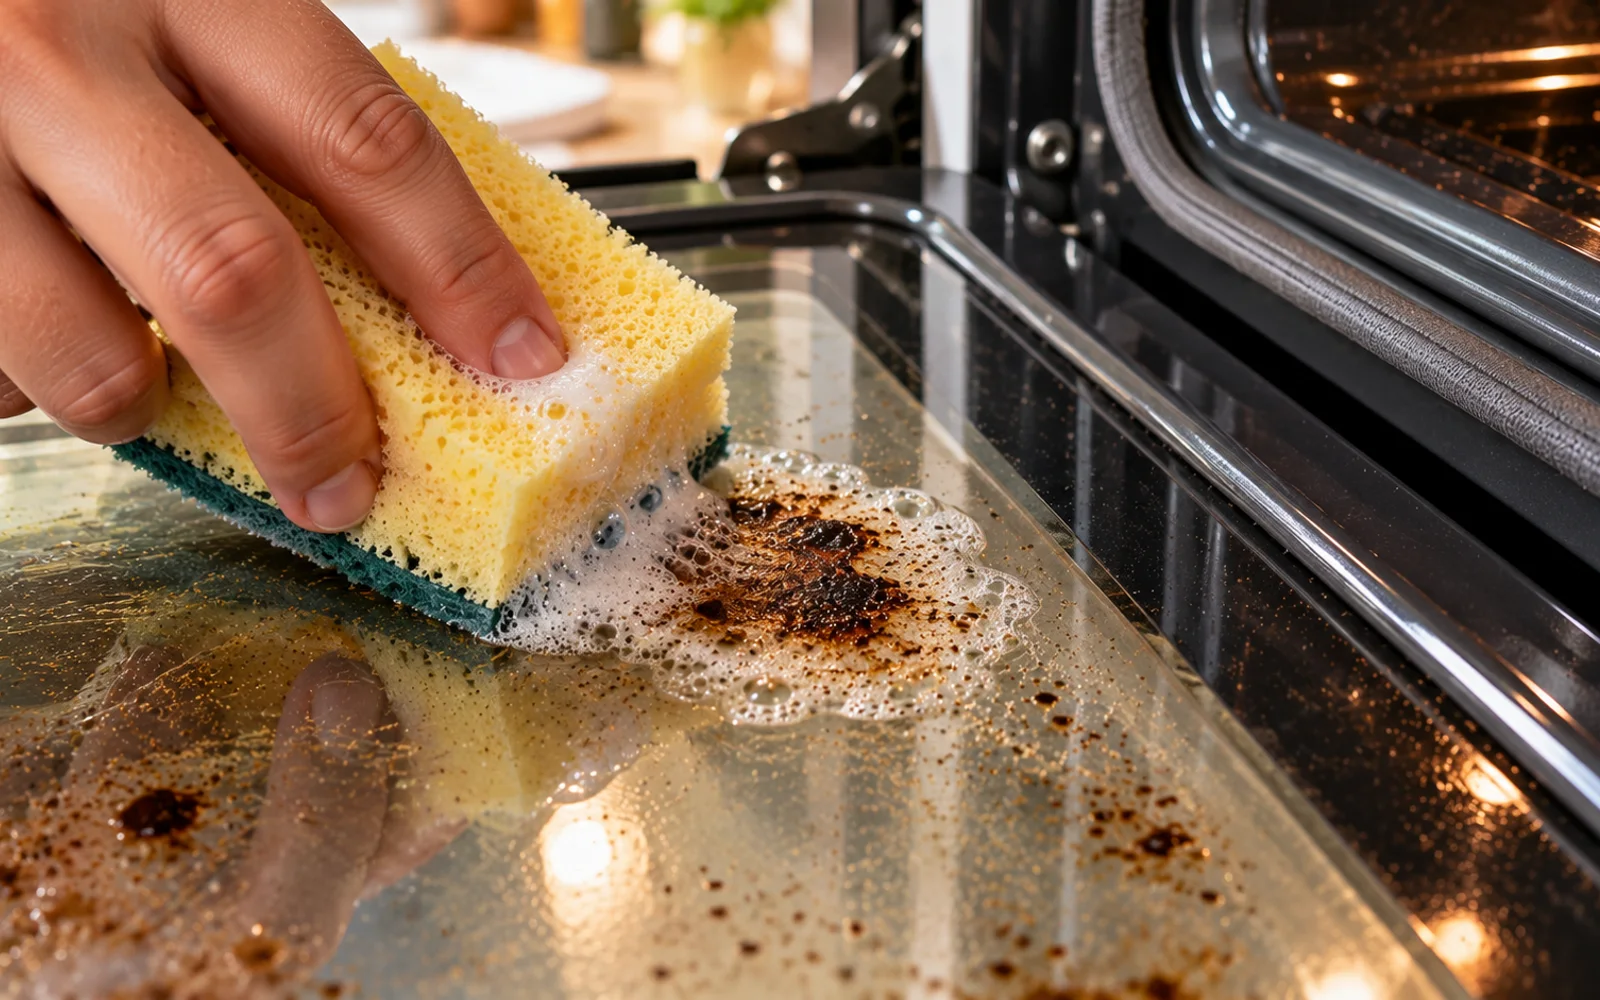
Leave metal scrapers out unless specifically approved
A razor blade may seem efficient, but glass can have coatings, printed details, decorative finishes, or surface conditions that make metal scraping risky. A blade used at the wrong angle can create a visible scratch in seconds. Unless the appliance manufacturer explicitly says a metal scraper is safe for the exact glass you are cleaning, use soaking, microfiber, and approved plastic tools instead.
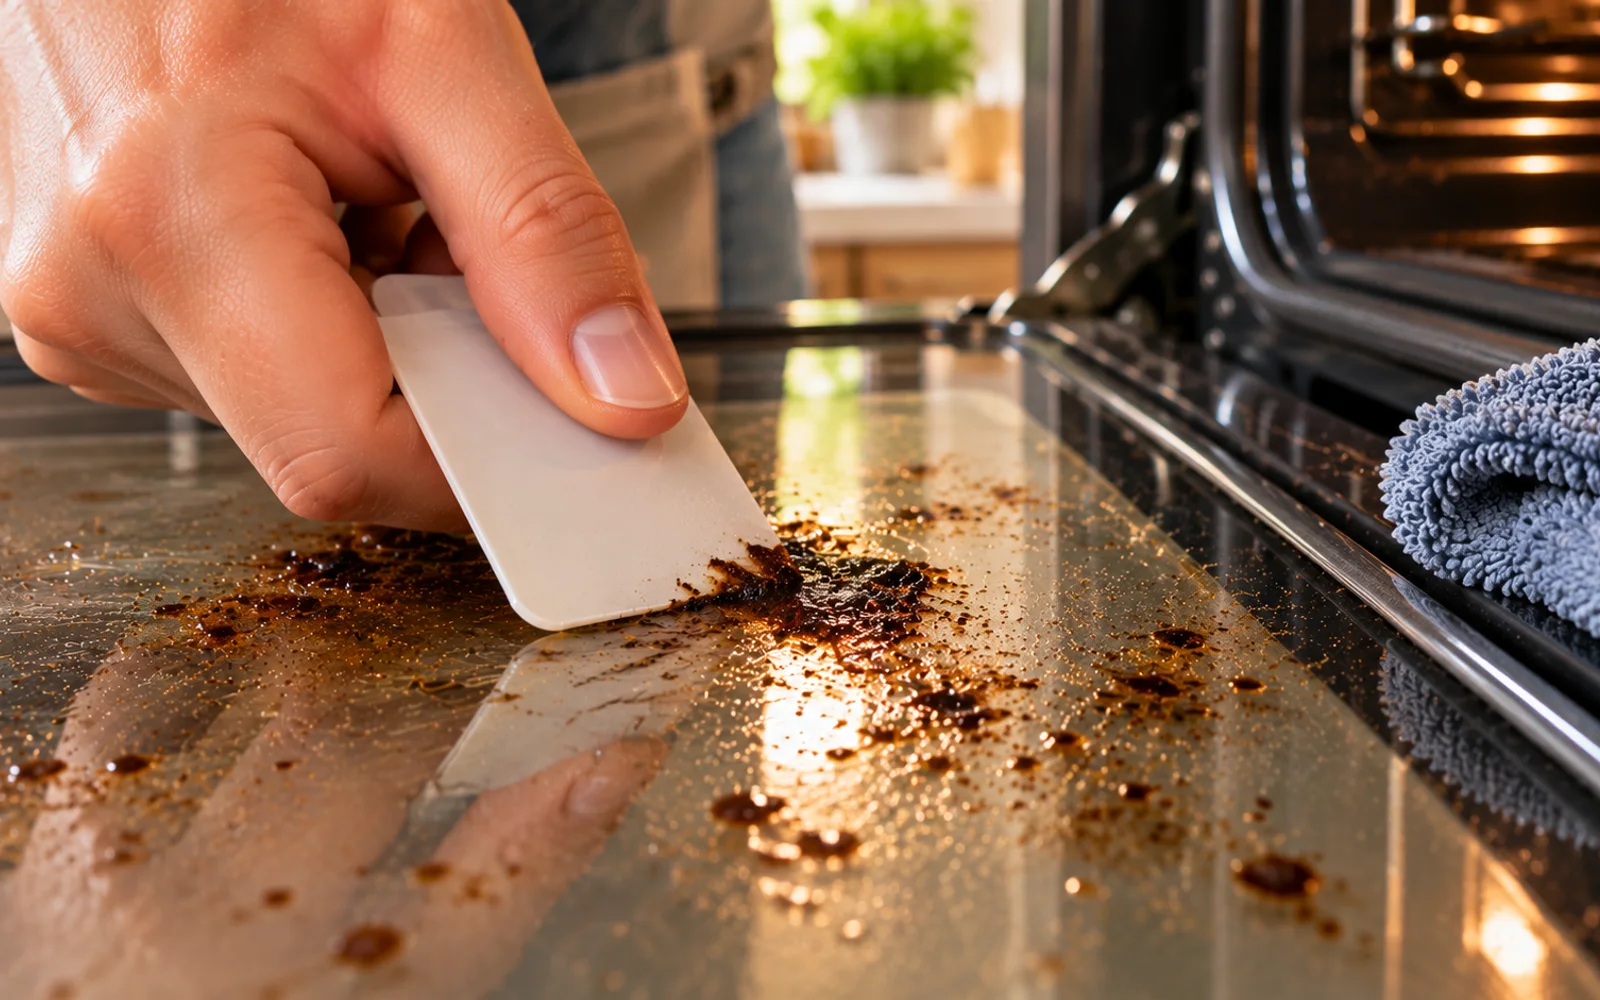
Soften again instead of using more force
If a deposit does not release easily, stop scraping. Reapply the damp cloth, let the residue soften again, wipe, and repeat. Tough buildup often comes away gradually rather than in one piece. Using several gentle cycles takes longer, but it gives you substantially more control than increasing force. When cleaning glass, patience is usually cheaper than trying to repair a scratch afterward.
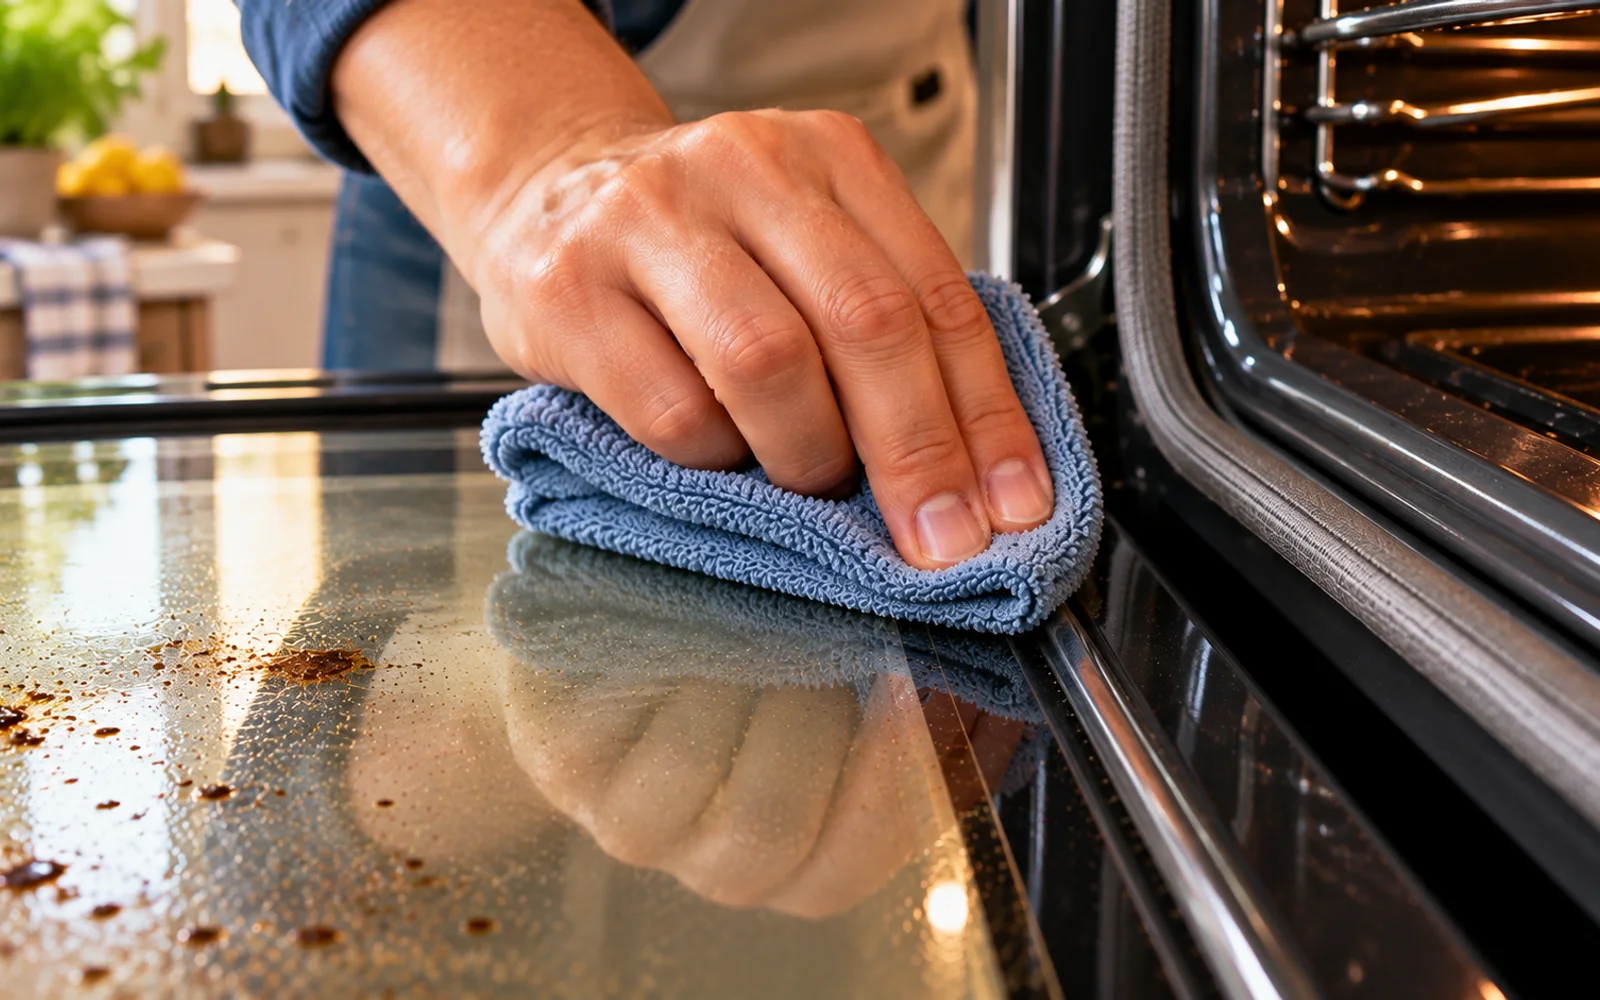
Use extra moisture control around the edges
As you approach the perimeter of the viewing window, switch to a folded, barely damp microfiber cloth. Move parallel to the edge instead of pushing liquid toward gaps. The interior of an oven door may contain additional panes of glass, insulation, and ventilation channels. Water that enters those spaces can leave marks or trapped streaks that are difficult to reach without taking the door apart.
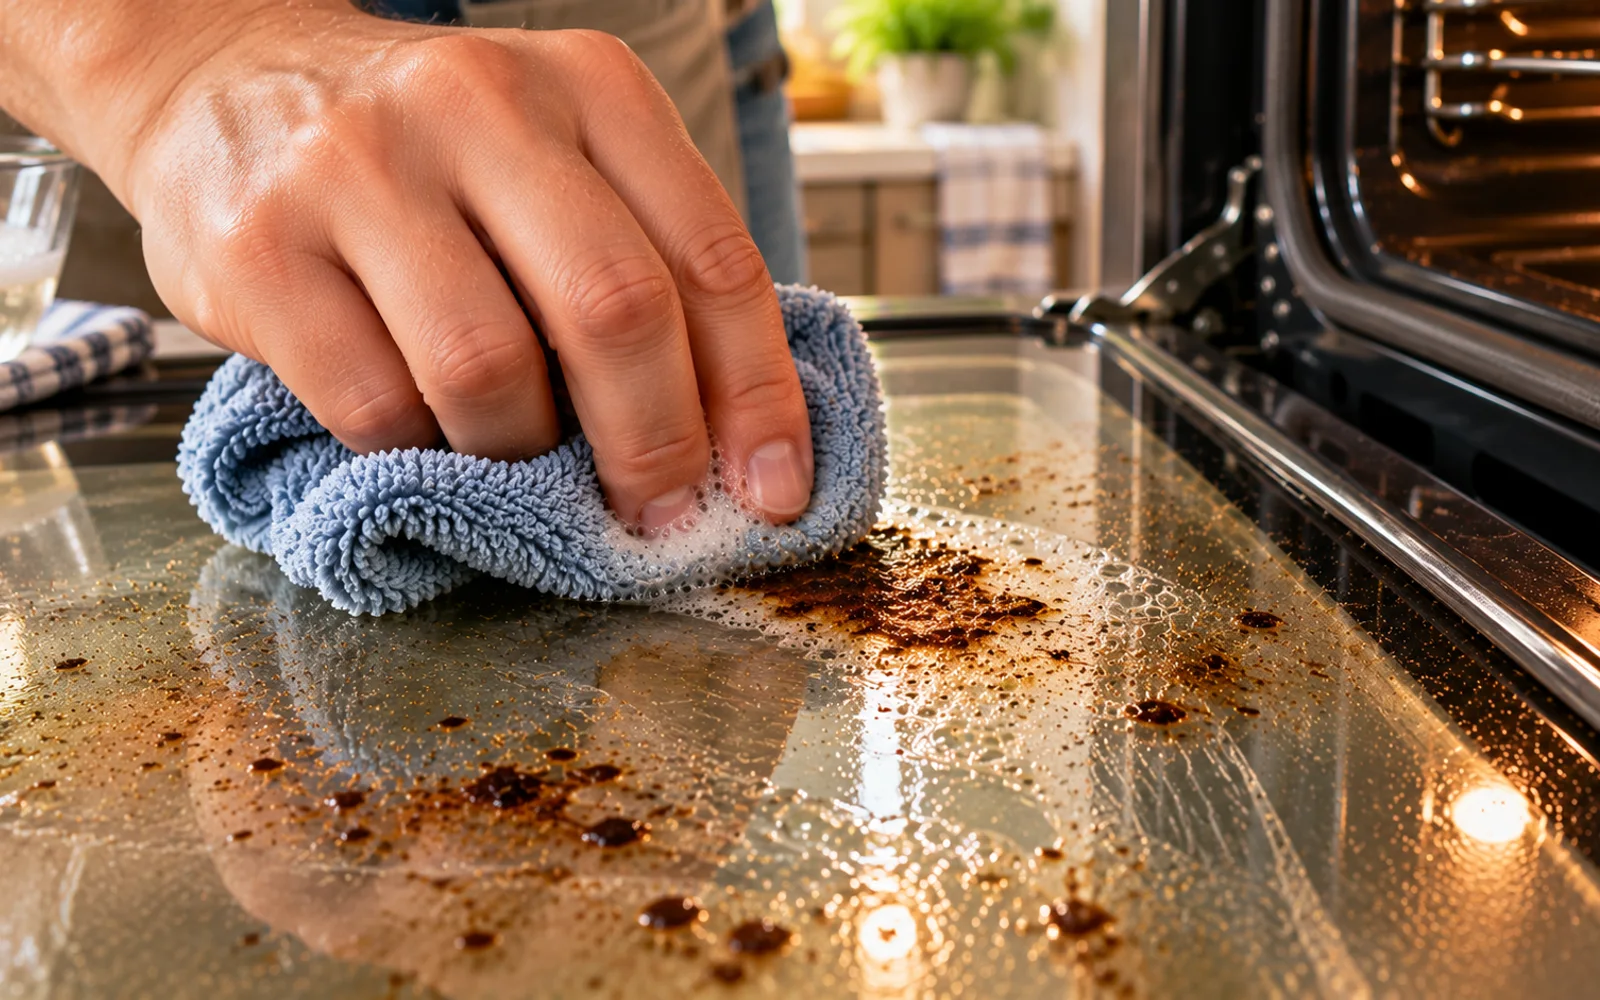
Keep the door gasket dry
Clean the glass beside the gasket with the corner of a lightly damp cloth, but avoid saturating or aggressively rubbing the seal itself. Do not pull, stretch, or reposition the gasket while cleaning nearby. The gasket is responsible for maintaining the oven's seal during operation, and damage can affect how the appliance performs. If the gasket itself is dirty, check the owner's manual for the approved cleaning method.
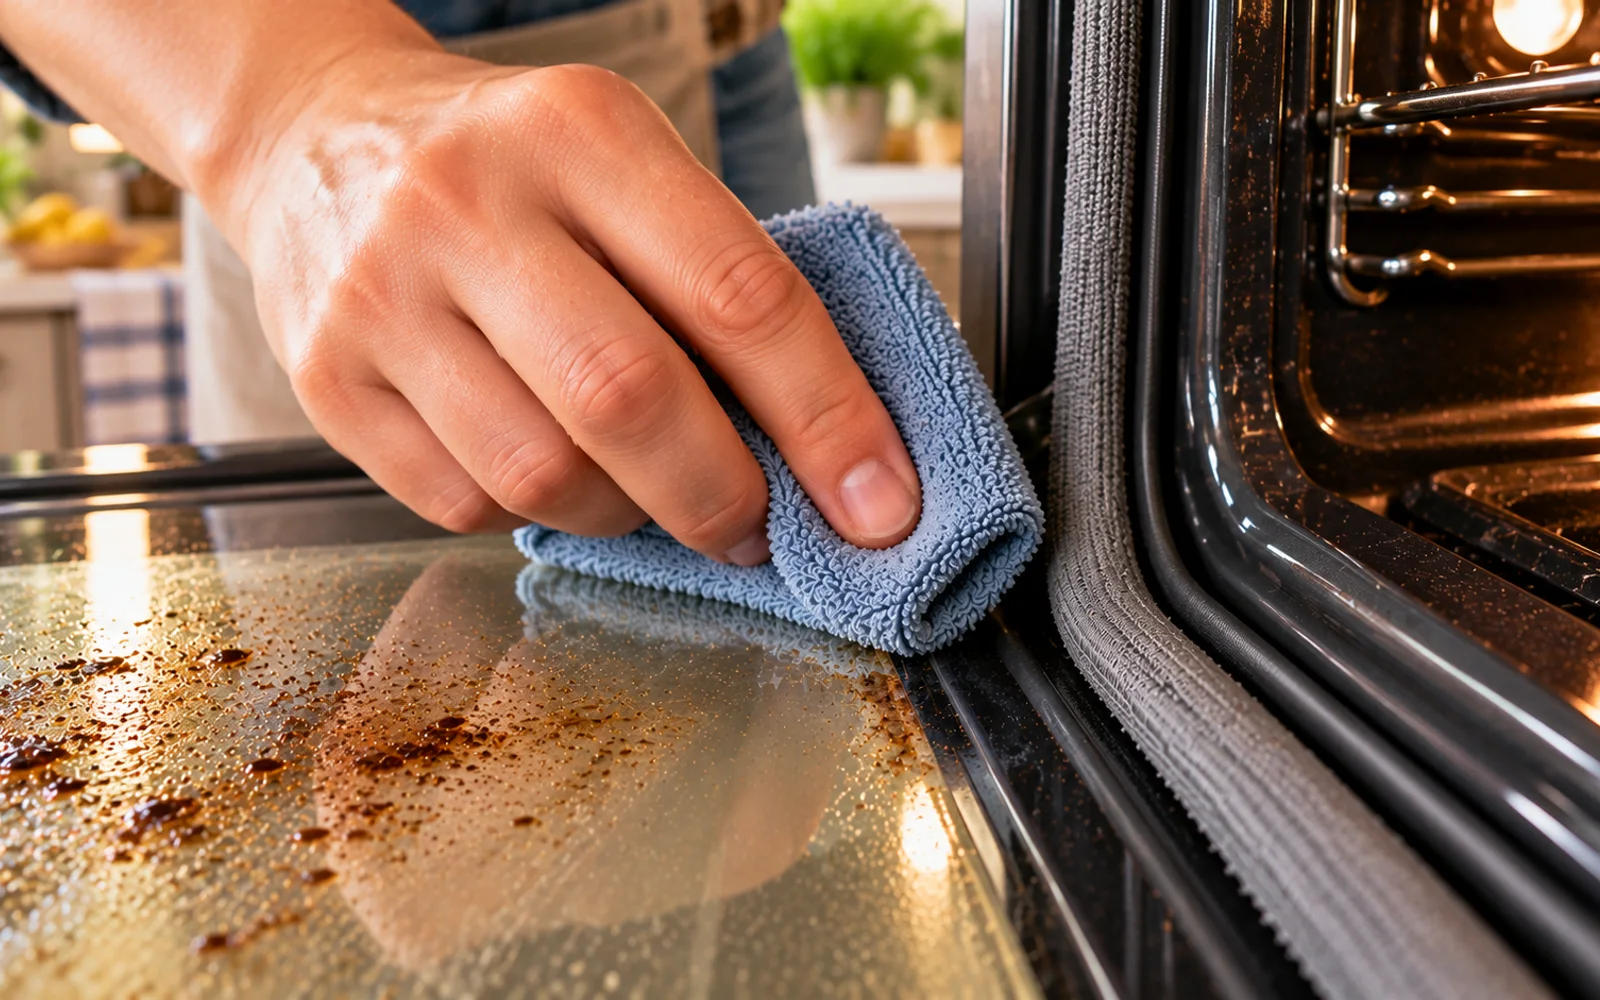
Apply cleaner to the cloth, not the vents
Look for ventilation slots along the top, sides, or lower portion of the oven door. Keep spray bottles away from them. If more cleaning solution is needed, apply it to the microfiber cloth away from the appliance, then wring out any excess. This gives you precise control over where moisture goes and reduces the chance of creating streaks between door panels.
Work across the viewing window in sections
Mentally divide a large oven window into smaller areas and clean one section at a time. A simple four-section pattern works well. Finish one area before moving to the next and keep turning the cloth as it collects grease. This prevents you from repeatedly wiping the same part of the glass while missing another section, especially when the entire window initially looks uniformly smoky.
Use light pressure around coatings and markings
If the glass has printed symbols, decorative bands, tint, or other specialty finishes, reduce pressure even further. Do not assume every marking is permanently fused into the glass. Some surfaces have cleaning restrictions that are specific to the manufacturer. A soft microfiber cloth and gentle wiping are the safest general choices until you confirm what products and tools your oven manual permits.
Remove the remaining soap film
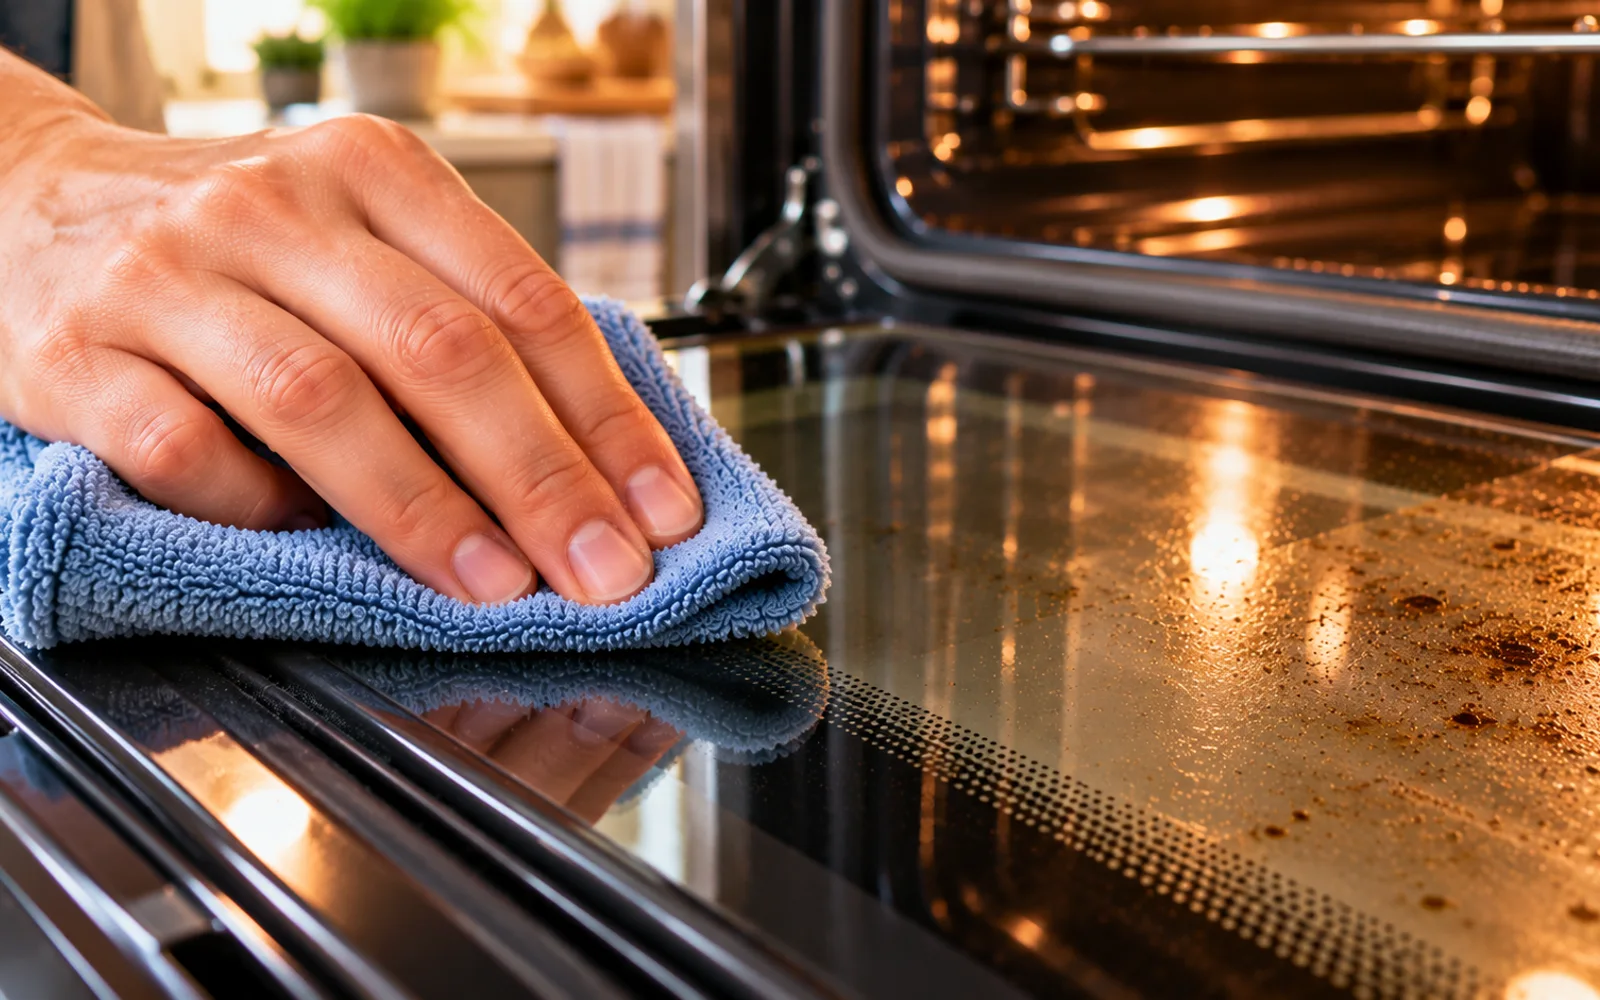
Once visible grease and baked-on deposits are gone, use a second microfiber cloth lightly dampened with plain warm water. Wipe the entire cleaned area to pick up residual dish soap and loosened grime. Rinse and wring the cloth as necessary. This rinse matters because even a thin layer of dried soap can leave the glass looking hazy or streaked after all the grease has been removed.
Dry the glass immediately
Use a fresh, completely dry microfiber cloth as soon as you finish rinsing. Make broad passes across the glass and rotate the cloth whenever a section becomes damp. Immediate drying limits water spots and helps you distinguish true grease from ordinary moisture streaks. As the glass clears, note any small oily patch that may need one more localized wash and rinse.
Use side light to find hidden haze
Look across the door from an angle with nearby kitchen lights on or daylight reflecting across the pane. A glass surface that looks clear straight on can still show faint soap residue or greasy streaks under reflected light. If you find a cloudy patch, first try a clean cloth lightly dampened with plain water, followed immediately by a dry cloth. Add more soap only if the patch still feels greasy.
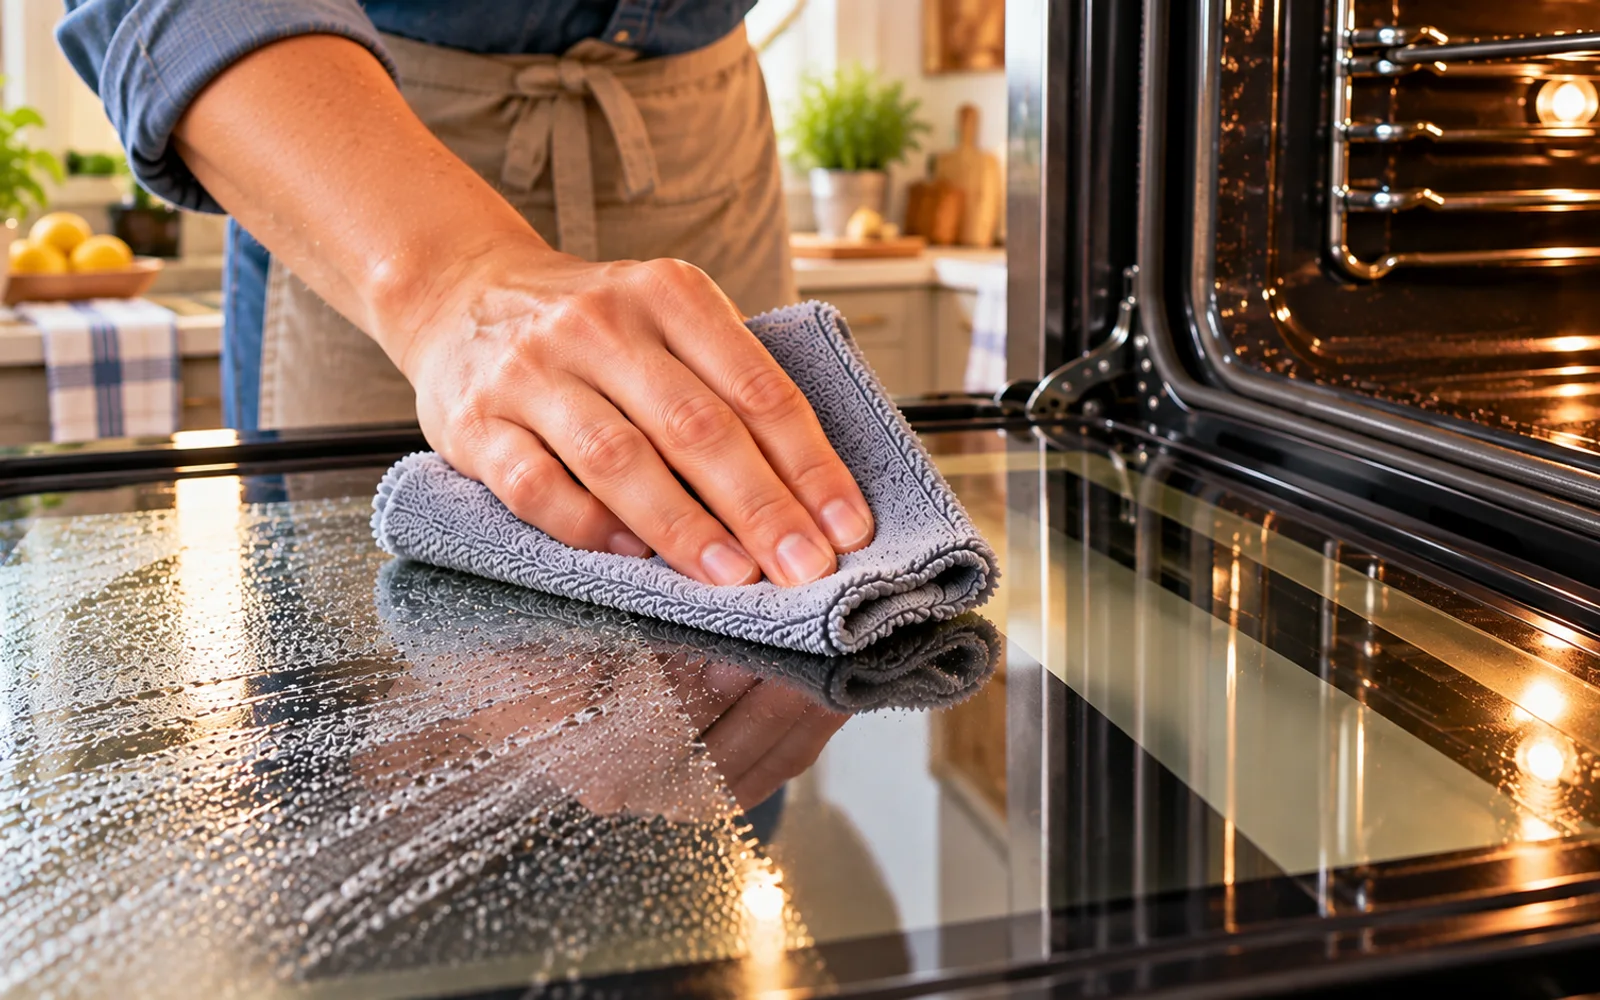
Give the glass a light final polish
Polish with a clean, dry microfiber cloth using long horizontal or vertical strokes and very little pressure. Straight passes make it easier to track where you have already worked. Once an area is clear, leave it alone. Excessive polishing can move lint, traces of moisture, or small amounts of grease back across the surface and create new streaks.
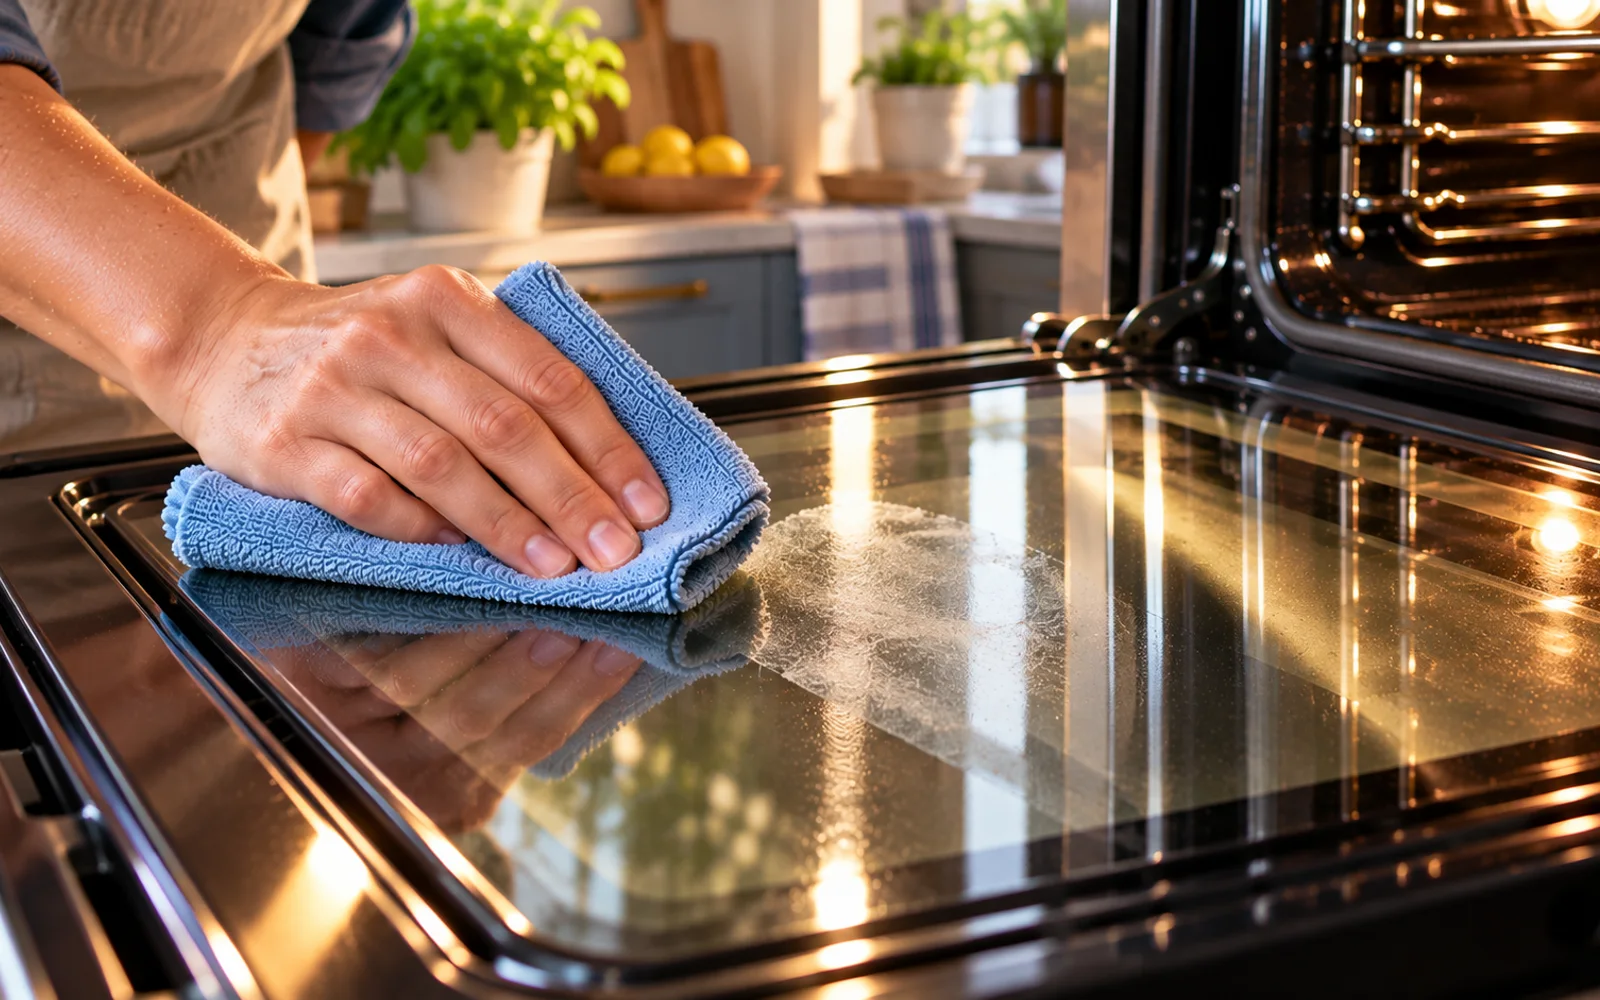
Reach corners with a folded cloth
Lower edges and corners often collect grease because a full-size cloth cannot make complete contact there. Fold a microfiber cloth into a small, firm pad and use it to wipe the accessible corner while keeping moisture minimal. Do not push screwdrivers, picks, knives, or other tools into narrow seams just to reach a speck of residue. If reaching the dirt requires entering the door structure, stop and consult the manual.
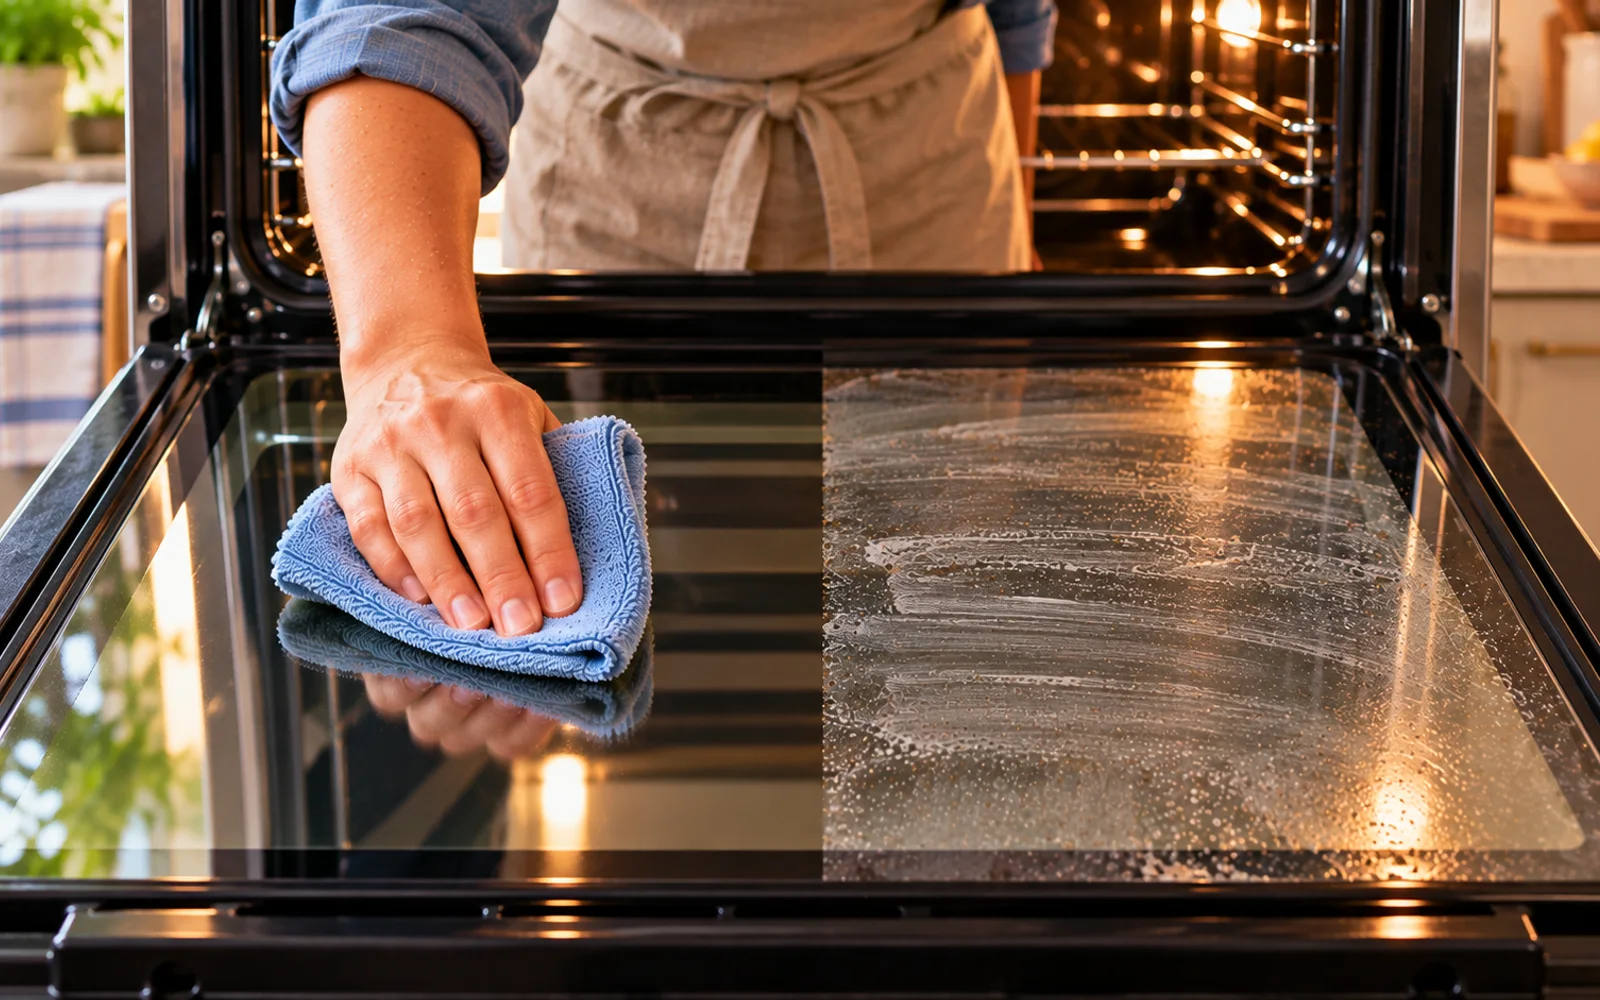
Clean the exterior glass with a fresh cloth
Treat the outside surface separately from the greasy interior side. Exterior glass typically has fingerprints, kitchen mist, and dust rather than heavily baked residue. Use a fresh microfiber cloth with a tiny amount of soapy water, then wipe with plain water and dry. Using a separate cloth prevents heavy interior grease from being transferred to the visible front of the appliance.
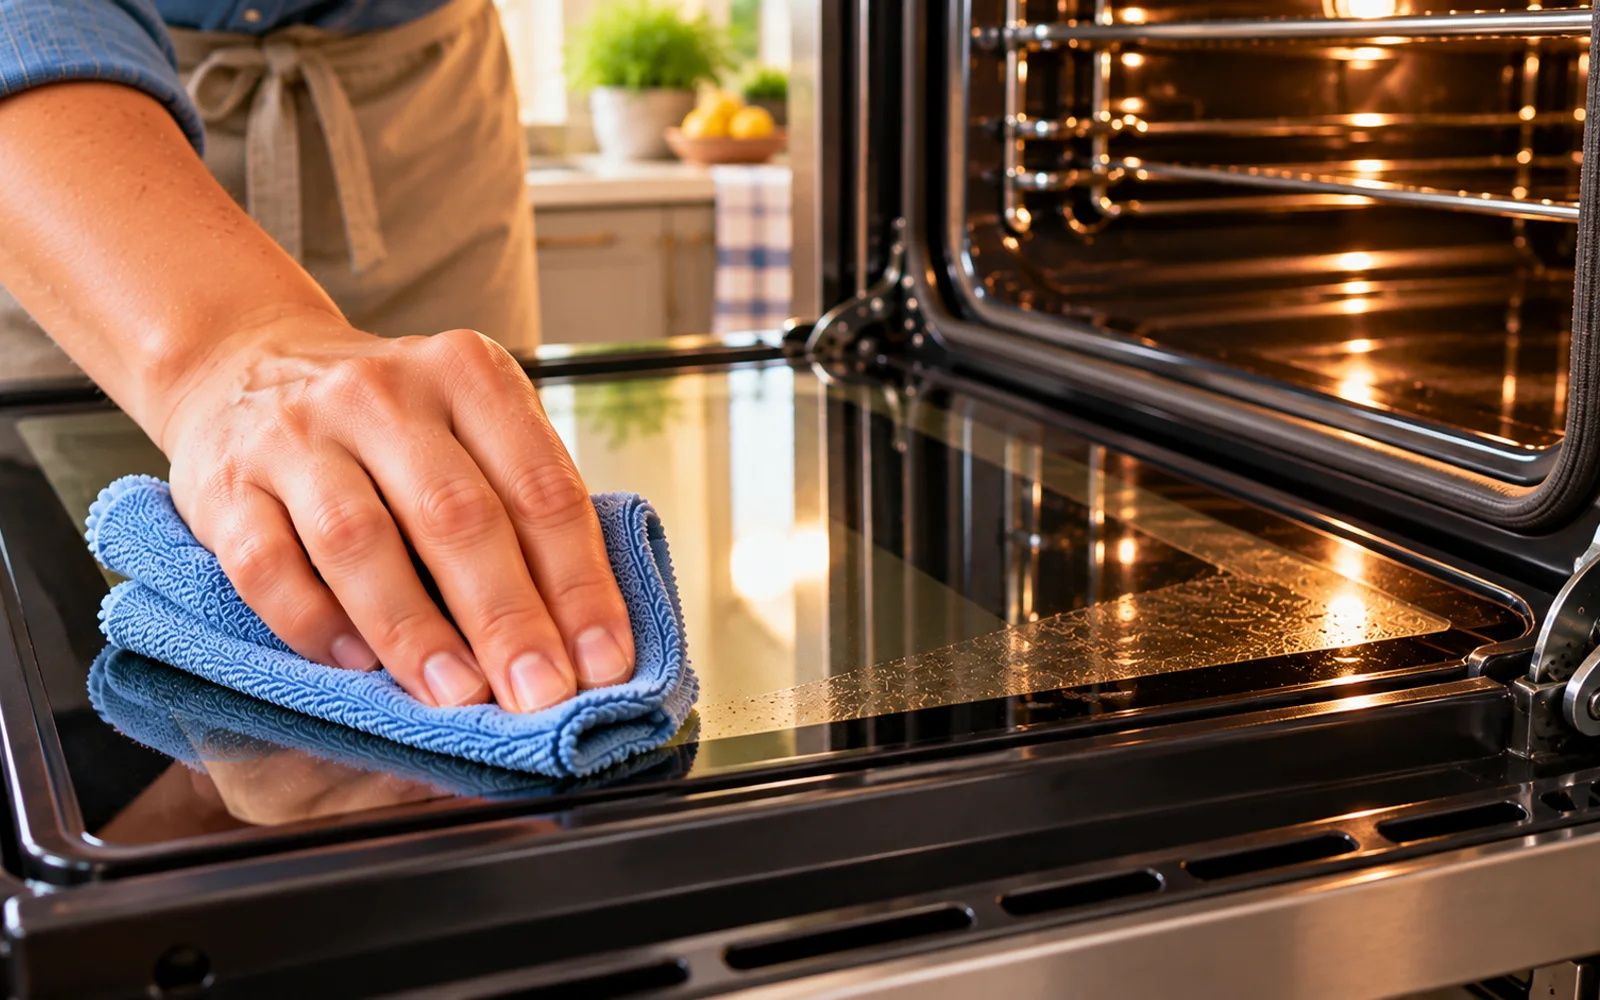
Match your cleaning method to the handle and trim
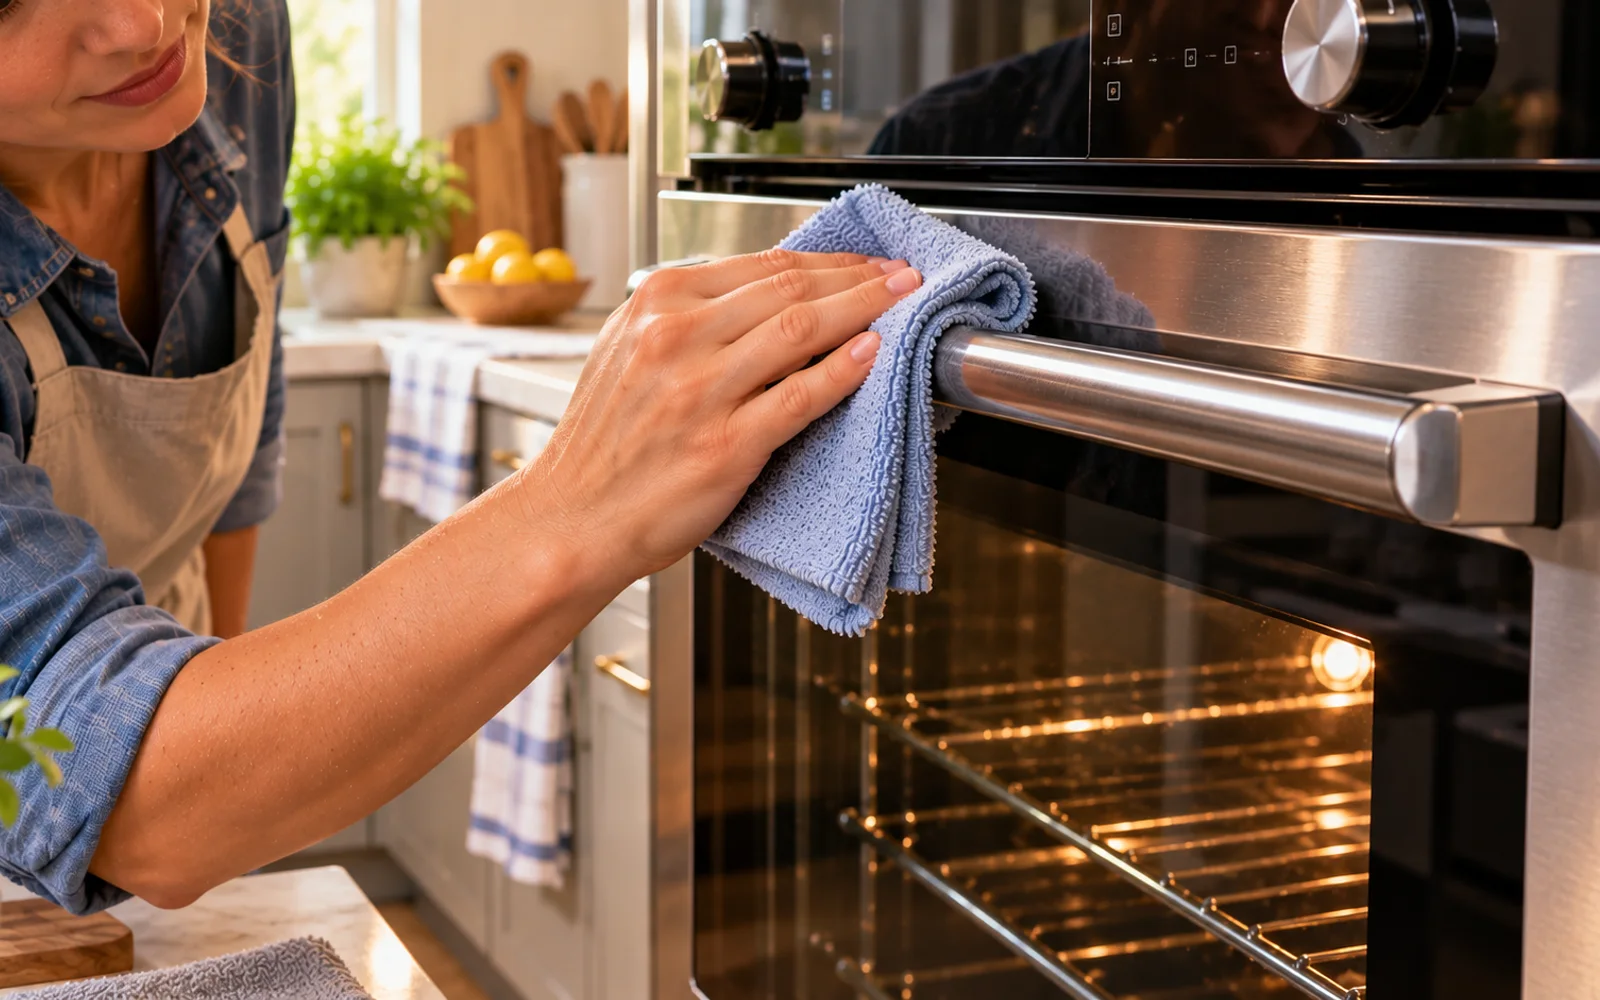
After finishing the glass, wipe the handle and surrounding trim according to the material. Stainless steel, painted metal, plastic, and decorative finishes can have different care requirements. When in doubt, use a lightly damp microfiber cloth and consult the appliance manual before applying a specialty cleaner. Put any cleaner on the cloth first instead of spraying toward seams or freshly polished glass.
Recognize residue trapped between glass panels
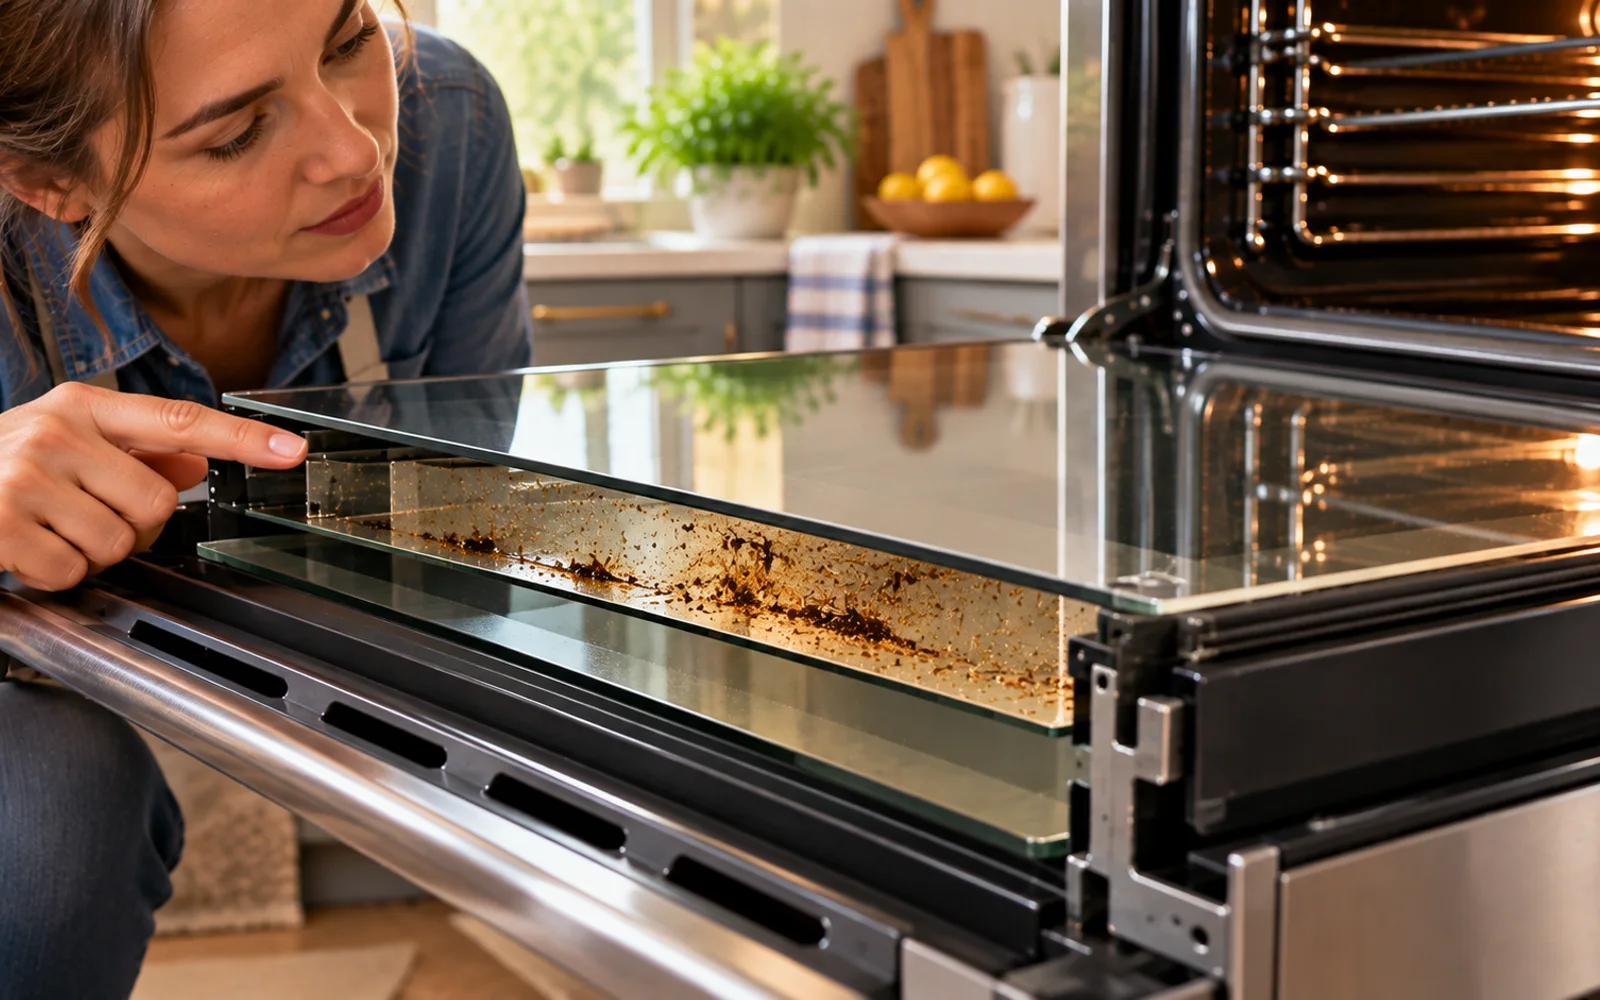
If both exposed sides are clean but a streak or stain still appears to be inside the door, it may be between the layered glass panels. Do not try to solve this by pouring cleaner through vents or pushing a cloth, wire, or tool into the gap. Check your owner's manual. Some oven doors provide a manufacturer-approved owner cleaning procedure, while others require partial disassembly or professional service.
Check that everything is dry and clear
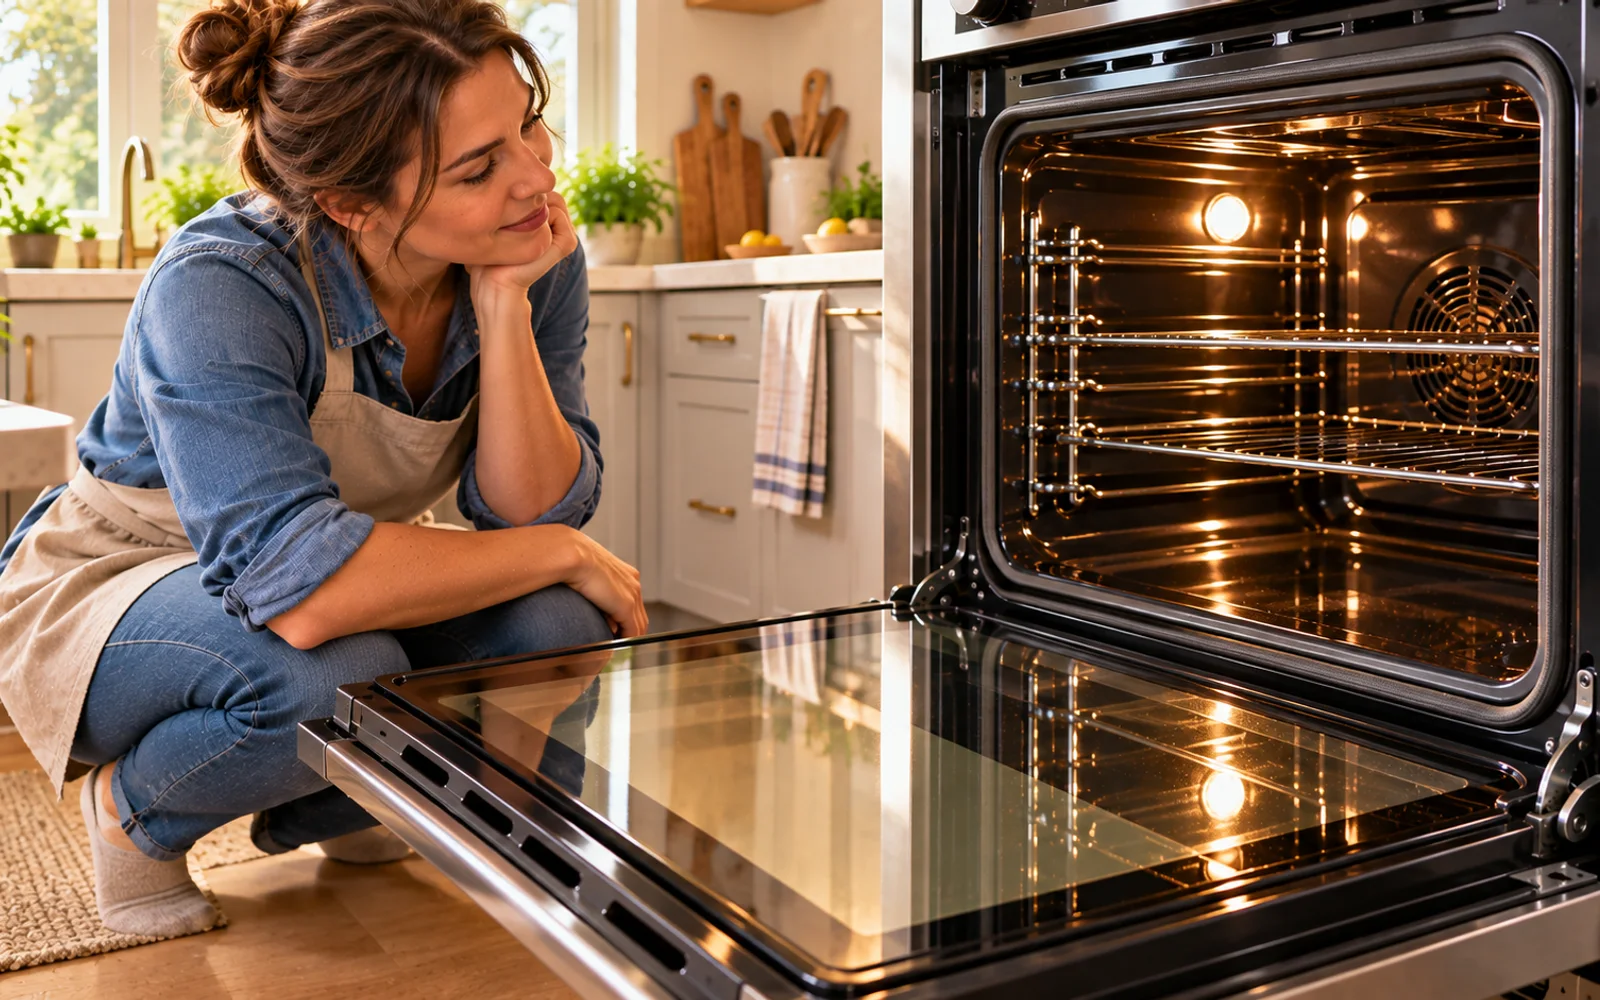
Before using the oven again, inspect the entire work area. The glass, handle, trim, gasket area, nearby floor, and exposed edges should be dry. Remove the bowl, cloths, scraper, towel, and any other cleaning supplies. Confirm that the gasket still sits normally and that nothing has been pushed into a seam or vent. This takes less than a minute and prevents avoidable problems at the next cook.
Wipe fresh splatter after the oven cools
The easiest baked-on grease to remove is the grease that never gets the chance to bake on repeatedly. After cooking, allow the oven and door to cool completely. If you notice fresh splatter, wipe it with a lightly damp microfiber cloth and dry the surface. A 30-second maintenance wipe can eliminate the need for a much longer deep-cleaning session later.
Follow the least-aggressive-first sequence
When future stains appear, use the same progression every time: wipe gently, soften the residue, wipe again, and move to an approved non-scratch tool only if necessary. Do not start with the most aggressive technique simply because it is faster. Matching the amount of force to the actual residue protects the glass and makes your results more consistent from one cleaning session to the next.
Keep a small oven-glass kit ready
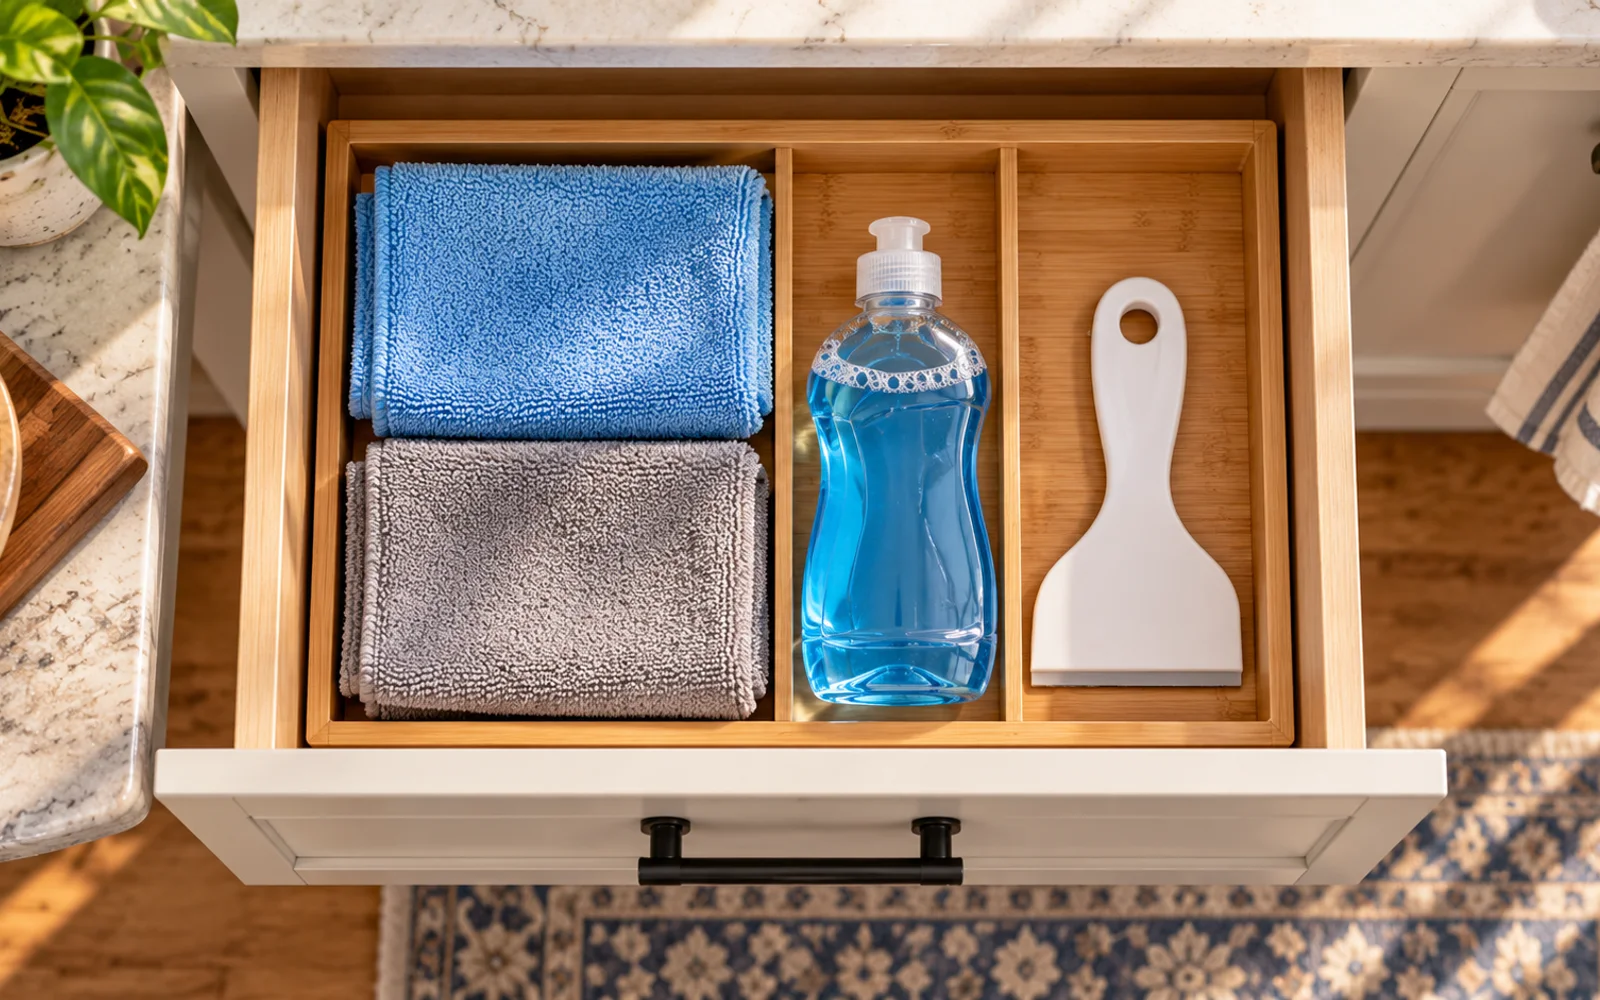
Store a few microfiber cloths, mild dish soap, and any manufacturer-approved plastic scraper together. A simple dedicated kit makes it more likely that you will use the correct tools instead of grabbing an abrasive pad or random chemical cleaner. If your oven manual specifies a particular product or prohibits dish soap or scraping tools, keep those model-specific instructions with your cleaning supplies as a reminder.
Check the finished glass from several angles
Stand in front of the oven, then shift slightly to each side and inspect the viewing window under reflected light. Look for oily haze, soap streaks, remaining deposits, or standing moisture near the perimeter. The goal is a clear, dry viewing window with undisturbed seals, vents, trim, and edges. If one small patch remains, repeat only the gentlest step necessary rather than starting the entire cleaning process again.
Cloudy brown oven door glass can make an otherwise clean kitchen look neglected, but the bigger problem is that aggressive cleaning can turn a temporary grease stain into a permanent scratch. Most everyday oven glass buildup does not require razor blades, harsh powders, or heavy scrubbing. The safer approach is to start with mild grease removal, give stubborn deposits time to soften, and increase cleaning force only when necessary.
This method uses warm water, mild dish soap, microfiber cloths, a soft sponge, and, only when your appliance manufacturer permits it, a plastic non-scratch scraper. The important part is controlling both pressure and moisture. Oven doors contain seals, vents, layered glass, trim, coatings, and sometimes printed markings, so spraying cleaner everywhere can create problems that are harder to fix than the original grease.
Always work on completely cool glass. Avoid metal scraping tools unless your oven manufacturer specifically approves them for that exact surface, and never flood door vents, seals, seams, or openings with liquid. If your oven manual gives cleaning instructions that differ from this general method, follow the manufacturer instructions for your model.
Where people go wrong
Cleaning the glass while it is still warm. Warm glass increases burn risk and can make your cleaning solution evaporate before it has time to soften grease. Let the oven and door cool completely before adding water or cleaner.
Starting with aggressive scrubbing. Abrasive pads, gritty powders, and excessive pressure can create permanent surface damage. Begin with mild soap, soaking, and microfiber, then increase cleaning action only where necessary.
Using a razor blade without checking the manual. Metal blades can scratch glass or damage coatings and printed finishes. Use them only when the appliance manufacturer specifically approves that tool for the exact surface.
Spraying cleaner directly onto the oven door. Direct spray can send liquid toward vents, gaps, seals, and seams. Apply cleaner to the cloth instead so you can control exactly where moisture reaches.
Soaking the gasket. The door gasket should not be saturated, stretched, or scrubbed aggressively. Clean nearby glass carefully and follow the appliance manual if the gasket itself needs attention.
Using too much dish soap. Excess soap can create a stubborn film that looks like dirty glass even after the grease is gone. A few drops in a small bowl of warm water are usually sufficient.
Scraping a stubborn spot harder instead of soaking it longer. When residue resists gentle lifting, stop and soften it again. Repeated mild treatment is safer than adding enough pressure to risk scratching the surface.
Trying to reach between the glass through vents. Pushing tools or liquid into door openings can spread moisture and create additional damage. Use only the manufacturer-approved access or disassembly procedure for residue between panels.
Questions people ask
For most routine grease, start with a microfiber cloth dampened in warm water with a few drops of mild dish soap. Wring the cloth thoroughly, soften the grease, and wipe with overlapping passes. Follow with a plain-water microfiber cloth and dry immediately. If baked-on residue remains, soften only that spot again before considering a manufacturer-approved plastic non-scratch scraper.
Fixed it?
Get one guide like this every Thursday.