How to Clean Greasy Kitchen Tile Grout Without Damaging It
Greasy kitchen backsplash grout needs more than a quick wipe. Learn how to remove stubborn buildup with grout-safe cleaners, gentle brushing, and proper rinsing without damaging tile, grout, or sealant.

What you’ll need
Tap to tick things off before you start.
Check Where Grease Is Trapped in the Grout
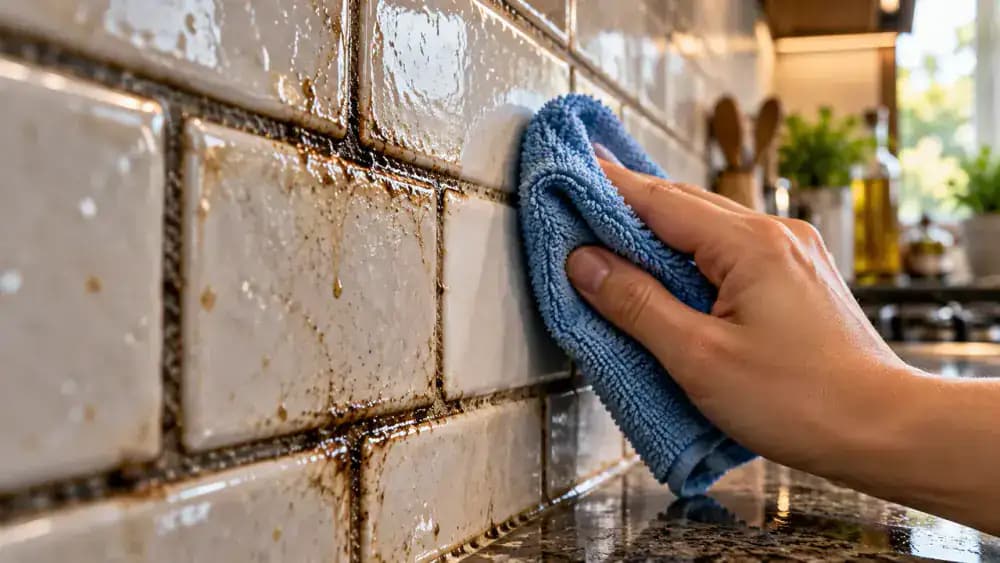
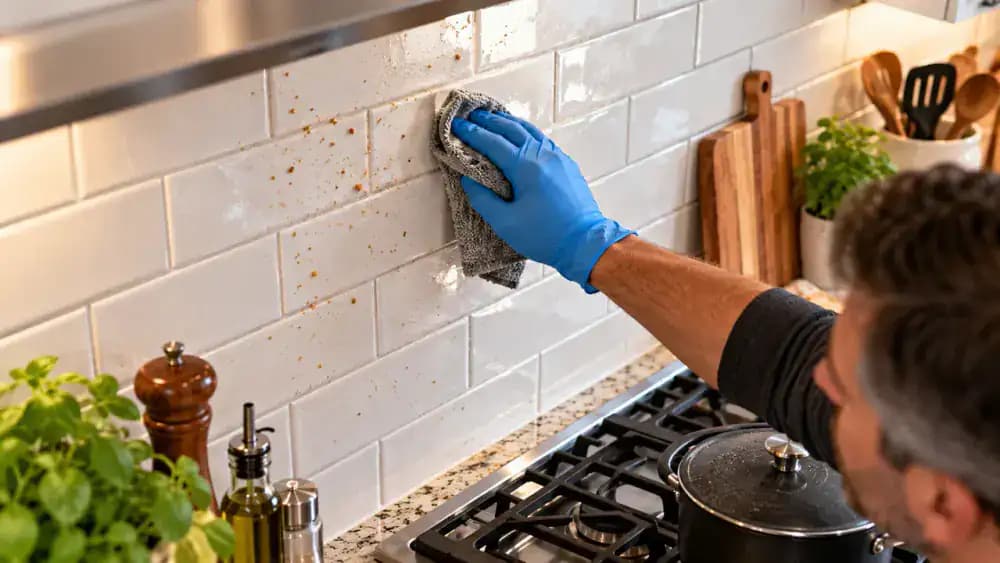
Look closely at the grout lines behind your stovetop, especially where cooking oil and food splatters frequently land. As shown, a gentle pass with a clean white microfiber cloth removes surface grease from the glazed ceramic tiles, but dark residue remains in the recessed grout. This buildup needs targeted cleaning rather than extra pressure. Check both horizontal and vertical grout lines under good lighting to identify the areas needing attention.
Choose a Soft Brush Instead of Scrubbing Harder
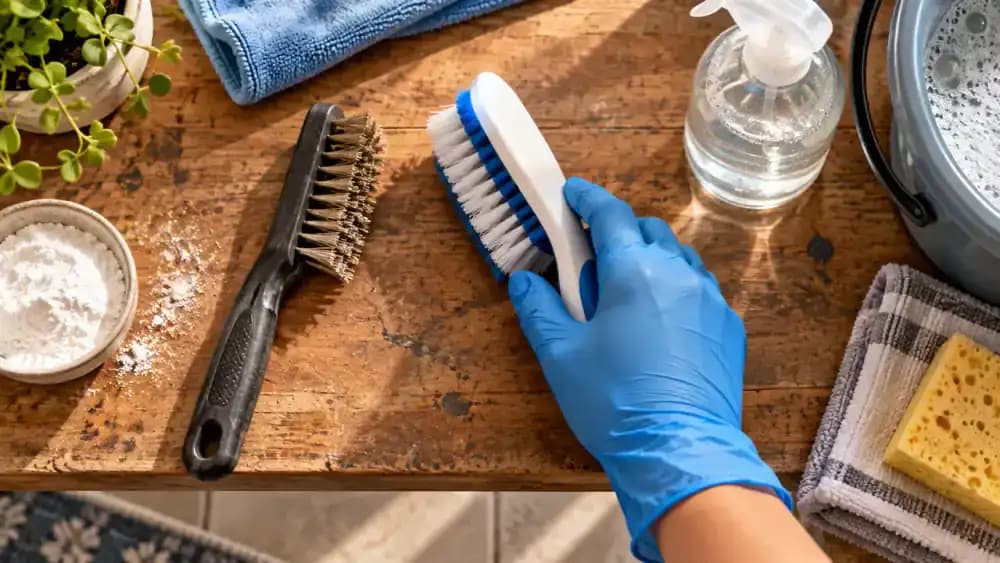
Compare the stiff wire brush with the soft nylon grout brush before cleaning. Set the wire brush aside because its rigid bristles can scratch tiles and wear away cement-based grout. As shown, move the nylon brush along a grout line using short, controlled strokes with light pressure. The bristles should bend slightly without digging into the surface. Apply a compatible grout-safe cleaner before attempting to remove stubborn grease.
Prepare Your Grout-Safe Cleaning Supplies
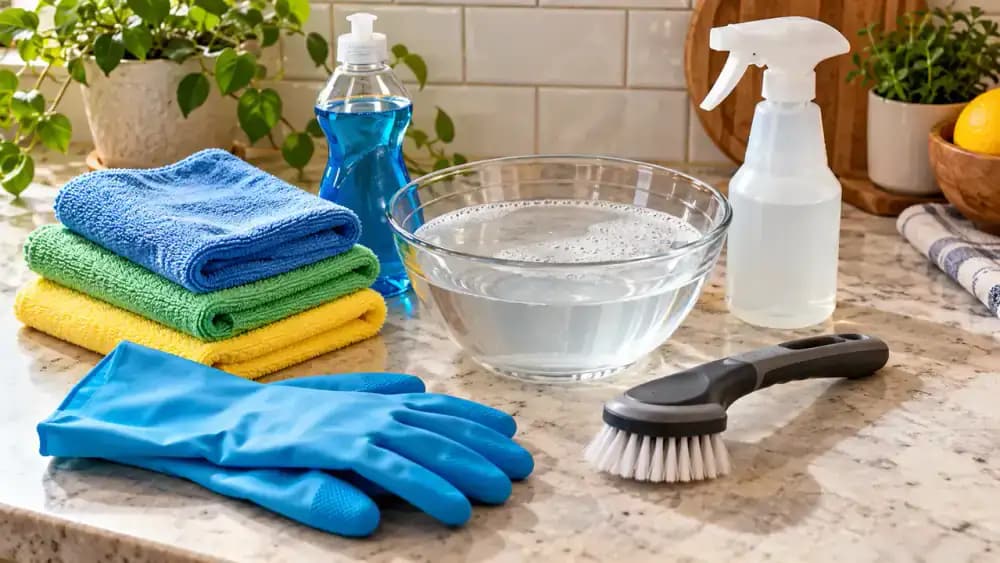
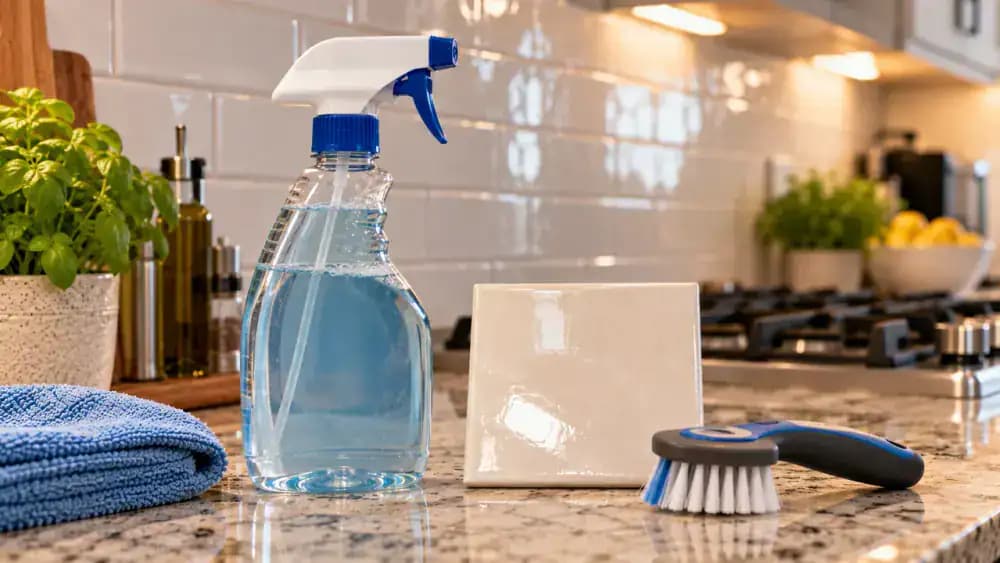
Arrange two clean microfiber cloths, a bowl with about 2 cups of warm water, mild dish soap, a soft nylon grout brush, and protective gloves on your countertop. Add a non-acidic tile and grout cleaner, checking its label to confirm compatibility with your specific tile and grout. Keep the supplies separate and within reach. Before applying any cleaner, test it on a small, inconspicuous area to check for discoloration or damage.
Identify Your Tile Material Before Applying Cleaner
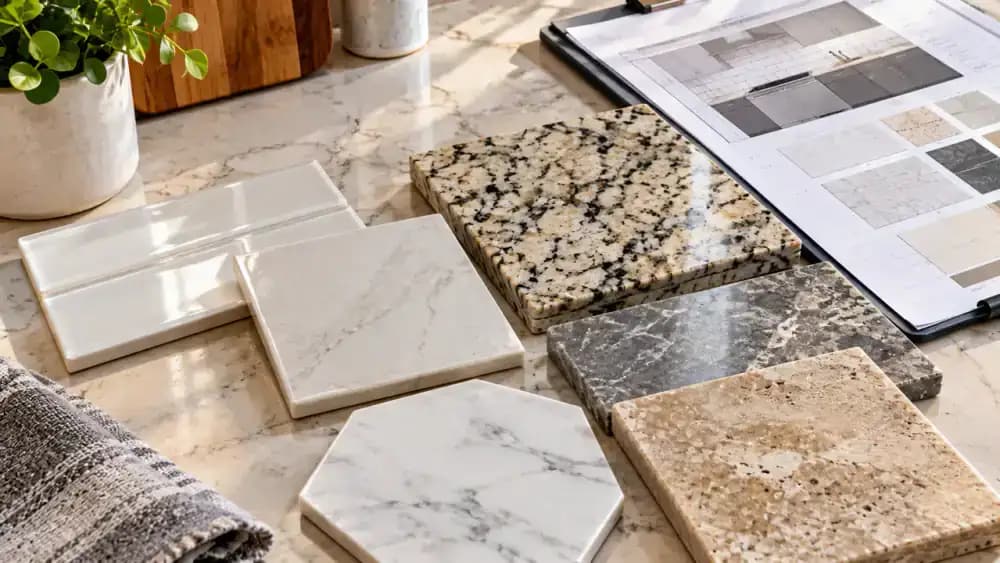
Examine your backsplash closely and compare its surface with ceramic, porcelain, and natural stone samples. As shown, use a gloved fingertip and a small inspection light to check texture and finish without scratching the tile. Smooth glazed surfaces often resist absorption better than natural stone, but appearance alone cannot confirm the material. Check installation records or product documentation before selecting a cleaner, especially if you suspect natural stone.
Inspect Grout for Sealing and Surface Damage
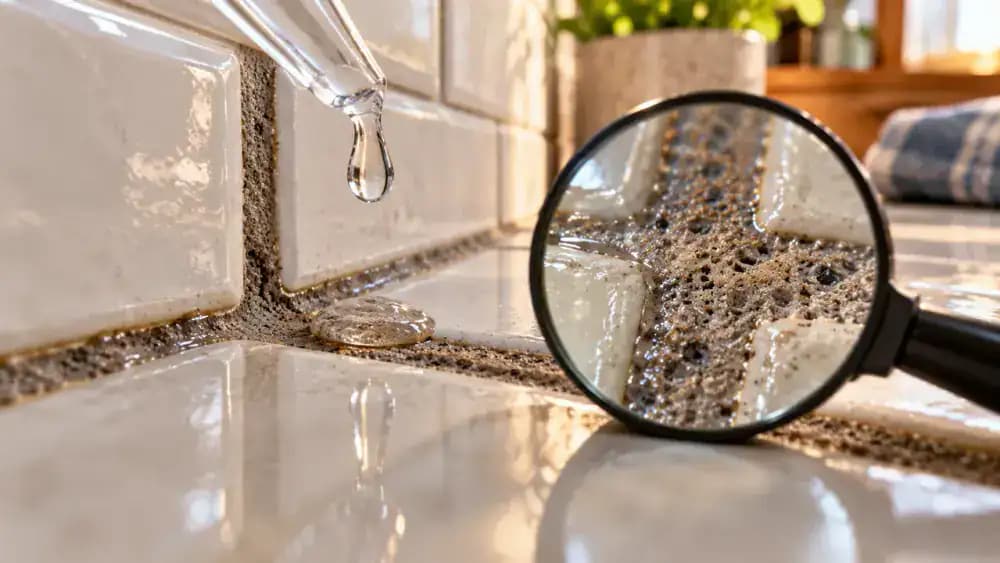
Examine a dry grout joint with a magnifying glass, looking for cracks, rough patches, and uneven discoloration. As shown, place one small water droplet on an inconspicuous section and observe whether the grout absorbs it. Wipe away the droplet immediately with a clean microfiber cloth. Water absorption can suggest porosity but cannot reliably confirm sealing. Check installation records or manufacturer guidance before choosing your cleaning method.
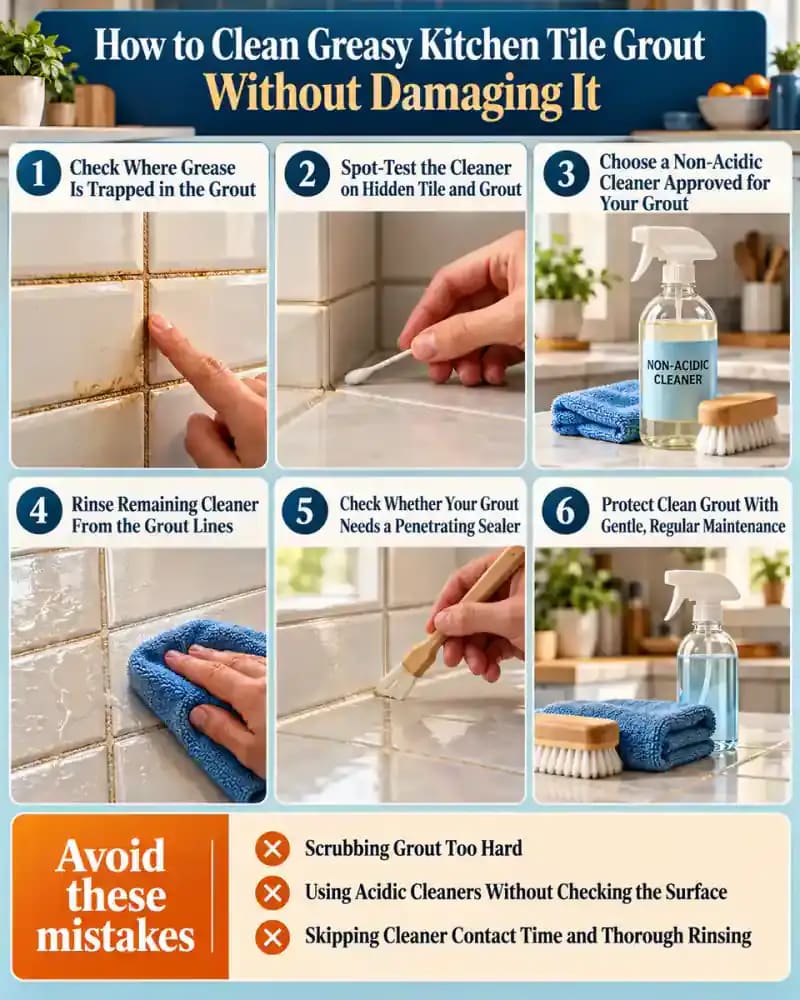
Spot-Test the Cleaner on Hidden Tile and Grout
Choose a small, inconspicuous section of backsplash and protect the countertop with an absorbent towel. As shown, use a foam applicator to apply a small amount of compatible, non-acidic cleaner to the grout and adjacent tile. Follow the product's contact time and rinsing instructions, then dry the area thoroughly. After the recommended observation period, inspect for discoloration, surface changes, or sealant damage before cleaning a larger section.
Clear the Cooking Area and Protect Nearby Surfaces
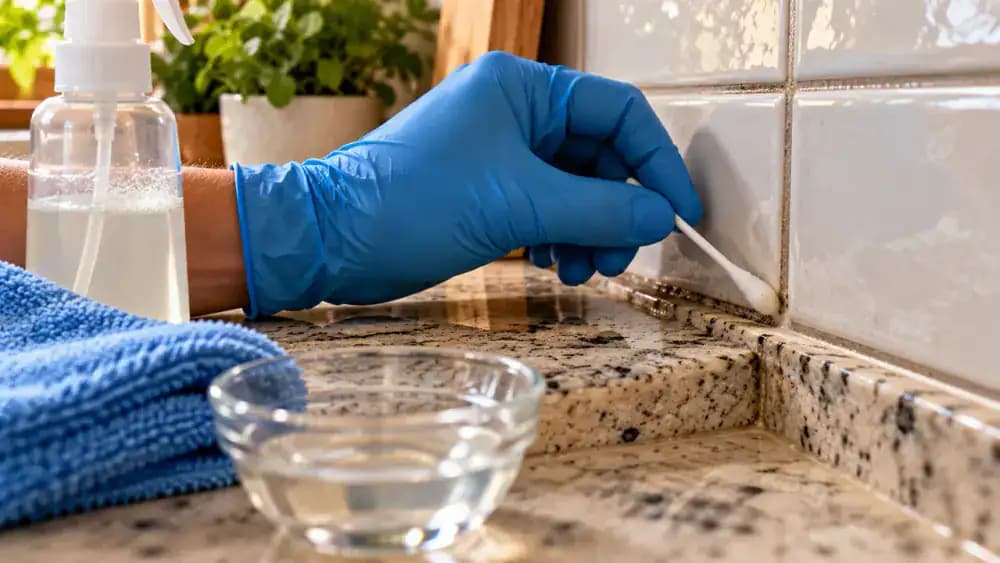
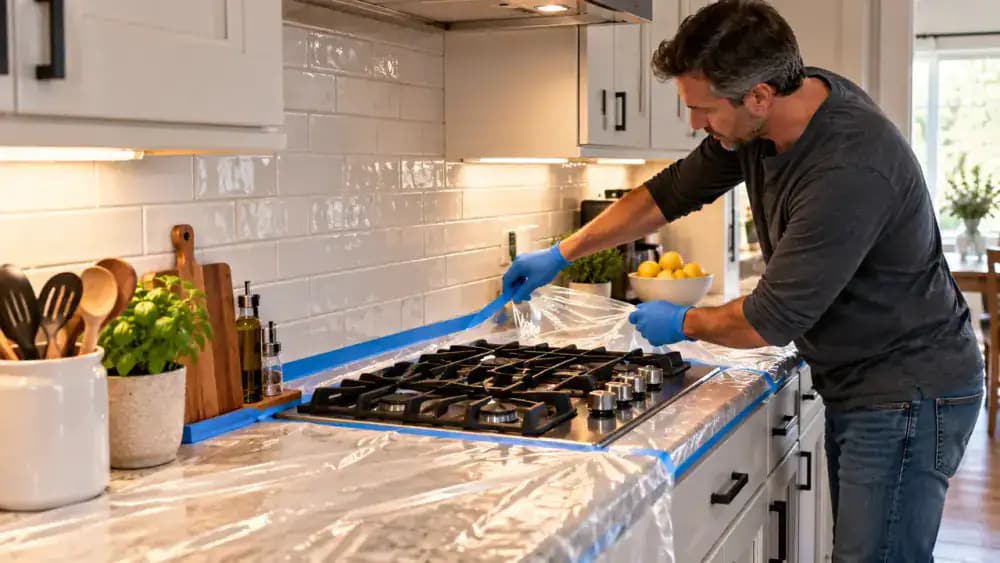
Confirm the stovetop is switched off and completely cool before working near it. As shown, remove utensils, spices, cutting boards, and nearby food to create an unobstructed workspace. Spread a clean, dry, absorbent towel across the countertop directly beneath the backsplash to catch drips and cleaning residue. Keep electrical outlets and stovetop controls clear of towels and moisture. Position your supplies nearby without crowding the cooking area.
Wipe Away Loose Dust and Debris Before Wet Cleaning
Fold a clean, completely dry microfiber cloth into a small square and gently wipe the backsplash from the upper tiles downward. As shown, use slow, light strokes to collect dust, crumbs, and loose cooking residue without rubbing debris into the grout. Pay attention to grout intersections, where particles can accumulate. Refold the cloth to expose a clean section as it becomes dirty, and leave embedded grease for the next cleaning stage.
Mix Warm Water and Mild Dish Soap for Surface Grease
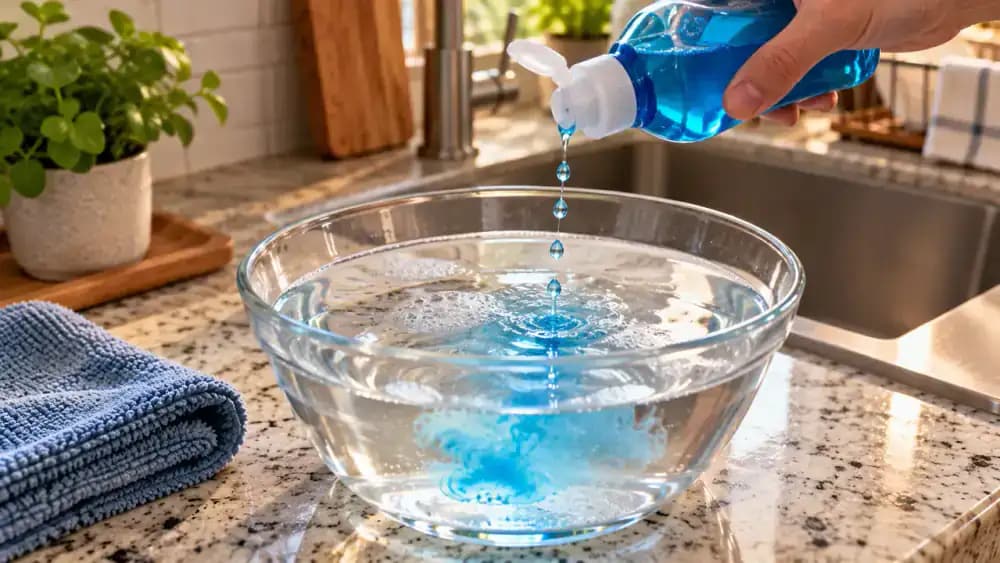
Fill a clean bowl with approximately 2 cups of warm water, then add three drops of mild, unscented dish soap. As shown, stir gently with a clean spoon until the soap disperses, creating a lightly sudsy solution. Avoid adding extra soap, which can leave residue that requires additional rinsing. Keep a clean microfiber cloth nearby for application, and use this mixture only after confirming compatibility with your tile and grout.
Wipe Surface Grease Away With a Damp Microfiber Cloth
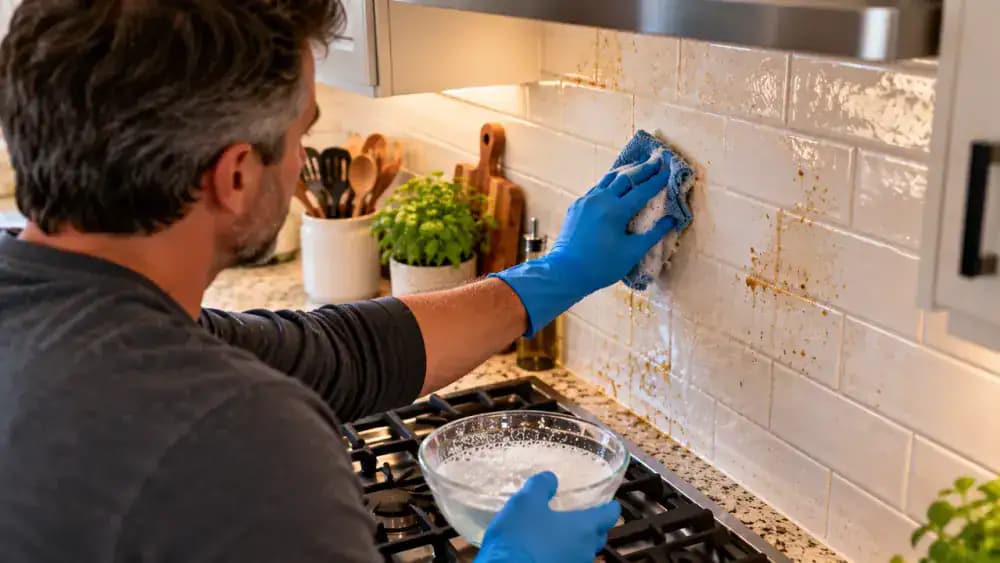
Dip a clean microfiber cloth into the prepared mild soap solution, then wring it thoroughly until damp but not dripping. As shown, wipe the glazed tiles using gentle, overlapping downward strokes, working in small sections from top to bottom. Refold the cloth frequently to avoid spreading collected grease. Keep moisture away from electrical outlets and avoid soaking the grout. Leave stubborn residue inside the grout lines for targeted cleaning afterward.
Rinse Off Soap Residue and Dry the Backsplash
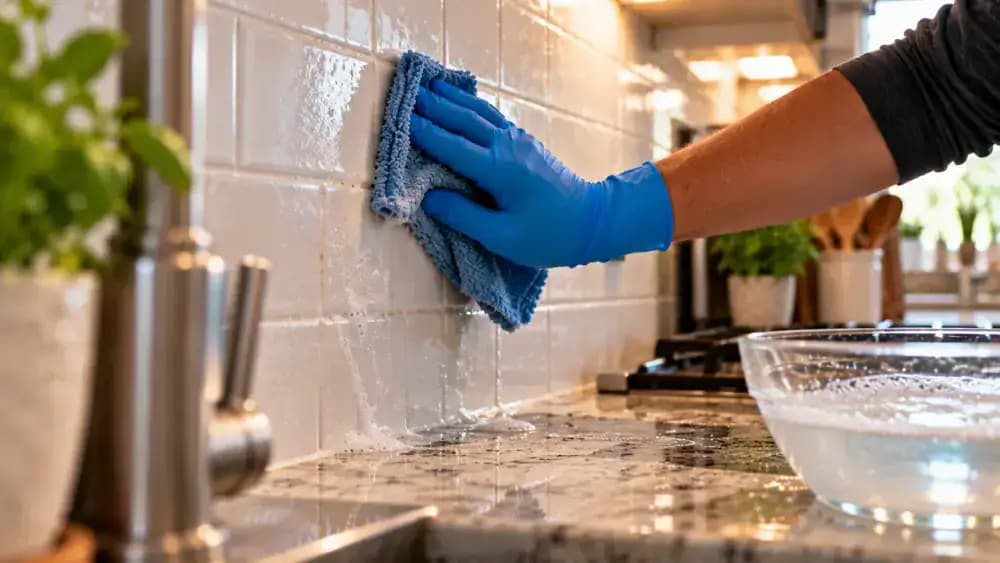
Dip a fresh microfiber cloth into clean water and wring it thoroughly until damp but not dripping. As shown, gently wipe the treated tiles to remove leftover soap and loosened grease. Rinse the cloth frequently in clean water, then wring it again before continuing. Use a separate dry microfiber cloth to absorb remaining moisture. Avoid soaking the grout, which still needs targeted treatment to remove embedded grease.
Choose a Non-Acidic Cleaner Approved for Your Grout
Examine the cleaner's label before applying anything to your backsplash. As shown, check the approved tile materials, grout compatibility, dilution instructions, recommended contact time, and rinsing requirements. Compare these details with your identified tile and grout type. Choose a non-acidic product suitable for both surfaces, and follow the manufacturer's directions exactly. Keep the soft nylon grout brush nearby for the next stage of cleaning.
Apply Grout Cleaner Precisely Along the Stained Joints
Use a narrow-tip applicator to place a thin, controlled line of your approved, spot-tested cleaner directly onto the greasy grout. As shown, guide the tip slowly down a short vertical joint, keeping the surrounding tiles relatively dry. Work in small, manageable sections and stop before reaching silicone caulk or sensitive surfaces. Avoid flooding the grout, and follow the manufacturer's instructions for application, coverage, and contact time.
Let the Grout Cleaner Loosen Grease Before Brushing
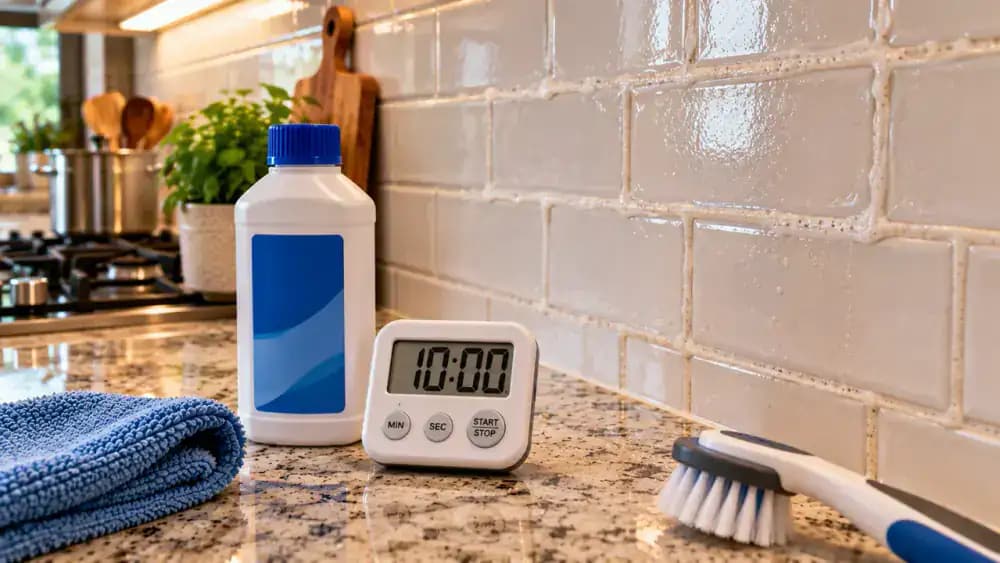
Check the cleaner's label for the exact recommended contact time, then set a kitchen timer accordingly. As shown, leave the treated grout undisturbed while the product works on the greasy buildup. Do not scrub prematurely, add extra cleaner, or extend the waiting period beyond the manufacturer's instructions. Keep the grout damp only if the label specifically requires it. Once the timer finishes, prepare your soft nylon brush for gentle cleaning.
Brush Greasy Grout With Short, Gentle Strokes
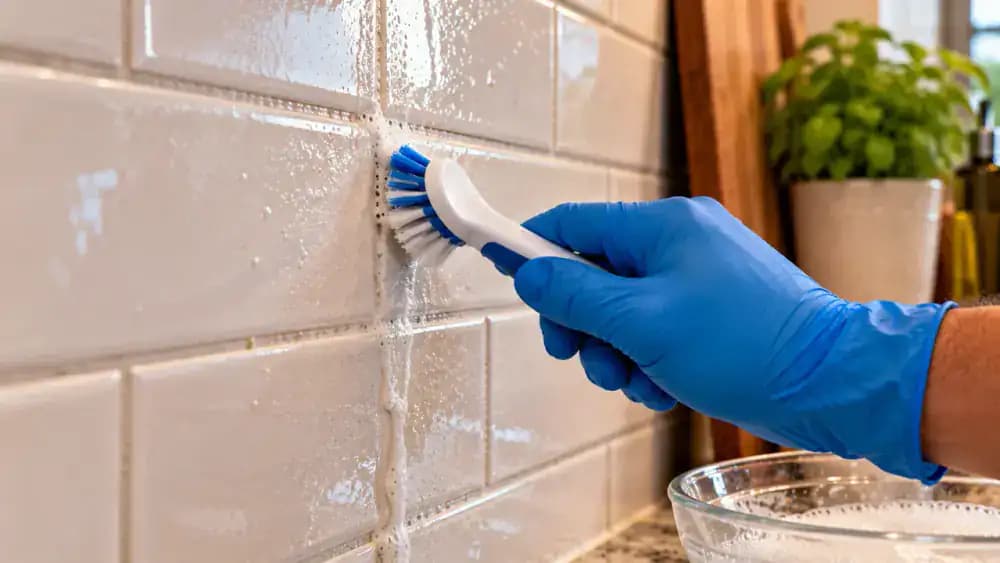
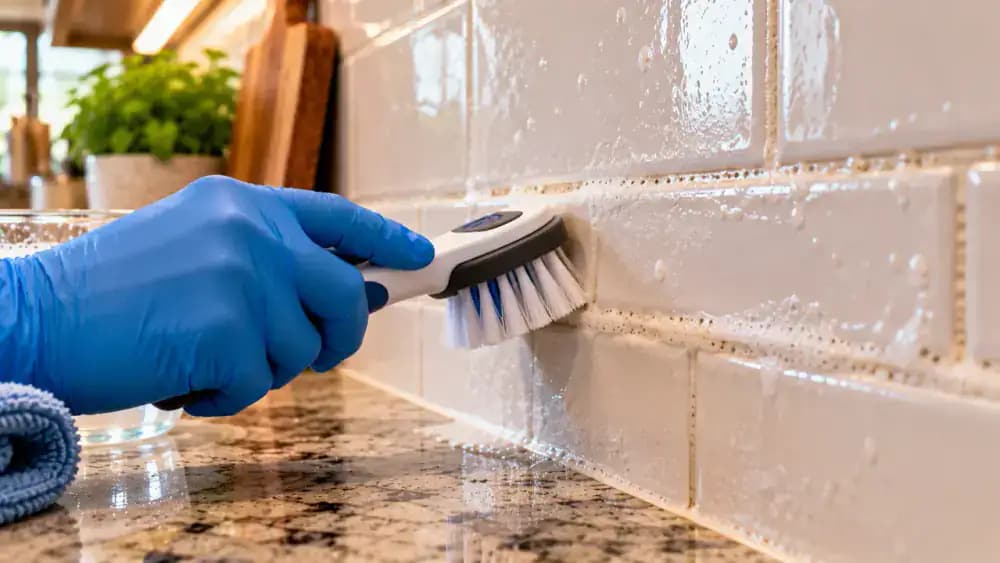
Position a soft nylon grout brush directly over the treated horizontal joint after the cleaner's recommended contact time has passed. As shown, move the brush back and forth in short, controlled strokes about 1 inch long, applying only enough pressure to bend the bristles slightly. Work along a few inches of grout at a time, allowing loosened grease to collect in the cleaner. Avoid nearby silicone caulk and never scrub forcefully.
Keep Brush Pressure Light to Prevent Grout Damage
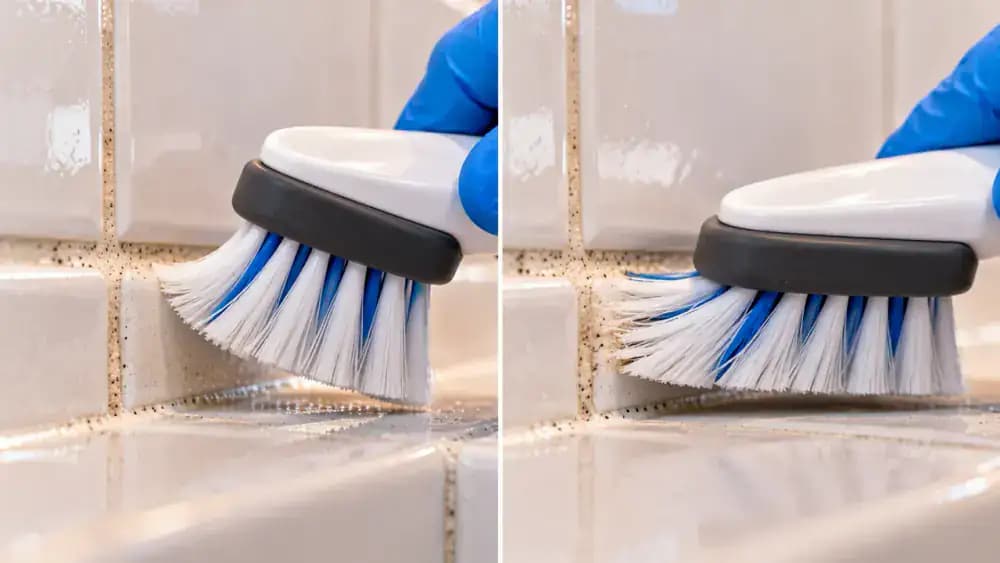
Watch how the nylon bristles bend as you brush the treated grout. As shown, correct pressure produces a slight flex, while excessive pressure flattens the bristles and spreads them against the tile edges. Keep the brush centered in the joint and use short, gentle strokes. If dark residue remains, lift the brush instead of pressing harder. Excessive force can wear down grout, weaken damaged joints, or scratch sensitive surfaces.
Lift Loosened Grease From the Grout With a Clean Cloth
Fold a clean microfiber cloth into a compact pad, lightly dampen it with water, and wring it until no drops fall. As shown, gently press the cloth against the brushed grout to absorb loosened grease and cleaner residue, then wipe across the treated section. Lift the cloth and refold it to expose a clean surface before continuing. Avoid spreading collected grime into neighboring joints or pressing hard against weakened grout.
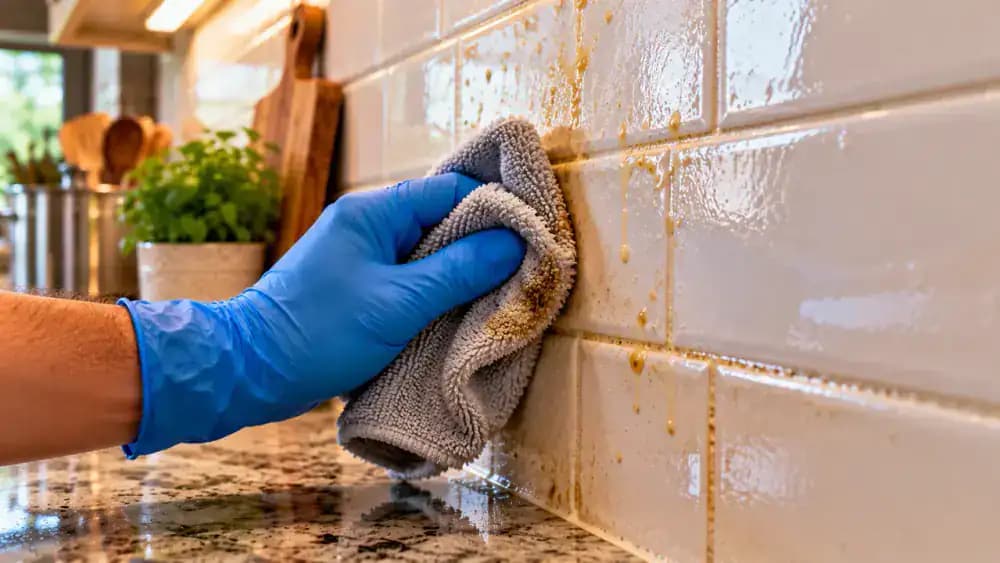
Rinse Remaining Cleaner From the Grout Lines
Set aside the soiled cloth and dampen a fresh microfiber cloth with clean water, wringing it thoroughly to prevent dripping. As shown, wipe along horizontal grout lines first, then clean vertical intersections using gentle, overlapping passes. Rinse the cloth frequently and replace cloudy water with fresh water. Follow the cleaner's rinsing instructions until visible residue is removed. Avoid soaking the joints or allowing water to reach electrical components.
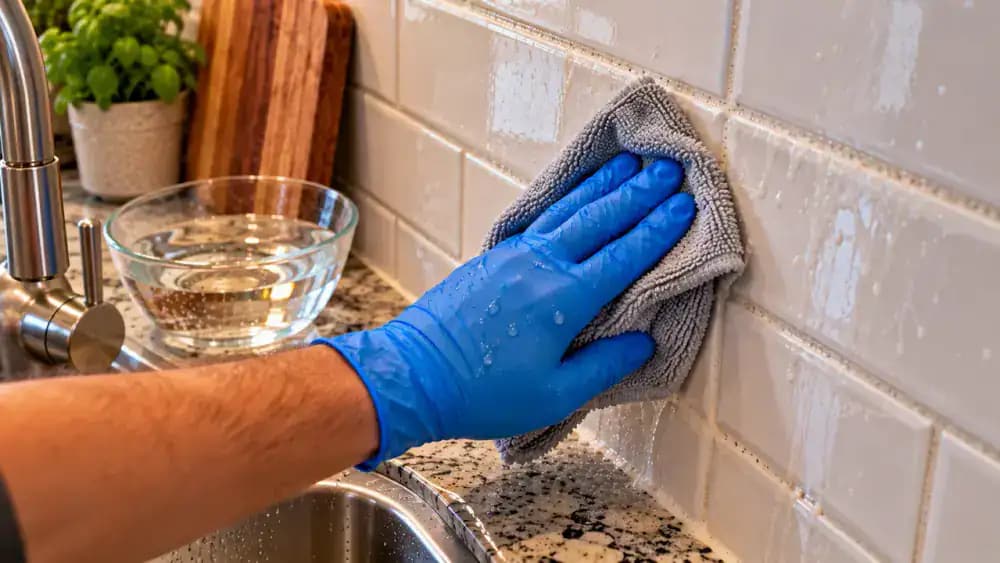
Blot the Grout Dry and Allow Moisture to Evaporate
Fold a fresh, dry microfiber cloth into a thick pad and gently press it against the damp grout lines. As shown, blot horizontal joints first, then vertical joints and corners where moisture tends to collect. Use light wiping strokes to dry the surrounding tiles without rubbing aggressively. Open a nearby window to improve ventilation and allow the grout to air-dry completely. Damp grout can appear darker than its actual color.
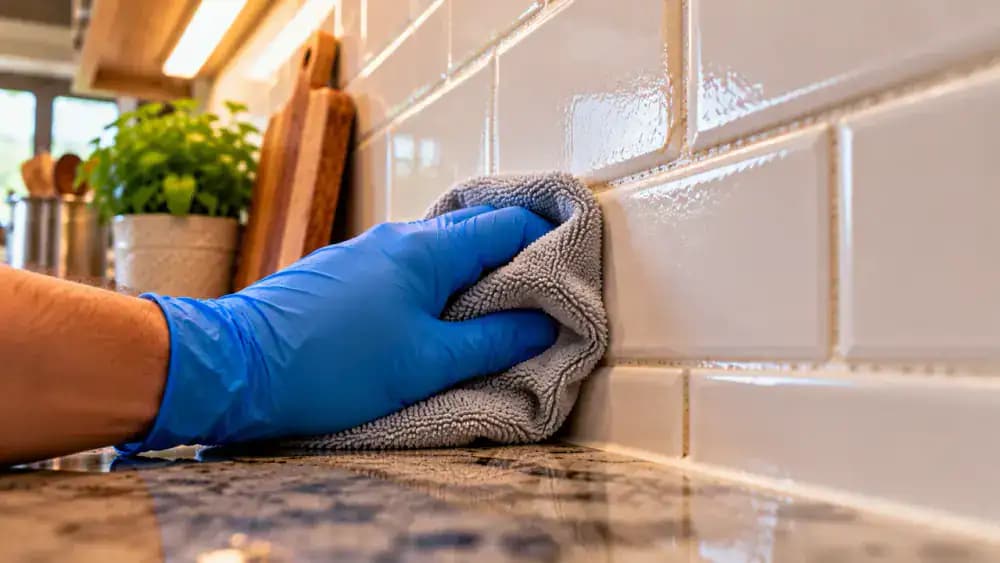
Check Dry Grout for Remaining Stains and Surface Damage
Switch on bright, even under-cabinet lighting once the backsplash has dried completely. As shown, hold a clean white inspection card beside the grout and compare the treated joints with nearby, less heavily stained areas. Look for persistent dark patches, uneven texture, cracks, or deteriorating grout. Examine horizontal and vertical joints without touching them. Remember that discoloration does not necessarily indicate remaining grease, so avoid immediately repeating the cleaning process.
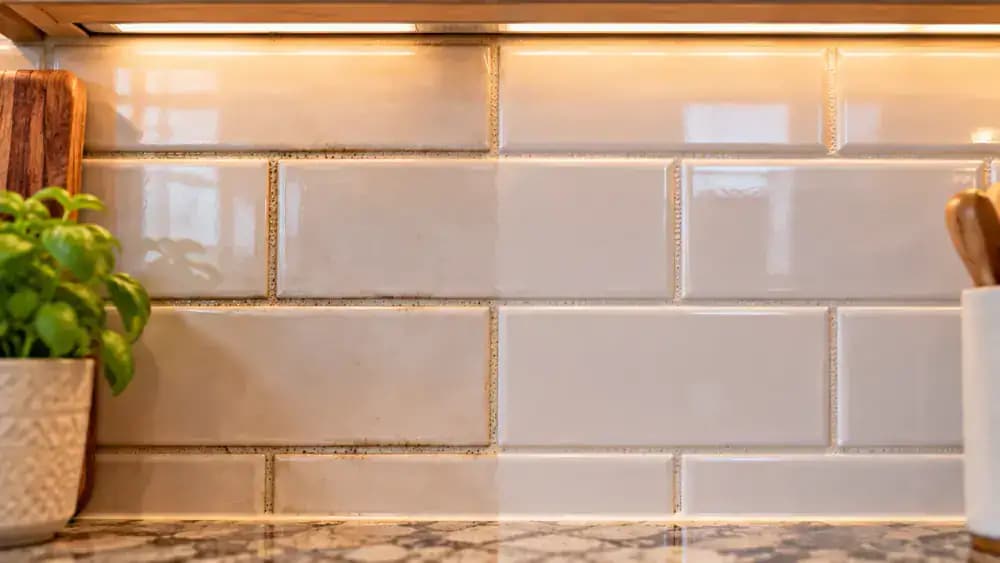
Tell Surface Stains Apart From Cracked Grout and Caulk
Use a small inspection light angled across the dry grout to reveal changes in texture. As shown, compare intact but discolored grout with joints showing hairline cracks, missing material, or recessed edges. Check nearby silicone caulk for gaps or separation from the tile. Point out suspicious areas without scraping or probing them. Visible deterioration requires further evaluation rather than stronger cleaners or additional scrubbing that could worsen the damage.
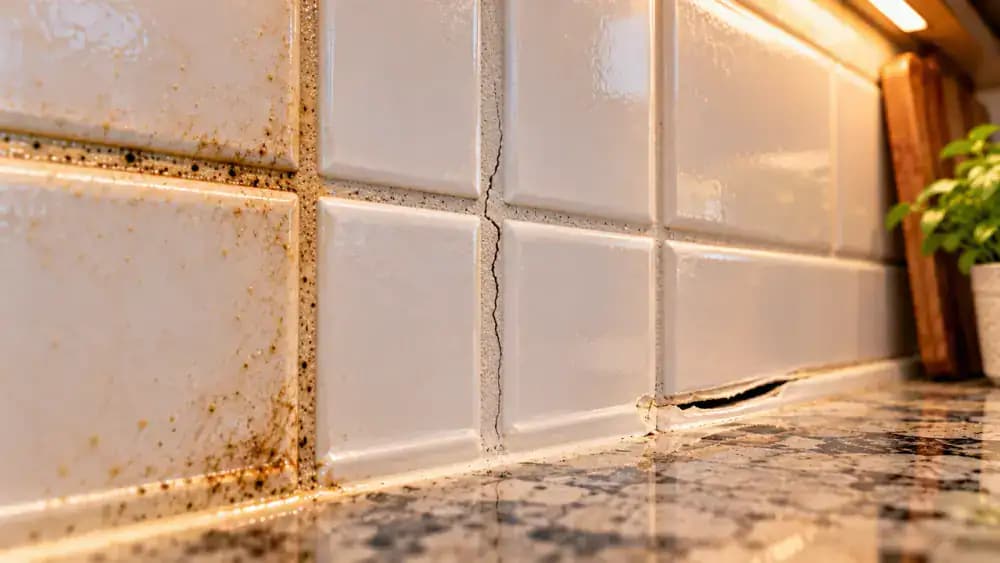
Check for Moisture Warning Signs Around the Backsplash
Examine the completely dry backsplash near the sink, countertop edges, and any separated caulk joints. As shown, look for recurring dark grout patches, swollen countertop edges, loose tiles, or gaps where moisture might enter. Note any persistent musty odor and document suspicious areas with photos or written notes. These signs do not confirm hidden water damage, but they warrant further investigation before cleaning, repairing, or sealing the affected grout.
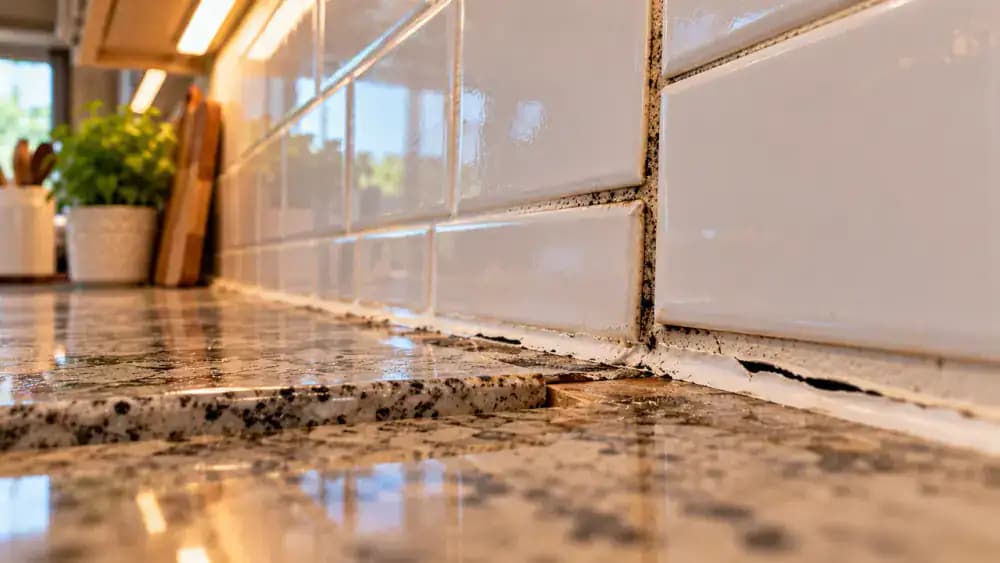
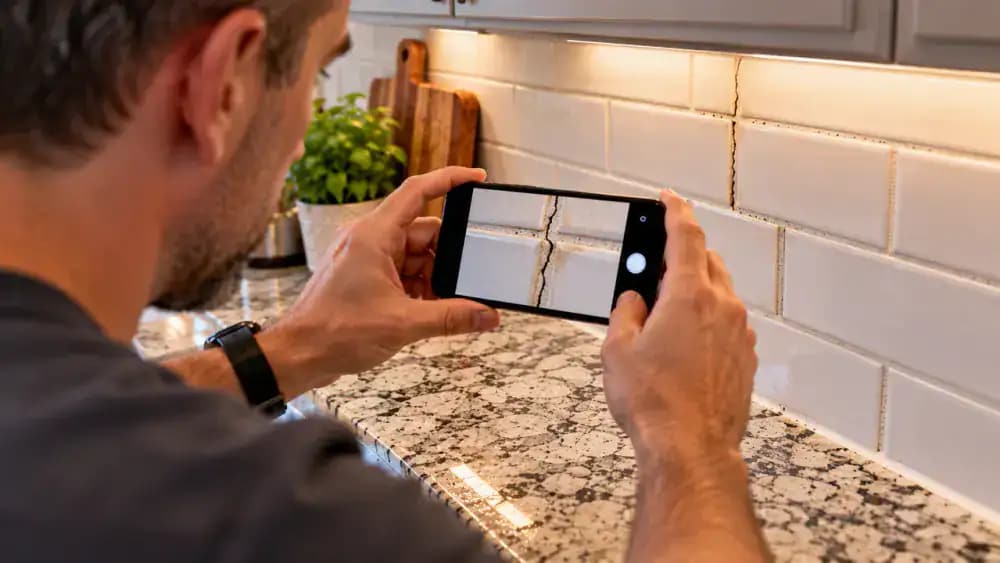
Decide Whether Damaged Grout Needs Repair or Professional Help
Review your inspection notes and photograph any visible grout damage, as shown. Record the location of isolated cracks, deteriorating joints, separated caulk, or loose tiles. Small grout defects may be repairable once the surrounding area is confirmed sound and dry. Widespread cracking, recurring moisture, or unstable tiles require professional assessment. Avoid applying additional cleaner or sealer until any underlying problems have been identified and addressed.
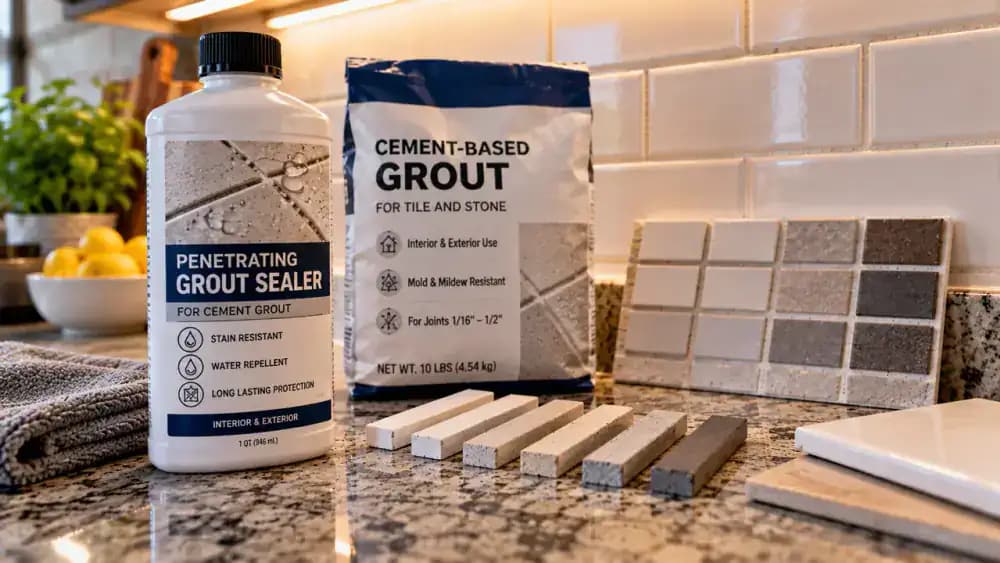
Check Whether Your Grout Needs a Penetrating Sealer
Review your grout installation records to identify the material and determine whether sealing is recommended. As shown, compare cement-based grout requirements with specialty grout guidance, then check a compatible penetrating sealer's label. Confirm that the grout is clean, fully dry, and free of damage before considering application. Follow manufacturer instructions for curing and surface preparation. Remember that sealer helps resist staining but cannot repair cracks or waterproof damaged joints.
Apply a Thin Coat of Sealer to Sound, Dry Grout
Confirm the grout is clean, fully dry, undamaged, and suitable for sealing. As shown, spot-test the compatible penetrating sealer in a hidden area, following the manufacturer's instructions. If the test reveals no problems, use a small foam applicator to apply a thin, controlled coat along the grout lines. Keep sealer away from silicone caulk, remove excess from adjacent tiles as directed, and allow the required curing time before exposing the backsplash to moisture.
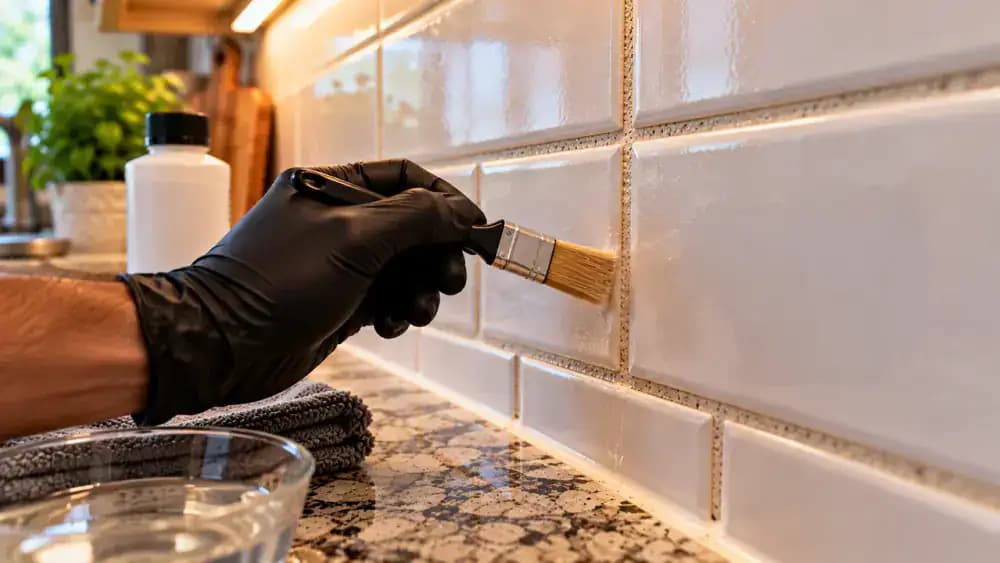
Wipe Away Fresh Cooking Grease Before It Reaches the Grout
After cooking, switch off the stovetop and let it cool completely before wiping nearby splatters. As shown, use a clean, lightly dampened microfiber cloth to lift fresh grease from the tiles and grout intersections. For stubborn spots, apply a compatible mild dish soap solution, then wipe away soap with a separate damp cloth. Finish by drying the surface. If grout sealer was applied, wait until its required curing period has ended.
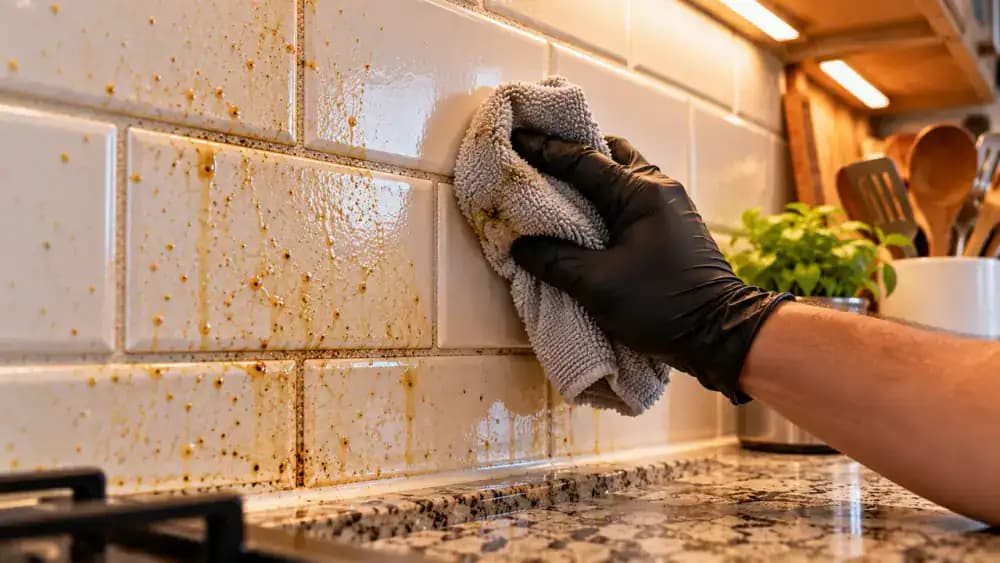
Clean Kitchen Grout Weekly to Prevent Grease Buildup
Set a weekly reminder to clean your backsplash, or clean more often if you cook frequently. As shown, wipe the tiles and grout with a microfiber cloth lightly dampened with a compatible mild cleaner, working from the upper rows downward. Pay extra attention to grease-prone areas behind the stovetop. Rinse with a separate damp cloth, dry the joints thoroughly, and inspect for new stains, cracks, or deteriorating sealant.

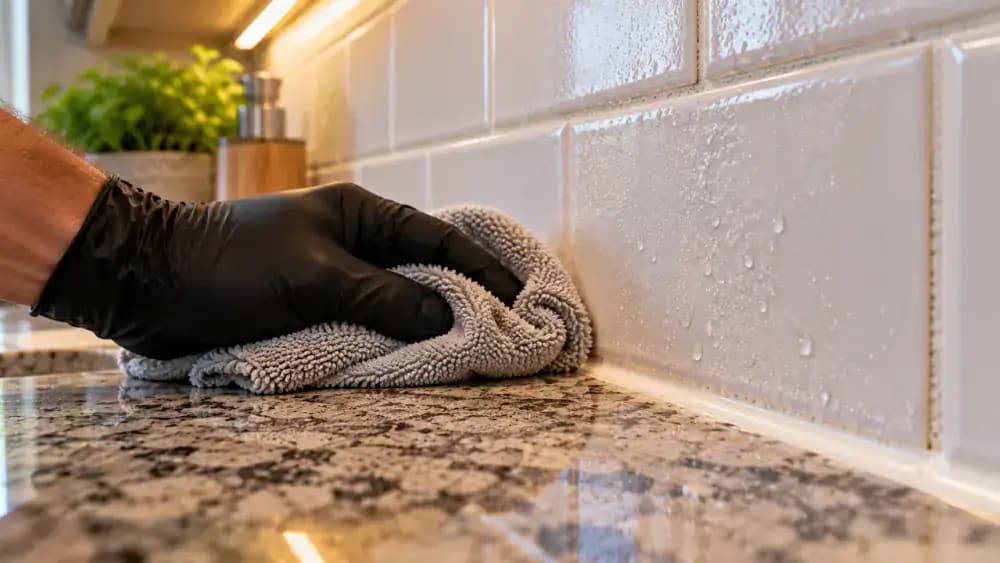
Keep Grout Dry and Improve Kitchen Ventilation
Use a clean, dry microfiber cloth to blot condensation from the backsplash, paying special attention to grout intersections and the countertop seam. As shown, fold the cloth into a thick pad and gently absorb moisture without rubbing or disturbing the silicone caulk. Turn on the range hood when cooking creates steam, and wipe lingering condensation promptly. Check nearby grout and sealant for cracks or gaps while drying these areas.
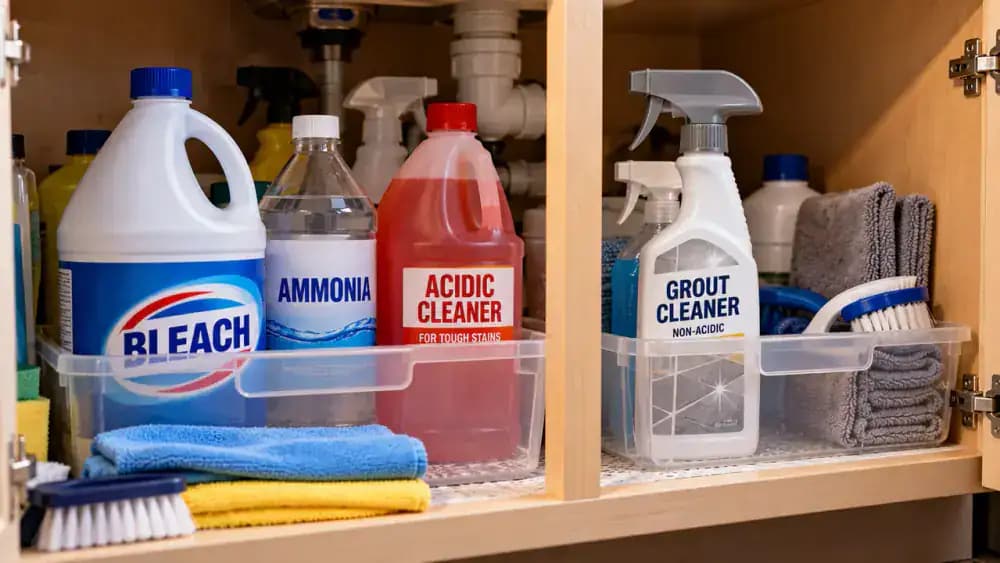
Avoid Acidic Cleaners and Dangerous Chemical Combinations
Check cleaning product labels before storing or using them near your backsplash. As shown, keep acidic, bleach-based, and ammonia-based cleaners sealed and separate. Avoid vinegar and other acids on cement-based grout or natural stone because they can damage these surfaces. Never mix bleach with acids, ammonia, or other cleaners, as hazardous gases can form. Choose one compatible, non-acidic cleaner, follow its instructions, and rinse thoroughly after use.
Protect Clean Grout With Gentle, Regular Maintenance
Take one last look at the completely dry backsplash, checking that the grout, tile edges, and surrounding caulk remain intact. As shown, organize your microfiber cloths, soft nylon brush, and approved non-acidic cleaner for future use. Keep grease under control by wiping fresh splatters promptly and cleaning regularly. Always spot-test products, follow contact times, rinse thoroughly, and dry the surface. Address damaged grout or moisture concerns before considering resealing.

You wipe down your kitchen backsplash after cooking, and the tiles look clean, but the grout lines still appear dark, greasy, and stained. That's because cooking oils and food splatters can settle into the tiny pores and uneven surfaces of grout, where an ordinary cloth can't easily reach. The temptation is to grab a stiff brush and scrub harder, but aggressive cleaning can wear away grout, damage sealant, and leave the surface more vulnerable to future buildup.
The better approach is to break down grease gently, using cleaning products suited to your tile and grout. Whether your backsplash is ceramic, porcelain, or natural stone, the key is to identify the surface, spot-test a compatible cleaner, and work carefully along the grout lines. You'll learn how to remove surface grease, treat stubborn residue, brush without excessive pressure, and rinse everything clean. You'll also learn when dark grout may indicate damaged sealant or moisture problems rather than ordinary dirt. Avoid acidic cleaners on cement grout or natural stone, and never mix bleach with acids, ammonia, or other cleaning products.
Where people go wrong
Scrubbing Grout Too Hard. Using a stiff brush or applying excessive pressure can wear away grout, damage its surface, and weaken existing sealant. Instead, use a soft nylon grout brush with short, controlled strokes. Let a compatible cleaner loosen the grease before brushing, rather than relying on force to remove stubborn buildup.
Using Acidic Cleaners Without Checking the Surface. Vinegar and other acidic cleaners can damage cement-based grout and natural stone tiles. Always identify your tile and grout before choosing a product. Use a non-acidic cleaner approved for both surfaces, test it in a small hidden area, and never mix bleach with acids, ammonia, or other cleaners.
Skipping Cleaner Contact Time and Thorough Rinsing. Applying cleaner and immediately wiping it away may leave grease trapped in grout lines. Follow the manufacturer's recommended contact time, then brush gently to loosen residue. Wipe with a clean damp cloth, rinse thoroughly, and dry the backsplash so cleaning product and loosened grease do not remain.
Mistaking Damaged Grout for Stubborn Dirt. Dark grout does not always mean grease buildup. Cracked grout, deteriorating sealant, or persistent moisture problems can create discoloration that cleaning will not fix. Inspect the grout under good lighting after it dries. If damage or moisture concerns remain, consider professional assessment, grout repair, or resealing.
Questions people ask
Start by wiping the backsplash with a microfiber cloth, warm water, and mild dish soap compatible with your tile. Apply a non-acidic, grout-safe cleaner to the grout lines, following the manufacturer's contact time. Gently brush with a soft nylon brush, then rinse thoroughly and dry. Always spot-test first.
Fixed it?
Get one guide like this every Thursday.