How to Deep Clean Your Kitchen Sink Drain Area and Remove Greasy Buildup
A clean sink can still hide greasy residue and trapped food around the drain. Learn how to remove buildup from the drain flange, strainer, and accessible seams using gentle household cleaning supplies without taking apart your plumbing.

What you’ll need
Tap to tick things off before you start.
Spot Hidden Grease and Food Debris Around the Drain
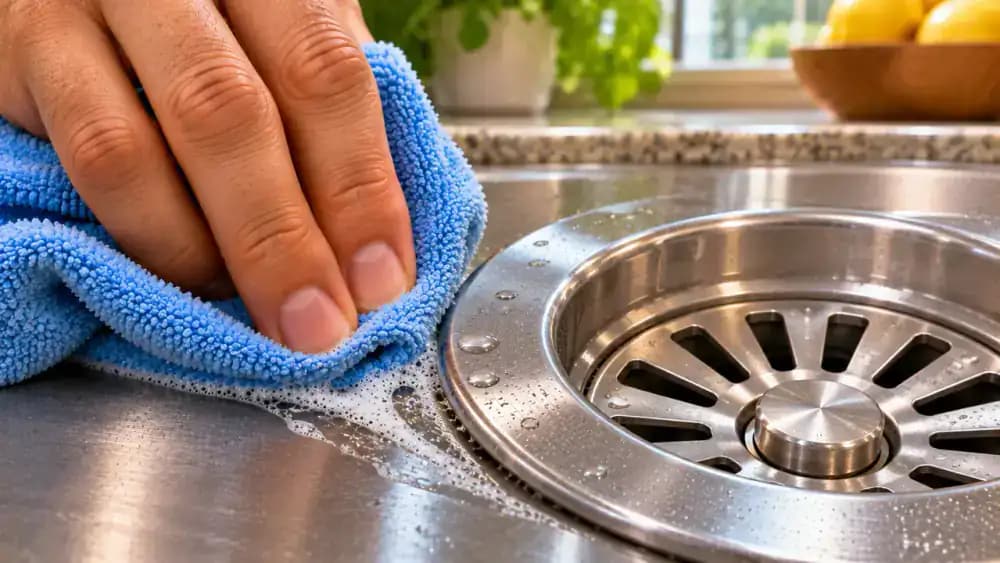
Start by looking closely at the metal ring surrounding your kitchen sink drain, even if the stainless steel basin appears spotless. As you wipe the surrounding surface with a clean microfiber cloth, check the exposed circular seam for yellowish grease, tiny food particles, and dark residue. Pay particular attention to where the drain flange meets the sink. This narrow edge often traps buildup that regular wiping misses, so identify the dirty areas before cleaning.
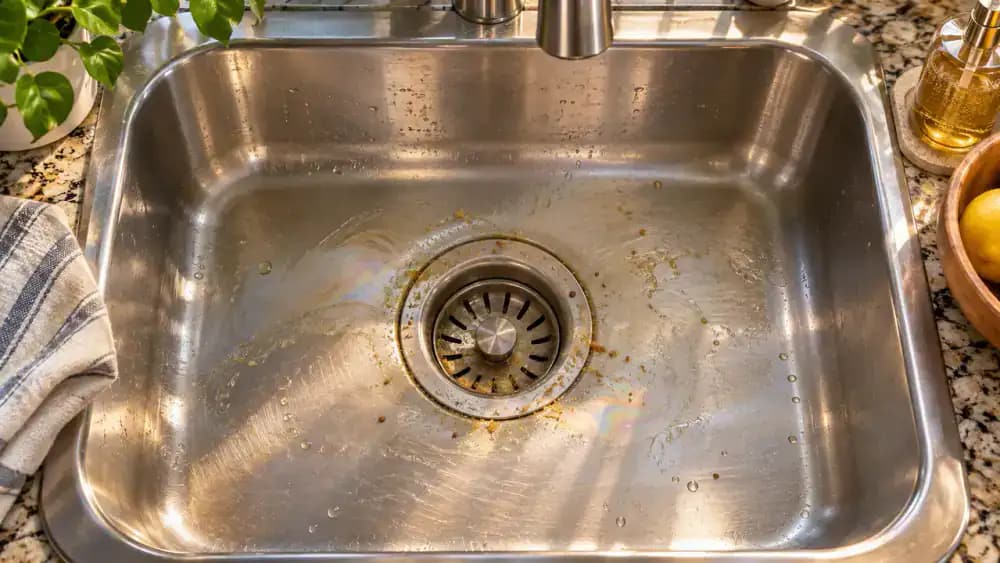
Locate Grease, Crumbs, and Residue Around the Drain
Examine the exposed drain flange, the narrow seam where it meets the sink, and the upper surface of the basket strainer. Look for a thin greasy film across the metal, small crumbs lodged along the circular edge, and food residue caught in the strainer. Point out each problem area without reaching into the drain. Checking these spots separately helps you target buildup with gentle cleaning instead of unnecessary scraping or plumbing disassembly.
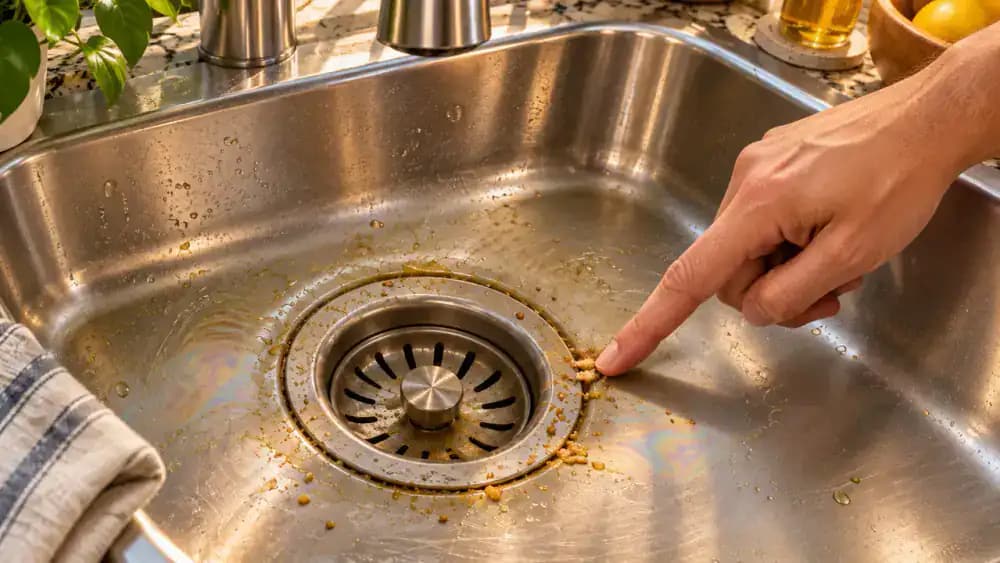
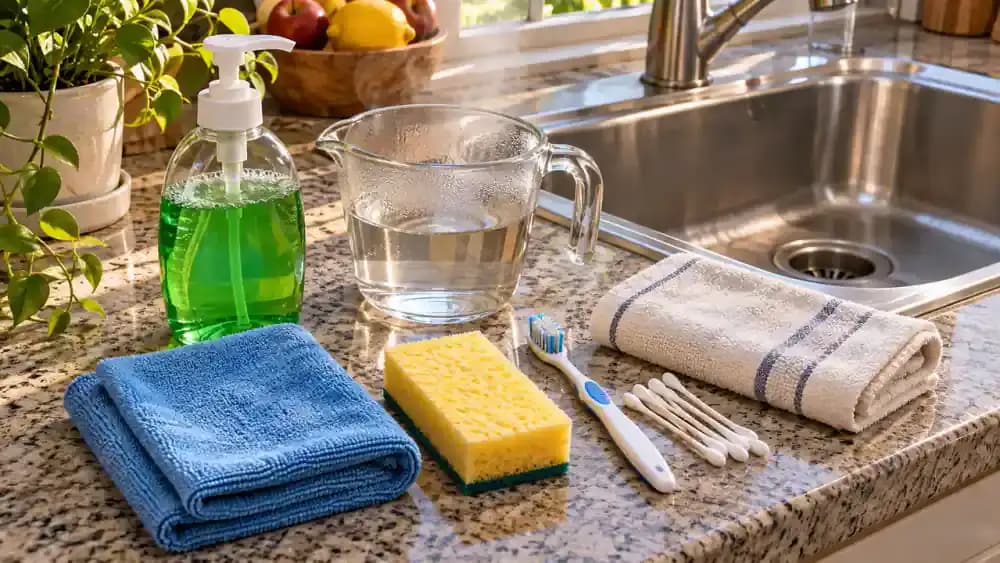
Prepare Gentle Cleaning Supplies for the Sink Drain
Arrange mild dish soap, a bowl of warm water, a microfiber cloth, and a nonabrasive sponge on the countertop beside your sink. Add a soft-bristled toothbrush and several cotton swabs for cleaning narrow edges, plus a dry towel for finishing. Keep everything within easy reach so you can work without interruptions. Check your sink manufacturer's cleaning recommendations first, and avoid abrasive pads, metal scrapers, or harsh chemicals that could damage the finish.
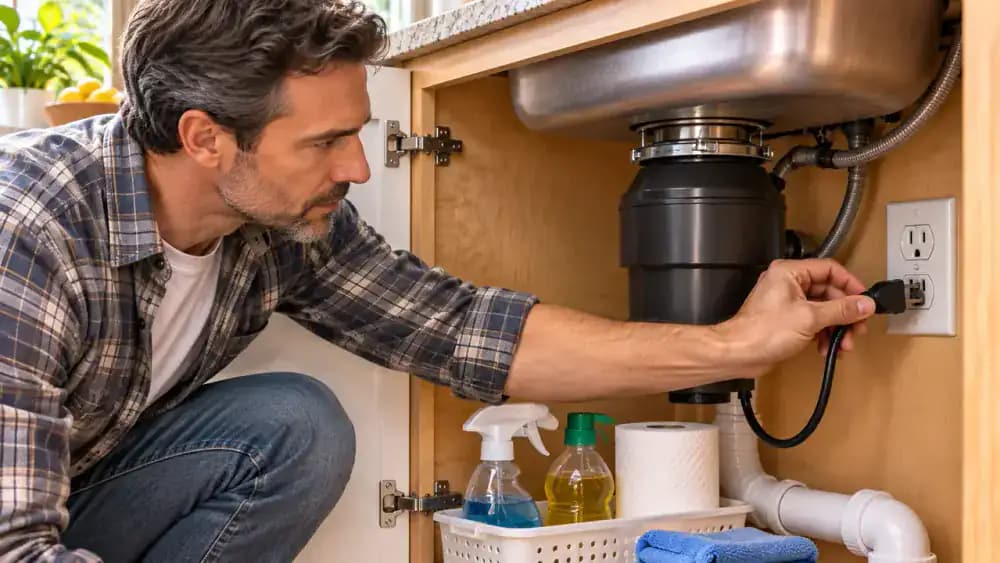
Check Sink Care Instructions and Disconnect Disposal Power
Review your sink manufacturer's care instructions to confirm which cleaning products and tools are safe for its finish. If your sink has a garbage disposal, disconnect its power according to the manufacturer's instructions before cleaning nearby accessible areas. When unplugging an accessible disposal, grasp the plug body rather than pulling the cord, and keep your hands dry. Inspect only exposed sink surfaces and never reach inside the disposal or disassemble plumbing components.
Empty the Sink and Set Up a Clear Cleaning Area
Remove plates, glasses, utensils, and loose dishwashing accessories from the sink basin. Place them on a dry countertop or clean drying mat, away from your cleaning supplies. Position a small trash container beside the sink so you can discard food scraps without pushing them down the drain. Make sure the entire drain flange is visible and easy to reach. Keep cleaning tools outside the drain opening throughout the process.

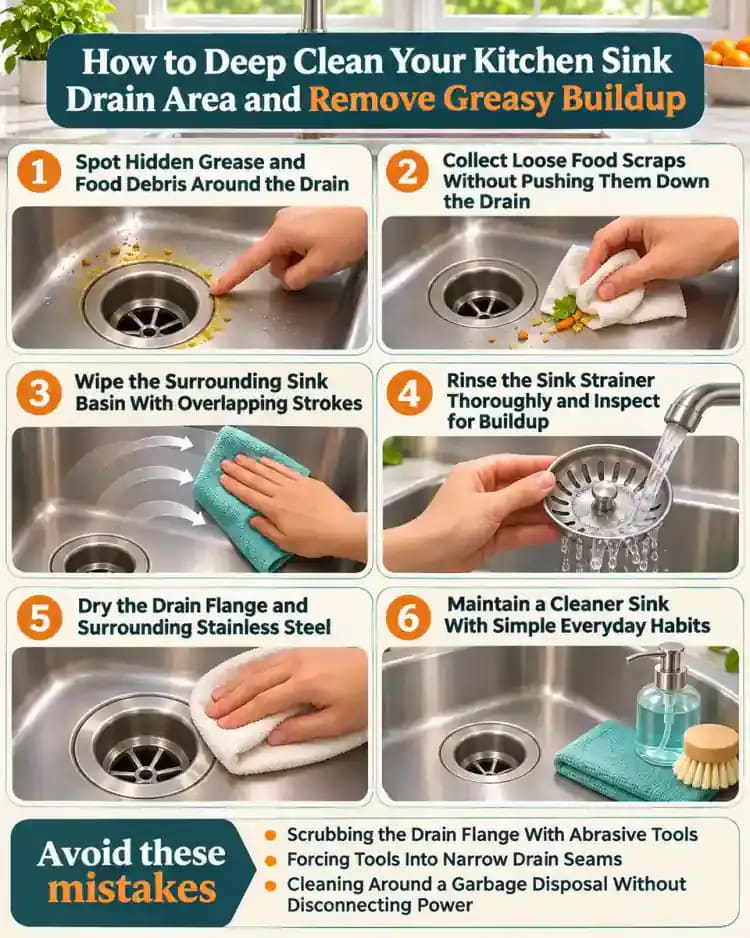
Collect Loose Food Scraps Without Pushing Them Down the Drain
Fold a clean paper towel and gently gather visible crumbs, vegetable fragments, and loose food particles from the sink surface surrounding the drain flange. Work from the outer basin toward the metal rim, stopping before the drain opening. Keep the collected debris inside the folded towel and transfer it directly into your nearby trash container. Removing loose scraps first prevents them from spreading across the surface when you apply soapy water.

Lift Out the Removable Strainer and Empty Trapped Food
Check whether your sink has a basket strainer designed for routine removal. If it lifts out easily, grasp the exposed handle and pull straight up without twisting or forcing it. Hold the basket over your nearby trash container and tip out any trapped food scraps. Place the emptied strainer on a clean tray for washing later. Leave the fixed drain flange, internal plumbing, and garbage disposal components completely undisturbed.
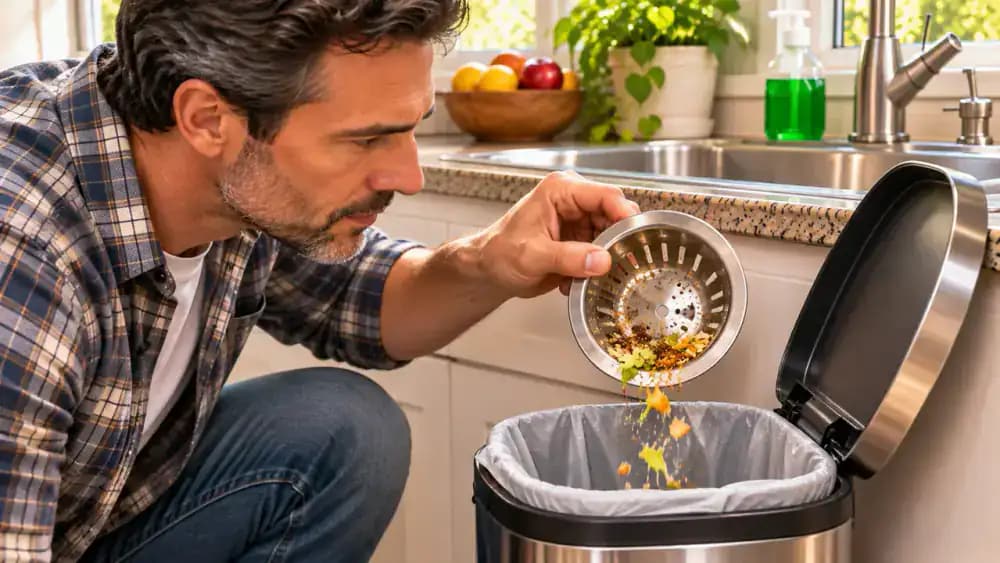
Wipe Away Remaining Crumbs From the Exposed Drain Rim
Fold a fresh microfiber cloth into a small pad and dampen it lightly with water. Gently wipe the exposed metal flange and outer circular seam using short, controlled movements directed away from the drain opening. Lift the cloth periodically to collect particles rather than spreading them around. Keep your fingers and cloth outside the opening. Remove all visible crumbs before applying dish soap, leaving the remaining greasy film for the next cleaning step.
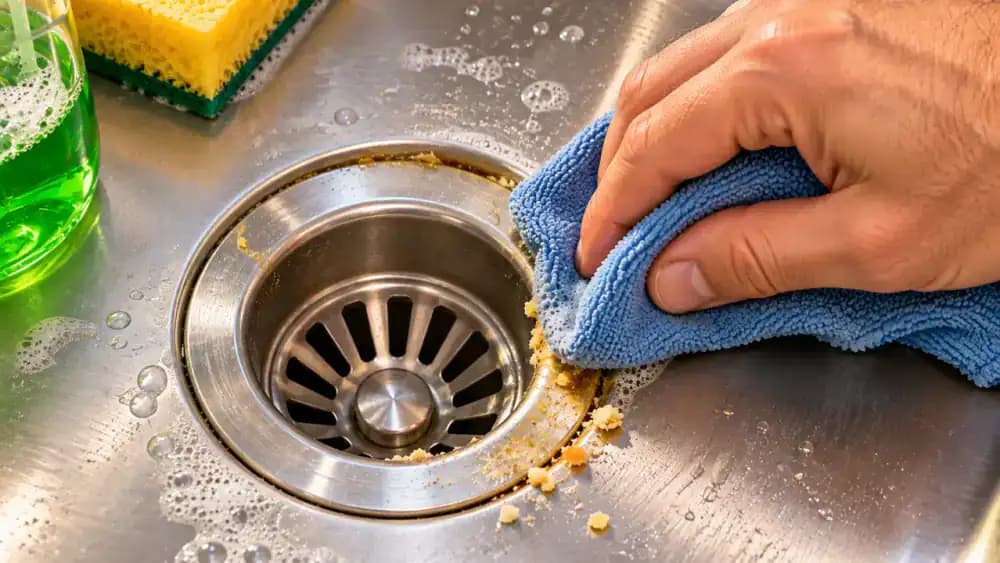
Mix Warm Water and Mild Dish Soap to Loosen Grease
Fill a small glass bowl with approximately two cups of comfortably warm water and place it on a stable countertop beside the sink. Add three drops of mild liquid dish soap, then stir gently with a clean spoon until evenly mixed. The solution should have just a few small bubbles rather than thick foam. Using only a little soap helps loosen greasy residue while making the drain flange easier to rinse afterward.

Spread Soapy Water Over the Drain Flange With a Soft Sponge
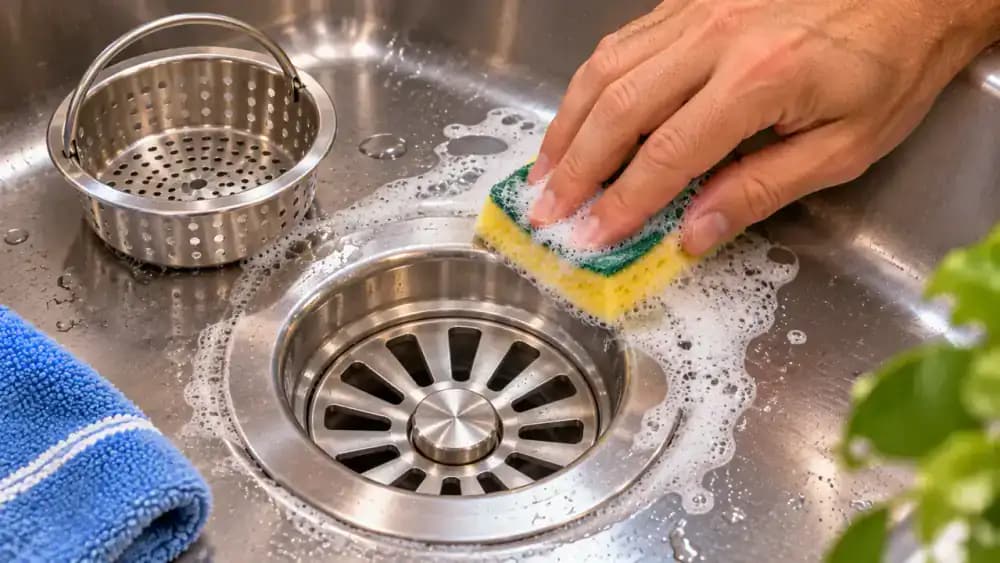
Dip a soft, nonabrasive sponge into the prepared dish soap solution, then gently squeeze excess water back into the bowl. The sponge should feel damp without dripping. Using light pressure, spread a thin layer of soapy water across the exposed metal drain flange and about two inches of surrounding sink surface. Move carefully around the circular rim, keeping the sponge outside the drain opening to avoid disturbing internal components.
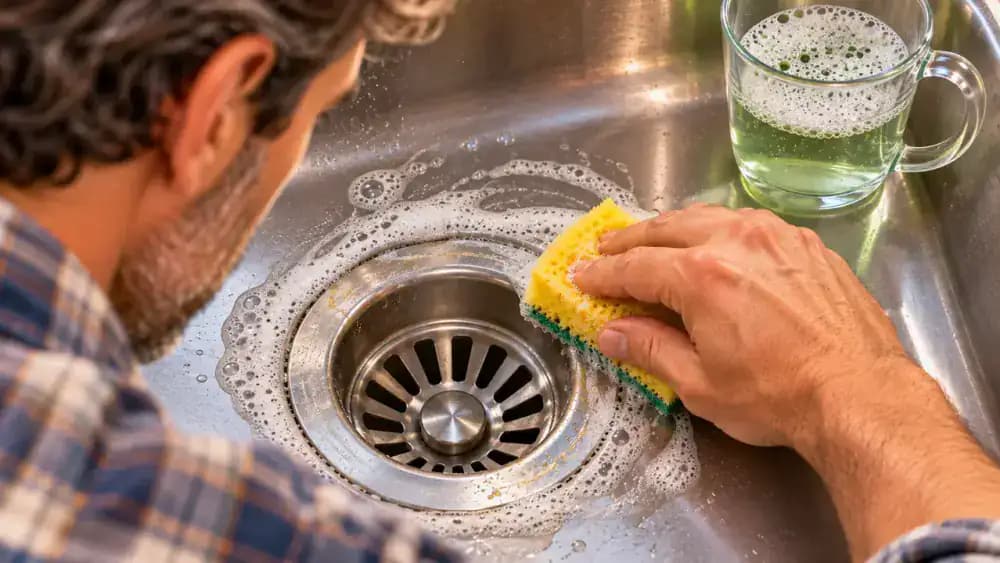
Loosen Greasy Buildup With Gentle Circular Movements
Move the damp, soapy sponge in small, slow circles across the exposed metal drain flange. Concentrate on sections where a greasy film remains visible, using light, even pressure to loosen the residue. The sponge should compress only slightly against the surface. Work around the metal ring one section at a time, keeping the sponge outside the drain opening. If grease persists, repeat the gentle movements rather than scrubbing harder.
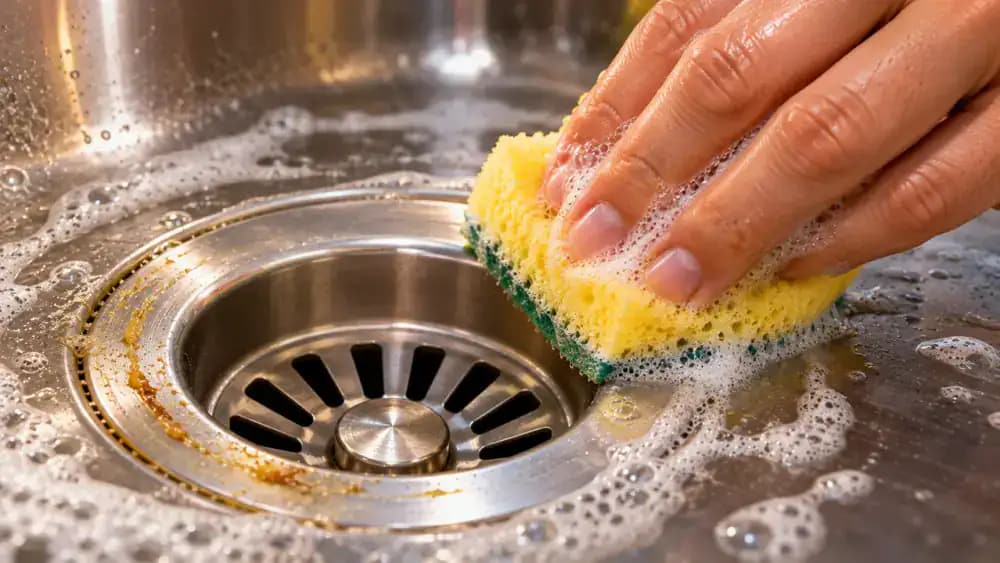
Wipe the Surrounding Sink Basin With Overlapping Strokes
Extend your cleaning about two to three inches beyond the drain flange, focusing on the sloped stainless steel surface where grease and water marks collect. Glide the damp, soapy sponge across the basin using gentle, overlapping strokes. Follow the direction of the brushed metal grain if recommended by the manufacturer. Keep pressure light and the sponge outside the drain opening. Leave the narrow circular flange seam untouched for detailed cleaning later.
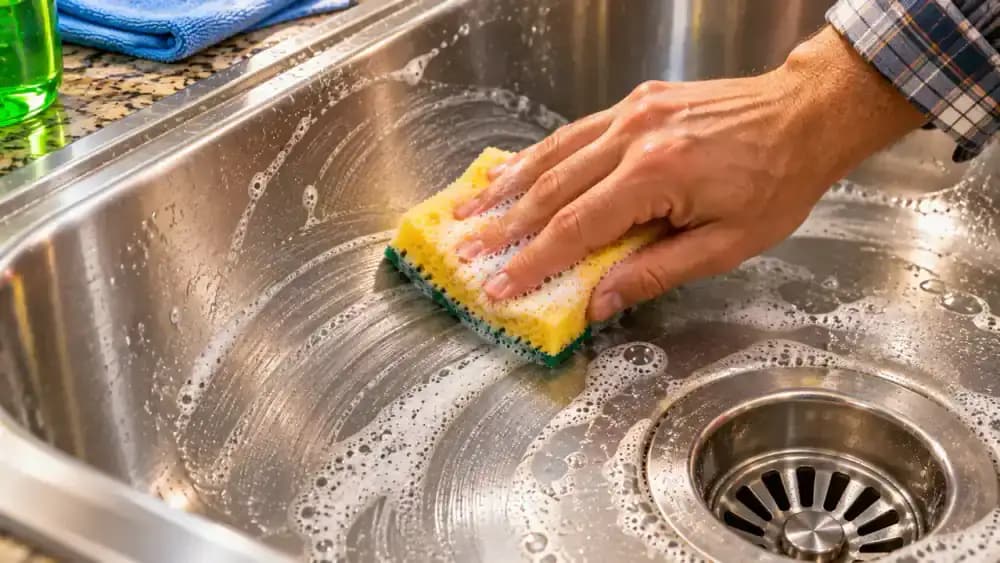
Remove Loosened Grease With a Fresh Microfiber Cloth
Fold a clean microfiber cloth into a flat pad and gently wipe the soapy sink surface beside the drain flange. Move outward, away from the drain opening, to collect loosened grease and diluted soap without pushing residue inside. Check the cloth after each pass for grayish-yellow marks. Refold it to expose a clean section before wiping again. Replace the cloth if it becomes heavily soiled to avoid spreading grease back onto cleaned areas.
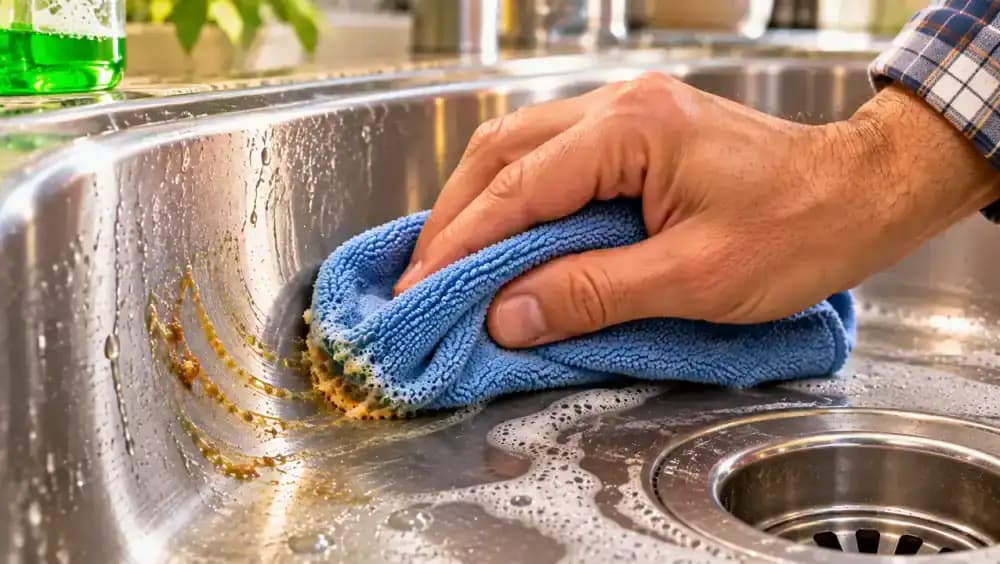
Inspect the Drain Flange for Streaks and Remaining Grease
Shine a portable light across the exposed drain flange from an angle to reveal dull patches, cloudy streaks, or remaining greasy film. Examine the metal surface carefully, especially where reflections appear uneven. If you notice residue, use a clean section of a lightly damp microfiber cloth to wipe that specific spot with gentle strokes. Check the area again under the light, and avoid unnecessary scrubbing once the surface looks clean.

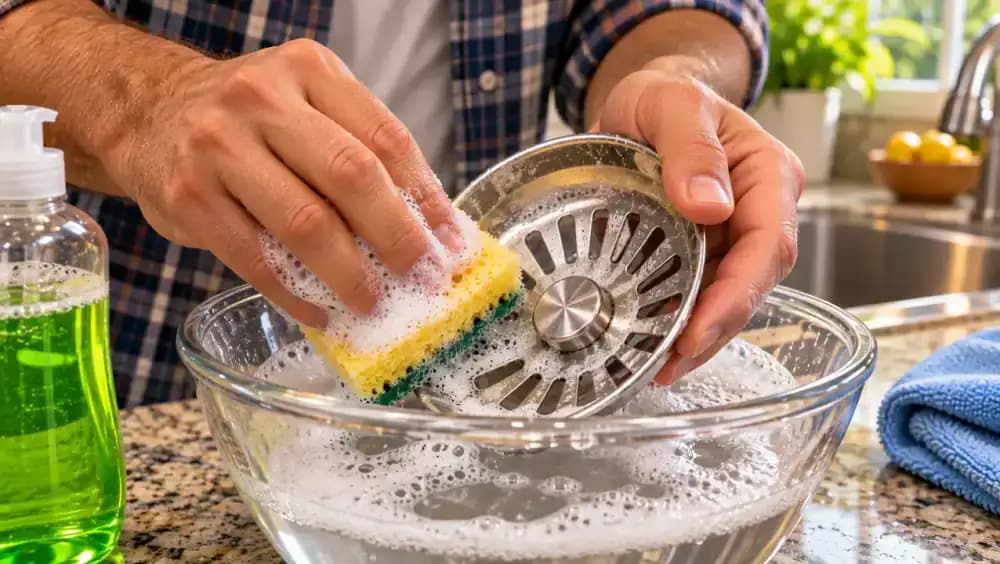
Wash the Removable Sink Strainer With Warm, Soapy Water
Place the removable basket strainer in a shallow bowl of warm water mixed with mild dish soap. Hold it by the handle and gently wipe the outer rim and accessible basket surfaces with a soft, nonabrasive sponge. Slowly rotate the strainer to reach all sides, paying extra attention to greasy spots around the handle attachment and curved metal edges. Keep the strainer above the bowl while wiping so excess water drips back inside.
Brush Trapped Food Particles From the Strainer Holes
Hold the removable basket strainer securely by its handle above the bowl of warm, soapy water. Use a soft-bristled toothbrush to gently sweep across the small drainage holes, loosening food particles caught around their edges. Make short, controlled strokes and rotate the basket to reach different sections. Keep the brush angled against the accessible metal surface rather than pushing bristles through the openings. Avoid excessive pressure that could bend or damage the strainer.
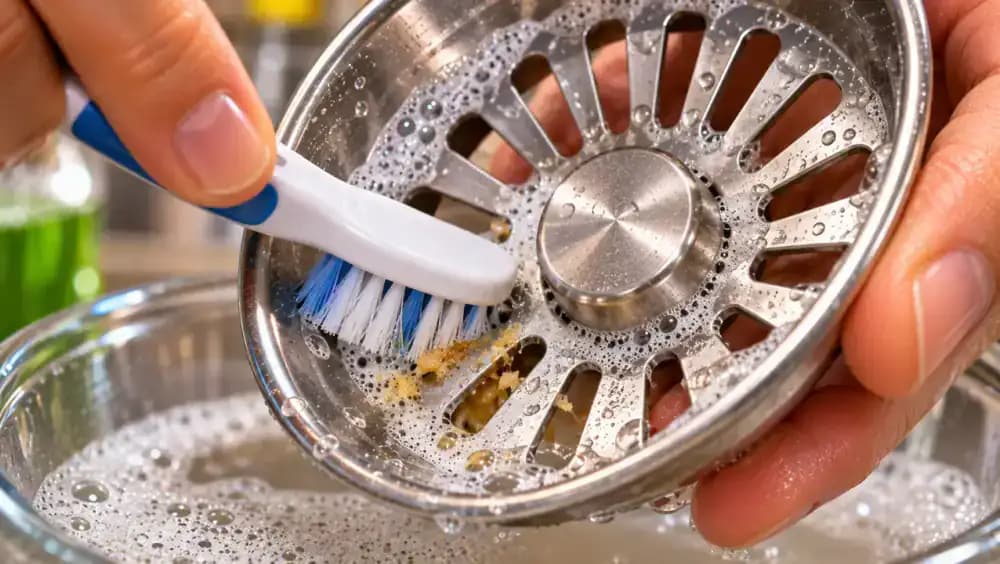
Clean Grease From the Strainer Underside and Handle
Tilt the removable basket strainer sideways over the bowl of warm, soapy water to expose its underside and handle attachment. Using a soft-bristled toothbrush, gently sweep along the underside of the metal rim and around the accessible handle junction. Rotate the basket slightly to reach hidden greasy spots without losing your grip. Keep your strokes short and controlled, and never bend, twist, pry, or disassemble the handle or other strainer components.
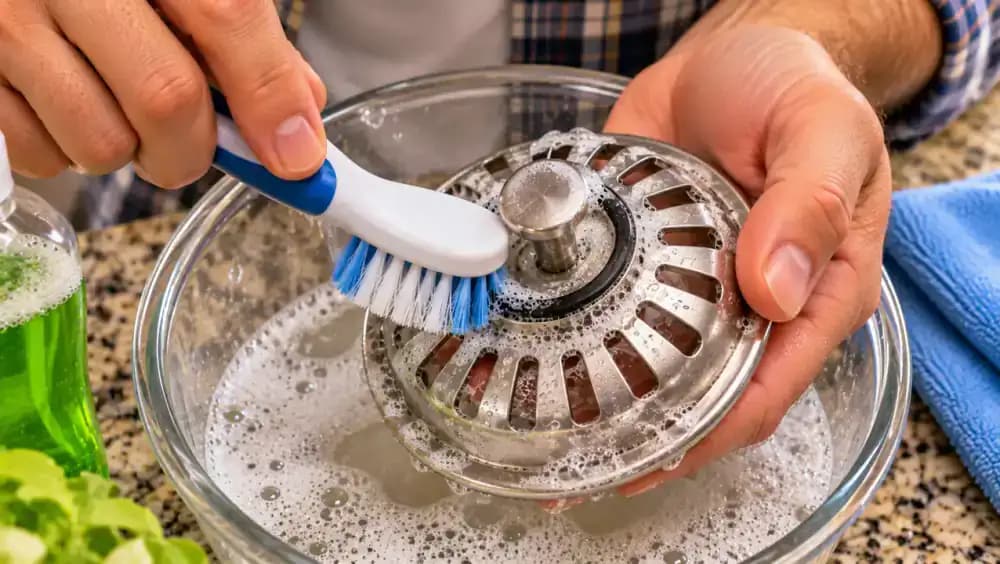
Rinse the Sink Strainer Thoroughly and Inspect for Buildup
Hold the removable basket strainer by its handle above a separate clean bowl. Slowly pour fresh, comfortably warm water over the metal rim, drainage holes, and underside to rinse away soap and loosened residue. Rotate the basket so water reaches the handle attachment and all accessible surfaces. Inspect for remaining grease or trapped particles, repeating gentle cleaning if necessary. Place the rinsed strainer upright on a clean, dry towel to drain.
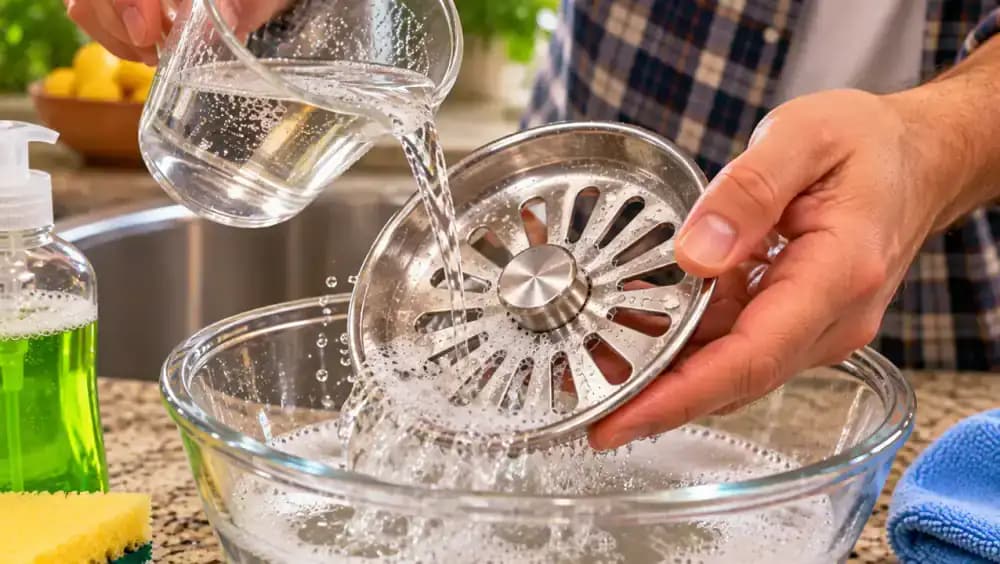
Locate Residue Along the Narrow Drain Flange Seam
Return to the sink and examine the narrow circular seam where the fixed drain flange meets the stainless steel basin. Hold a small inspection light above the sink rim and angle its beam across the exposed edge. Look for thin grayish lines, trapped grime, or uneven discoloration that remained after wiping the surrounding metal. Check the entire circumference carefully without probing beneath the flange, lifting its edges, or disturbing the seals.
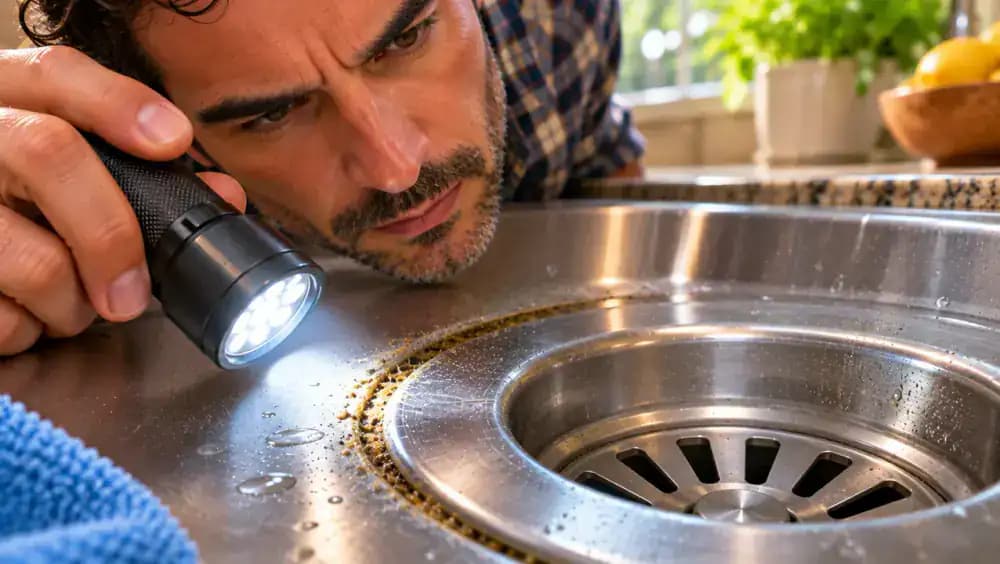
Brush Away Grime Along the Exposed Drain Flange Seam
Dip the tip of a soft-bristled toothbrush into your mild soapy solution, then remove excess moisture against the bowl rim. Hold the brush at a shallow angle and gently follow the exposed circular seam around the fixed drain flange. Use short, controlled strokes to loosen visible residue, repositioning the brush as needed. Keep the bristles on the accessible surface without pushing into the gap, prying beneath the flange, or disturbing its seal.
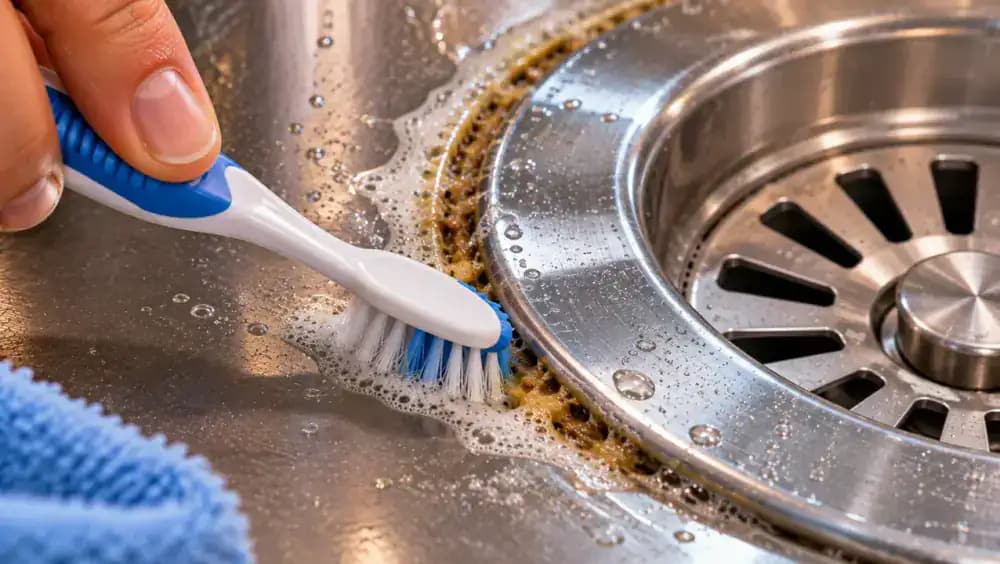
Lift Loosened Grime With a Cloth-Wrapped Cotton Swab
Wrap a small piece of clean microfiber cloth securely around the soft tip of a cotton swab, ensuring no loose threads remain. Lightly dampen the fabric with mild soapy water and squeeze out excess moisture. Gently glide the wrapped tip along the exposed outer seam to collect loosened grime. Keep it flat against the accessible surface without pushing beneath the flange. Replace dirty or fraying fabric before continuing around the remaining edge.
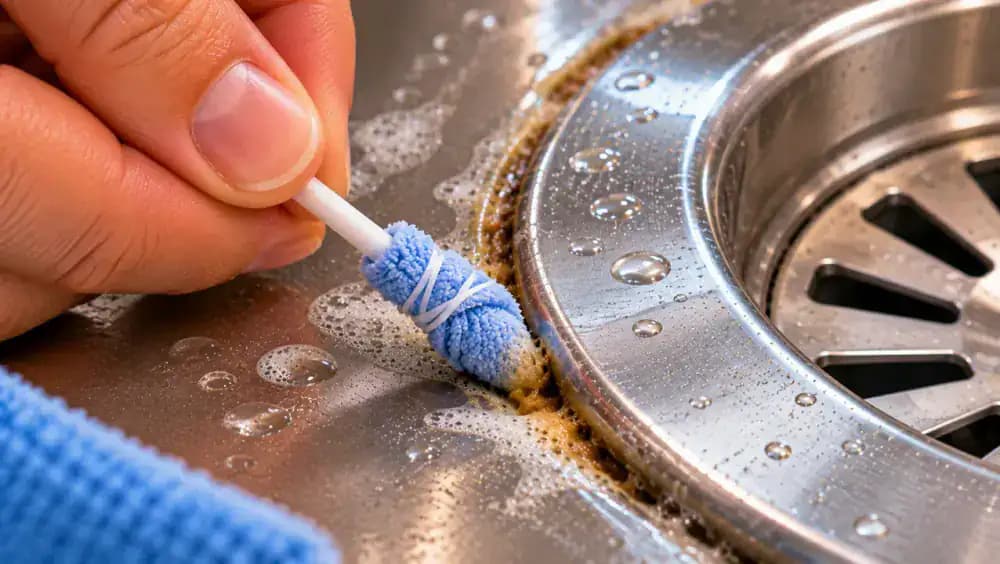
Inspect the Drain Seam Without Damaging the Seal
Examine the exposed circular seam under bright lighting to check for remaining dark spots or greasy residue. Look closely at where the fixed drain flange meets the sink basin, keeping your hands and cleaning cloth above the opening. If a small amount of grime remains trapped beneath the metal edge, leave it untouched. Never scrape, pry, or lift the flange to reach hidden buildup. The seal and fixed plumbing must remain undisturbed.
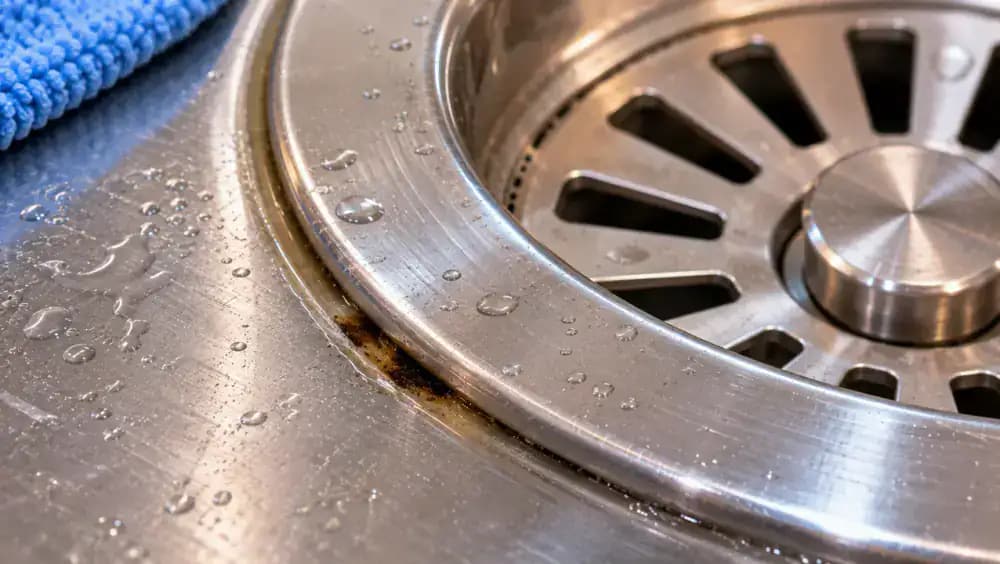
Wipe Away Soap Residue From the Drain Flange and Basin
Rinse a fresh microfiber cloth in a bowl of clean, warm water, then wring it out thoroughly until it stops dripping. Gently wipe the exposed drain flange and surrounding stainless steel basin using smooth, overlapping strokes. Collect remaining soap bubbles with the cloth rather than pushing them into the drain opening. Rinse and wring out the cloth as needed, repeating until no visible suds remain. Avoid flooding the narrow seam or fixed fittings.
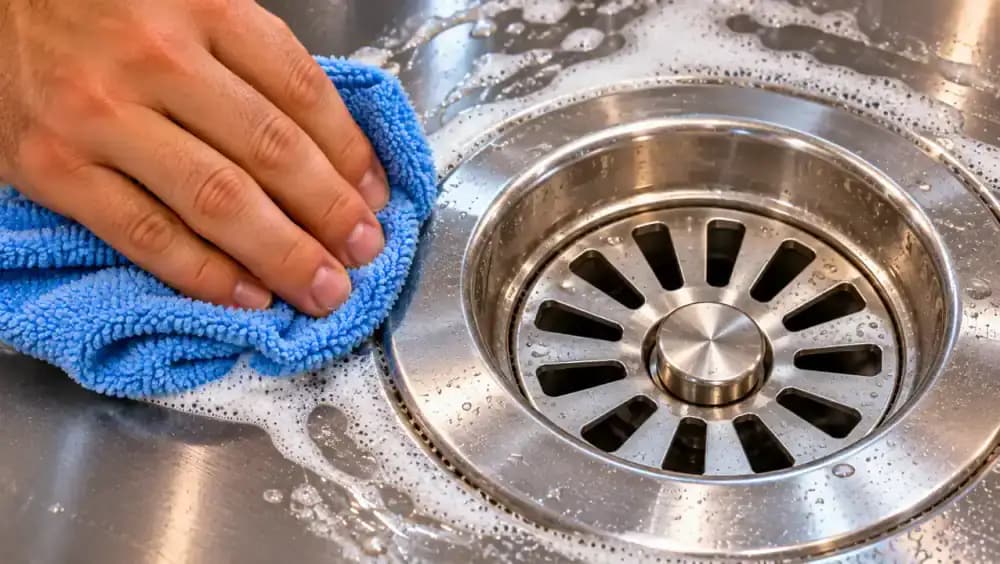
Dry the Drain Flange and Surrounding Stainless Steel
Use a fresh, soft, dry towel to absorb moisture from the cleaned sink surface. Start about three inches outside the drain flange, gently blotting away water droplets before moving toward the metal ring. Fold the towel into a small pad and lightly wipe the exposed flange with outward strokes. Keep the fabric outside the drain opening and avoid pushing it into the narrow seam. Thorough drying helps prevent water spots and reveals remaining streaks.
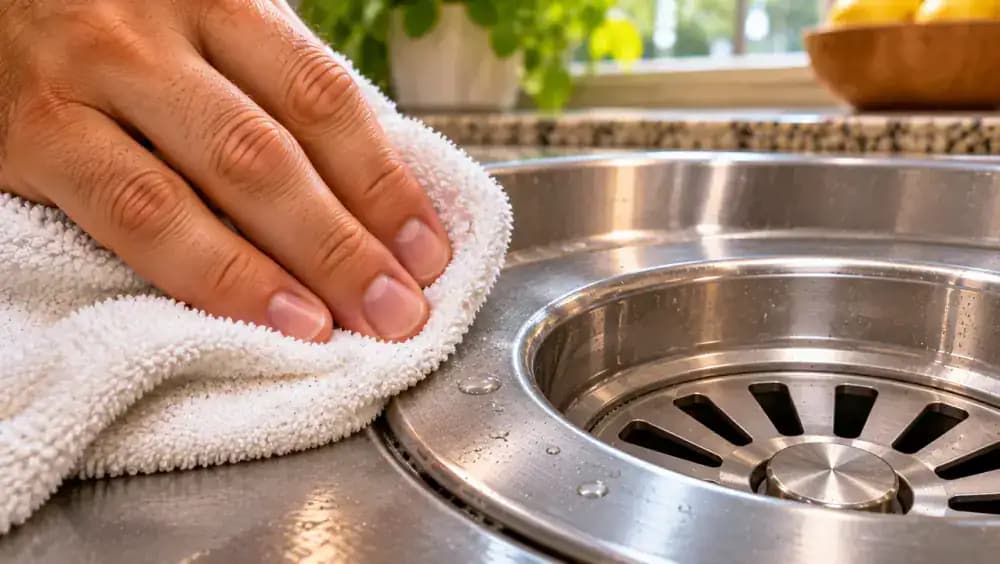
Check the Cleaned Drain Area for Remaining Streaks and Grease
Examine the dry drain flange, surrounding stainless steel basin, and exposed circular seam under bright, even lighting. Look for leftover soap streaks, food crumbs, or dull greasy patches. If you find a small mark on an accessible surface, gently wipe it with a clean, lightly damp microfiber cloth, then blot the area dry. Check that the fixed flange remains undisturbed, and leave any residue trapped beneath its edge untouched.
Return the Clean Basket Strainer to Its Proper Position
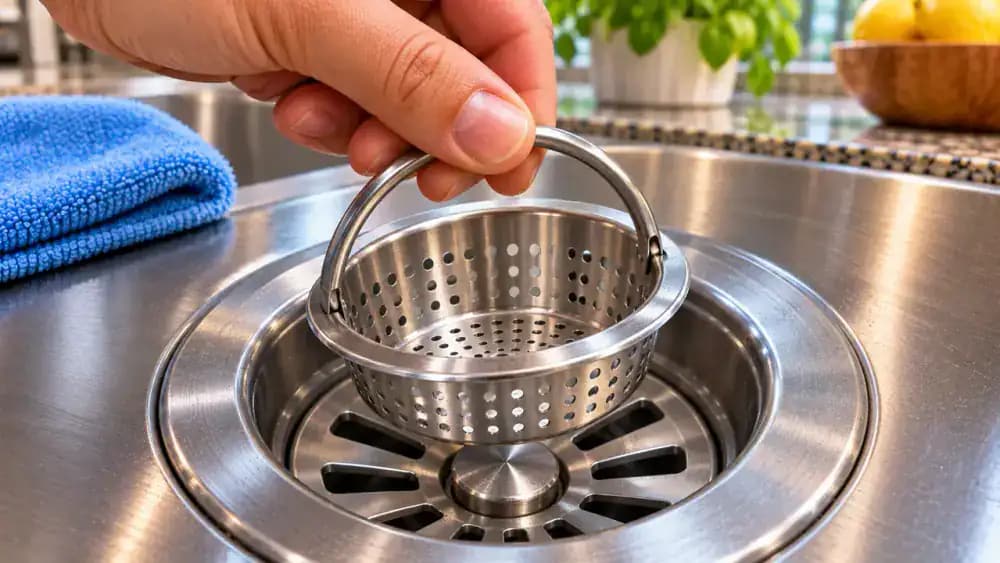
Pick up the clean, dry basket strainer by its designated handle and center it above the drain opening. Slowly lower the basket straight down until its outer rim rests evenly on the fixed drain flange. Keep your fingers above the opening throughout the process. Release the handle and visually check that the strainer sits level and fits as intended. Never force, twist, or pry the basket into position or adjust fixed plumbing connections.
Keep the Sink Drain Clean With a Quick Daily Routine
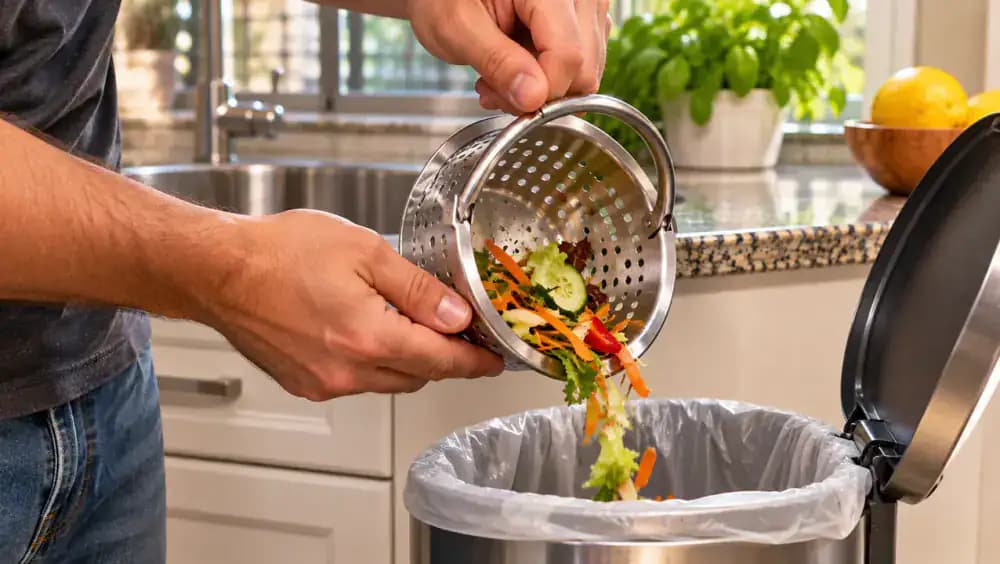
After preparing food, check the removable basket strainer for vegetable scraps and other debris. Lift it by its handle, empty collected food into the trash, and return it without reaching into the drain. Wipe the exposed flange and nearby sink surface with a soft, slightly damp microfiber cloth, then dry with a clean towel. Look for fresh grease or crumbs regularly to prevent stubborn buildup between deeper cleanings.
Know When Drain Problems Require a Professional Plumber
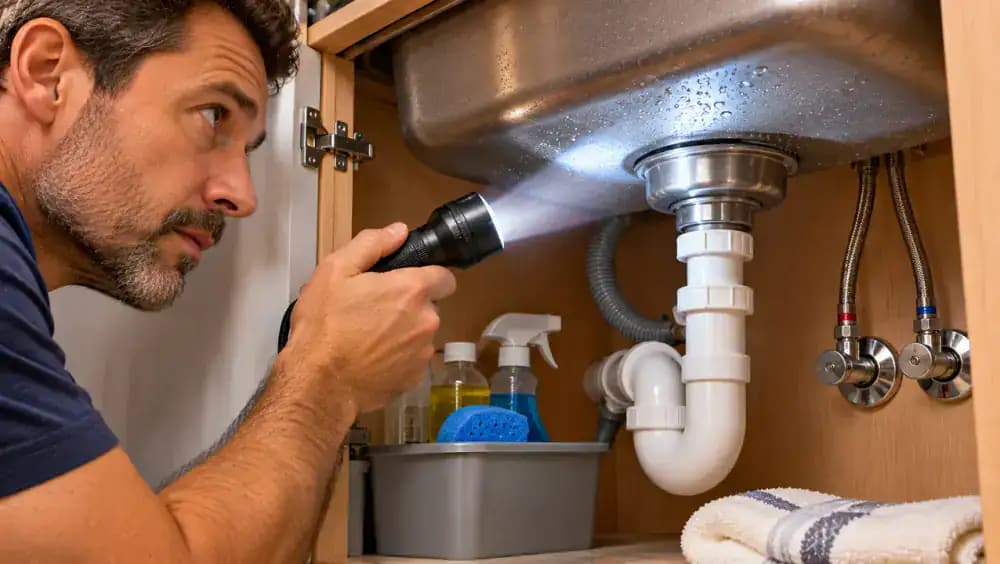
Check for warning signs that routine surface cleaning cannot resolve, including persistent unpleasant odors, slow drainage, or moisture beneath the sink. Look for standing water around the drain and use a flashlight to visually inspect accessible under-sink areas for leaks. Keep your hands away from the drain opening and avoid touching or loosening plumbing connections. If these problems continue, contact a qualified plumber rather than attempting repairs or disassembling the garbage disposal.
Keep Your Sink Drain Clean With Gentle, Safe Methods
Maintain a cleaner kitchen sink drain by following the same gentle routine whenever buildup appears. Collect loose food scraps with a paper towel, loosen grease using mild soapy water and a nonabrasive sponge, and wash removable strainers separately. Clean the exposed flange seam with a soft toothbrush, then wipe away soap and dry the surfaces thoroughly. Never reach into a garbage disposal, disturb fixed seals, or disassemble plumbing components.
Maintain a Cleaner Sink With Simple Everyday Habits
Keep a clean microfiber cloth within easy reach so you can wipe the exposed drain flange whenever you clean the sink. Empty the removable basket strainer regularly, discard food scraps in the trash, and dry the surrounding metal to reduce water spots and recurring buildup. Once cleaning is complete, restore garbage disposal power only according to manufacturer instructions. For more practical kitchen maintenance ideas, explore our Kitchen Cleaning Fixes collection.
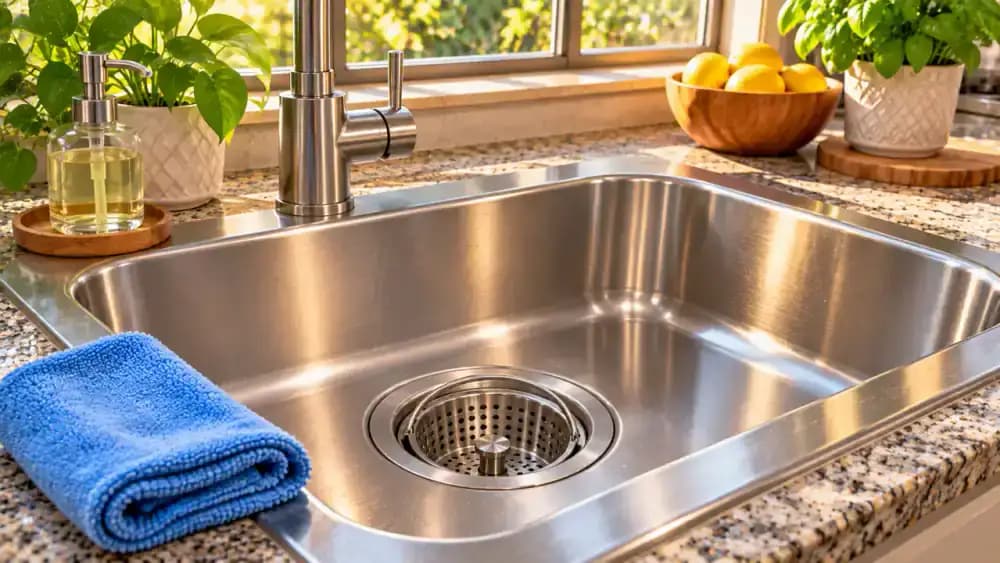
Your kitchen sink might look spotless after a quick wipe, but take a closer look around the drain. That narrow metal rim, called the drain flange, can collect a stubborn combination of cooking grease, food particles, and everyday grime. Over time, residue builds up along the edges, inside removable strainers, and in tiny seams that ordinary cleaning often misses. Even when the rest of your sink shines, this overlooked area can remain sticky, discolored, and unpleasant to clean.
Fortunately, removing greasy buildup around your kitchen sink drain usually takes just a few basic household supplies and a little careful attention. Mild dish soap, warm water, a soft sponge, and a toothbrush can help clean accessible surfaces without aggressive scrubbing or harsh chemicals. This guide walks you through removing visible debris, cleaning the drain flange and removable parts, reaching narrow crevices, and keeping the area cleaner between deep cleans. There's no need to disassemble plumbing or garbage disposal components. If your sink has a garbage disposal, disconnect its power according to the manufacturer's instructions before cleaning nearby accessible areas, and never put your hands or tools inside it.
Where people go wrong
Scrubbing the Drain Flange With Abrasive Tools. Steel wool, stiff brushes, and abrasive scouring pads can scratch the drain flange and damage the surrounding sink finish. Instead of scrubbing harder when grease sticks, apply mild dish soap mixed with warm water and gently work over the buildup using a nonabrasive sponge.
Forcing Tools Into Narrow Drain Seams. Using sharp objects to scrape grime from tight spaces can scratch surfaces, disturb seals, or damage drain components. Clean only accessible seams with a soft toothbrush or cloth-wrapped cotton swab. Never pry apart drain fittings, remove plumbing components, or force tools beneath the flange.
Cleaning Around a Garbage Disposal Without Disconnecting Power. A garbage disposal can be dangerous even when its switch is off. Before cleaning accessible areas around the disposal, disconnect power according to the manufacturer's instructions. Never place your hands or tools inside the disposal, and do not attempt to disassemble its components for cleaning.
Leaving Food Debris and Soap Residue Behind. Wiping the visible sink surface while ignoring trapped food around the strainer allows grime to accumulate again. Collect food scraps and throw them in the trash, then wash routinely removable parts separately. Rinse away soap residue, dry accessible surfaces, and inspect for remaining buildup.
Questions people ask
Mix mild dish soap with warm water and apply it to the drain flange and surrounding sink surface using a nonabrasive sponge. Gently clean in circular motions to loosen grease without scratching the finish. Use a soft toothbrush for accessible edges, then rinse thoroughly, dry the area, and inspect for remaining residue.
Fixed it?
Get one guide like this every Thursday.