How to Clean Sticky Grease From Kitchen Cabinet Tops Without Damaging the Finish
Sticky grease and dust can build up on top of kitchen cabinets for months. Learn how to remove stubborn grime with mild dish soap, microfiber cloths, and gentle cleaning techniques that protect cabinet finishes.

What you’ll need
Tap to tick things off before you start.
Check the Sticky Buildup Above Your Cabinets
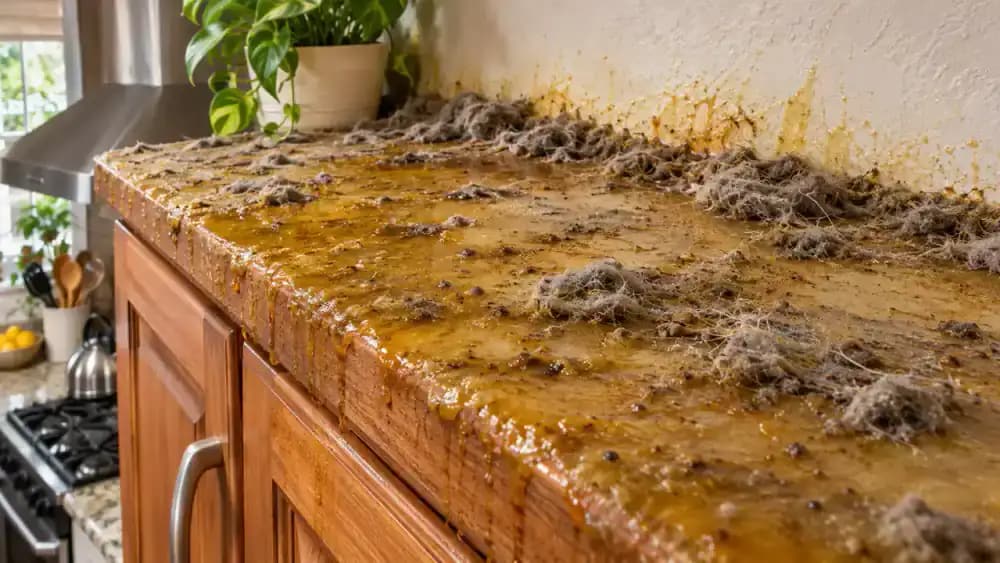
Look closely at the horizontal surface above your upper kitchen cabinets, especially near the back wall. The yellow-brown patches and gray dust clumps shown here illustrate how airborne cooking grease traps household dust, creating a sticky layer that ordinary dusting struggles to remove. Check how widespread the buildup is before cleaning. Use a stable step stool or ladder on a level floor for a safe view, and avoid touching the residue with bare hands.
Understand How Cooking Grease Traps Dust
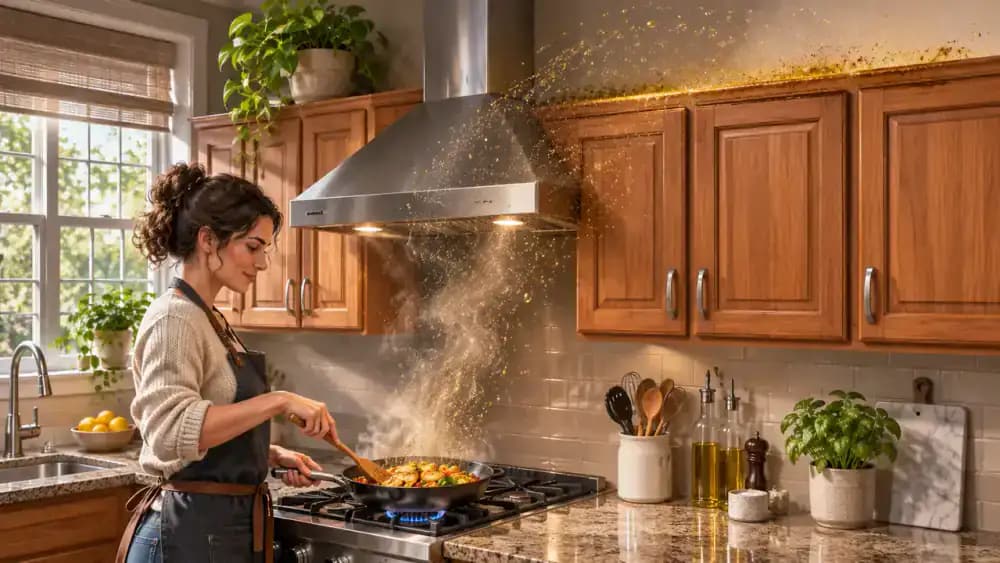
Notice how tiny oil droplets rise from the skillet as food cooks, then travel through the air toward nearby cabinet tops. The illustration shows these droplets settling into a thin, sticky film that attracts ordinary household dust. As more particles collect, the residue becomes thicker and harder to remove. Running your range hood while cooking helps reduce airborne grease, making future cabinet cleaning easier and less frequent.
Clear Countertops and Protect Surfaces Below
Remove small appliances, dishes, and food containers from the countertops beneath your upper cabinets, placing them safely out of the work area. Spread clean towels or a washable drop cloth across the exposed surfaces to catch falling dust and greasy debris. Cover the nearby stovetop only after confirming it is turned off and completely cool. Keep the floor and walking paths clear so you can safely position a step stool or ladder later.

Prepare Gentle Cleaning Supplies for Greasy Cabinet Tops
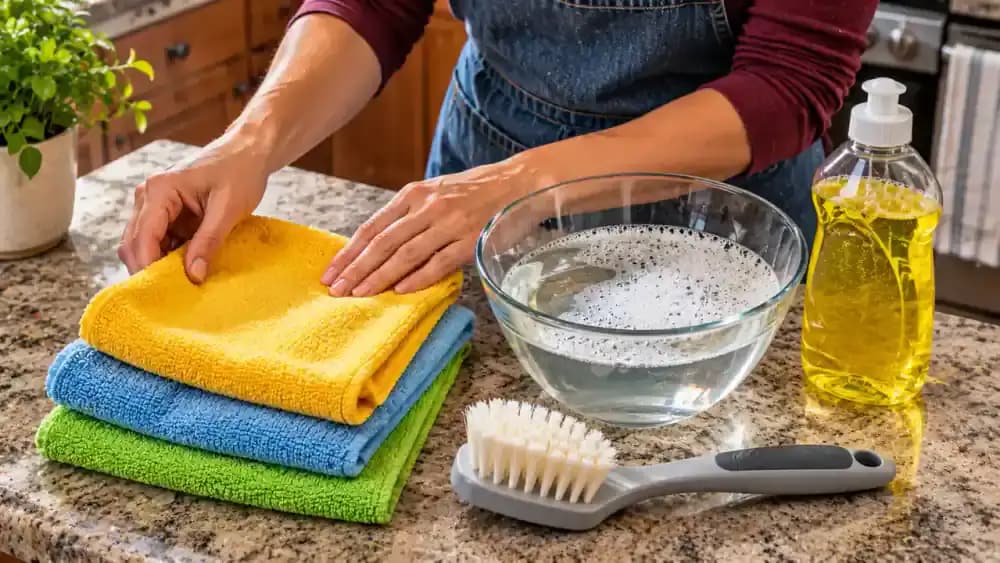
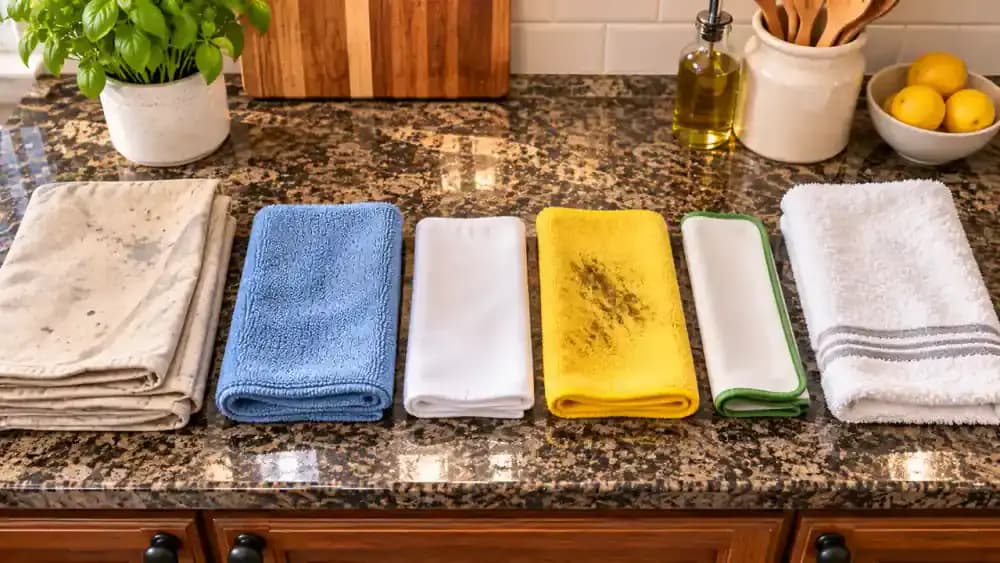
Arrange several microfiber cloths, mild dish soap, a bowl of warm water, and a soft-bristle brush on a nearby table. Keep a vacuum with a brush attachment ready for removing loose dust before washing. Set aside a clean, dry towel for the final wipe. Check that the brush bristles are soft, and avoid abrasive scrubbers or harsh degreasers that could damage painted, laminated, or wood cabinet finishes.
Set Up a Stable Ladder to Reach Cabinet Tops Safely
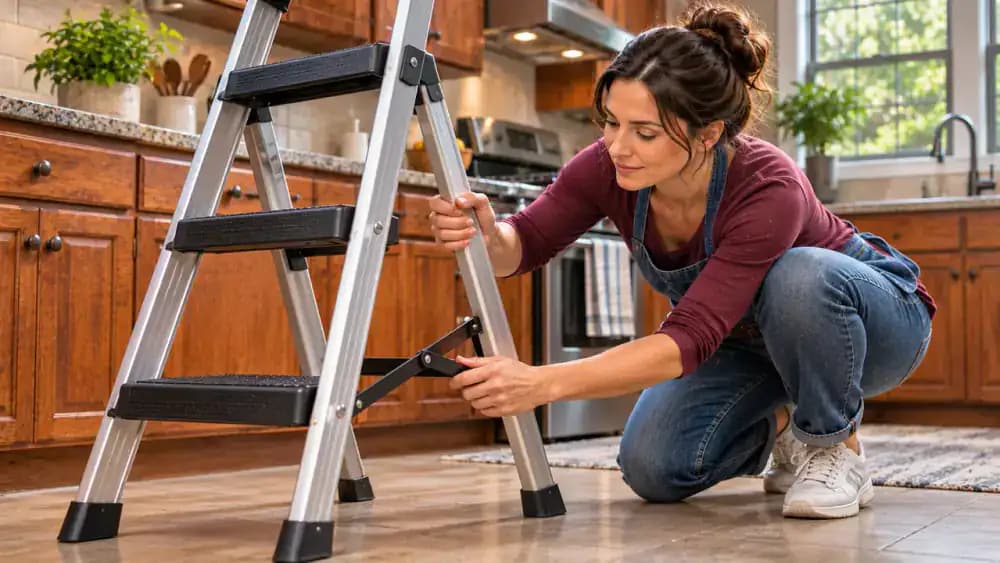
Place a sturdy step stool or ladder on a clean, dry, level floor directly in front of the cabinets. Open it fully, secure the locking spreaders, and check that all feet rest firmly on the floor. Follow the manufacturer's height and weight limits, keeping your body centered between the side rails while climbing. Never stand on chairs, countertops, or prohibited ladder steps. Reposition the ladder whenever an area is beyond comfortable reach.
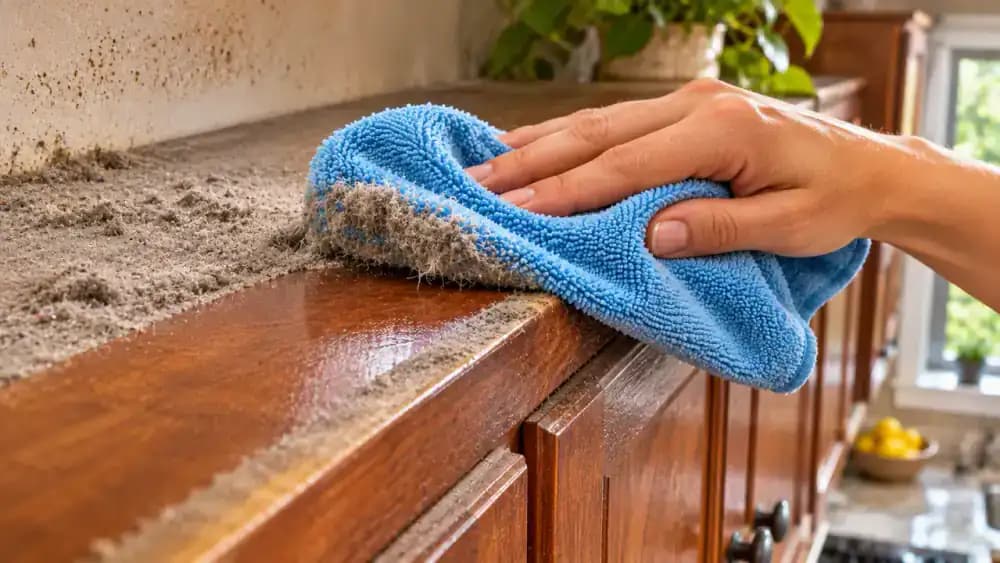
Lift Loose Dust With a Dry Microfiber Cloth
Fold a completely dry microfiber cloth into a thick pad and gently pull it across the cabinet top, working from the back wall toward the front edge. As shown, gray dust collects in the fabric while the sticky grease remains underneath. Lift the cloth carefully instead of flicking debris onto the countertop. Refold it to expose a clean section whenever it becomes dirty. Keep your ladder stable and avoid overreaching.
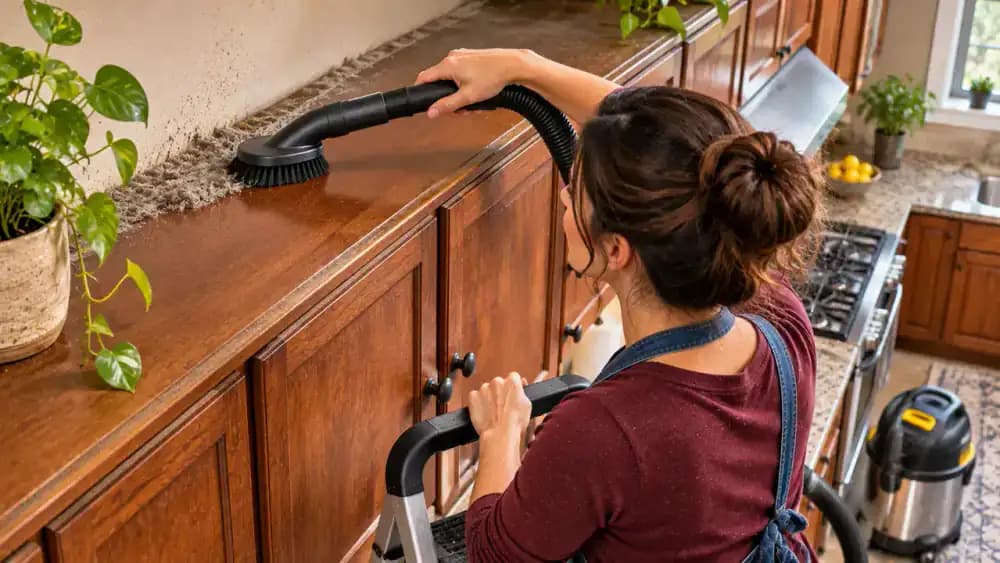
Vacuum Trapped Dust Along Cabinet Edges
Use a vacuum with a soft brush attachment to collect loose dust left behind after dry wiping. Guide the brush slowly across the cabinet top, paying particular attention to corners and the back edge near the wall. Keep the bristles in gentle contact with the surface without scraping the finish. Leave the vacuum on the floor with enough hose slack, and reposition your ladder rather than leaning sideways to reach distant areas.
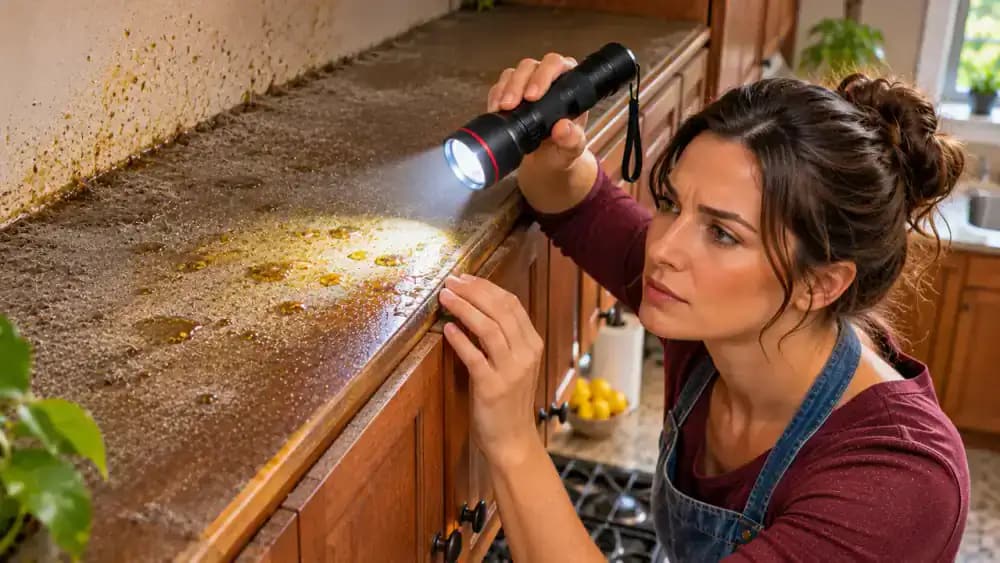
Locate Stubborn Grease With a Flashlight
Shine a flashlight across the cabinet top to reveal greasy residue that remains after dust removal. Look for shiny, yellow-brown patches, especially near the range hood, back wall, and cabinet joints. Move the light slowly at an angle to make uneven deposits easier to spot. Identify the areas needing extra attention before applying any cleaning solution. Stay centered on your ladder and reposition it rather than reaching too far.
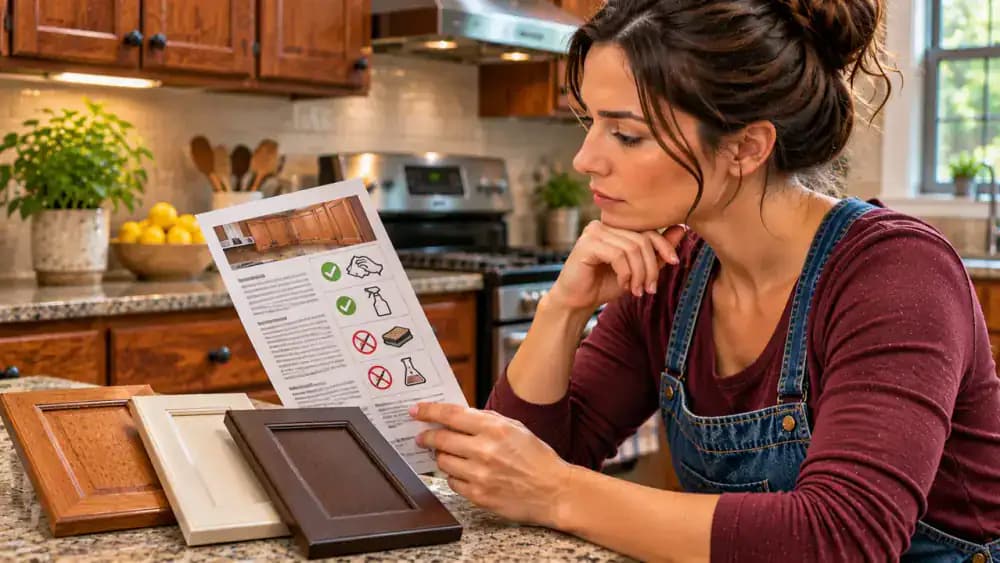
Identify Your Cabinet Finish Before Using Any Cleaner
Check the cabinet manufacturer's care instructions to identify the surface material and recommended cleaning methods. Painted wood, laminate, veneer, and unfinished surfaces may respond differently to moisture and cleaning products. As shown, compare the care guide with your cabinet finish, then locate a hidden spot near the rear edge for testing. If the finish is unknown, choose the gentlest recommended approach. Do not apply cleaning solution until you have checked compatibility.
Mix Mild Dish Soap With Warm Water
Pour approximately two cups of warm water into a small, clean bowl, then add three drops of mild liquid dish soap. Stir gently with a spoon until the soap disperses and a few small bubbles appear. Avoid adding extra soap, which can leave residue on cabinet surfaces. Prepare the mixture on a protected countertop while standing safely on the floor. Only use this solution if your cabinet manufacturer's care instructions permit it.
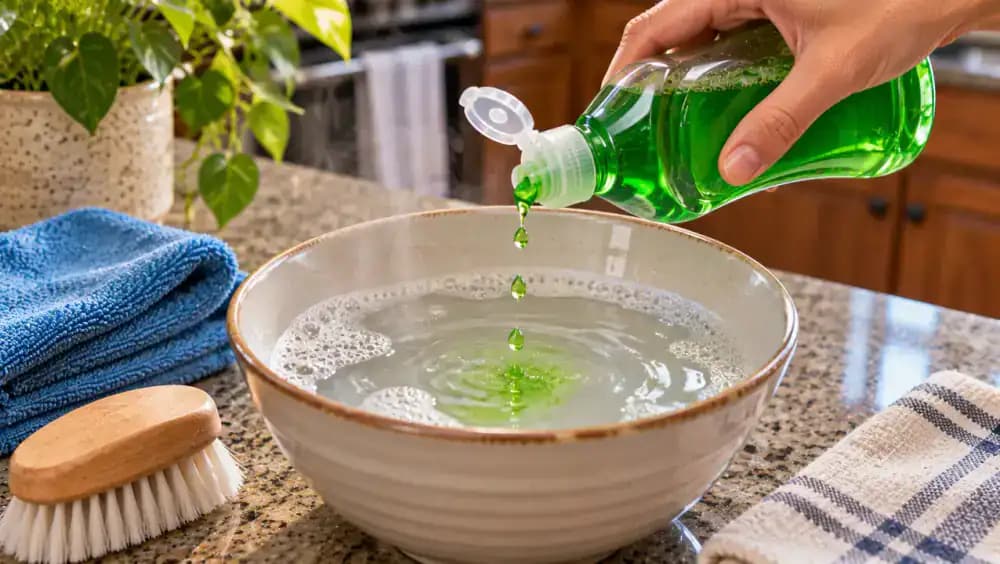
Spot-Test the Cleaner on a Hidden Cabinet Area
Dip one corner of a clean microfiber cloth into the prepared dish soap solution, then wring it out until no water drips. Gently wipe a small, 2-inch square near the hidden rear edge of the cabinet top. Immediately dry the area with a separate cloth. Once completely dry, inspect for discoloration, swelling, softening, or changes in sheen. If any damage appears, stop and follow the manufacturer's cleaning recommendations instead.
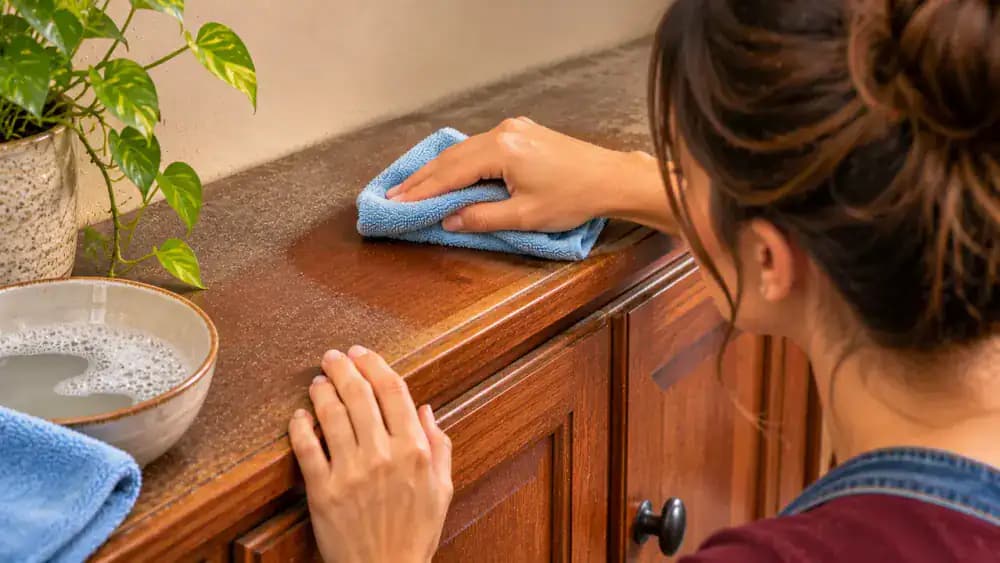
Gently Loosen Grease in a Small Cabinet Section
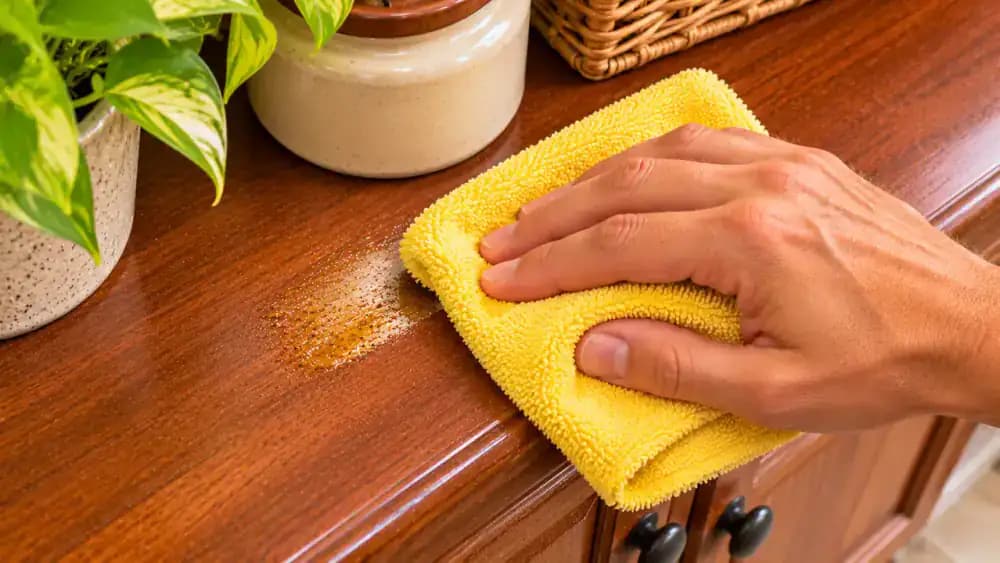
After confirming the hidden test spot shows no finish changes, fold a barely damp microfiber cloth into a flat pad. Press it lightly against a 6-inch section of greasy cabinet top and make short, gentle wiping passes. Notice how some yellow-brown residue transfers onto the cloth while surrounding areas remain dirty. Avoid aggressive scrubbing, excessive moisture, and unfinished edges or seams. Refold the cloth when its cleaning surface becomes greasy.
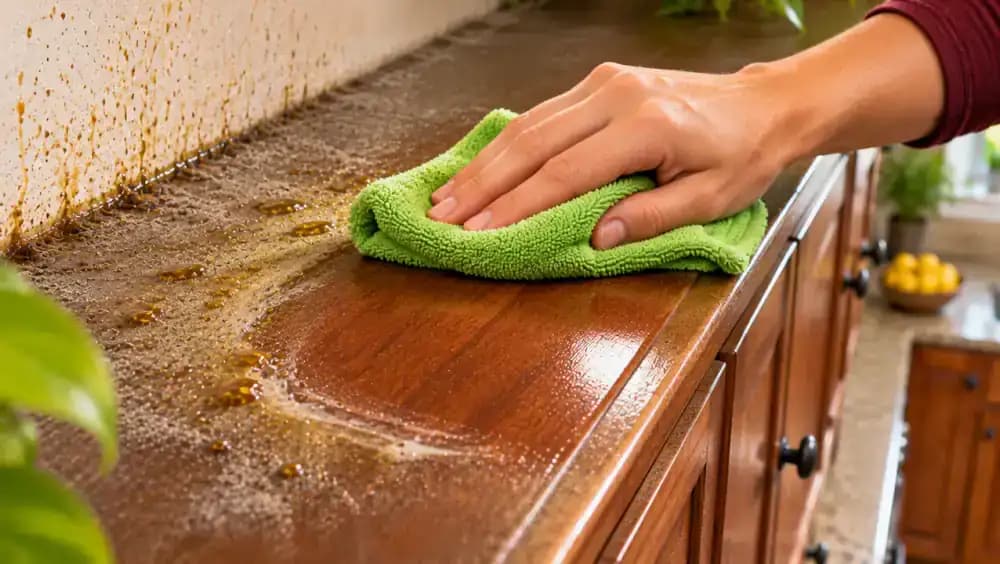
Collect Loosened Grease Without Spreading It
Unfold your microfiber cloth to expose a clean section, then gently wipe the softened grease toward the center of your working area. As shown, yellow-brown residue transfers onto the fabric instead of spreading across the cabinet top. Check the cloth frequently and replace it when heavily soiled. Use a separate dry towel to remove remaining moisture from each cleaned section before moving on. Keep the cloth lightly damp and avoid nearby seams.
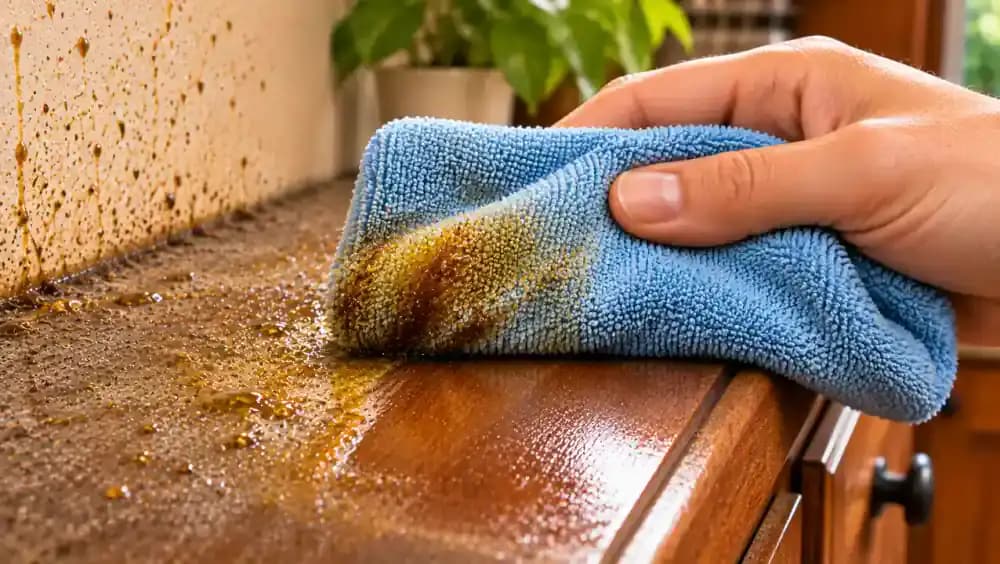
Remove Stubborn Grease With Gentle Repeat Cleaning
If a greasy patch remains sticky after the first pass, use a freshly wrung-out microfiber cloth to clean that small area again. Make short, gentle strokes with light pressure, allowing the cloth to collect softened residue gradually. Lift the cloth between passes and inspect the cabinet finish for discoloration or changes in sheen. Keep moisture minimal, especially near seams. If the grease resists removal or the finish changes, stop rather than scrub harder.
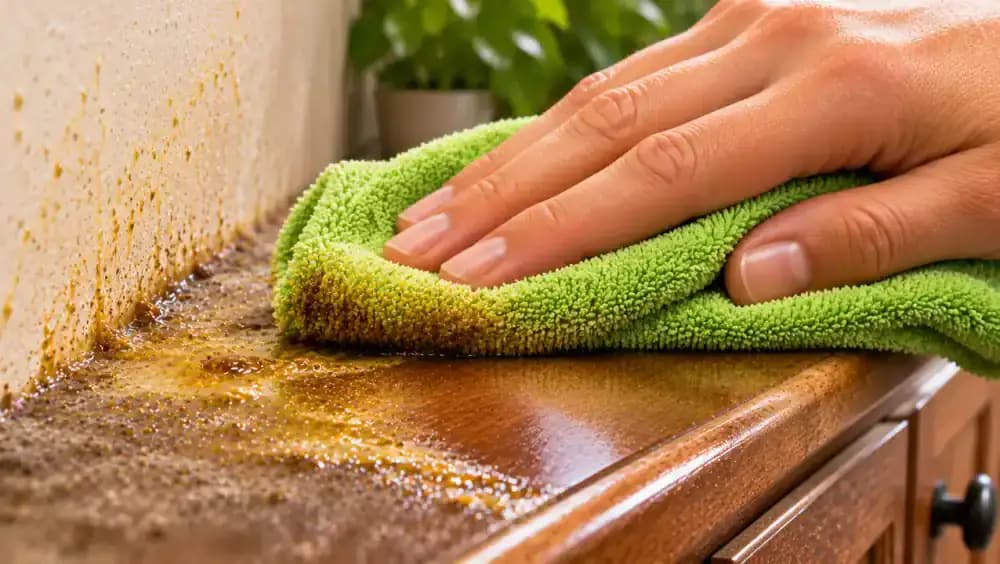
Work Across Cabinet Tops in Manageable Sections
Continue cleaning the cabinet top in small, adjacent sections, starting with the area comfortably within reach. Gently wipe each section with a barely damp microfiber cloth, switch to a clean cloth surface frequently, and dry immediately with a separate towel. Before moving farther along the cabinets, climb down and reposition your ladder on the level floor. Check that it is stable and locked before climbing again. Slightly overlap sections to avoid missed strips.
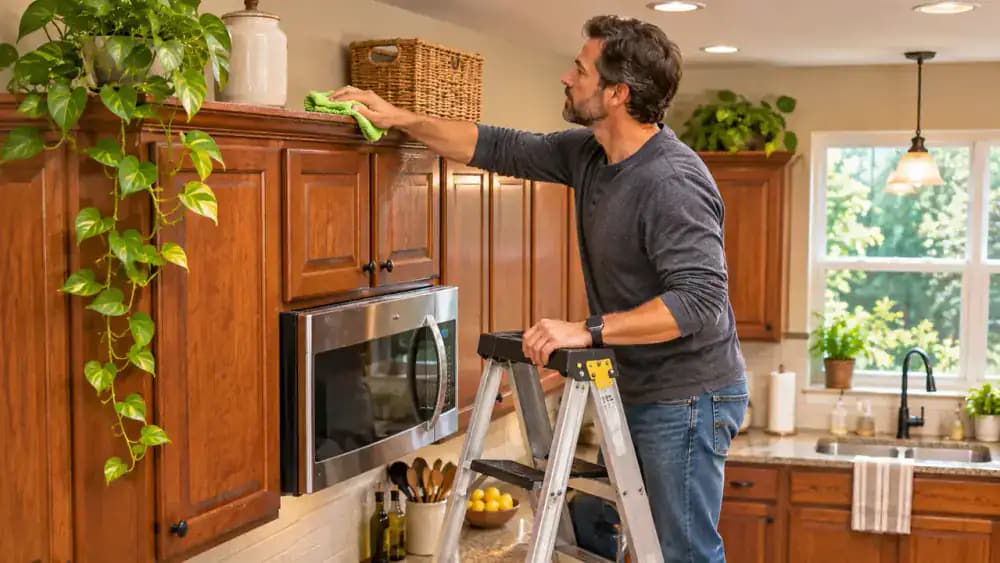
Remove Trapped Grease From Cabinet Top Corners
Fold a clean, barely damp microfiber cloth into a small, firm edge that fits the narrow corner where the cabinet top meets the wall and side panel. Gently guide the folded cloth into the corner, using short, controlled movements to draw trapped yellow-brown grease onto the open surface. Lift the residue into the cloth without scraping or pressing hard. Keep moisture away from seams and joints, and refold the cloth when dirty.
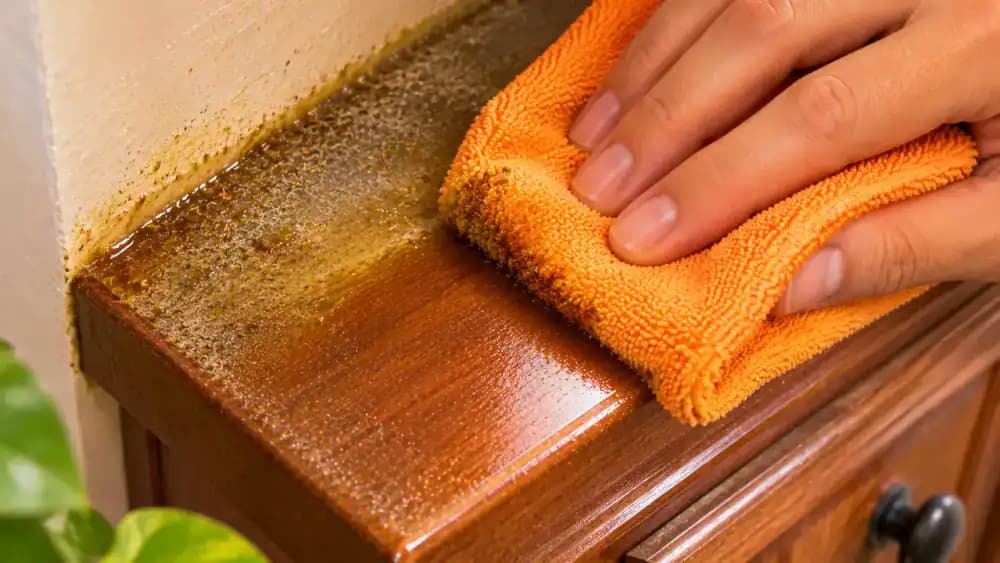
Wipe Grease Along the Cabinet's Back Wall Edge
Wrap a clean, barely damp microfiber cloth around your fingertips and gently guide it along the rear edge where the cabinet top meets the wall. Move parallel to the wall, collecting the thin strip of yellow-brown grease without rubbing the painted surface. Avoid pushing moisture into gaps, seams, or caulk lines. Follow with a separate dry microfiber cloth, then inspect the entire edge for remaining residue. Reposition your ladder whenever necessary.
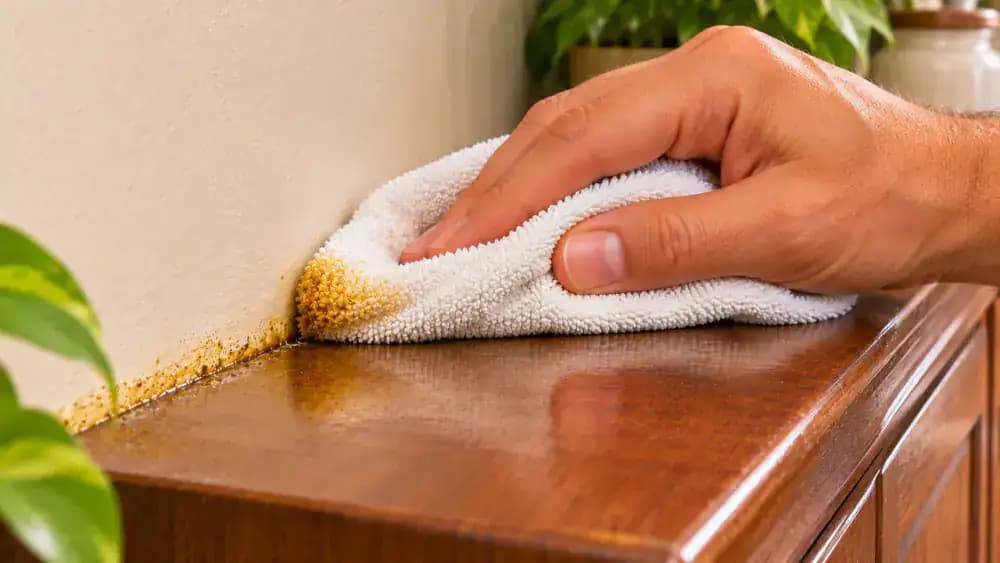
Gently Clean Decorative Cabinet Trim and Seams
Use a small, soft-bristle brush to loosen dry dust and crumbs trapped in decorative molding grooves, then collect the debris with a clean microfiber cloth. For greasy trim, fold a separate, barely damp cloth around your fingertips and gently follow the molding's contours. Avoid forcing moisture into joints or pressing hard against delicate finishes. Immediately dry each cleaned section, paying particular attention to seams where two pieces of trim meet.
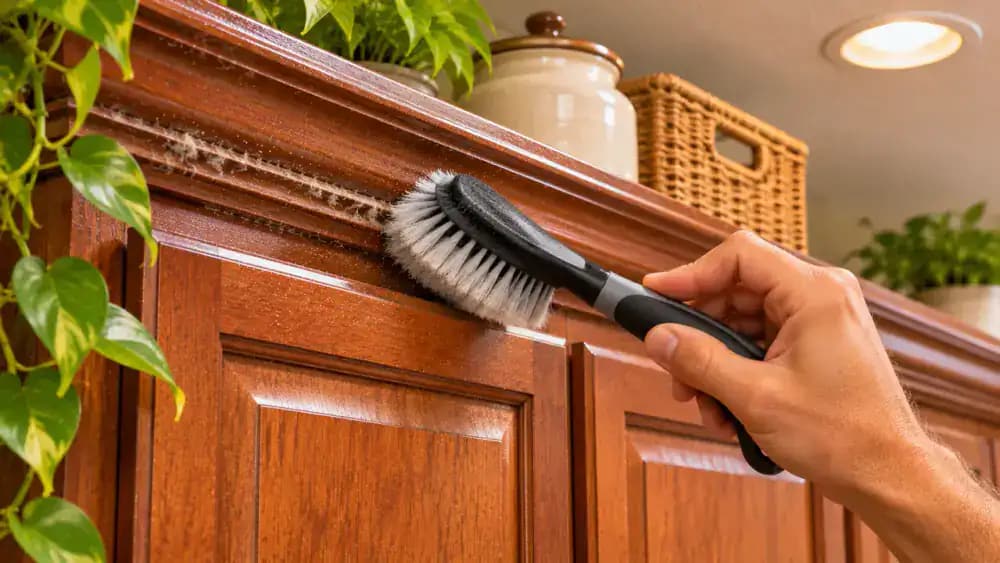
Wipe Away Soap Residue and Dry the Cabinet Surface
Lightly dampen a fresh microfiber cloth with plain water, then wring it out thoroughly until no liquid drips. Gently wipe each previously cleaned cabinet section using smooth, overlapping passes to collect any remaining soap film. Keep the cloth away from exposed wood edges and avoid pushing moisture into seams or joints. Immediately follow with a separate dry microfiber towel to absorb leftover moisture and help prevent streaks or finish damage.
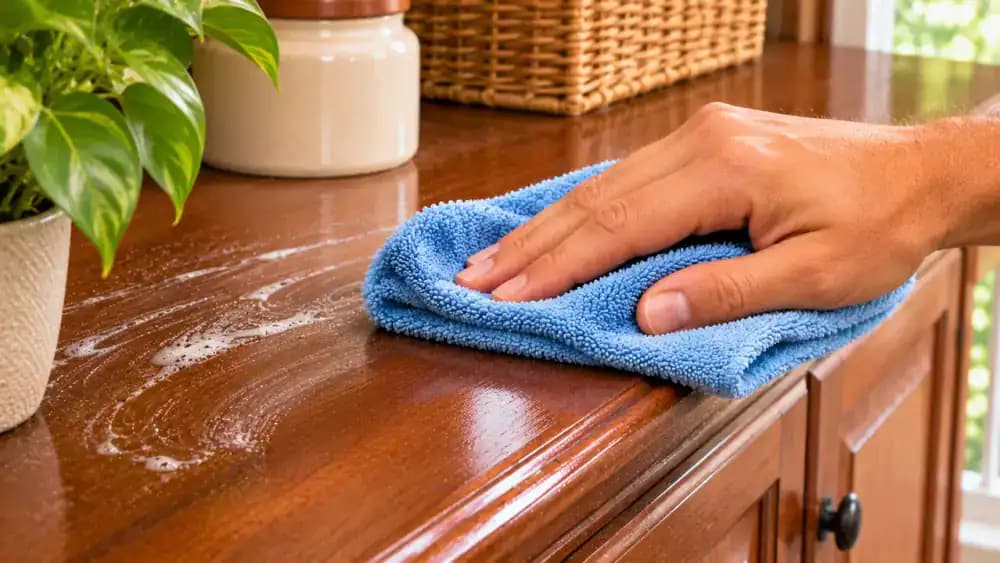
Dry Every Cabinet Top to Protect the Finish
Use a fresh, completely dry microfiber towel to absorb any moisture remaining after removing the soap residue. Make smooth, overlapping passes across the cabinet top, paying extra attention to front edges, rear corners, and seams. Press the towel lightly against damp areas rather than rubbing aggressively. Check for lingering moisture by gently touching the surface with a clean, dry fingertip. Repeat drying wherever necessary to help prevent swelling, staining, or finish damage.
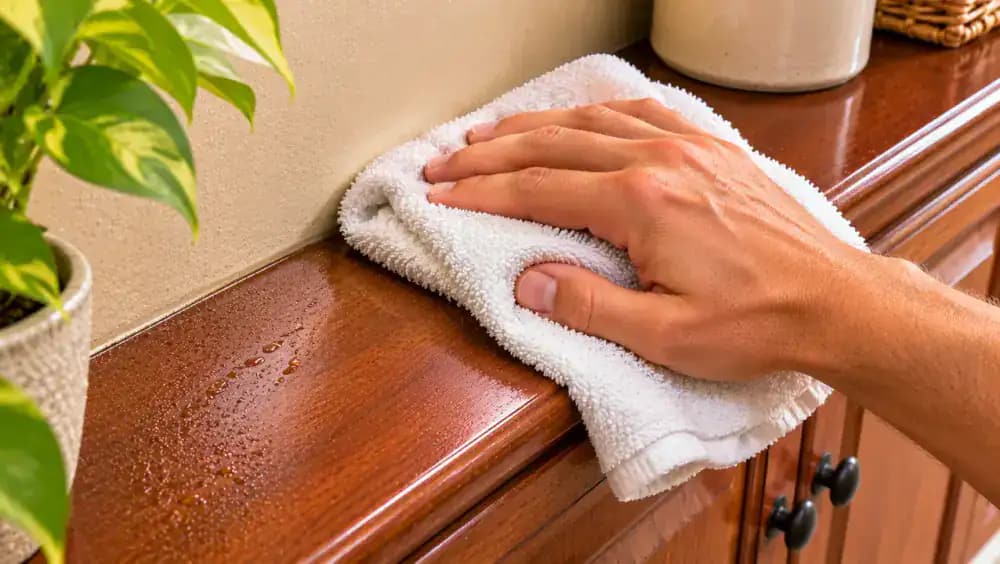
Check for Missed Grease and Sticky Residue
Examine the completely dry cabinet tops under bright kitchen lighting, looking across each surface at a shallow angle to reveal shiny streaks or overlooked grease. Gently glide a fresh, dry microfiber cloth over accessible areas to check for lingering tackiness. Pay particular attention to corners, edges, and previously stubborn patches. If you notice remaining residue, identify the affected area for another gentle cleaning pass. Avoid rubbing surfaces that show finish damage.
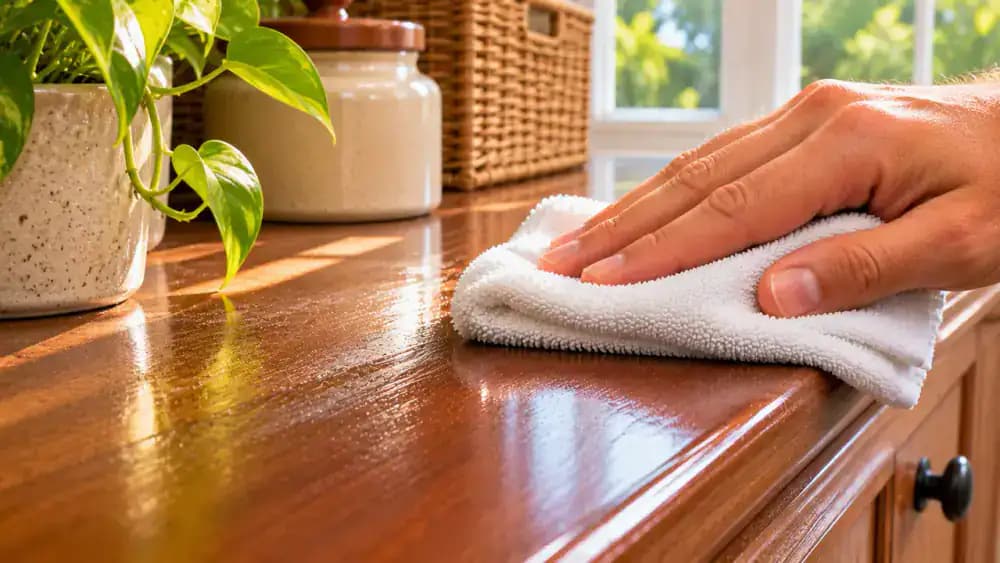
Gently Remove Any Grease Spots You Missed
Focus on the small sticky patch identified during your final inspection. Using a fresh microfiber cloth barely dampened with the previously tested, manufacturer-compatible cleaning solution, make several short, gentle passes over the residue. Lift away loosened grease without spreading it onto surrounding clean surfaces. Wipe the area with a separate cloth barely dampened with plain water, then dry immediately. If the finish changes or grease remains stubborn, stop rather than scrub harder.
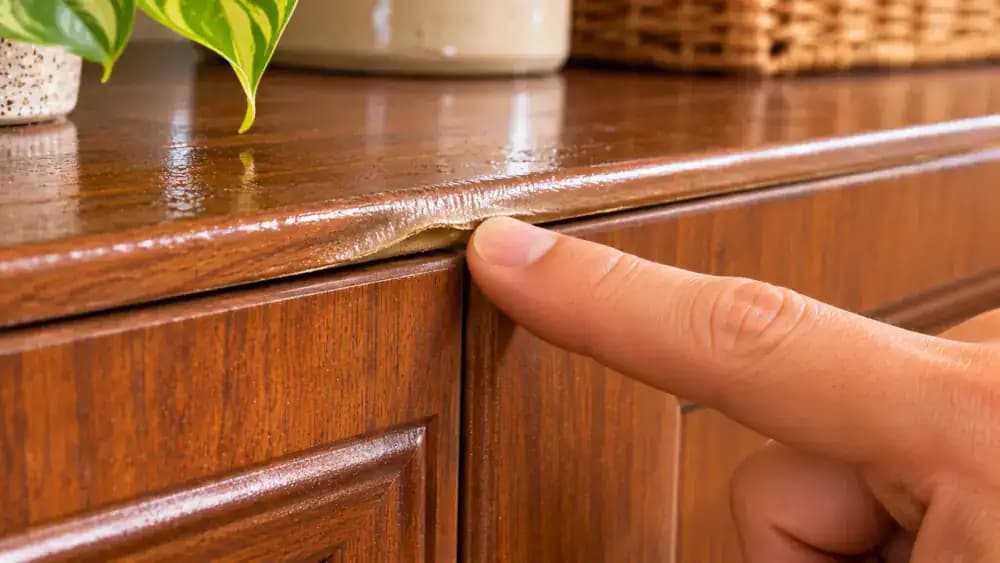
Inspect Cabinet Seams and Edges for Finish Damage
Examine the cabinet's exposed edges, corners, and panel joints for peeling paint, swelling, discoloration, separating laminate, or trapped moisture. Look closely at any raised edges, as shown, without pressing or attempting to flatten them. Compare suspicious areas with nearby undamaged sections to identify changes in the finish. If you notice potential damage, stop wet cleaning and consult the manufacturer's care instructions. Preserving the cabinet surface is more important than removing every stain.
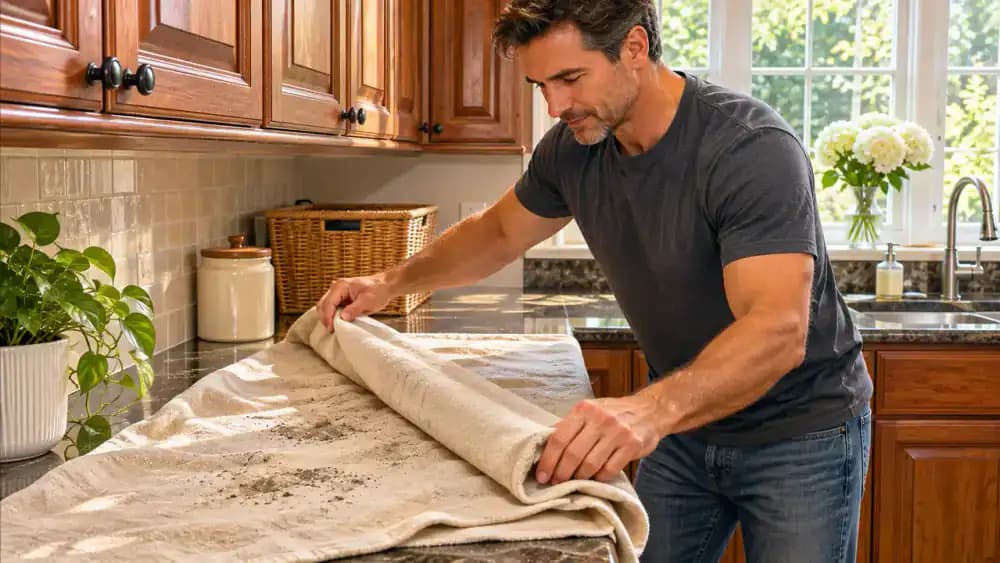
Remove Protective Towels and Restore Your Kitchen
Carefully fold the protective towels inward to contain the dust and greasy debris collected during cleaning. Avoid shaking them over countertops or food preparation areas. Place dirty towels and microfiber cloths in the laundry, then wipe the exposed countertops with a suitable clean cloth. Wait until surfaces are completely dry before returning appliances and dishes. Finally, fold and store your step ladder safely, leaving the kitchen floor and walking paths clear.
Run Your Range Hood to Limit Future Grease Buildup
Turn on your range hood before cooking, especially when frying or sauteing foods that release airborne grease. As shown, the operating fan draws cooking vapor toward the hood instead of allowing it to spread freely around nearby cabinets. Keep the ventilation running briefly after cooking, following the manufacturer's recommendations. Although a range hood cannot capture every grease particle, consistent use helps reduce the sticky deposits that gradually collect on cabinet tops.

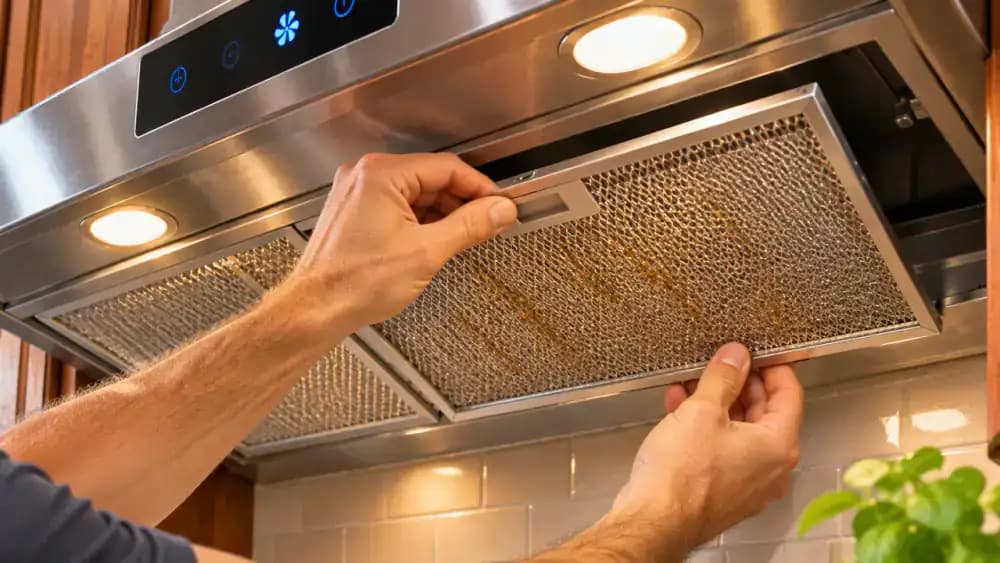
Clean Range Hood Grease Filters to Maintain Ventilation
Check your range hood owner's manual for the recommended filter maintenance schedule and removal instructions. With the hood and stovetop turned off and completely cool, release and carefully remove the filter if permitted. Wash reusable metal filters with warm water and mild dish soap, or replace disposable filters as directed. Rinse washable filters thoroughly, allow them to dry completely, and reinstall them securely. Regular maintenance helps prevent grease buildup from restricting ventilation.
Schedule Regular Cabinet Top Checks to Prevent Grease Buildup
Set a recurring calendar reminder to inspect your cabinet tops every three weeks, adjusting the frequency if you cook often. Position a stable step ladder on a dry, level floor, check that it is locked, and avoid overreaching. Look for fresh dust or sticky patches, then gently remove loose particles with a dry microfiber cloth. Treat any tacky areas early using your previously tested cleaning solution and minimal moisture.

Adjust Cabinet Cleaning Frequency Based on How You Cook
Use your cooking habits to decide how often cabinet tops need attention. If you frequently fry or saute food, inspect surfaces near the stove more often because airborne grease can accumulate faster. Kitchens with lighter cooking may need less frequent cleaning. As shown, adjust your maintenance calendar based on visible dust and sticky patches rather than following a rigid schedule. Remove fresh buildup gently, using minimal moisture to protect cabinet finishes.

Follow Six Essential Steps for Safe Cabinet Cleaning
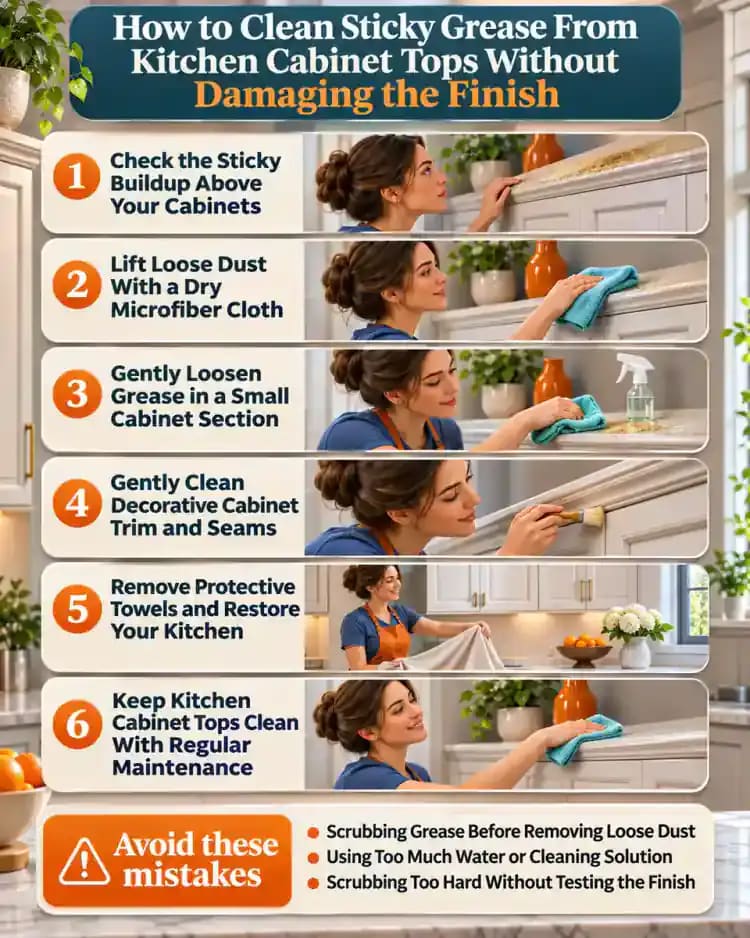
Protect countertops with towels and position a stable, fully locked ladder on a dry, level floor. Remove loose dust with a dry microfiber cloth before checking the cabinet finish and testing an approved cleaner in a hidden spot. Gently loosen grease in small sections using a barely damp cloth, then carefully clean corners and edges without soaking seams. Remove soap residue and dry every surface thoroughly. Regular inspections help prevent stubborn buildup.
Keep Kitchen Cabinet Tops Clean With Regular Maintenance
Keep your cabinet tops from developing another thick layer of grease by checking them regularly and removing fresh dust before it becomes sticky. Run your range hood while cooking, maintain its filters, and address new grease spots with a manufacturer-approved cleaner and minimal moisture. Use a stable ladder whenever accessing elevated surfaces. For more practical ways to maintain a cleaner kitchen, explore the Kitchen Cleaning Fixes collection and choose your next project.
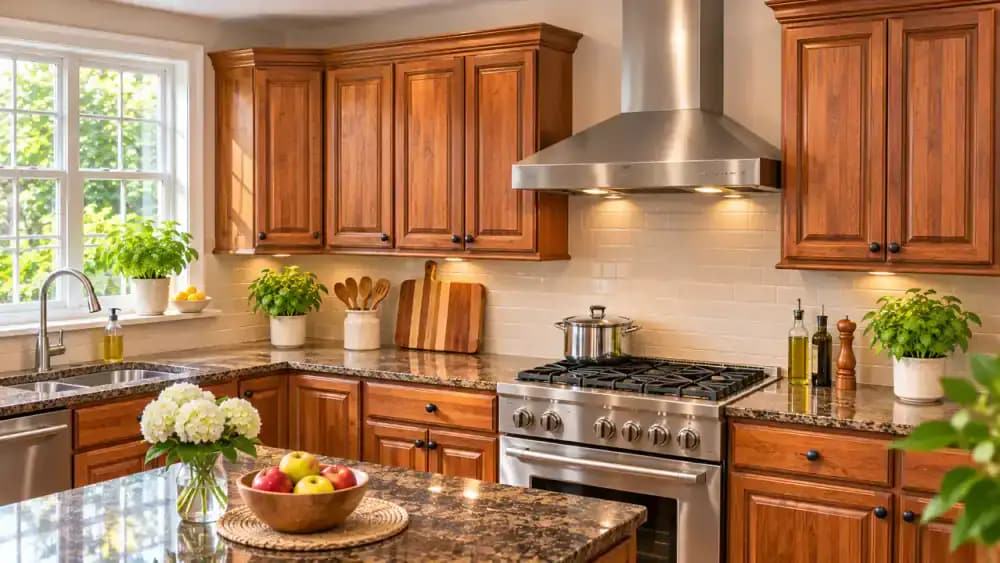
The tops of kitchen cabinets are easy to forget until you reach up and discover a thick, sticky layer of grease and dust. Every time you cook, tiny grease particles travel through the air and settle on nearby surfaces. Over time, they trap household dust and form a stubborn film that ordinary dusting won't remove. The challenge is getting rid of that buildup without scratching painted surfaces, dulling protective coatings, or allowing moisture to seep into cabinet seams. Fortunately, you don't need harsh degreasers or aggressive scrubbing to get the job done.
With a little mild dish soap, warm water, and a few microfiber cloths, you can loosen greasy residue and clean cabinet tops safely. The key is to remove loose dust first, work in small sections, and use a thoroughly wrung-out cloth rather than soaking the surface. Always check the manufacturer's cleaning recommendations and test a hidden spot before starting. You'll also need a stable step stool or ladder on a level floor, never a chair or countertop.
Where people go wrong
Scrubbing Grease Before Removing Loose Dust. Wiping sticky cabinet tops with a wet cloth before removing loose dust can turn the buildup into a muddy, greasy mess. Start with a dry microfiber cloth or vacuum brush attachment, using controlled movements to keep debris off countertops and food preparation areas.
Using Too Much Water or Cleaning Solution. Soaking cabinet tops can allow moisture to collect around seams, edges, and vulnerable finishes. Mix just a few drops of mild dish soap with warm water, then use a thoroughly wrung-out cloth. Remove remaining soap with a barely damp cloth and dry everything completely.
Scrubbing Too Hard Without Testing the Finish. Aggressive scrubbing can damage painted surfaces and protective cabinet finishes. Before cleaning, check the manufacturer's care instructions and test your solution on an inconspicuous area. Work gently in small sections, using a soft cloth or brush instead of forcing stubborn grease off in one pass.
Standing on Chairs or Reaching Too Far. Trying to clean cabinet tops from a chair, countertop, or unstable surface creates an unnecessary fall risk. Use a stable step stool or ladder appropriate for the working height, positioned on a level floor. Move it whenever necessary instead of stretching beyond your comfortable reach.
Questions people ask
Start by removing loose dust with a dry microfiber cloth or vacuum brush attachment. Mix a few drops of mild dish soap with warm water, then gently wipe the grease using a thoroughly wrung-out cloth. Work in small sections, remove soap residue with a barely damp cloth, and dry the surface completely.
Fixed it?
Get one guide like this every Thursday.