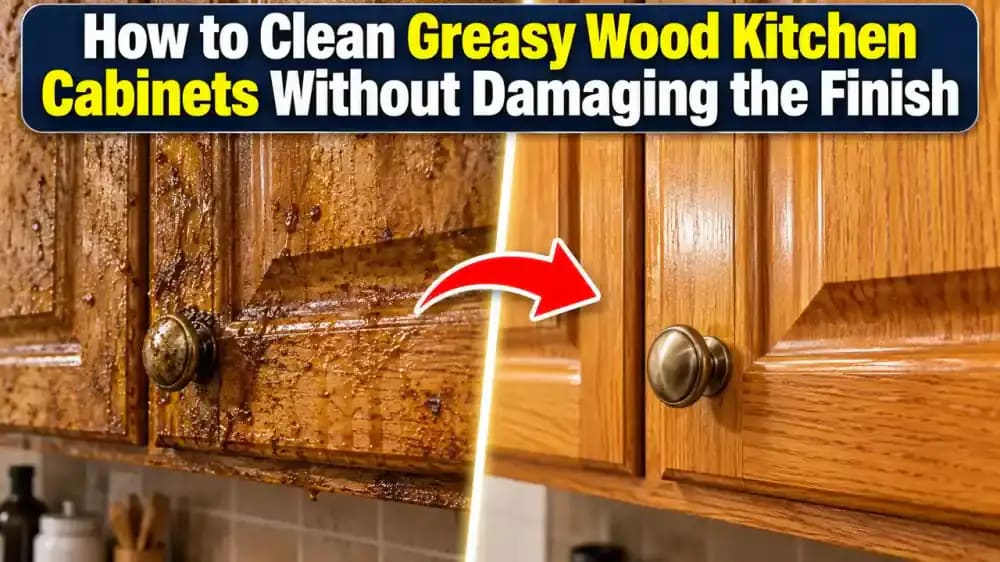
How to Clean Greasy Wood Kitchen Cabinets Without Damaging the Finish
Sticky grease around cabinet handles and near the stove can be tough to remove without harming the finish. Learn how to safely clean sealed wood cabinets with mild dish soap, minimal moisture, and gentle wiping techniques.
What you’ll need
Tap to tick things off before you start.
Spot Grease Buildup Around Cabinet Handles
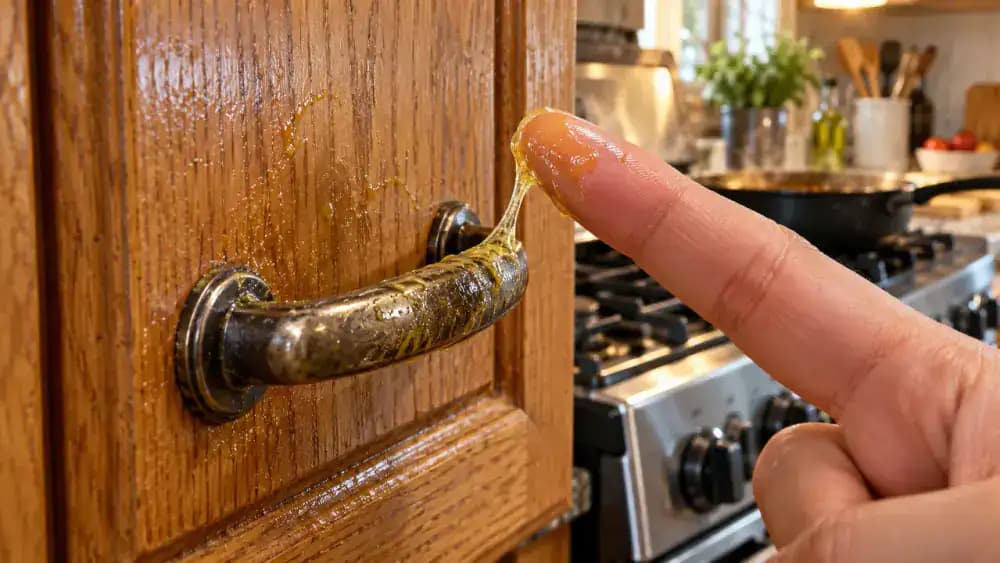
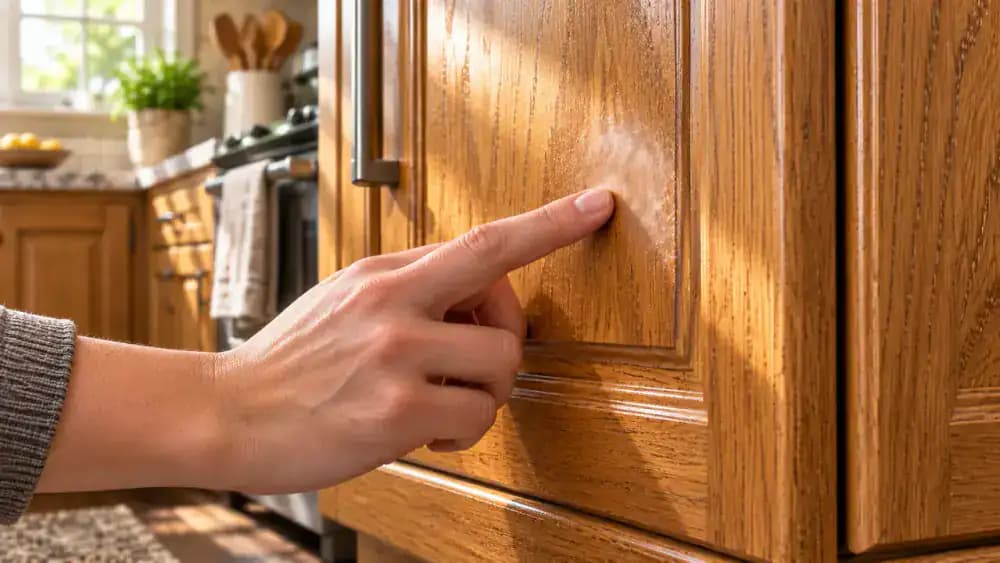
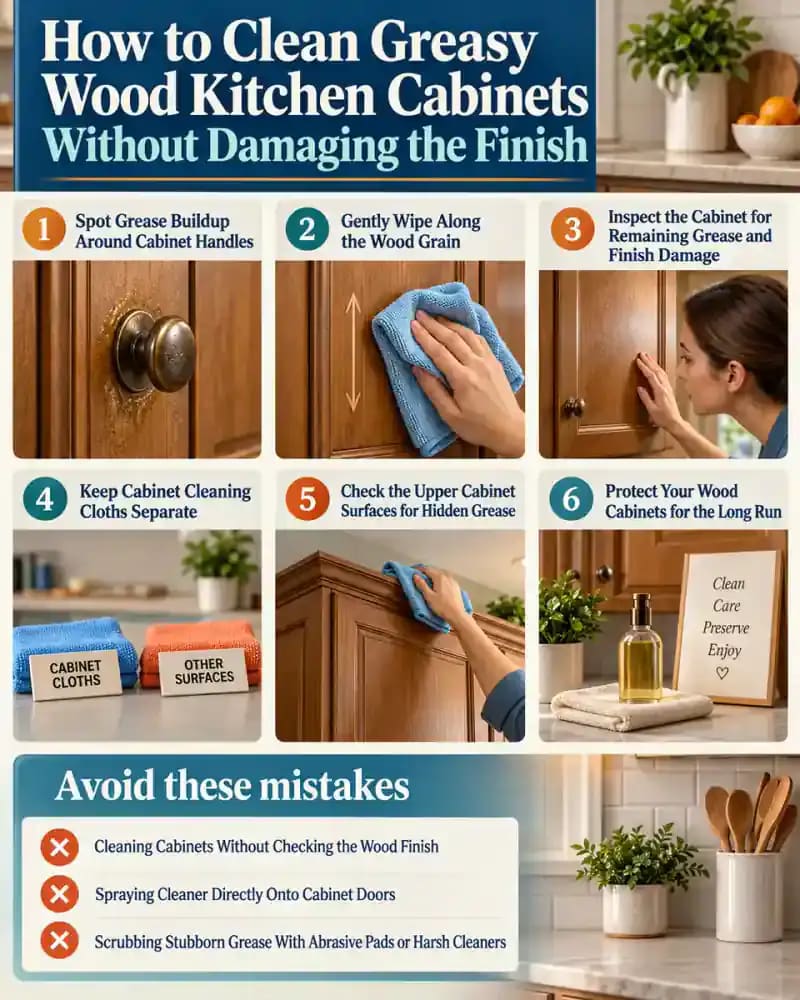
Inspect the areas around your cabinet handles, especially those closest to the stove. Look for a slightly glossy, yellowish film that feels sticky when touched. Cooking grease settles on finished wood and traps airborne dust, creating stubborn buildup along handles, edges, and wood grain. Gently touch an inconspicuous spot with a clean fingertip to check for oily residue. Avoid harsh degreasers, and plan to clean with minimal moisture, drying each section immediately.
Identify the Cabinet Finish Before Cleaning
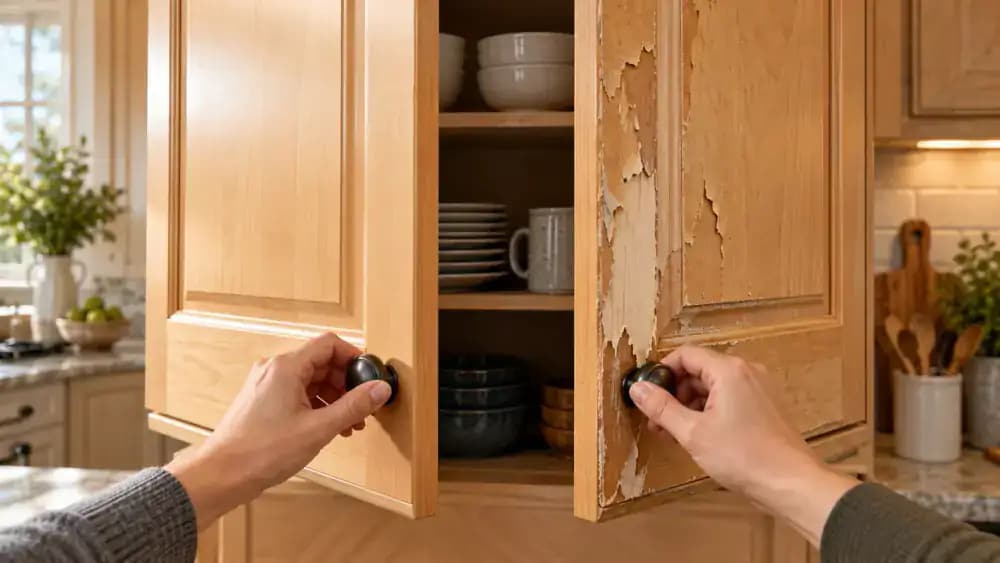
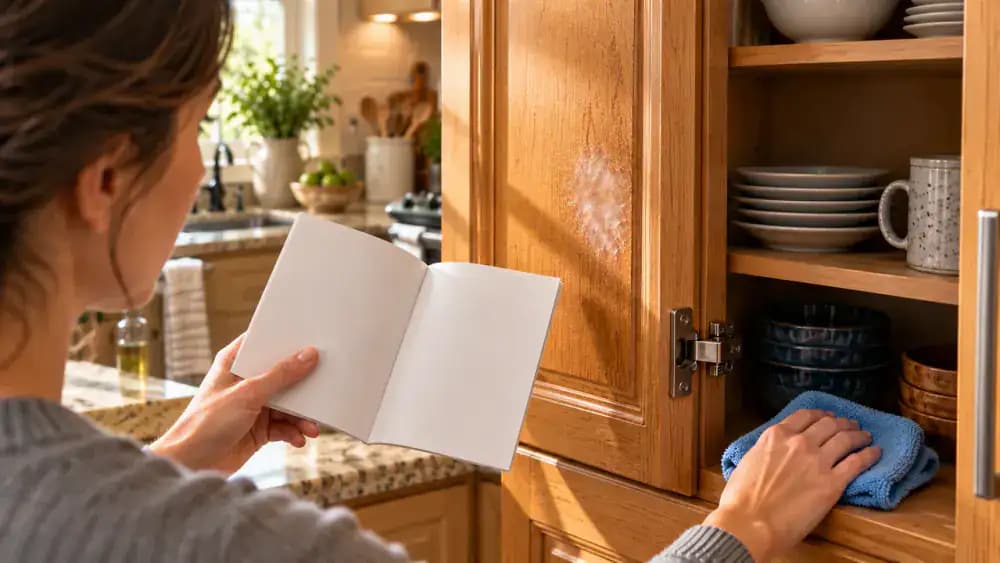
Open each cabinet door slightly and angle it toward natural light to inspect the finish. A smooth, continuous satin coating usually indicates a protected surface suitable for gentle cleaning. Compare it with areas showing peeling clear coat, exposed wood grain, cracks, or worn edges. Pay particular attention to corners and frequently handled surfaces where damage often begins. If you find exposed or damaged wood, consult the manufacturer's cleaning instructions before proceeding.
Gather Your Gentle Cleaning Supplies
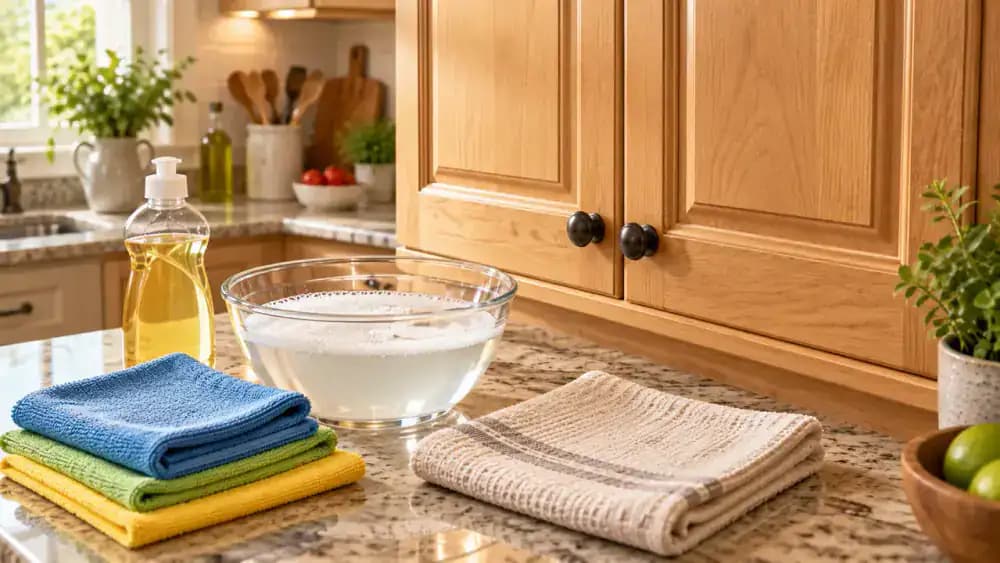
Arrange your supplies on a clean countertop near the cabinets. Set out a soft microfiber cloth, a measuring cup with 2 cups of warm water, mild liquid dish soap, a separate clean cloth for rinsing, and a dry cotton towel. Unfold the microfiber cloth to check that it is clean and free of debris. Keep everything within reach, and avoid abrasive sponges, stiff brushes, or harsh degreasers that could damage the cabinet finish.
Mix a Gentle Dish Soap Cleaning Solution
Pour 2 cups of warm water into a clean, shallow bowl. Add three drops of mild liquid dish soap, then stir slowly with a teaspoon until the soap is evenly distributed. The water should develop only a few small bubbles, not a thick layer of foam. Avoid adding extra detergent, since too much soap can leave residue on finished wood surfaces. Keep the bowl nearby for the next cleaning step.
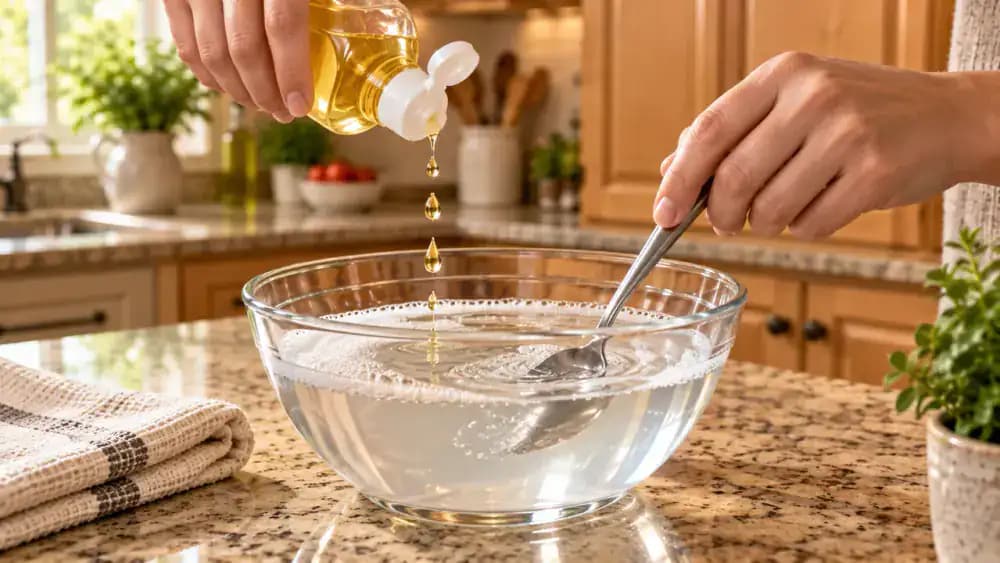
Spot-Test the Cabinet Finish
Dip a corner of a soft microfiber cloth into your mild soap solution, then squeeze out excess moisture until barely damp. Gently wipe a small, 2-inch square on the finished inside surface of a cabinet door, following the wood grain. Avoid hinges, edges, and joints. Immediately dry the area with a clean cotton towel. Once completely dry, inspect it under natural light for discoloration, stickiness, dullness, or finish changes. Stop if anything looks different.
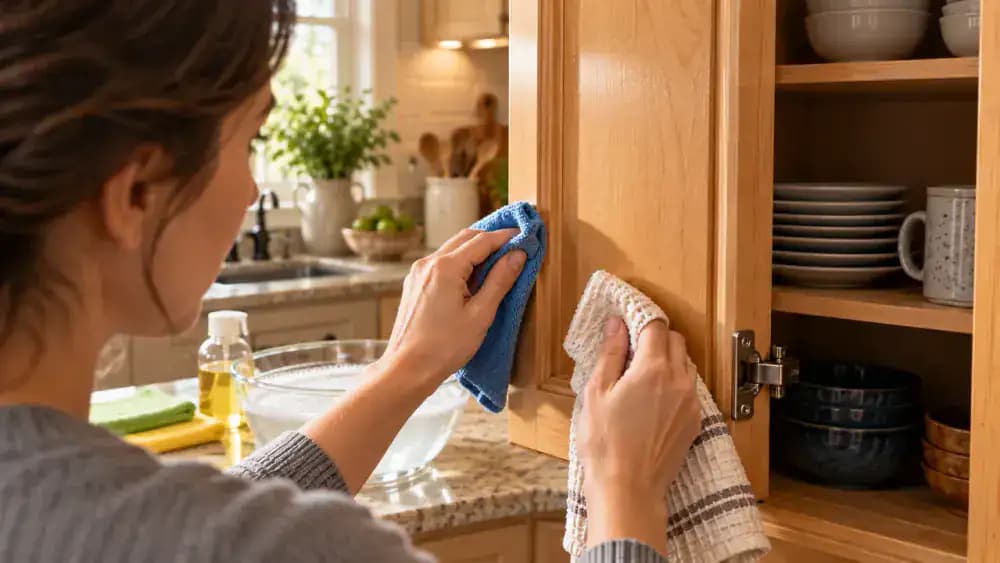
Gently Wipe Along the Wood Grain
Once the hidden test area has dried without changes, fold a lightly dampened microfiber cloth and gently wipe the sealed cabinet panel in the direction of the wood grain. Use smooth, overlapping downward strokes, cleaning one small section at a time. Keep pressure light to avoid damaging the finish. The cloth should remove greasy residue without leaving moisture or streaks. Keep a dry cotton towel nearby for immediate drying.
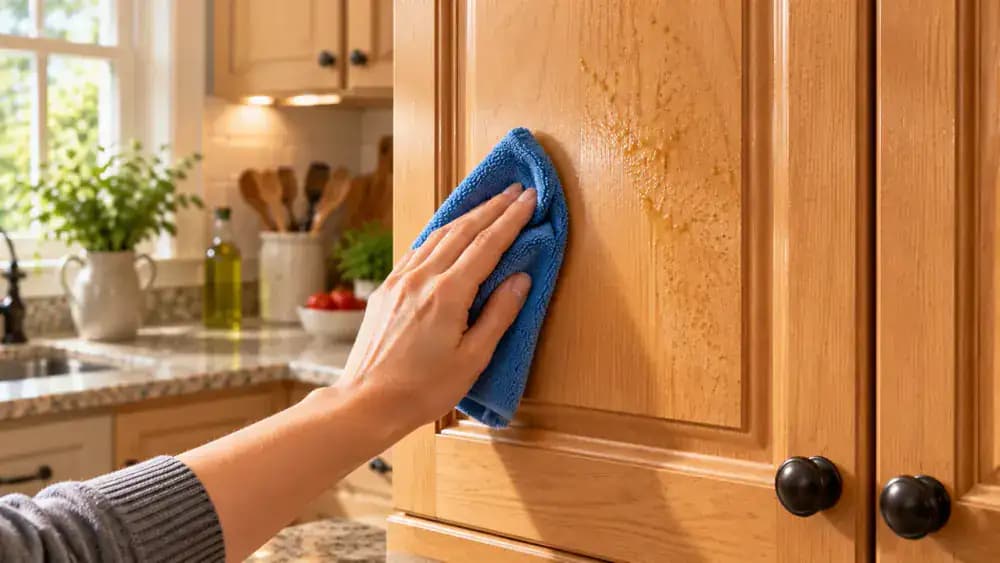
Clean Around Cabinet Handles and Hardware
Wrap a lightly dampened microfiber cloth around your index fingertip to gently remove greasy fingerprints from the finished wood surrounding each cabinet handle. Work in small, controlled movements around the mounting base without pushing moisture into hardware joints or wood seams. Refold the cloth to expose a clean section when reaching the opposite side. Immediately pat the cleaned area dry with a soft cotton towel, paying extra attention to hardware attachment points.
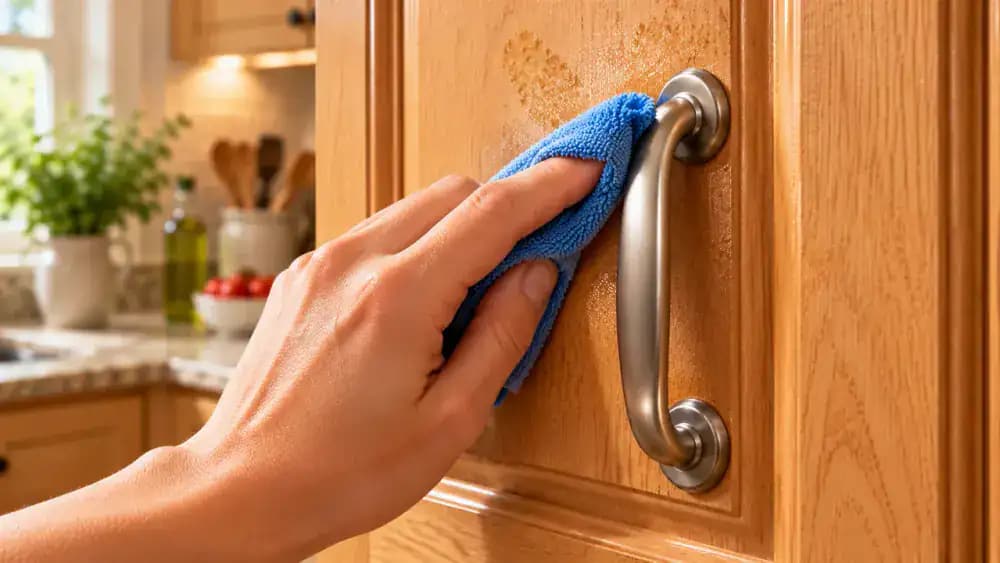
Clean Decorative Grooves and Cabinet Corners
Wrap a clean section of a lightly dampened microfiber cloth around your fingertip and gently follow the curved grooves of the cabinet molding. Work slowly around raised-panel corners where cooking grease collects, keeping contact light and avoiding narrow joints or seams. Refold the cloth as it picks up residue so you do not spread grease onto cleaned areas. Immediately follow each section with a soft, dry cotton towel to remove remaining moisture.
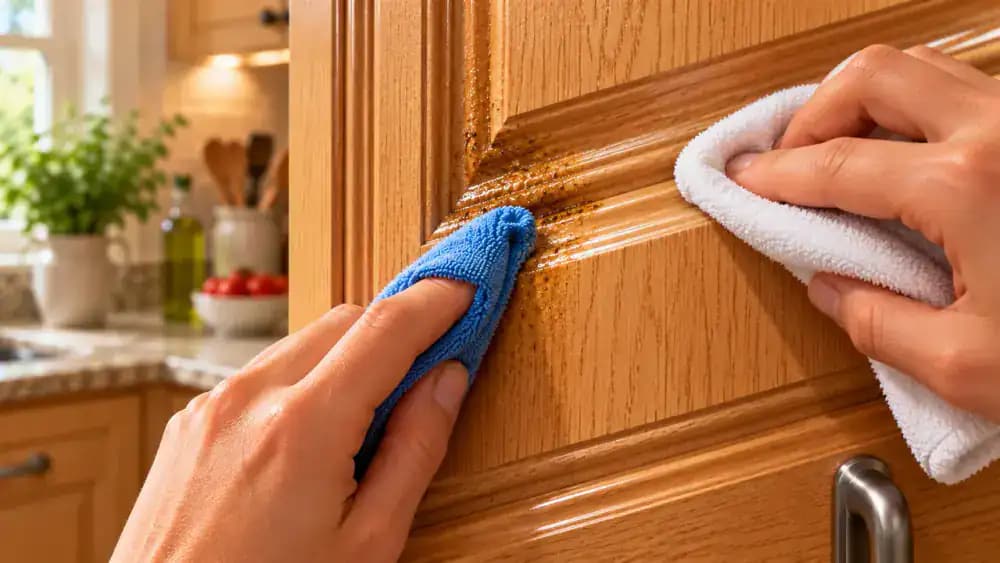
Loosen Stubborn Grease Without Scrubbing
Press a folded microfiber cloth lightly dampened with mild, soapy water against the sticky grease spot for a few seconds. Lift the cloth, refold it to expose a clean section, and gently wipe in the direction of the wood grain. If residue remains, repeat with minimal pressure rather than scrubbing harder. Keep the cloth thoroughly wrung out, avoid cabinet seams and edges, and dry the surface immediately between attempts.
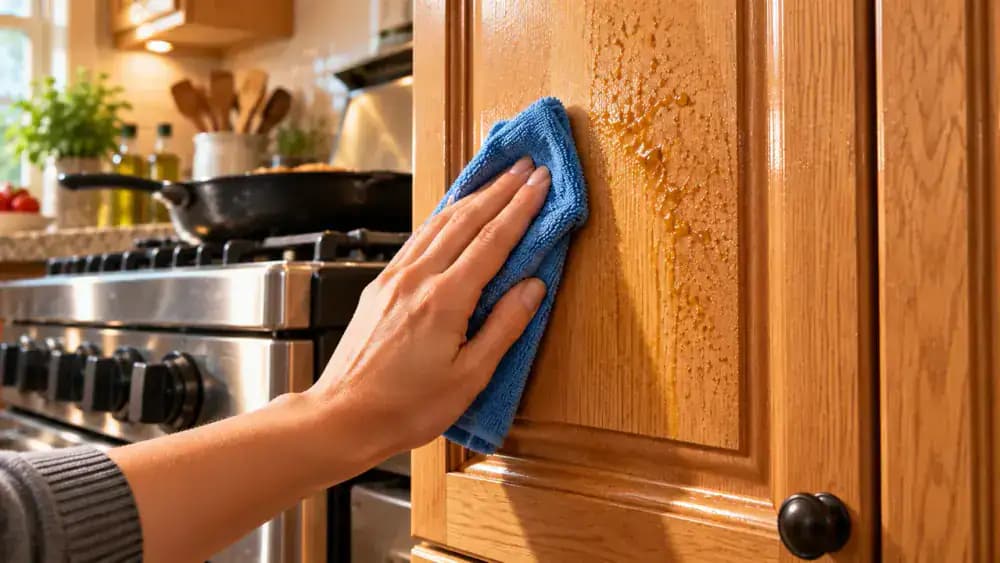
Remove Soap Residue With a Separate Cloth
Dip a fresh white microfiber cloth into plain water, then wring it thoroughly until barely damp. Fold it into a square and gently wipe the cabinet's sealed center panel in the direction of the wood grain. Use smooth, overlapping strokes to lift the cloudy soap film, switching to a clean section of cloth as needed. Keep moisture away from cabinet edges, seams, and hardware, and have a dry towel ready.
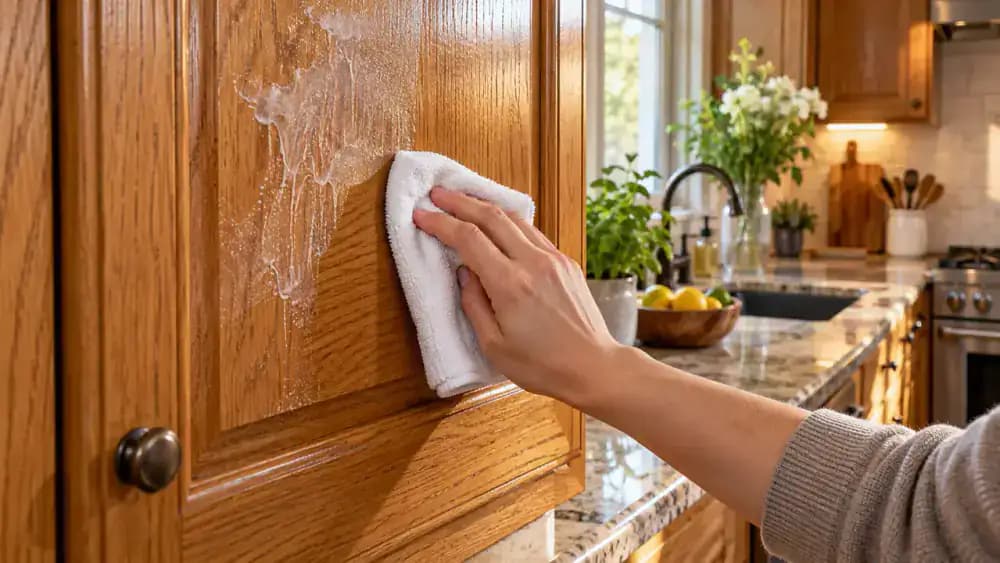
Dry Every Cleaned Section Immediately
Use a clean, soft cotton towel to absorb moisture as soon as you finish removing soap residue. Wipe gently downward with the wood grain, lifting and repositioning the towel between strokes. Fold a dry section around your fingertip to reach the lower corners and hinge-side joints without pushing moisture into seams. Carefully dry the bottom edge and underside transition, where trapped water can damage the finish or cause swelling over time.
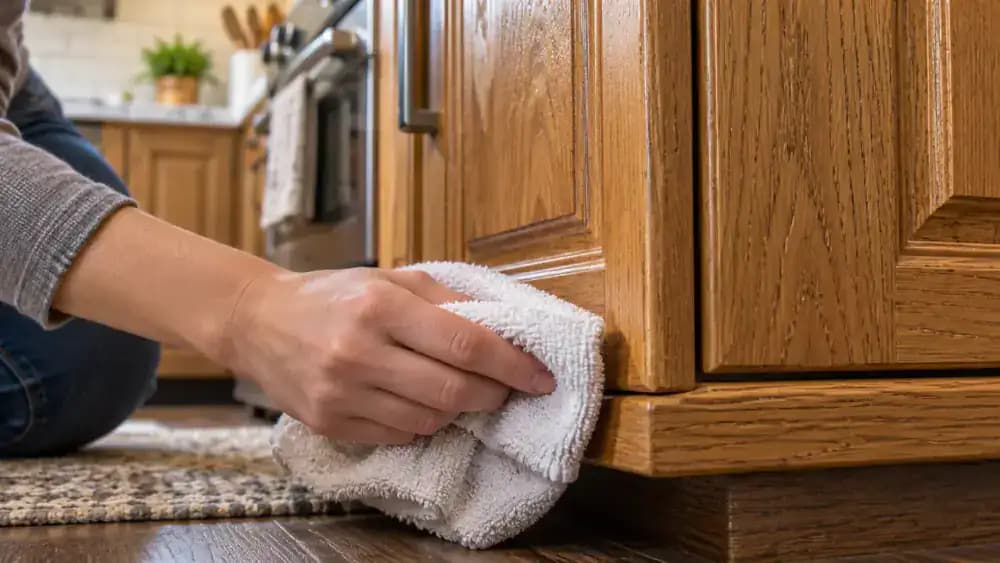
Inspect the Cabinet for Remaining Grease and Finish Damage
After the cabinet is completely dry, angle the door toward natural daylight to reveal greasy spots, cloudy streaks, discoloration, or uneven sheen. Lightly touch the center of the sealed panel with one clean, dry fingertip to check for stickiness without rubbing. Examine door edges and joints for swelling, raised finish, or irregular gaps. If you notice damage or unusual tackiness, stop cleaning and consult guidance specific to the cabinet's finish.
Prevent Future Grease Buildup With Regular Wipe-Downs
Once you've confirmed the cabinet finish is intact, gently wipe sealed surfaces with a clean, dry microfiber cloth, following the wood grain to collect fresh dust. For occasional cooking splatters, use a separate, lightly dampened cloth with your previously tested mild dish soap solution. Remove any soap residue with a barely damp cloth, then dry immediately with a soft towel. Pay extra attention to cabinets near the stove, where grease accumulates fastest.

Use Your Range Hood to Reduce Grease Buildup
Turn on your range hood before heating the skillet so the fan is already drawing cooking vapors upward. Choose a fan speed appropriate for the amount of heat and steam, and keep the hood running for a few minutes after turning off the burner. Clean the metal grease filter as directed by the manufacturer. Effective ventilation helps limit airborne grease settling on nearby walnut cabinets, reducing sticky residue between regular cleanings.

Keep Harsh Cleaners Away From Wood Cabinets
Set aside strong degreasers, abrasive pads, and stiff brushes before cleaning your wood cabinets. These products can scratch or dull the protective finish, while excess moisture may penetrate joints and cause swelling. Instead, fold a soft microfiber cloth, lightly dampen it with a previously prepared mild dish soap solution, and squeeze out excess liquid until it stops dripping. Always check your cabinet manufacturer's care instructions before cleaning.
Know When to Stop Cleaning
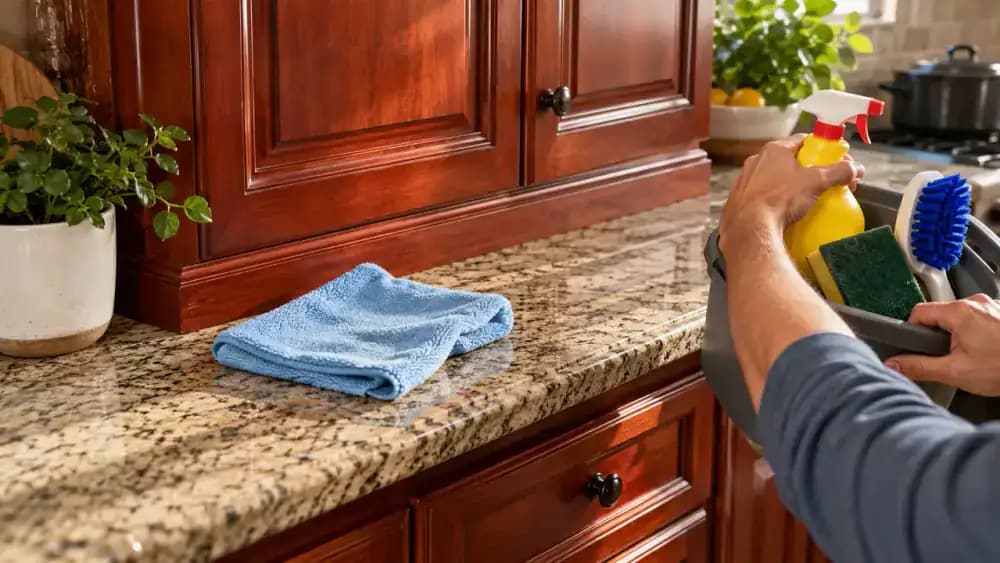
After one final gentle wipe with a lightly dampened microfiber cloth, dry the cabinet with a soft cotton towel. Tilt the door toward natural light to check for lingering grease, cloudiness, or uneven reflections. If the surface remains sticky or the finish looks affected, stop cleaning rather than applying more pressure. Allow everything to dry completely, then consult the manufacturer's care instructions before considering professional help or additional treatment.
Protect Cabinets from Everyday Moisture
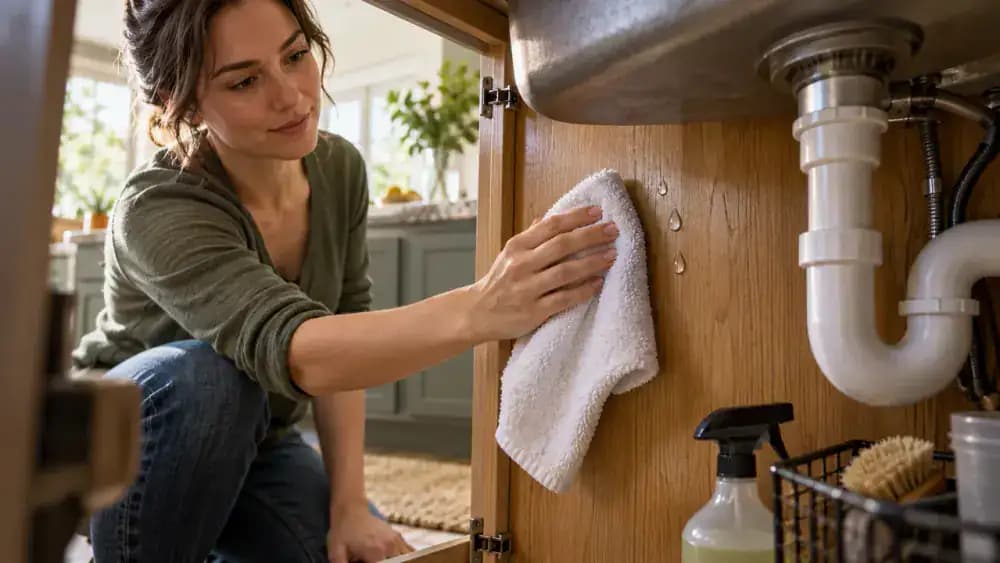
After using the kitchen sink, check nearby cabinet doors for stray water droplets. Gently absorb any splashes with a soft, completely dry cotton towel instead of rubbing or spreading the moisture. Fold the towel to a fresh, dry section before wiping finished door edges and joints, where moisture can collect. Make the same quick check around your dishwasher and coffee maker to help prevent gradual damage to wood finishes.
Keep Cabinet Cleaning Cloths Separate
Store a soft microfiber cloth exclusively for cleaning your wood cabinets. Choose a clean cloth from a designated drawer compartment, fold it neatly, and keep it away from general kitchen cleaning supplies. Rags used around the stove or countertops can collect grease, abrasive crumbs, and chemical residues that may damage cabinet finishes. Wash your cabinet cloth separately from heavily soiled rags, avoid fabric softener, and let it dry completely before storing.
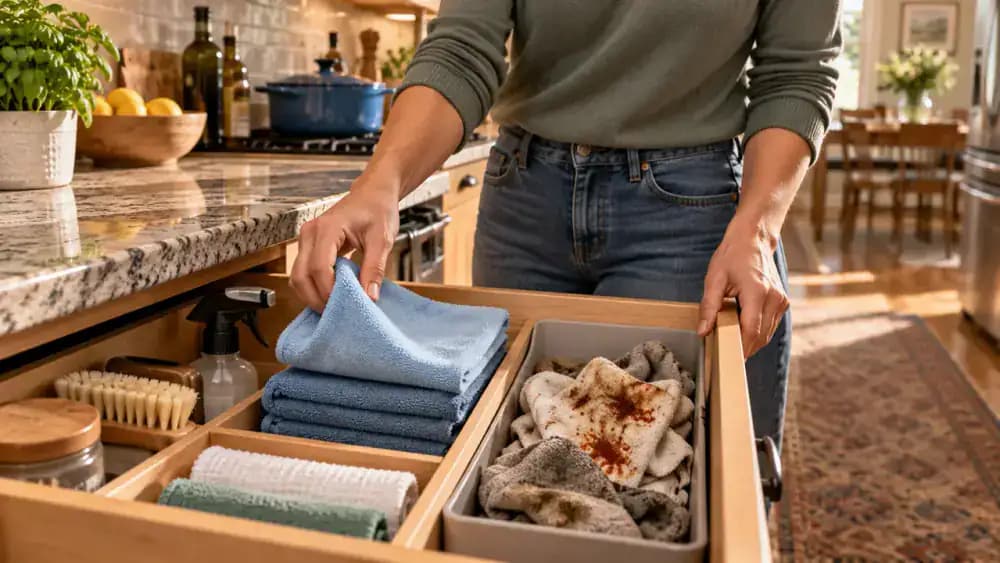
Wash and Dry Your Cabinet Cloths Properly
Place your used microfiber cabinet cloths in the washing machine, separate from rough towels and heavily soiled cleaning rags. Add a small amount of mild liquid detergent and follow the cloths' care labels. Avoid fabric softener because it can coat microfiber and reduce its ability to pick up grease. Air-dry the cloths on an indoor rack if permitted, then fold and store them only when completely dry.

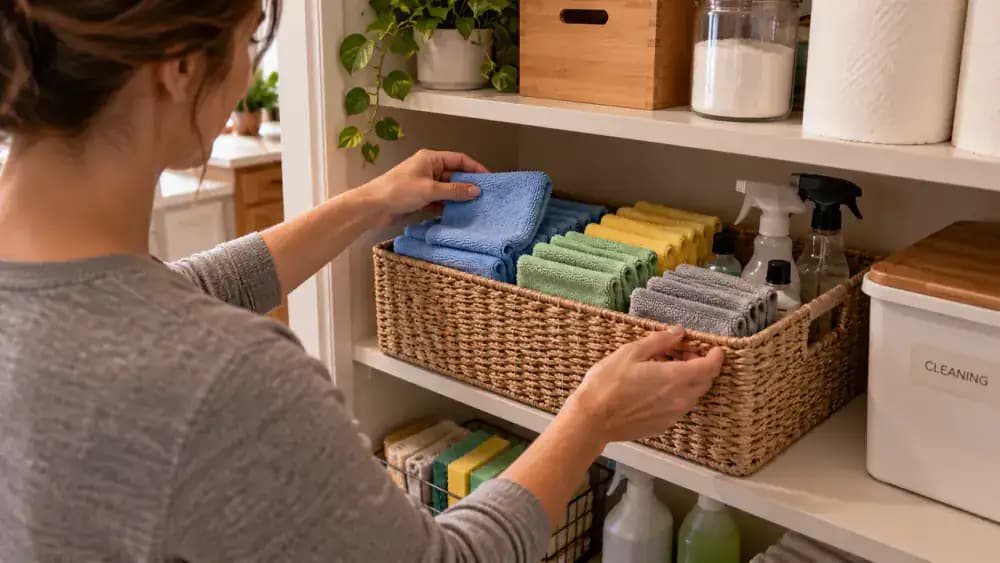
Keep Clean Microfiber Cloths Within Easy Reach
Store freshly washed, completely dry microfiber cloths in a dedicated basket on a clean pantry shelf, away from cooking splatters and food preparation areas. When fresh grease appears on sealed wood cabinets, use a lightly dampened cloth with your previously spot-tested mild dish soap solution. Wipe gently with the grain, remove soap residue with a separate barely damp cloth, and dry immediately. Place used cloths in the laundry basket, not with clean supplies.
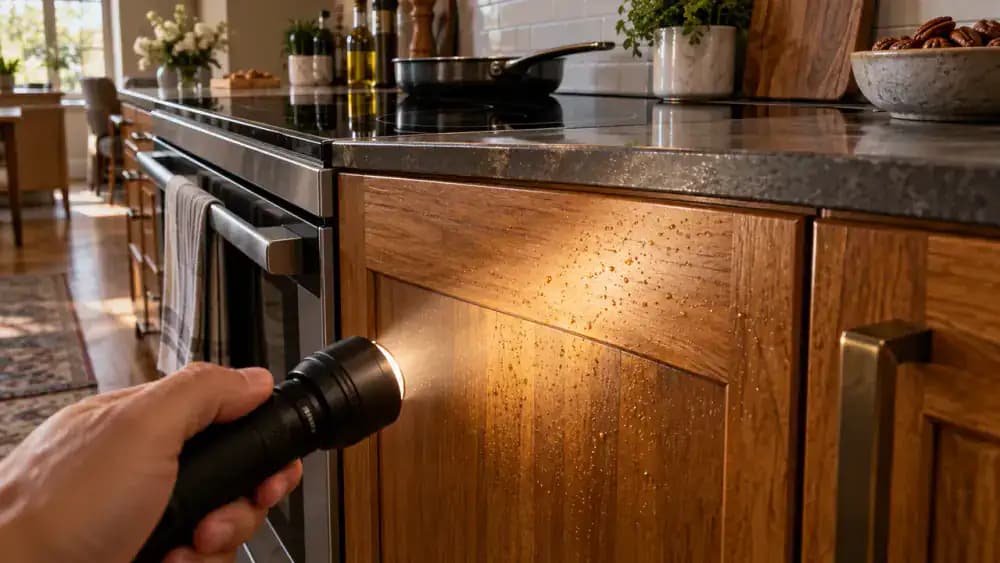
Check Cabinet Surfaces After Cooking
Once the cooktop is off and cool, inspect nearby cabinet doors for fresh grease and food splatters. Shine a small LED light across the finished panels to spot deposits, then check handles and edges. For isolated speckles, use a previously tested mild dish soap solution on a thoroughly wrung-out microfiber cloth. Wipe gently with the wood grain, remove soap residue with a separate barely damp cloth, and dry immediately.
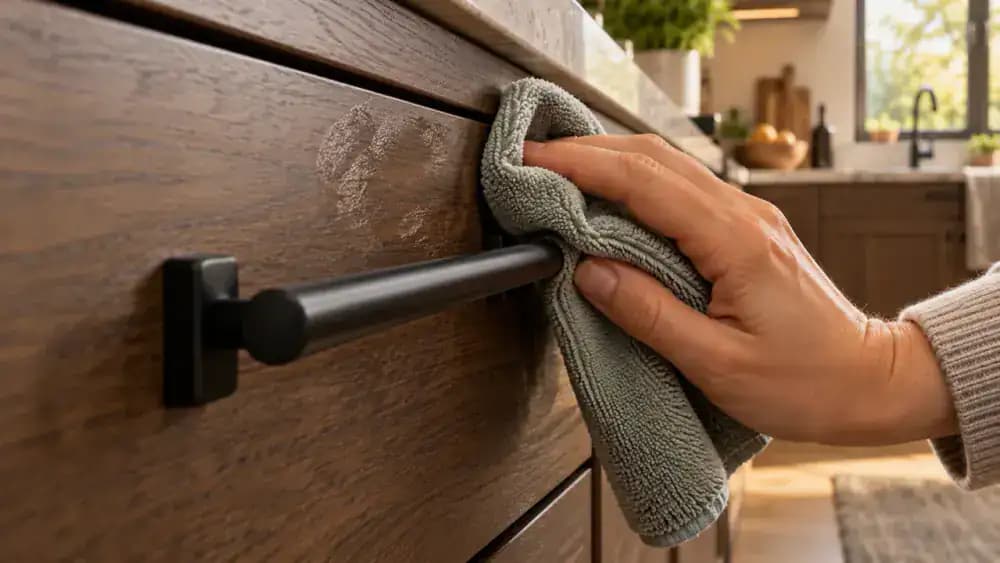
Keep Cabinet Handles Free of Fingerprint Grease
Wipe frequently touched cabinet handles with a soft, dry microfiber cloth to remove surface oils. For fingerprints on the surrounding sealed wood, fold a clean microfiber cloth lightly dampened with a previously tested mild dish soap solution. Gently wipe along the wood grain without scrubbing. Keep moisture away from mounting holes and seams. Remove soap residue with a separate barely damp cloth, then immediately dry the wood and handle.
Clean the Cabinet Frame Around Door Openings
Open the cabinet door to expose the finished wooden frame that normally stays hidden. Fold a clean microfiber cloth into a narrow pad, lightly dampen it with your previously tested mild soapy solution, and gently wipe the sealed vertical surface along the wood grain. Keep moisture away from hinges, unfinished edges, corners, and joints. Follow with a separate barely damp cloth to remove soap residue, then immediately dry the area with a clean cotton towel.
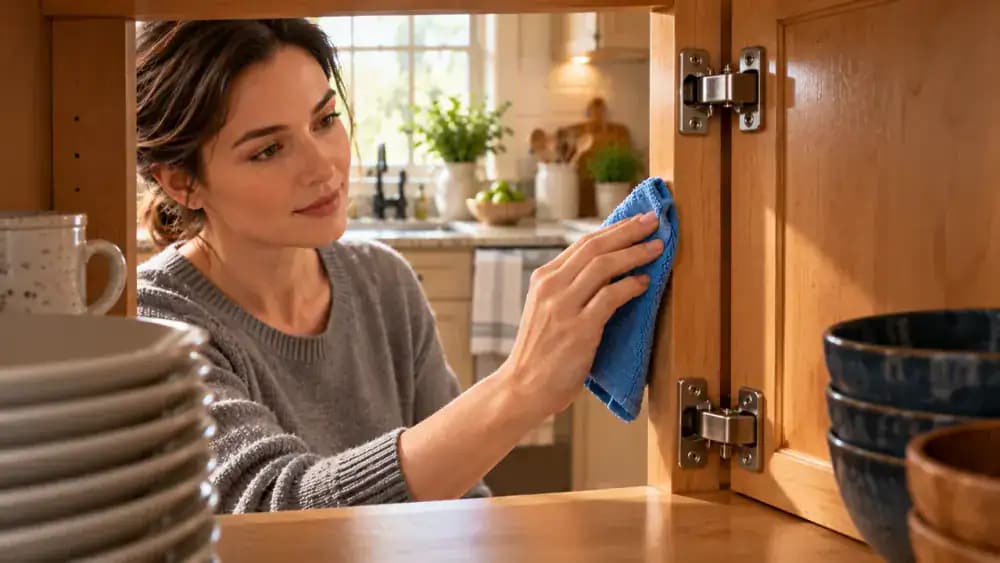
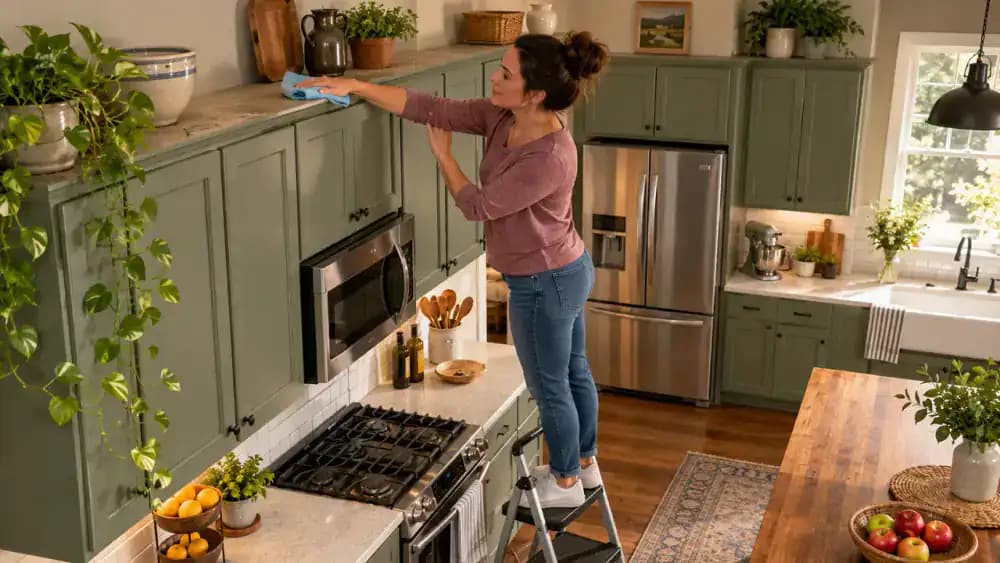
Check the Upper Cabinet Surfaces for Hidden Grease
Stand on a stable step stool on a dry, level floor and inspect the accessible cabinet tops for accumulated grease and dust. If the wood finish is intact and sealed, gently wipe a small section along the grain using a previously tested, lightly dampened cloth with mild dish soap. Refold the cloth as it collects grime. Remove soap residue with a separate, barely damp cloth, then dry thoroughly with a clean towel.
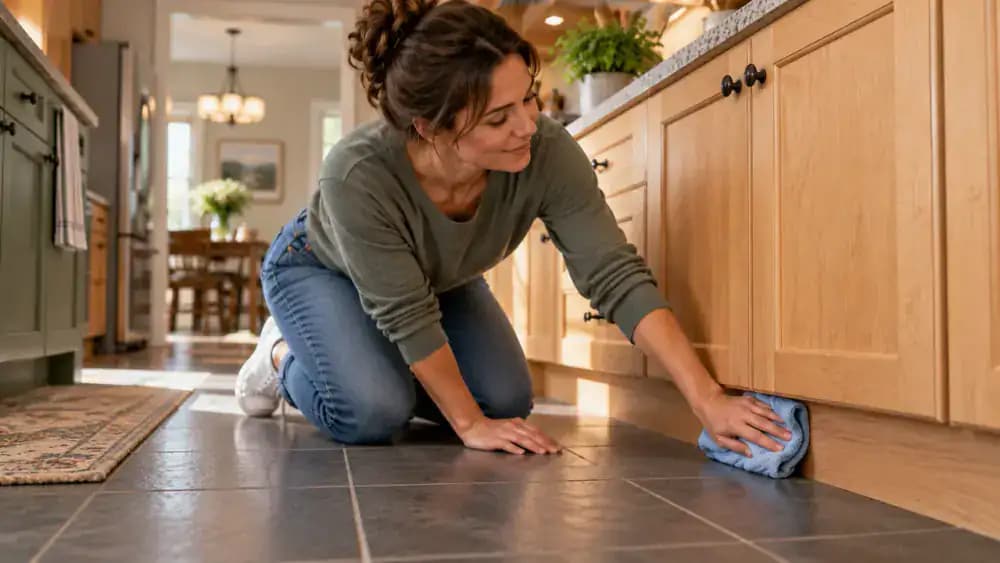
Clean the Cabinet Toe Kick Without Trapping Moisture
Kneel on a dry mat and inspect the recessed panel beneath your lower kitchen cabinets for damaged or exposed wood. If the finish is intact and sealed, fold a lightly damp, previously tested soapy microfiber cloth and gently wipe the accessible vertical surface along the grain. Stay above the floor joint and avoid seams. Remove soap with a barely damp cloth, then immediately dry the surface with a soft towel.
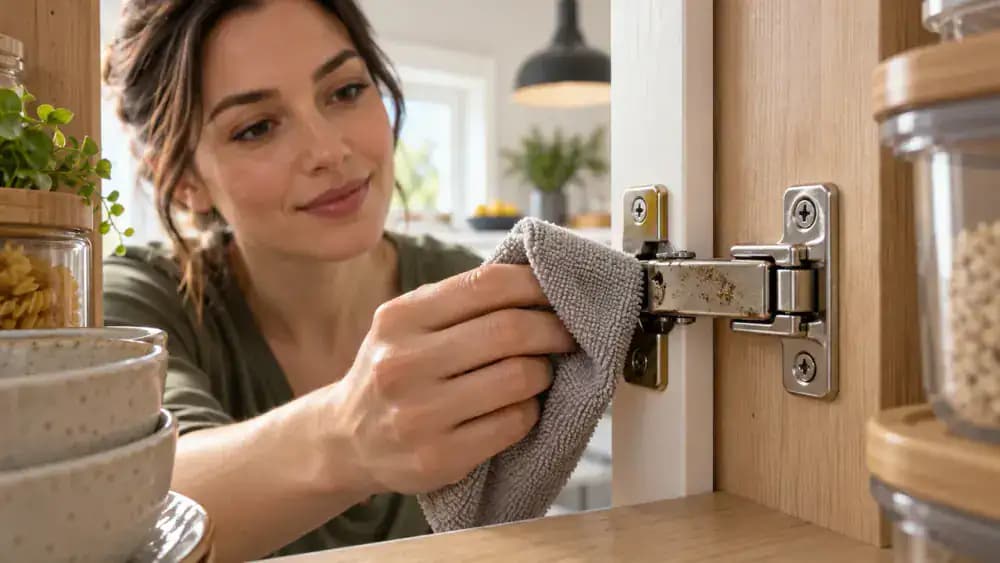
Check Cabinet Door Hinges for Hidden Grease
Open the cabinet door fully and inspect the exposed metal hinges for cooking grease and dust, especially near the stove. Fold a clean, dry microfiber cloth into a small pad and gently wipe the accessible flat metal surfaces. Refold the cloth between strokes to avoid pushing grime into the hinge pivot or screw openings. Keep moisture away from mounting screws and unfinished wood. For stubborn buildup inside the mechanism, consult the hinge manufacturer's cleaning instructions.
Clean the Cabinet Shelf Supports Without Trapping Moisture
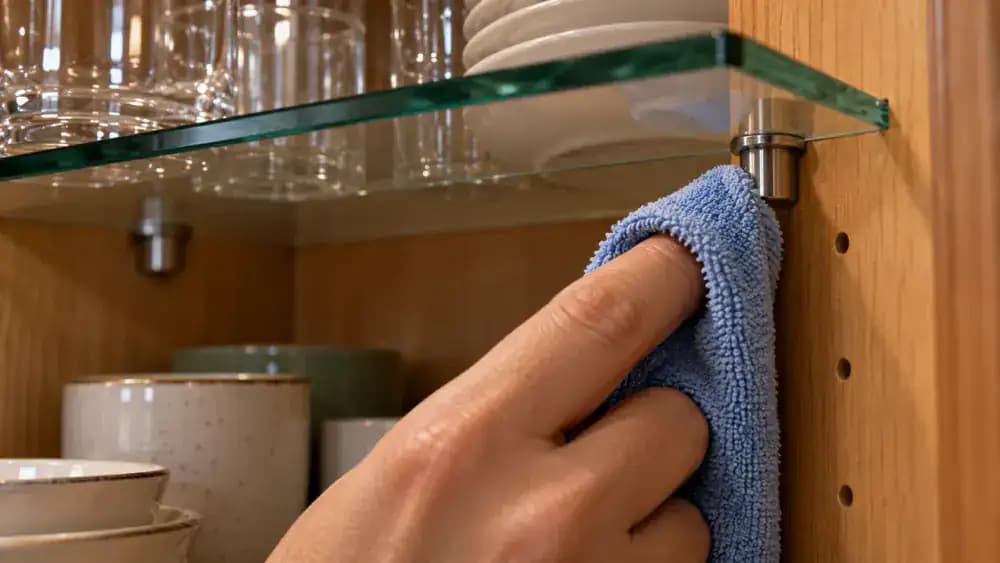
Remove lightweight items from the glass shelf before cleaning the small metal support pegs underneath. Leave the shelf securely in place, then fold a clean, dry microfiber cloth around your fingertip. Gently wipe the exposed faces and undersides of the supports using short strokes. Refold the cloth as it collects dust and grease. Avoid mounting holes, water, and excessive pressure. Check manufacturer instructions before attempting to remove any supports.
Check Cabinet Door Bumpers for Grease and Dust
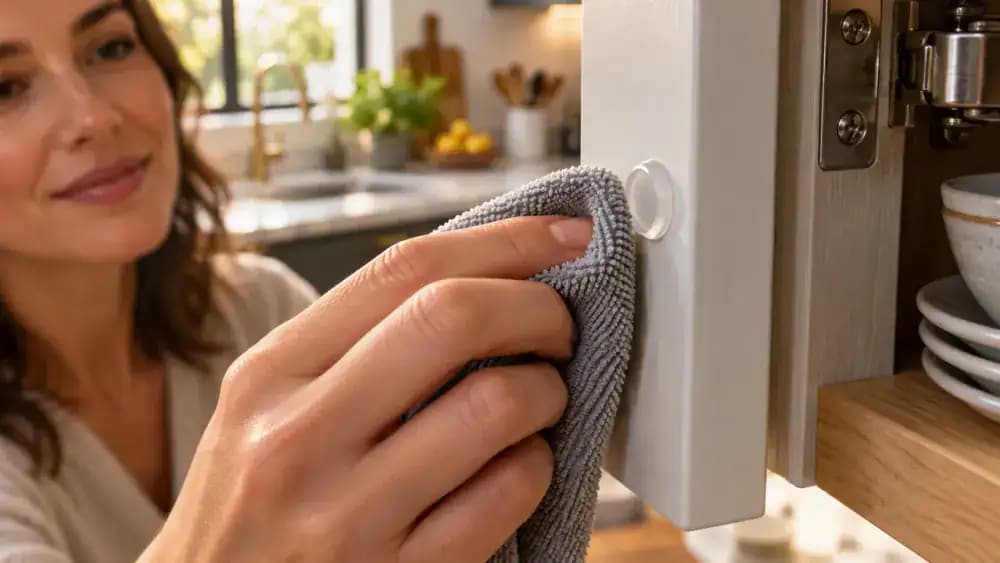
Inspect the small silicone bumpers inside your cabinet doors for greasy dust buildup. As shown, fold a clean, dry microfiber cloth around your fingertip and gently wipe each bumper's exposed surface using short, light strokes. Refold the cloth before removing nearby dust, avoiding the adhesive edges. Never pull, twist, soak, or scrub these pads. If a bumper appears tilted, loose, or damaged, leave it undisturbed and consult the manufacturer's replacement instructions.
Keep Cabinet Doors Closing Gently After Cleaning
Slowly guide each cabinet door toward its frame and check that the silicone bumper cushions the contact. Look for even spacing between neighboring doors and listen for unusual rubbing or clicking. If a door sticks, resists movement, or leaves an uneven gap, stop and reopen it gently. Never force it closed or adjust hinges without proper instructions. Check the cabinet manufacturer's care guidance before attempting repairs or adjustments.

Protect Your Wood Cabinets for the Long Run
Store abrasive pads and harsh solvents away from your cabinets, and keep a soft microfiber cloth ready for everyday spills. For fresh cooking splatters, use a previously spot-tested mild dish soap solution on a thoroughly wrung-out cloth, wiping gently with the wood grain. Remove soap residue with a separate barely damp cloth, then dry immediately. Run your range hood while cooking to reduce grease buildup and protect the finish.

That sticky, greasy film around your kitchen cabinet handles isn't just unpleasant to touch. Over time, cooking oils, airborne grease, and everyday fingerprints can leave wood cabinets looking dull, dirty, and difficult to clean. The buildup is often worst near the stove, along cabinet edges, and inside decorative grooves where ordinary wiping doesn't reach. But reaching for a heavy-duty degreaser or scrubbing harder can create a bigger problem: damaged cabinet finishes, discoloration, or moisture trapped in the wood.
The good news is that many greasy cabinets with intact, sealed finishes can be cleaned using a soft microfiber cloth, warm water, and a few drops of mild dish soap. The key is knowing what type of finish you're working with, testing your cleaning solution in a hidden spot, and using as little moisture as possible. Unfinished, peeling, or otherwise damaged surfaces need special care and manufacturer guidance before cleaning. With gentle wiping, careful attention to greasy corners, and immediate drying, you can remove everyday buildup while protecting your cabinets from unnecessary damage.
Where people go wrong
Cleaning Cabinets Without Checking the Wood Finish. Not every wood cabinet can handle the same cleaning method. A solution suitable for smooth, sealed surfaces may damage unfinished, peeling, or deteriorating wood. Identify the finish first, consult manufacturer guidance when uncertain, and always spot-test the cleaning solution in a hidden area before proceeding.
Spraying Cleaner Directly Onto Cabinet Doors. Spraying cleaning solution directly onto wood allows excess liquid to collect around handles, edges, and joints. Moisture can seep into vulnerable areas and cause swelling or finish damage. Instead, apply diluted mild dish soap to a microfiber cloth and wring it out until lightly damp.
Scrubbing Stubborn Grease With Abrasive Pads or Harsh Cleaners. Sticky grease around stove-side cabinets can tempt you to scrub harder or reach for powerful solvents. Both approaches risk scratching or permanently damaging the finish. Gently hold a lightly dampened, soapy microfiber cloth against stubborn spots, wipe along the grain, and repeat as needed instead of applying force.
Leaving Soap Residue and Moisture Behind. Cabinets may look clean while soap residue and moisture remain around hardware, decorative grooves, and seams. Leftover soap can contribute to streaks or stickiness, while trapped moisture may damage vulnerable wood. Wipe with a separate barely damp cloth, dry immediately, and inspect edges and joints carefully.
Questions people ask
For sealed wood cabinets, mix a few drops of mild dish soap into 2 cups of warm water. Test the solution in a hidden spot first and check the finish after drying. Wipe gently with a lightly damp microfiber cloth, following the wood grain. Remove soap residue and immediately dry the surface.
Fixed it?
Get one guide like this every Thursday.