How to Clean Greasy Range Hood Filters Without Endless Scrubbing
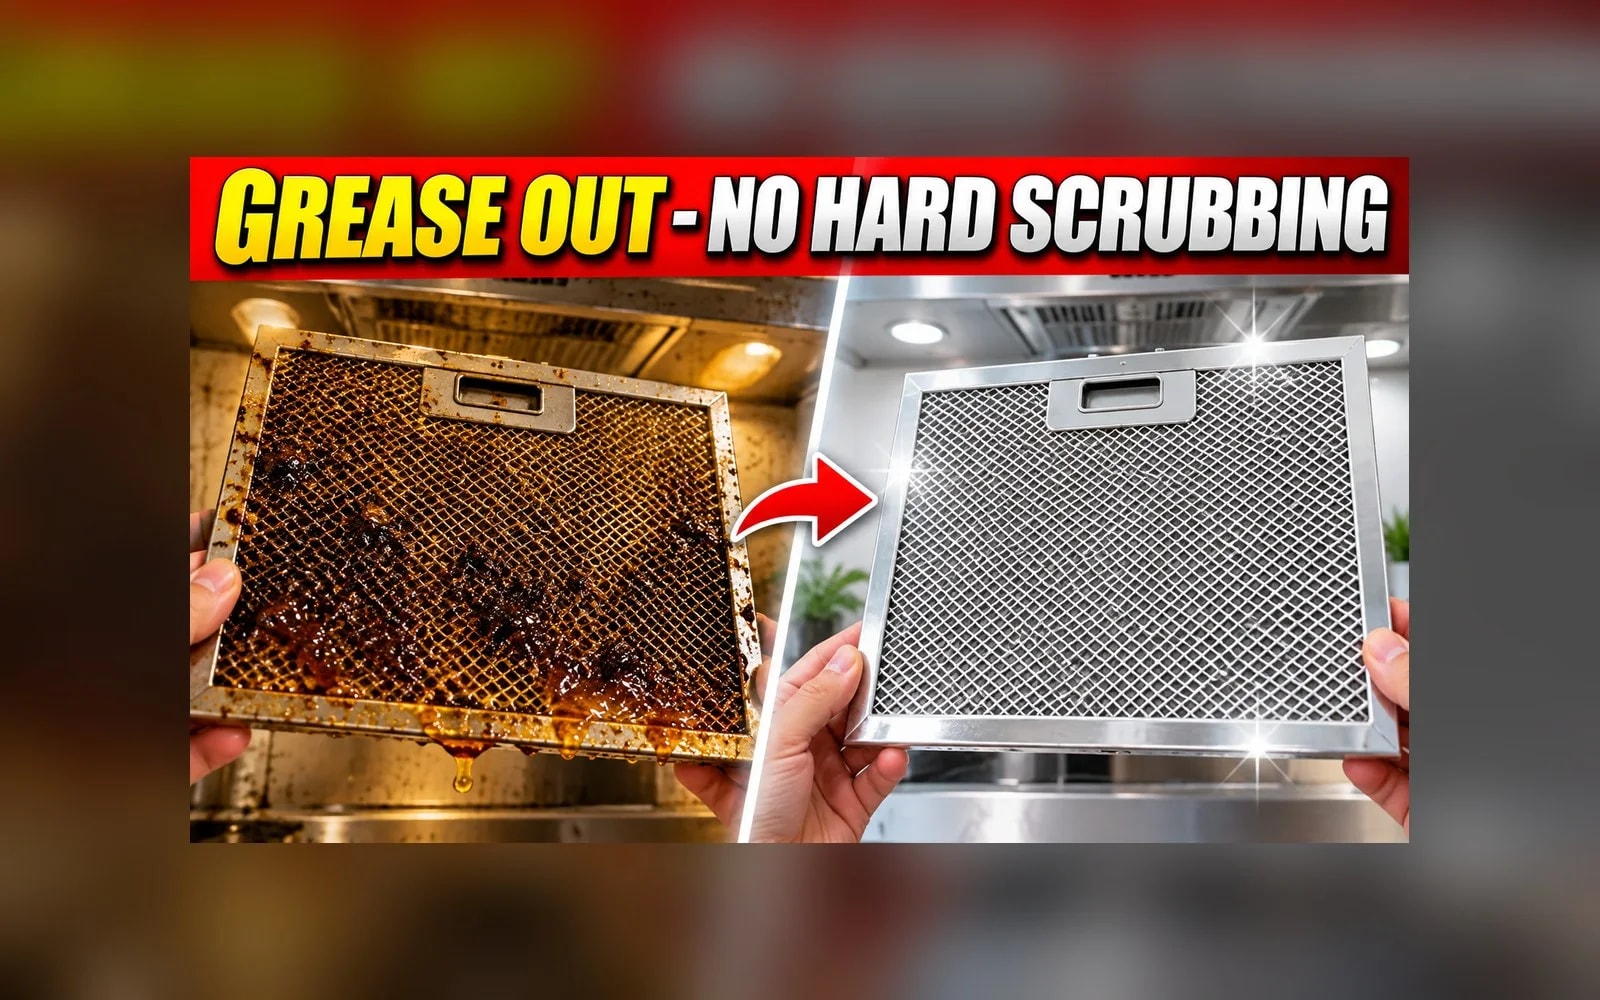
Greasy range hood filters do not need brutal scrubbing. Learn how to identify a washable metal filter, soften grease safely, clean the mesh and frame, rinse thoroughly, dry completely, and reinstall it correctly.
What you’ll need
Tap to tick things off before you start.
Spot the grease before it gets severe
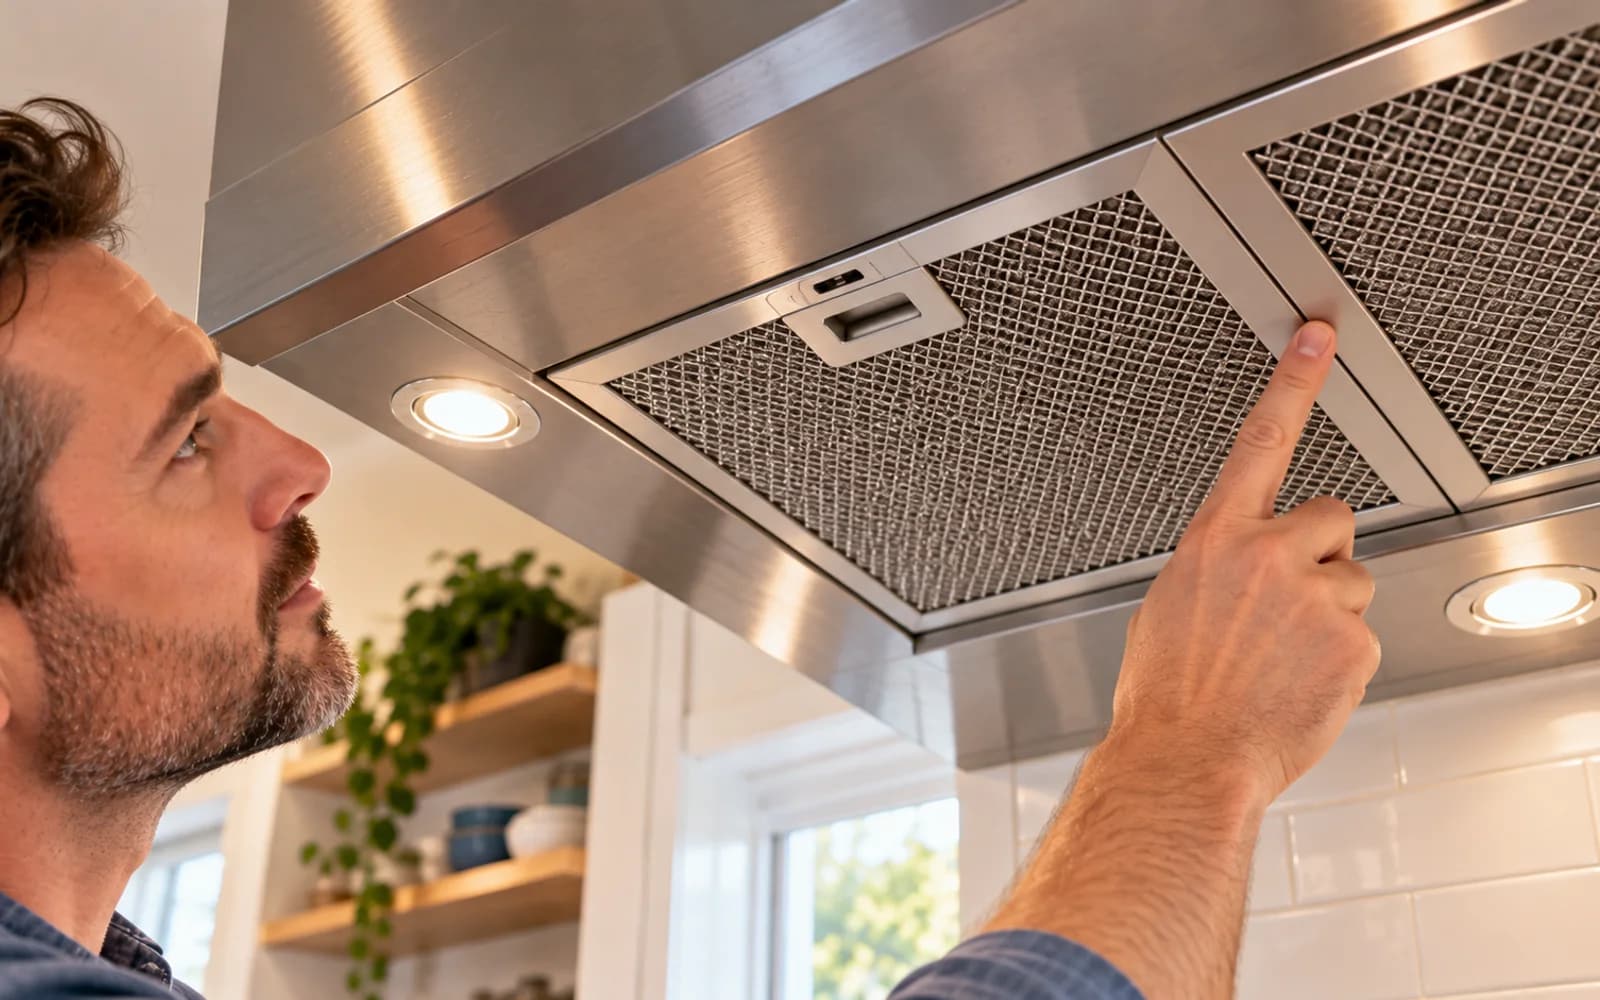
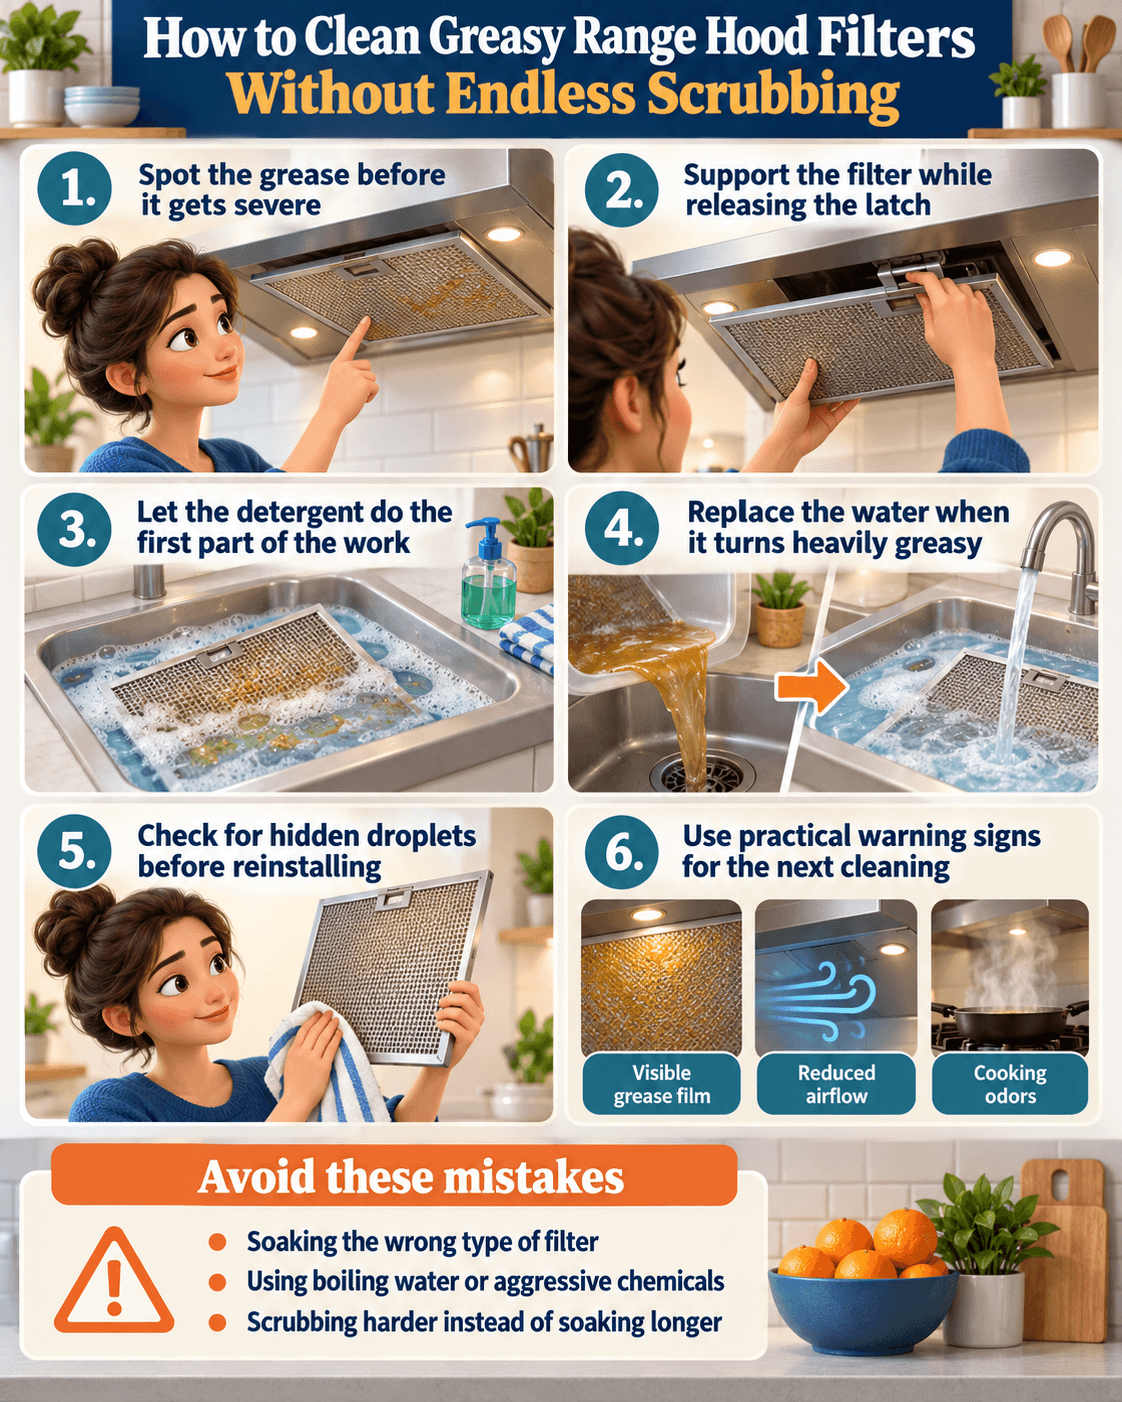
Look closely at the filter before removing it. A metal mesh filter that feels tacky, looks darkened, smells like old cooking grease, or has oily droplets along the lower frame is asking for attention. The visible grime is only part of the problem because grease also collects between the mesh layers. Cleaning earlier keeps the buildup thinner and easier to release.

Shut off the hood and clear the cooktop
Turn the range hood off before touching the filter, then confirm the cooktop and nearby metal surfaces are cool. Remove pans, utensils, and anything else sitting below the hood. You want a clear work area in case the filter slips during removal. This also prevents accidental fan operation while your hands are near the filter housing.

Confirm that the filter is washable metal
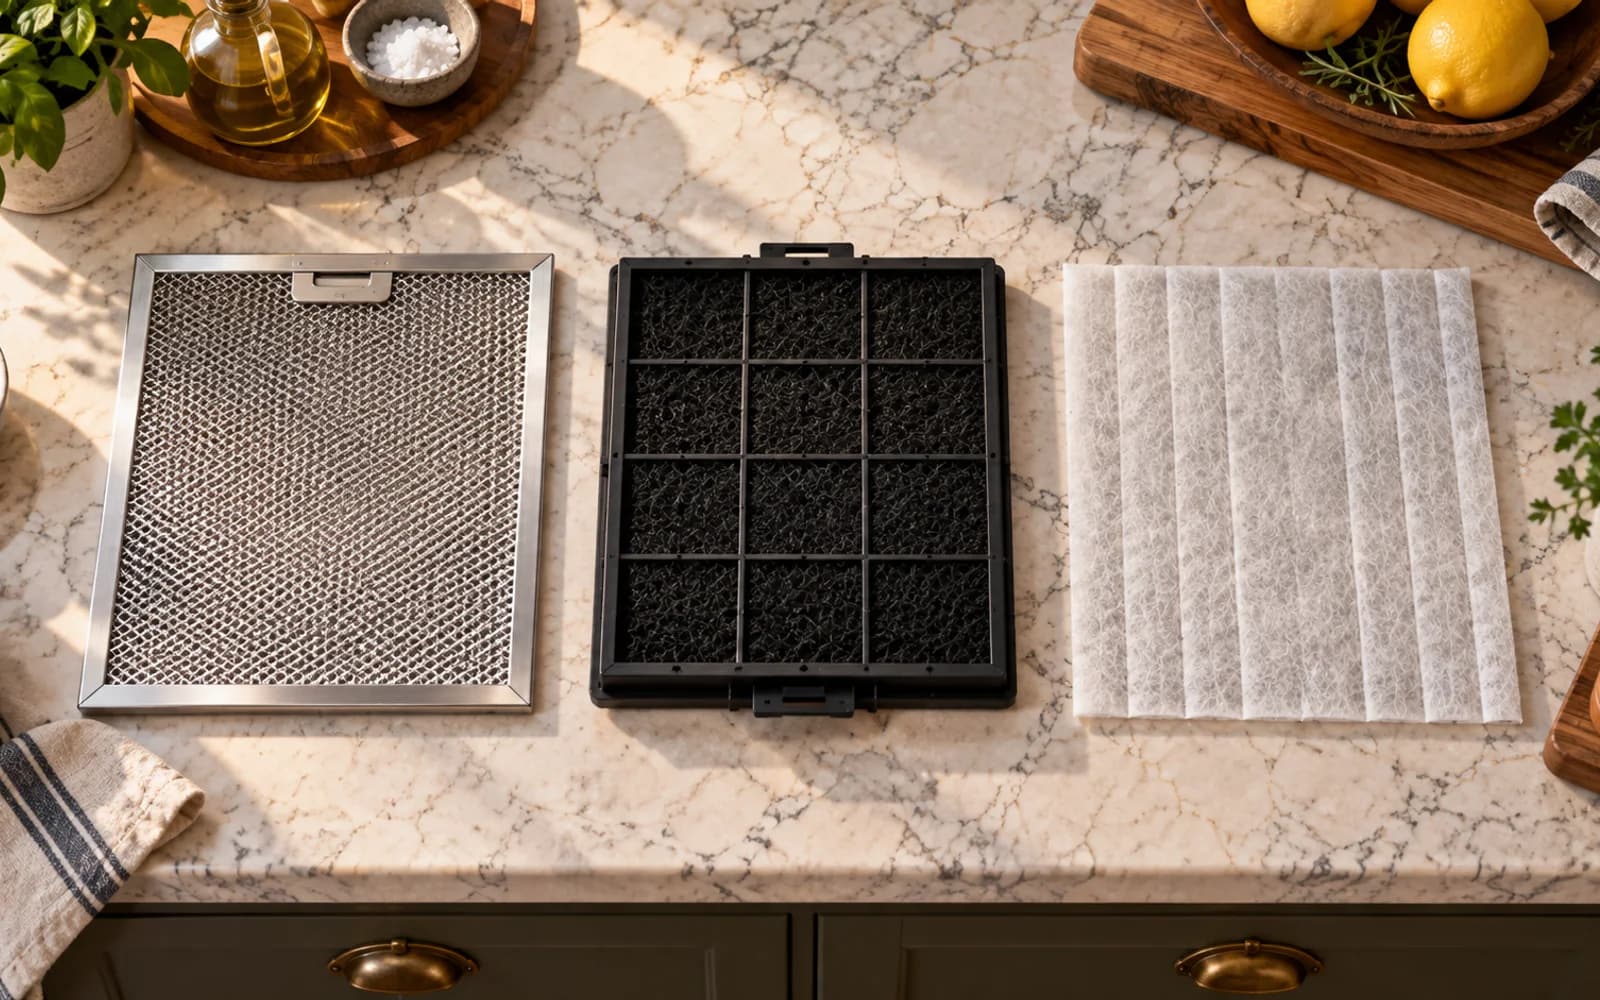
Identify the filter material before soaking anything. Reusable hood filters are commonly layered aluminum or stainless steel mesh inside a rigid frame. Charcoal cassettes, paper-like filters, fabric filters, and disposable inserts may require replacement or manufacturer-specific care instead. If you are unsure, stop and verify the filter type before putting it in water.

Read the model-specific care instructions
Check the hood manual or manufacturer guidance for your exact model. Look for approved cleaning methods, dishwasher guidance, temperature limits, replacement intervals, and chemical warnings. Some metal finishes can discolor or react badly to strong cleaners. Generic advice should never override the instructions supplied for your appliance, especially when the manufacturer specifies replacement rather than washing.
Notice how the filter is mounted
Before releasing the filter, study how it sits in the hood. Many filters use a spring tab, sliding latch, pull handle, or one fixed edge that rests in a channel. Note which side faces the cooktop and which edge comes out first. A quick look now prevents guesswork later and makes correct reinstallation much easier.

Support the filter while releasing the latch
Hold the filter with one hand while operating the latch or release tab with the other. Keep the frame level as it comes free. Greasy filters can be slippery, and thin frames can bend if allowed to drop. If the filter feels stuck, do not twist it. Recheck the mounting method and release point instead of forcing the frame.

Protect the sink and give the filter room
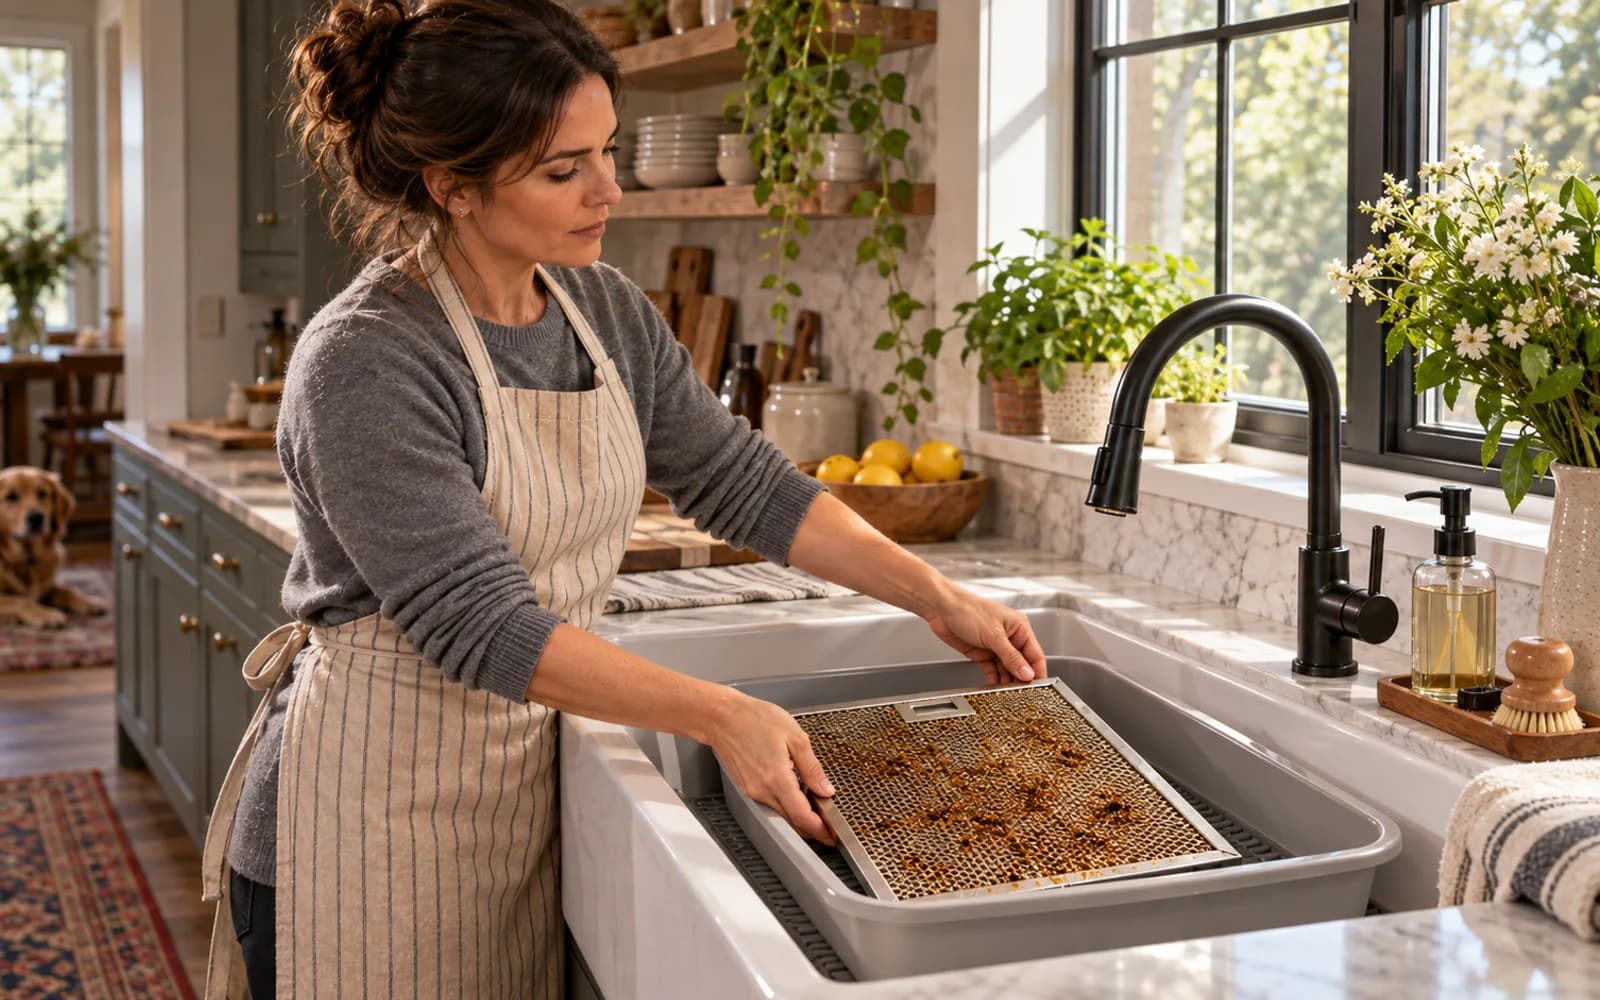
Place a silicone mat, folded towel, or protective liner in the sink or work area. A greasy metal frame can scratch some surfaces, and the sink can scratch a lightweight filter in return. If the filter does not fit flat, use a heat-safe basin or tub large enough to hold it without flexing or crushing the mesh.

Wipe away heavy grease on the frame
Before soaking, remove thick surface grease from the outer metal frame with a disposable towel or washable rag. Do not try to scrub the mesh dry. The goal is simply to remove loose, heavy deposits that would immediately overload the soak water. This lets the detergent spend more time working on the thinner film trapped around the frame and mesh.
Fill the basin with hot tap water
Use hot tap water rather than boiling water. Warmth helps soften cooking grease, while boiling water may be unsuitable for certain finishes, adhesives, coatings, or filter components. Add enough water to cover most or all of the filter while leaving room at the top of the basin. Avoid filling so high that greasy water splashes out when you move the filter.

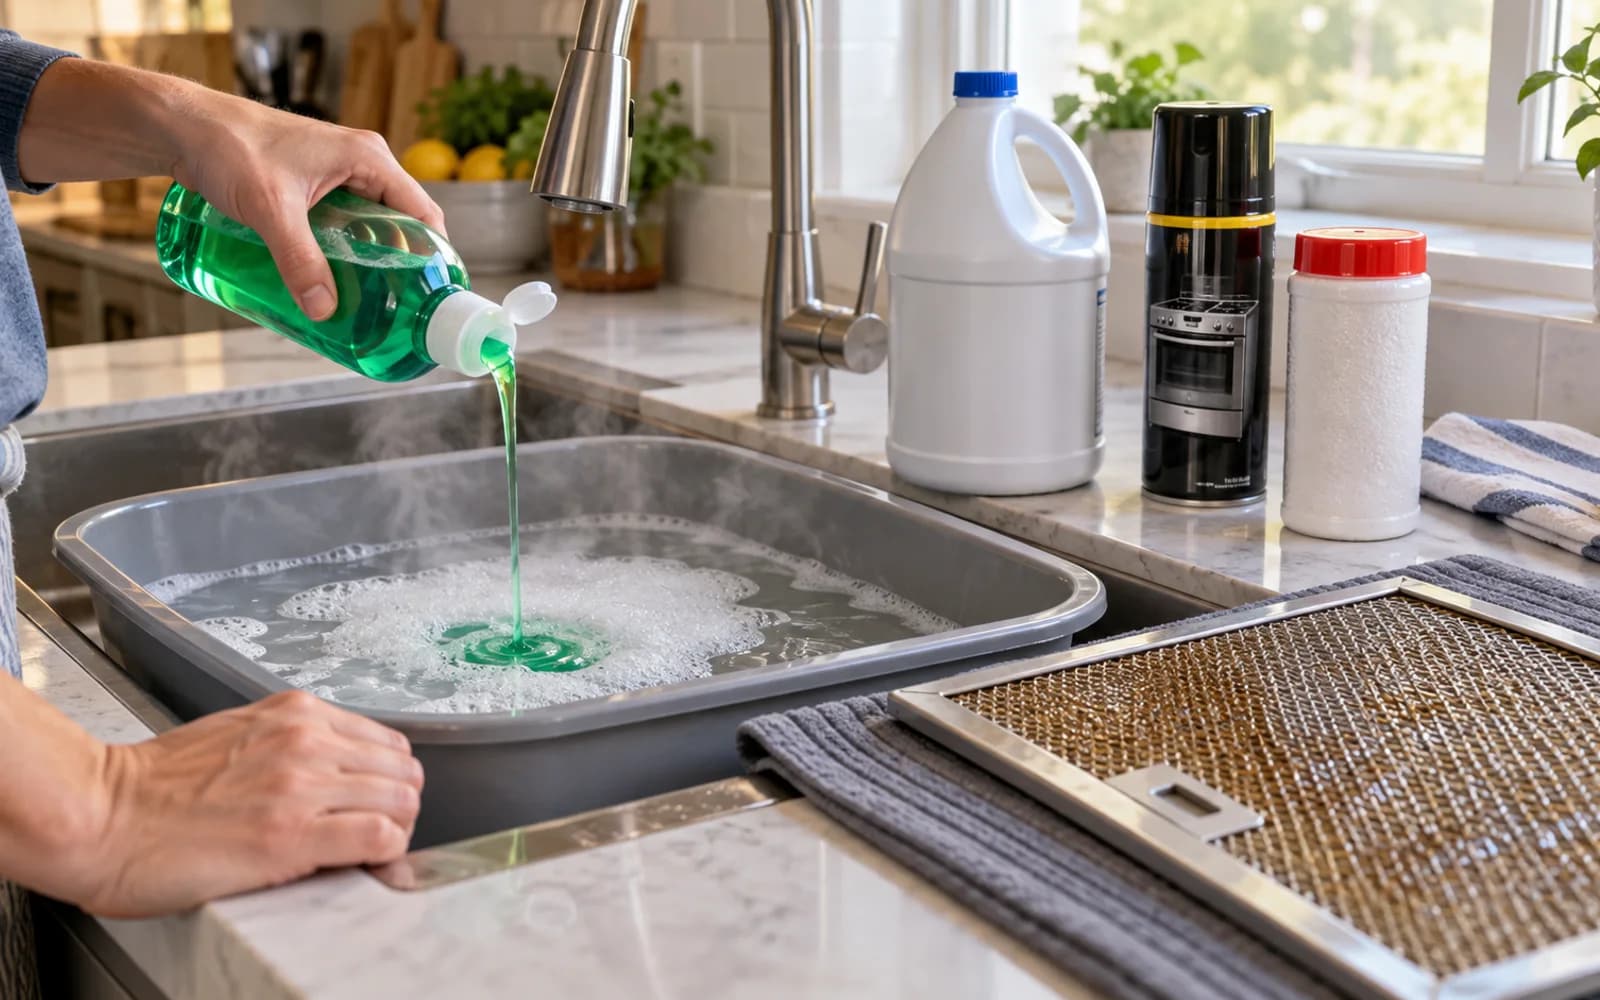
Add only a modest amount of dish detergent
Mix in a small amount of grease-cutting dish detergent and swish the water gently. More soap is not automatically better because layered mesh can hold onto detergent and become difficult to rinse. Avoid bleach, oven cleaner, abrasive powder, and other strong chemicals unless the hood manufacturer specifically approves them for the filter material and finish.

Lower the filter into the solution by the frame
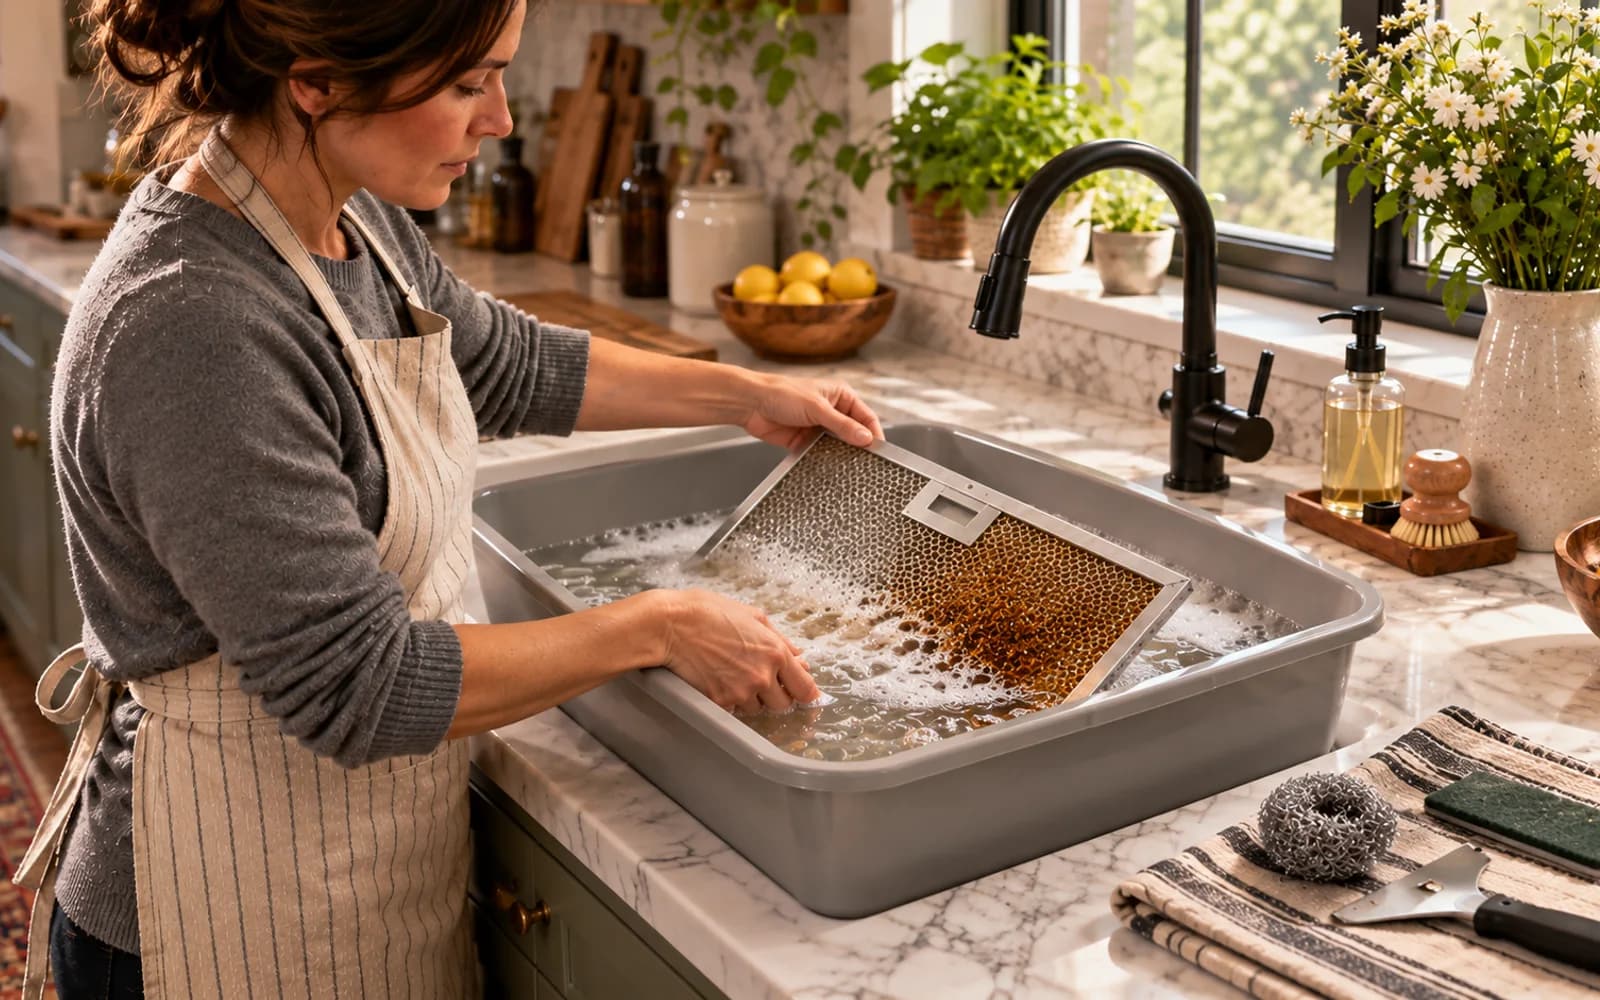
Place the filter in the soapy water while holding the rigid outer frame, not the center mesh. Keep it as flat as possible and do not press down on the mesh to force it under water. If the basin is shallow, soak one section first and rotate the filter later. Good contact matters, but preserving the filter shape matters more.
Let the detergent do the first part of the work
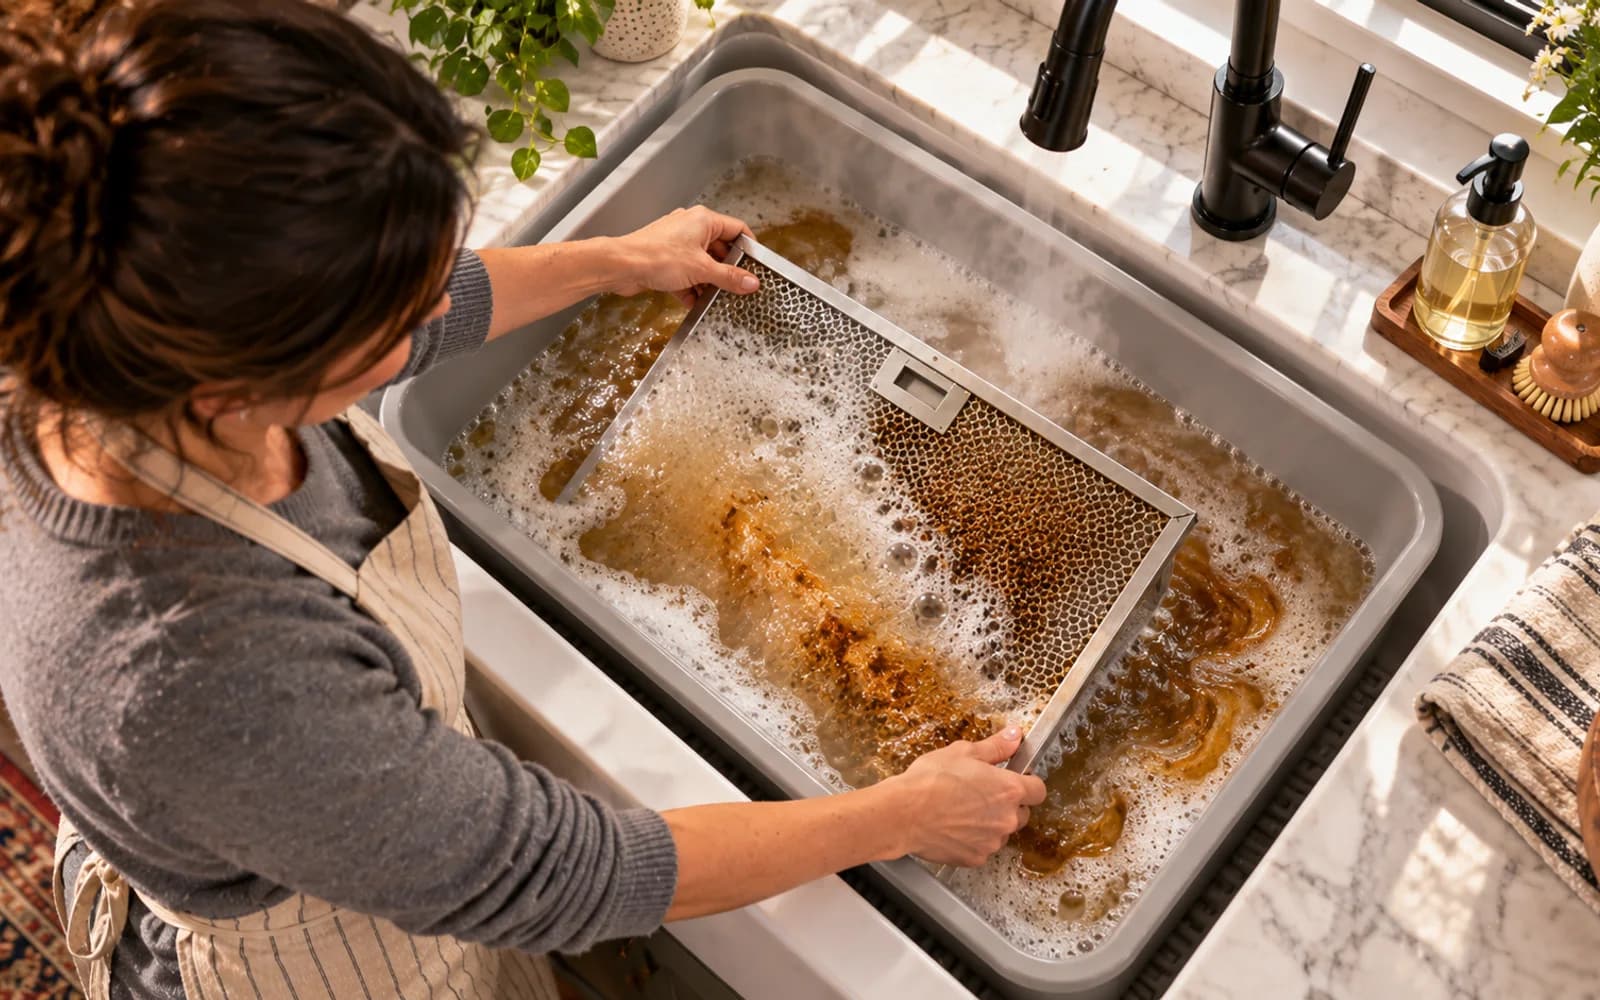
Give the filter time to soak before brushing. Sticky grease often releases much more easily after warm detergent has had time to penetrate it. Watch for an oily film spreading into the water and residue beginning to loosen. If part of the filter sits above the waterline, rotate it so each section gets comparable soaking time.
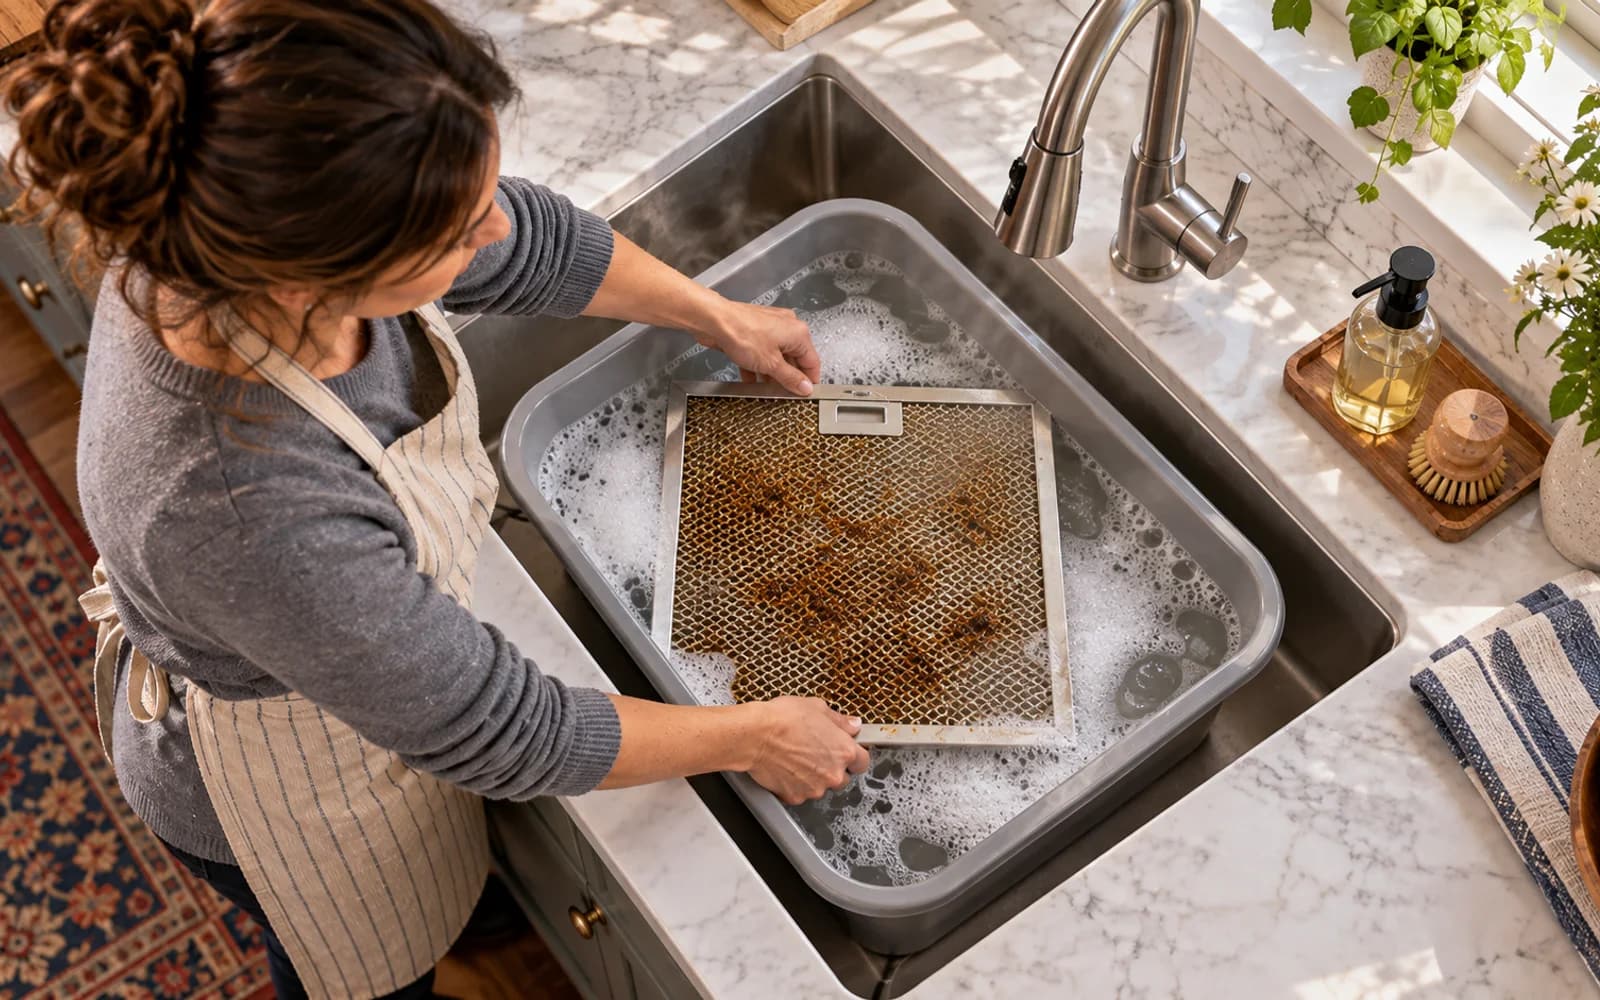
Test one corner with a soft brush
Lift a corner and try a few light passes with a soft nylon brush. If the grease starts moving, the soak has done its job and you can continue. If the test area still feels stubborn, return the filter to the warm solution for longer. Do not use a harsh tool simply because the first few brush strokes did not remove everything.
Brush the mesh in small sections
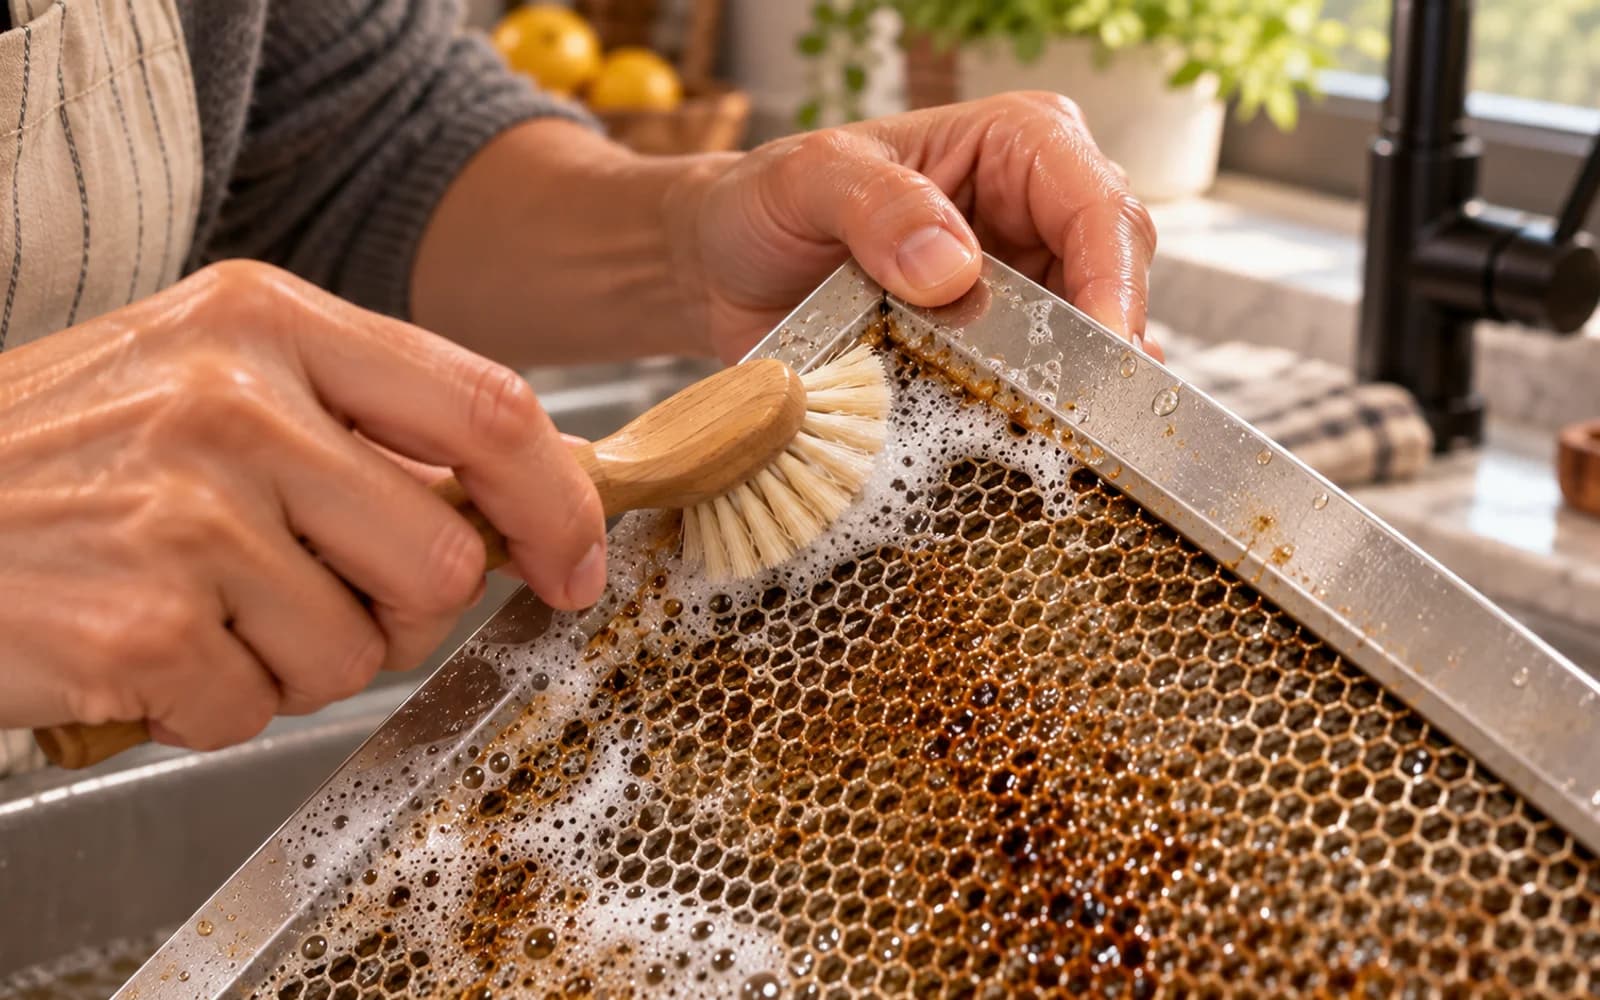
Work across the filter a section at a time with a soft nylon or non-scratch brush. Use light pressure and let the bristles contact the surface texture without flattening the layered mesh. Change brushing direction occasionally so you reach different edges of the material. On lightweight aluminum filters, controlled technique is especially important because the mesh can deform easily.
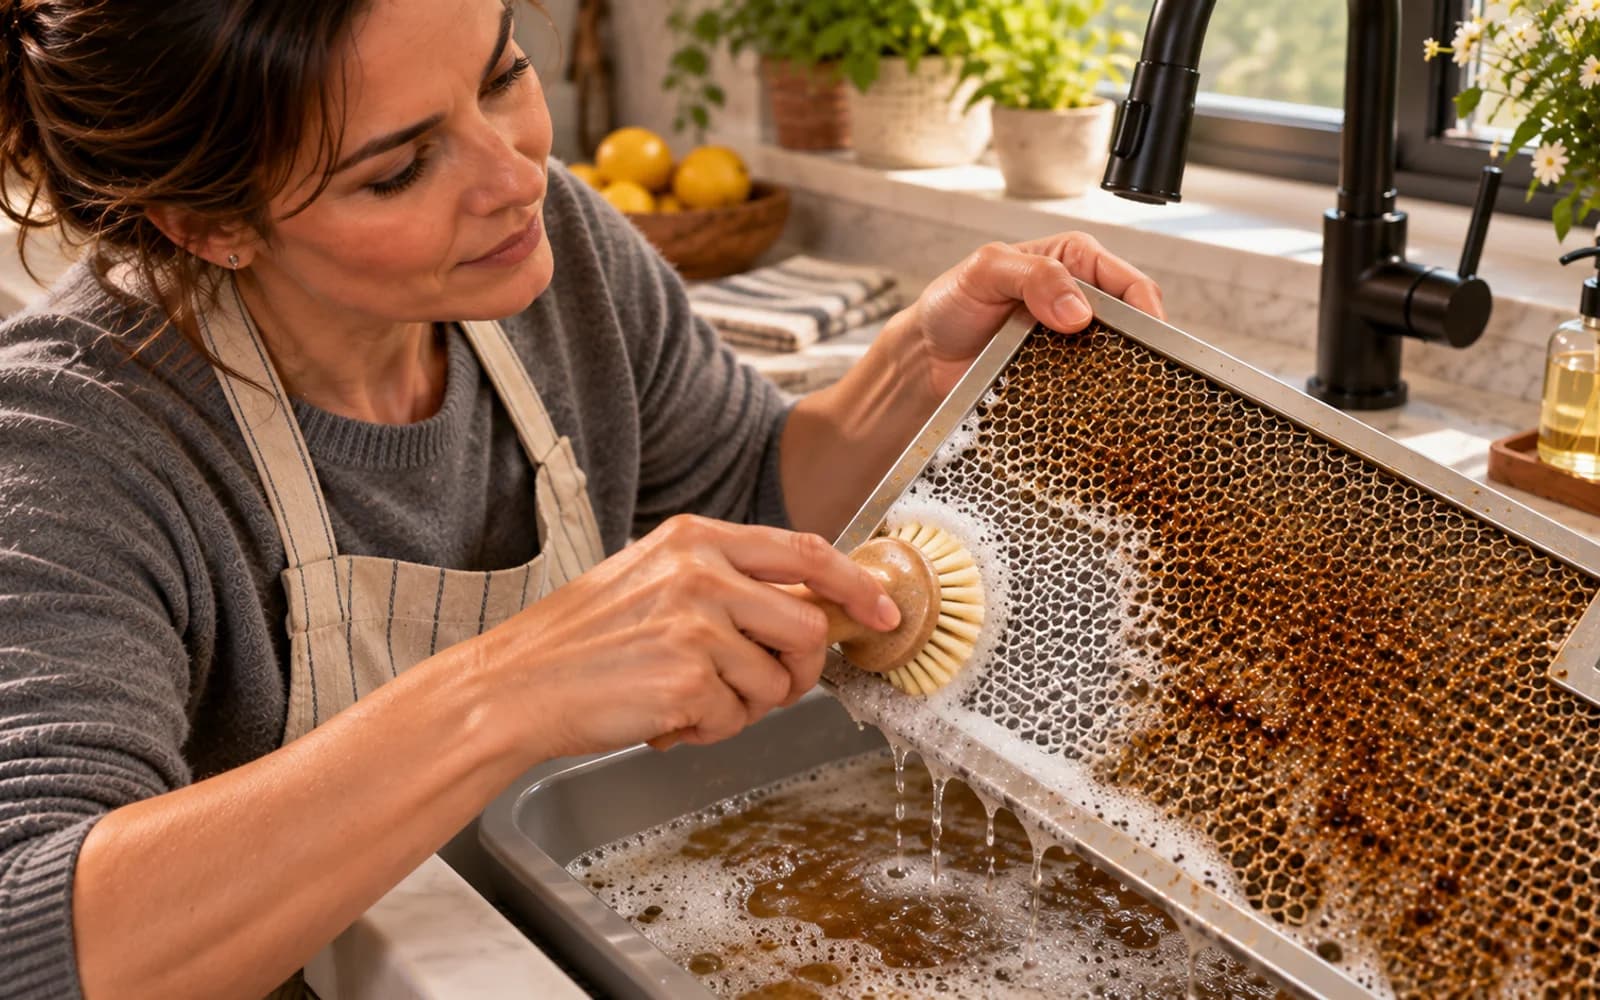
Clean the seam between the mesh and frame
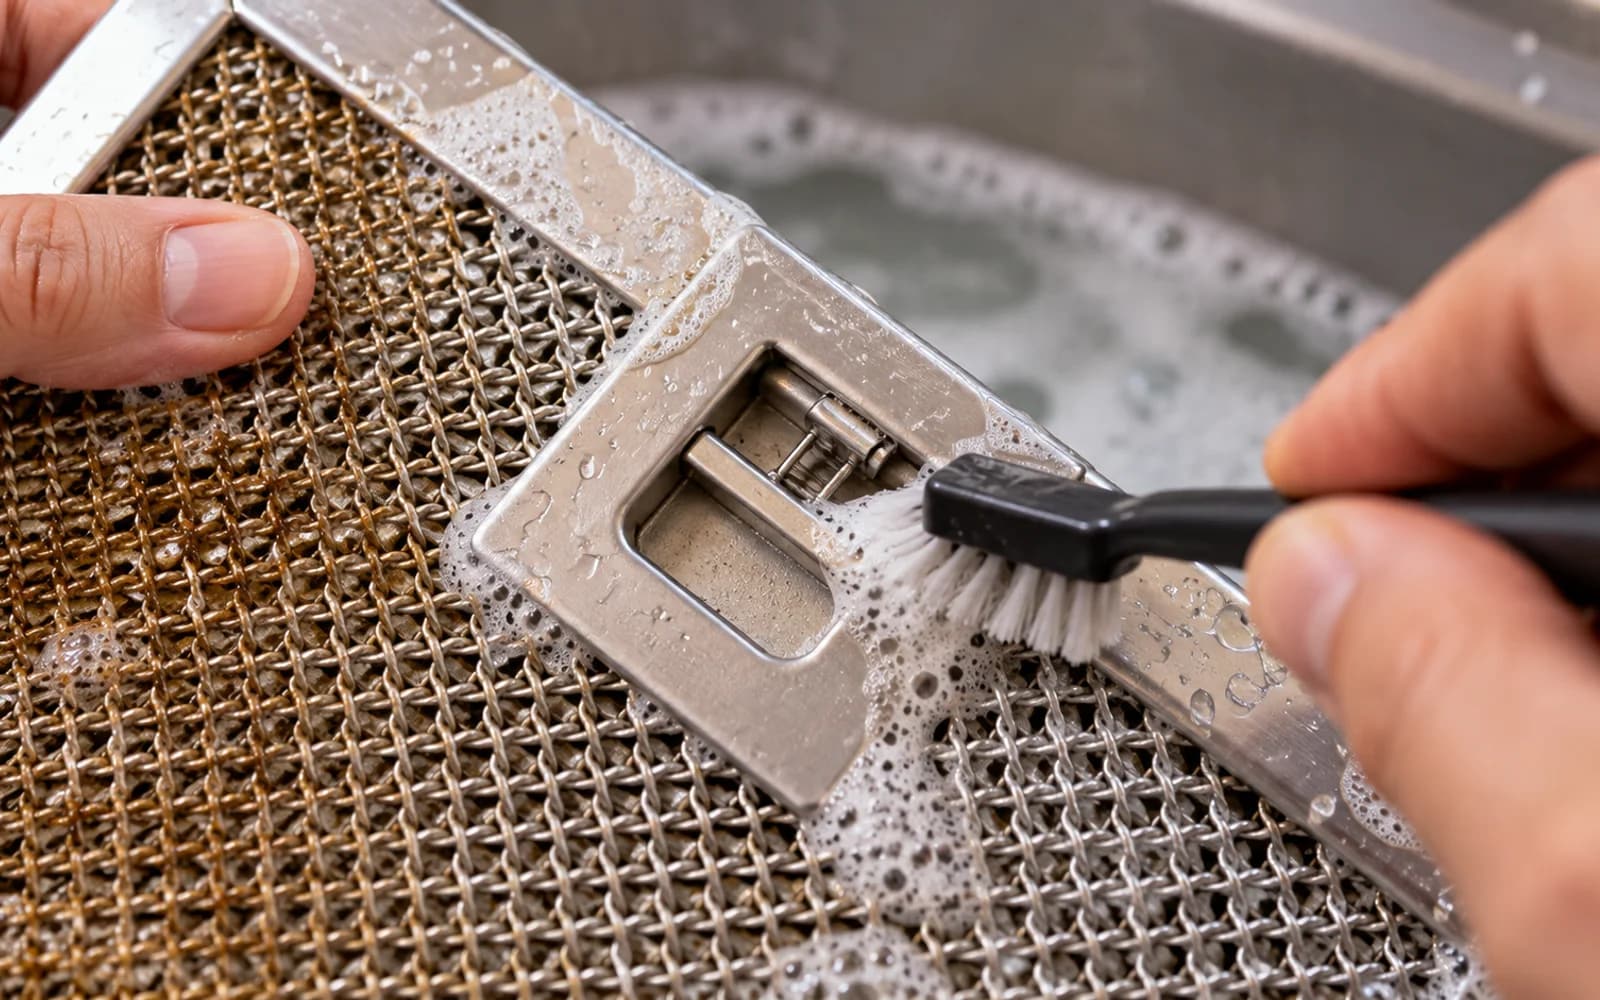
Grease commonly collects in the narrow seam where the mesh meets the outer frame. Use short strokes along that edge and tilt the filter slightly so loosened residue can move away from the groove. A smaller detailing brush is useful here because it can reach spaces a larger brush misses without forcing the seam or bending the frame.
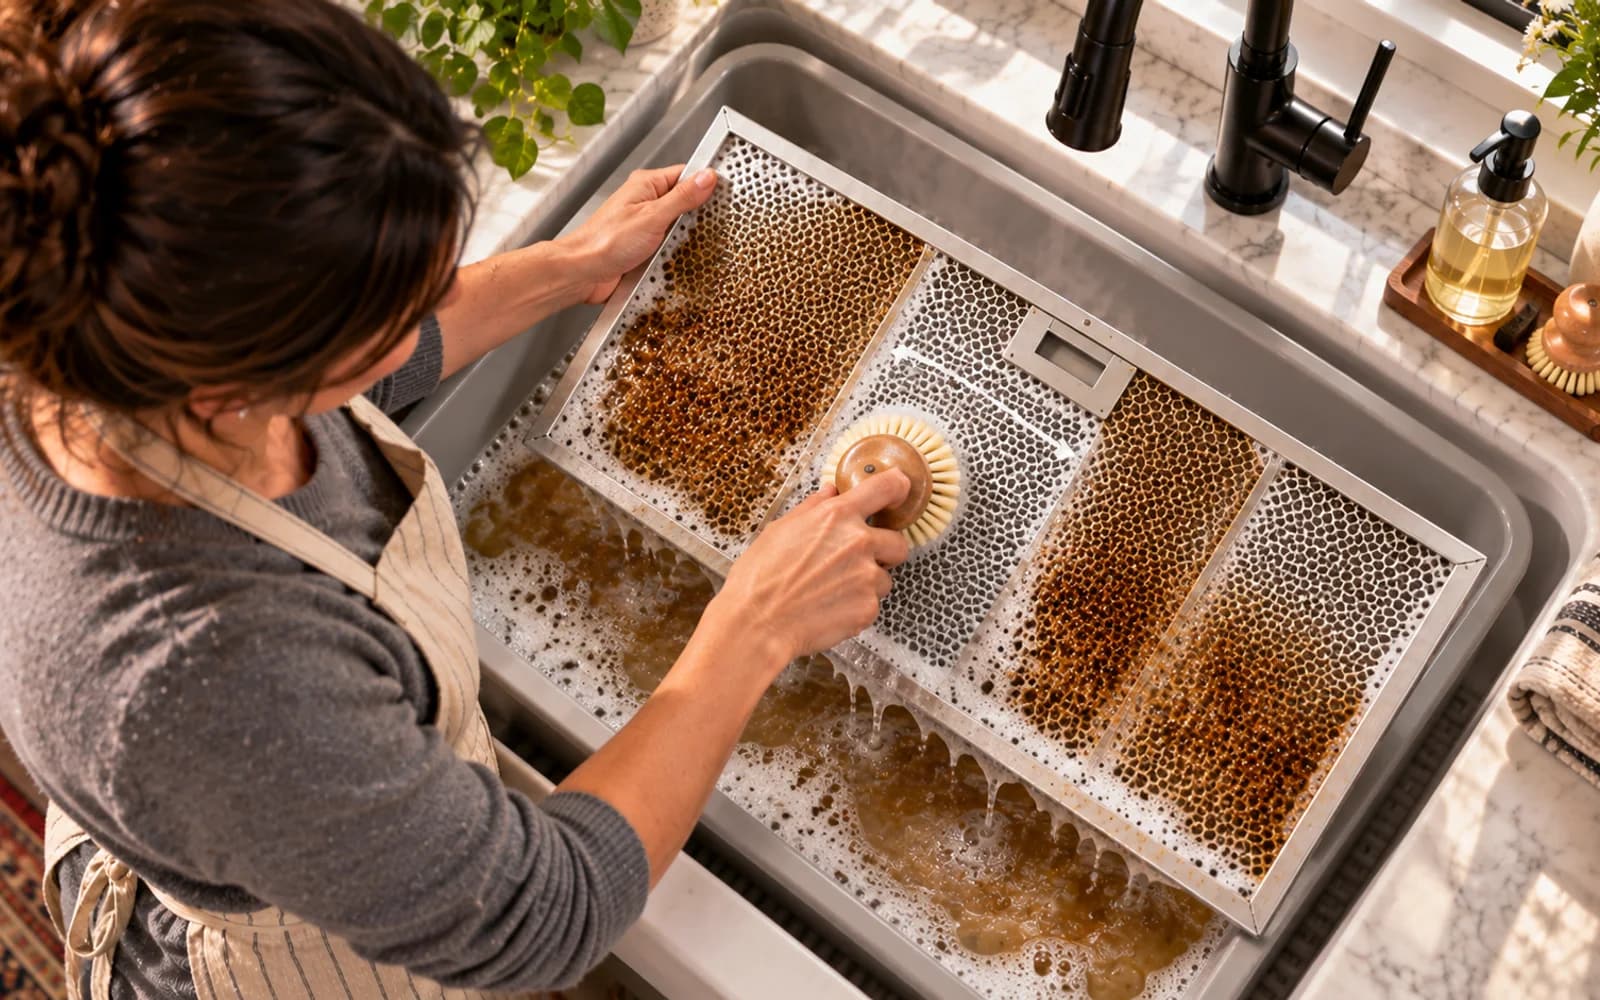
Detail the corners, handle, and latch
Clean around corners, pull handles, tabs, and latch hardware with a small brush. These areas collect both cooking grease and residue from repeated handling. Stabilize the frame with one hand while brushing around moving parts. If a latch feels loose, thin, or fragile, reduce pressure and avoid bending it. A clean filter is not worth damaging the retention mechanism.
Re-soak stubborn spots instead of scraping
If sticky patches remain, put the filter back into the warm detergent solution rather than escalating to steel wool, a scraper, or a harsh abrasive pad. Extra dwell time often softens the residue enough for another light brushing pass. Repeating soak and brush cycles is slower than scraping, but it is much safer for thin mesh and coated metal surfaces.
Replace the water when it turns heavily greasy
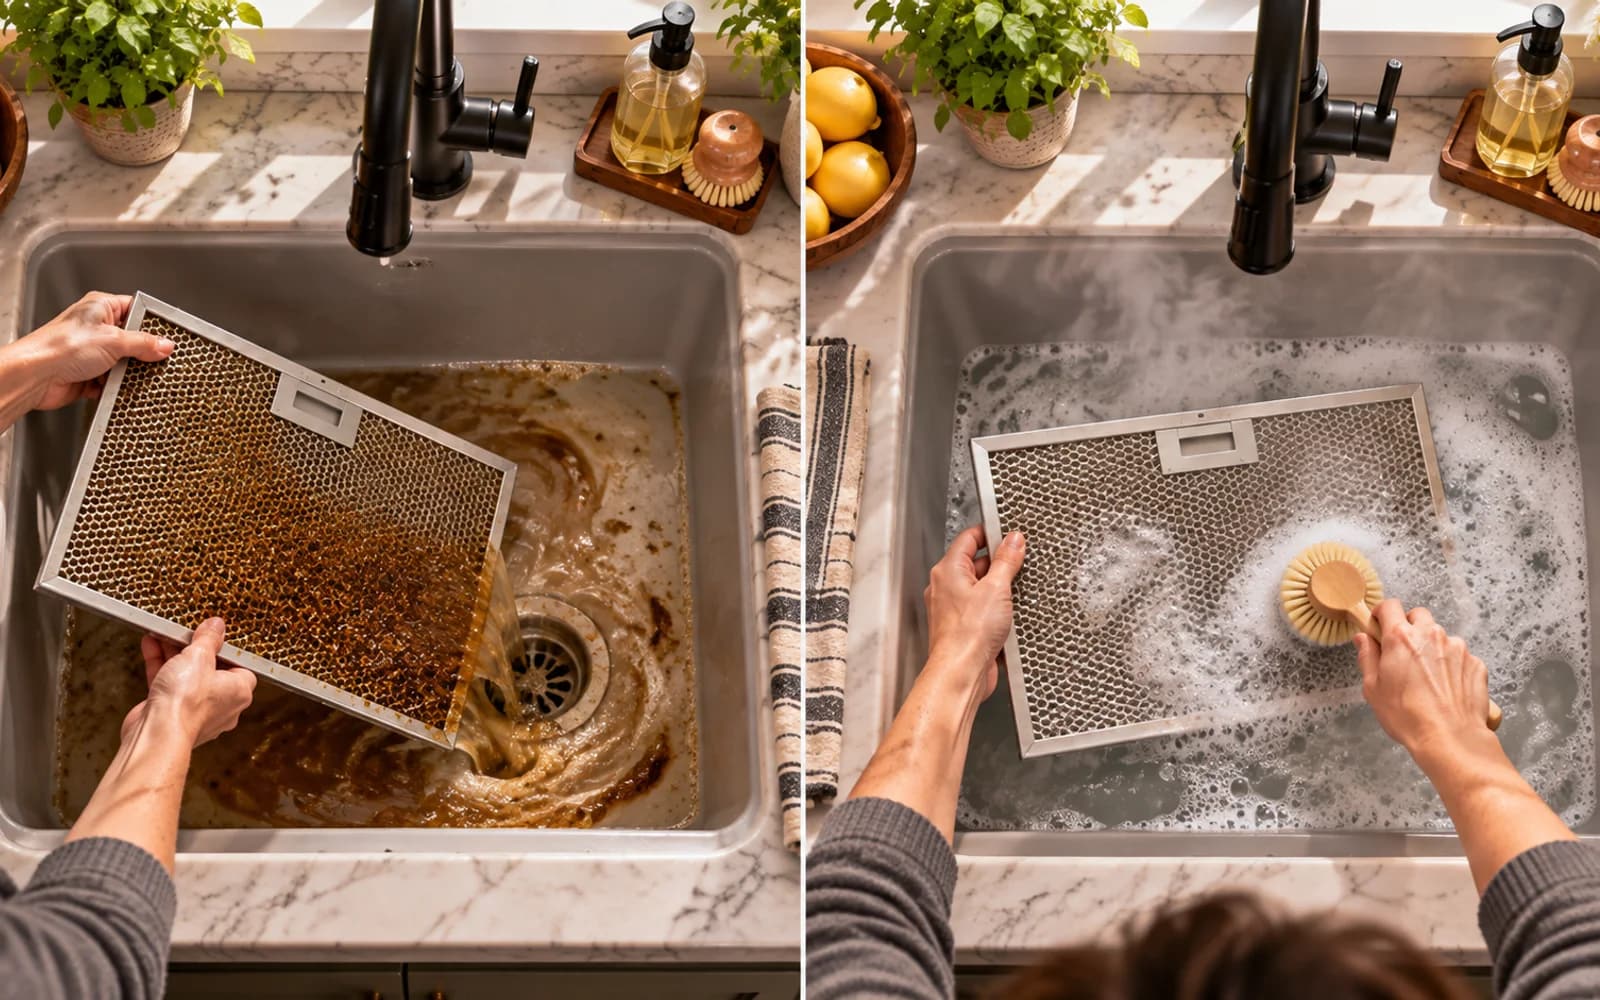
Drain the soak water and prepare a fresh batch if it becomes cloudy, oily, or heavily coated with loosened grease. Extremely dirty water can leave an oily film behind as you continue cleaning. Fresh hot tap water and a small amount of detergent are especially useful for filters that have not been cleaned in a long time or come from heavy frying kitchens.
Rinse the filter thoroughly from both faces
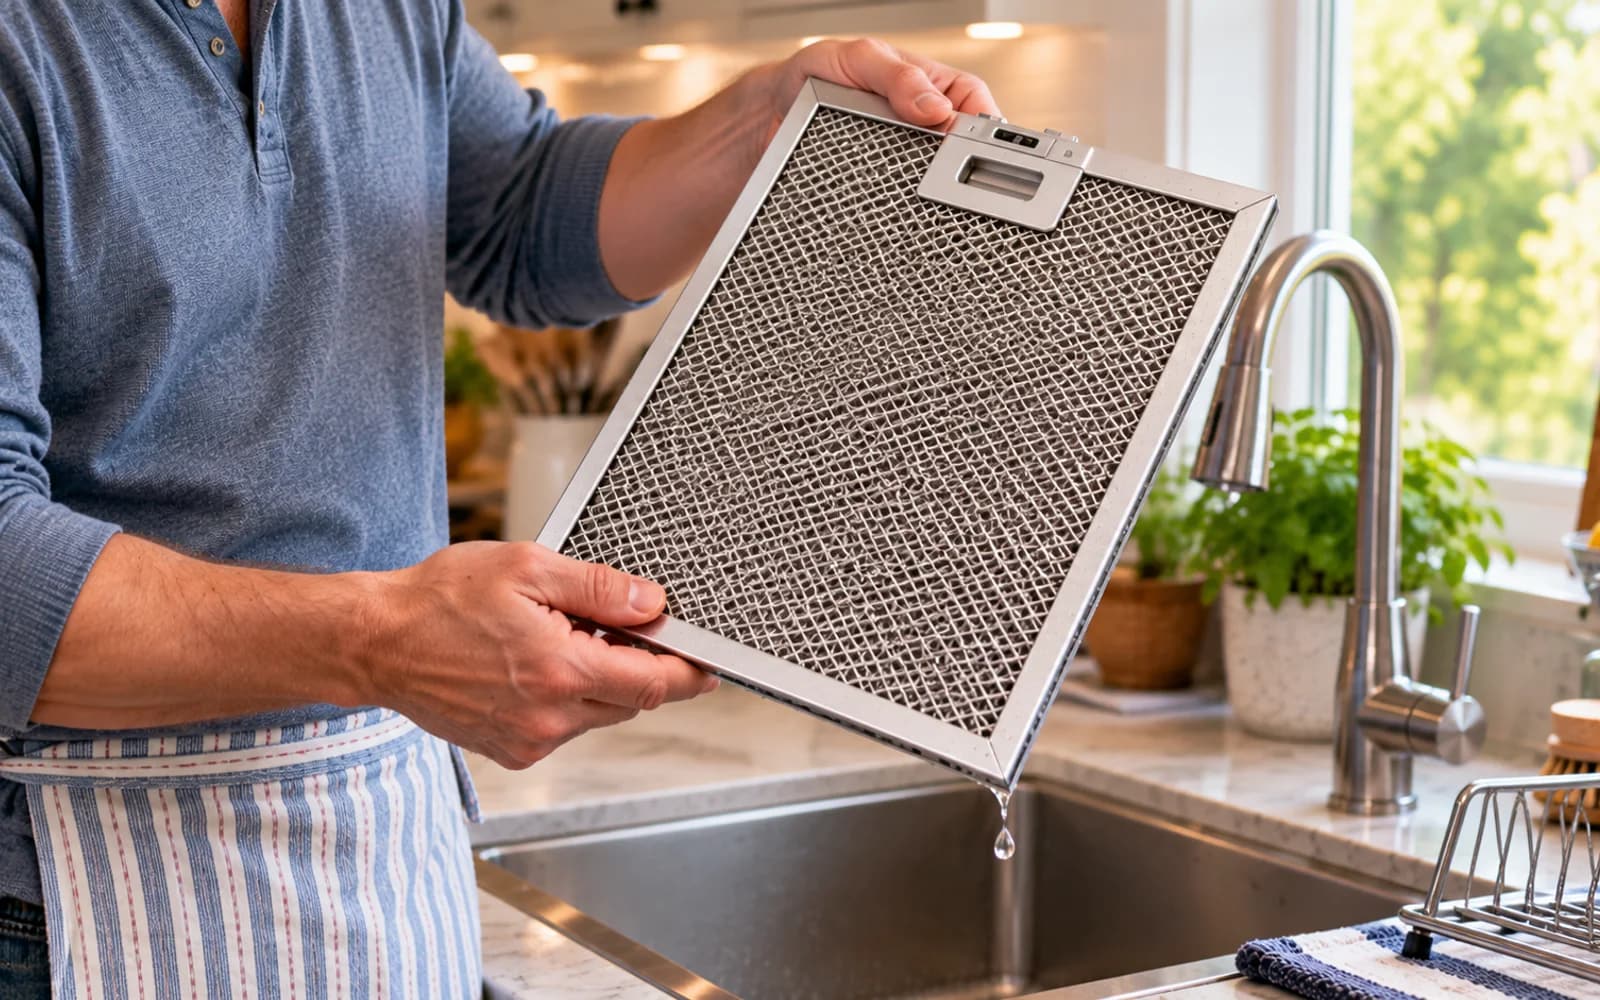
Move the cleaned filter under warm running water and rinse the front and back. Sweep the water stream across the entire mesh so detergent and softened grease can escape from the layered structure. Do not concentrate the stream on one point with excessive pressure. Keep rinsing until obvious suds and greasy runoff have disappeared from both sides.
Use rinse direction to help carry debris outward
When practical, send the rinse water from the cleaner face toward the dirtier face. This can encourage loosened particles to travel back out rather than deeper into the filter layers. Rotate the filter as needed and watch the runoff. Give corners and frame seams extra attention because they often hold residue after the broad mesh area looks clear.
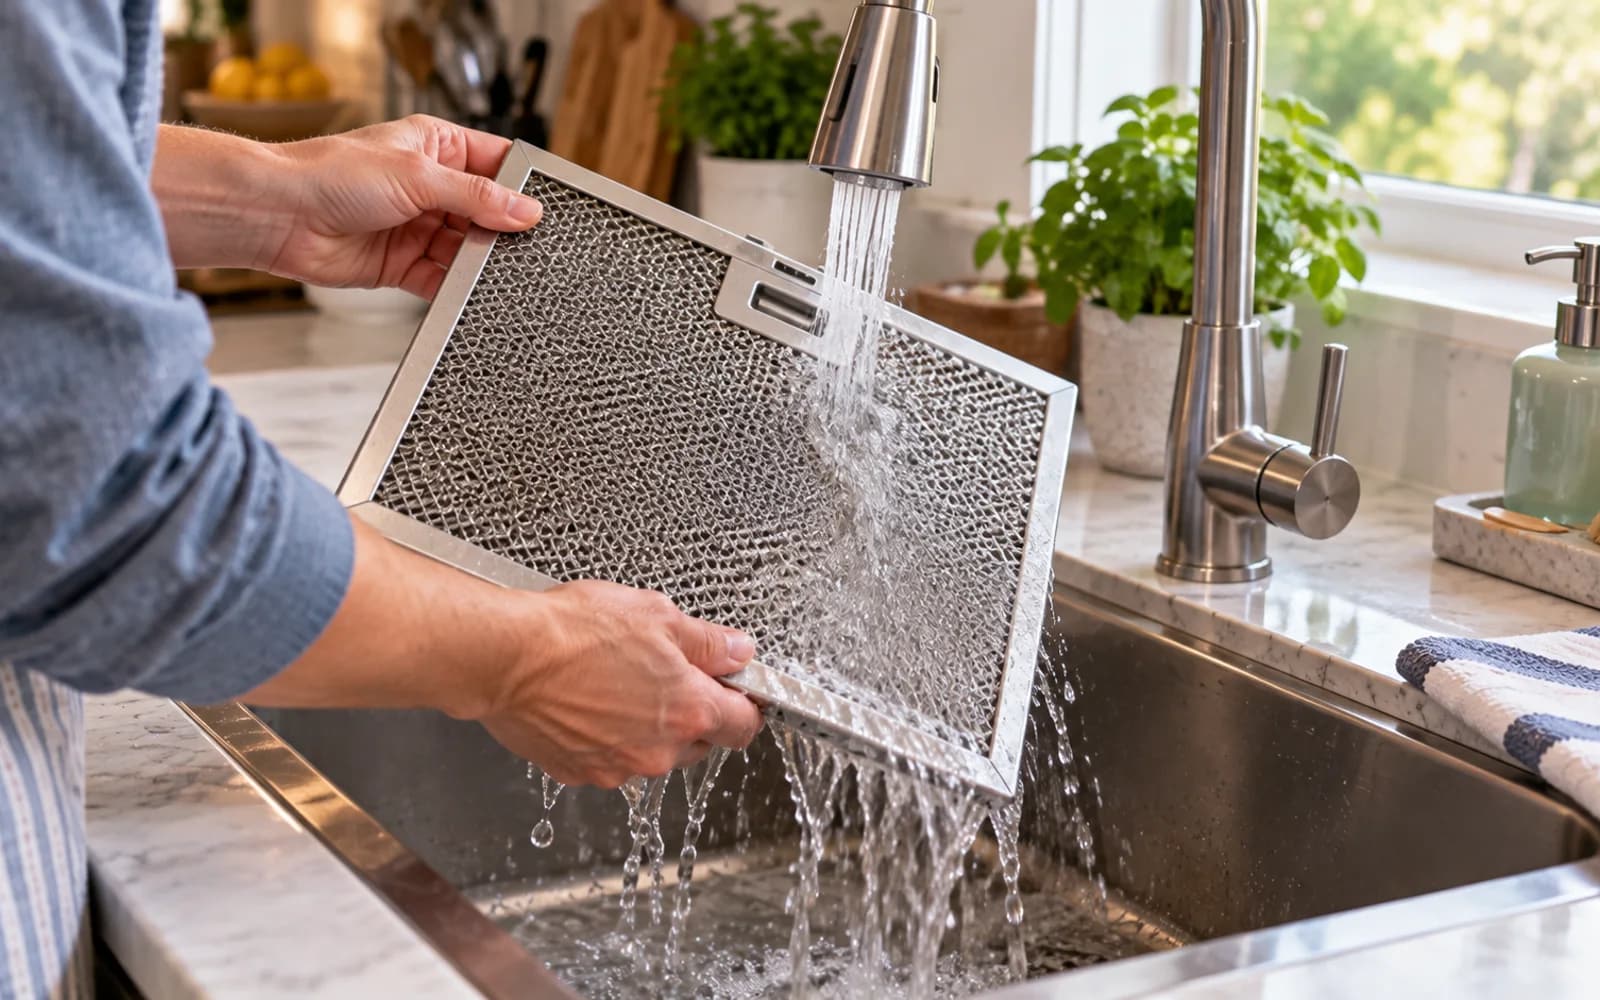
Keep rinsing until the soap is gone
A filter may look clean and still contain detergent between its layers. Check the runoff for foam and touch only the rigid frame to see whether it still feels slippery. If you see suds or feel soap, rinse again. Residual detergent can attract dirt and may leave odor or residue when the hood warms during future cooking.
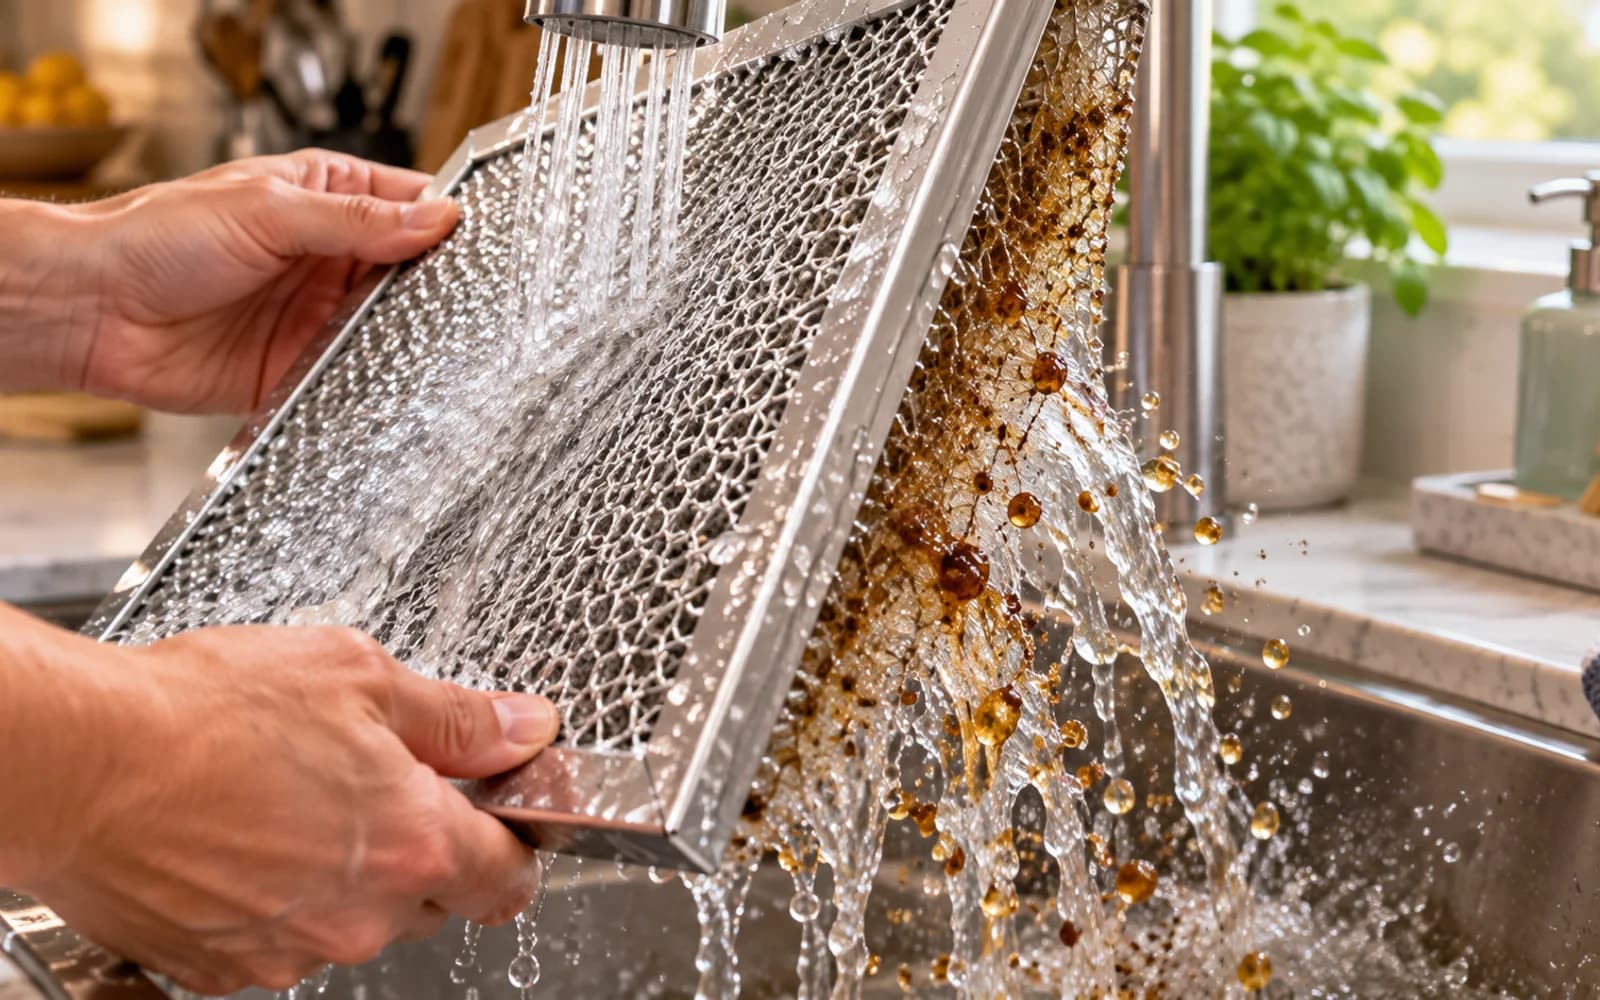
Shake off loose water without flexing the frame
Hold the filter securely by the rigid frame over the sink and give it a few gentle shakes. The purpose is only to remove loose water. Do not whip the filter through the air, bang it against the sink, or twist it to accelerate drying. Thin frames can bend, and a distorted filter may rattle or refuse to seat correctly in the hood.
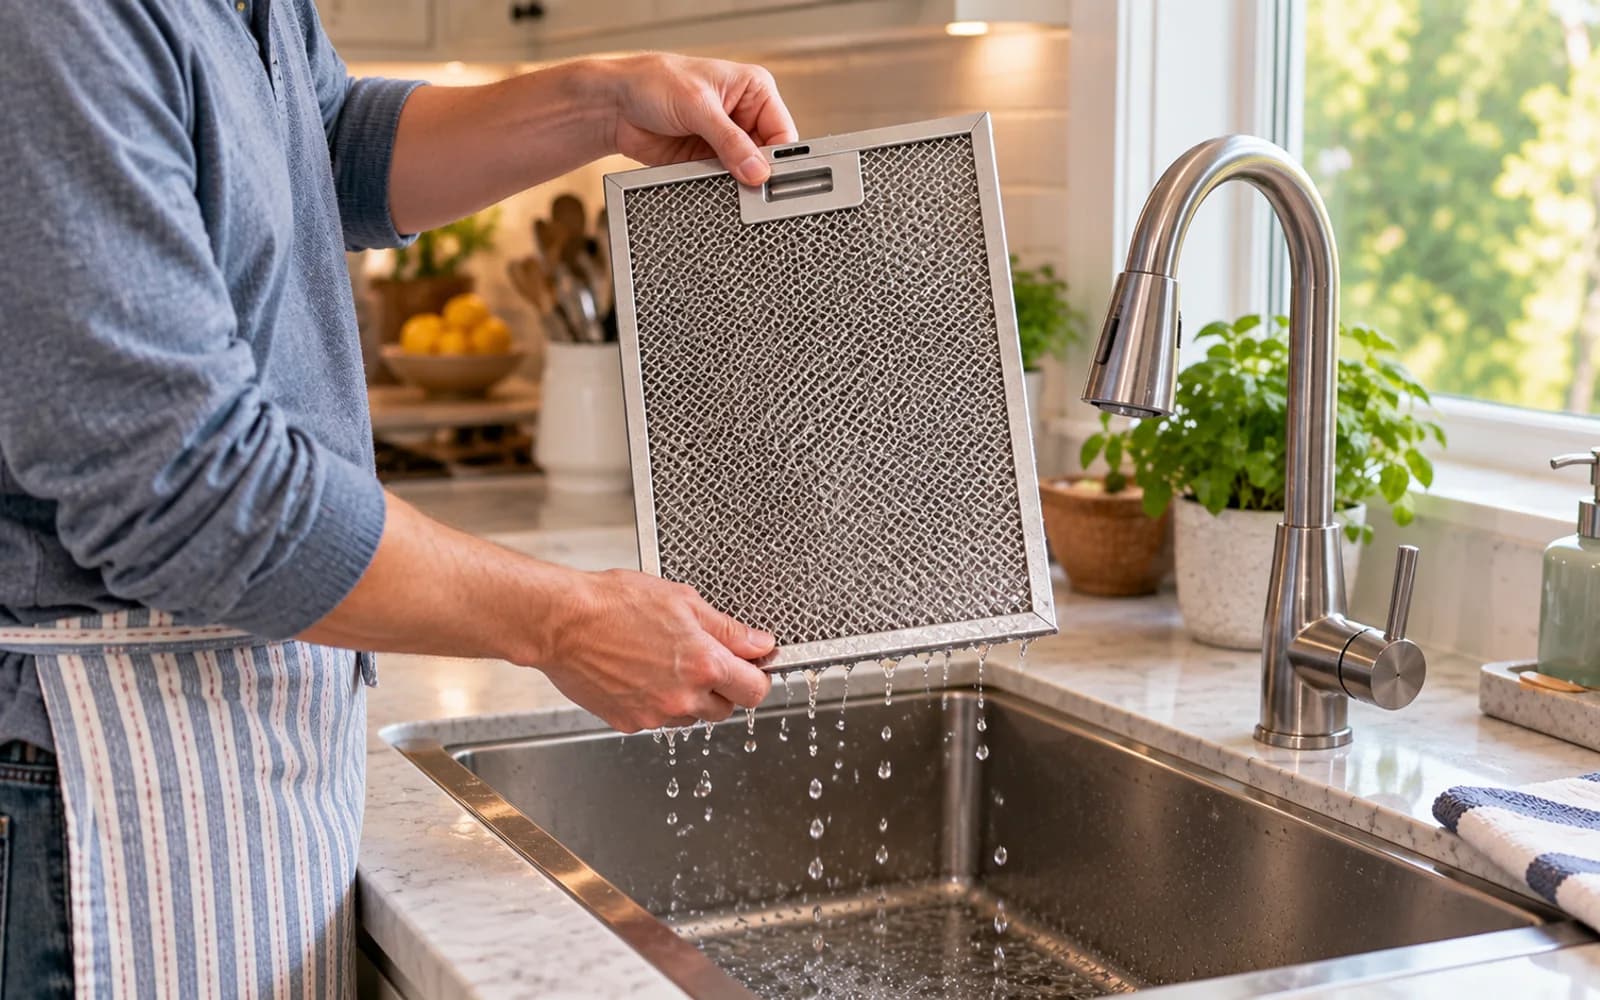
Dry the filter upright with air on both sides
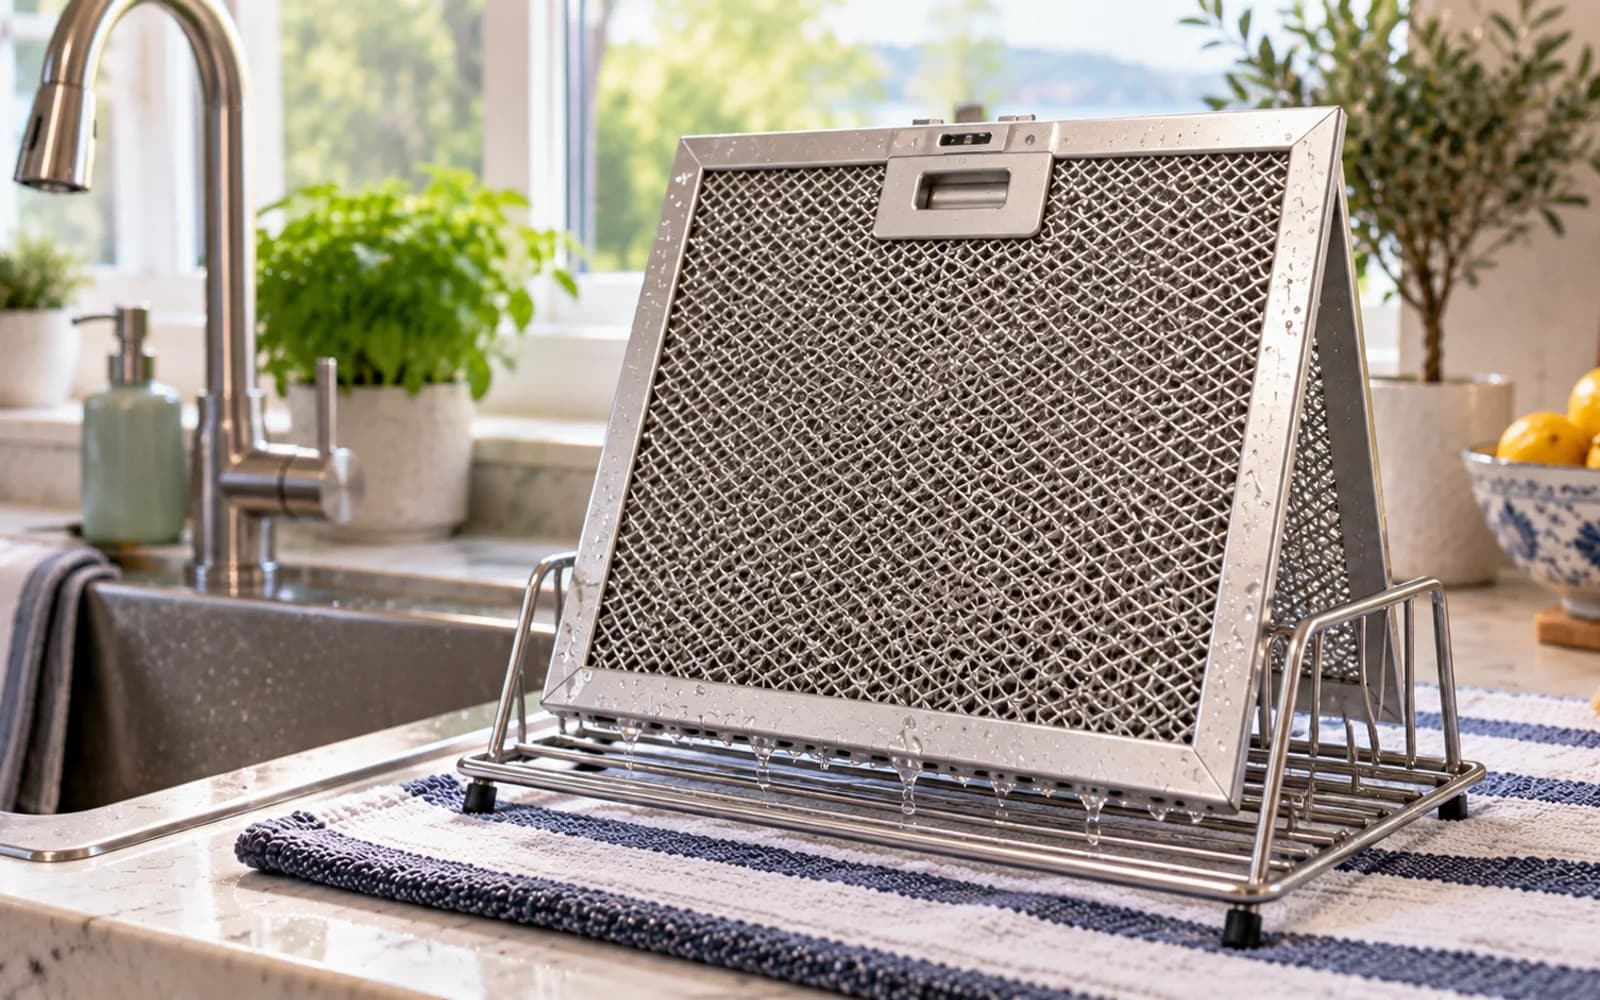
Stand the filter upright on an absorbent towel or drying rack. Leave space for air to reach both faces so water can drain from the layered mesh and frame channels. Wiping the outside is not enough because moisture can remain trapped internally. Air drying takes longer, but it gives hidden water a chance to escape before reinstallation.
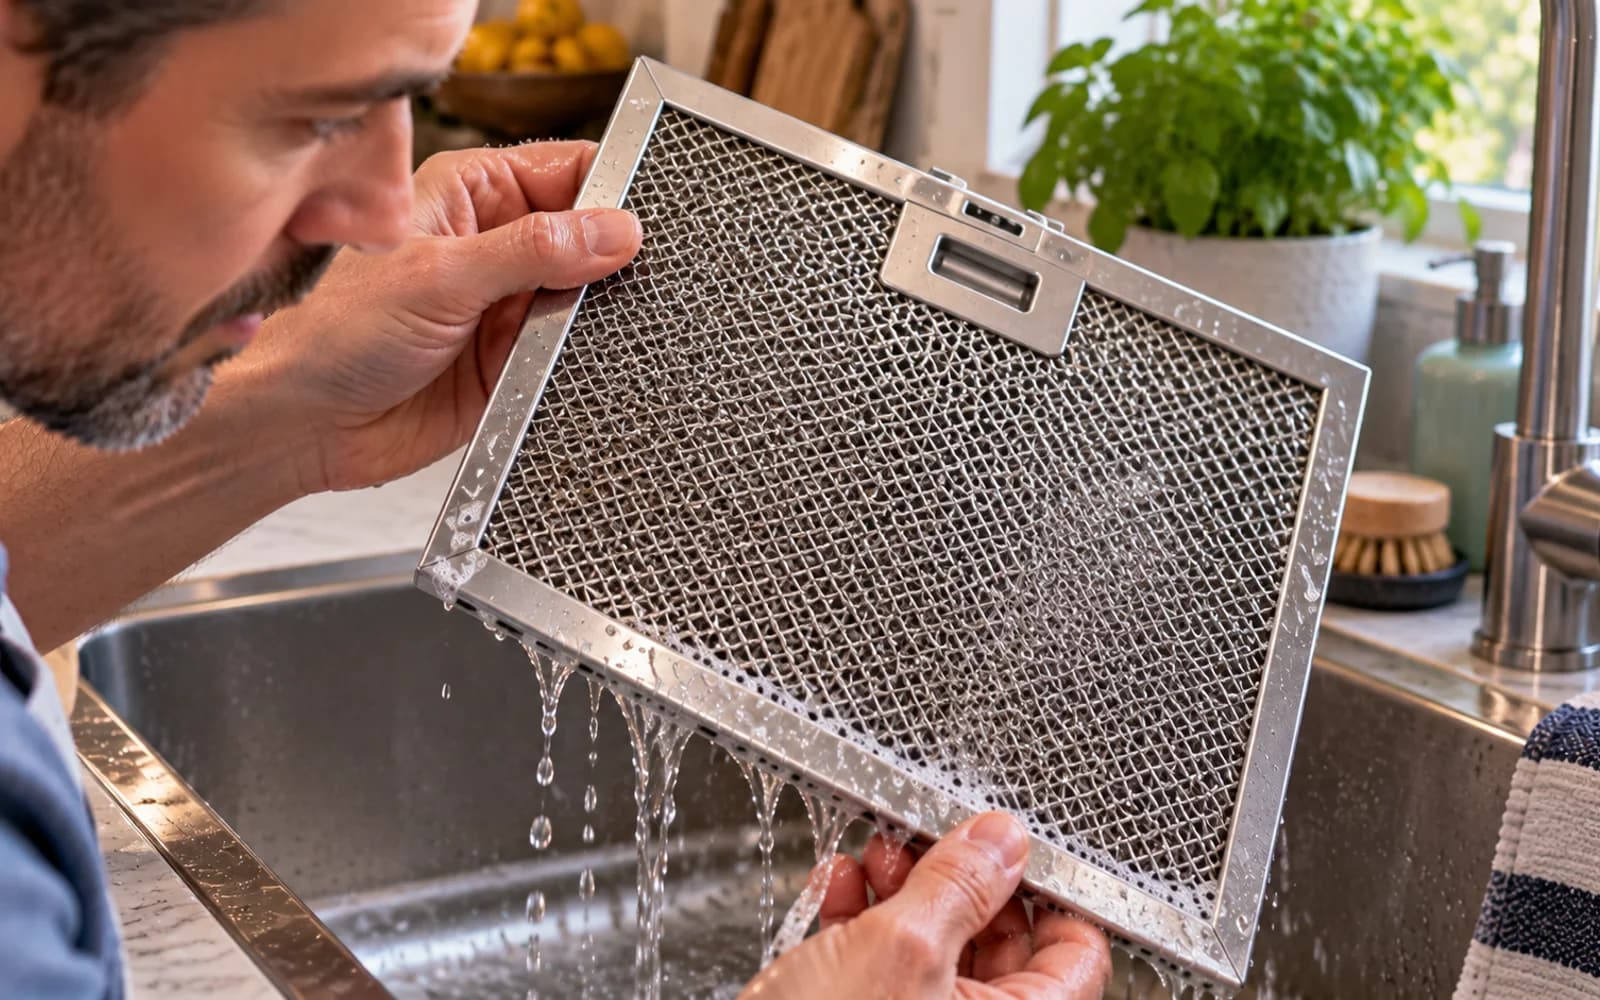
Check for hidden droplets before reinstalling
Tilt the filter in several directions over a dry towel and watch the seams and lower corners. If a droplet appears, return the filter to the rack and keep drying. A filter can feel dry on the outside while still holding moisture inside the frame or mesh. Reinstall only when the filter is completely dry, not merely surface-dry.
Wipe only the accessible hood seating area
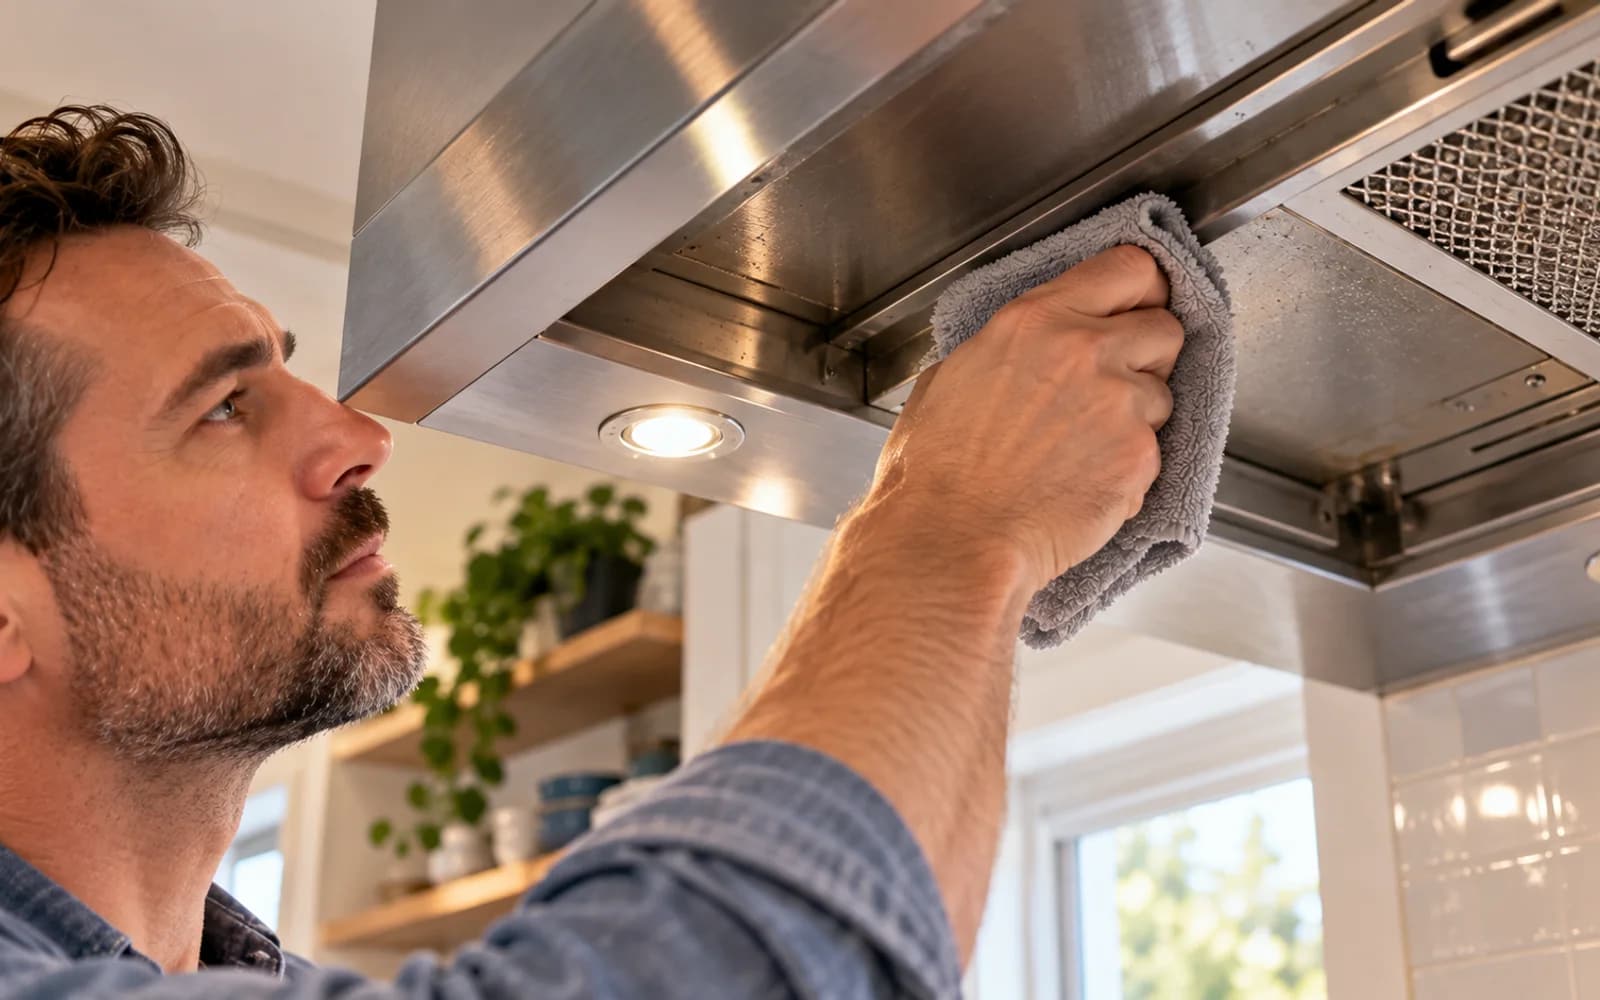
While the filter is out, wipe the exposed outer lip and filter channel with a suitable damp microfiber cloth. Stay with surfaces you can reach easily from the outside. Do not reach into the fan, motor, wiring, or internal electrical components, and do not turn routine filter cleaning into appliance disassembly. Keep moisture away from electrical areas.
Put the dry filter back in the same orientation
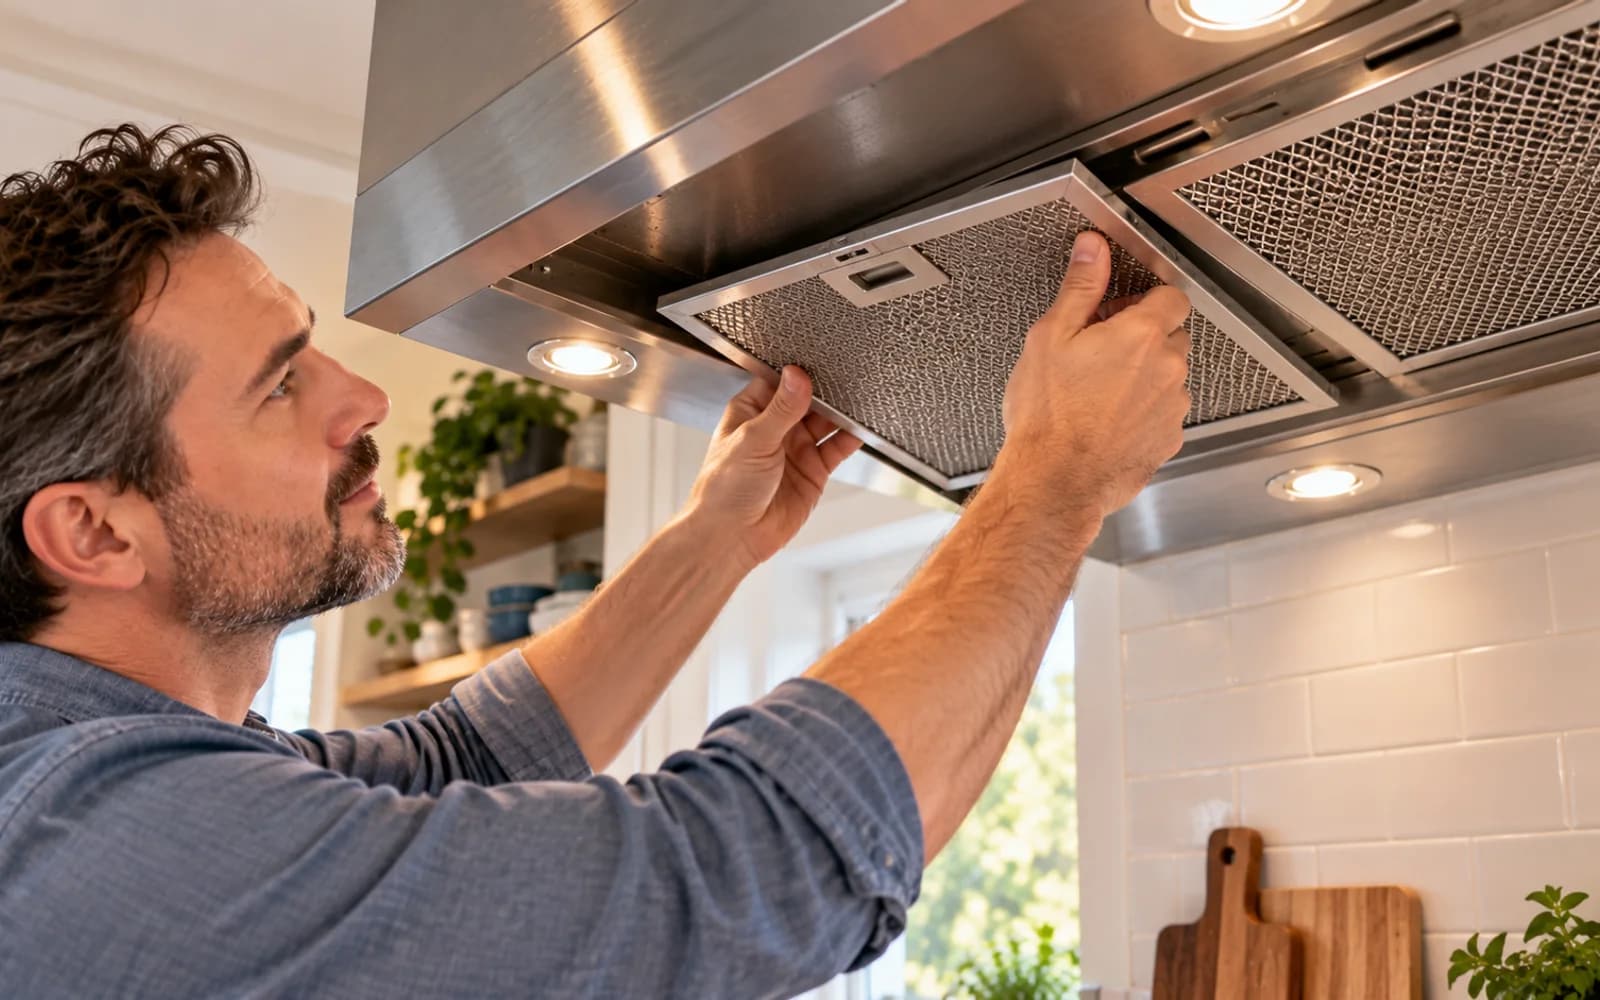
Reinstall the completely dry filter in the orientation you observed before removal. On many hoods, the fixed edge goes into a channel first and the spring tab or latch engages second. Support the frame until it is locked in place. If the filter seems bowed, misaligned, or too tight, stop rather than forcing it into the opening.
Make sure every edge is seated securely
Inspect all sides of the installed filter. It should sit flat across the hood opening, with the latch fully engaged and no corner hanging lower than the others. Give the rigid frame a gentle check for looseness. If it sags or rattles, switch the hood off and correct the installation before using it over active cooking.
Run a basic function check
With the filter dry, secured, and the cooktop clear, switch the hood on briefly and listen. You are checking for obvious rattling, vibration, or movement that suggests the filter is not seated correctly. This is a basic placement check, not a measured airflow test. If anything sounds unusual, turn the hood off and inspect the mounting again.
Set the cleaning interval around how you actually cook
Cleaning frequency should reflect your cooking habits instead of a one-size-fits-all date. Frequent frying, wok cooking, bacon, burgers, and high-heat searing can load a filter quickly. Households that mostly boil, bake, or reheat food may see slower buildup. Combine the manufacturer's guidance with regular visual checks and adjust the interval as your routine changes.

Use practical warning signs for the next cleaning
Check the filter periodically rather than waiting for severe buildup. Darkened mesh, a sticky feel, stale grease odor, visible droplets, or noticeably weaker hood performance are good reasons to inspect it. Catching residue early makes the next cleaning easier because the grease layer is thinner and softer. Regular maintenance also makes it easier to notice damage or a loose latch.

A greasy range hood filter can look like a small housekeeping problem, but it has an important job. Every time you fry bacon, sear a steak, cook burgers, stir-fry vegetables, or use oil over high heat, the hood pulls airborne grease toward the filter. A washable metal filter catches much of that residue inside layers of mesh. Left alone, the grease turns sticky, dark, and increasingly difficult to remove. You may notice a stale smell, oily droplets along the lower edge, a tacky surface, or a filter that simply looks clogged.
The easiest way to deal with that buildup is not aggressive scrubbing. It is controlled softening. Hot tap water and a modest amount of grease-cutting dish detergent can loosen much of the residue before a brush ever touches the mesh. From there, gentle section-by-section cleaning, rinsing from both sides, and complete air drying do the rest. The key is knowing what kind of filter you have and avoiding shortcuts that can damage thin metal layers or expose electrical parts to moisture.
Before you begin, switch off the range hood, make sure the cooktop and nearby surfaces are cool, and check the manufacturer's care instructions. This guide is for reusable metal mesh filters. Do not immerse charcoal, paper-like, fabric-like, or disposable filters unless the manufacturer specifically says they are washable. Reinstall the filter only when it is completely dry.
Where people go wrong
Soaking the wrong type of filter. The biggest error is assuming every range hood filter can go into water. Charcoal, paper-like, fabric-like, and disposable filters may be damaged by soaking and often need replacement. Confirm the filter material and read the manufacturer's care instructions before you immerse anything.
Using boiling water or aggressive chemicals. Very hot water, bleach, oven cleaner, abrasive powders, and other strong products can be unnecessary and may damage finishes or components. Hot tap water plus a modest amount of dish detergent is the safer starting point unless your appliance manufacturer approves something else.
Scrubbing harder instead of soaking longer. Steel wool, metal scrapers, harsh abrasive pads, and heavy pressure can flatten mesh, scratch surfaces, or bend lightweight frames. When grease remains stubborn, return the filter to warm detergent solution and give it more dwell time before brushing again.
Forcing a stuck filter out of the hood. A filter that does not release easily may still be engaged in a retaining channel or latch. Twisting and pulling can bend the frame. Support the filter, identify the release method, and consult the manual if the mounting system is unfamiliar.
Rinsing only the visible side. Detergent and softened grease can remain between mesh layers even when the front looks clean. Rinse both faces thoroughly and continue until the runoff is clear and no longer foamy or slippery.
Reinstalling before the filter is completely dry. Surface drying is not enough. Water can hide inside the mesh and frame channels. Stand the filter upright with airflow on both sides, then tilt it over a dry towel to check for hidden droplets before reinstalling it.
Cleaning inside electrical areas. Removing the filter does not make the motor, fan wiring, or internal electrical components a routine cleaning zone. Wipe only the easily accessible hood lip and filter seating area unless the manufacturer provides a specific maintenance procedure.
Questions people ask
There is no single interval that fits every kitchen. A household that frequently fries, sears, cooks bacon, makes burgers, or uses a wok may need to inspect and clean the filter much more often than one that mostly boils, bakes, or reheats food. Follow the hood manufacturer's guidance, then adjust based on what you actually see and smell. Tackiness, darkened mesh, stale grease odor, droplets, or a noticeable change in hood performance are practical signs that cleaning should move up the schedule.
Fixed it?
Get one guide like this every Thursday.