How to Clean Sticky Grease Around Kitchen Cabinet Handles Without Damaging the Finish
Get rid of sticky grease, fingerprints, and grime around kitchen cabinet knobs and pulls using mild dish soap, microfiber cloths, and gentle cleaning techniques that protect cabinet finishes.

What you’ll need
Tap to tick things off before you start.
Spot the Sticky Grease Around Cabinet Handles
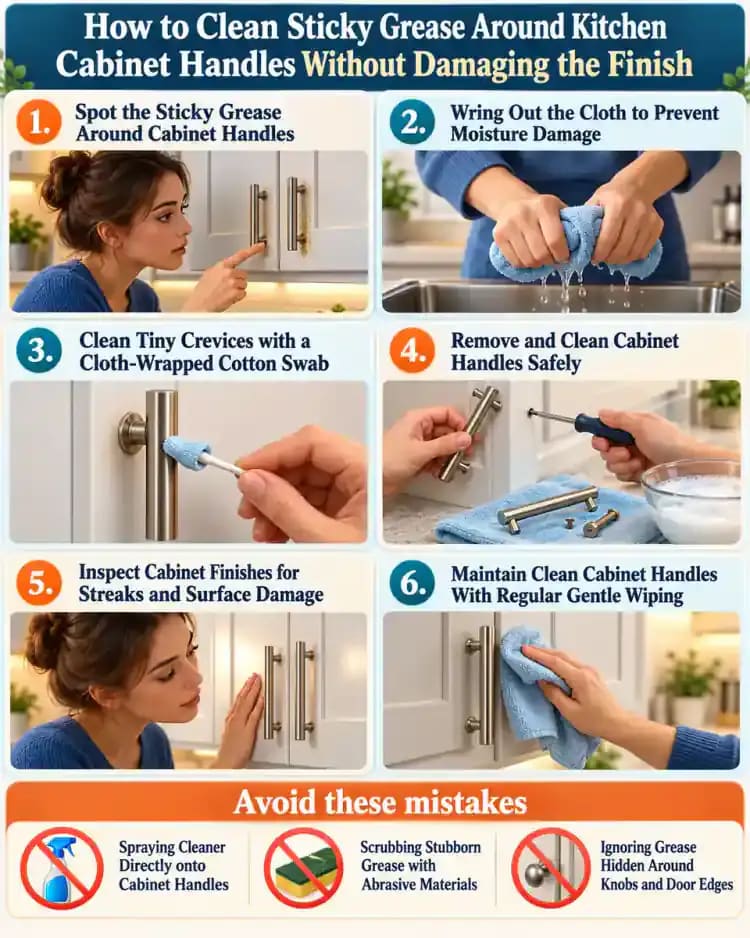
Look closely at the brushed nickel handle and the surrounding cabinet door, especially where the hardware meets the surface. The shiny yellowish film, oily fingerprints, and darker residue along the handle base are common signs of accumulated cooking grease and hand oils. Check the narrow gaps around the mounting points and the frequently touched door edge. Identifying these trouble spots helps you focus your cleaning without unnecessarily wetting the entire cabinet.
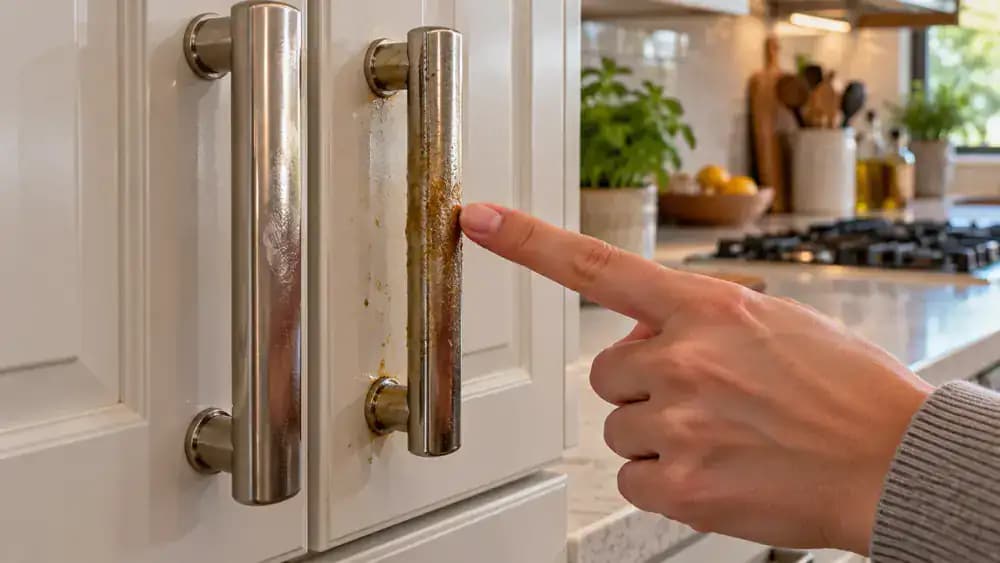
Locate Grease Buildup Around Knobs and Door Edges
Open the cabinet door gently and inspect the areas your fingers touch most often. Look underneath each knob, around its circular mounting base, and along the vertical door edge for greasy fingerprints and sticky residue. Pay particular attention to tight corners where grime can accumulate unnoticed. Check these areas from different angles under good lighting so you can target the buildup later without scrubbing clean or delicate surfaces unnecessarily.
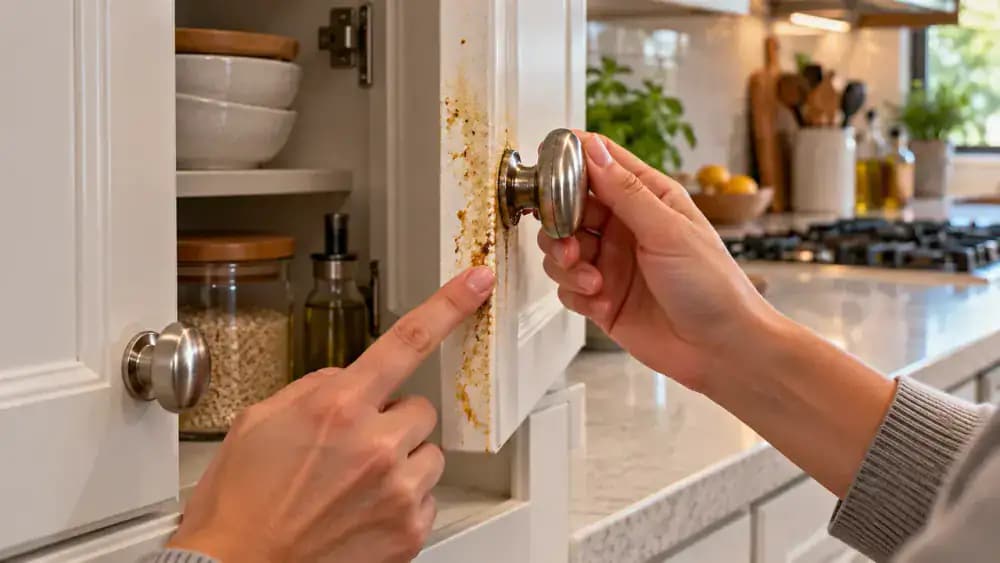
Identify Cabinet Surfaces and Hardware Finishes
Examine the cabinet door, exposed edges, and handle to identify the materials before choosing a cleaner. The thin wood veneer and antique brass cup pull shown here may require different care than painted wood, laminate, or chrome hardware. Review the manufacturer's cleaning recommendations, especially for older cabinets. Pay attention to exposed edges and seams, where moisture can cause damage. When uncertain, test your cleaning solution on a hidden area first.
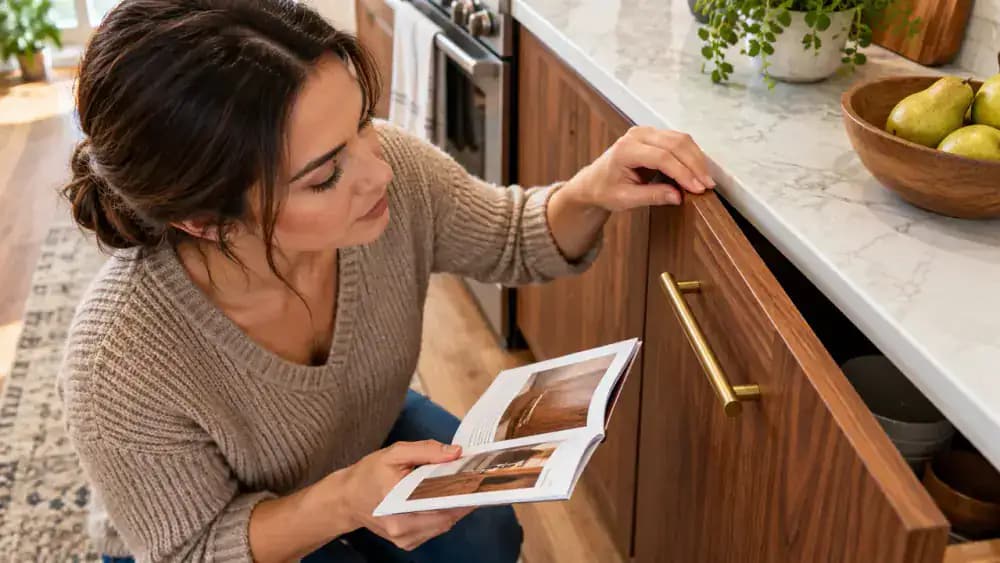
Prepare Gentle Cleaning Supplies for Greasy Cabinets
Arrange three clean microfiber cloths, a bowl with about 2 cups of warm water, mild dish soap, a soft detailing brush, and several cotton swabs on your countertop. Keep a separate dry towel away from the water so it stays ready for immediate drying. Set aside abrasive sponges, stiff brushes, and strong degreasers unless the cabinet manufacturer approves them. Having everything within reach helps prevent accidental spills and excessive moisture.
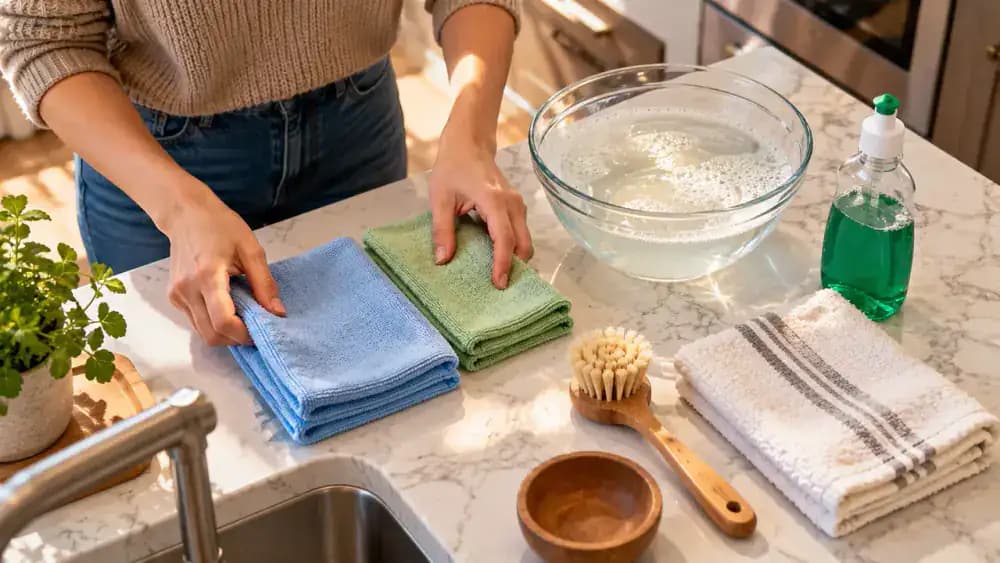
Test the Cleaner on a Hidden Cabinet Surface
Choose an inconspicuous finished spot inside a cabinet door, away from hinges, screw holes, and seams. Lightly dampen a clean microfiber cloth with diluted mild dish soap and gently wipe a small area. Immediately dry the spot with a separate cloth, then inspect it under good lighting for discoloration, softened paint, or changes in sheen. If you notice any damage or unusual changes, stop and consult the manufacturer's care instructions.
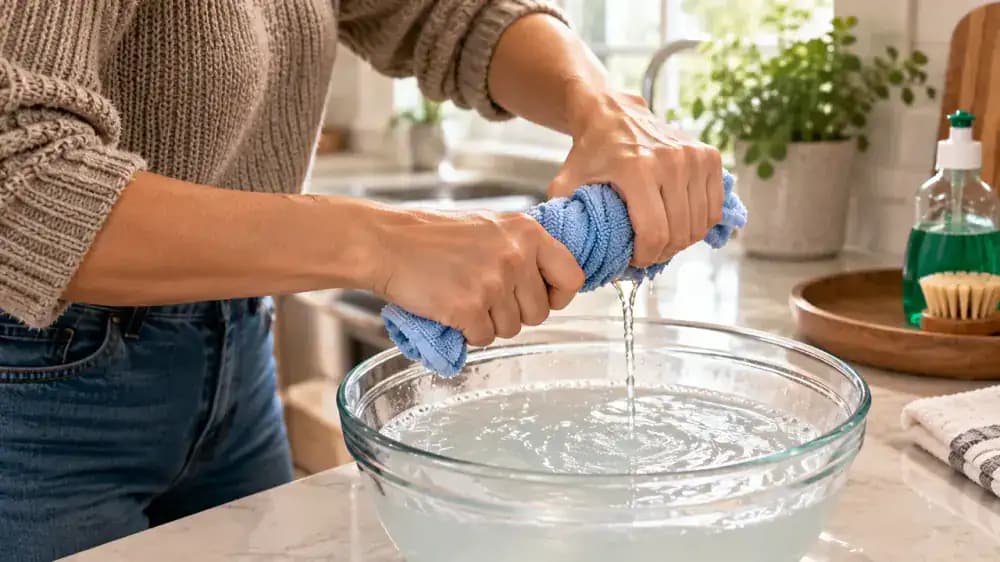
Wring Out the Cloth to Prevent Moisture Damage
Dip a clean microfiber cloth into your tested, manufacturer-approved cleaning solution, then wring it out thoroughly over the bowl. The cloth should feel barely damp, with no water dripping when squeezed. Hold it near the greasy cabinet handle without touching screw holes or exposed edges. Never spray cleaner directly onto the hardware or cabinet. Excess liquid can seep into seams, causing swelling, staining, or damage to delicate finishes.
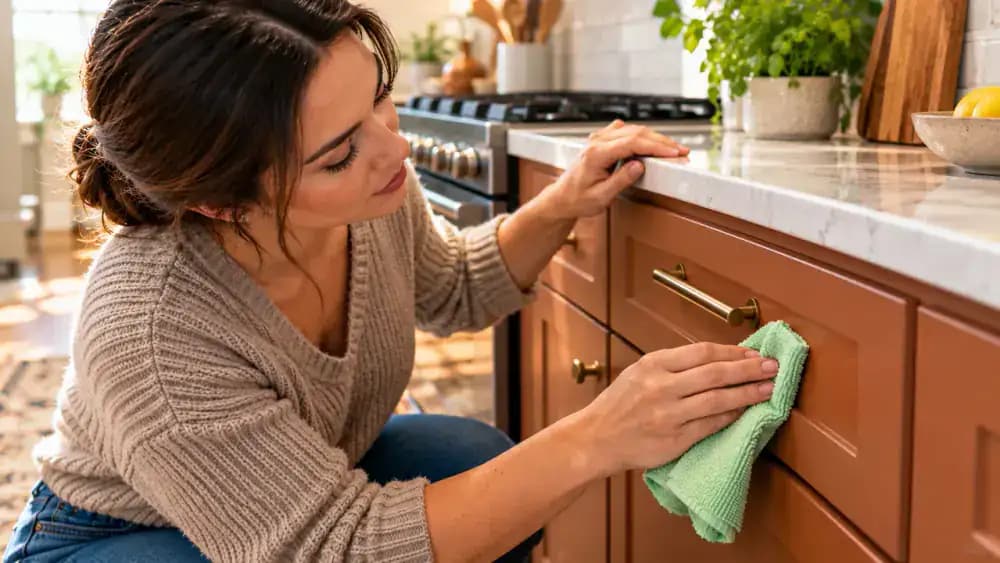
Loosen Sticky Grease with Gentle, Controlled Wipes
Place your barely damp microfiber cloth against the greasy cabinet surface and wipe with short, gentle strokes, moving from the outer edge of the buildup toward the handle. Let the diluted mild dish soap loosen the sticky residue instead of scrubbing aggressively. Make several light passes as needed, using a clean section of cloth when it becomes dirty. Stop before reaching mounting holes or seams to prevent moisture from entering.
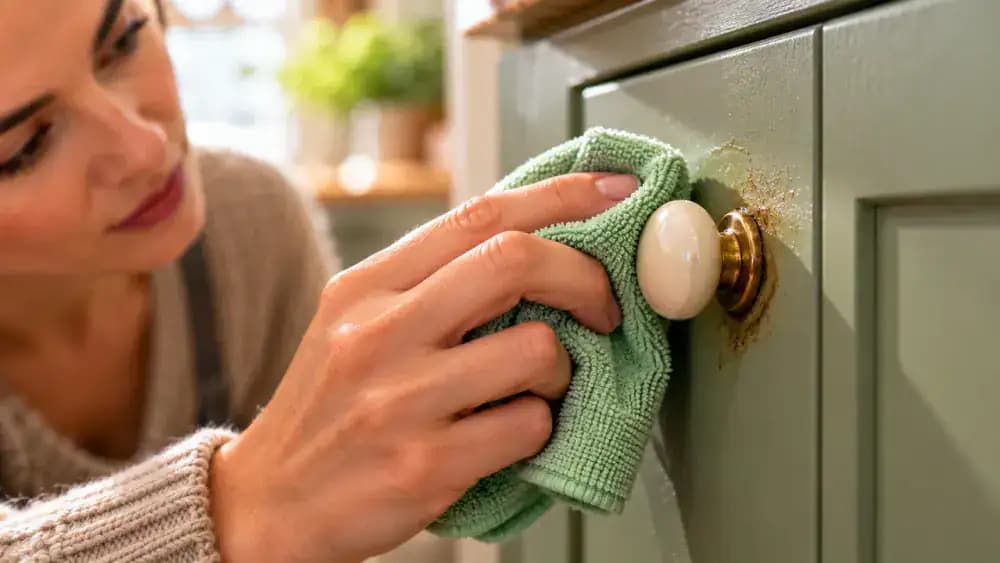
Clean the Greasy Ring Around Cabinet Knobs
Fold a barely damp microfiber cloth into a narrow, firm edge and gently guide it around the circular base of the cabinet knob. Work in short sections to lift the greasy ring without pushing moisture into the mounting seam. Rotate the cloth to a clean section whenever residue transfers onto the fabric. Immediately follow each cleaned section with a dry microfiber cloth to prevent moisture from collecting around the hardware.
Wipe Hidden Grease From Under Cabinet Pulls
Wrap a clean section of barely damp microfiber cloth around your index finger and gently slide it along the underside of the cabinet pull. Follow the handle's shape using short, controlled strokes to lift sticky fingerprints and grease. Rotate the cloth whenever residue transfers onto the fabric. Avoid forcing the cloth into narrow mounting gaps at either end. Finish by wiping the accessible metal surface with a separate dry microfiber cloth.
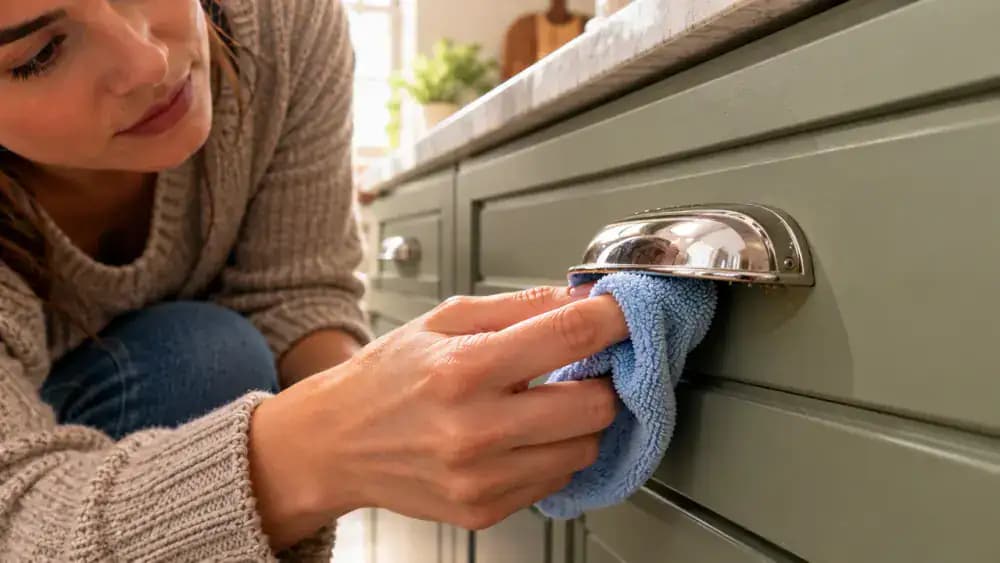
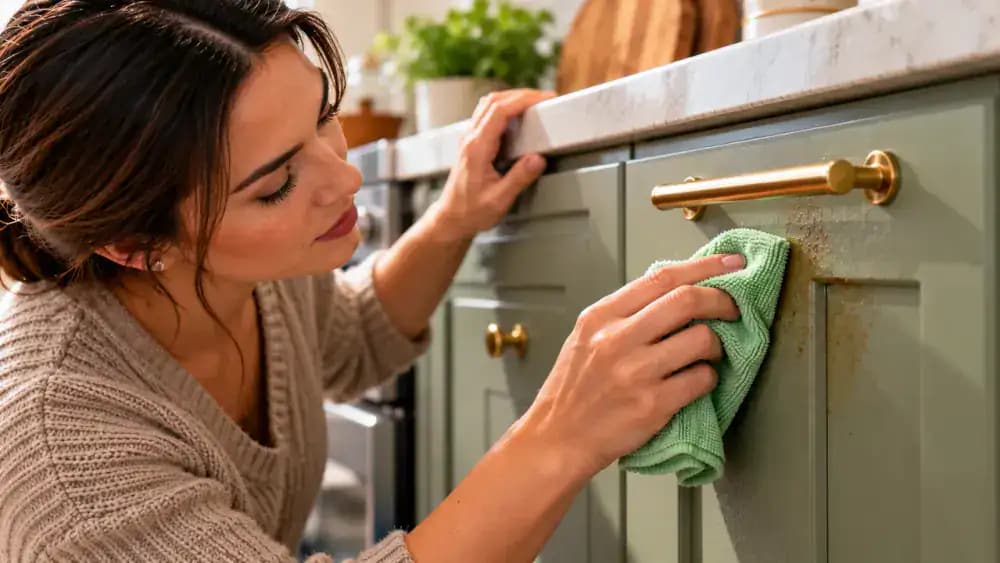
Remove Stubborn Grease Without Scratching the Finish
Fold a fresh microfiber cloth into a soft, cushioned pad and lightly dampen it with your previously tested cleaning solution. Gently wipe the stubborn grease patch using several short passes without applying extra pressure. Lift the cloth between passes to check whether the residue is loosening, then promptly dry the surface with a separate cloth. Avoid scraping with metal tools or abrasive pads, which can permanently scratch or dull delicate cabinet finishes.
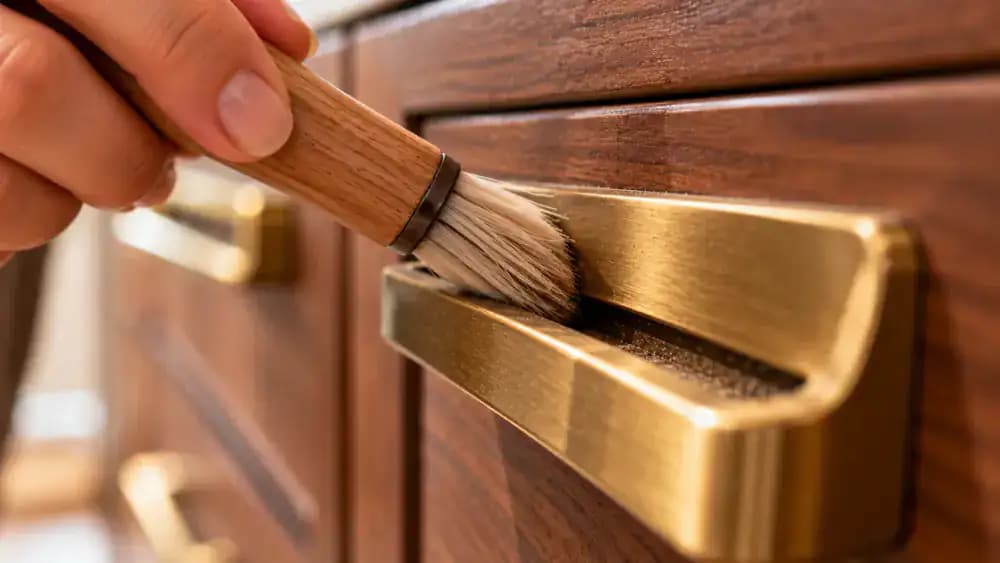
Brush Grease Out of Narrow Cabinet Handle Gaps
Use a small, completely dry detailing brush with soft bristles to loosen grease and debris trapped along accessible handle grooves. Gently sweep outward using short, controlled strokes, directing residue away from mounting points rather than pushing it deeper into the gaps. Keep the brush tip near the exposed edges without forcing bristles into seams. Once debris collects on the cabinet surface, carefully lift it away with a clean, dry microfiber cloth.
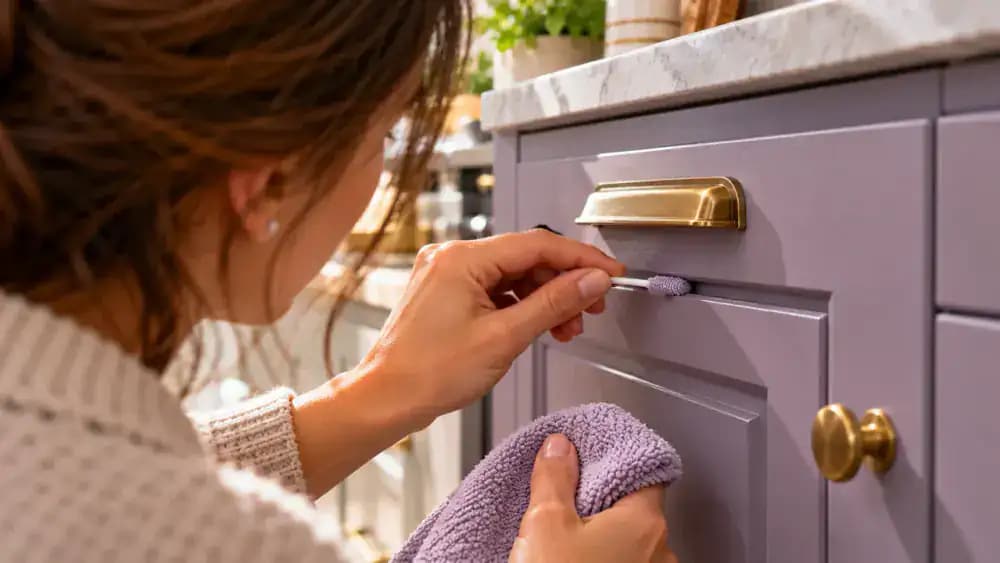
Clean Tiny Crevices with a Cloth-Wrapped Cotton Swab
Wrap a thin strip of clean microfiber cloth around a cotton swab to create a soft tool for reaching narrow decorative grooves. Keep the tip dry or barely damp, following your cabinet manufacturer's care instructions. Gently trace the accessible groove around the knob using short strokes, lifting grease outward without entering the mounting seam. Replace the cloth when dirty, then immediately dry the cleaned edges with a fresh microfiber cloth.
Lift Away Loosened Grease Without Spreading It
Fold a clean, completely dry microfiber cloth into a narrow edge and gently lift the loosened grease from the cabinet surface near the handle. Use small dabbing motions followed by short outward wipes to avoid spreading residue across the finish. Turn to a fresh section of cloth whenever grease transfers onto the fabric. Check nearby corners for remaining particles, keeping the cloth away from mounting seams and avoiding unnecessary rubbing.
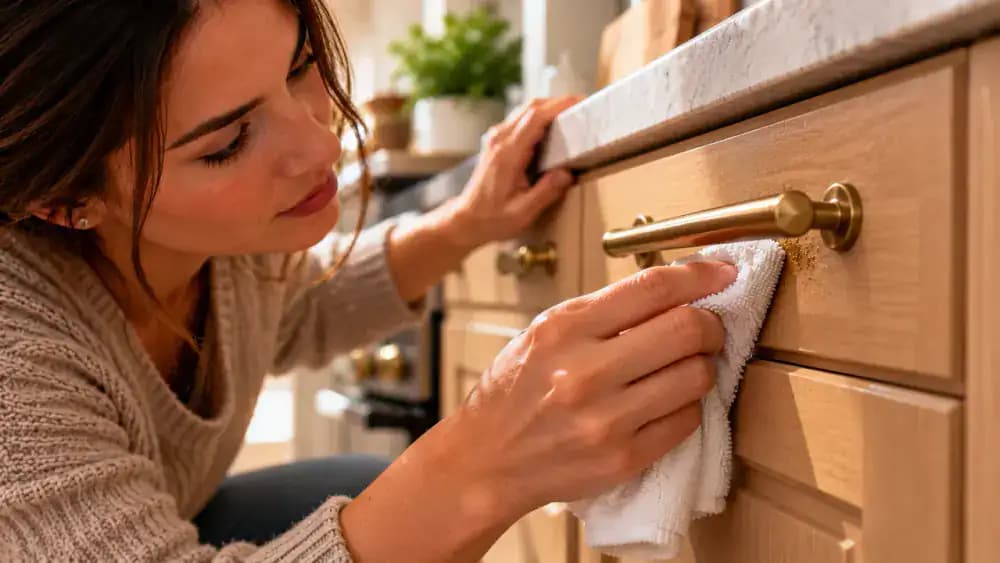
Remove Sticky Grease From Cabinet Door Edges
Partially open the cabinet door to expose the finished vertical edge where greasy fingerprints collect. Fold a barely damp microfiber cloth over your fingertip and gently wipe downward using short, controlled strokes. Focus on frequently touched areas near the handle, turning the cloth when it becomes dirty. Avoid exposed wood, adjoining seams, and unfinished corners. Immediately follow with a separate dry microfiber cloth to absorb any remaining moisture.

Clean Greasy Fingerprints From Cabinet Corners
Inspect the upper corners and recessed panel borders for oily fingerprints and thin grease deposits. Lightly dampen a clean microfiber cloth with your previously tested cleaning solution, then gently wipe the finished painted surfaces using short outward strokes. Move residue away from panel joints rather than pushing it into narrow seams. Pay extra attention to frequently touched corners, and immediately dry each cleaned area with a separate cloth to prevent moisture damage.
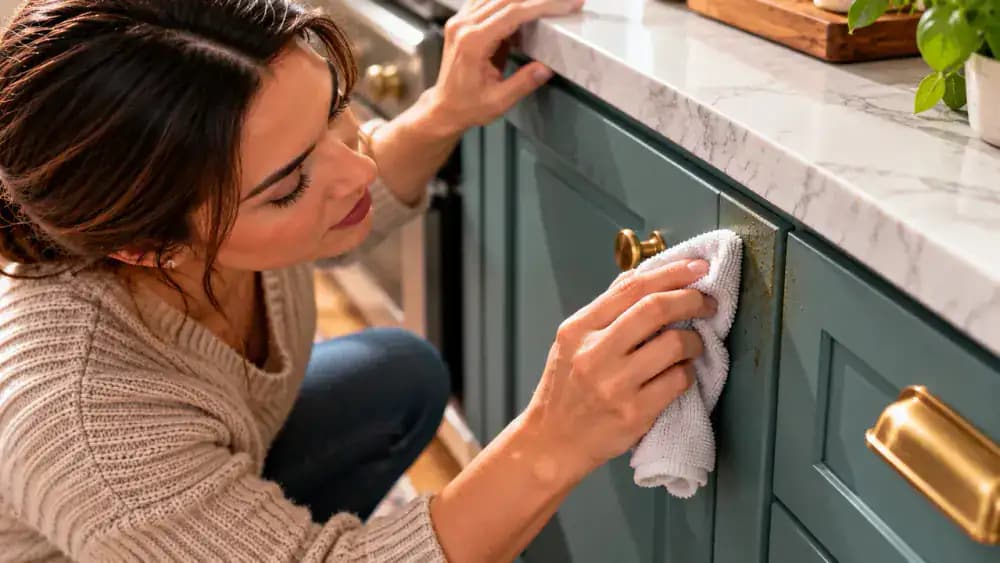
Inspect Cabinet Seams and Hardware for Trapped Moisture
Shine a small flashlight at a shallow angle along recessed panel joints, cabinet corners, and handle mounting points to spot lingering moisture. If you notice dampness on an accessible finished surface, gently absorb it with the dry corner of a microfiber cloth. Check around the handle base without loosening the hardware or pushing fabric into narrow gaps. If moisture remains trapped inside a joint, stop cleaning and avoid adding more liquid.
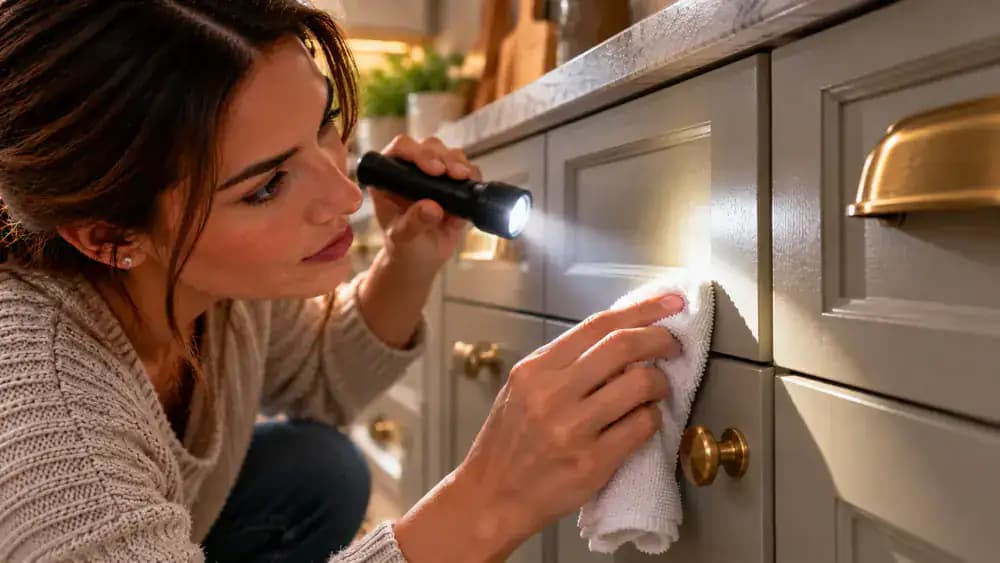
Check Whether Cabinet Handles Need to Be Removed
Open the cabinet door and inspect how the knob or pull is secured, checking the accessible interior screw and exterior hardware without loosening either. Consult the manufacturer's installation instructions to understand whether safe removal and reinstallation are possible. Gently check that the handle feels secure. Most cabinet hardware can be cleaned while attached, so leave it in place unless removal is necessary and you can reinstall it securely without damaging the cabinet.

Remove and Clean Cabinet Handles Safely
If the manufacturer permits removal and you can reinstall the handle securely, support it while carefully loosening the interior screws with a correctly sized screwdriver. Place the screws in a small parts tray and lift the handle away without scraping the cabinet. Wipe the detached hardware with a barely damp, finish-compatible microfiber cloth and mild cleaning solution. Avoid soaking it, dry all surfaces thoroughly, and keep cabinet mounting holes completely dry.

Reinstall Cabinet Handles Without Damaging the Finish
Position the completely dry handle against the cabinet door, carefully aligning its posts with the original mounting holes. Support the handle while inserting the original screws from inside the cabinet. Use a correctly sized manual screwdriver to tighten each screw evenly without excessive force. Check that the handle sits flush against the surface and feels secure. Gently open and close the door to confirm normal operation. Seek qualified assistance if installation feels uncertain.
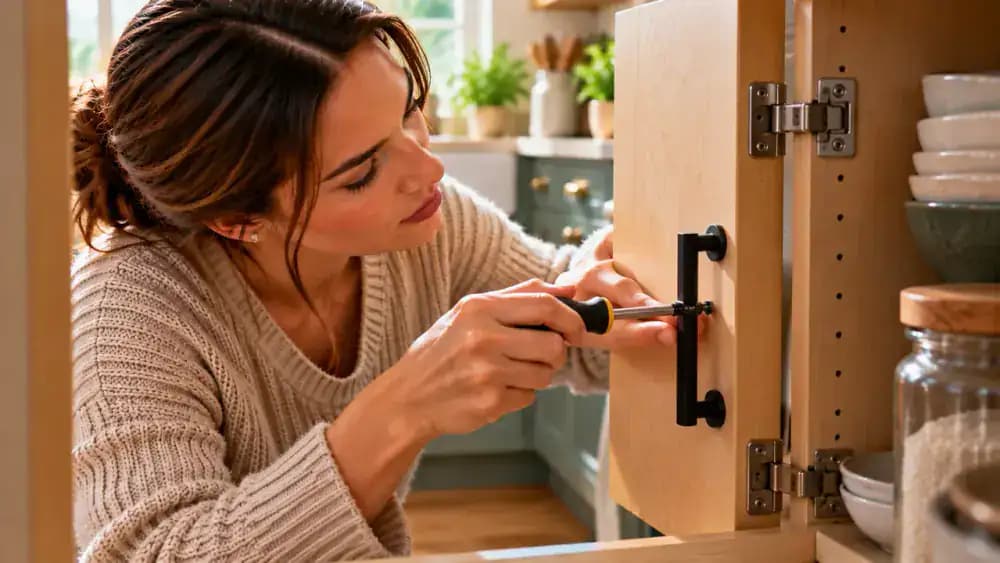
Wipe Away Soap Residue to Prevent Streaks
If your cabinet finish allows it, lightly dampen a fresh microfiber cloth with clean water and wring it out until barely damp. Gently wipe the previously cleaned surfaces using smooth, overlapping strokes to remove leftover soap film. Work carefully around the brass handle without touching mounting seams or screw holes. Immediately follow with a completely dry microfiber cloth to absorb moisture and prevent streaks, sticky residue, or additional grime buildup.
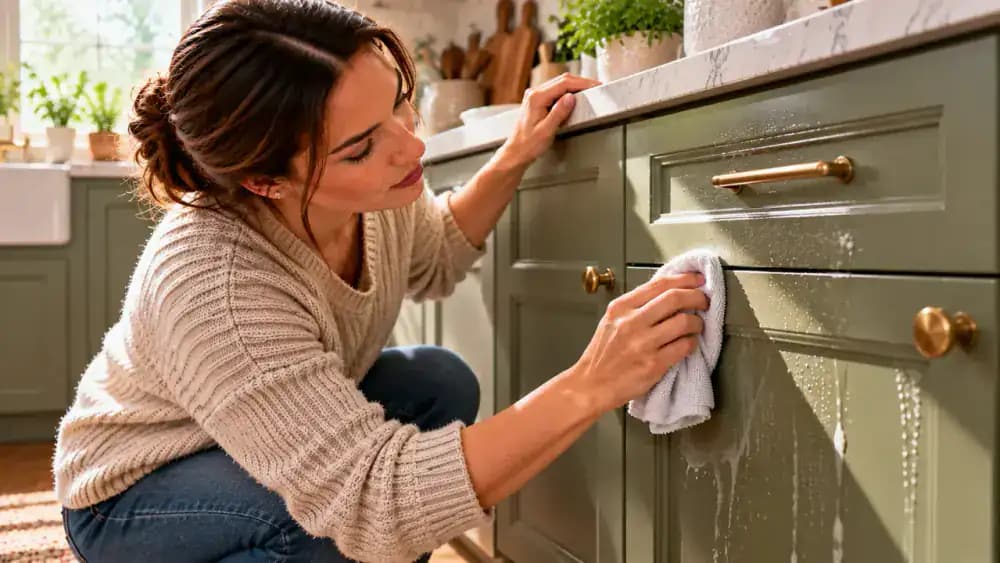
Dry Cabinet Handles and Door Edges Thoroughly
Use a fresh, completely dry microfiber cloth to gently wipe the cabinet face with overlapping strokes. Fold the cloth around the accessible front and sides of the handle, removing any remaining surface moisture without pushing fabric into mounting seams. Switch to a clean section before drying the finished door edge. Inspect the handle base and surrounding surfaces under good lighting, repeating gentle drying passes until all accessible areas feel completely dry.

Buff Cabinet Handles to Remove Fingerprints and Streaks
Once the handle and surrounding cabinet surface are completely dry, use a fresh microfiber cloth to gently buff away remaining fingerprints and faint streaks. Follow the direction of the brushed stainless steel grain with short, controlled strokes and light pressure. Rotate to a clean section of cloth before buffing the finished cabinet face. Avoid mounting seams, furniture polish, oils, or additional chemicals unless specifically recommended by the manufacturer.

Check Cabinet Surfaces for Remaining Sticky Grease
With clean, completely dry hands, gently glide your fingertips across the finished cabinet surface near each handle and along frequently touched door edges. Check whether the surface feels smooth or still has tacky, slippery spots. Look closely for remaining greasy fingerprints, especially around the knob. If you find residue, identify the affected area before repeating gentle cleaning. Avoid stronger chemicals or additional pressure that could damage the finish.

Inspect Cabinet Finishes for Streaks and Surface Damage
Examine the cleaned cabinet surface under natural light, changing your viewing angle to reveal faint streaks, cloudy patches, or uneven reflections. Look closely around the porcelain handle and across the painted finish for discoloration or changes in sheen. If you notice ordinary dry streaks, gently buff them with a clean, dry microfiber cloth. Stop cleaning if you discover peeling, softened paint, or other signs of finish damage.

Compare Cleaned and Greasy Cabinet Handle Areas
Examine the cleaned and untreated cabinet handles side by side under the same lighting and viewing angle. Look for visible differences in oily fingerprints, grease buildup, and surface appearance around each handle base. The cleaned area should retain its natural finish without excessive shine. Remember that visual differences alone cannot confirm complete grease removal. Treat this comparison as an illustration of what to inspect, not proof of a controlled cleaning test.
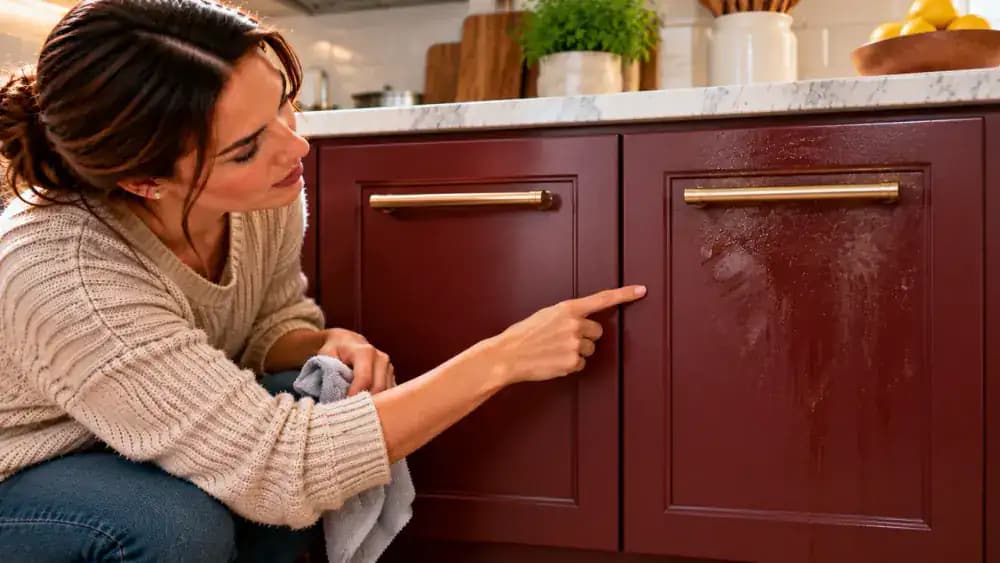
Avoid Sprays, Abrasive Scrubbers, and Excess Moisture
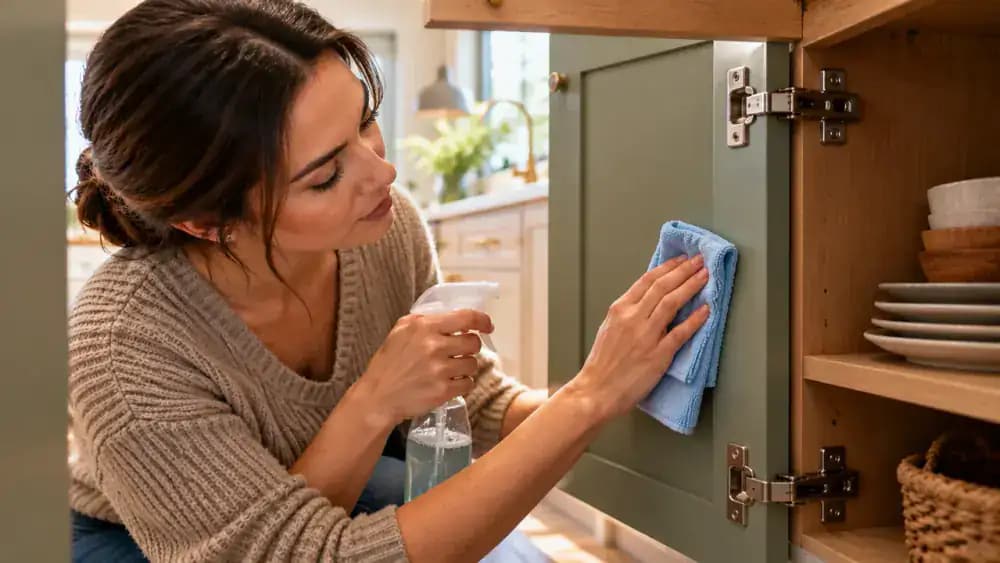
Set aside spray bottles and abrasive sponges that could damage cabinet finishes. Instead, apply a small amount of manufacturer-approved cleaning solution to a soft microfiber cloth, keeping the fabric barely damp. Gently wipe greasy areas beside the handle using short, controlled strokes without scrubbing aggressively. Immediately dry each cleaned section with a separate towel. Never spray cleaner directly onto hardware or allow liquid to enter screw holes, seams, or exposed wood.

Prevent Sticky Grease Buildup With Regular Wiping
After cooking, gently wipe frequently touched cabinet handles and nearby finished surfaces with a clean, dry microfiber cloth. For fresh oily fingerprints, use a separate barely damp cloth only if your cabinet finish allows it. Wipe with light, controlled strokes, keeping moisture away from handle mounting points and seams. Immediately dry the cleaned surfaces, then place used cloths in the laundry. Regular attention helps prevent stubborn grease buildup.

Use Fresh Microfiber Cloths to Avoid Spreading Grease
Check your microfiber cloth for visible grease marks before moving to another cabinet handle. Unfold the cloth and refold it to expose a clean section, preventing collected oils from spreading onto freshly cleaned surfaces. Replace heavily soiled cloths with fresh ones rather than continuing to wipe with dirty fabric. Place used cloths in a laundry bag and wash according to their care labels, avoiding fabric softener that can reduce cleaning performance.

Follow the Essential Steps for Safe Cabinet Cleaning
Review your cleaning routine by checking the cabinet finish and manufacturer care instructions before using a tested, compatible solution. Gently loosen grease with a barely damp microfiber cloth, then use a dry, soft detailing brush for accessible grooves. Lift away loosened residue and thoroughly dry the handle and surrounding surfaces. Keep hardware attached unless safe removal and reinstallation are certain. Repeat gentle cleaning regularly to prevent stubborn grease buildup.

Maintain Clean Cabinet Handles With Regular Gentle Wiping
Keep a fresh, dry microfiber cloth nearby and gently wipe frequently touched cabinet handles before grease and fingerprints accumulate. Focus on the accessible handle surfaces and surrounding finished areas, avoiding mounting seams and screw holes. Store the cloth in a convenient countertop basket so it is easy to reach after cooking. Always follow the manufacturer's care instructions, and check that handles remain secure and completely dry during regular use.

Kitchen cabinet handles are some of the most frequently touched spots in the kitchen, and they can become surprisingly sticky over time. Cooking oils, airborne grease, and natural oils from your hands gradually collect around knobs, pulls, and cabinet door edges. Dust and everyday dirt cling to that residue, creating dark buildup that's difficult to remove with a quick wipe. Scrubbing harder might seem like the obvious solution, but aggressive cleaning can scratch hardware, dull cabinet finishes, or allow moisture to seep into vulnerable areas.
Fortunately, you don't need harsh degreasers or abrasive scrubbers to tackle most everyday grease buildup. A little mild dish soap, warm water, and a soft microfiber cloth can help loosen sticky residue without unnecessary wear. This guide explains how to clean around cabinet handles, reach tight gaps, and refresh greasy door edges while protecting the surrounding surfaces. You'll also learn when removing hardware makes sense, why keeping screw holes and seams dry matters, and how regular gentle cleaning can prevent stubborn grease from building up again.
Where people go wrong
Spraying Cleaner Directly onto Cabinet Handles. Spraying cleaning solution directly onto knobs and pulls allows liquid to collect around screw holes, seams, and exposed wood. Trapped moisture can damage cabinet materials and finishes. Instead, apply diluted dish soap to a microfiber cloth and gently wipe the greasy areas without soaking them.
Scrubbing Stubborn Grease with Abrasive Materials. Using abrasive sponges, stiff brushes, or harsh cleaners to remove sticky grease can scratch hardware and dull cabinet finishes. Check the manufacturer's care instructions and test your solution in a hidden area first. Use gentle, repeated passes with a soft cloth rather than applying excessive pressure.
Ignoring Grease Hidden Around Knobs and Door Edges. Cleaning only the visible surface of a cabinet handle leaves sticky residue trapped around its base, narrow gaps, and frequently touched door edges. Use a soft detailing brush or cloth-wrapped cotton swab to reach these areas carefully, without scratching surfaces or pushing moisture into openings.
Leaving Soap Residue or Moisture Behind. Failing to remove leftover soap can leave cabinet handles feeling sticky again, while moisture trapped near seams or hardware can damage surrounding materials. Where appropriate, wipe away residue with a barely damp microfiber cloth, then immediately dry and gently buff every cleaned surface with a soft towel.
Questions people ask
Mix a small amount of mild dish soap with warm water and lightly dampen a microfiber cloth. Gently wipe the handles and surrounding cabinet surfaces using controlled movements. Avoid spraying cleaner directly onto hardware. Once the grease loosens, remove any soap residue with a barely damp cloth and dry everything thoroughly.
Fixed it?
Get one guide like this every Thursday.