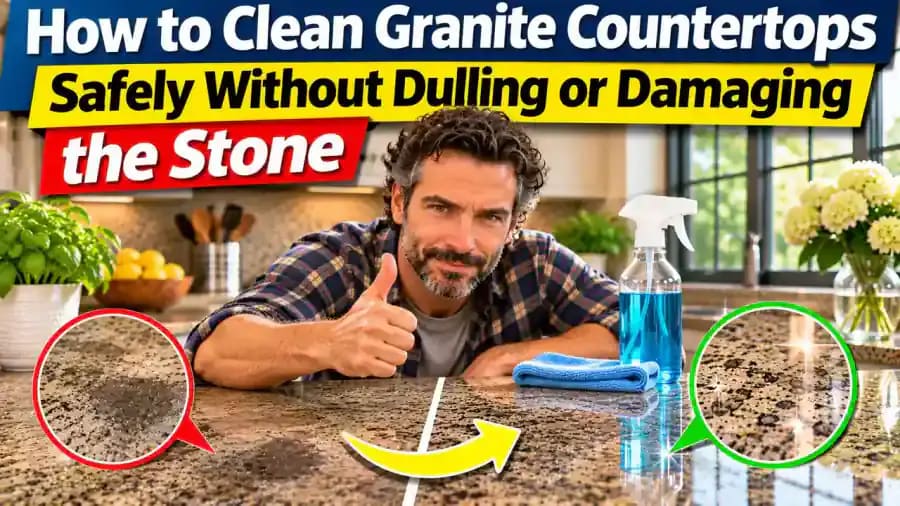
How to Clean Granite Countertops Without Dulling or Damaging the Stone
Keep granite countertops clean and looking their best with a gentle, stone-safe routine. Learn how to remove fingerprints, grease, crumbs, and everyday spills without harsh chemicals, abrasive scrubbing, or unnecessary damage.
What you’ll need
Tap to tick things off before you start.
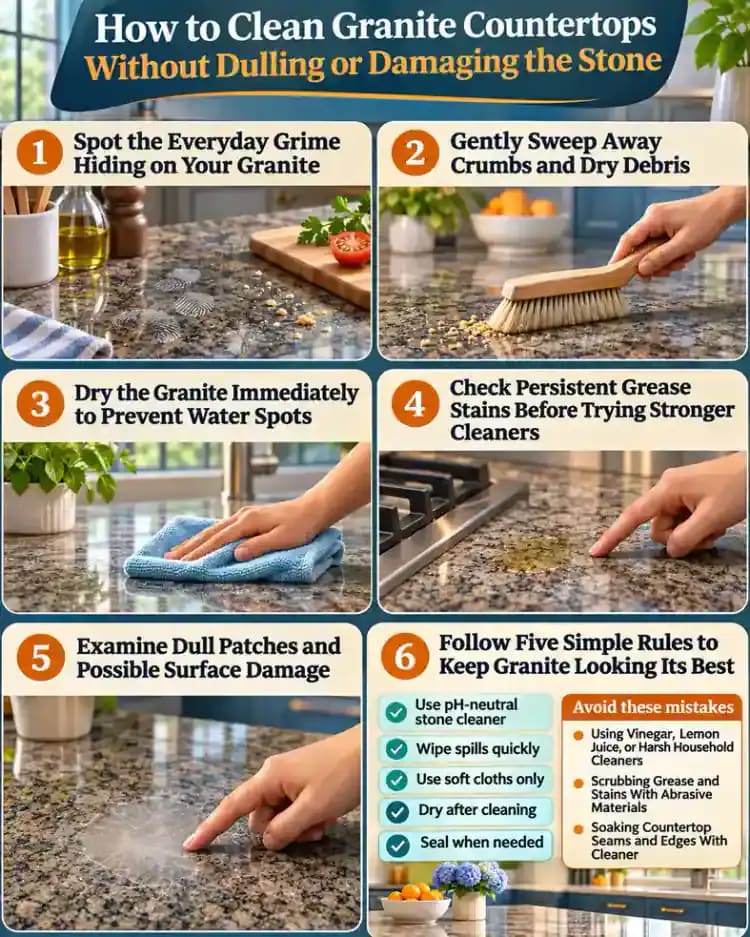
Spot the Everyday Grime Hiding on Your Granite
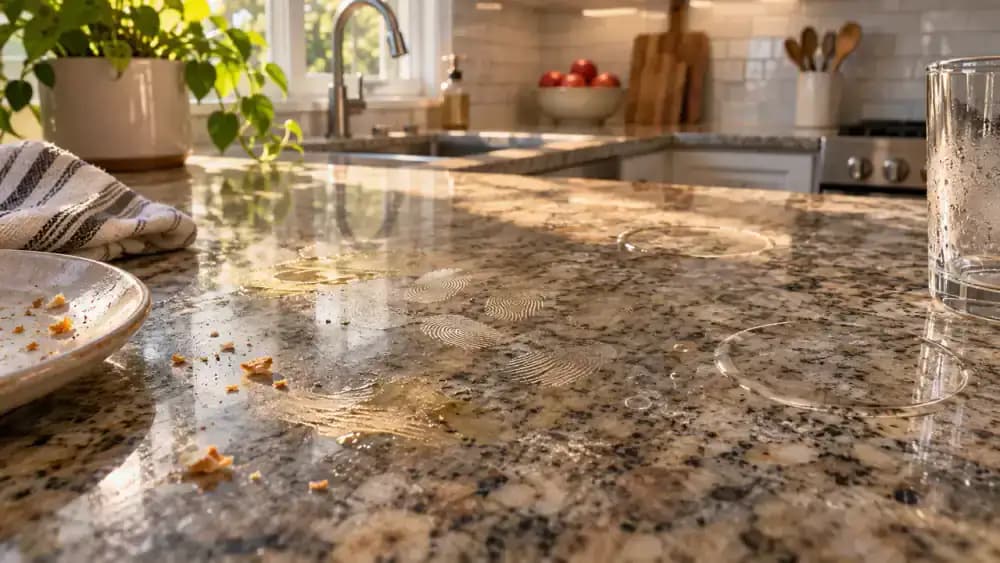
Look closely at the countertop under natural light, paying attention to fingerprints near the edges, dried water rings beside glasses, scattered crumbs, and greasy film around the stove. As shown, these everyday marks can accumulate even when the surface appears relatively clean. Identify the affected areas before choosing a cleaning product. Avoid immediately reaching for household sprays, since some ingredients may damage natural stone or its protective finish.
Check Cleaner Labels Before Using Them on Granite
Open your cleaning cabinet and read the ingredient labels on your usual household products. As shown, a bottle containing vinegar or citric acid is set aside in favor of a pH-neutral cleaner labeled safe for granite. Products suitable for glass or tile are not automatically safe for natural stone. Check your countertop manufacturer's recommendations, follow the cleaner's instructions, and test it on a small, inconspicuous area before cleaning.

Verify Your Countertop Material Before Cleaning
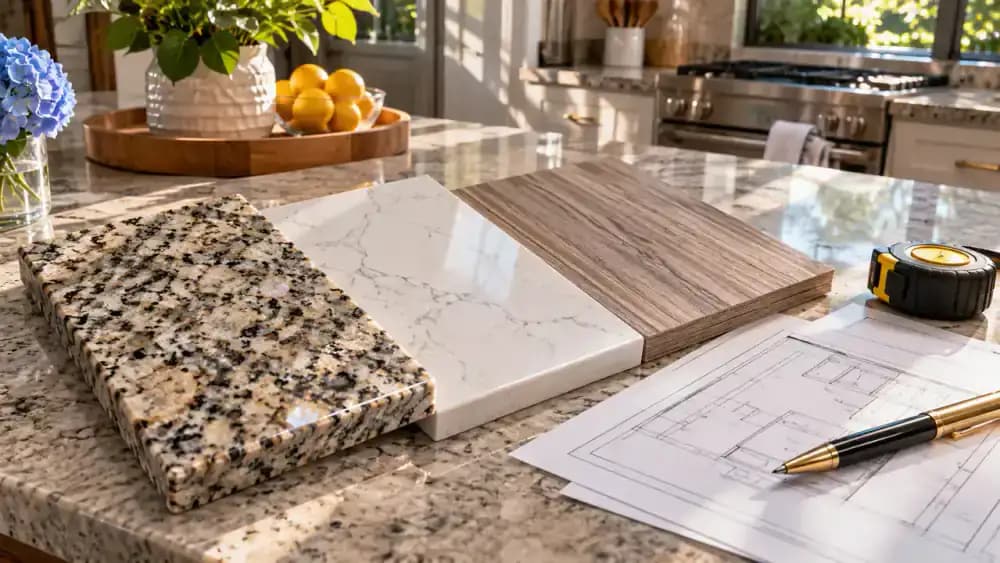
Compare the granite, engineered quartz, and stone-look laminate samples shown, noting differences in their patterns and textures. A magnifying glass can reveal mineral details, but appearance alone cannot reliably identify the material. Next, check your installation folder, purchase receipt, or manufacturer specifications for the exact countertop designation. Confirm that the paperwork matches your installed surface. If documentation is unavailable or unclear, consult a stone professional before selecting cleaning products.
Contact a Stone Professional if the Material Is Uncertain
Check your warranty folder or purchase records for the original countertop installer or supplier. If the paperwork is missing, use your phone to contact them or a qualified stone professional, as shown. Explain what you know about the countertop and ask for help identifying its material and recommended care products. Keep unfamiliar cleaners off the surface until you receive reliable guidance. Do not rely on color, texture, or shine alone.

Remove Appliances and Other Items to Expose Hidden Grime
Lift cutting boards, dishes, fruit bowls, and utensil holders off the granite, placing them on a nearby table or sturdy surface. As shown, carefully lift small appliances such as the toaster with both hands rather than sliding them across the stone. Check underneath each item for trapped crumbs, sticky residue, and spills. Pay particular attention to areas near the backsplash, where everyday messes can accumulate unnoticed.

Gently Sweep Away Crumbs and Dry Debris
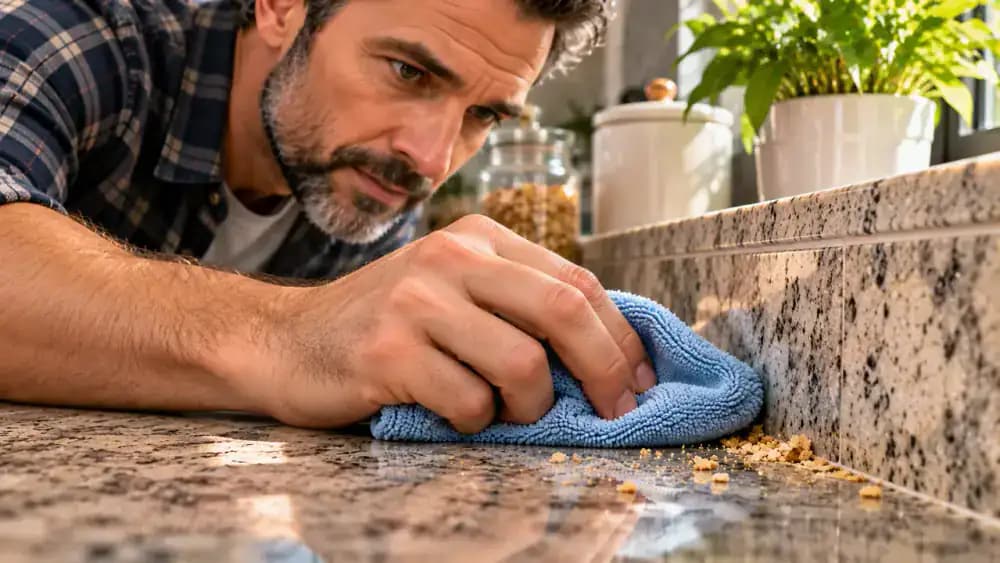
Use a clean, dry microfiber cloth to gently gather loose crumbs and food particles into a small pile, as shown. Work with short, controlled movements rather than rubbing debris across the granite. Carefully lift the collected crumbs with the cloth and discard them in a nearby waste container. Check corners, edges, and the backsplash junction for trapped particles. Removing grit first helps prevent unnecessary abrasion during wet cleaning.
Prepare Soft Cloths, Warm Water, and Granite-Safe Cleaner
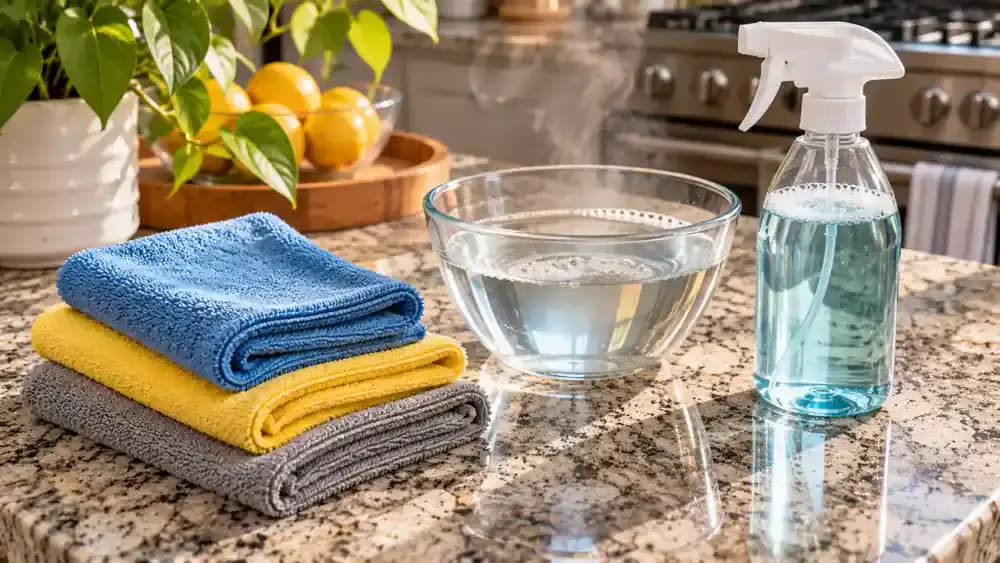
Arrange your cleaning supplies on a tray beside the countertop, as shown. Place two clean microfiber cloths next to a small bowl of warm water and a pH-neutral cleaner specifically approved for granite. Keep a third, completely dry microfiber cloth separate for the finishing stage. Check the cleaner's label for application and rinsing instructions before starting. Avoid abrasive sponges, harsh chemicals, and mixing cleaning products, which could damage the stone or its protective finish.
Verify Cleaner Compatibility and Application Instructions
Hold the cleaner bottle under good lighting and examine its back label, as shown. Confirm that natural granite is listed among the approved surfaces, then check the dilution requirements, application method, contact time, and rinsing instructions. Compare this information with your countertop manufacturer's care guide. Remember that a pH-neutral label alone does not guarantee compatibility. Keep the bottle closed until you understand exactly how the product should be used.

Spot-Test the Cleaner on a Hidden Section of Granite
Choose a small, inconspicuous area near the back of the countertop, away from seams and edges. As shown, apply a small amount of approved cleaner using a folded microfiber cloth, following the product's instructions. Allow the specified contact time, remove any residue as directed, and dry with a separate cloth. Inspect the area under consistent lighting for discoloration, dullness, or other unexpected changes. Stop if anything looks unusual.
Clean Granite in Small Sections With Gentle Strokes
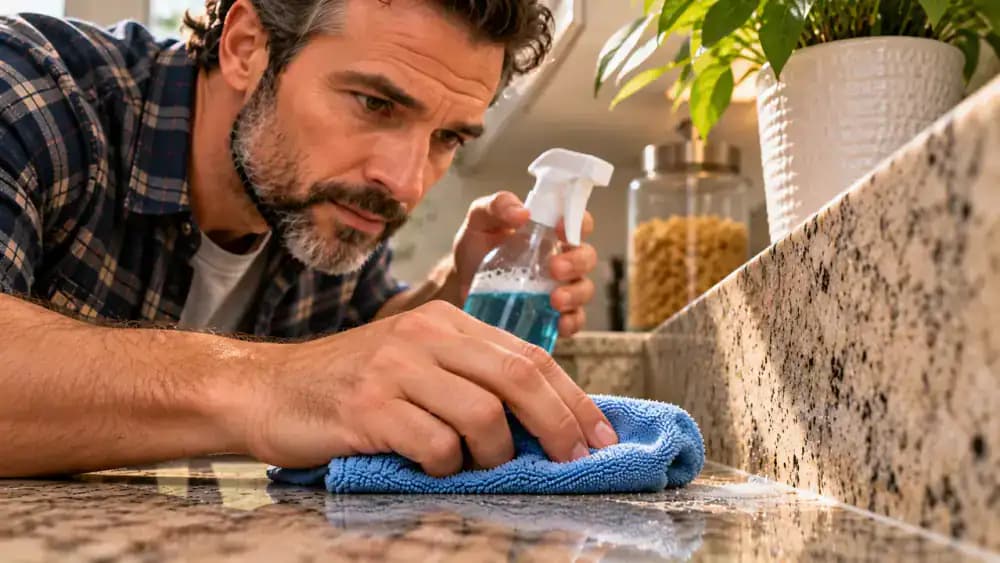
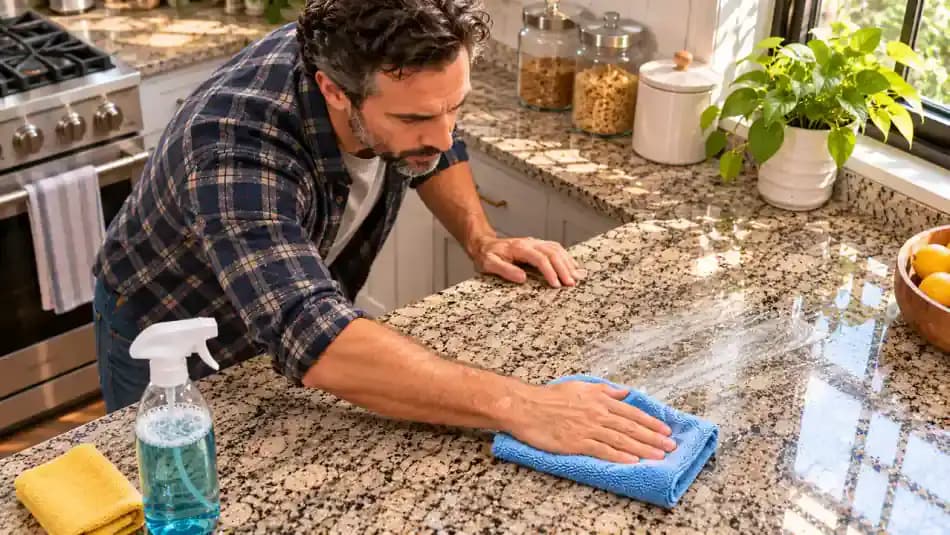
Apply the approved pH-neutral cleaner to a fresh microfiber cloth if the product label permits, as shown. Start with an area approximately 2 feet wide and wipe gently using smooth, slightly overlapping strokes. Keep the cloth flat against the granite and avoid excessive pressure or moisture. Complete each section before moving to the next, following the cleaner's residue removal instructions. Pay attention to corners without saturating nearby seams or edges.
Wipe Away Cleaner Residue With a Damp Microfiber Cloth
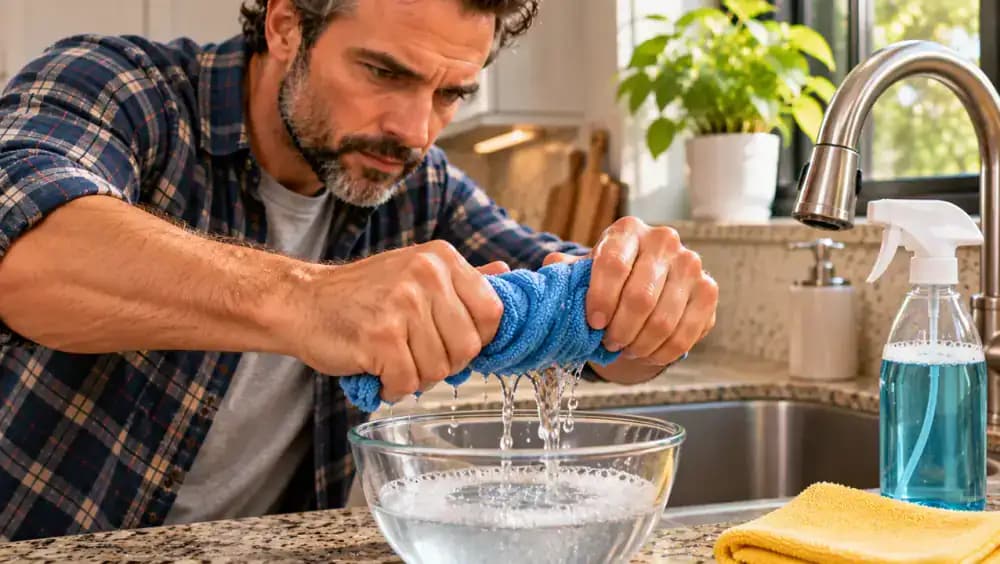
Check the cleaner's label to determine whether rinsing is required. If so, dip a fresh microfiber cloth into clean, warm water and wring it thoroughly over a bowl until it stops dripping. As shown, gently wipe the treated granite using smooth, overlapping strokes to remove remaining cleaner. Keep moisture away from seams and edges, and rinse the cloth again if residue accumulates. Avoid leaving puddles or excess water behind.
Dry the Granite Immediately to Prevent Water Spots
Fold a fresh, completely dry microfiber cloth into a flat square and place it against the cleaned granite. As shown, use gentle, overlapping strokes to absorb remaining water droplets without pressing hard. Carefully dry along the backsplash, countertop seams, and front edge, where moisture can collect unnoticed. Avoid letting droplets evaporate naturally, since water minerals may leave visible spots. Check the dried section for lingering moisture or cleaning residue before continuing.
Gently Remove Grime From Granite Seams and Corners
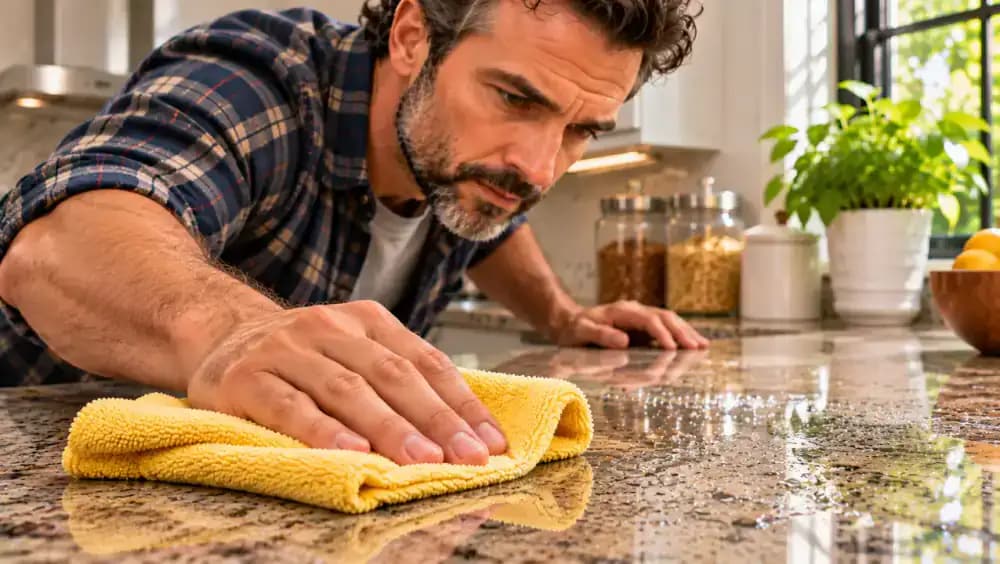
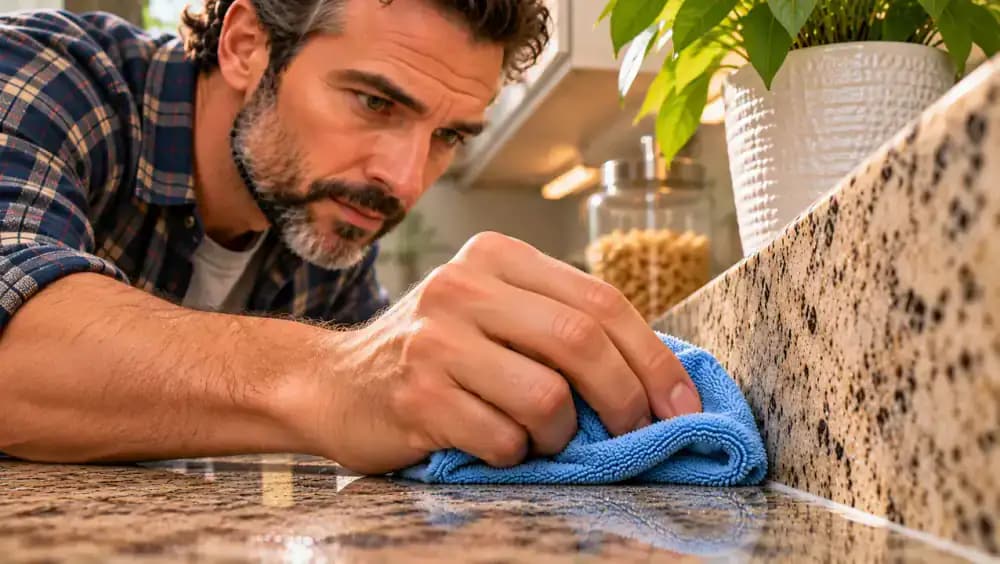
Fold a clean, lightly damp microfiber cloth into a narrow edge and gently guide it along the countertop seam, as shown. Use light fingertip pressure to lift trapped food particles and residue without scrubbing the sealant or pushing moisture into the joint. Repeat around inside corners and the backsplash junction, where grime often accumulates. Finish by absorbing remaining moisture with a separate dry microfiber cloth, paying attention to narrow gaps.
Locate Hidden Grease Buildup Near the Stovetop
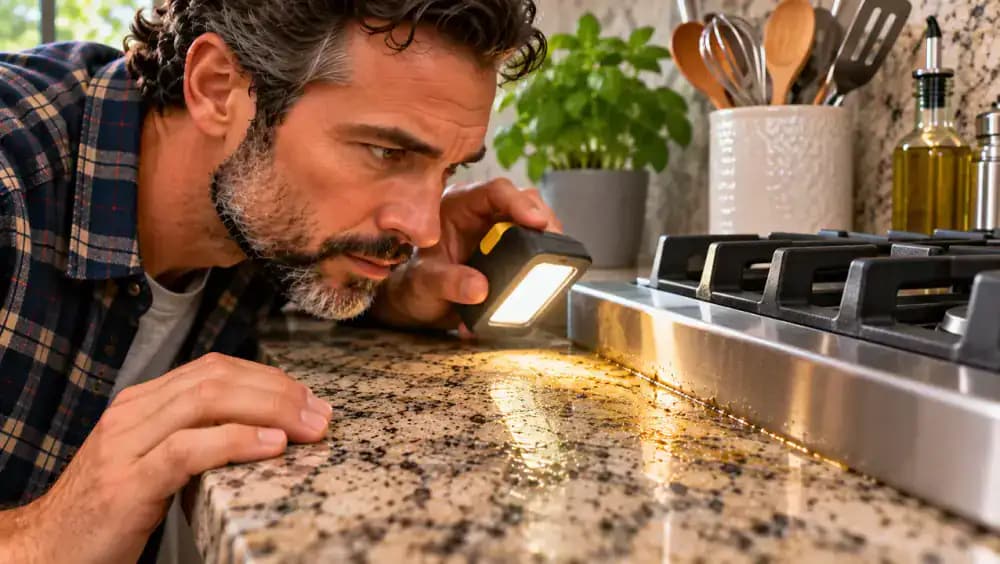
Position a portable light at a shallow angle across the granite beside your stovetop, as shown. Look for faint smudges, hazy patches, or a thin oily film that ordinary wiping may have missed. With clean fingertips, gently touch a suspected spot to check for stickiness without rubbing or spreading the grease. Identify the affected sections before cleaning so you can target stubborn residue without unnecessarily treating the entire countertop again.
Select a Granite-Safe Cleaner for Stubborn Grease
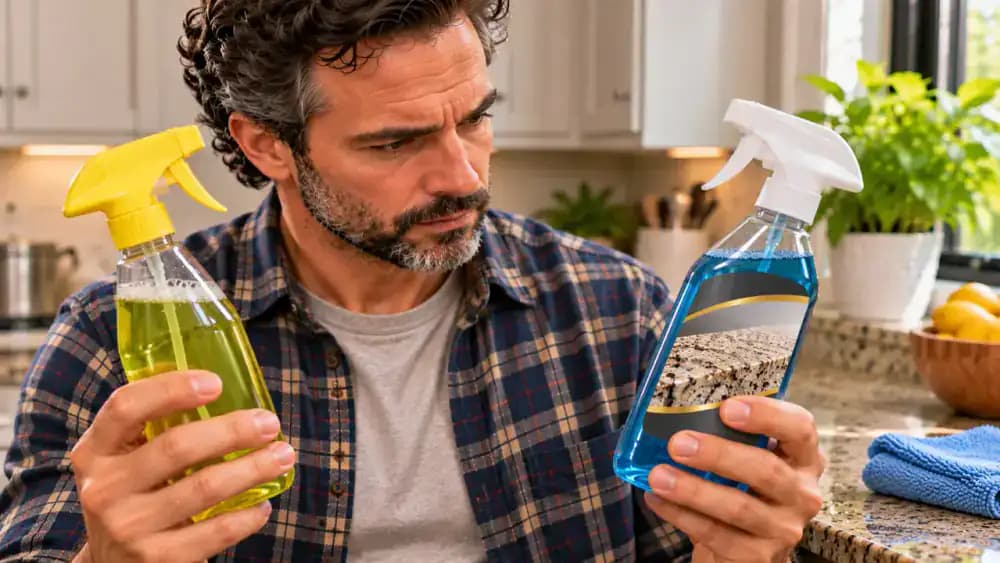
Compare the cleaning bottles before treating greasy areas near the stovetop. As shown, set aside the heavy-duty degreaser when its label does not confirm compatibility with natural granite. Choose a product specifically approved for grease removal on granite, and check its application directions, contact time, and rinsing requirements. Keep a fresh microfiber cloth ready for gentle cleaning. Never assume a stronger cleaner or additional scrubbing will produce safer results.
Gently Clean Greasy Spots Without Scrubbing
Apply a small amount of the approved granite-safe grease cleaner to a fresh microfiber cloth if the product instructions permit, as shown. Place the cloth flat against one greasy spot and wipe using short, gentle, overlapping strokes. Follow the label's specified contact time without allowing the cleaner to dry unexpectedly. Keep the treated area small and avoid saturating nearby seams. Lift the cloth and inspect the spot before removing any remaining residue.
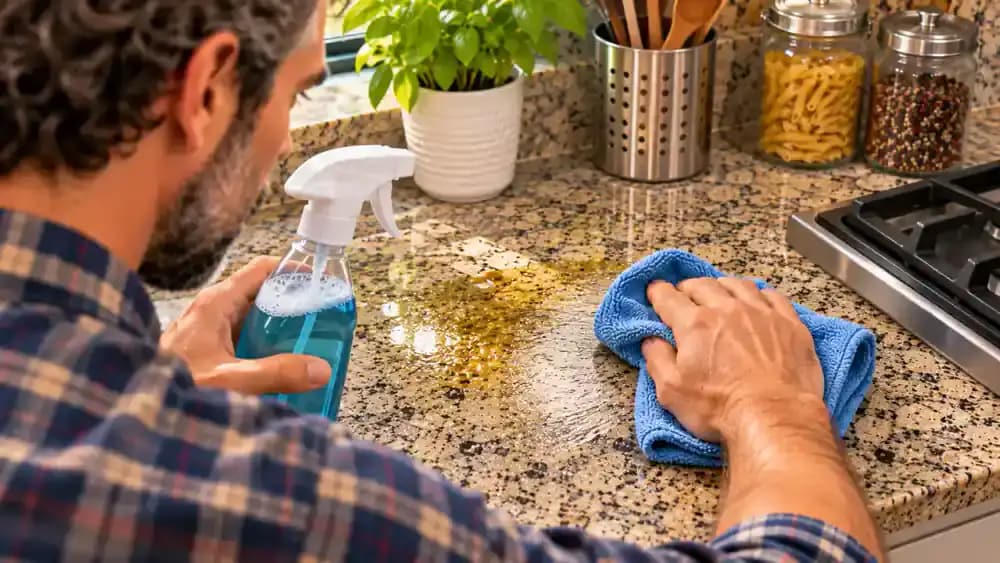
Lift Away Grease Residue and Dry the Granite
Set the used cleaning cloth aside and take a fresh microfiber cloth lightly dampened with clean water if the product requires rinsing. As shown, gently wipe the treated granite, folding the cloth to expose a clean section as it collects oily residue. Use a separate dry microfiber cloth to absorb remaining moisture. Inspect the area for lingering stickiness or discoloration. If residue persists, avoid harder scrubbing or stronger chemicals.
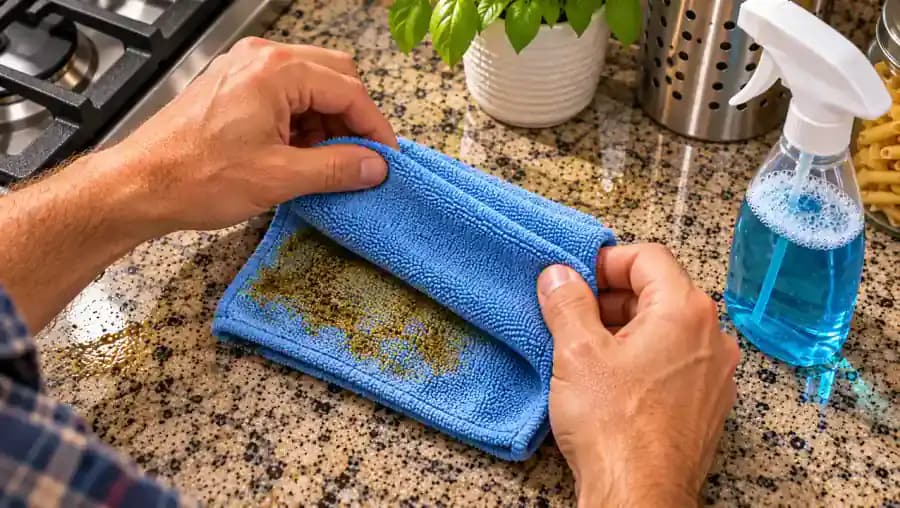
Check Persistent Grease Stains Before Trying Stronger Cleaners
Examine the completely dry granite under consistent lighting and gently touch the affected area with a clean fingertip to check for stickiness. As shown, compare any remaining dark patch with the surrounding stone and review your approved cleaner's instructions. Persistent discoloration may indicate absorbed oil rather than surface grease. Take a clear photograph for reference and contact a qualified stone-care professional if ordinary cleaning fails. Avoid aggressive scrubbing or unapproved chemicals.

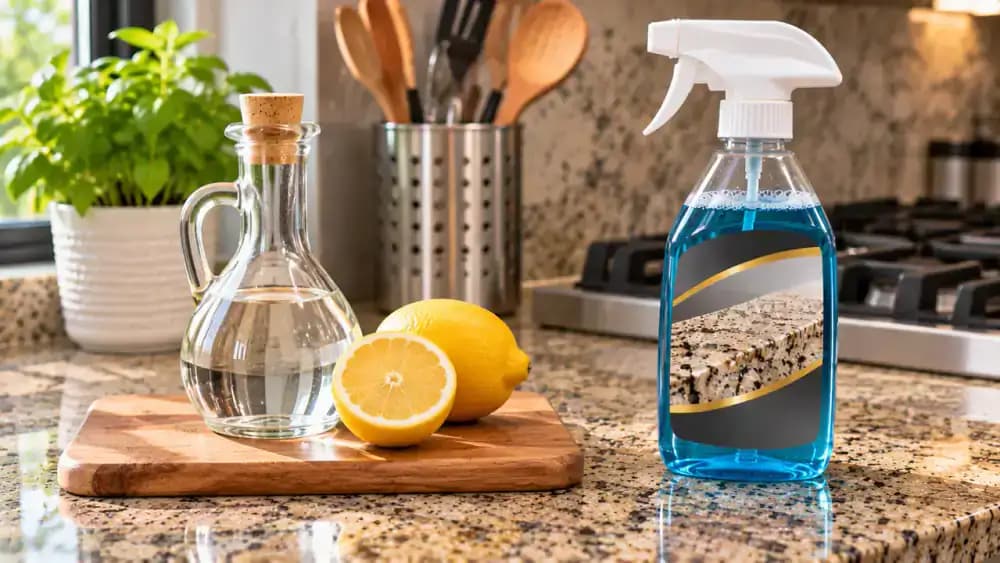
Keep Vinegar and Lemon Juice Away From Granite
Place vinegar and lemon juice outside the countertop cleaning area, as shown, without applying either ingredient to the stone. These acidic substances may affect certain natural stone minerals or protective treatments. Even diluted homemade mixtures are not automatically safe for granite. Instead, select a cleaner specifically approved for your countertop and keep a clean microfiber cloth nearby. Only use acidic products if your stone supplier explicitly confirms their compatibility.
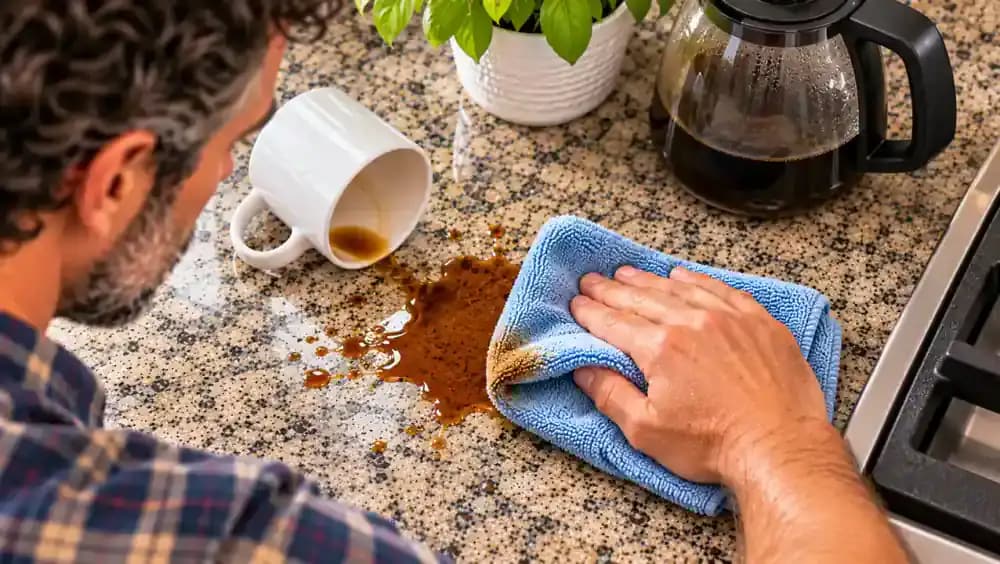
Blot Fresh Coffee and Other Spills Before They Spread
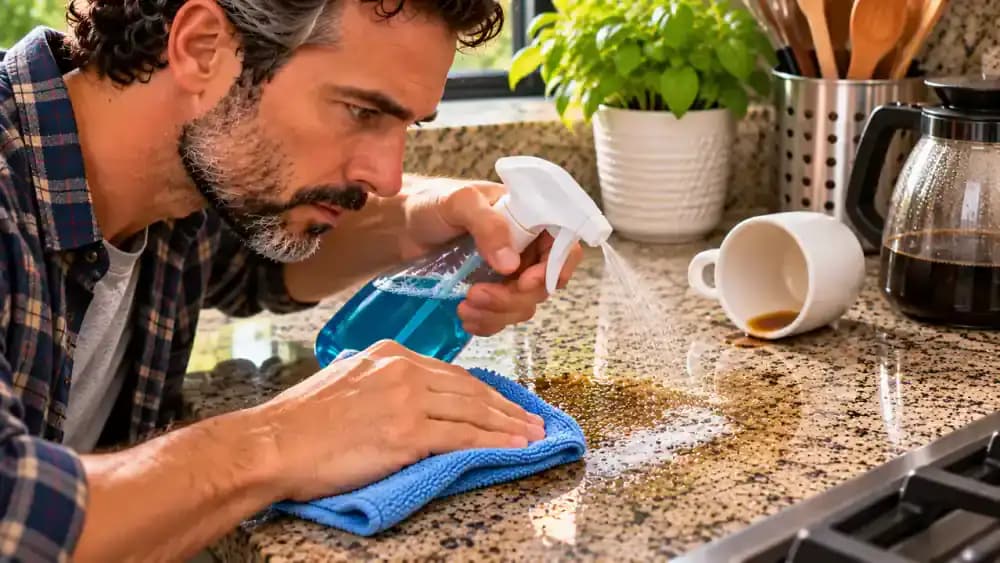
Place a clean, folded absorbent cloth against the outer edge of the fresh coffee spill, as shown. Press gently to absorb the liquid without rubbing or dragging it across the granite. Continue blotting from the outside toward the center, lifting the cloth between passes to prevent spreading. Keep liquid away from countertop seams and edges. Once the spill is absorbed, prepare to clean the remaining damp area with an approved stone-safe cleaner.
Clean and Dry the Granite After Blotting a Spill
Set the coffee-soaked cloth aside and apply an approved pH-neutral granite cleaner to a fresh microfiber cloth, following the product's directions. As shown, gently wipe the affected area with short, controlled strokes. If rinsing is required, remove cleaner residue using a separate, lightly dampened cloth. Dry the granite thoroughly with clean microfiber, including around the treated area's edges. Inspect the dry surface for lingering discoloration without scrubbing or applying stronger chemicals.
Document Persistent Discoloration After Cleaning a Spill
Examine the cleaned, completely dry granite under consistent lighting, looking for dark patches or changes in color. As shown, place a small ruler beside any suspicious area without dragging it across the stone, then take a clear photograph showing its size and location. Discoloration may result from moisture, oil, or staining, but appearance alone cannot confirm the cause. If the patch persists, consult a qualified stone-care professional before attempting further treatment.

Inspect the Granite for Streaks and Leftover Cleaner
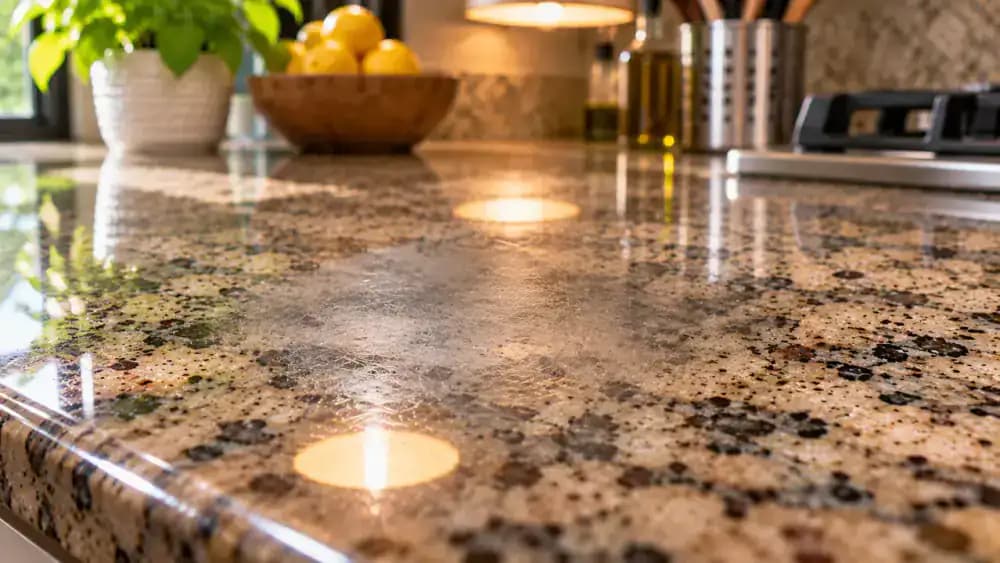
Stand beside the countertop where natural light reflects across the granite, then examine the surface from several angles. As shown, look for faint fingerprints, hazy patches, streaks, or leftover cleaning residue. If you notice a streak, gently wipe that specific area with a fresh microfiber cloth, following your approved cleaner's instructions. Use a separate dry cloth to remove remaining moisture, then inspect the area again under the same lighting.

Examine Dull Patches and Possible Surface Damage
Examine the granite under steady lighting, moving your viewing position slightly to check how reflections change across the surface. As shown, compare any dull, uneven, or rough-looking patches with the surrounding stone without scratching or touching the affected area. These differences may indicate residue, surface wear, or finish problems. Record suspicious areas on a maintenance checklist and seek professional assessment if their cause remains unclear. Avoid applying polishing compounds or abrasive treatments.
Inspect Sink Seams and Backsplash Sealant for Damage
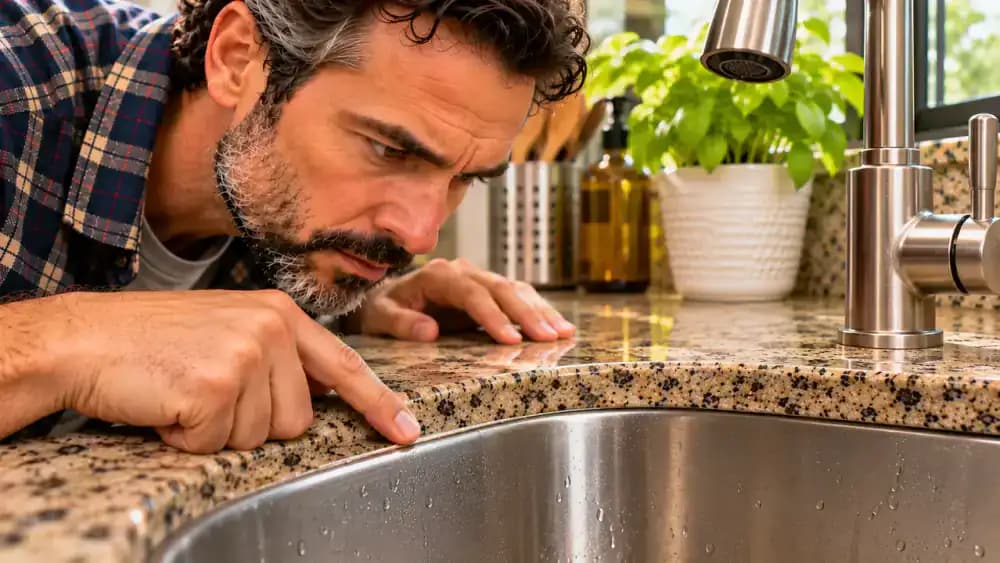
Shine a small flashlight along the joint between the granite countertop and sink, as shown. Look for gaps, loose caulk, trapped moisture, or unusual darkening around the sealant. Repeat the inspection where the countertop meets the backsplash, keeping the area dry and avoiding direct pressure on questionable joints. Record any suspicious locations on a maintenance checklist. Do not scrape, peel, or reseal damaged areas without guidance from your installer or a qualified stone-care professional.
Review Granite Sealing Requirements Before Considering Resealing
Open your countertop care binder and locate the original installation date, material specifications, and manufacturer recommendations for protective sealing. As shown, compare these instructions with photographs of any recurring dark spots or moisture concerns. Remember that discoloration alone does not prove sealer failure, and sealing schedules vary by countertop. Record your concerns on a maintenance checklist and contact the installer or a qualified stone-care professional before applying any resealing product.

Build a Quick Daily Granite Cleaning Routine
After preparing meals, lift cutting boards and other items off the granite, then collect loose crumbs with a clean, dry microfiber cloth. As shown, treat food splatters using an approved pH-neutral granite cleaner and gentle wiping strokes. Remove cleaner residue according to the label and dry with a separate cloth. Check that the surface is completely dry before replacing items. Store clean microfiber cloths nearby for convenient daily maintenance.

Use Coasters, Cutting Boards, and Trays to Protect Granite
Place a coaster beneath cold drinking glasses to catch condensation, as shown. Use protective trays under kitchen bottles and cutting boards whenever handling knives or preparing food. When repositioning appliances, lift them completely off the granite instead of sliding their feet across the surface. Wipe condensation droplets promptly with a clean, dry microfiber cloth, especially near seams. These simple habits help reduce water rings, scratches, and everyday surface wear.

Organize Granite Cleaning Supplies for Easy Daily Access
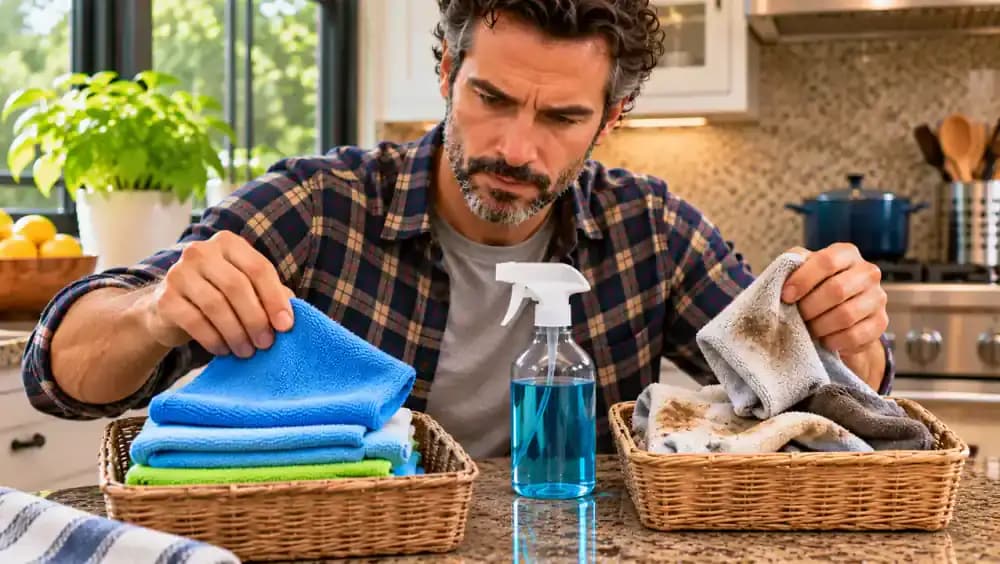
Store your approved pH-neutral granite cleaner upright in a dedicated cabinet bin, keeping its original label visible. As shown, place freshly washed, completely dry microfiber cloths in a separate basket and put used cloths into a laundry container. Inspect older cloths for trapped grit, frayed edges, or excessive wear, and replace unsuitable ones. Keep cleaning products away from food preparation supplies, and review product instructions whenever switching cleaners or brands.
Follow Five Simple Rules to Keep Granite Looking Its Best
Review the five essential granite care rules on the kitchen tablet, as shown: confirm your stone type, use an approved cleaner, wipe gently, dry thoroughly, and blot spills promptly. Keep a clean microfiber cloth and properly labeled granite-safe cleaner accessible for routine maintenance. Avoid vinegar, lemon juice, and other acidic products unless specifically approved. If you notice stubborn stains, damaged finishes, or possible sealing problems, consult a qualified stone-care professional before attempting treatment.
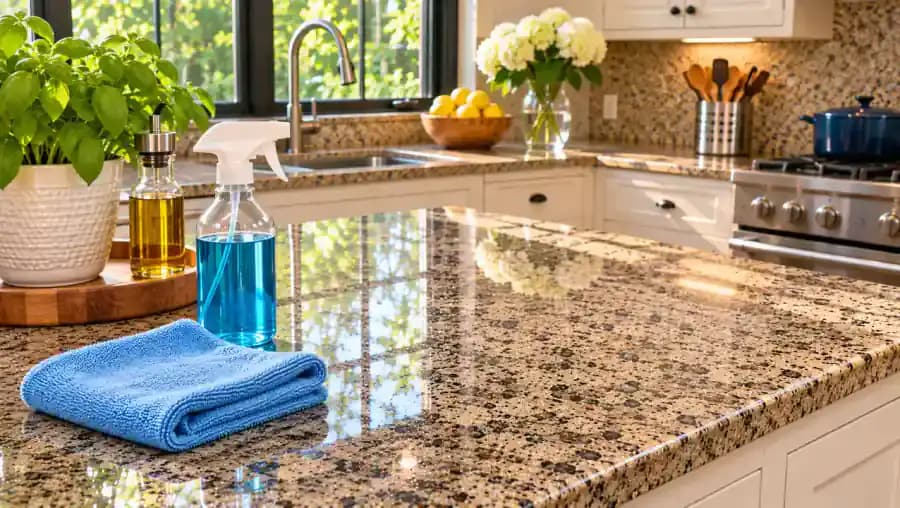
Granite countertops can make a kitchen look beautiful, but everyday use quickly leaves behind fingerprints, crumbs, greasy film, and stubborn-looking water spots. Reaching for an all-purpose cleaner might seem like the easiest solution, but not every household cleaning product is suitable for natural stone. Harsh chemicals, acidic ingredients, and abrasive scrubbing can affect the countertop's appearance or protective finish. The good news is that routine granite cleaning doesn't require expensive equipment or complicated techniques. With the right products and a gentle approach, you can remove everyday grime while protecting your countertop.
In this guide, you'll learn how to confirm whether your countertop is granite, choose an appropriate pH-neutral cleaner, and safely clean away grease, spills, and surface residue. You'll also discover why vinegar, lemon juice, abrasive powders, and unapproved degreasers should stay off your stone unless specifically approved. We'll cover simple drying techniques that help prevent streaks, everyday maintenance habits, and signs that a stubborn stain or damaged surface needs professional attention.
Where people go wrong
Using Vinegar, Lemon Juice, or Harsh Household Cleaners. Vinegar, lemon juice, and many general-purpose cleaners contain ingredients that may be unsuitable for natural stone or its protective finish. Avoid acidic cleaners unless specifically approved for your countertop. Instead, choose a pH-neutral stone-safe product, follow the manufacturer's instructions, and test it in an inconspicuous area first.
Scrubbing Grease and Stains With Abrasive Materials. Stubborn grease can make aggressive scrubbing tempting, but abrasive powders, rough sponges, and excessive pressure may scratch or dull the countertop's finish. Use a clean microfiber cloth and an approved stone-safe cleaner instead. For persistent discoloration, consult a stone professional rather than attempting aggressive stain extraction yourself.
Soaking Countertop Seams and Edges With Cleaner. Applying too much water or cleaning solution can leave excess moisture around countertop seams, joints, and edges. Work in small sections using a lightly dampened microfiber cloth, apply cleaner according to its label, and remove residue as directed. Avoid saturating vulnerable areas, and dry the surface promptly.
Leaving Spills, Cleaning Residue, and Water Spots Behind. Allowing spills to sit or leaving the countertop wet after cleaning can contribute to discoloration, streaks, and visible water spots. Blot fresh spills promptly, clean with an approved product, and dry using fresh microfiber. Inspect the surface afterward for remaining residue, dull patches, or damage requiring professional assessment.
Questions people ask
A pH-neutral cleaner specifically approved for your countertop is the safest starting point. Check the manufacturer's care instructions before choosing a product, and test it on a small, inconspicuous area first. Apply the cleaner as directed, wipe gently with a clean microfiber cloth, and remove any remaining residue according to the label.
Fixed it?
Get one guide like this every Thursday.