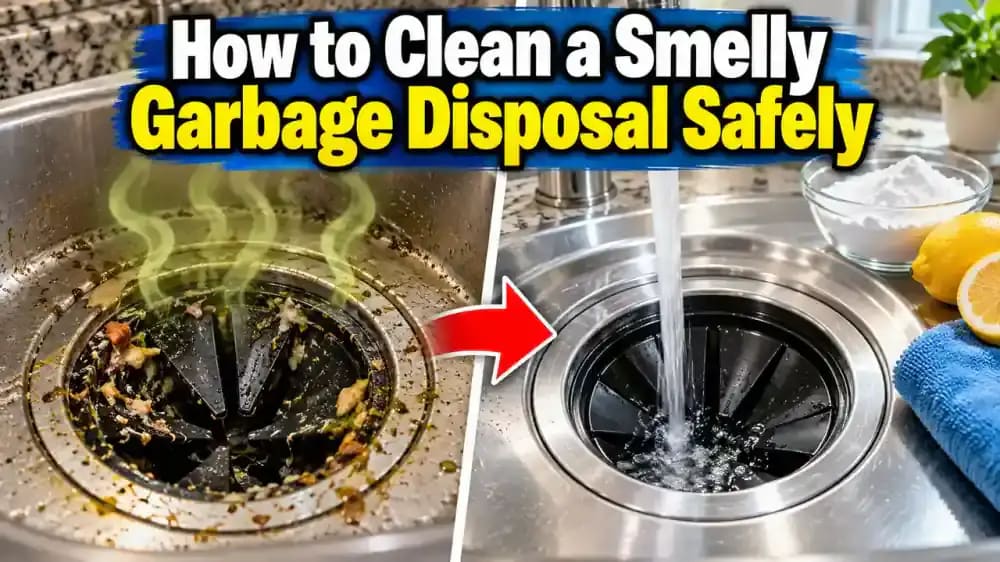
How to Clean a Smelly Garbage Disposal Safely
A stale-smelling garbage disposal often needs a thorough cleaning around the splash guard and drain opening. This guide shows how to remove odor-causing residue without reaching into the grinding chamber.
What you’ll need
Tap to tick things off before you start.
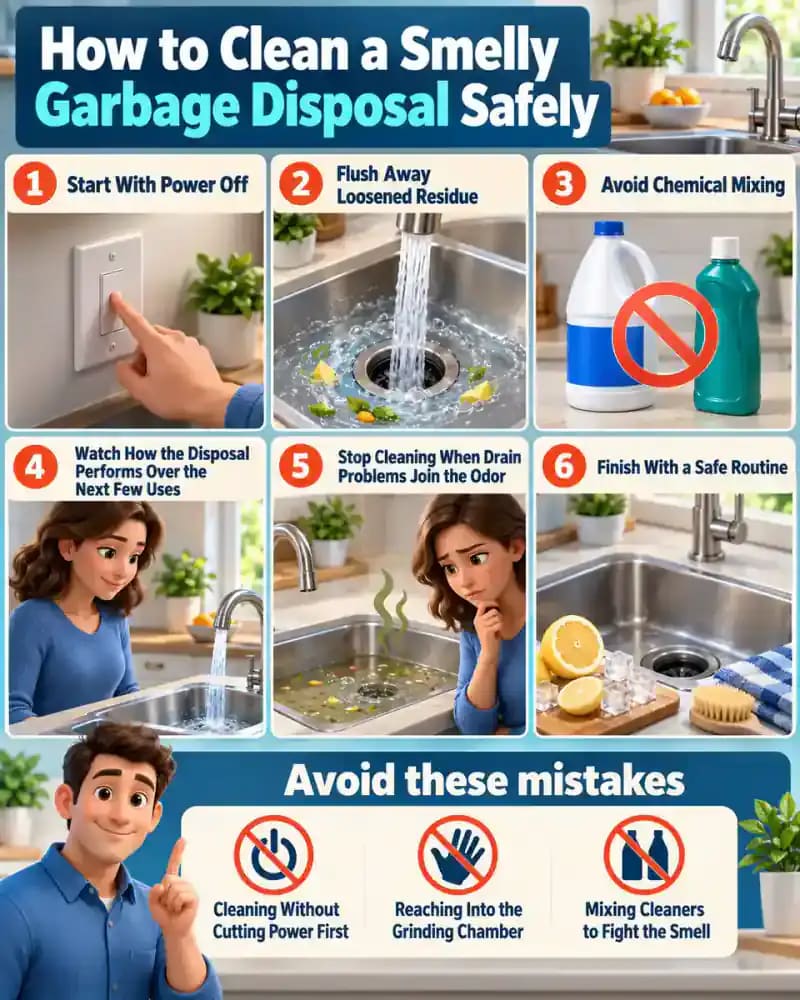
Start With Power Off
Turn the garbage disposal wall switch off, then shut off the labeled disposal circuit at the breaker before cleaning anything around the sink opening. This prevents the unit from starting unexpectedly while you work on the rubber splash guard and other reachable surfaces. Keep your hands and cleaning tools out of the grinding chamber. If the breaker is not clearly labeled, identify the correct circuit before continuing rather than guessing.
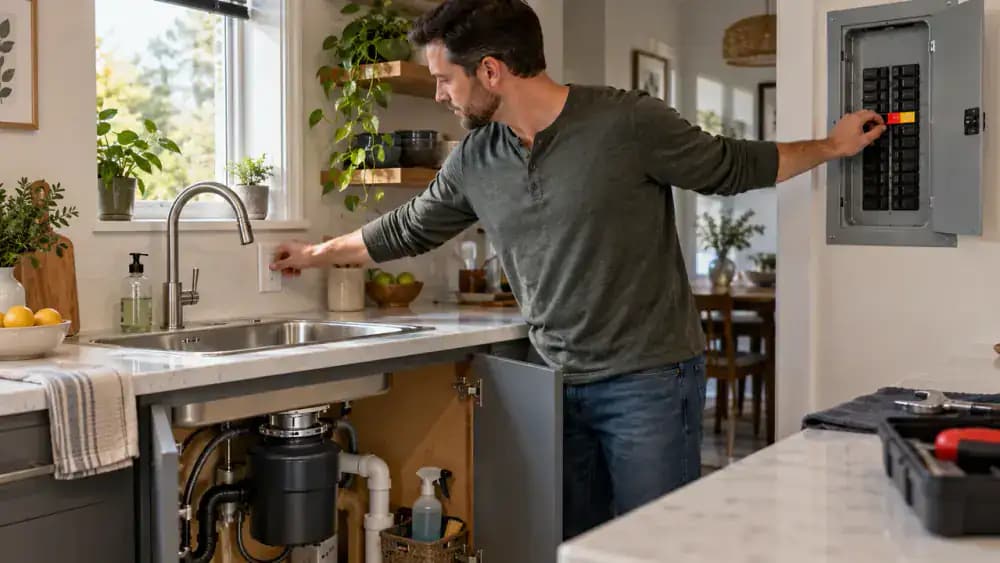
Confirm the Disposal Cannot Start
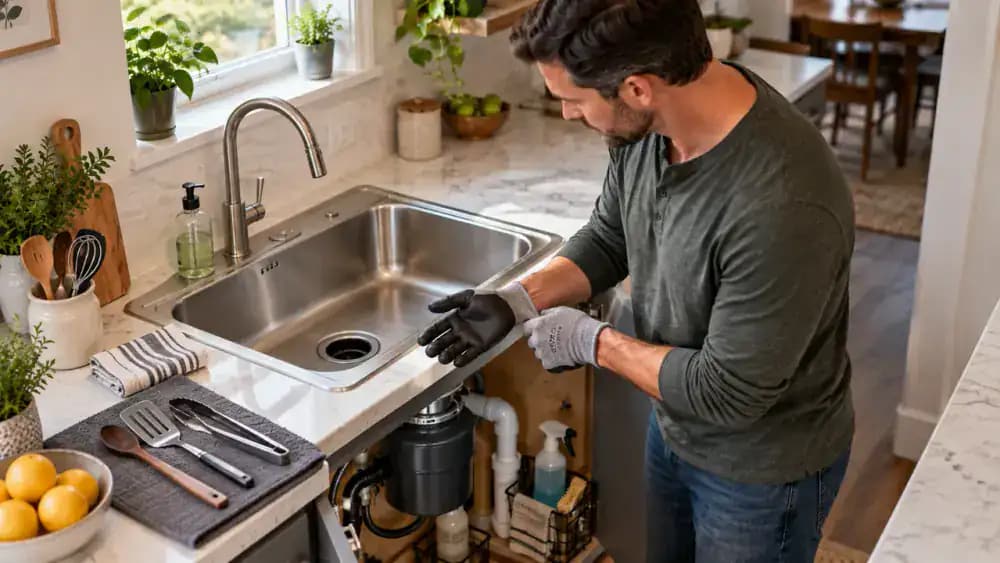
With both power controls turned off, briefly check the disposal switch and confirm there is no sound or movement before doing anything near the sink opening. Clear the basin by removing dishes, utensils, sponges, and other loose items, then put on cleaning gloves. Keep both hands above the sink surface and away from the disposal opening. A dry, uncluttered workspace also makes dropped tools or debris easier to spot and retrieve safely.
Lift the Splash Guard Just Enough to Inspect It
Gently lift one flexible section of the rubber splash guard just enough to expose the underside without pushing your hand deeper into the disposal. Keep your fingers and any cleaning tools completely above the grinding chamber. Check the rubber for greasy buildup, trapped food particles, and sticky residue that can hold odors. Work around the opening one section at a time so you can inspect the entire accessible surface without forcing or removing the guard.
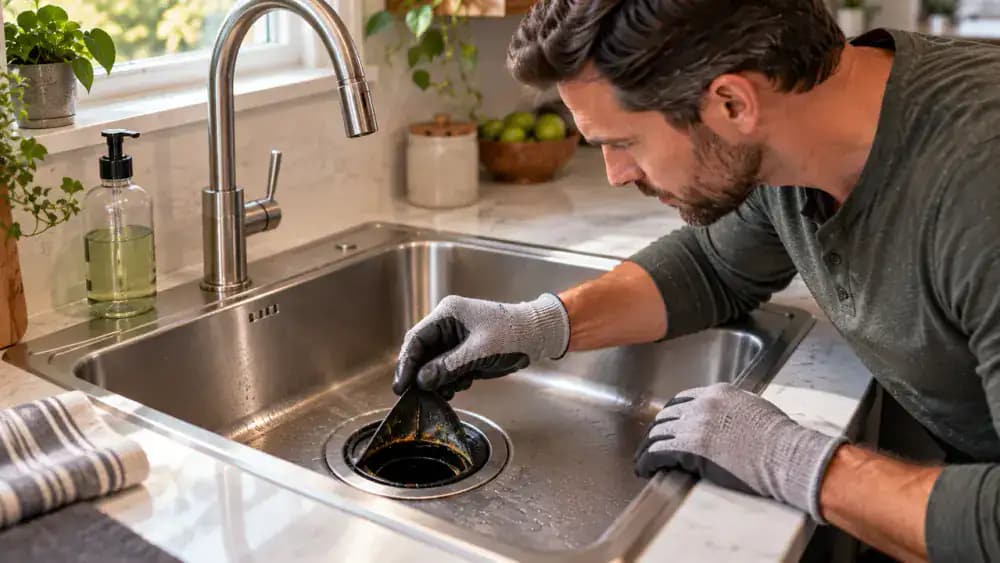
Scrub the Accessible Rubber Surfaces
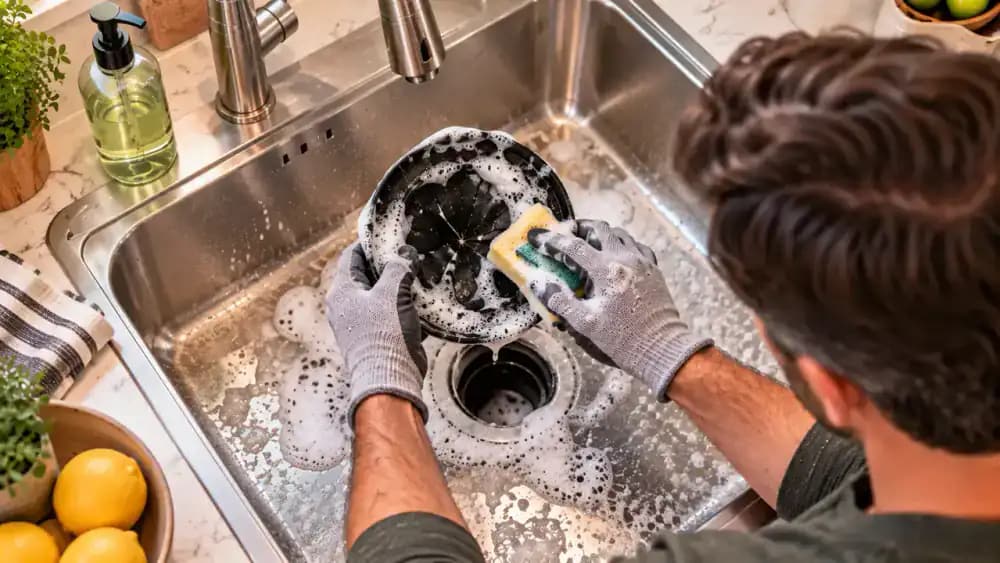
Lift one section of the rubber splash guard only far enough to expose the areas you can safely reach. Apply warm water and a small amount of dish soap to a brush or cloth, then scrub the top and underside where grease tends to collect. Work slowly around the opening in small sections. Keep your hands, brush, and cloth completely above the grinding chamber, and add more soapy water as buildup loosens.
Clean the Visible Drain Rim
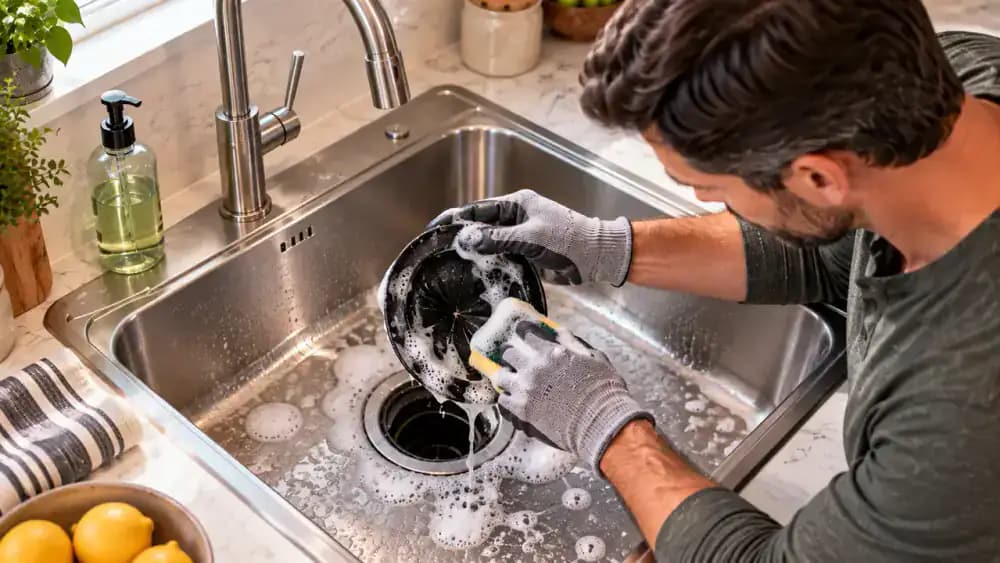
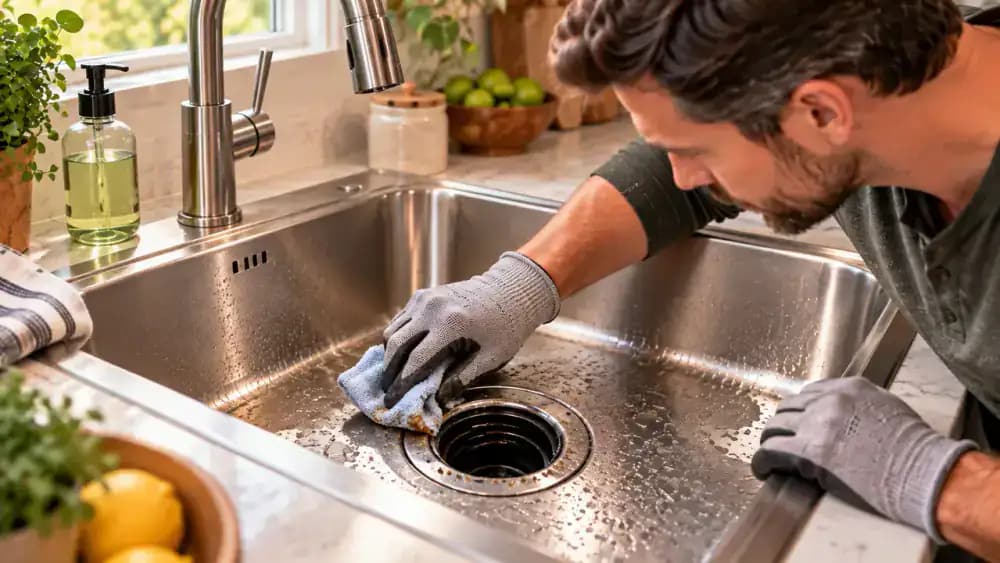
Use a damp microfiber cloth with a small amount of dish soap to wipe the exposed metal rim and upper edge around the disposal opening. Work slowly around the full circle, lifting away greasy film and small food particles from surfaces you can clearly see and reach. Rinse and wring out the cloth as needed so you are not spreading residue. Keep your hands, cloth, and any tools completely above the disposal chamber.
Flush Away Loosened Residue
Remove the brush, cloth, and any loose items from the sink before restoring power to the disposal. Turn the labeled breaker back on, run a moderate stream of cool water, and briefly switch on the disposal to carry loosened residue through the drain. Keep both hands completely away from the drain opening while it runs. Let the cool water continue for several seconds afterward to help rinse remaining particles from the disposal chamber.
Deodorize Without Harsh Chemicals
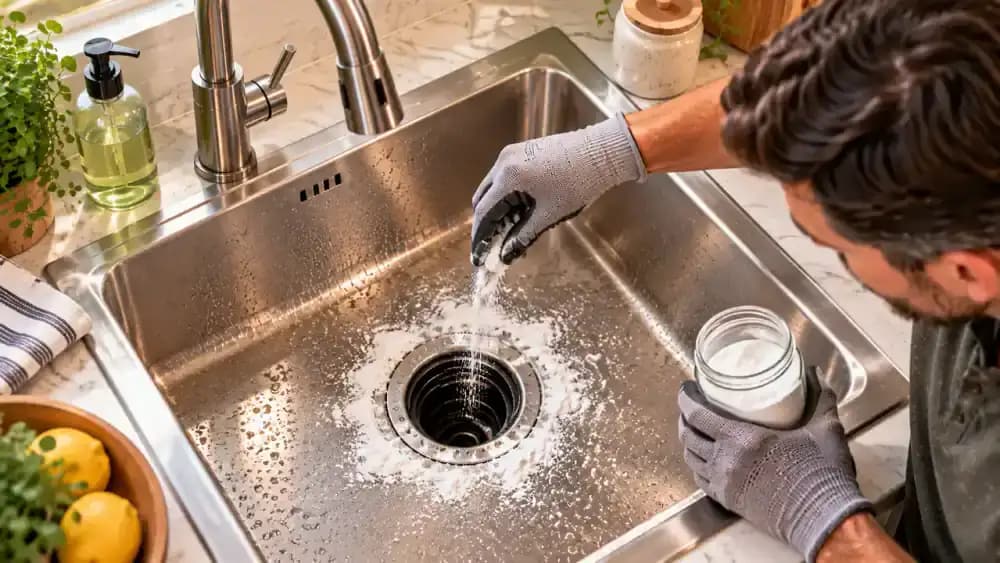
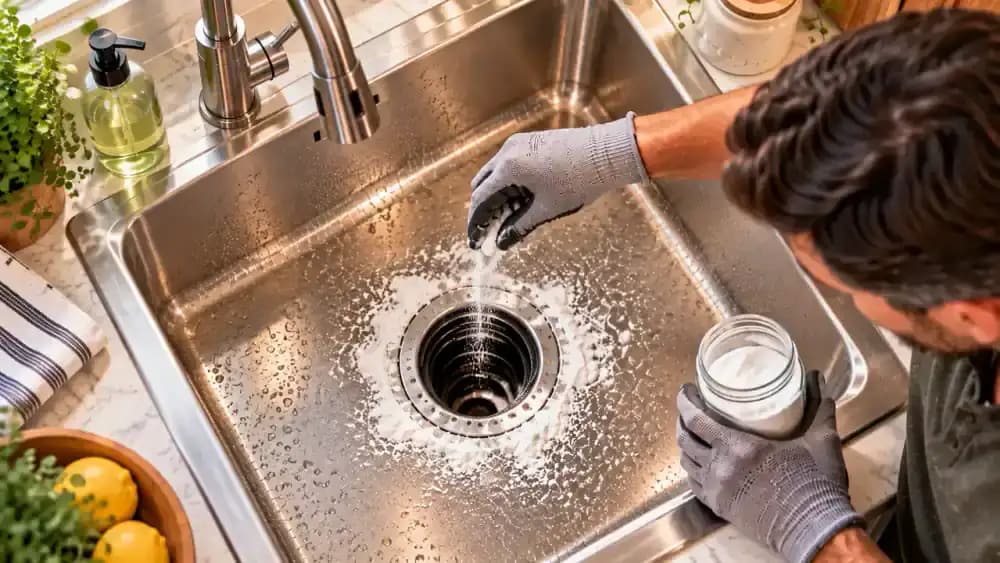
With the disposal switched off, measure a small spoonful of baking soda and sprinkle it evenly around the accessible drain opening. Keep your hands and any utensils above the opening, then rinse the baking soda away with a steady stream of cool water. Use only baking soda for this step. Never mix it with drain chemicals or other cleaners, since combining cleaning products can create dangerous reactions instead of simply controlling odor.
Check Whether the Odor Returns
Wait a few minutes after flushing and deodorizing the sink, then check whether any odor returns. Lean near the basin without touching the drain, watch for slow water movement, and inspect the cabinet below for signs of moisture or leaks. Keep the disposal switched off while observing. If sewage-like odors, slow drainage, leaks, or repeated backups remain, stop troubleshooting and arrange professional plumbing service.
Know When to Call a Plumber
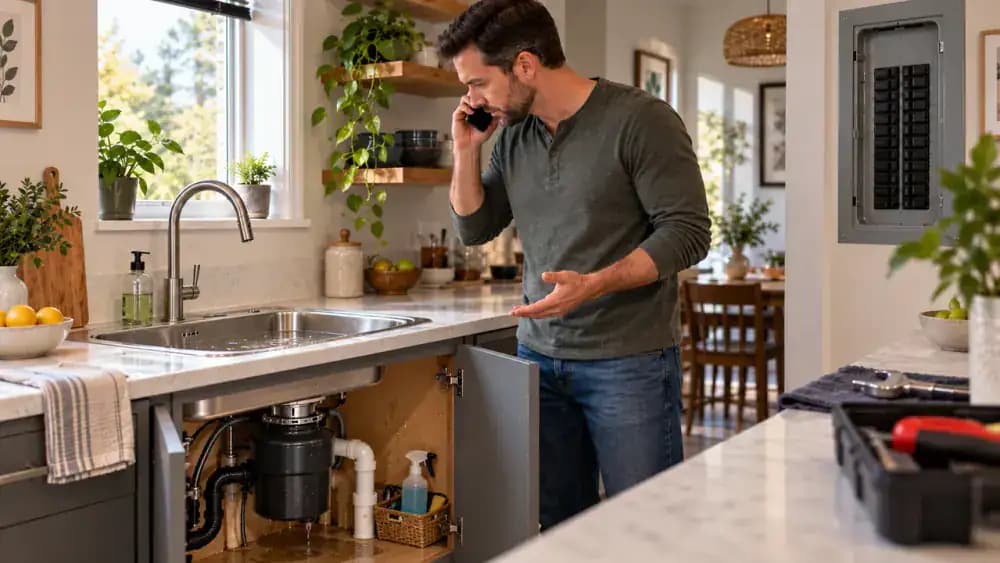
If the odor returns after cleaning, stop and look for signs that the problem is deeper in the drain system. A sewage smell, slow drainage, moisture beneath the sink, or repeated backups can point to a plumbing issue rather than a dirty disposal. Keep the disposal switched off, do not pour in more cleaners, and avoid mixing chemicals. Place a towel under any damp area, then contact a qualified plumber for inspection.
Prevent Odors With Regular Maintenance
After normal use, switch the disposal off and let cool water run briefly through the cleared sink to help rinse away loose residue. Clean the splash guard on a regular schedule before grease and food particles collect underneath it. A recurring calendar reminder makes this easy to remember. Keep hands, brushes, and tools away from the disposal opening, and use this simple routine between deeper surface cleanings to reduce odors and buildup.

Finish With a Safe Reset
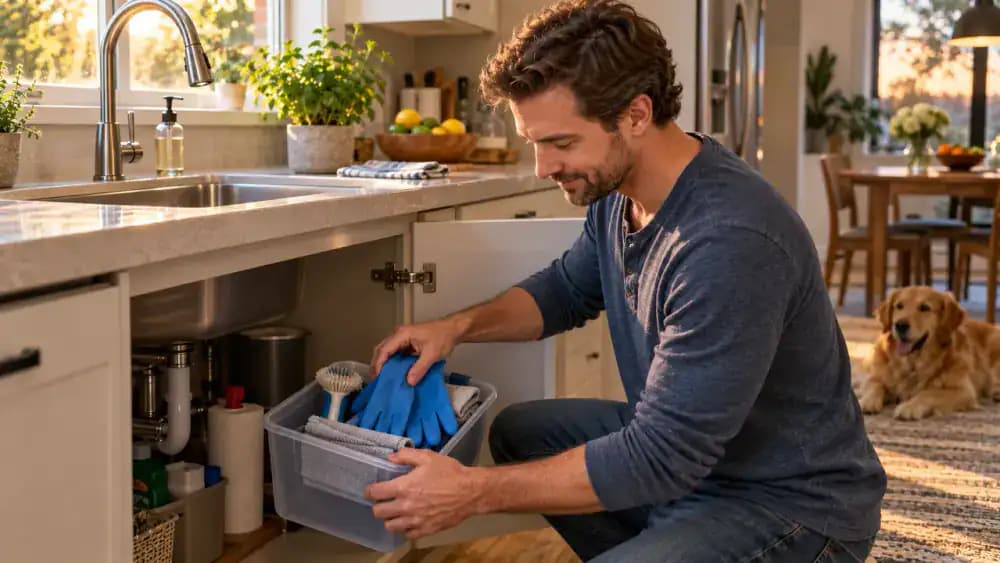
Put the cleaning brush, cloth, and gloves into a storage caddy away from the sink, then visually check that the disposal opening is completely clear. Nothing should be resting in the basin or near the drain. If you switched off power for cleaning, restore it only after every tool and hand is safely away. As a practical final step, wipe up any remaining moisture so the area is clean and ready for normal use.
Avoid Chemical Mixing
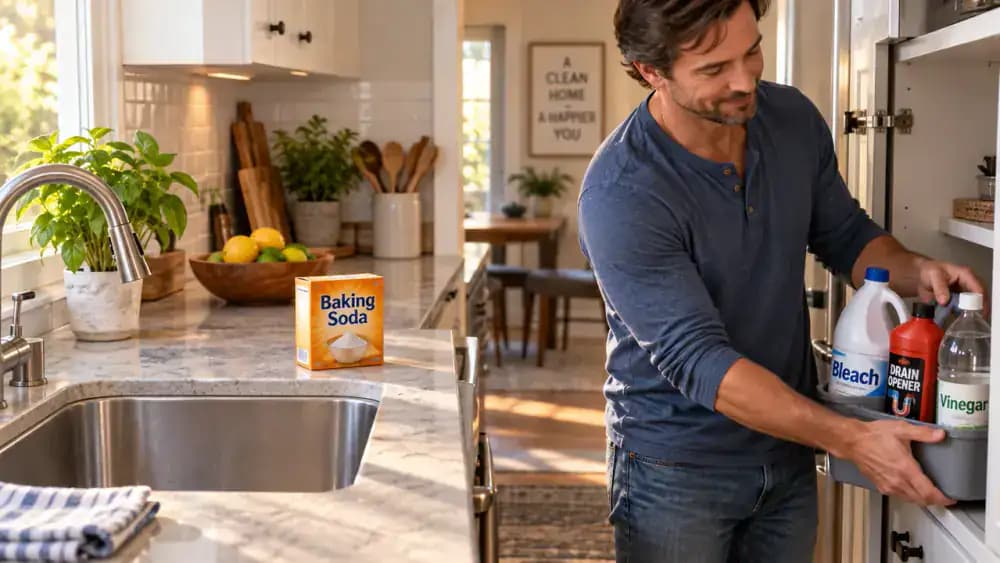
Move bleach, drain opener, vinegar, and other household chemicals away from the disposal area and store them separately. Do not pour or combine them in the sink, even if you are trying to remove odors or residue. Chemical reactions can damage disposal components and create irritating fumes. Keep the disposal switched off while organizing the area. For future deodorizing, use only one disposal-safe method at a time and follow its directions exactly.

Use One Safe Deodorizing Method
With the disposal switched off, sprinkle a small amount of baking soda around the accessible edge of the drain opening without reaching inside. Set the measuring spoon aside, then run a moderate stream of cool water to rinse the baking soda through. This gentle approach can reduce lingering food odors without adding harsh chemicals. Keep hands, fingers, utensils, and cleaning tools completely above the disposal opening at all times.
Check Whether the Odor Returns
Once the baking soda has fully rinsed away, leave the faucet and disposal off for a few minutes so the sink can drain naturally. Step closer and check for any stale smell rising from the basin without reaching into the drain. If the odor has mostly disappeared, surface buildup was likely the cause. If it returns quickly or remains strong, the source may be farther down the drain or within the plumbing.
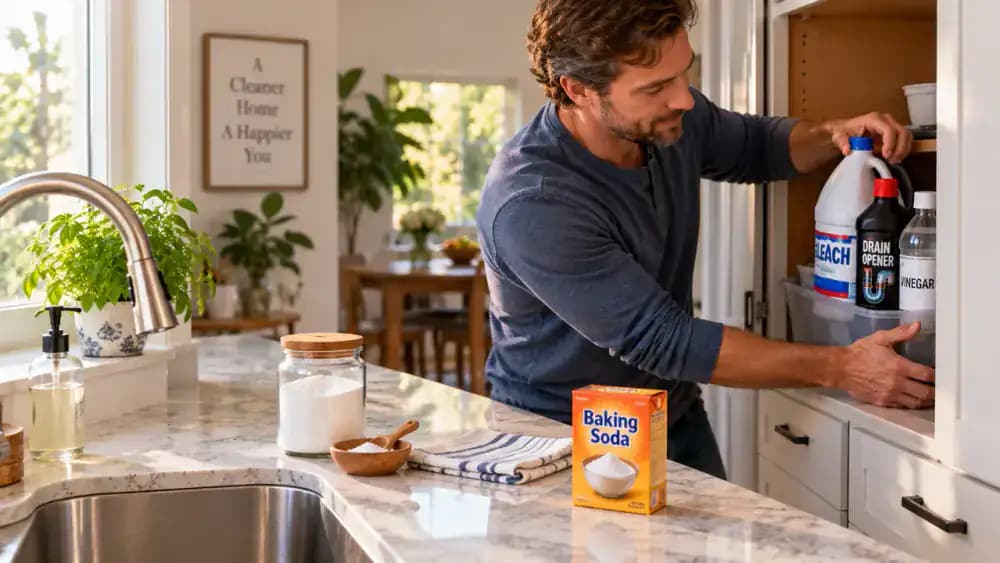
Know When to Call a Plumber
If the odor returns soon after cleaning, check for warning signs such as slow drainage, repeated backups, leaking connections, or a strong sewage smell. Keep the disposal switched off and place a dry towel under any visible leak to catch moisture. Do not add more cleaner or reach inside the unit. A recurring smell combined with drainage or leak problems can indicate a plumbing issue that needs professional inspection.
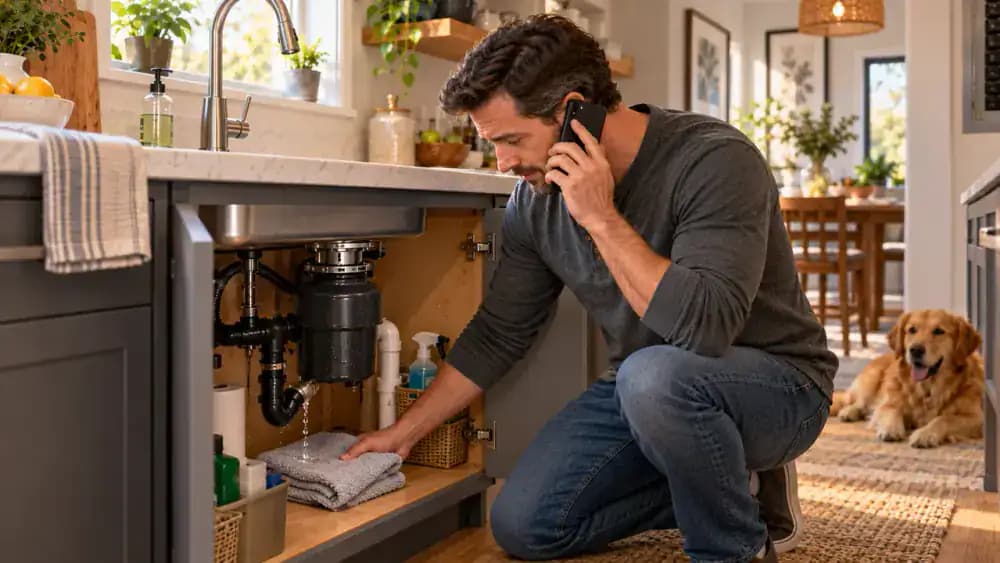
Prevent the Odor From Coming Back
After meals, scrape food scraps into the trash instead of sending them through the disposal, then run a moderate stream of cool water into the empty basin for a short flush. This helps move small remaining particles through the drain before they can collect and smell. Clean the accessible splash guard regularly, avoid chemical drain cleaners, and investigate recurring odors as a possible drain-system issue rather than putting hands or tools inside the disposal.
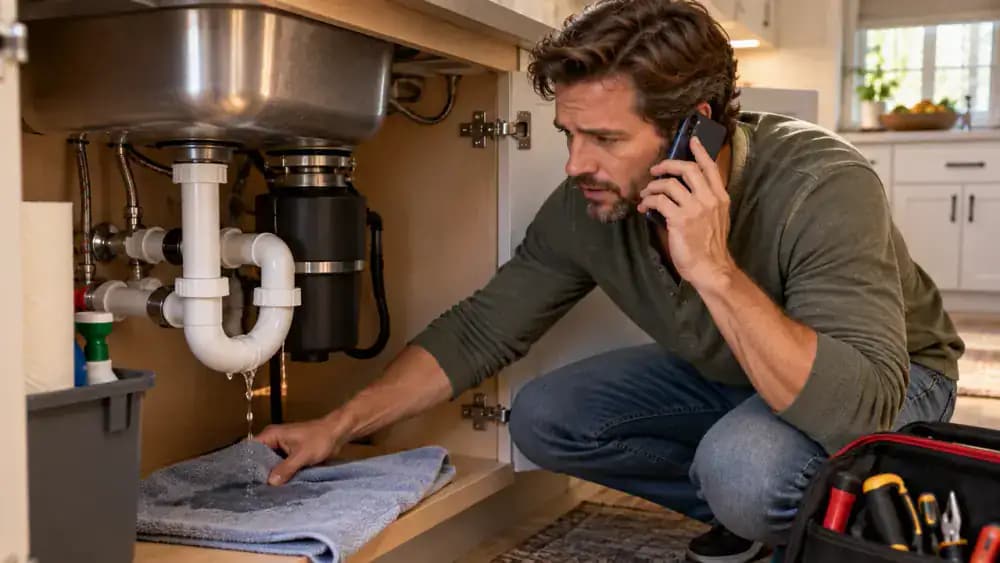
Keep Problem Waste Out
Separate celery strings, vegetable peels, large scraps, and cooled cooking grease before anything reaches the sink. Rinse only tiny food remnants toward the disposal, then run a moderate stream of cool water to help move them through. Keeping fibrous and greasy waste out reduces material that can cling inside, trap odors, or slow drainage. If water begins draining more slowly than usual or odors return, stop using the disposal and investigate the cause.

Watch How the Disposal Performs Over the Next Few Uses
During the next few normal sink uses, let cool water run at a moderate flow and watch how quickly it clears through the disposal-side basin. Listen for any new rattling, grinding, or change in motor sound, and check whether stale odor returns after the water stops. Keep hands away from the opening. A simple checklist can help you spot a recurring pattern before a small drainage or disposal issue gets worse.

Keep the Routine Simple
Post a simple reminder where you will actually see it, such as on the refrigerator near the sink. Keep food scraps out of the disposal whenever possible, run a short cool-water flush after use, and clean the splash guard on a regular schedule. These small habits help control everyday odors without putting hands or tools near the opening. Keep the disposal switched off and the sink empty during routine cleaning.

Know When Odor Signals a Drain Problem
Watch how quickly water leaves the disposal-side sink when the odor keeps returning. If water sits in the basin, drains unusually slowly, backs up repeatedly, or the smell becomes sewage-like, the problem may be deeper in the drain system. Keep the disposal switched off, do not add more cleaners, and never mix chemicals. Write down the symptoms and contact a plumber if the drainage or odor problem continues.
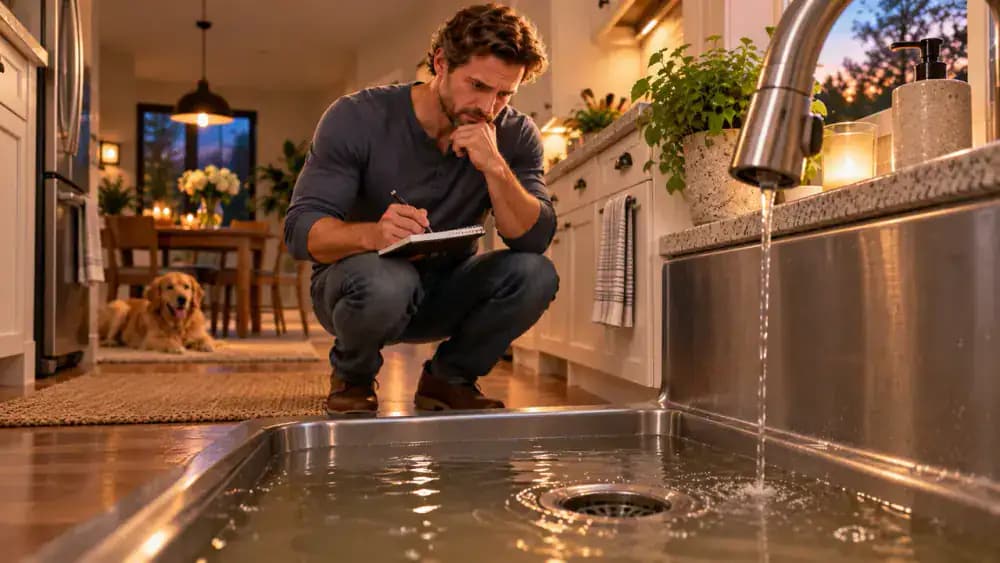
Treat Persistent Sewage Odors as a Plumbing Issue
If a sewage-like smell remains even though the sink is clean, empty, and draining normally, stop using the disposal and do not add more cleaners. The odor may be coming from the trap, vent, or a drain connection instead of the disposal itself. Note when the smell returns, especially after cleaning or running water, then contact a plumber if it persists. Keeping a brief service note can help describe the pattern clearly.

Stop Using the Sink When Backups or Gurgling Appear
If water starts backing up, gurgling near the drain, or rising in the basin, stop using the sink and leave the disposal switched off. Do not pour drain cleaners or other chemicals into the system, since they may create additional hazards without fixing the underlying restriction. Keep the sink unused until a qualified plumber checks the drain and venting. Note when the symptoms occur so you can describe the pattern clearly during the service call.

Treat Persistent Sewage Odors as a Plumbing Warning
When a sewage-like smell keeps returning even though the sink is clean, dry, and draining normally, stop adding cleaners and treat the odor as a possible plumbing issue. Keep the disposal switched off and write down when the smell appears, how long it lasts, and whether it follows sink use. This timing can help a plumber narrow down possible drain or venting problems during an inspection.

Stop Cleaning When Drain Problems Join the Odor
If slow drainage, gurgling, backups, or moisture appear along with the smell, turn the disposal off and stop adding cleaners. Check only what is safely visible, such as an accessible drain connection, without opening or reaching into the disposal. A flashlight can help reveal moisture under the sink. Persistent symptoms may involve the drain, plumbing connection, or vent, so contact a plumber instead of continuing with deeper DIY cleaning.
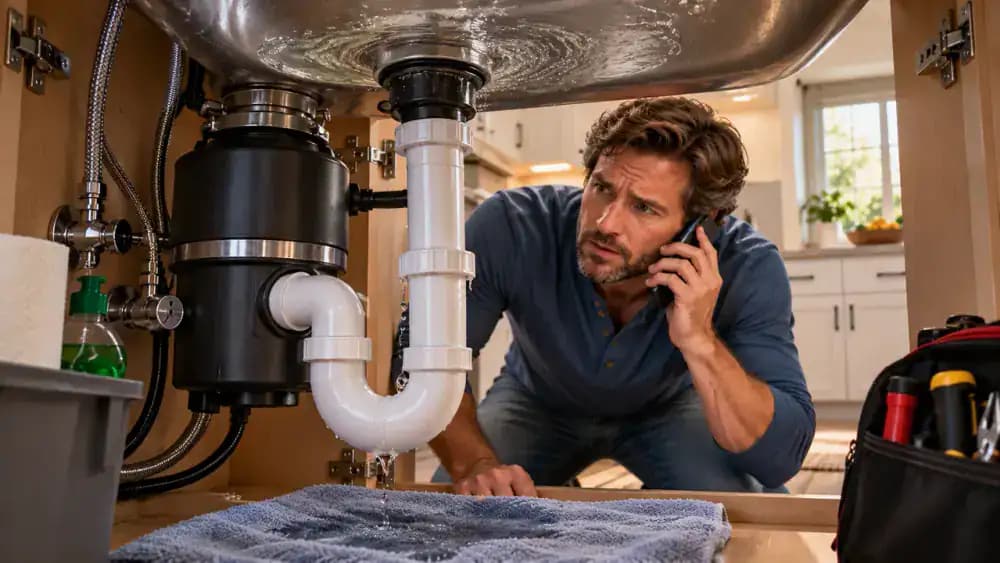
Know When the Smell Points Beyond the Disposal
When a bad odor appears with slow drainage, gurgling, leaks, or recurring backups, leave the disposal switched off and avoid further cleaning. The plumber can review the visible trap, drain line, connections, and vent route without opening the disposal or adding chemicals. As a practical precaution, note when the symptoms occur and whether they affect other nearby drains, since that information can help narrow down the plumbing issue.
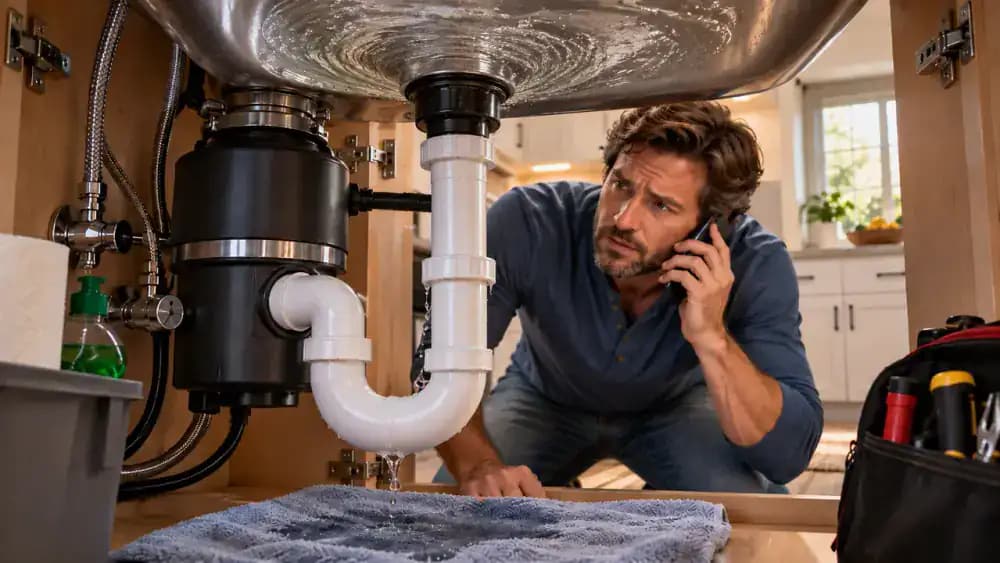
Keep the Disposal Fresh With Simple Weekly Habits
After a plumber rules out a drain or vent issue, focus on simple prevention instead of stronger cleaners. Scrape food scraps into the trash before rinsing dishes, then run a moderate stream of cool water briefly after normal disposal use. Clean the splash guard regularly without reaching into the grinding chamber. A weekly reminder near the sink can make the routine easier to remember and helps limit greasy buildup before odors return.
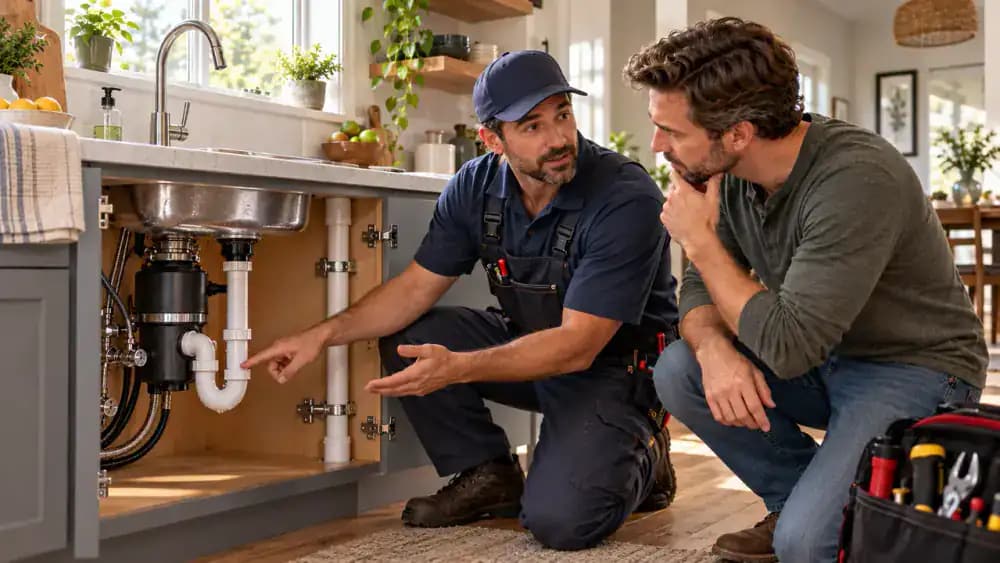
Make Weekly Cleaning Easy
Once a week, switch the disposal off and disconnect power at the breaker before cleaning. Gently lift only the accessible edge of the rubber splash guard and wipe its upper and underside surfaces with a damp, soapy cloth. Keep your fingers, cloth, and tools completely above the grinding chamber. Removing fresh film early prevents stubborn residue and odors. Take out every cleaning item before restoring power.
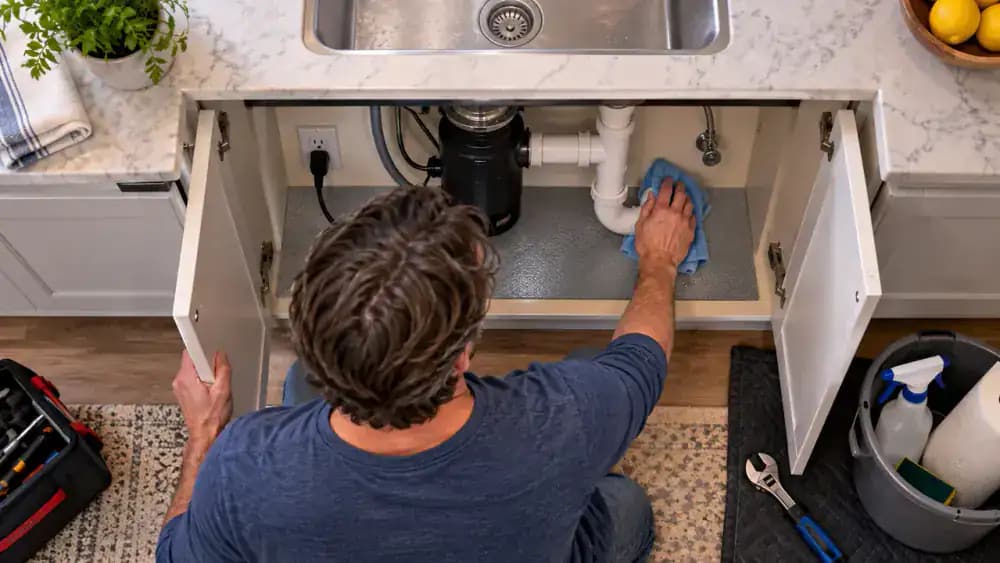
Check Whether the Odor Returns
Restore power only after every cloth, brush, and cleaning item has been removed from the sink area. Run a moderate stream of cool water for a few seconds, then shut off the faucet and wait nearby. Notice whether any stale smell returns and confirm that water drains normally. If the sink stays fresh, your weekly wipe is helping. If the odor quickly comes back, inspect the drain or plumbing for a deeper source.

Keep the Odor From Coming Back
Make odor prevention part of normal kitchen cleanup by keeping food scraps and grease out of the disposal whenever possible. Scrape larger leftovers into the trash, collect cooled grease in a separate container, and run a short stream of cool water after routine disposal use. Clean the splash guard weekly, with hands and tools kept away from the disposal opening. These habits limit residue buildup and make new drainage problems easier to notice early.

Finish With a Safe Routine
Keep the disposal switched off and leave the sink clean, dry, and clear when you finish. Post a simple maintenance checklist where it is easy to see so the same safe routine is followed next time: clean only the accessible splash guard and rim, flush with cool water, and deodorize gently. Save a plumber's contact information nearby in case persistent odors, leaks, slow drainage, or backups return.

A garbage disposal can look perfectly clean from above and still make the entire sink area smell unpleasant. In many cases, the odor is caused by grease, food residue, and moisture collecting around the rubber splash guard and the visible rim of the drain. The good news is that you usually do not need to reach into the disposal or take anything apart. A careful surface cleaning can remove much of the buildup safely and quickly.
Before cleaning near the opening, turn the disposal switch off and shut off power at the circuit breaker, then confirm the unit cannot start. Put on cleaning gloves and keep your hands, brushes, and other tools completely out of the grinding chamber. You can safely clean the accessible sides of the splash guard and drain rim with warm water, dish soap, and a small brush or cloth. If odors remain after cleaning, or you notice slow drainage, leaks, backups, or a sewage smell, the problem may require professional plumbing service.
Where people go wrong
Cleaning Without Cutting Power First. Turning off the wall switch is not enough when cleaning near the disposal opening. Shut off power at the circuit breaker too, then confirm the unit cannot start. This prevents accidental activation while you clean the splash guard and visible drain surfaces.
Reaching Into the Grinding Chamber. Never put your hands, brushes, utensils, or other tools inside the grinding chamber. Most odor-causing residue can be removed from the accessible splash guard and drain rim. Lift the rubber guard only enough to clean its exposed surfaces without reaching deeper into the disposal.
Mixing Cleaners to Fight the Smell. Combining drain chemicals, household cleaners, or other deodorizing products can create dangerous reactions and does not address trapped surface residue. Use dish soap and warm water for cleaning, then choose one disposal-safe deodorizing method, such as a small amount of baking soda followed by water.
Ignoring Odors That Keep Coming Back. A smell that quickly returns after the splash guard and visible surfaces are cleaned may point to a larger drain or plumbing problem. Persistent sewage odors, slow drainage, leaks, or repeated backups should not be treated with deeper cleaning. Have the plumbing system professionally inspected.
Questions people ask
The odor often comes from food residue and greasy buildup trapped around the rubber splash guard and visible drain surfaces. These areas can hold moisture and debris even when the sink looks clean. Cleaning both sides of the splash guard thoroughly can remove the most common source of the smell.
Fixed it?
Get one guide like this every Thursday.